How to Make a Hooded Cloak with a Lining
- By OnlineFabricStore
- Beginner
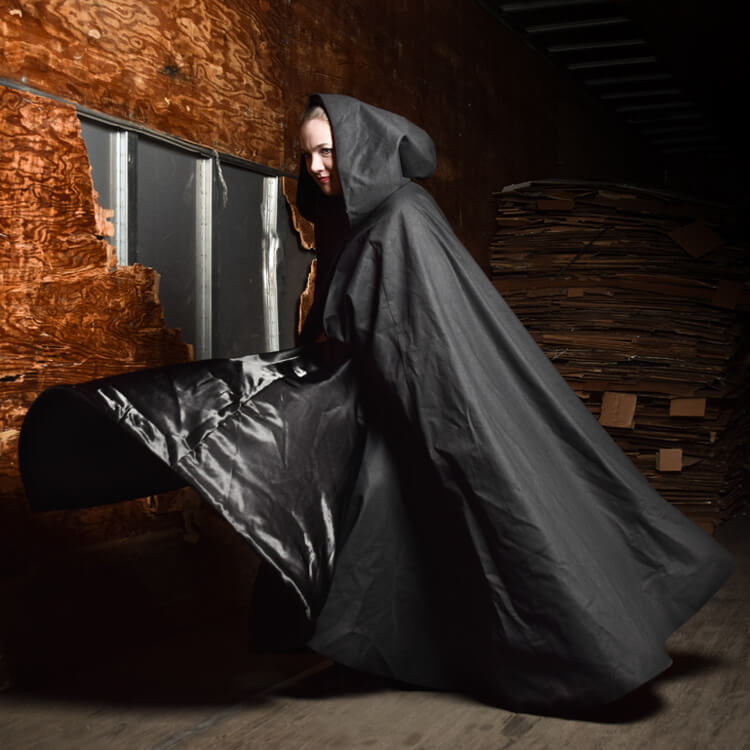
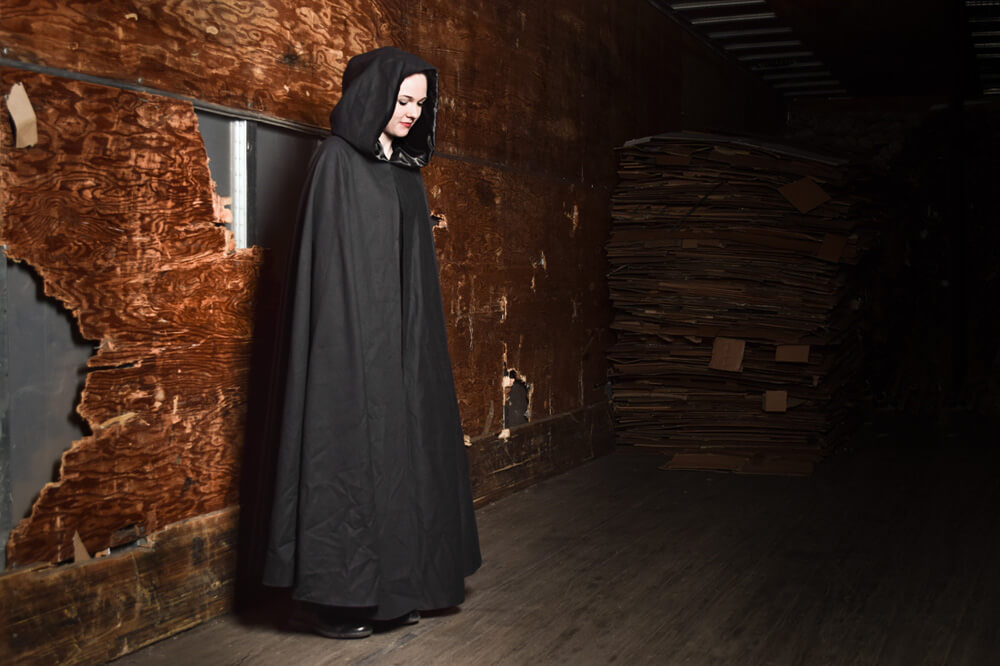
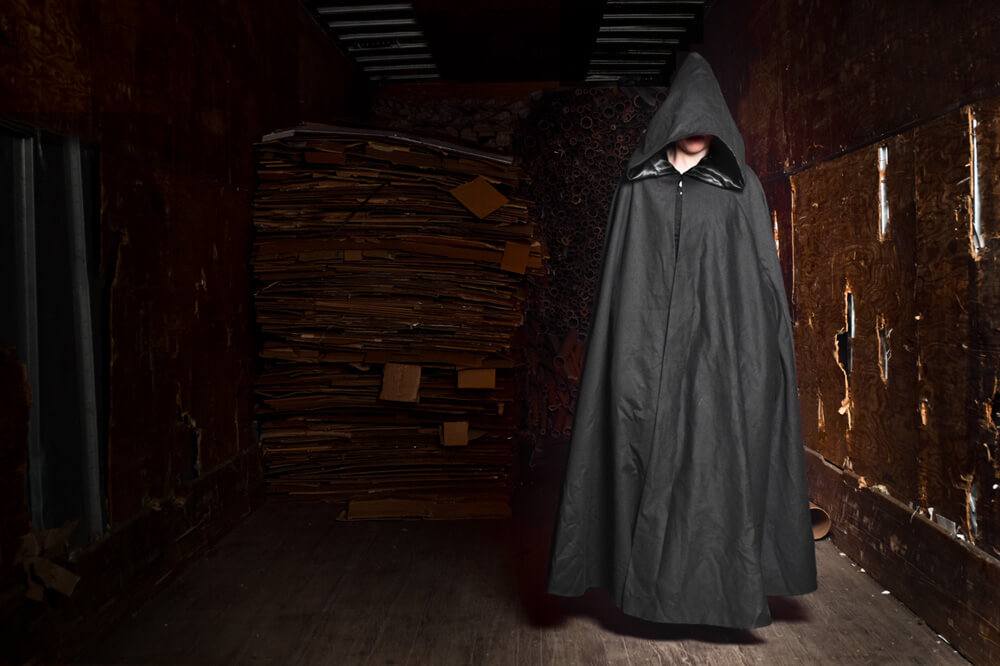
A cloak is an essential in many cosplay and Halloween costumes, whether you’re a wizard, elf, or any of a wide array of period characters. Or if you want to wear it in your everyday life, go for it!
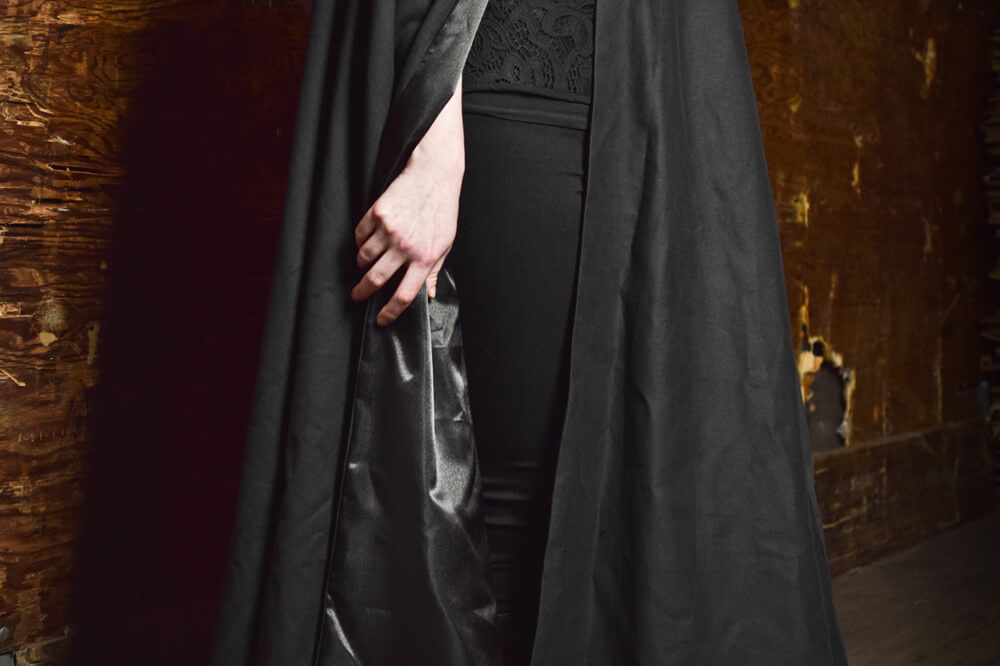
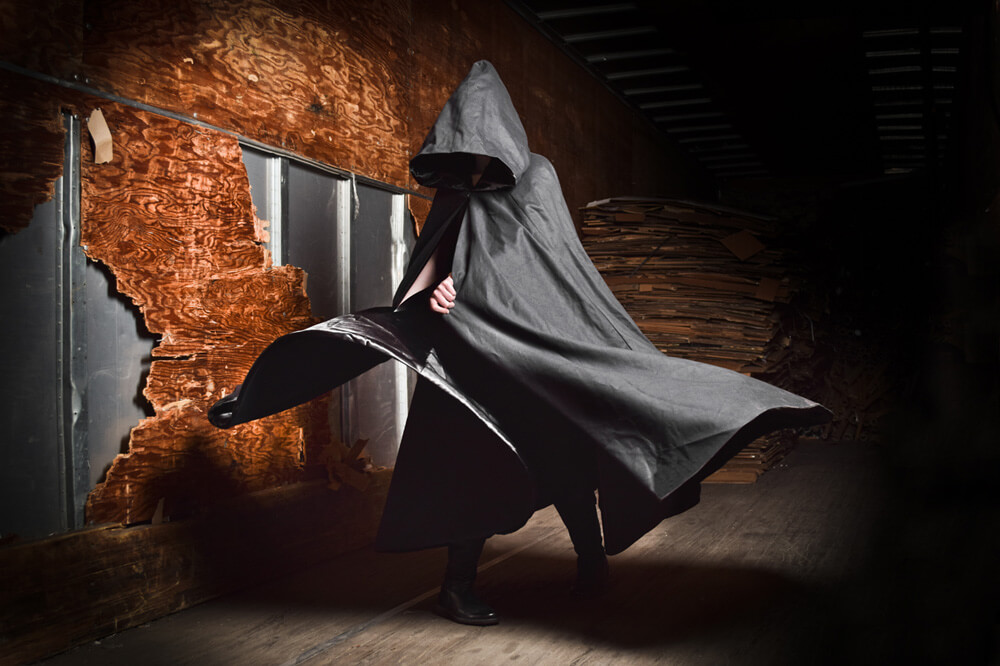
You can make cloaks out of many different fabrics depending on the look you want. I picked cotton twill because it’s a heavier fabric and is really easy to sew. For the lining, I wanted a lot of shine to contrast the matte outer fabric, so satin was a good option.
Velvet is a popular choice for the outer fabric, but just be aware that sewing velvet and another slippery fabric, like satin, is more difficult to sew. Habutae is used a lot for linings in many garments and is lightweight with a lustrous finish.
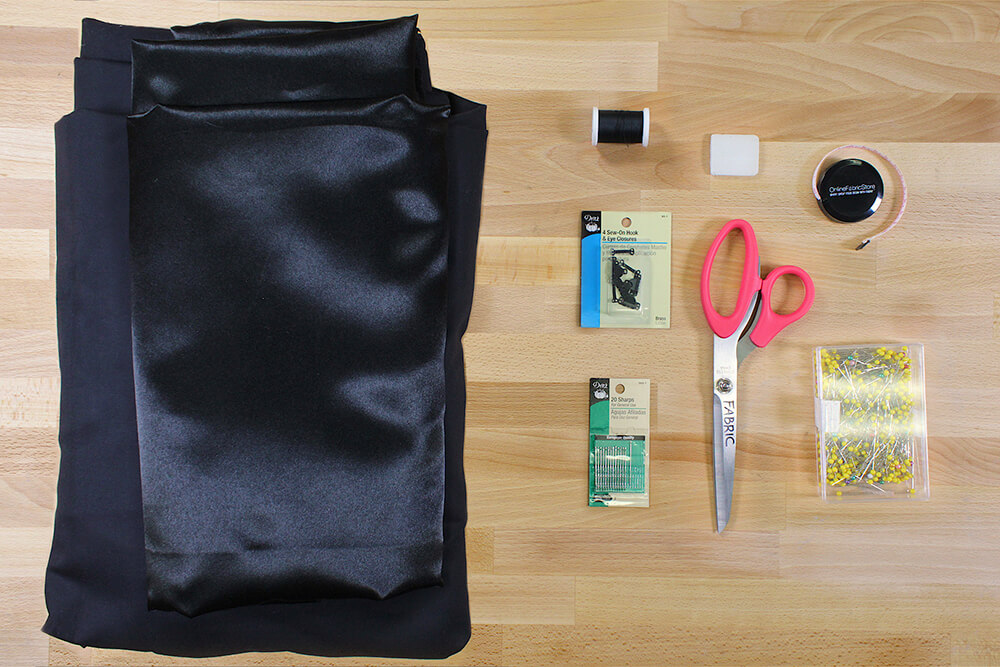
Materials
Related Products


Video
Instructions
Step 1: Measure and cut the fabric
This pattern can be adapted to kids and adult sizes.
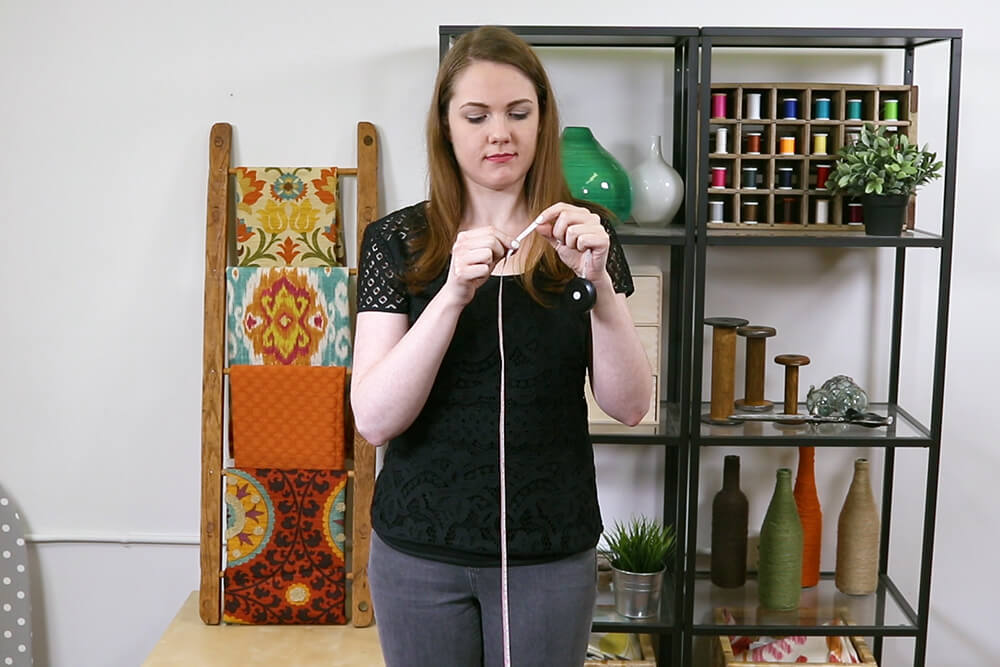
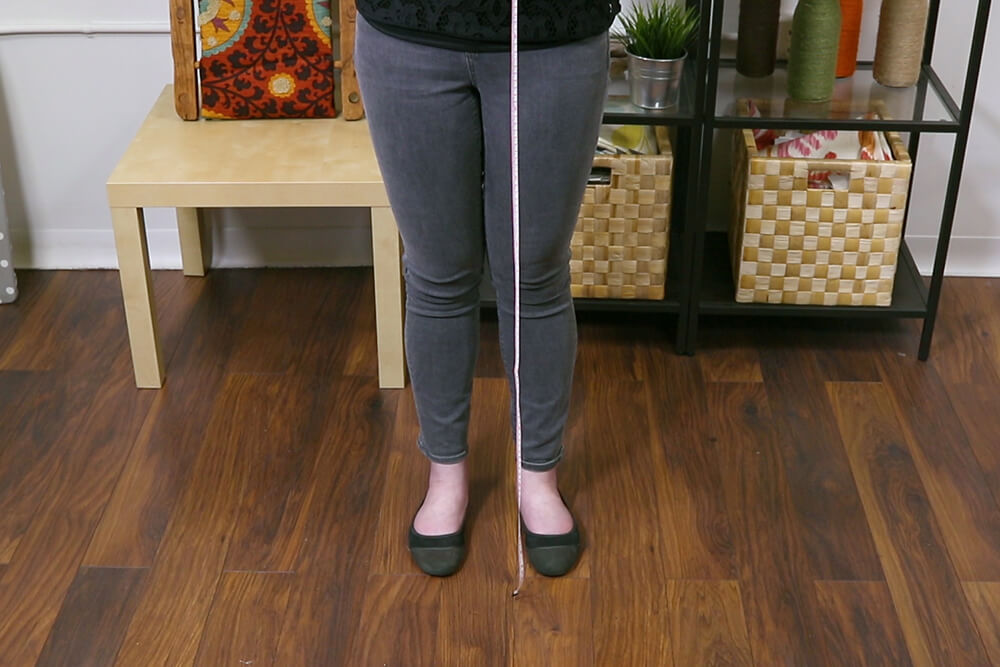
First, measure how long you want the cloak, so from about the collarbone to just above the floor (or however long you want it).
I’m 5’ 6” and that’s 53” for me. Add an inch for the seam allowance and 5 inches to account for the neckline. This is the total length.
Make sure both fabrics are at least that wide. 60” is a common width for apparel fabrics. If your total length is longer than 60”, not to worry, there’s another way you can cut out the pieces.
For child sizes, you can use narrower fabrics.
The amount of fabric needed is your total length times 3. For me, that’s 53 + 1 + 5 = 59 x 3 = 177.
To figure out how many yards that is, divide by 36 and round up. That’s 5 yards for me. You may have to add an extra yard for the hood. So I need 6 yards of both the outer fabric and lining fabric.
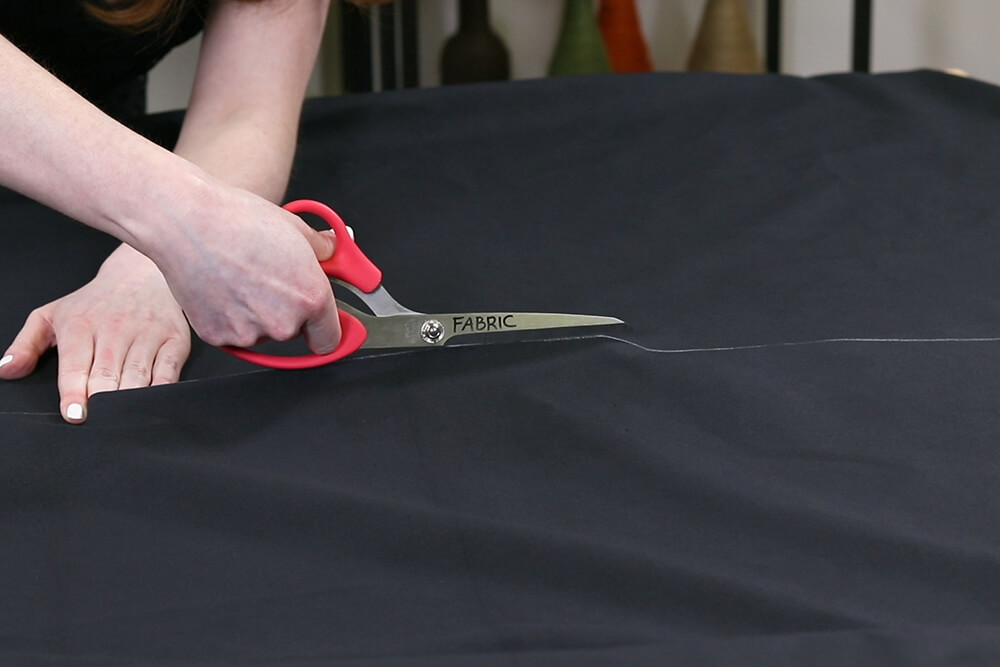
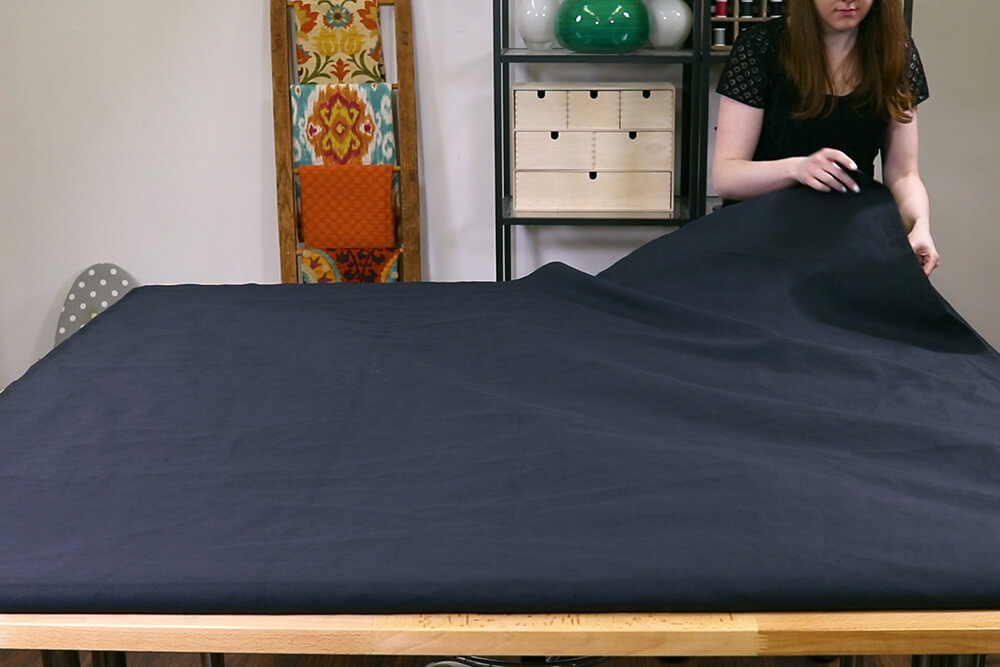
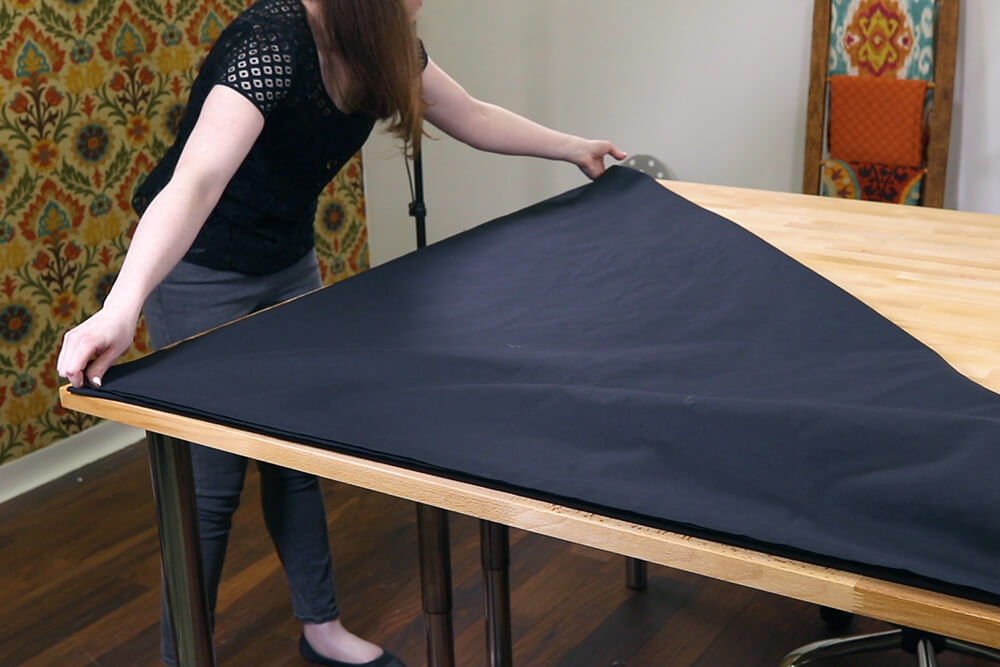
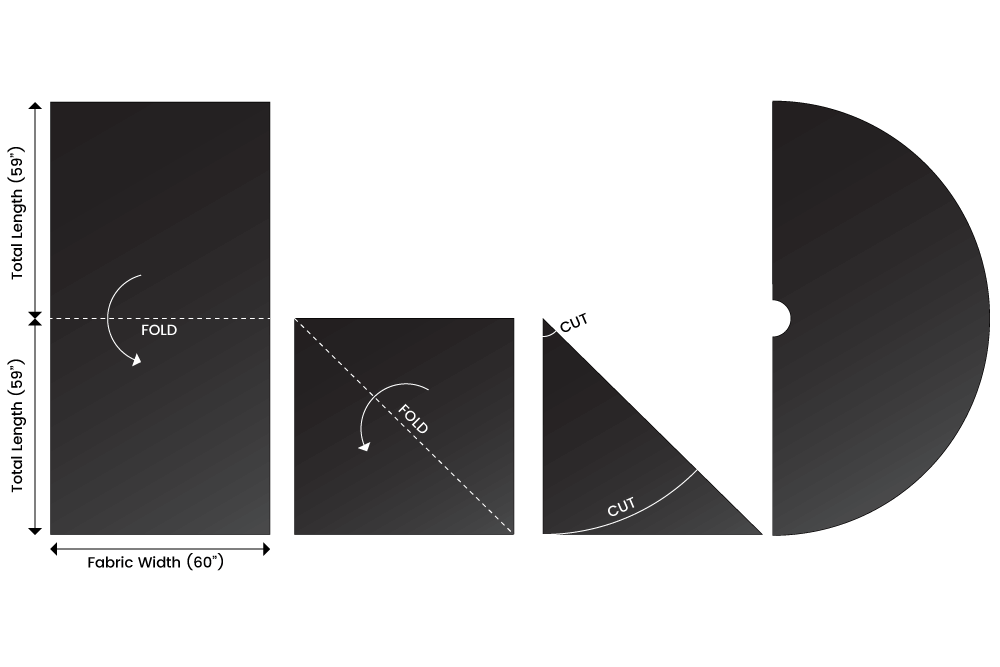
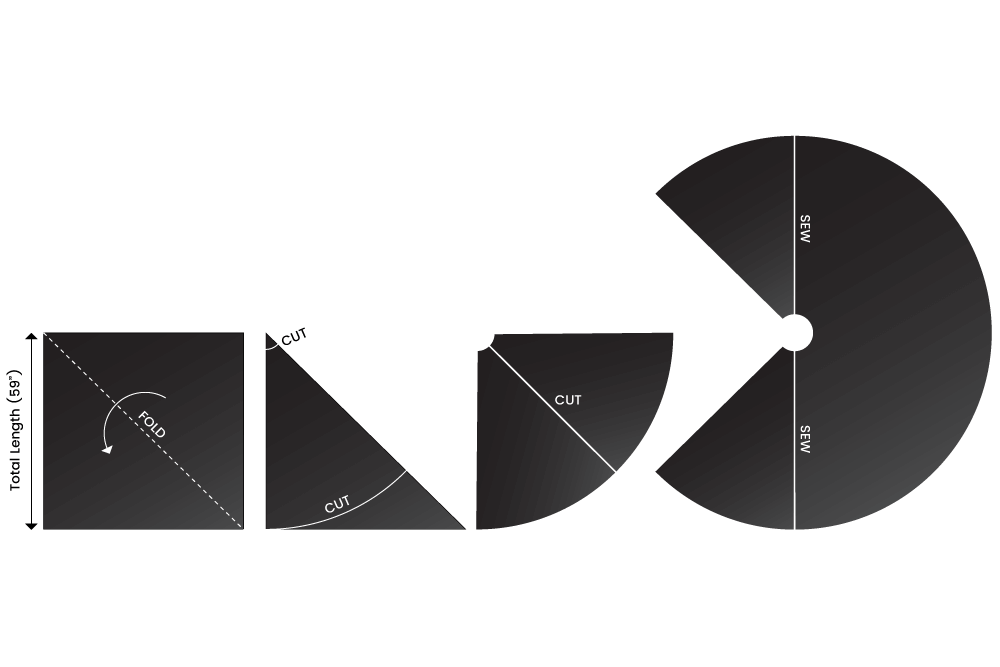
Starting with the outer fabric, measure twice the total length and cut.

Fold the fabric in half width-wise. Now fold it diagonally so the selvage edge meets the fold.
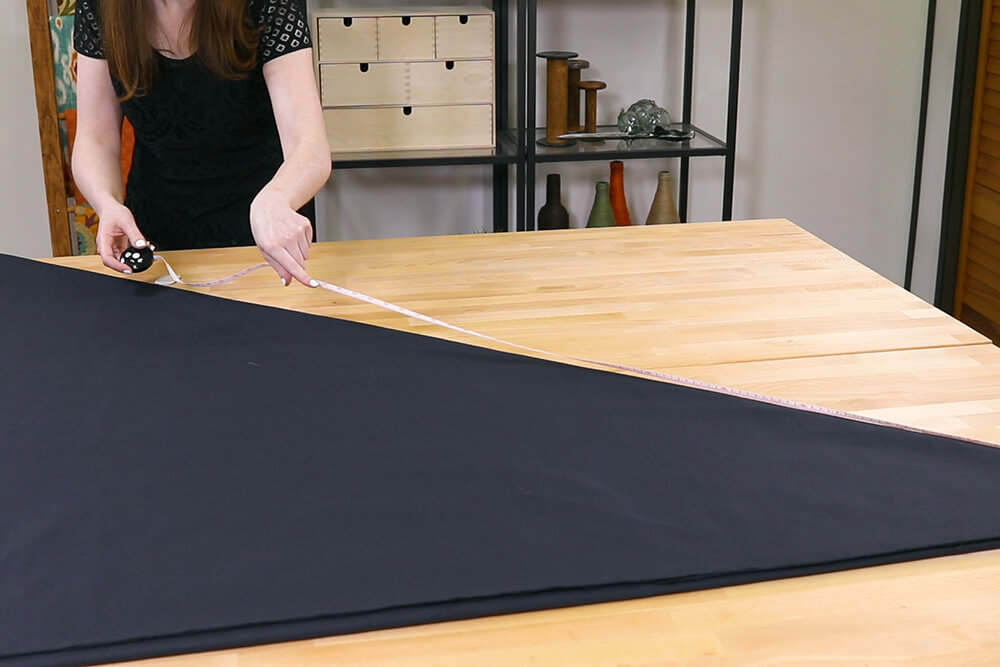
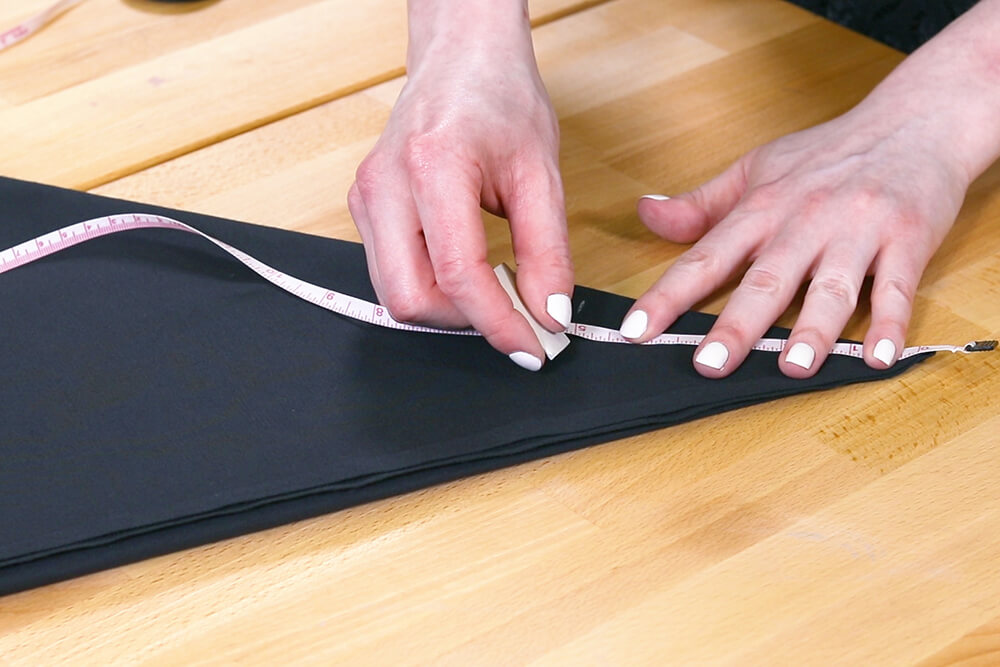
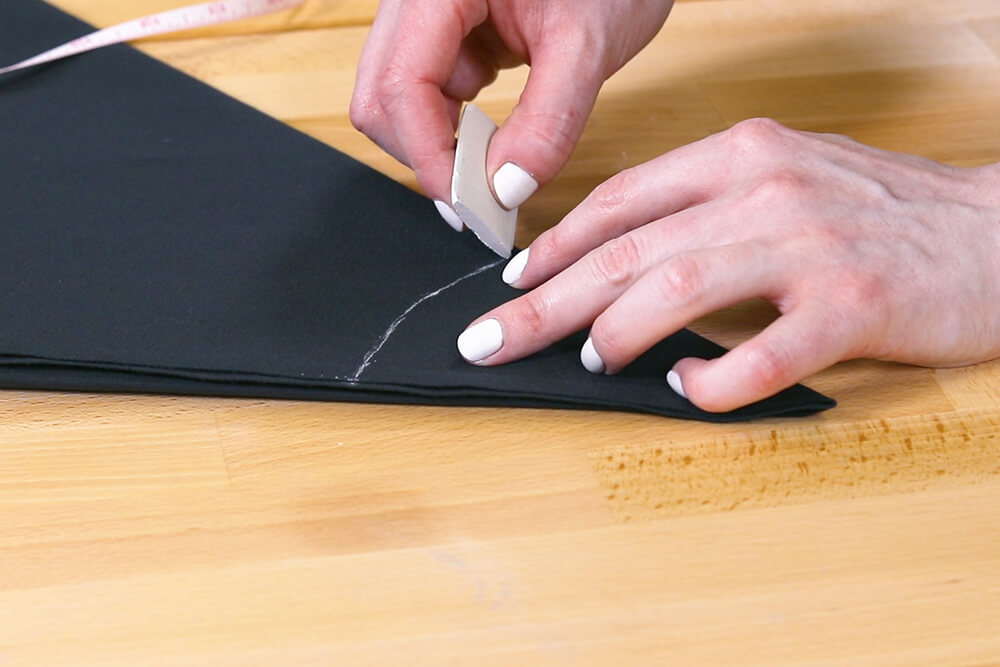
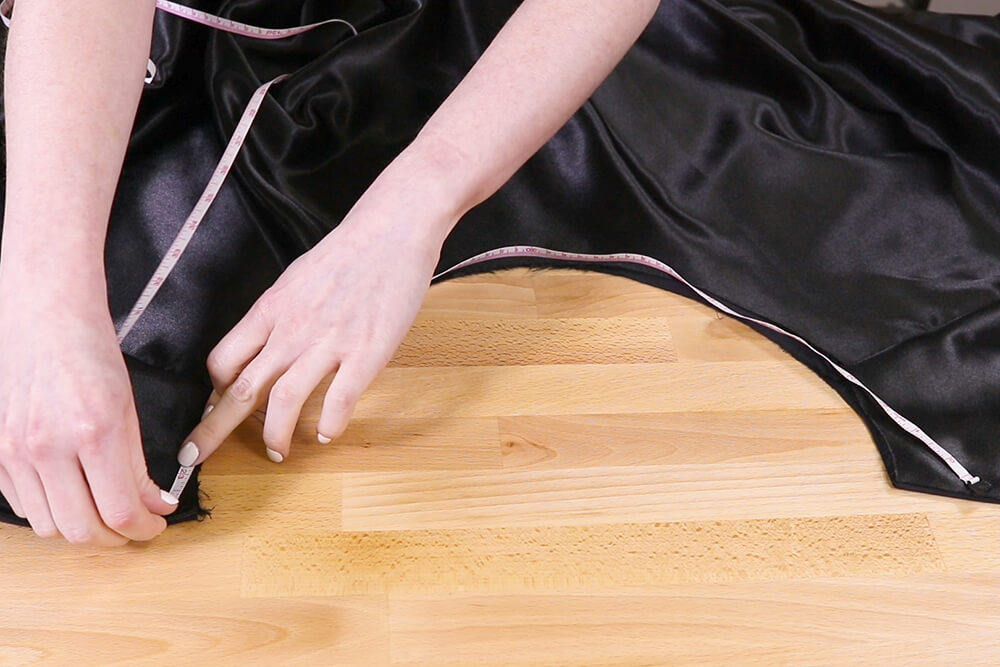
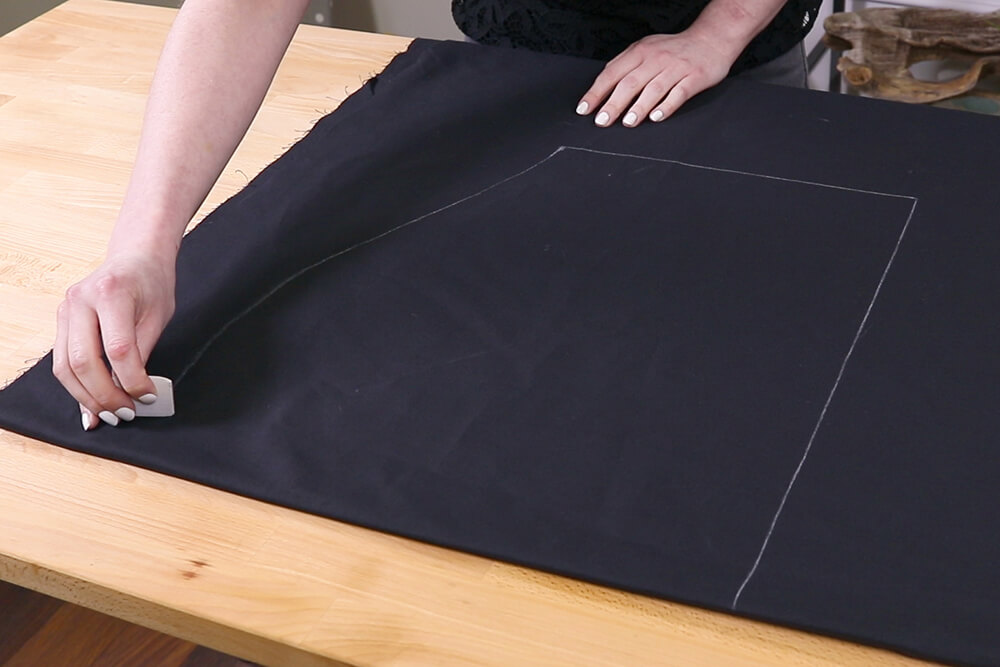
Measure out from the corner 59” or whatever your total length is, and mark with a fabric marker or chalk.
Move the end of the measuring tape in and mark so it creates a curve.
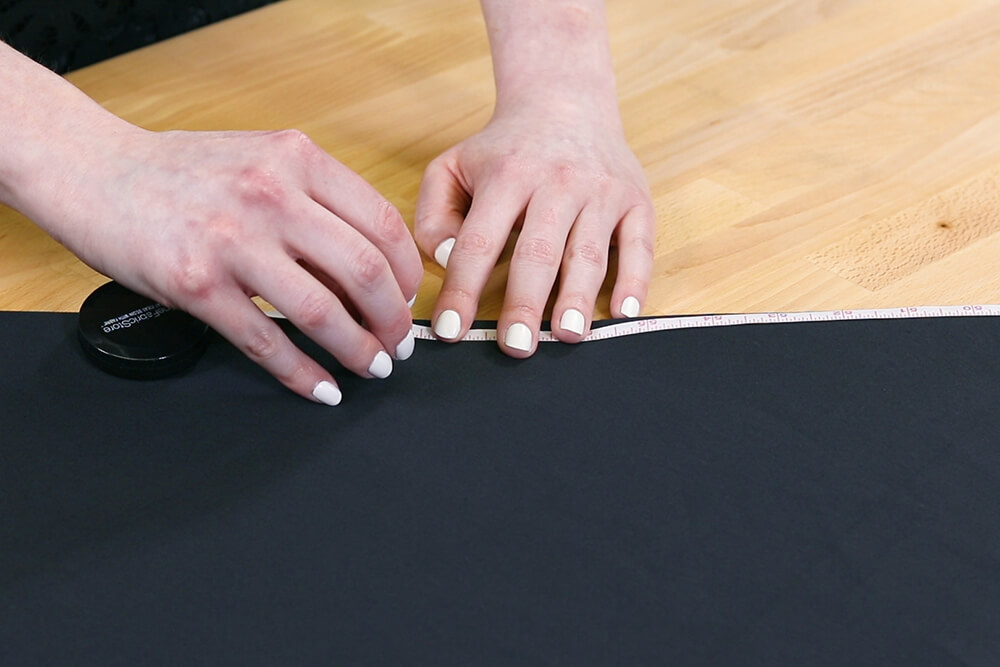

Now mark the neckline the same way, going out 5 inches.
This is a medium neckline. You can use a smaller or larger radius for different sizes.
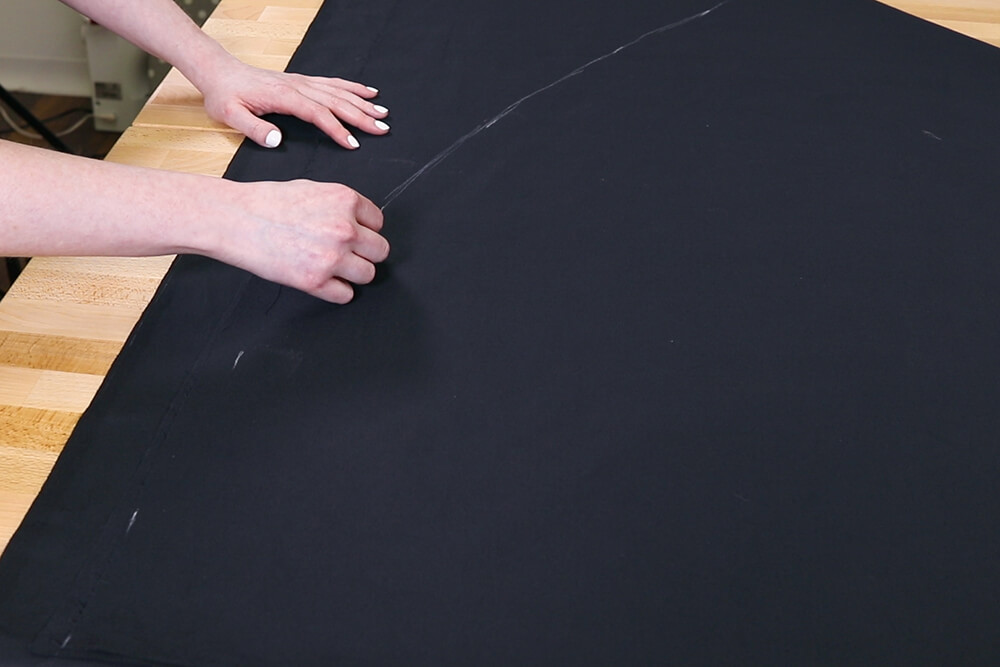
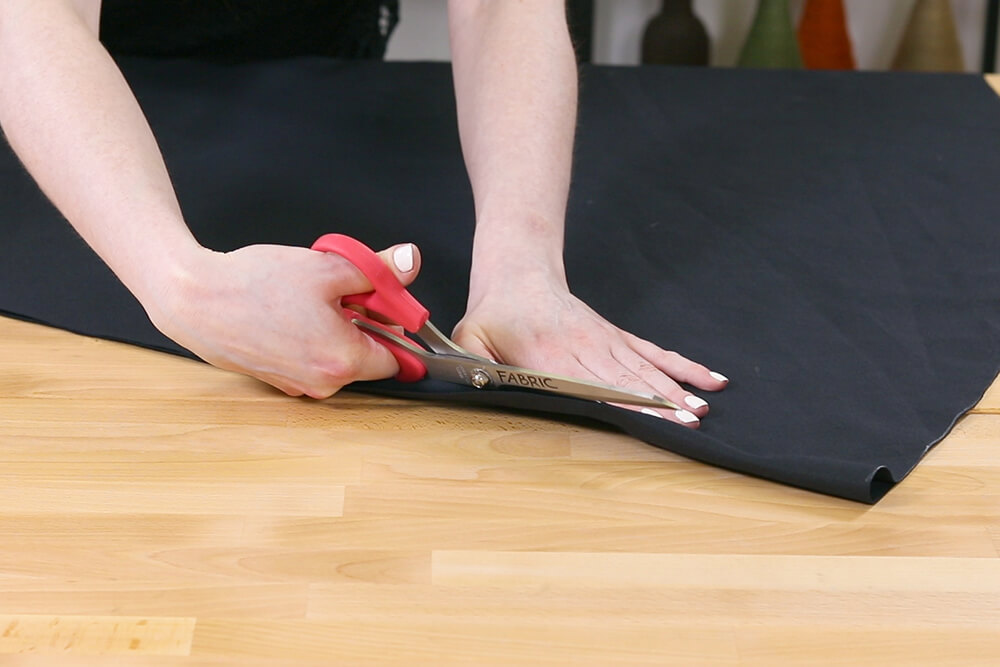
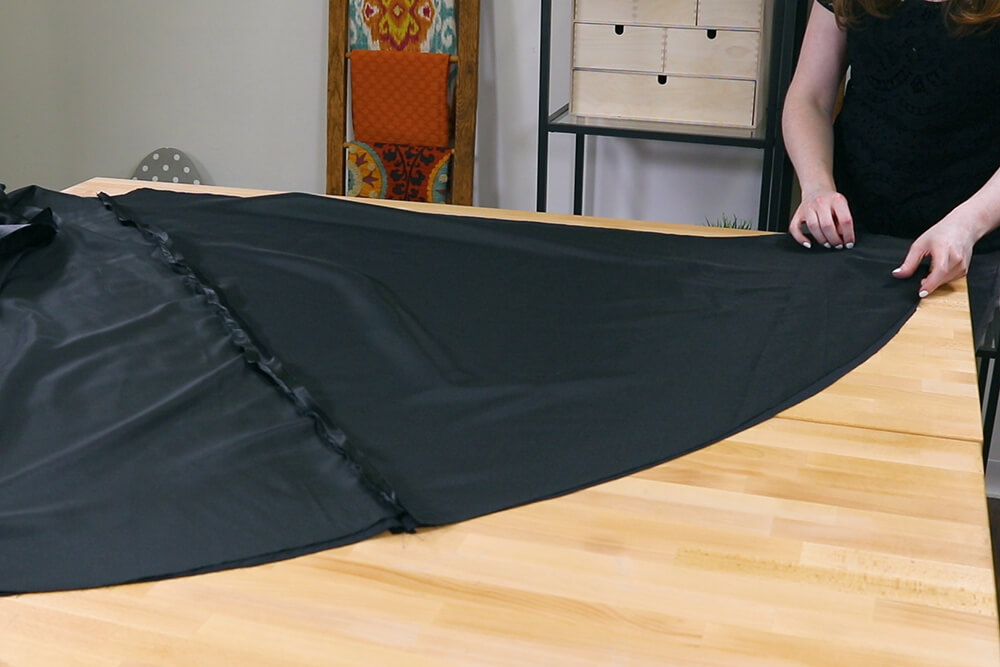
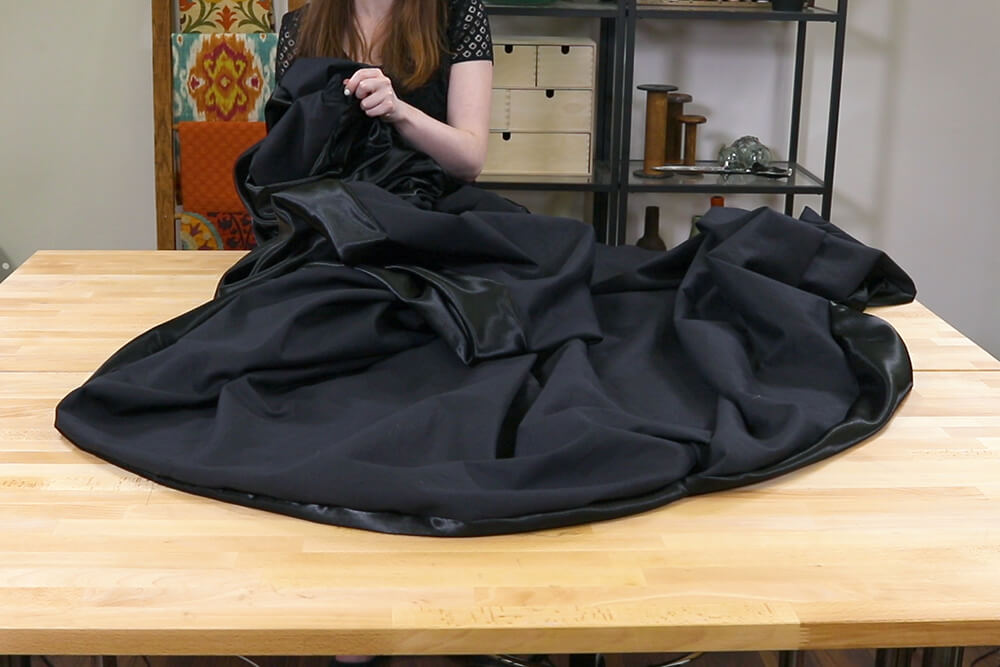
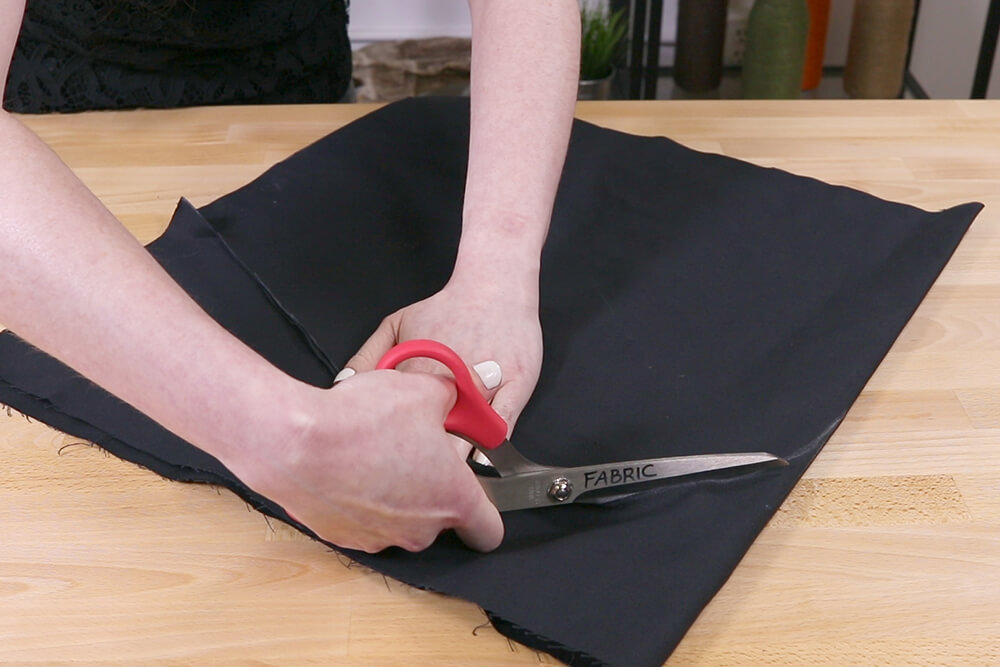
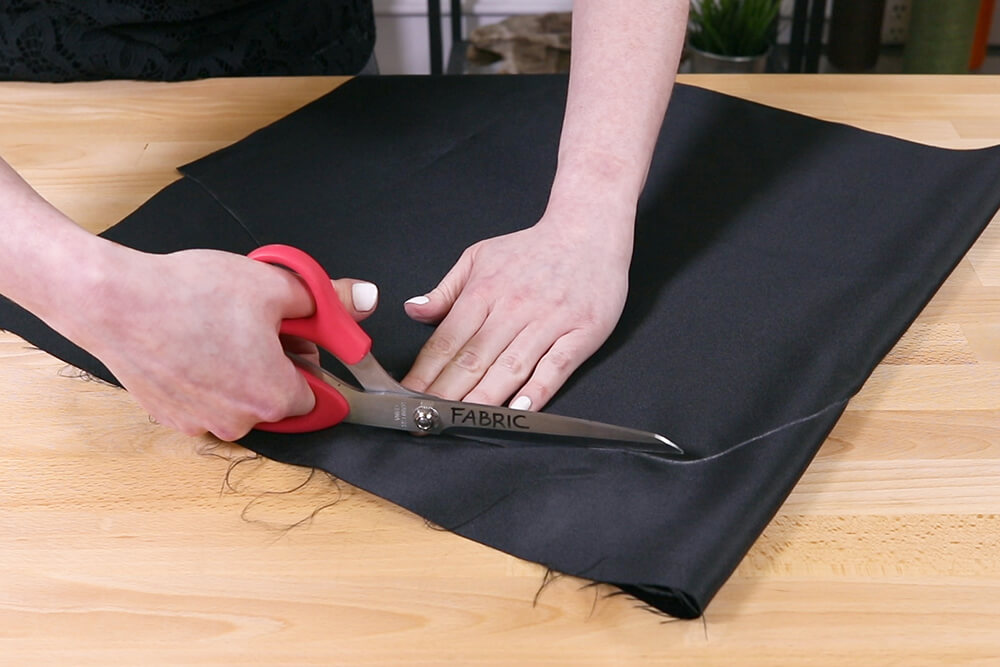
Cut out the fabric on the lines. When unfolded you should have a semi-circle.

Click on the diagram below to see the steps so far.
I’m going to cut out 2 more pieces to make it ¾ of a circle.
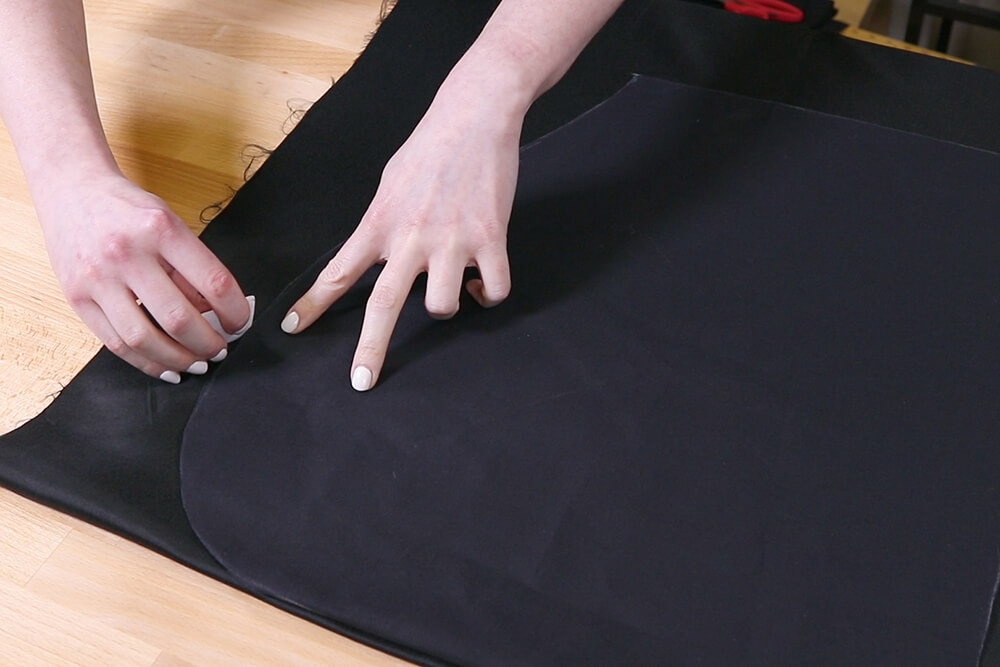
Cut another piece of fabric to your total length measurement. Fold it in half diagonally. Mark and cut the same way as the first piece except for you will be cutting through 2 layers instead of 4 layers.
After cutting the bottom and neckline, cut the piece in half along the fold to create two smaller pieces.
Click the diagram below to see how to fold and cut this second piece. It also shows how the 3 pieces will be assembled.
Repeat the exact same steps for the lining fabric.
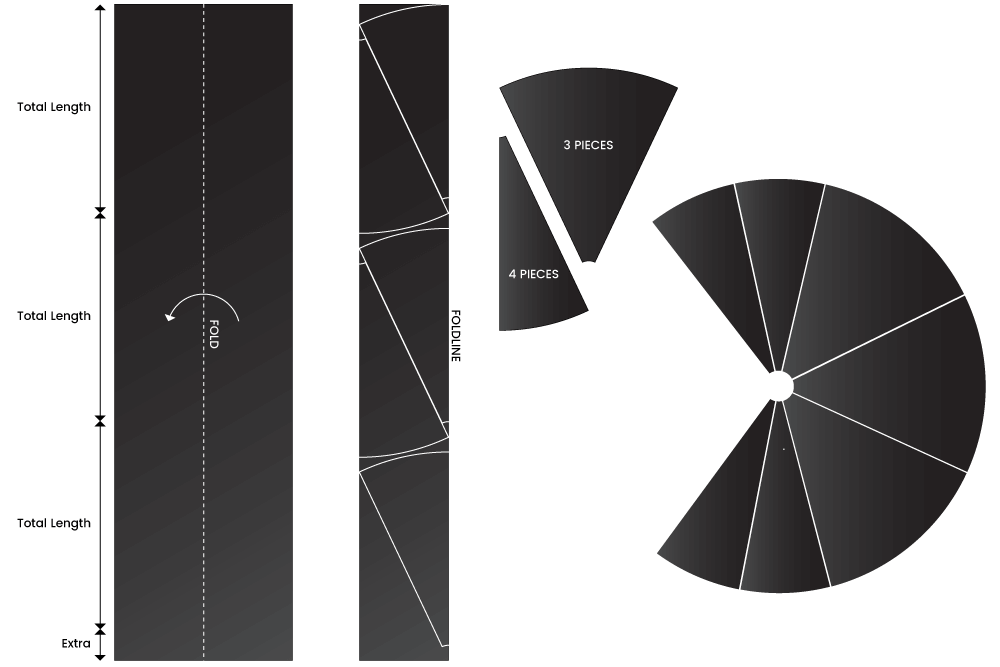
For longer cloaks
Here’s how to cut the pieces if your total length is longer than the width of your fabric.
Start by folding the fabric in half length-wise. On the fold line, measure your total length. Make a curve from your mark.
Mark a second piece right next to the first so the tip of the piece starts where the curve of the first piece ends. Mark a radius of 5 inches for the neckline on both pieces.
Cut out the pieces. You’ll have a large piece and 2 smaller pieces. Repeat this 2 more times.
The longer the cloak, the narrower the pieces. You may or may not need one or two of the smaller pieces. When getting the fabric, an extra yard might be necessary for large cloaks.
Click the diagram below to see how to cut the pieces for this method.
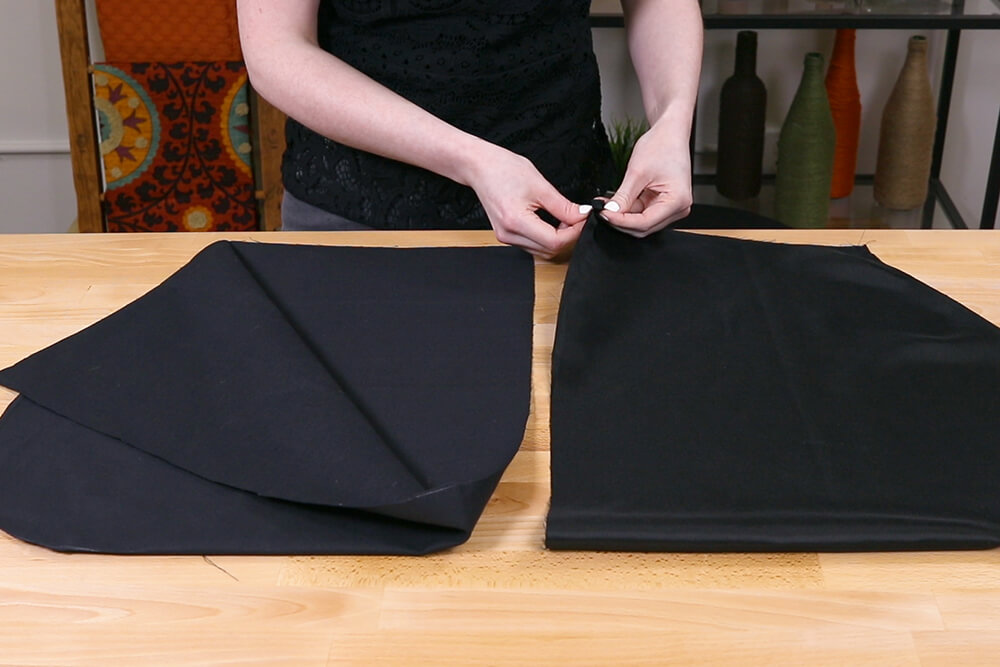
Step 2: Sew the fabric together
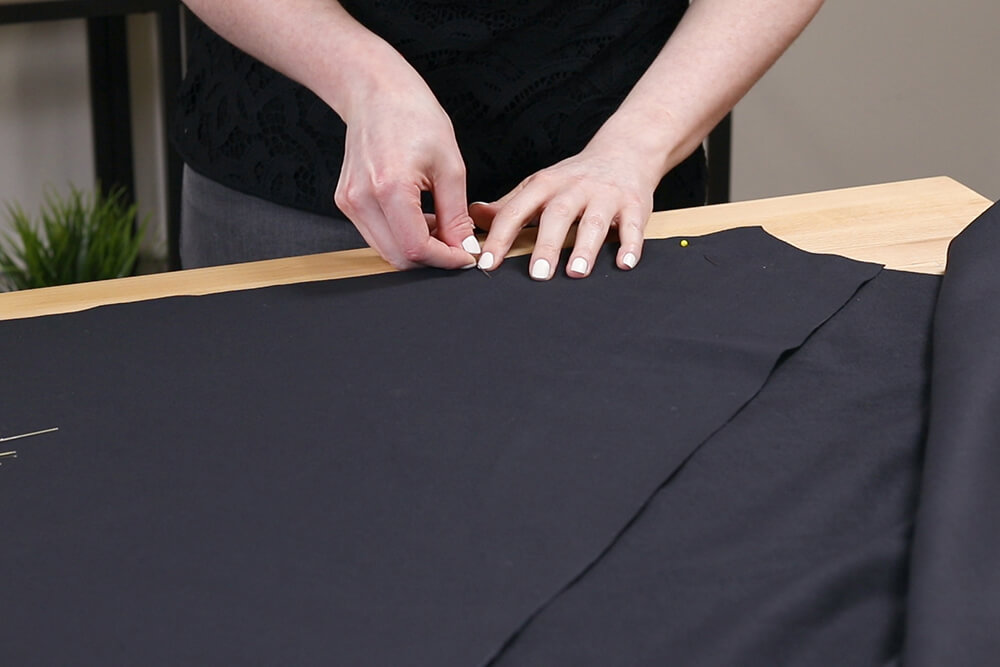
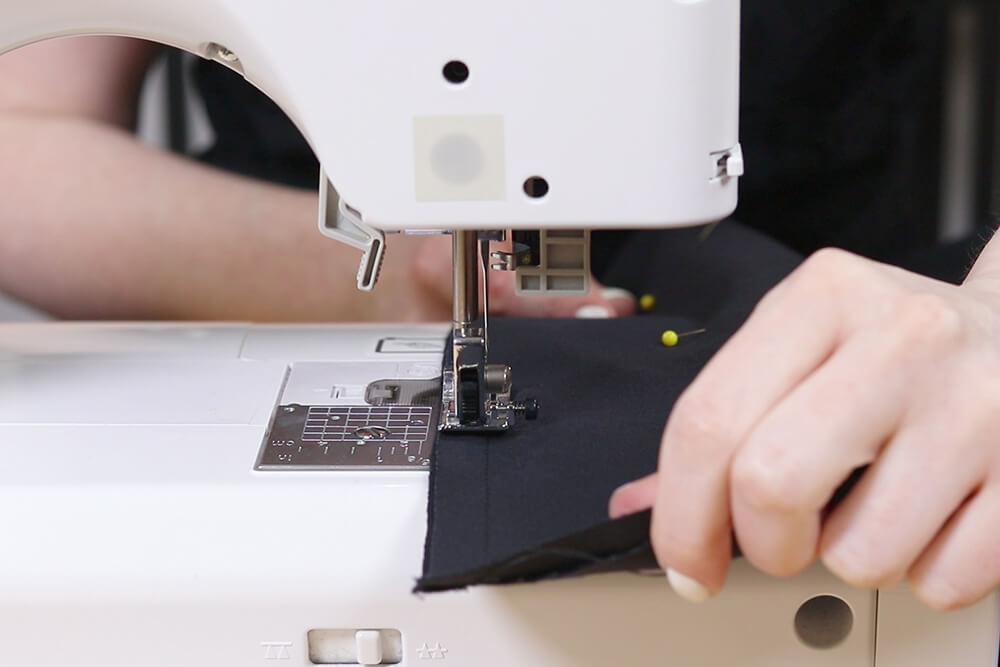
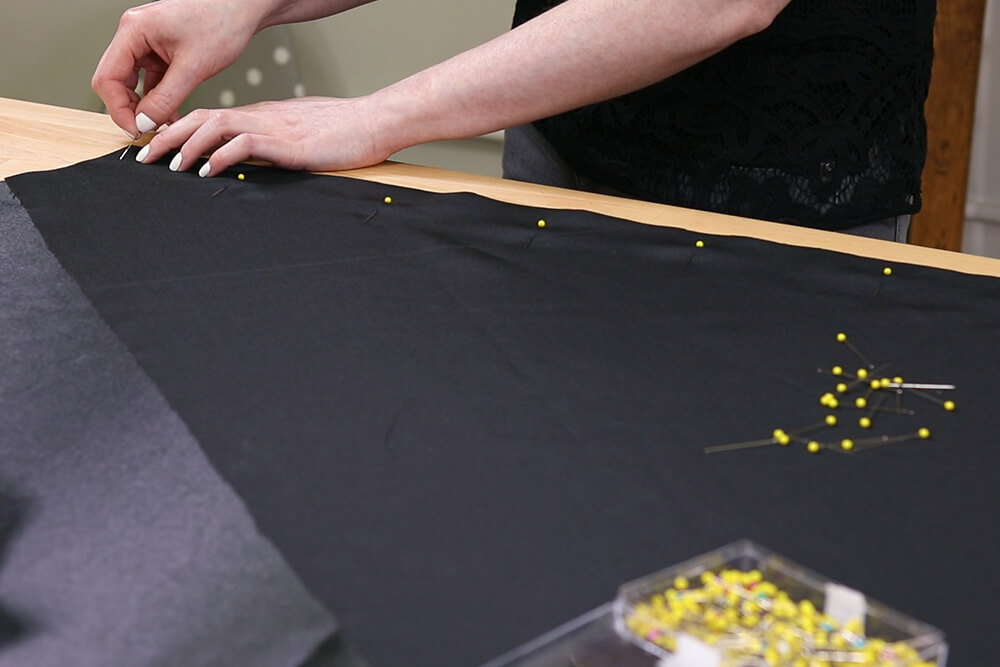
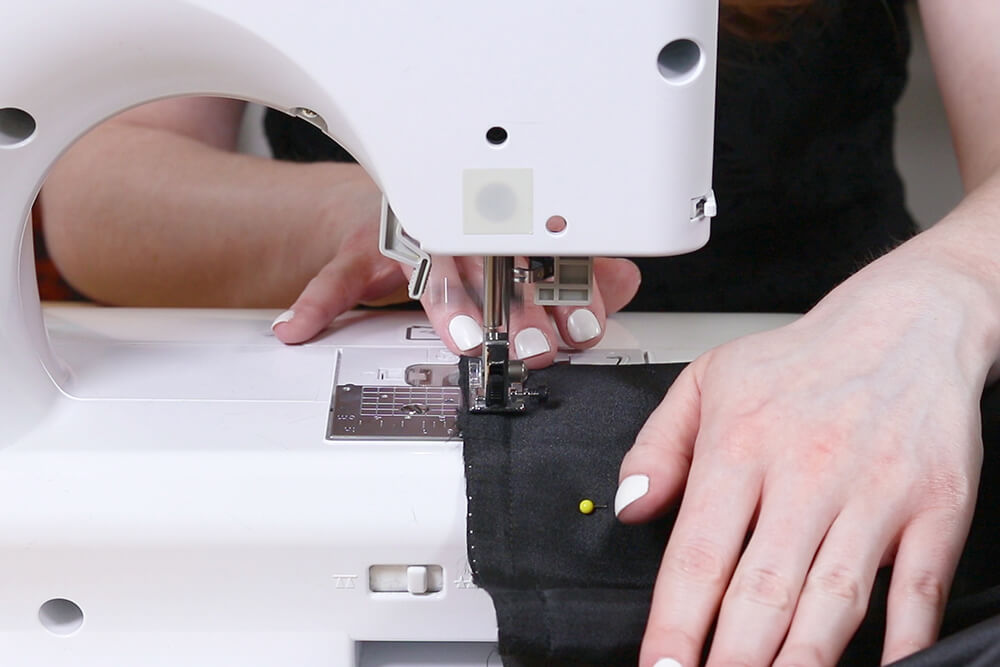
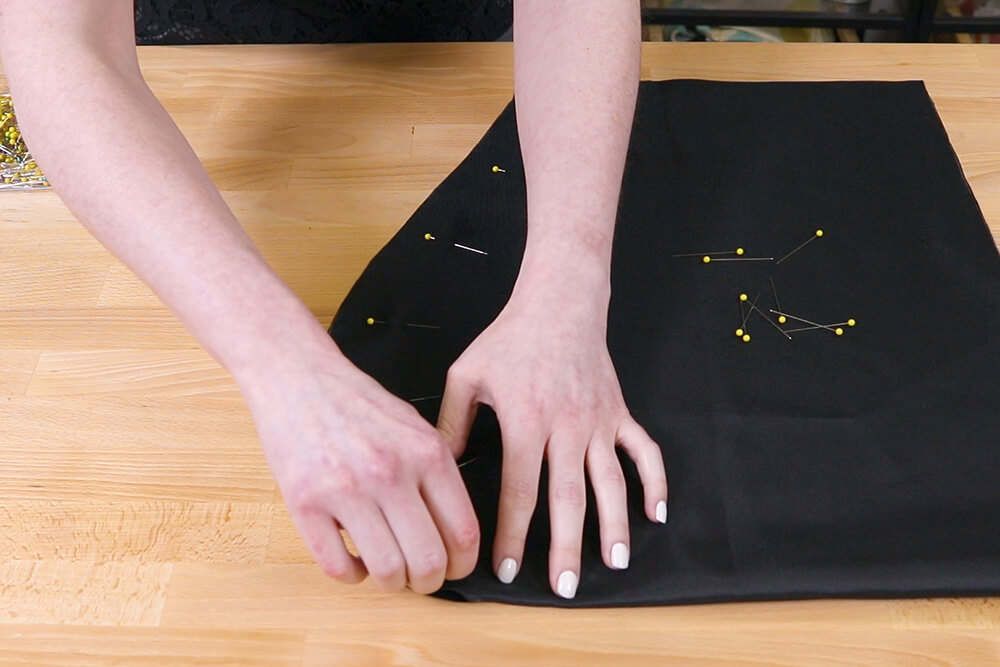
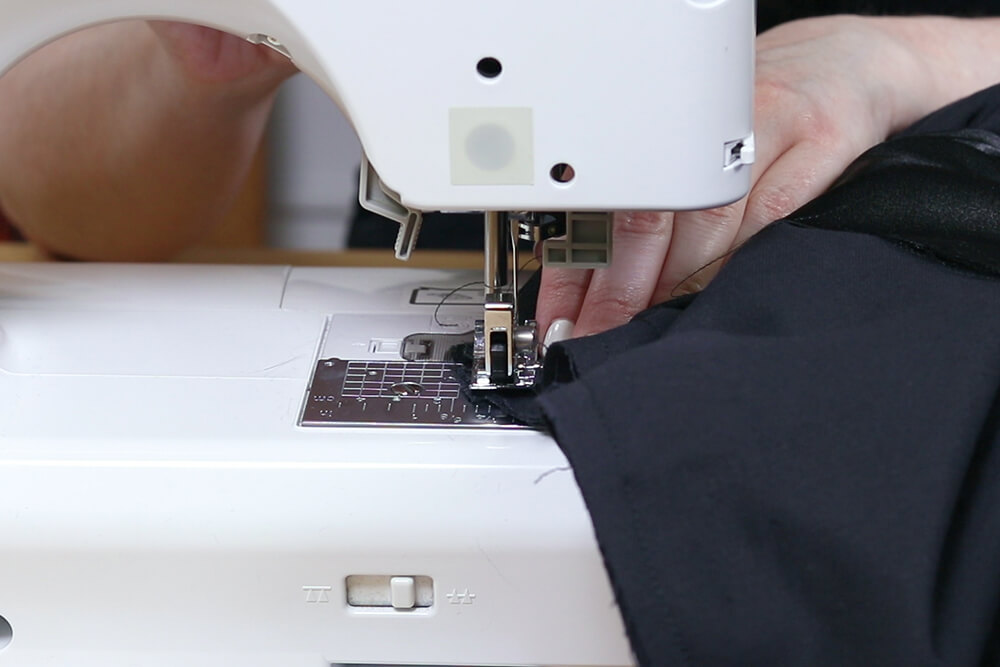
Pin and sew all the outer fabric pieces together (right sides facing) with a ½” seam allowance.
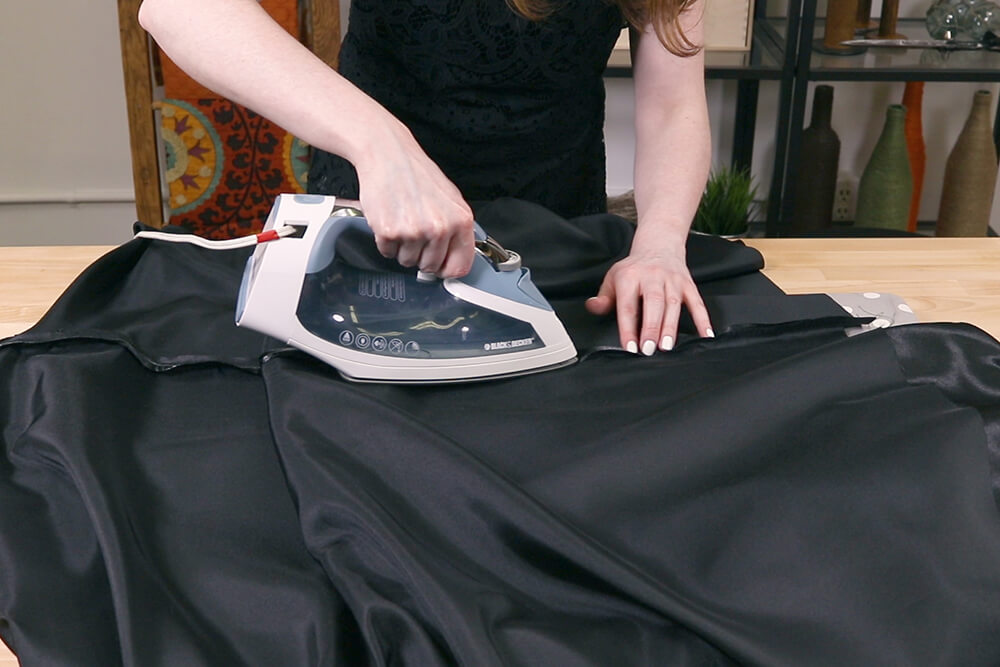
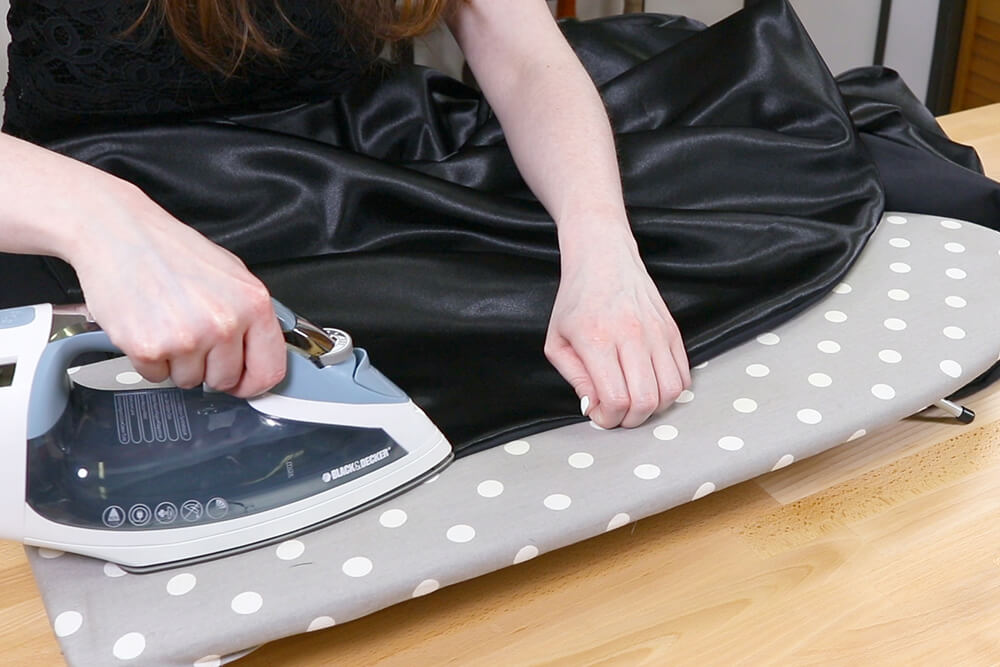
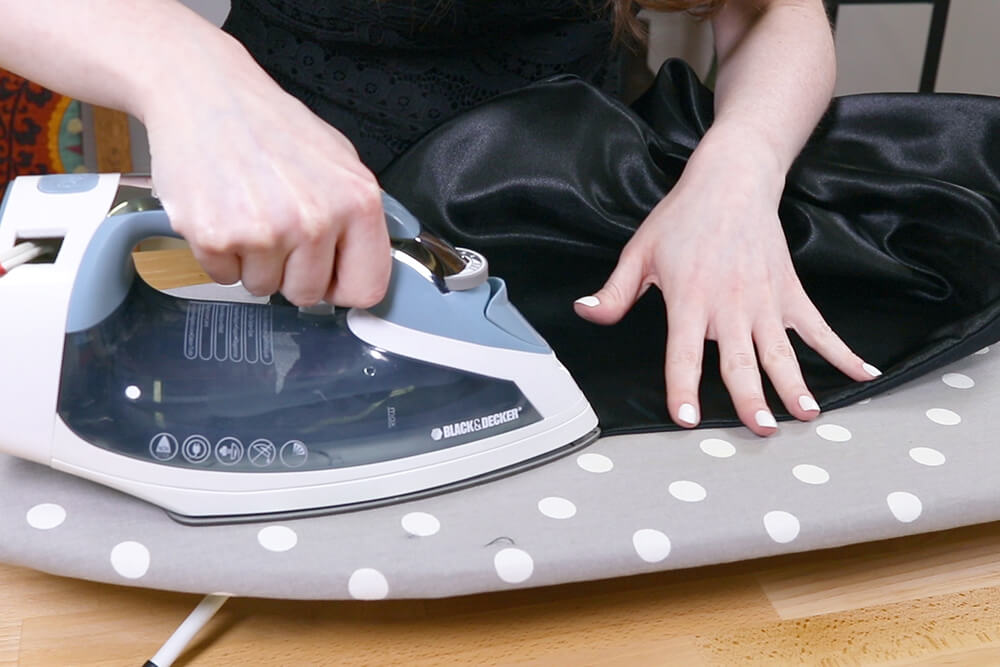
Iron the seams open.
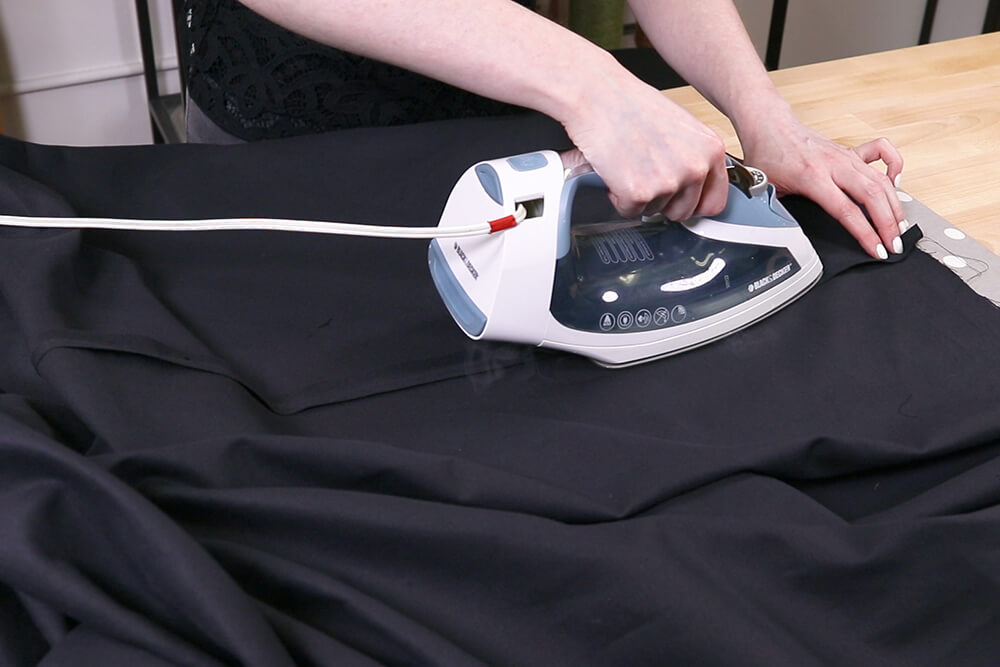
Do the same for the lining pieces.
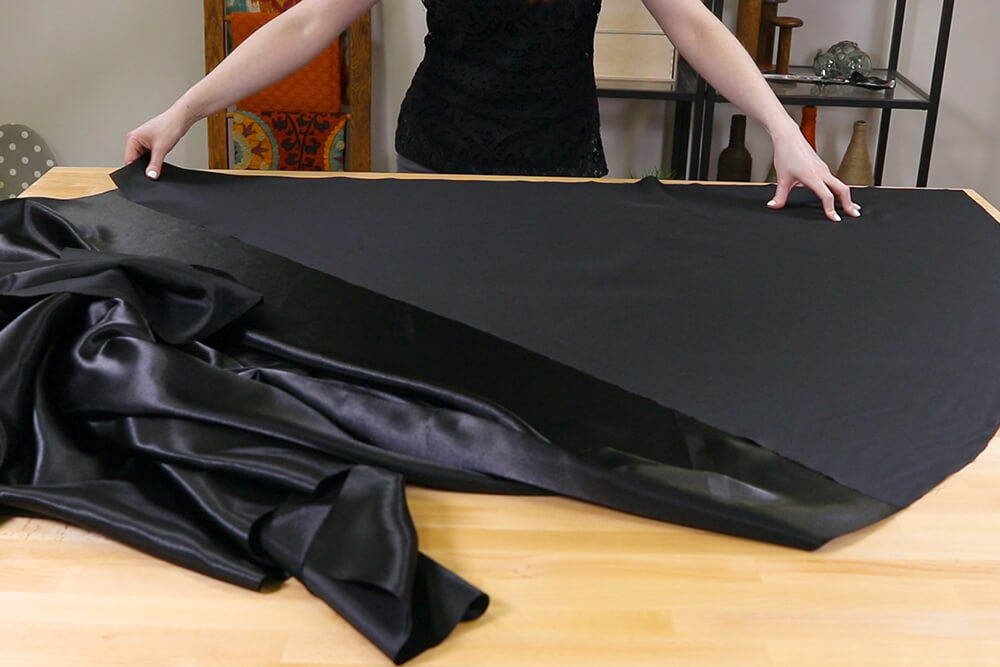
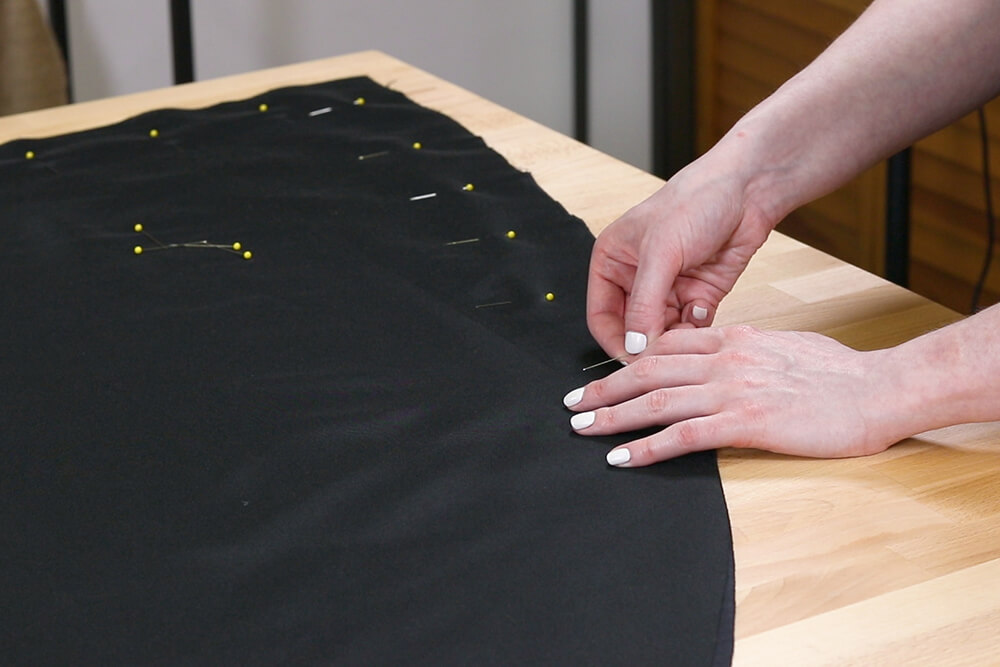
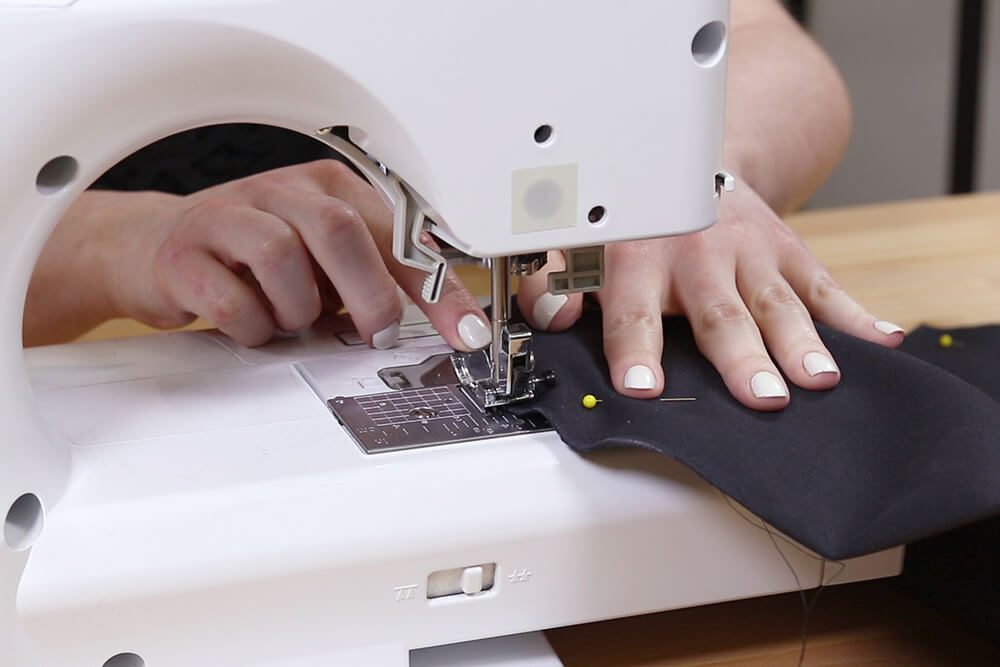
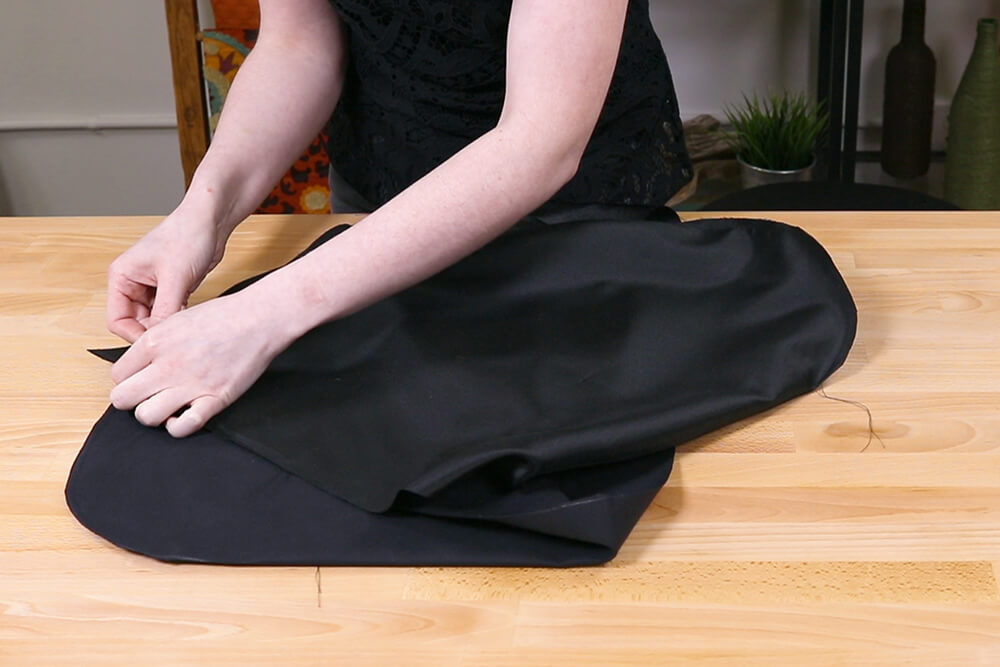
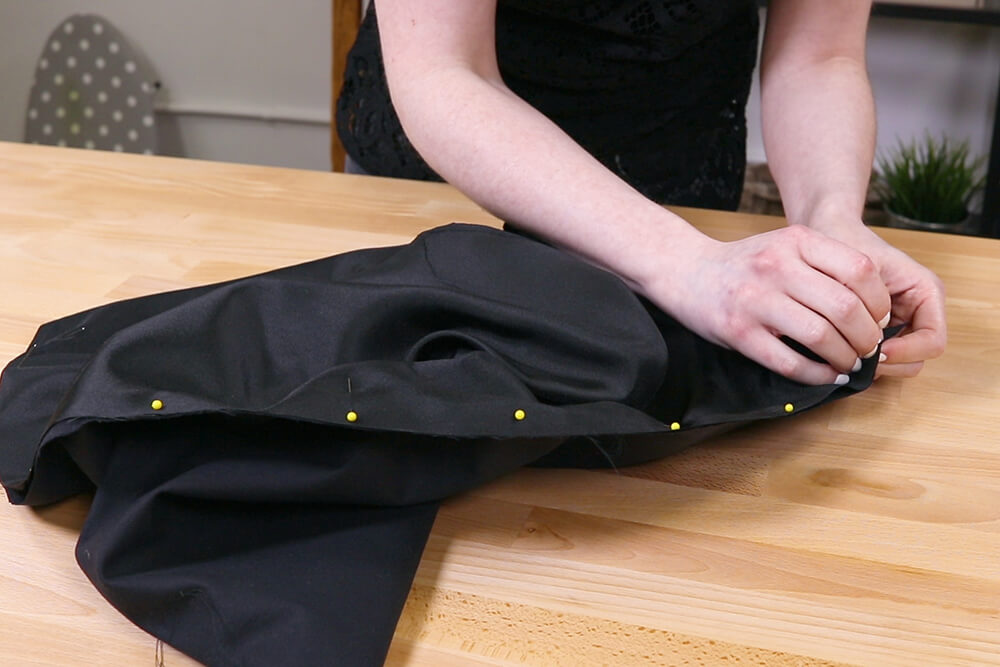
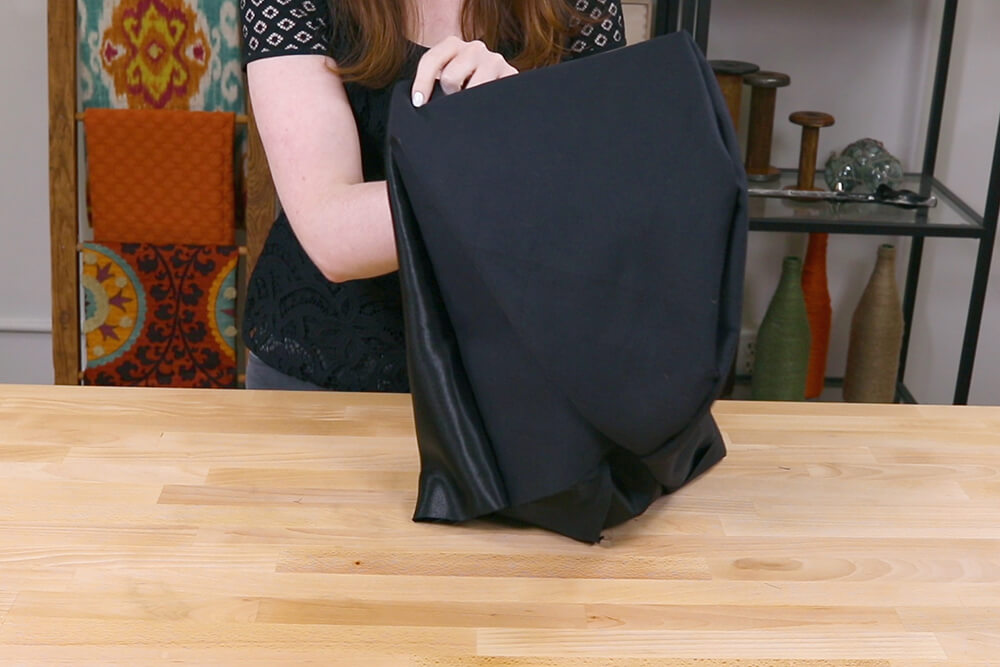
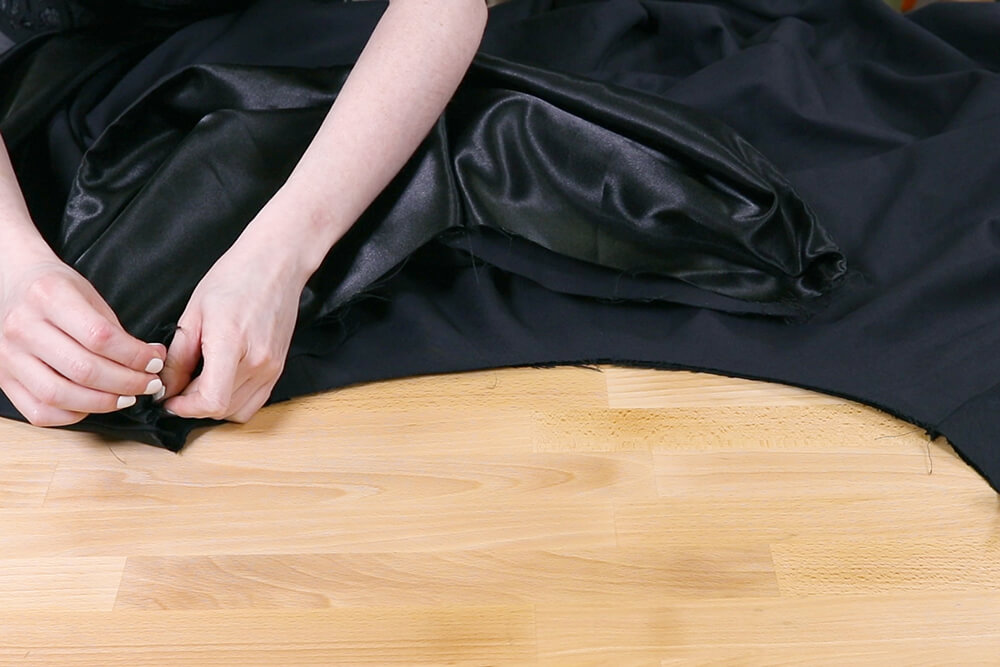
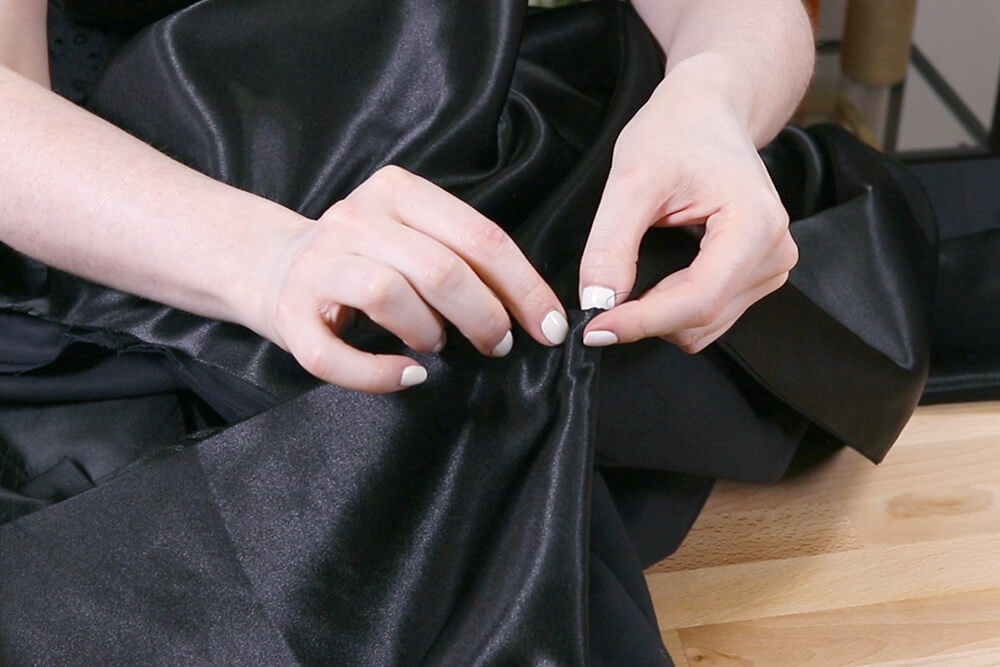
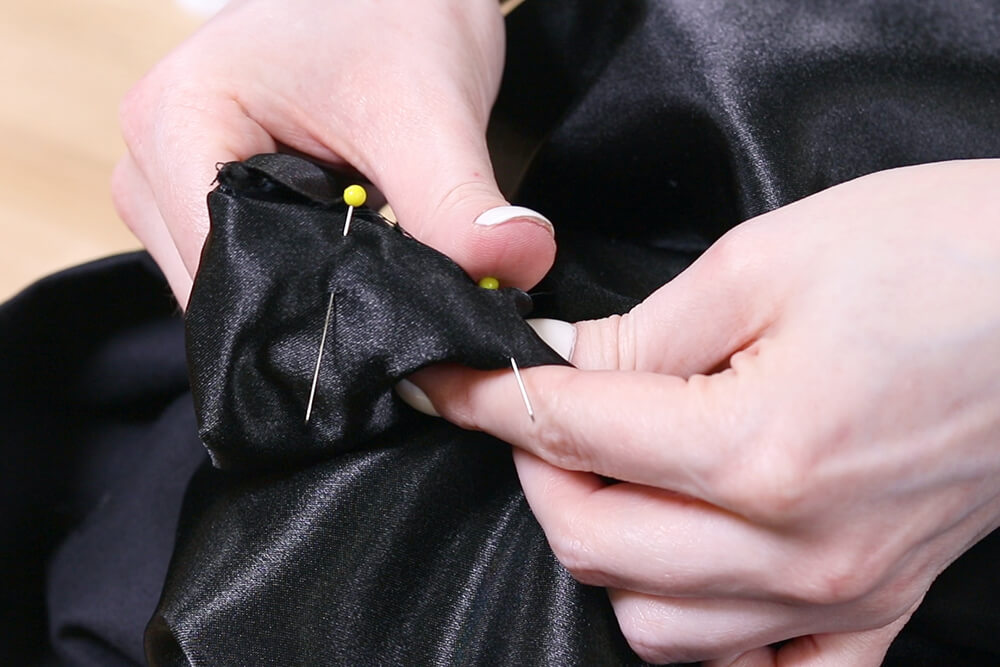
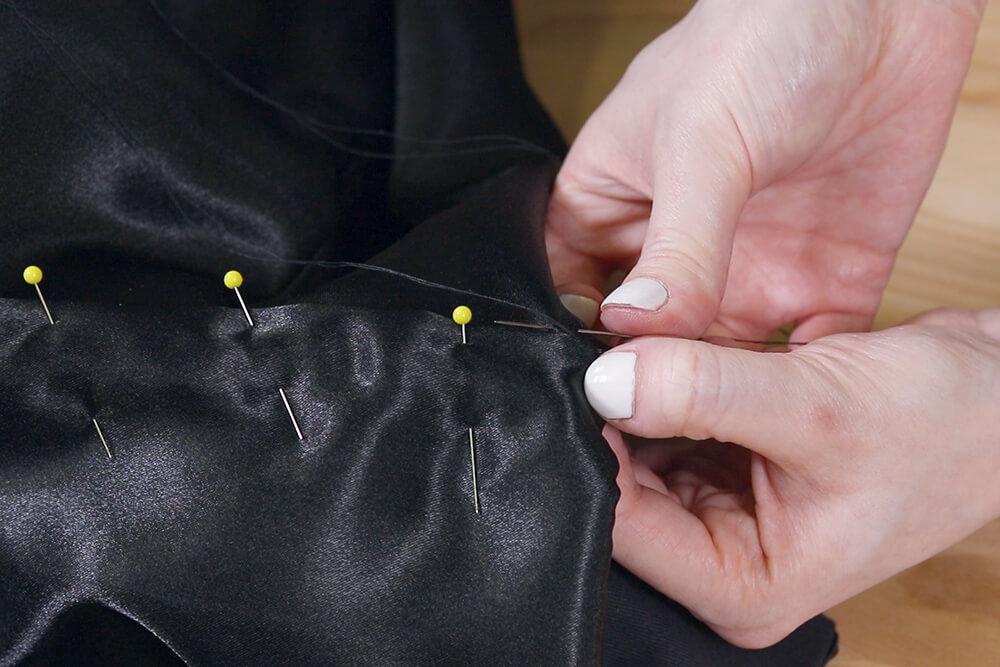
Put the outer and lining pieces together with right sides facing. Pin around the bottom and sides.
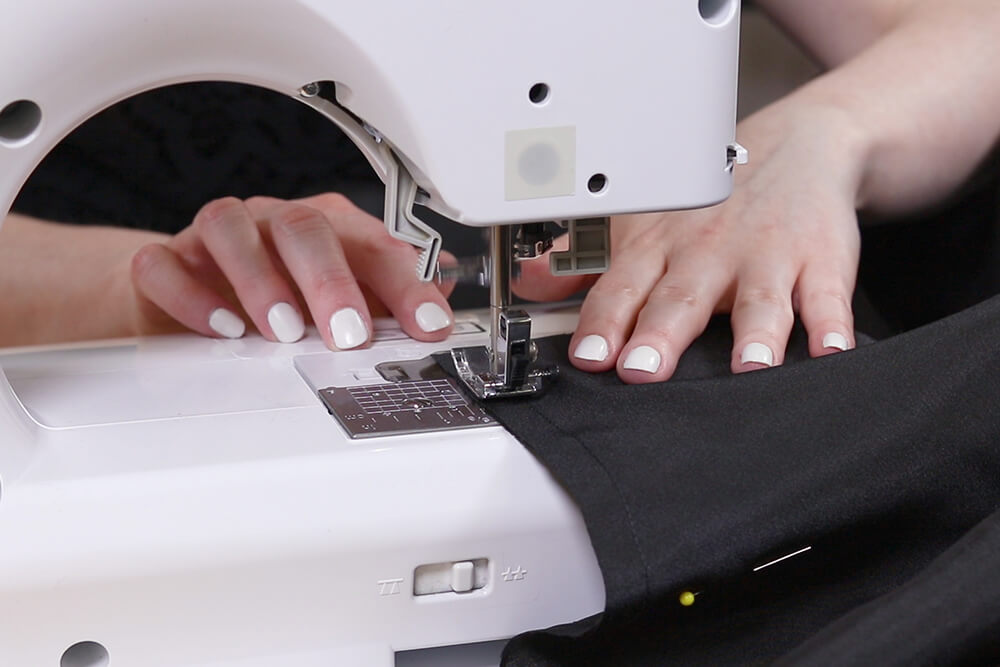
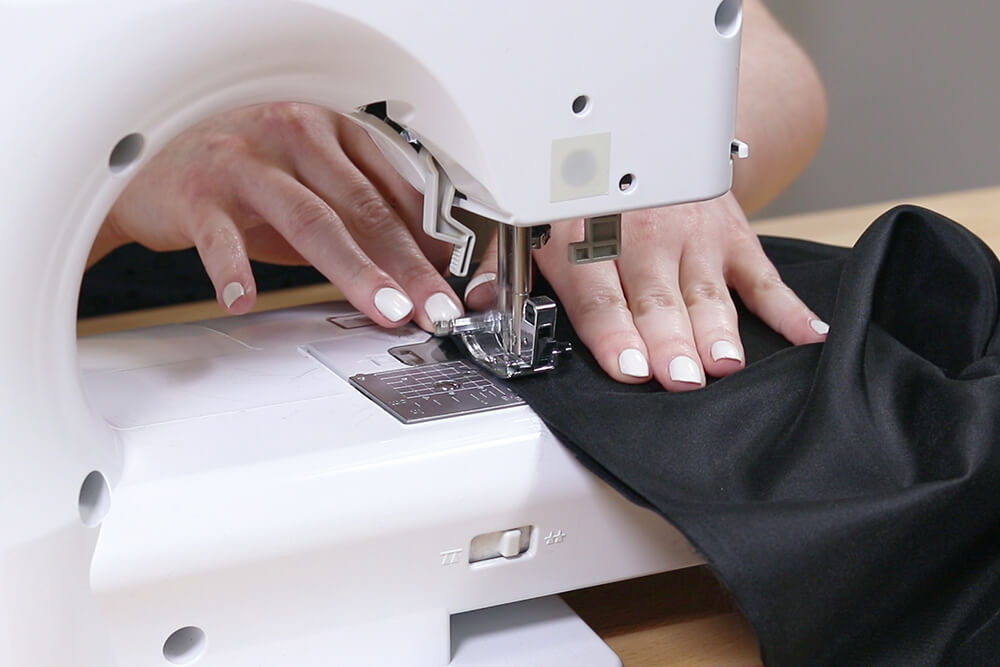
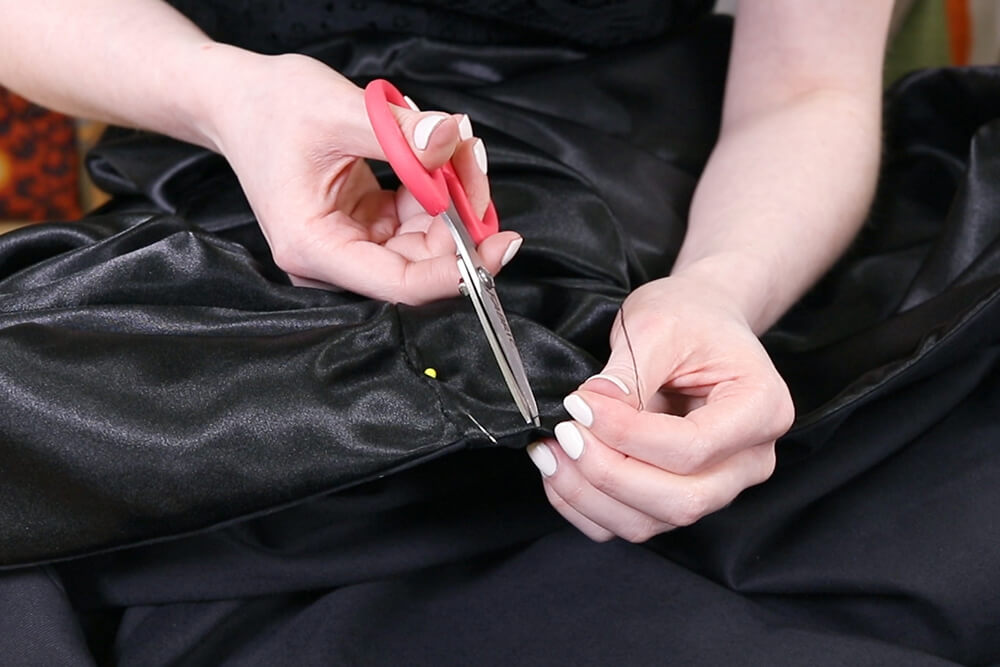
Sew with ½ seam allowance, leaving the neckline open.
Turn the cloak right side out. Iron the edges flat.
You can choose to topstitch around the edges if you want, especially if the fabric doesn’t want to stay flat.
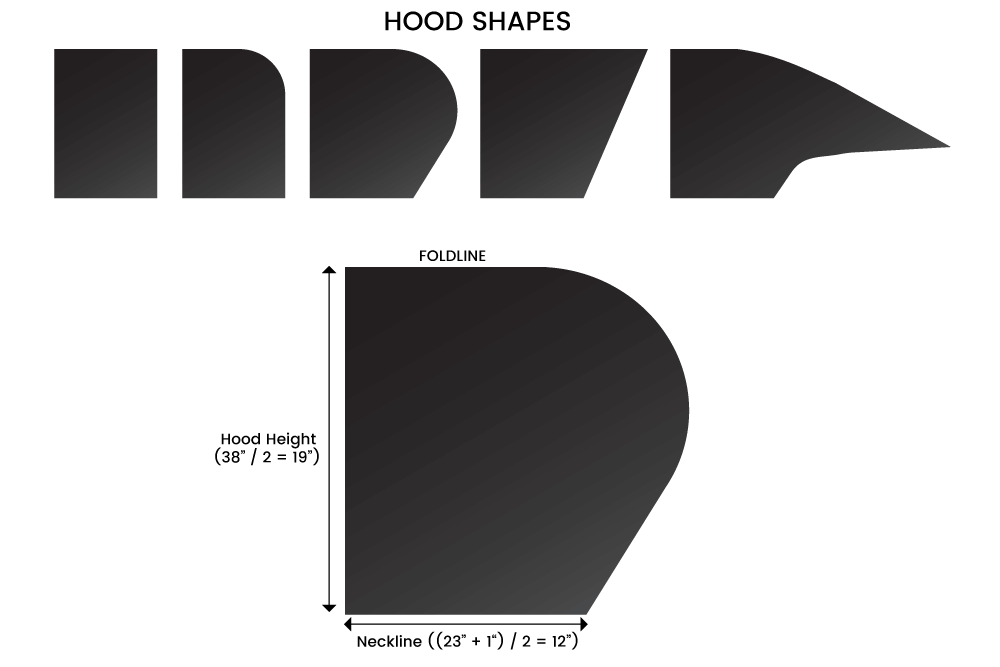
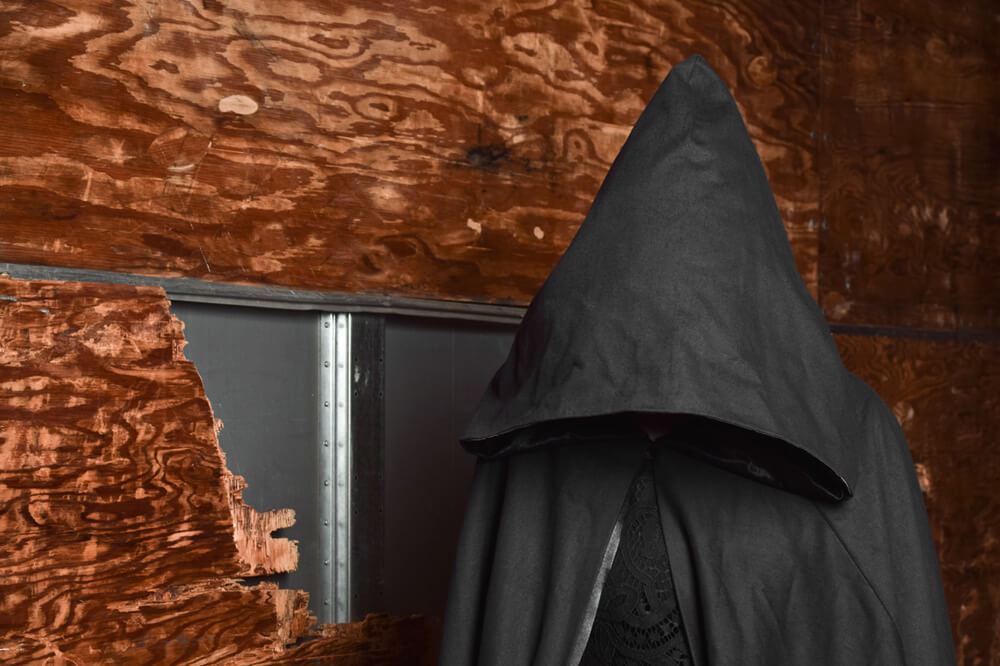
Step 3: Cut and sew the hood
There are many different shapes and sizes you can make the hood.
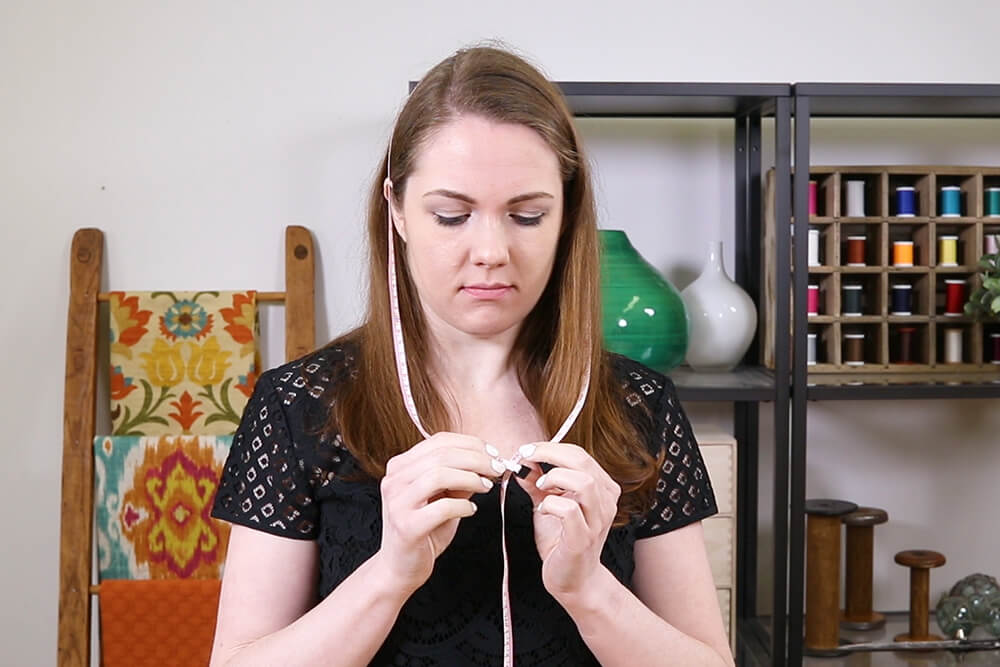
Start by wrapping the measuring tape over the top of your head to see how loose you want it.
I want mine fairly loose, so about 38”. Divide this in half and this is the hood height.
Now that the cloak pieces are together, you can tell exactly how long the neckline is. Add an inch for seam allowance, then divide this measurement in half for the bottom of the hood.
The shape of the hood is totally up to you. It can be as simple as a rectangle, which will give it a small point at the back. I’m going to curve the back and bring it back further than the neckline to make it larger. Or you could make an exaggerated point. Keep in mind there will be a ½” seam allowance.
Fold a piece of the outer fabric. I’m going to position the hood so the fold is at the top so there won’t be a seam.
Mark the height and bottom (neckline) of the hood. Draw the shape of the back that you want.
Cut out the hood. Use this as a template to cut out a piece of the lining fabric.
Pin and sew the back of the outer fabric with right sides facing. Do the same for the hood lining.
Step 4: Sew the cloak and hood together
Pin the front edges of the outer hood and hood lining together with right sides facing. Sew with a ¼” seam allowance.
Turn the hood right side out and iron flat.
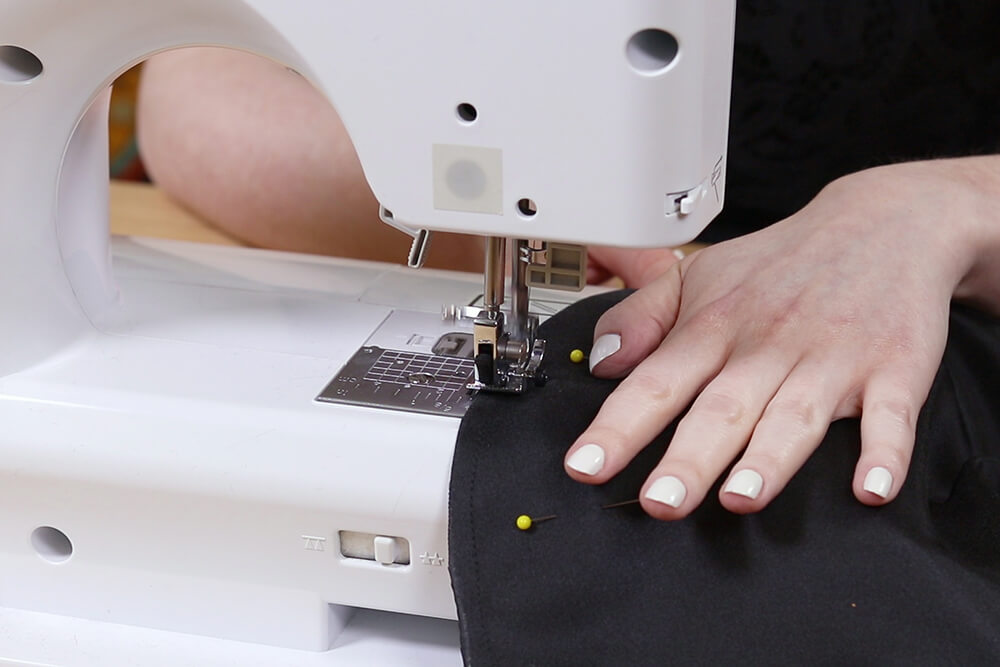
Pin the outer fabric of the cloak and outer hood necklines together with right sides facing. Sew with a ½” seam allowance.
Fold in the edges of the cloak and hood linings and pin. Sew together with a hidden stitch.
Step 5: Attach a closure
You could also use a frog closure, a button, or ties.
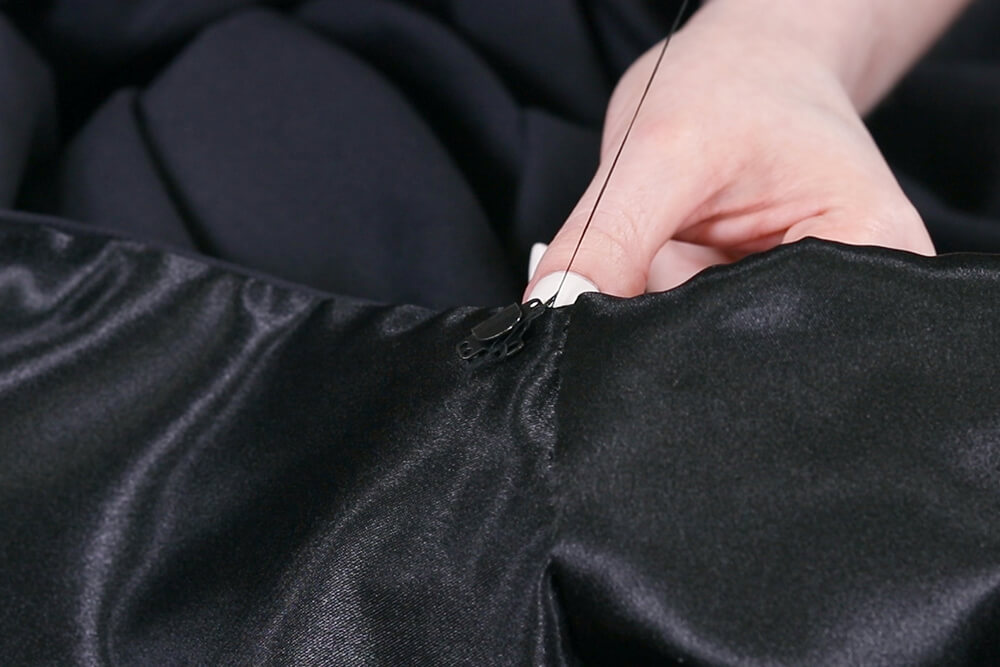
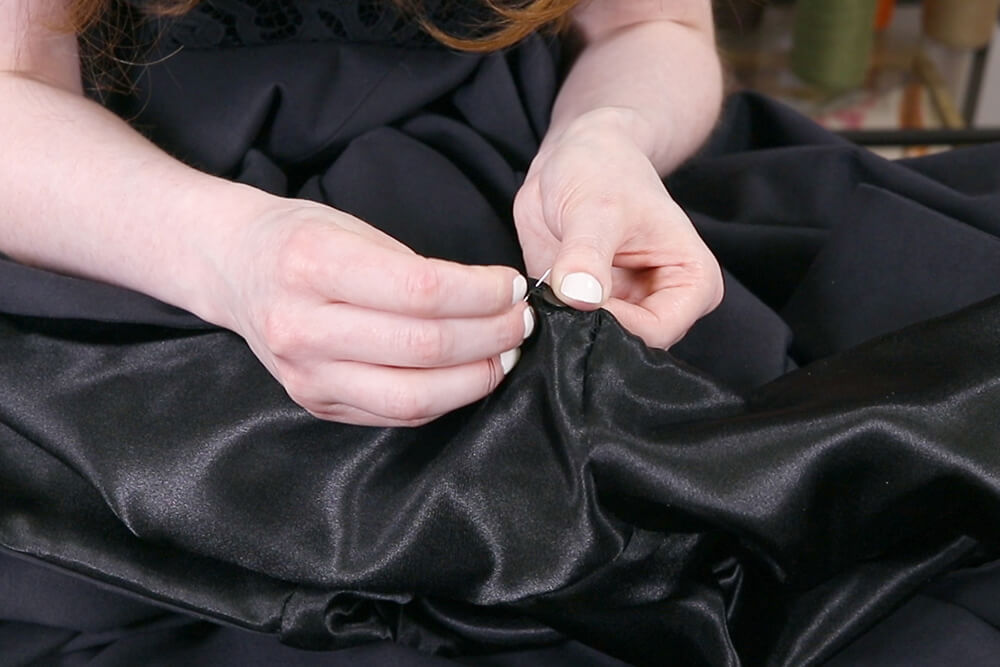
Finally, sew on a hook and eye closure at the top of the front. Sew the hook part onto the back of one of the edges, making sure not to sew through to the front.
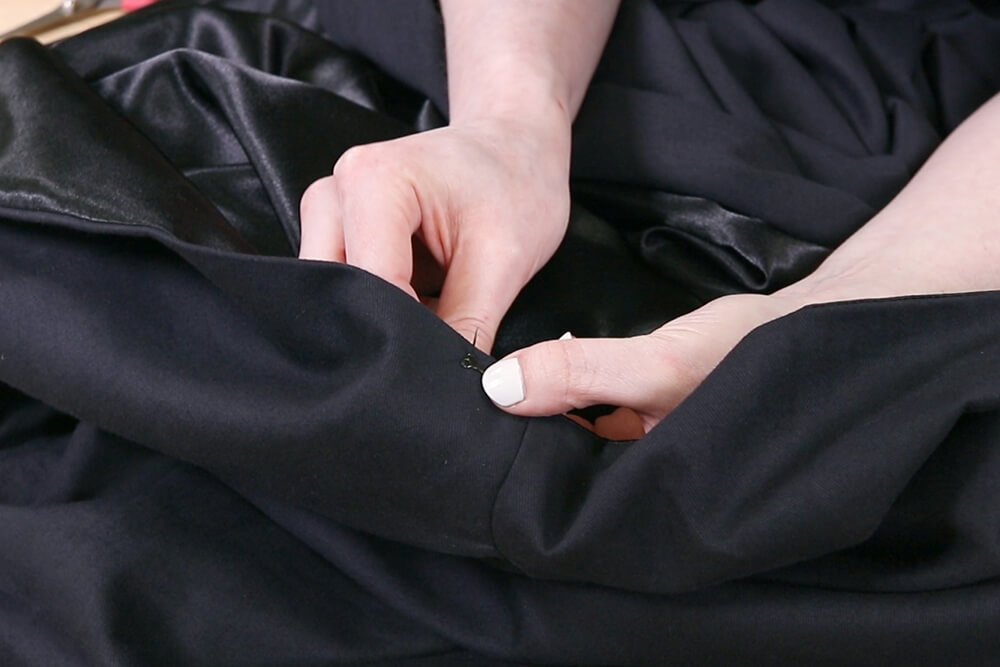
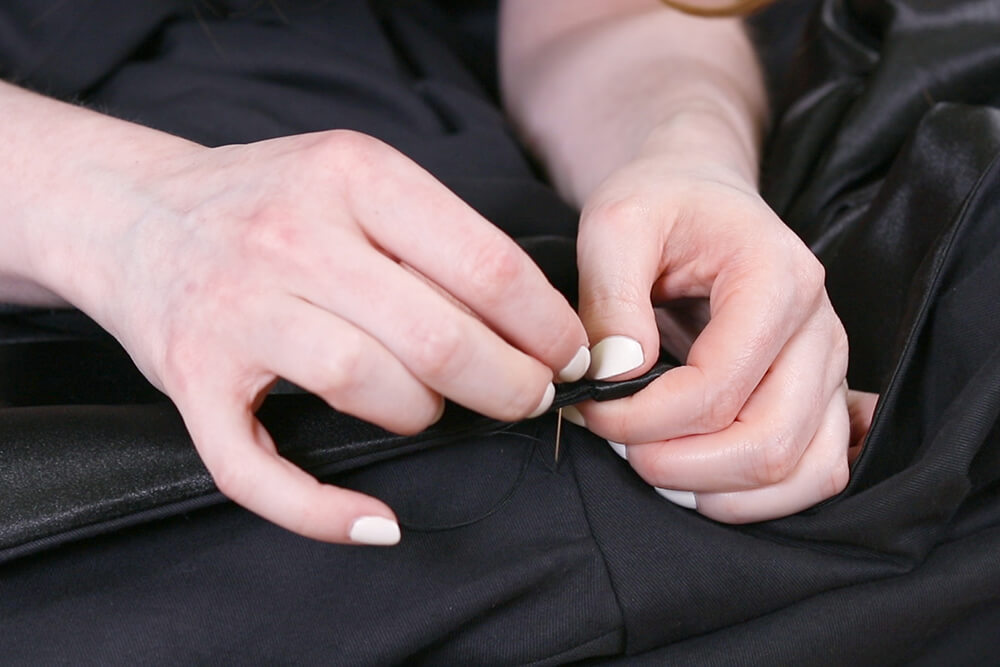
Then sew the other piece onto the front of the opposite side. And that’s it the cloak is finished!
Choose what fabric you want to use for your cloak in our apparel section.
-
{{#each productSuggestedQueries.results}}
- {{query}} {{/each}}
-
{{#each categories.results}}
- {{html title}} {{/each}}
{{html attributes.description}}
{{/if}}-
{{#each queries.results}}
- {{query}} {{/each}}