How to Make a Slipcover
- By Clara
- Intermediate
- 3+ hours
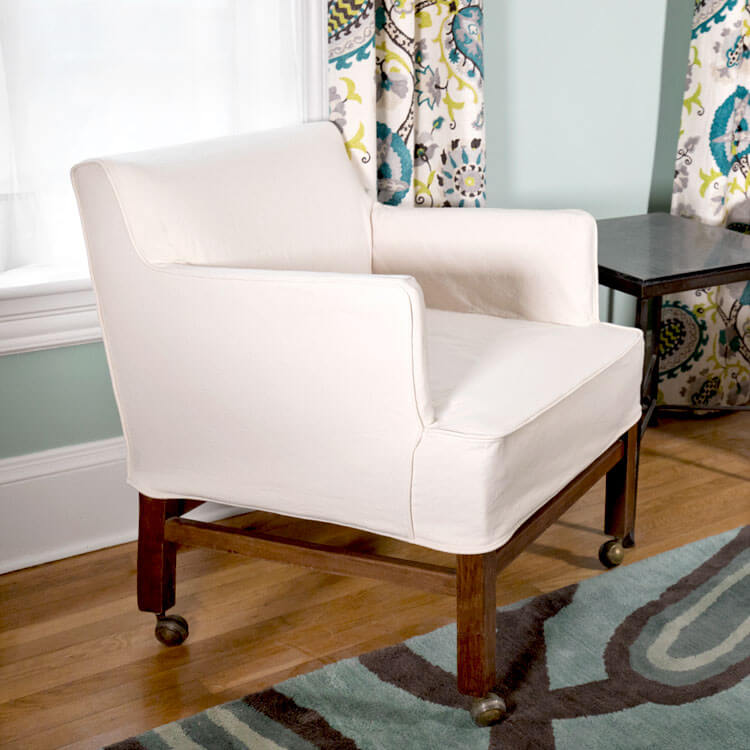
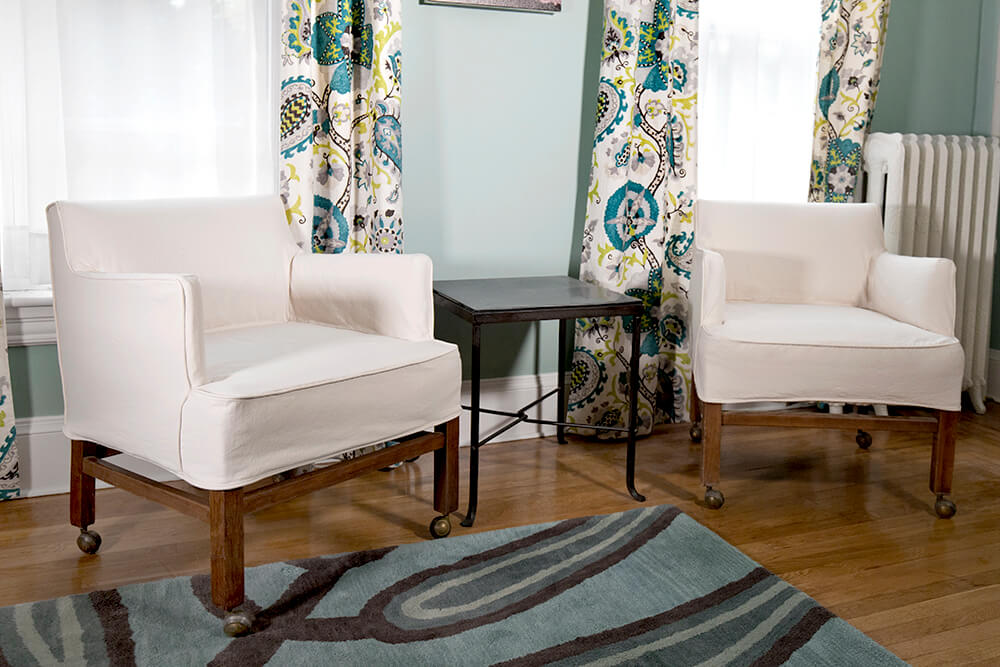
I have here a chair which has seen better days, so I’m going to make a slipcover for it. You can use many different fabrics like denim, twill, canvas, or home décor fabric. The techniques in this tutorial can be adapted to many other styles of chairs and couches. One of the great things about slipcovers is they’re washable. Whether you’re covering ugly or stained upholstery or want to protect nice upholstery, making your own slipcovers is inexpensive and practical.
Want to get the printable PDF instructions?
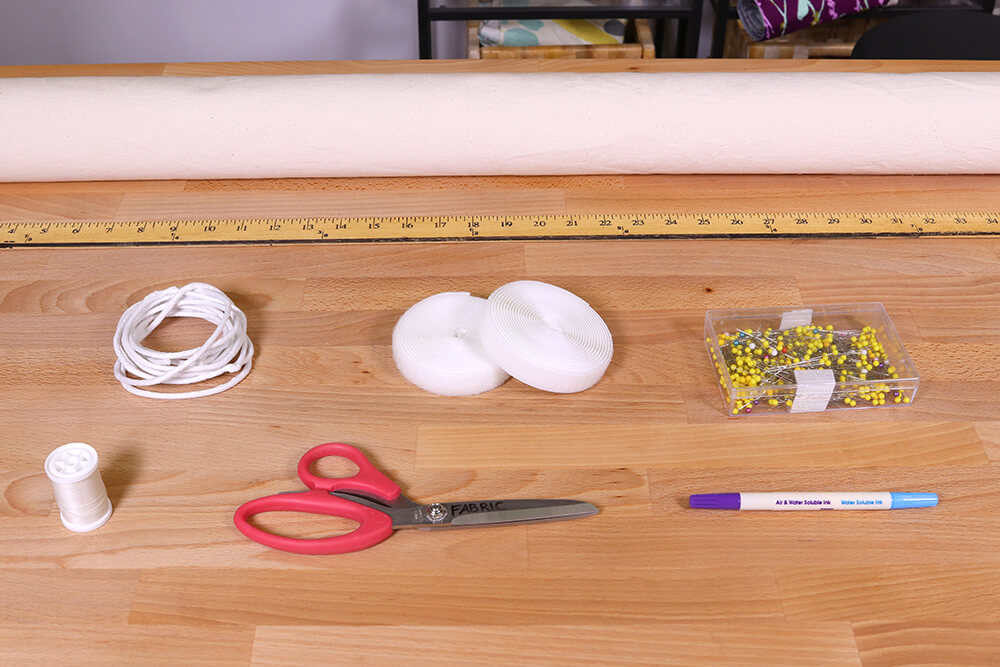
Materials
Related Products


Video
Instructions
Step 1: Cut the fabric
Pre-wash your fabric if you plan on washing your slipcover in the future.
I’m going to use the chair as a guide to determine where to put the seams and the piping.
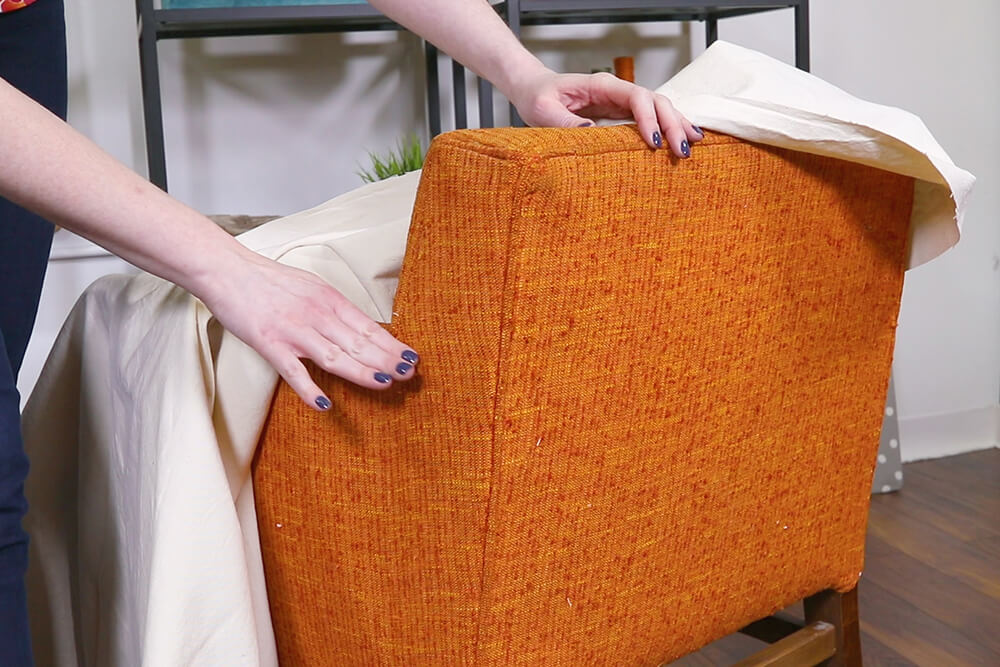
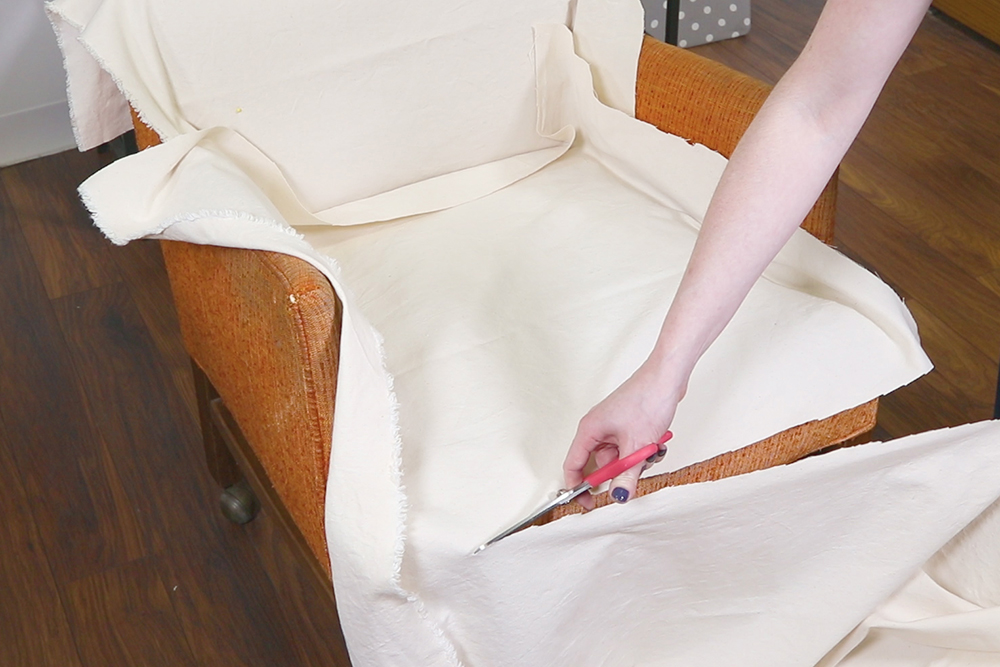
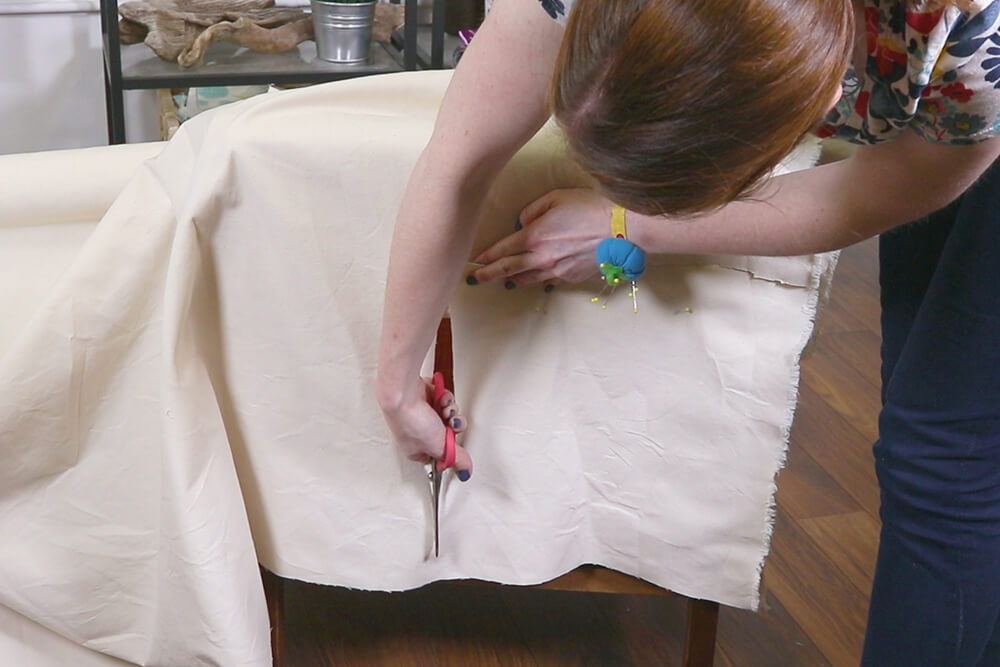
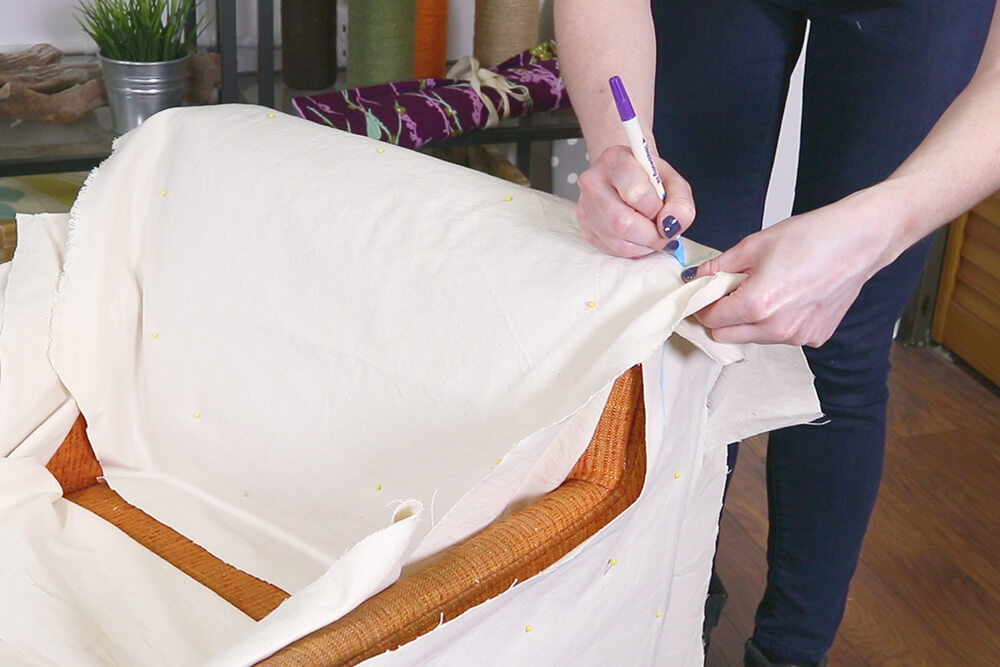
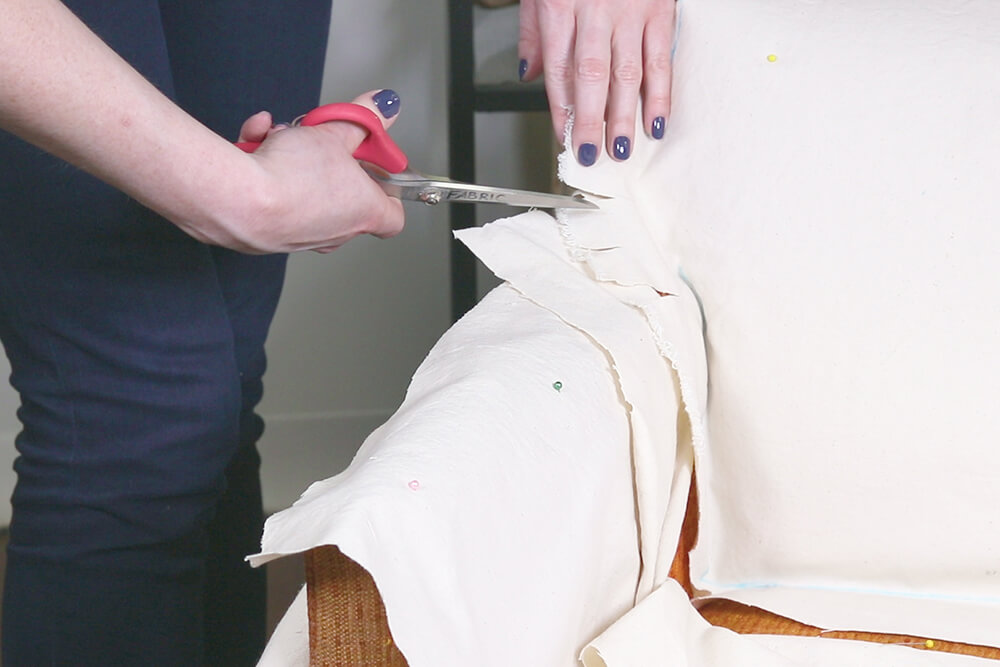
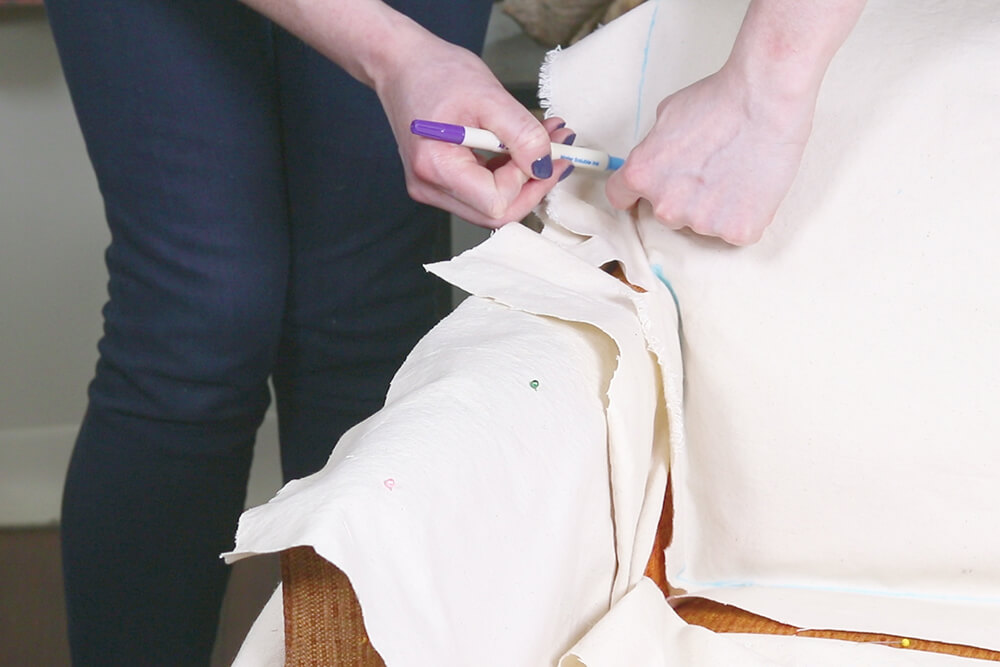
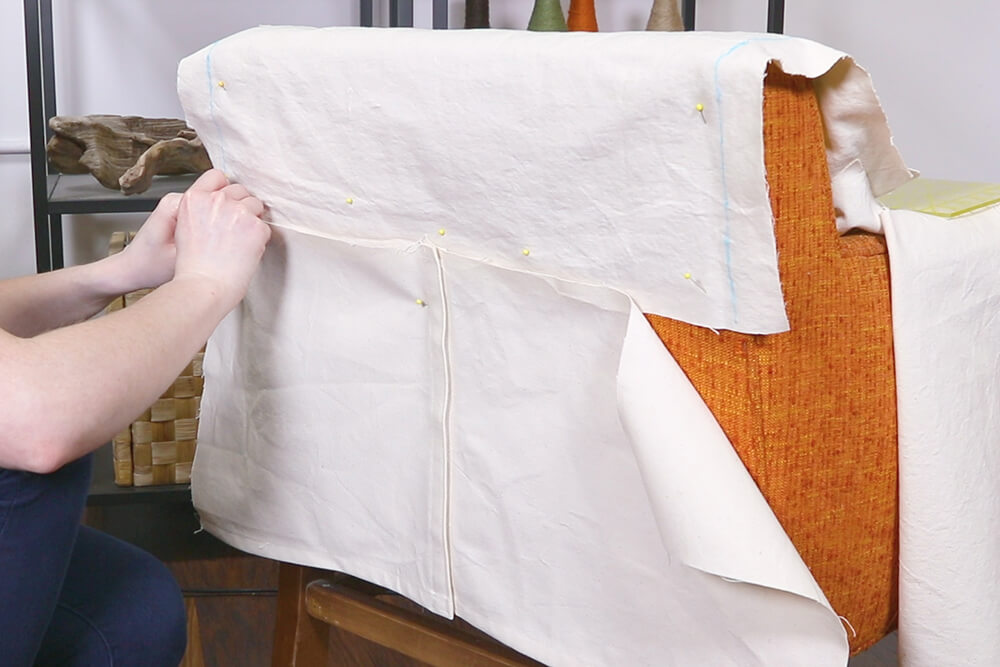
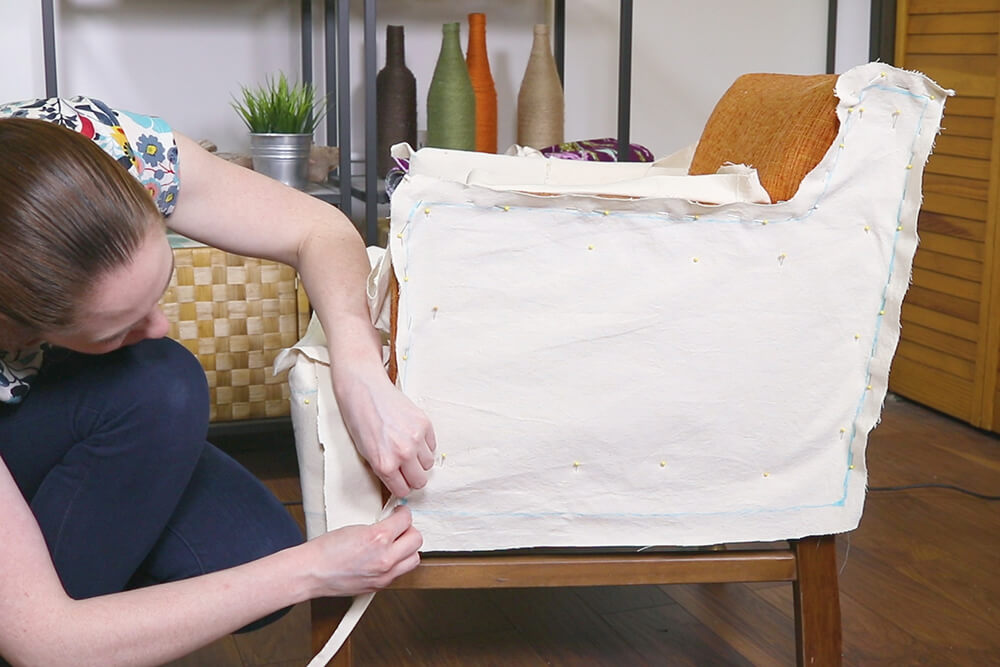
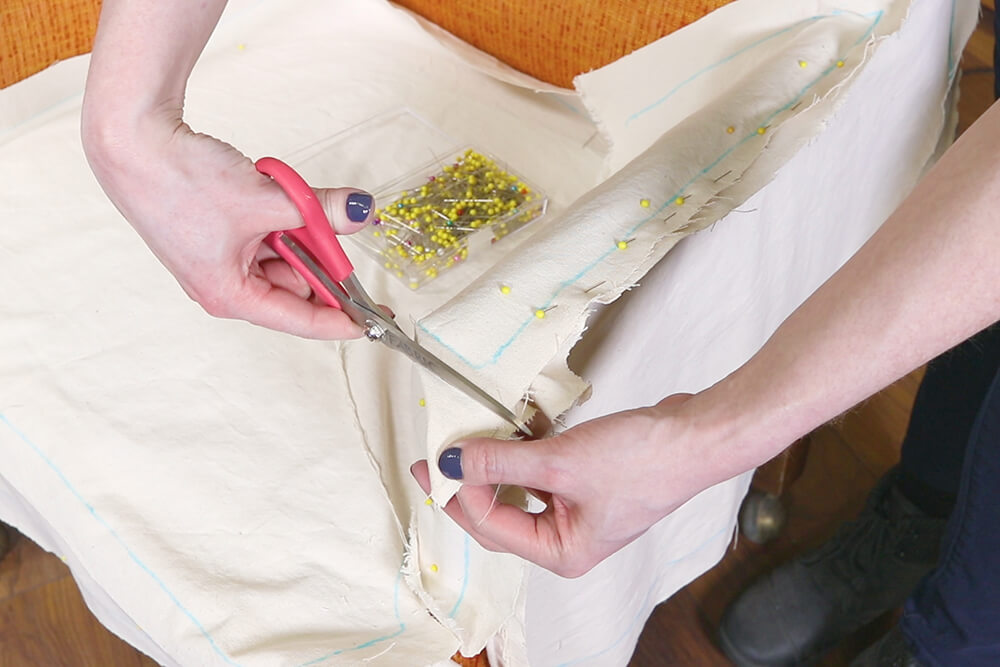
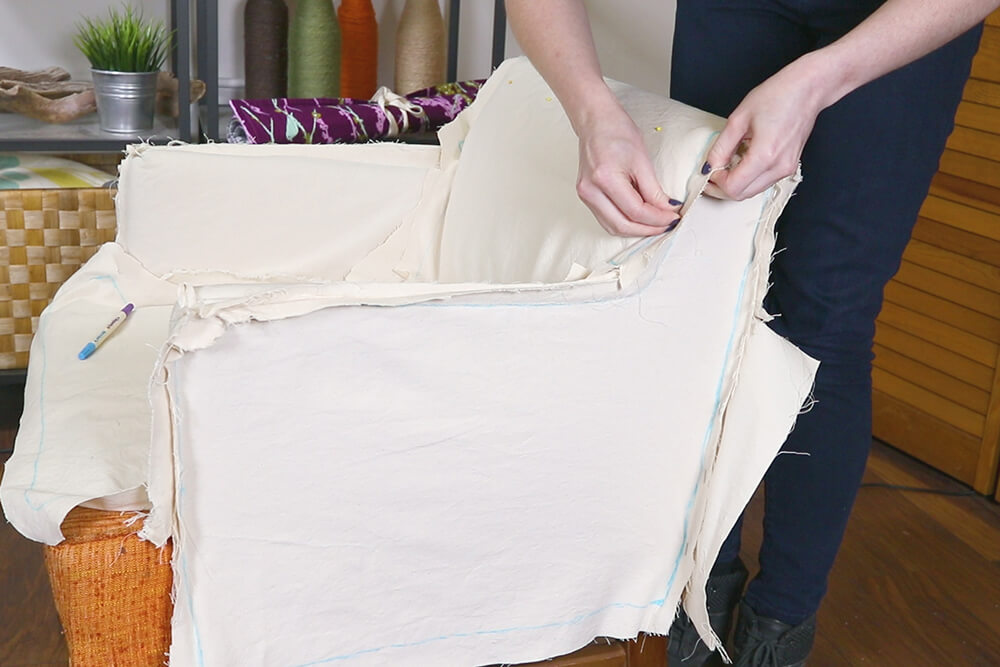
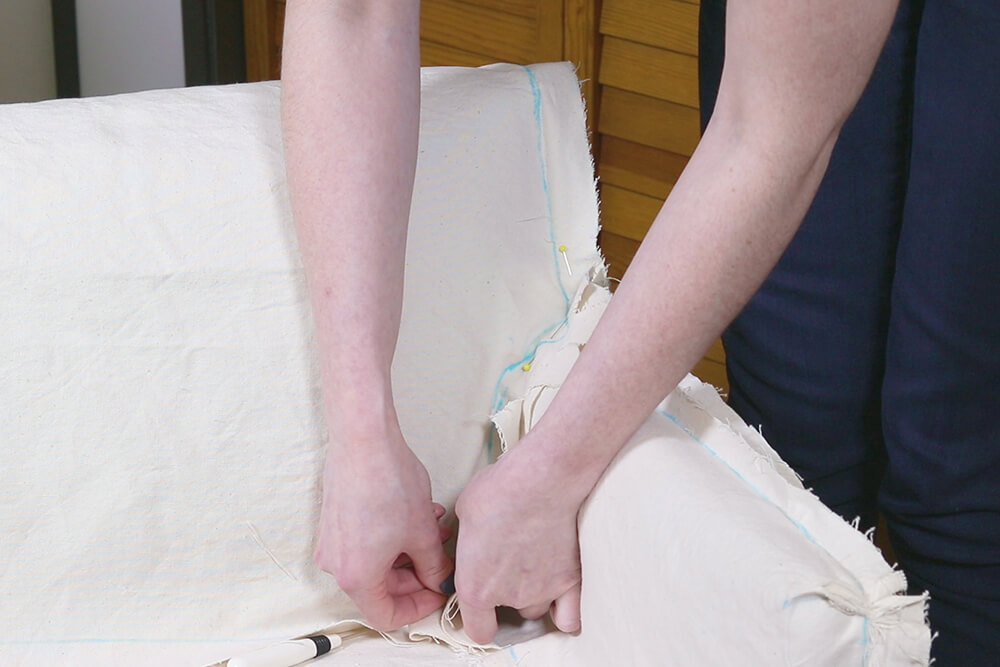
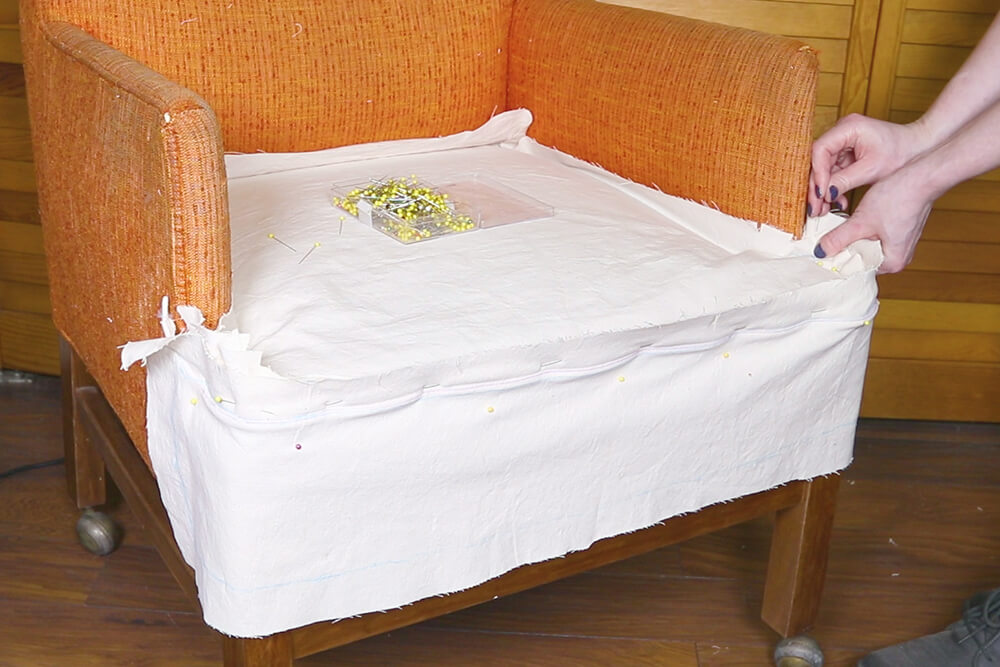
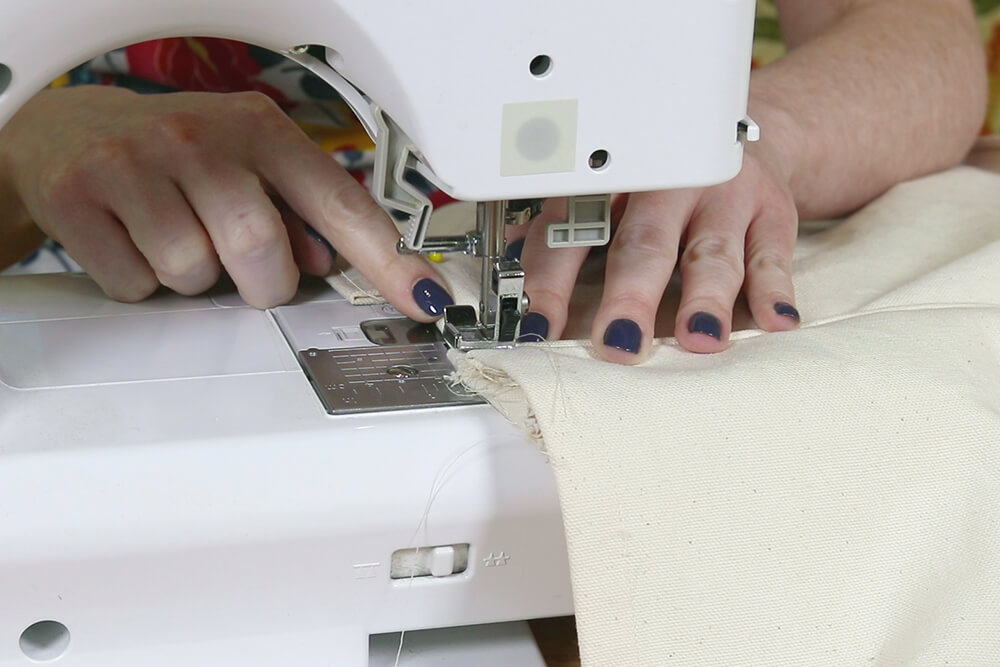
Start by pinning fabric to the chair and roughly cutting out pieces for each panel. My fabric doesn’t have a front and back, but if yours does, the wrong side should be facing out. I’ll start with the inside back piece that wraps around the top.
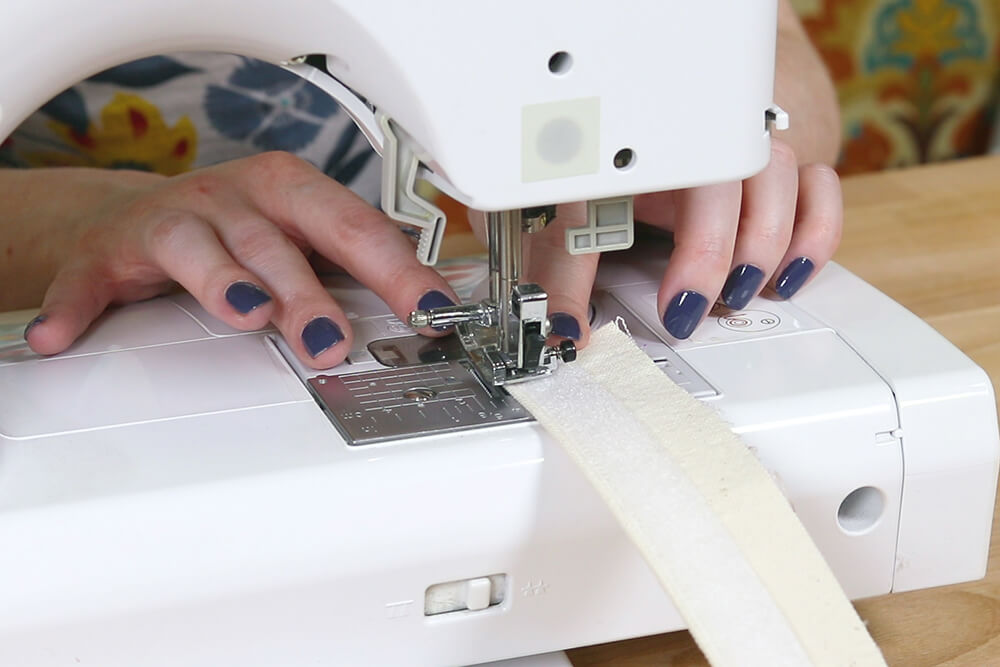
The back will have an opening so that the slipcover is easy to get on and off. You can put in a zipper, snap tape, ties, or Velcro, which is what I’m using. The opening will start part way down the back, around the top of the arms, so that it’s more hidden.
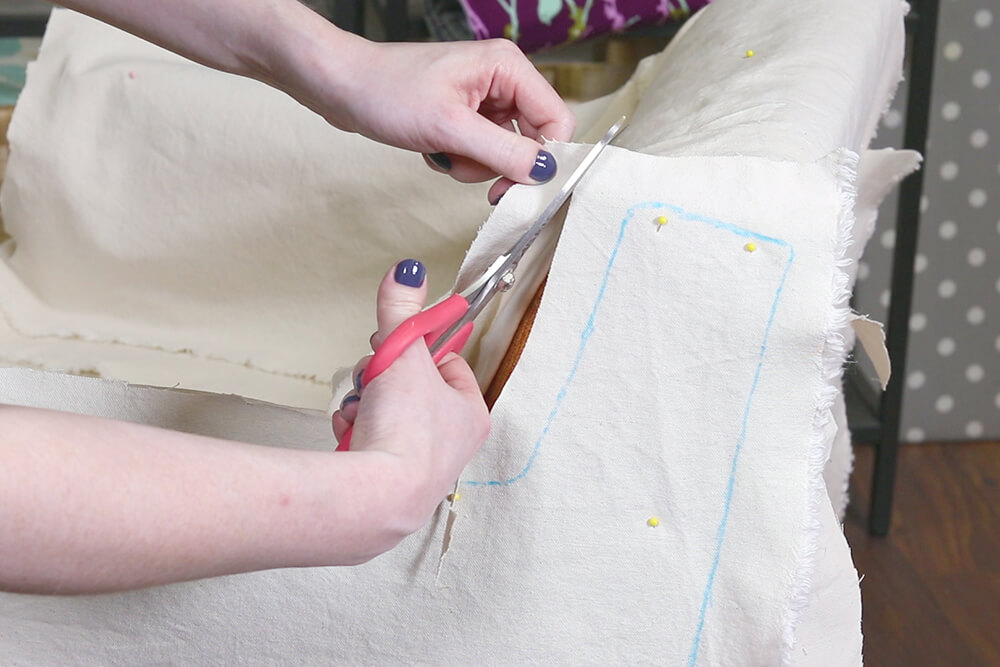
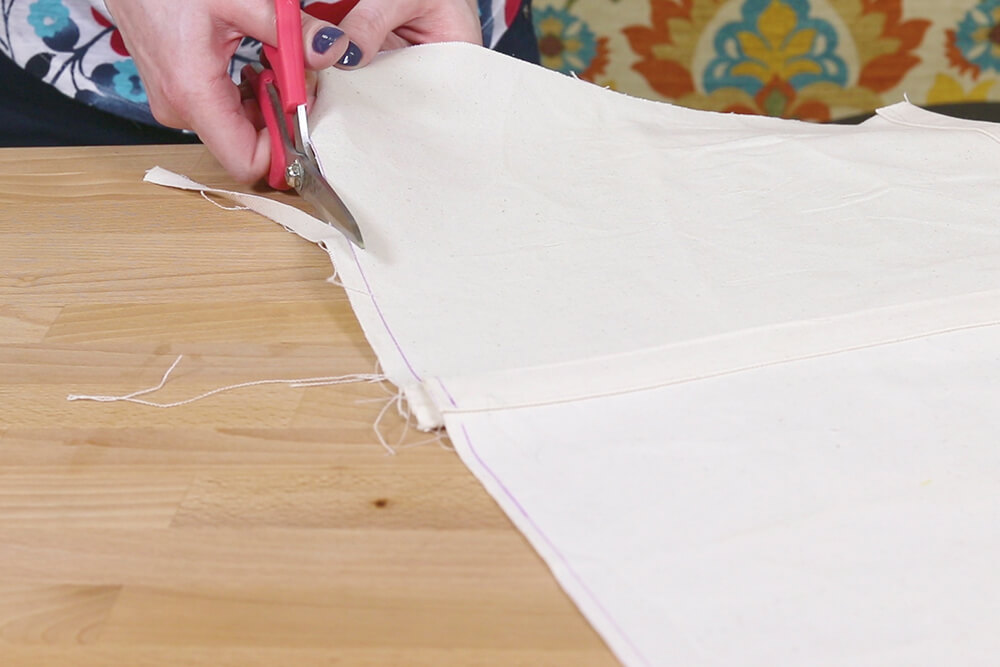
The inside back piece should wrap over the top and end just past the arms, which is where the opening will start. Pin it to the chair in several places to keep it from slipping. Cut the fabric but leave plenty extra for now.
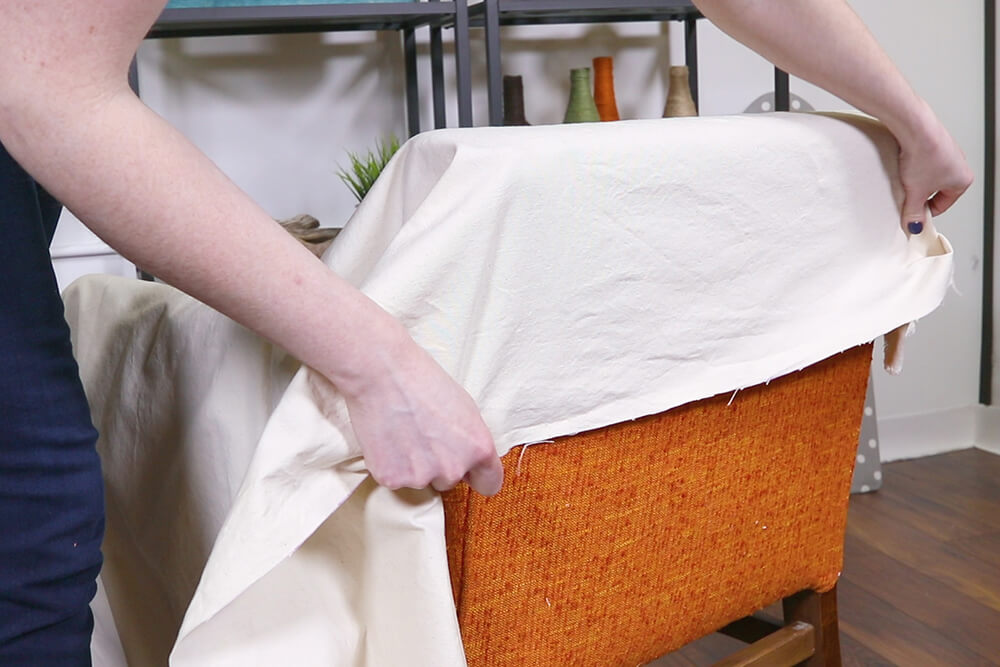
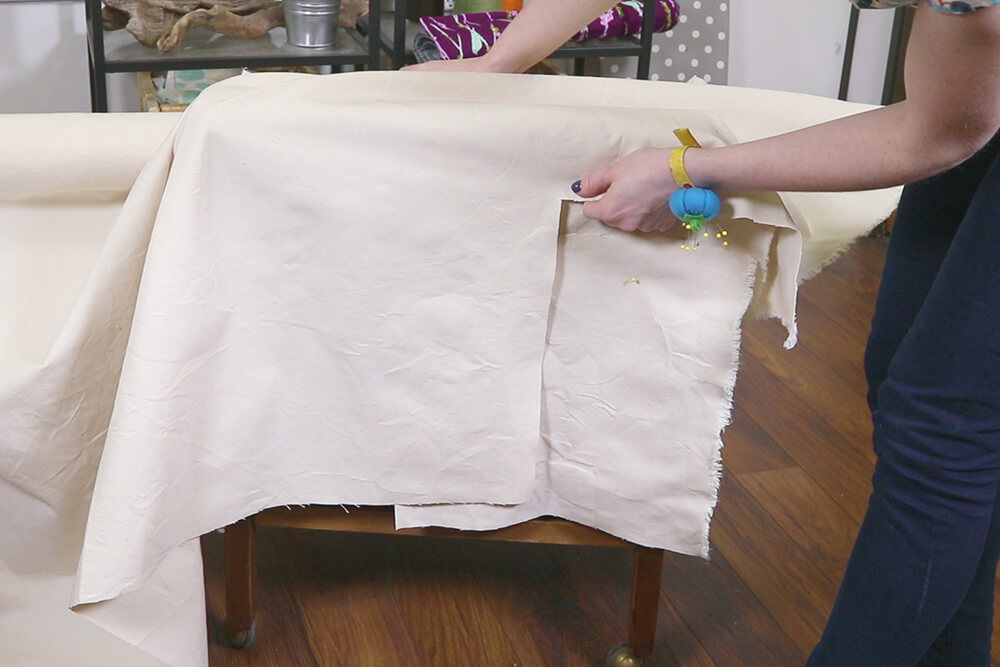
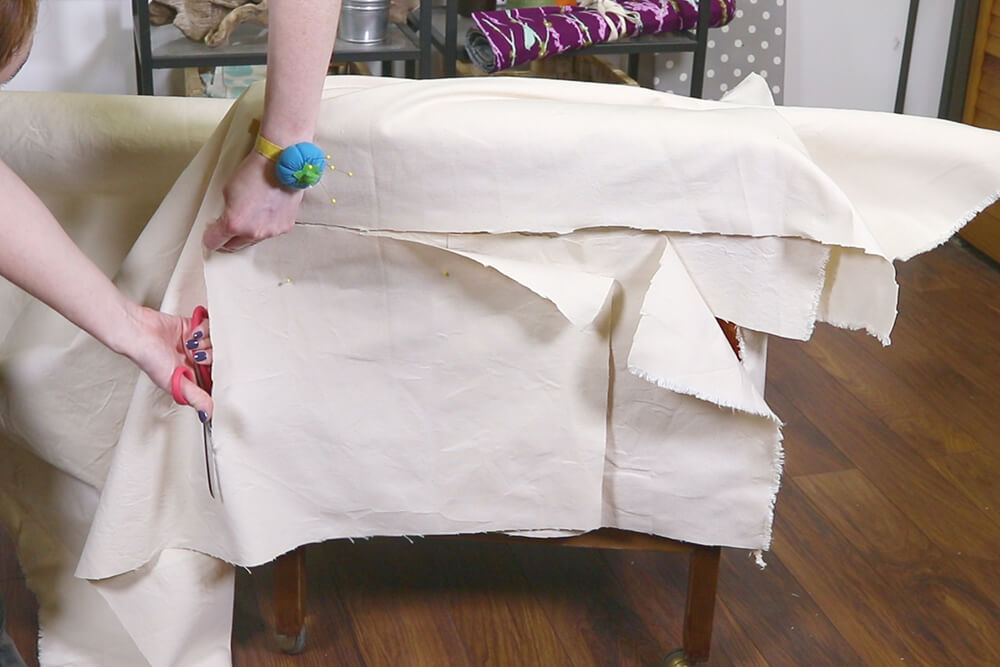
Pin and cut the rest of the pieces. For this chair I’m cutting 2 side pieces, 2 inner arm pieces, the seat piece, and a front piece that wraps around the sides.
Also cut 2 overlapping pieces for the lower back.
Pay attention to the grain of the fabric to keep the fabric as straight as you can. This chair has clean lines, but this method works the same way for wing backed chairs and arms with scrolls. Just follow the existing seams of your chair.
If your chair has a removable cushion, also cut pieces for it.
See our tutorial on making a box cushion for instructions.
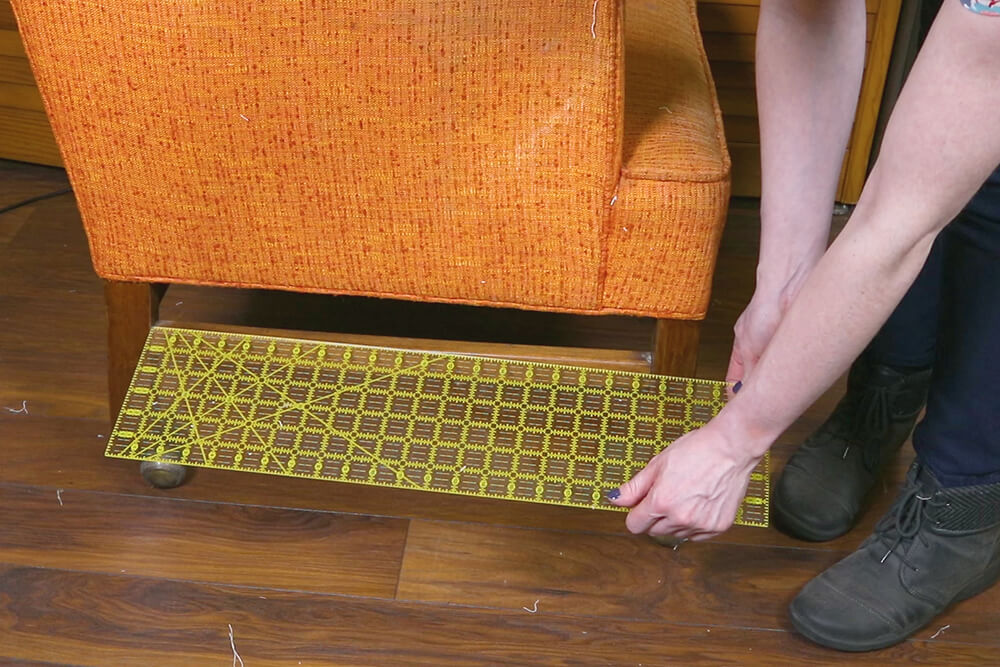
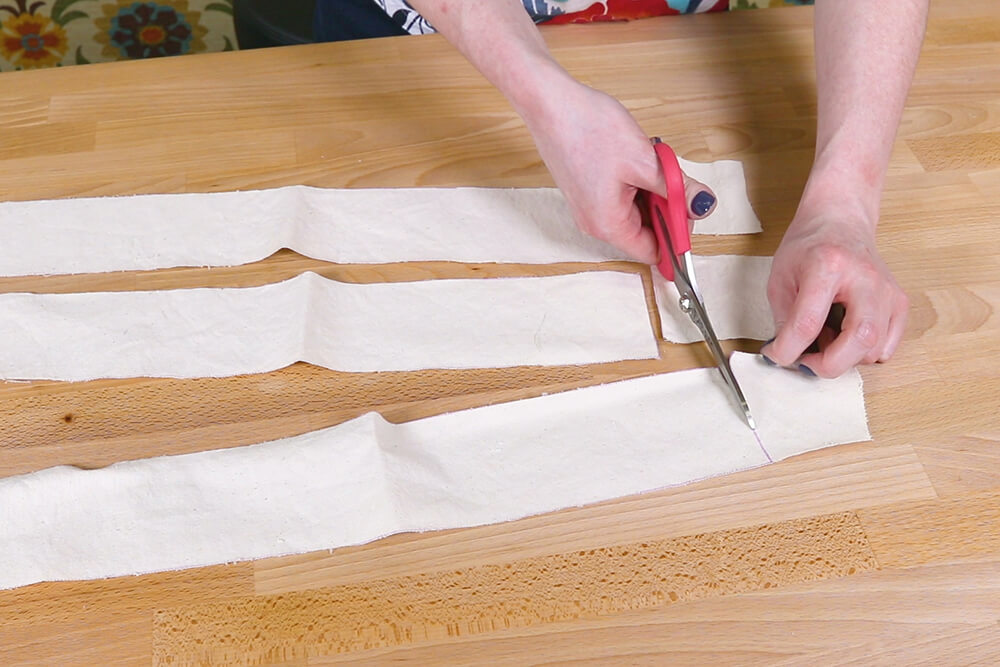
Many slipcovers have a skirt around the bottom. For this chair I’m going to make Velcro tabs for the front and sides that will attach to the bottom of the chair for a clean look. For these 3 tabs I’m cutting fabric that’s 3 inches wide and the length is the distance between the legs. That’s 20 ½” for the front and 19 ¾” for the sides.
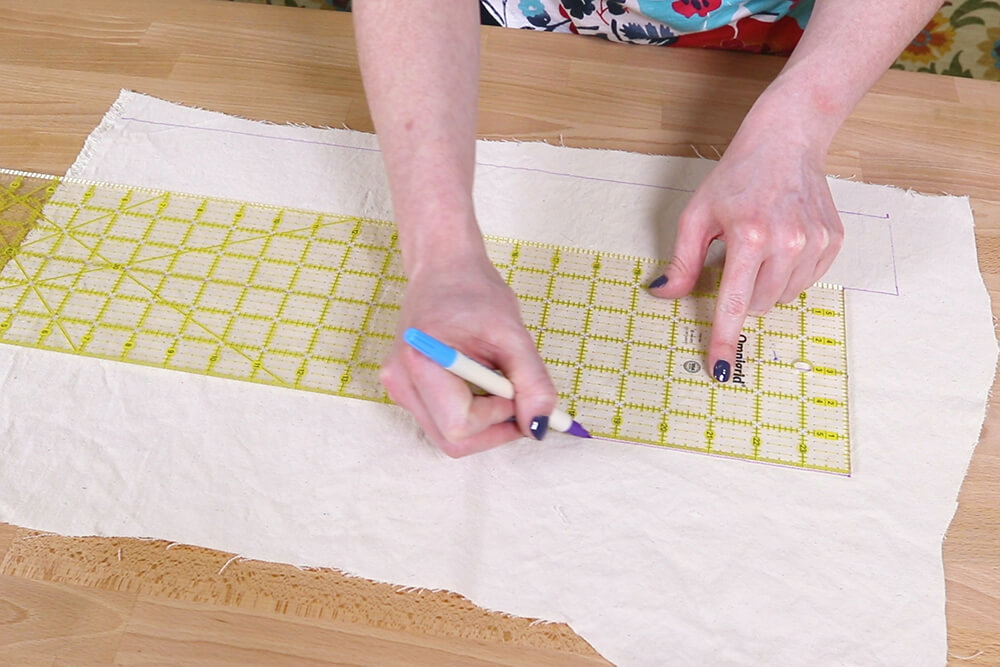
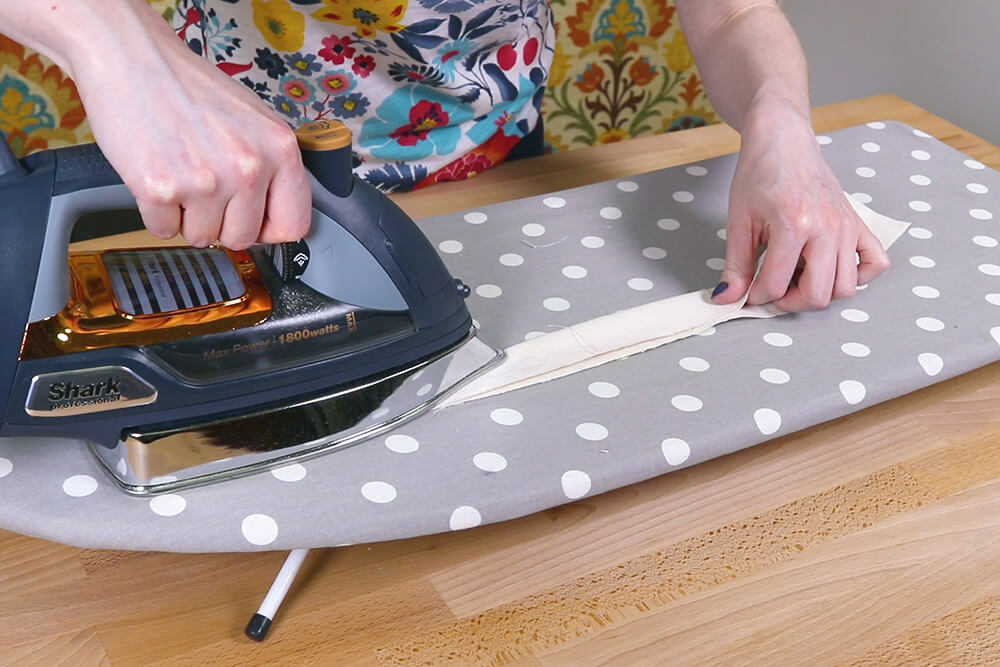
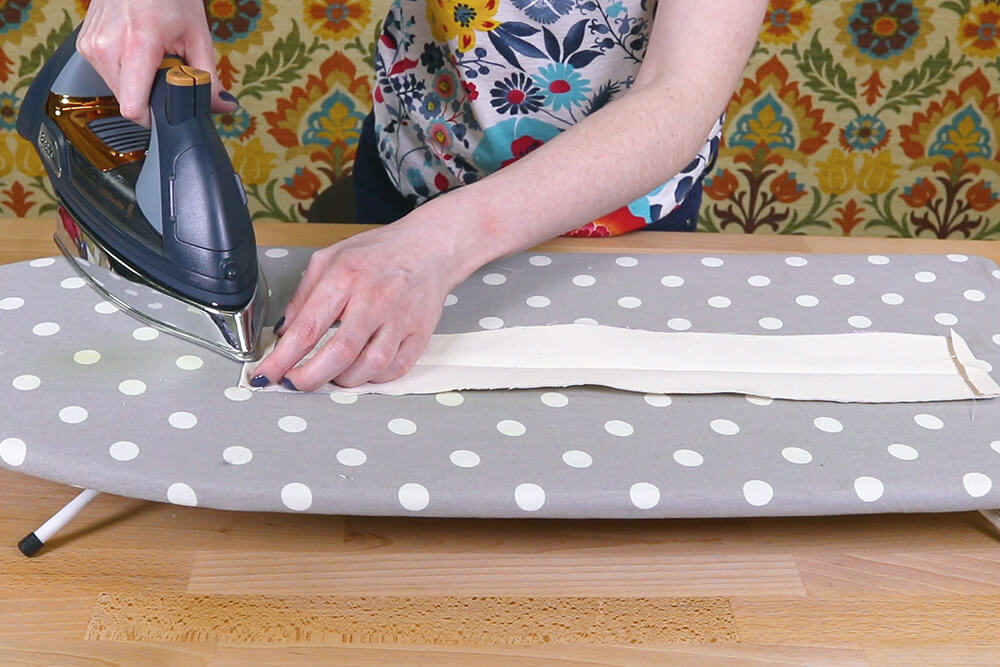
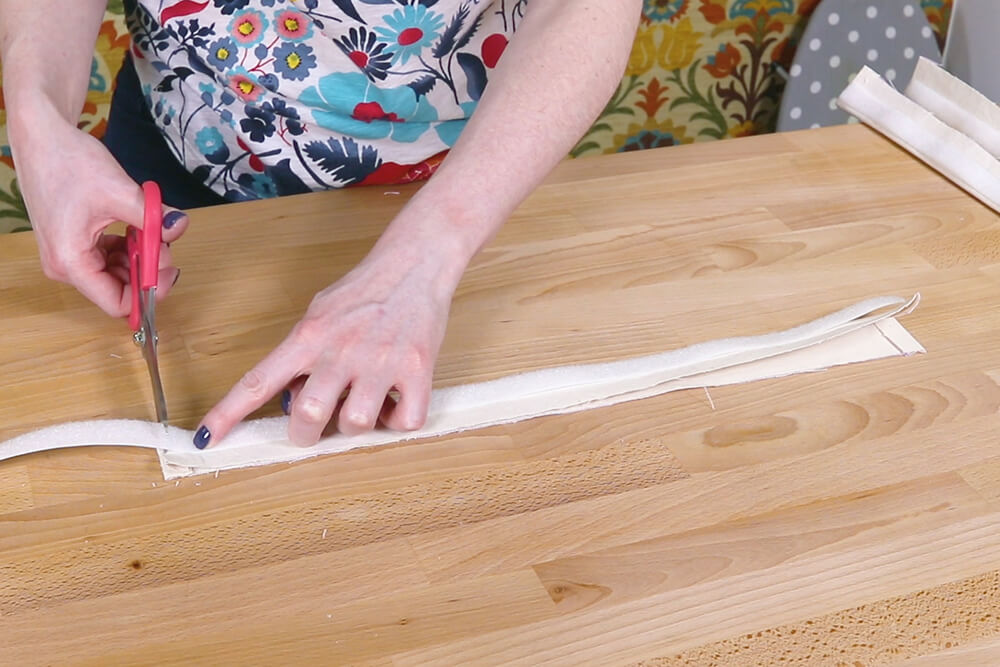
You can also create the piping at this point.
See our tutorial on making piping for instructions.

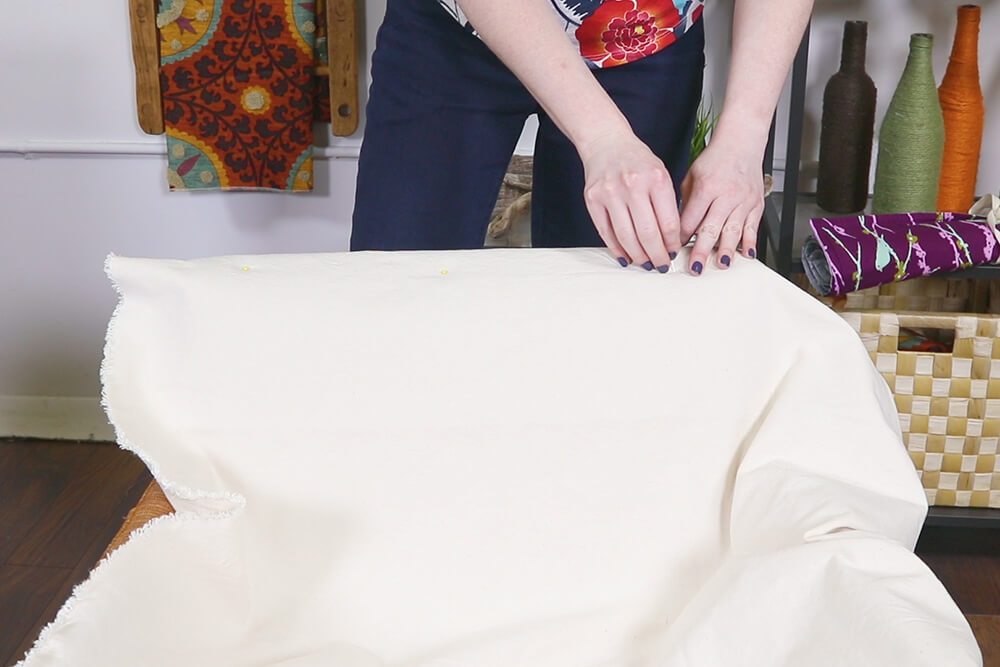
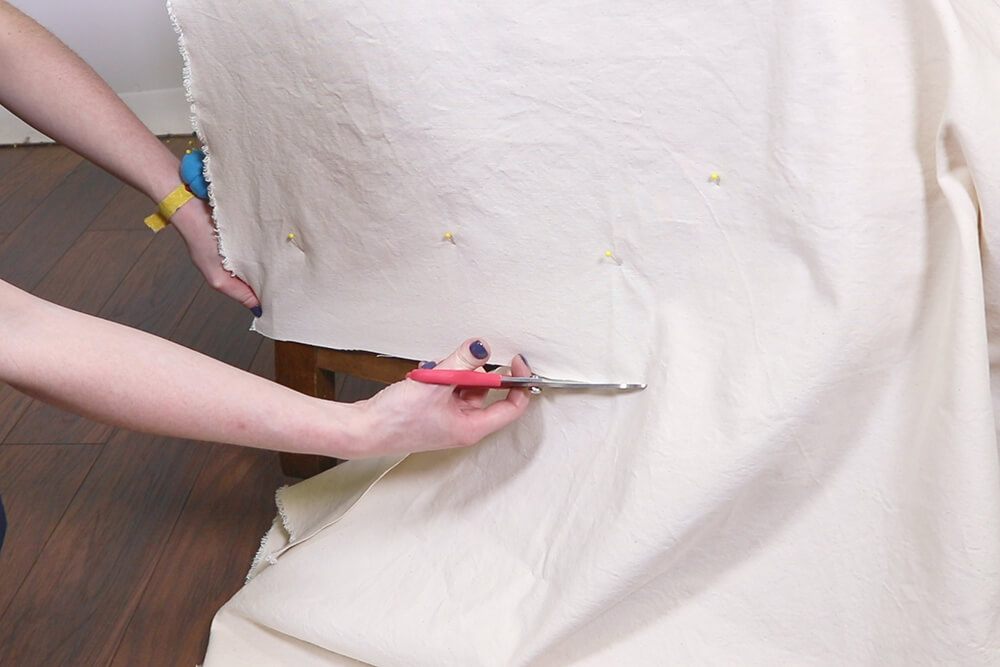
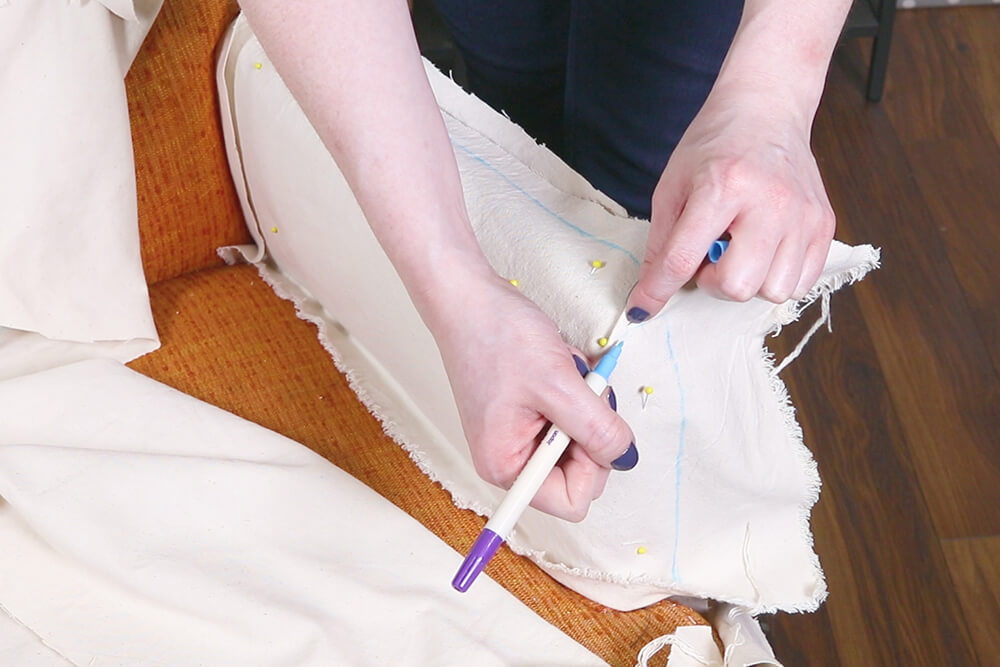
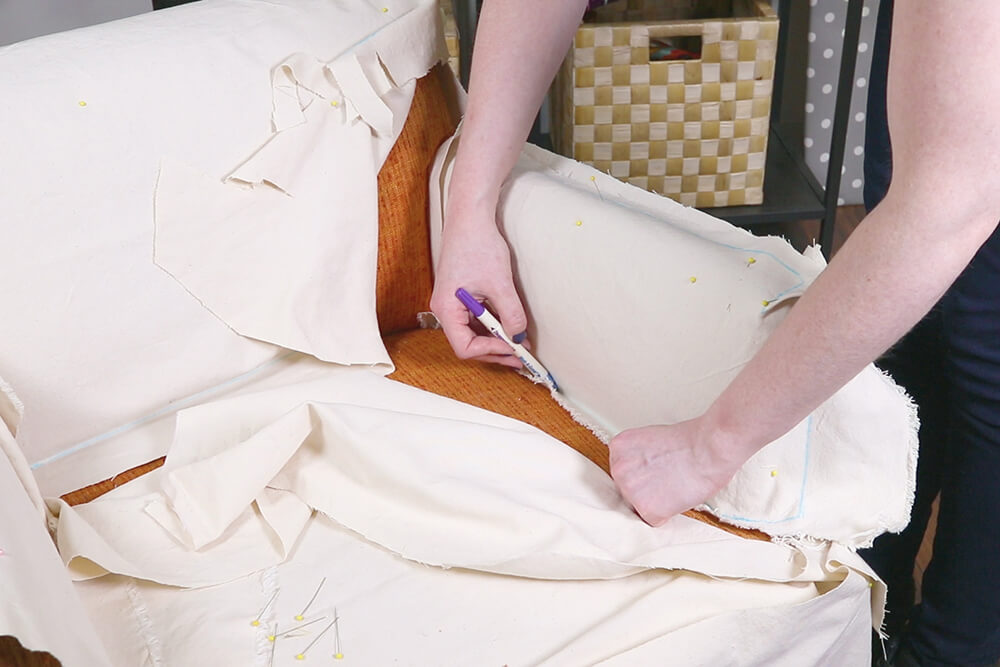
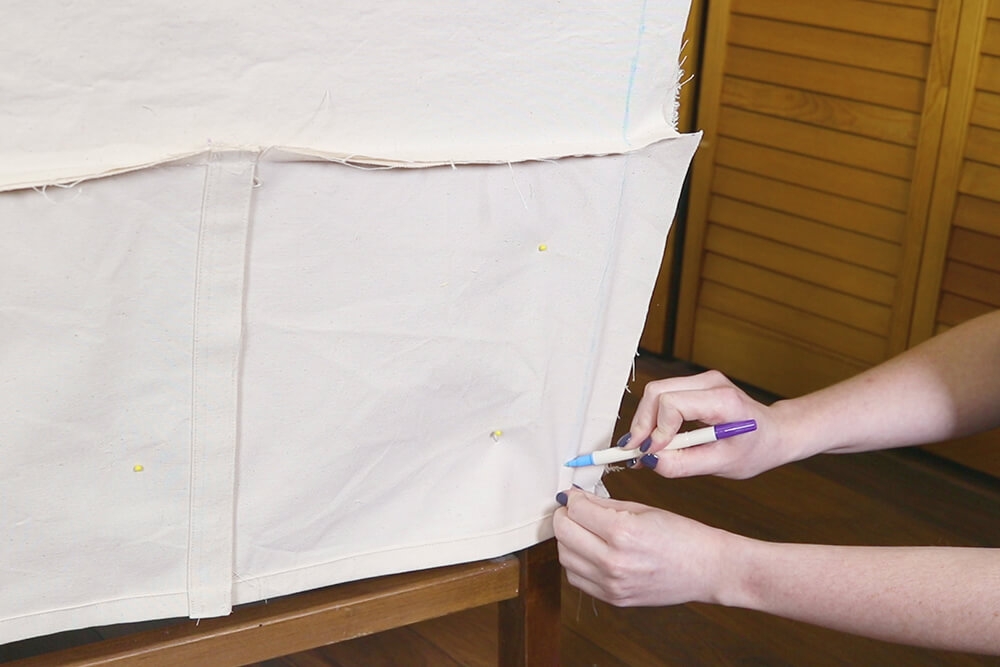
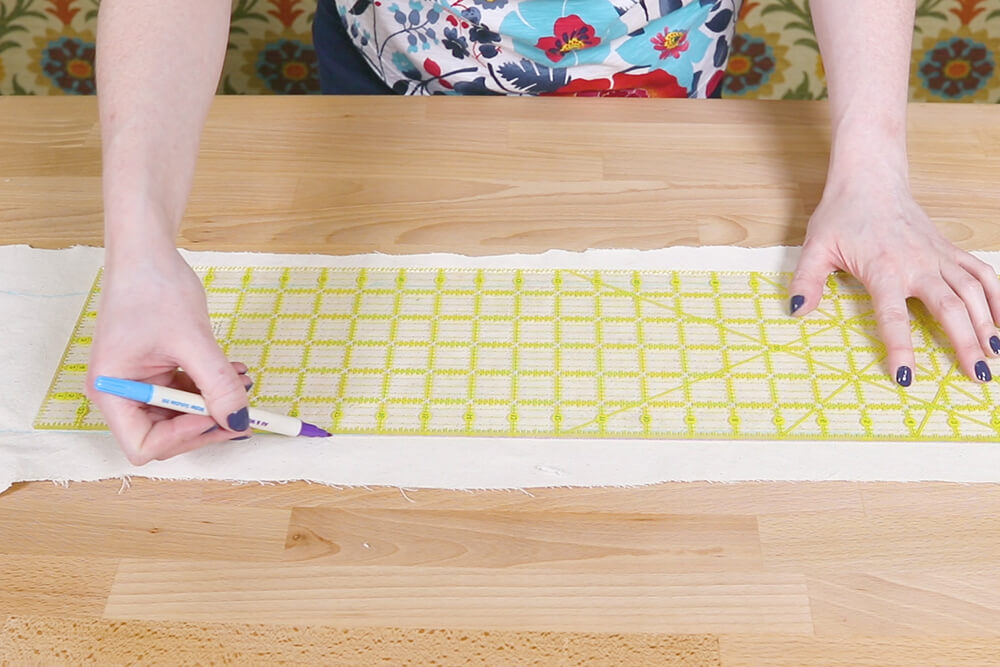
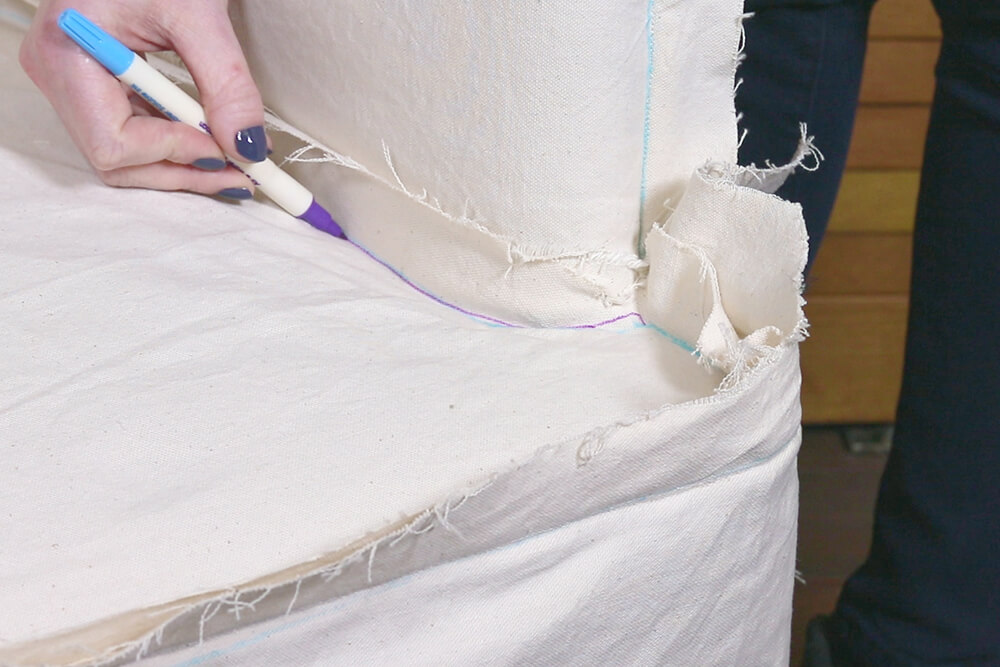
Step 2: Mark the seams
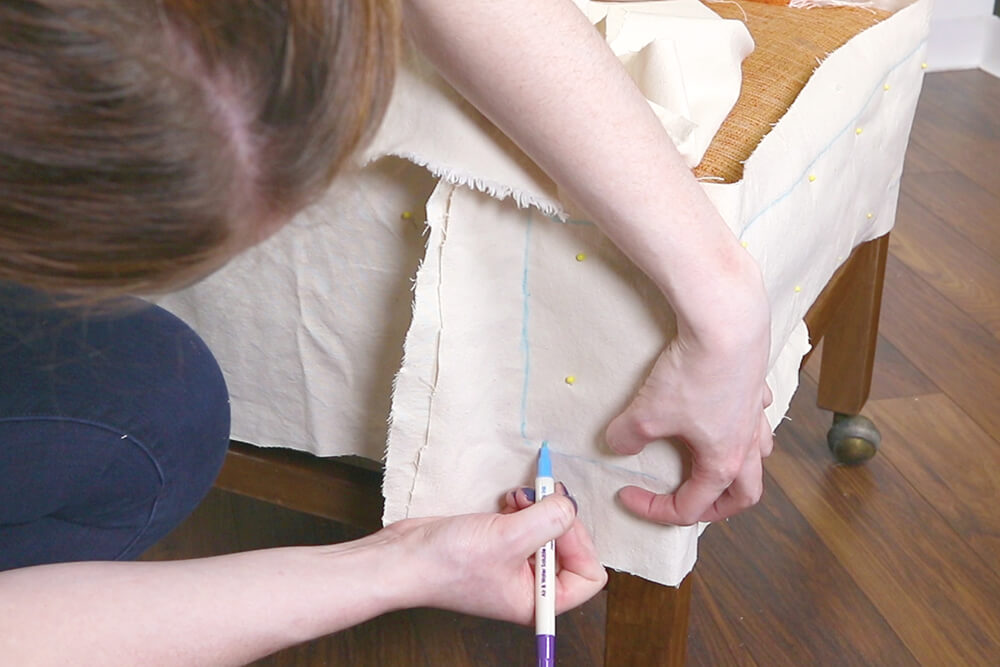
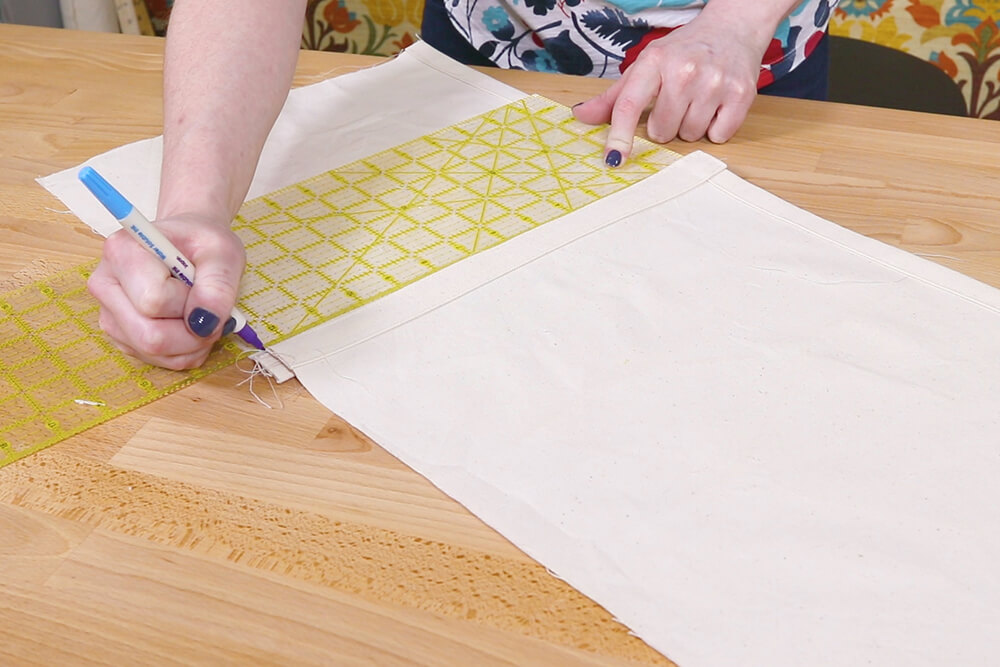
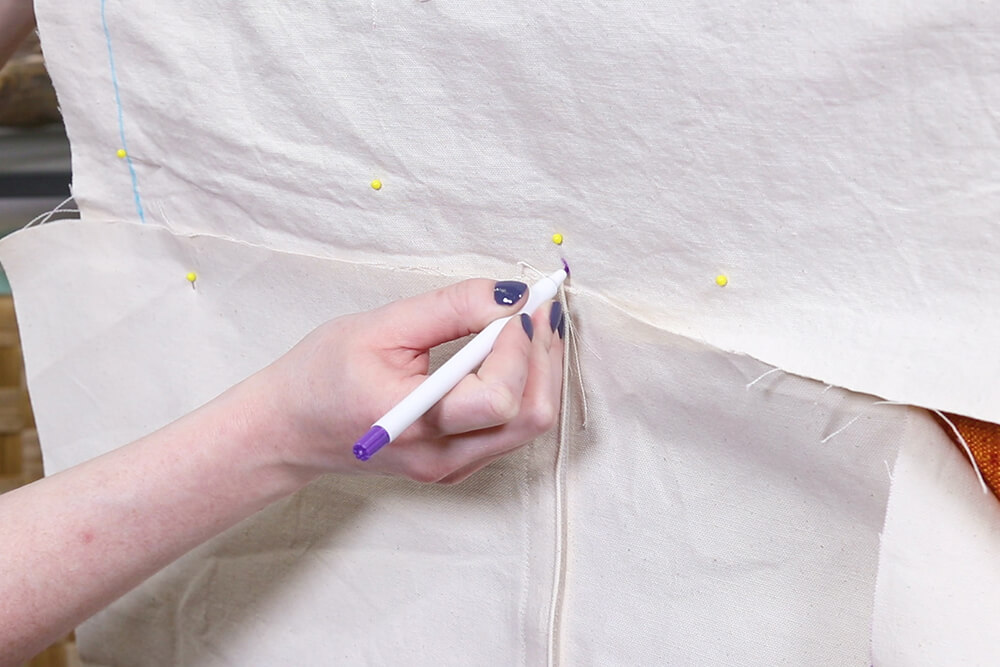
I’m going to mark where all the seams will go. Since this slipcover will be washed, I’m using a water-soluble marker. Where there’s piping, mark on the inside of the piping. On regular seams, mark on top of the seam.
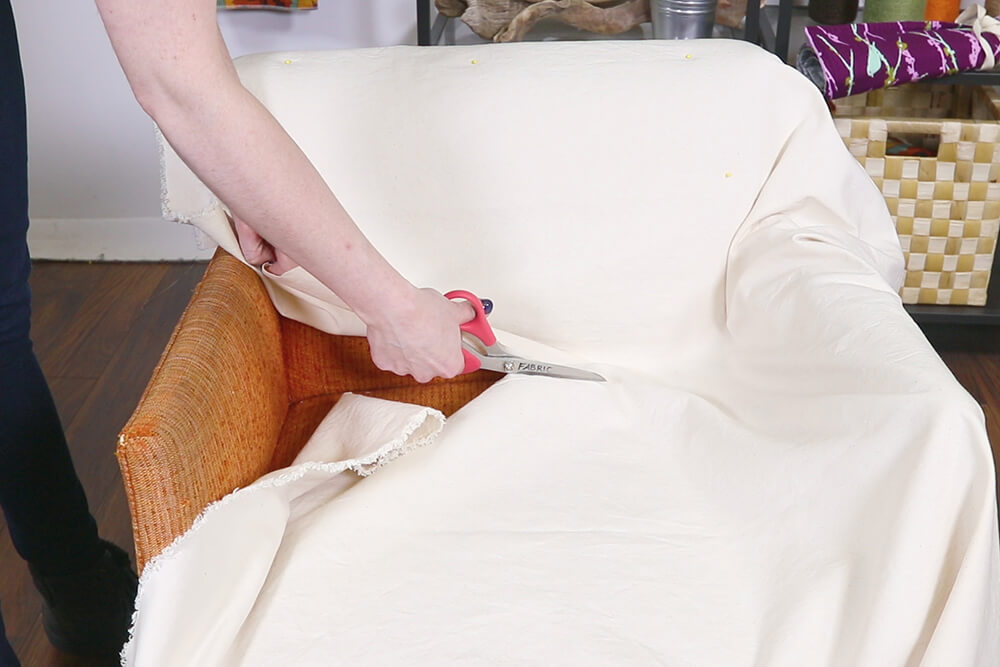
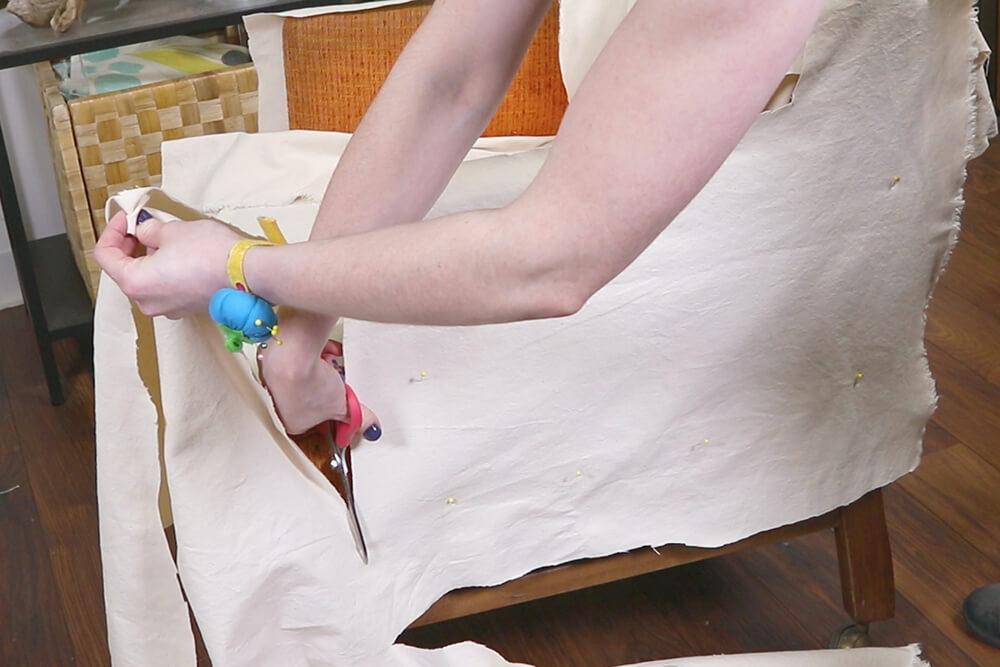
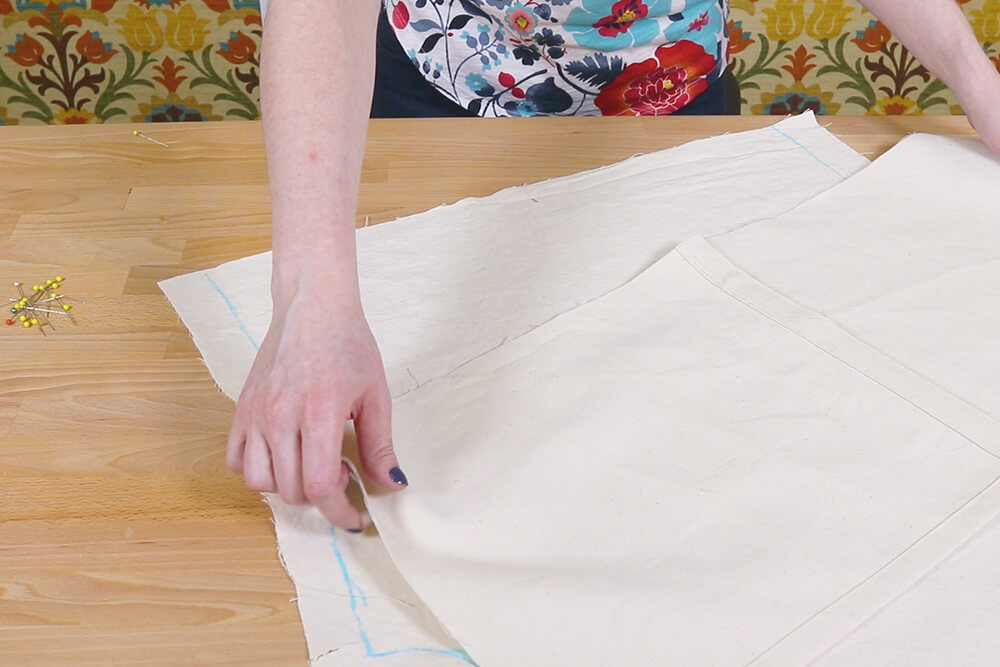
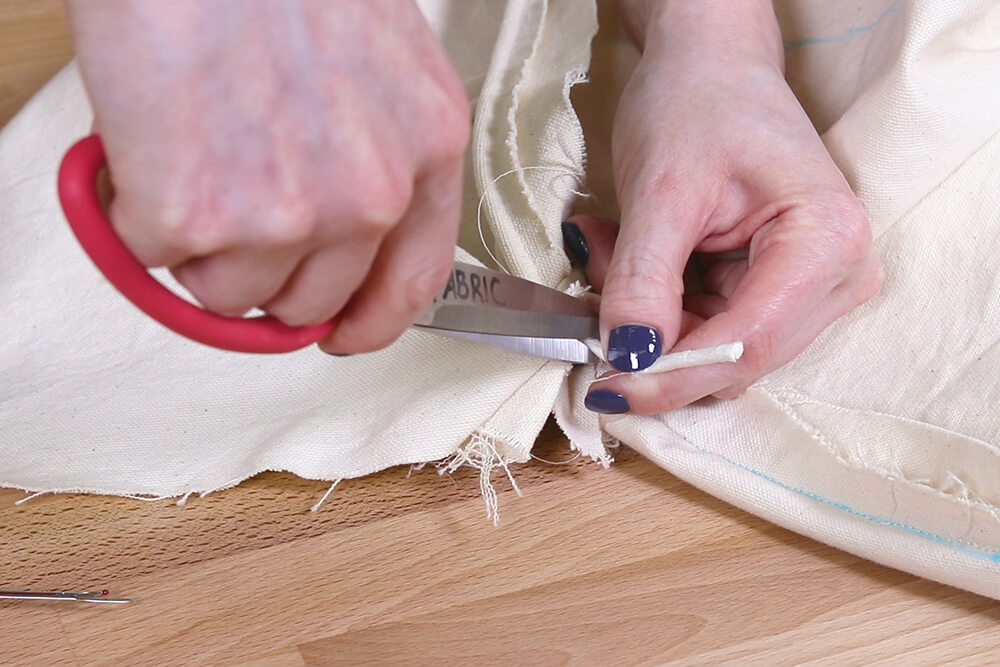
You may have to make some relief cuts in towards curves so the fabric will lay flatter.
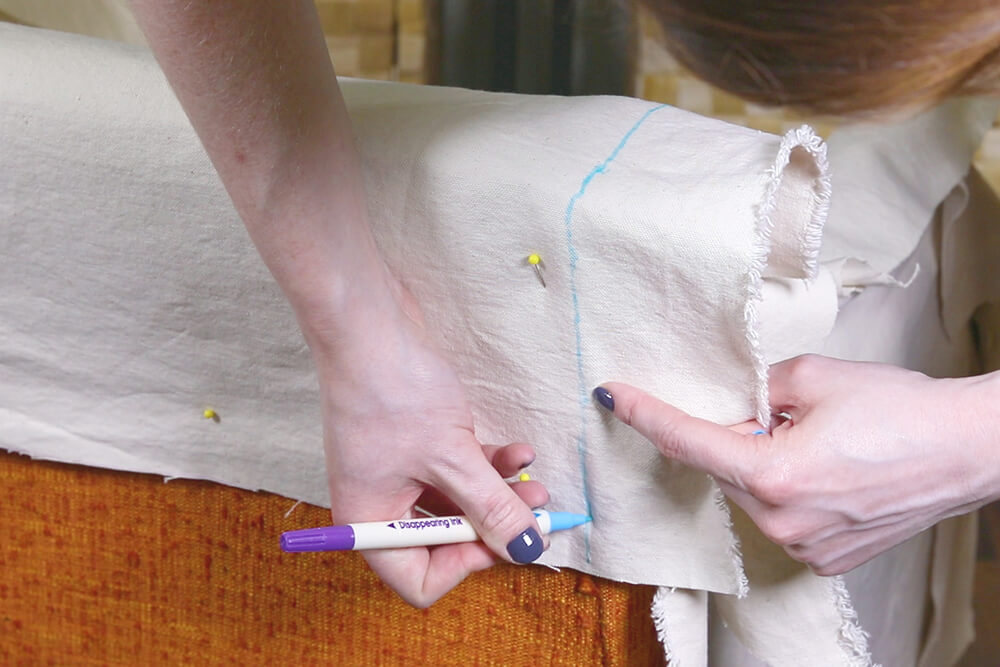
I like to leave at least an inch of extra fabric so there’s room to make adjustments if necessary.
This chair has darts on the arms so mark where these will be sewn too.
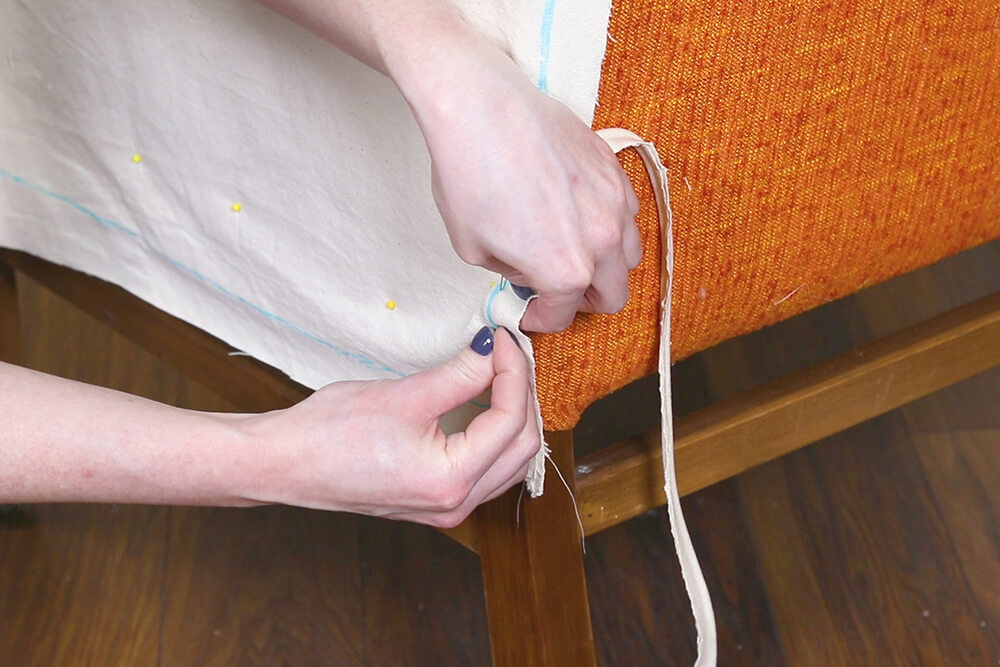
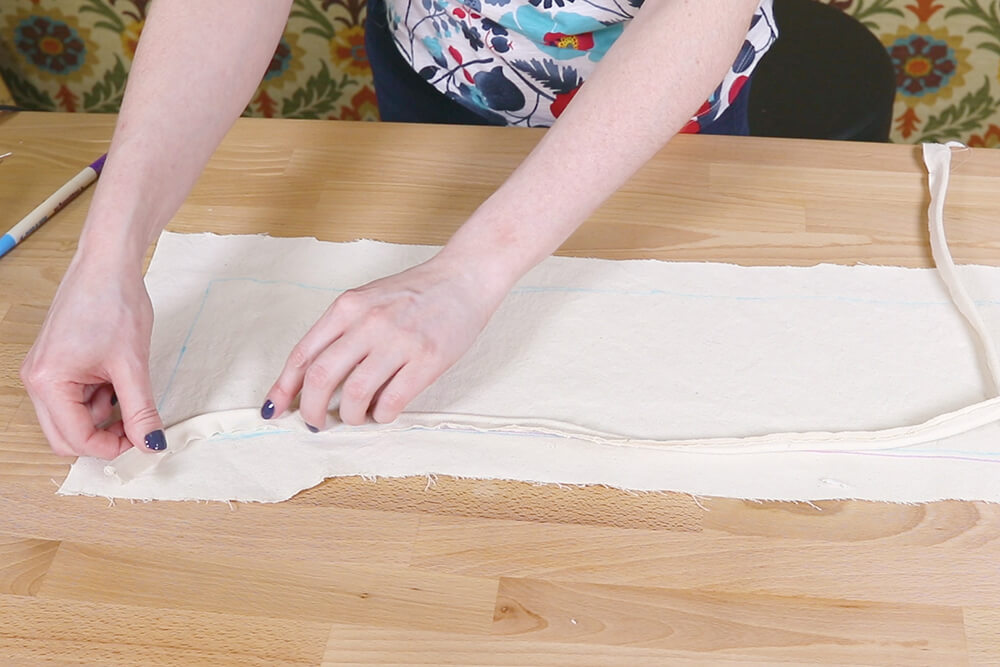
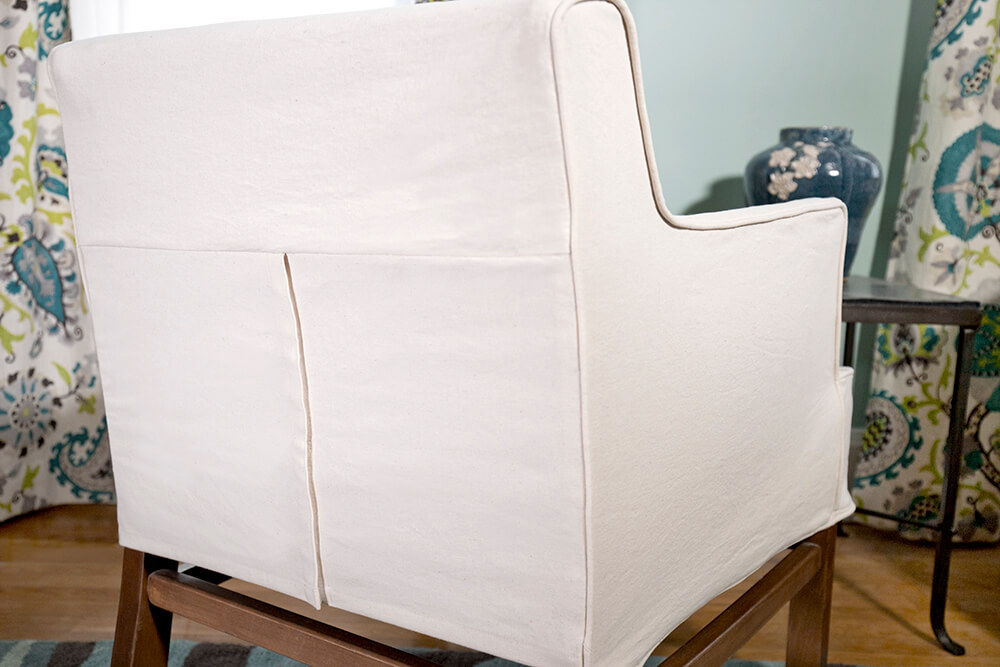
Step 3: Make the Velcro back
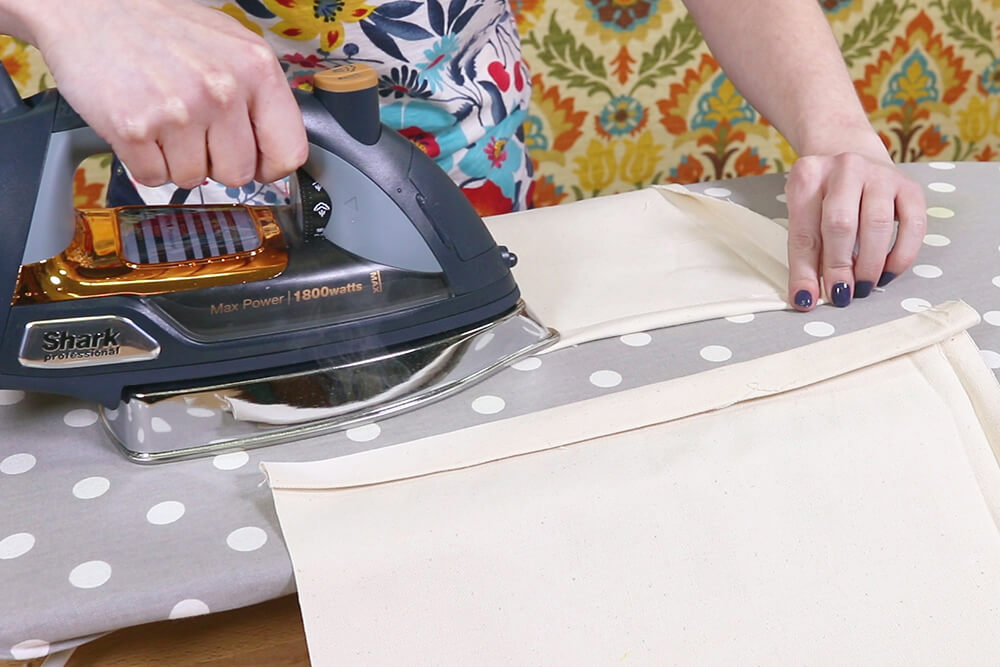
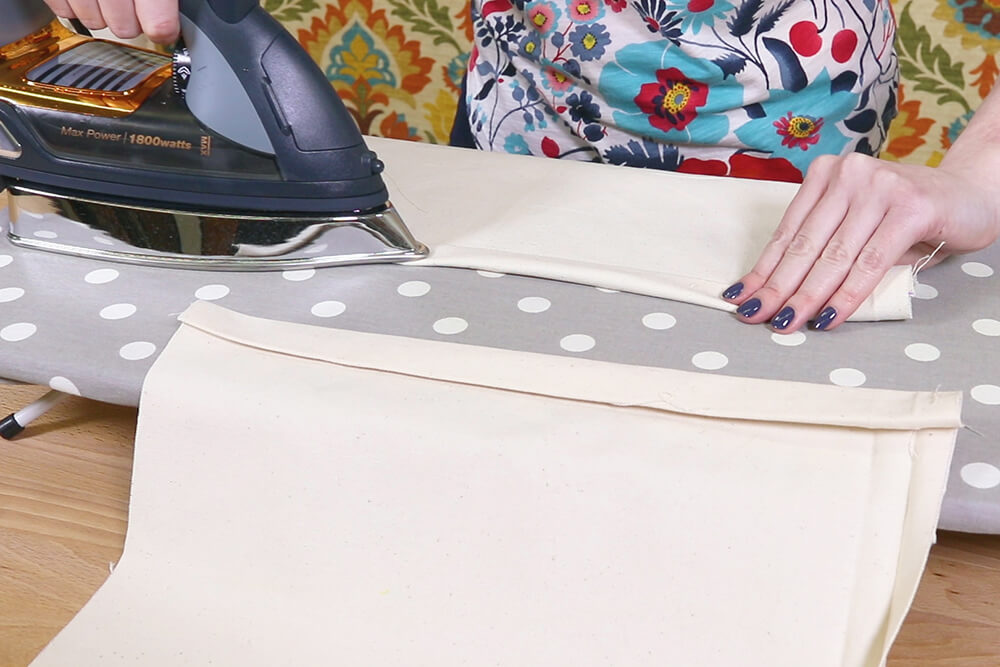
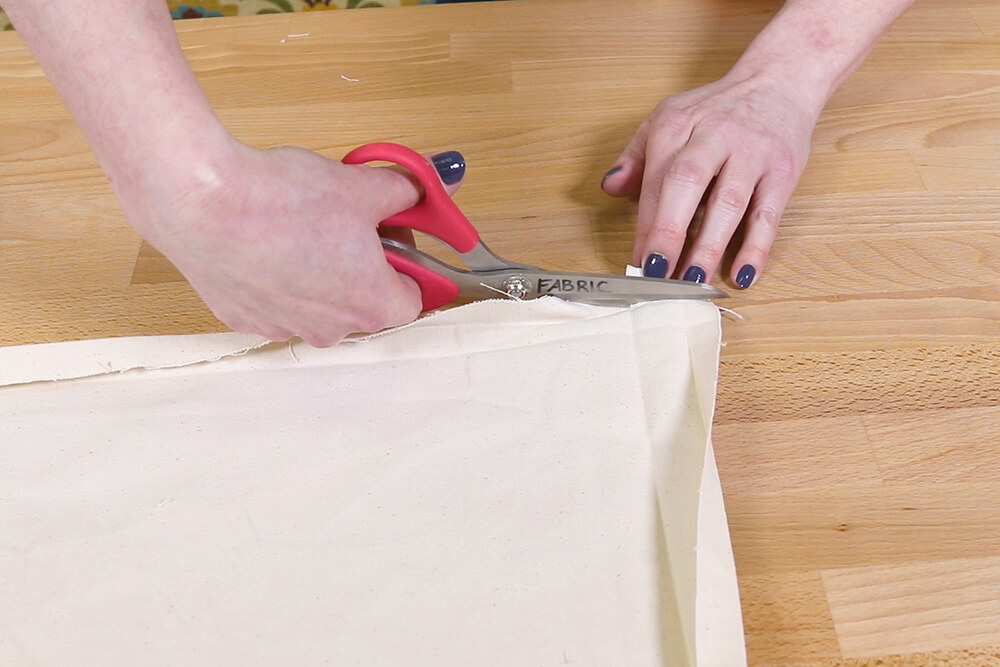
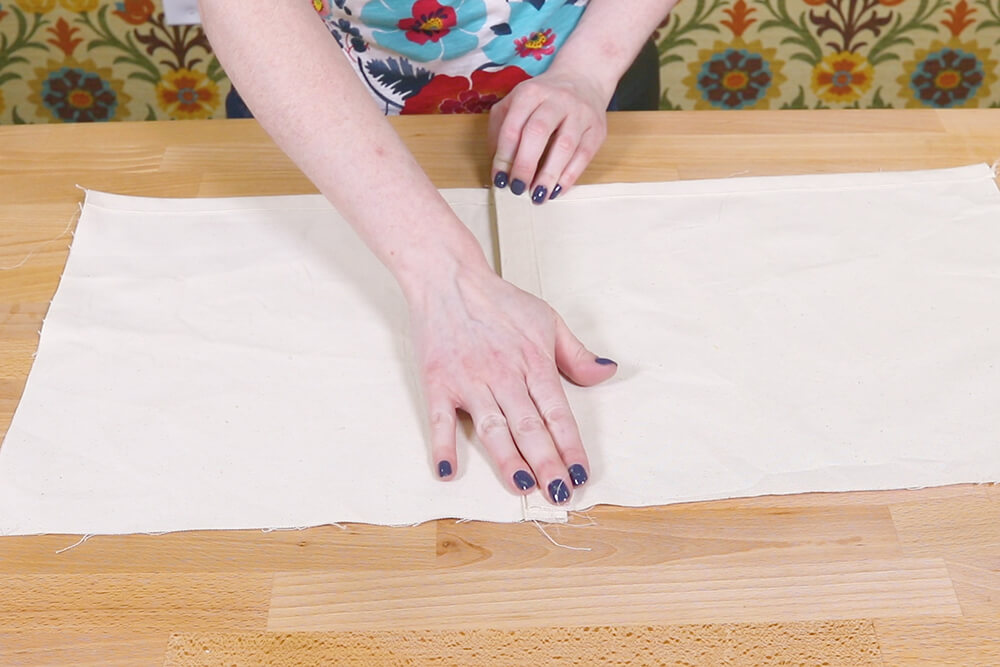
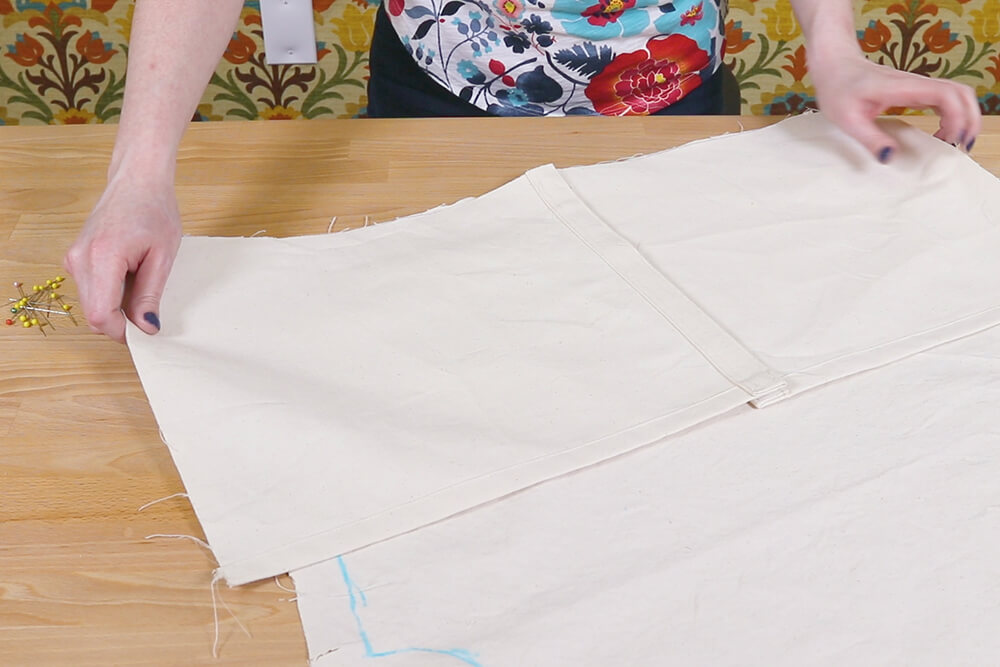
Take the 2 overlapping back pieces and straighten and square off the edges. The exact size of the pieces doesn’t matter right now.
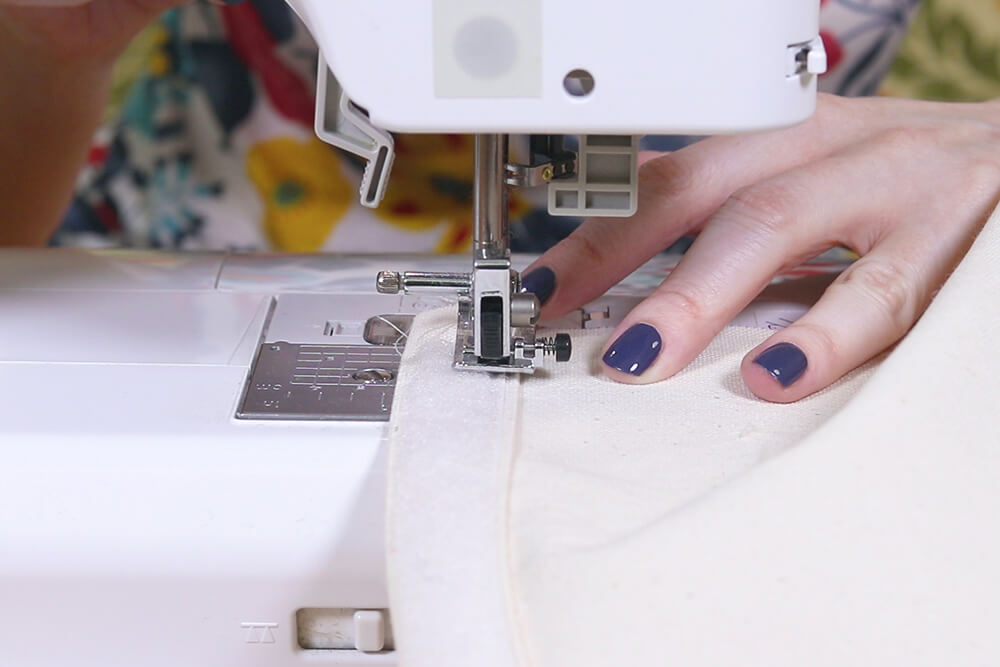
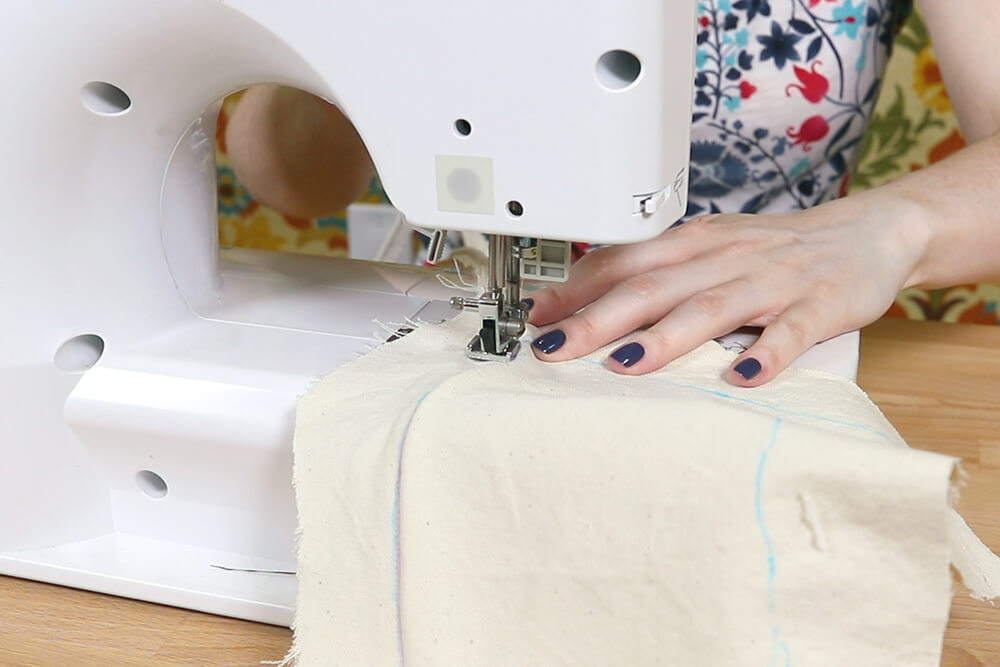
Create a ½” double folded hem on the bottom of both pieces.

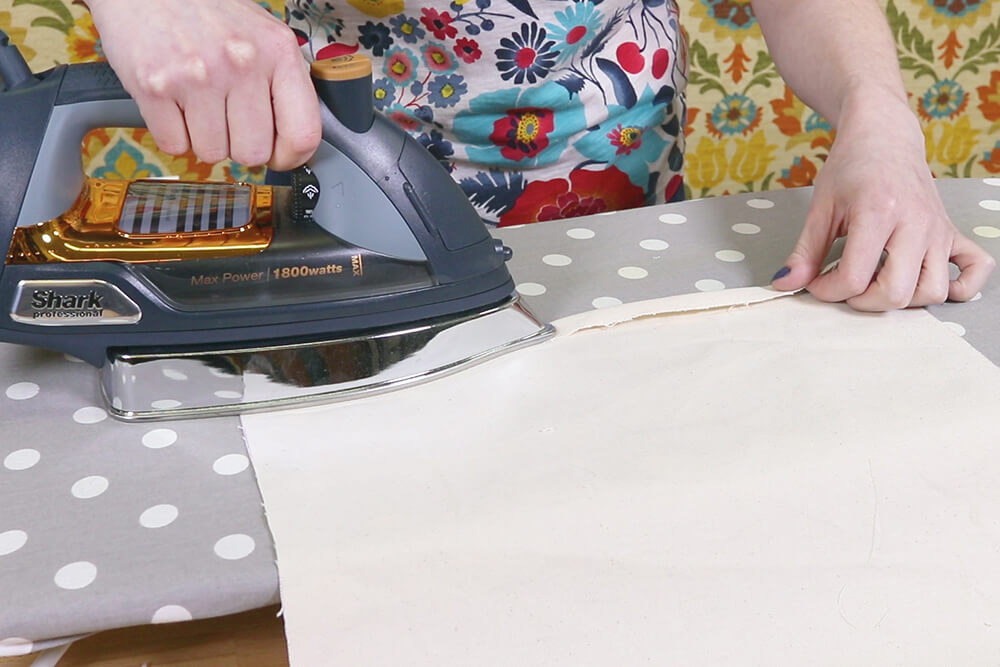
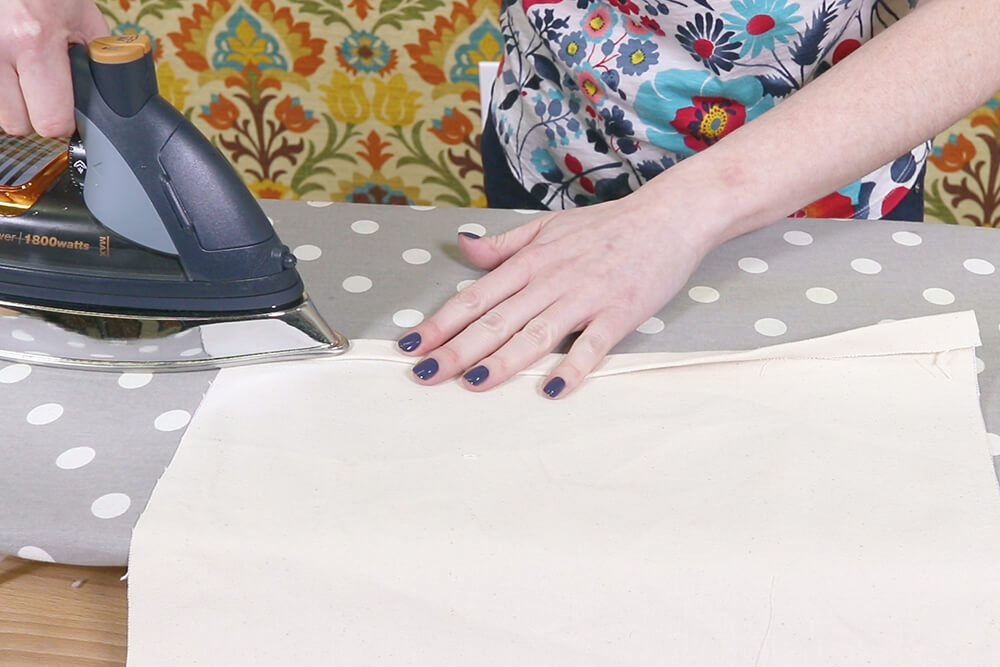
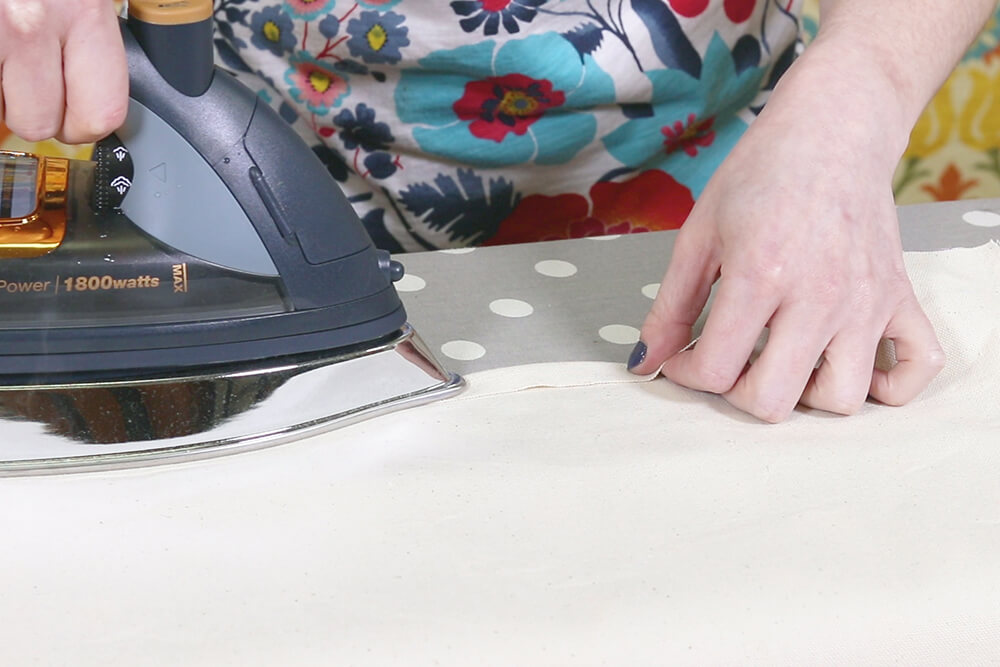
Also fold and iron ½”, then 1” on the inner edges. You can cut out some of the bulk at the corners before sewing the bottoms and inner edges.
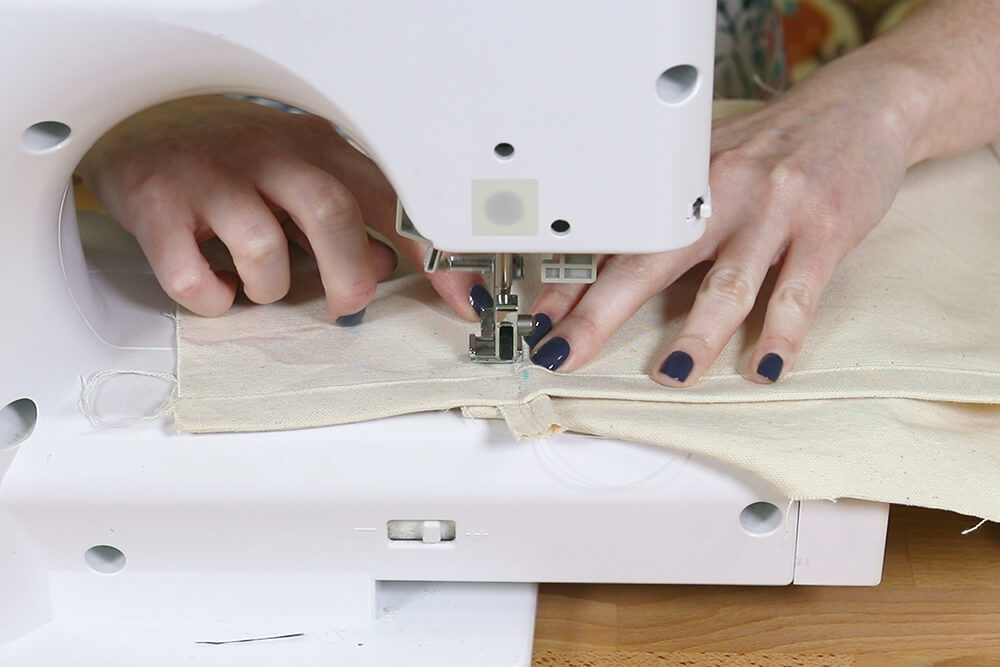
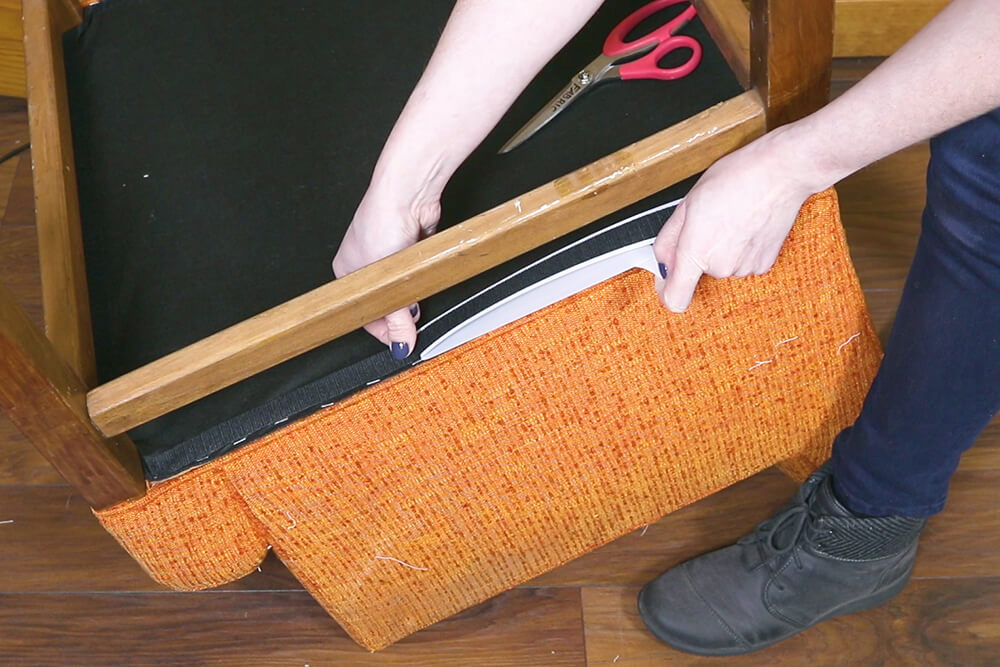
Measure the distance between the bottom of the chair and the top of the arms. Cut the Velcro to this length.
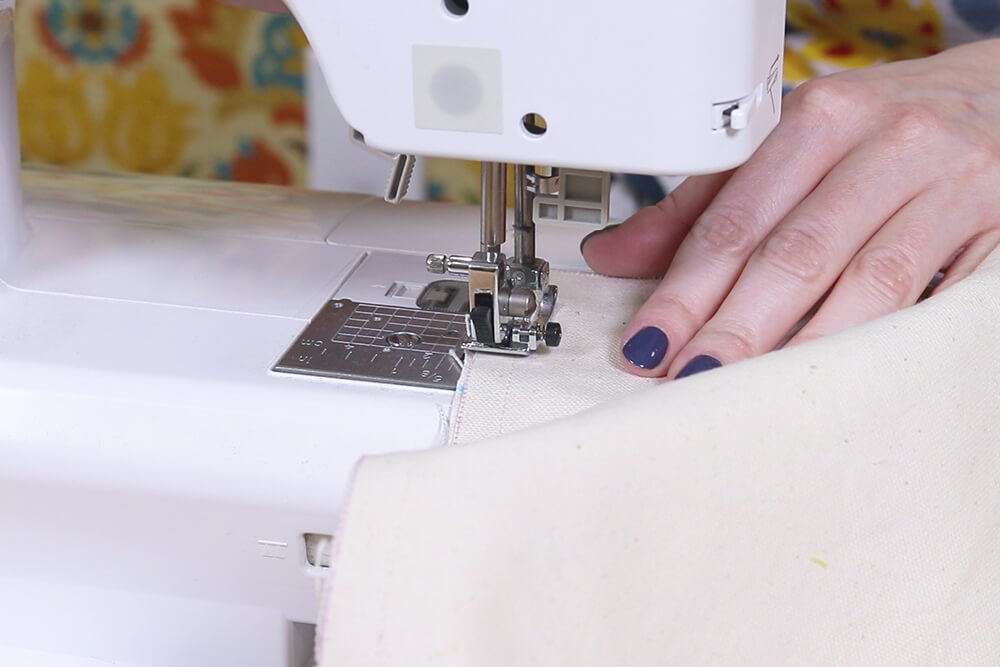
Sew the strips of Velcro to the front of one piece and the back of the other about 1/8” in from the bottom and sides.

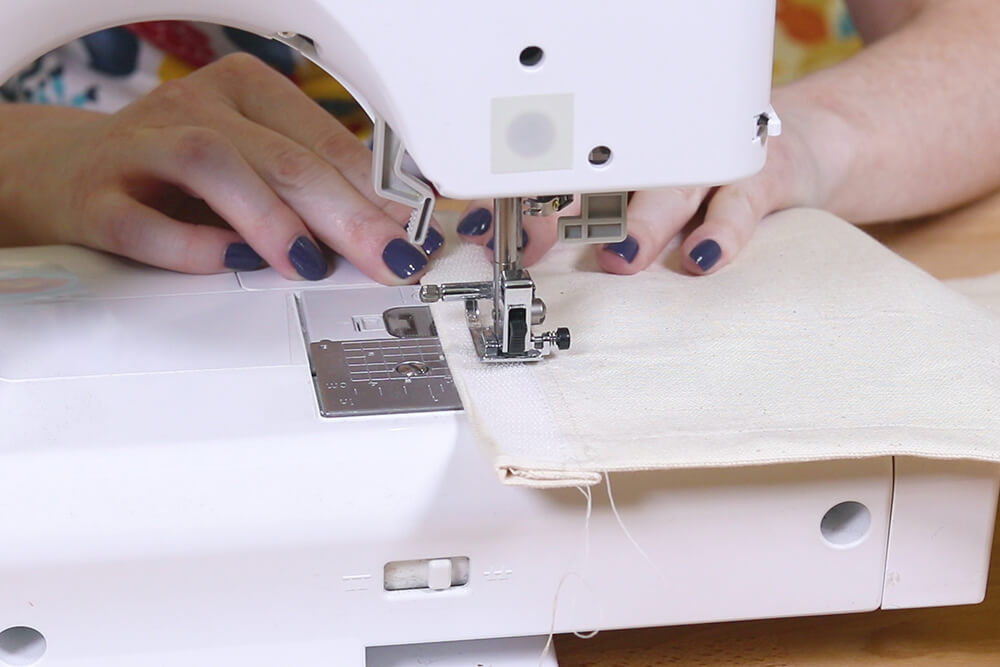
Velcro the pieces together. Mark and cut the fabric ½” above the Velcro.

Center and pin the Velcro pieces on the back with it hanging past the bottom about ¼”.
Mark the center of the upper back piece and sew the pieces together with right sides facing and a ½” seam allowance.
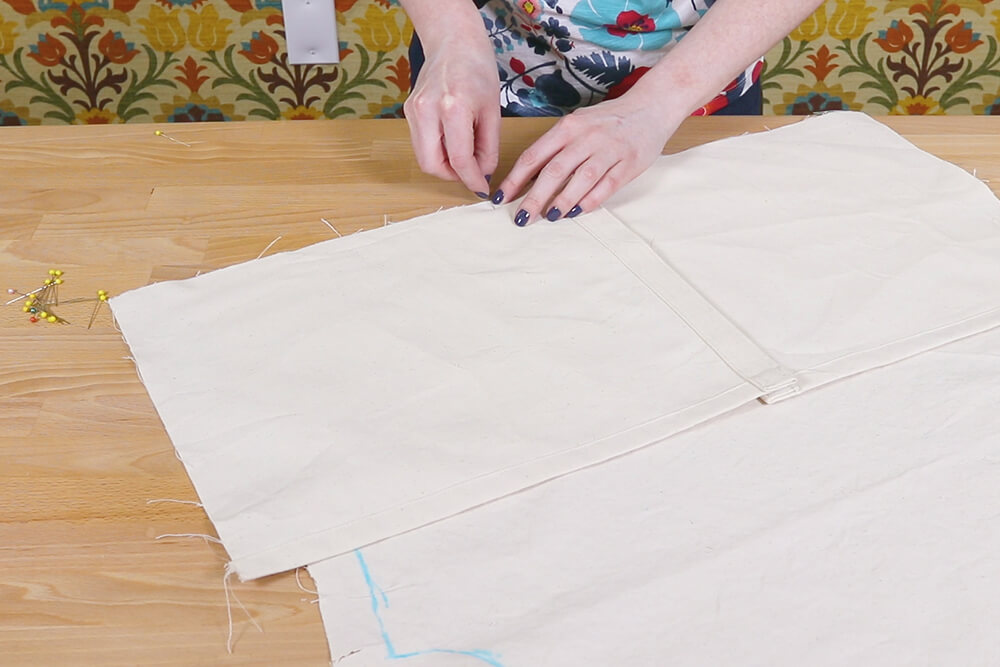
Pin the pieces on the chair with the wrong side facing out. Mark the outer edges of the Velcro pieces.
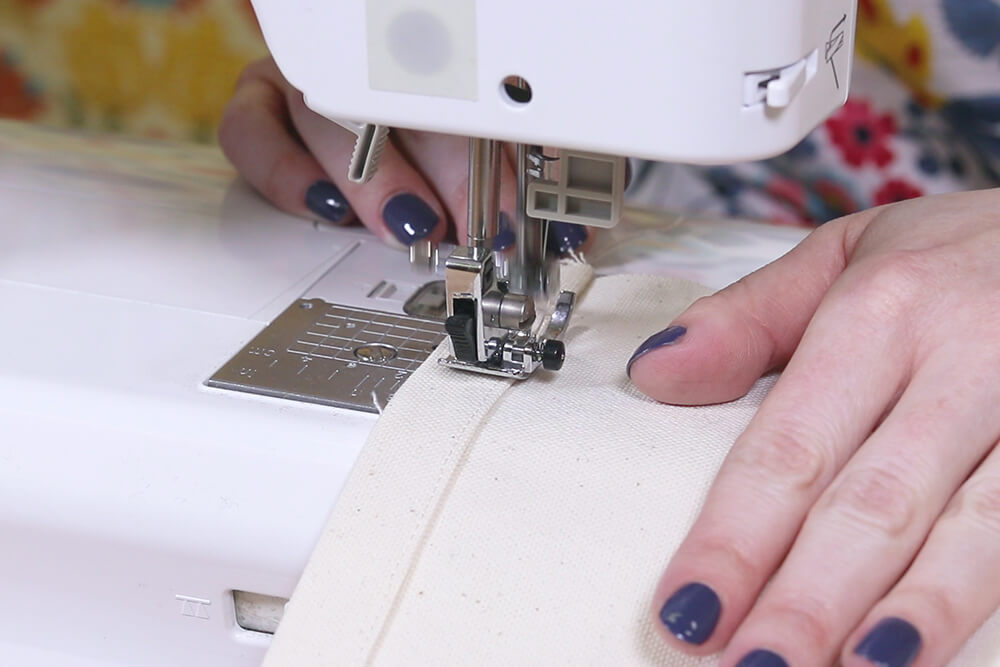
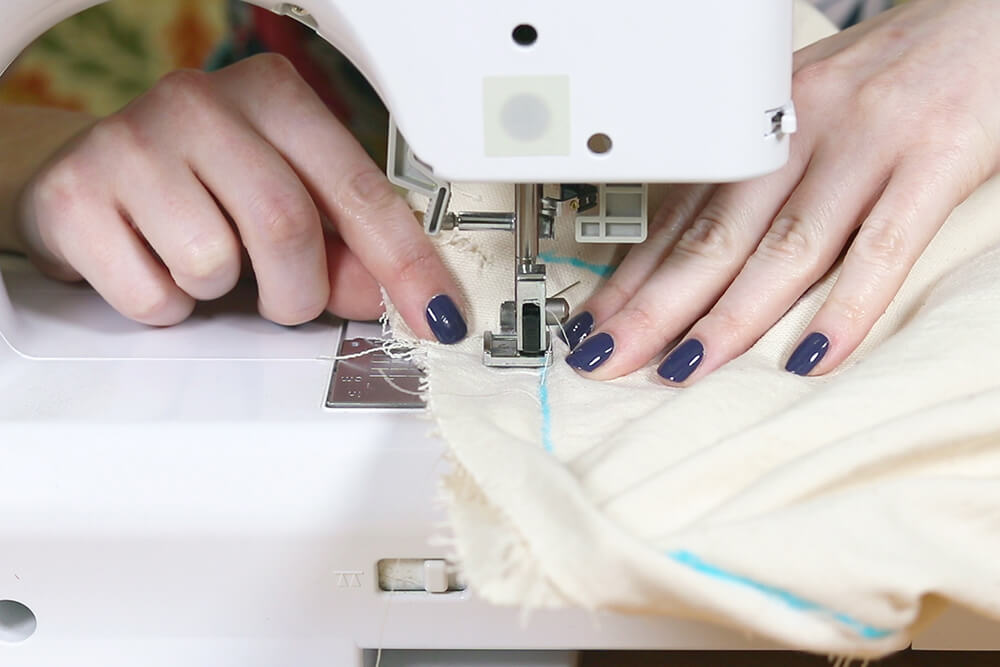
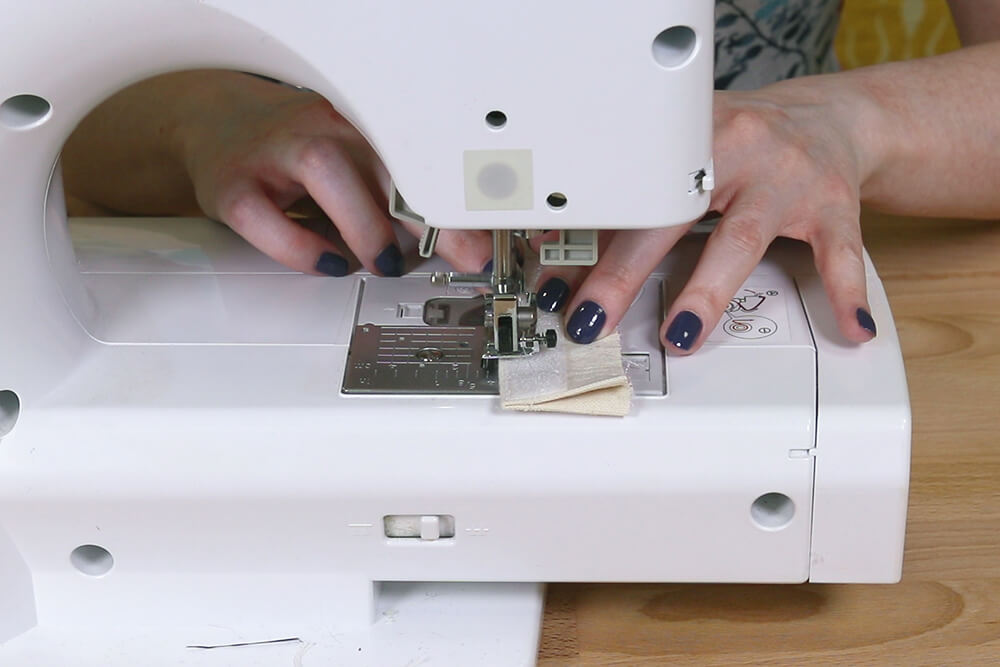
Step 4: Sew on the piping
If your chair or couch has scroll arms, you will most likely want to sew the piping to these pieces instead of the sides like this chair.
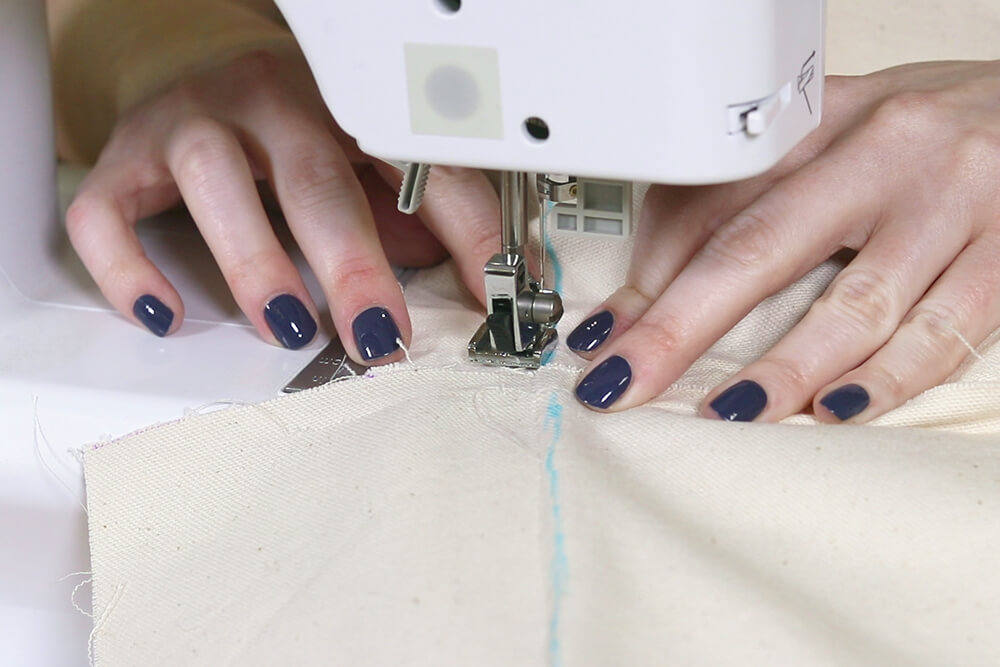
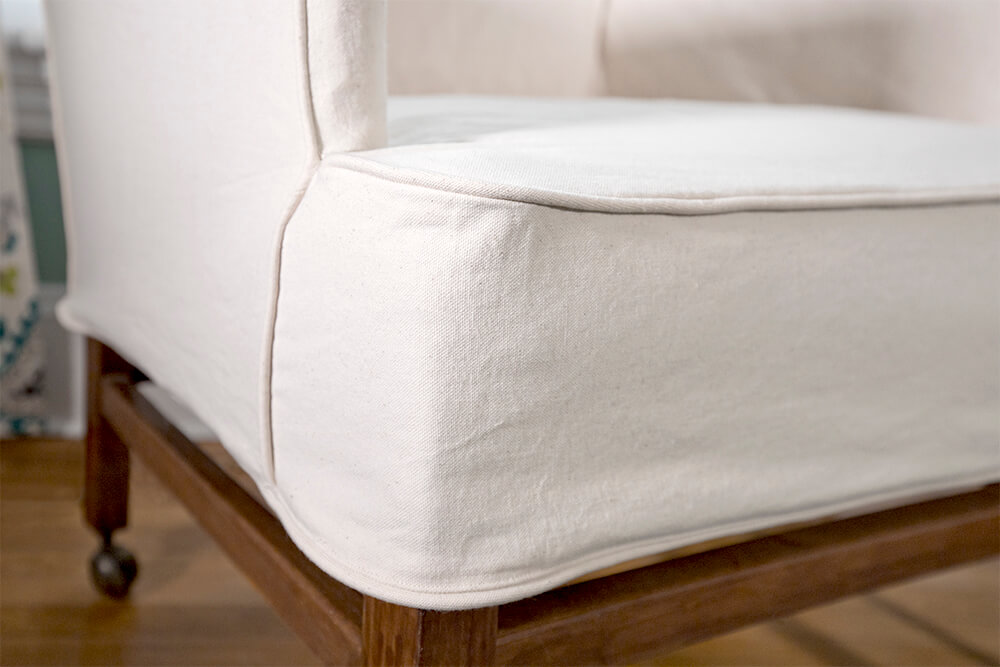
I’m going to start by sewing the piping to the sides of the chair. The piping wraps around all the edges except for the bottom.
Pin the piping so that the seam on the piping matches up with the seam markings on the fabric. Leave extra piping on the ends. The raw edges of the piping should be facing out. Make any adjustments if needed.
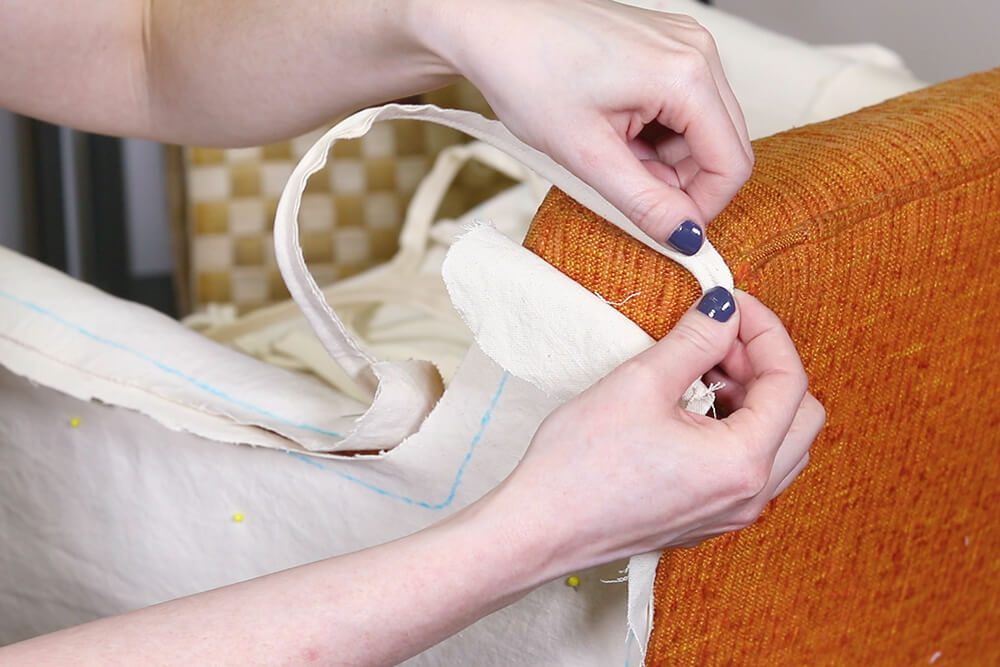
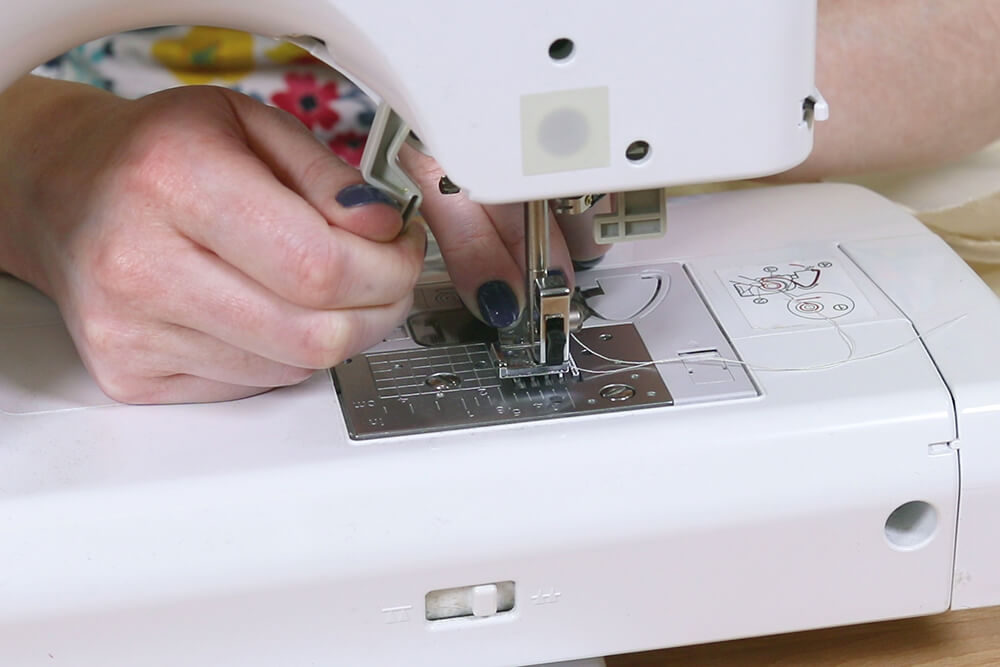
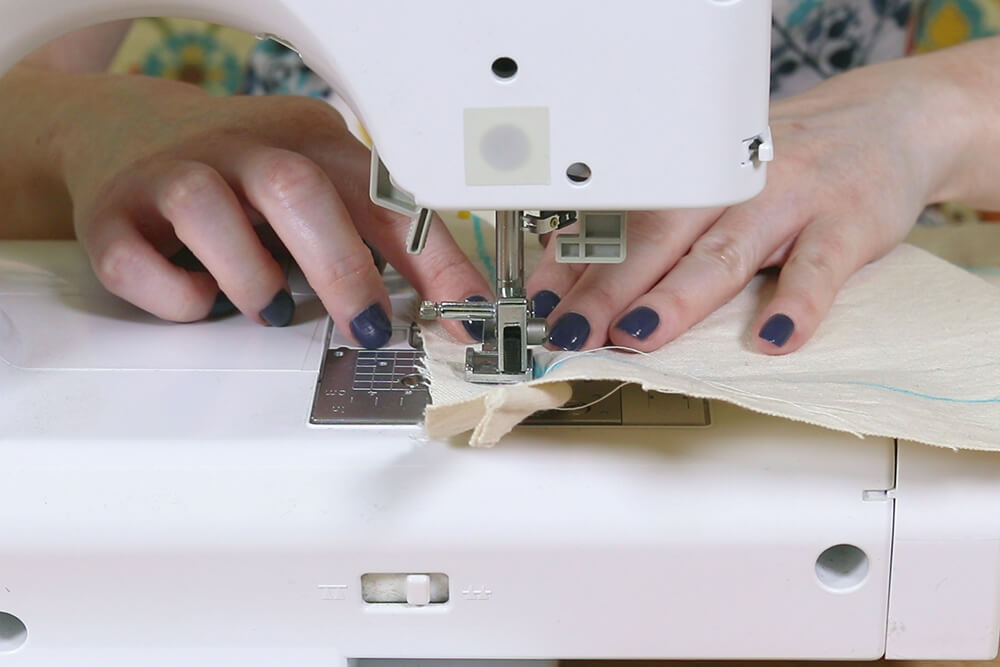
Sew the piping to the fabric with a piping or zipper foot. Pin it on the chair again.
Do the same thing for the other side piece.
Straighten the top line on the front piece. Pin and sew the piping onto the top of the front piece.
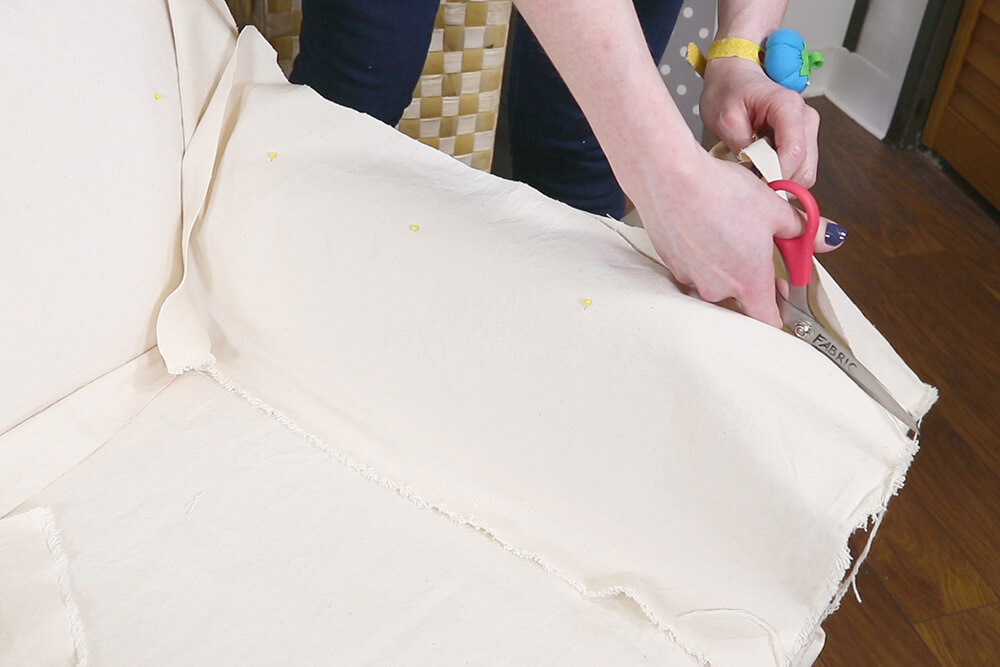
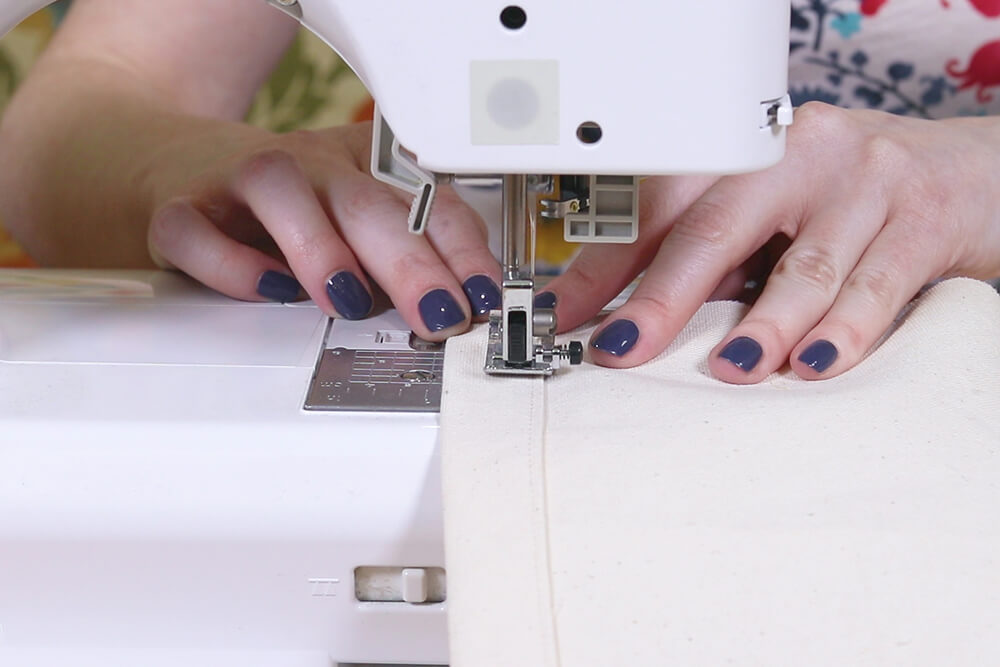
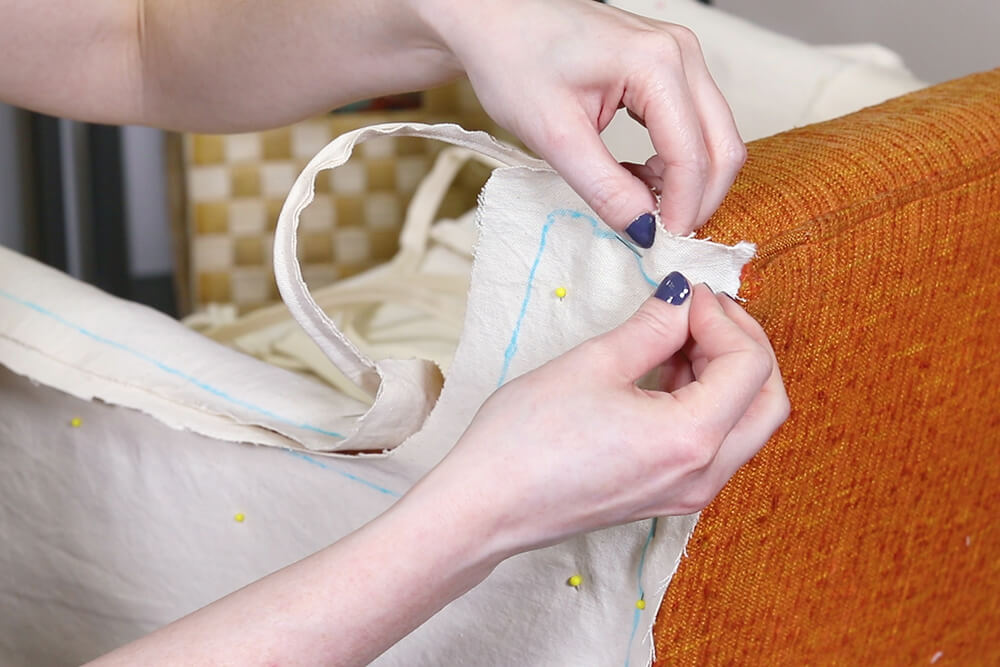
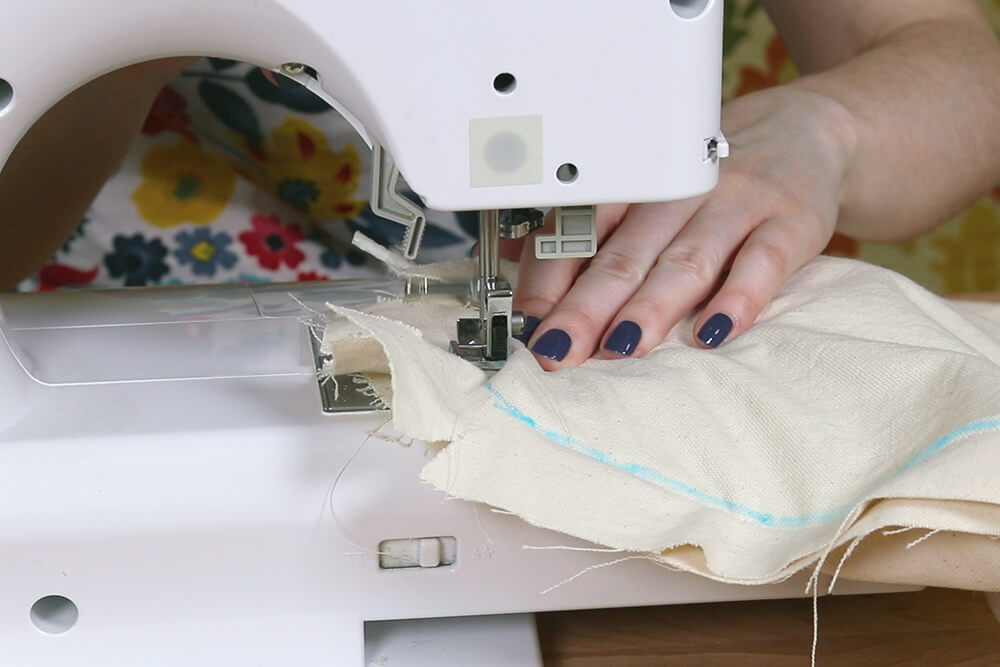
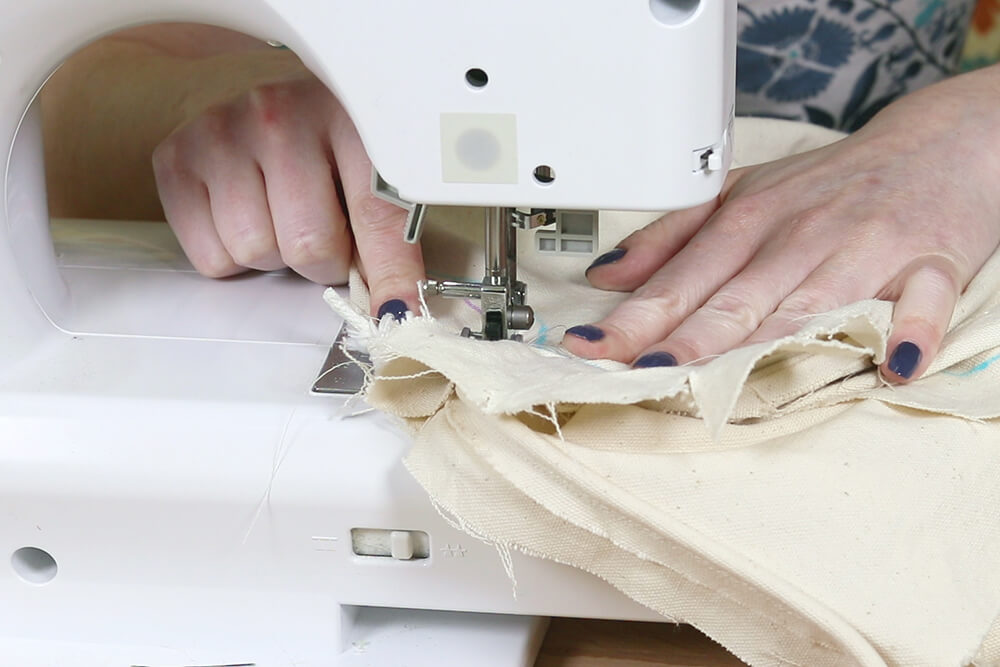
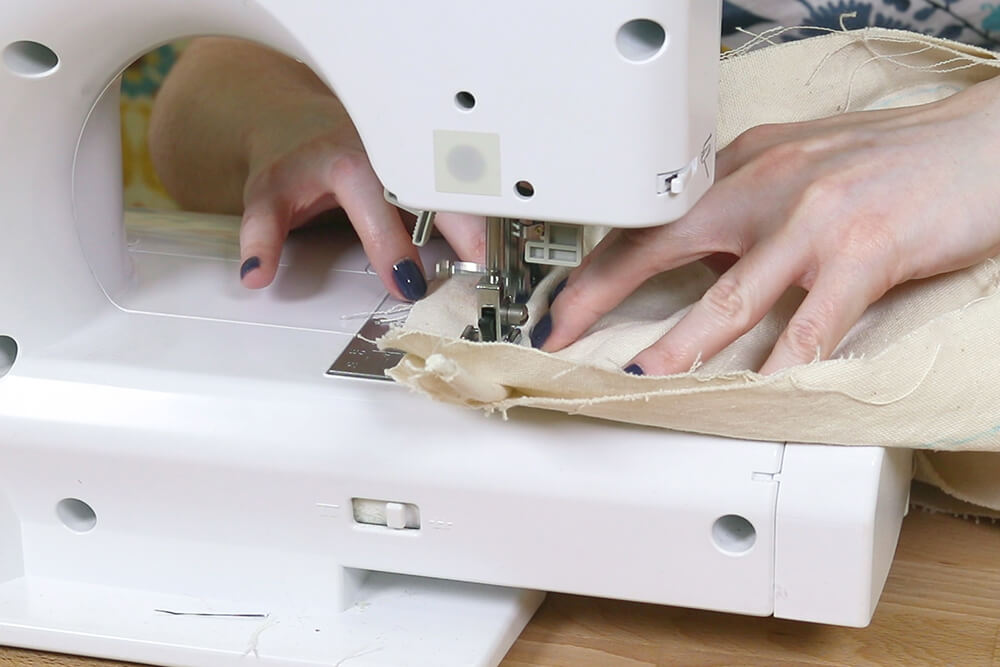
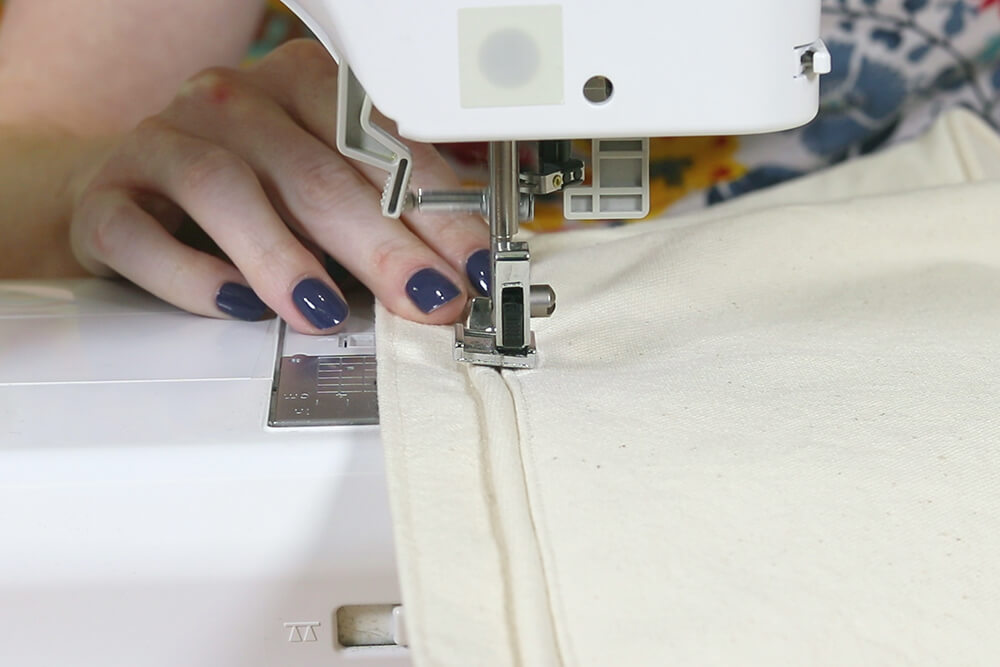
Step 5: Sew the pieces together
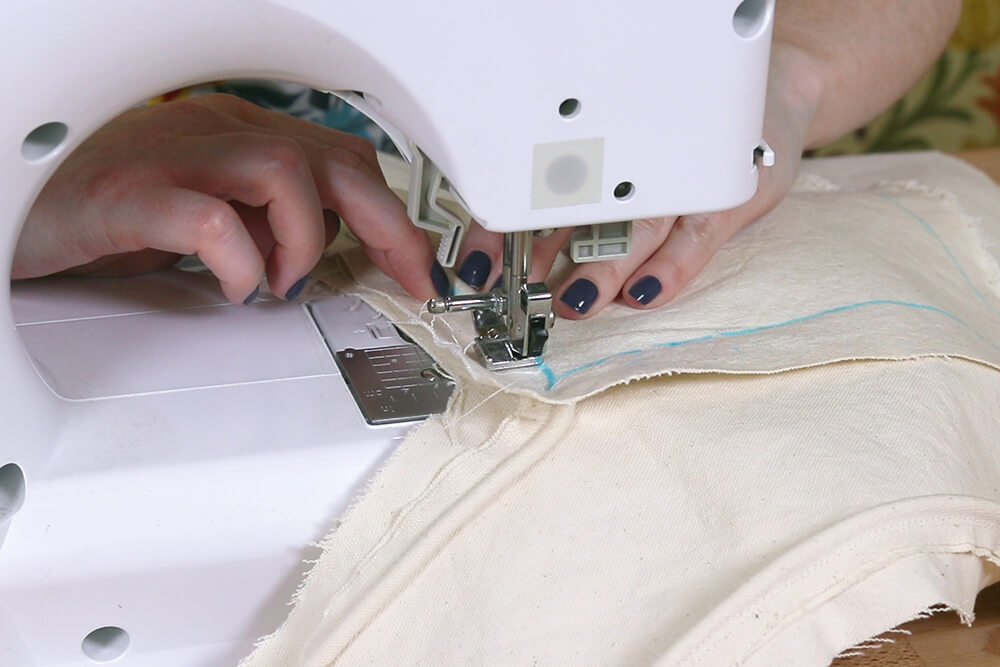
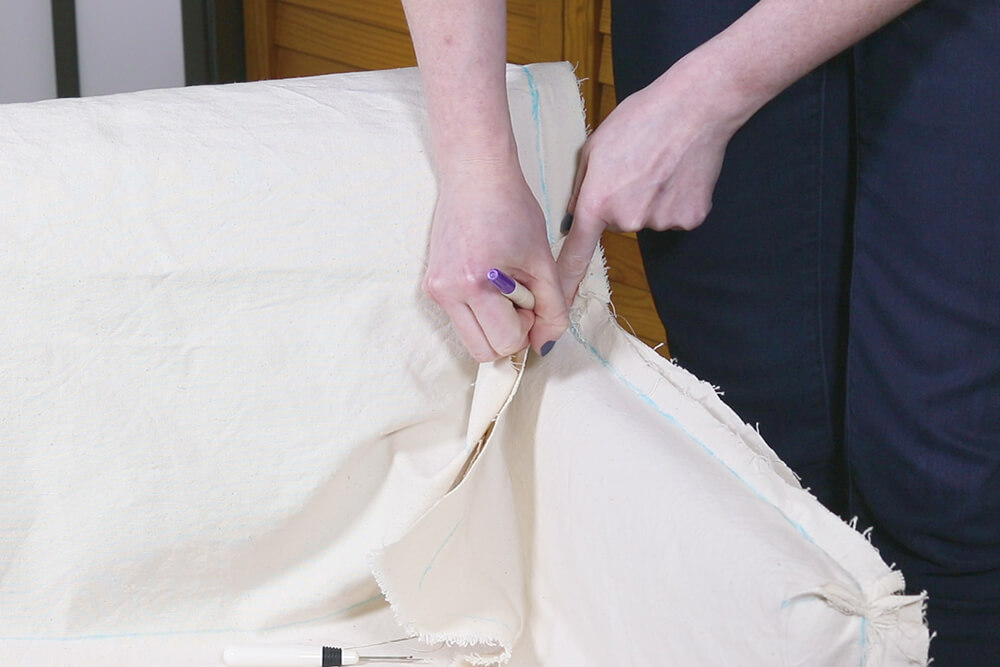
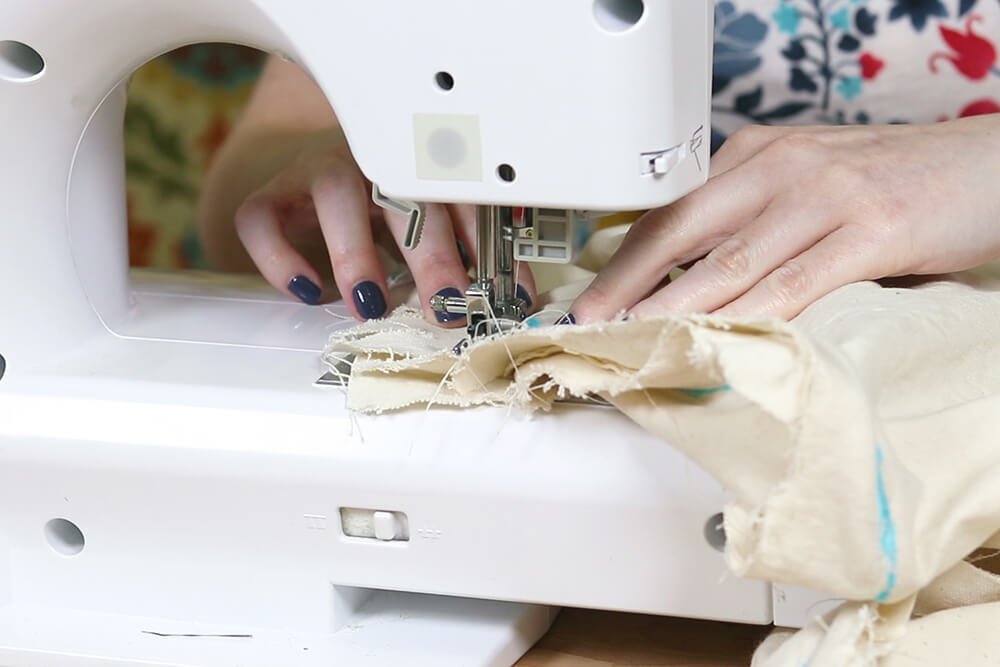
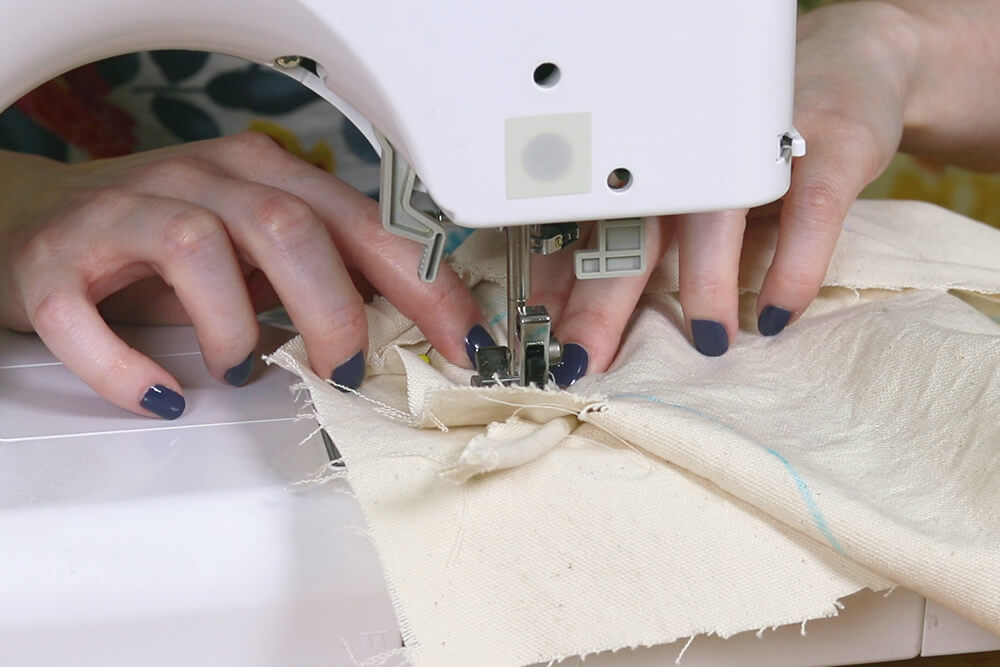
You can sew the pieces together in just about any order. I’m going to start by sewing the side panel to the inner arm piece. First I have to create the dart on the arm by sewing on the line. Cut off the extra fabric so that it will lay flat.
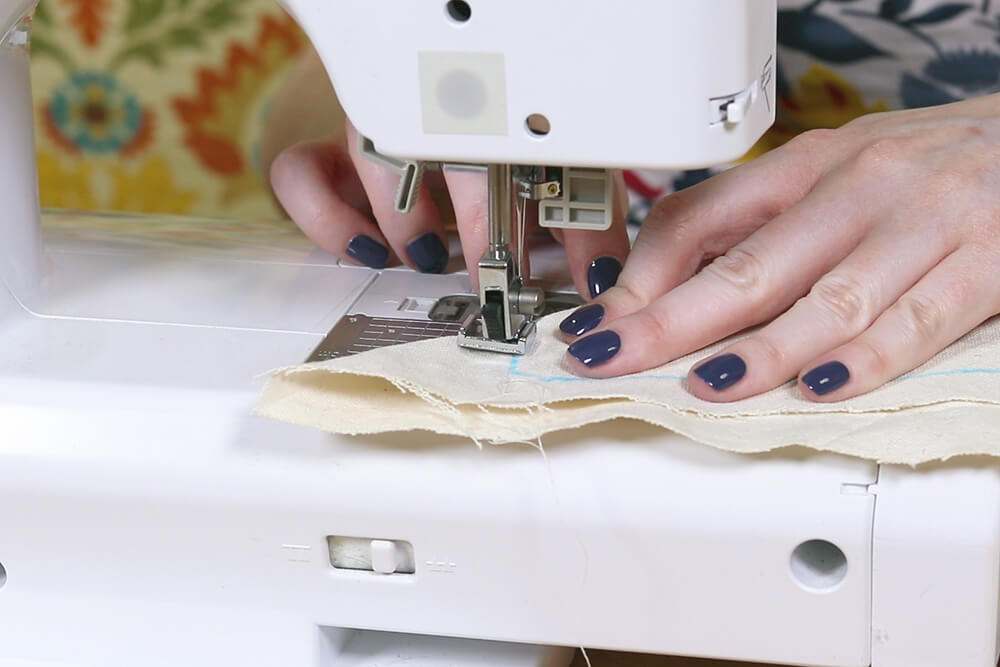
Pin the side and arm panels together so the lines match up. Sew tightly against the piping.
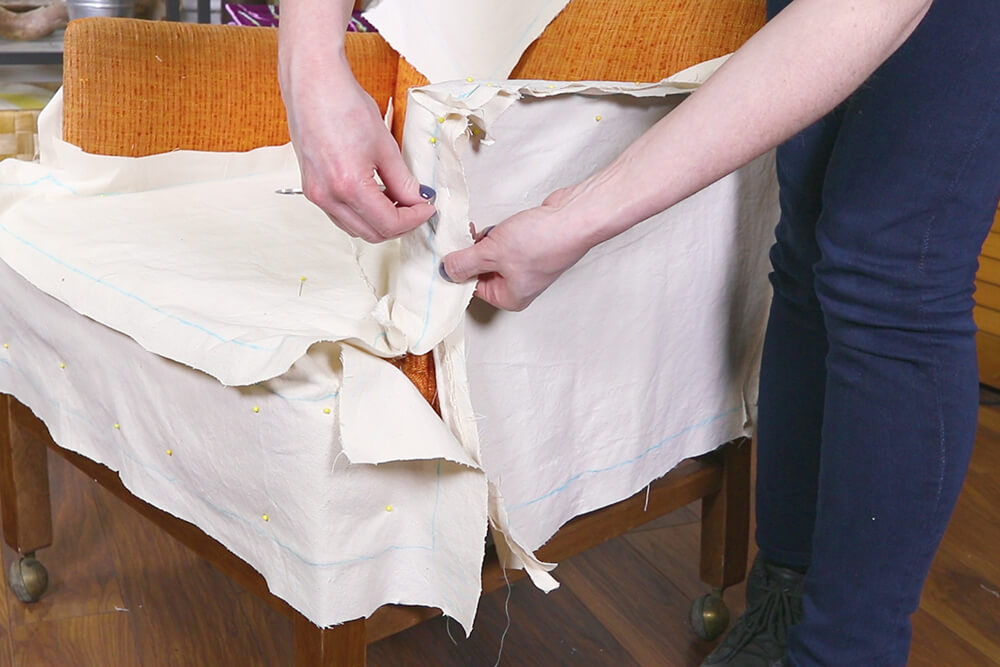
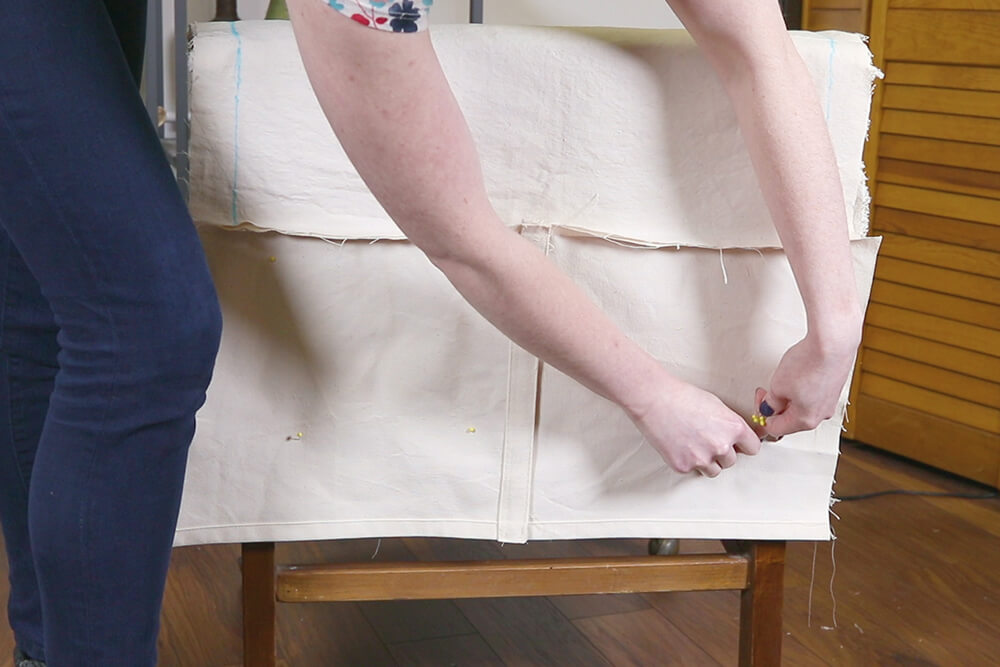
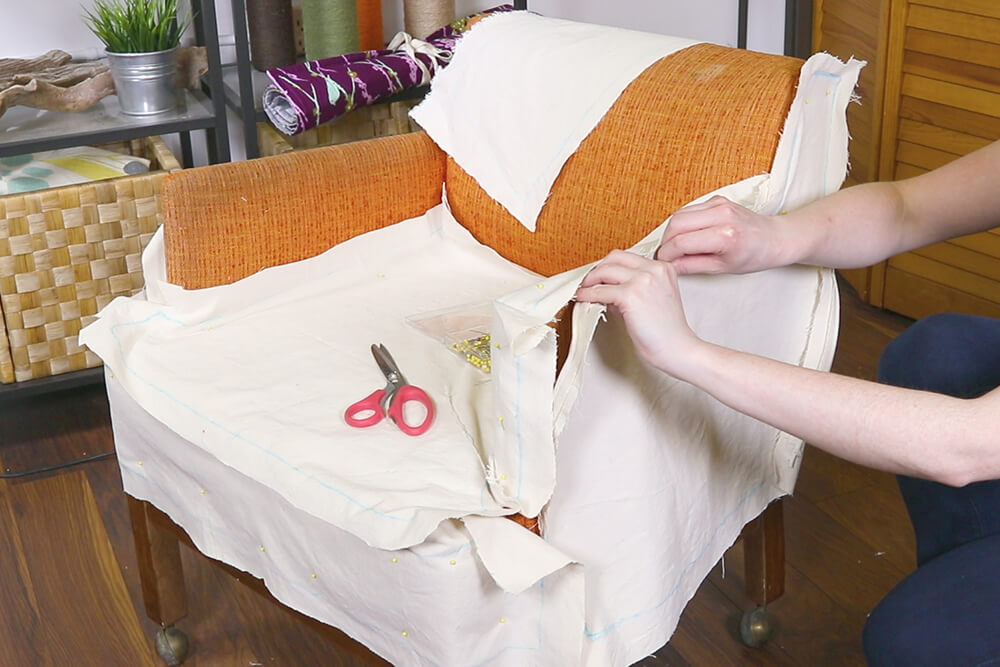
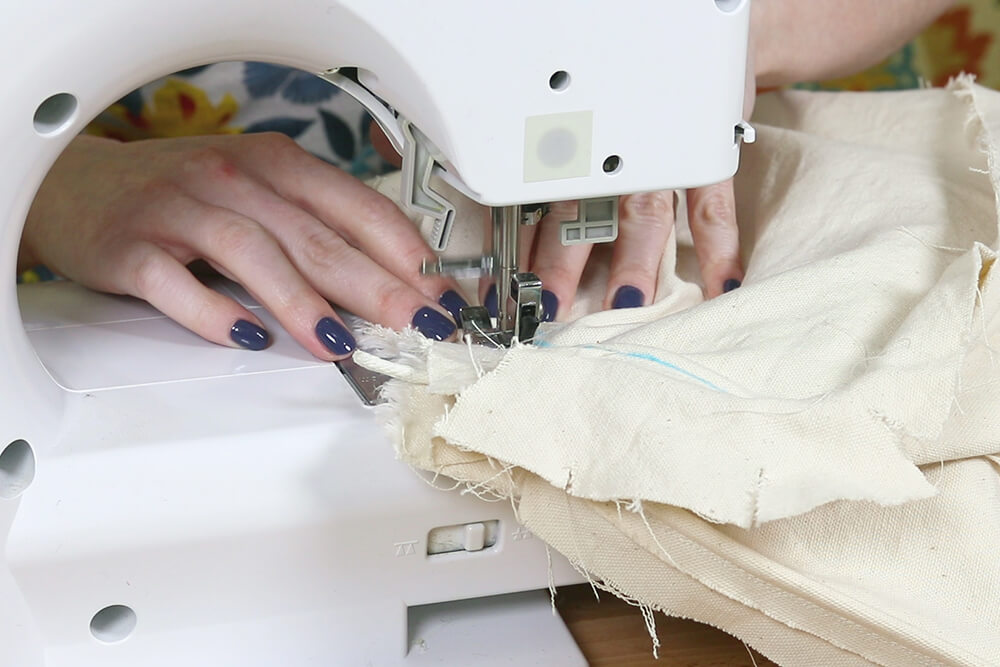
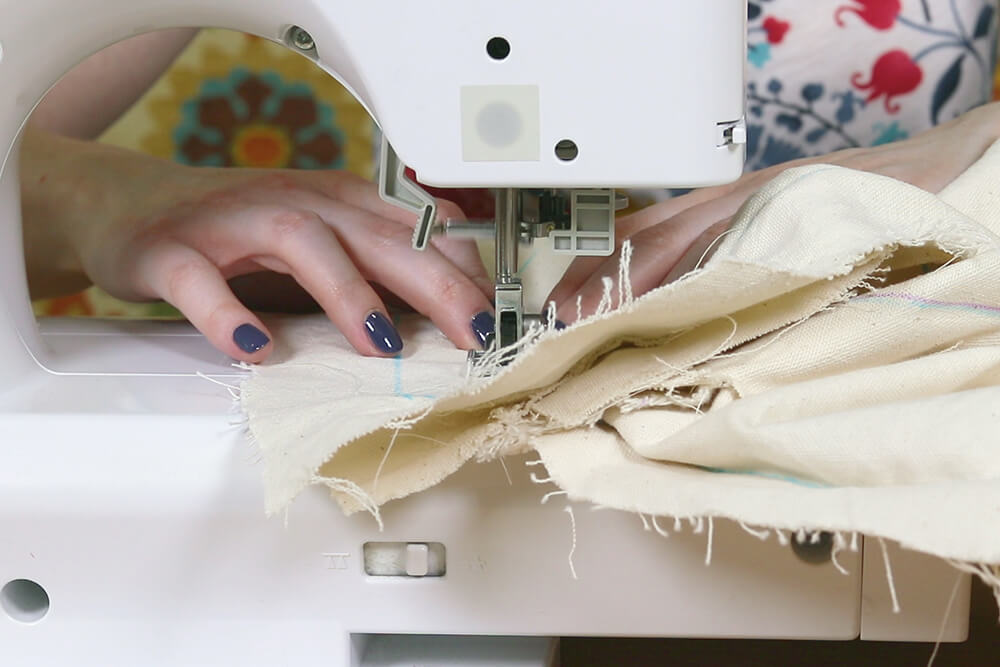
Put the slipcover back on to make sure the pieces fit correctly. Pin and sew the back pieces to the side panel. Take it slowly around curves and make relief cuts if needed. Stop a little before you get to where the inner arm piece meets the side panel.
Put the slipcover on the chair. The next seam I’m sewing is the inner arm and back piece seam. You may have to adjust the markings. Also mark the intersection where the arm, back and side pieces meet. You can rip out some stitches if needed to have the intersection in the right position.
Pin and sew the arm piece to the inside back piece. Check where the lines are for both pieces as you sew. This curve can be a little tricky so don’t worry if it’s not right the first try. You can always rip it out and make adjustments.
Do the same for the other side of the chair.
Pin and sew the front and seat panels together.
Next, sew the seat panel to the arms, then the back panel. Re-mark where necessary. You might not be able to get close to the bulky intersection with a sewing machine, but you can hand sew it later.
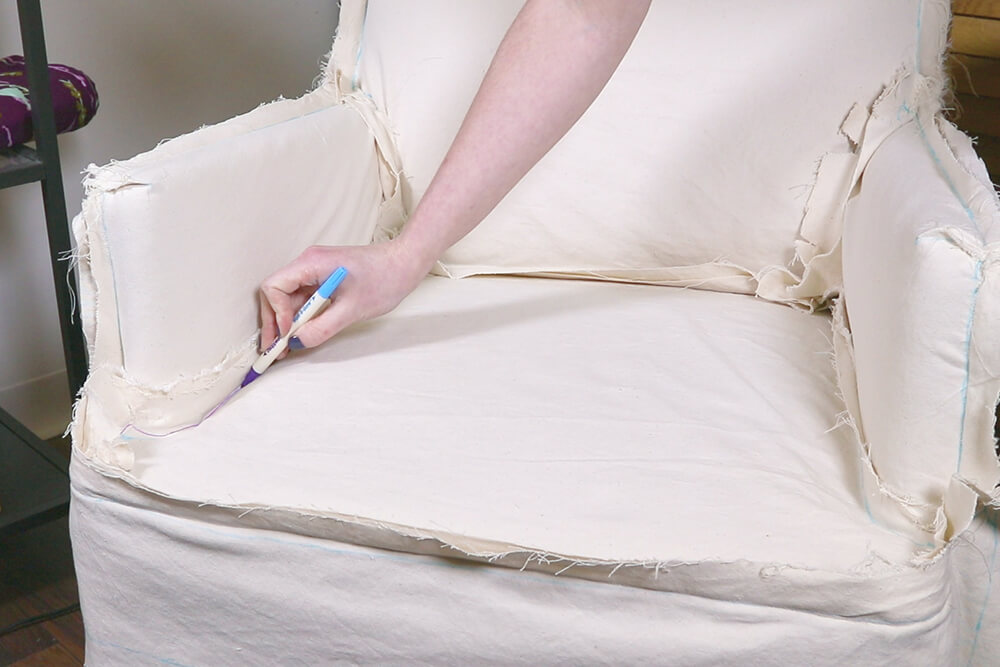
Put the slipcover on right side out to test the fit and make adjustments if needed.
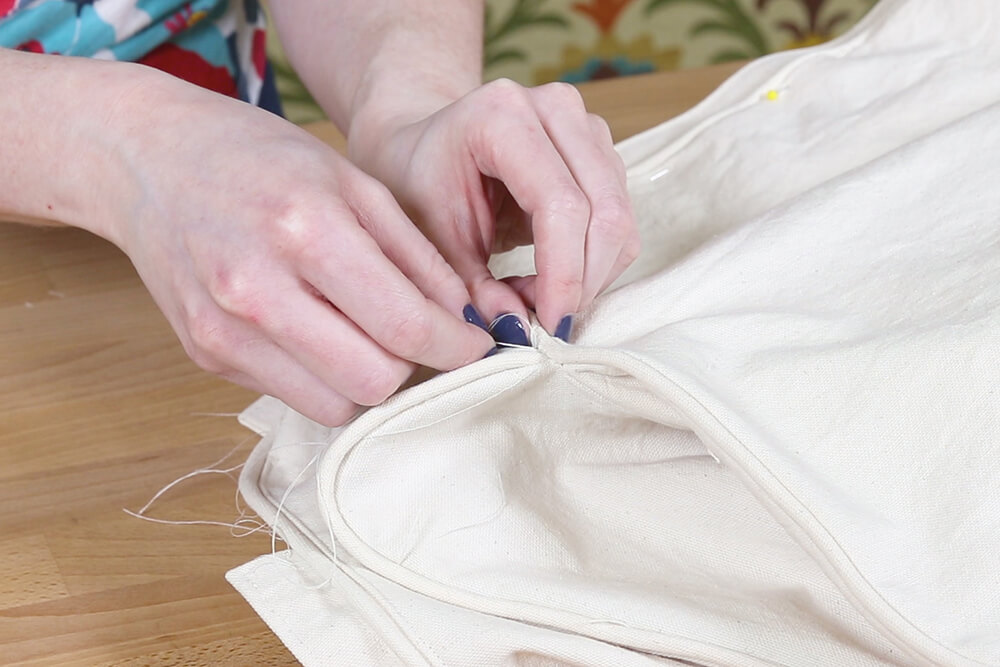
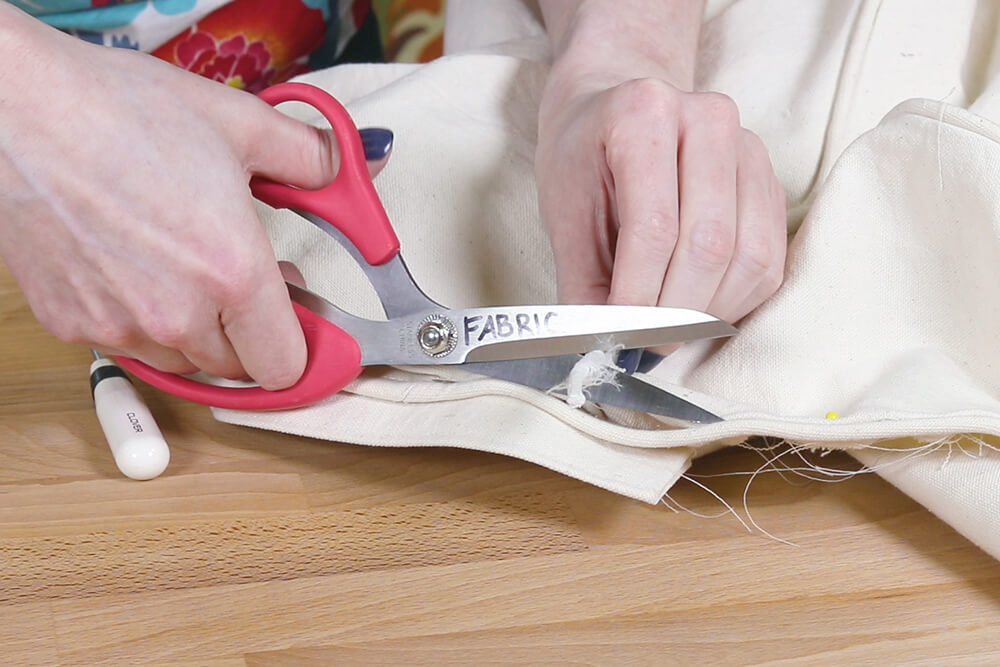
Attach the side panels to the front panel. At the intersection of the front piping and the side piping, cut back the end of the front cording to reduce bulk.
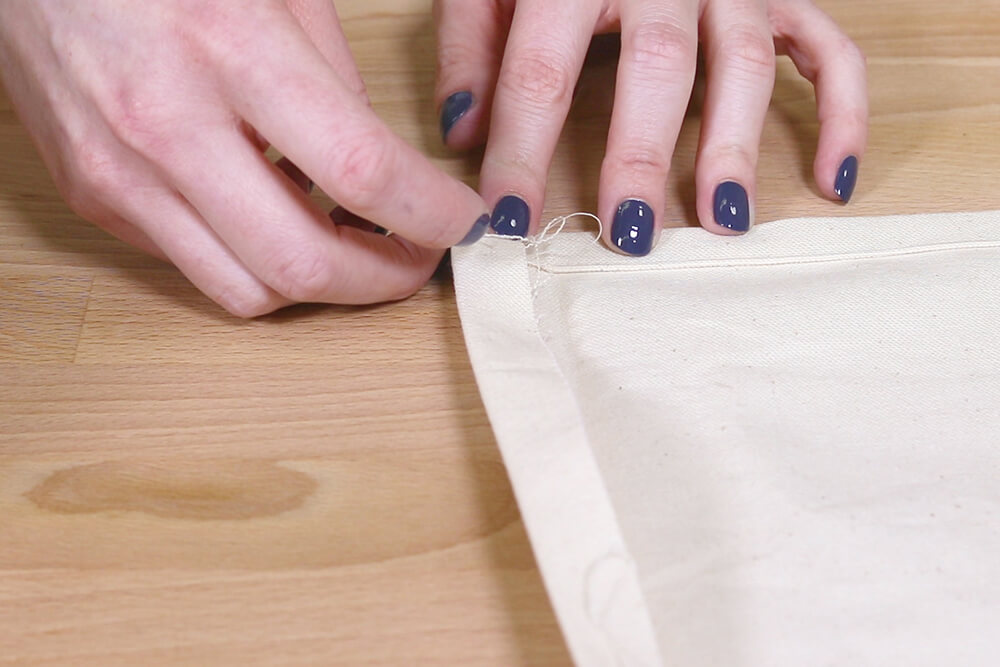
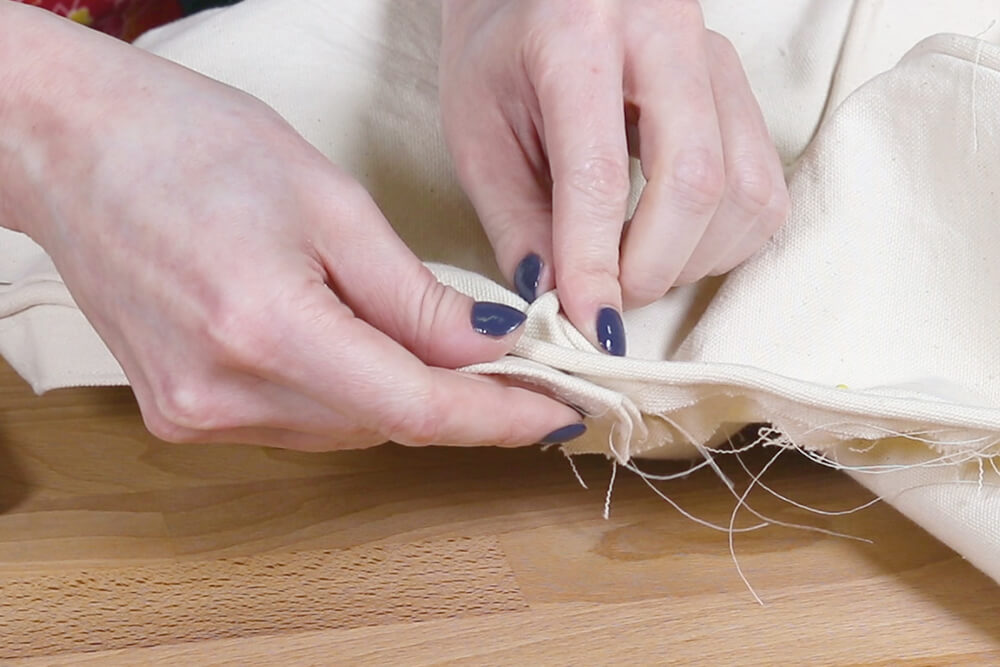
You can now do any hand sewing that’s necessary.
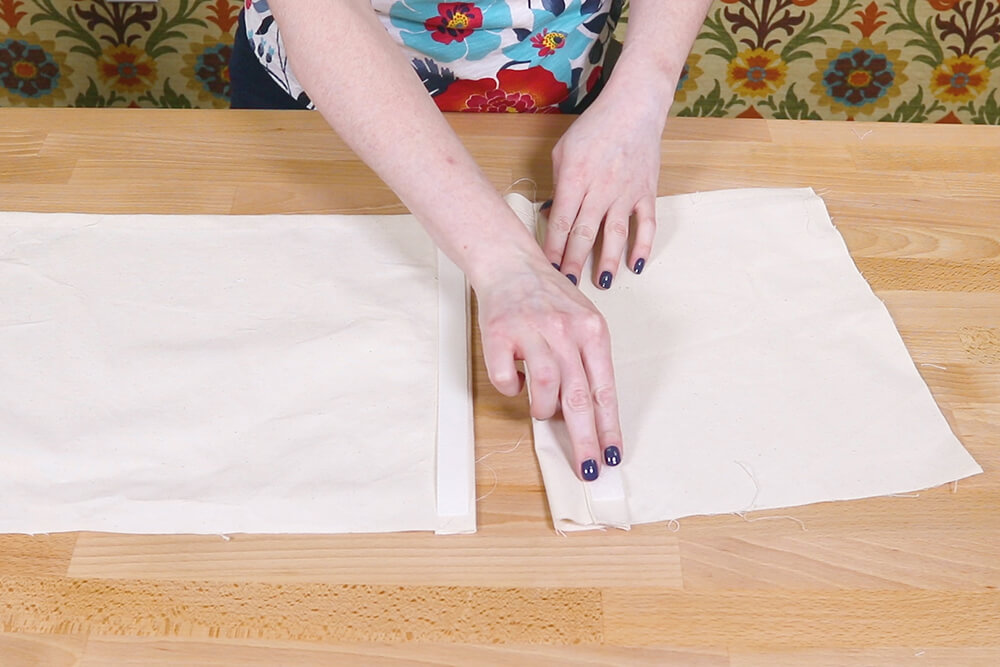
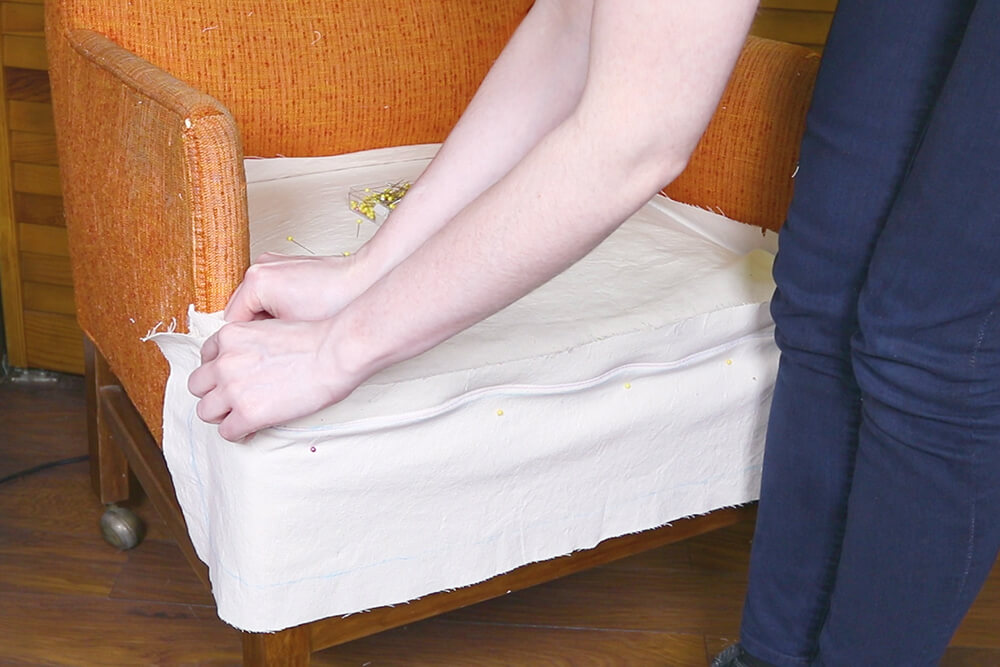
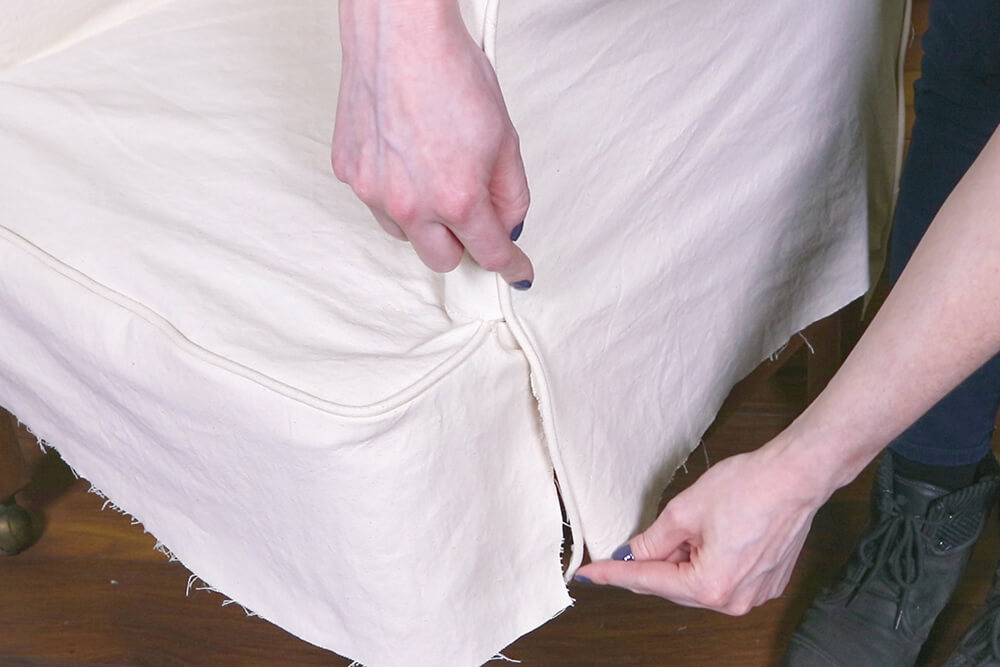
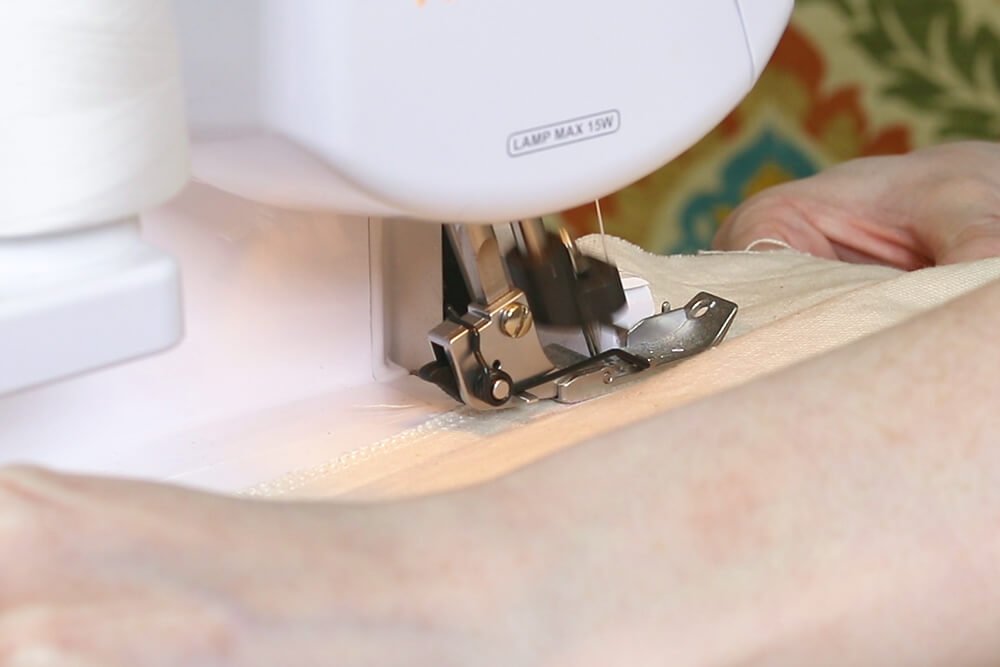
Step 6: Sew the bottom & finish the inside seams
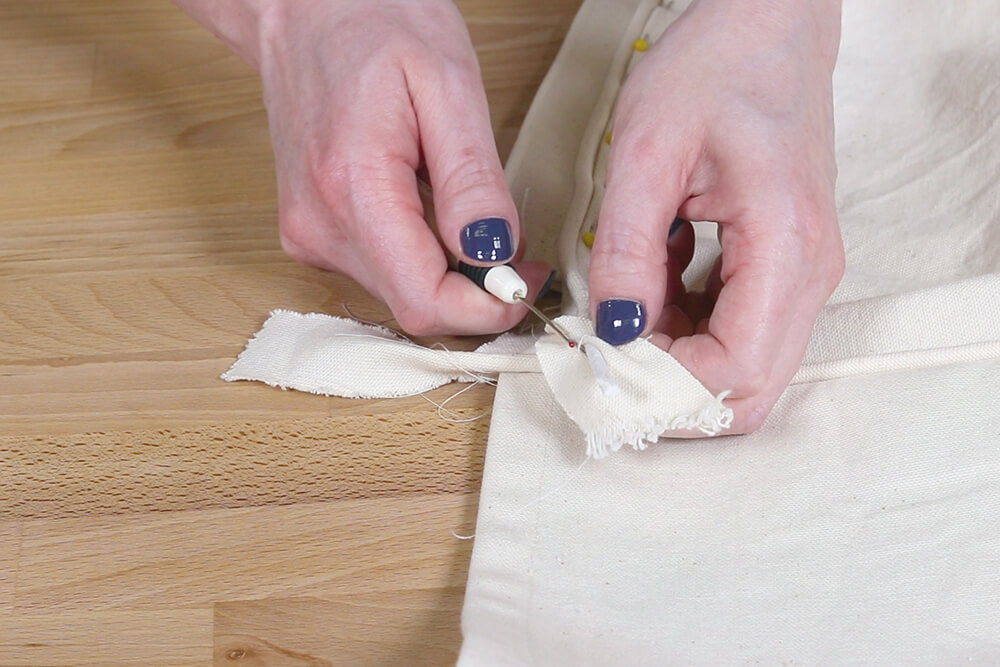
For the 3 Velcro tabs, iron the tab pieces in half and fold in the ends ½”.
Cut the soft loop side of the Velcro to the right length.

Sew the strips close to the folded edge.
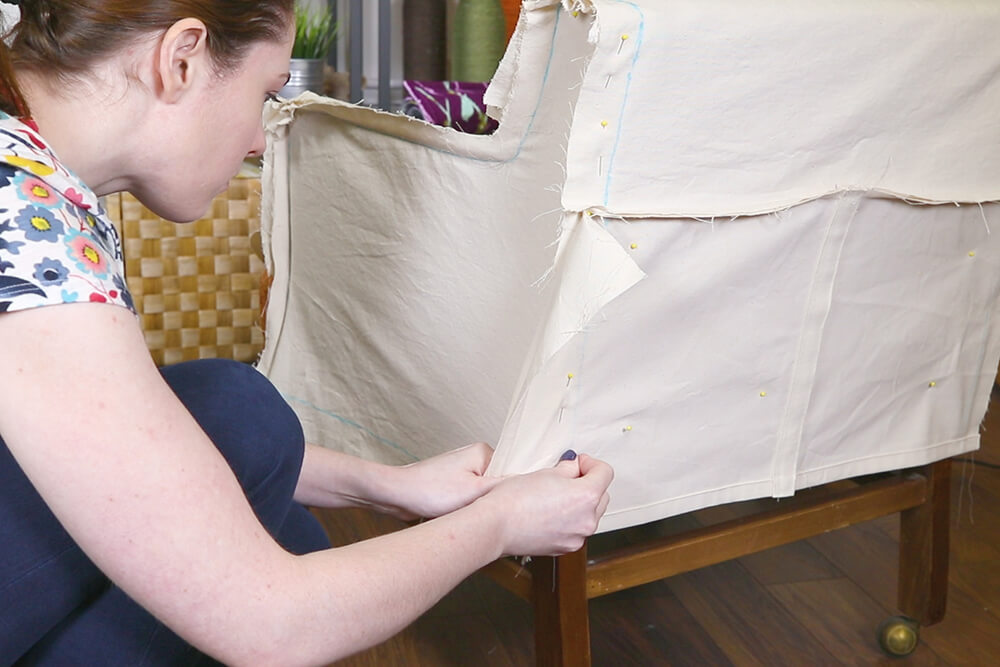
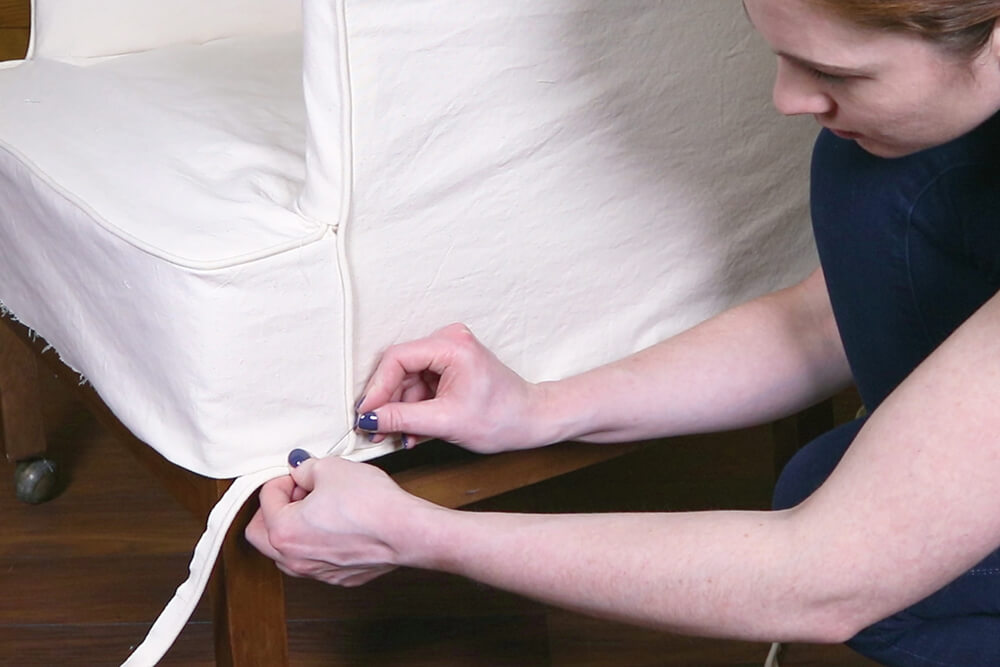
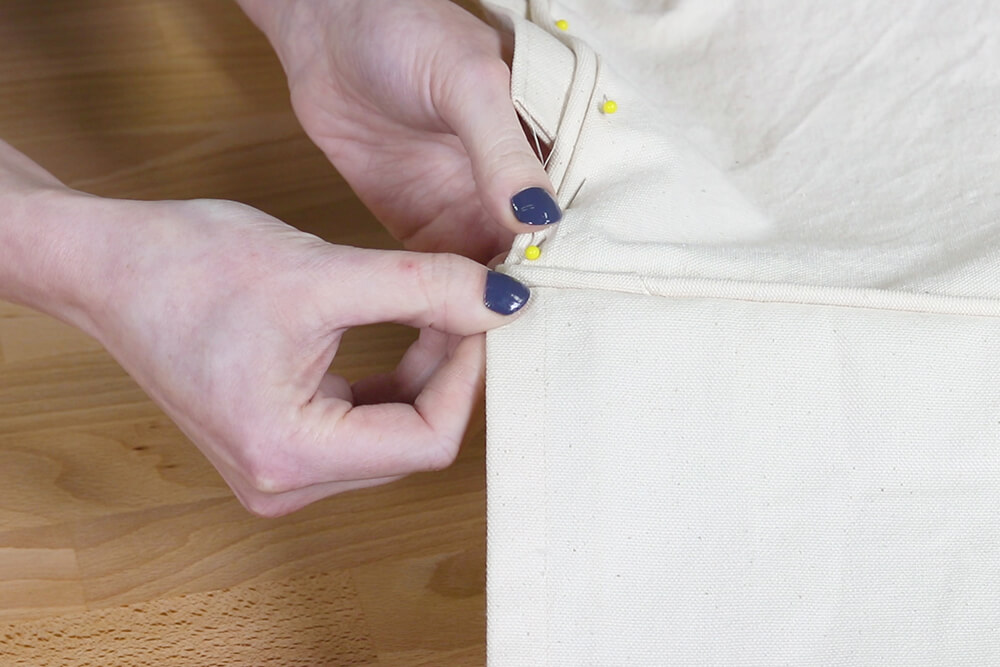
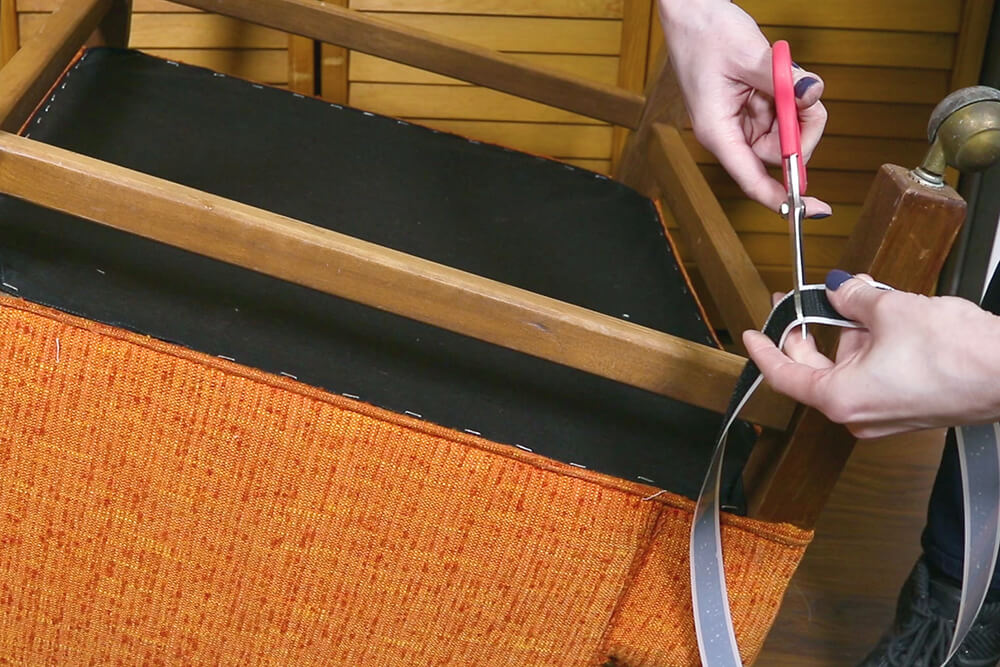
With the slipcover on, fold up the fabric so it’s in line with the bottom of the chair. Next, pin the piping, then Velcro tabs to the bottom of the slipcover. I’m doing one side at a time.
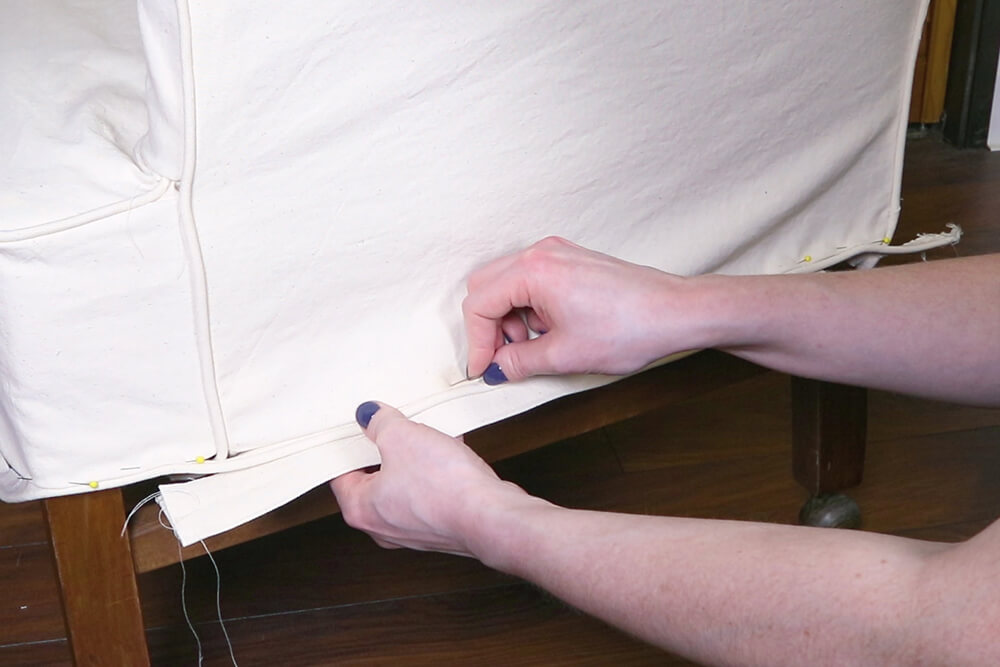
At the back corners, cut the ends of the cording back and arrange the fabric and piping so it looks neat.
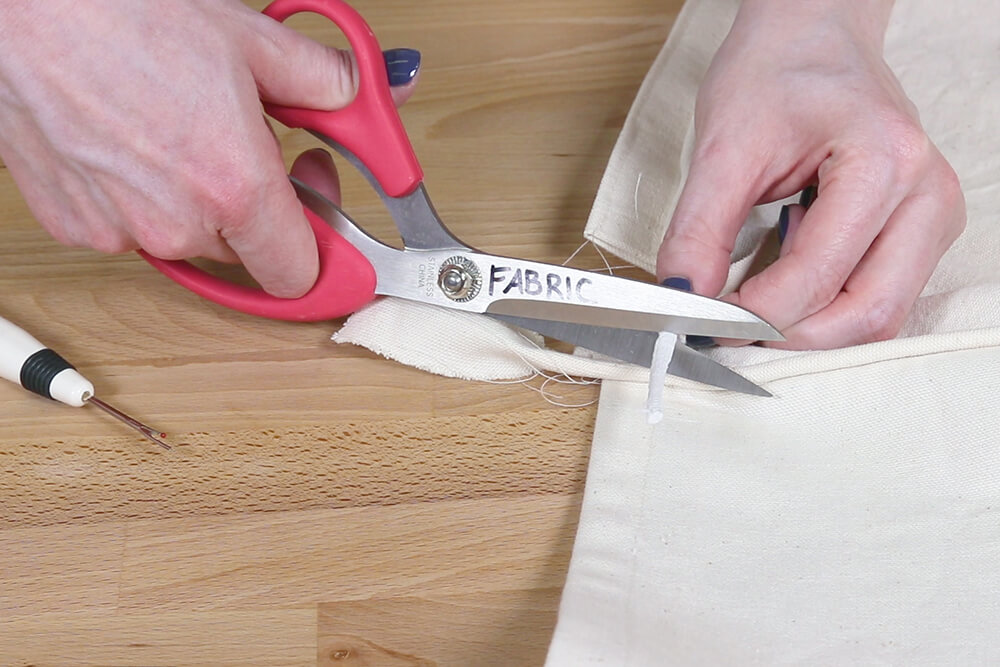

Also cut back the end of the cording where the side panel piping meets the bottom piping.
Sew one side of the chair then repeat for the front and other side.
You will need to finish the inside seams in some way if your fabric frays and you plan on washing it. The easiest way is to serge the seams which cuts off the excess fabric as the edges are sewn.
If you don’t have a serger, you can trim the extra fabric and use a zig zag or overlock stitch on your machine.
If you used a water soluble marker like I did, you can now wash the slipcover to remove the markings.

I’m using the rough hook side of adhesive backed Velcro on the bottom of the chair to attach the Velcro tabs. You can also staple the sew-on hook Velcro to the chair.
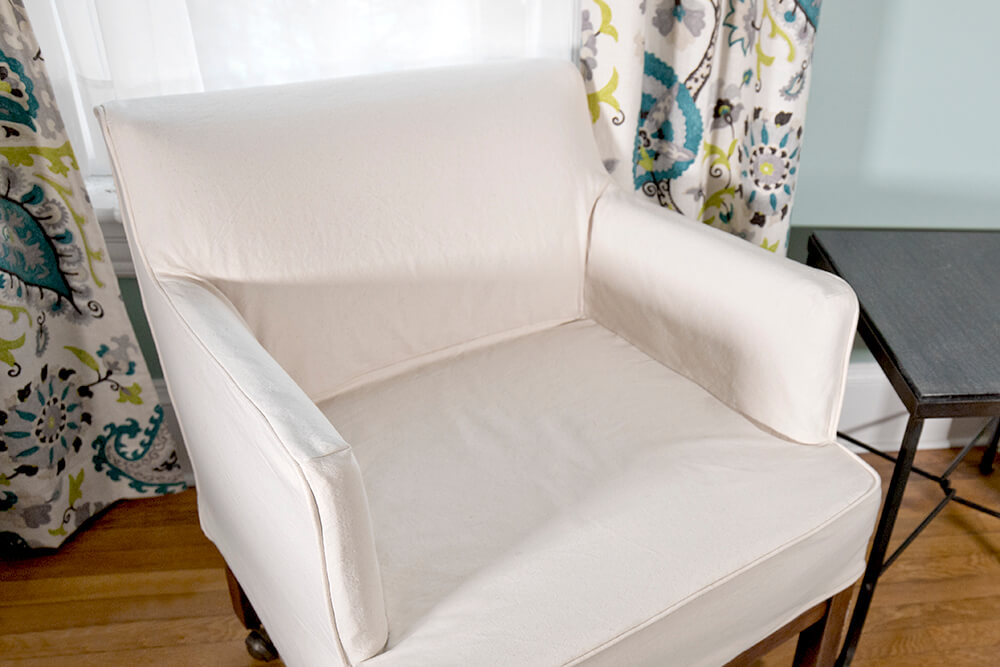
Put on the slipcover, Velcro the back and bottom tabs and the chair is done.
Need to recover an old chair? Check out our excellent selection of fabric.
-
{{#each productSuggestedQueries.results}}
- {{query}} {{/each}}
-
{{#each categories.results}}
- {{html title}} {{/each}}
{{html attributes.description}}
{{/if}}-
{{#each queries.results}}
- {{query}} {{/each}}