How to Make Box Cushions with a Zipper
- By Clara
- Intermediate
- 2 hours
Box cushions are commonly found on couches or armchairs, and are used in many other applications like window seats, benches, outdoor seating or even dog beds. They are a simple upholstery project that you can easily customize.
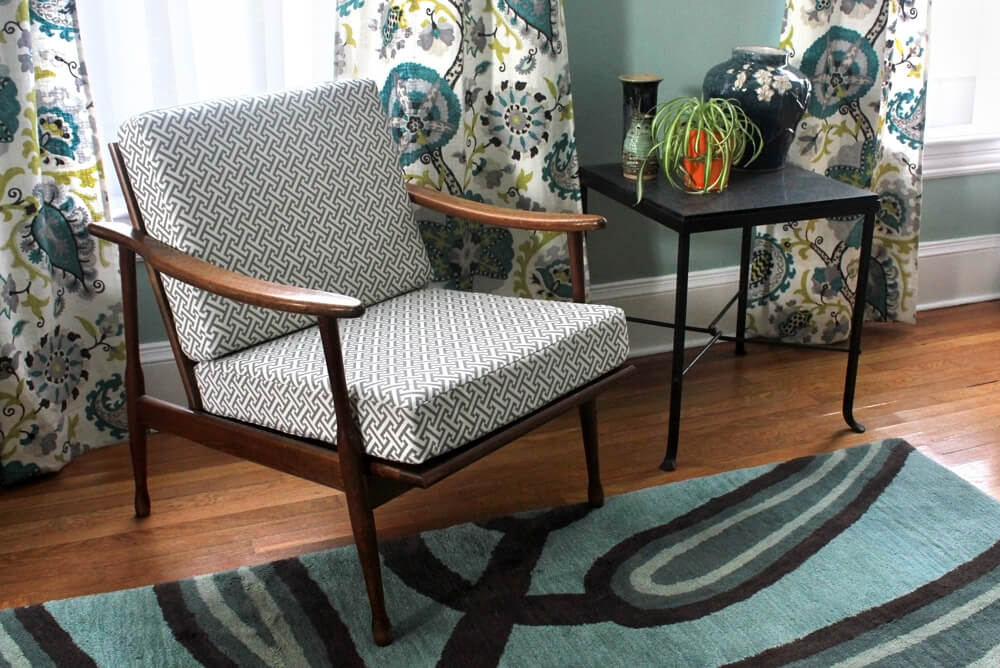
In this tutorial, I’ll be giving a mid-century modern chair a new look by replacing the cushions.
Want to get the printable PDF instructions?
For a simpler way to make cushions with a Velcro closure see our dog bed / outdoor cushion tutorial.

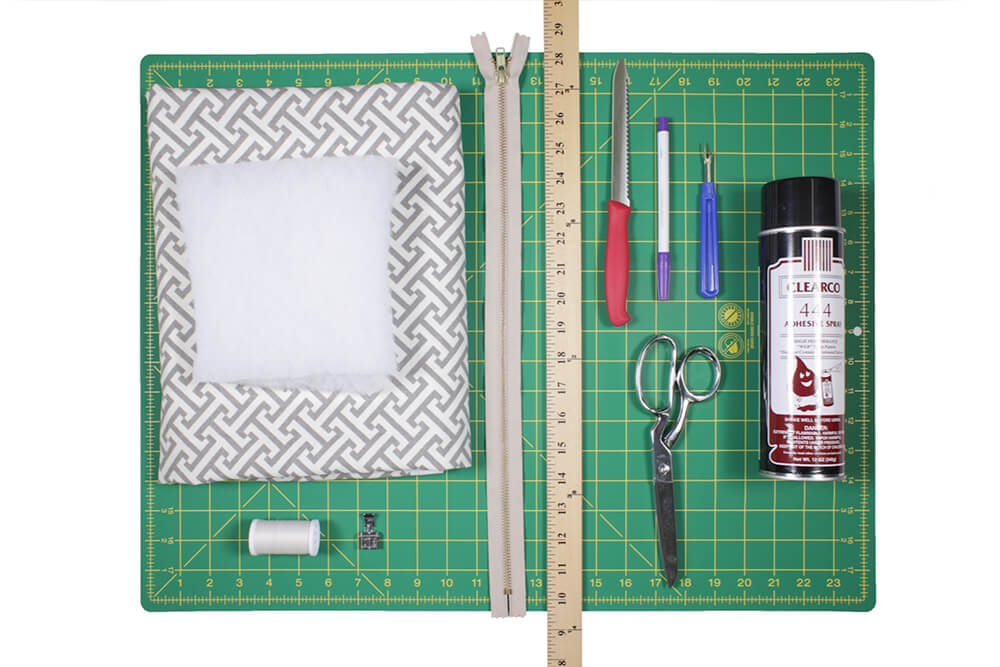
Materials
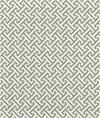
- Decor fabric
- Upholstery foam
- Upholstery zipper
- Padding
- Thread
- Scissors
- Seam ripper
- Fabric marker
- Foam spray adhesive
- Ruler
- Serrated or electric knife
- Zipper sewing machine foot
Related Products
-
 Knife Edge Dressmaker's Shears - 8"
-
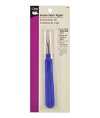 Deluxe Seam Ripper
-
 Cross Section Charcoal
-
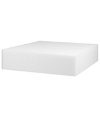 3 x 24 x 54 Upholstery Foam
-
 Dual Duty XP Thread - Winter White, 250 Yards
-
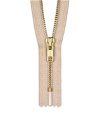 YKK 18" #5 Closed End Upholstery Zipper
-
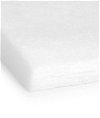 1/2" White Dacron Upholstery Deck Padding
-
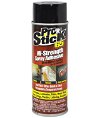 Pro Stick 65 Hi-Strength Web Spray Adhesive
-
 Disappearing Ink Marking Pen - Purple
Video
Instructions
Step 1: Cut the foam & padding
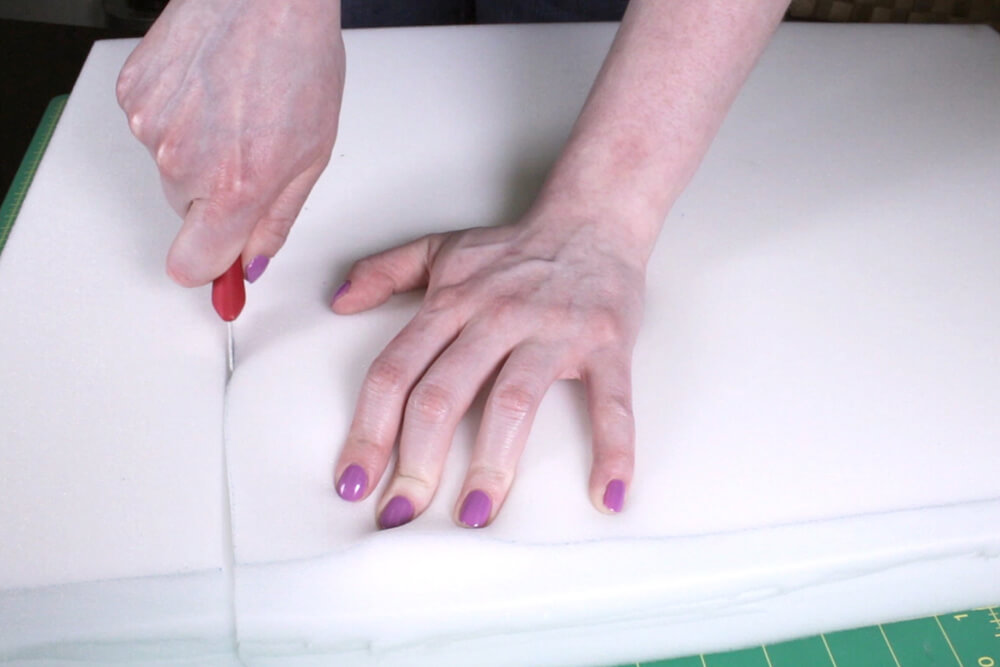
The first step is cutting the foam to size. Mark the foam to your dimensions. This cushion will be 16″ x 20″.
Turn the foam over and mark the other side too. Use an electric or serrated knife to cut about half way through the foam. Then flip it over and finish cutting through. Cutting from both sides will help keep the cut square, especially on thicker foam.
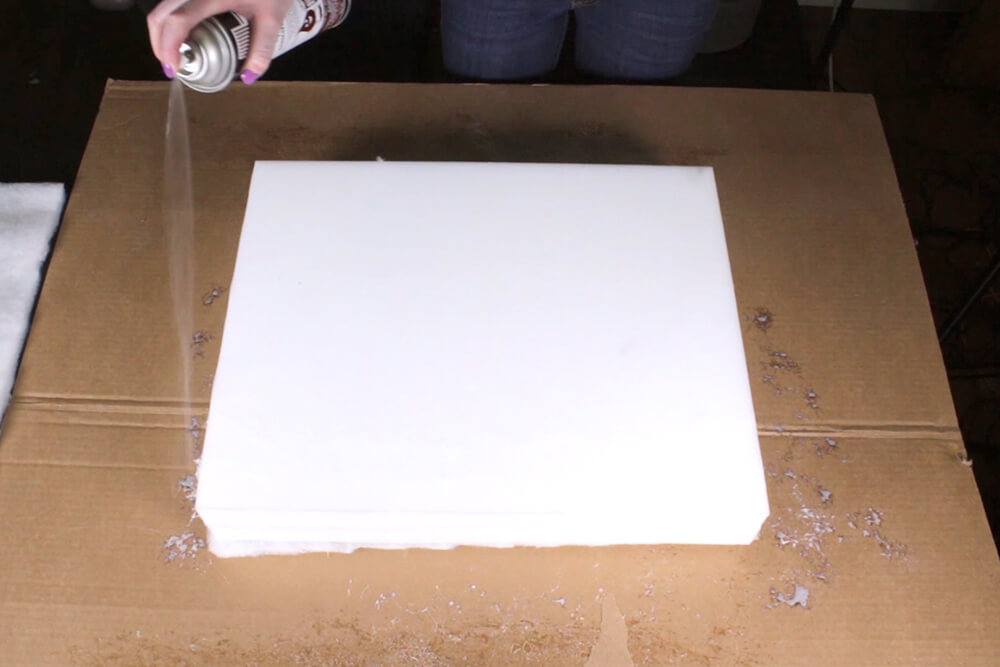
Lay the foam on the padding and cut it out. Repeat for the other side. Padding softens the edges and creates a fuller look. Trim off any excess padding.
For a more rounded look, use cushion wrap instead and wrap it all the way around the foam.
Use a spray adhesive designed for foam to attach the padding or cushion wrap. Spray it onto the foam and lay the padding on top. Repeat for the other side. You’ll have time to reposition it.


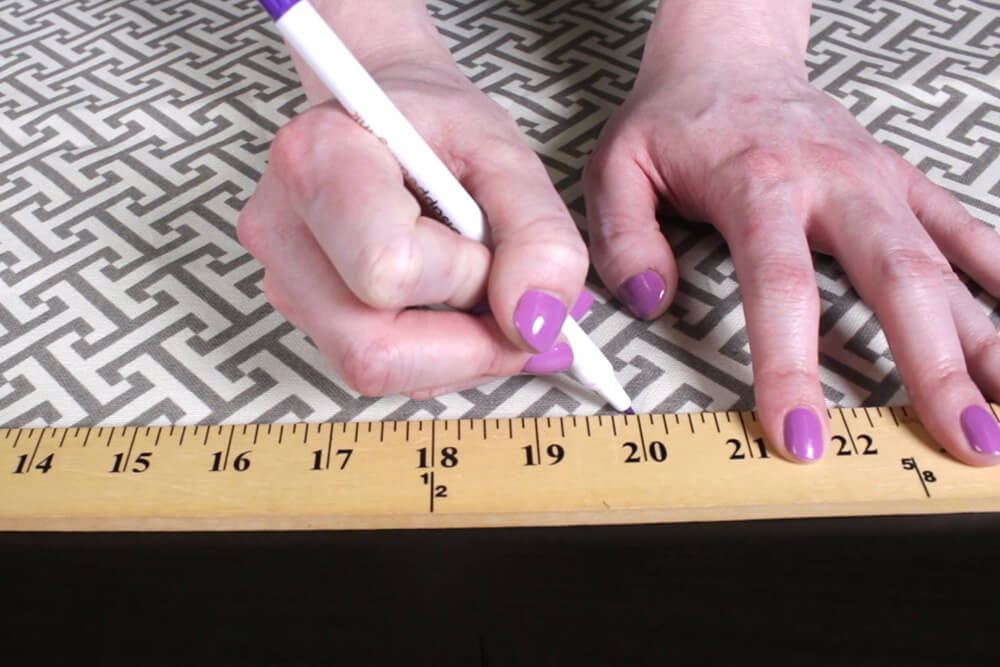
Step 2: Measure & cut the fabric
If you plan on washing your cushion cover, pre-wash the fabric before cutting it so it doesn’t shrink once finished. Keep in mind dry cleaning is recommended for most decor fabric.
Measure and cut two pieces for the top and bottom. Take the dimensions of your foam and add 1” to the width and length to account for a ½” seam allowance.
I’m cutting two pieces that are 21” x 17”. If you’re working with a patterned fabric, you’ll want to pay attention to how the pattern is aligned on your panels.
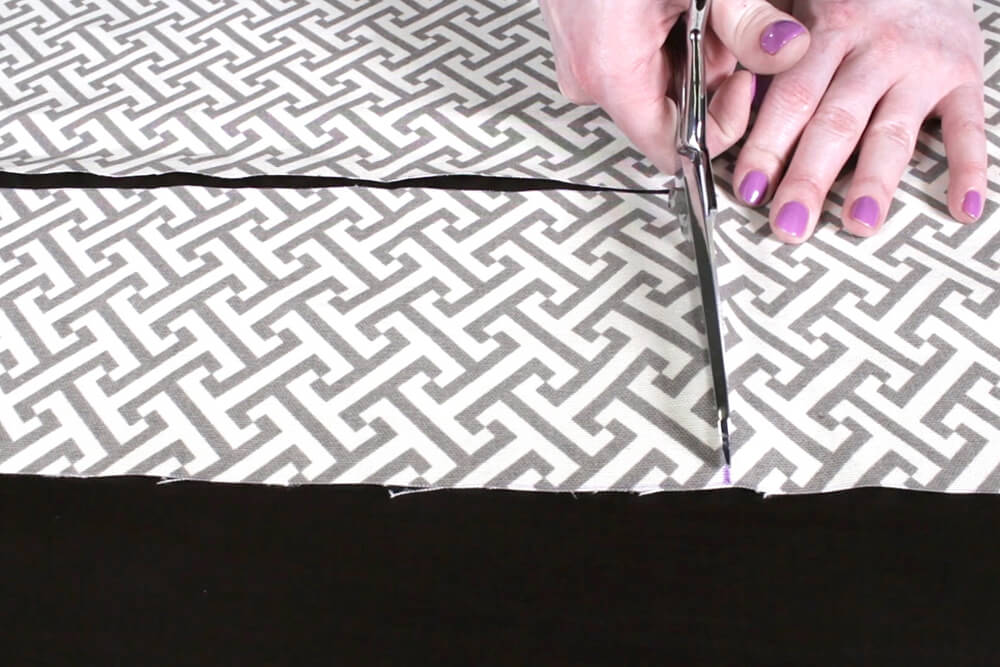
Then measure and cut the boxing, which is the piece that will wrap around the sides of the cushion. Take the measurements of the perimeter of the foam and subtract the length of the zipper. The width of this fabric, 54”, is just enough for the boxing on this cushion, but you can sew two pieces together if needed. The height of the boxing is the height of the foam plus 1”.
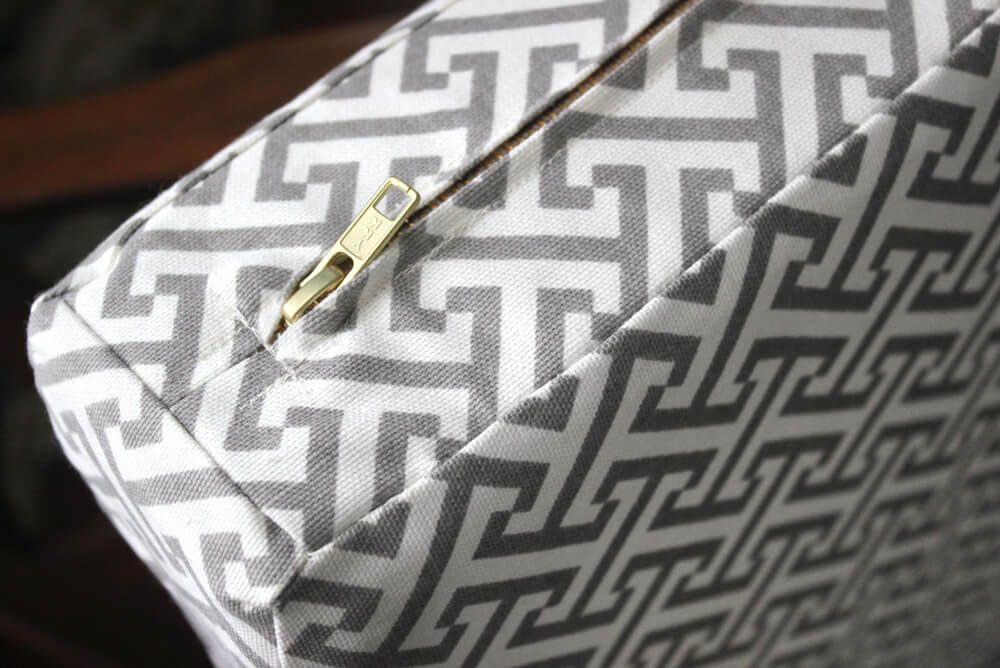
Finally, cut a panel for the zipper, which is going on the back of the cushion. This piece should be 2” longer than the length of the zipper. The height of the panel is the height of the foam plus 1” for the seam allowance, plus the width of the zipper. My zipper is 1-1/8″ across, so that’s a total of 5-1/8” for this cushion.
The length of the zipper should be a bit shorter than the width of the cushion. My cushion is 20″ wide so I’m using an 18″ upholstery zipper.
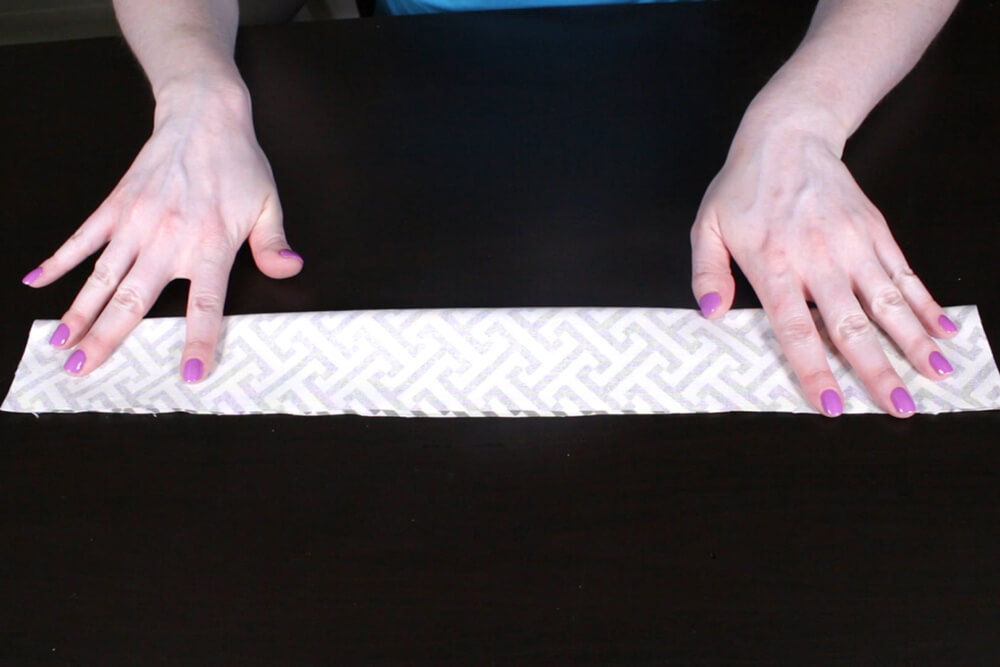
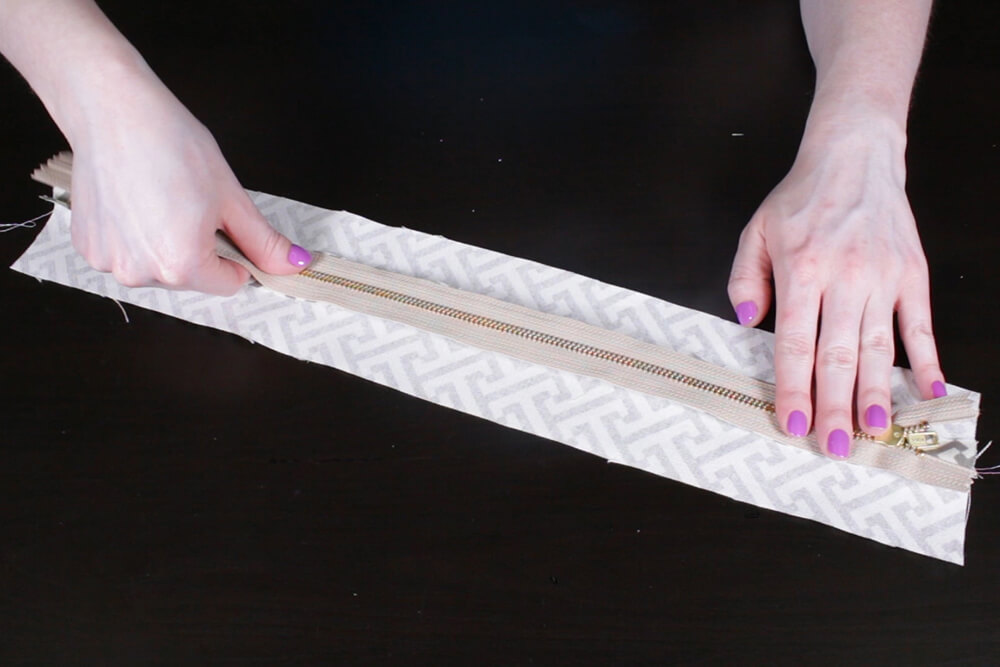
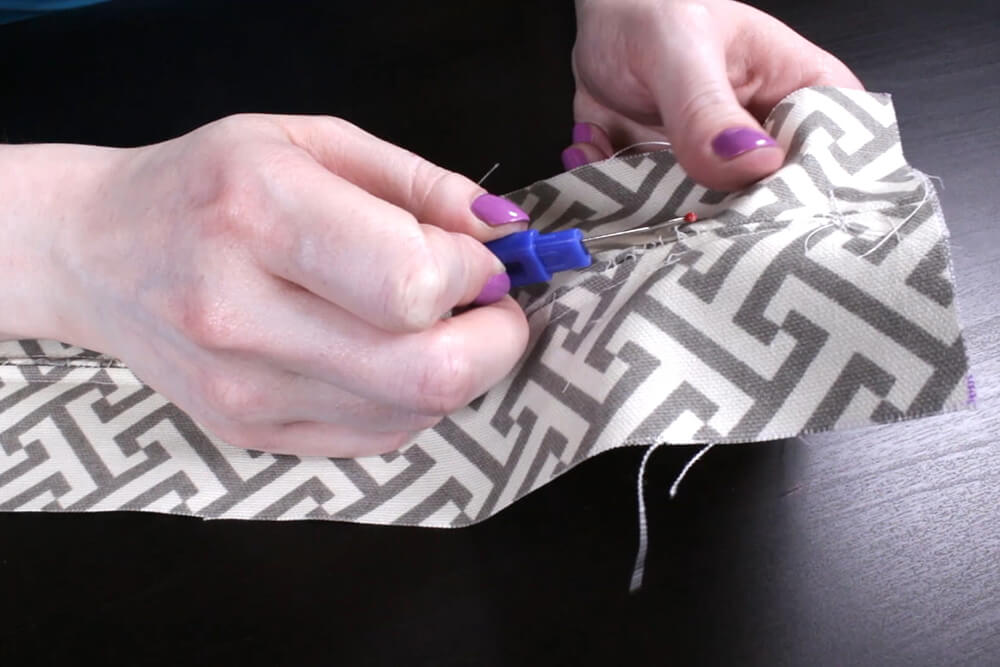
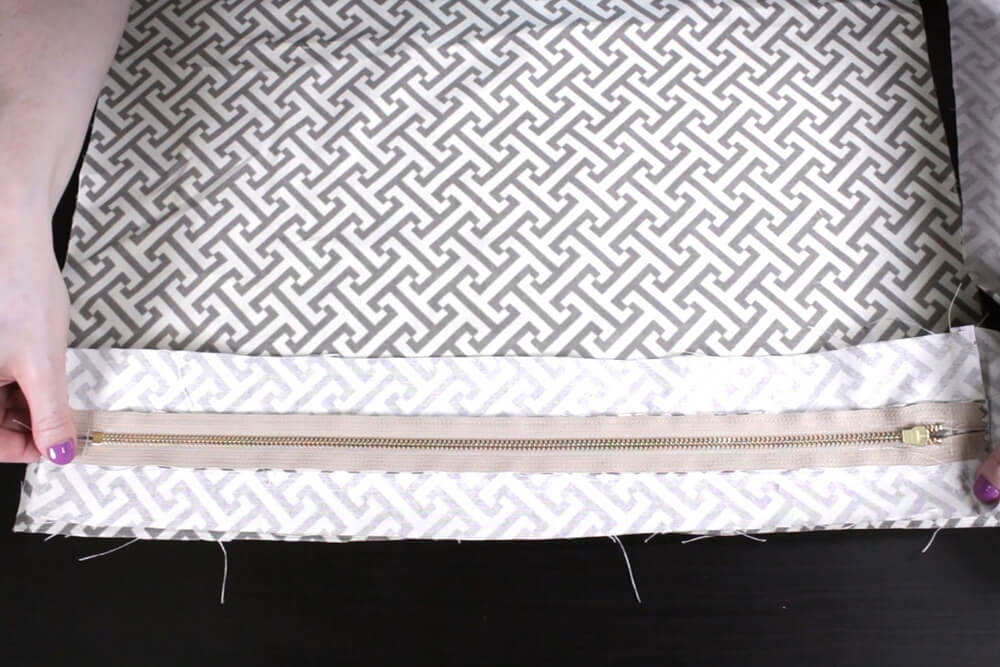
Step 3: Sew the zipper panel
Next I’m going to sew the zipper panel. Fold the zipper panel in half lengthwise with the right sides facing. On the folded side, sew down the length using a seam allowance that is half the width of the zipper. For this zipper, the width divided by 2 is 9/16 of an inch. If it isn’t a normal allowance, you can measure out from the needle and use a piece of tape to mark this distance on the sewing machine.
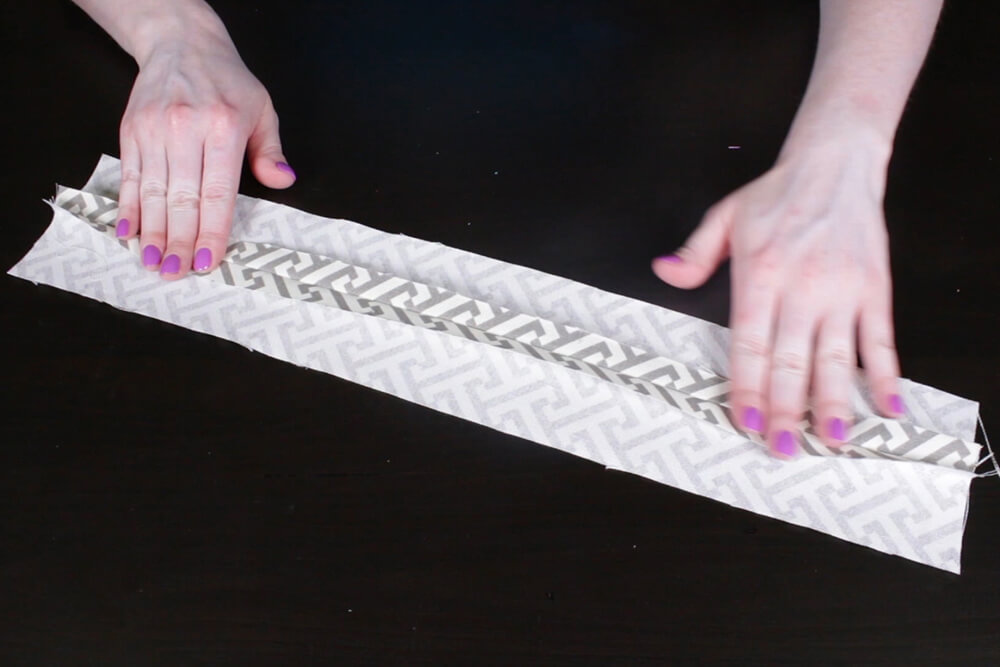
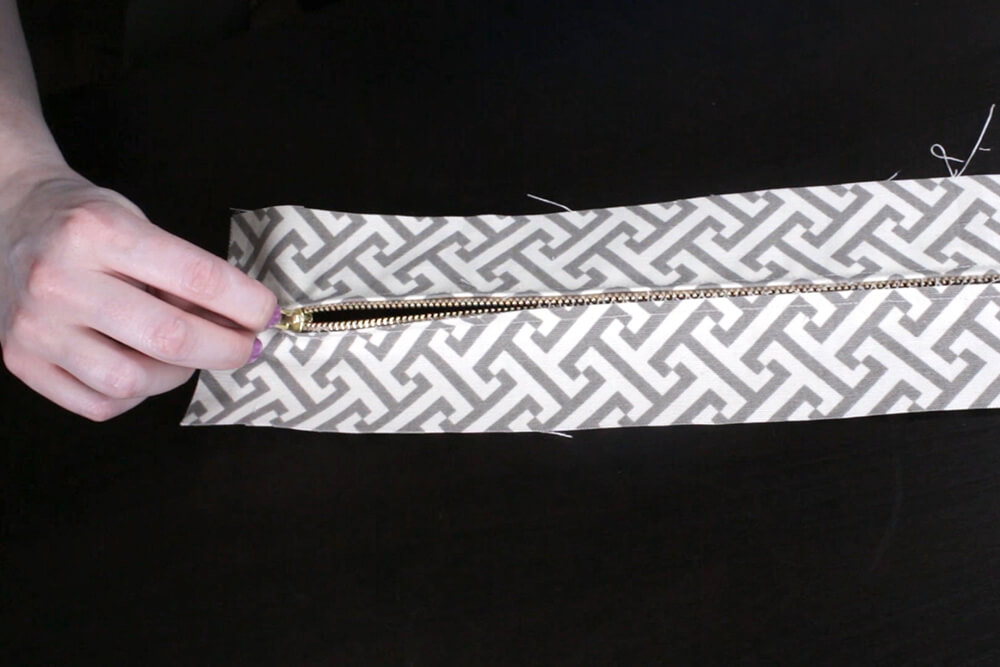
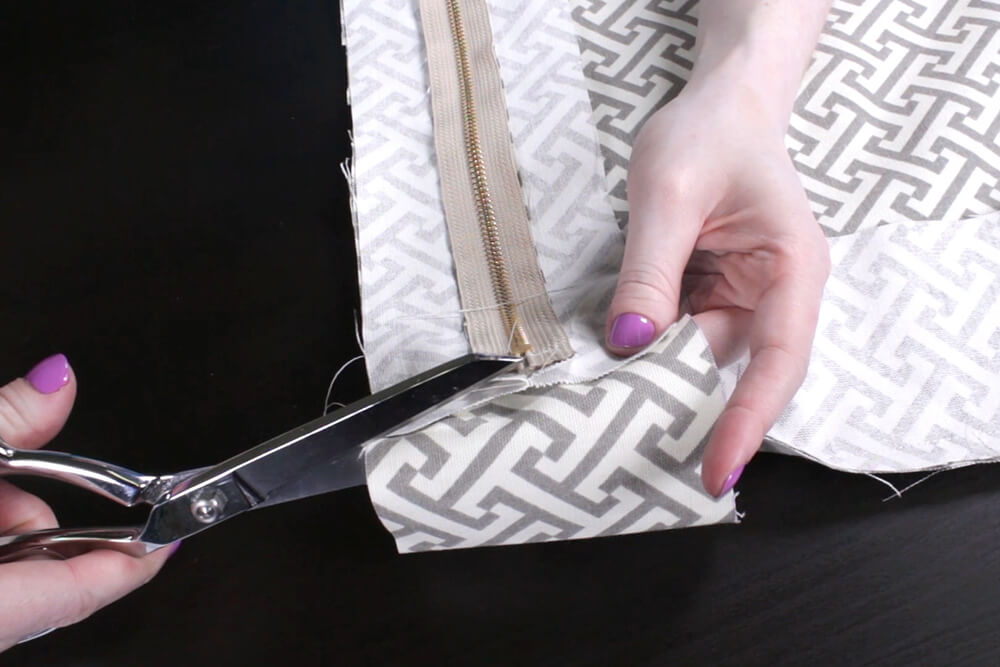
Cut down the middle of the fold. Open the seam and lay the zipper on top, facing down, so the center of the zipper is right on top of the center of the seam.
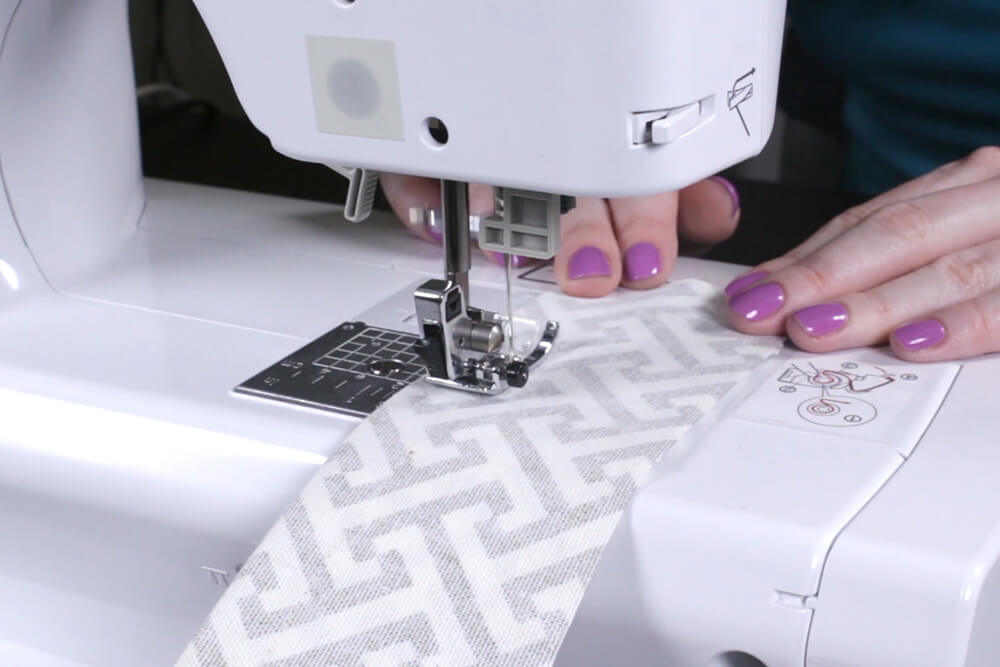
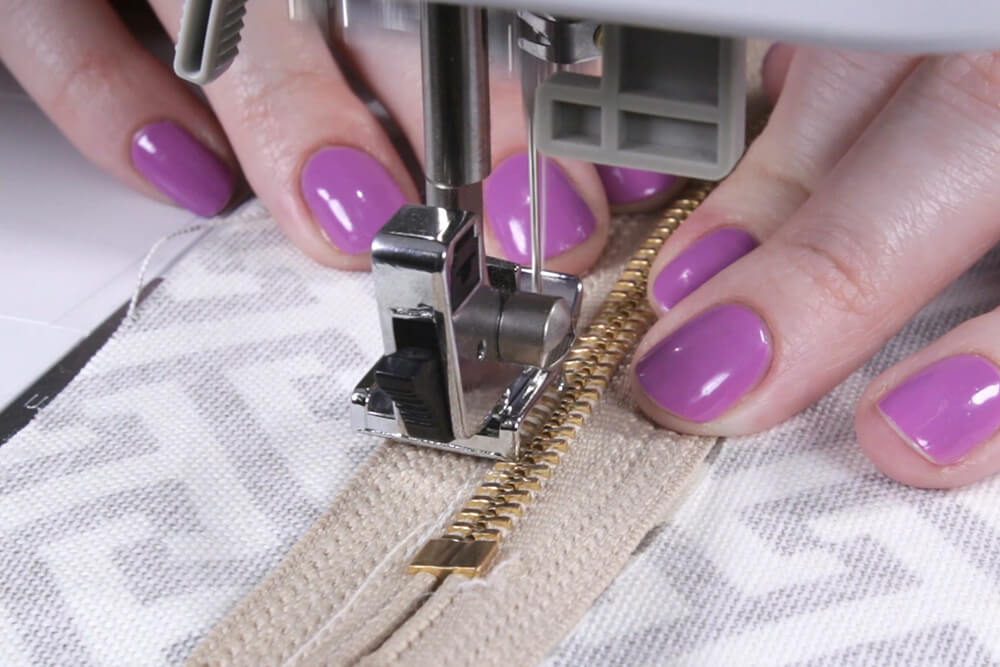
Change the foot on the sewing machine to the zipper foot. With the zipper foot close to the zipper, sew down the length making sure the center of the zipper remains in line with the seam. You may have to stop and move the pull tab so it’s not in the way. Repeat on the other side.
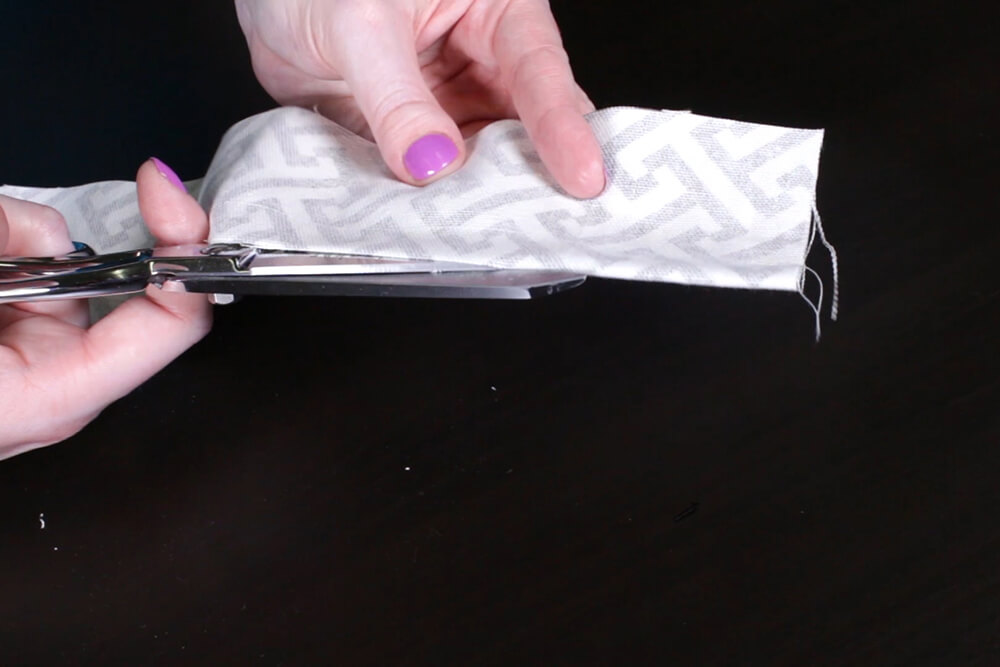
Sew back and forth a couple of times at both ends of the zipper. Rip open the seam with a seam ripper.
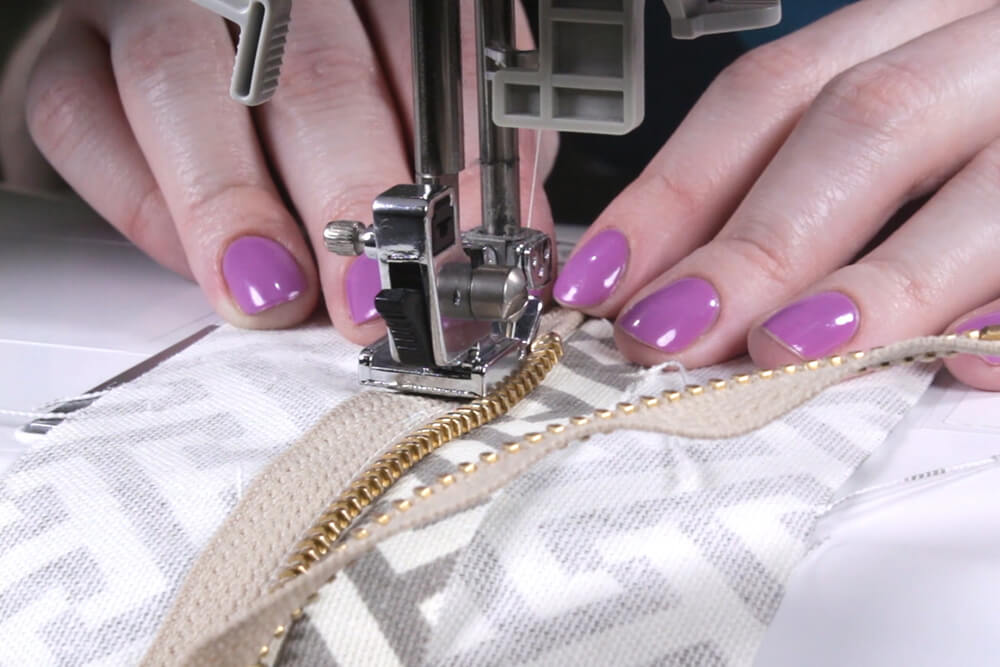
Step 4: Sew the pieces together
If you want to add piping, take a look at our piping tutorial and sew it between the top and bottom panels and the side boxing and zipper panel.
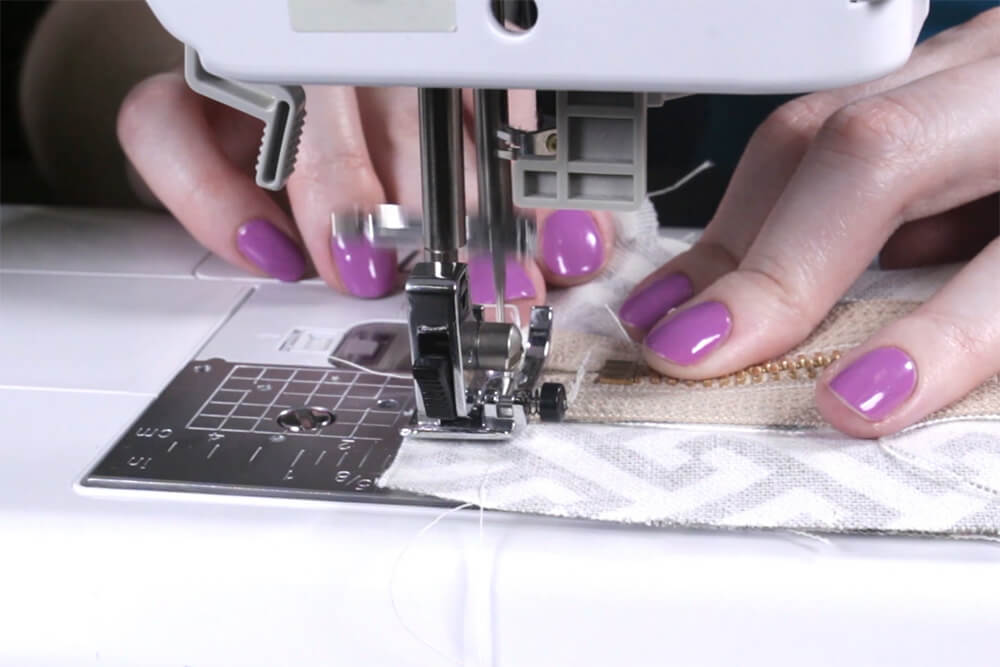
Sew together one end of the zipper panel and one of the ends of the side boxing. Center the zipper on the back edge of the top panel with the right sides facing. Start sewing ½” from the end of the zipper panel.
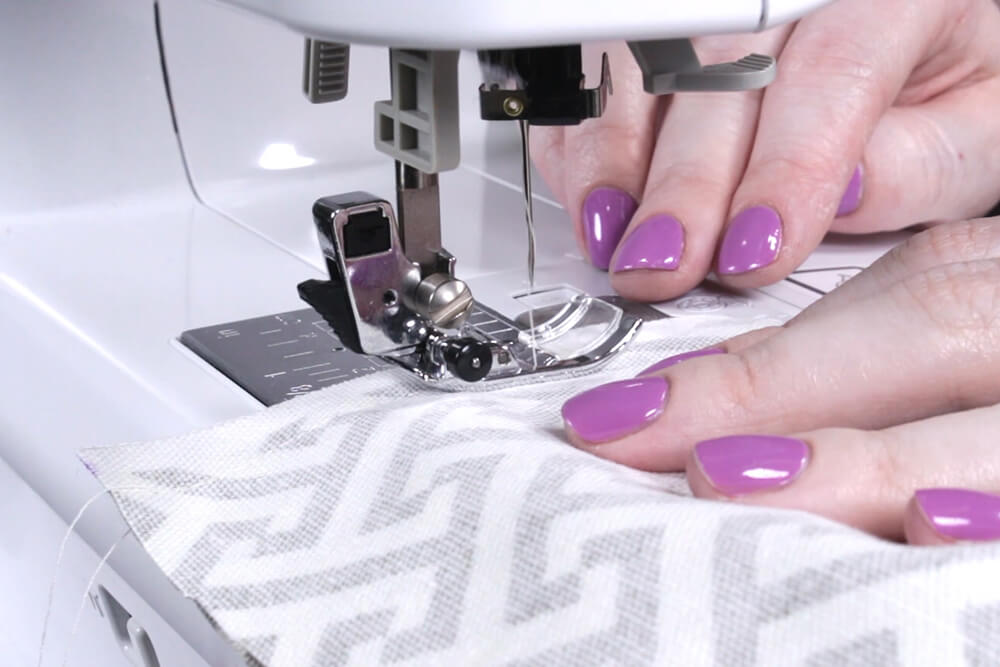
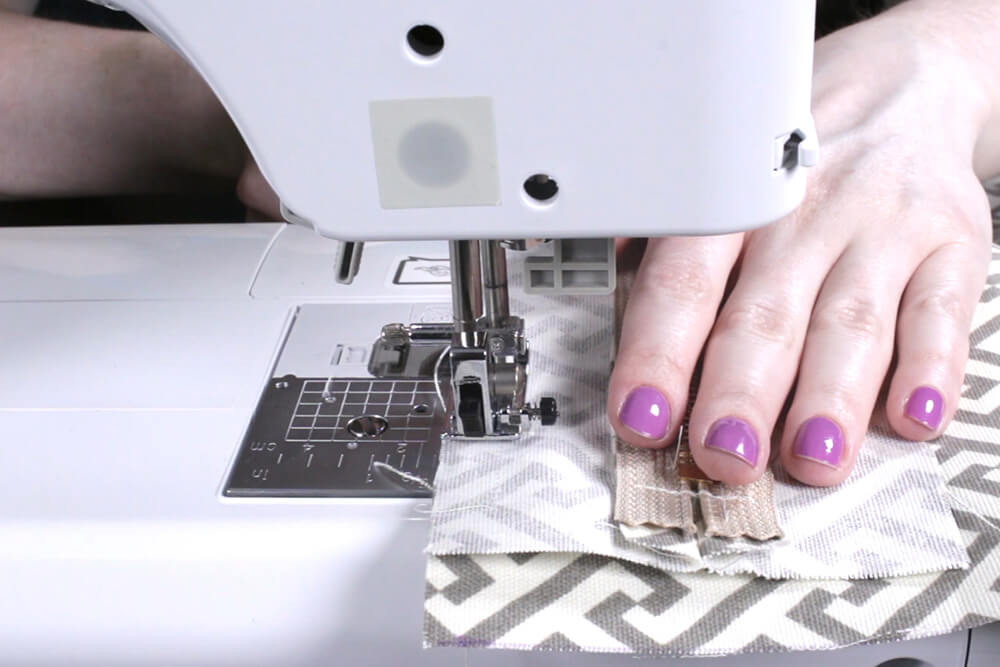
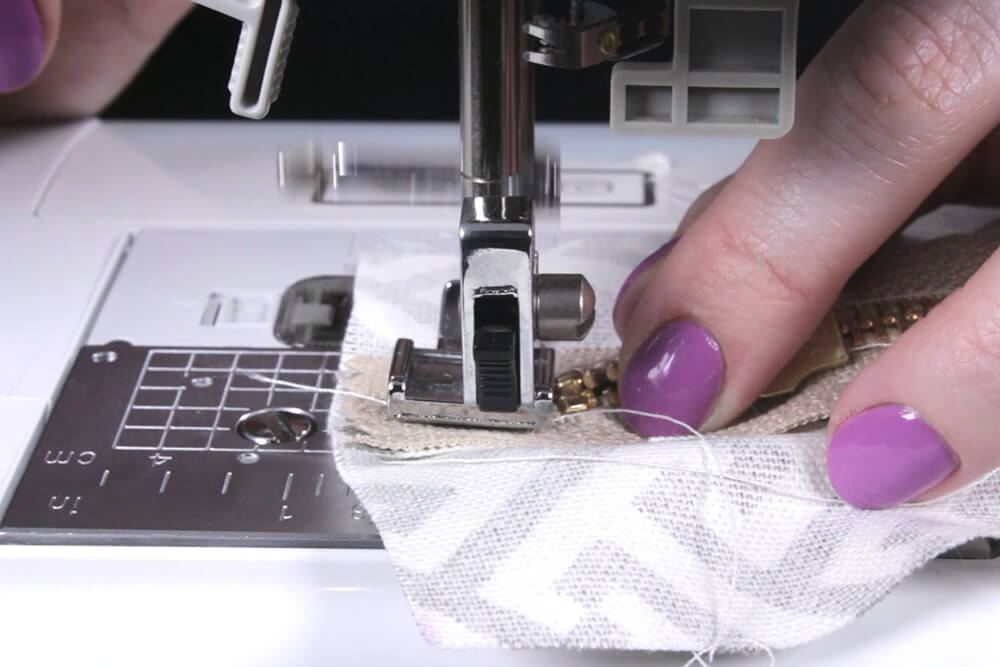
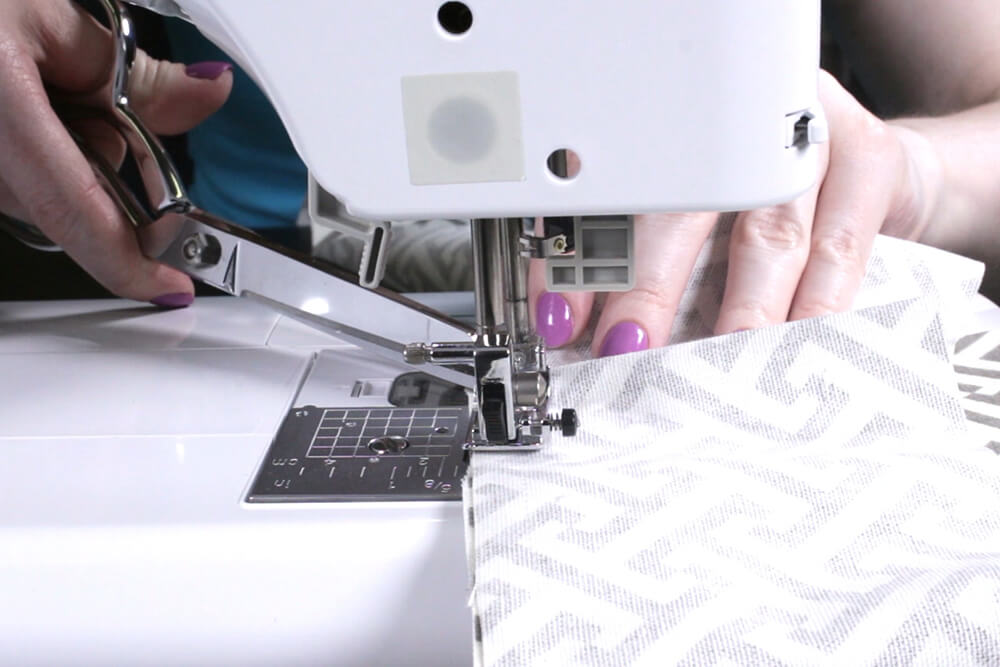
Continue to sew around the entire panel. Just before you get to the corners, stop and snip into the edge of the boxing to help it stretch around the curve. If necessary, lift the foot and reposition the fabric as you go to create a smooth curve.
If it’s easier for you, you can leave about an inch or so of space between where you started sewing the zipper panel and where you stop sewing. Sew the end of the zipper panel and the end of the boxing together first, then go back and finish sewing that little bit of the boxing and the large panel together.
Sew all the way around up to where you started sewing the zipper panel (without sewing over that ½” you left unsewn at the beginning of the zipper panel).
If there’s boxing left over (my piece was extra long to make sure there was plenty to work with), trim it off leaving an extra ½” for seam allowance.
Sew the end of the boxing to the other end of the zipper panel with right sides facing and that same ½” seam allowance.
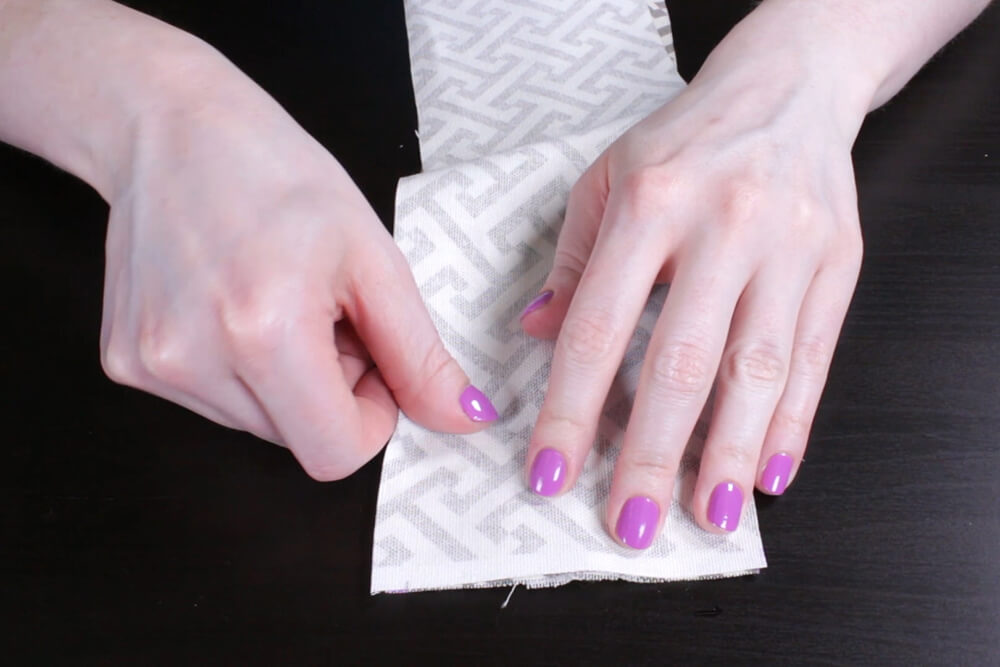
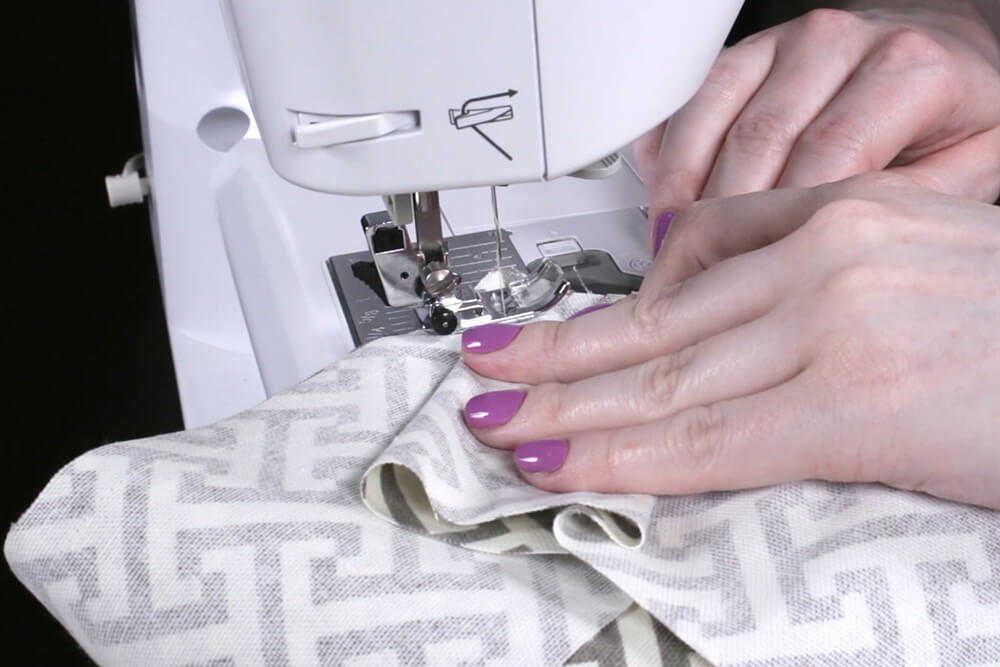
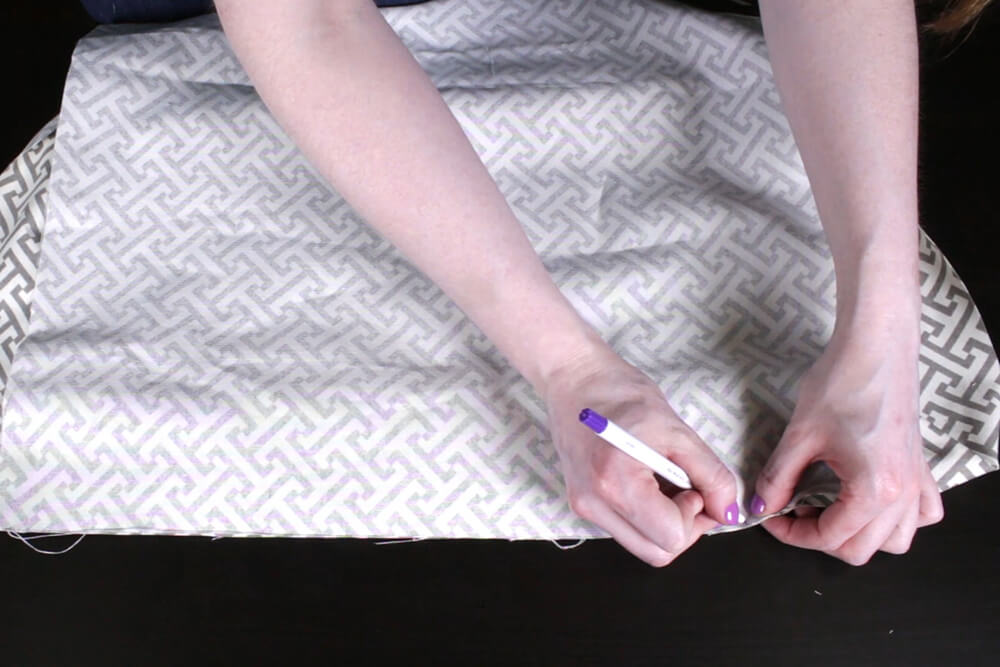
With right sides facing, line up each edge of the bottom piece with the boxing. Make marks on both pieces to line up later when sewing. This will ensure that the top and bottom are aligned.
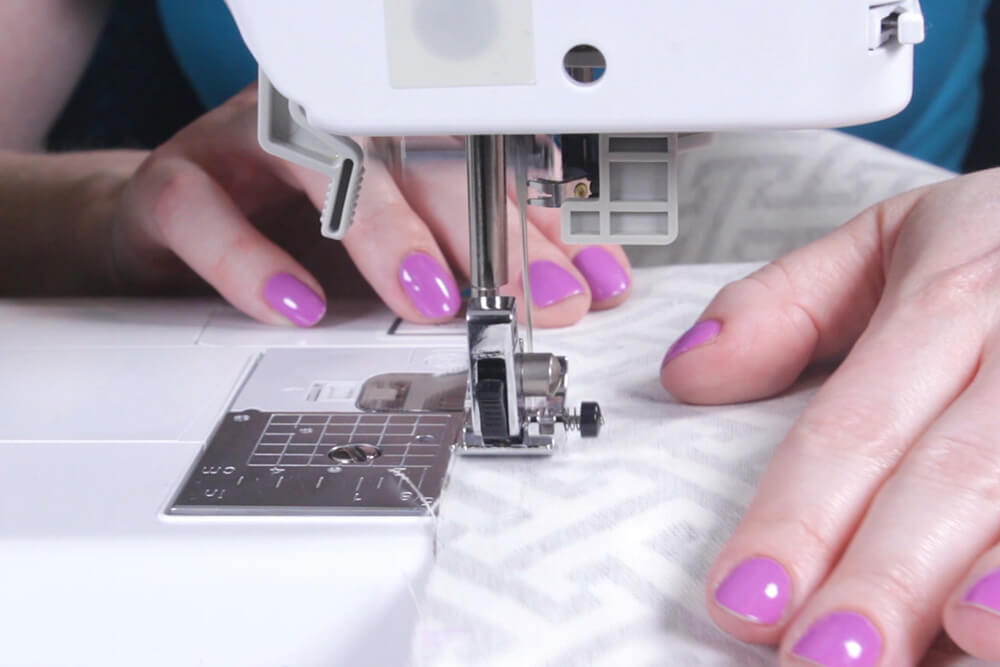
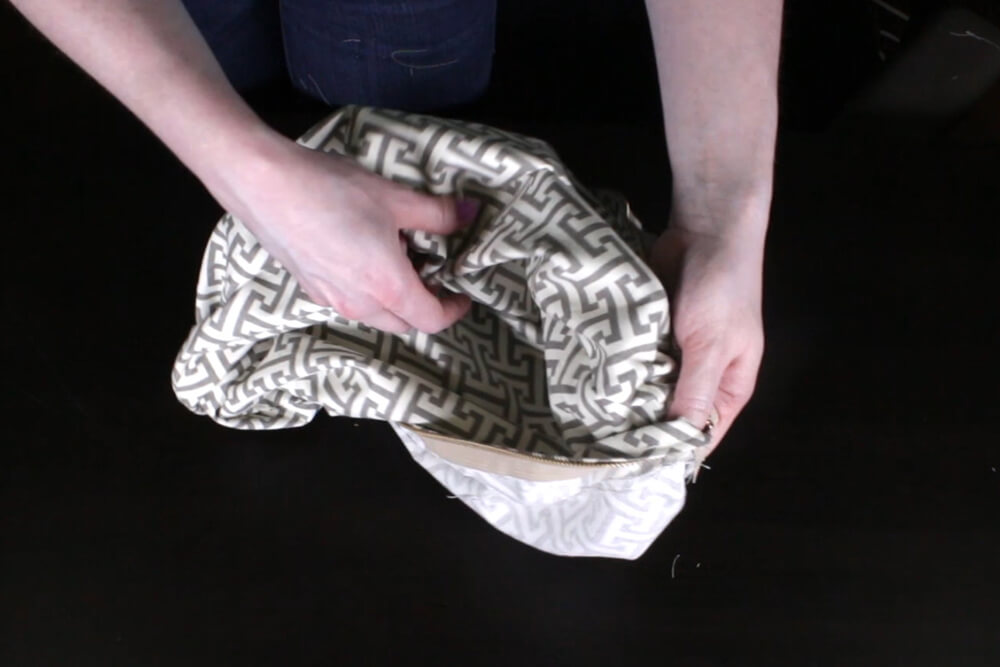
Make sure to open the zipper. Sew all the way around, lining up the marks as you go.
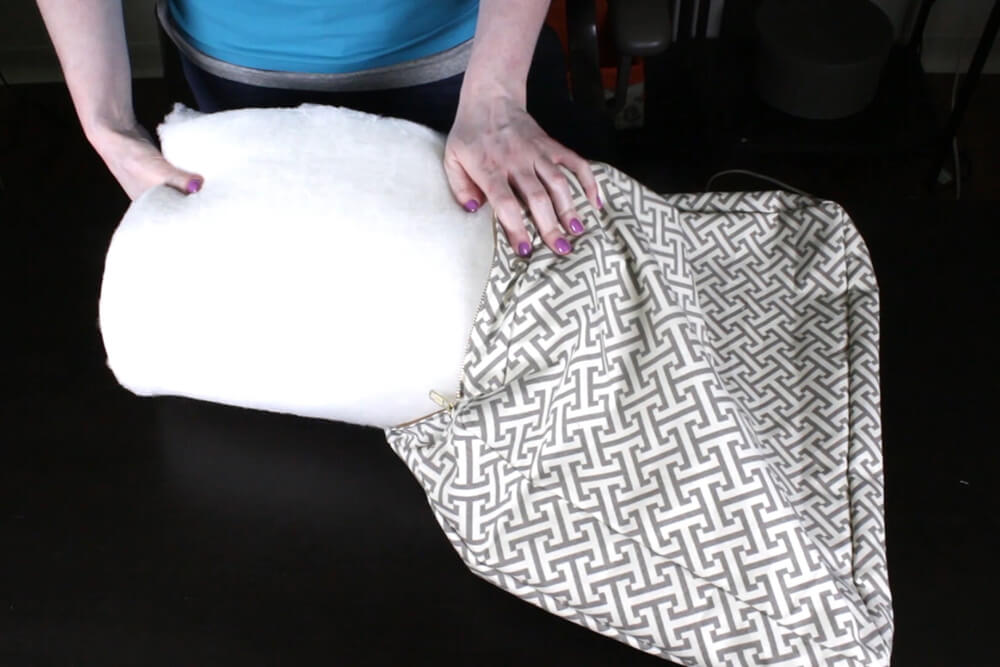
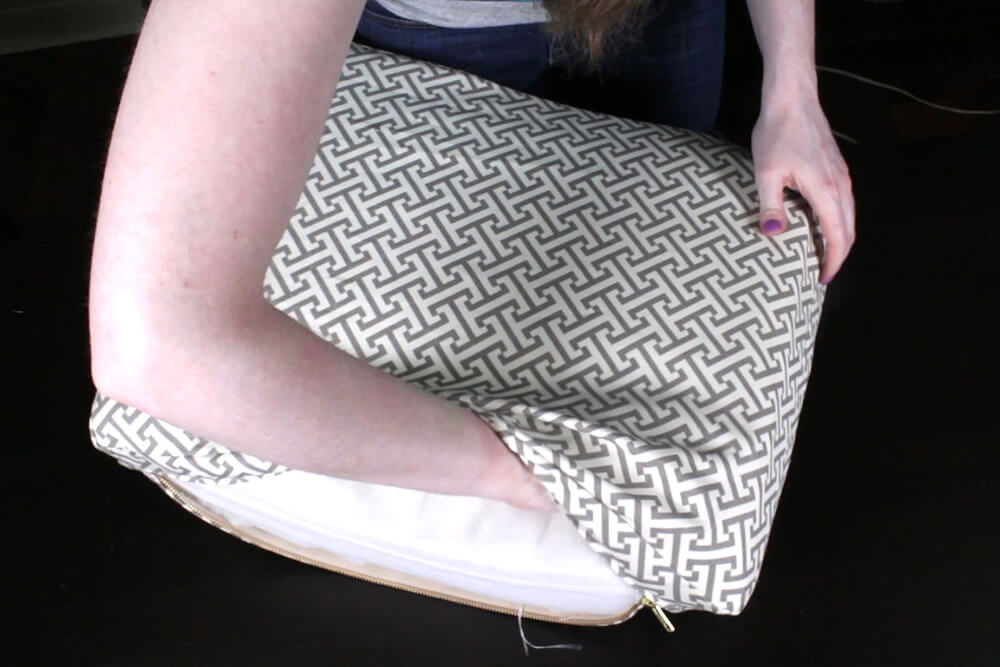
Turn the cushion cover right side out. And finally insert the foam. If the corners need to be filled out more, tear apart some padding and push it into the corners.
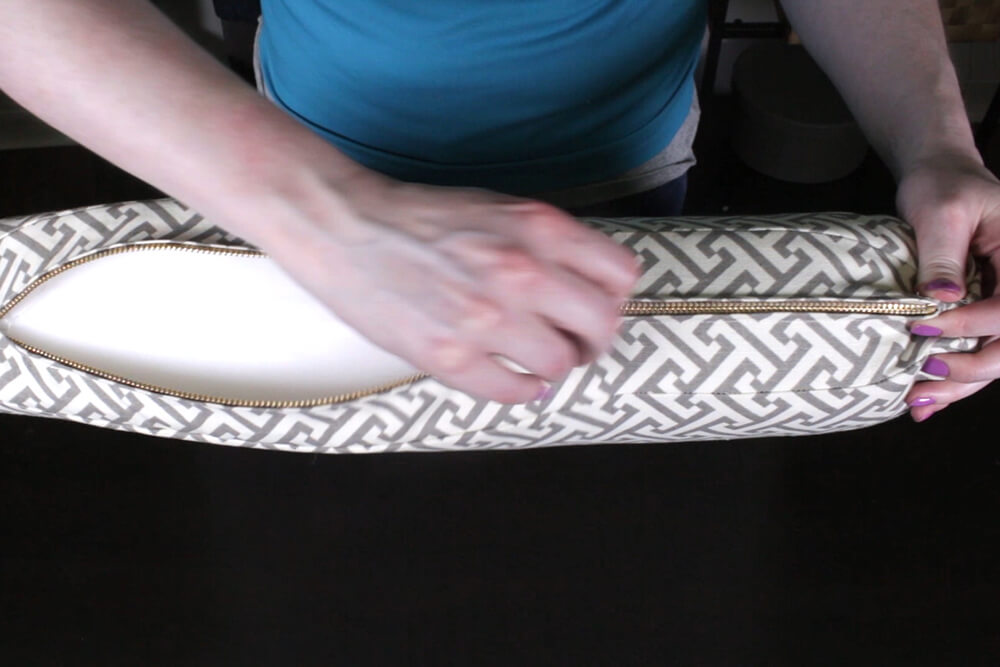
Zip it up, and the cushion is done!

Looking for upholstery fabric? Click here for a wide selection of durable upholstery fabric.
-
{{#each productSuggestedQueries.results}}
- {{query}} {{/each}}
-
{{#each categories.results}}
- {{html title}} {{/each}}
{{html attributes.description}}
{{/if}}-
{{#each queries.results}}
- {{query}} {{/each}}