How to Make a Slouchy Backpack Bag
- By Alyssa
- 1 hour
Bags.
If it isn’t painfully obvious, we love them over here at OFS. I probably have a bag for every day of the month and guess what-
I am not done creating more.
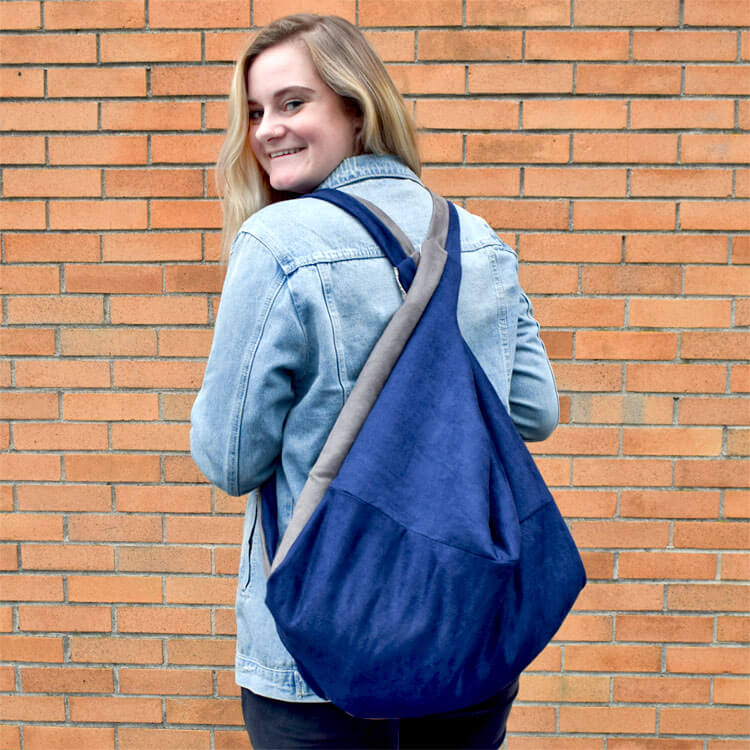
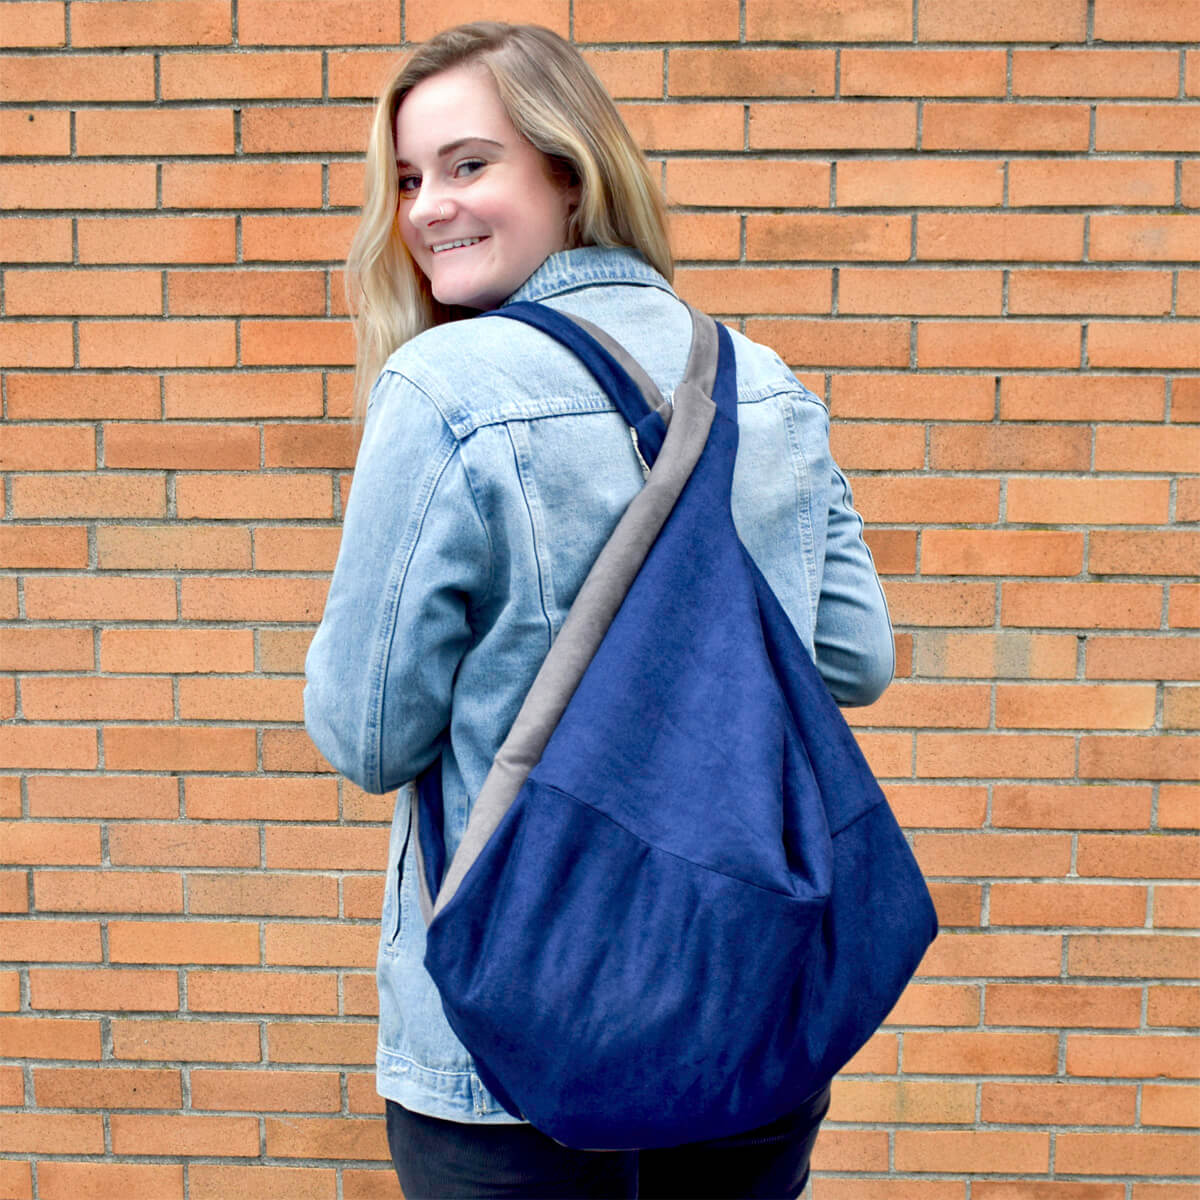
Enter the Slouchy Backpack. Debatably the king of all bags, this one gets bonus points because it can be tied as a backpack and an over the shoulder bag.
For this bag I decided to use microsuede for the main fabric and medium weight décor fabric for the lining. You don’t need to. This bag can be made out of almost any medium weight material. I would advise against stretchy fabrics, but if that’s your thing, I fully support you.
Regardless of the material you decide to use, here’s how you can make a slouchy bag for yourself.
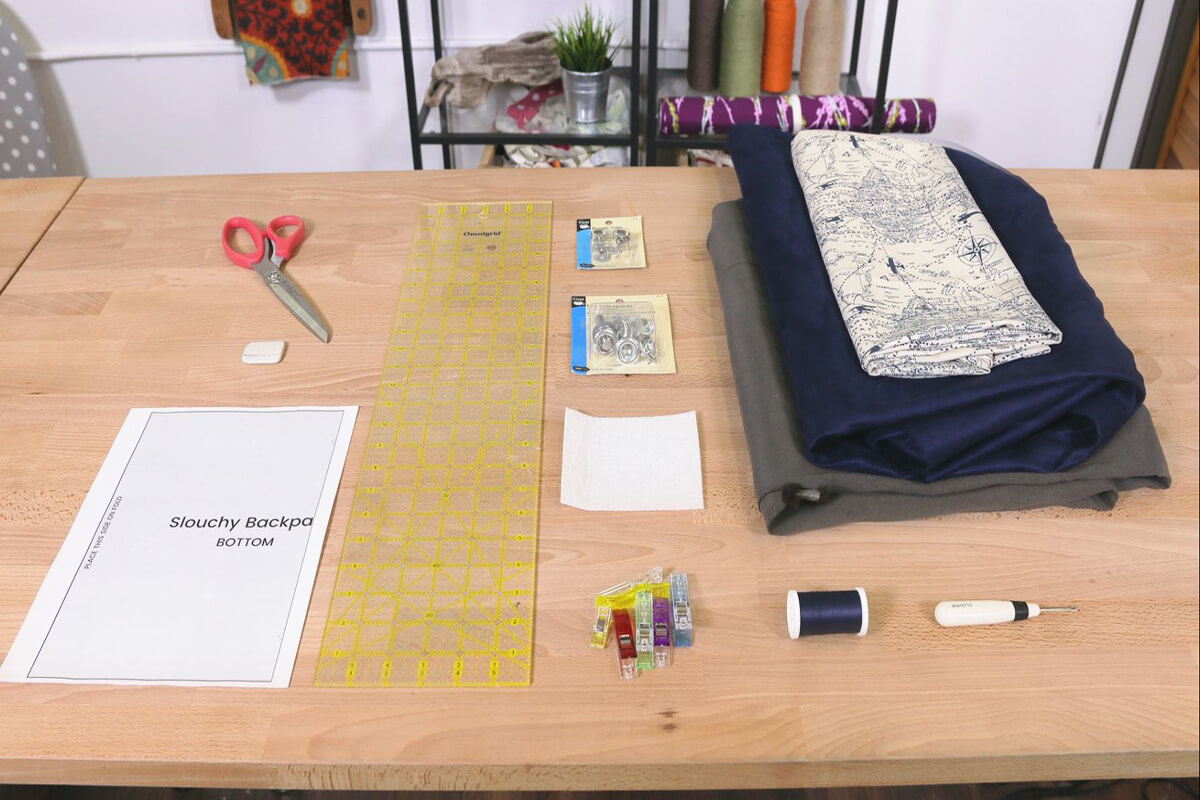
Materials
- Main Fabric
- Lining Fabric
- Magnetic Snaps
- Stablizer
- Extra Large Eyelets
- Needle and Thread
- Fabric Marker or Chalk
- Ruler
- Pins or Clips
- Scissors
- Seam Ripper
- Steamer or iron
- Sewing Machine
Related Products
-
 Knife Edge Dressmaker's Shears - 8"
-
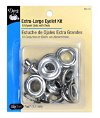 Extra-Large Eyelet Kit - Zinc
-
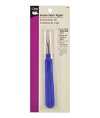 Deluxe Seam Ripper
-
 Gray Microsuede
-
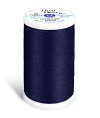 Dual Duty XP Thread - Freedom Blue, 500 Yards
-
 #72F Peltex II Ultra Firm Fusible Stabilizer - Double Sided
-
 Navy Blue Microsuede
-
 2 Magnetic Snaps - 3/4"
-
 Tailor's Chalk Twin Pack - Blue & White
-
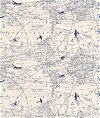 Air Traffic Felix Blue/Natural
-
 500 Quilting Pins - Size 28
-
 Quilter's Ruler - 6" x 24"
Video
Instructions
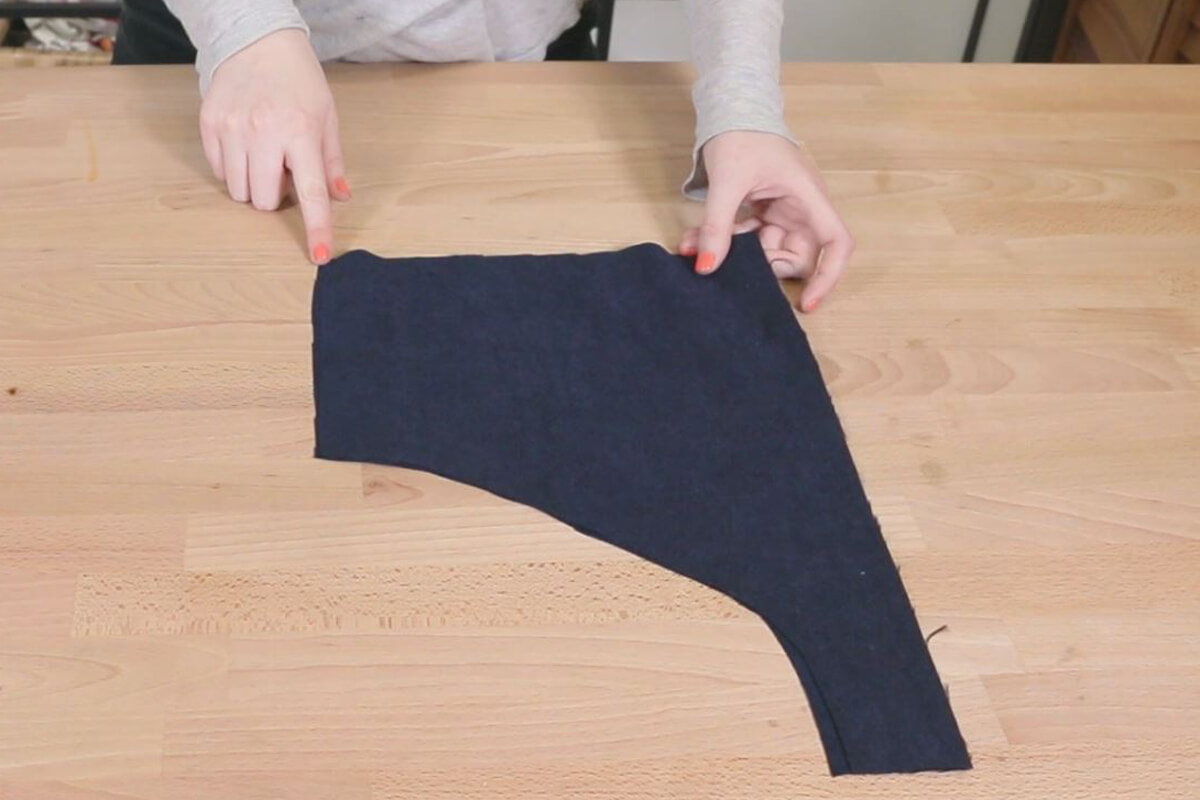
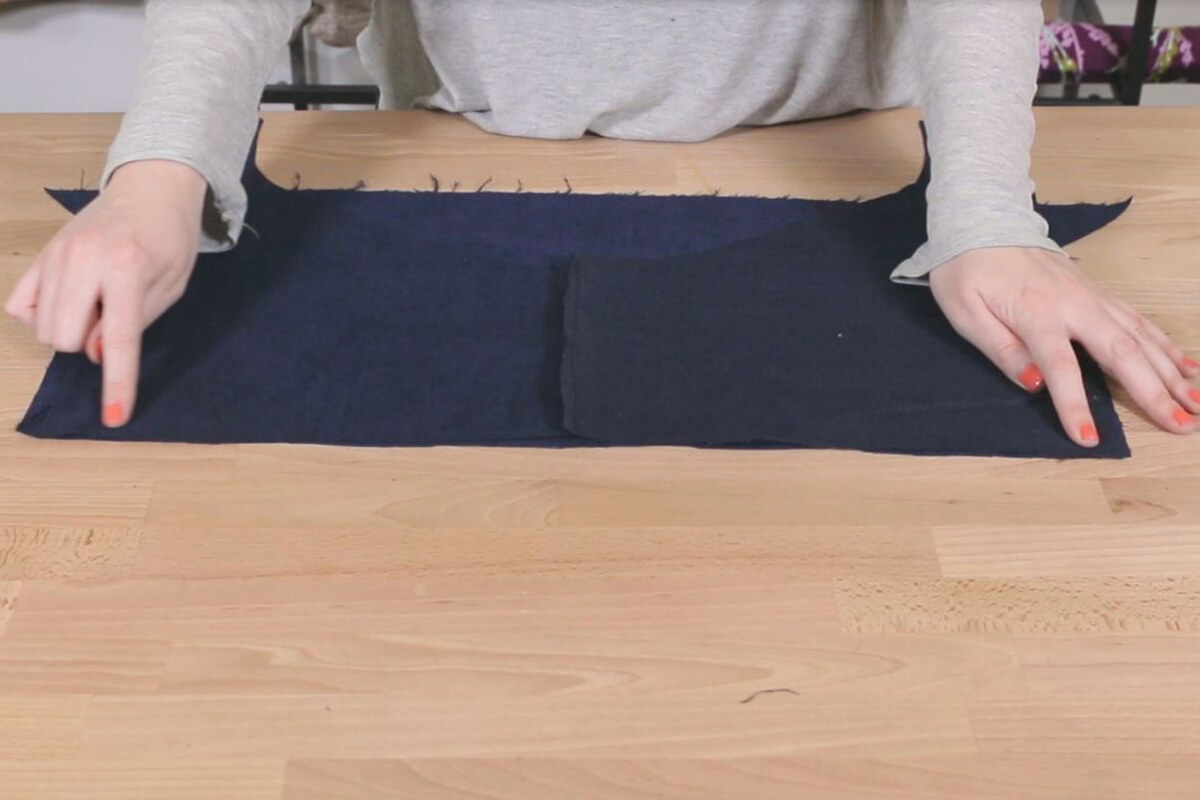
Step 1: Cut the fabric
start by cutting out all the pieces. The pattern we are using can be downloaded for free on our website.
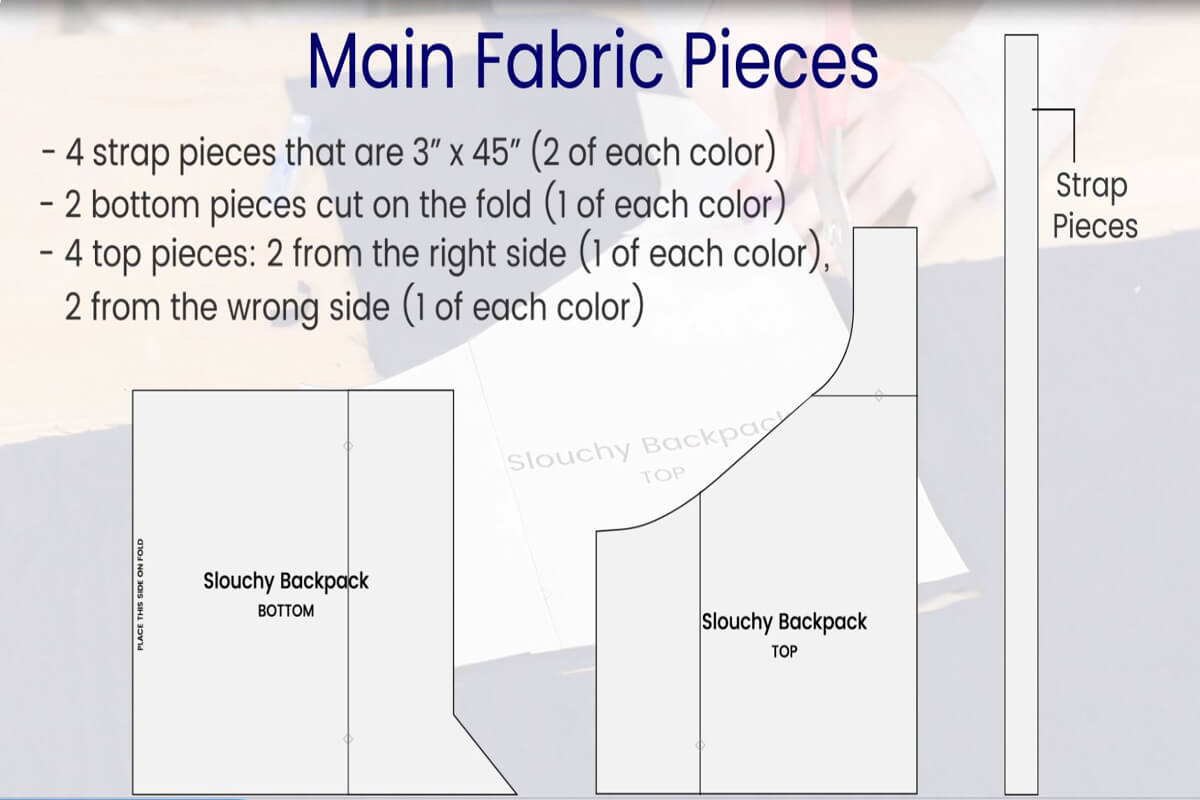
From the main fabric for straps cut four 3×45” strips (2 from each color)
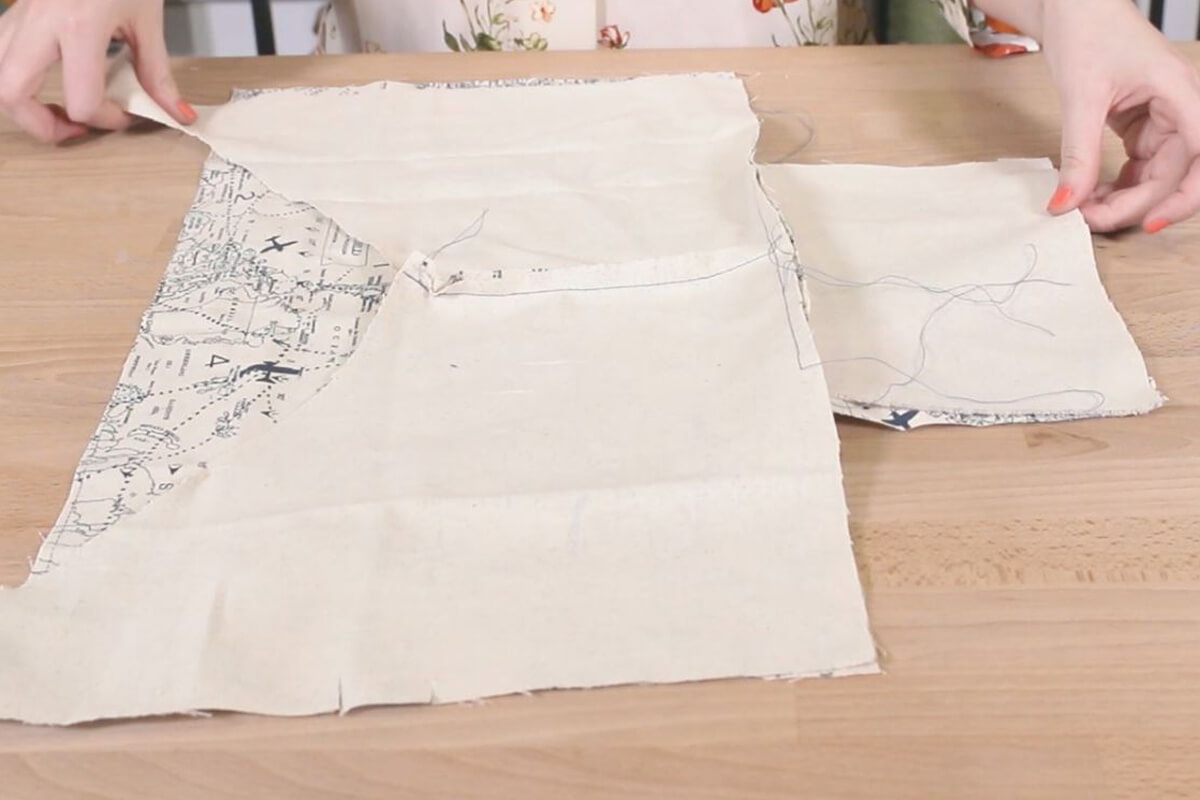
From the Main Fabric, cut the following amount from each color: one bottom and two tops (one on the right side and then flip the pattern and cut the other side)
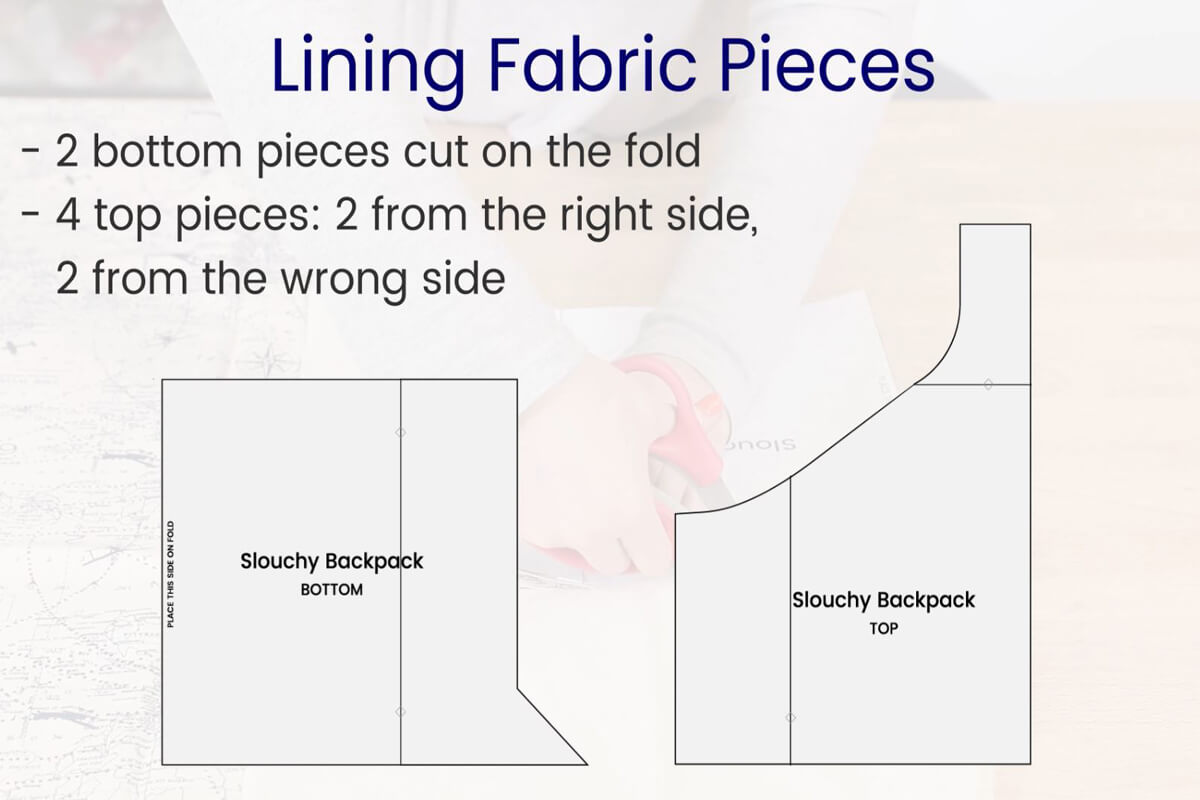
From the Lining Fabric, cut two bottoms and four tops (two from each side of the pattern)
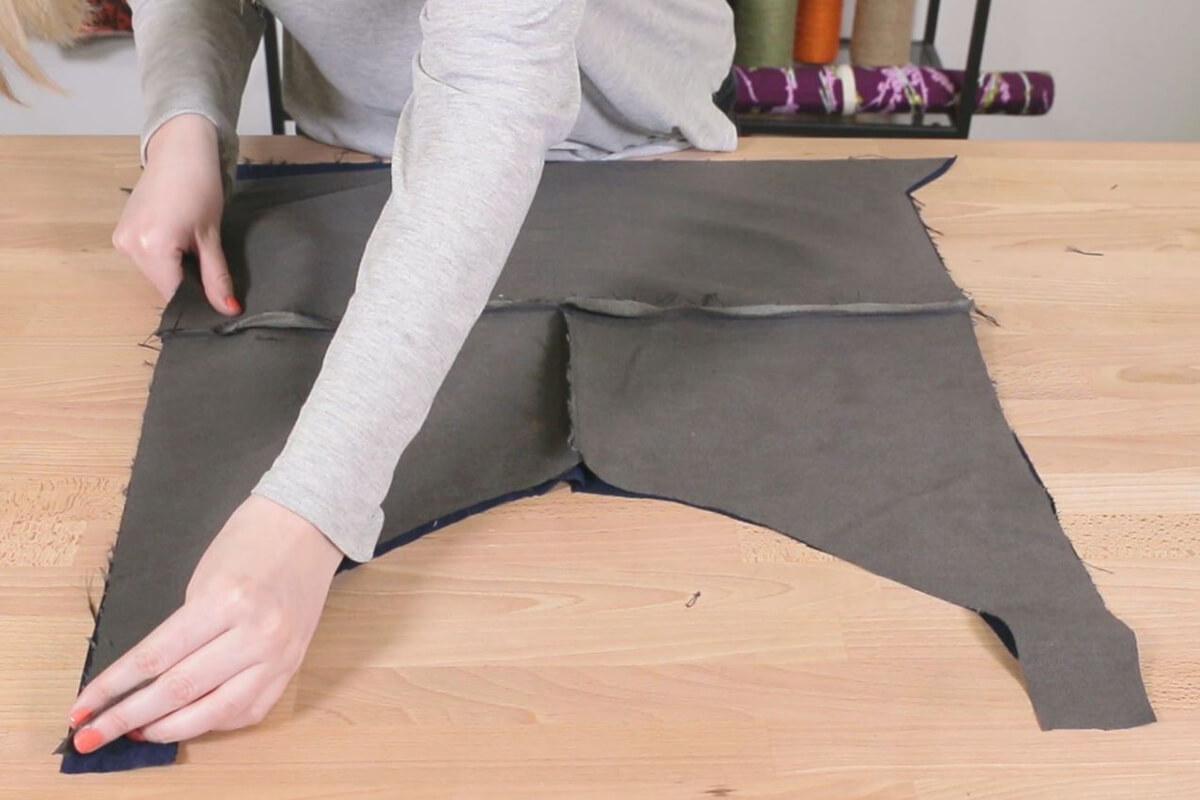
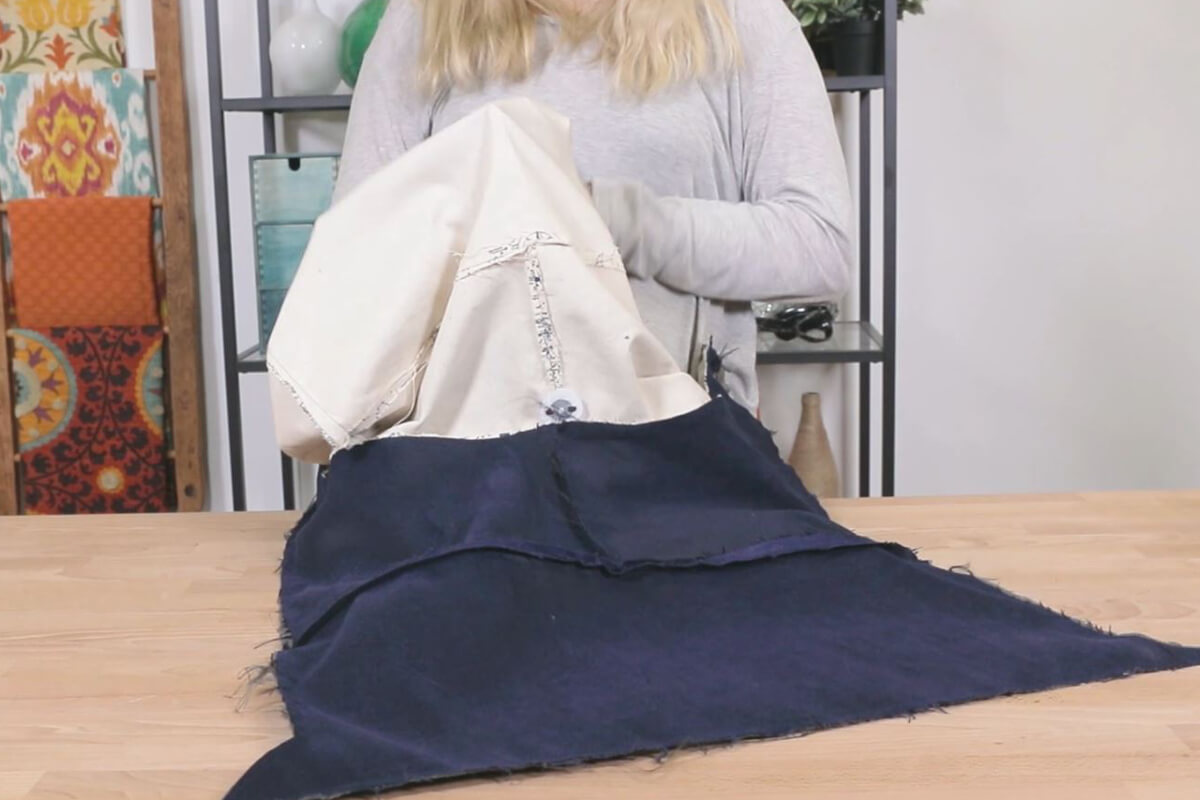
Step 2: Assemble the outside and inside
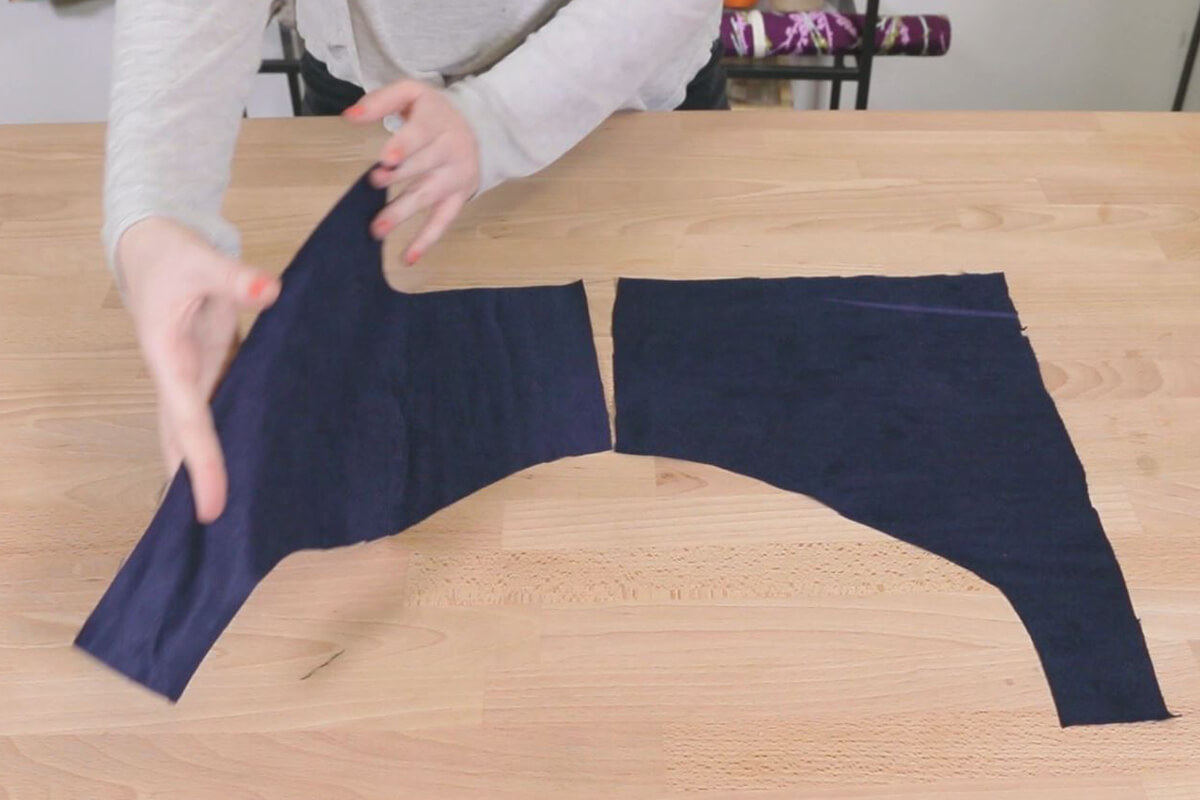
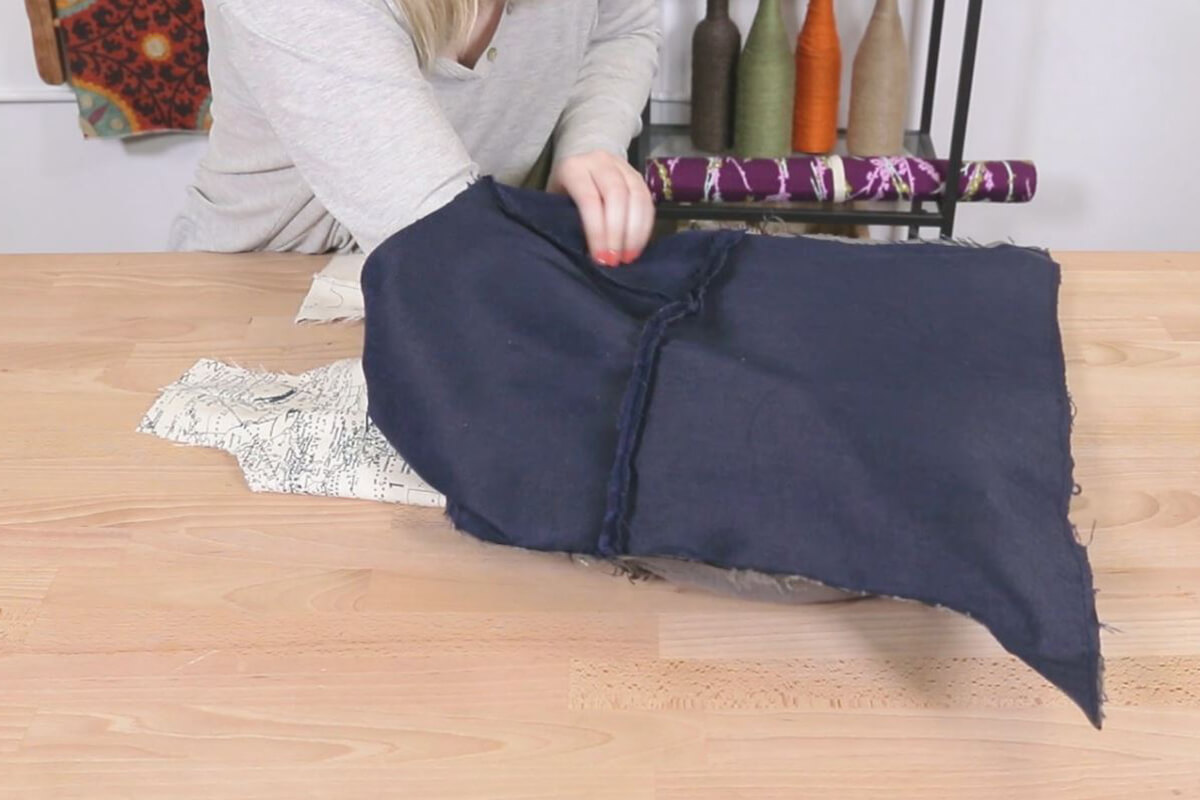
Assemble the outside of the bag. Sew the top panels together by the short sides with right sides facing. Now sew the bottom piece to the tops. Do this to both sides of the bag (both colors)
Take the panels and pin them together with right sides facing and sew around the sides and the bottom of the bag.
If you wish to add pockets, skip to step three before finishing the lining!
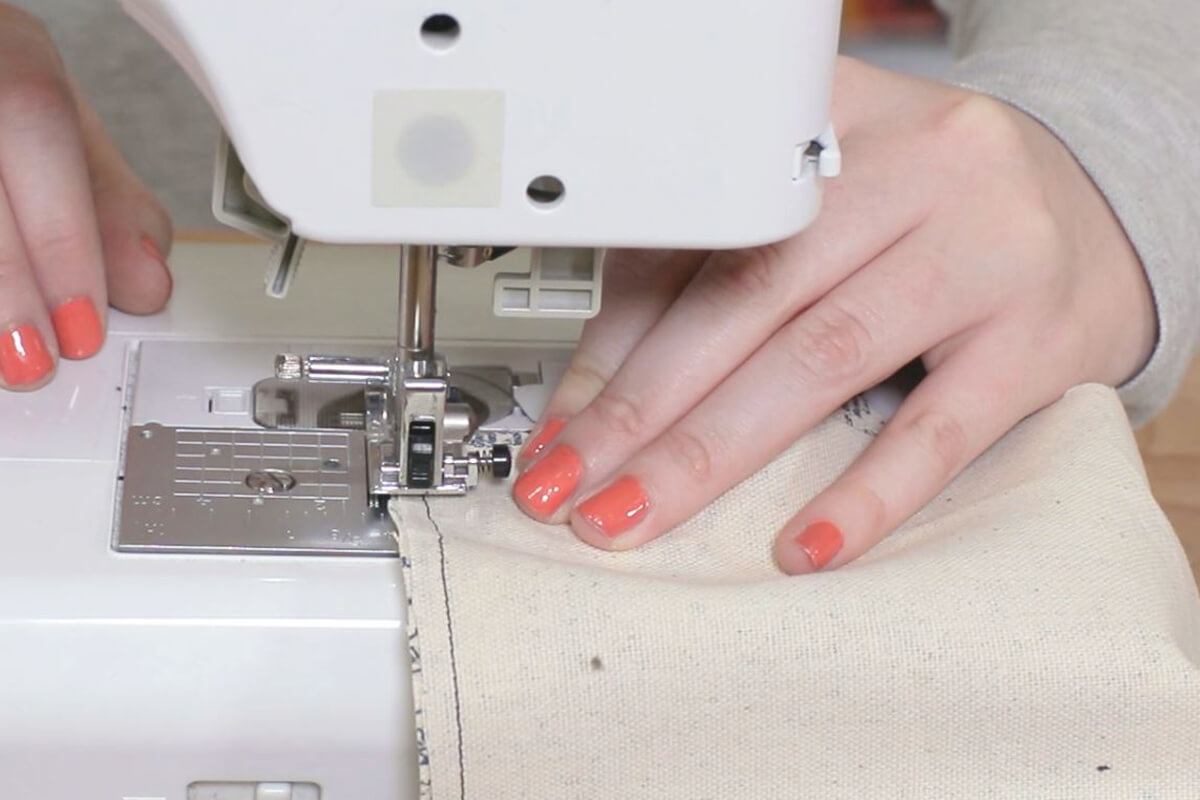
Now follow the same steps for the inside lining but leave a 10” opening at the bottom of the bag.
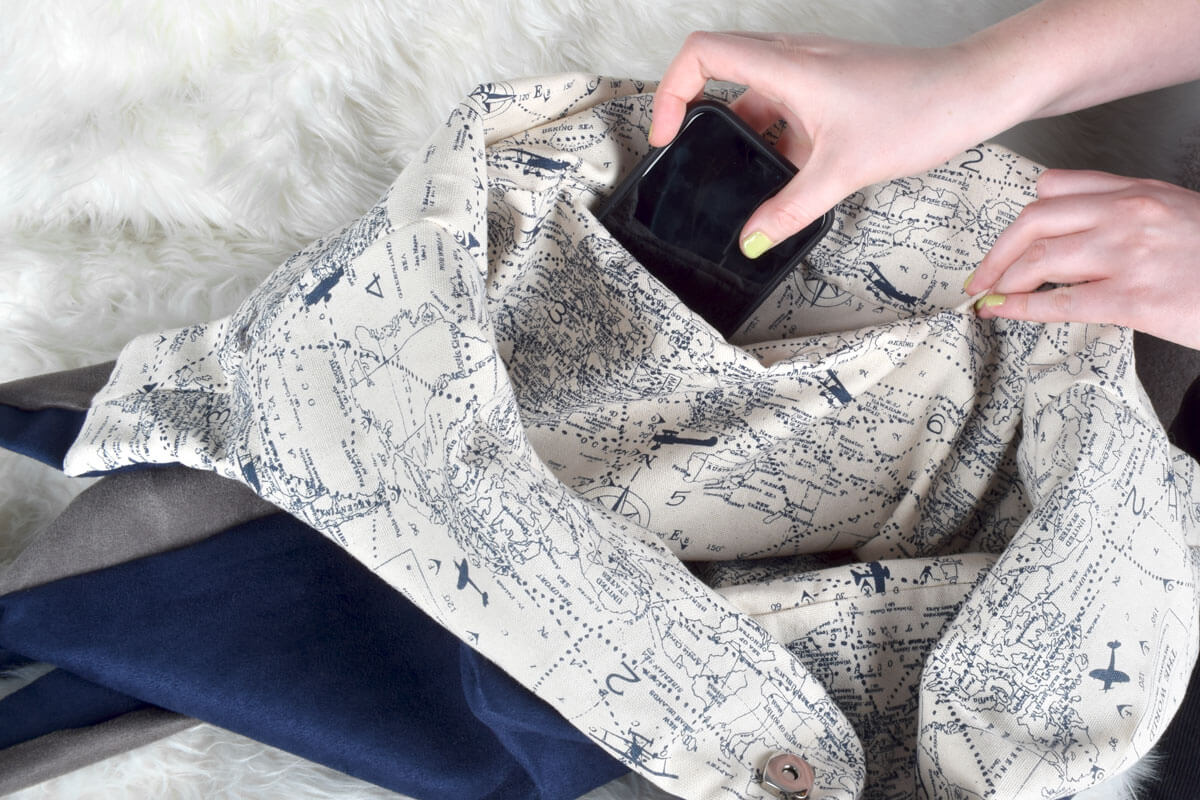
Step 3: Pockets (optional)
If you wish to add pockets to your bag, cut out two rectangles of lining fabric that are 6×10”. You can cut four if you want a pocket on both sides, but I will just be adding one pocket to the inside of my bag. You want to add the pockets in before you sew together the bottom to the two top pieces.
Follow the instructions in our How to Add Pockets to a Side Seam video for complete instructions on how to finish your pocket.

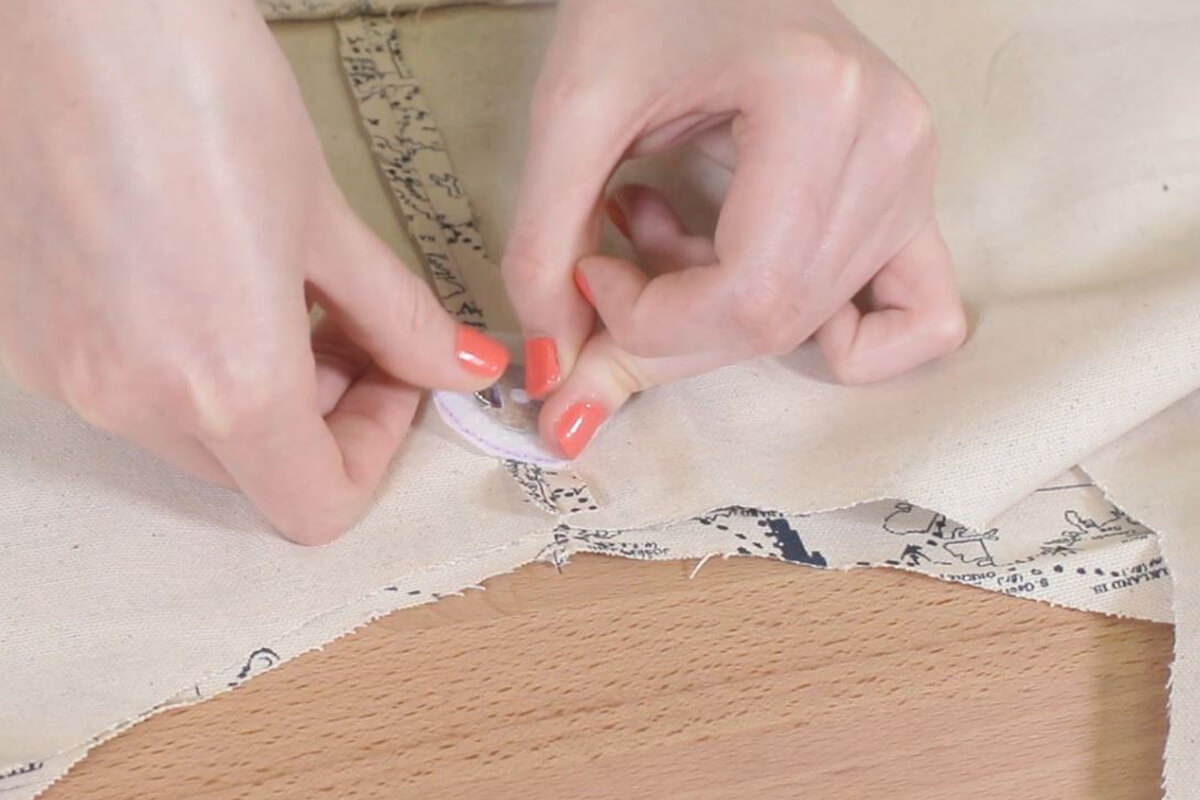
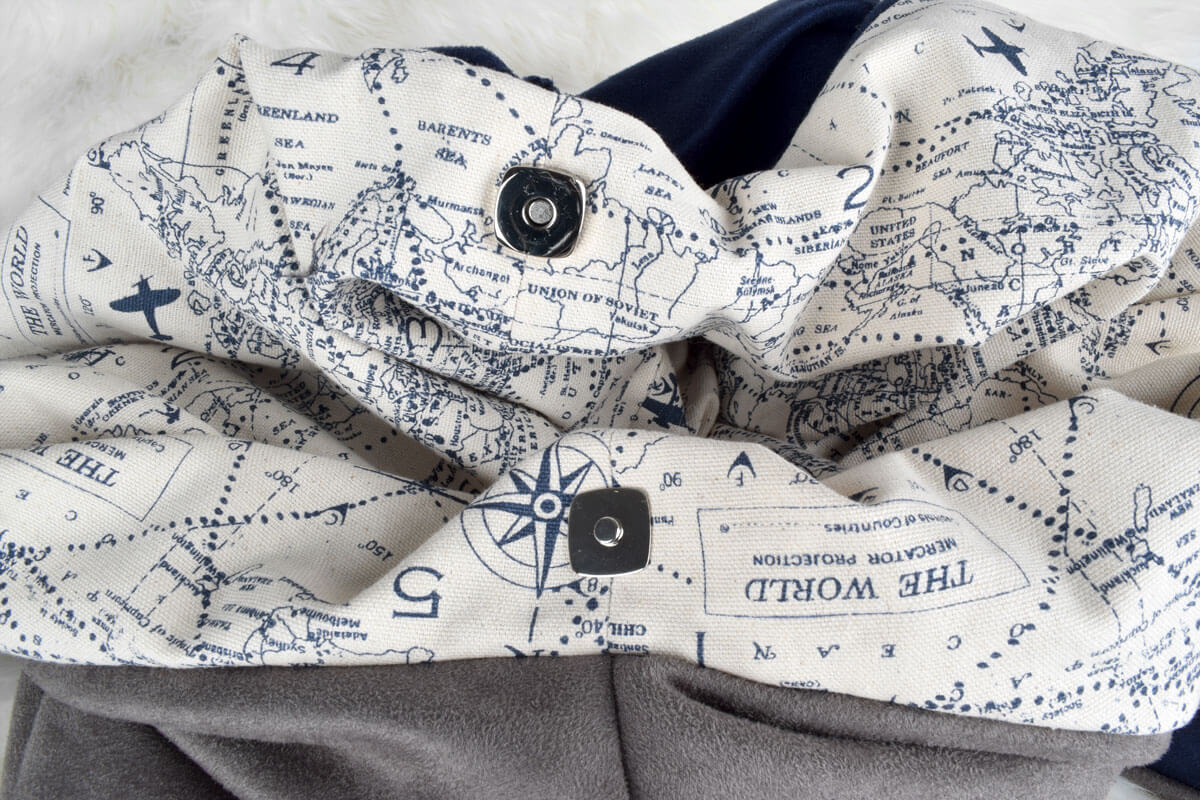
Step 4: Add the snaps
Next, add opposing magnetic snaps 1.5” from the direct center of the top edge of the lining. See our how to add magnetic snaps video for details.
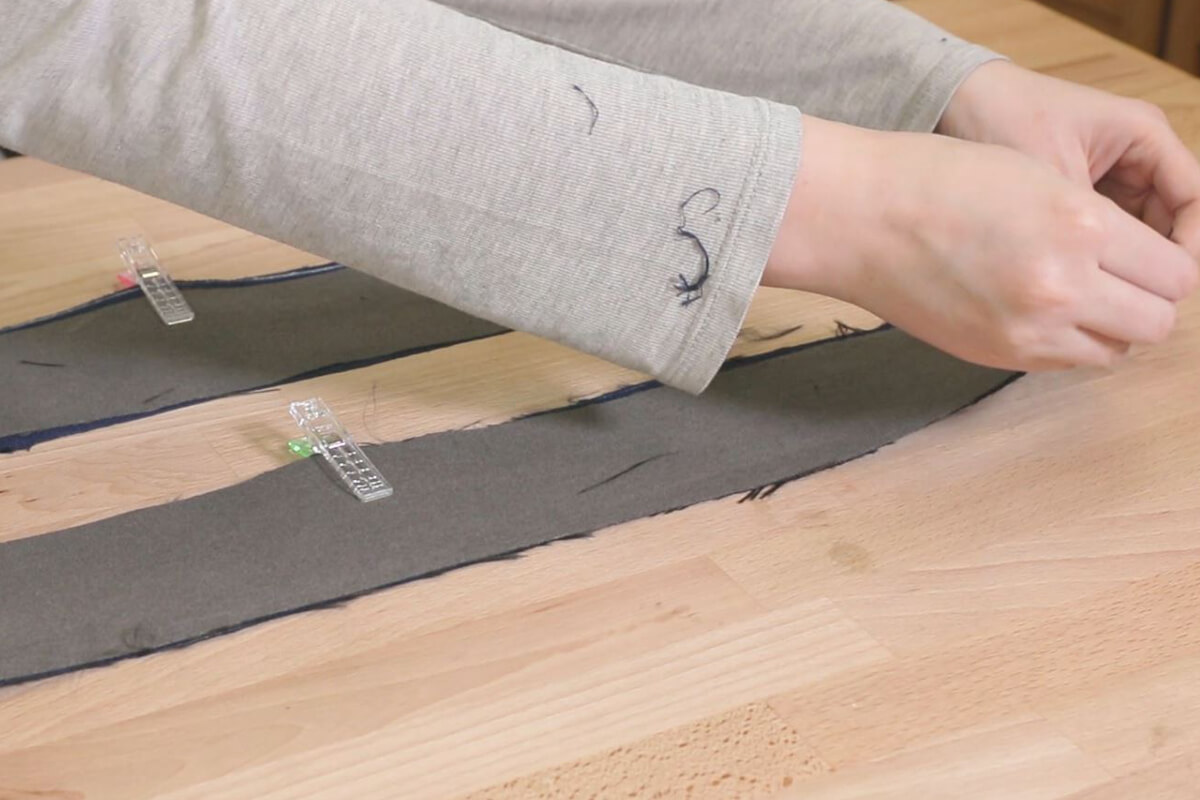
Step 5: Construct the Strap
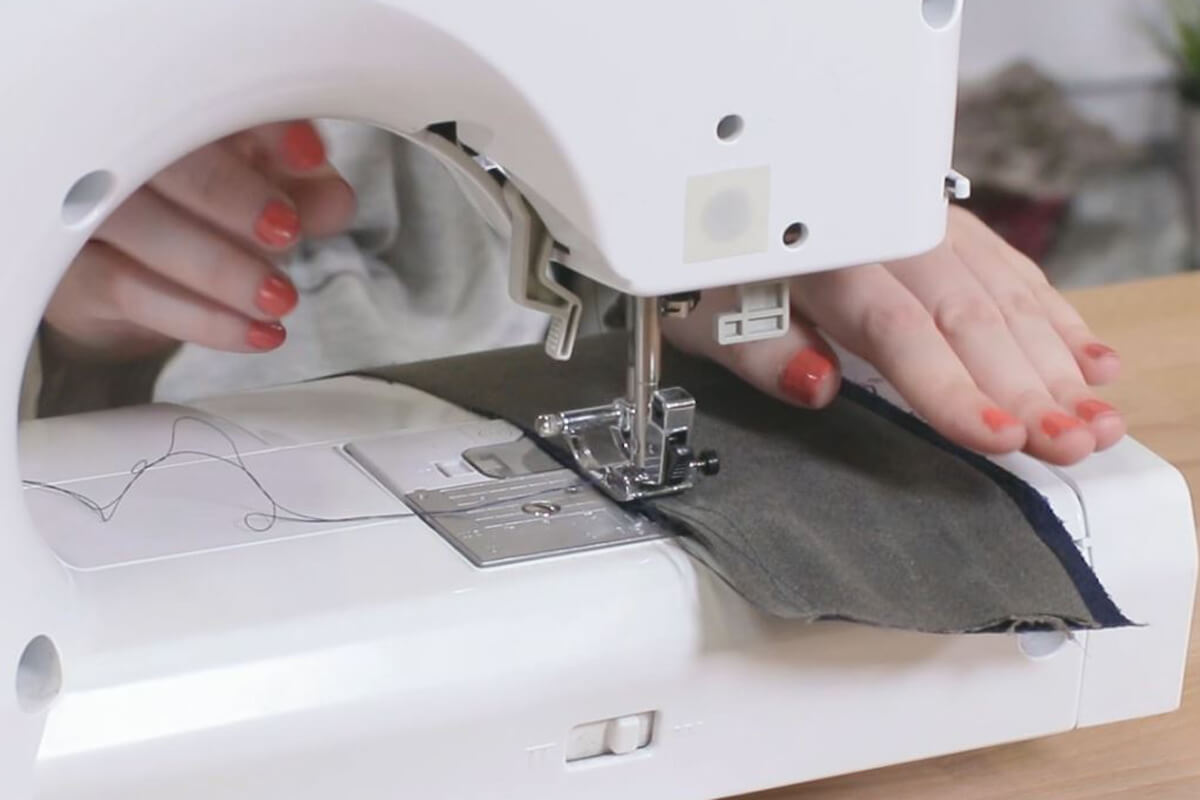
Now, construct the bag’s strap. Take one strip of each color and clip with right sides facing.
Sew up the long edges.
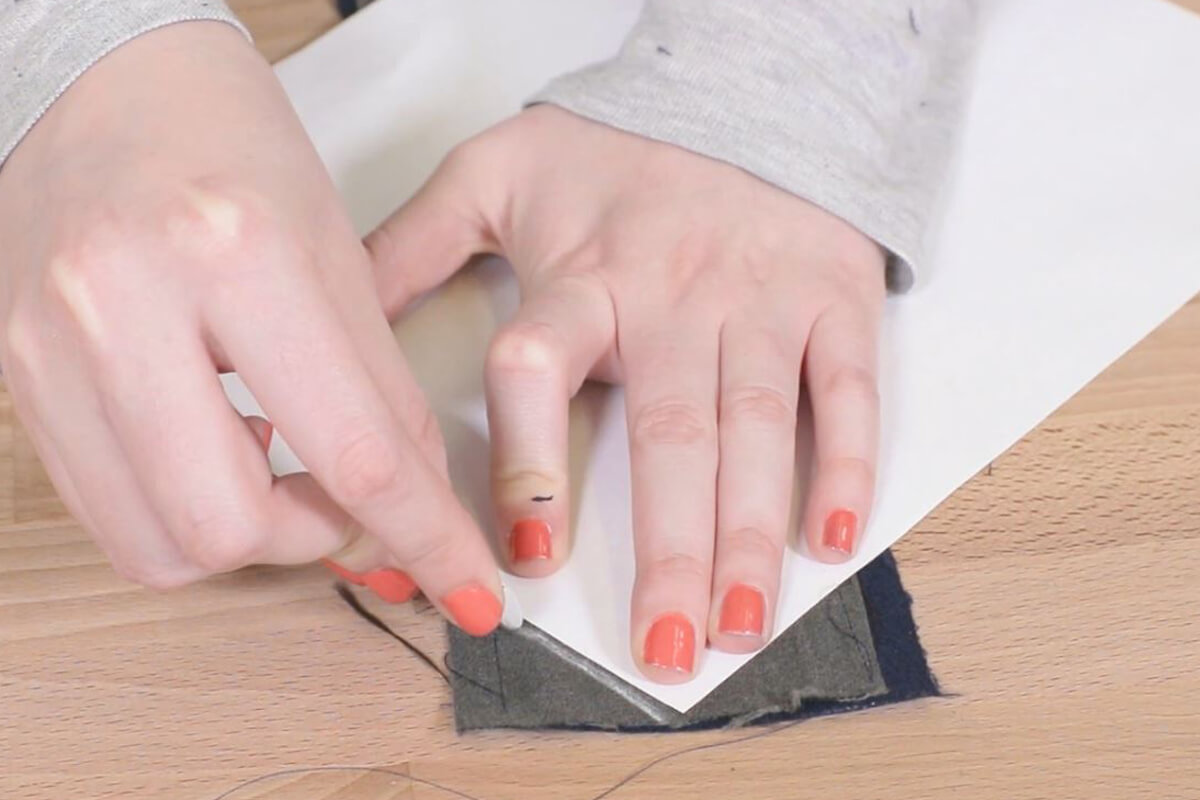
With a piece of paper, mark a 90-degree angle where you will sew in the end of the strap.
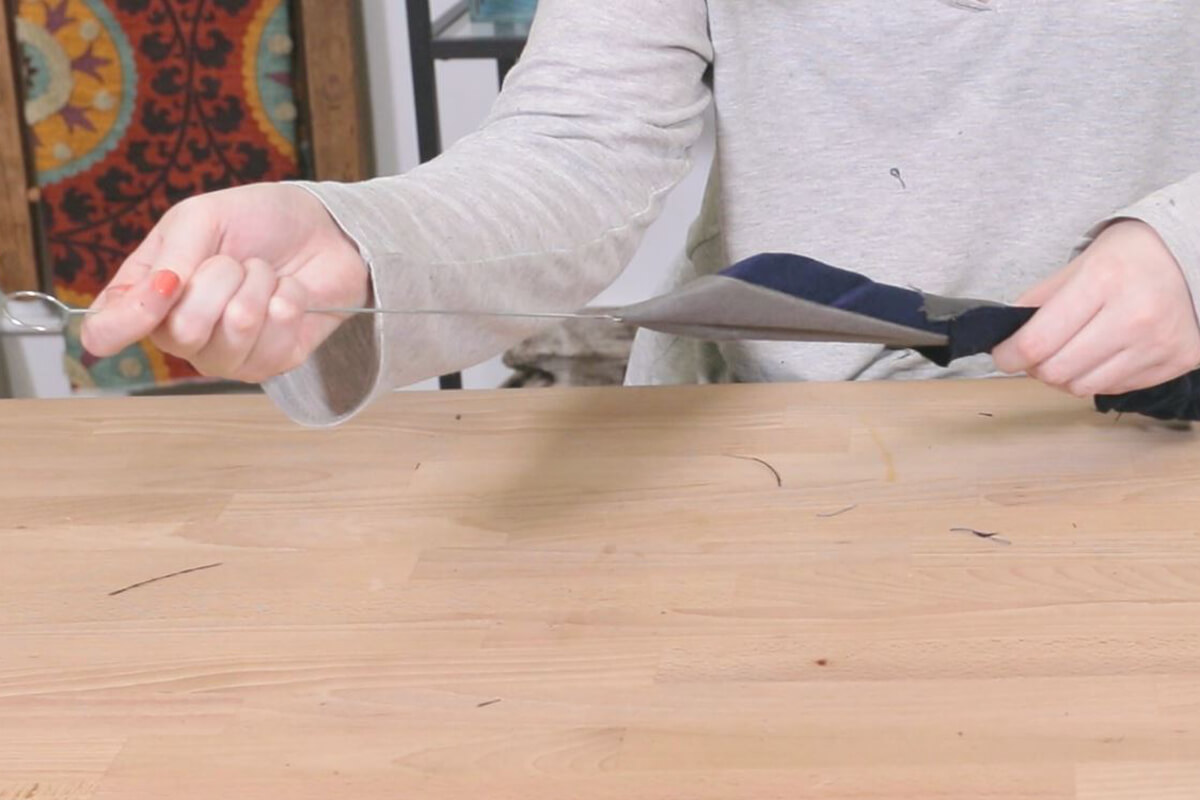
Now, using a Dritz loop turner, flip the strap right side out.
Sew where you have marked and cut off any extra fabric around the edges.
Step 6: Combine Everything
Now, combine all the individual pieces together. With the wrong side of the outer bag and the right side of the lining facing out clip around the top edge so that all the pieces are matched up.
Now insert the straps by inserting the larger sticking out of the strap pieces one inch also making sure the strap is positioned correctly. Tuck the rest of the strap into the bag. Sew a half inch around the whole opening, removing the clips as you go along.
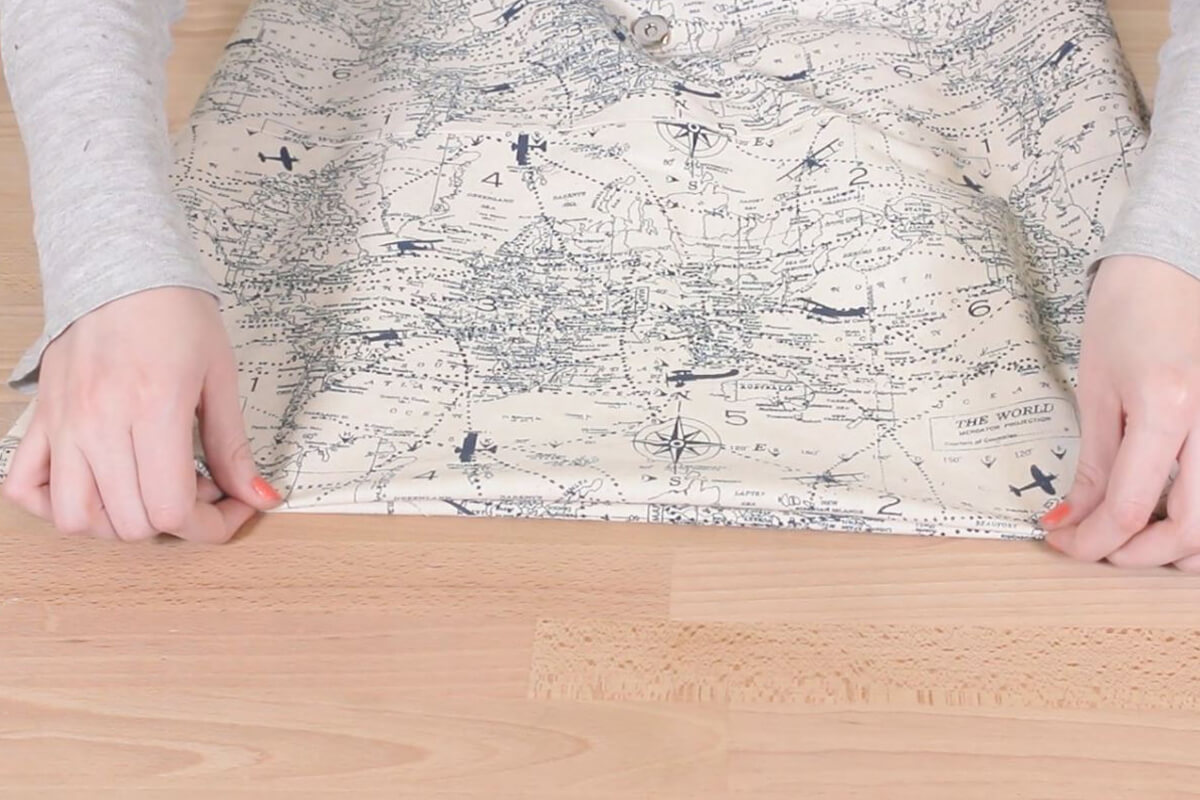
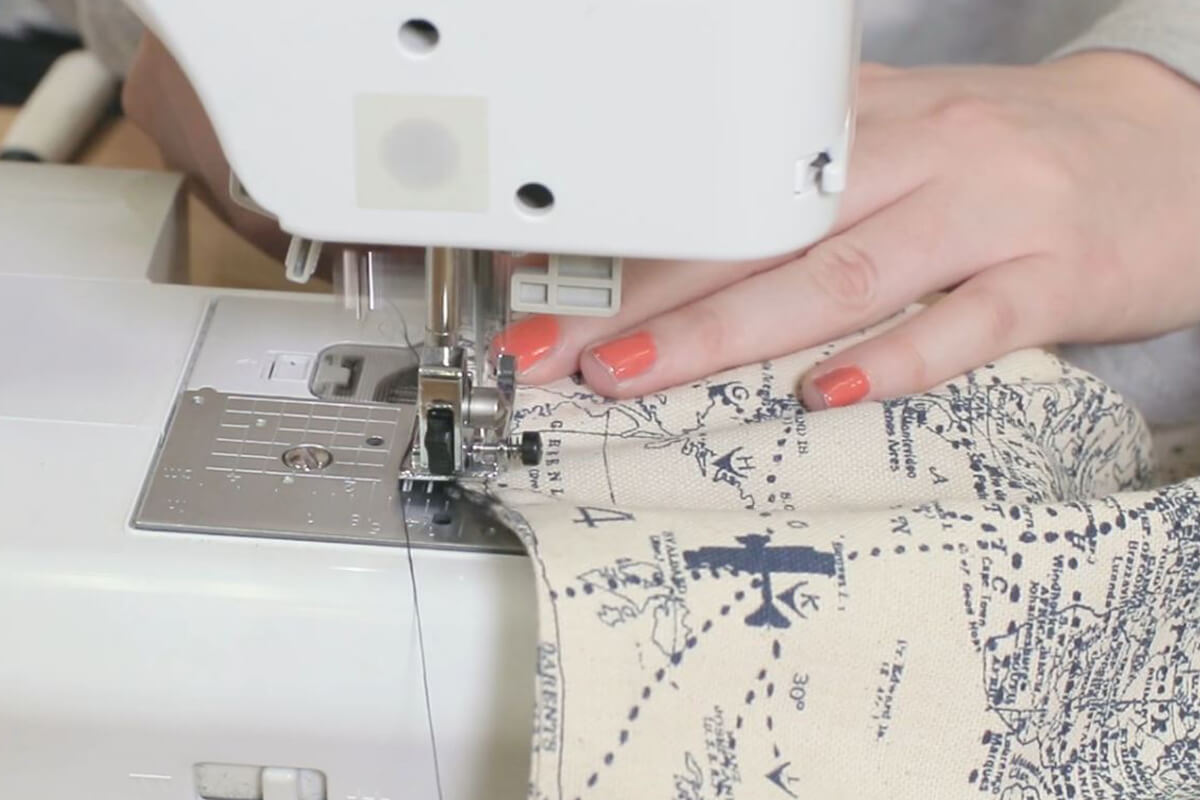
Step 7: Flip right side out
Finally, pull the insides out through the hole you left opened on the bottom. Push out all the corners.
Fold in the opening of the lining so it matches the rest of the bag and sew it shut. Push the liner back inside the bag.
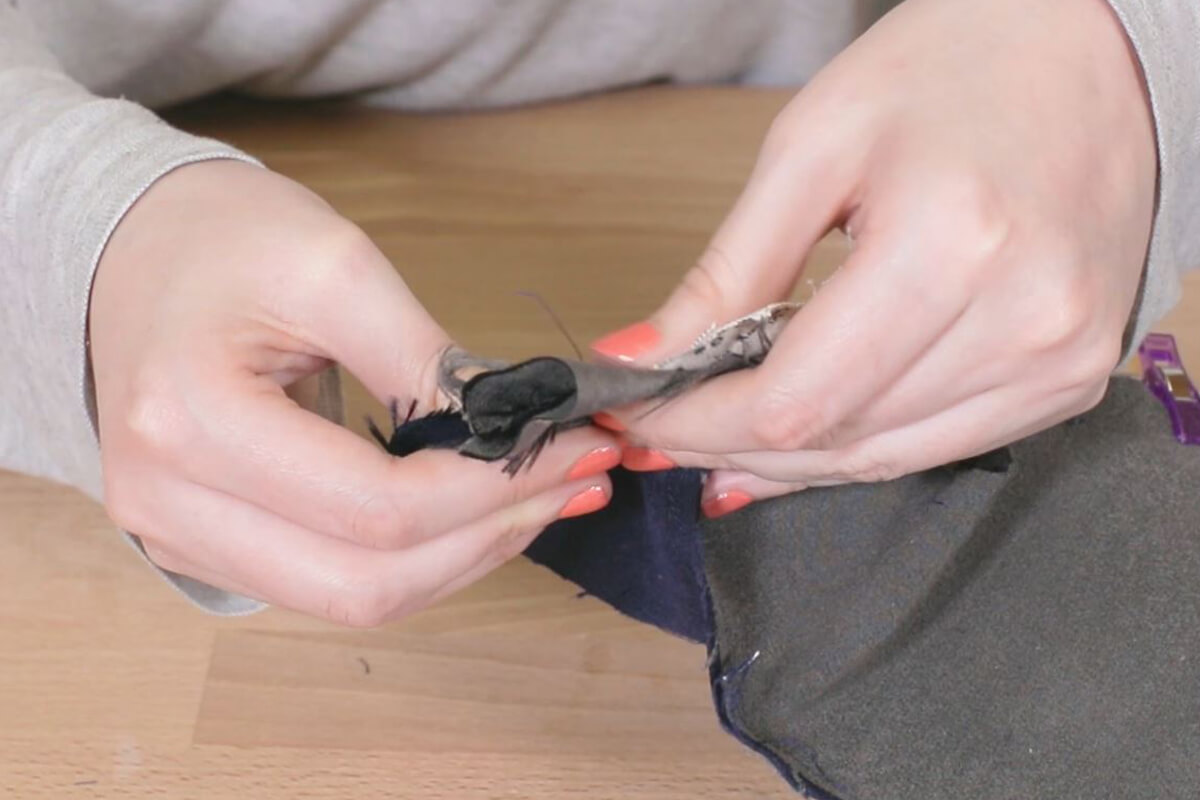
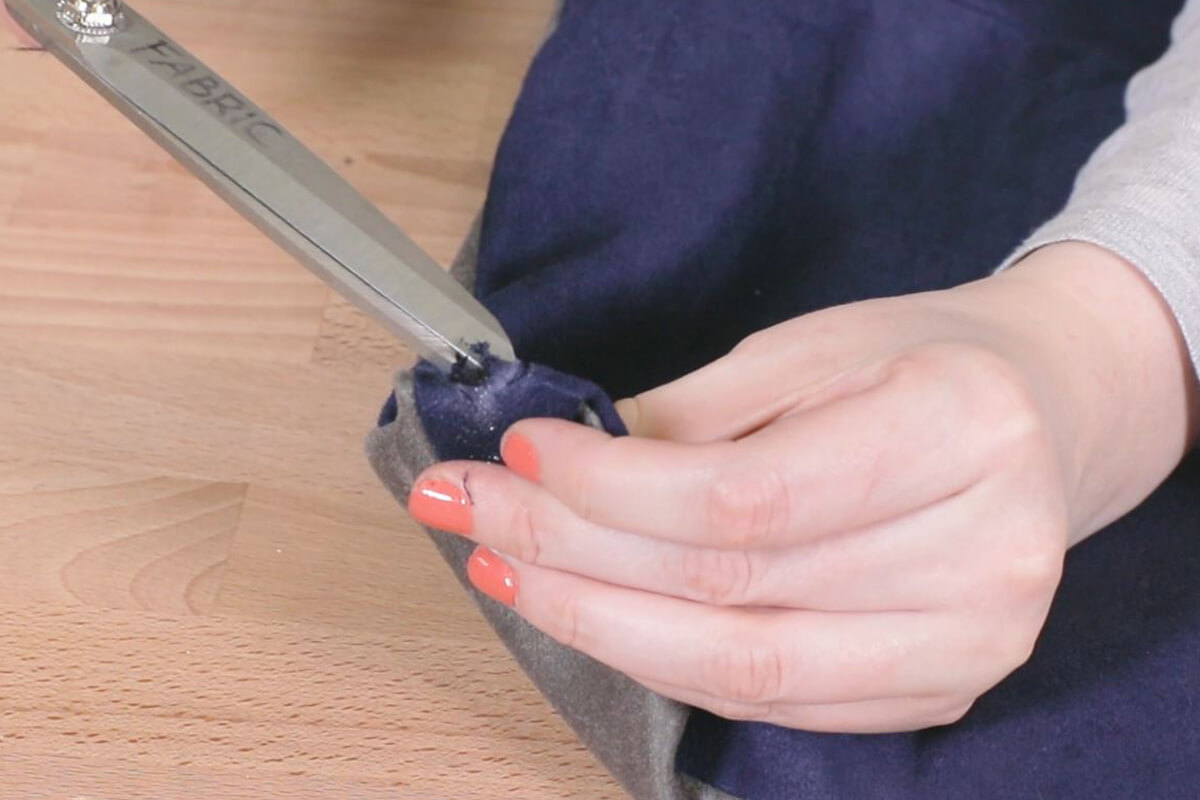
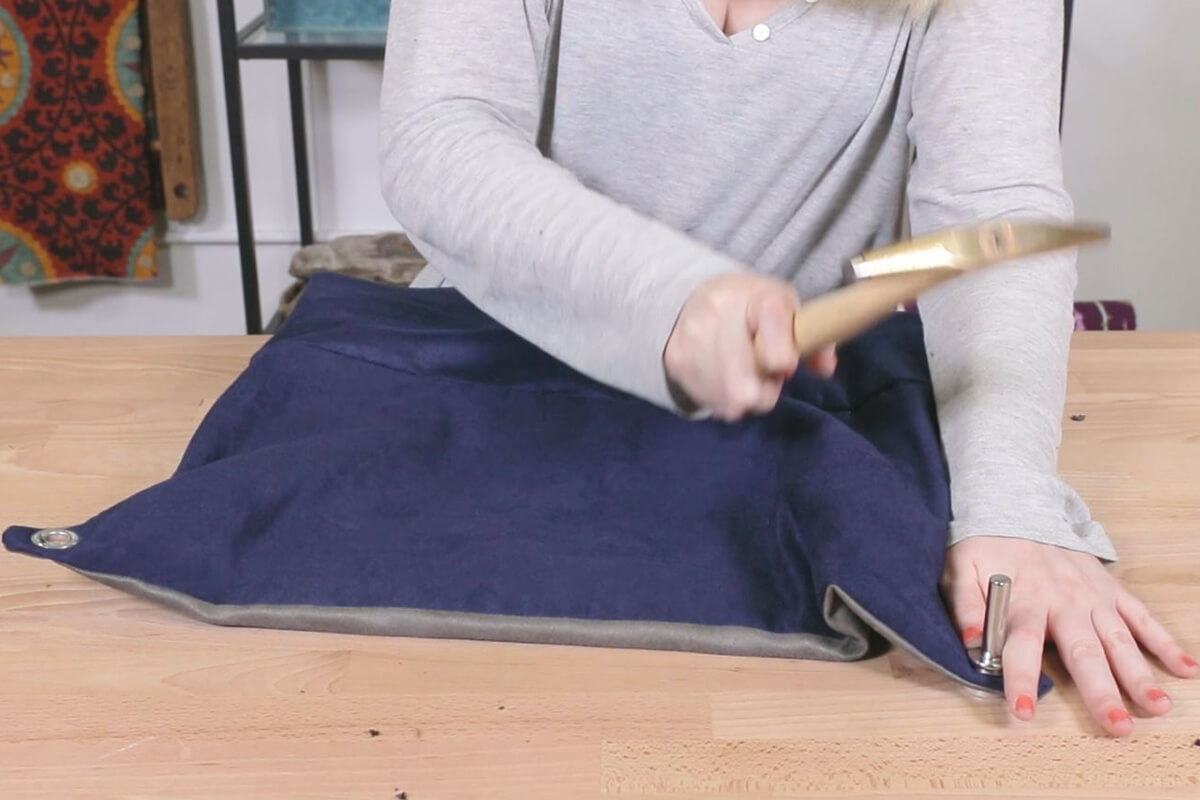
Step 8: Attach eyelets
Attach eyelets to the bottom corners of the bag.
Quick Tip!
If you want to steam the seams open, do so at the end of each step for a more refined look.


-
{{#each productSuggestedQueries.results}}
- {{query}} {{/each}}
-
{{#each categories.results}}
- {{html title}} {{/each}}
{{html attributes.description}}
{{/if}}-
{{#each queries.results}}
- {{query}} {{/each}}