How to Make a Tote Bag with a Zipper
- By Clara
- Intermediate
- 2 hours
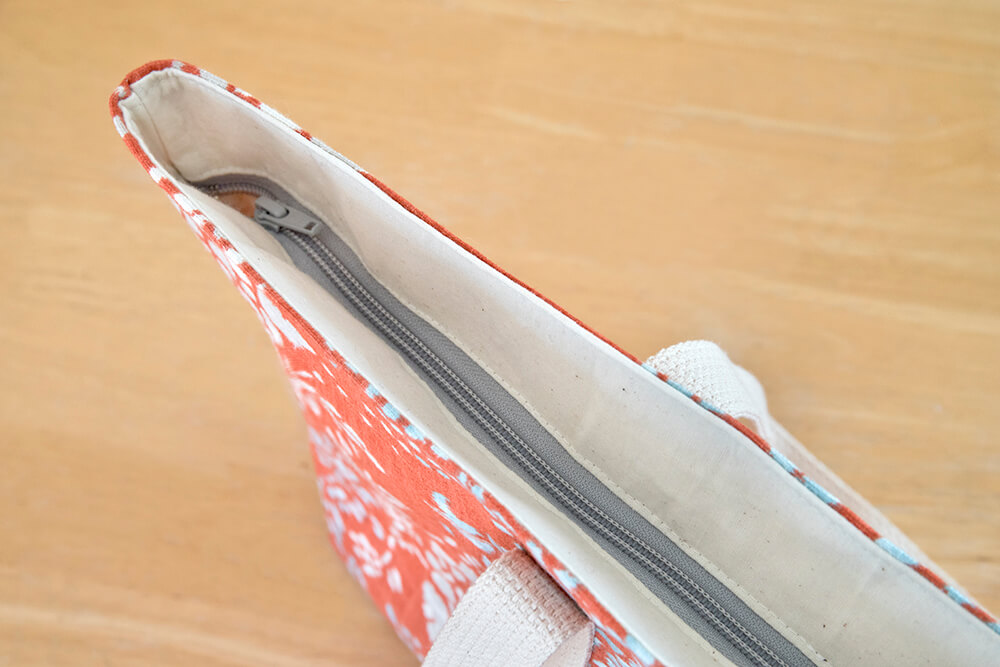
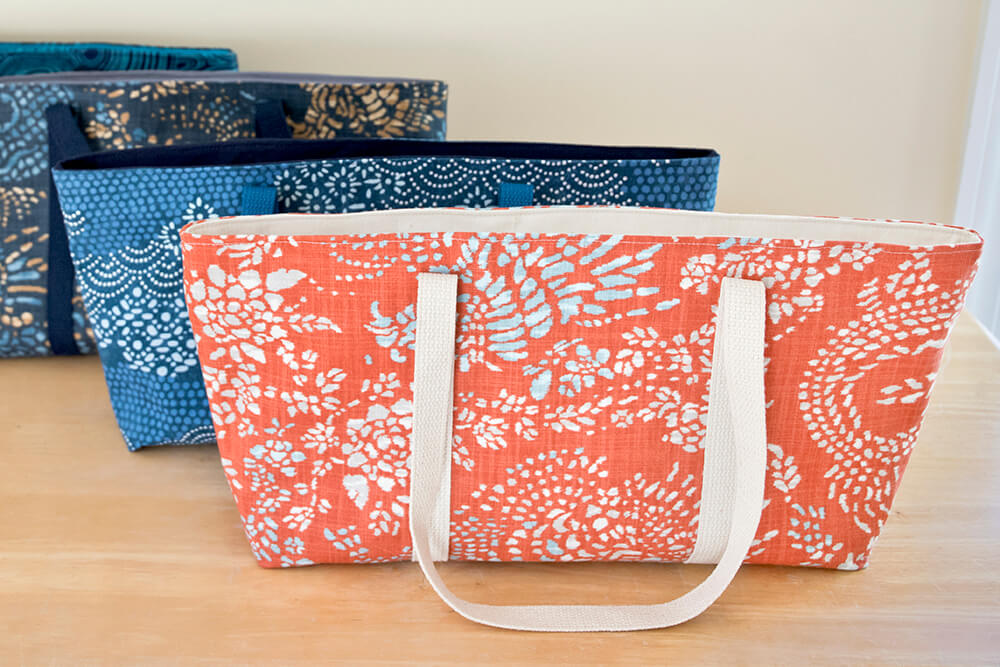
Tote bags are super useful and can be made in all sorts of sizes, so you can never have too many! You can make them many different ways, but this tote bag features a recessed zipper to keep the contents of the bag secure.
The size I made is perfect to use as a Mahjong bag but you can make it any size you want. (I made these as gifts for my Mahjong-loving aunts!)
You can also add interior and exterior zippers or more pockets to fit your needs.
Want to get the printable PDF instructions? Sign up to our mailing list to download the PDF.
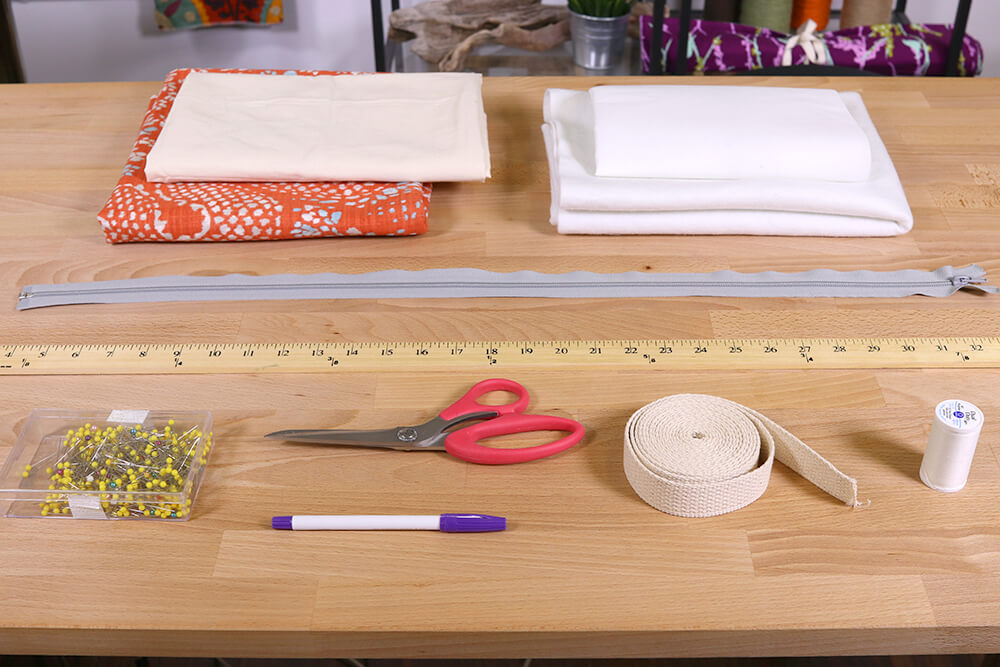
Materials
Video
Instructions
Step 1: Measure & cut the fabric
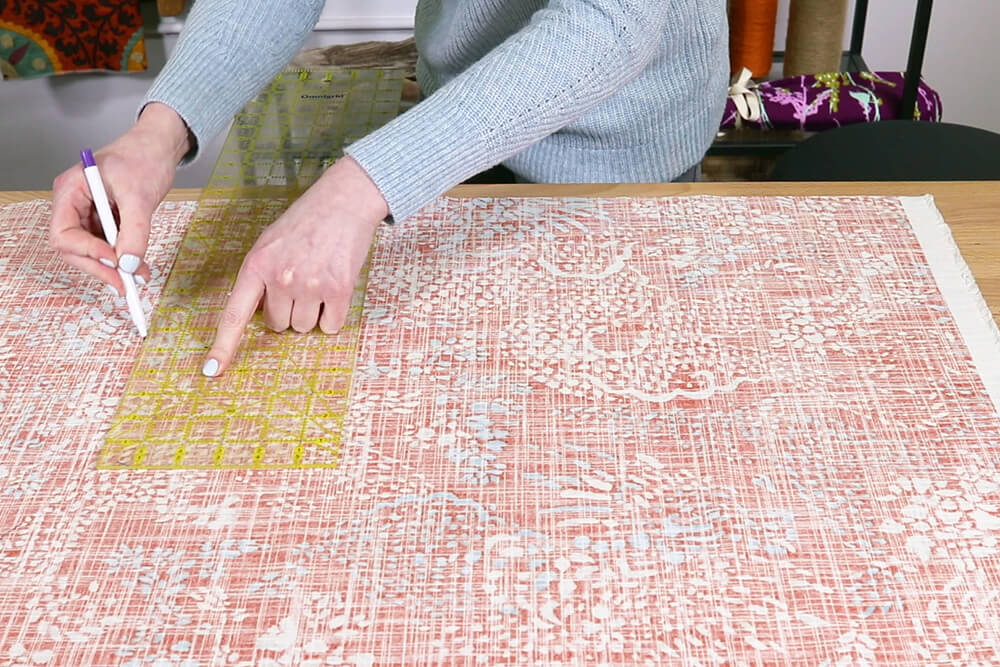
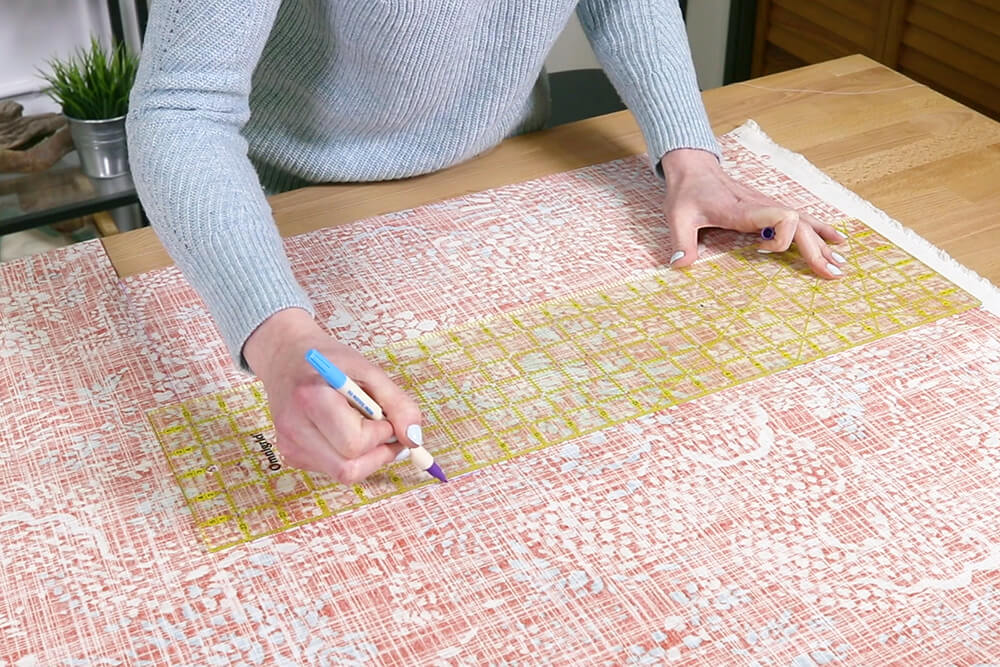
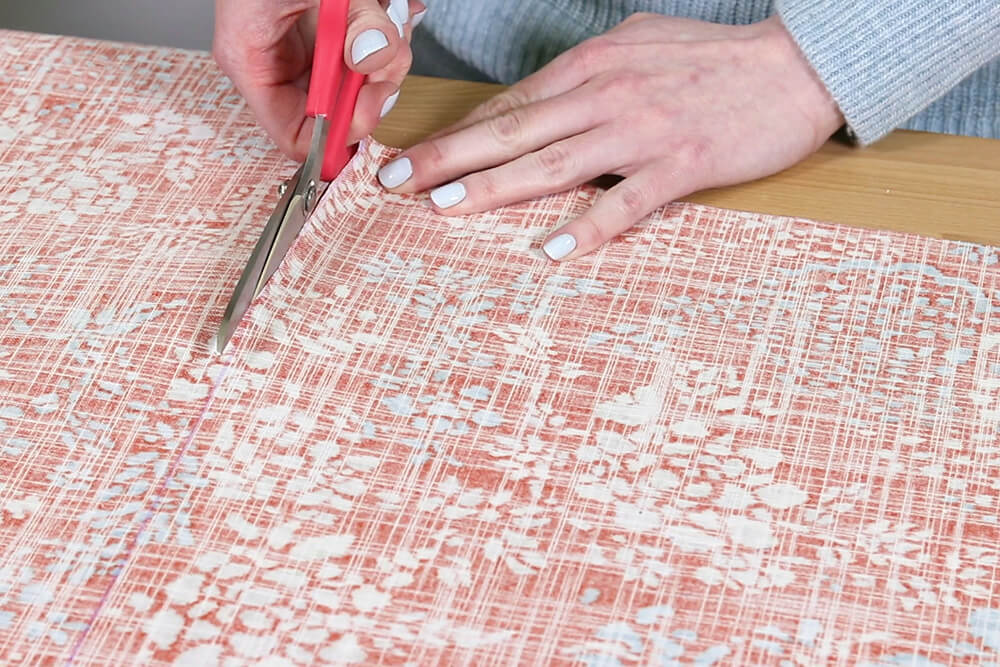
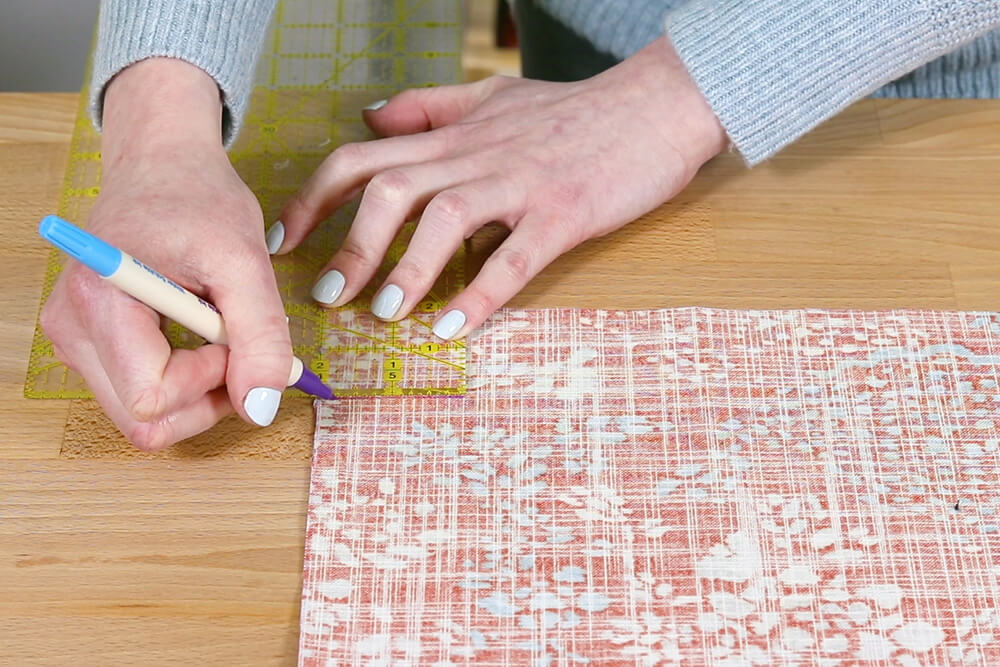
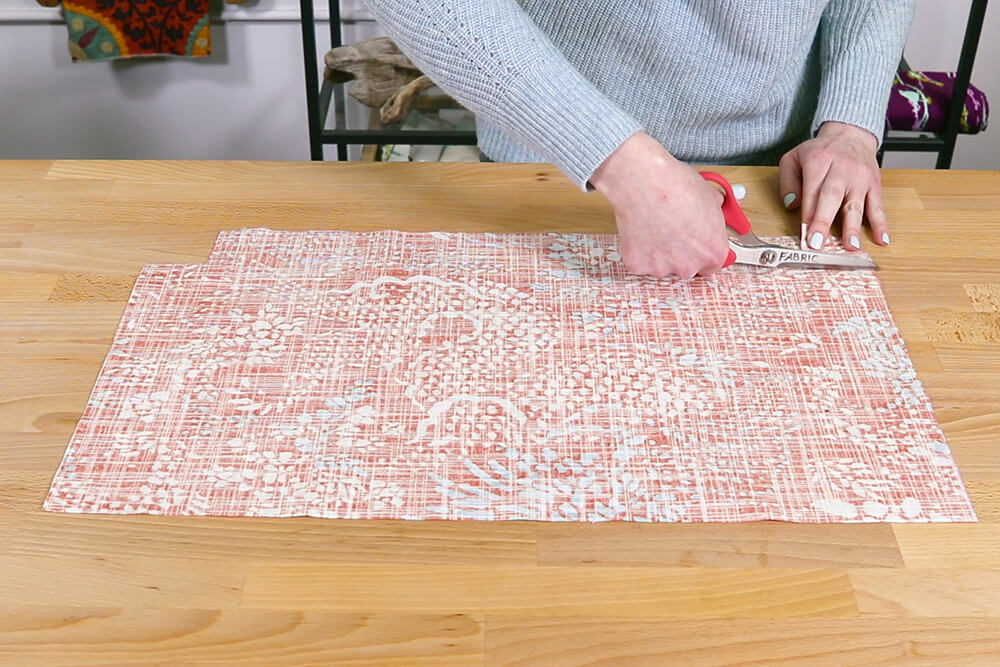
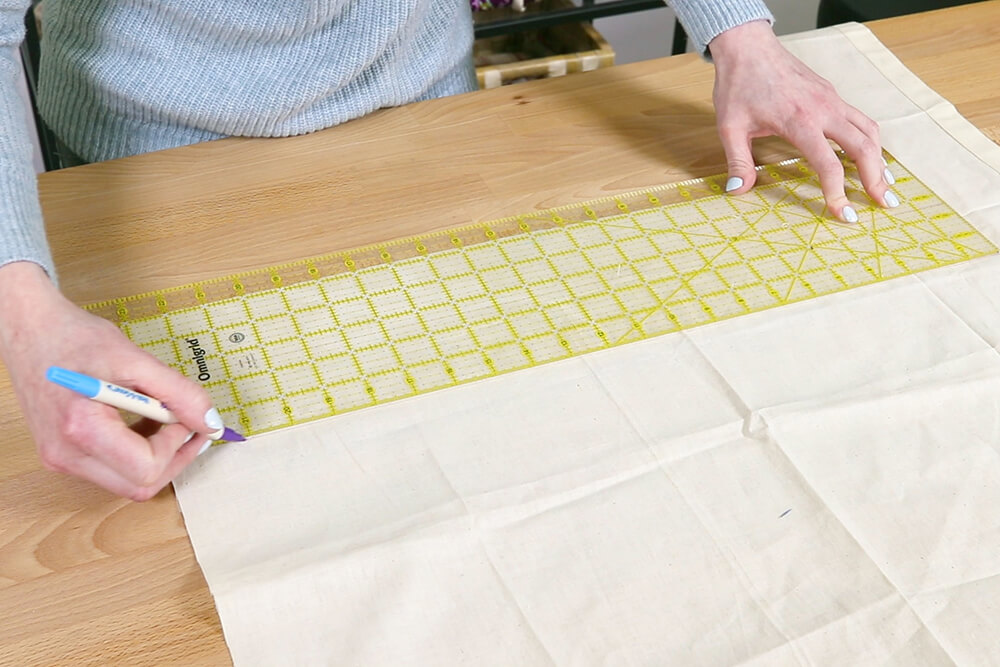
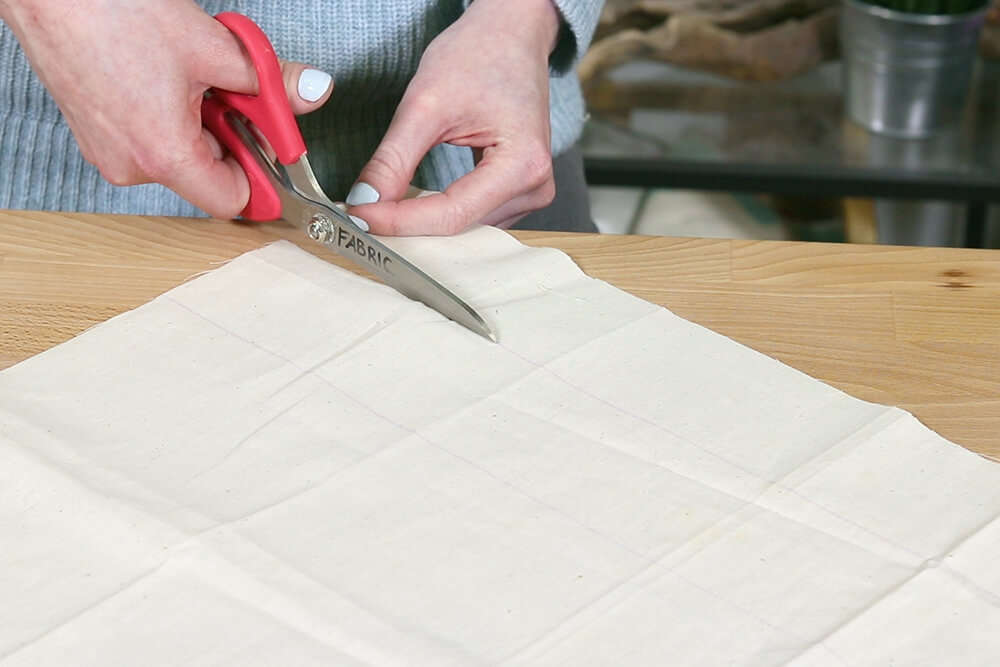
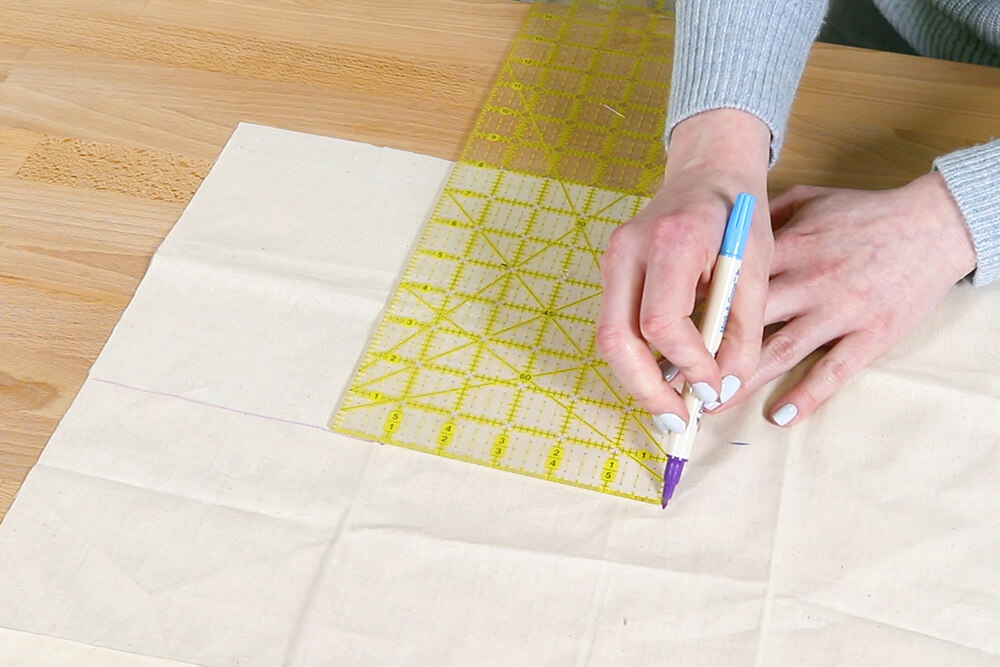
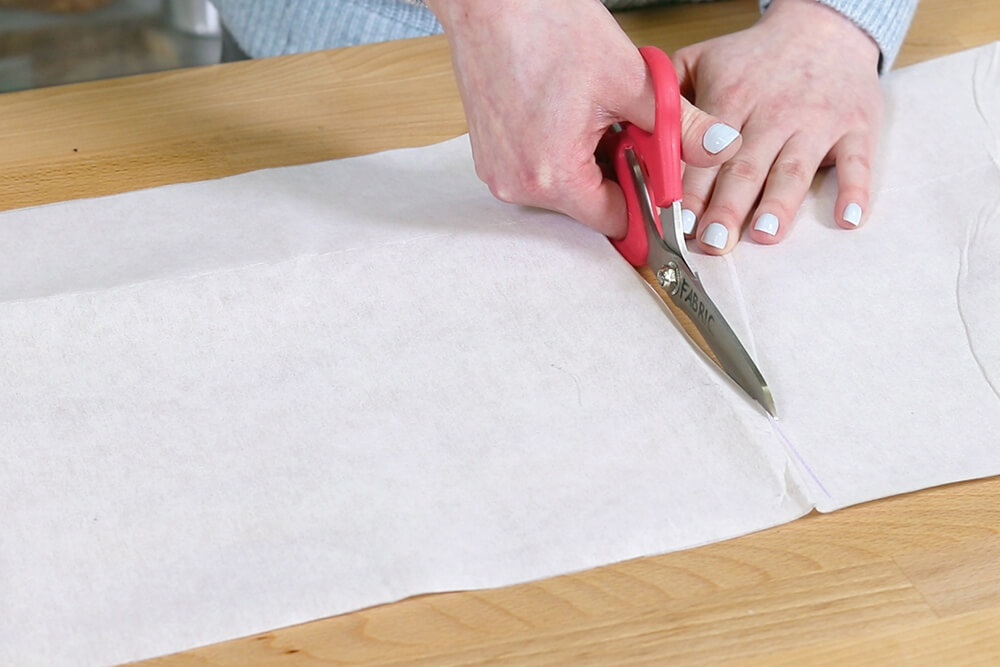
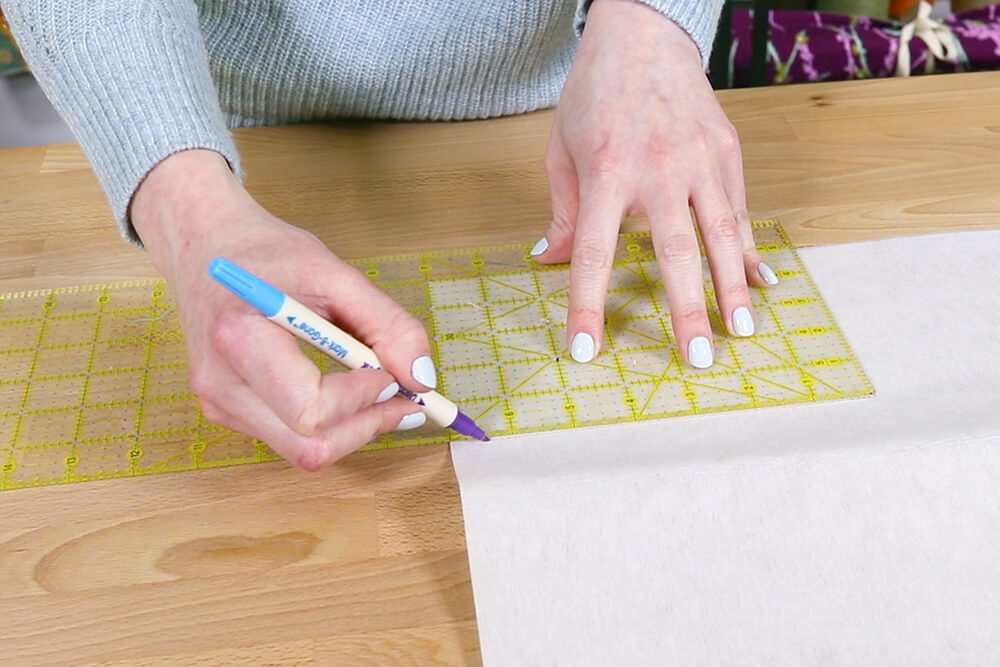
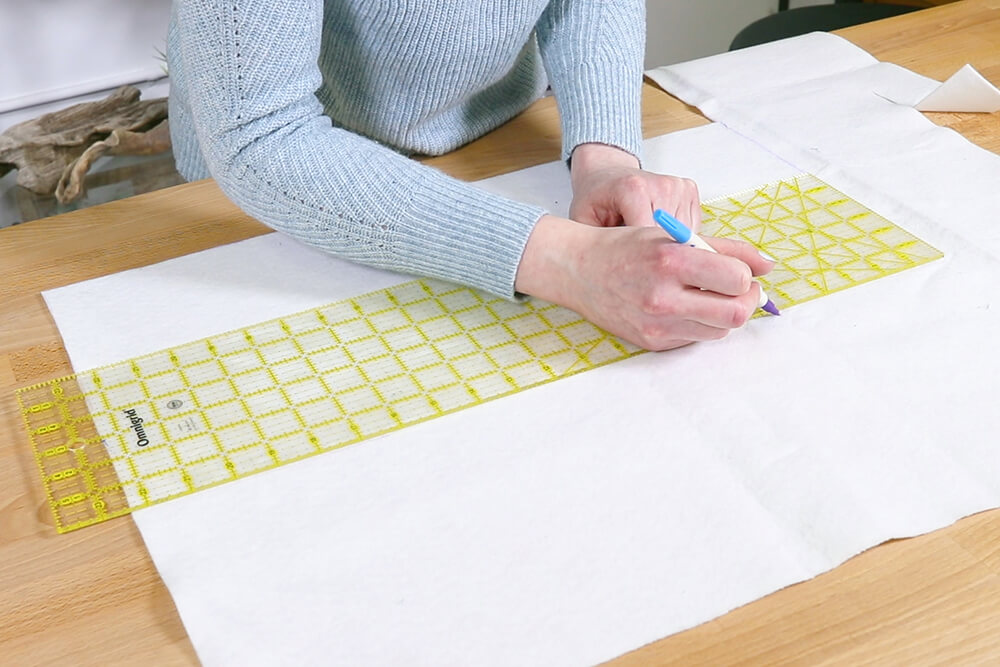
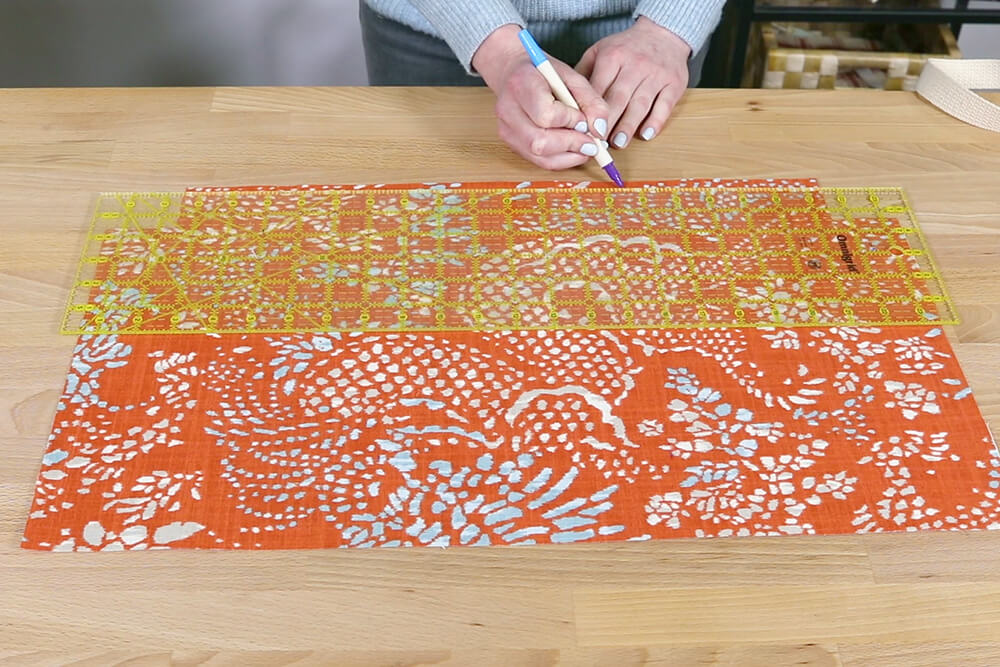
Cut 2 rectangles from the outer fabric that are the width you want the bag plus 1″ by the height plus 2 ½”.
My bag will be 22″ wide at the top and 11″ high so I’m cutting pieces that are 23” x 13 ½”.
You can use many different fabrics as the outer fabric like canvas, denim, nylon, quilting cotton, or décor fabric, which is what I’m using. If you plan on washing your bag, pre-wash the fabric before starting.
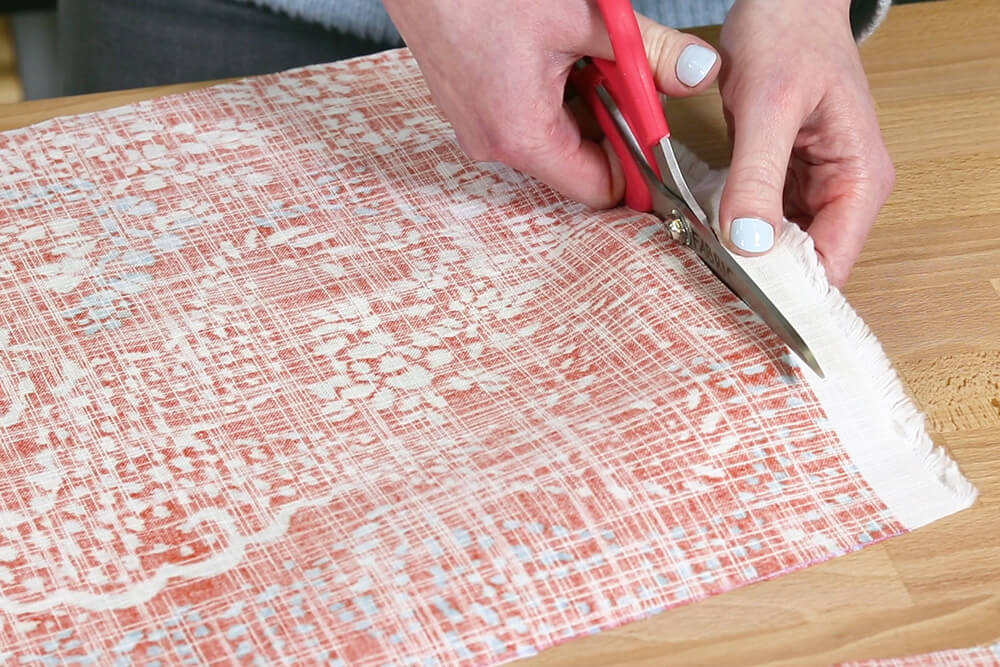
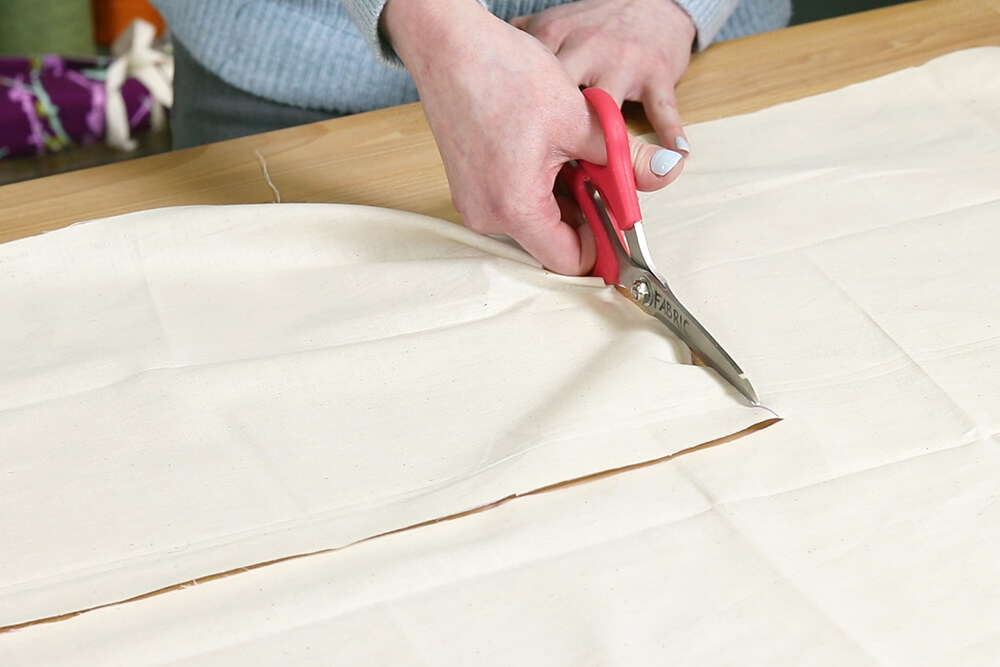
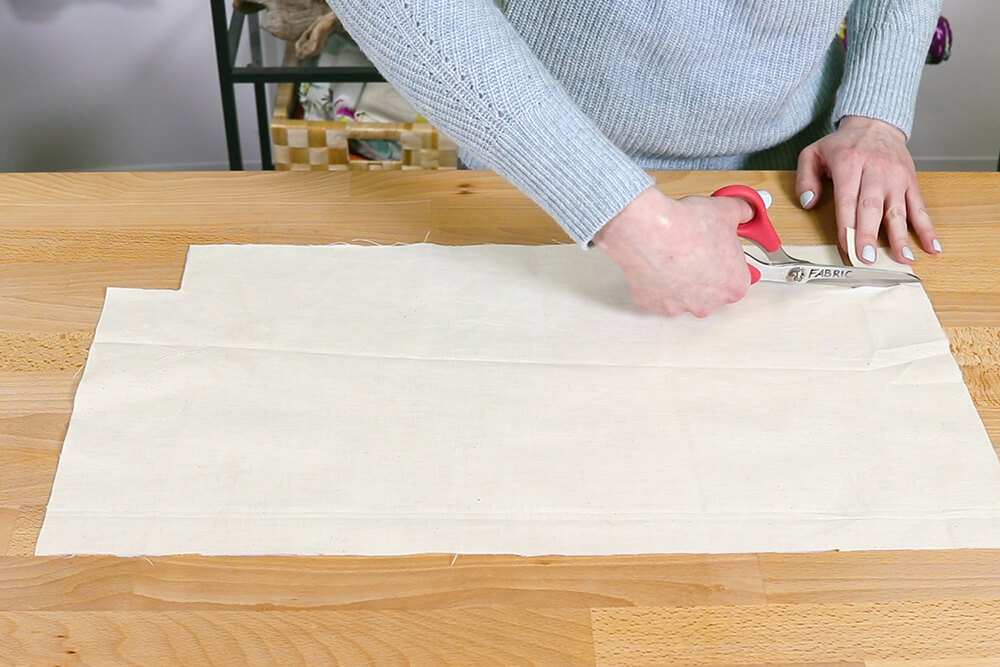
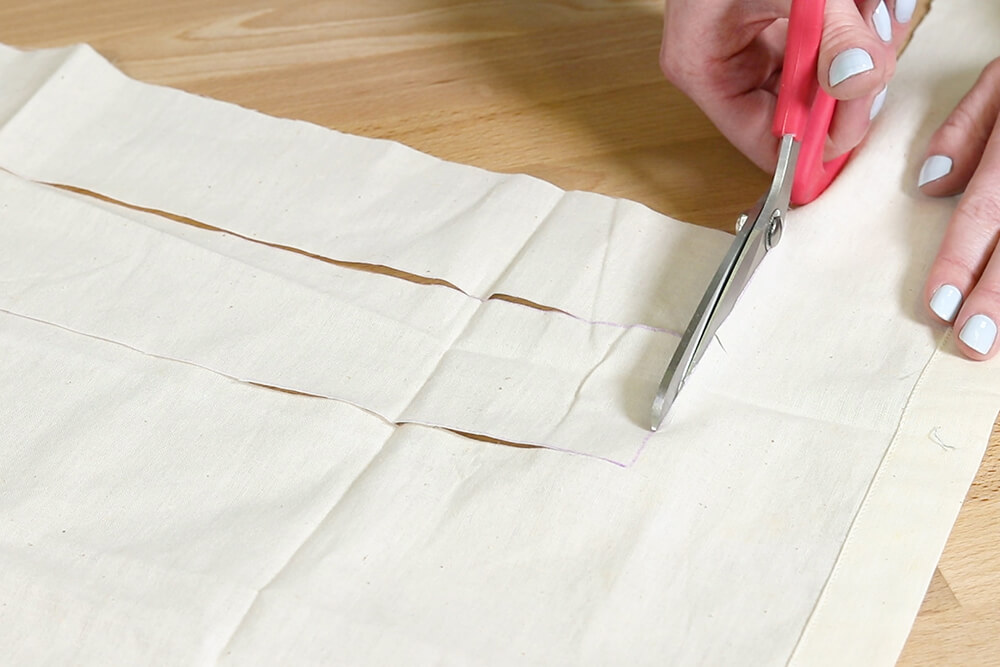
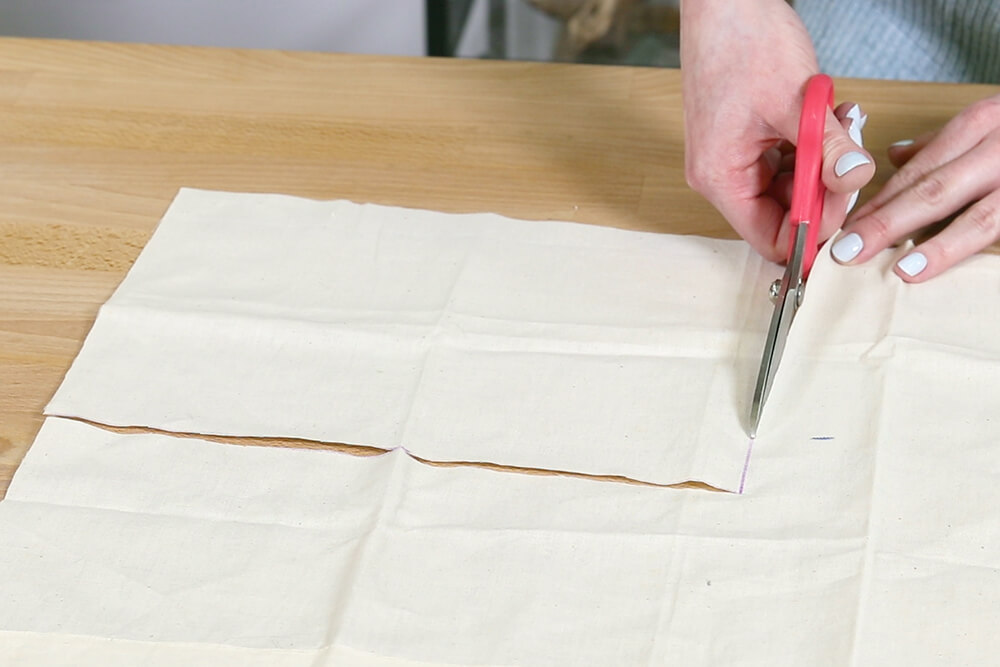
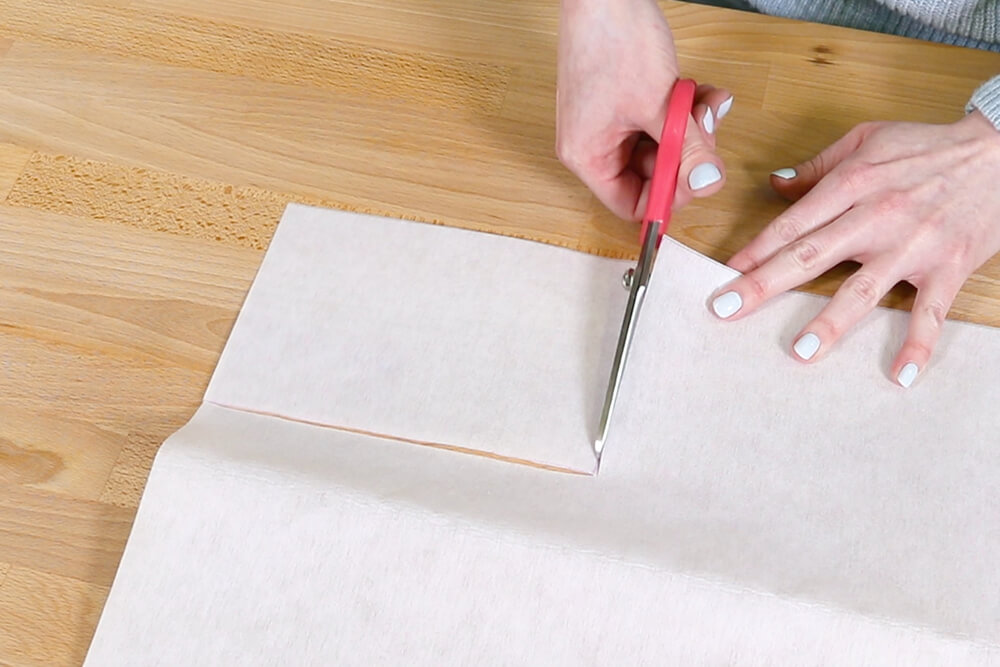
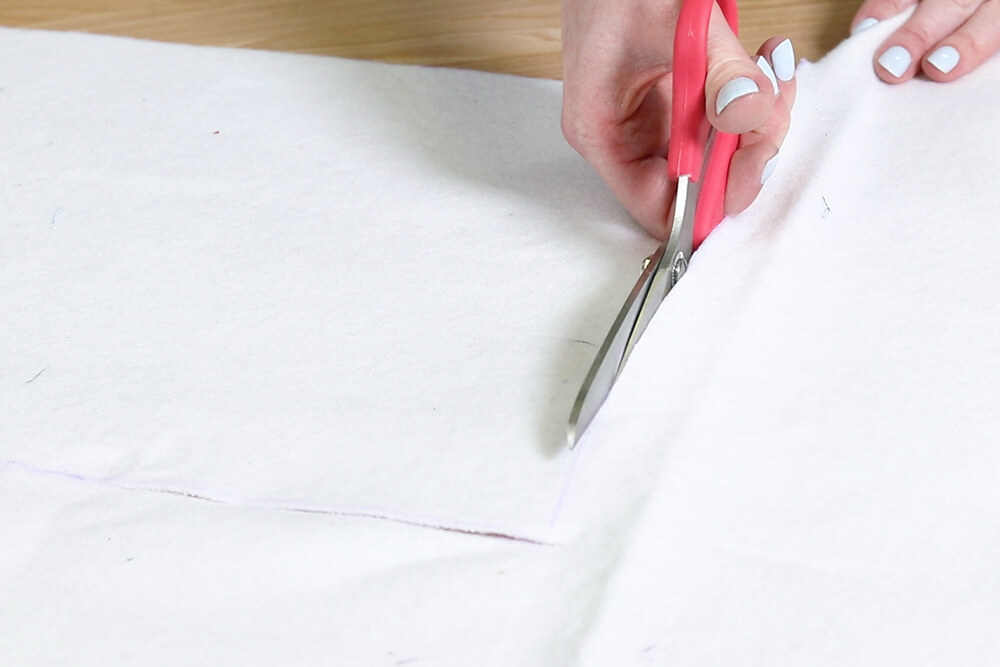
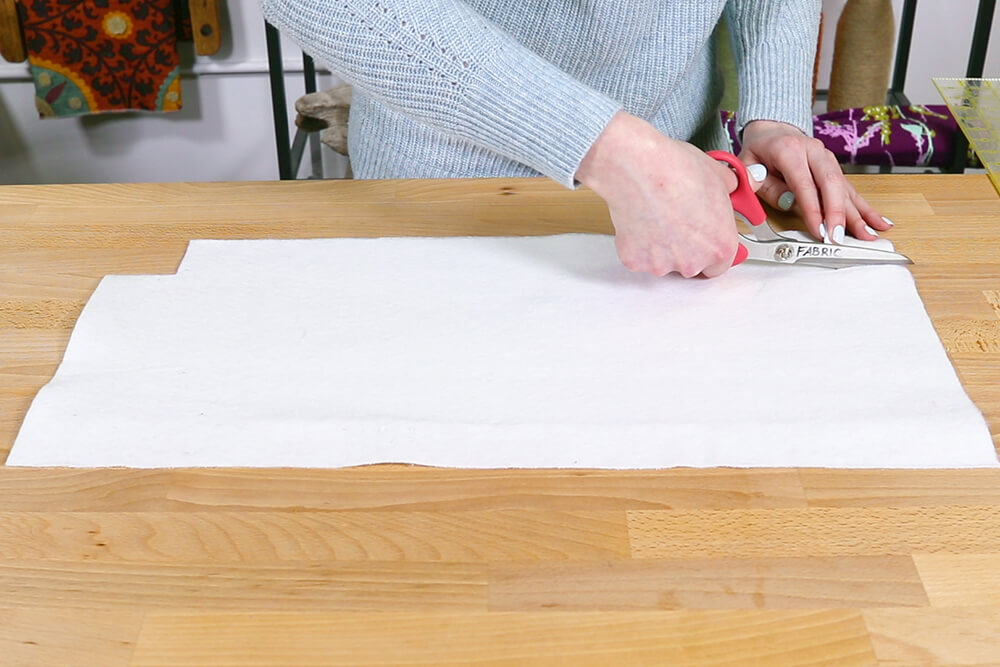
Cut 2″ squares from the bottom corners. This will create the gussets so the size of the squares will determine the depth of the bottom of the bag. This bag will have 4” gussets. If you want a different size, divide the depth you want the bag in half and cut out squares that are that size. Keep in mind this will also change the height of the bag.
Use a lightweight fabric for the lining like broadcloth, muslin, or quilting cotton.
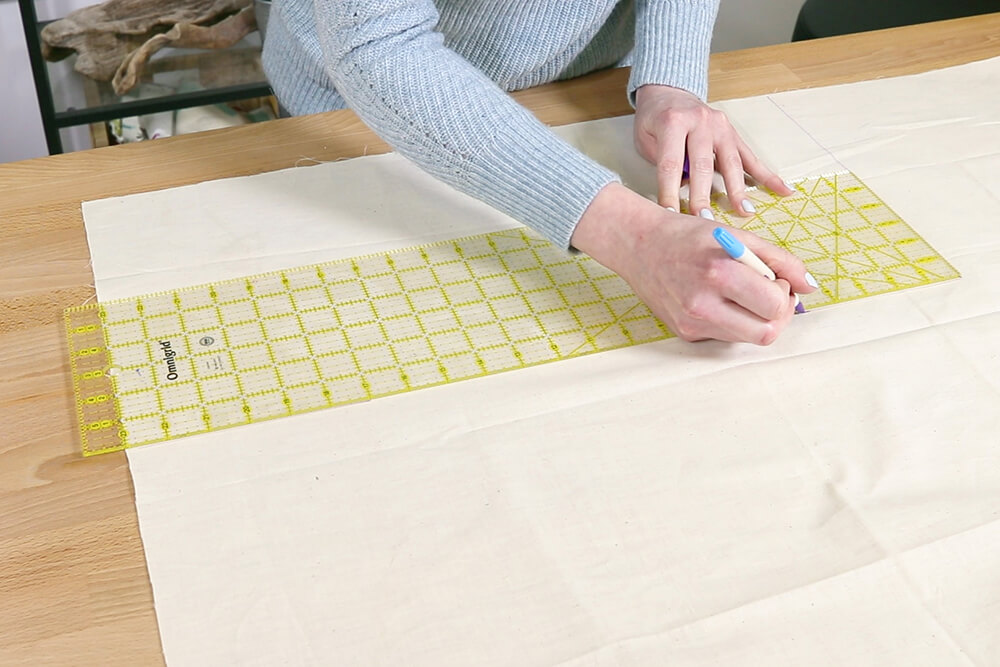
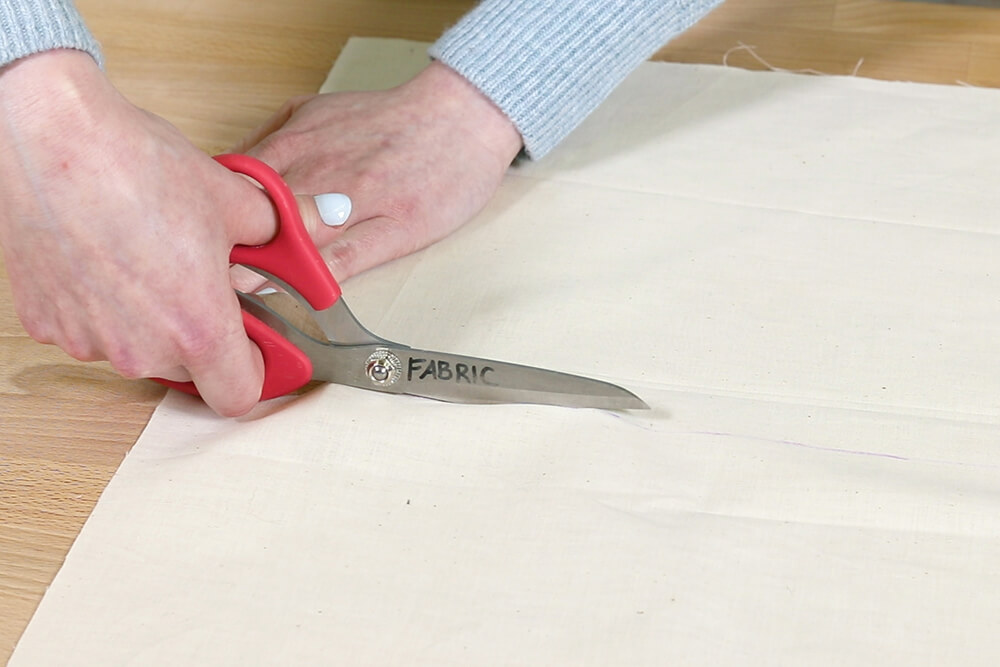
Cut out 2 pieces of the lining that are the same width as the outer fabric and 2″ shorter. My pieces are 23″ x 11 ½”. Cut out 2” squares from the bottom corners.
Cut 2 pieces from the lining fabric that are 2 ½” high and the same width, so 23” for me. These upper lining pieces will be visible above the zipper so you can use the outer fabric if you prefer.
I’m adding a pocket to the interior that’s sized to fit Mahjong cards but this is optional. The pocket will be 5″ x 7”. Add 1” to the width. The height is double the pocket height plus 1” so I’m cutting a piece that is 11″ x 8”.
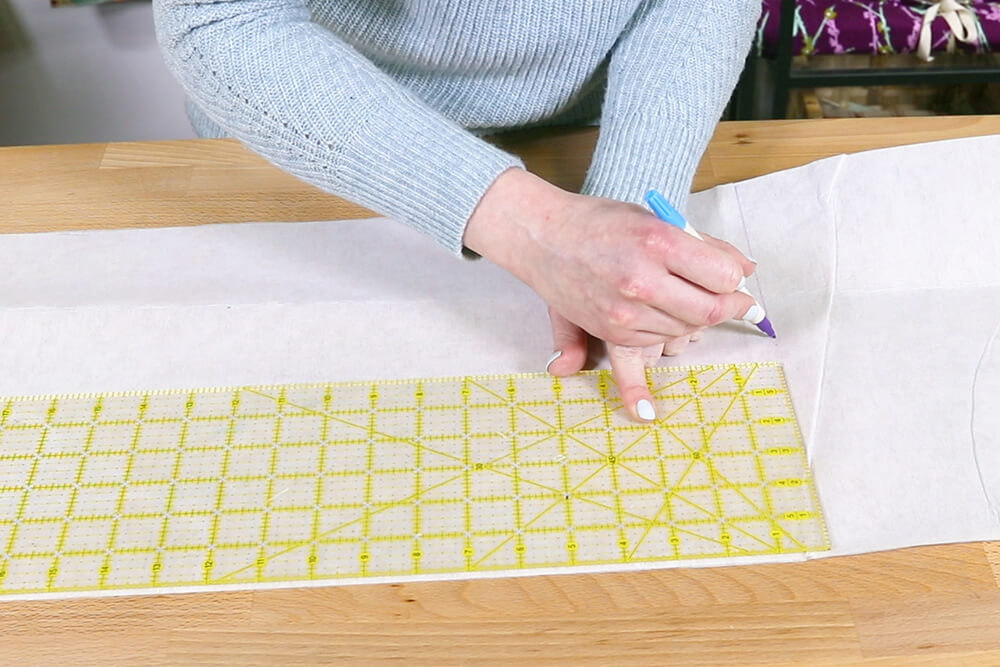
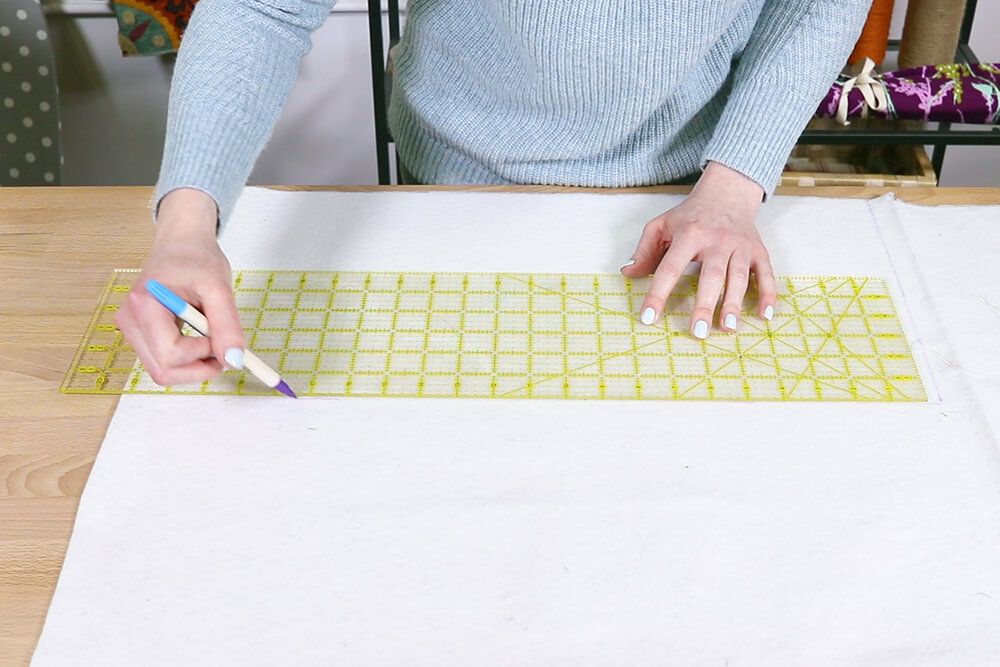
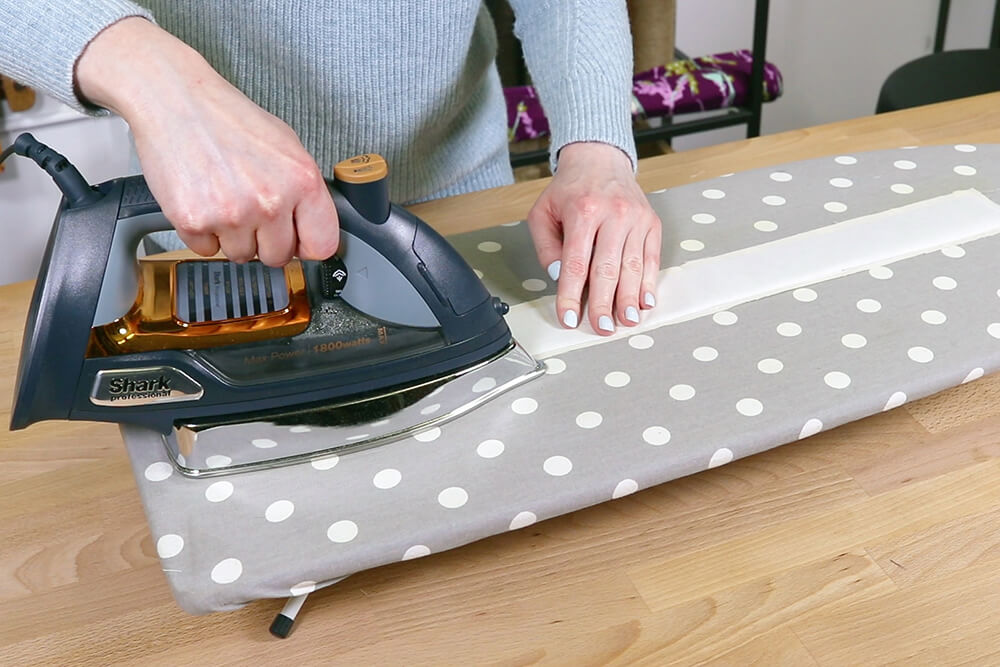
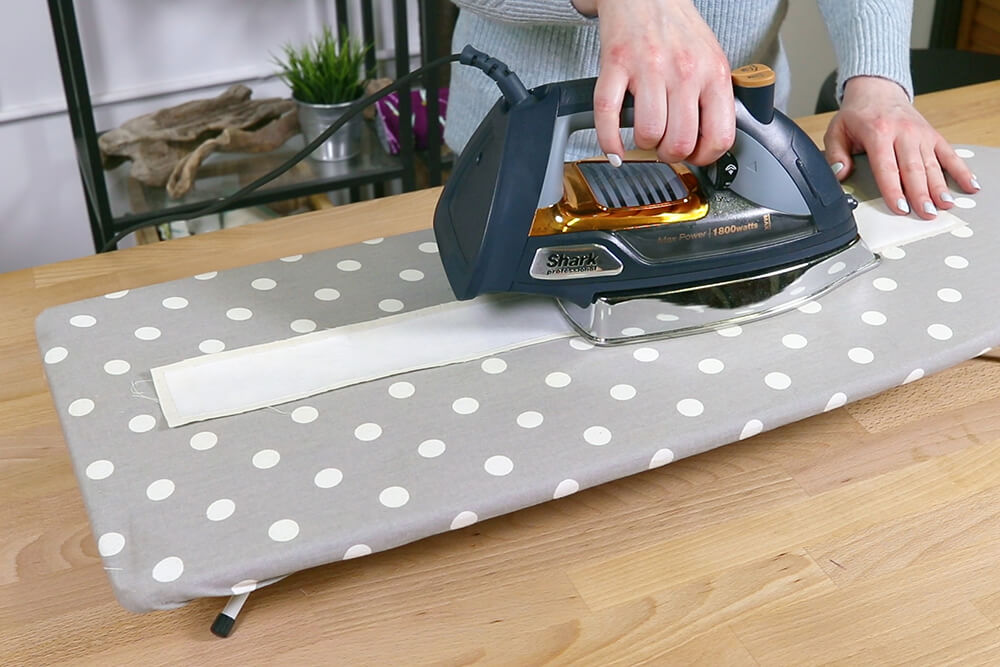
Cut out pieces from the fusible stabilizer for the outer fabric and upper lining that are ½” smaller in all directions. For me, that 22 ½” x 13″ for the outer pieces and 22 ½” x 2” for the upper lining.
Also cut out a piece that’s the size of the pocket, 5″ x 7”.
Step 2: Fuse the interfacing
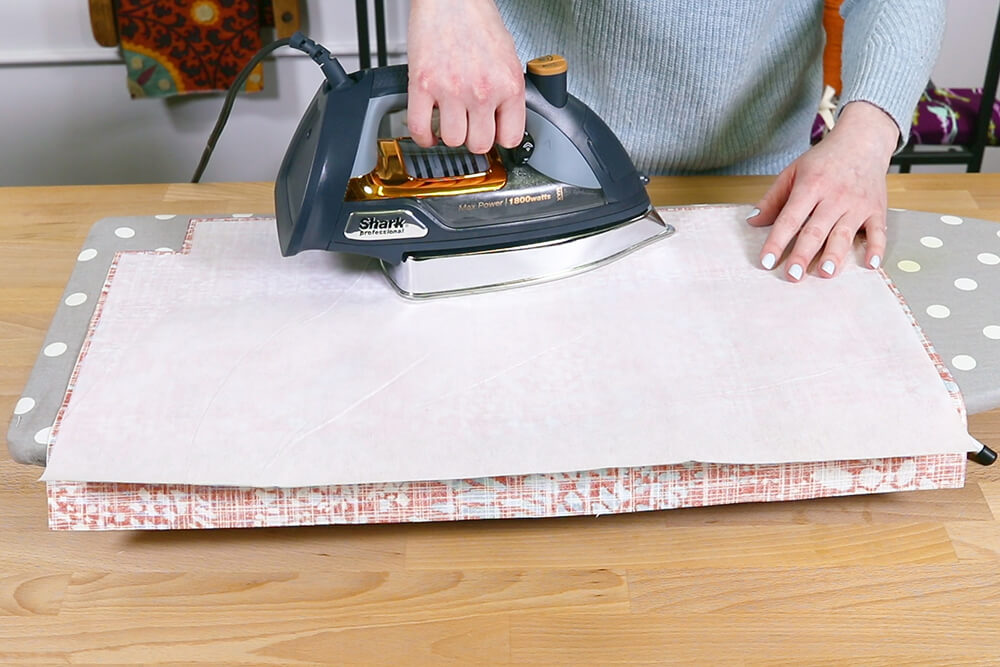
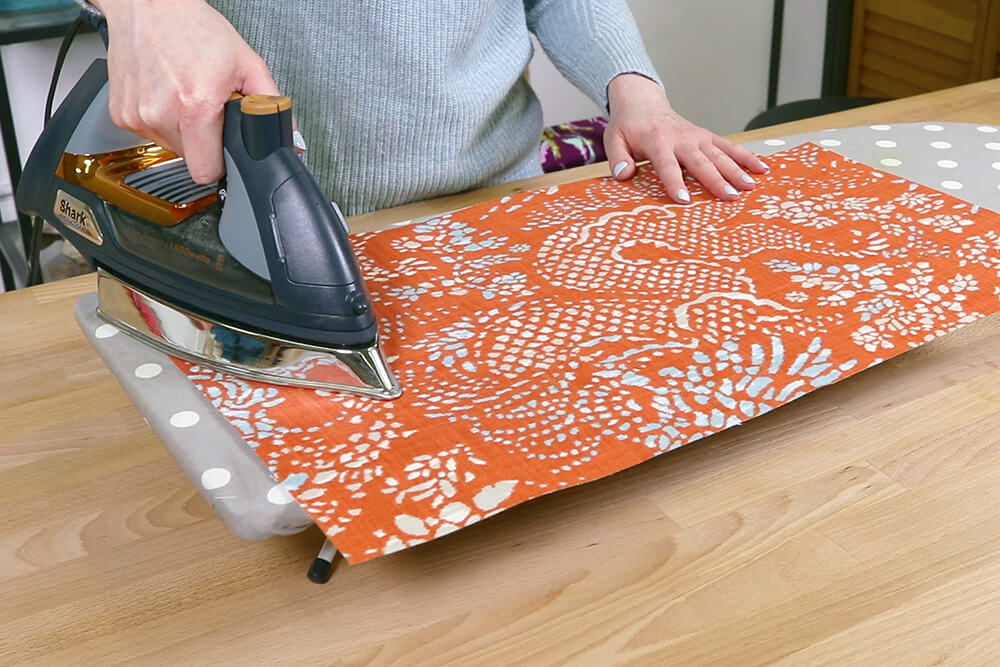
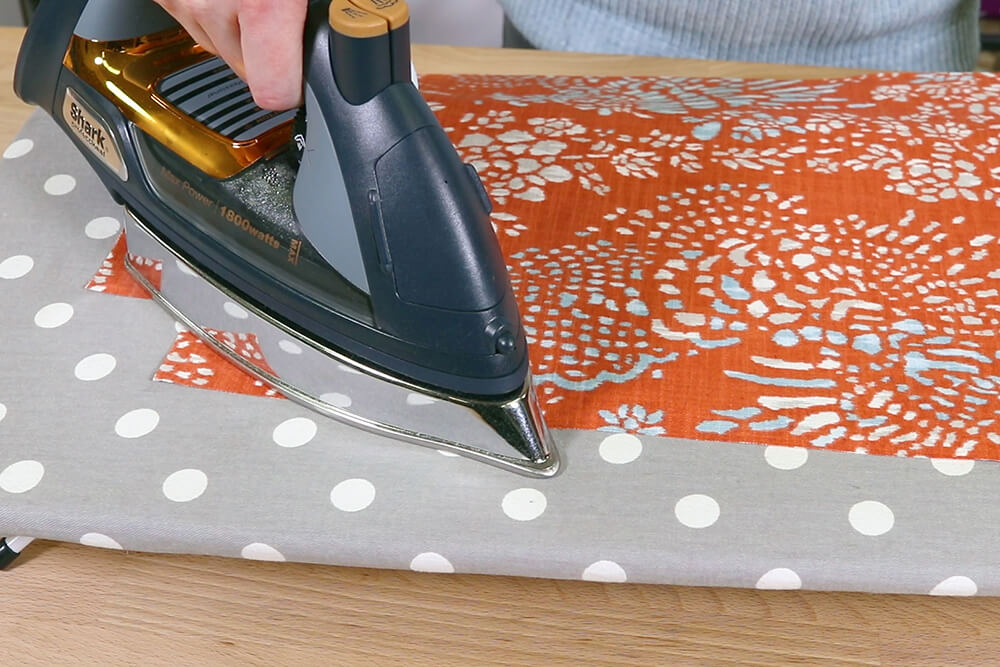
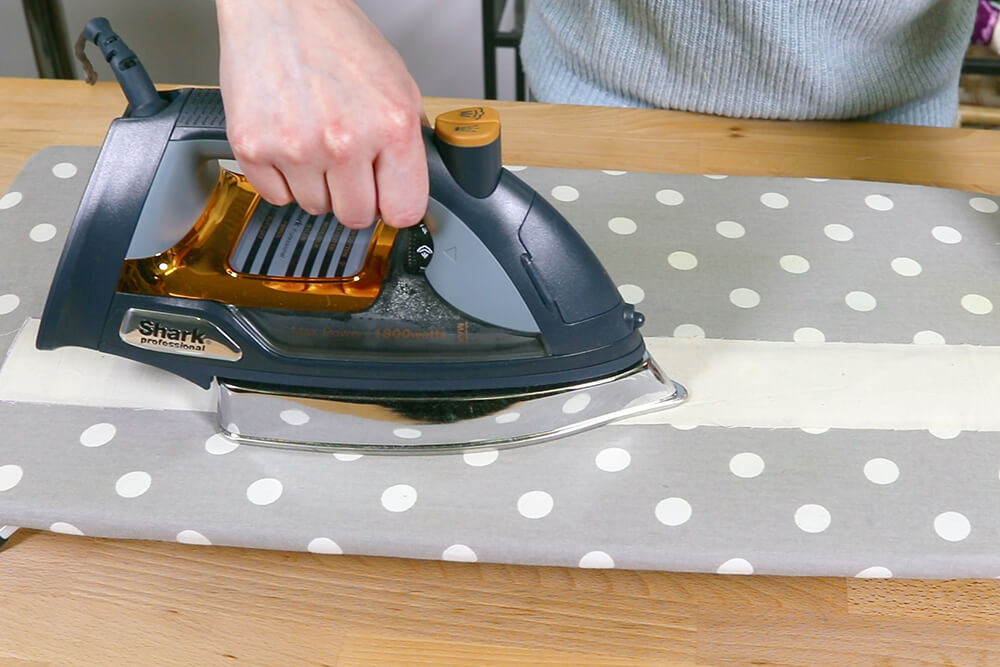
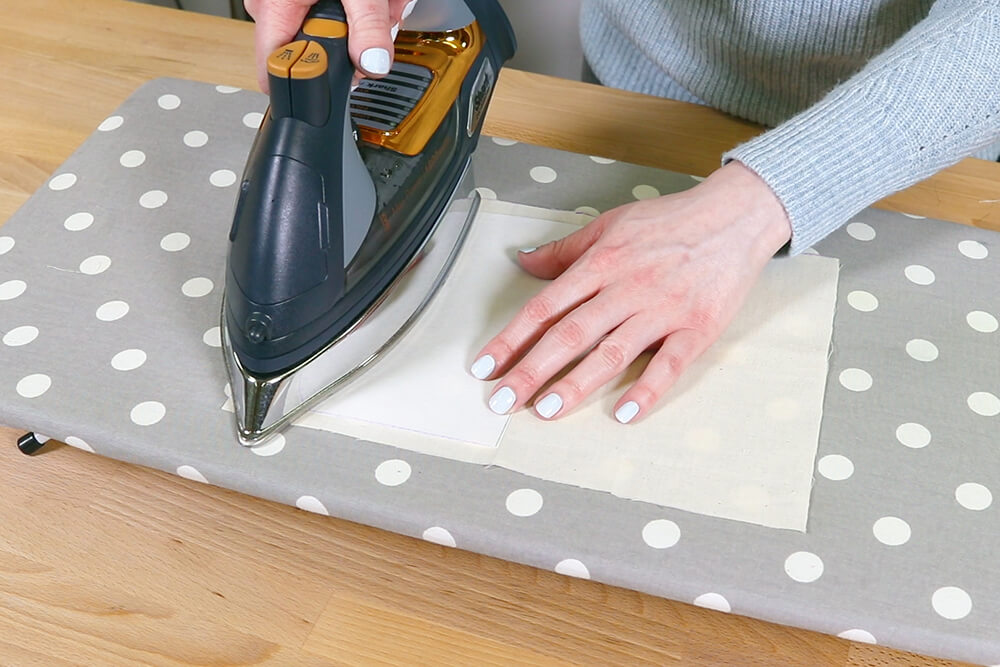
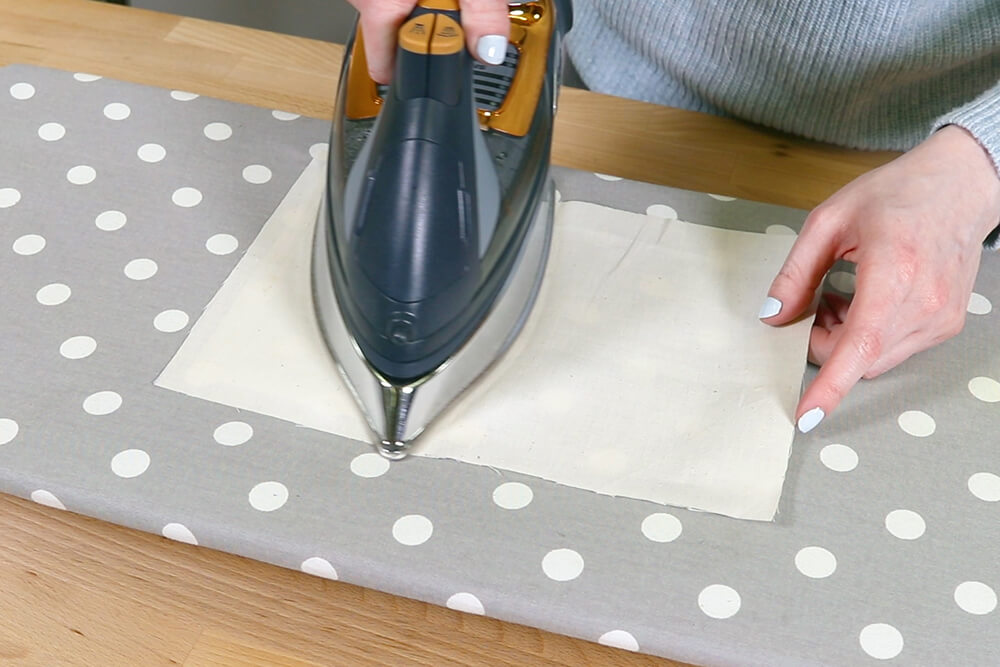
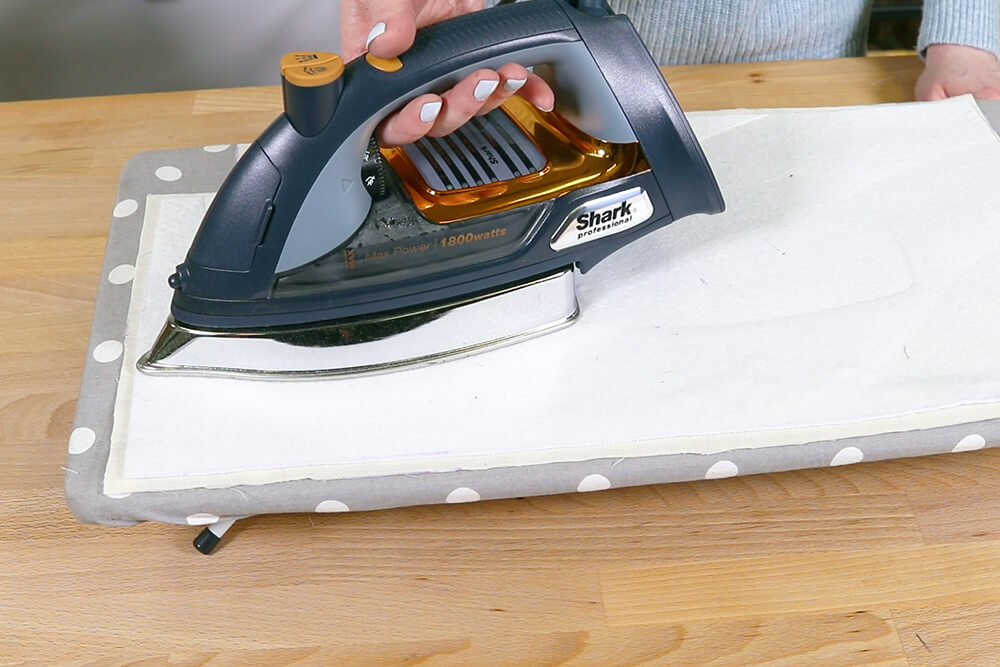
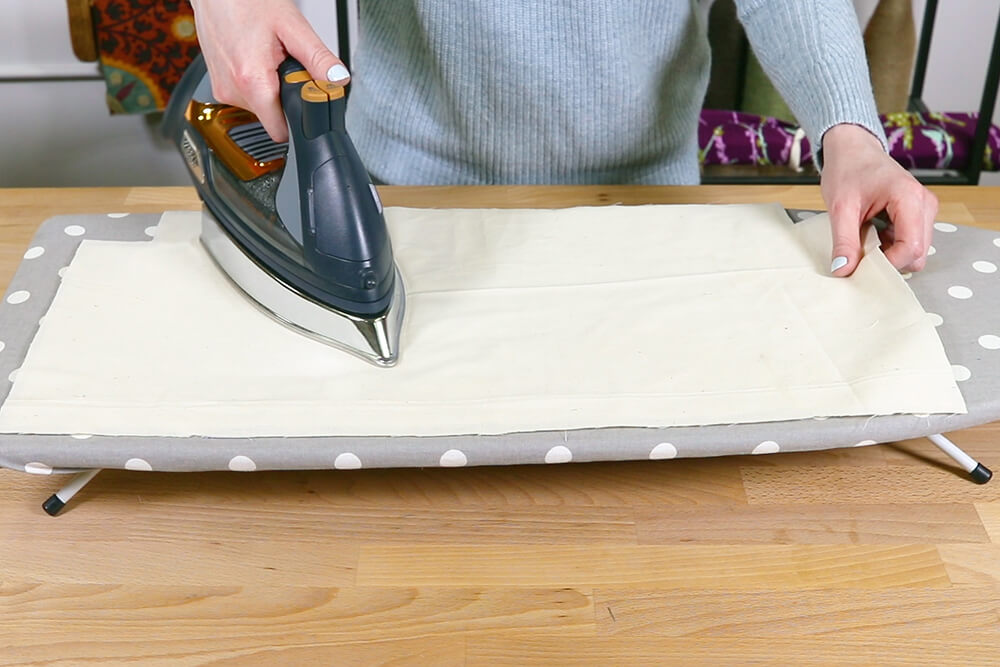
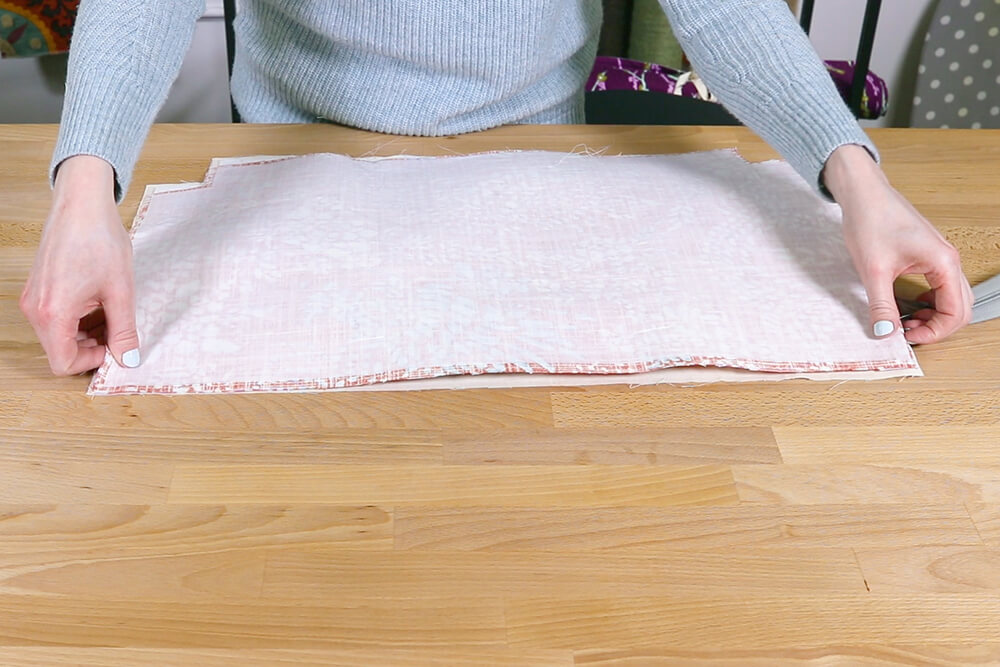
Center the stabilizer on the back of an outer piece with the adhesive side down. Press each section for about 10 seconds at a time without sliding the iron. Flip it over and iron the front.
Step 3: Sew the webbing handles
You can also make straps out of the fabric you’re using if you prefer.
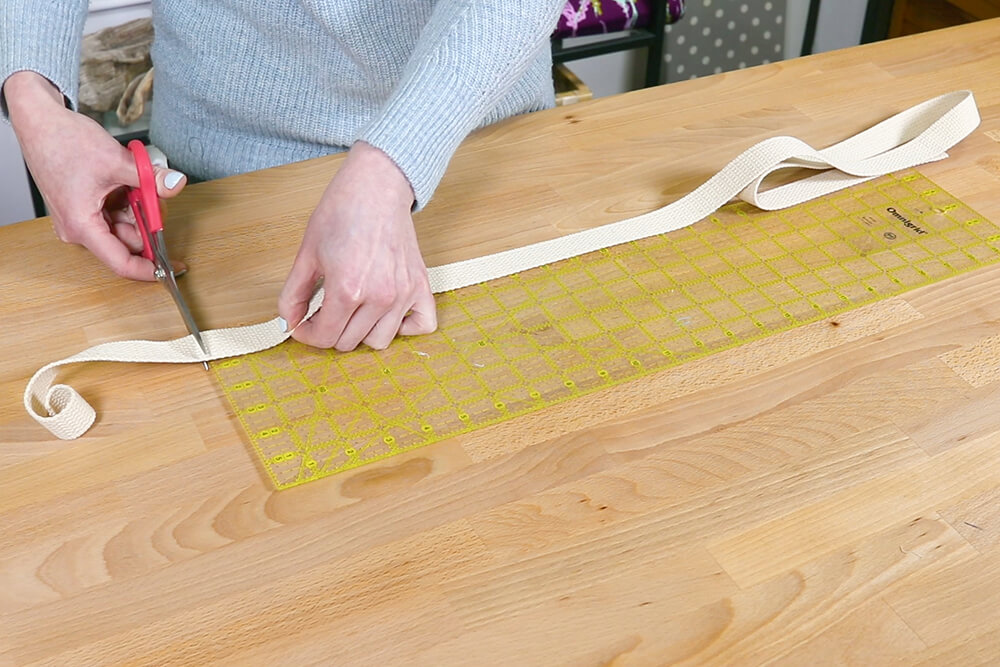
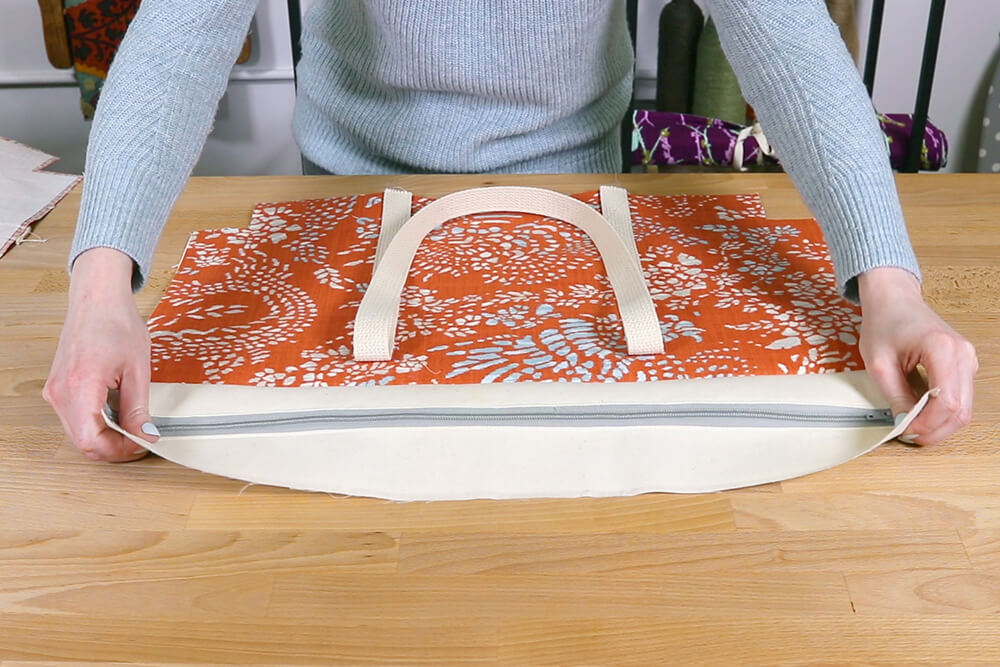
Cut 2 pieces of webbing to the length you want. Mine are 50” long which will create a drop of 11” from the top of the bag to the peak of the handles.
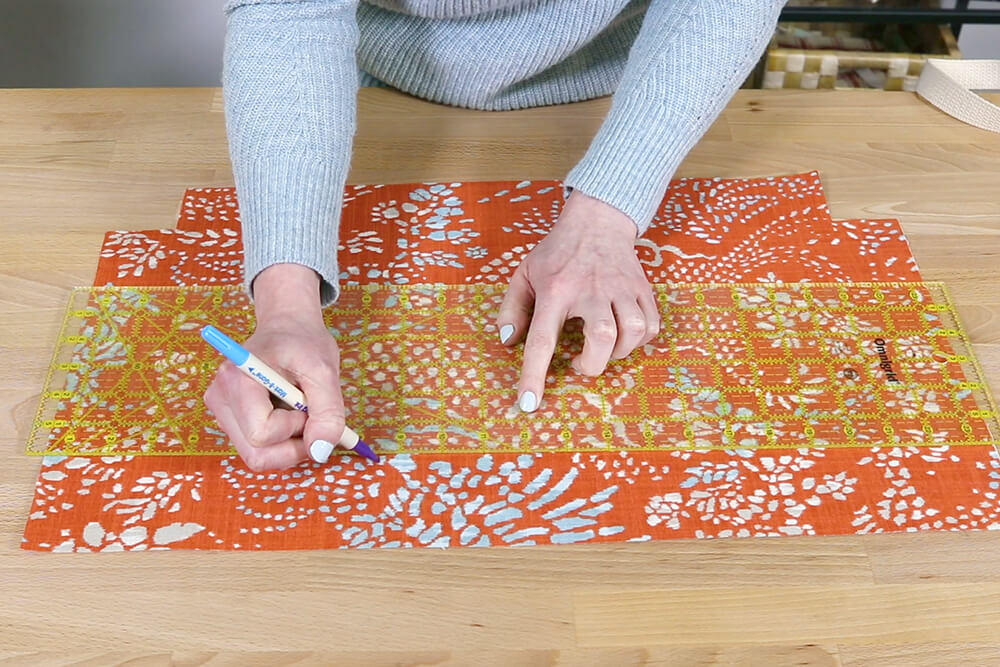
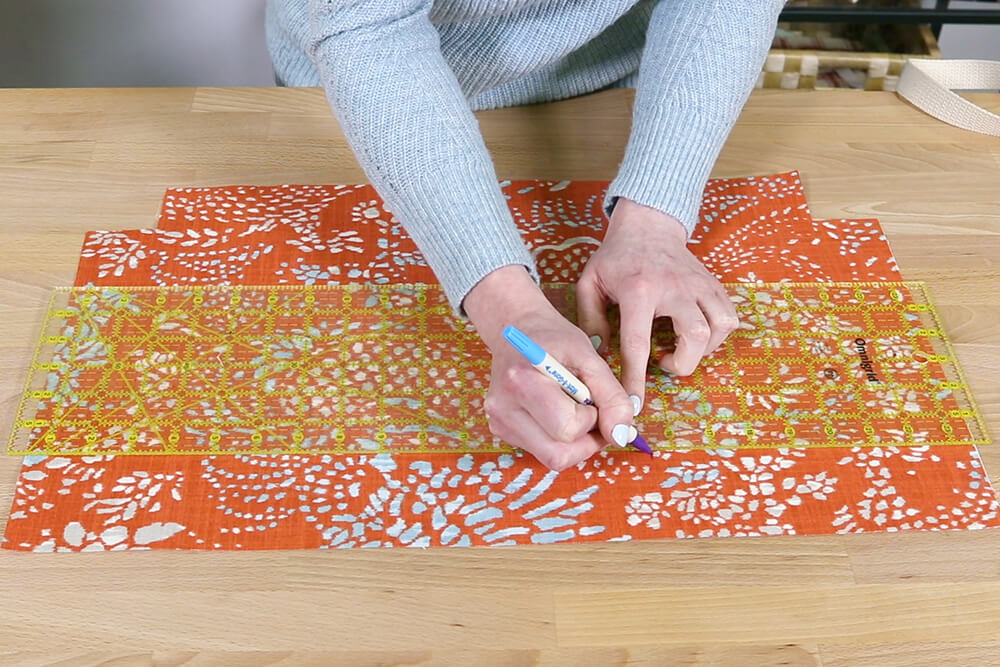
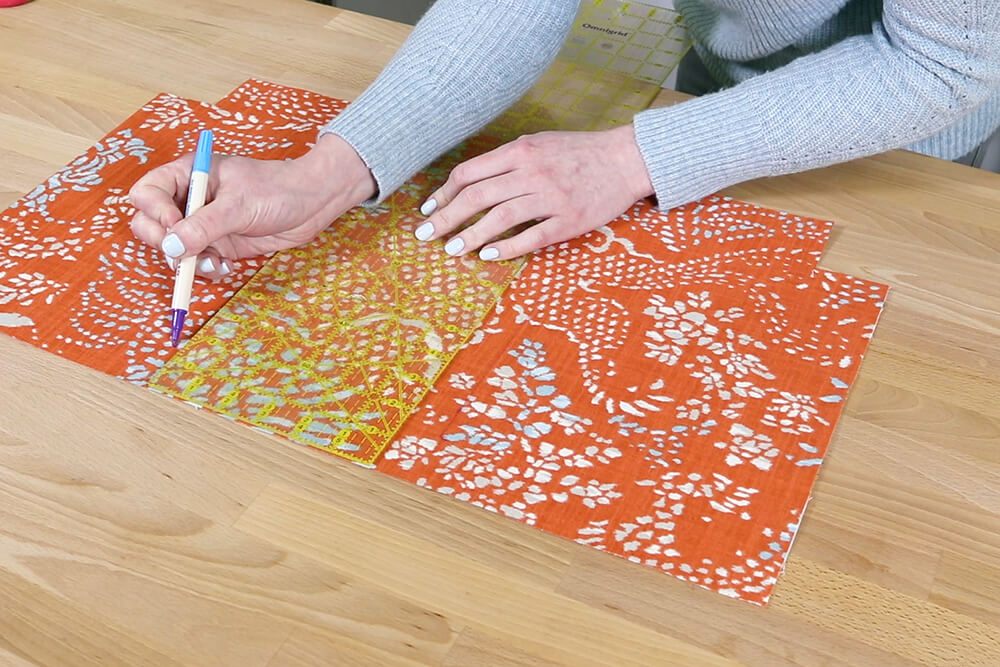
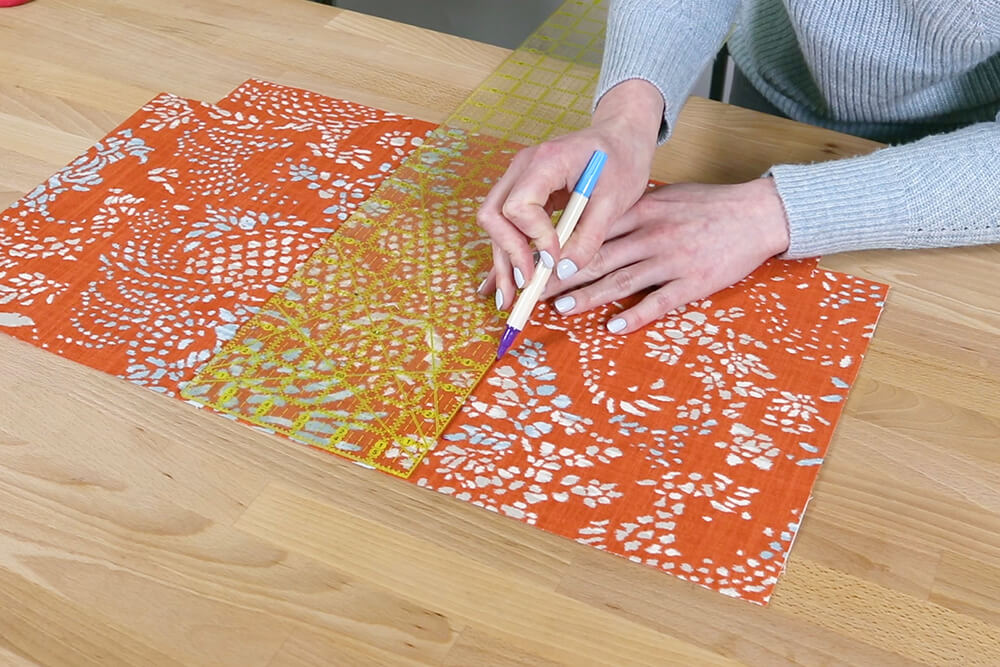
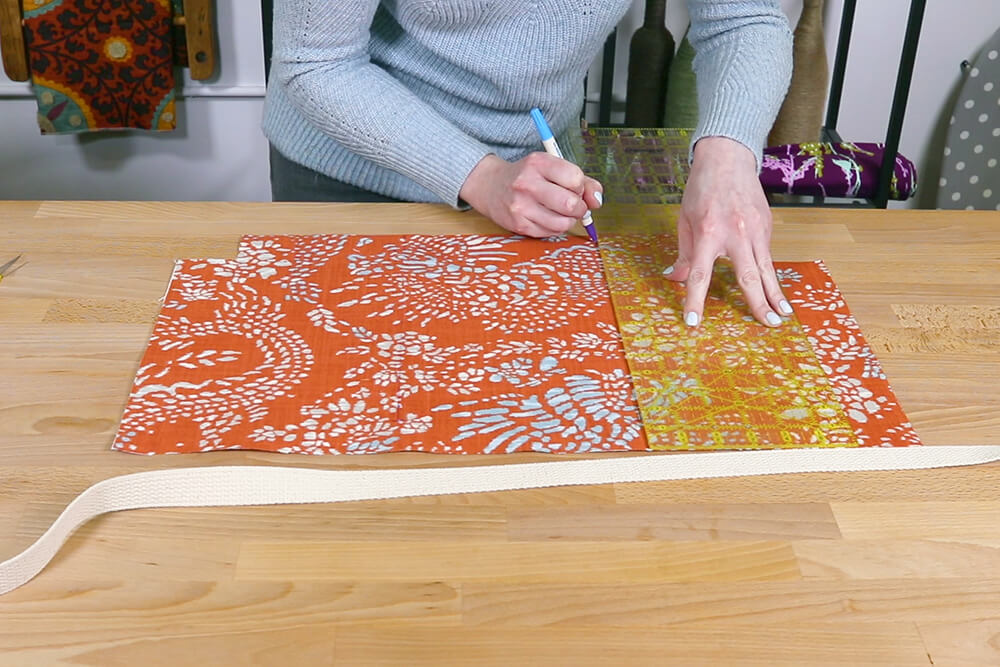
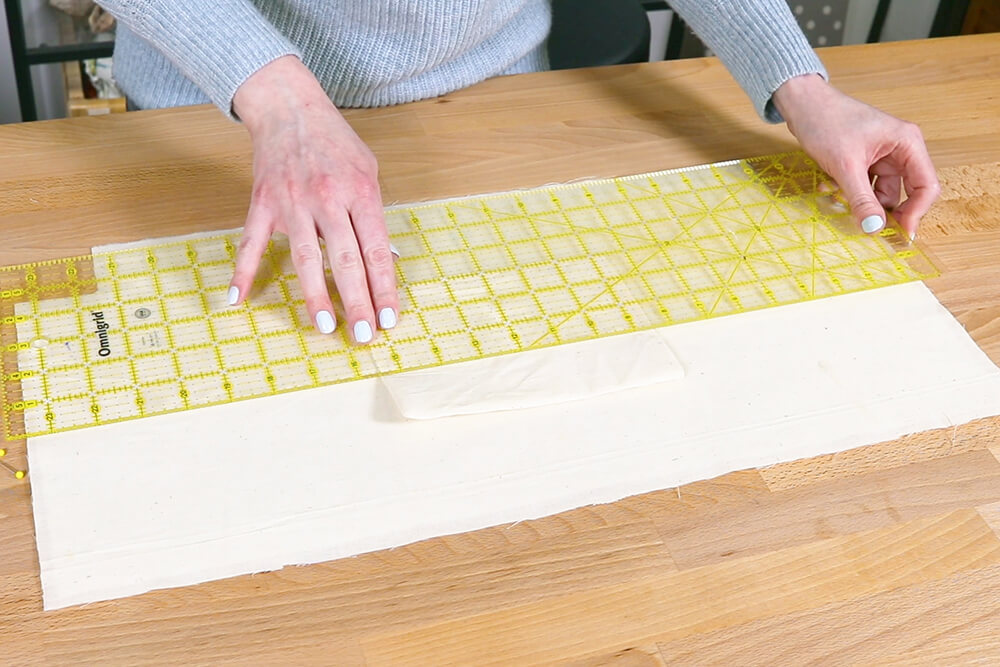
Find the center of the outer fabric, measure out 3 ½” on both sides, and mark the fabric with a disappearing ink marker, chalk, or pins. This will allow for 7” between the webbing. You may want to adjust this for different sized bags.
Mark 1 ½” from the top which is where the stitching will stop.
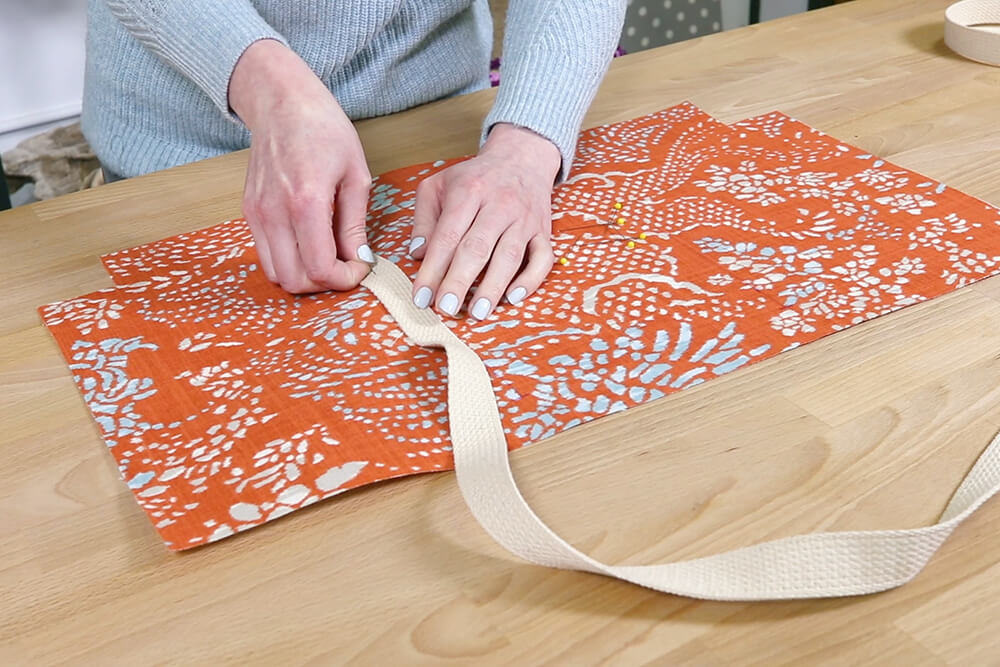
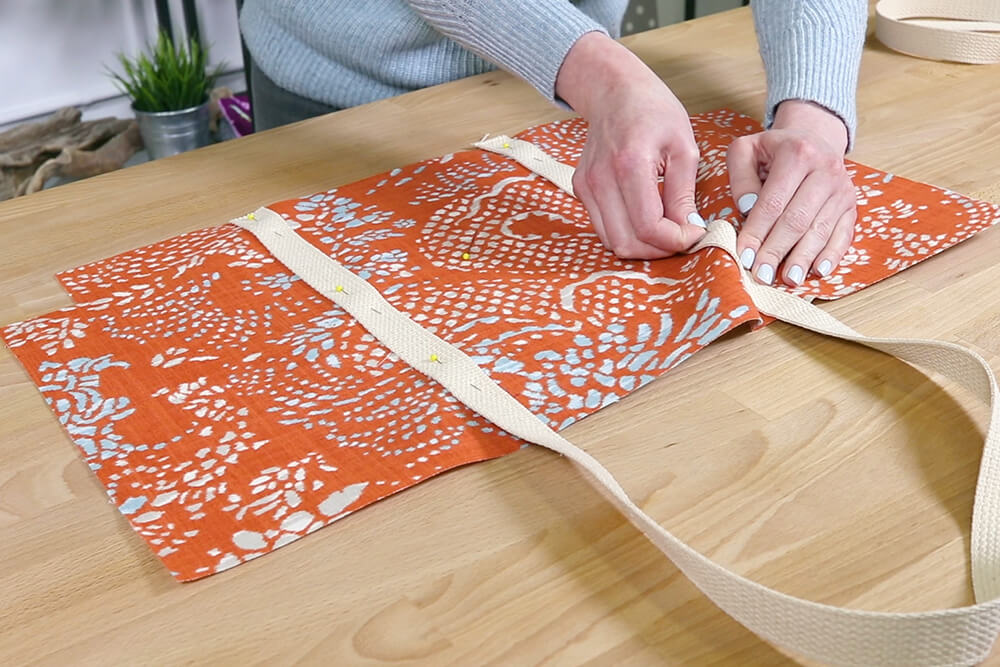
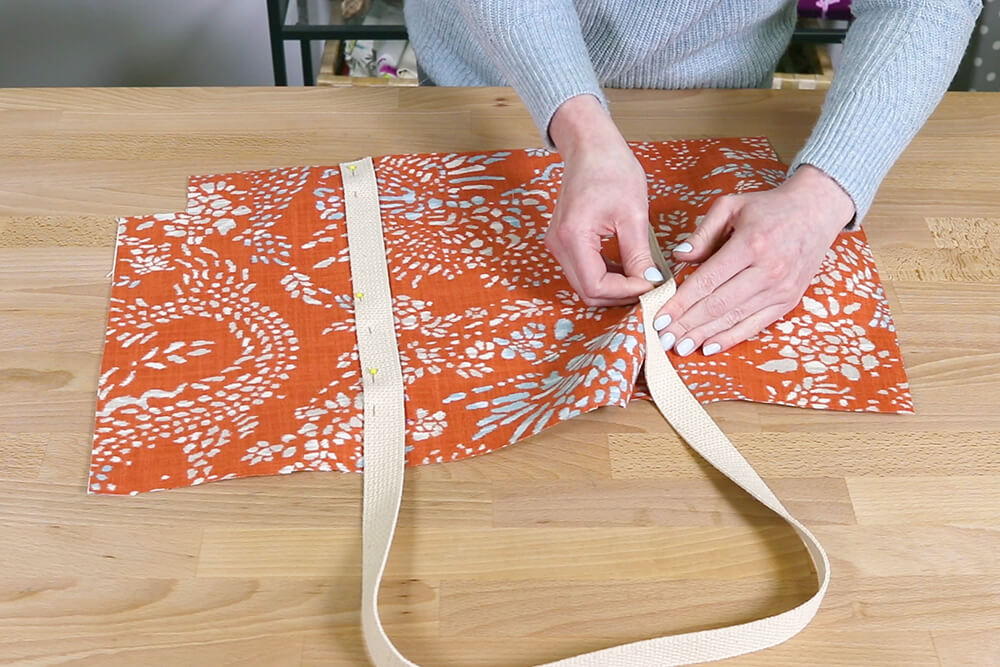
Pin the webbing so the inner edges are on the line.
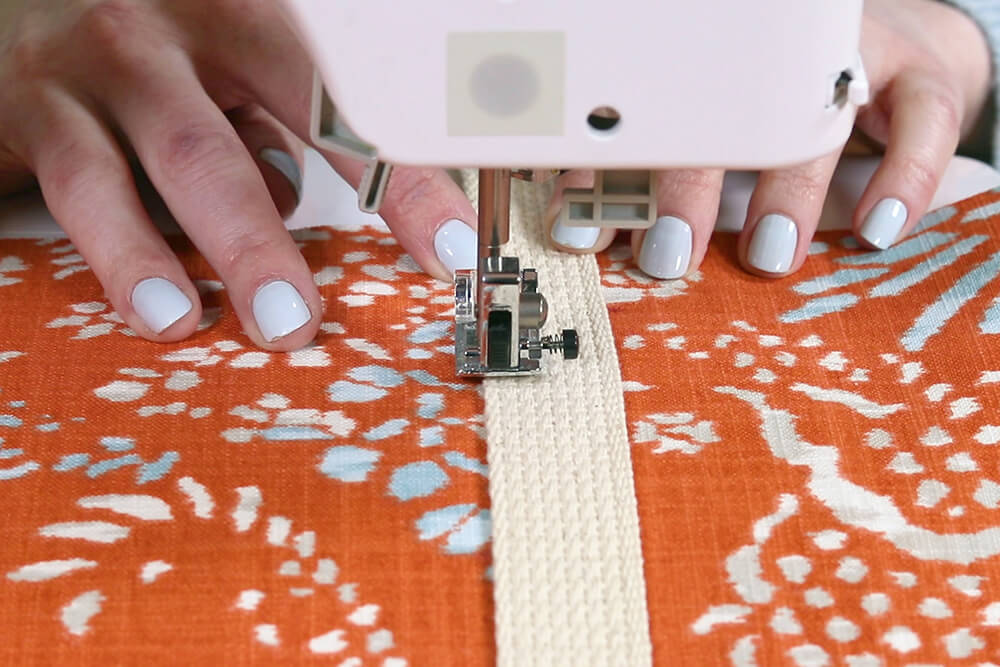
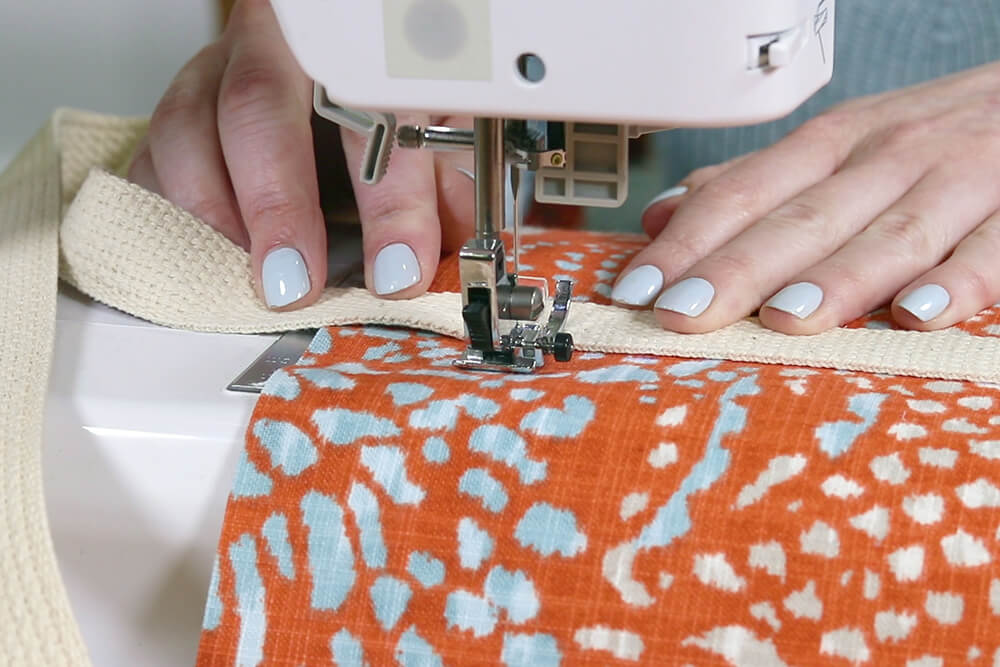
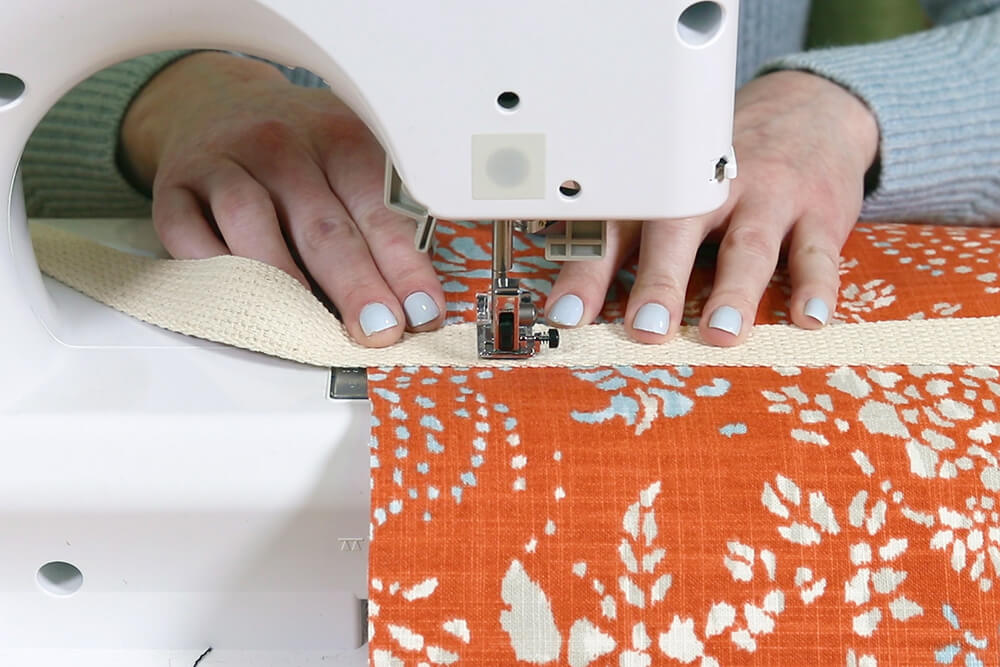
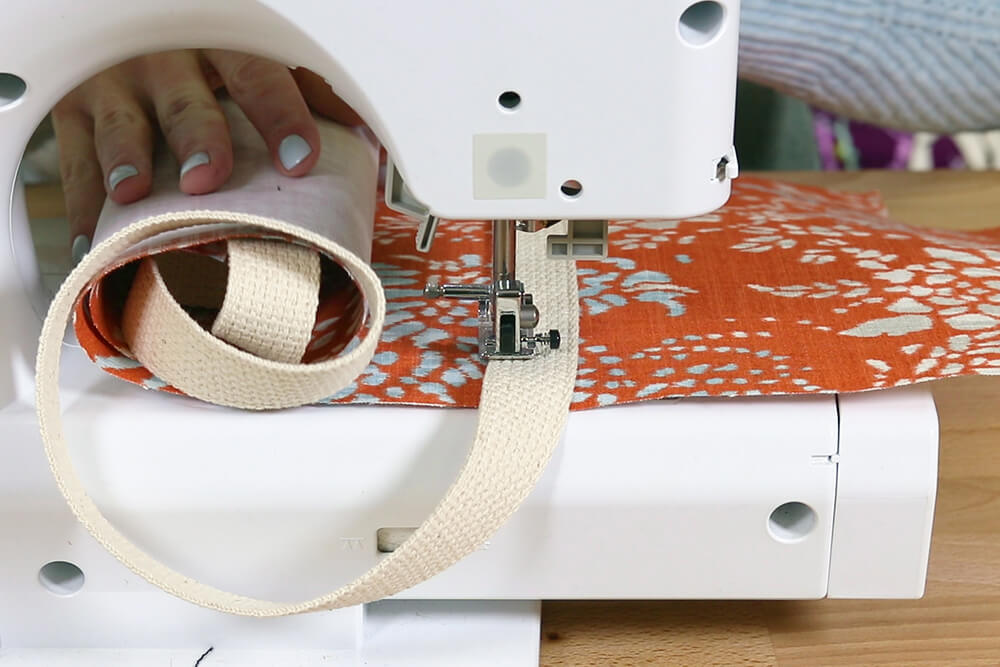
Starting from the bottom, sew the webbing 1/8” in from the edge. Back stitch at the beginning and end of all stitching on the tote.
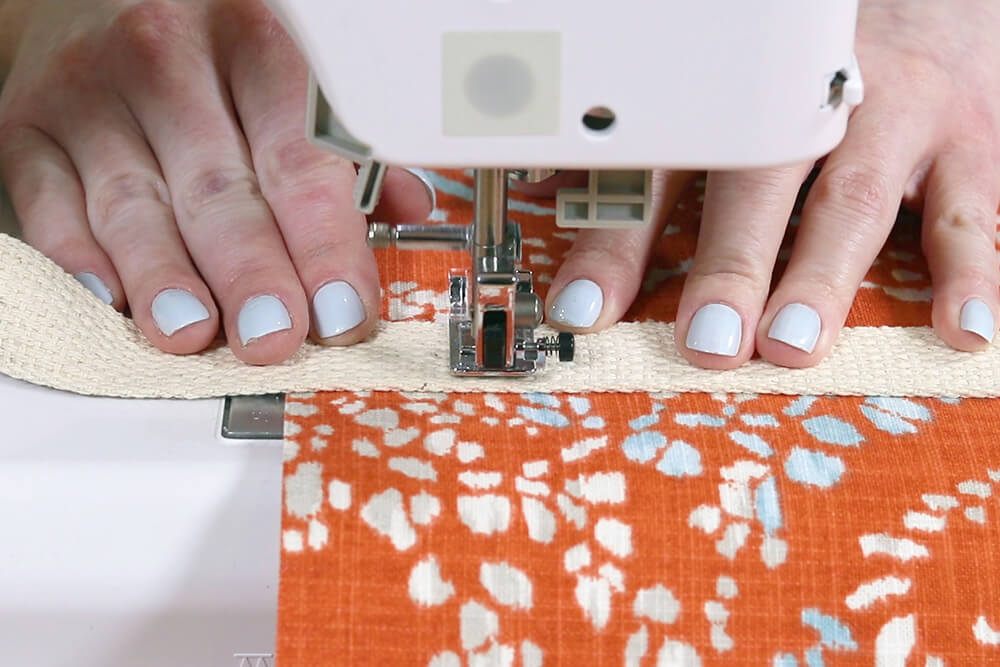
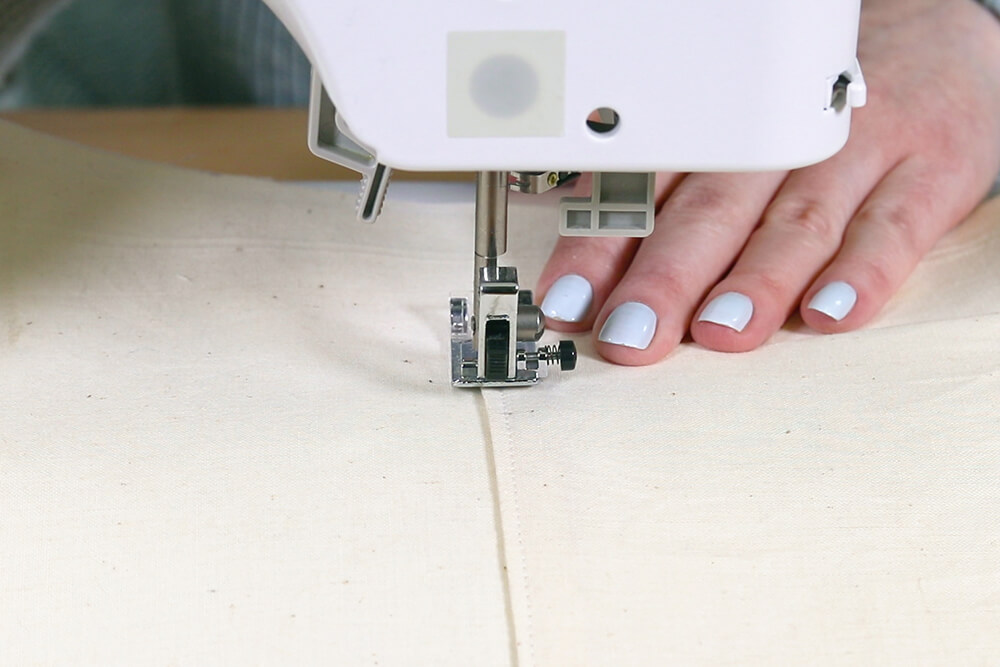
I’m using a slightly longer stitch length of 3.5mm for all my top stitching. Stop when you get to the 1 ½” mark. Pivot and sew across. Sew back and forth for extra strength.
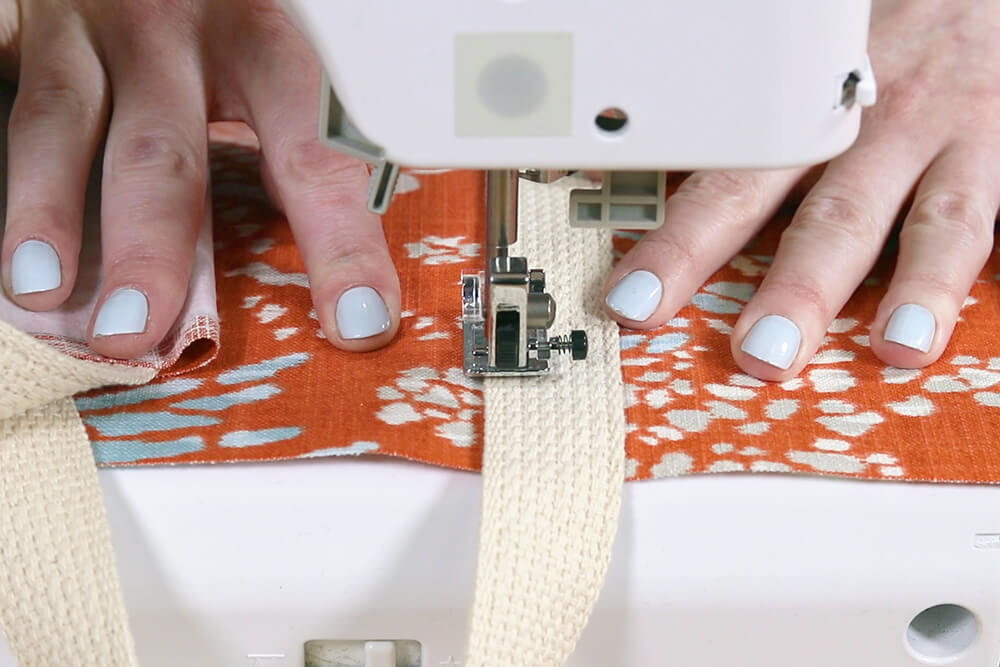
Sew down the other side. Do the same thing for the other end of the handle.
Step 4: Sew the pocket
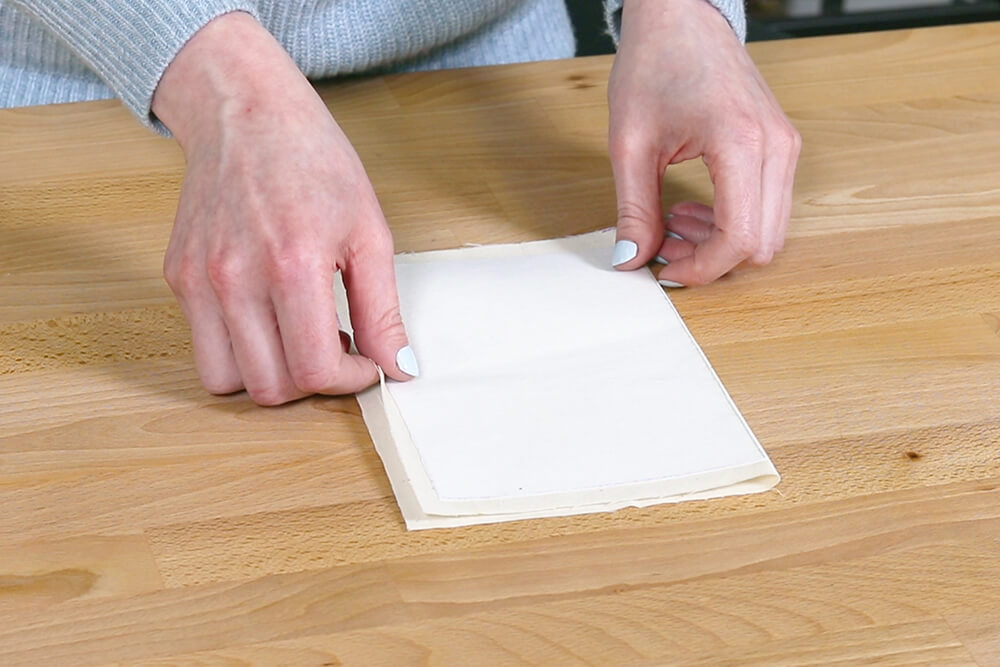
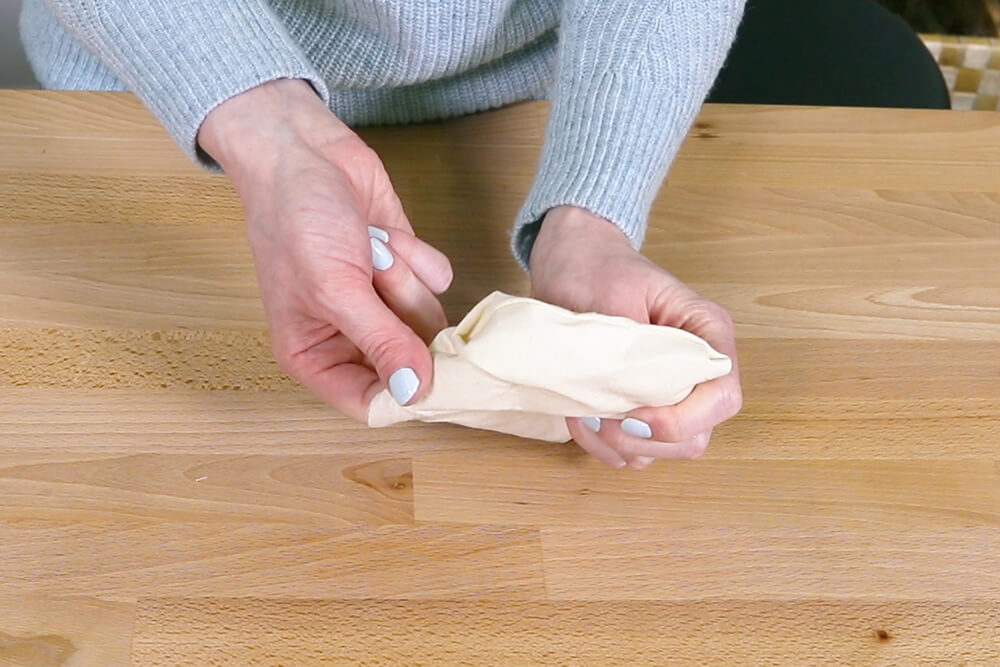
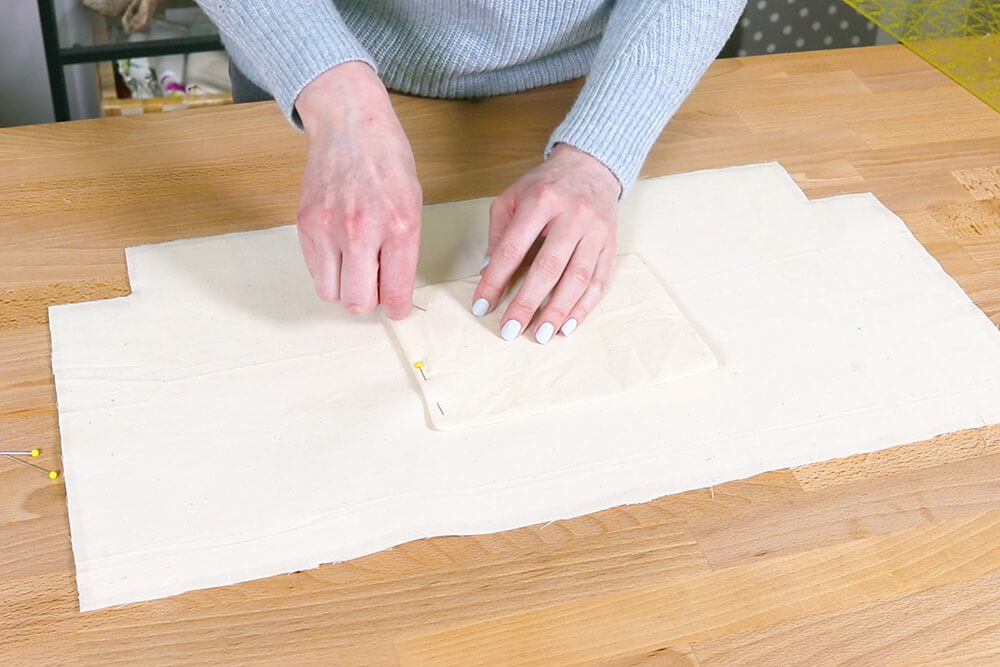
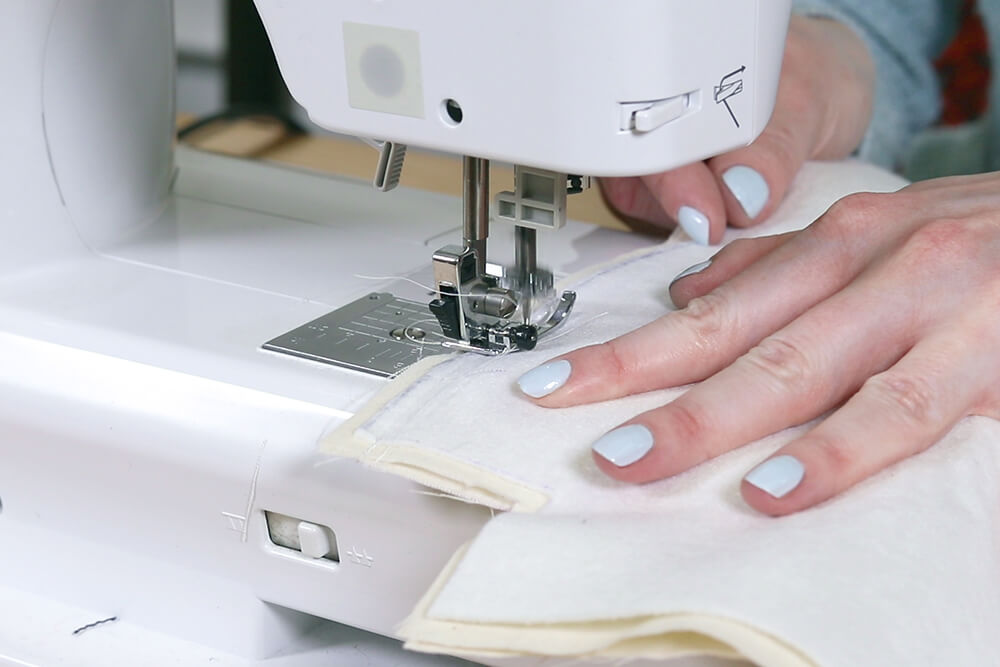
Fold the pocket in half with the stabilizer facing out. Sew around the sides on the edge of the stabilizer. Leave a gap of a couple of inches at the bottom.
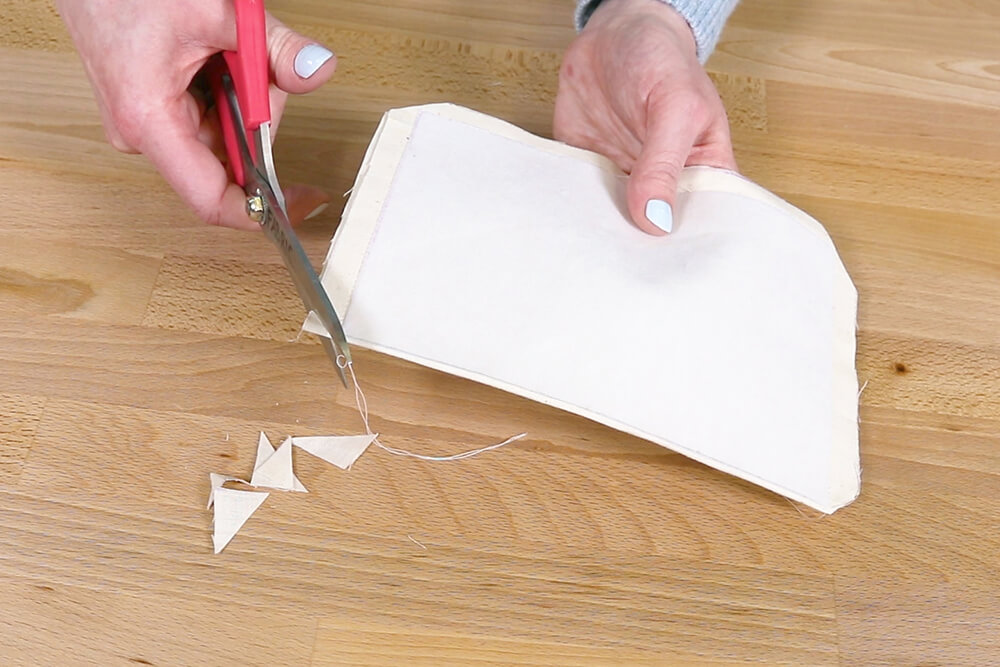
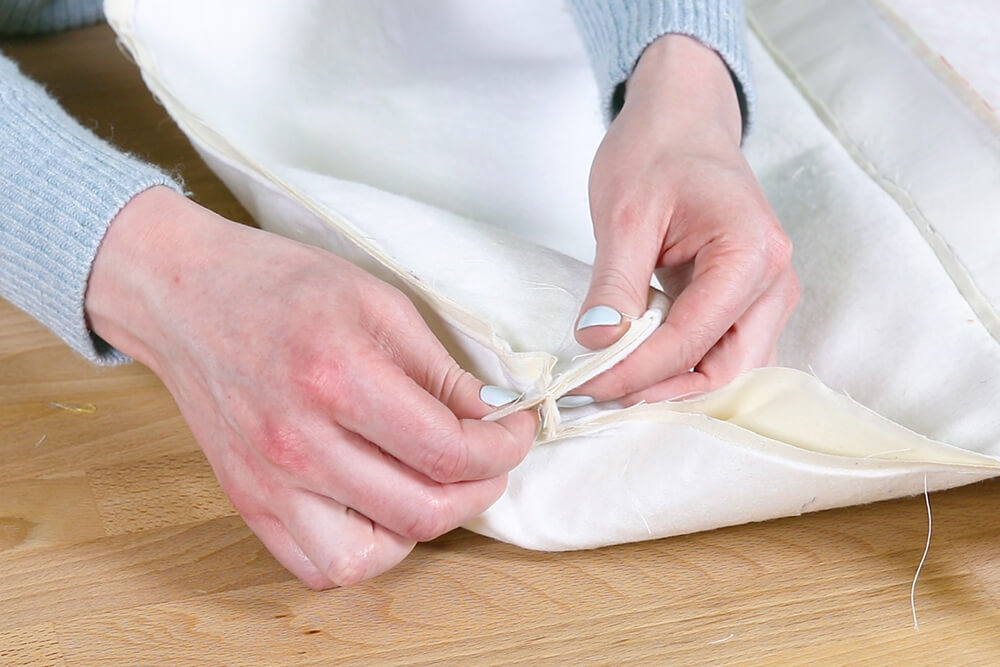
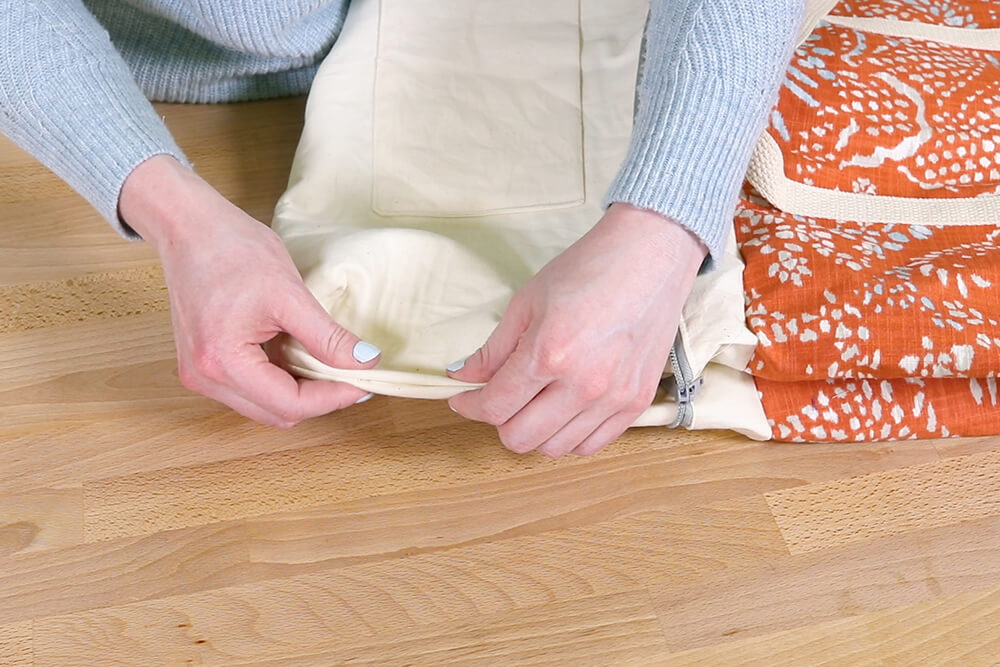
Clip the corners and turn right side out. Fold the edges of the opening in.
Step 5: Sew the zipper
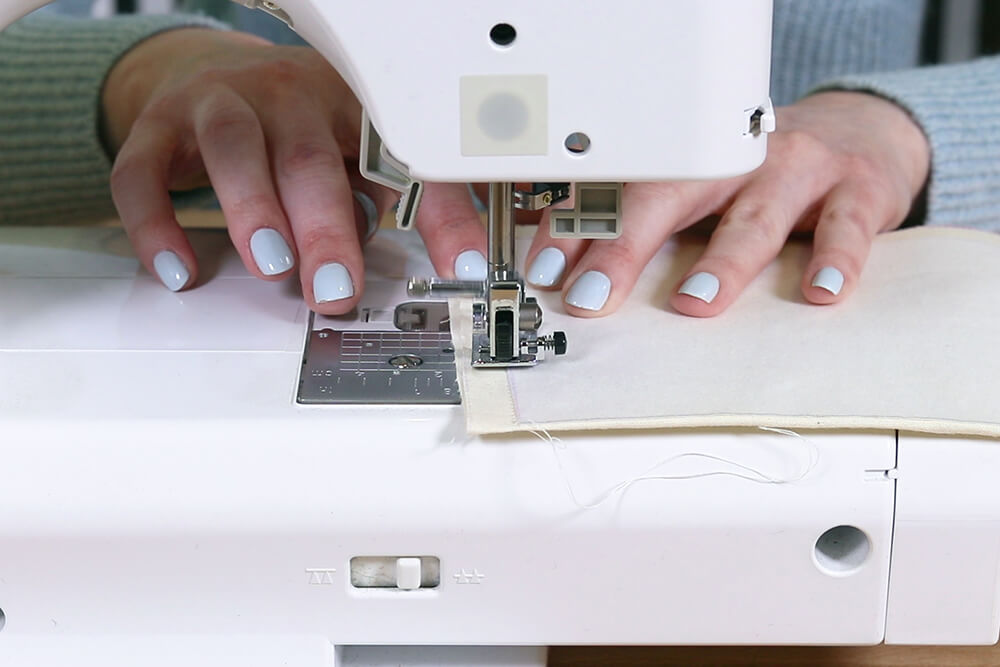
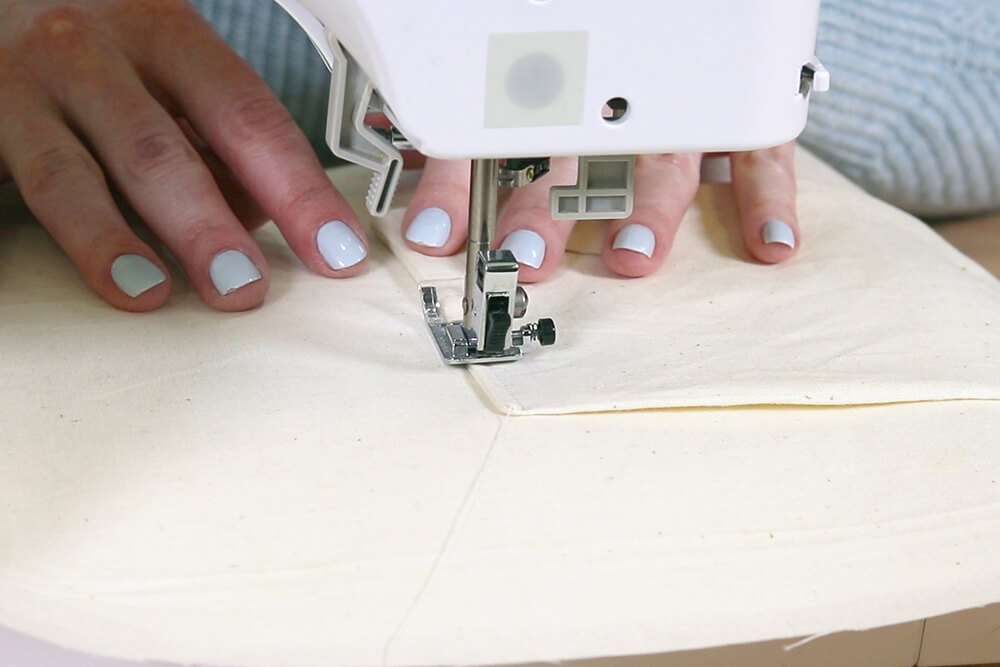
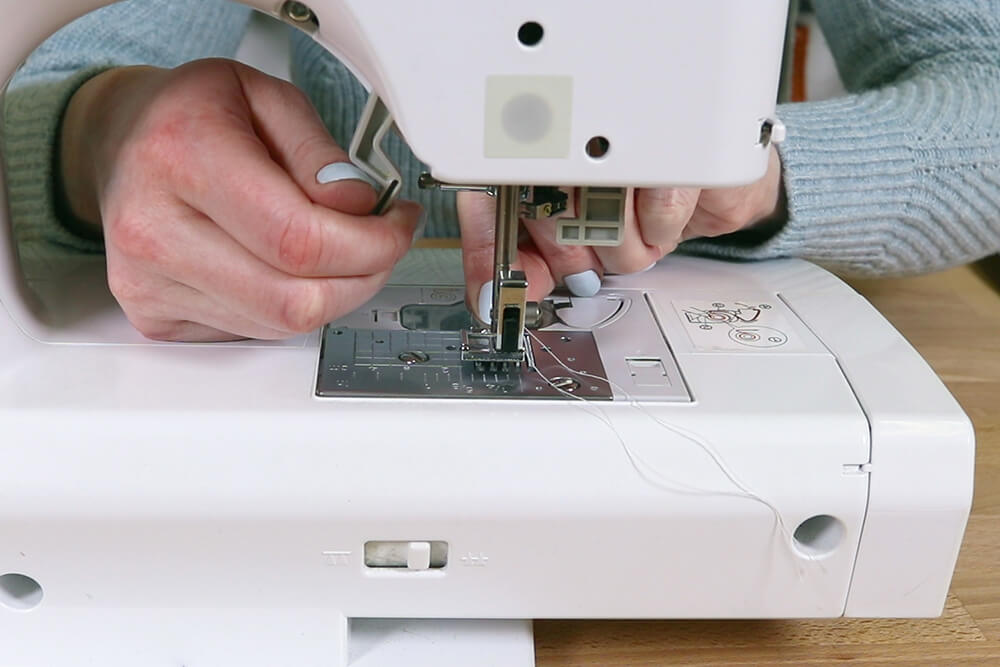
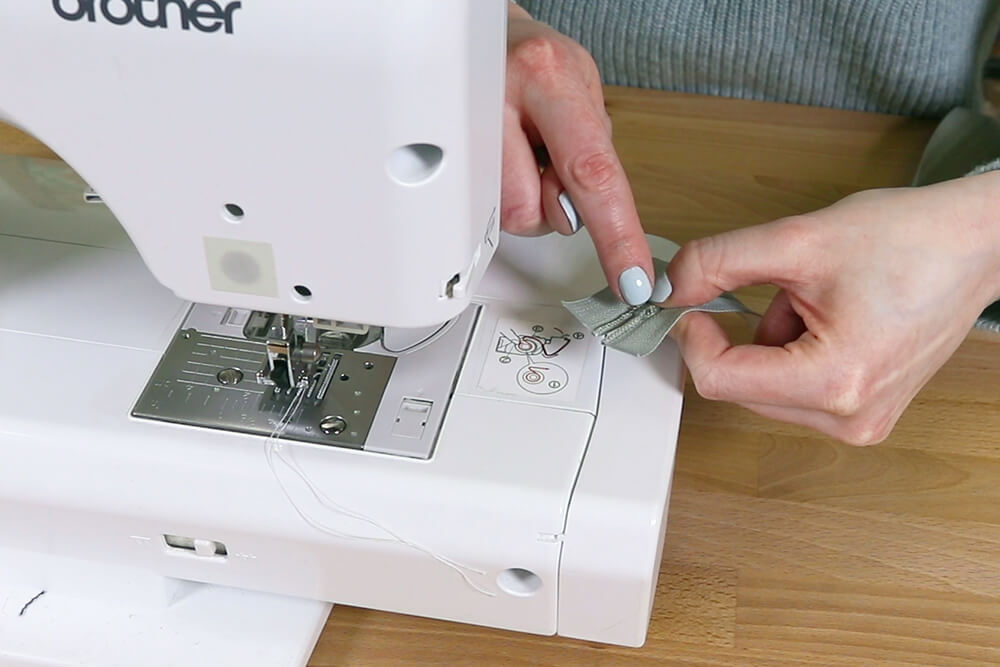
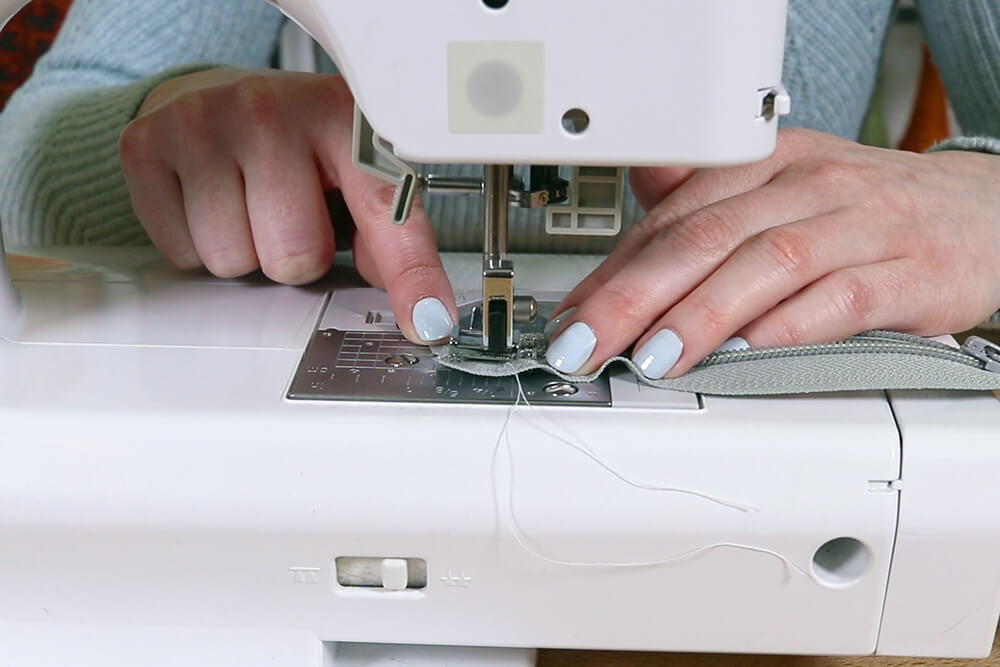
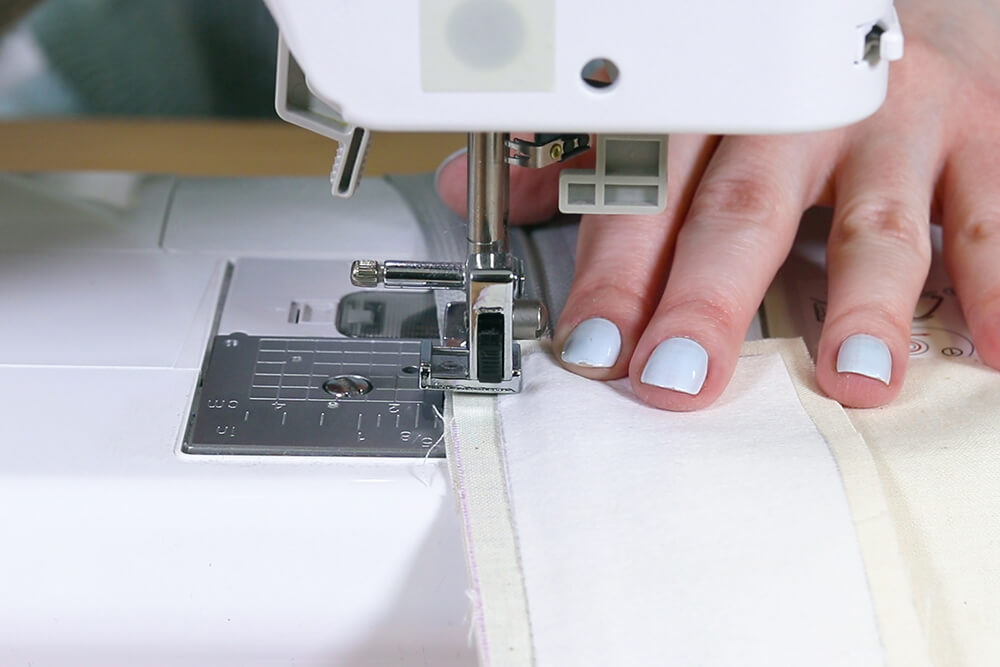
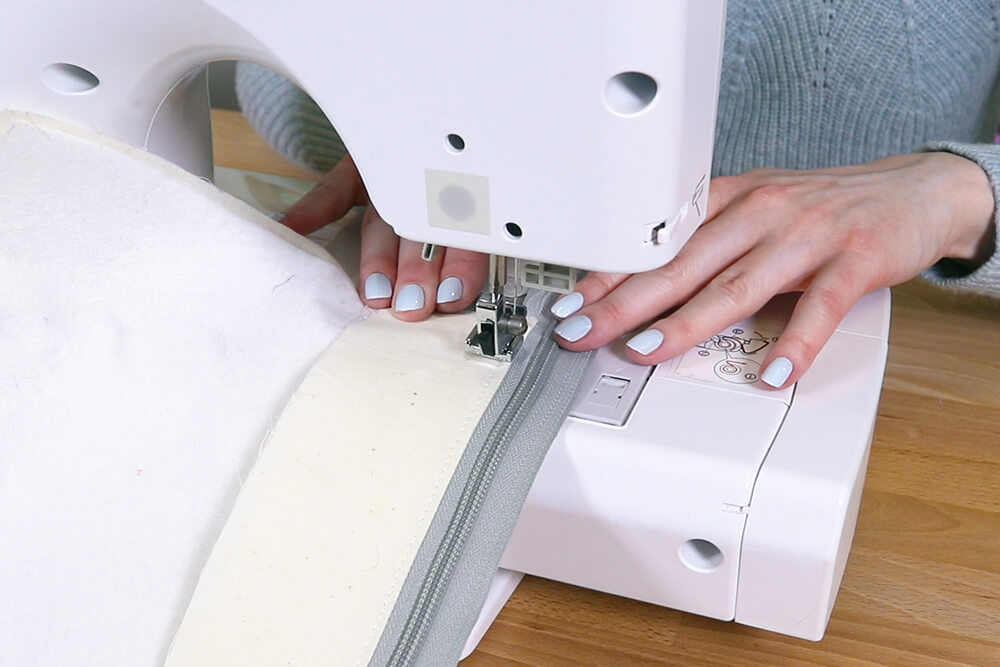
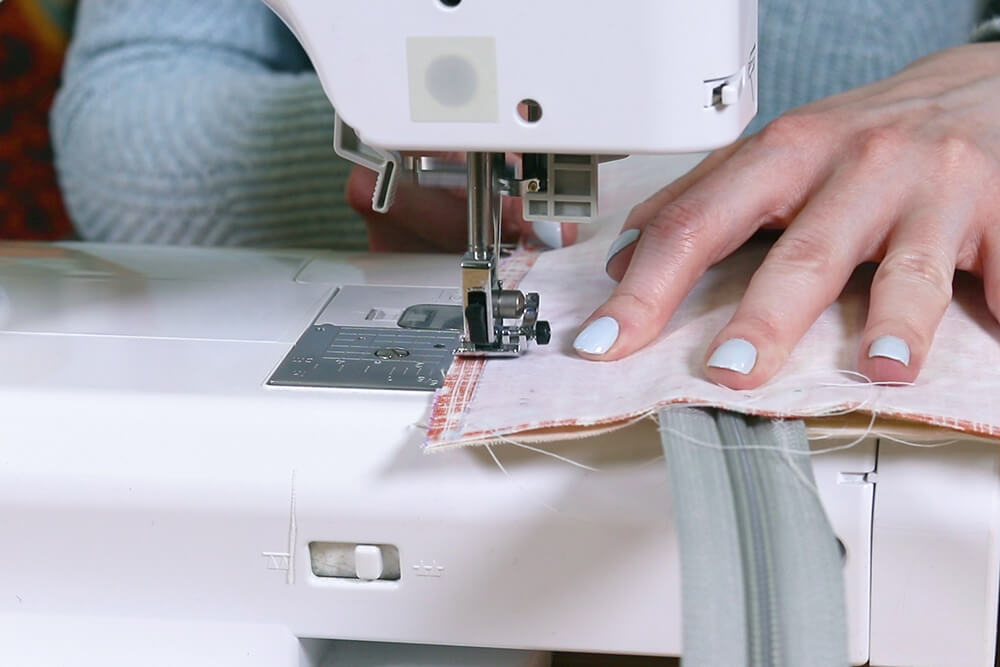
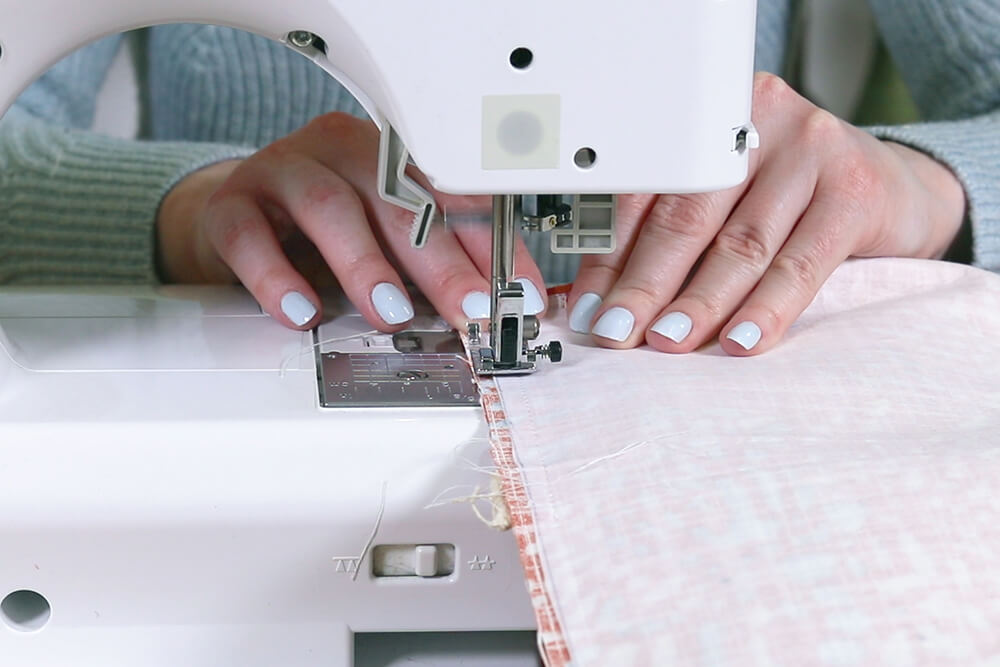
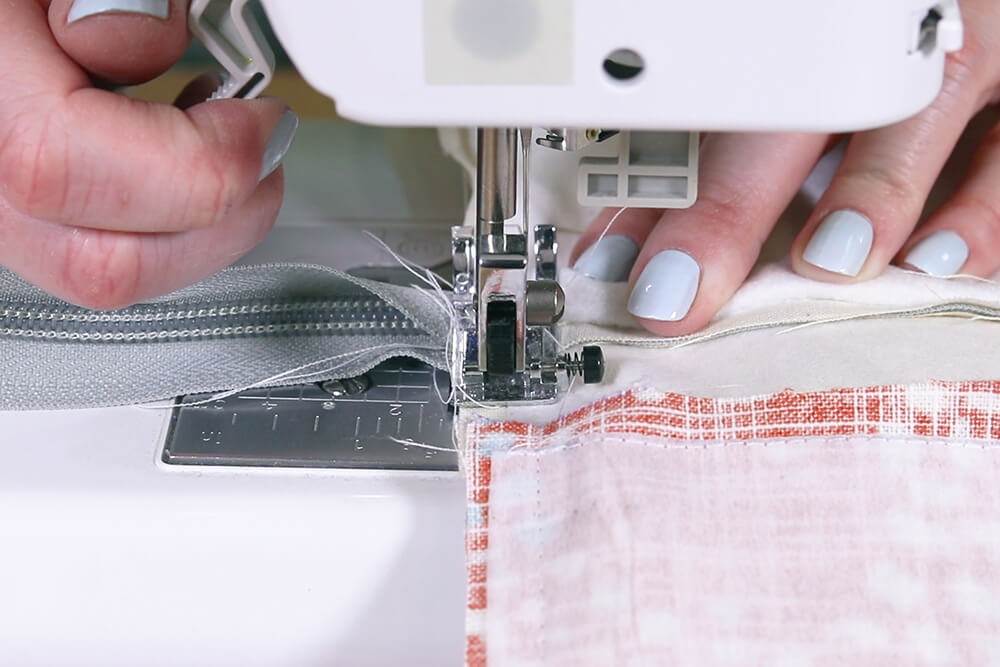
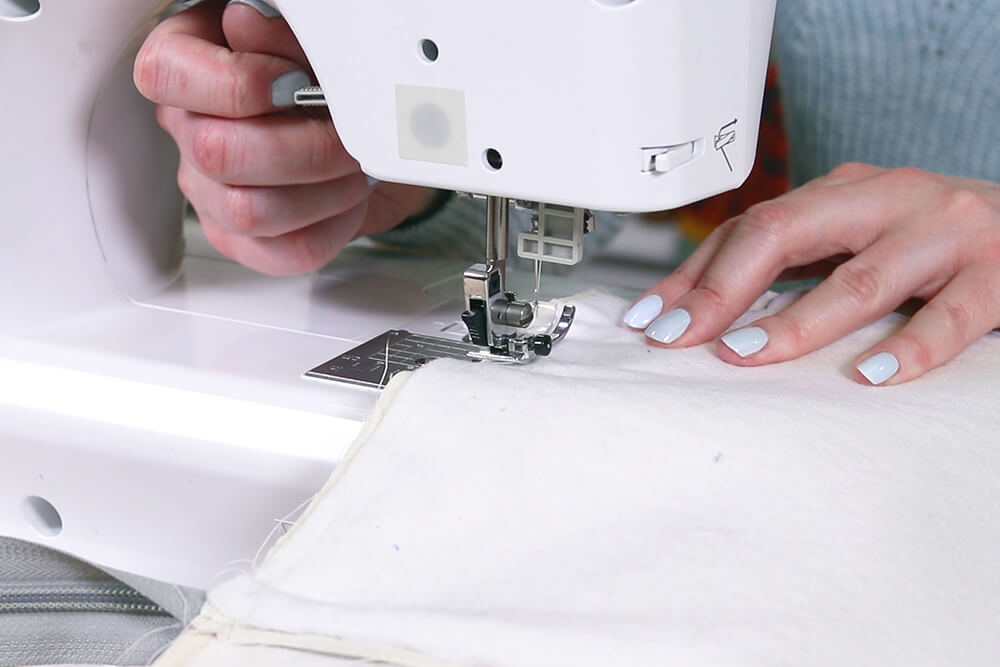
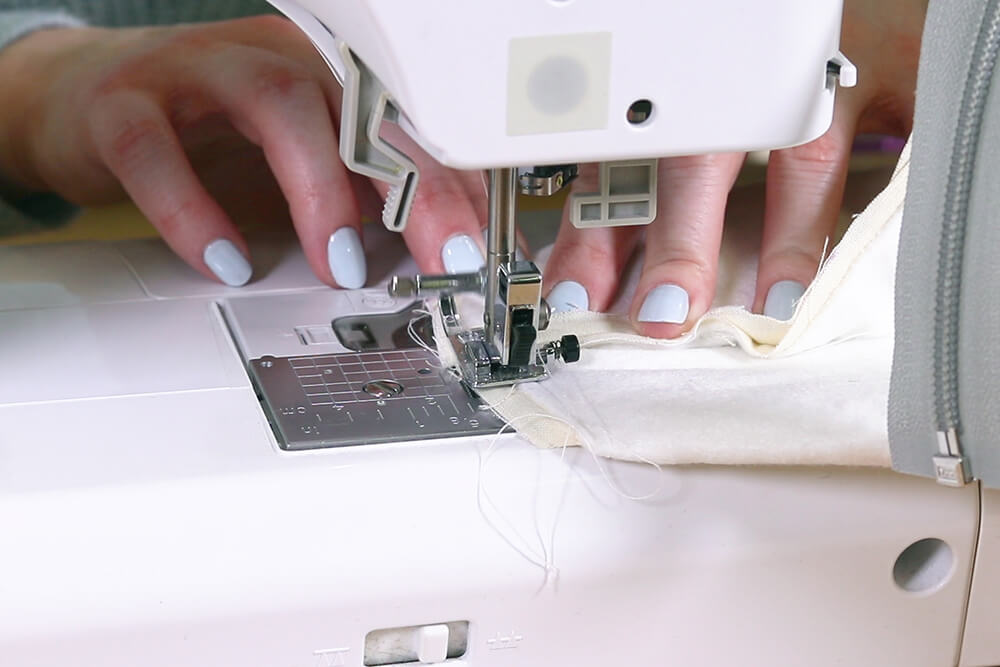
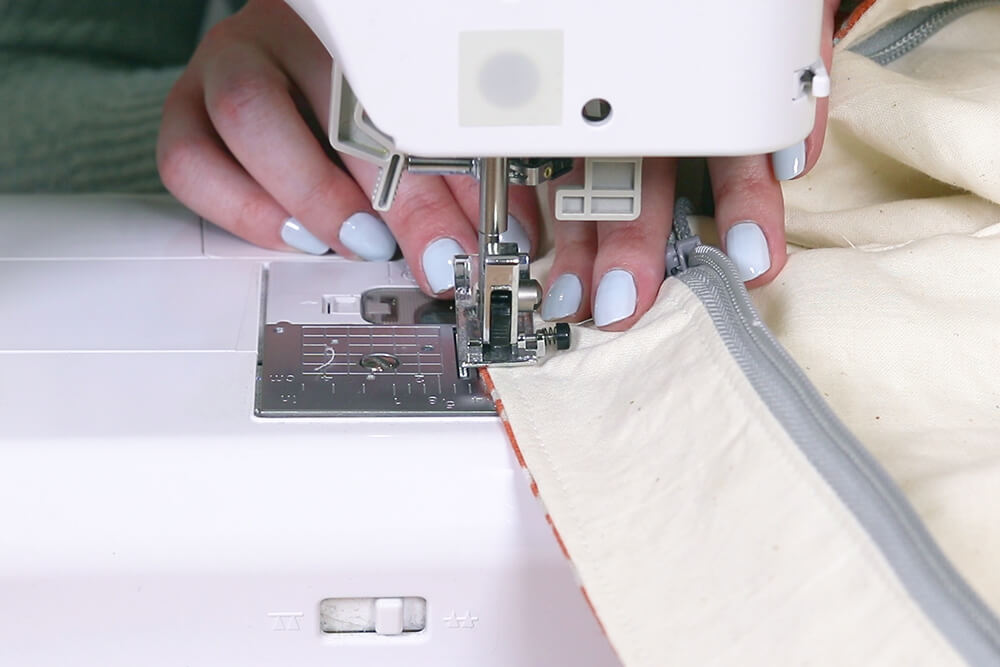
Put the zipper foot on your sewing machine. Open the zipper slightly and sew back and forth above the teeth to hold the top together.
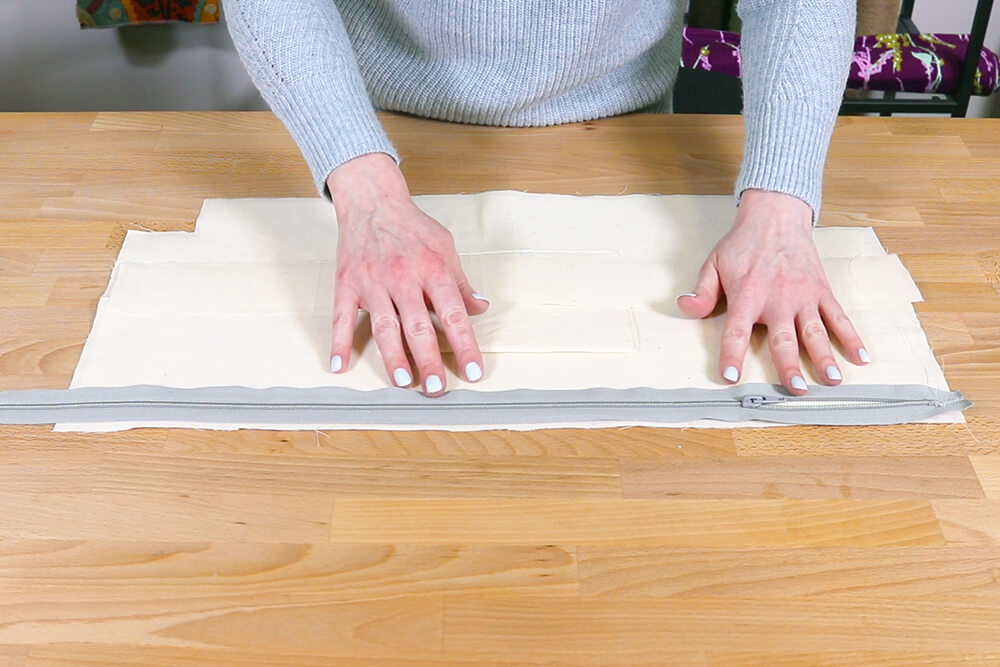
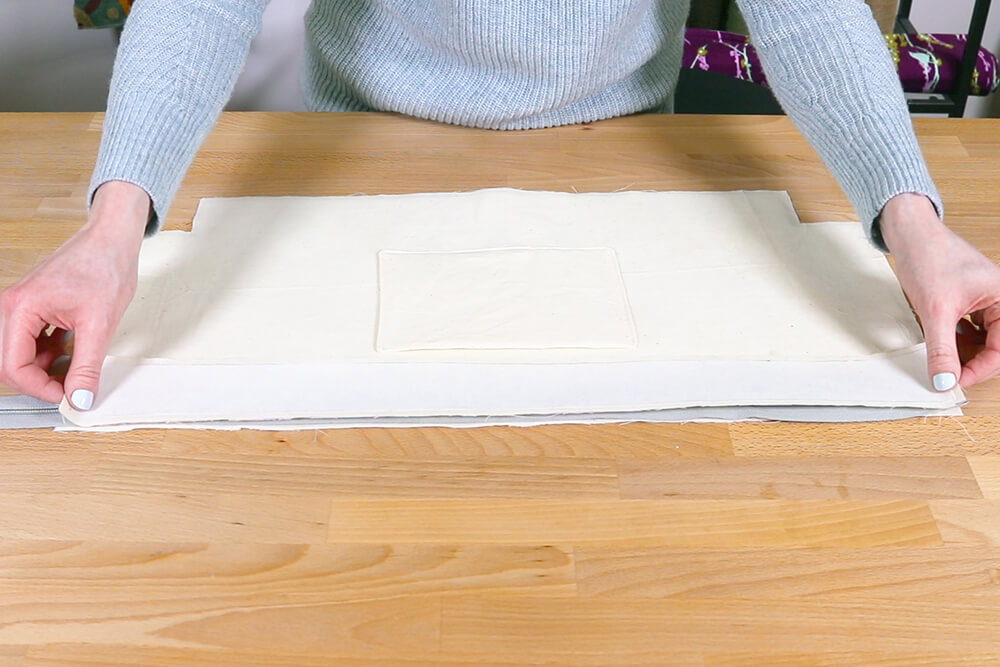
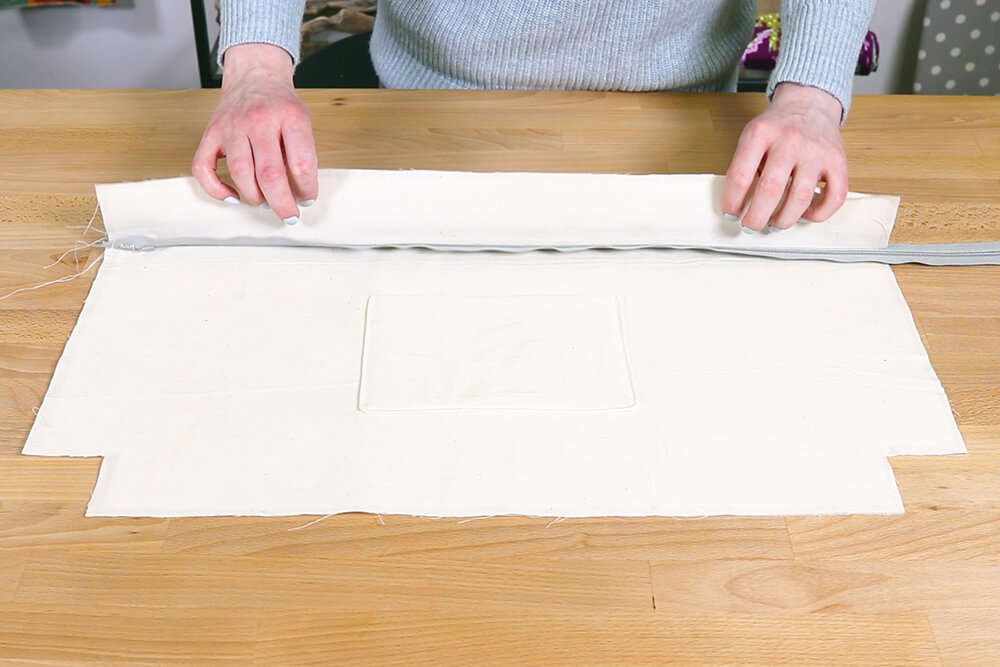
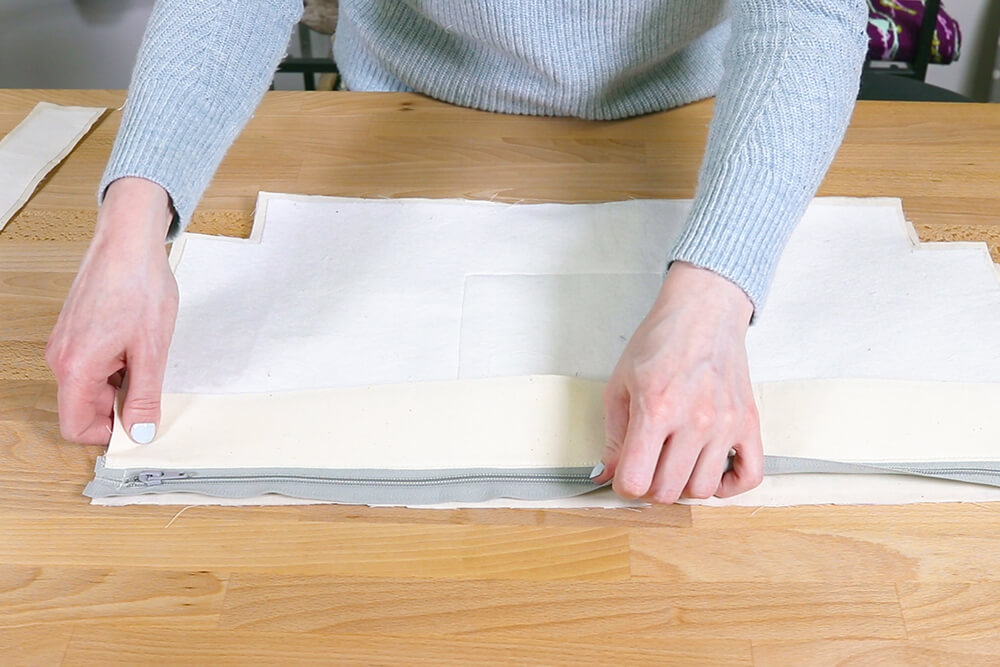
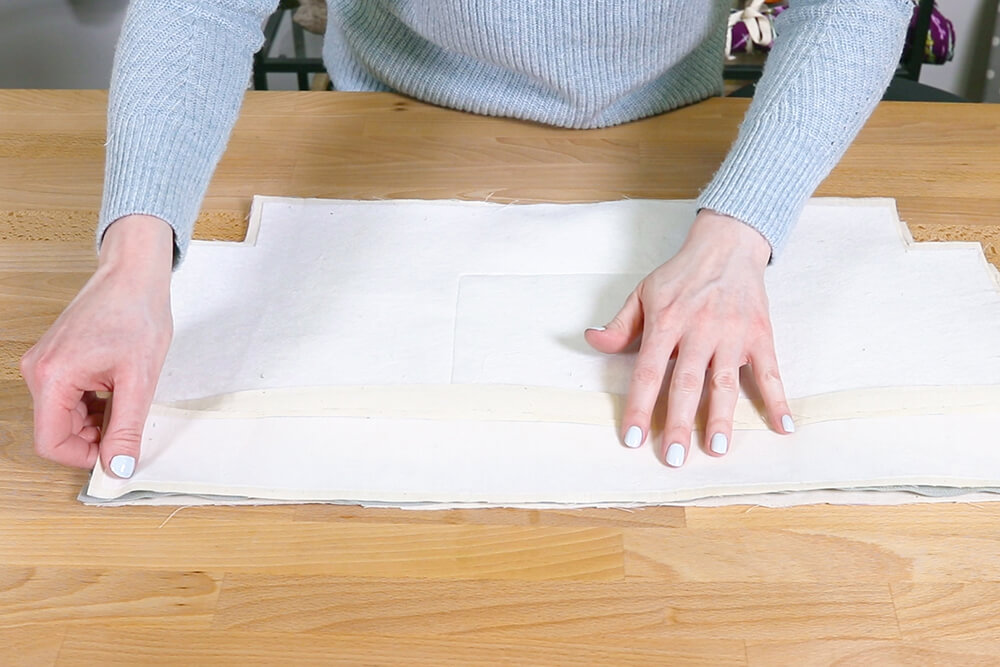
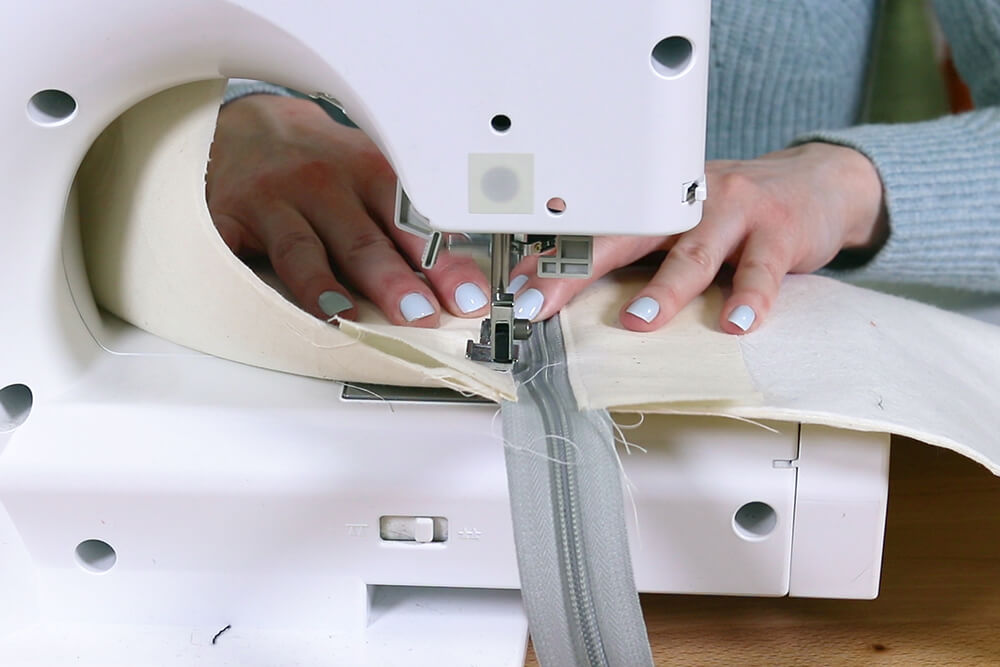
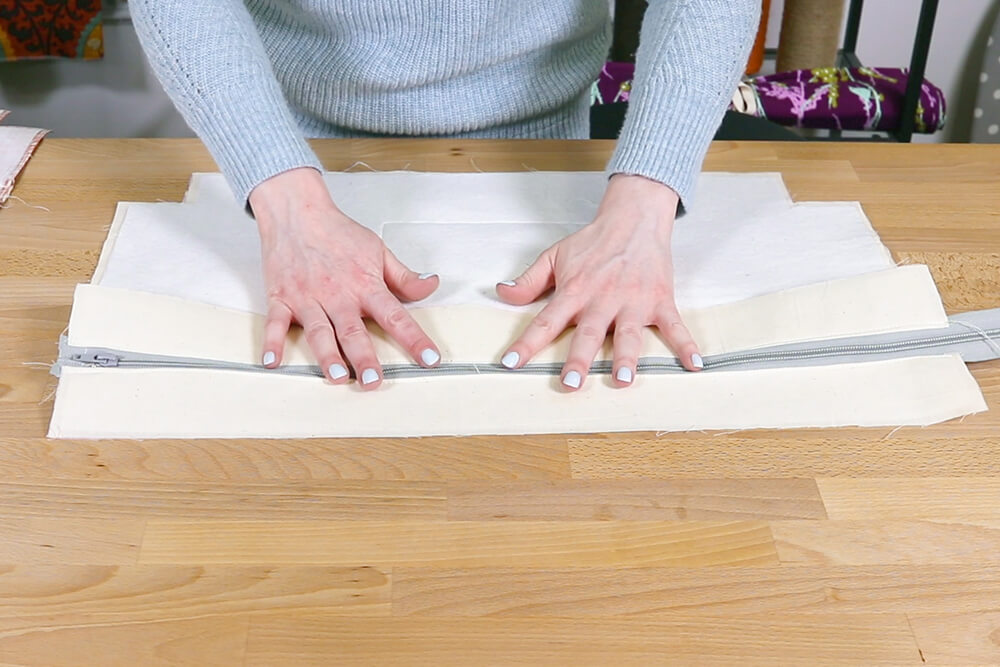
Place the zipper facing up on the top edge of one of the lower lining pieces. The upper end of the zipper should be aligned with the side. Place one of the upper lining pieces on top facing down. The edges of both lining pieces and the zipper should be aligned. Sew down the edge.
I prefer to adjust as I sew but you can pin if you want.
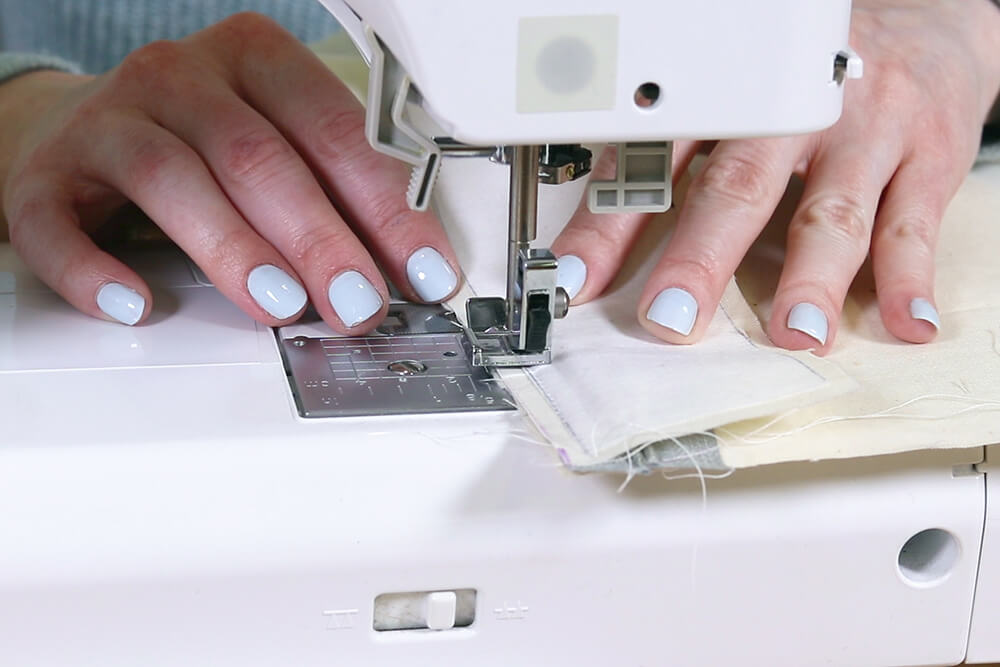
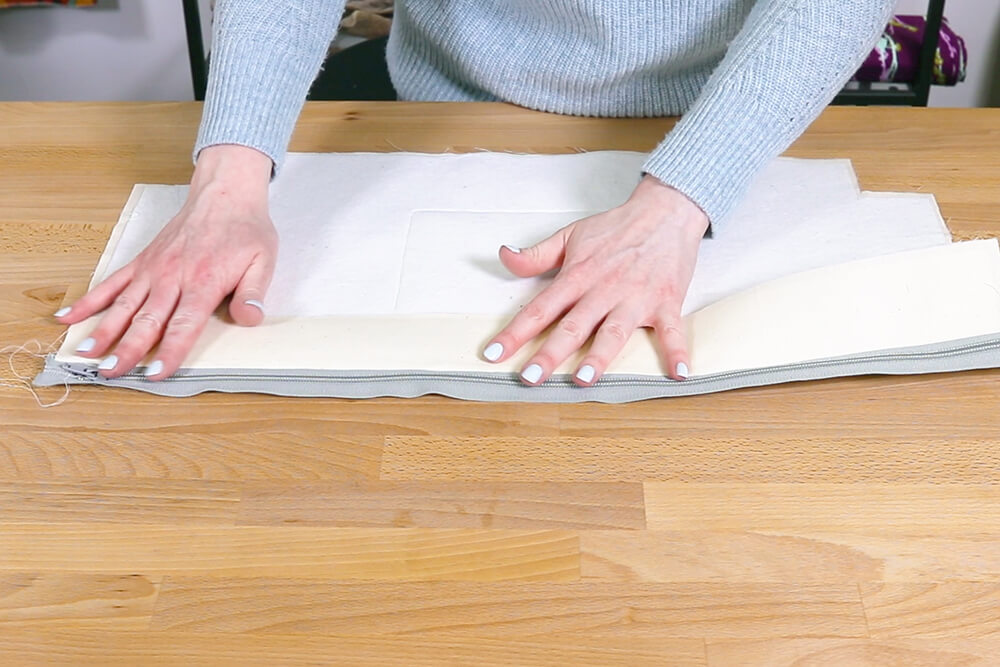
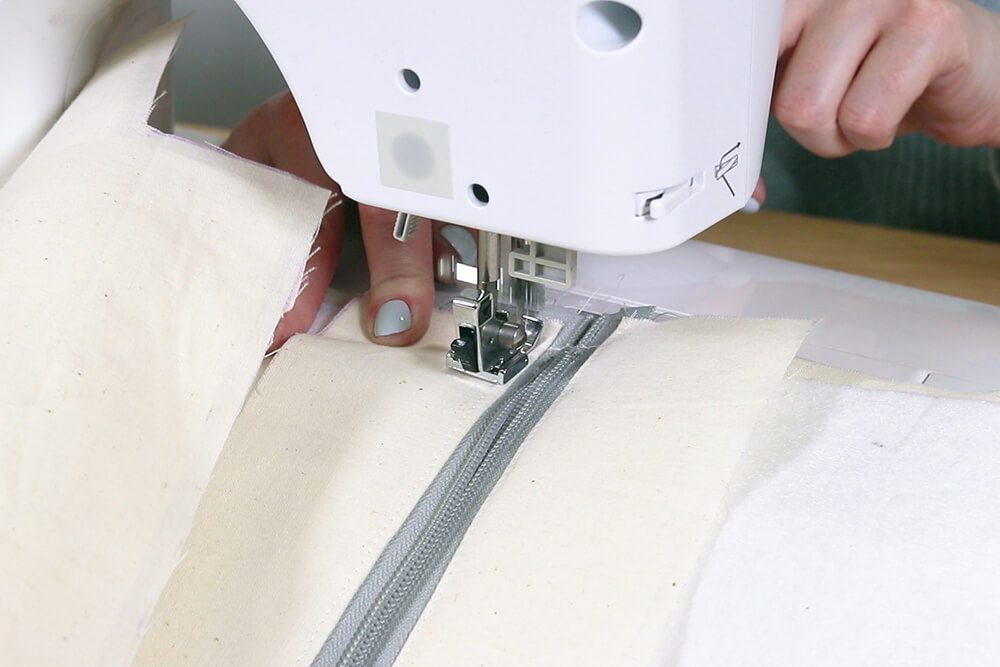
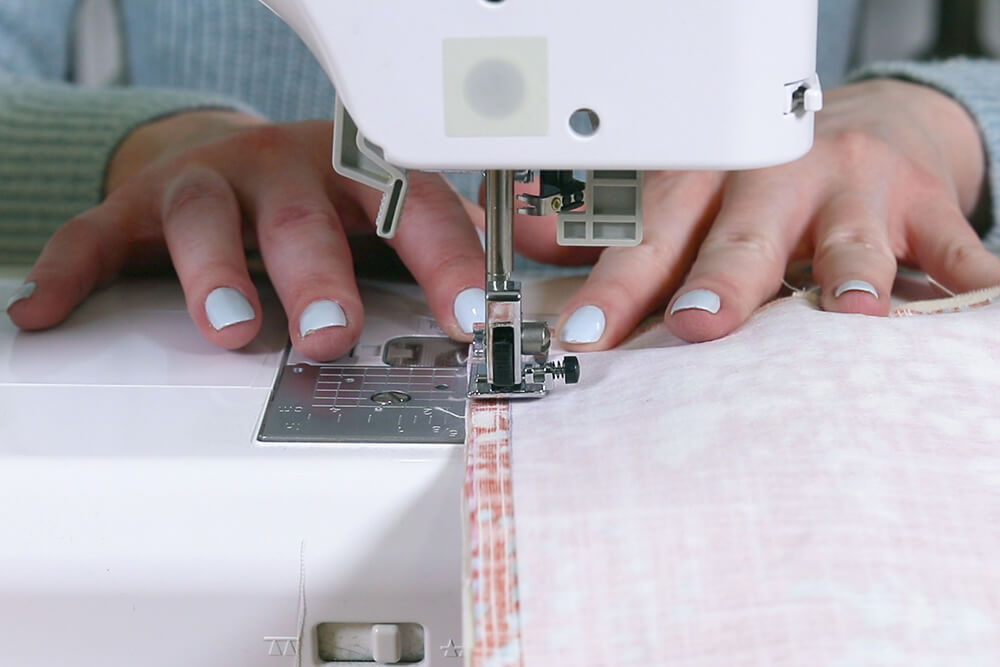
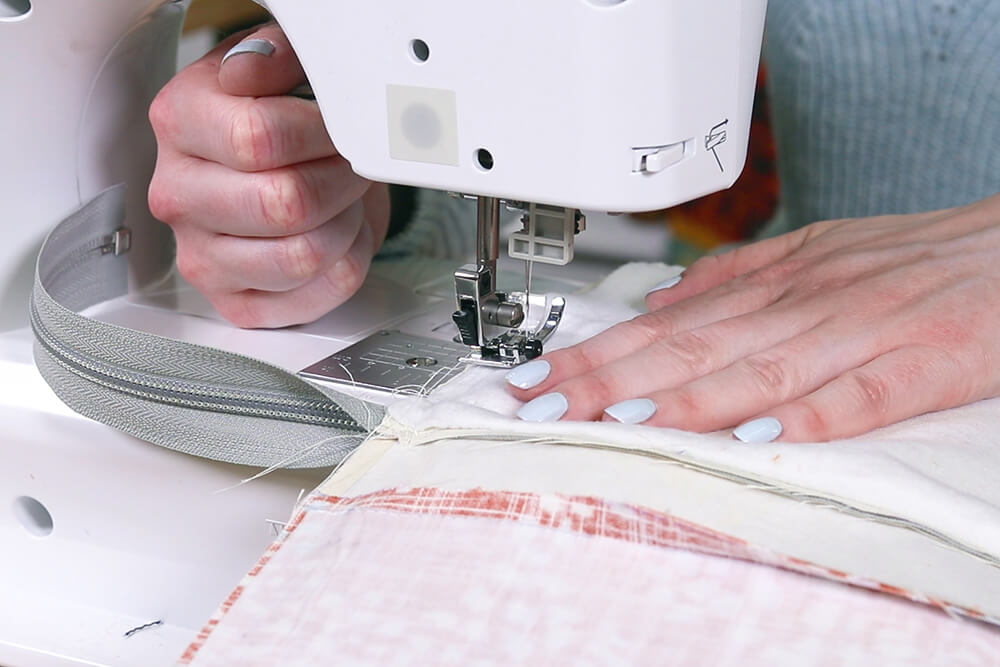
Open the lining, fold it back, and top stitch. Make sure to pull back the piece on the bottom so it doesn’t get out of place as you sew.
Step 6: Sew it all together
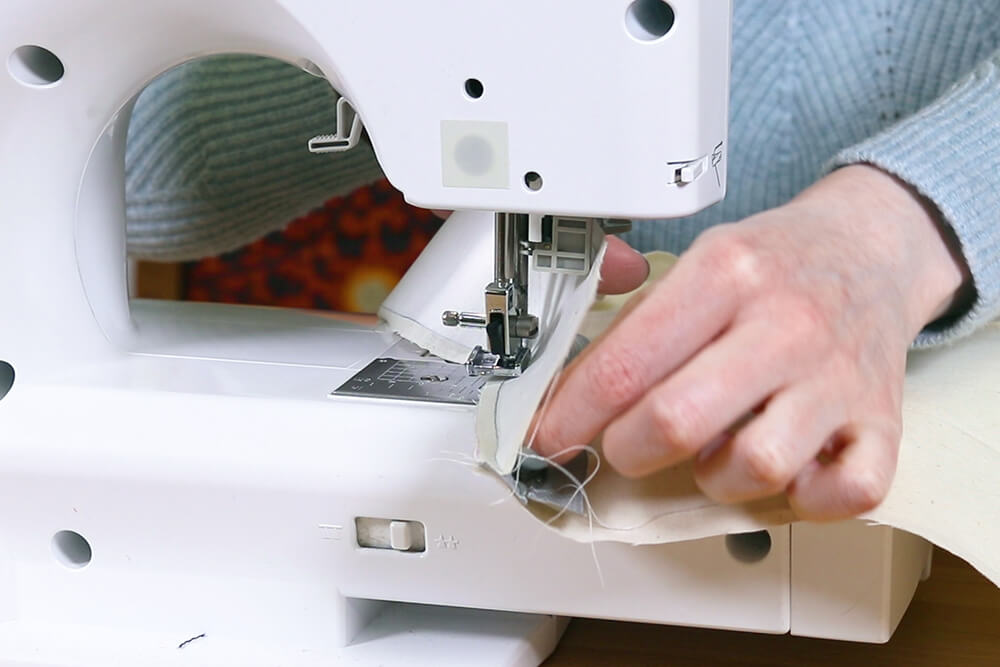
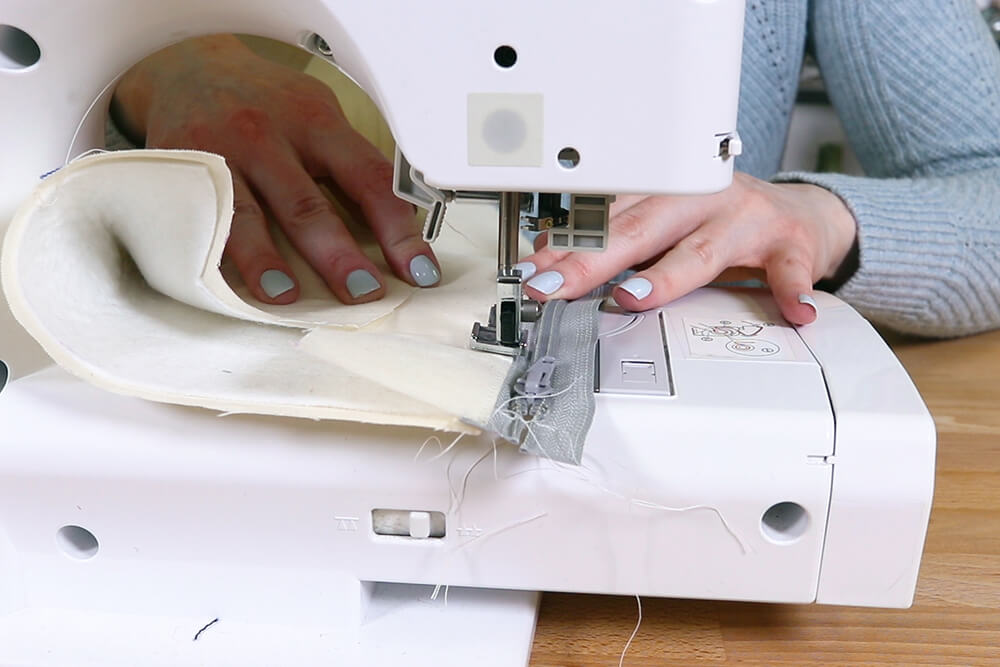
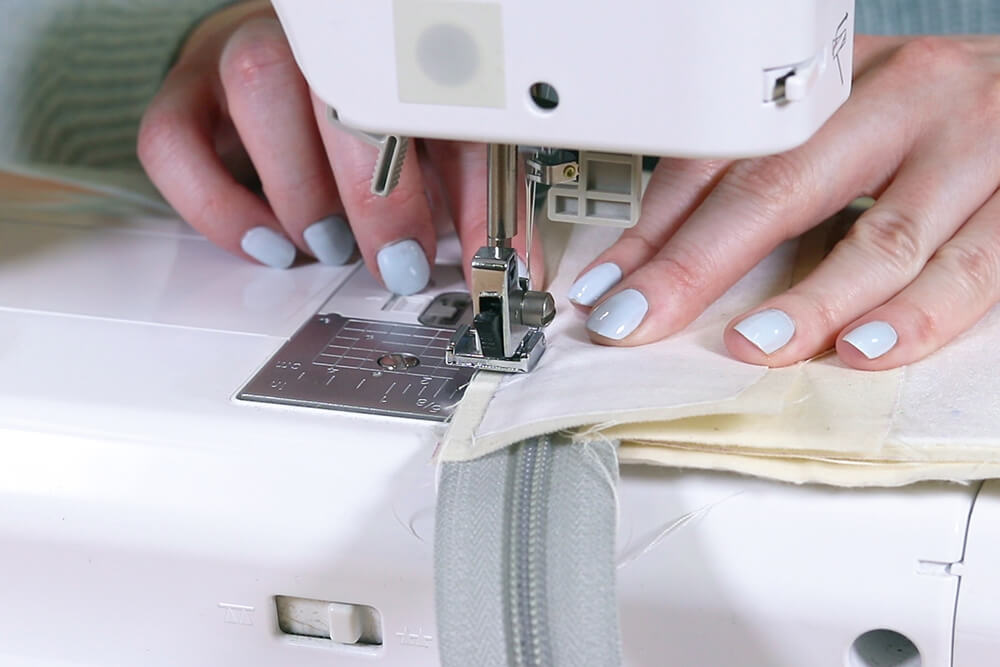
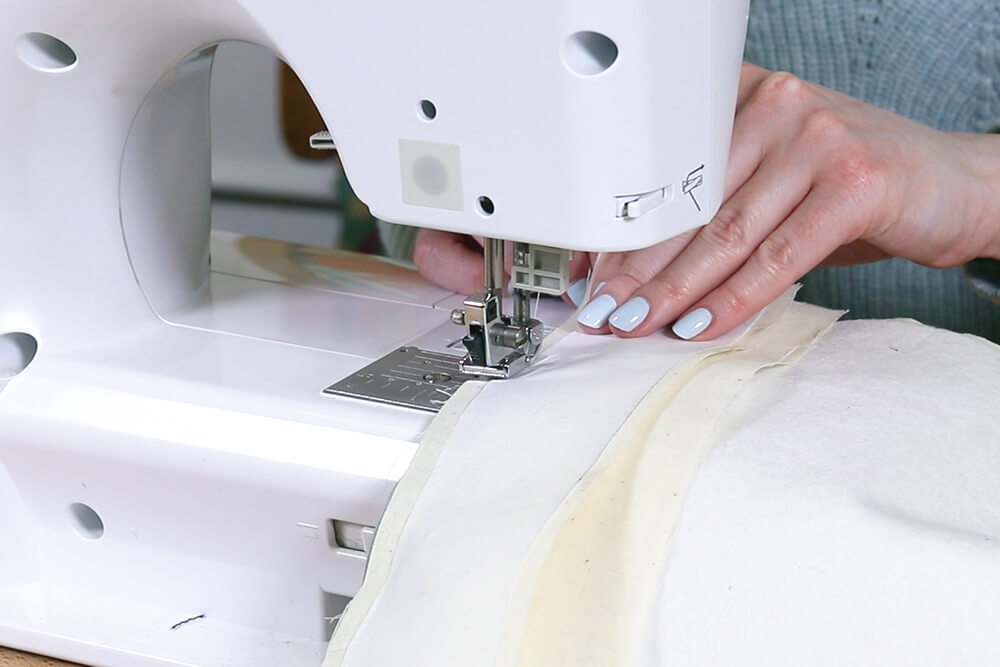
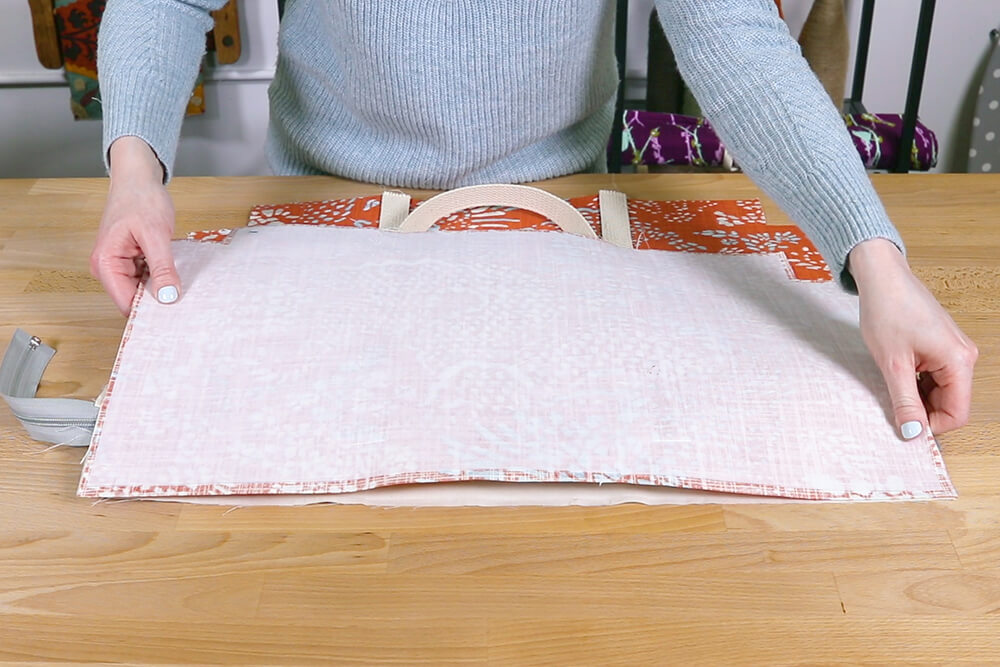
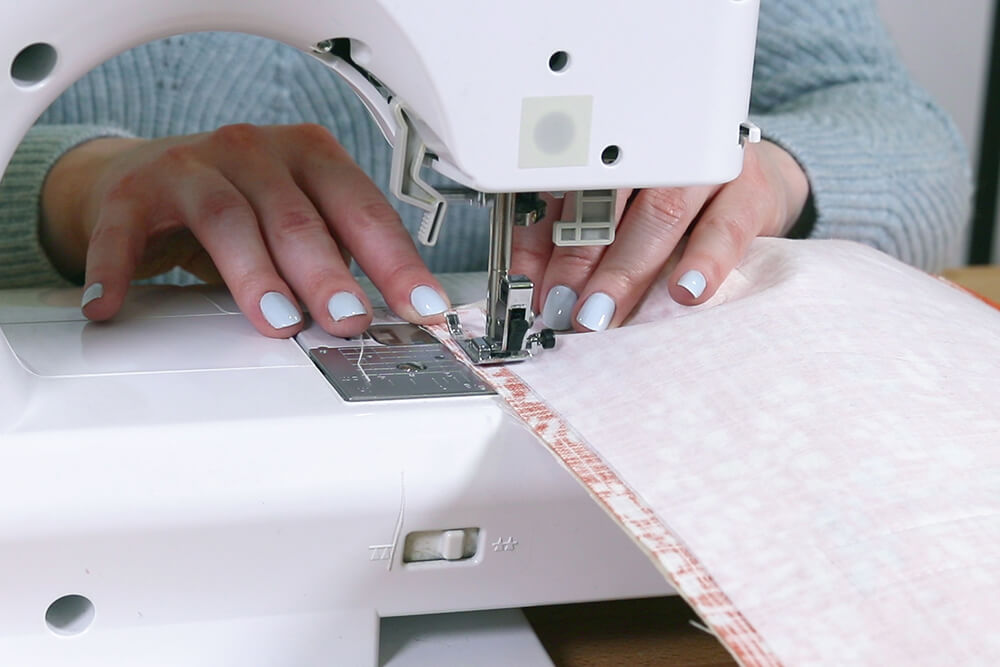
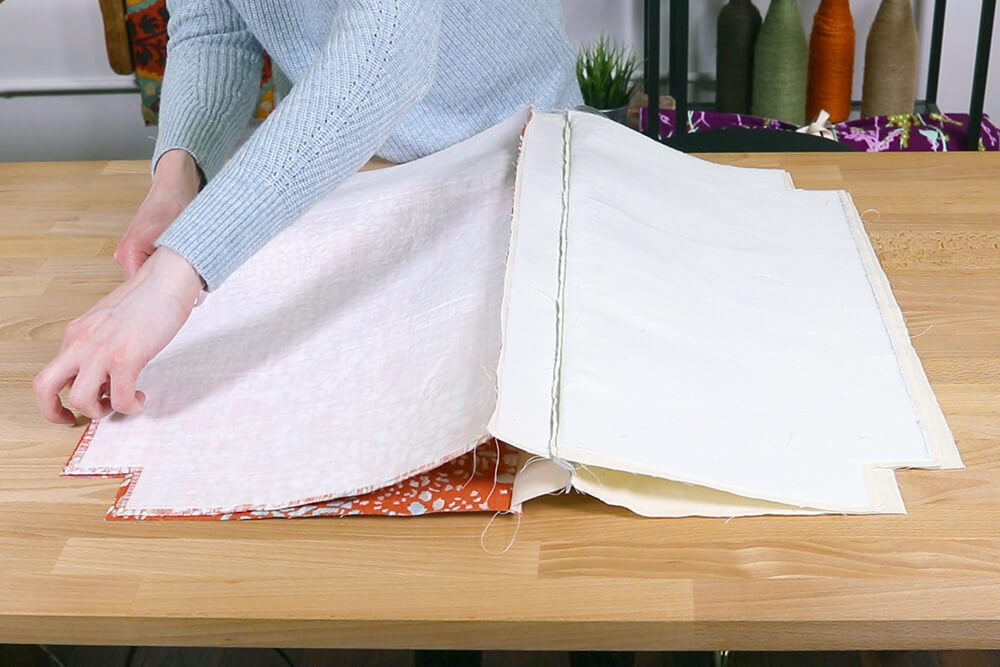
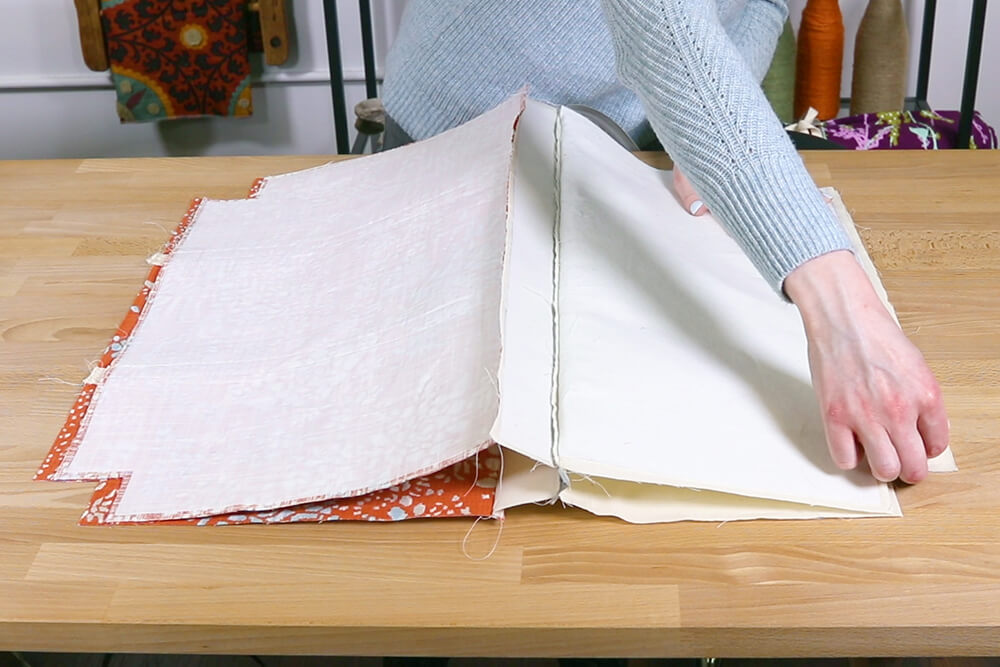
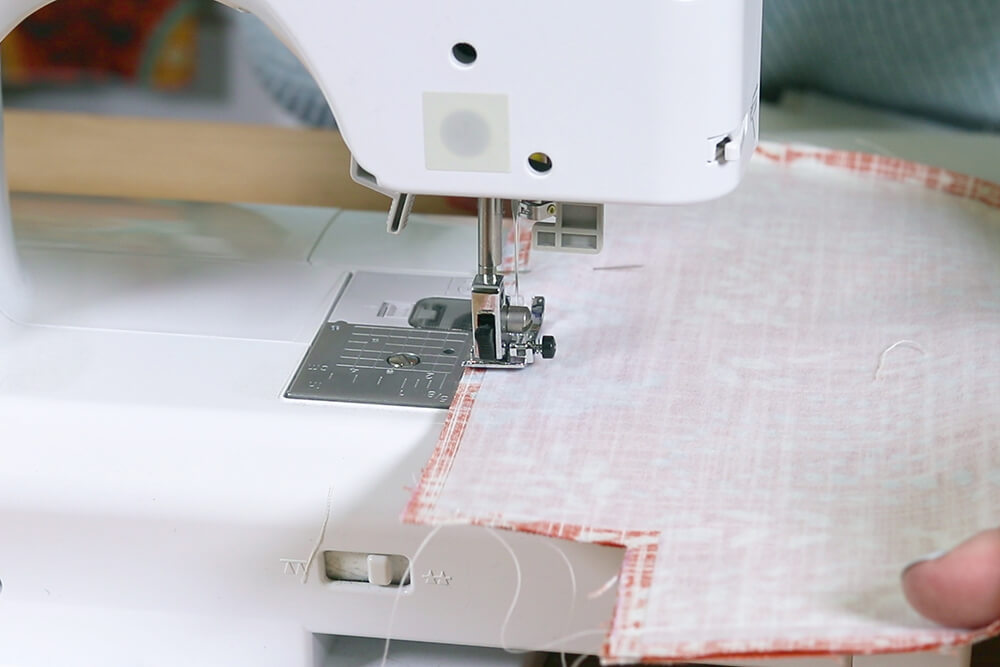
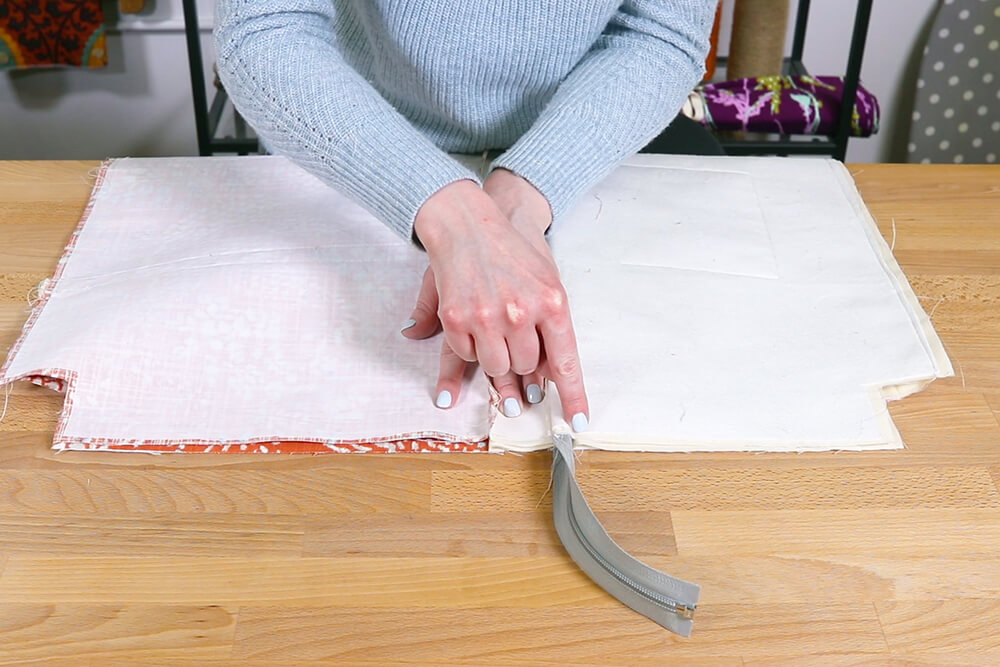
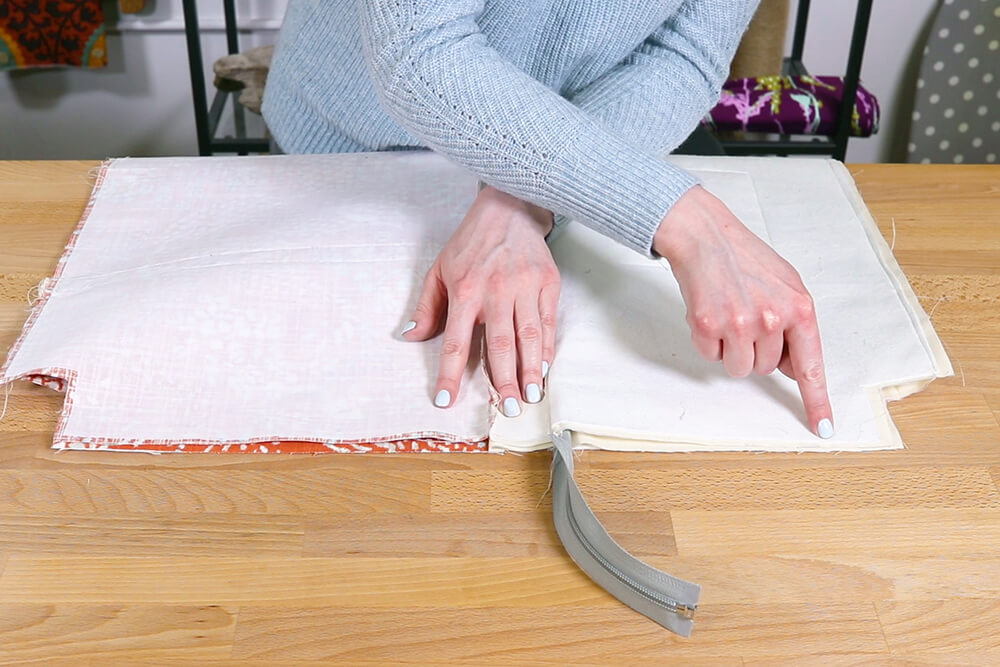
Fold all the layers back except for one of the upper lining pieces. Line up the edge with an outer piece with right sides facing and sew. You can switch back to your regular foot now. I’m using a ¼” seam allowance here, but ½” is also fine.
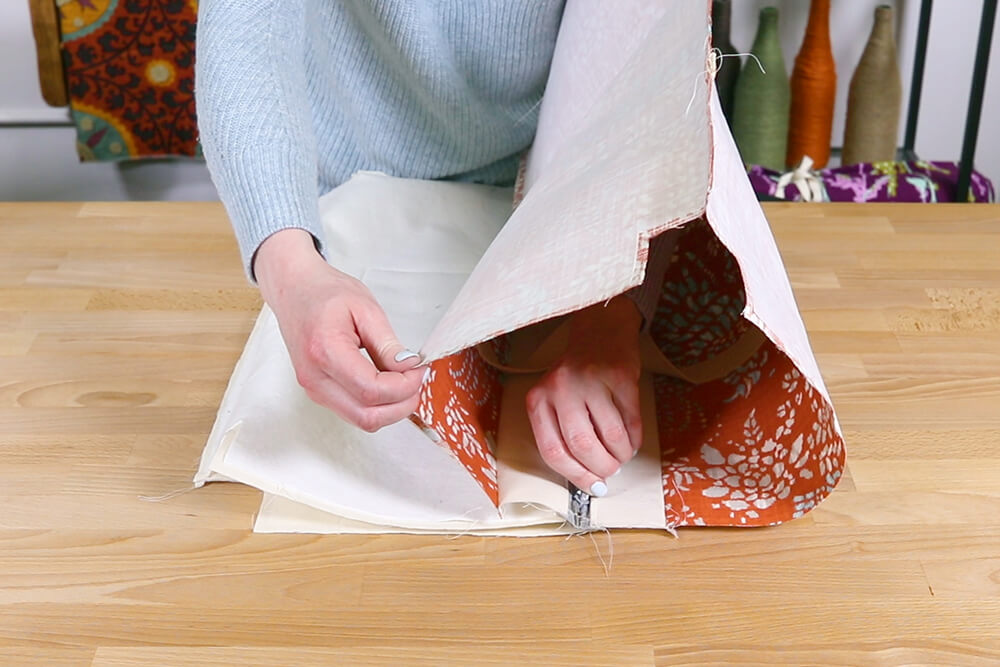
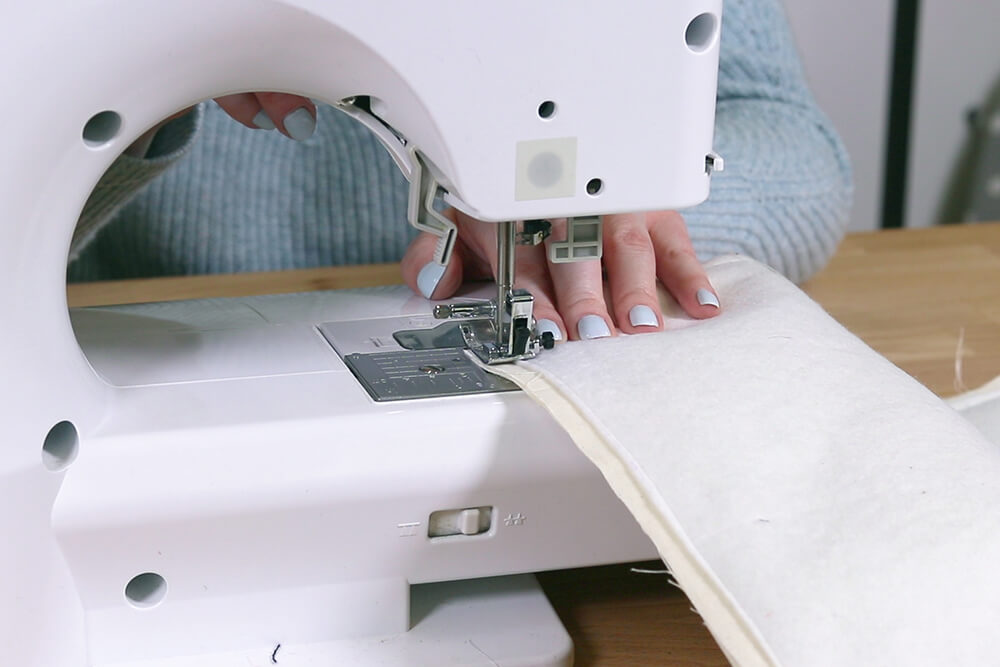
Arrange the layers so the outer pieces are facing each other on one side and the lining pieces are on the other side. Line up the bottom edges of the outer pieces and sew with a ½” seam allowance. Sew the bottoms of the lining pieces together too.
Make sure to open the zipper at this point or before sewing the bottoms.
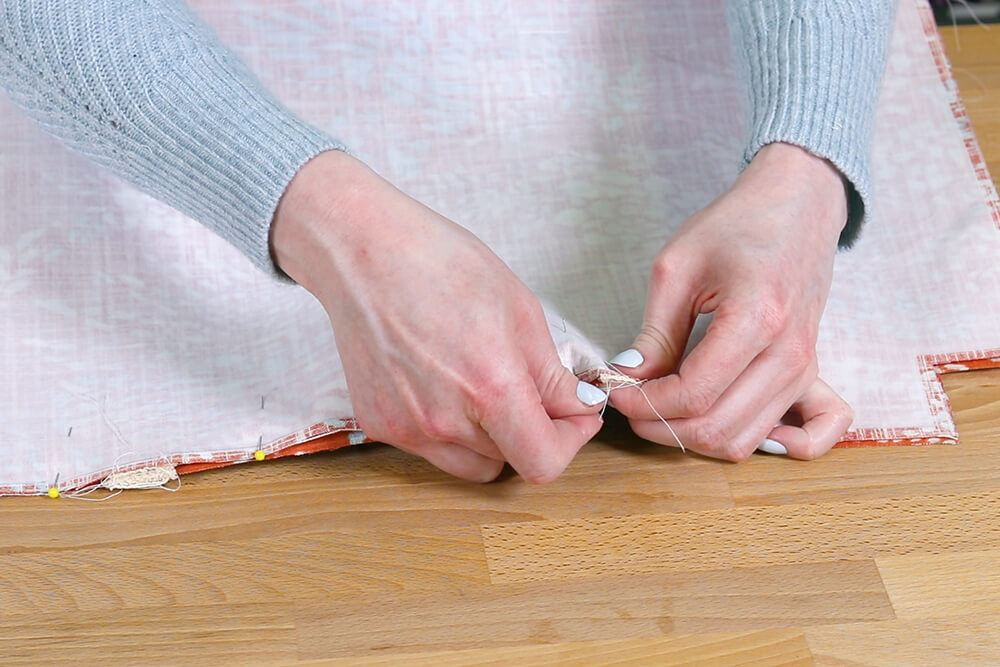
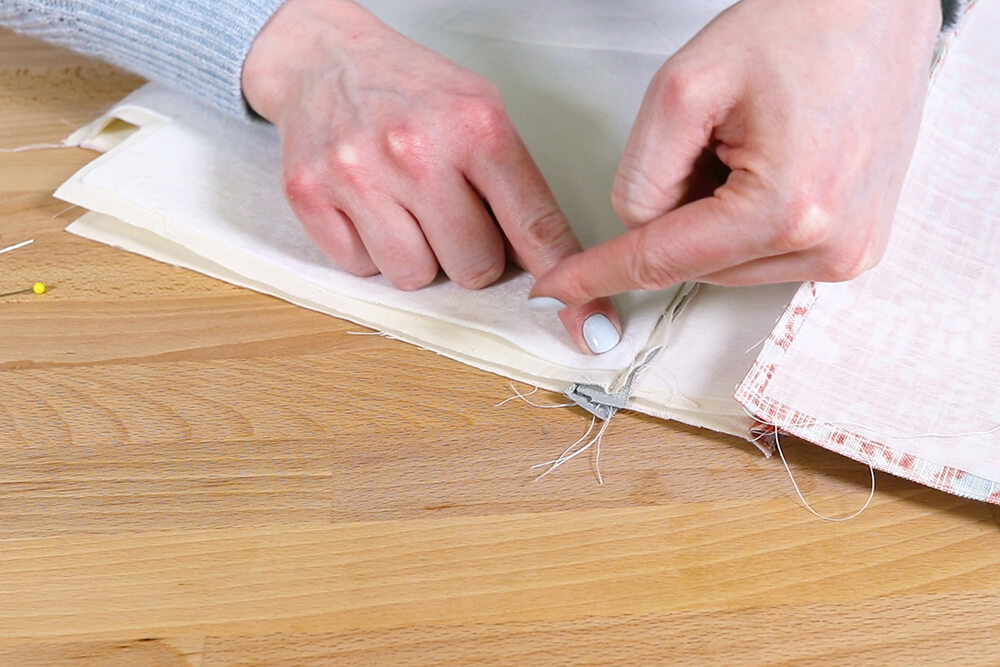
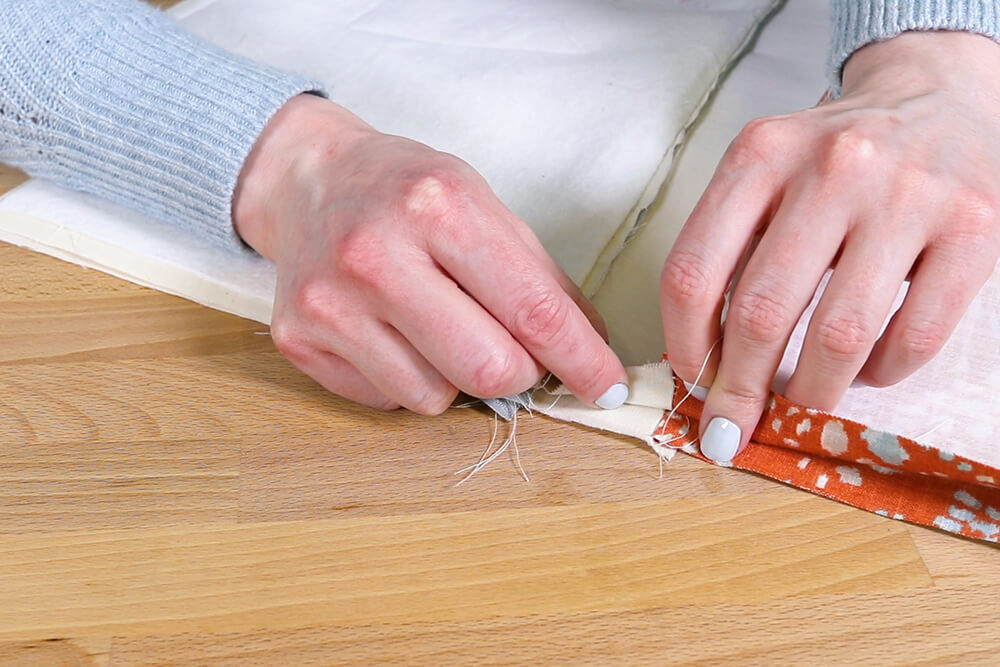
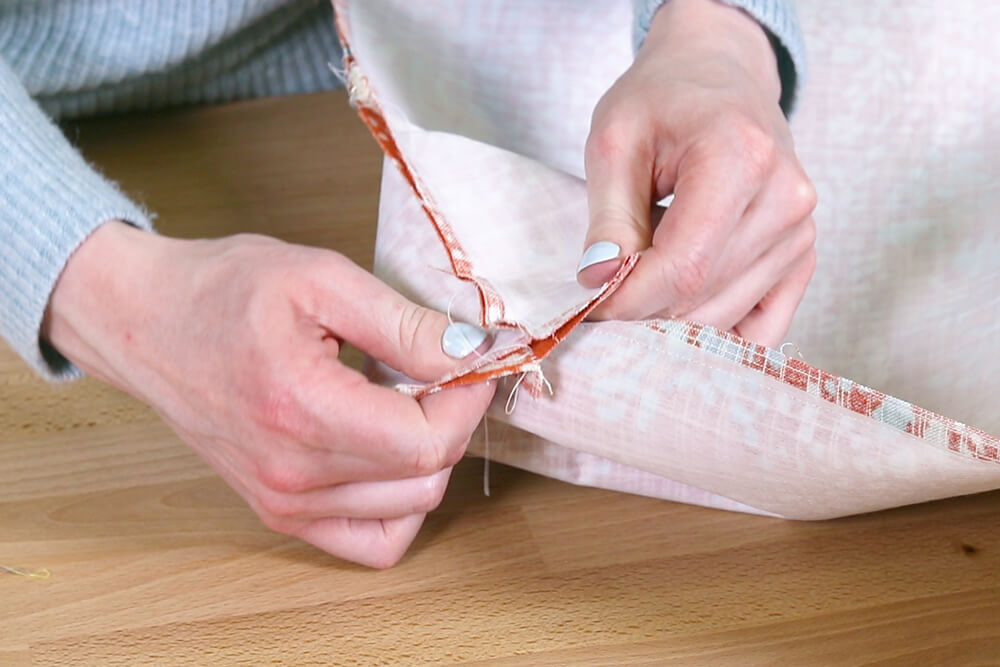
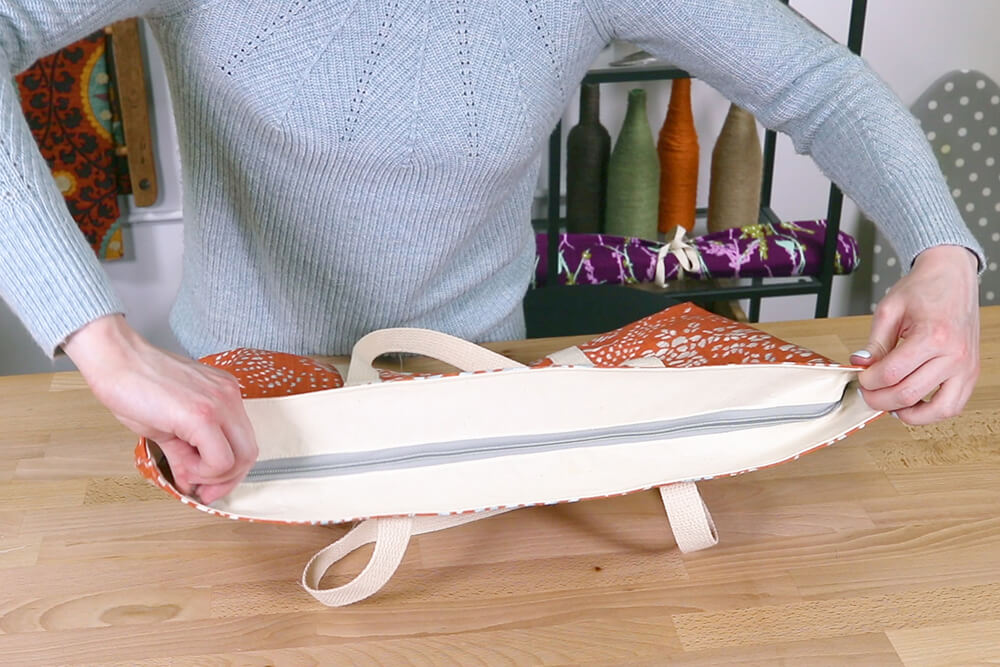
Next sew the side with the top end of the zipper. Fold the zipper in half with the edges pointing down towards the lining side. Match up the seams and pin. Sew all the way down the side with ½” seam allowance.
Arrange and pin the other side in the same way. This time stop just before getting to the teeth of the zipper. Start sewing on the other side then leave a gap of about 6” and sew the rest of the side of the lining.
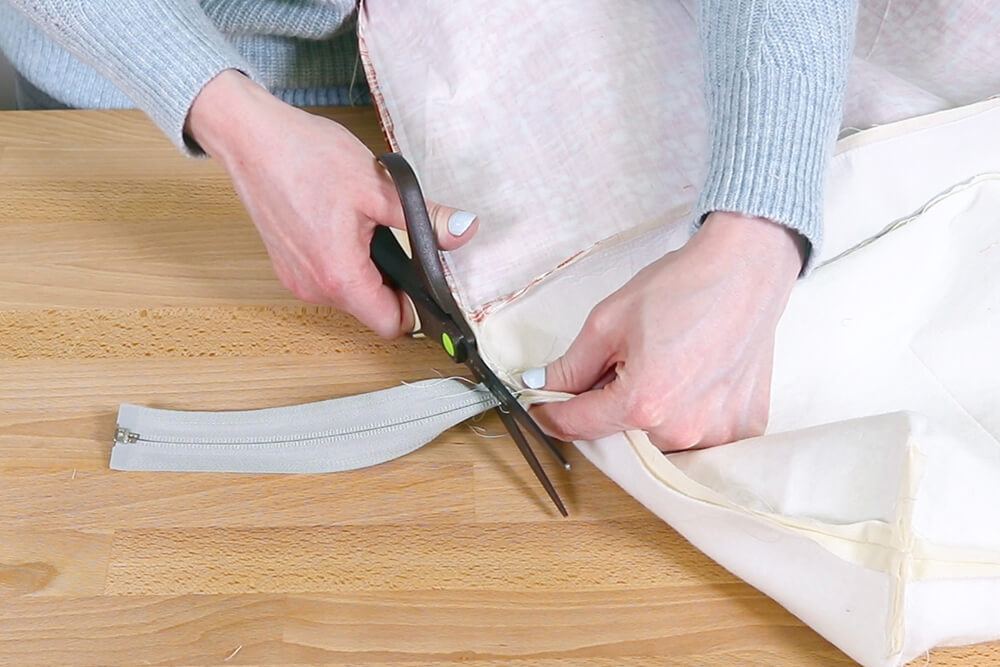
You can cut off the extra zipper at any time.
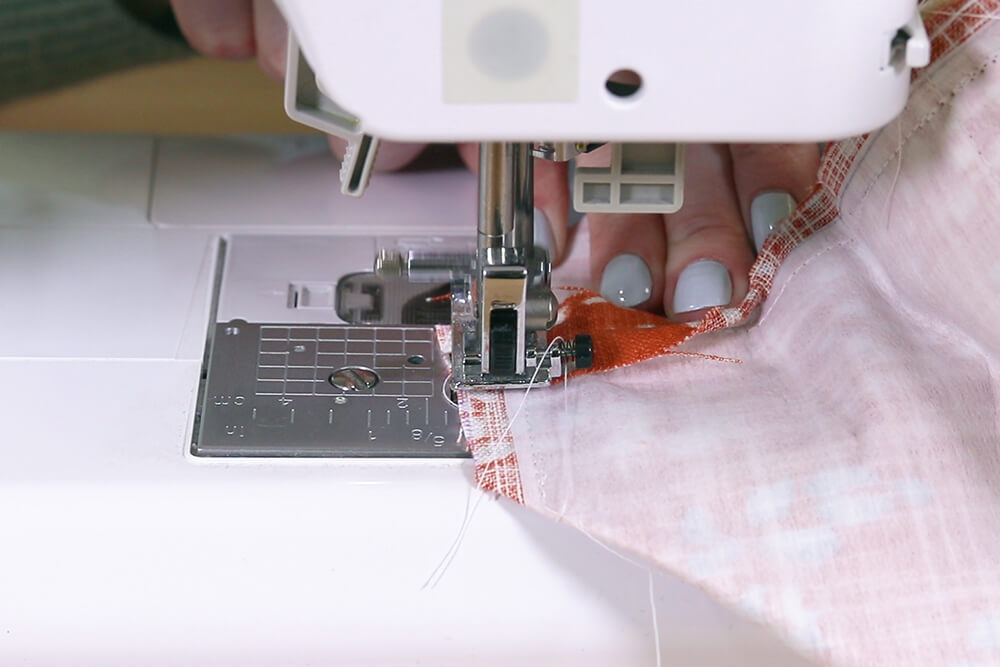
Open one of the corners and match the seams up to form the gusset. Sew across with ½” seam allowance. Repeat for all the other corners.
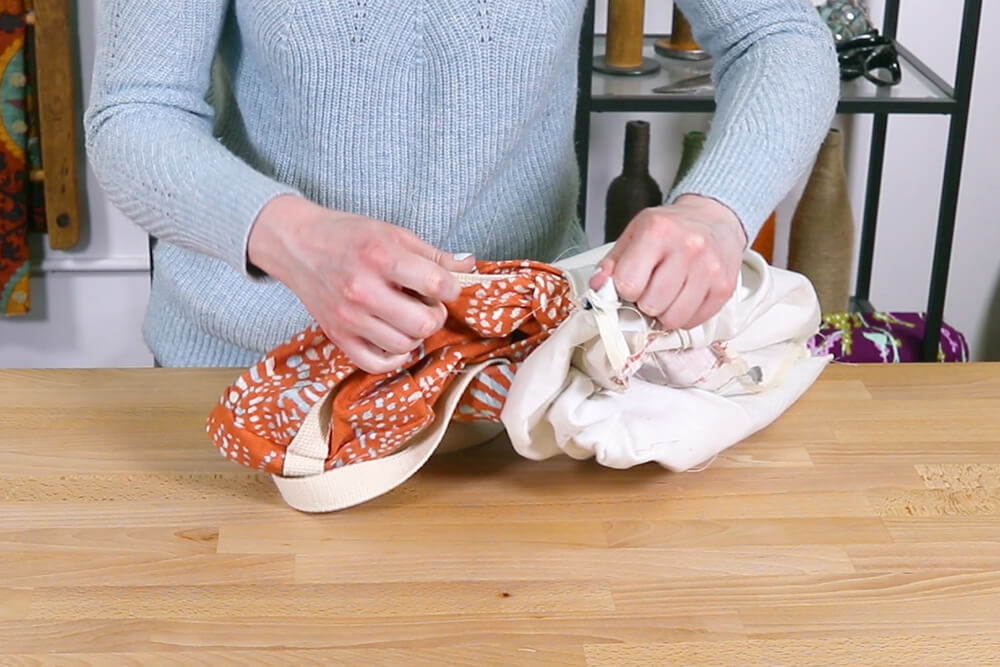
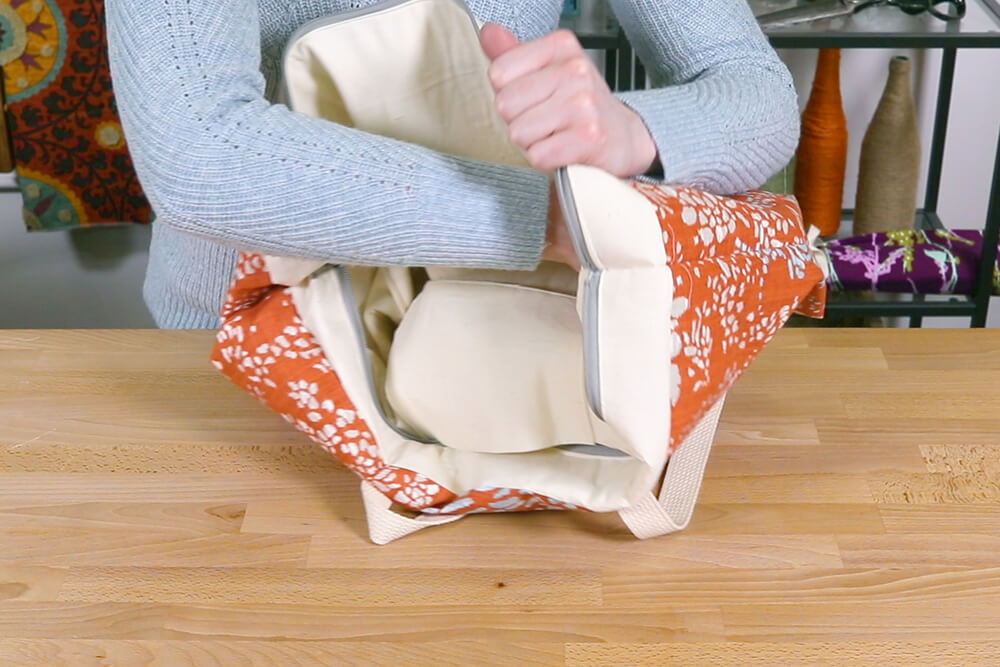
Now the moment of truth! Turn the bag right side out through the opening in the lining. Poke out the gusset corners of the outer fabric.
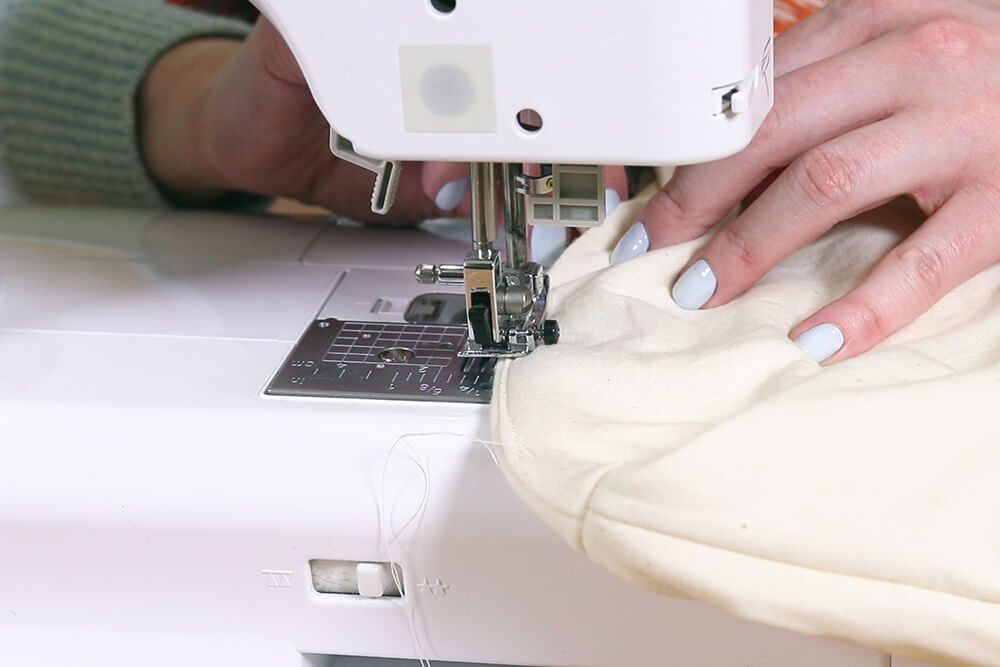
Fold in the edges of the opening in the lining and sew. You can hand stitch with an invisible stitch if you want, but the machine stitching won’t be very noticeable since it’s the lining.
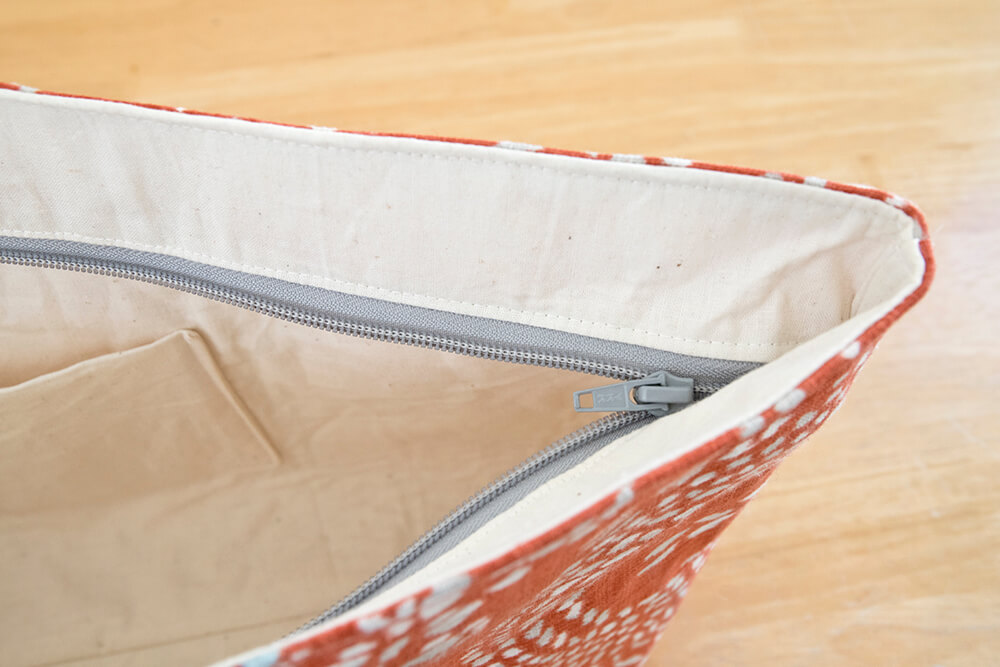
Tuck the lining into the bag. Fold at the seam where the outer and lining fabrics meet. Topstitch all the way around.
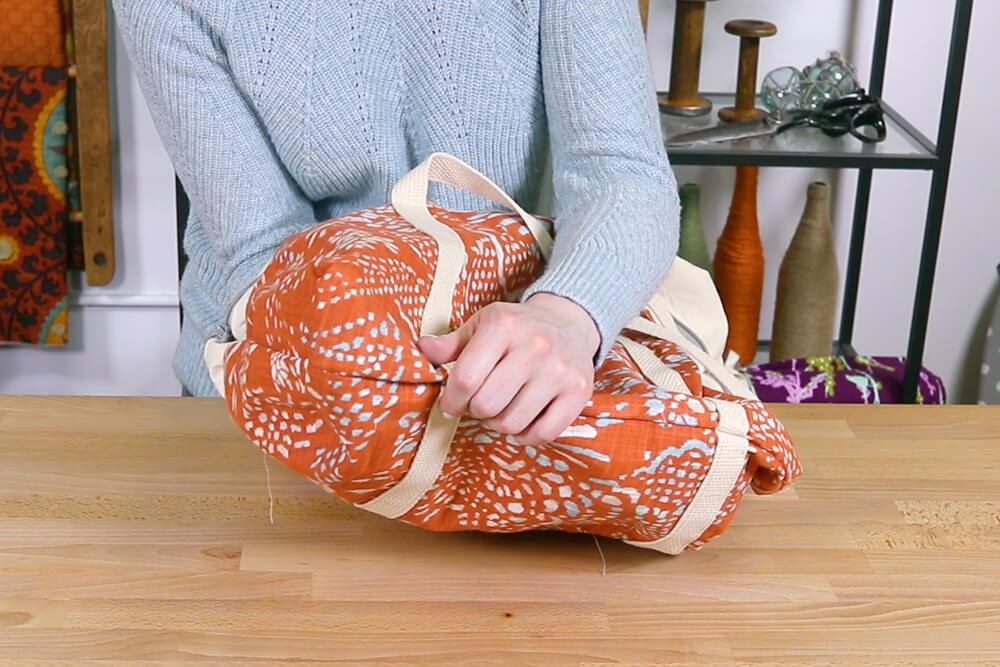
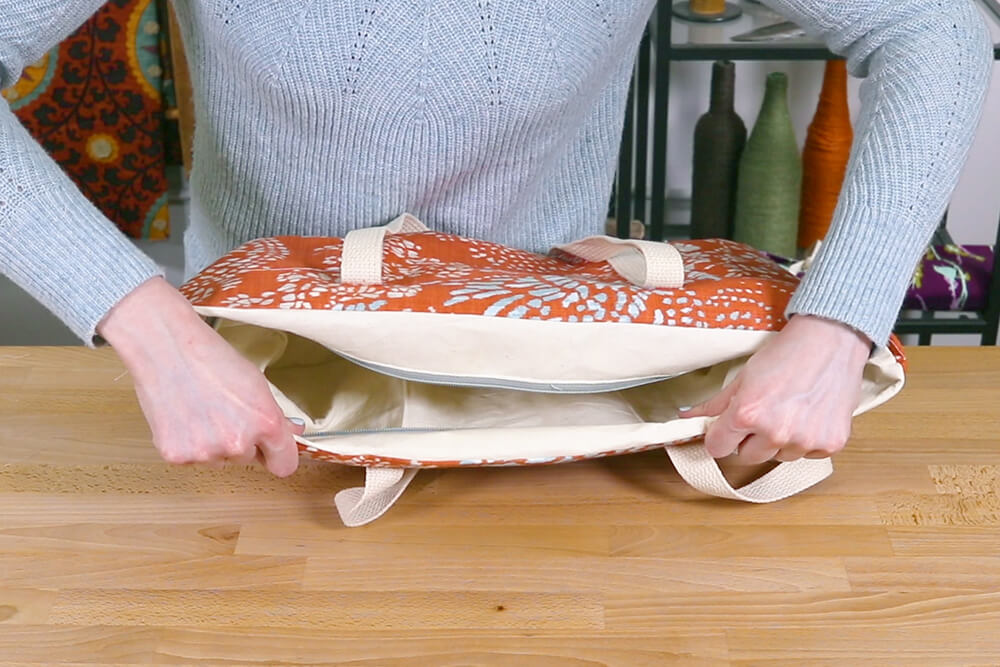
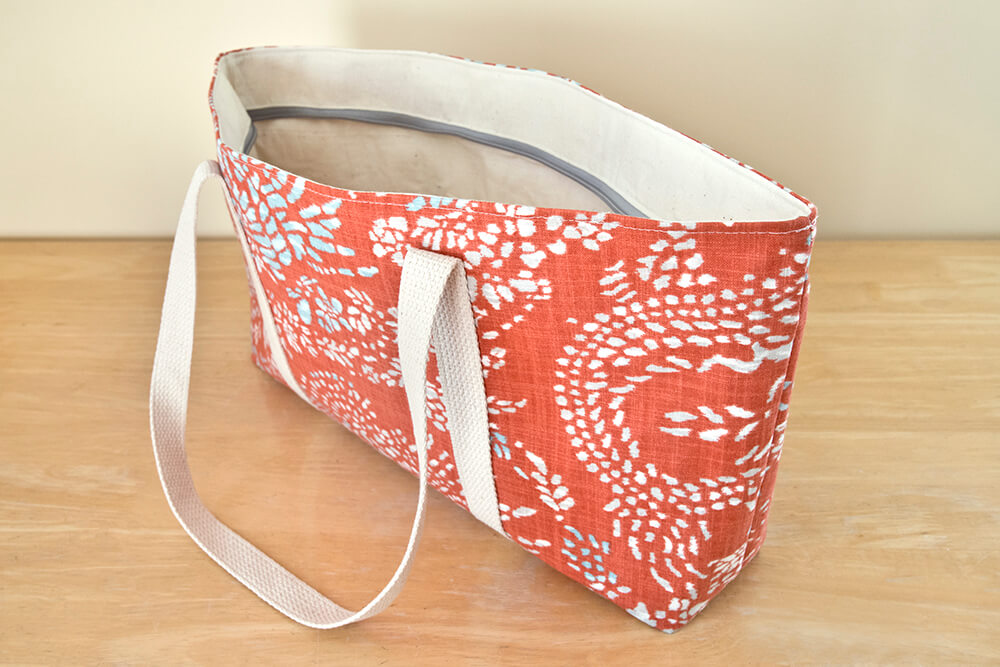
Zip it up and the tote bag is done!
Finished dimensions:
Height: 11″
Width: 22″ at the top, 18″ at the bottom
Depth: 4″ at the bottom
Cut dimensions:
Outer fabric pieces = Desired width + 1” by desired height + 2 ½” (with 2” square cutouts)
Lower lining pieces = Desired width + 1” by desired height + ½” (with 2” square cutouts)
Upper lining pieces = Desired width + 1” by 2 ½”
Check out our selection of décor fabric, then start making your very own bag.


