How to Make an Envelope Pillow
- By Mikayla
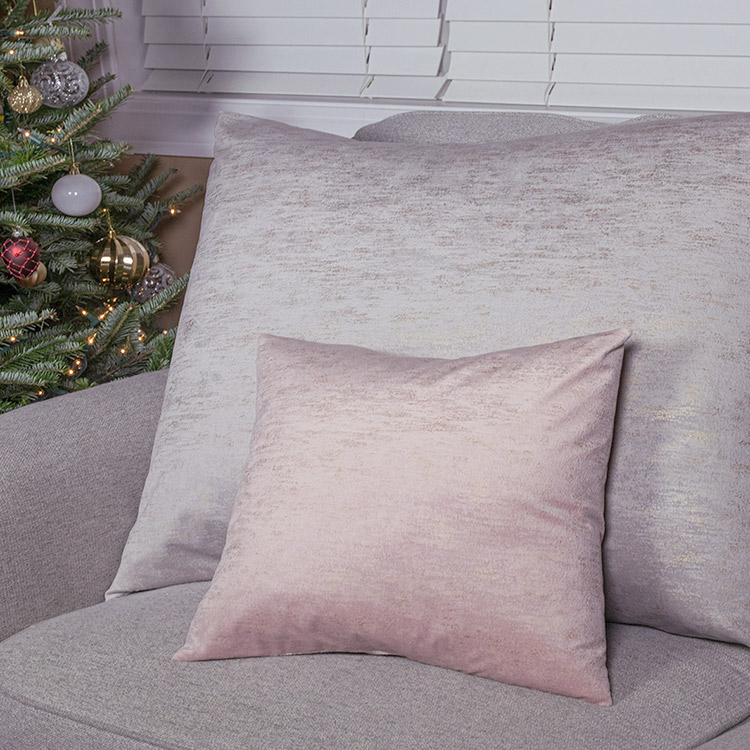
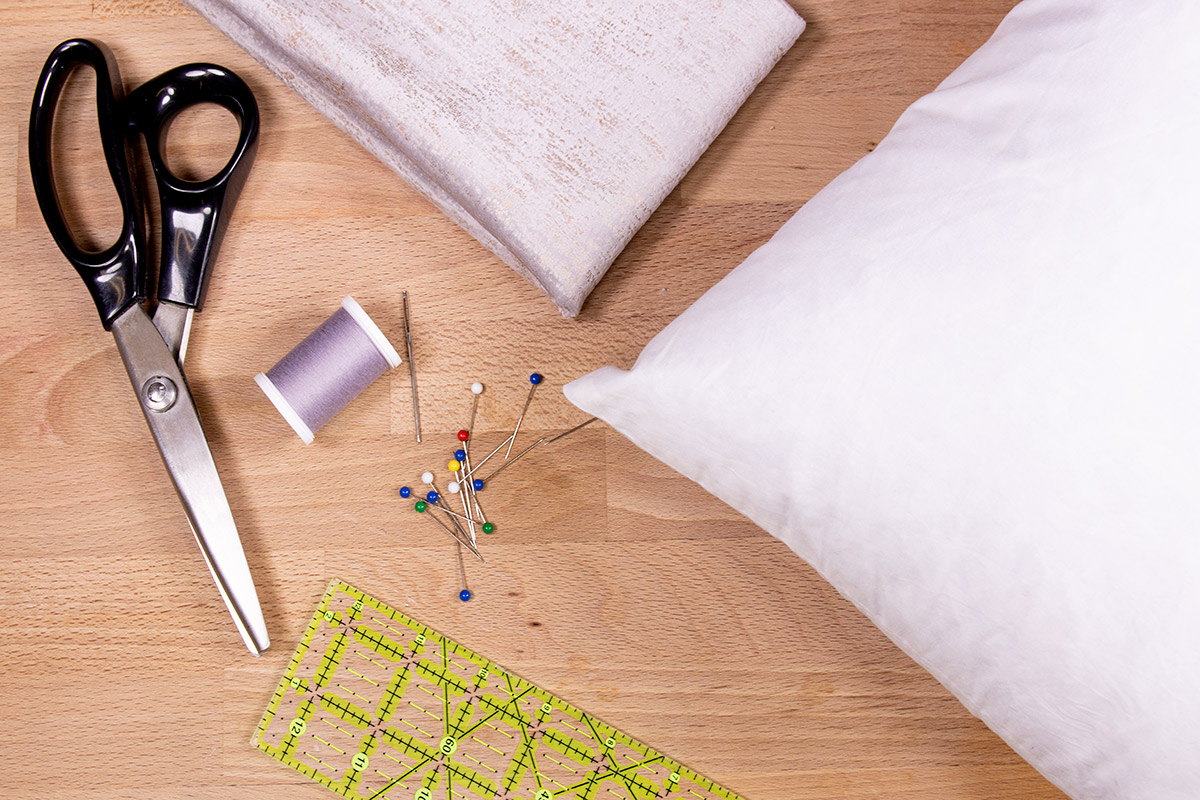
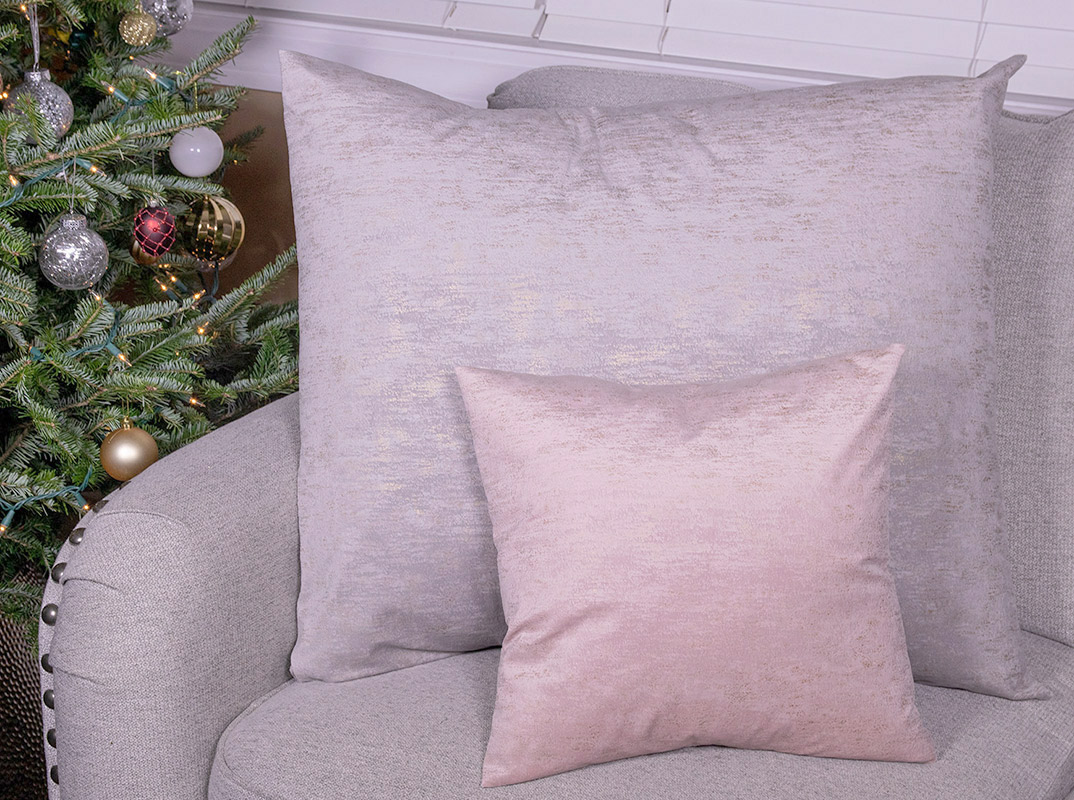
Let’s be honest – you can NEVER have too many pillows. This tutorial will make you an unstoppable DIY pillow machine with 3 simple steps. All you need is a pillow form, ruler, fabric of your choosing, thread, and a sewing machine (or hand) needle. It’s quick, easy, and beginner friendly!
Want to get the printable PDF instructions?
Materials
Related Products

Instructions
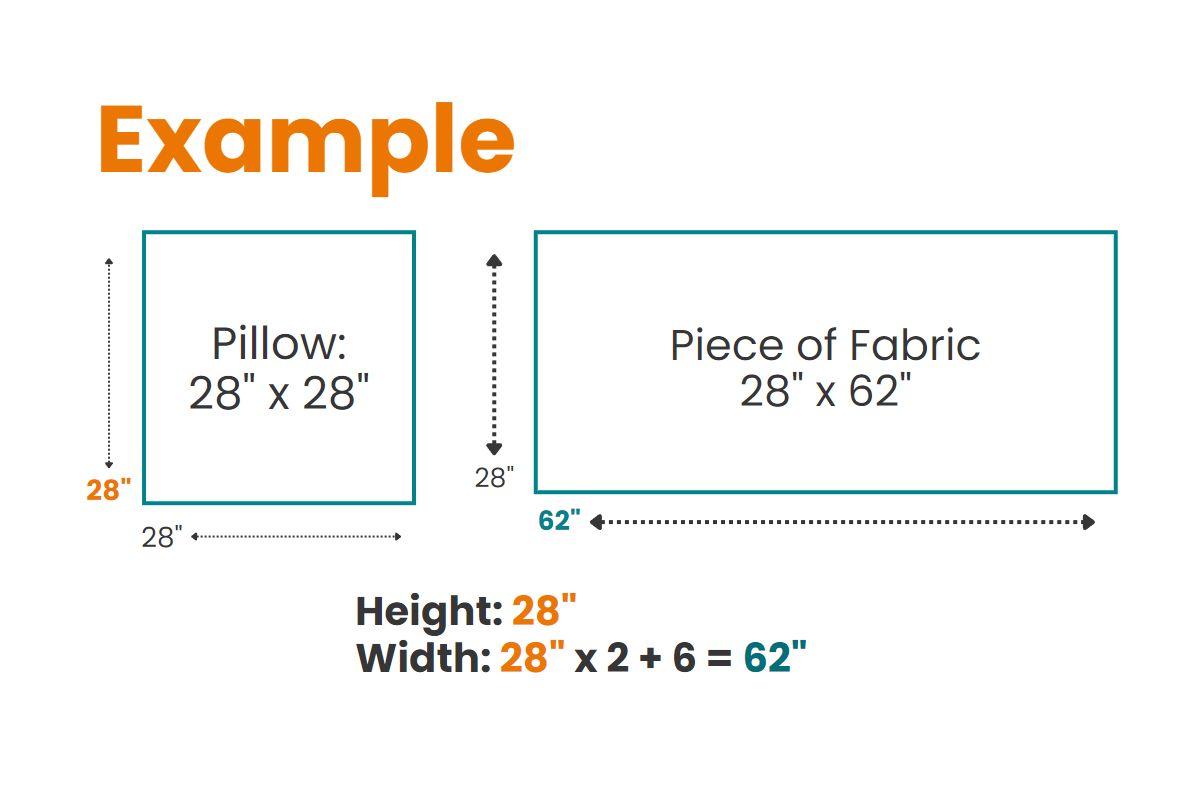
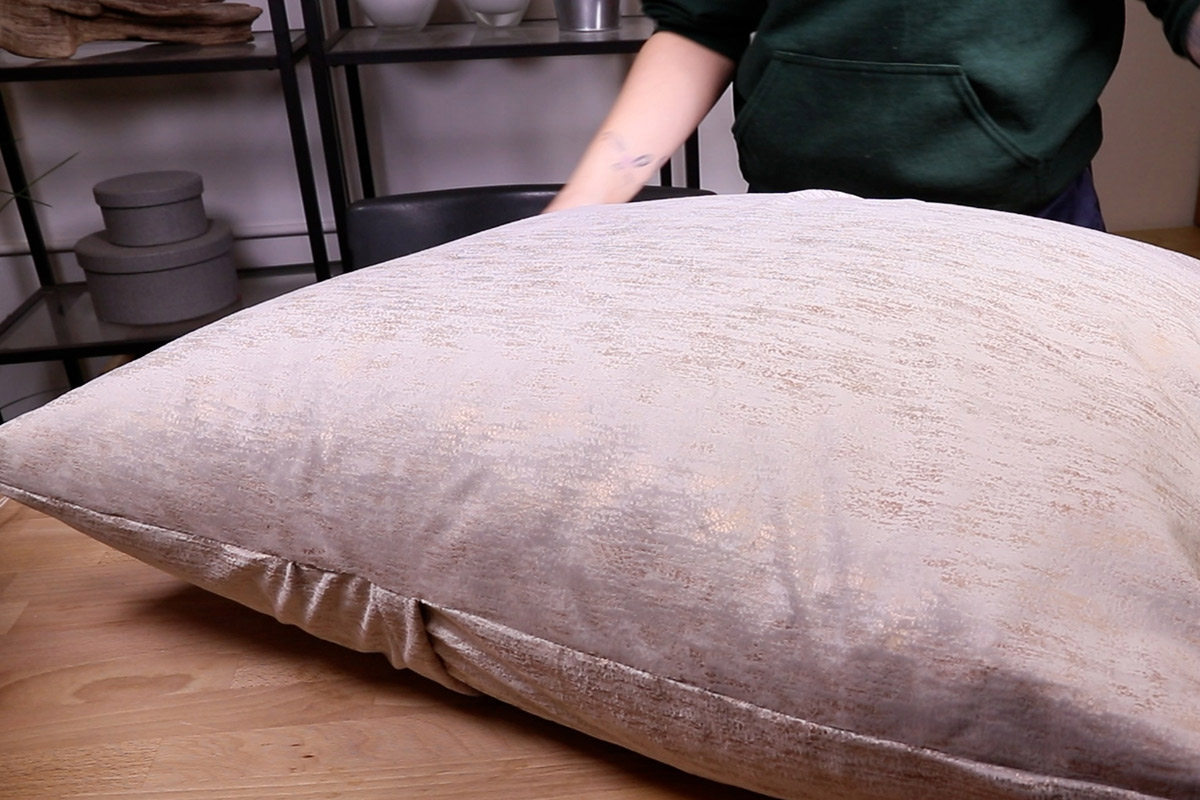
Step 1: Determine Measurements
Your measurements will be based off of the size of your pillow form. We recommend making a pillow cover that is 2″ smaller than the size of the pillow form to create a full looking pillow. To allow for the seams, the height of your piece of fabric should be the same as your pillow form. To determine width, multiply your pillow form width by 2 and add about 6-8 inches for the envelope flap. For the majority of pillows, you will need less than a yard of fabric. Once you have your measurements, cut your fabric to size. You can mark up a pillow form square on your fabric to secure your measurements if needed.

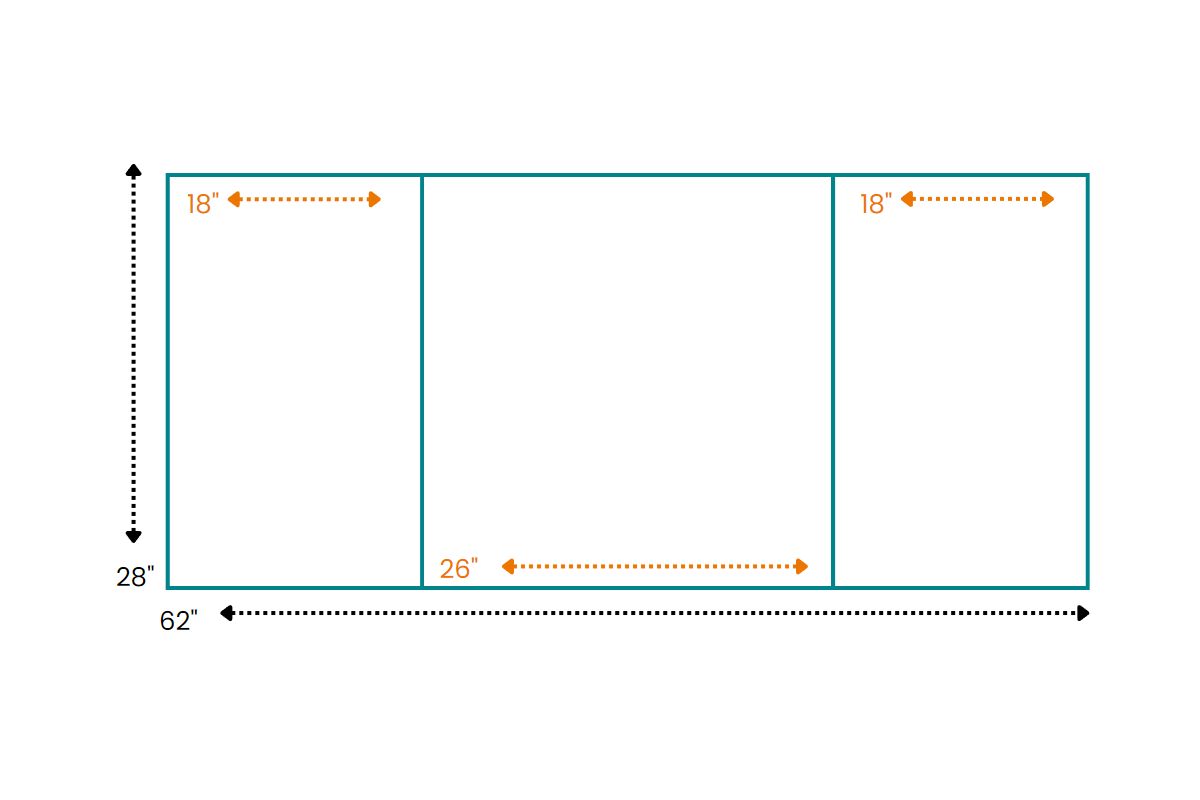
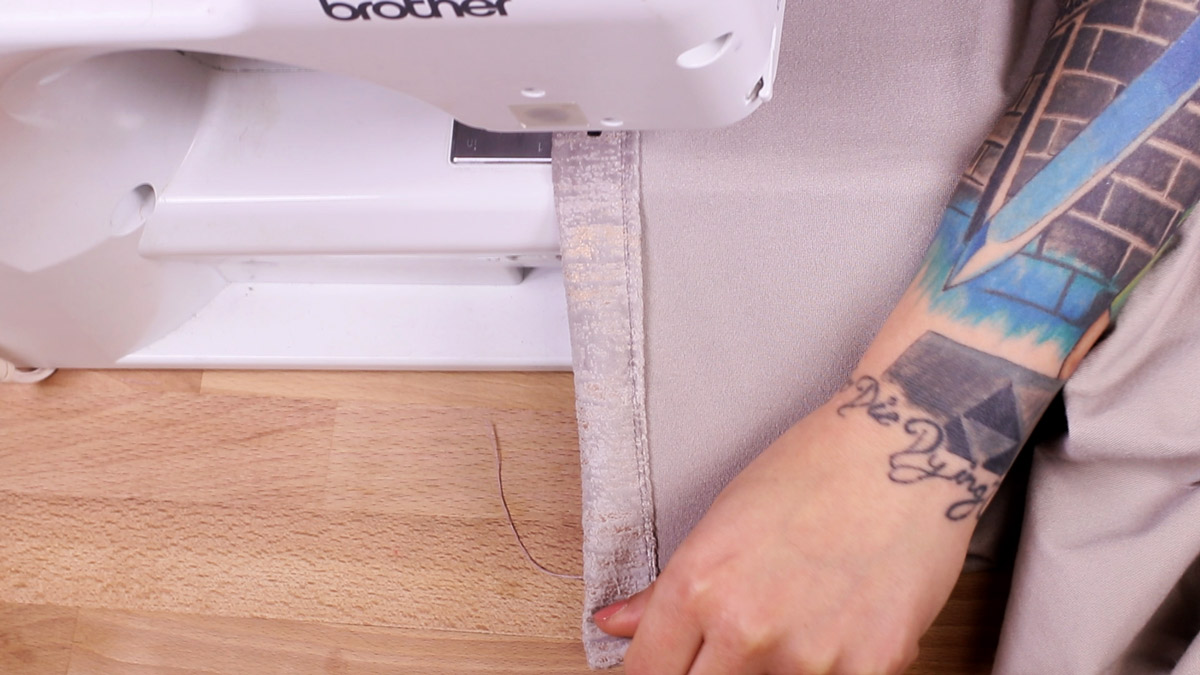
Step 2: Hem Sides
Hem both of the shorter sides to be about one inch wide, giving them a nice folded edge.
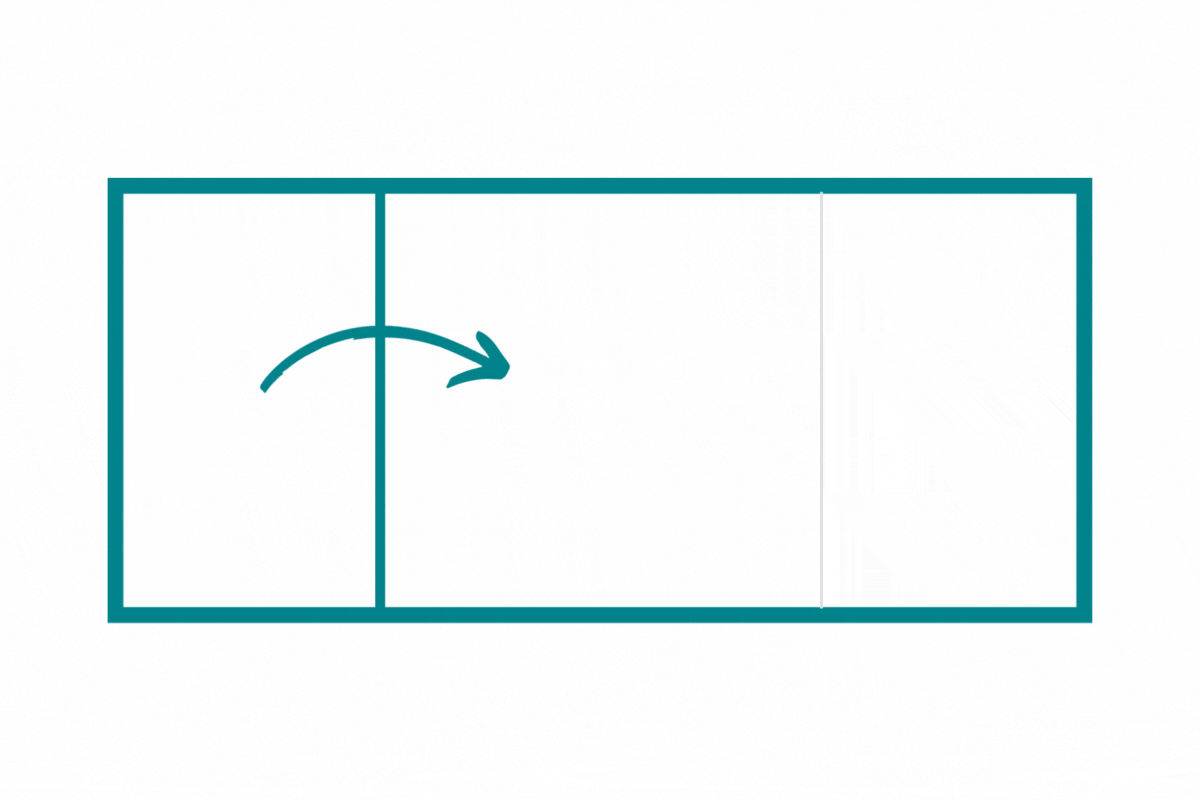
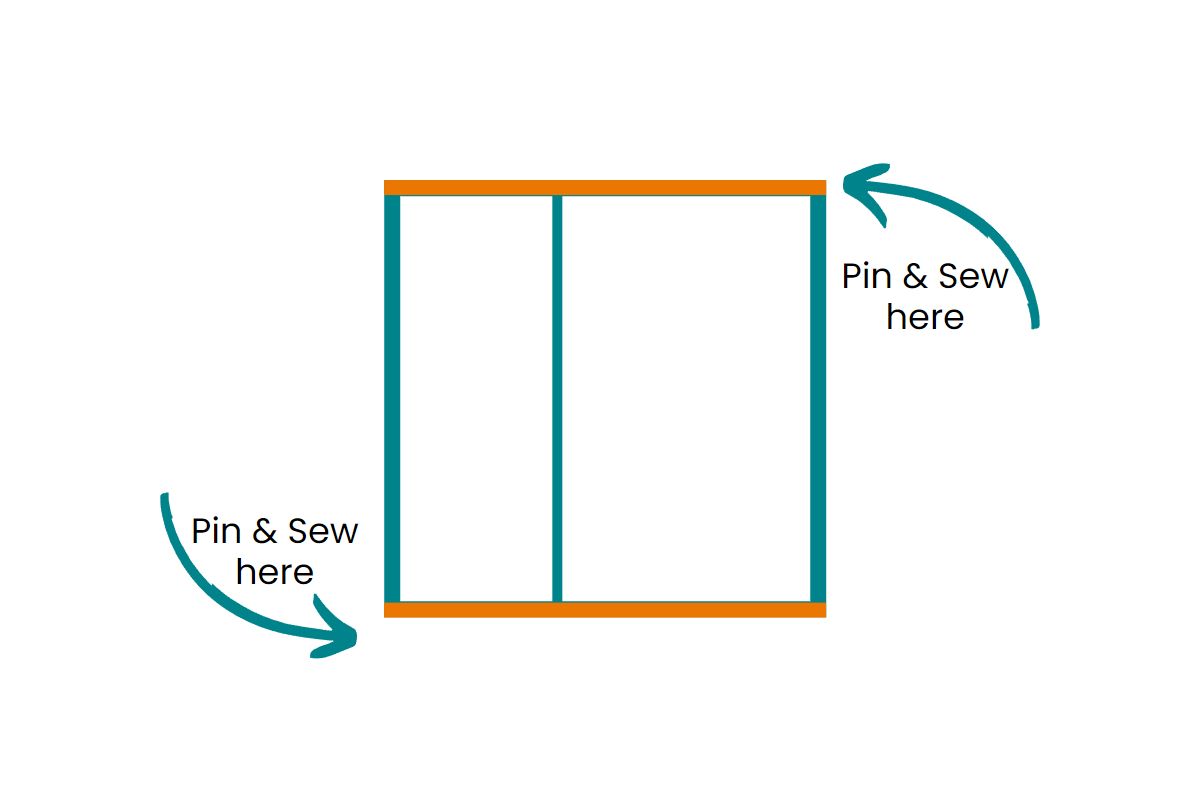
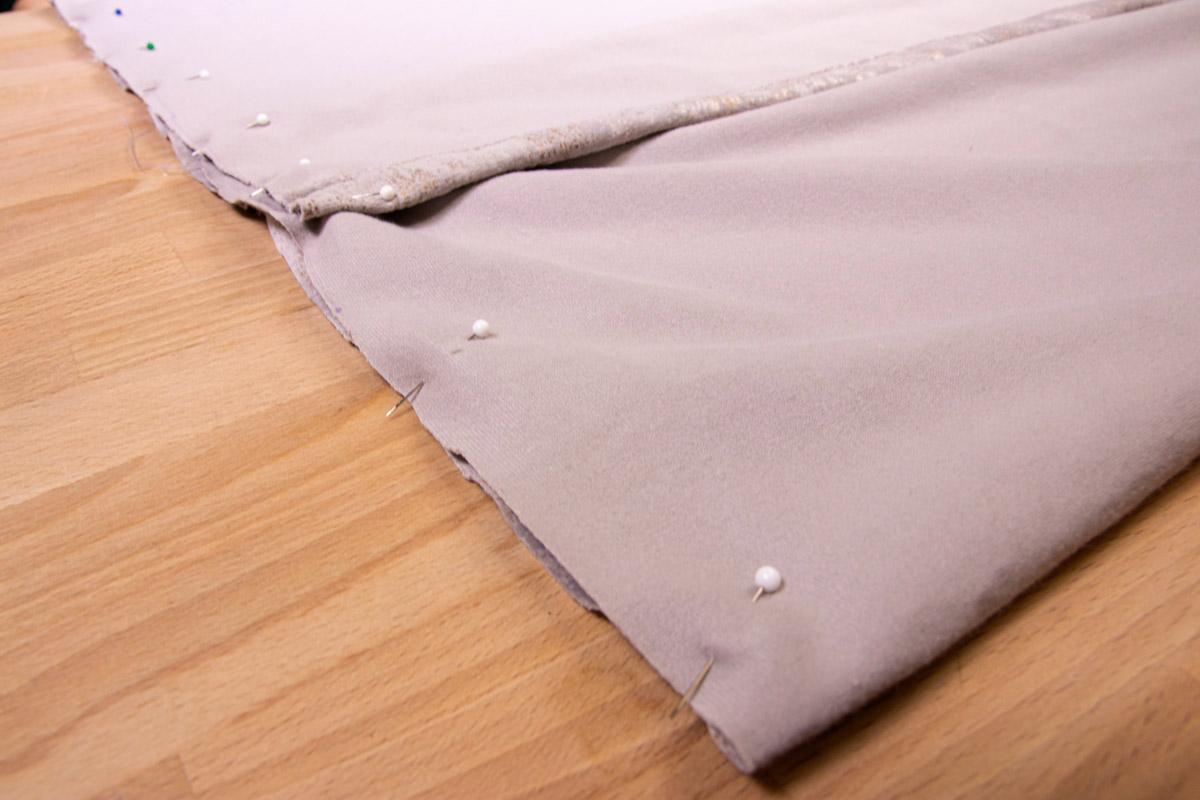
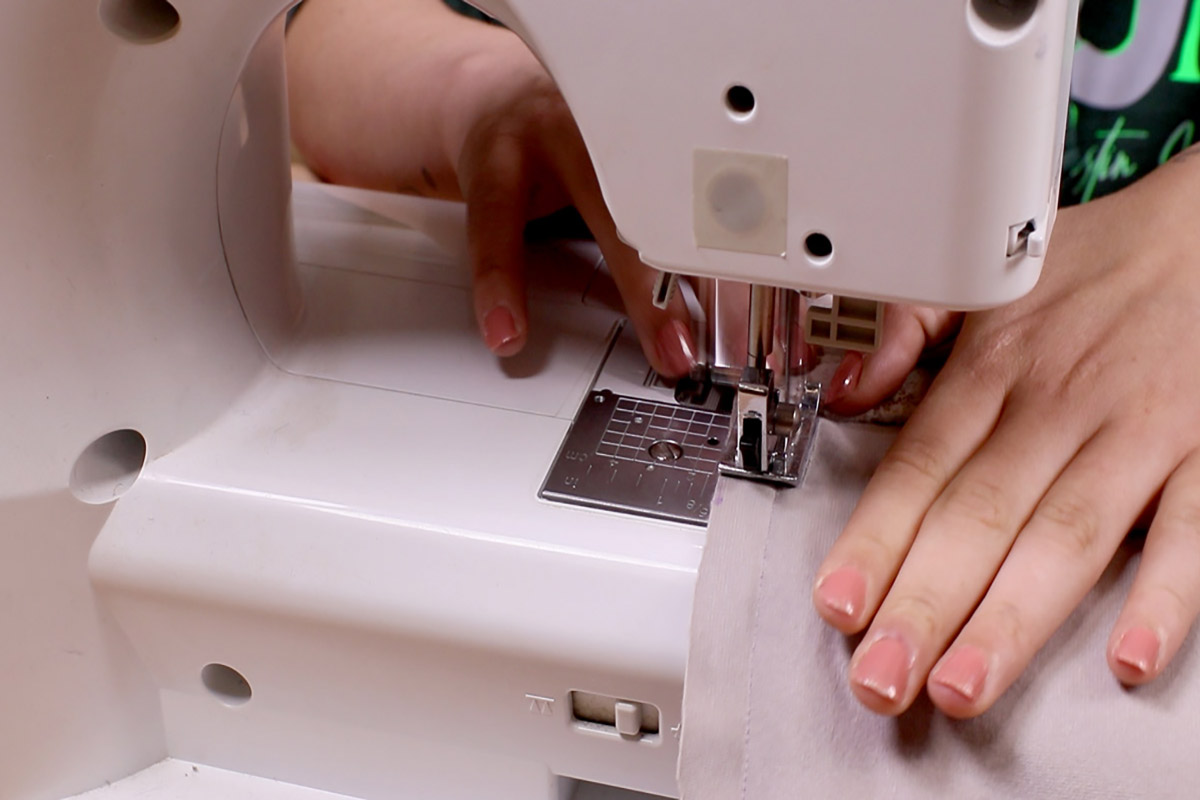
Step 3: Fold, Pin & Sew!
With the front of the fabric facing down, fold the sides of your fabric over towards each other overlapping them to make a square the width of your desired pillow cover size. You can place your pillow form into the center, or use your pillow form square you marked up in step 1 as a guide if needed. Pin both sides and sew the edges together with a sewing machine or hand needle.
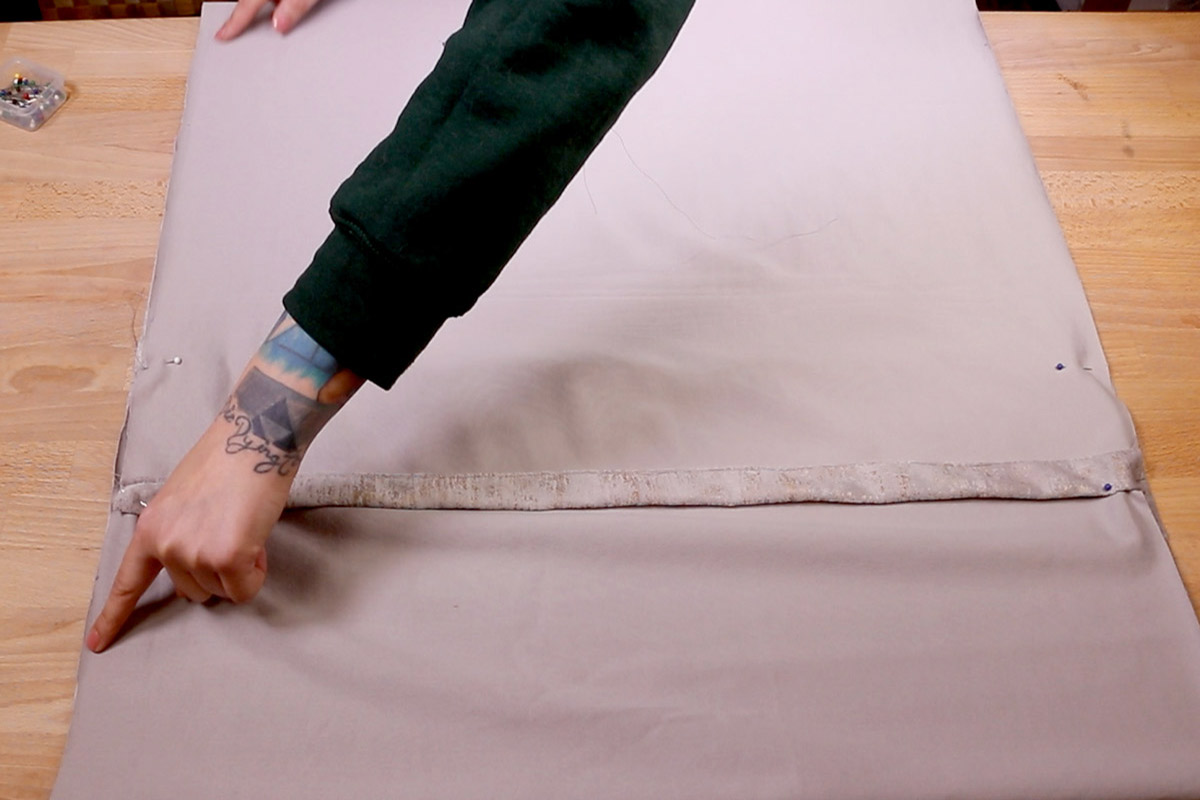
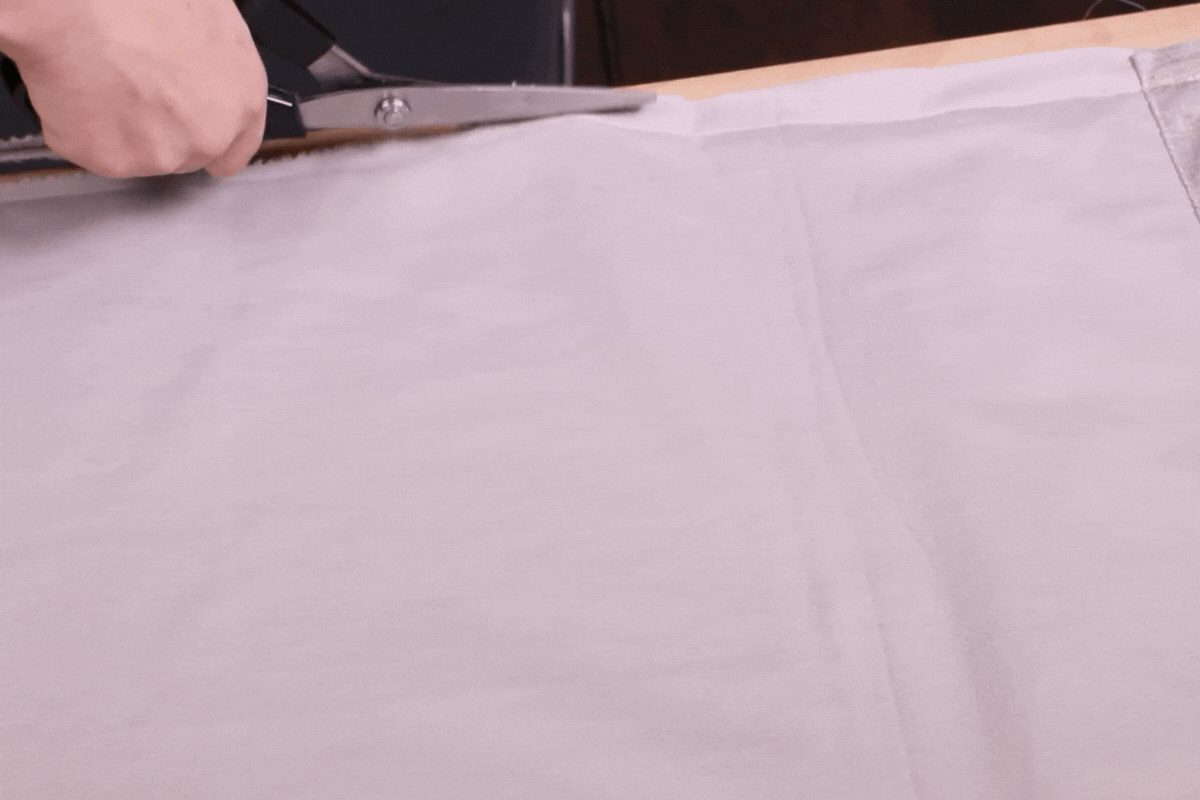
Once both sides are sewn together, use scissors or pinking shears to clean the edges up.
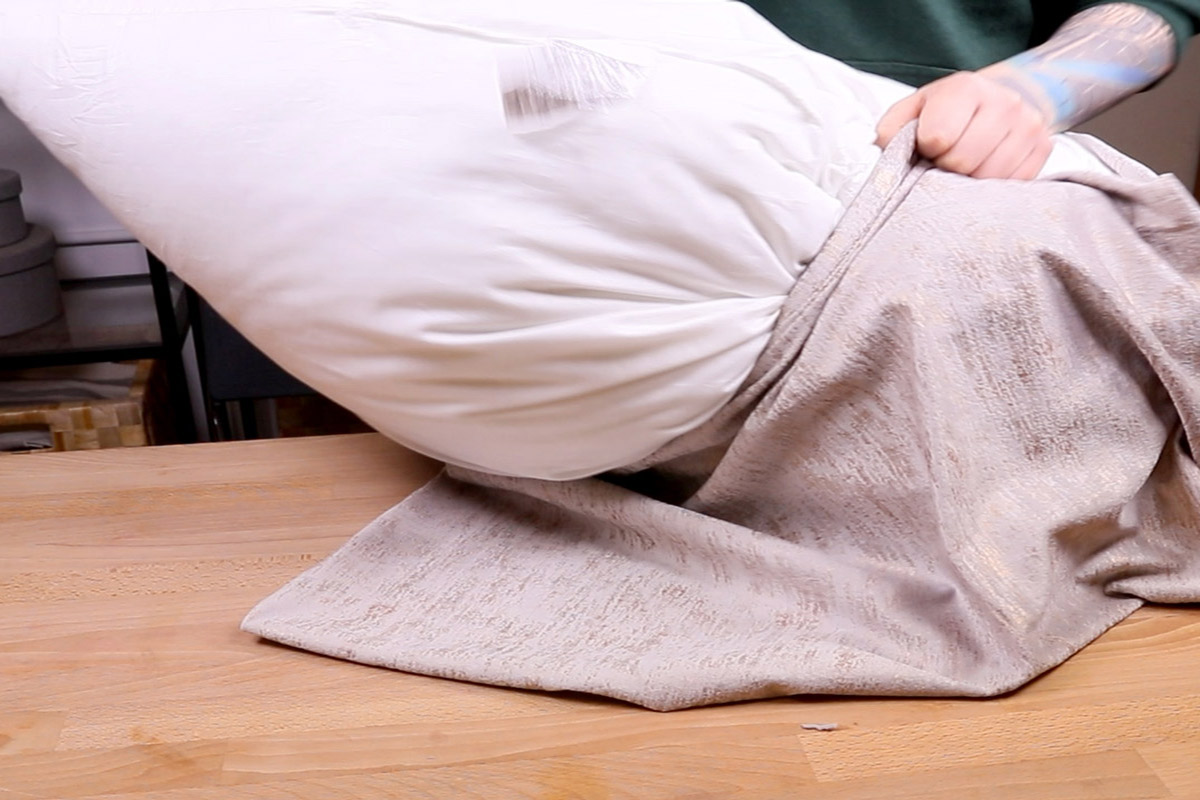
Turn the pillow cover right side out. Insert your pillow form through the opening and there you have it! Your very own homemade envelope pillow to add to your growing collection!
-
{{#each productSuggestedQueries.results}}
- {{query}} {{/each}}
-
{{#each categories.results}}
- {{html title}} {{/each}}
{{html attributes.description}}
{{/if}}-
{{#each queries.results}}
- {{query}} {{/each}}