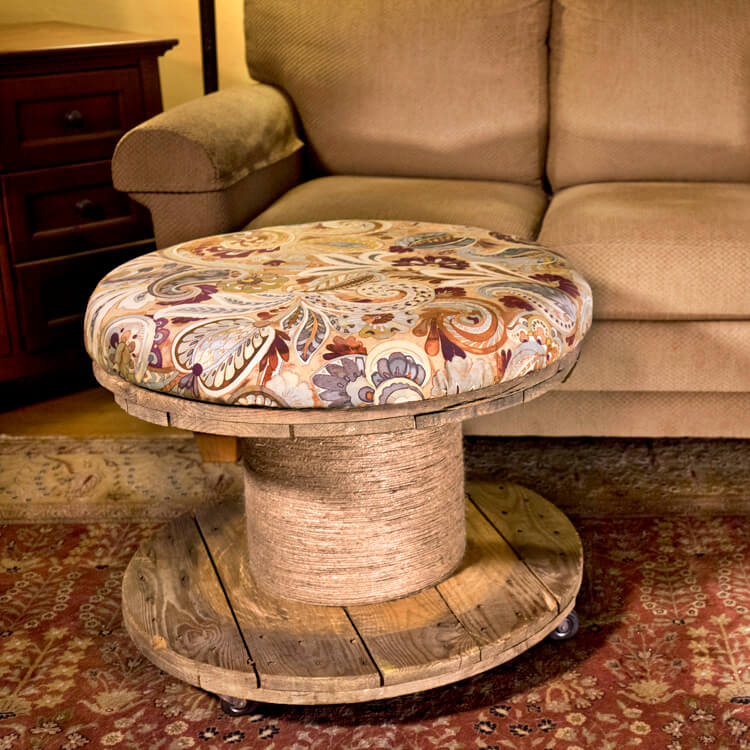
How to Make an Upholstered Spool Ottoman
- By Clara
- Intermediate
- 2 hours
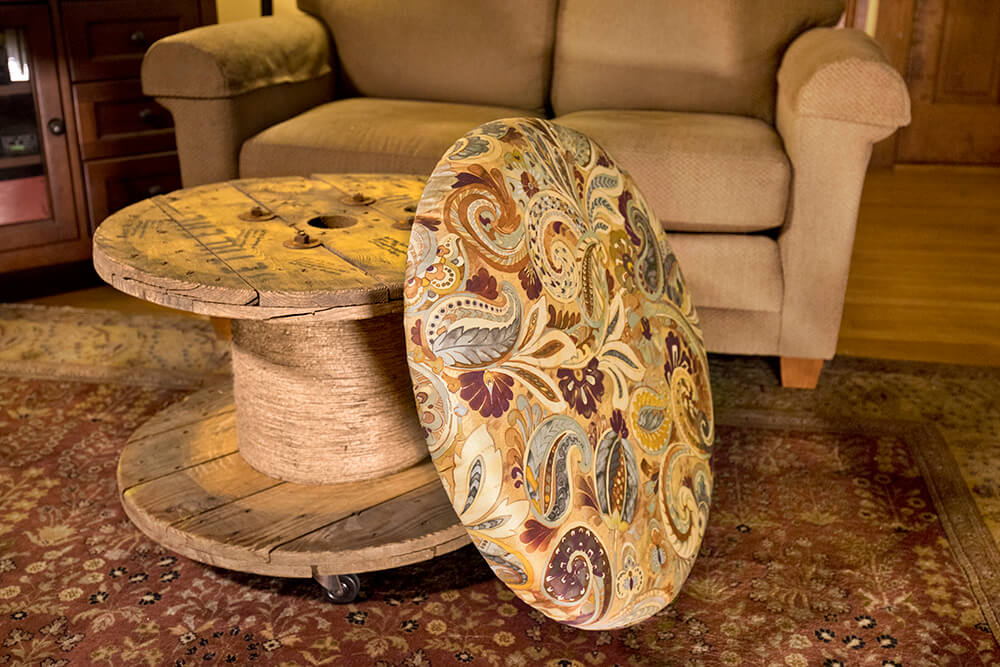
Old spools like this one are fairly common at antique shops and tag sales. I found this one at the Brimfield flea market last year. It says “Bethlehem Strand”, and probably held wire rope made at the now defunct Bethlehem Steel in Pennsylvania. I’m going to give it new life by turning it into a rustic ottoman. The top will be removable so it can double as a coffee table.
Want to get the printable PDF instructions? Sign up to our mailing list to download the PDF.
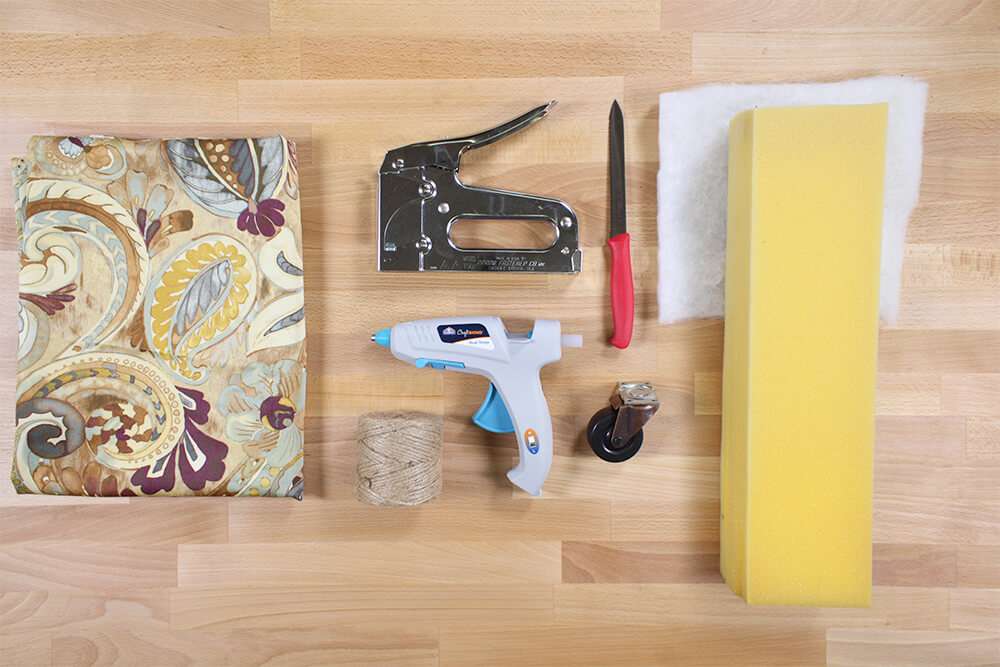
Materials
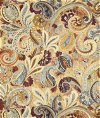
- Décor fabric
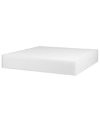
- Upholstery foam
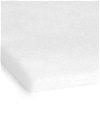
- Padding
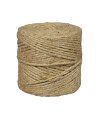
- Jute twine
- Plywood
- Hot glue gun
- Staple gun
- Serrated knife
- Castors
Related Products

Video
Instructions
Step 1: Attach foam & batting
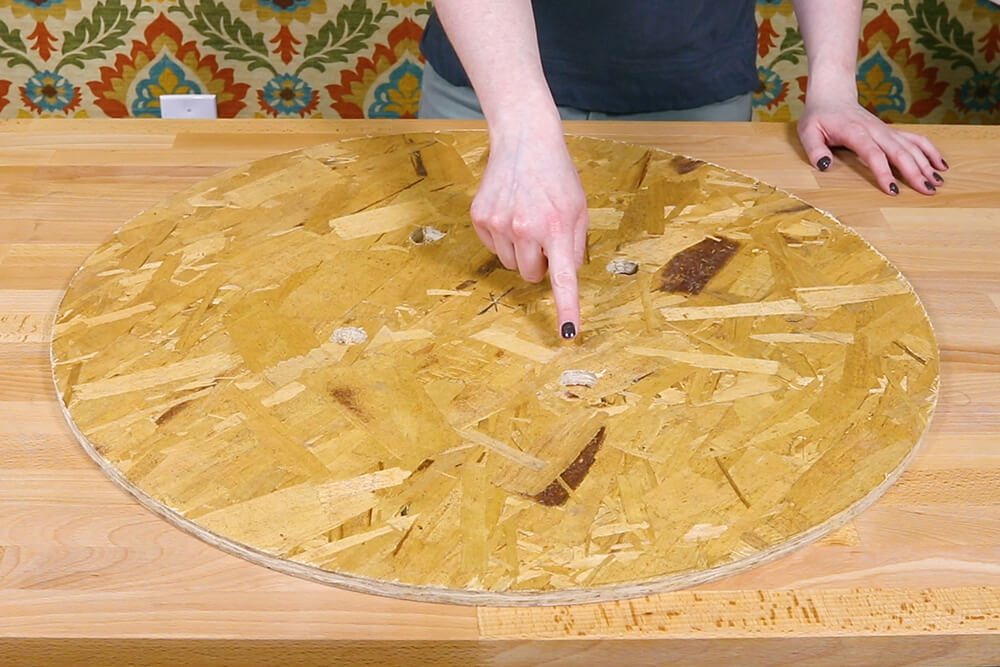
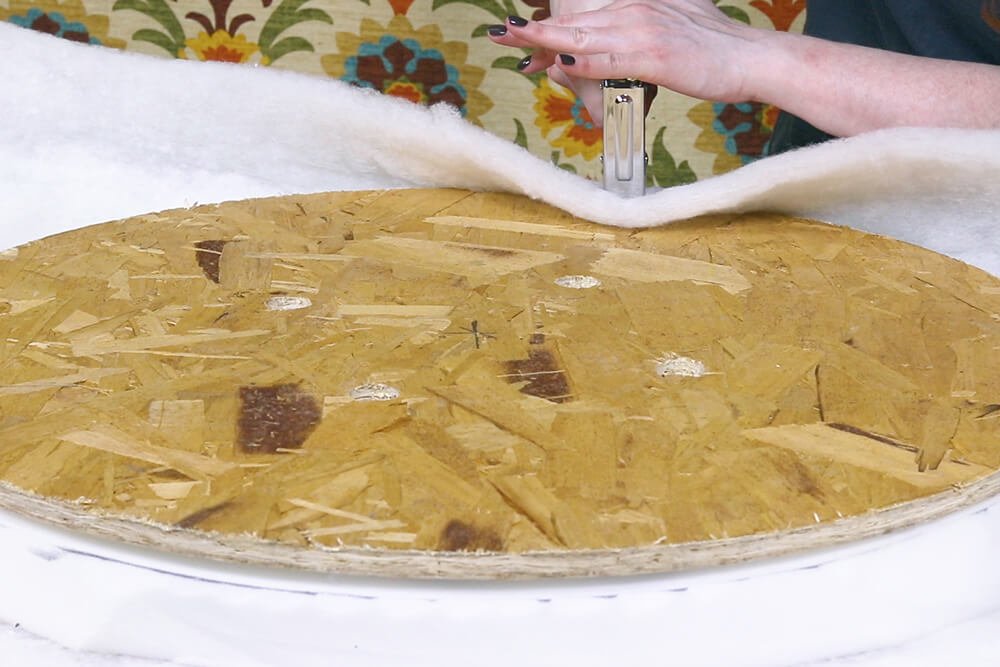
I’ve cut out a piece of plywood to fit on top of the spool, and cut out holes where the bolts are. This way the top can easily be removed so I can use it as a coffee table.
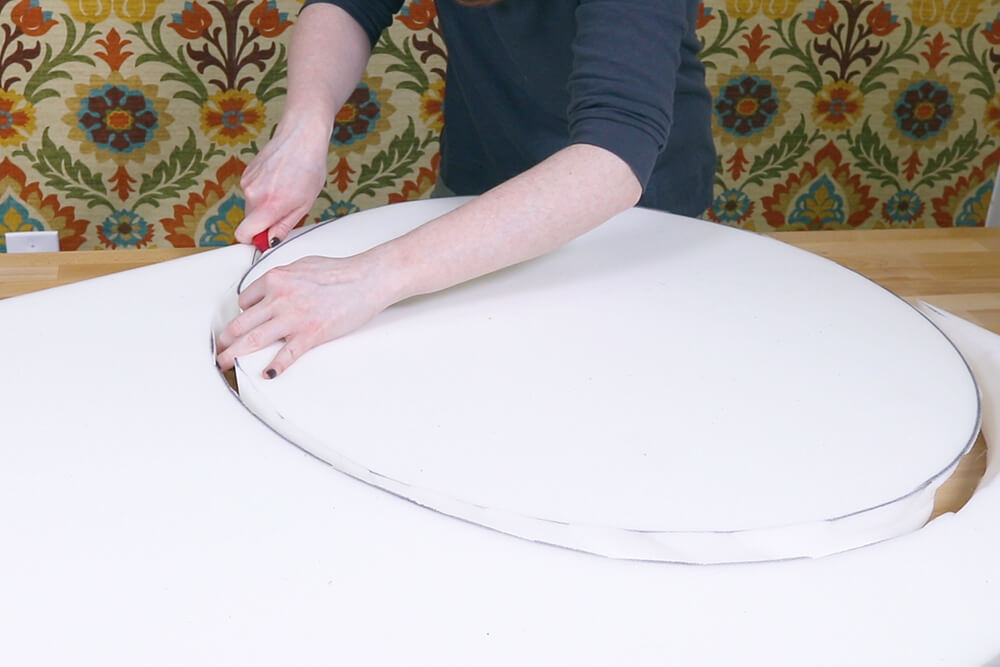
Place the plywood on the foam and trace around it.
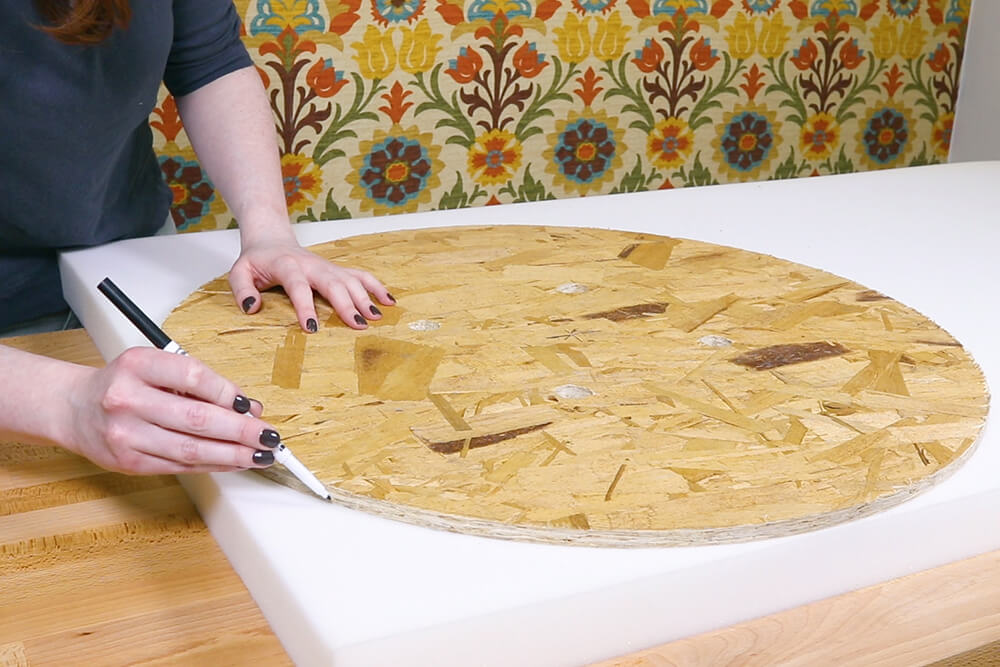
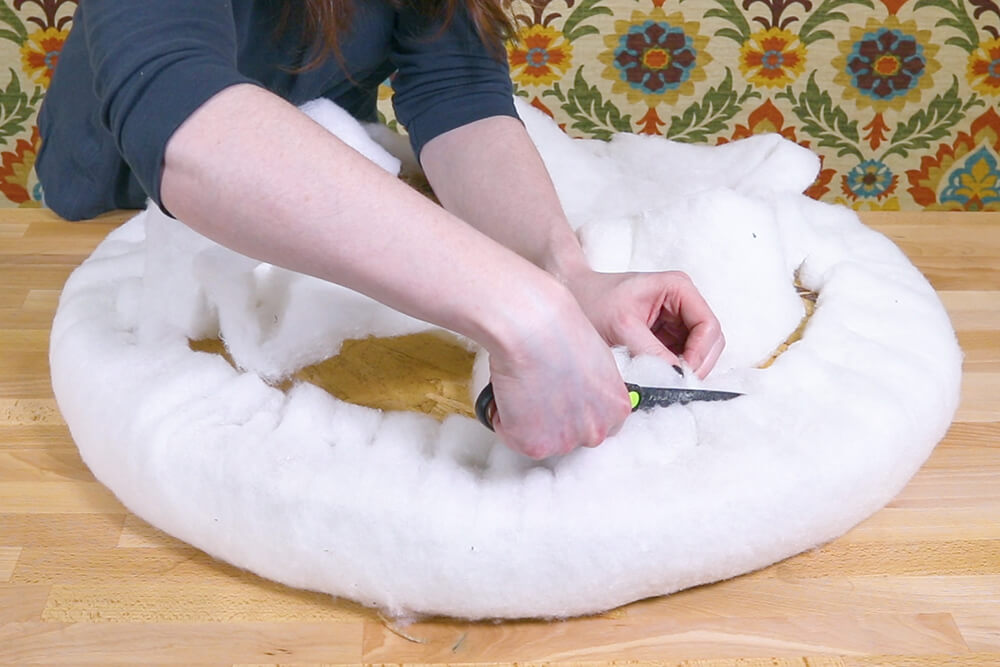
Use a serrated knife to cut the foam. It’s OK if the sides don’t look even because it will be covered with padding.
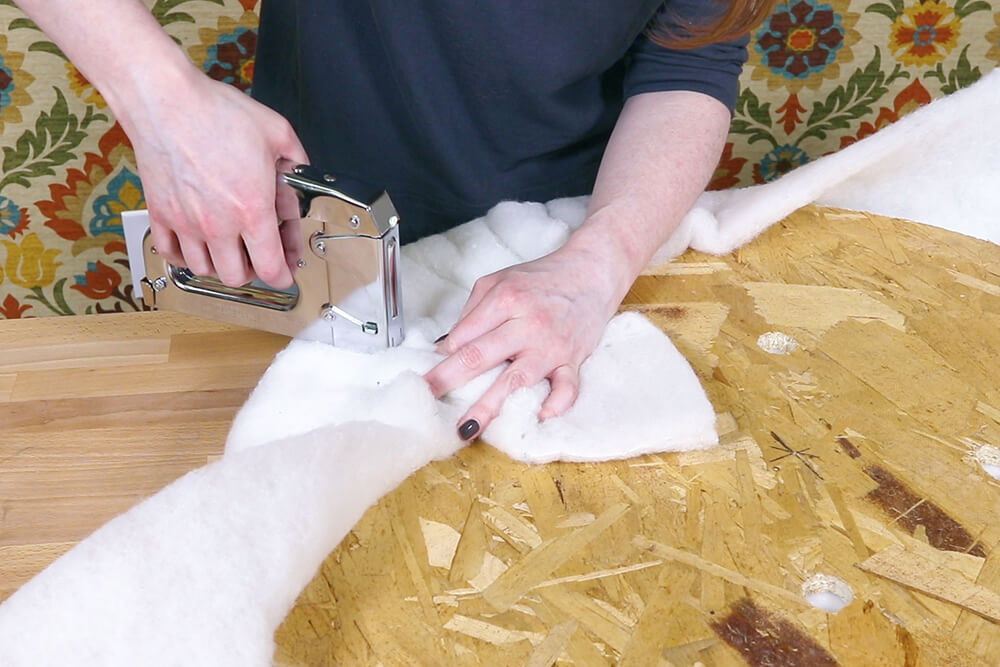
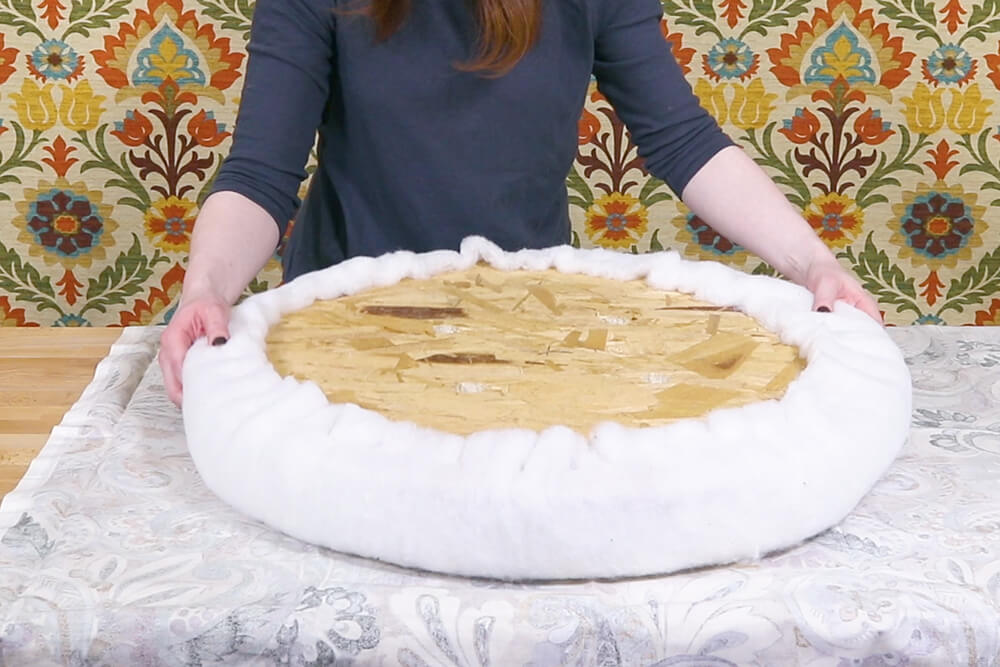
Place the foam on the padding, and the plywood on top.
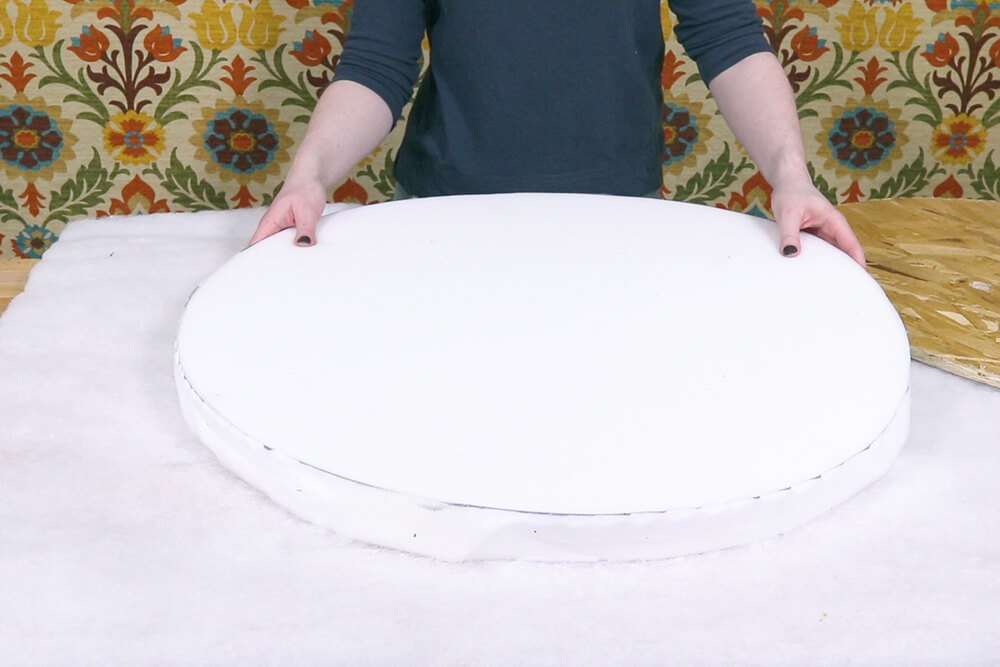
Leave enough padding so it can be wrapped around to the back of the plywood.
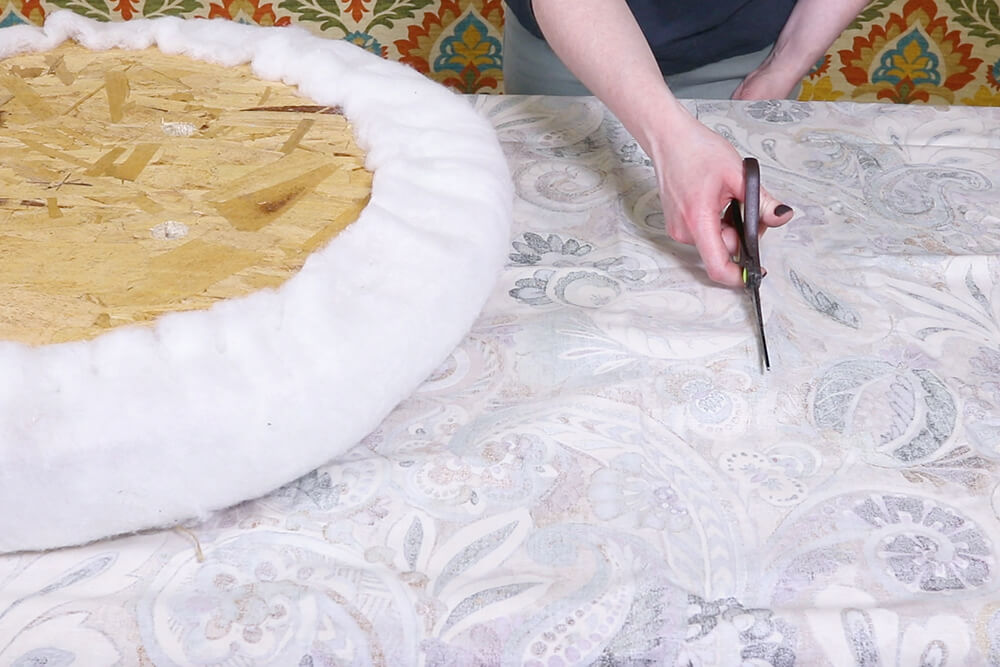
Cut off any extra.
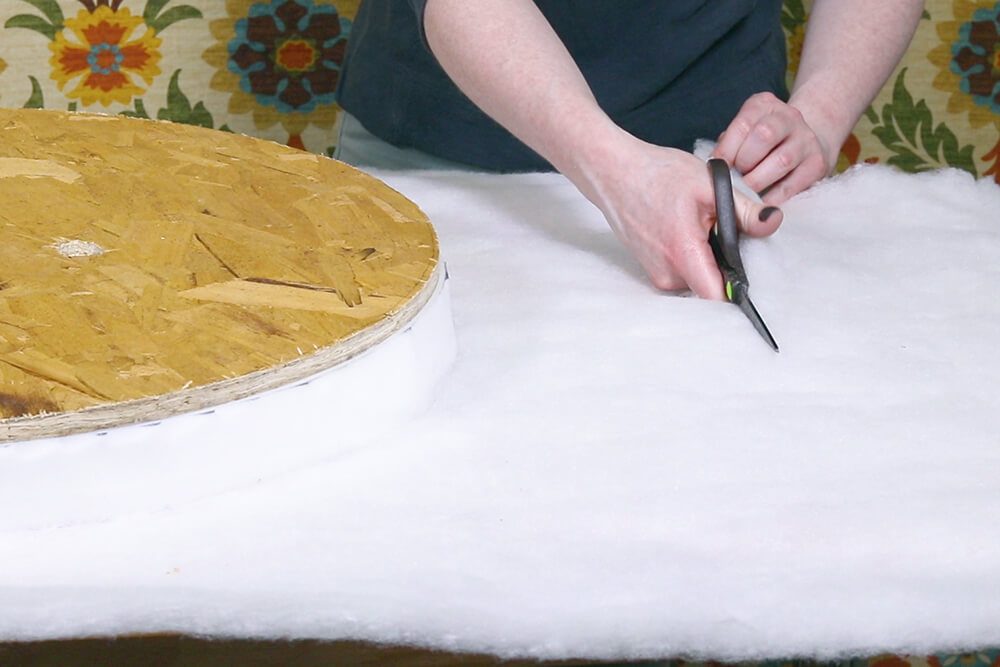
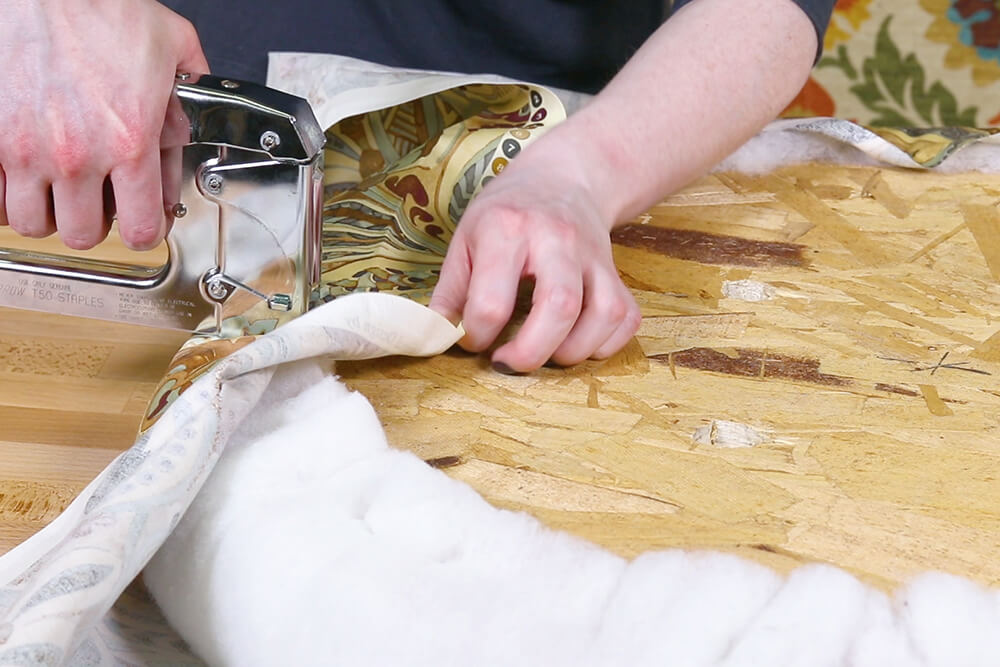
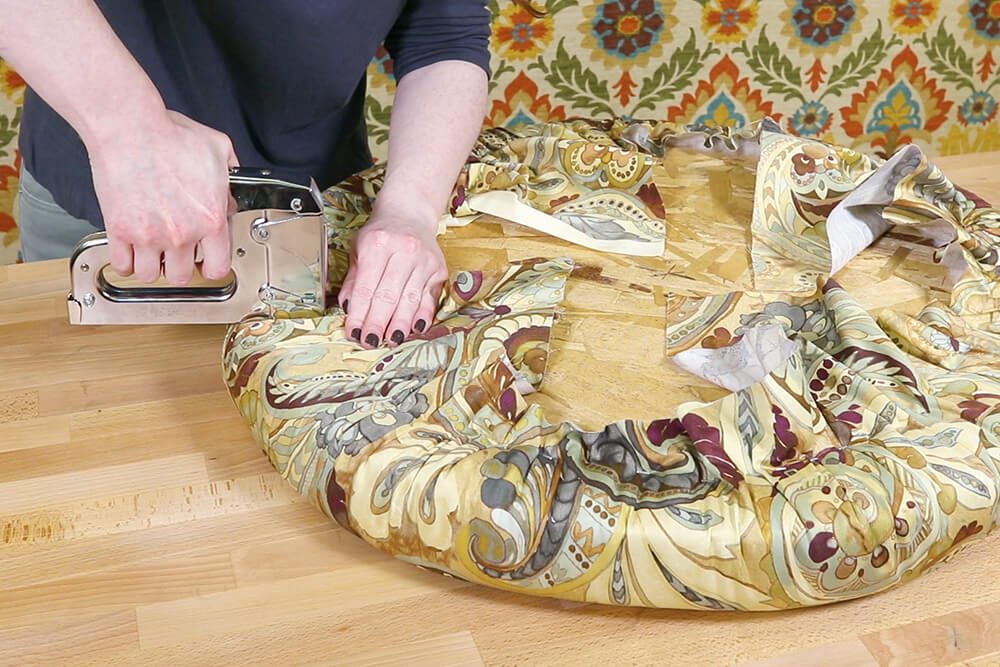
Start by stapling in four places on the edges.
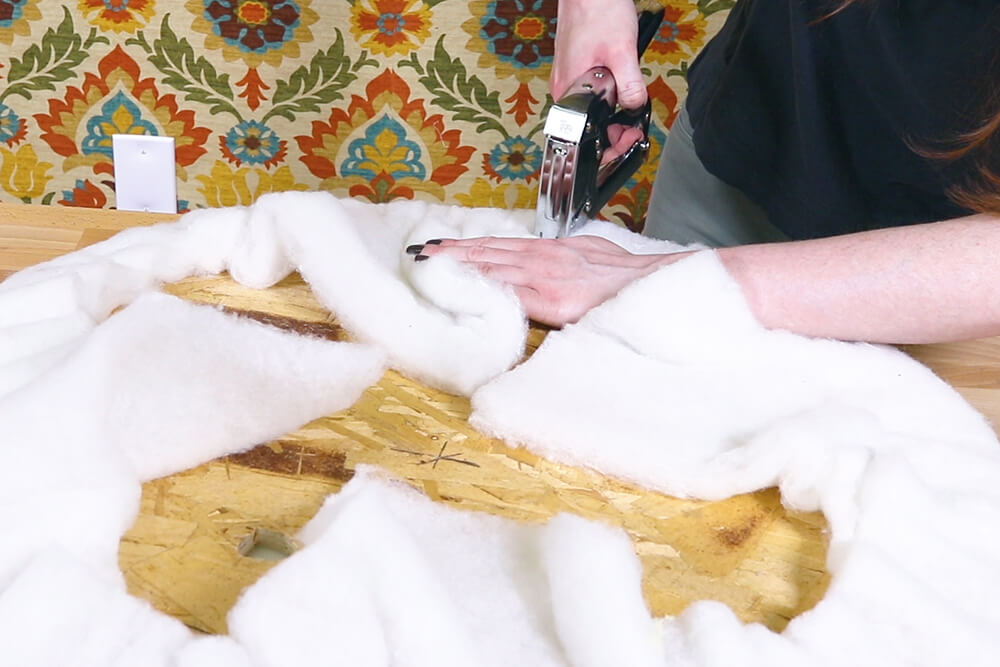
Place a staple between two of the staples, then fill in the rest.
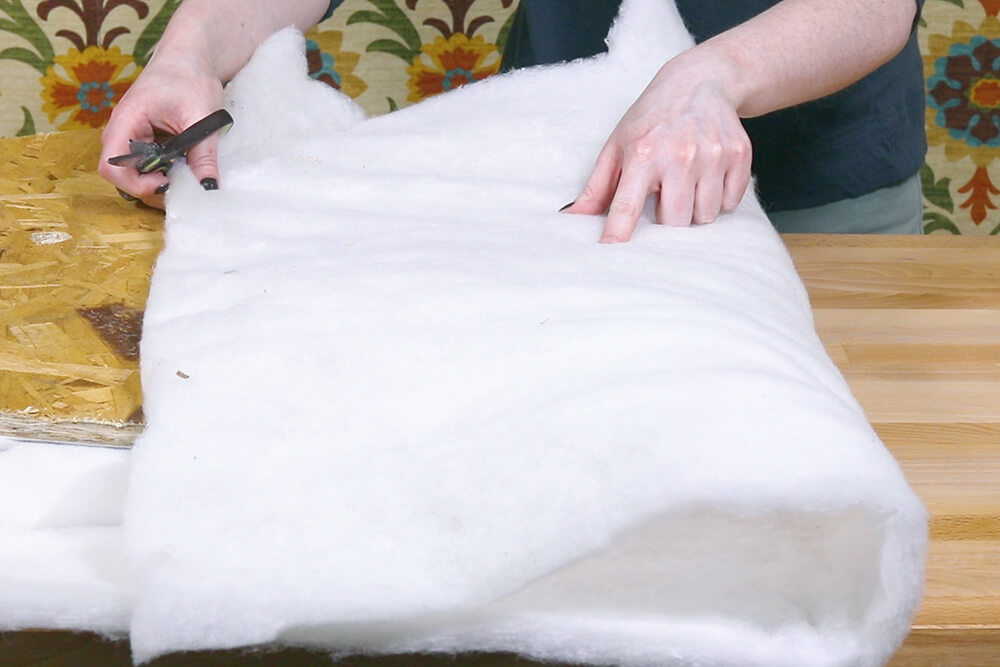
Cut off the extra padding.
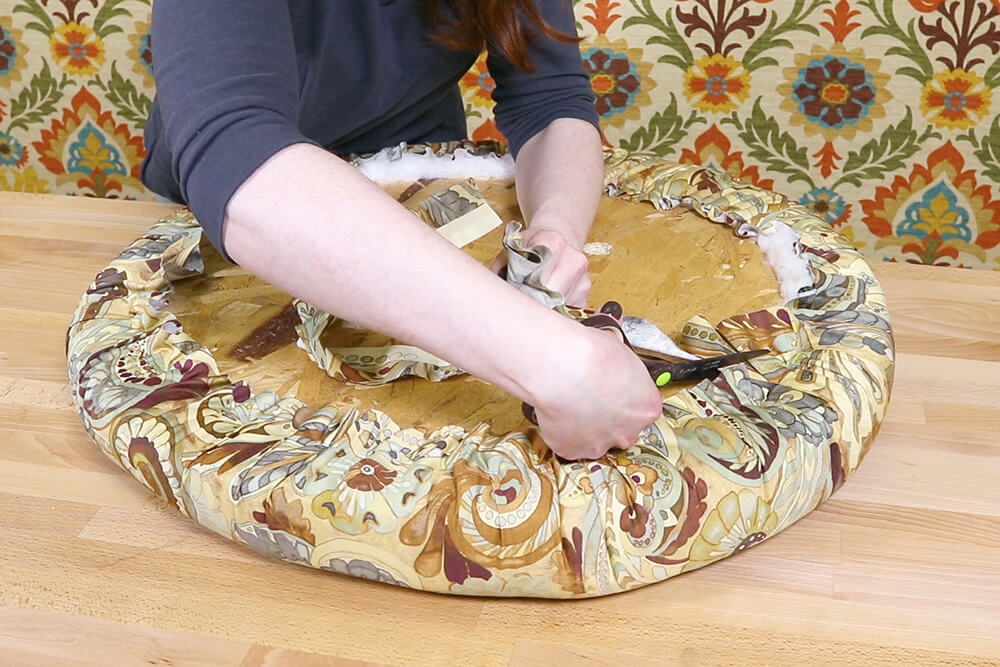
Step 2: Attach fabric
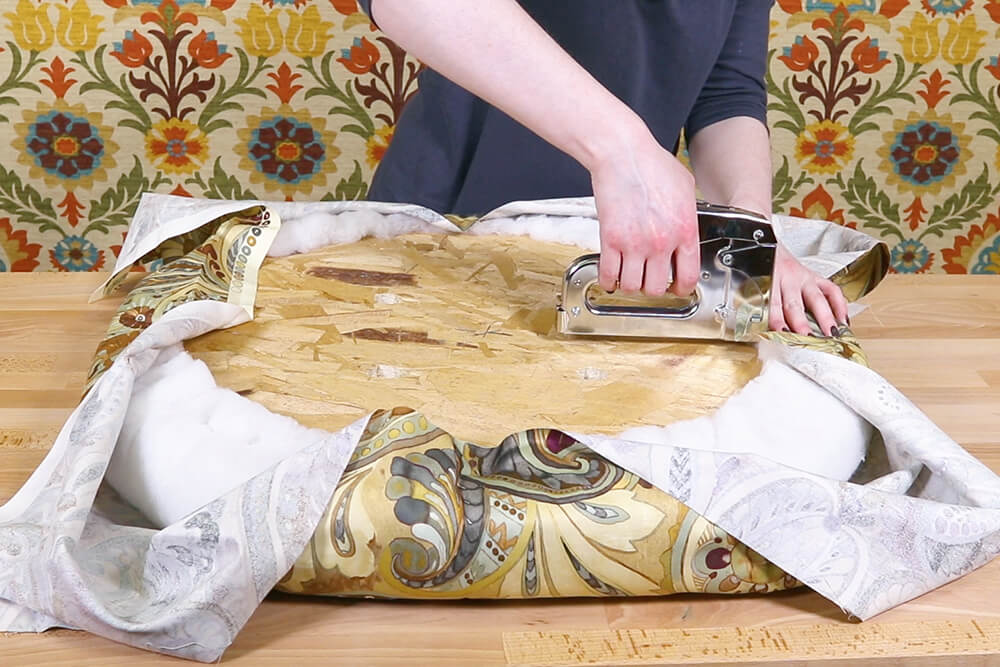
Lay the décor fabric face down, then place the plywood on top padding side down. Leave enough fabric around the edges to wrap around to the back.
Staple the fabric to the plywood the same way as the padding. Do your best to create smooth sides, though it won’t be perfect because of the curved shape.
Cut off any extra fabric.
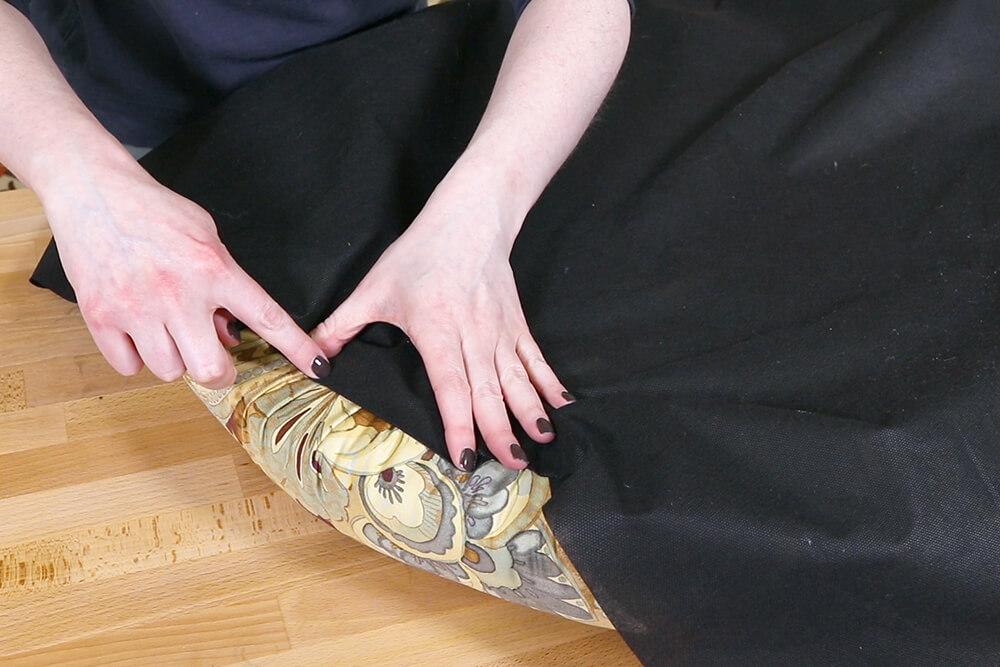
If you want to make the back look more finished, you can use dust cover fabric. Cut it into a circle, fold under the edges, and staple.
I’m not doing this because you won’t be able to see the back, so I don’t really care what it looks like.
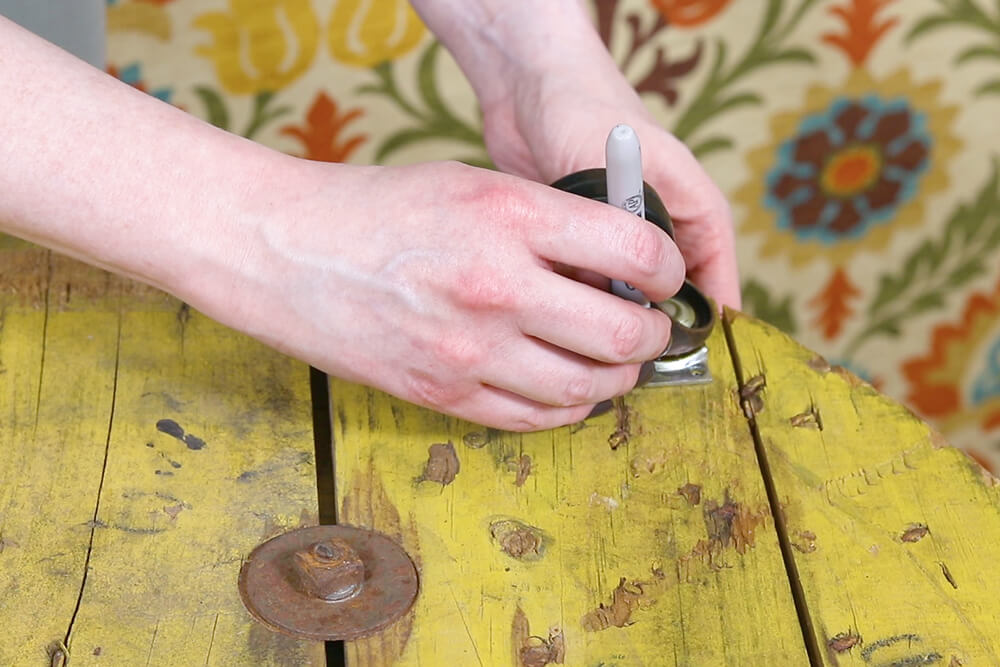
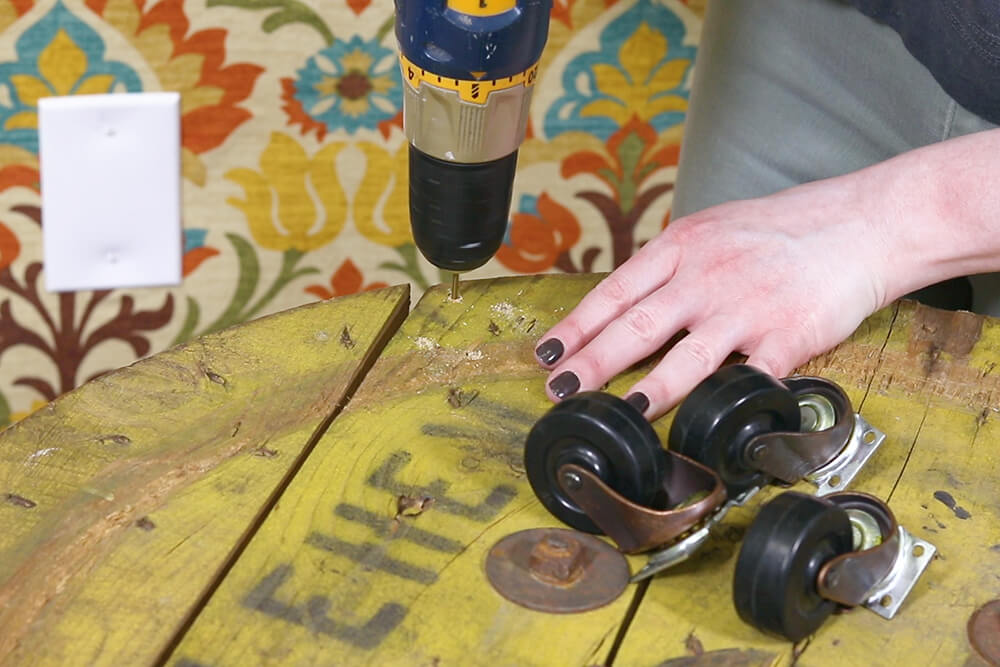
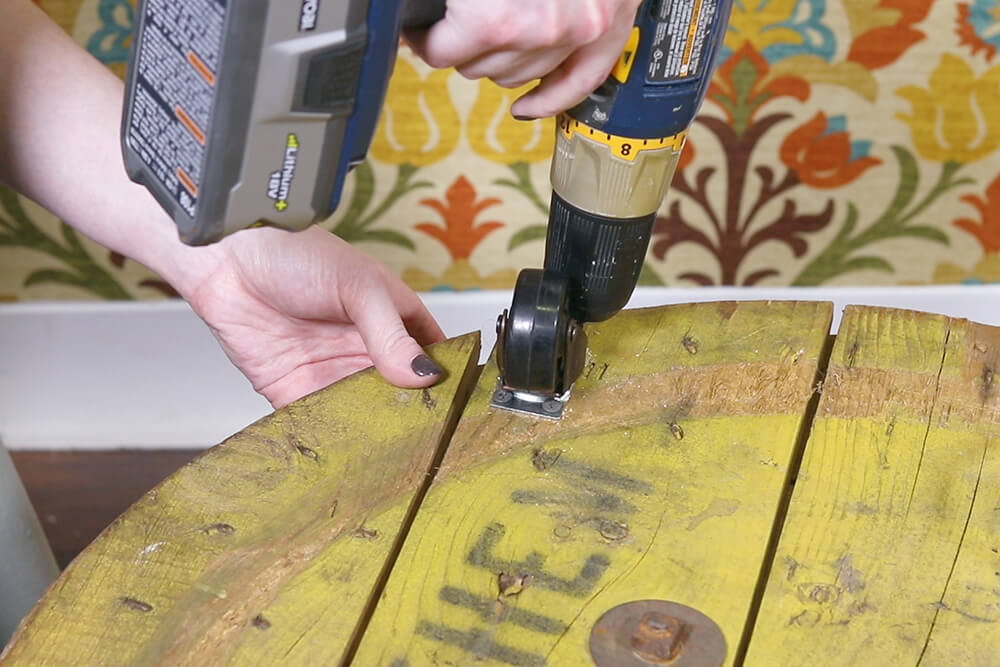
Step 3: Add wheels
I’m adding wheels to the bottom so it’ll be easy to move around.
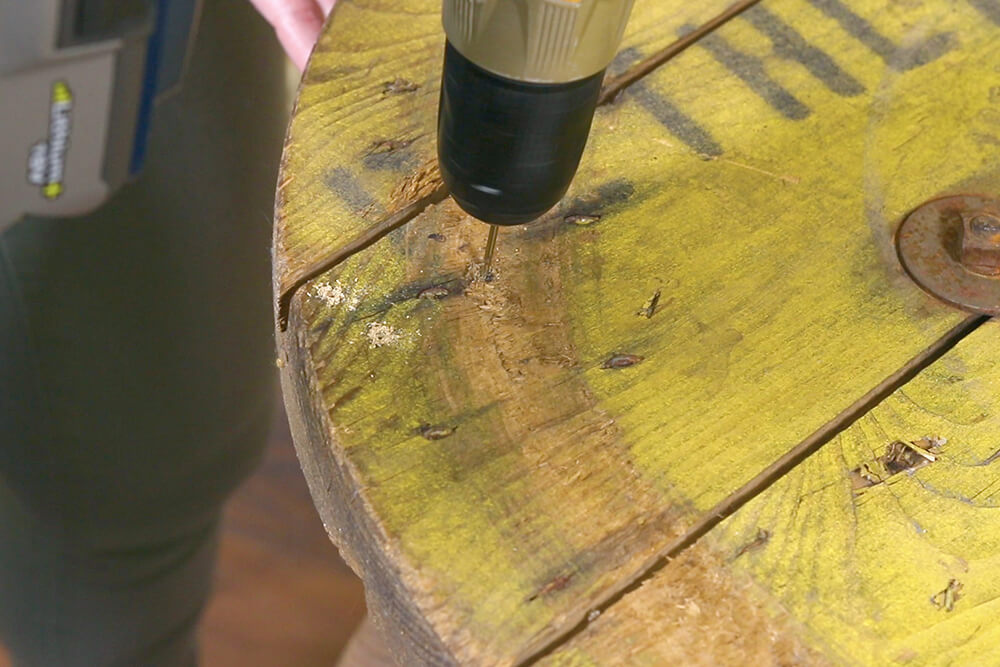
Place the castors where you want on the bottom of the spool. Mark the holes for the screws.
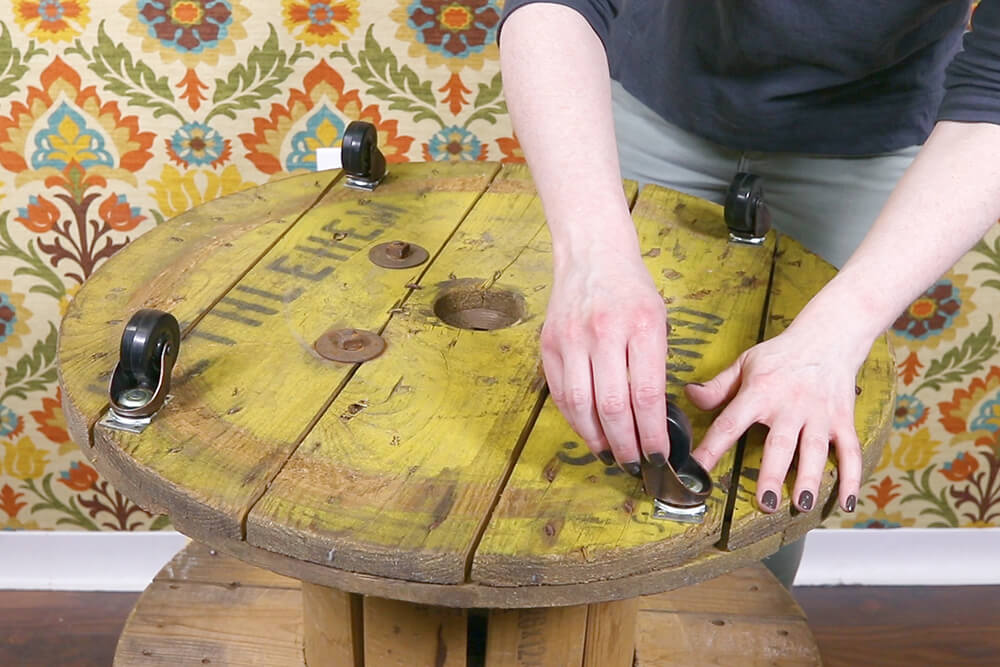
Drill pilot holes on the marks for each castor, then screw them in place.

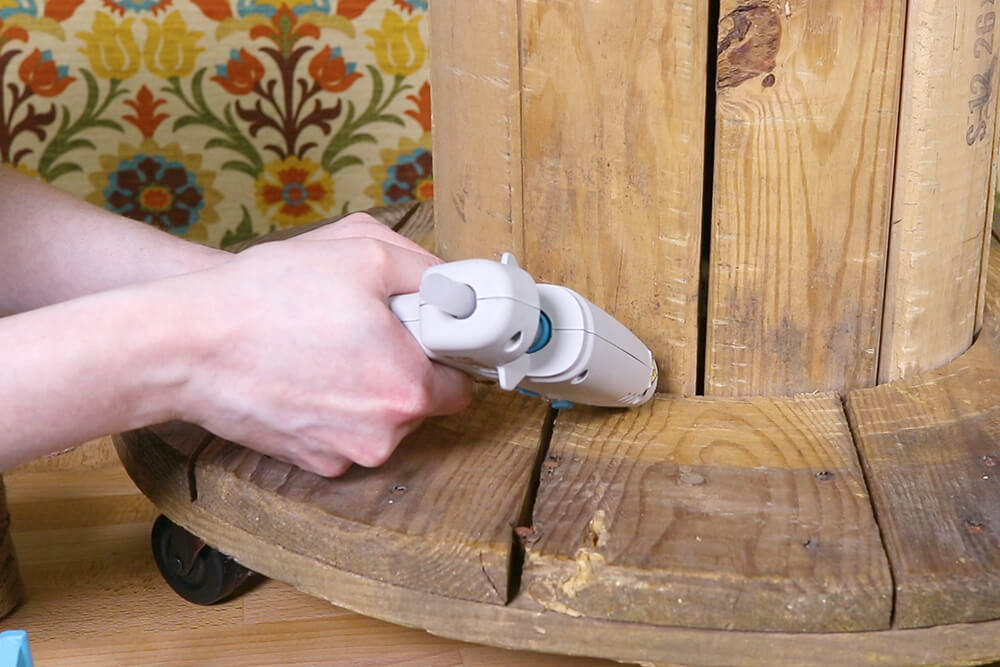
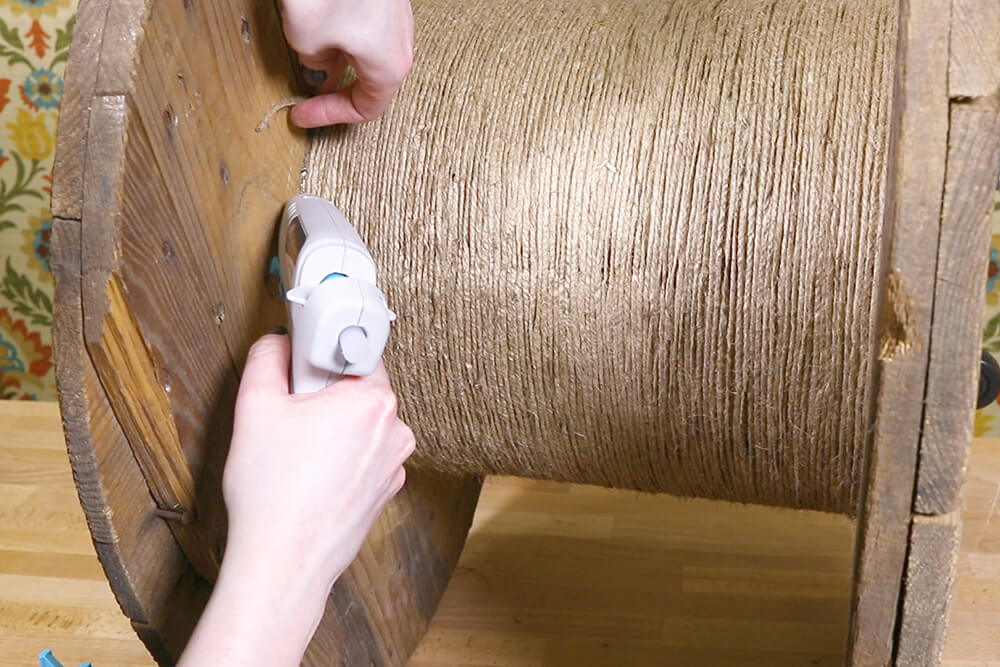
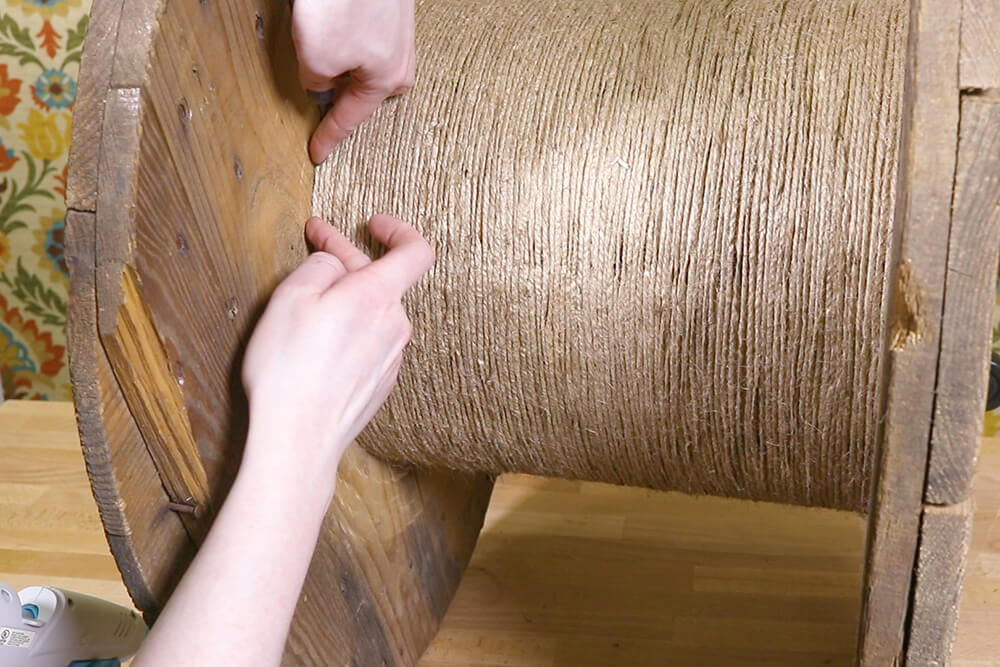
Step 4: Add twine
I’ll be wrapping the middle with twine to add another decorative element.
Use hot glue to secure the end of the twine. Glue in several places the first time the twine is wrapped around.
Continue to wind the twine around the spool (at this point you’ll be glad it’s on wheels!). Wrap the twine until the spool is full.
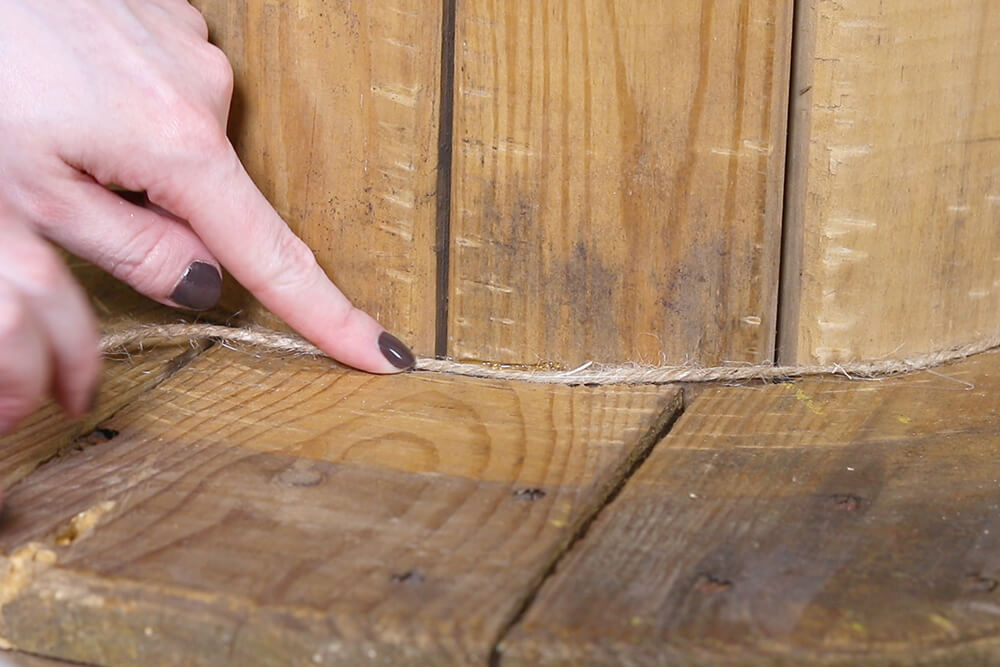
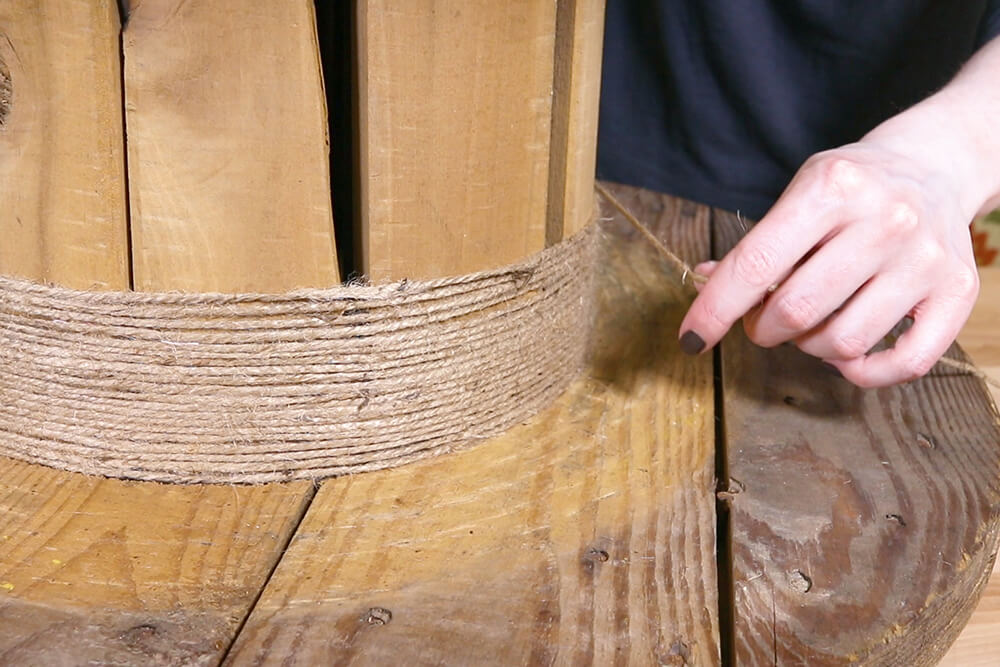
When it is finally full, hot glue the end.
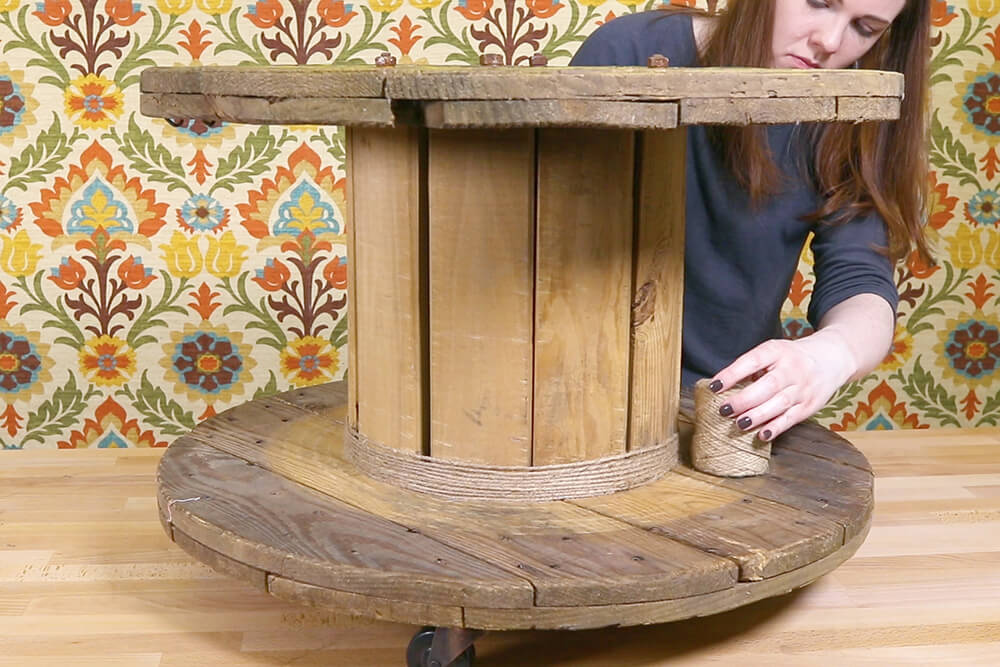
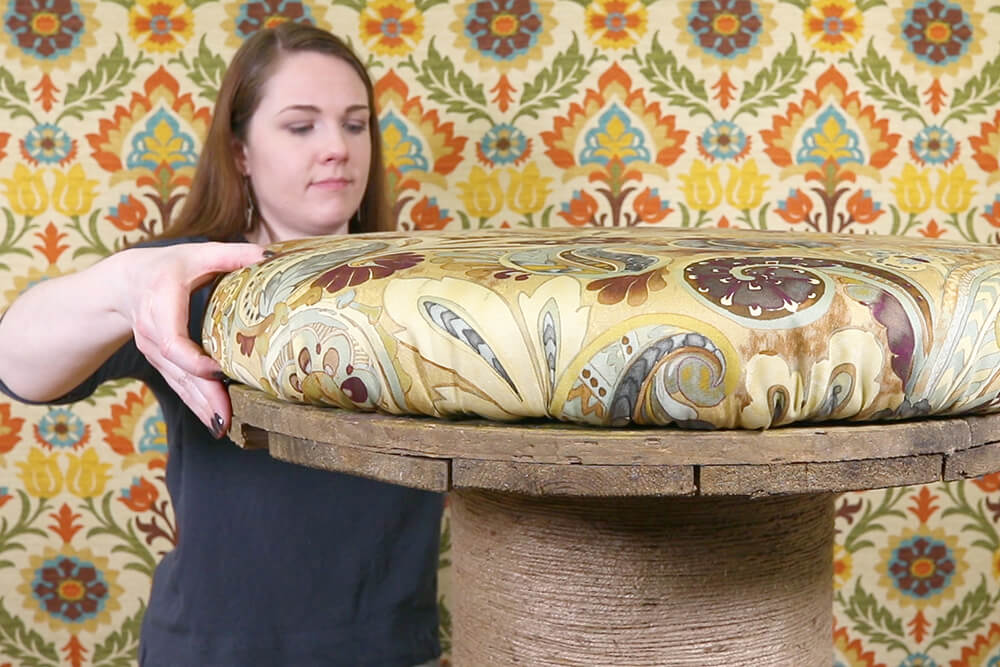
Place the upholstered top on the spool so the holes snap over the bolts.
The spool ottoman/coffee table is finished!
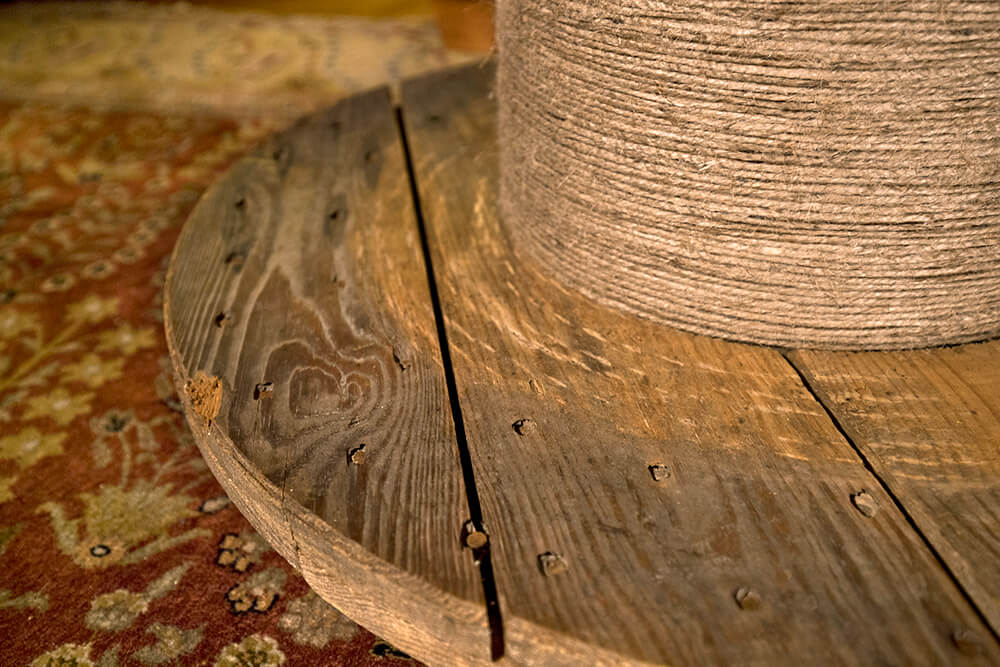
I left this spool unfinished, but you can certainly add a clear finish before adding twine if you want.

Click here to see more of our tutorials.
-
{{#each productSuggestedQueries.results}}
- {{query}} {{/each}}
-
{{#each categories.results}}
- {{html title}} {{/each}}
{{html attributes.description}}
{{/if}}-
{{#each queries.results}}
- {{query}} {{/each}}