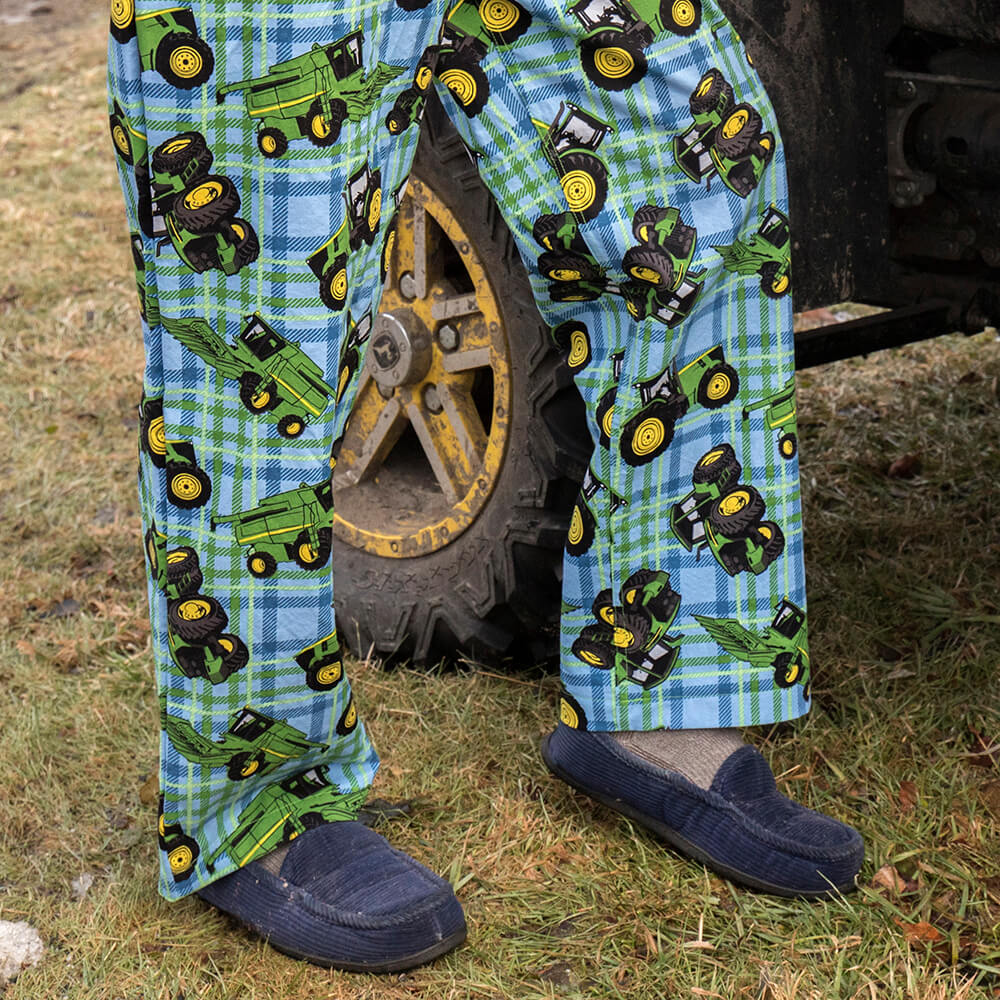
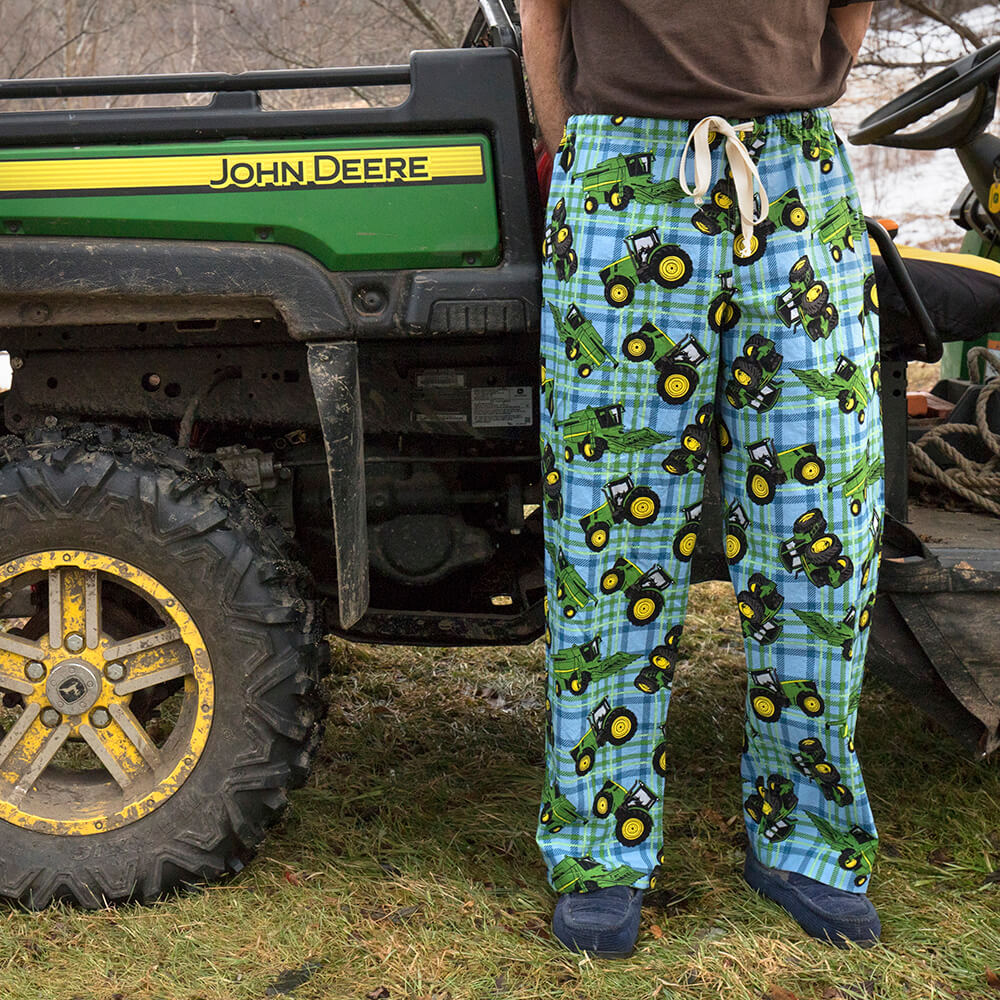
How to Make Drawstring Pajama Pants
- By Clara
- 1 hour 30 minutes
I say pah-jah-mus, you might say pah-jam-us, jah-mies, jam-ies, jim-jams… however you say it, learn how to make it! I’m making pajama pants out of a fun cotton print using an existing pair as a pattern, and I’ll be adding an optional drawstring. These pajama pants make great gifts, especially for that holiday family photo with the matching pairs.

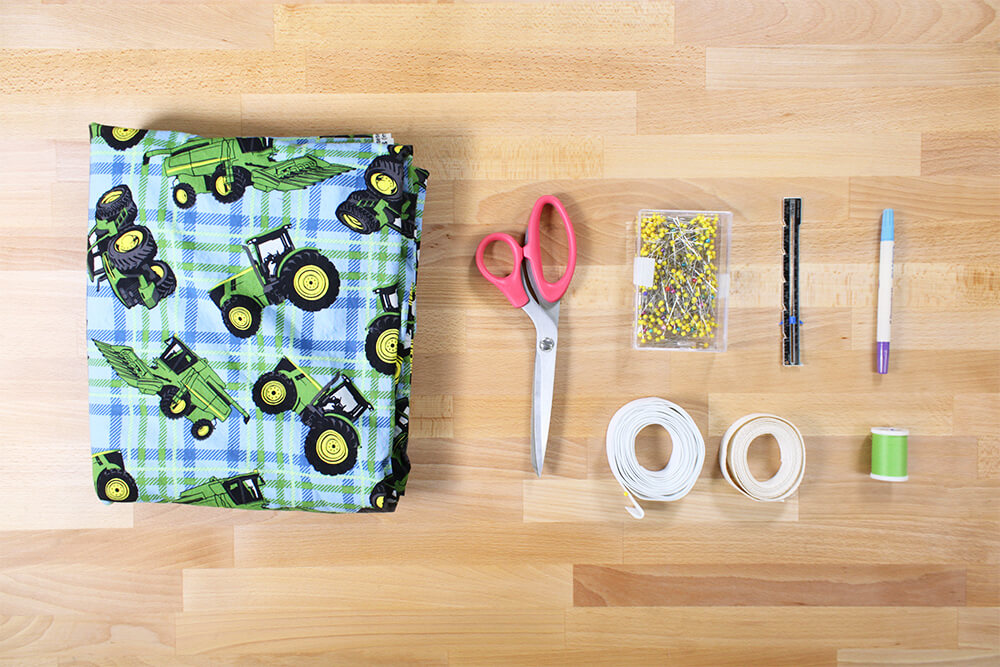
Materials
- Cotton or flannel fabric
- 3/4" elastic
- Scissors
- Fabric marker
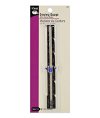
- Pins
- Thread
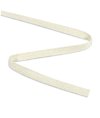
- Ribbon for drawstring (optional)
- Sewing gauge (optional)
- Iron
- Pair of pajamas for template
Related Products


Video
Instructions
Step 1: Cut out the fabric
Amount of fabric needed:
3 yards of 44″ wide fabric will work with most sizes. If your pajamas are more than 20″ at the widest point when folded in half, you may have to cut only one layer of fabric at a time for each half leg. In this case, you need the length of the pajamas + 3″ (for top and bottom hems), then multiply by 4. Divide this number by 36 to find out the number of yards.
With wider fabric or narrower sizes you may be able to do it with as few as 2 yards of fabric.
Always pre-wash your fabric so it doesn’t shrink after you make it.
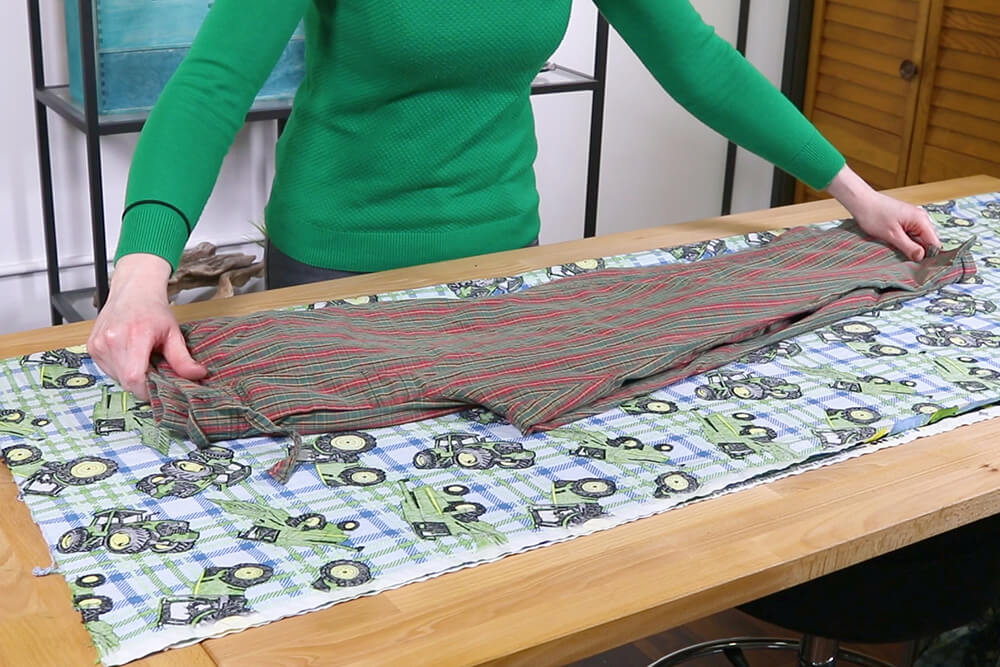
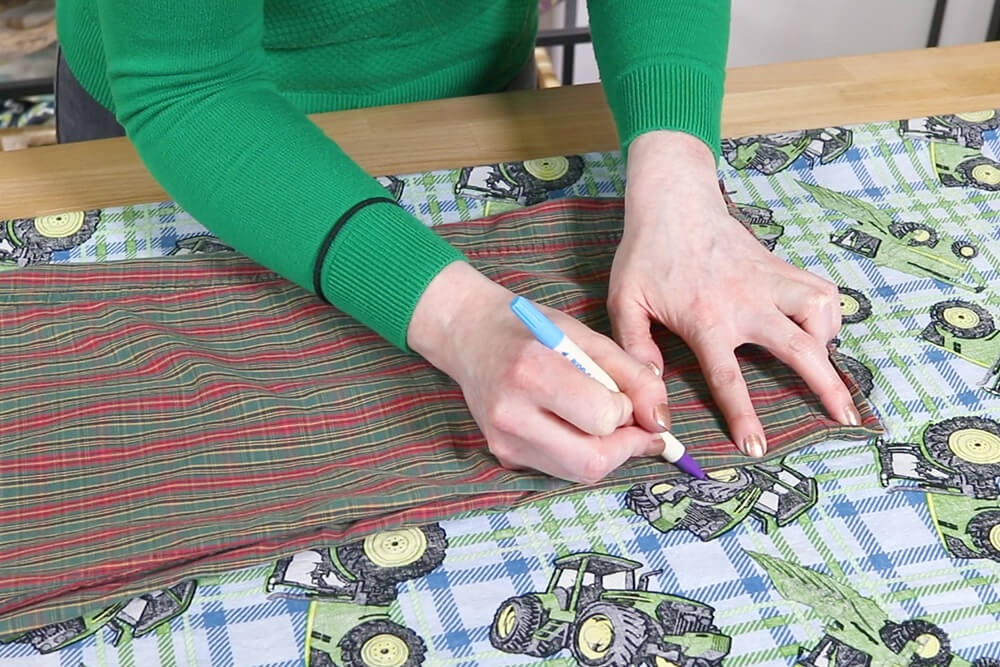
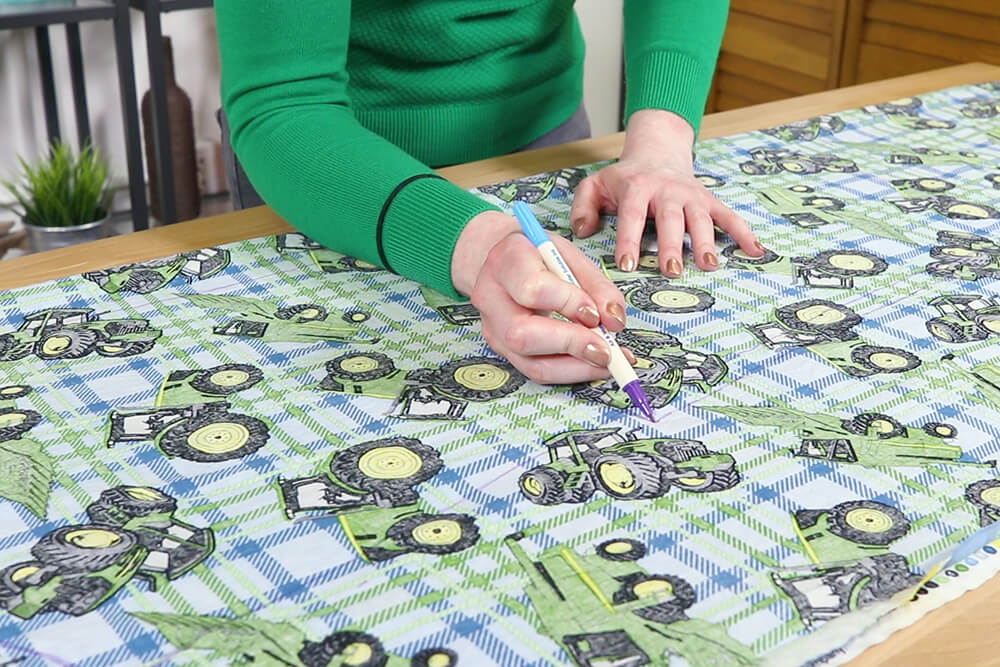
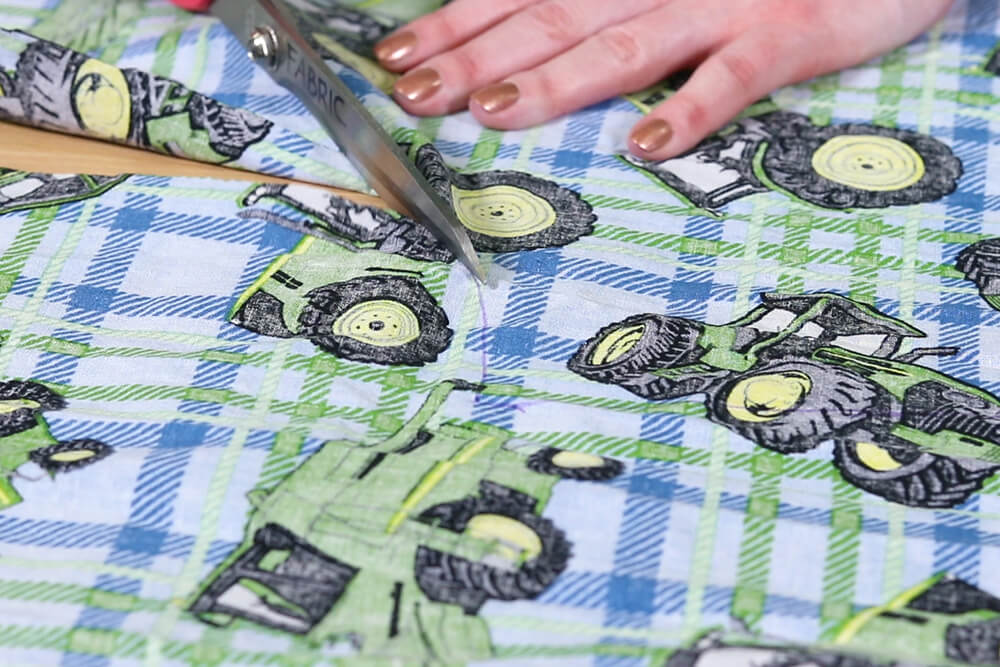
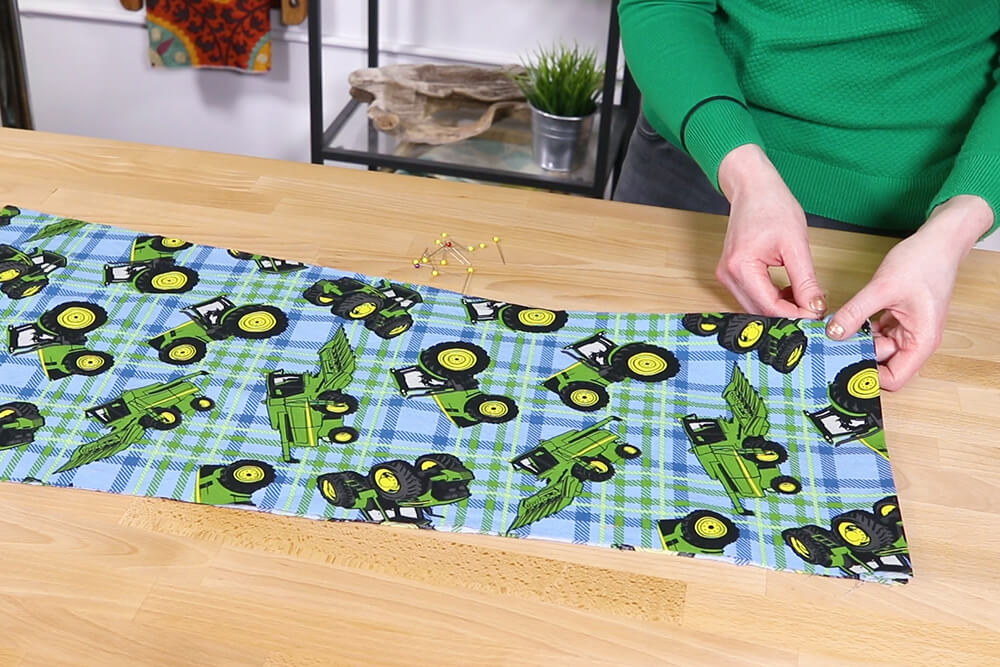
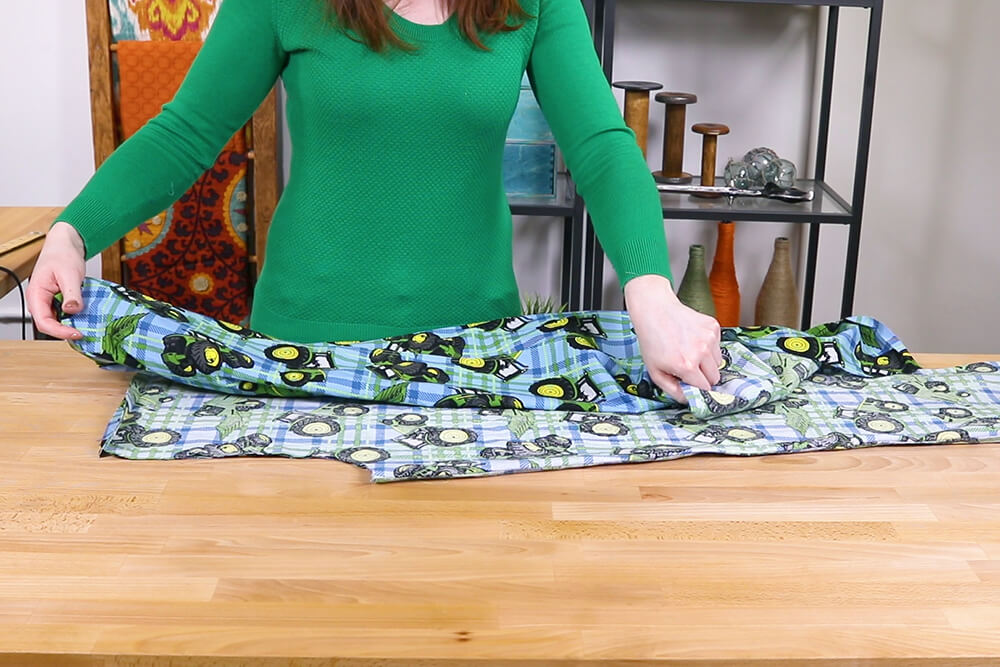
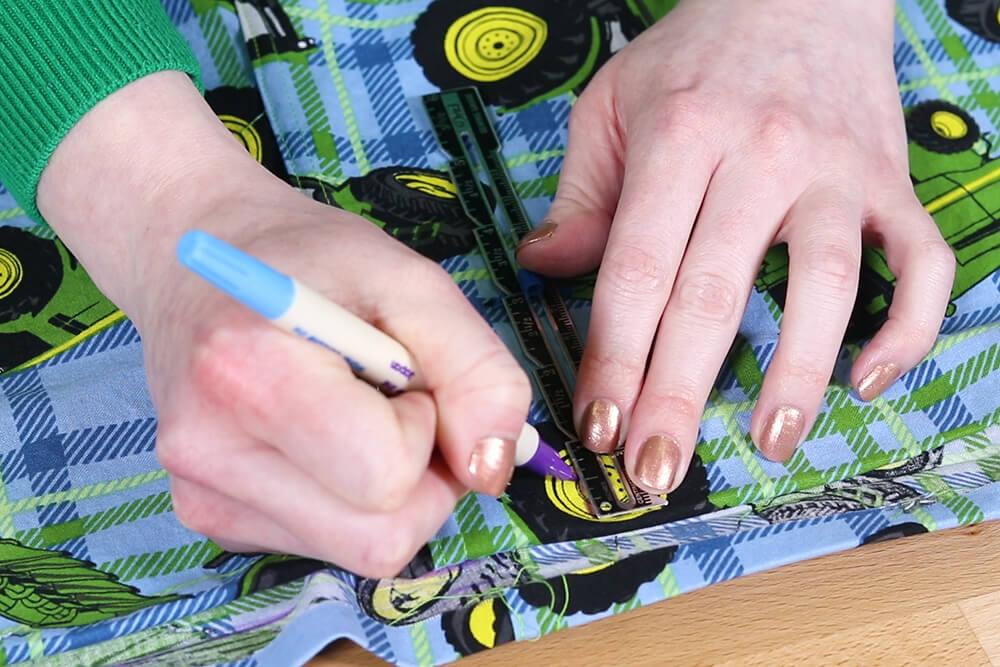
Fold the fabric lengthwise. Fold the pajama pants in half lengthwise and place it on the fabric.
Trace around the pajamas. At the waistband, stretch out the elastic before marking.
Note: I’m making these for an adult, but if you want to make them for a child, be aware that many fabrics are not considered appropriate for children’s sleepwear. There’s a law that requires the fabric to be treated with a flame retardant chemical if the garment is not close fitting.

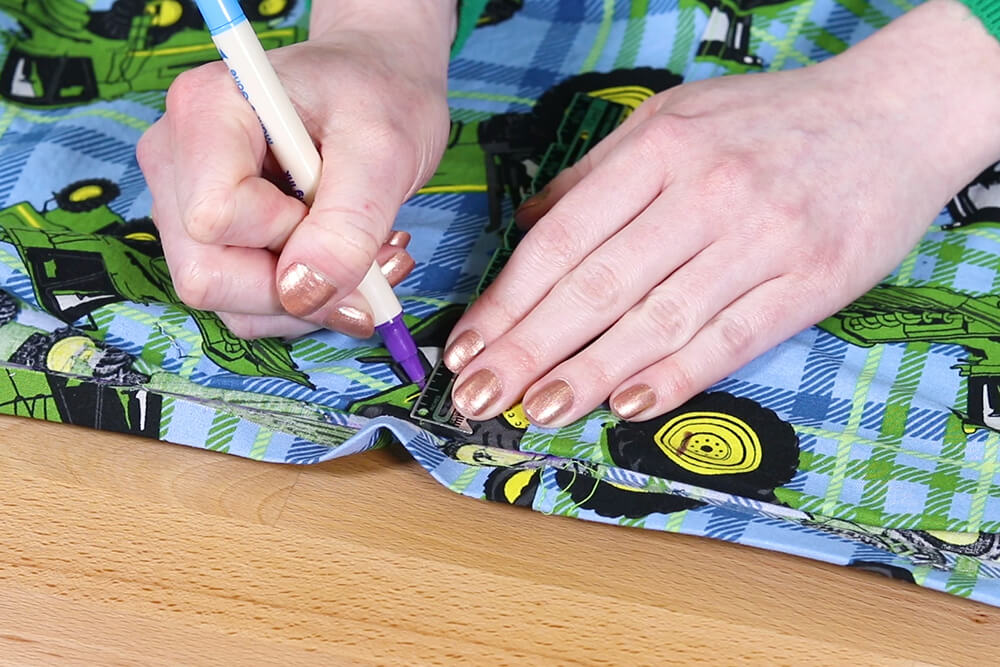
Add 1 and 1/2″ to the top and bottom for the waistline and hems.

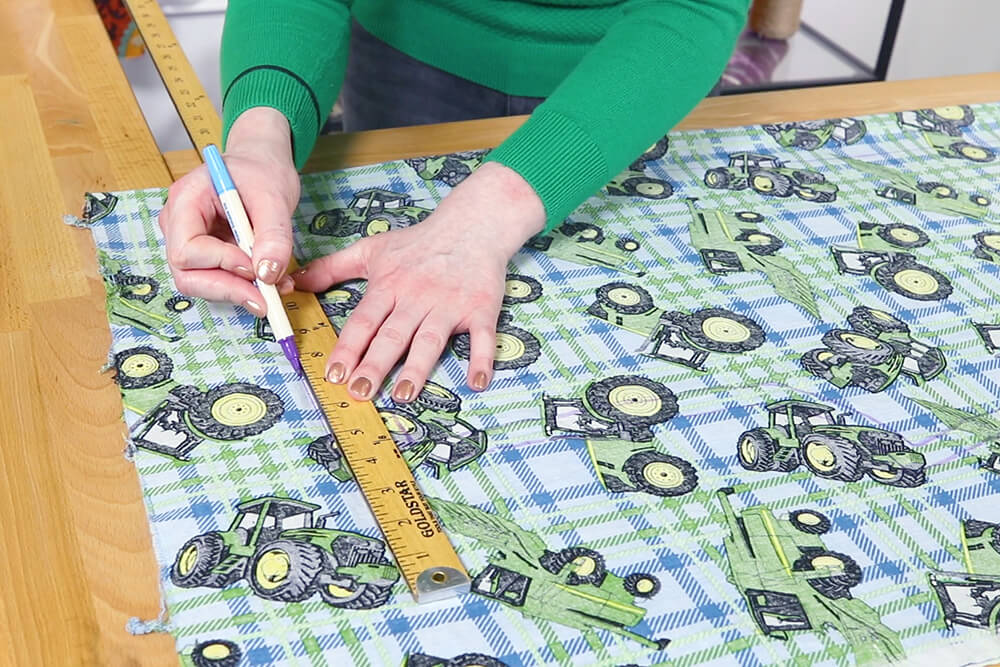
Add 5/8ths of an inch to the sides.
I’m going to be doing flat felled and french seams, but if you want to finish the edge in a different way you can add 1/2″ to the sides instead.
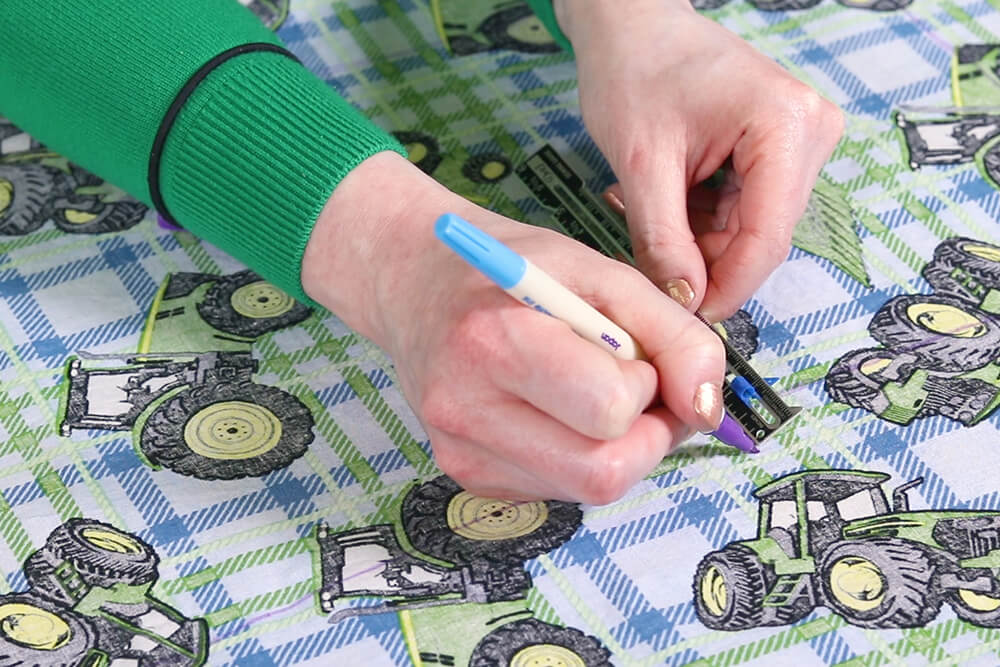
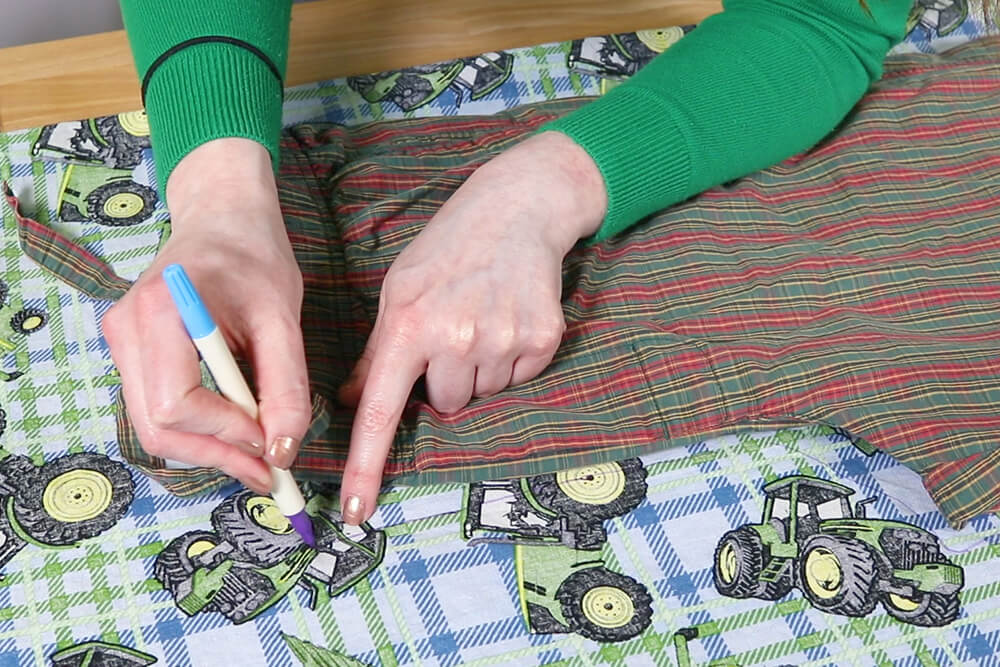
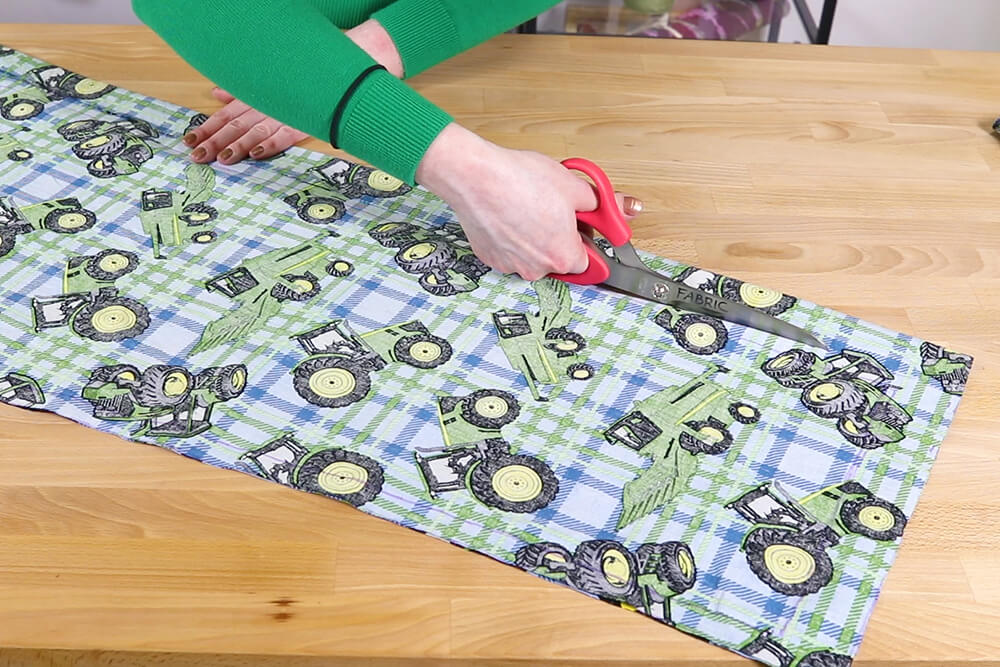
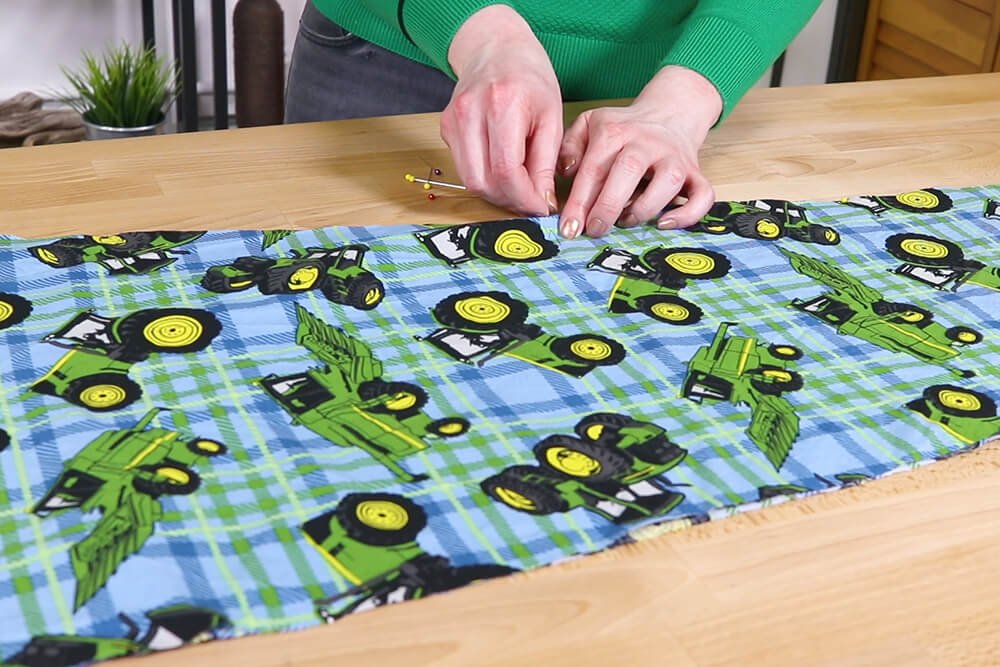
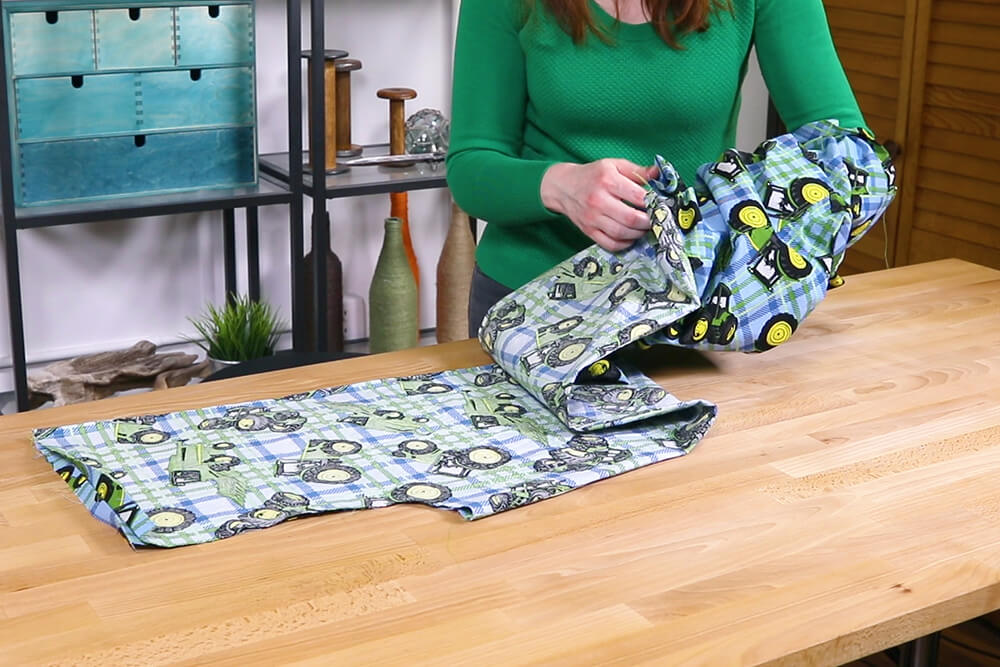
Cut through both layers of the fabric.
Use these pieces to trace and cut another pair of pieces the same size.
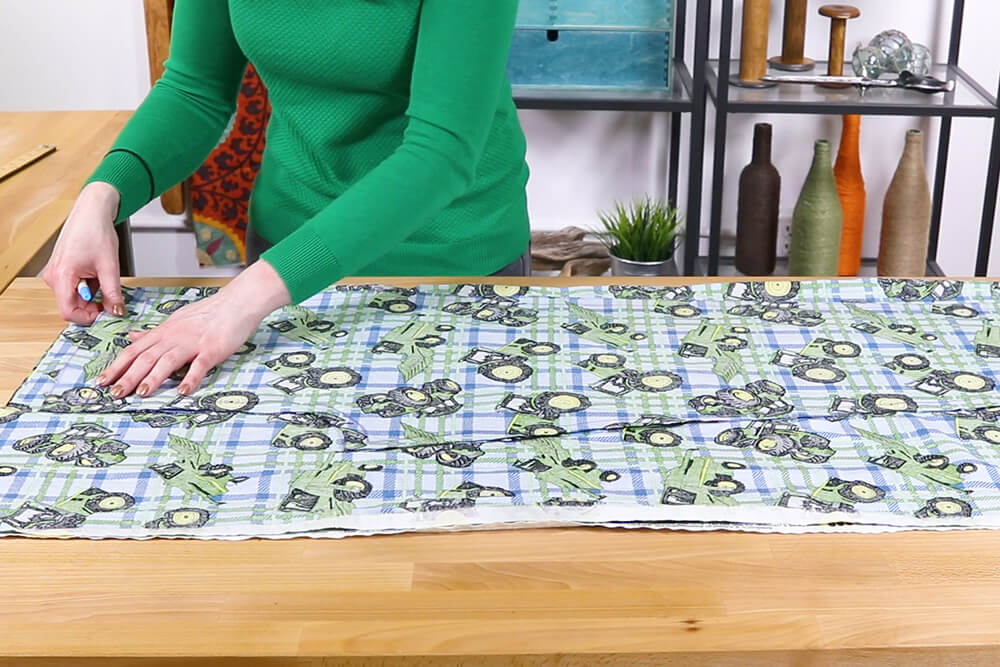
Step 2: Sew together
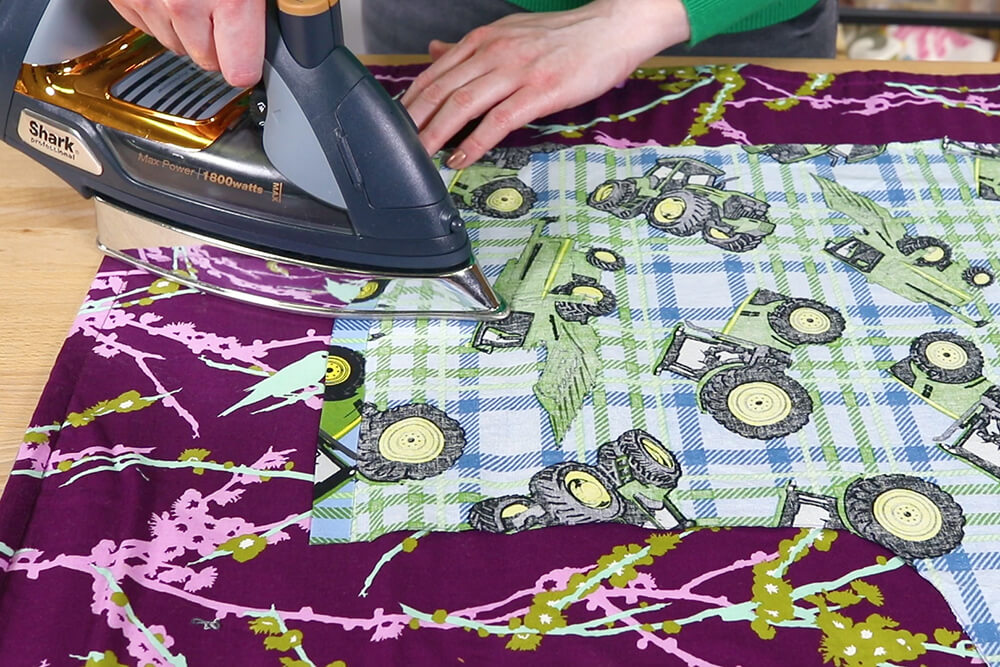
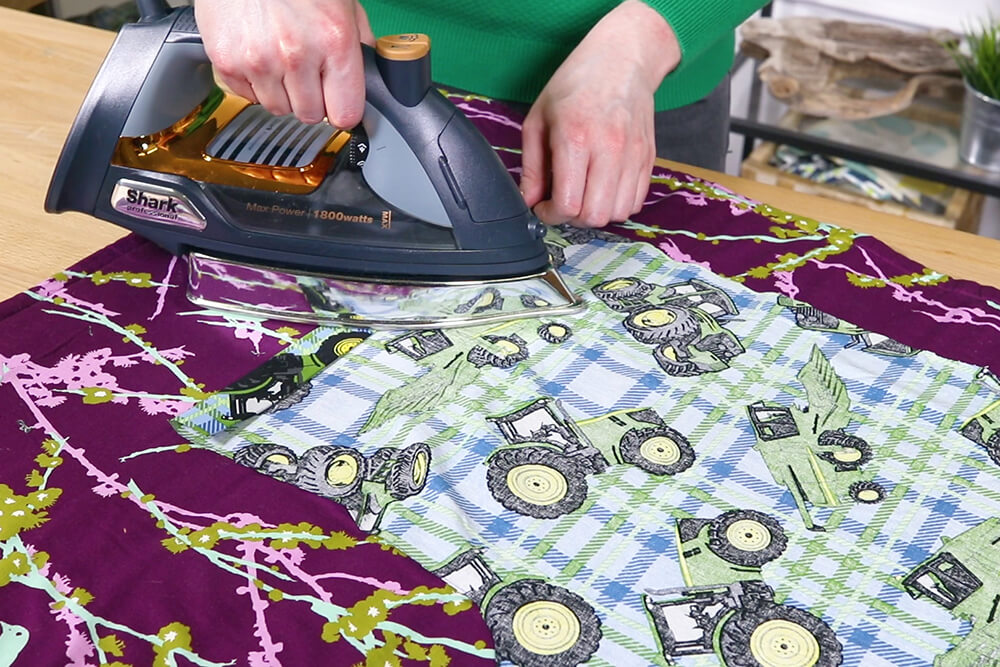
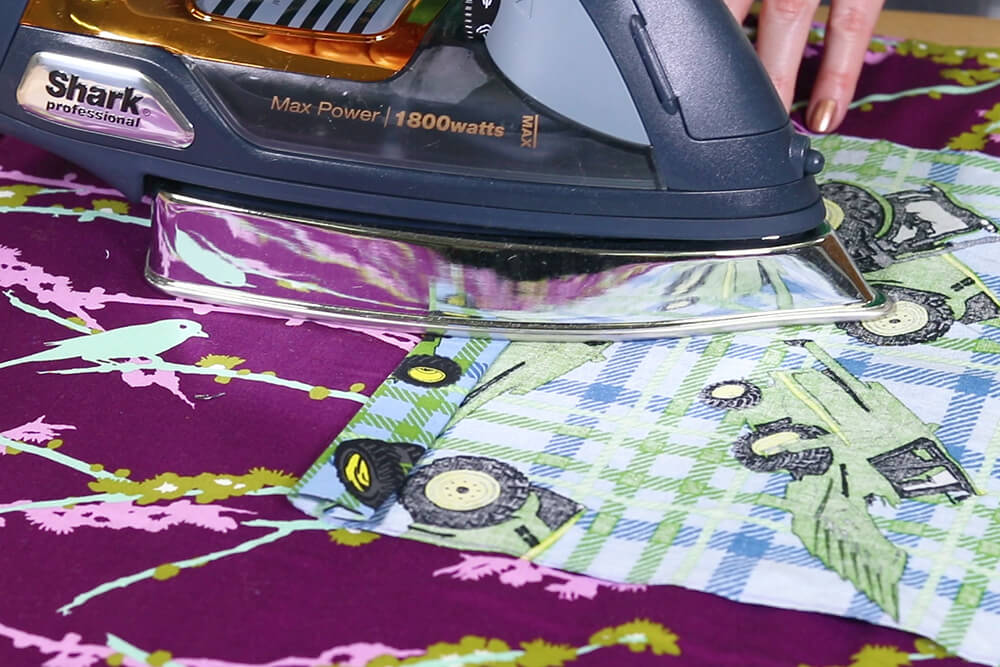
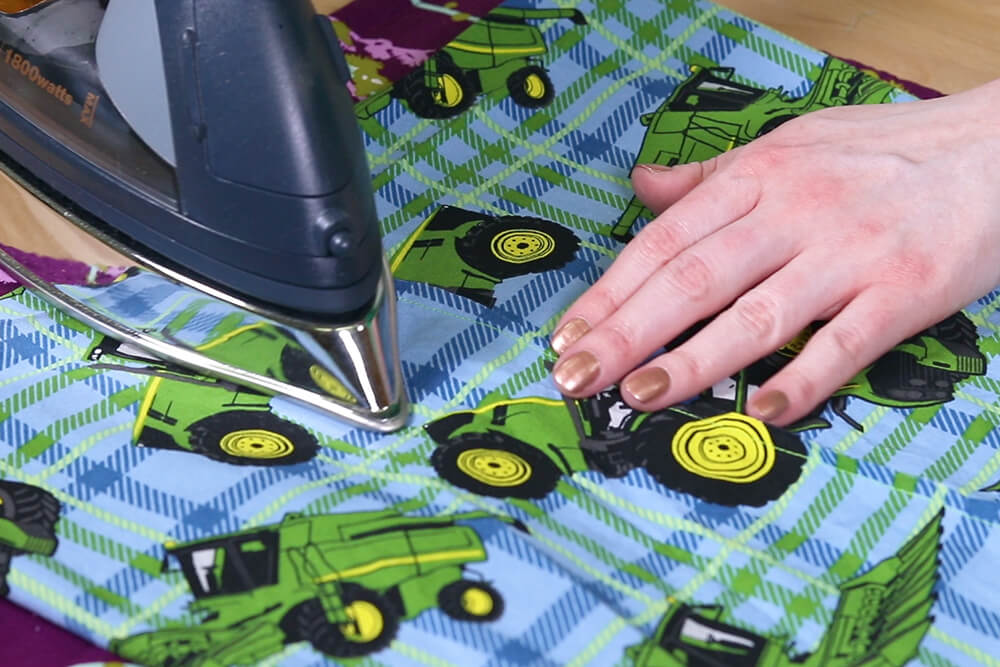
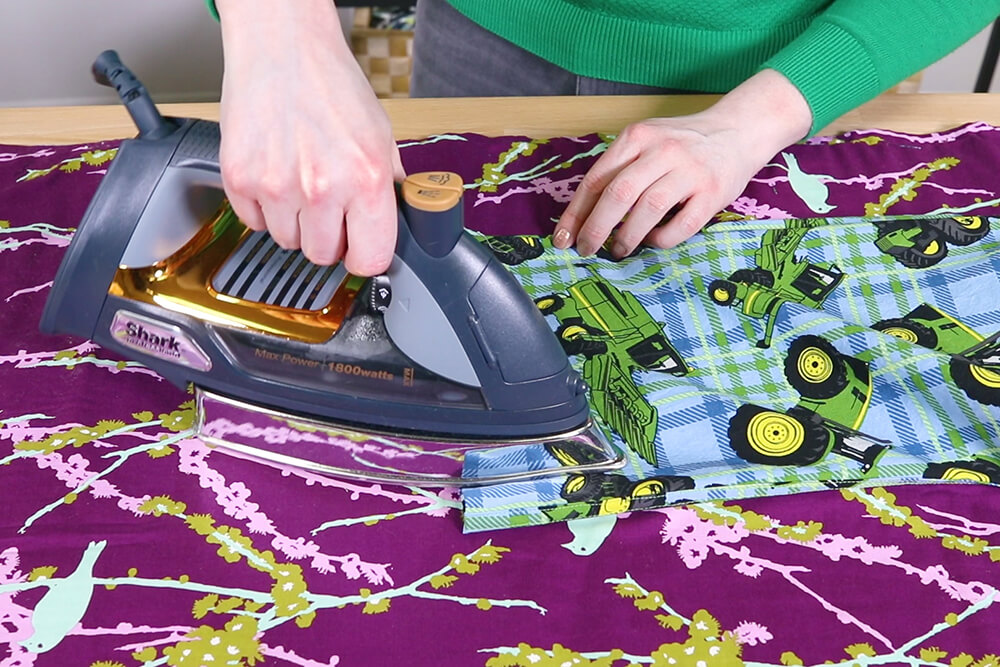
It’s a good idea to iron the creases for the hems and waistband before sewing the pieces together because it’s more difficult dealing with the smaller leg openings.
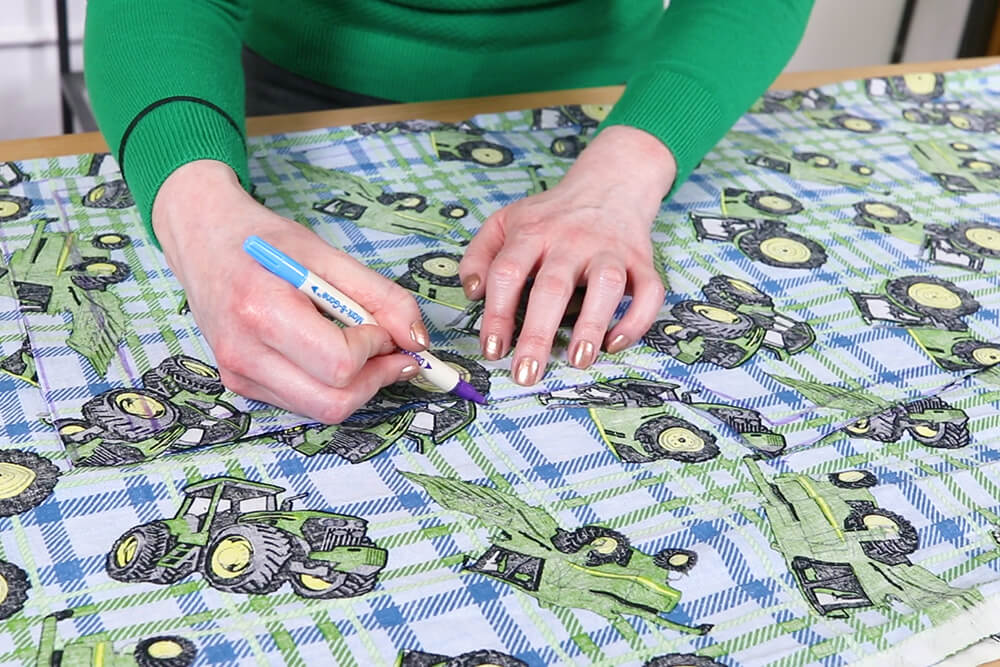
For the waistband, fold in about half an inch and press. Then fold another inch and iron again.
My elastic is 3/4″ so I want the channel to be about 1 inch wide.
Do the same thing for the hems at the bottom.
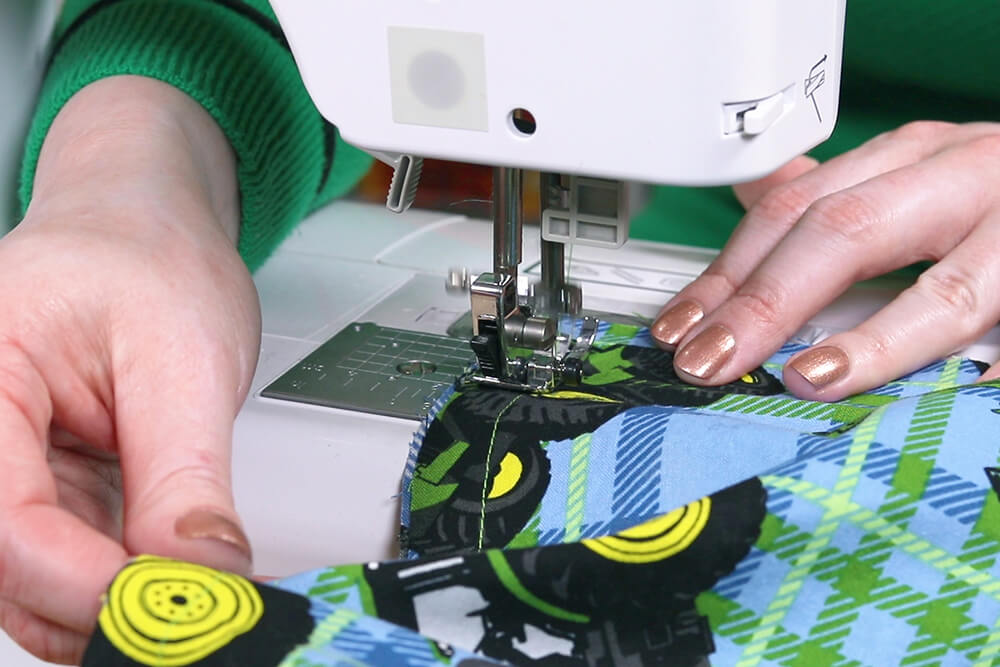
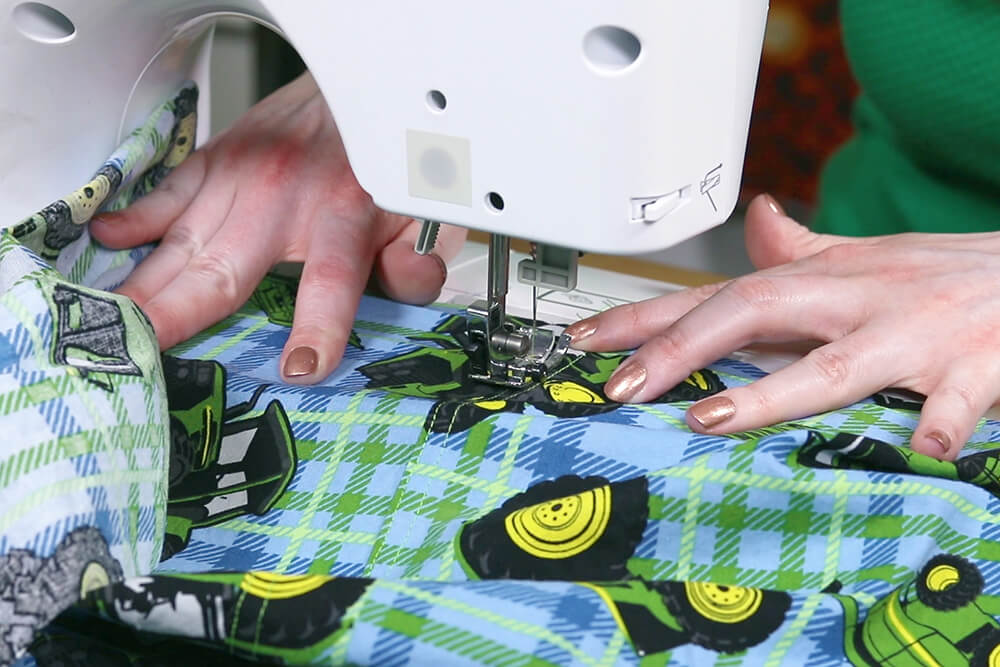
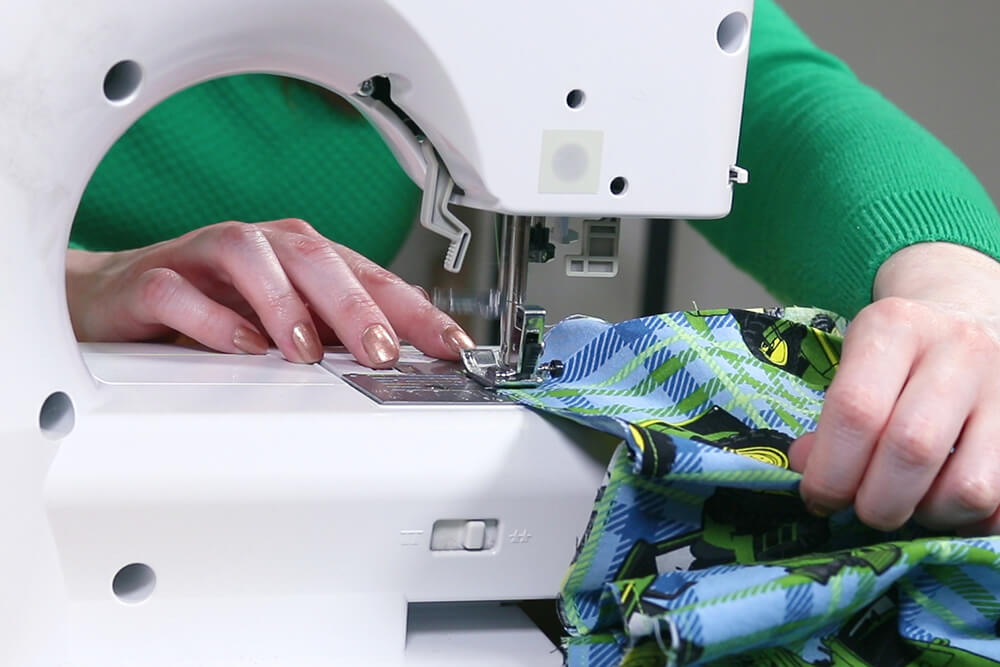
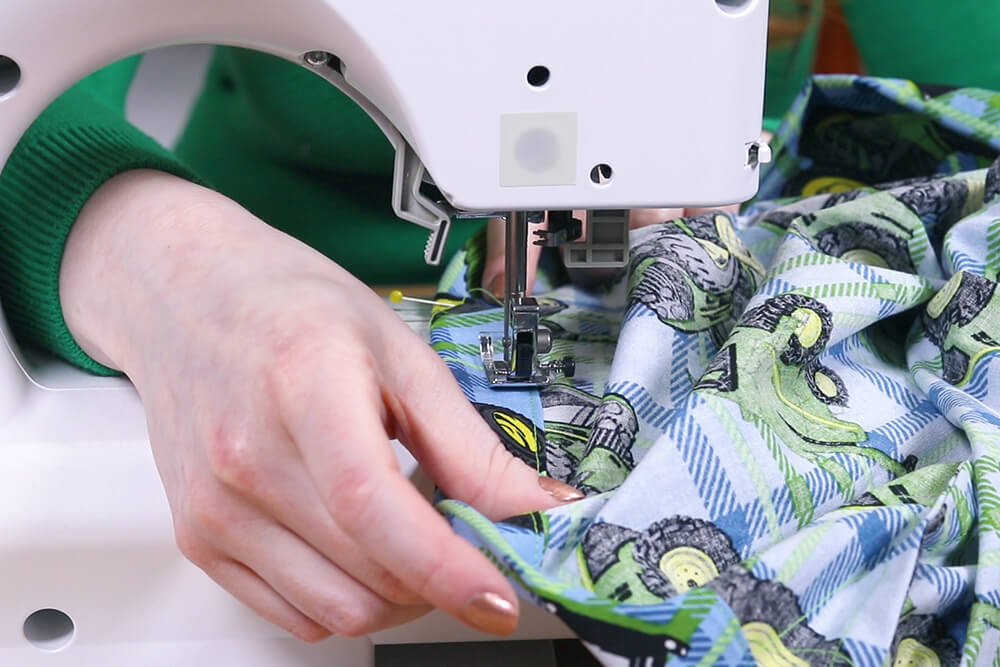
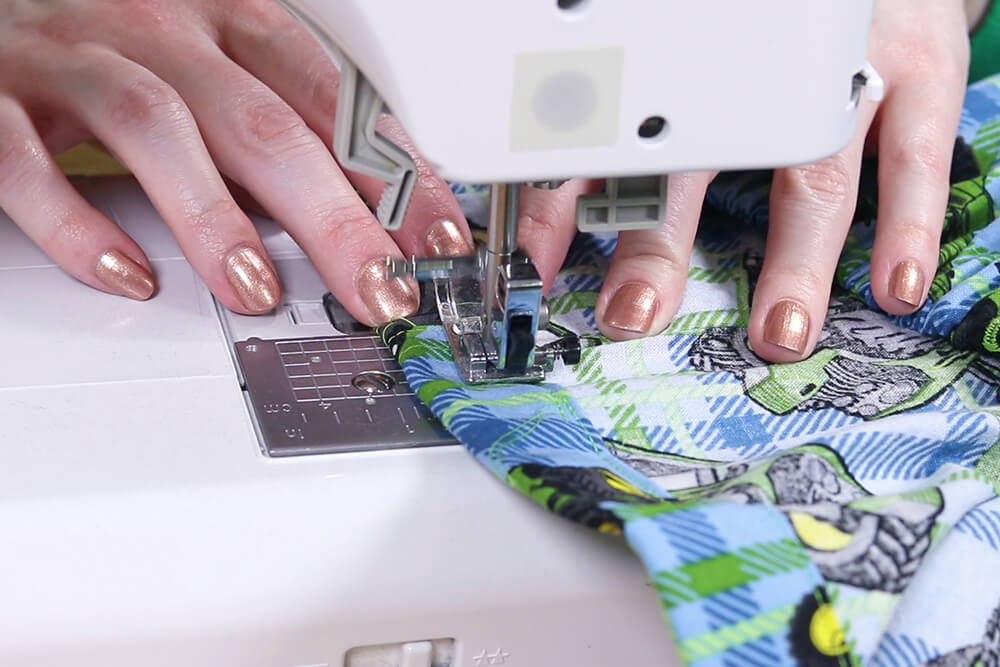
I’m using a flat felled seam for the inseam because it’s durable and will hide the raw edges. You could do a regular seam if you want and use a serger or zig-zag stitch to finish the edges, or even just pinking shears.
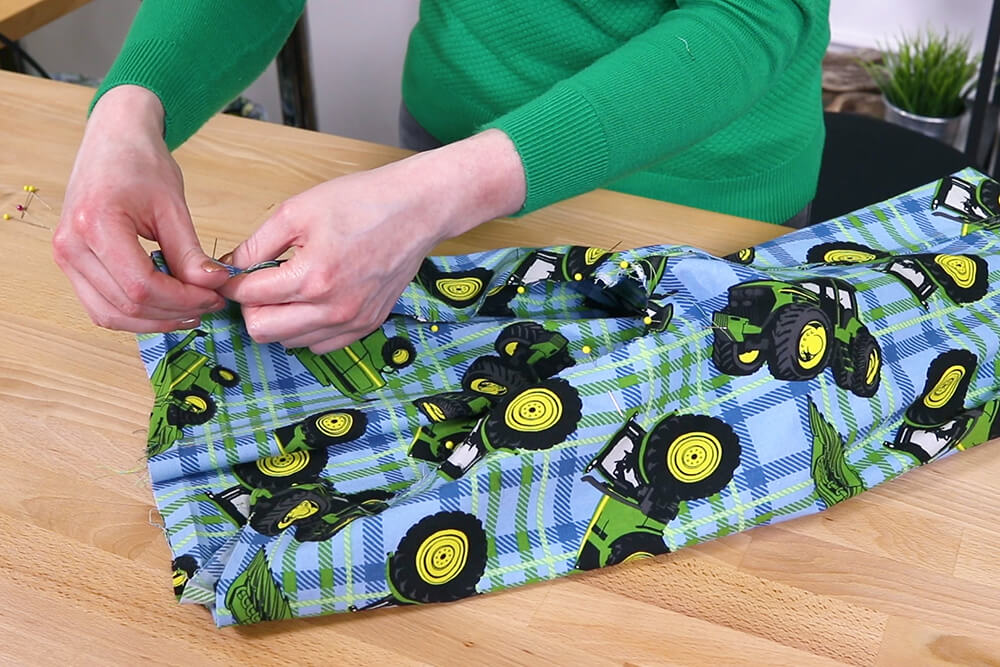
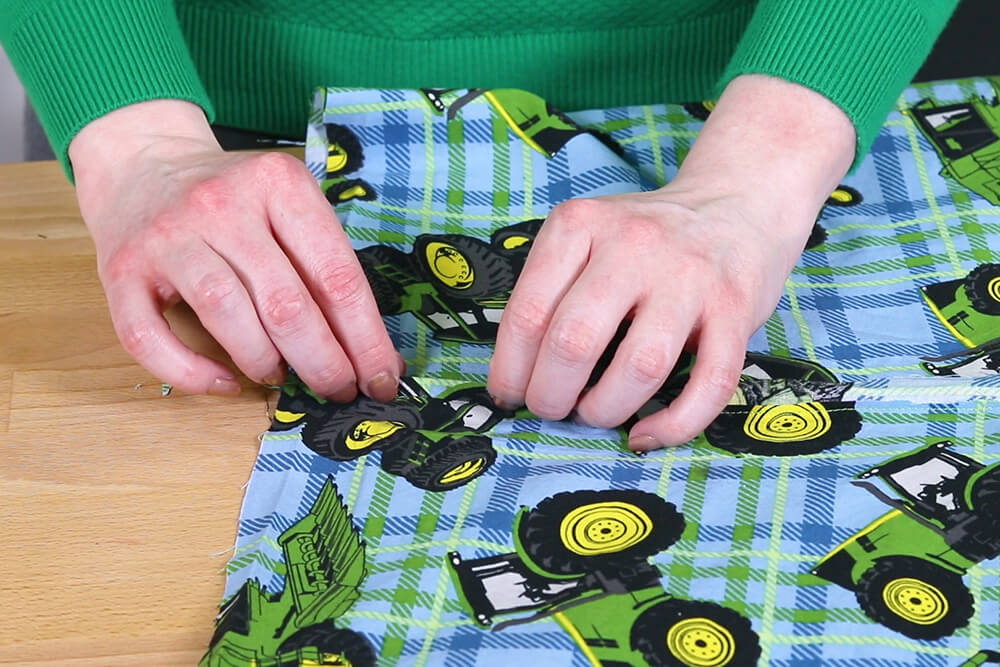
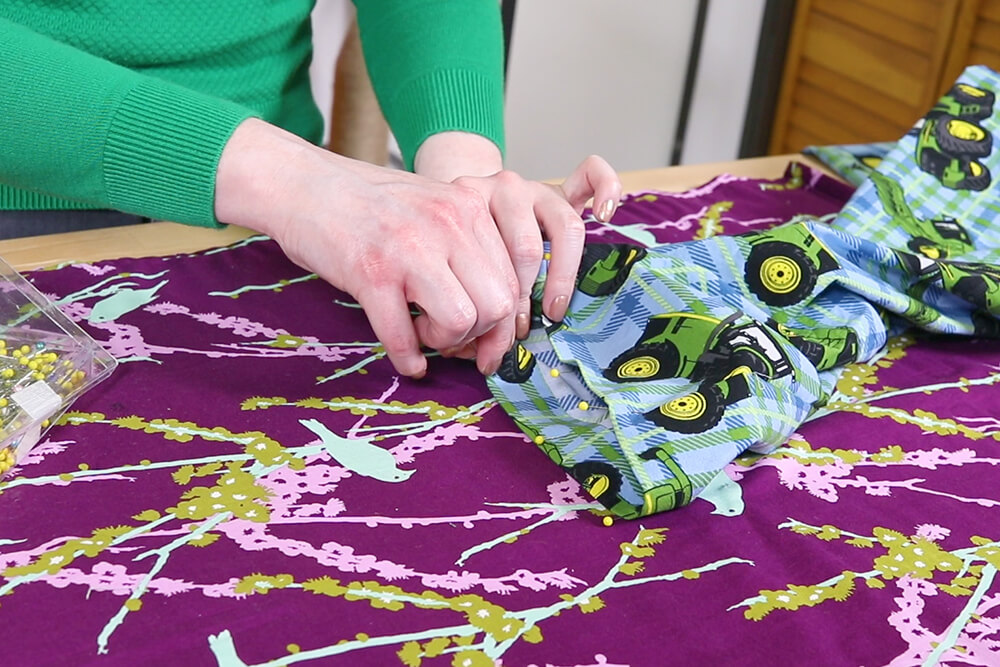
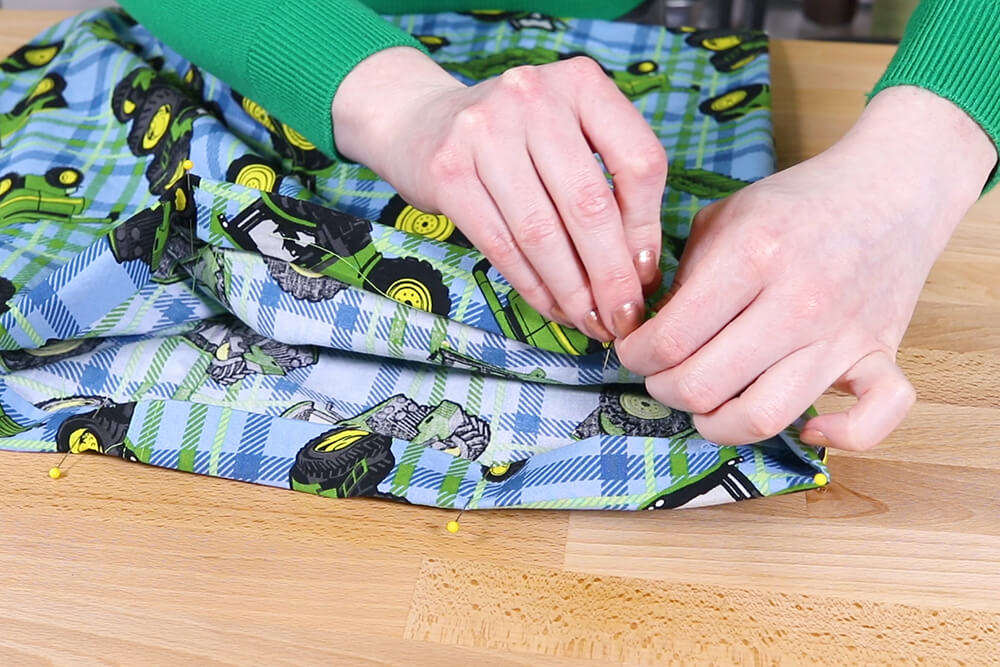
Place the fabric together with wrong sides facing and pin the inseam on both pant legs.
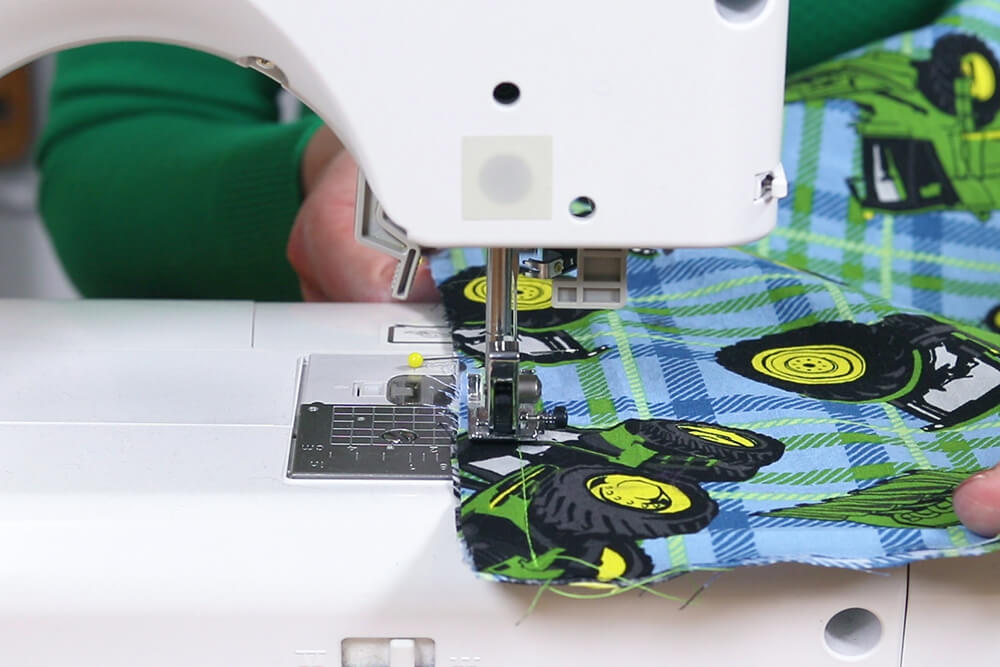
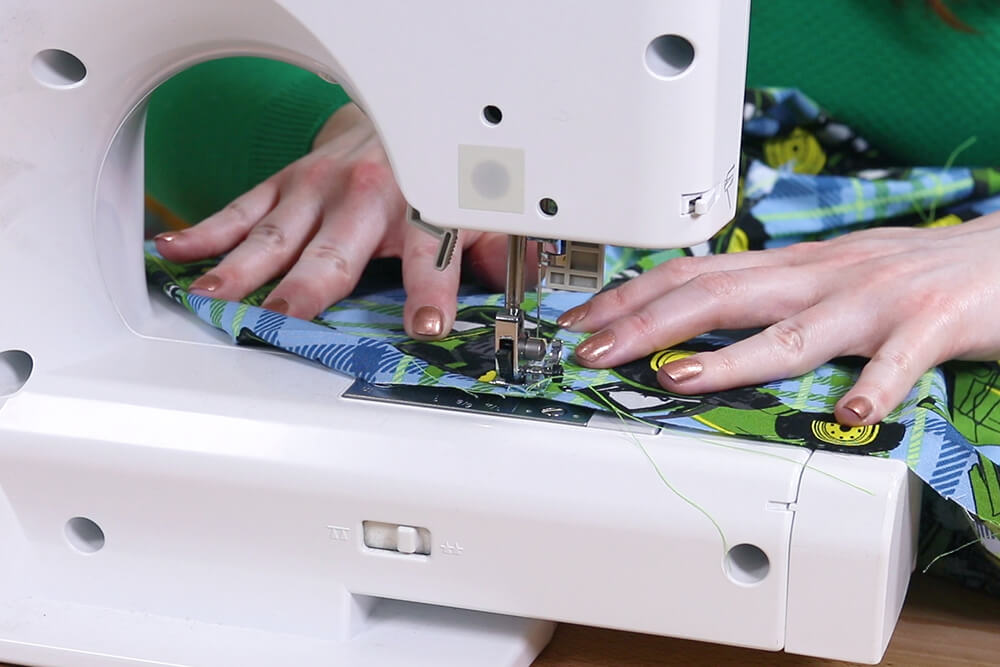
Sew with a 5/8″ seam allowance.
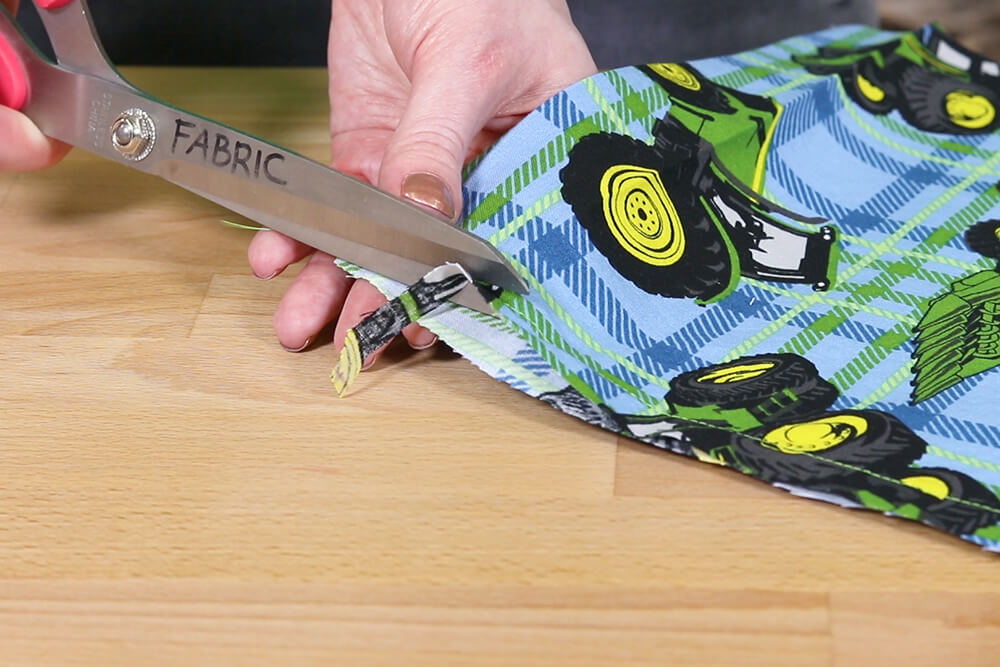
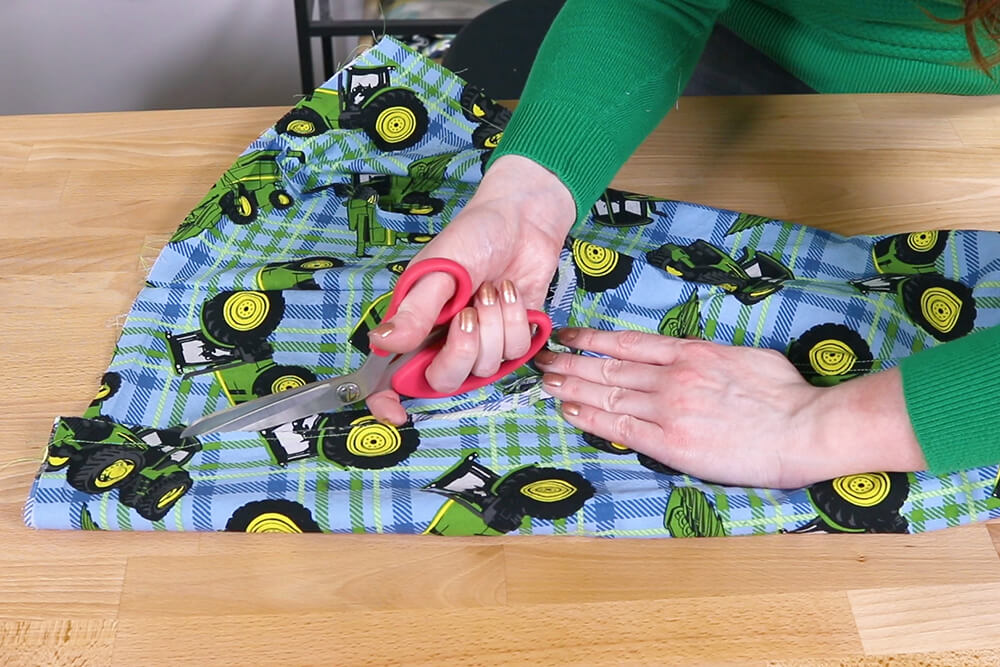
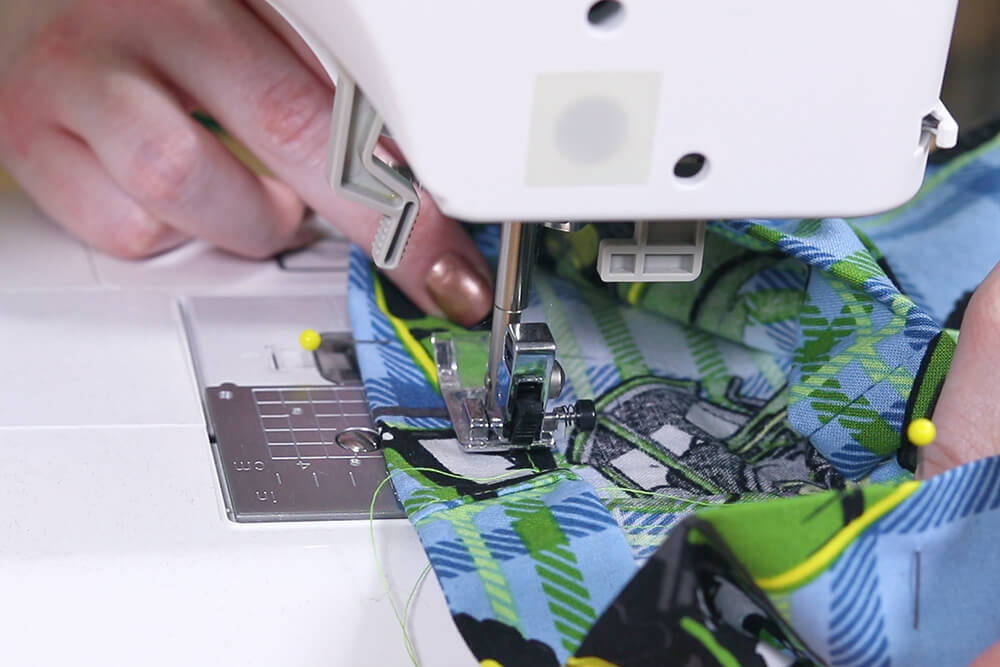
Cut one of the sides of the seam allowance to between 1/8″ and 1/4″. Fold the larger edge under the other and pin. Sew close to the edge of the fold to complete the flat felled seam.
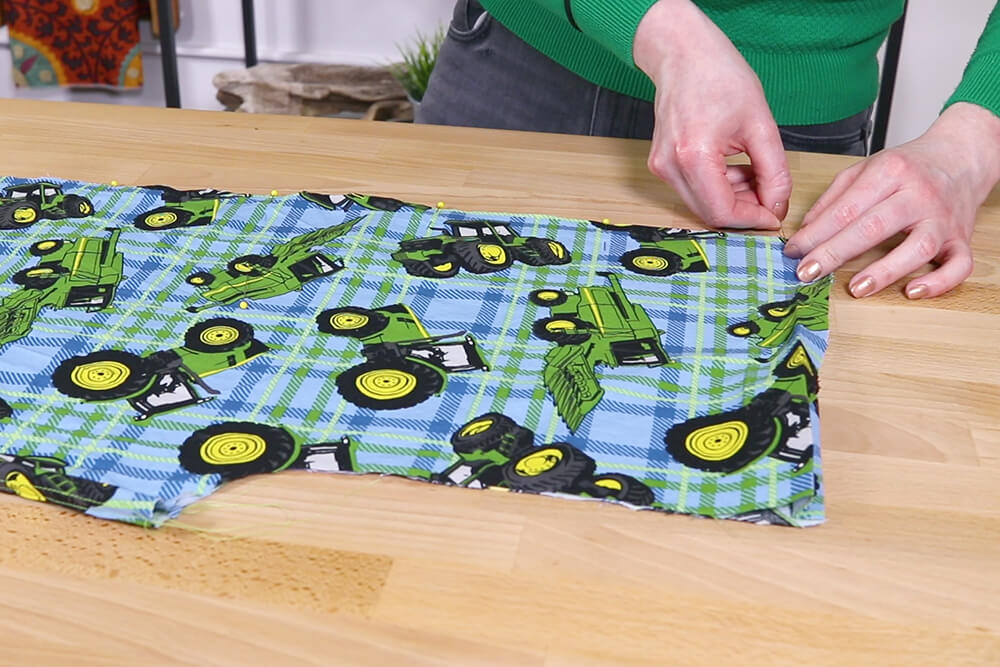
Pin the outer edge of the pant legs together with wrong sides facing.
I’m going to use a french seam here because the flat felled seam requires the seam to be open when top stitching, and that’s not possible when closing the pant leg. The french seam also encloses the raw edge.
Sew with a 1/4″ seam allowance or less.
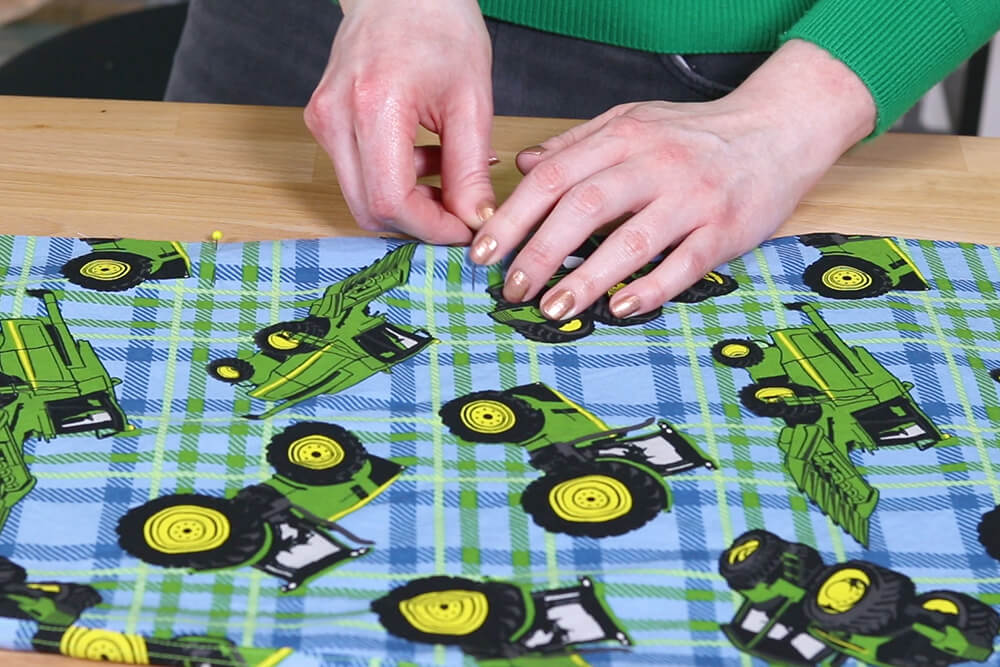
Iron the seam to one side. Turn the pant legs wrong side out and sew along the seam with a 3/8″ seam allowance.
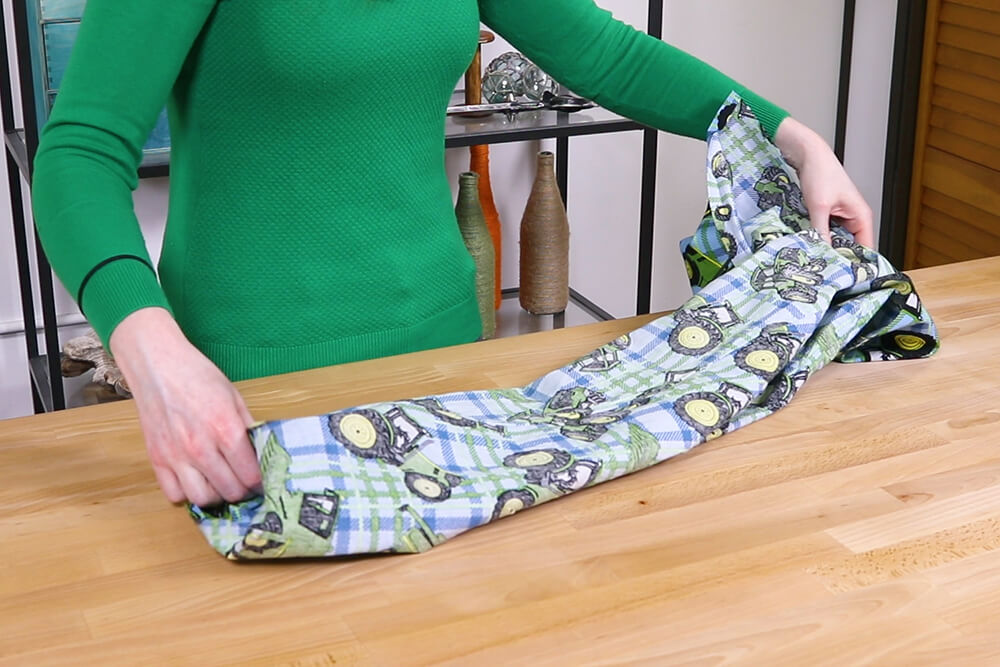
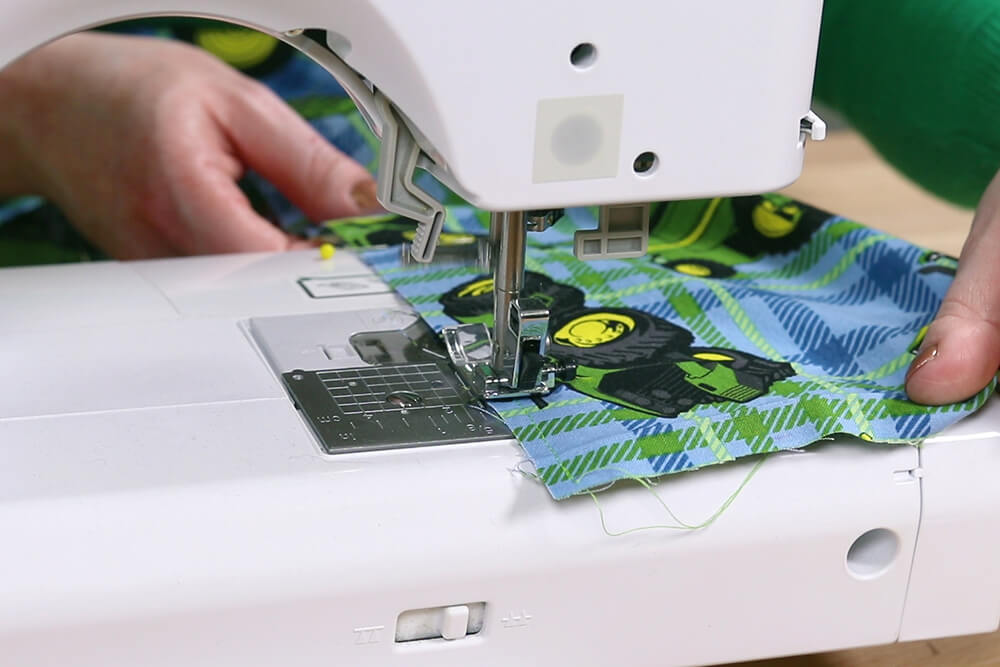
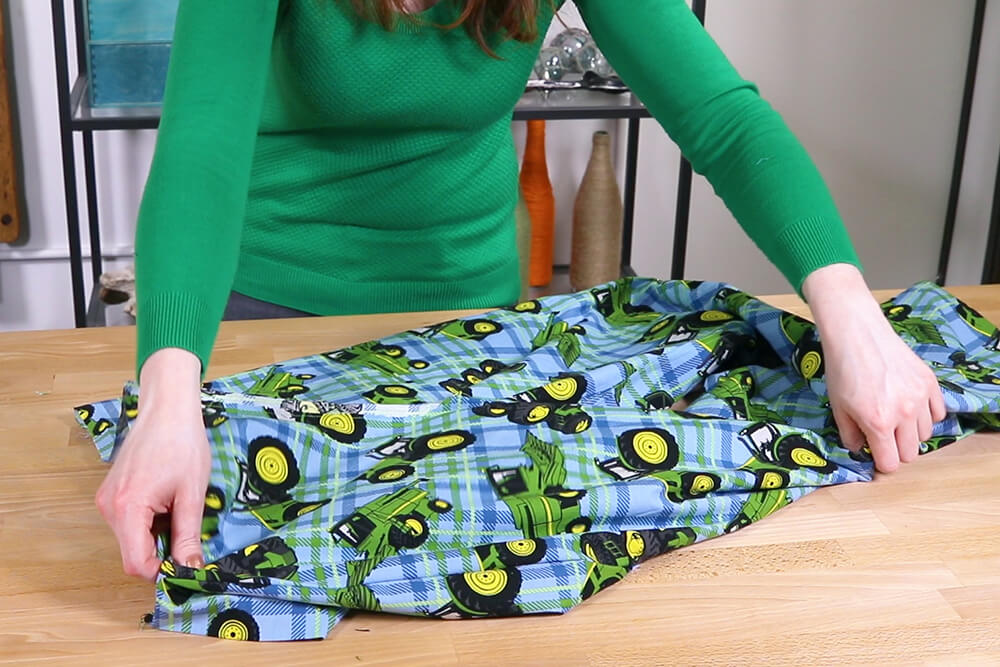
When both pant legs are complete, it’s time to sew them together. I’m using the flat felled seam again.
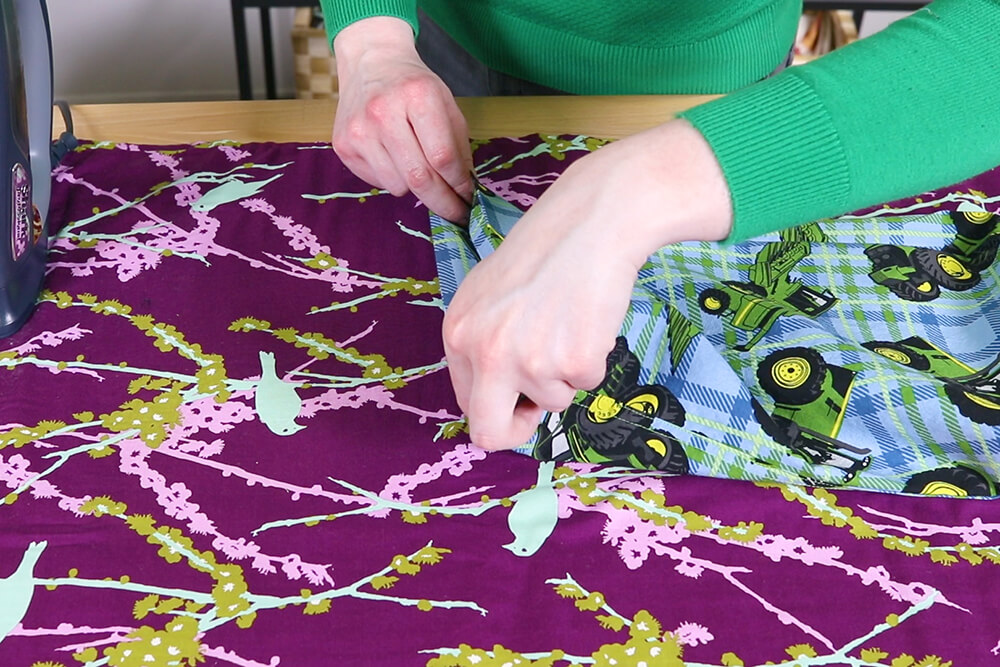
With one leg right side out, slide the other leg with the wrong side out into the first leg.

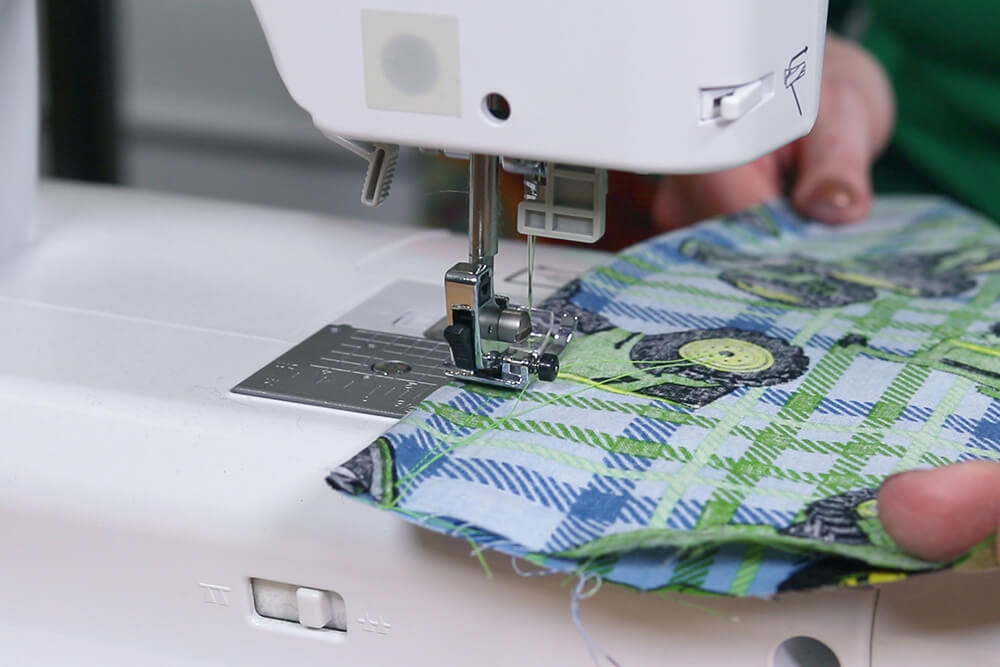
Match up the inseams and pin the edges together. Sew with a 5/8″ seam allowance.
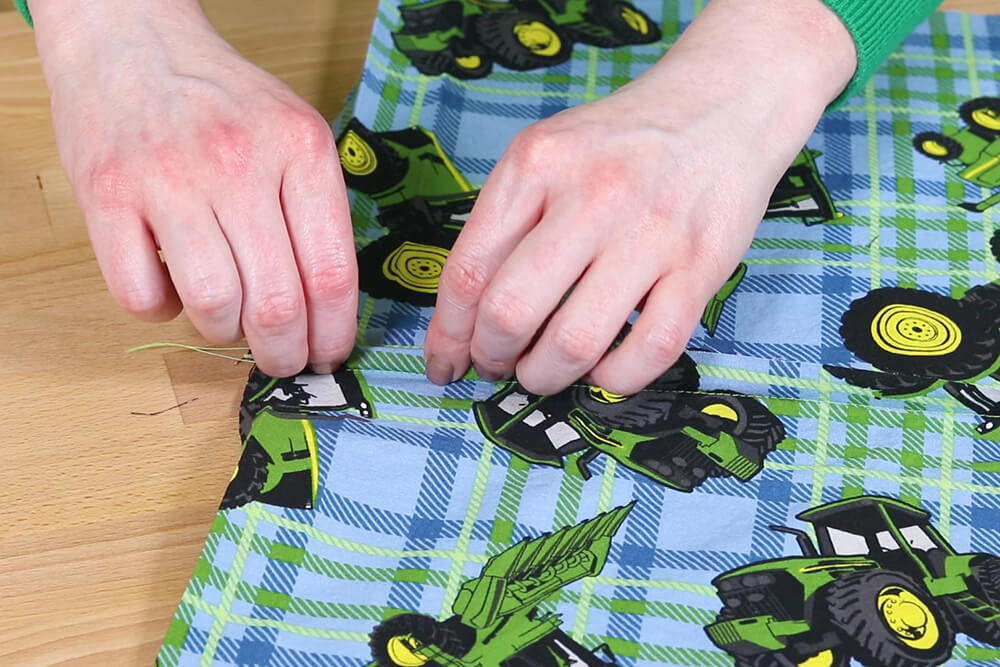
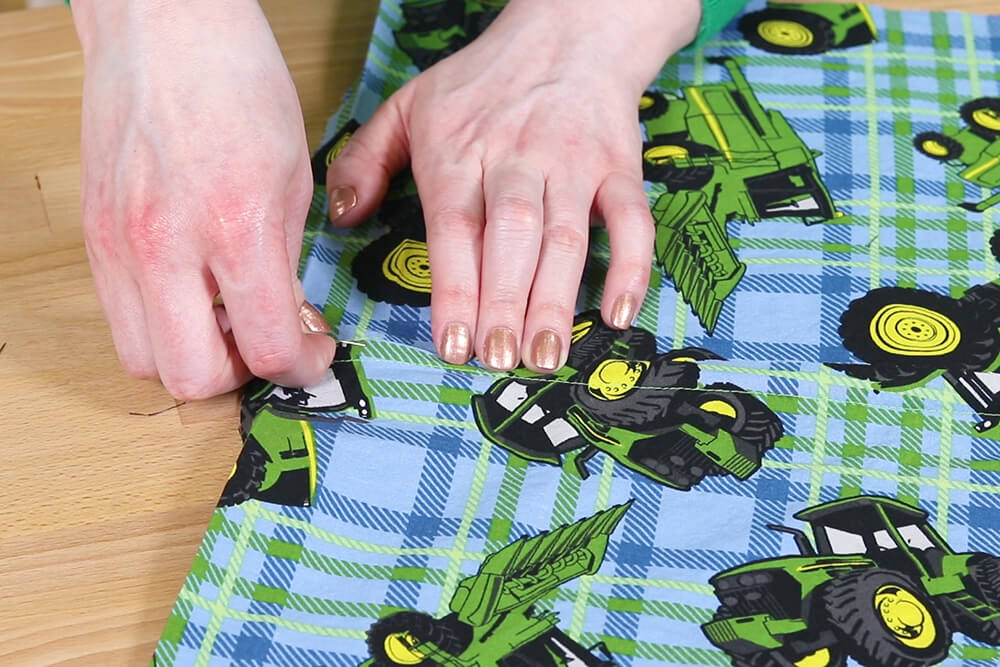
Cut one of the sides to between 1/8″ and 1/4″. Turn the pants right side out. Fold the larger side under the cut side like before.
This time instead of pinning I’m just going to fold as I sew. Sew close to the edge of the fold to complete the flat felled seam.
Step 3: Sew the waist & hem
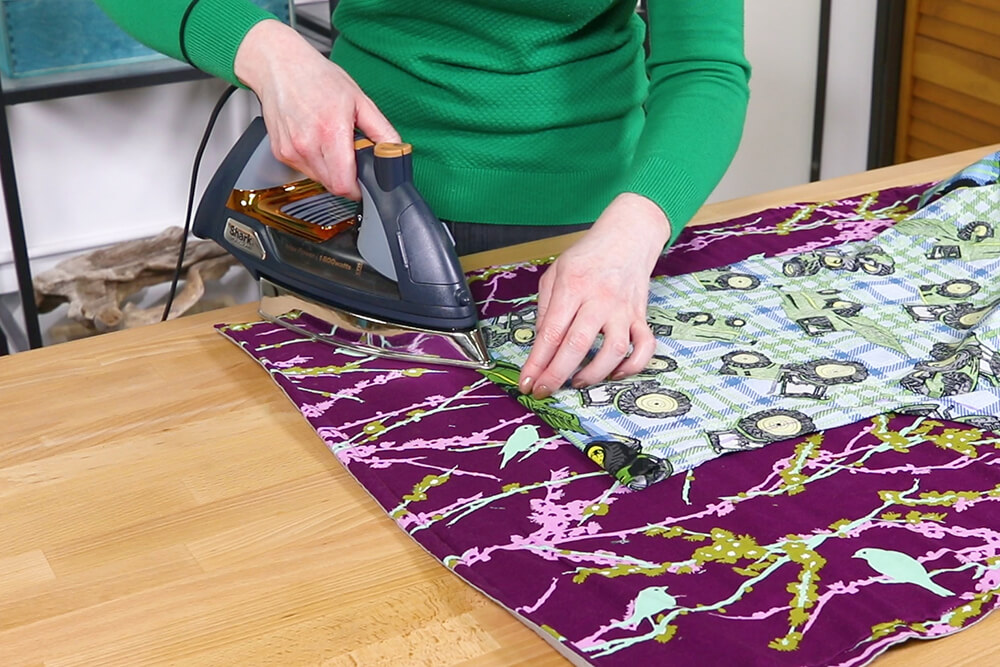
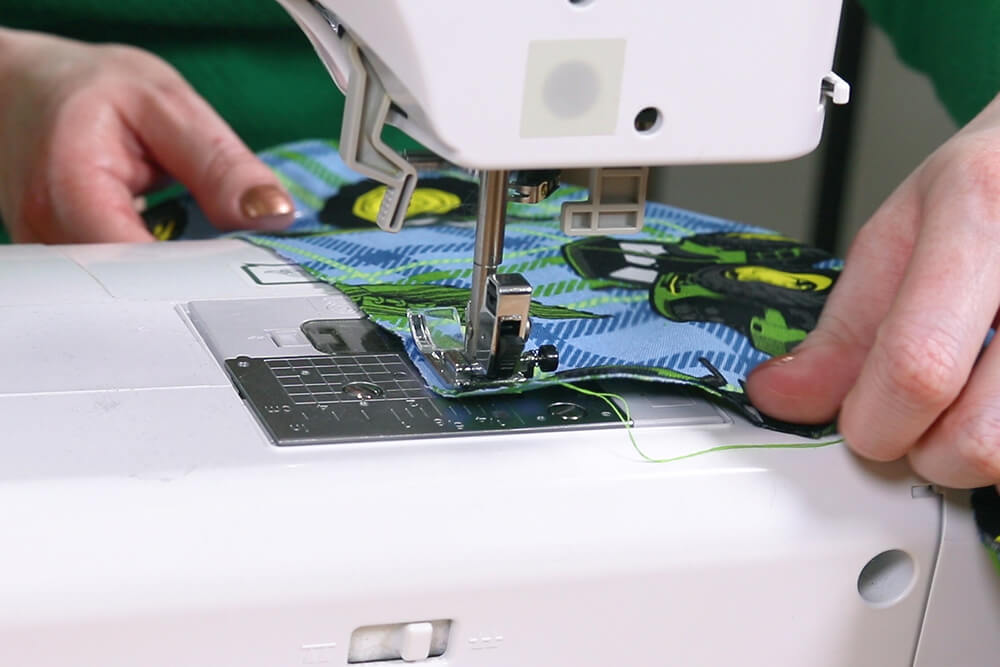
Hem the bottoms by folding the pre-pressed creases and iron one more time.
Pin the hem and sew. Repeat for the other leg.
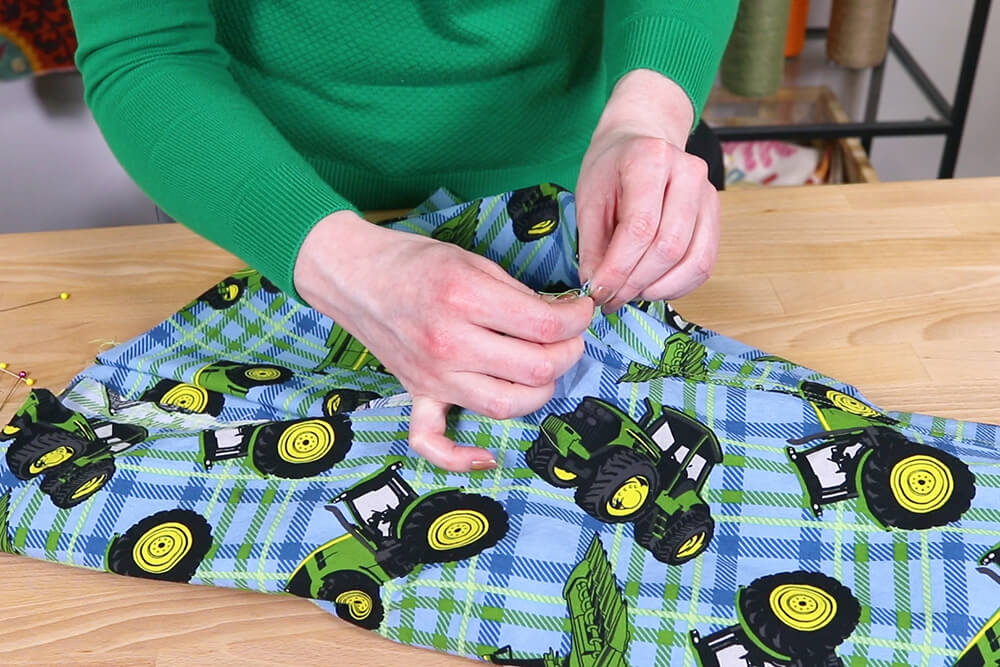
Adding a drawstring to the waistband is optional, but if you want to, add 2 buttonholes to the front.
Fold on the creases of the waistband and iron again if necessary.
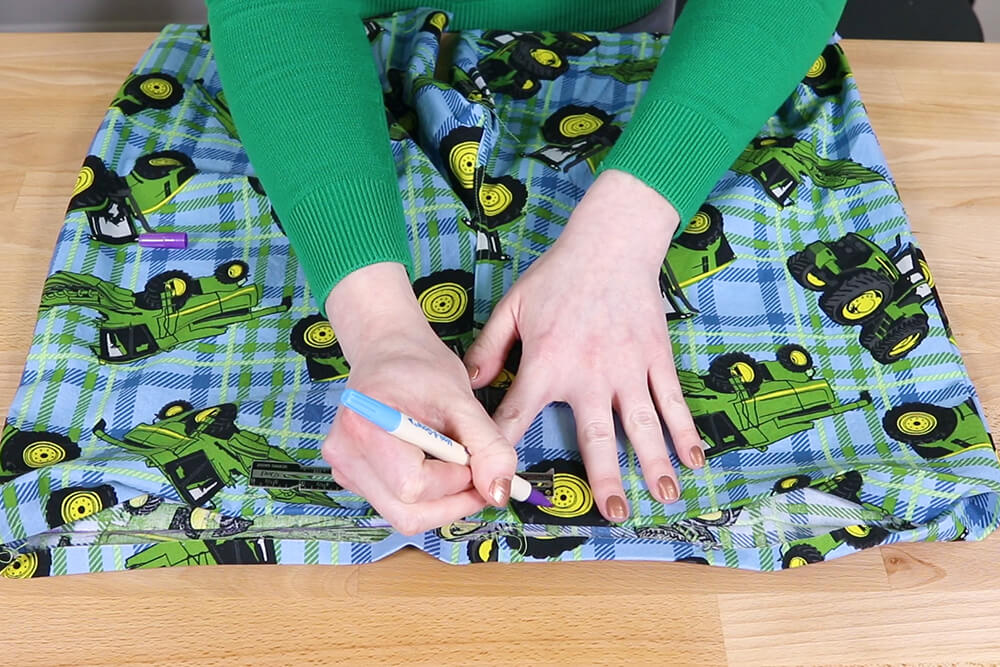
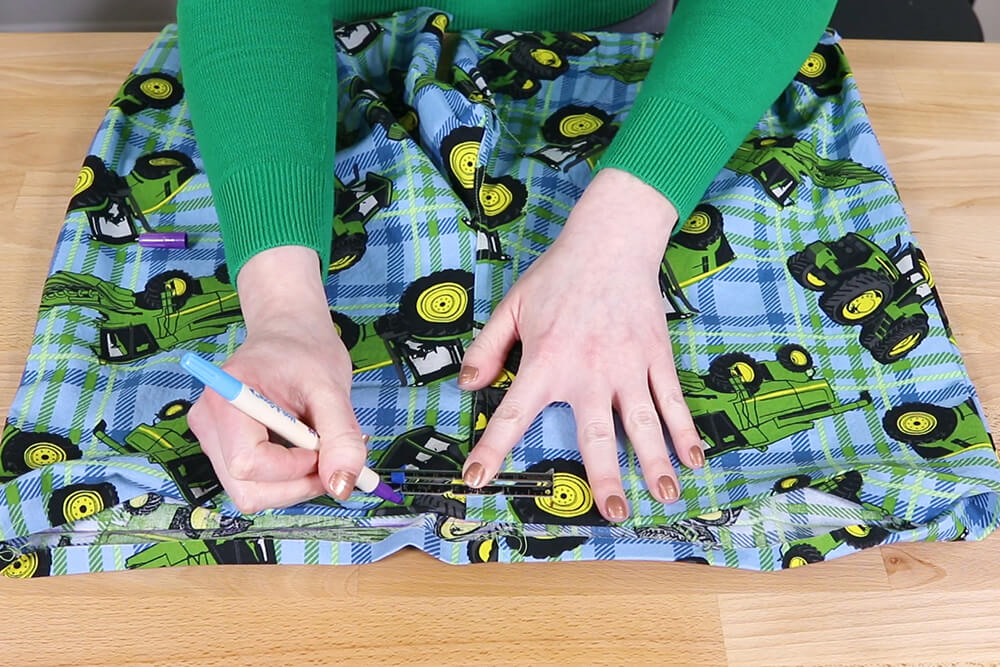
Mark the buttonholes 3 inches apart and slightly down from the top of the front. Make the buttonhole 1/2″ to 3/4″ long.
I’m using the automatic buttonhole maker on this machine.
If you don’t have this feature on your machine, check out our instructions on making buttonholes (click here).
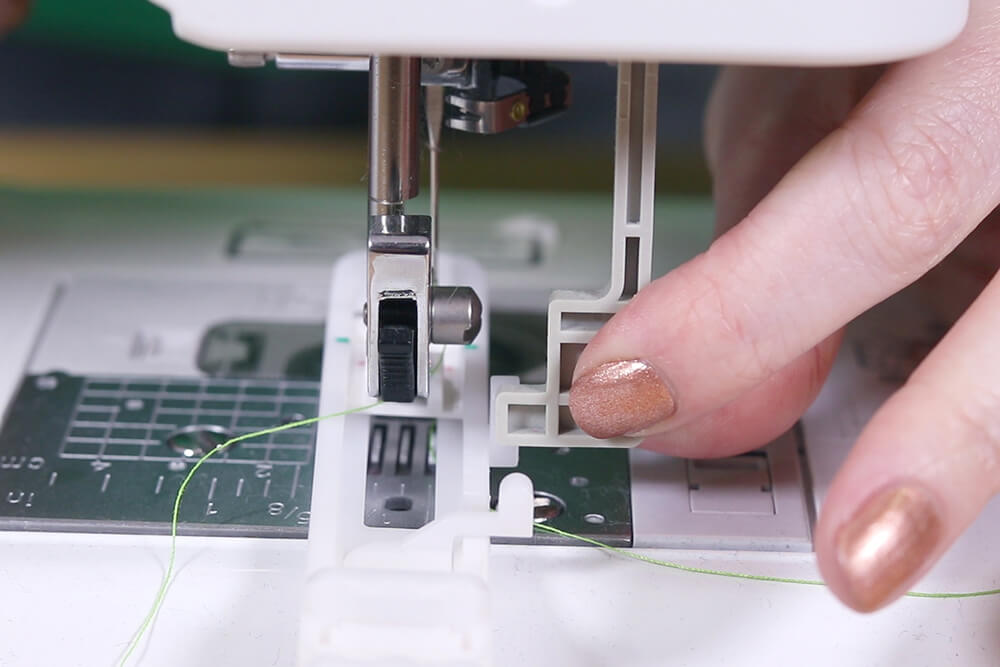
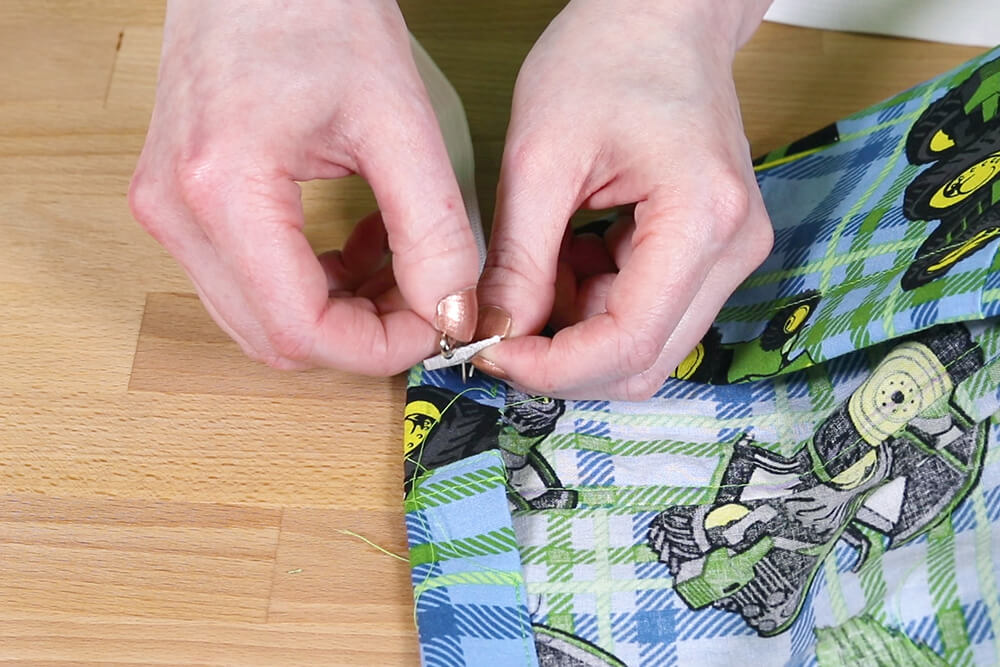
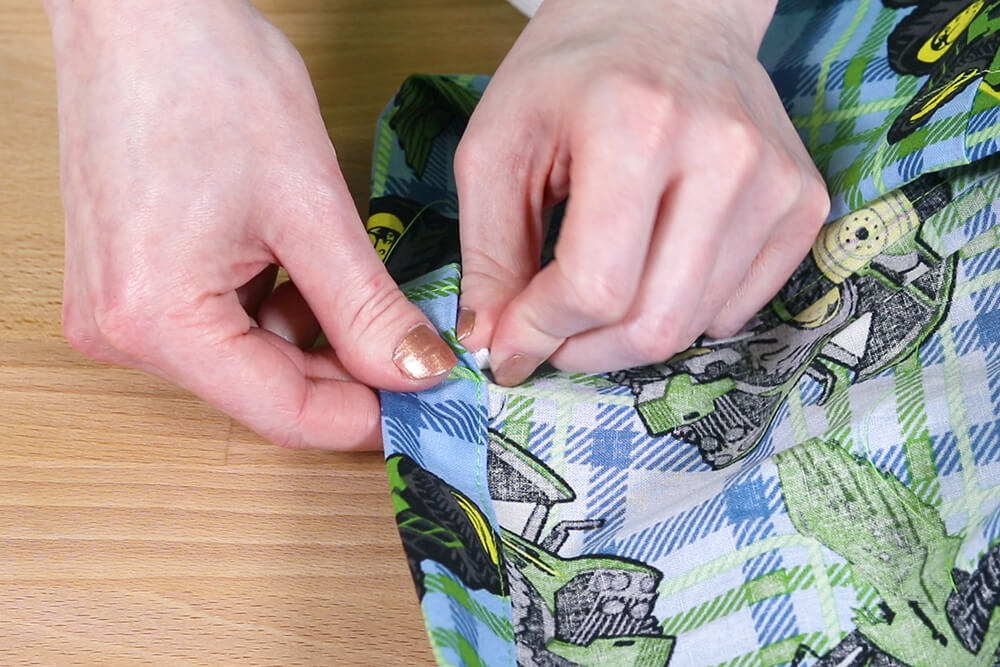
Use a seam ripper to open the holes. Place a pin at the end so you don’t cut too far.
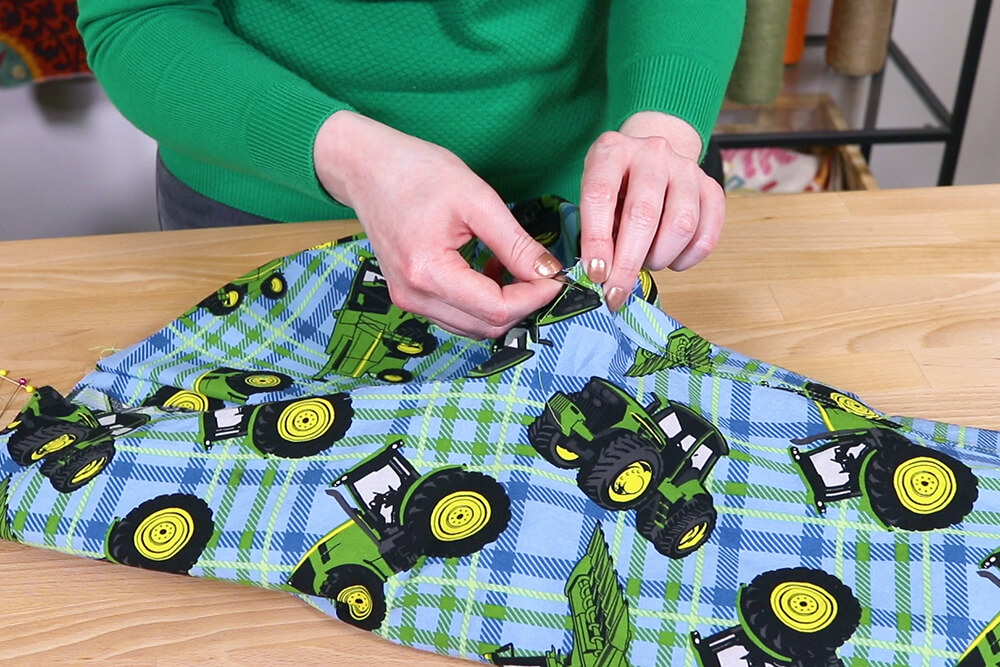
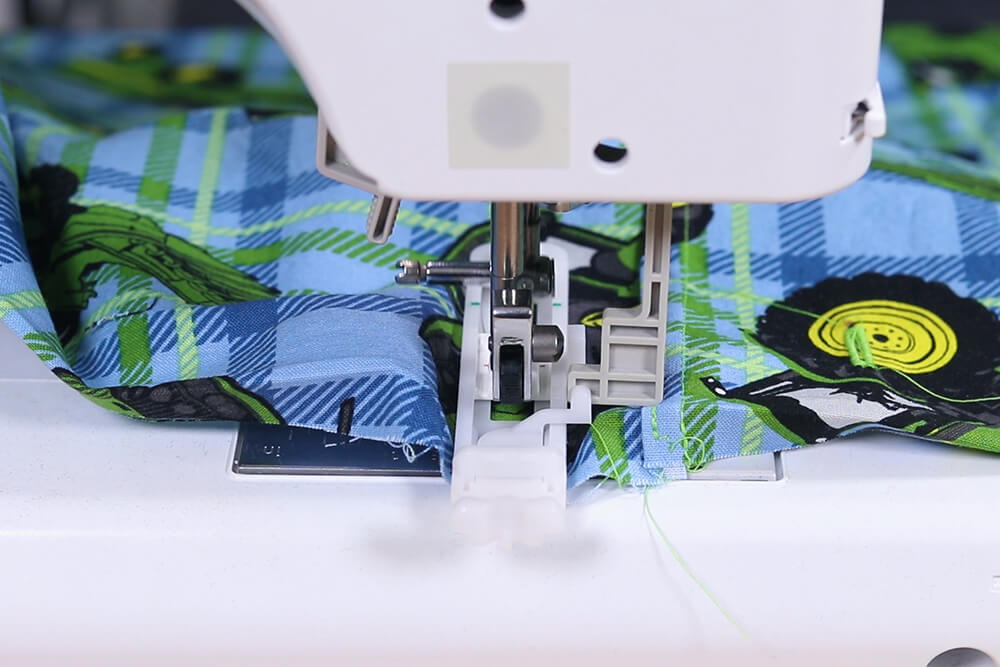
Fold the waistband again and pin. Sew around the waist close to the edge of the fold. Leave a gap of about 3 inches.

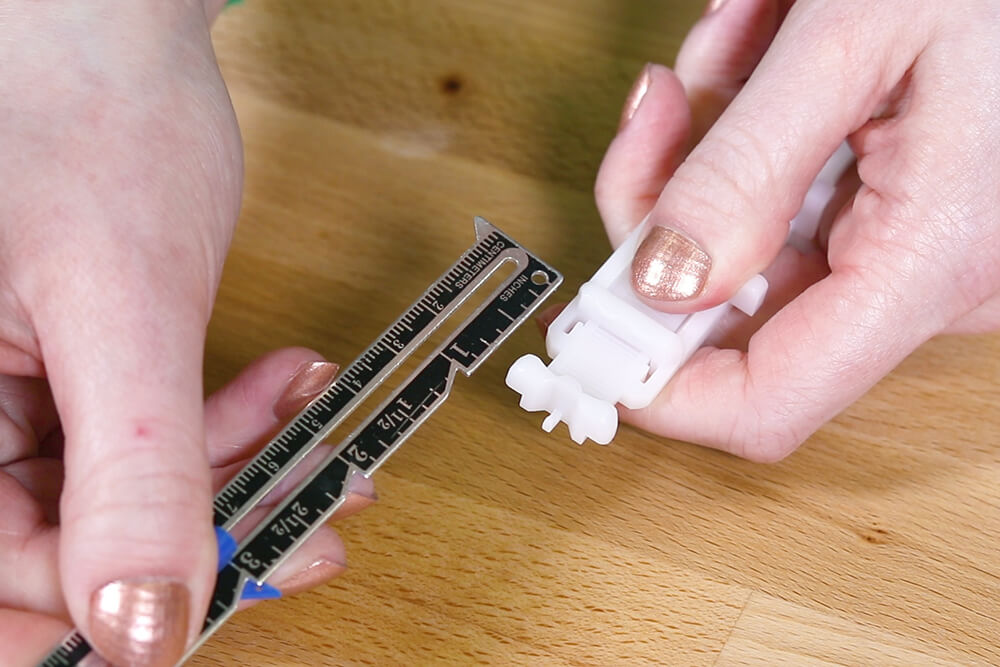
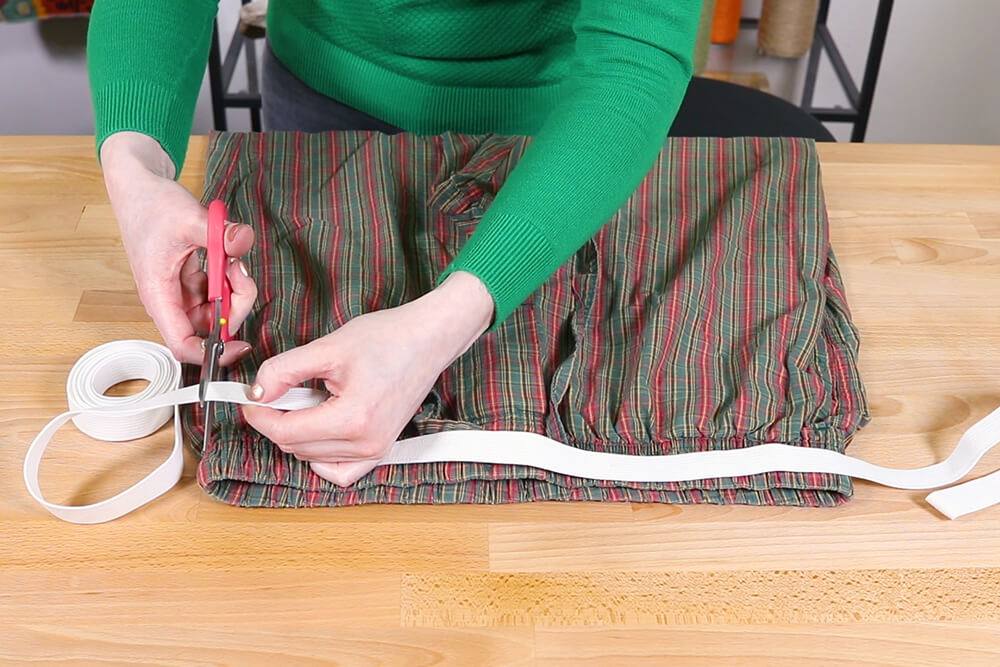
Cut the elastic to the correct size, which is your waist circumference plus 1 inch. Or you could measure the waist of the pajamas you started with and add an inch.
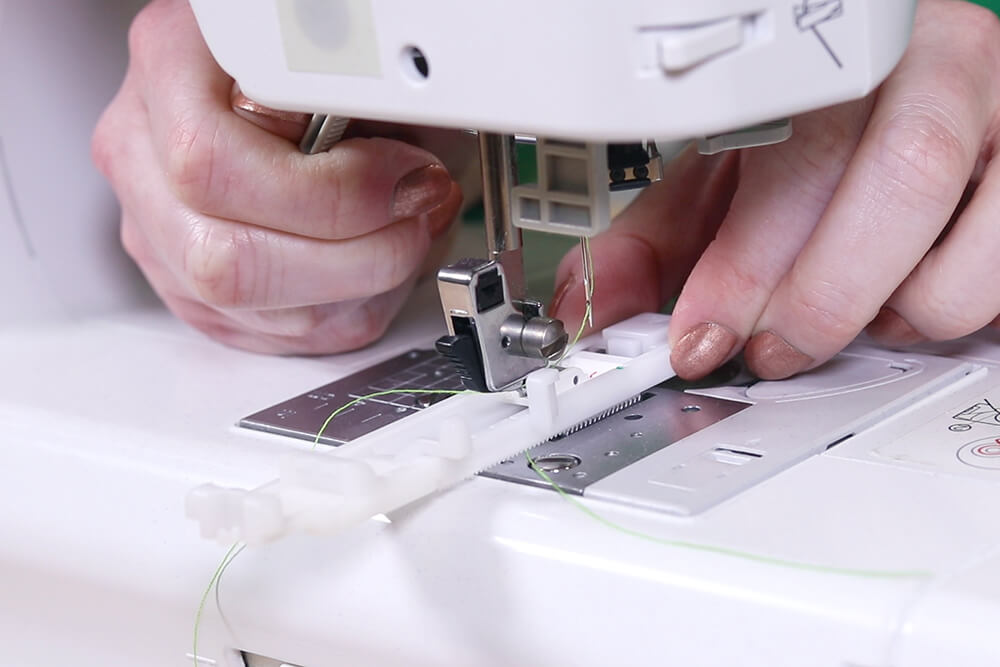
Attach a safety pin to the end of the elastic and guide it through the channel.
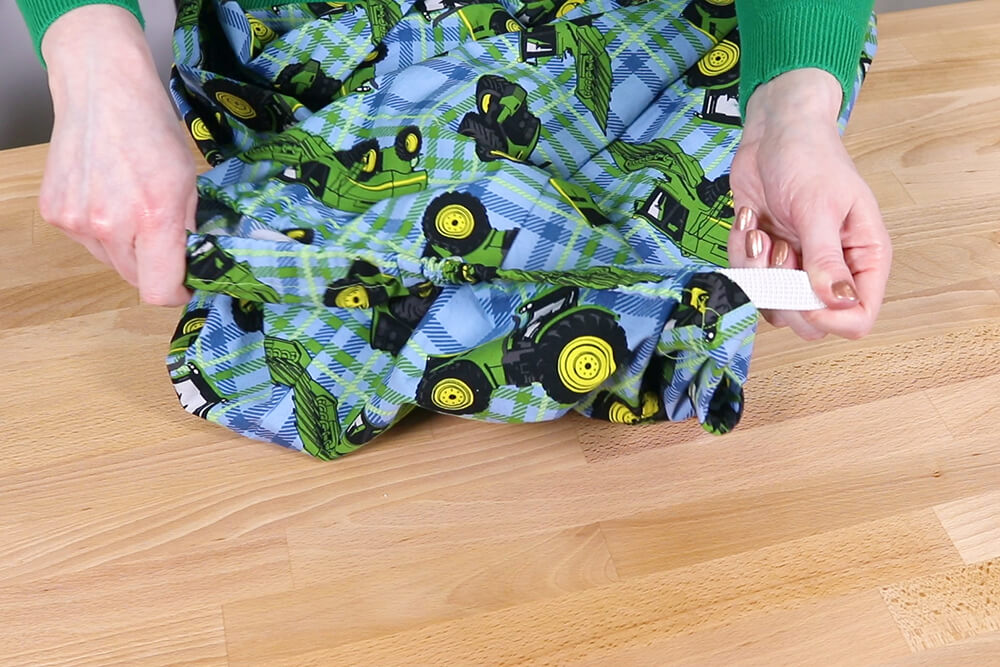
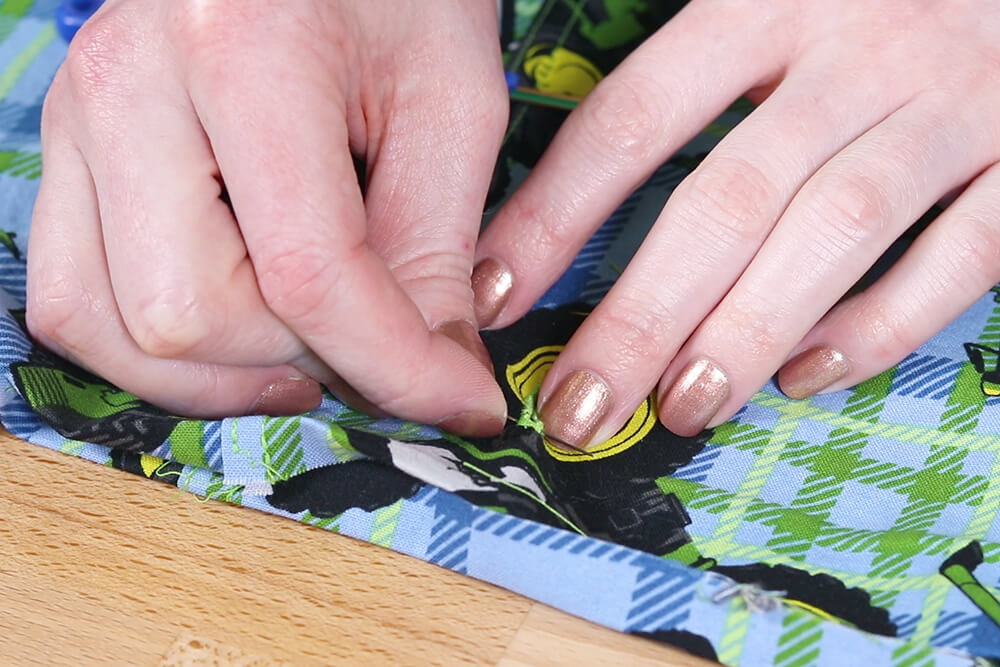
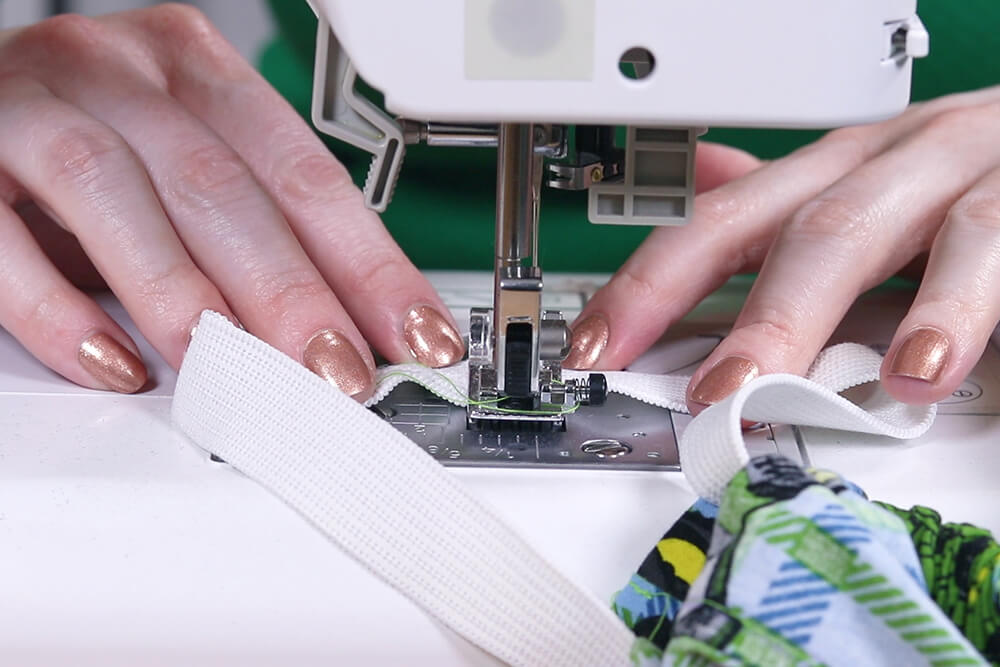
Overlap the ends 1 inch. Sew a square with an “X” through it to make it extra strong.

Tuck the elastic into the waistband and sew the opening closed.

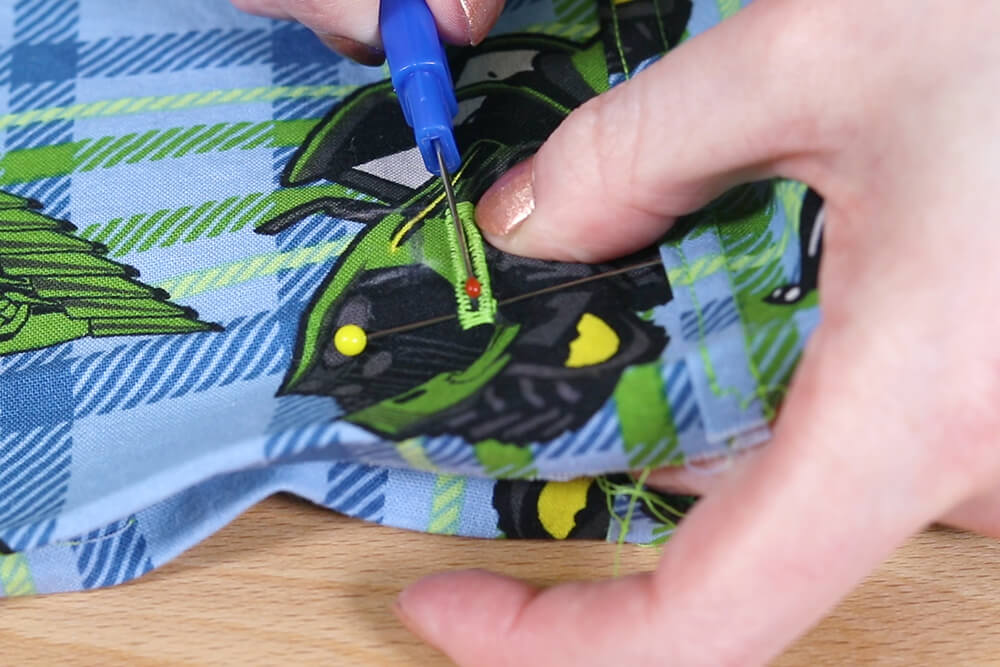
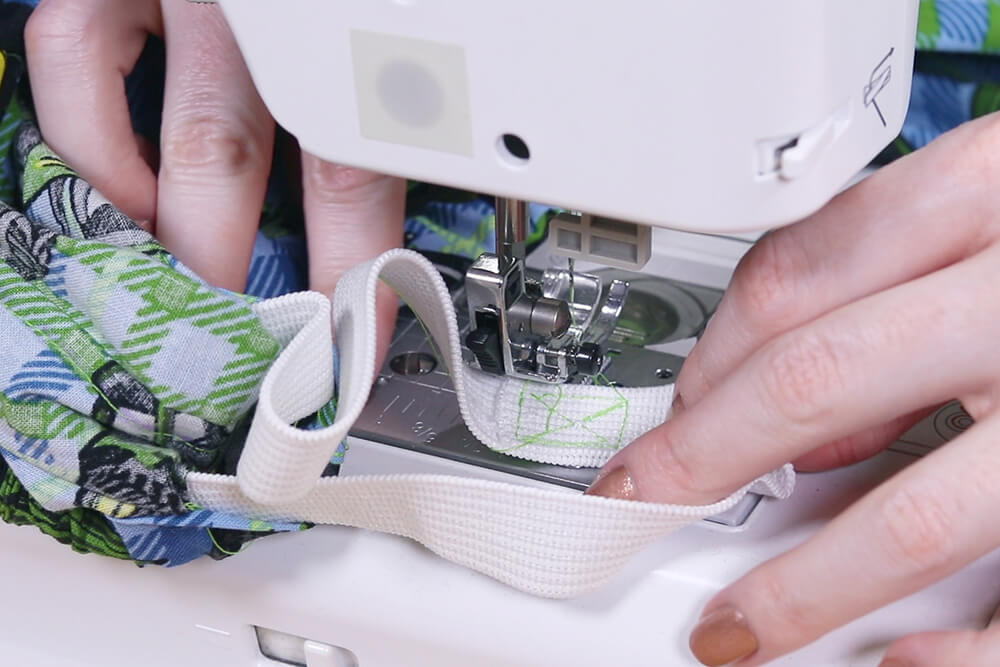
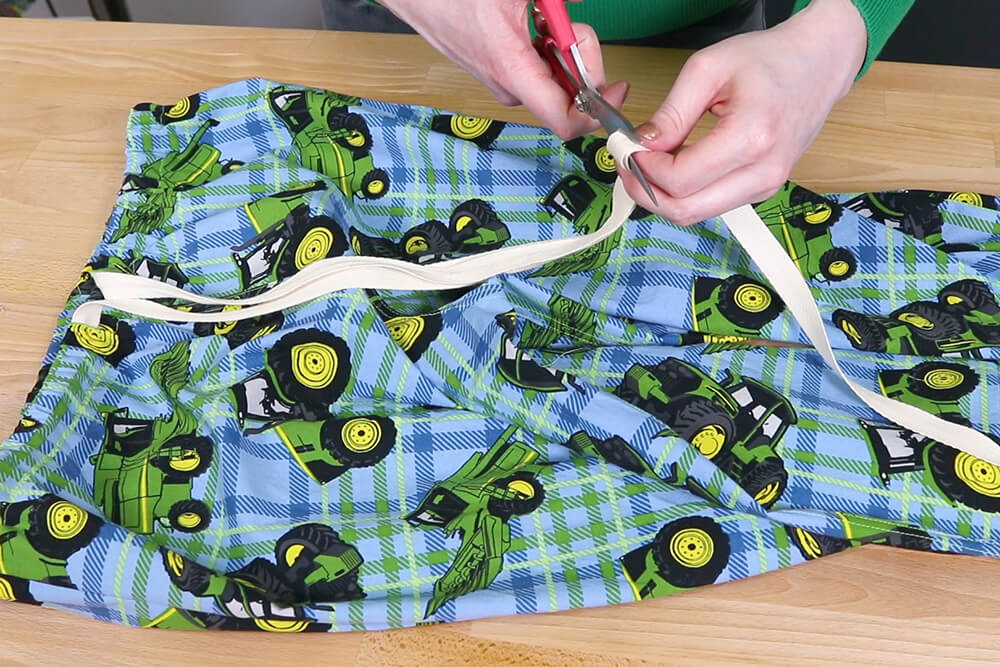
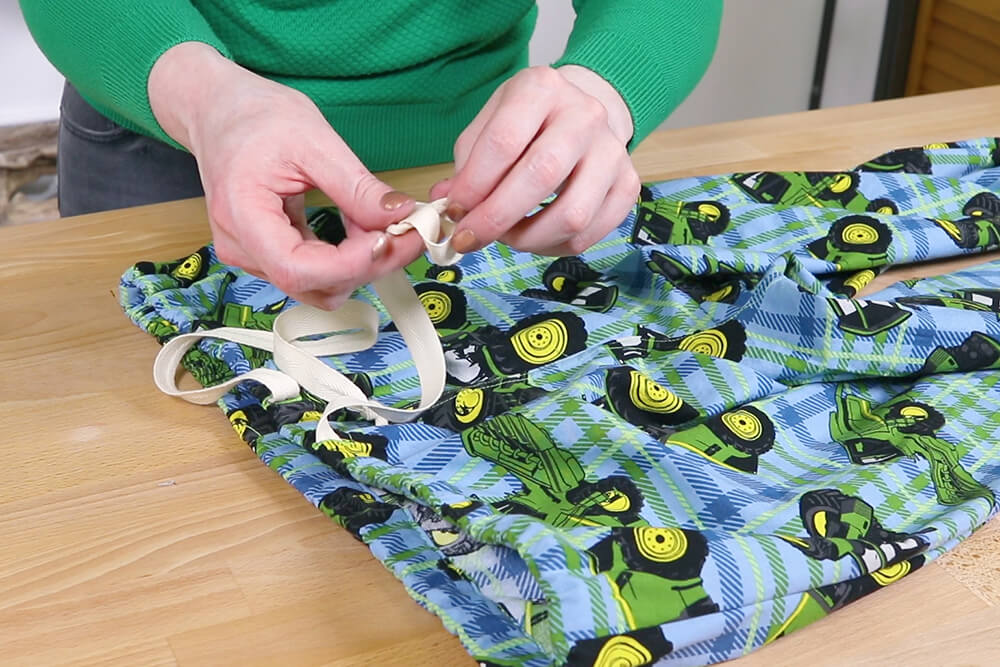
Attach a safety pin to the end of your drawstring and guide it through the buttonholes. I’m using a cotton ribbon, but you can use any ribbon or bias tape.
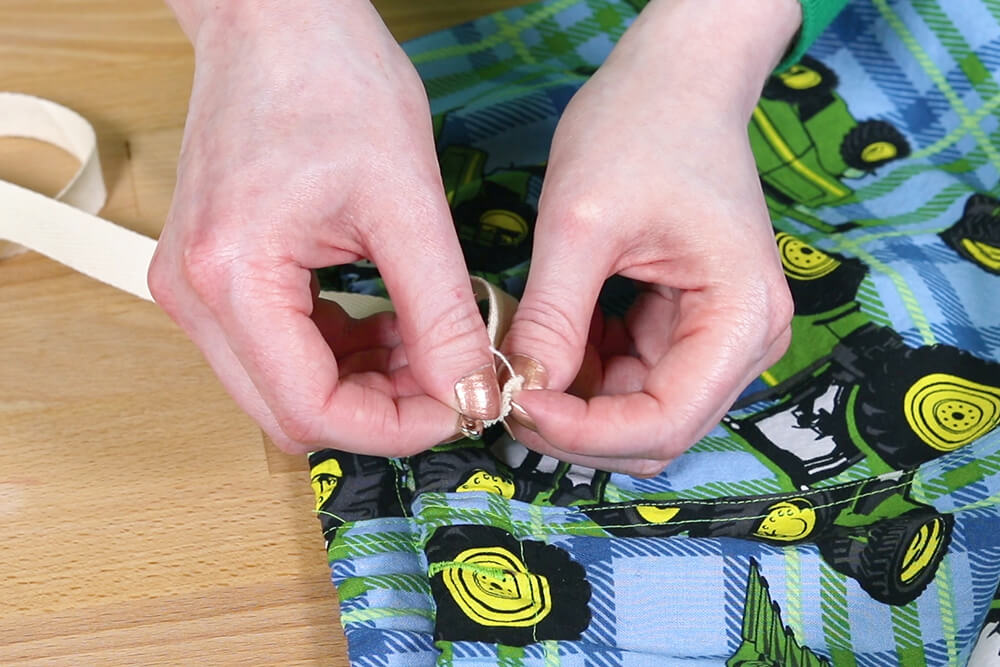

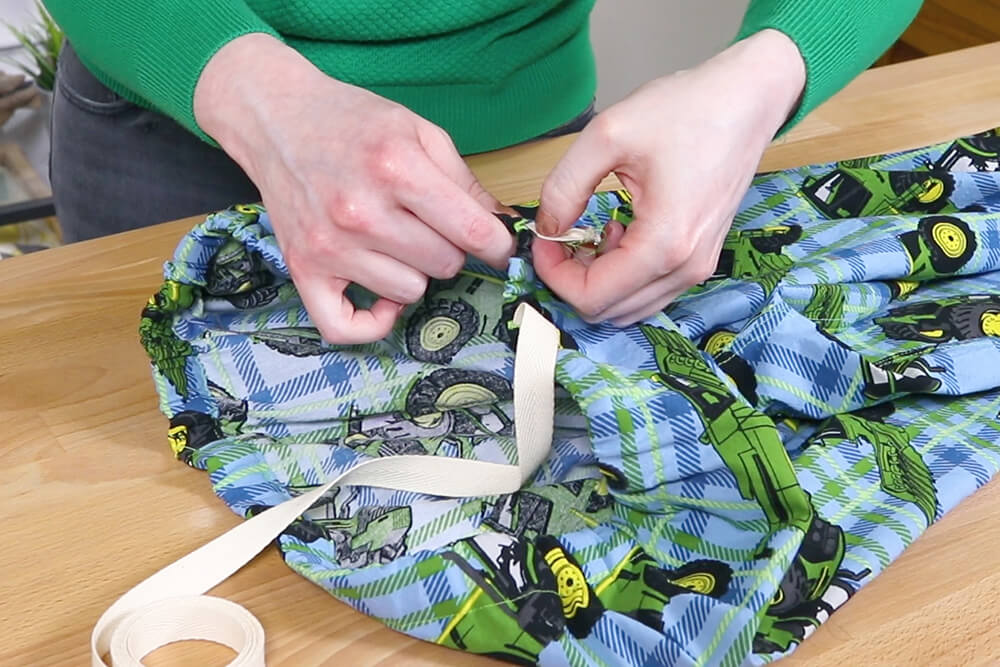
Cut the drawstring to the length you want and knot the ends.
And you’re done!
Pick out the perfect cotton print for your pajamas.
-
{{#each productSuggestedQueries.results}}
- {{query}} {{/each}}
-
{{#each categories.results}}
- {{html title}} {{/each}}
{{html attributes.description}}
{{/if}}-
{{#each queries.results}}
- {{query}} {{/each}}