How to Sew a Buttonhole
- By OnlineFabricStore
- Beginner
Buttonholes can be intimidating but they’re not as hard as you might think, you just need a bit of planning and patience. This method uses a sewing machine, but you won’t need any special attachments.
Materials
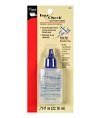
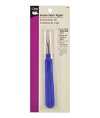
Related Products


Video
Instructions
Step 1: Prepare the buttonhole
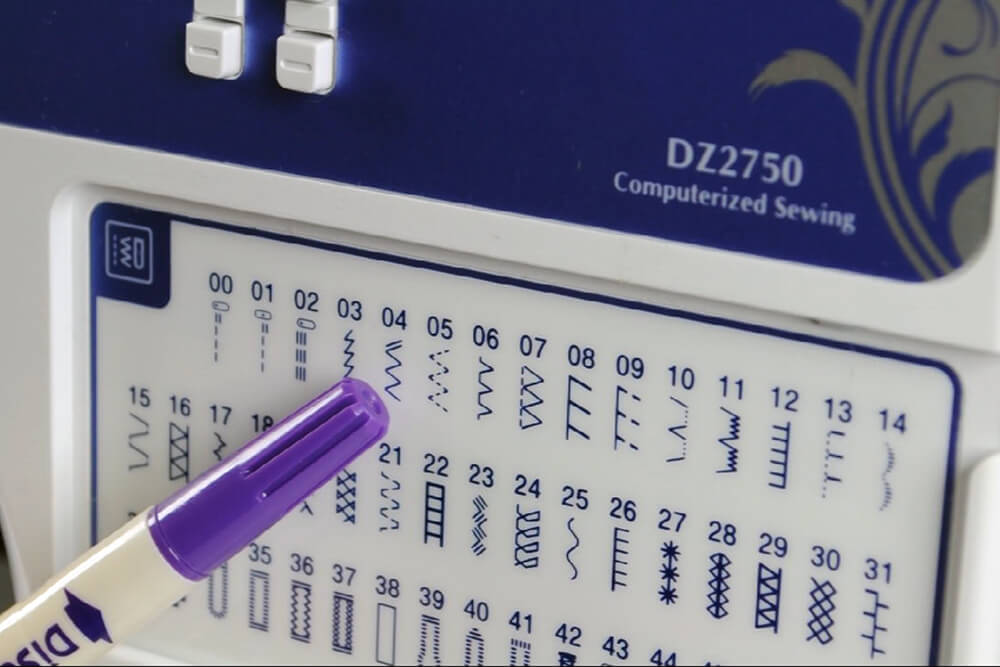
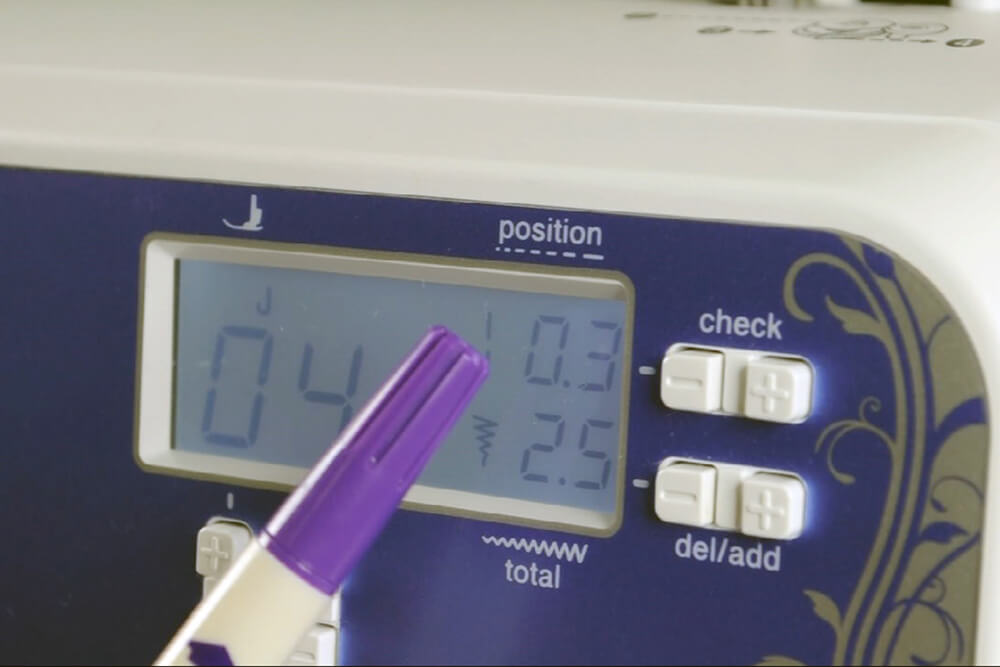
For this example, we’ll be using a standard zigzag stitch at .3 for the length and 2.5 for the width.
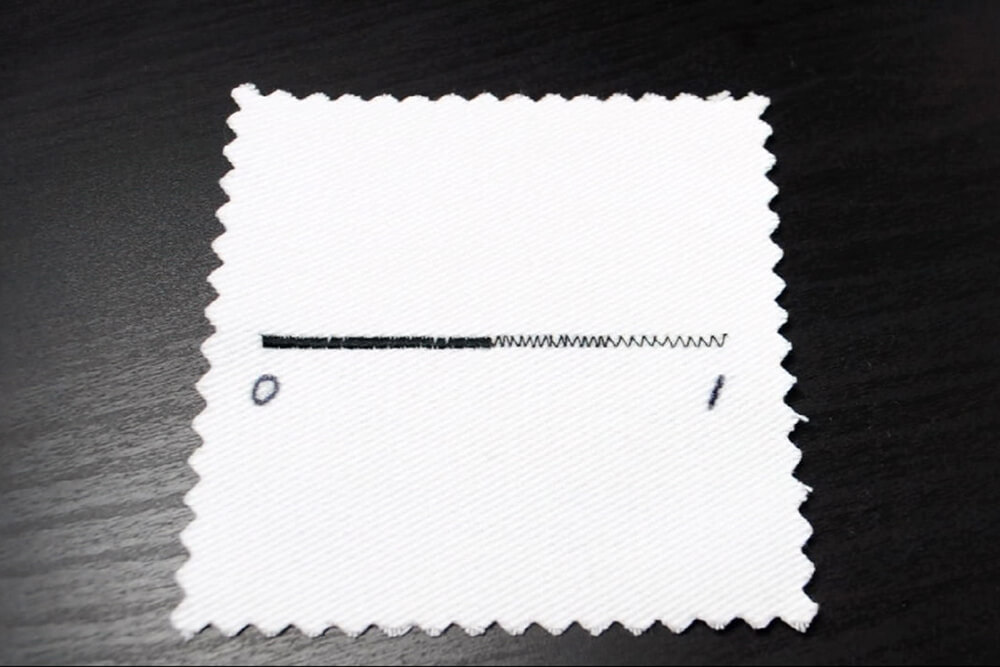
The example below shows the difference in stitch length between 0 and 1.
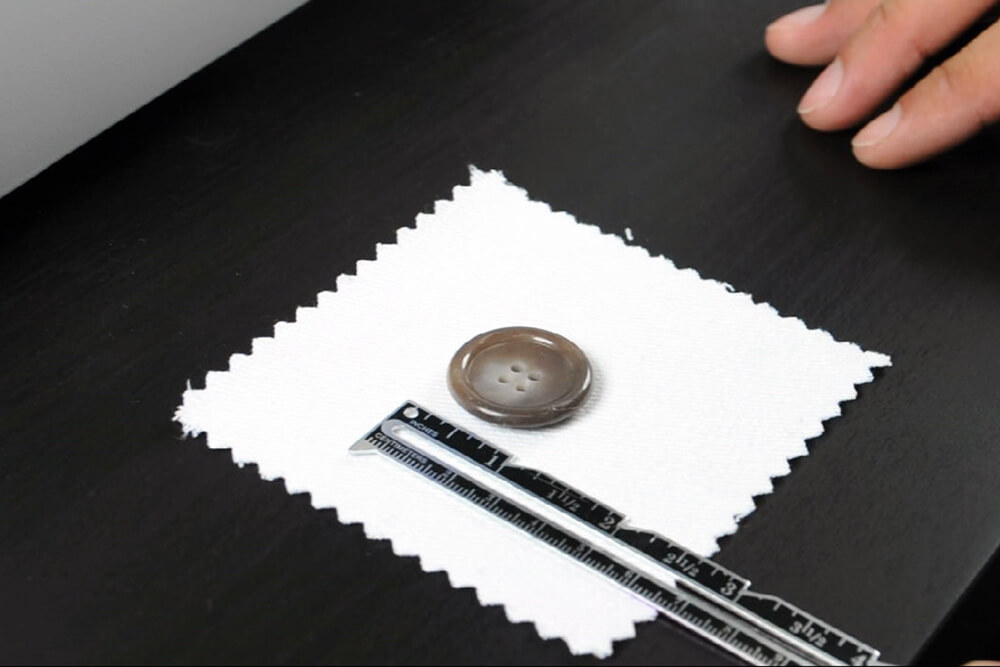
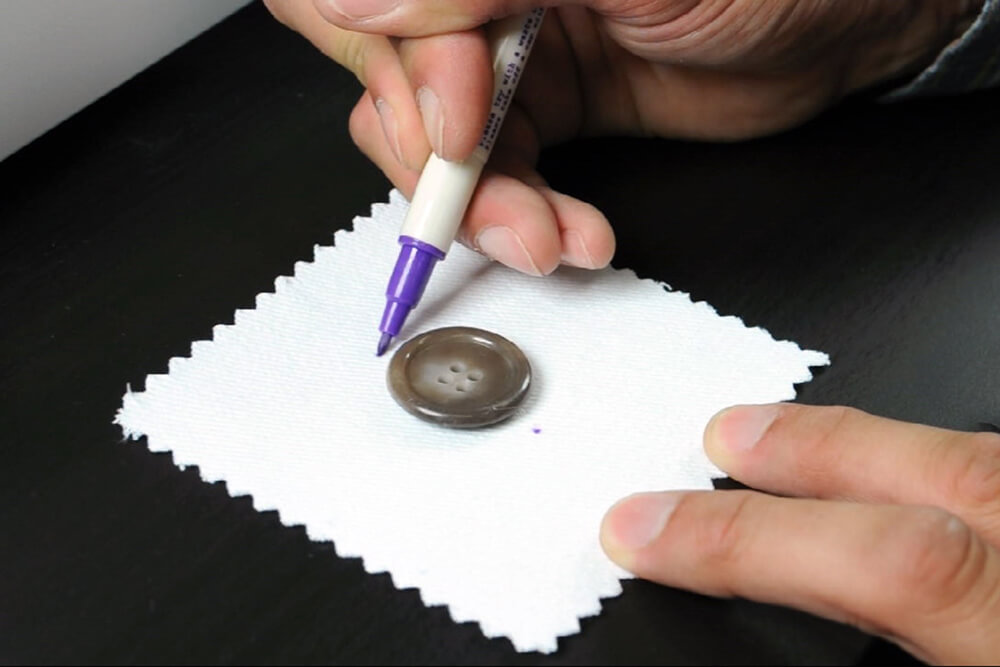
A good rule of thumb for measuring the length of the hole is to add 1/8th of an inch to the sum of the height and thickness of the button.
Next, measure out the button. I’ll be adding 1/8th of an inch on top and below the button to account for the thickness.
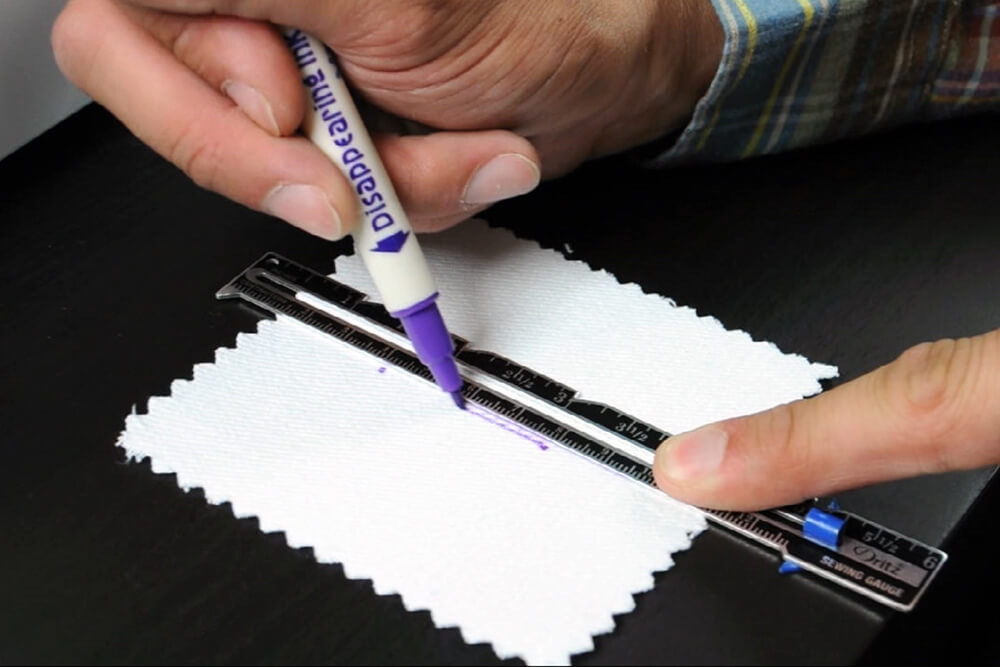
Mark the top and bottom of your buttonhole length and connect the dots with a straight line.
Step 2: Sew the buttonhole
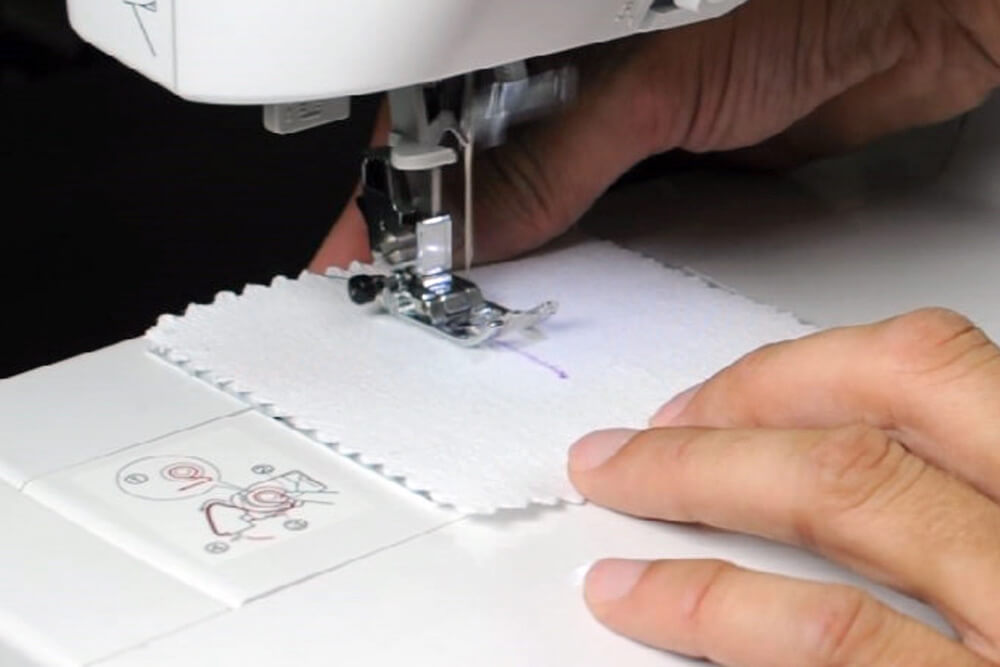
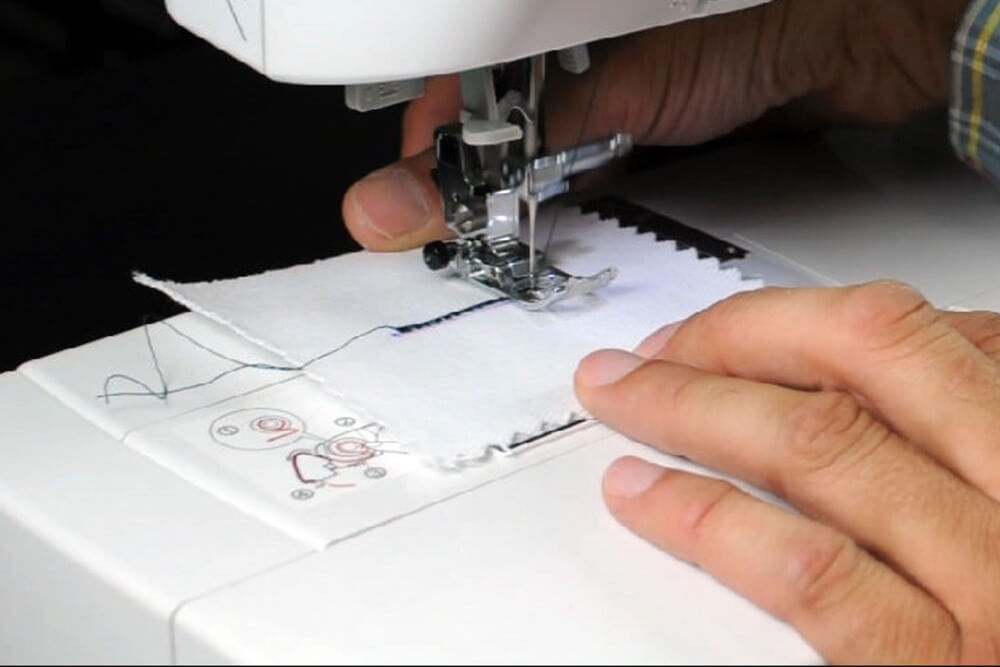
You may want to lower the needle first so you’re sure of a proper alignment.
Now we’re ready to sew. Align your fabric with the needle positioned to the left, as we’ll be sewing to the right. Once you’re in position, lower the needle and foot.
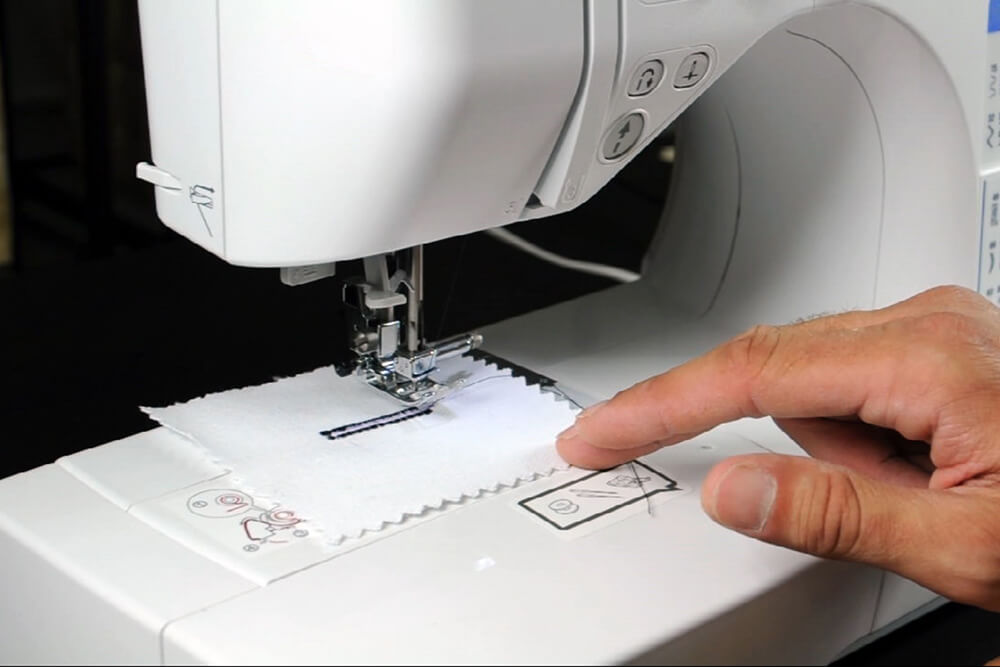
Sew at a comfortable speed and stay as straight as possible. When you reach the bottom, make sure to have the needle lowered and all the way to your right as you’ll next be sewing to the left. Raise the foot and rotate the fabric counter-clockwise.
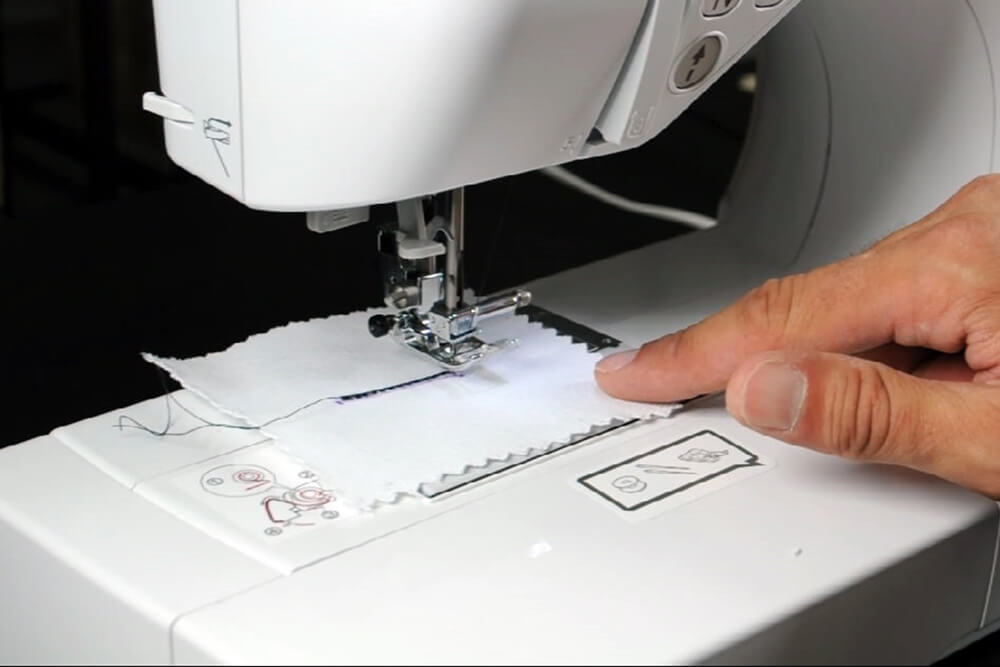
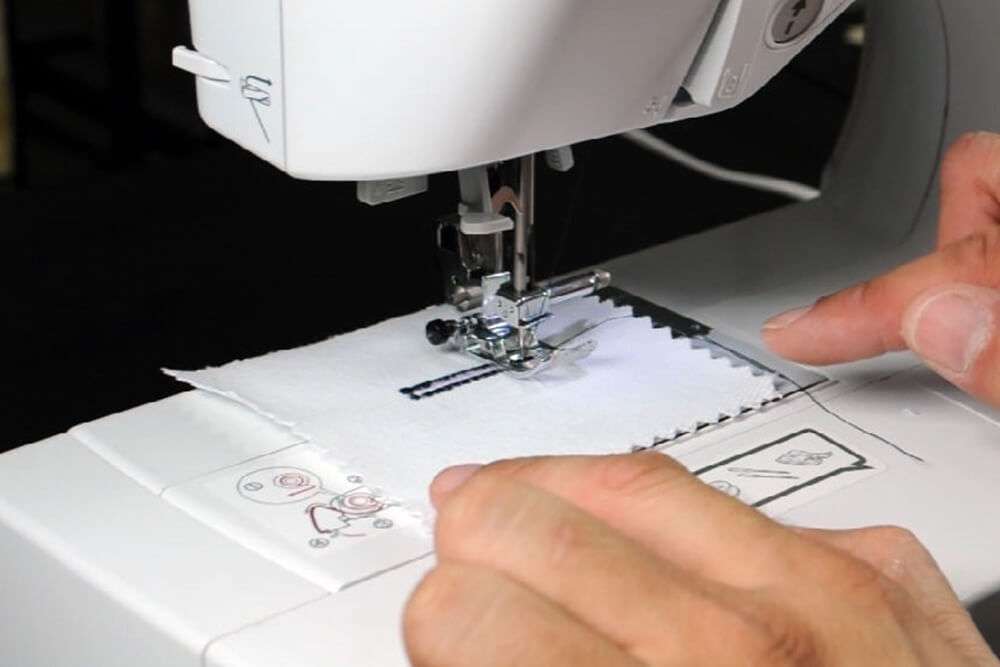
Lower the foot again and sew about 10 stitches to construct the bottom bar tack.
Position the needle on the right like before, raise the foot, and rotate counter clockwise again.
Lower the foot and sew the other side. When you get to the top, position the needle and raise the foot. Rotate one last time and sew another 10 stitches for the top bar tacks.
Now you’re finished with the sewing. Clean up any loose threads if necessary.
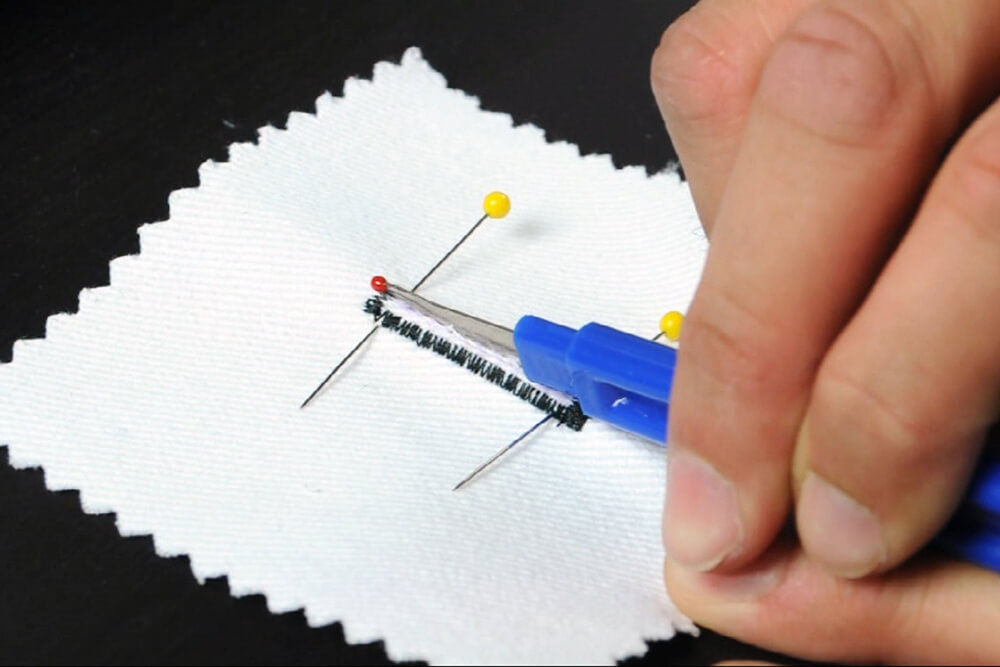
Step 3: Cut the opening
Before opening the hole, you’ll probably want to use pins at the top and bottom to avoid cutting too far.
Once the pins are in place, use a seam ripper and open up the hole. Again, clean up loose thread if necessary.
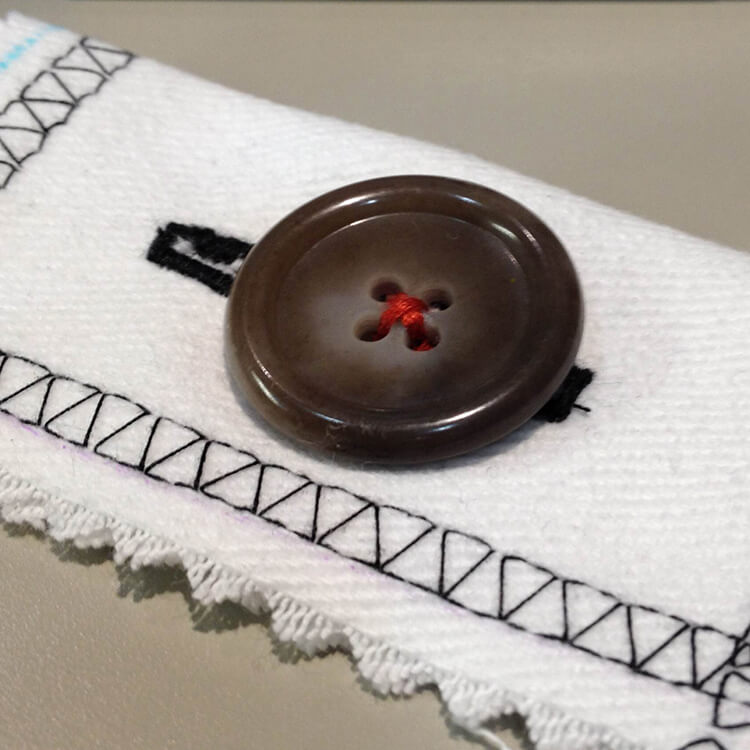
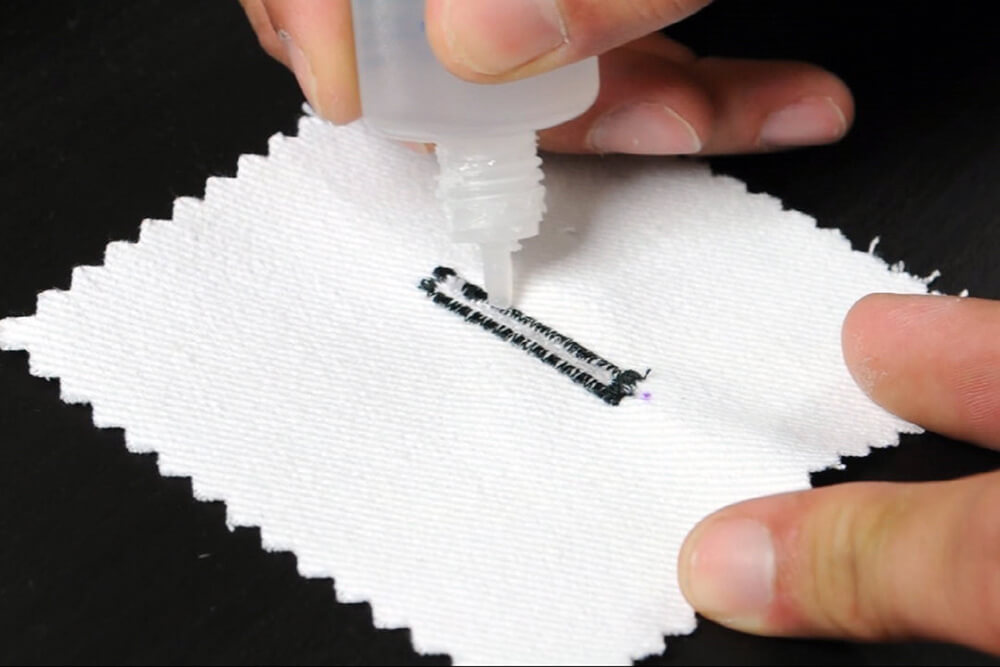
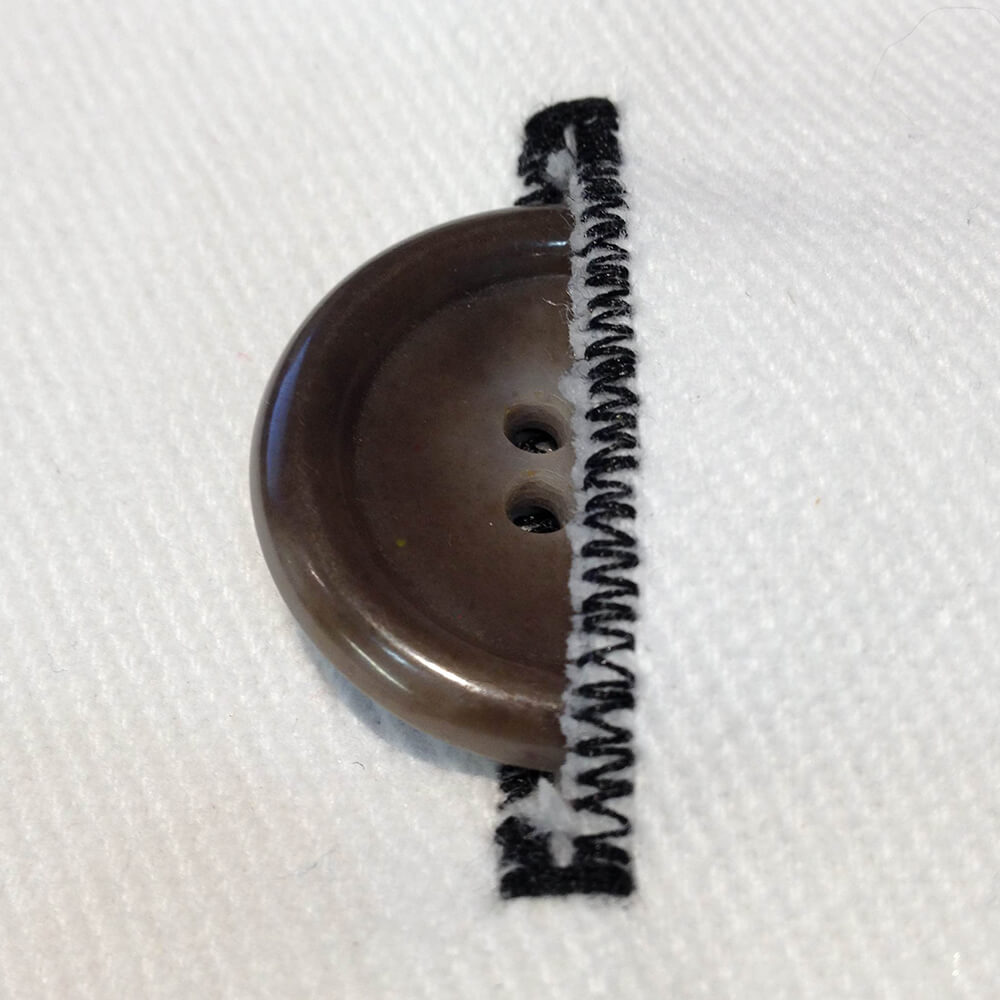
Optionally, you can use fray check along the hole to prevent any future fraying. The buttonhole is now complete.

Enjoy making your own clothes? Check out our selection of apparel fabric!
-
{{#each productSuggestedQueries.results}}
- {{query}} {{/each}}
-
{{#each categories.results}}
- {{html title}} {{/each}}
{{html attributes.description}}
{{/if}}-
{{#each queries.results}}
- {{query}} {{/each}}