How to Make Reusable Shopping Bags
- By Clara
- Beginner
- 45 minutes
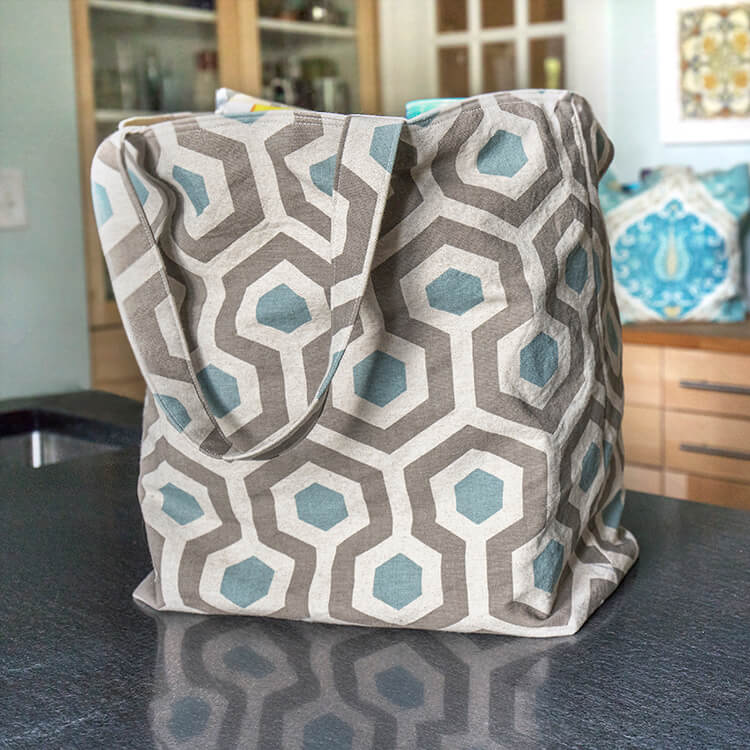
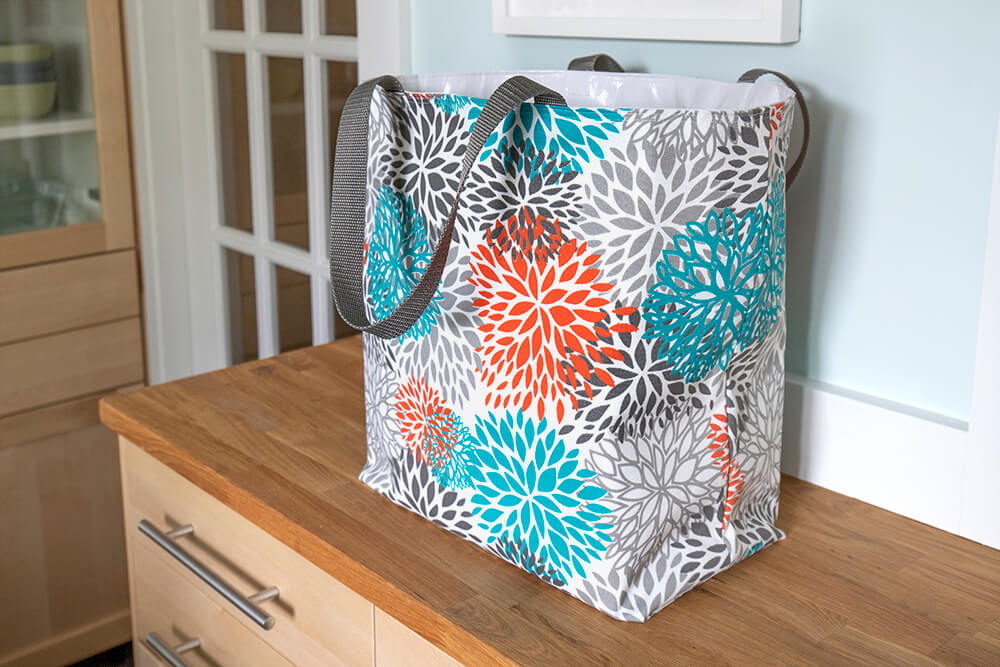
Reusable shopping bags are the green way to go! This tote bag can be used as a grocery bag, a farmer’s market bag, or a general shopping bag. The ones you buy from the grocery store tend to be pretty ugly and not that durable. By making your own, you can choose the fabric and they’re stronger than the store bought bags.
If you want to be able to machine wash your bags, cotton or cotton blend fabrics are good choices. I used drapery fabric but you can also use other medium weight fabrics like canvas, denim, or nylon pack cloth. You can use a lighter weight material for the lining if you want, but if you do it’s a good idea to back it with a medium weight fusible stabilizer.
My new favorite fabric combination to use is outdoor fabric with an oilcloth lining. These materials shouldn’t be machine washed, but the outdoor fabric is water and stain resistant and the oilcloth is waterproof and easily wipes clean.
Want to get the printable PDF instructions?
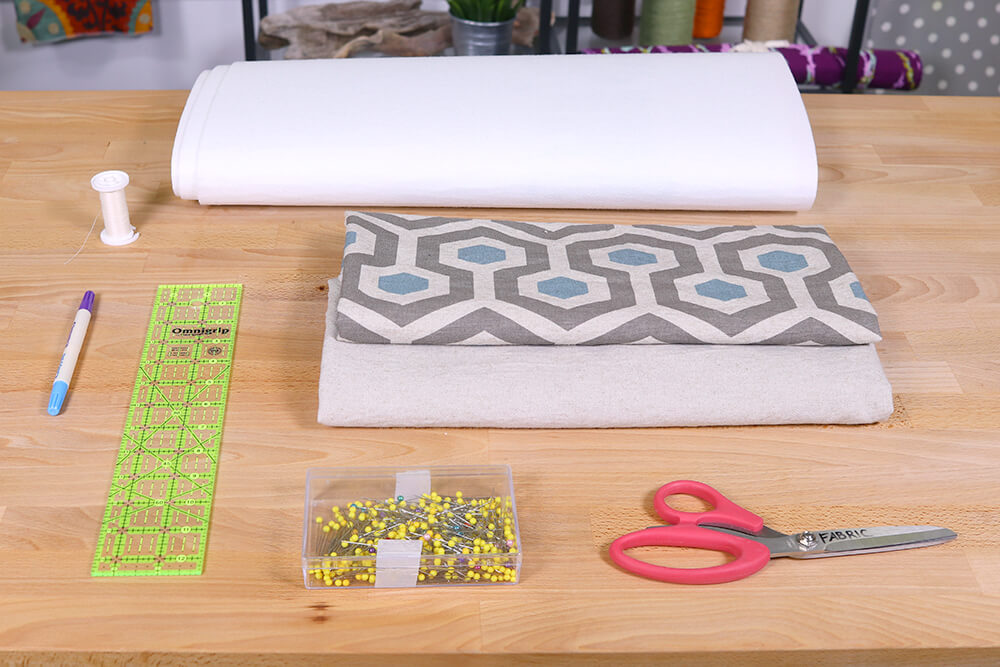
Materials
Related Products


Video
Instructions
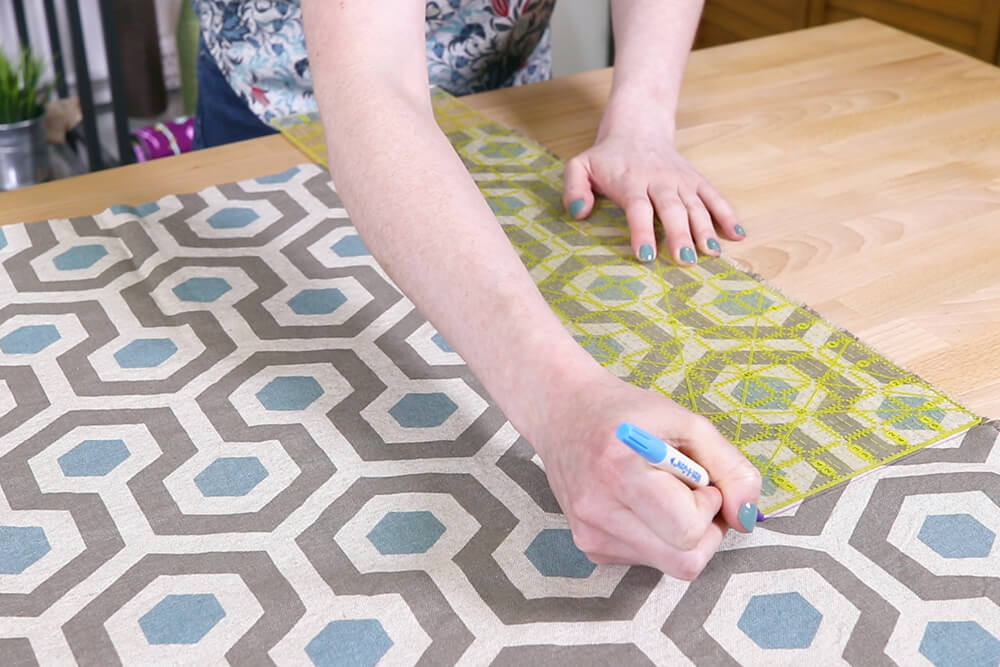
Step 1: Measure & cut the fabric
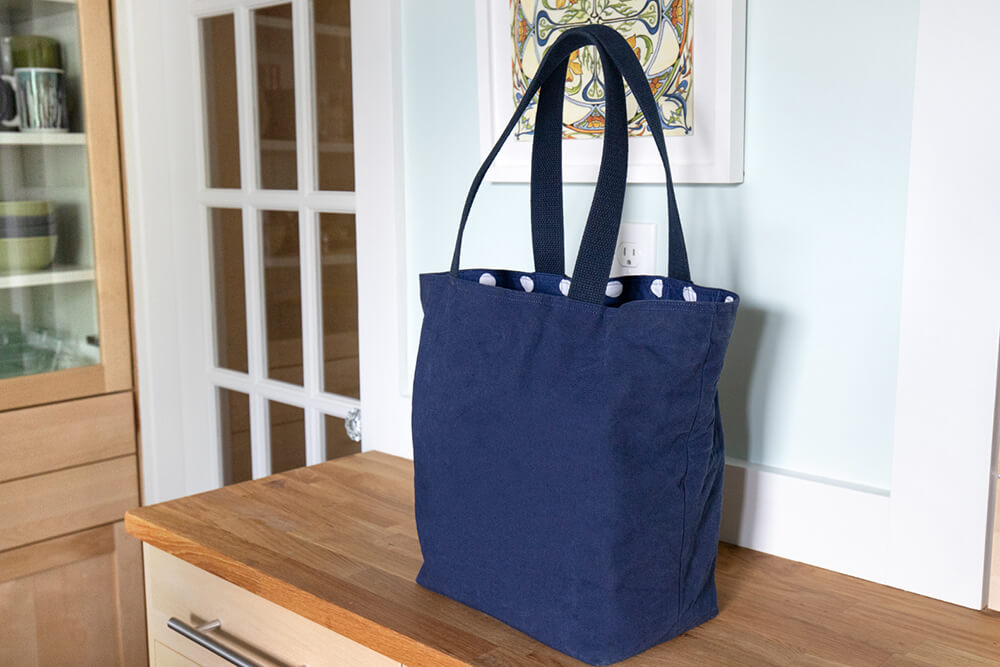
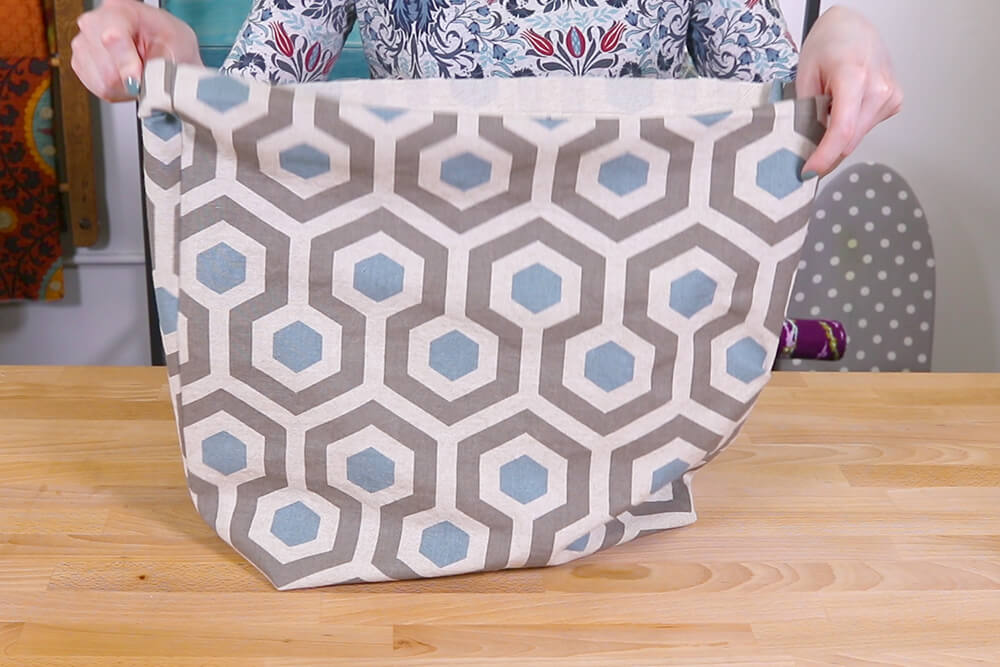
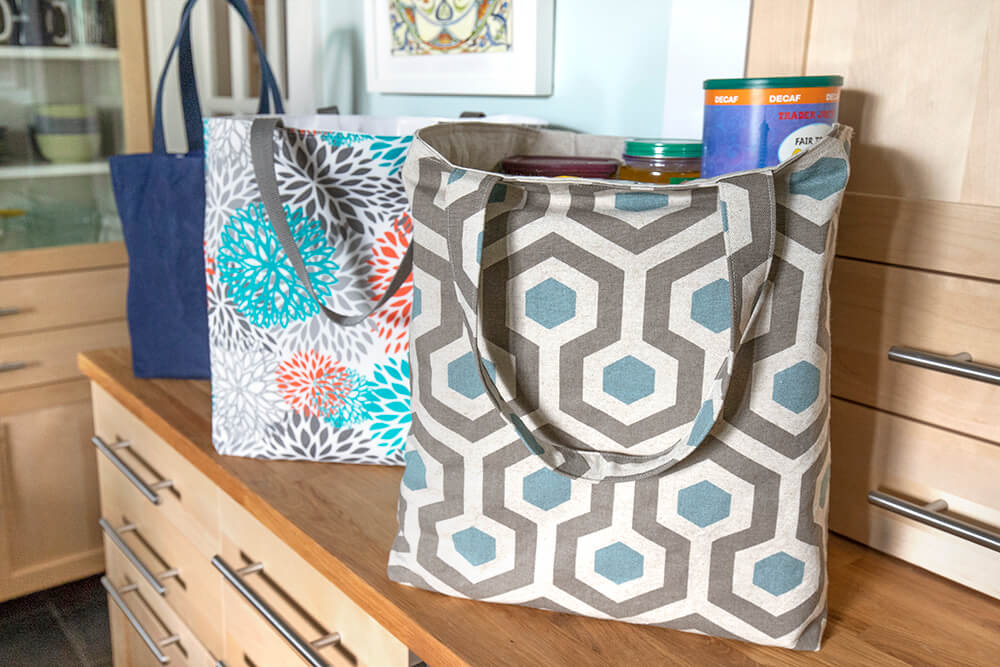
Update: I’ve been using these bags for groceries and LOVE the outdoor fabric with oilcloth lining bag! It stands up on it’s own because the oilcloth is stiff, which is helpful when loading it up. When milk leaked, it was easy to wipe clean. The size is great and I’ve been filling it it up with heavy stuff with no problems. Plus, it just looks great! (See it in the photos at the bottom of the page.)
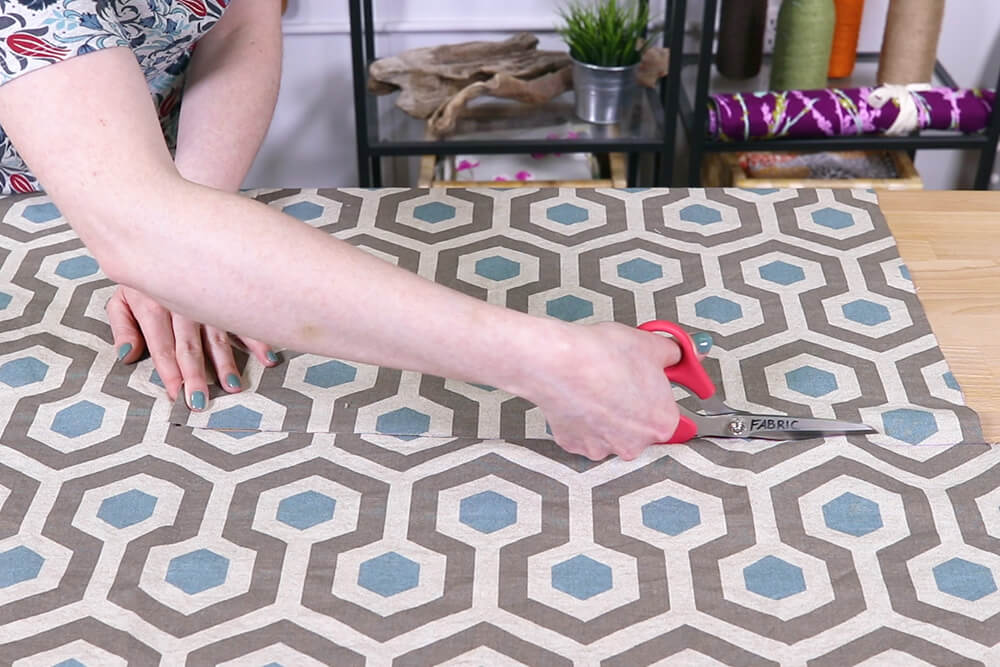
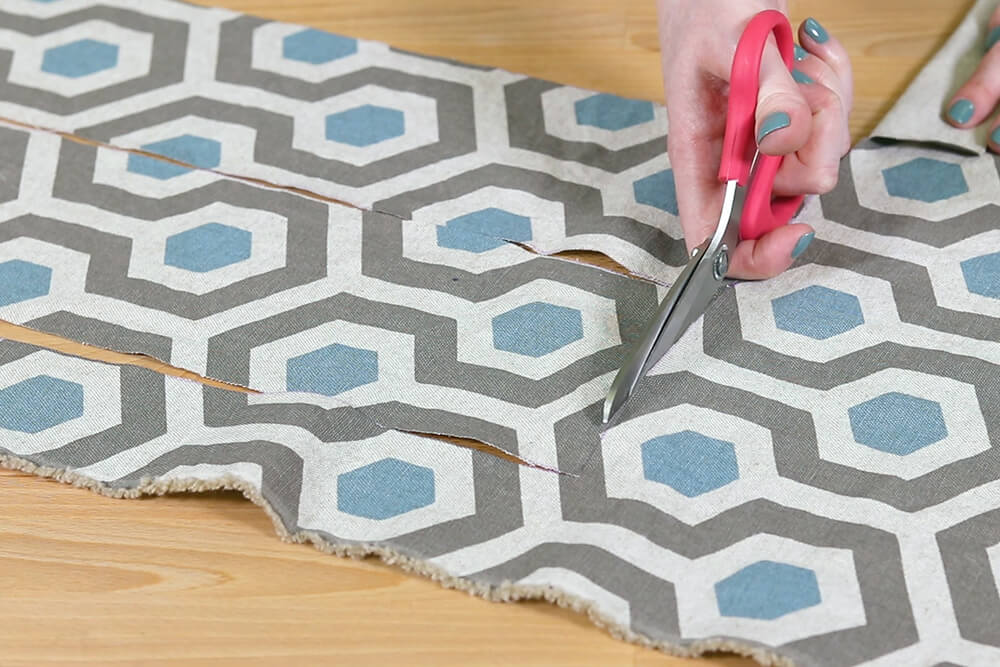
Always pre-wash your fabric if you plan on washing your tote bag in the future.
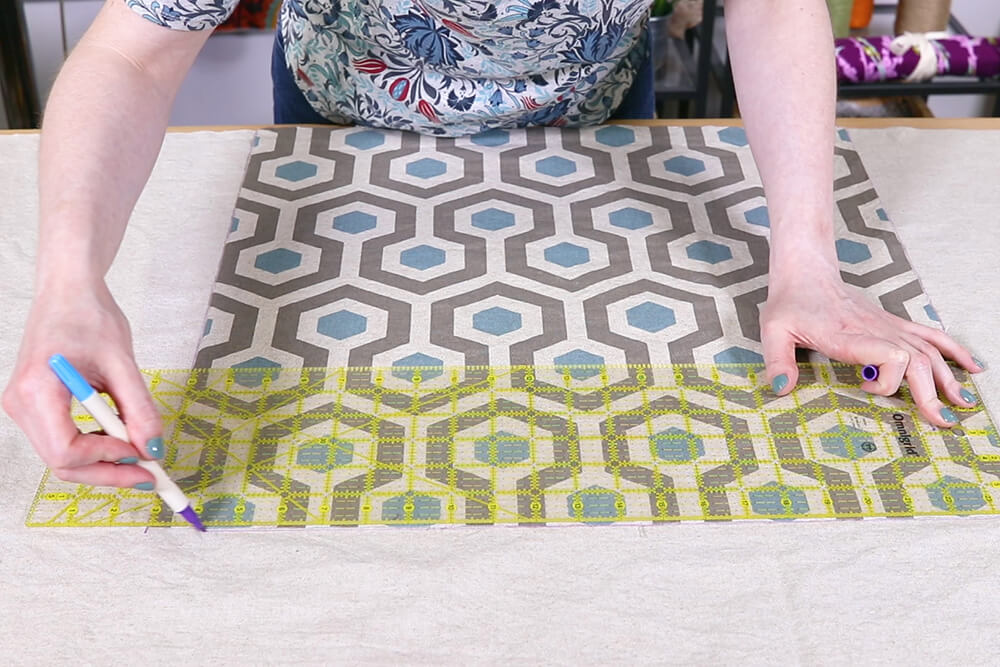
Measure and cut 2 pieces of the outer fabric that are 21″ wide and 20″ long.
I’m using medium weight home décor fabrics. Canvas is another good option for the outer fabric. You can use medium weight or lightweight fabrics for the lining, like broadcloth or quilting cotton.
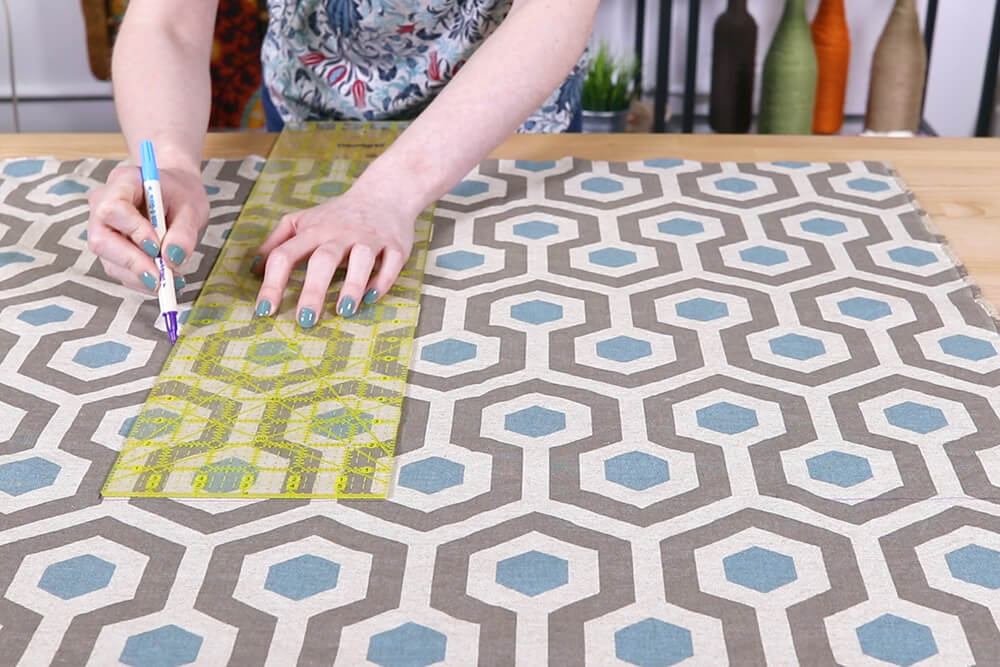
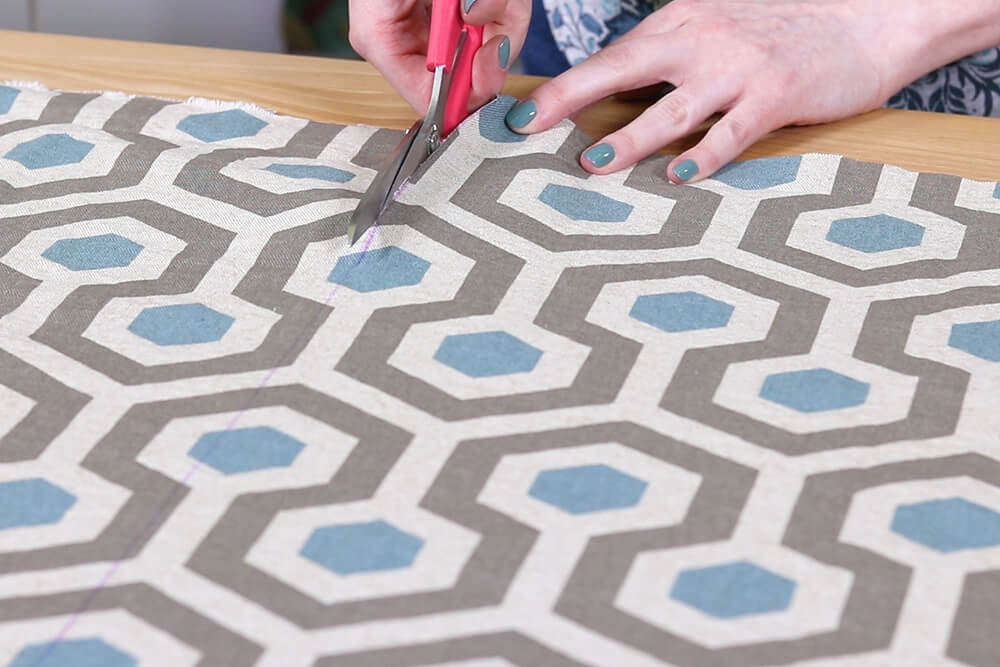
Cut 2 pieces of the lining that are also 21″ wide by 20″ in height.
The finished size of this bag will be 15″ tall, 13″ wide, and 7″ deep.

You can make your bag any size you want!
Here’s the formula for the width and height to help you get the size you want:
Height to cut fabric = Finished Height + (Finished Depth / 2) + 1.5″
Width to cut fabric = Finished Width + (Finished Depth) + 1″
Stabilizer = Finished Width by Finished Depth
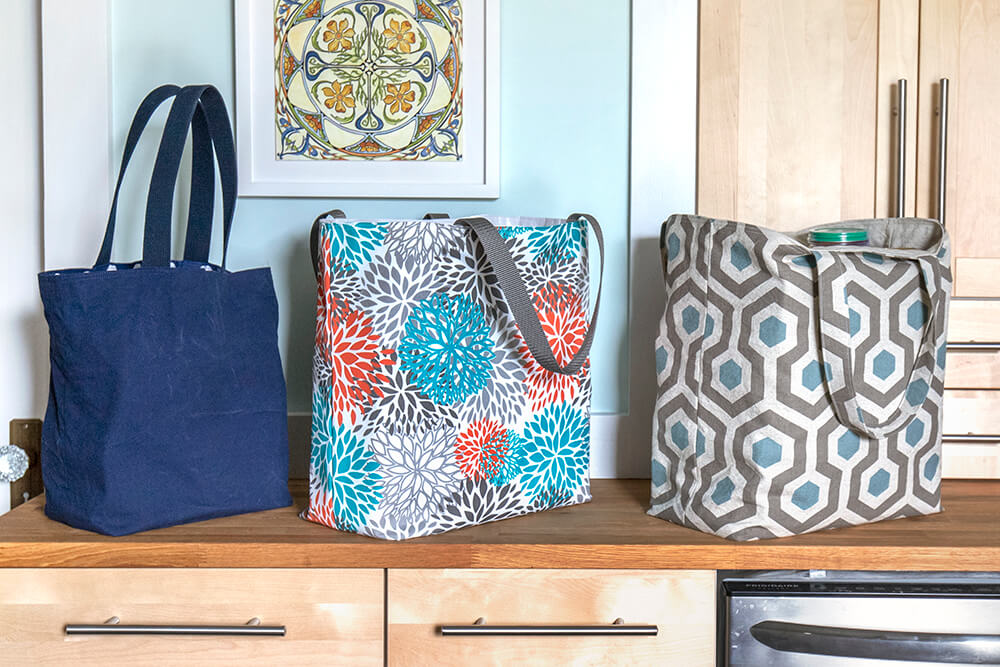
I made another smaller bag with canvas, a printed quilting cotton, and cotton webbing. This one is 12.5″ high by 10″ wide by 6″ deep. Cut 17″ squares to make this size.
You can use either the outer fabric or webbing for the handles. If you’re using the fabric, cut two pieces that are 5″ by 22″. If you’re using webbing, cut two 22″ pieces.

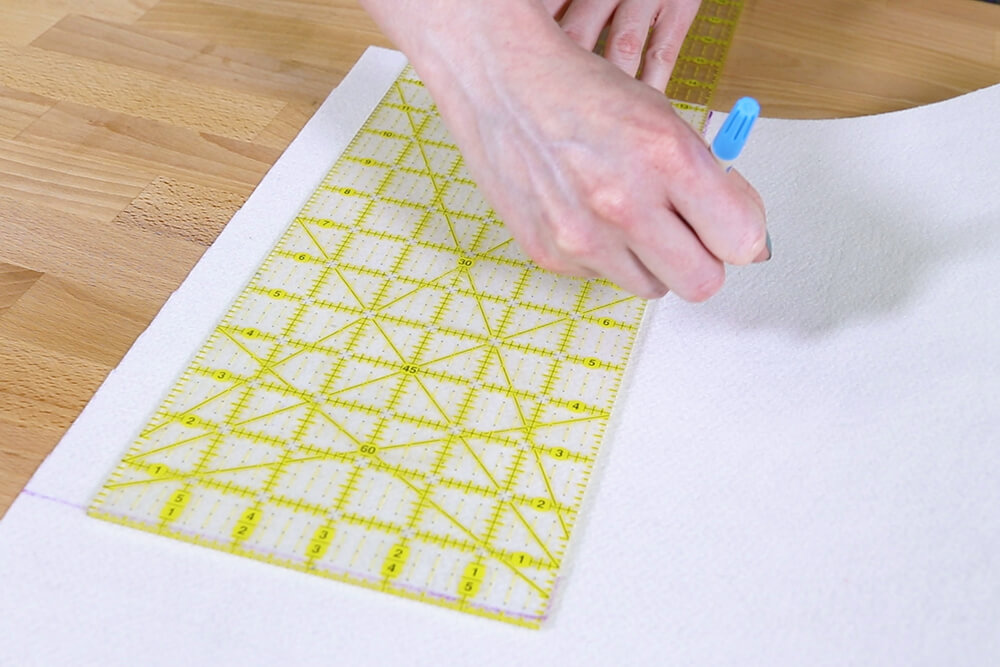
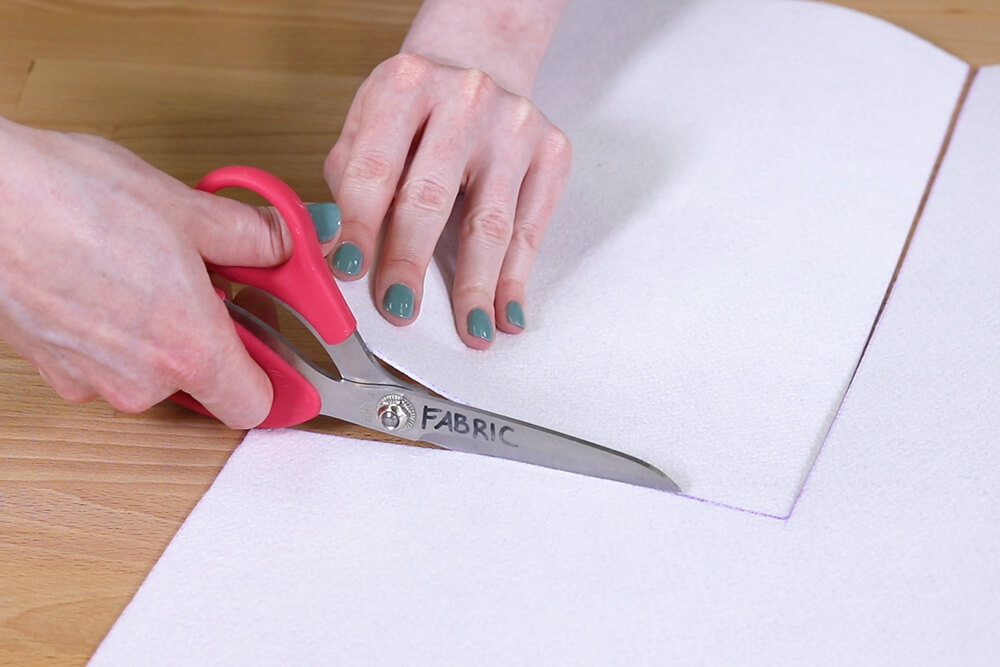
Cut a piece of Pellon #71F Peltex I Ultra Firm Fusible Stabilizer that is 7″ by 13″.
The stabilizer is optional, but it gives the bag a flat bottom that’s durable and easy to load up with groceries, or anything else.
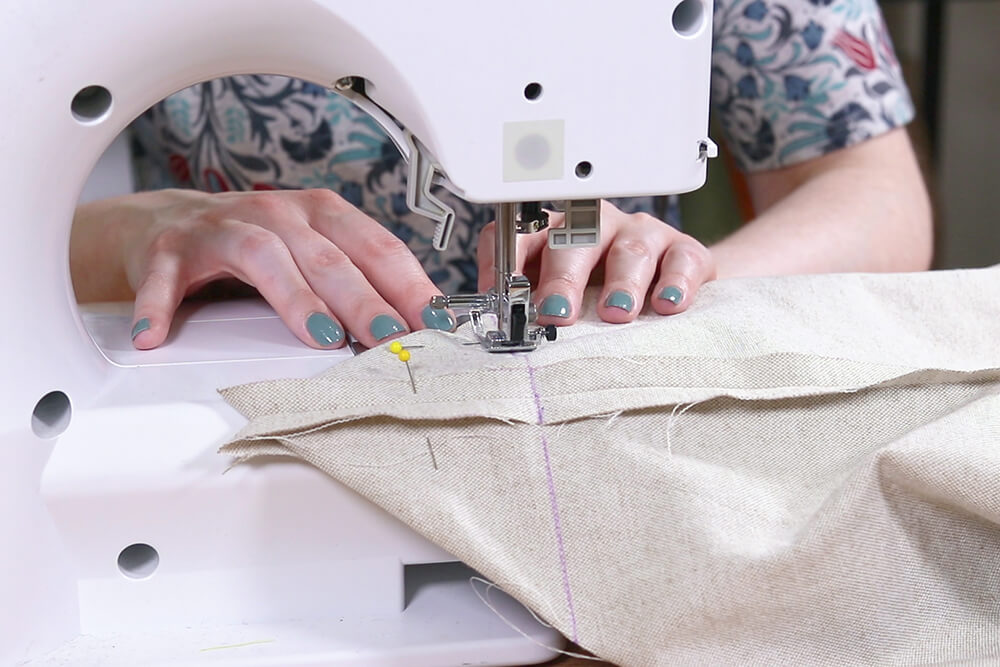
Step 2: Sew the outer fabric
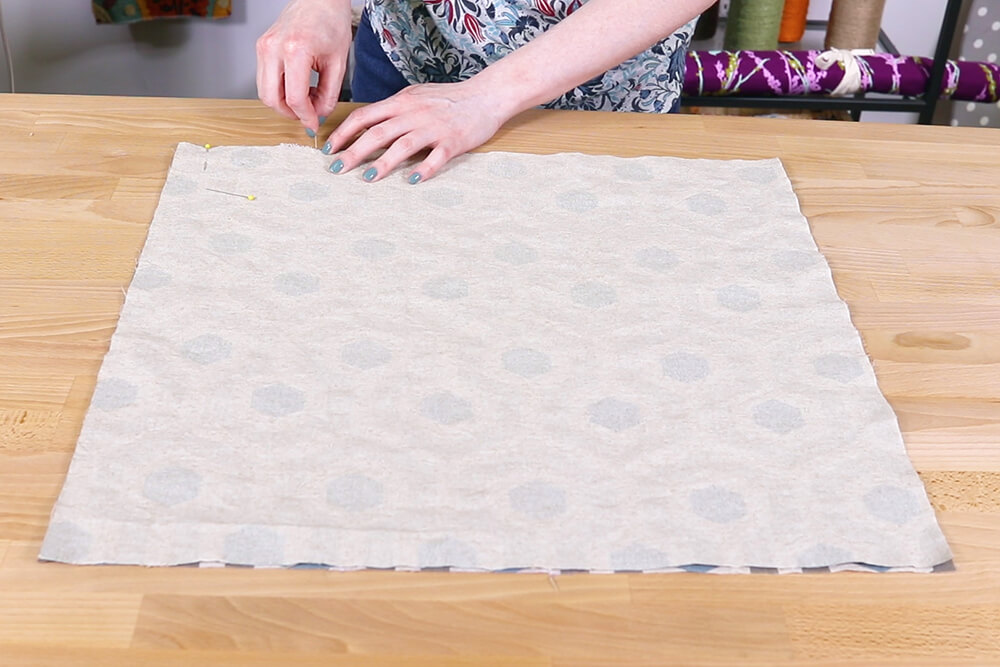
Line up the outer pieces with right sides facing and pin the bottom.
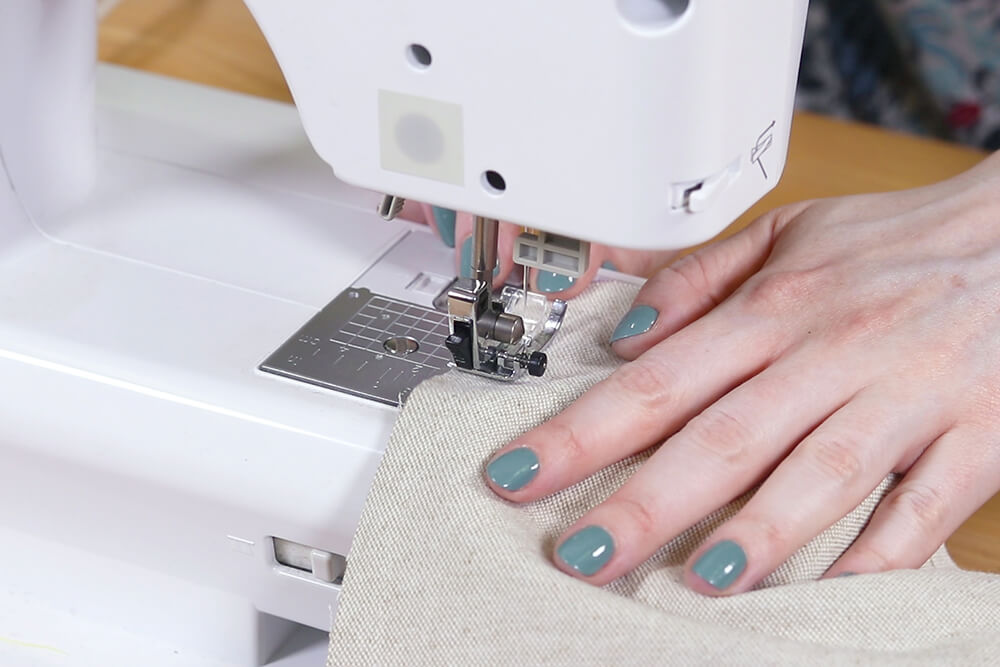
Sew across the bottom with a ½” seam allowance.
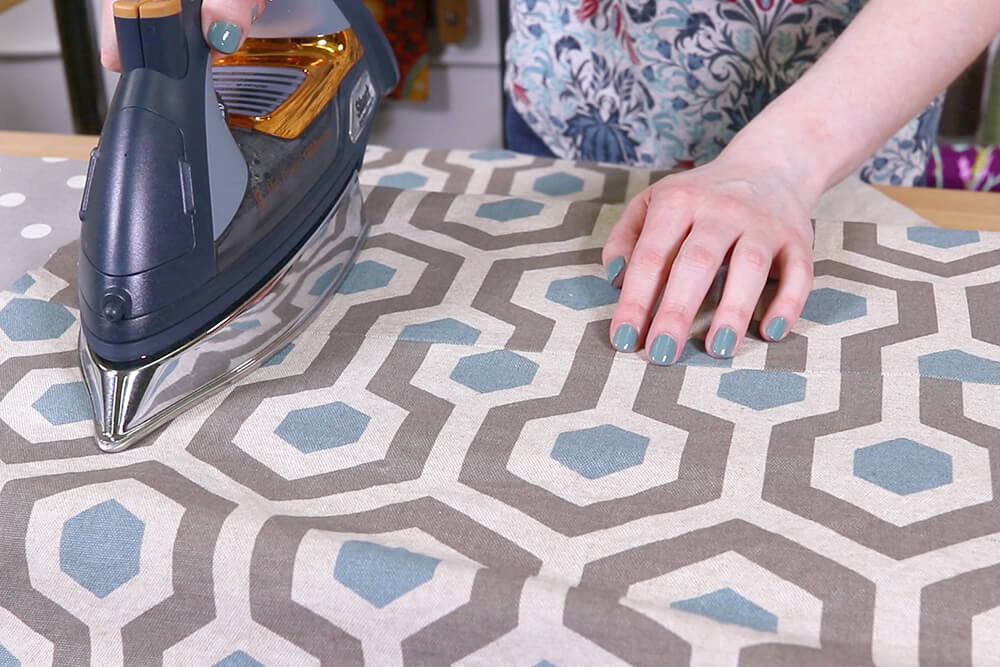
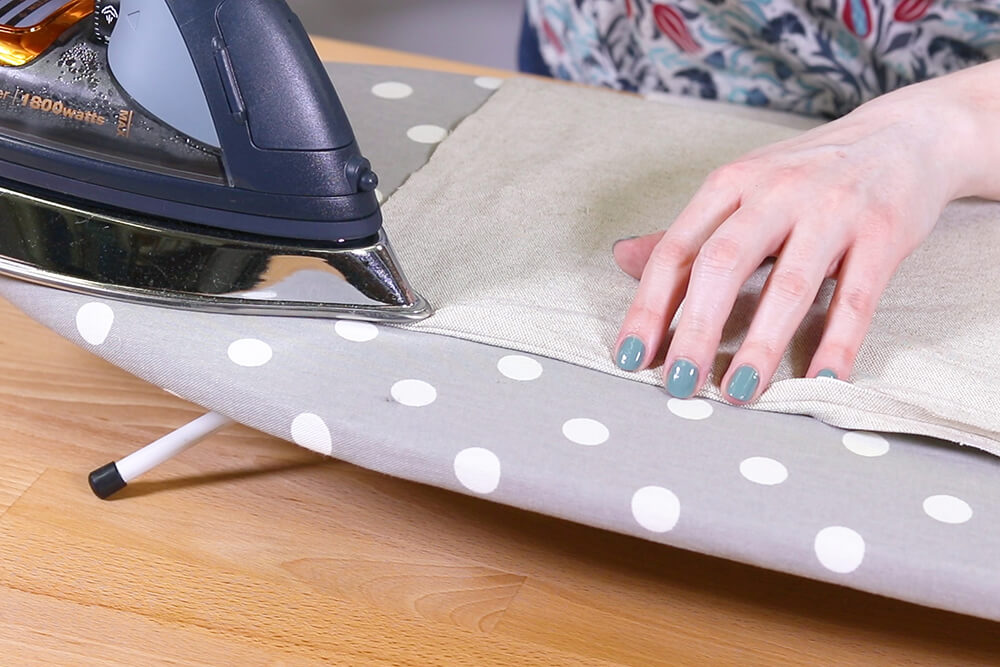
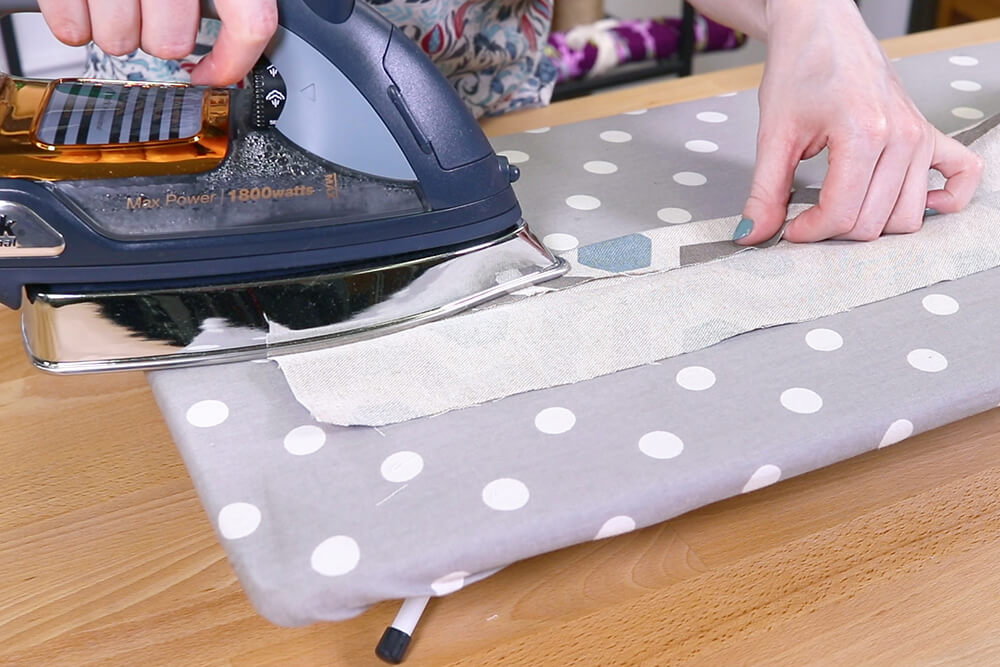
Press the seam open.
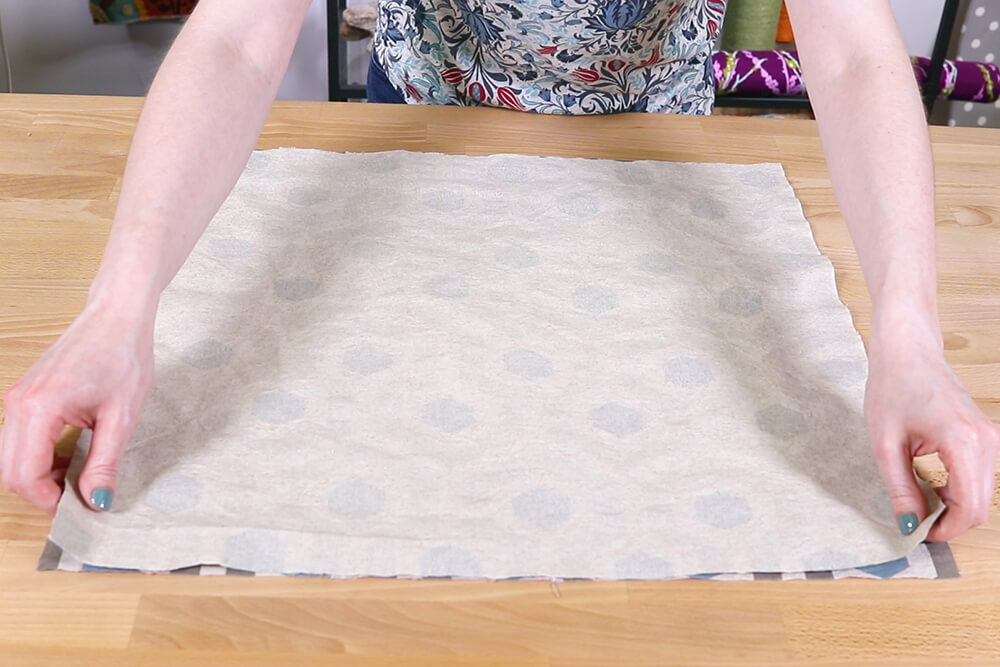
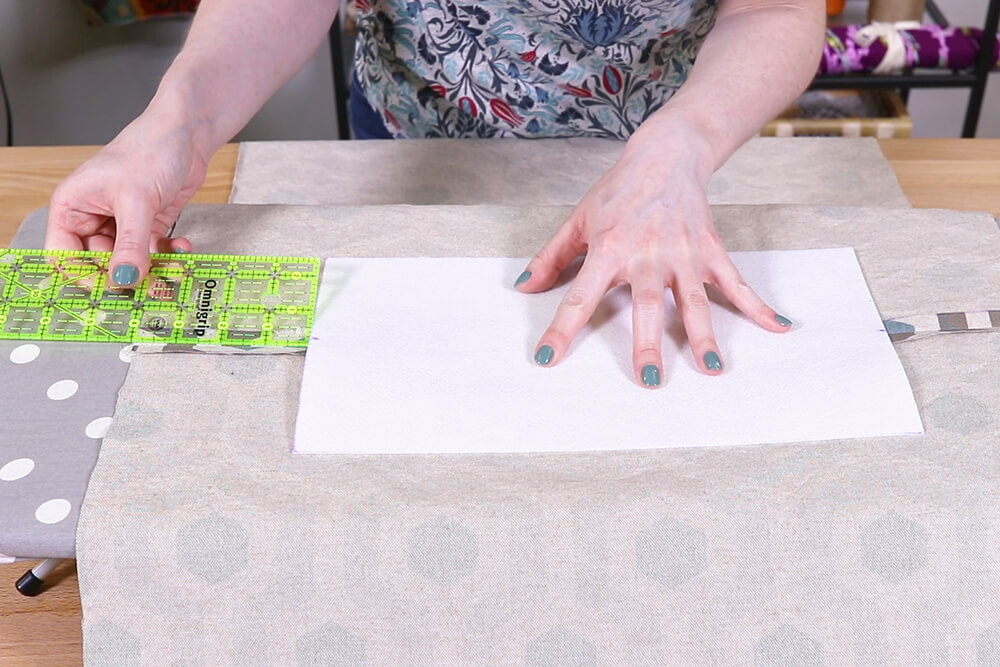
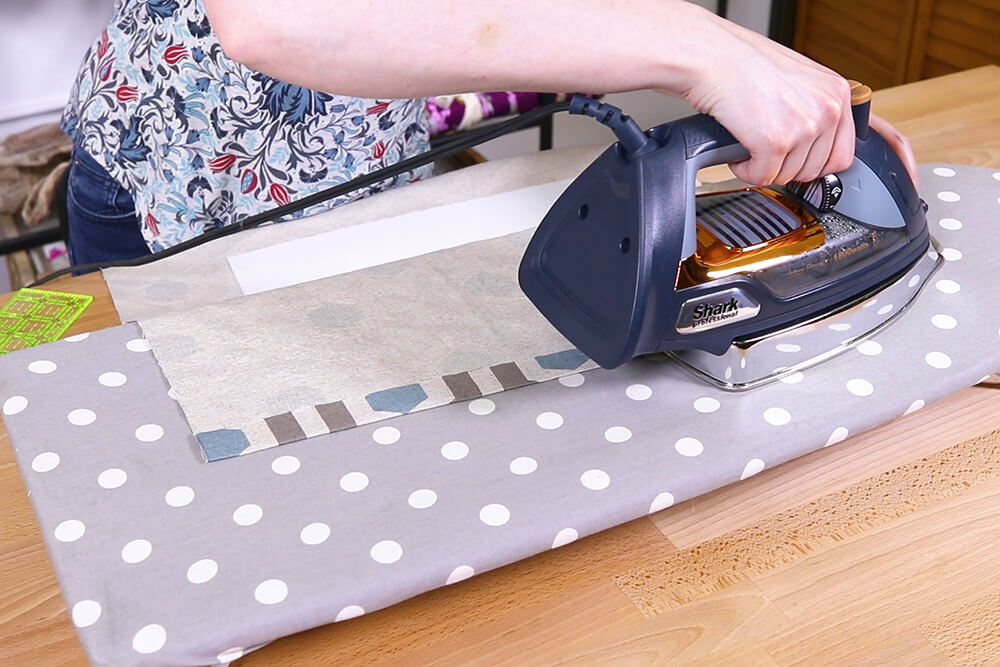
Mark the center of the stabilizer on the short ends. Line it up on the bottom seam so it’s centered.
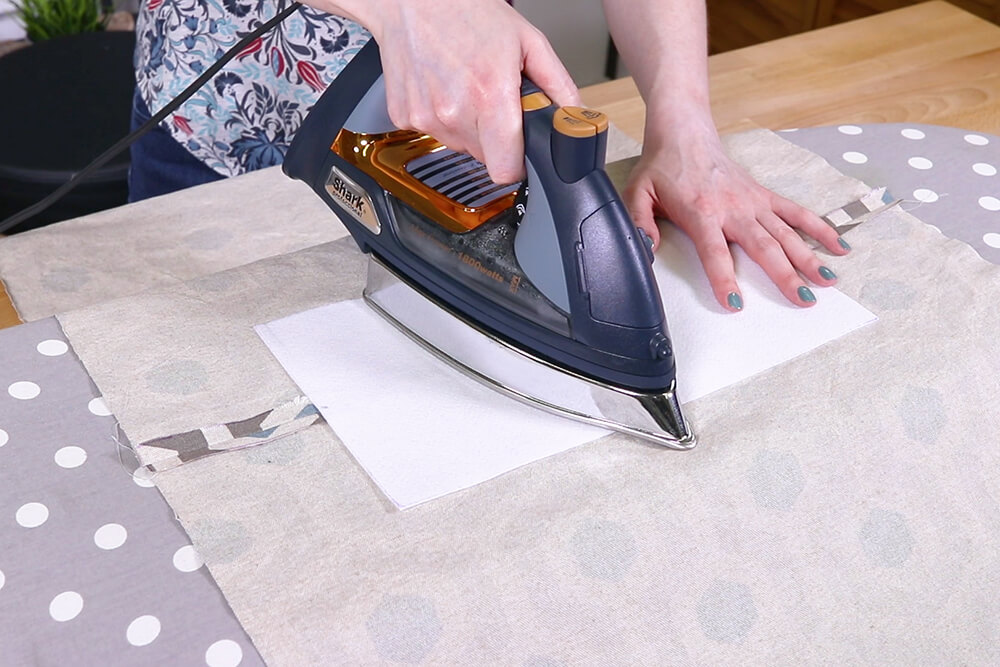
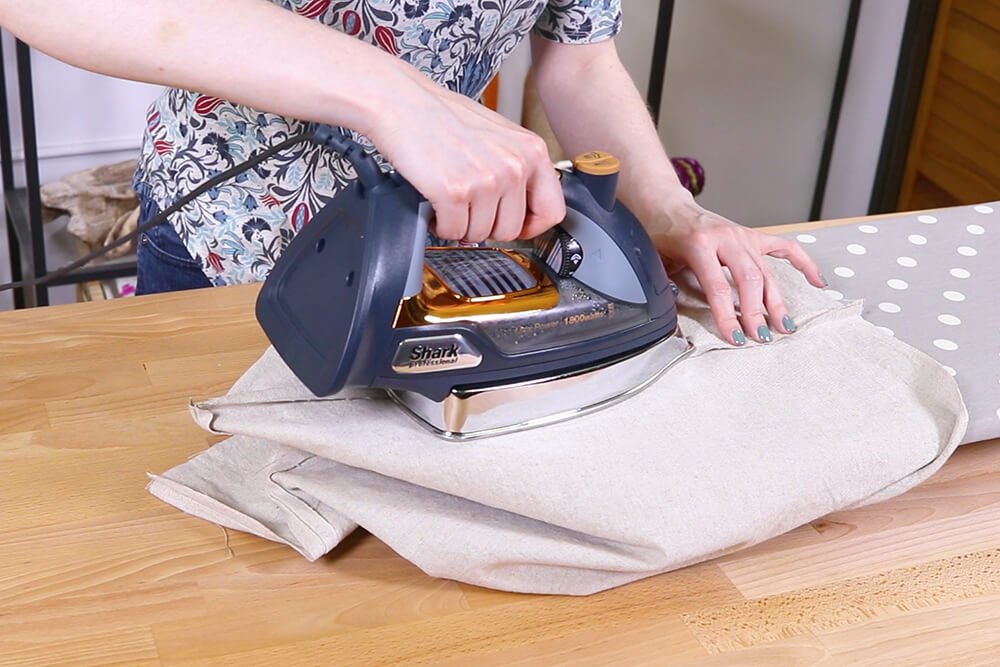
Iron to fuse the stabilizer. Keep the iron on one section for 10 seconds, lift the iron and hold it on the next section until the entire piece is fused.
Flip over and repeat on the other side.
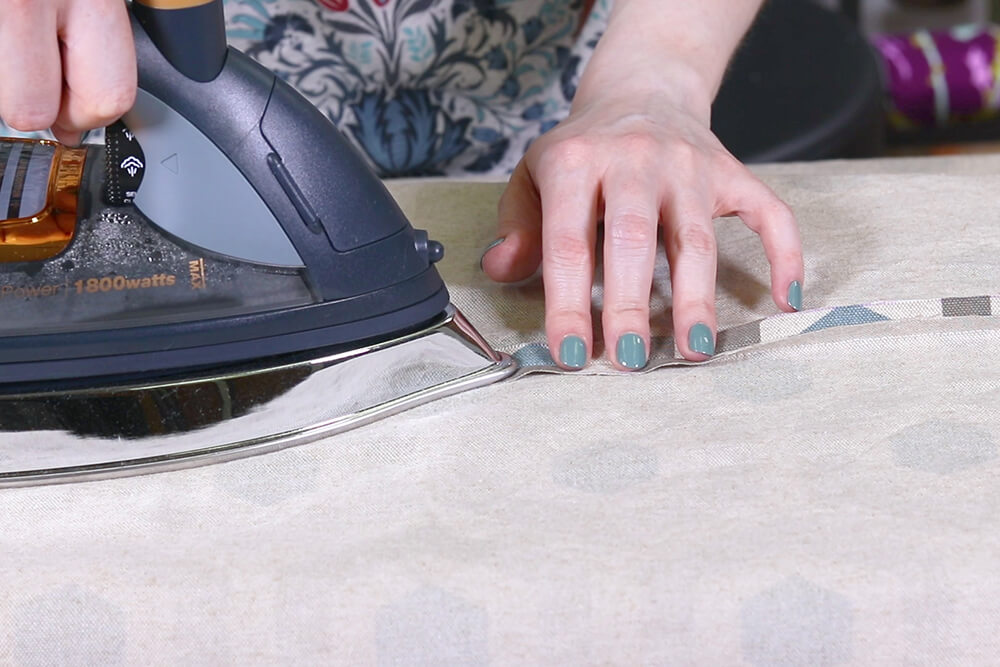
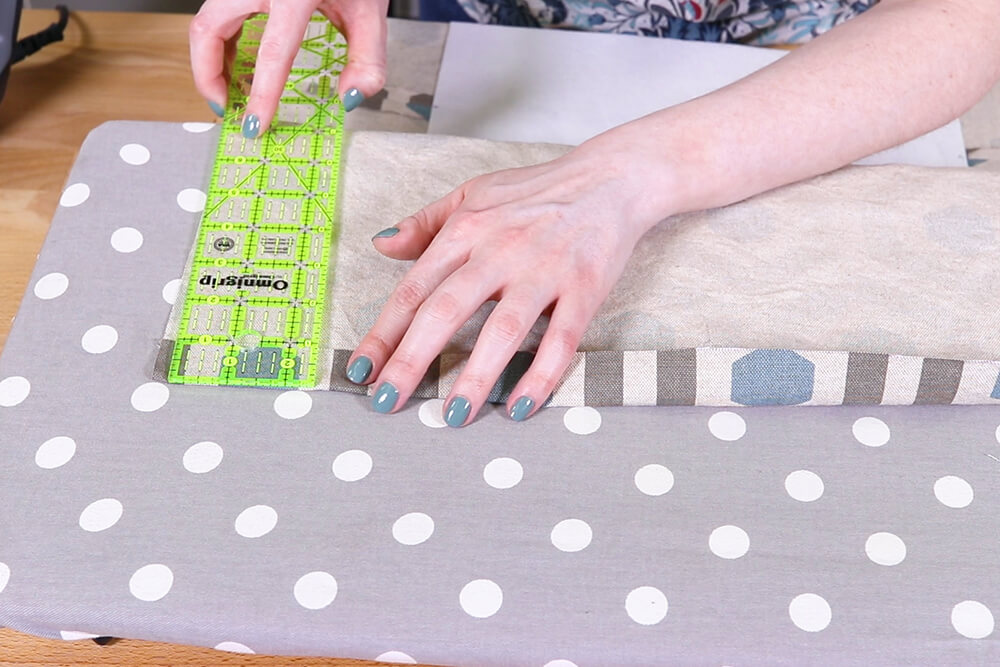
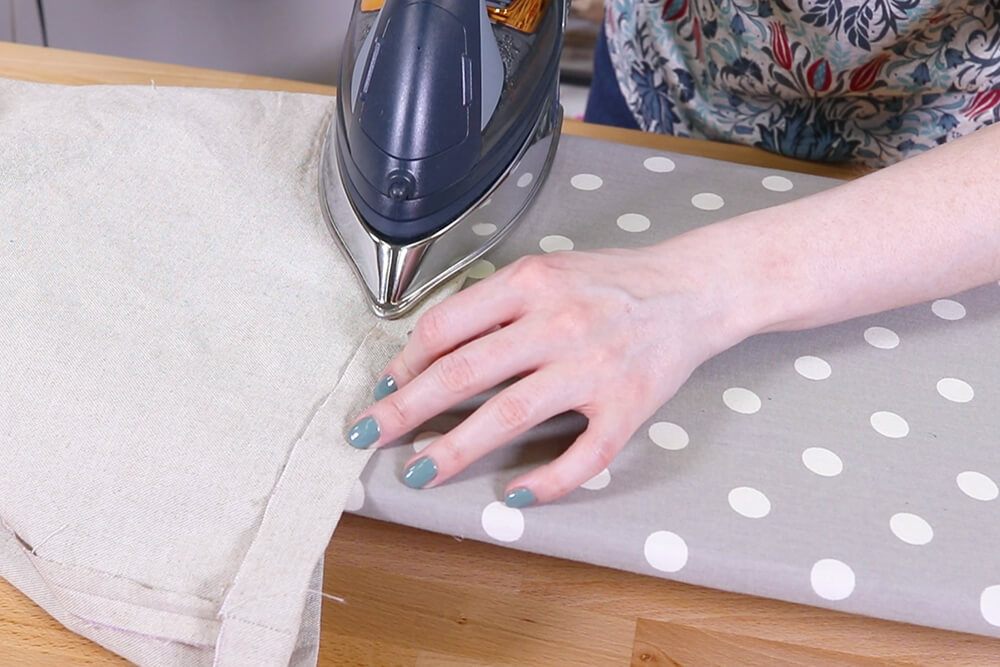
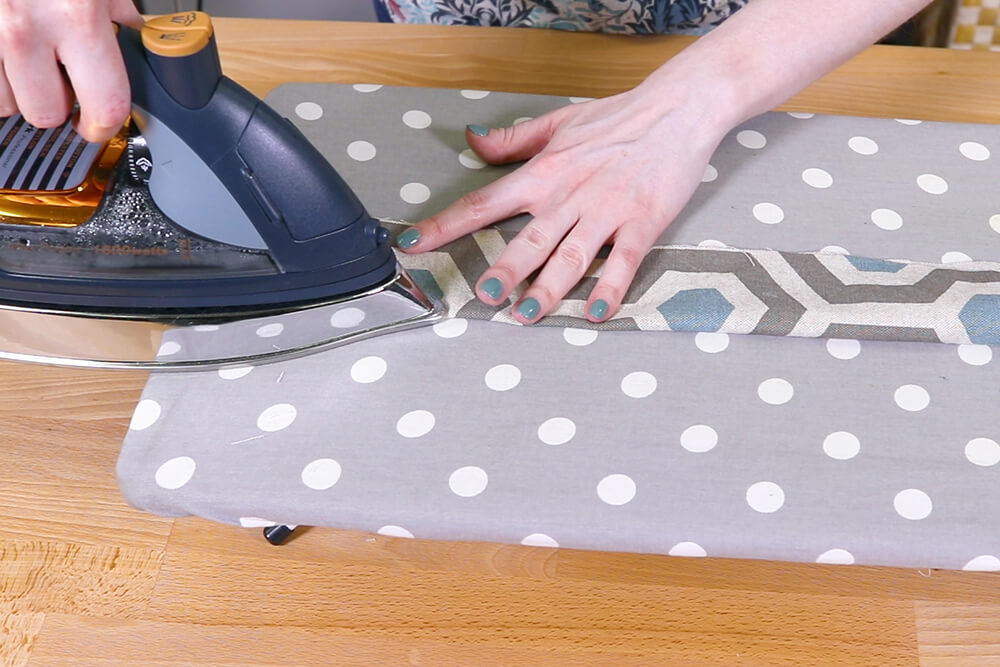
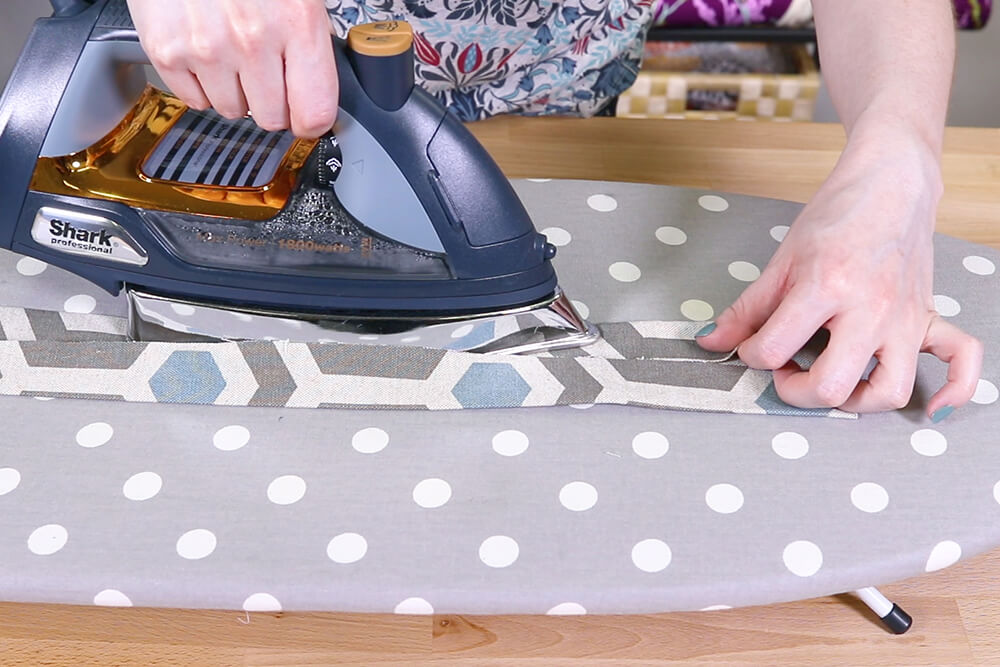
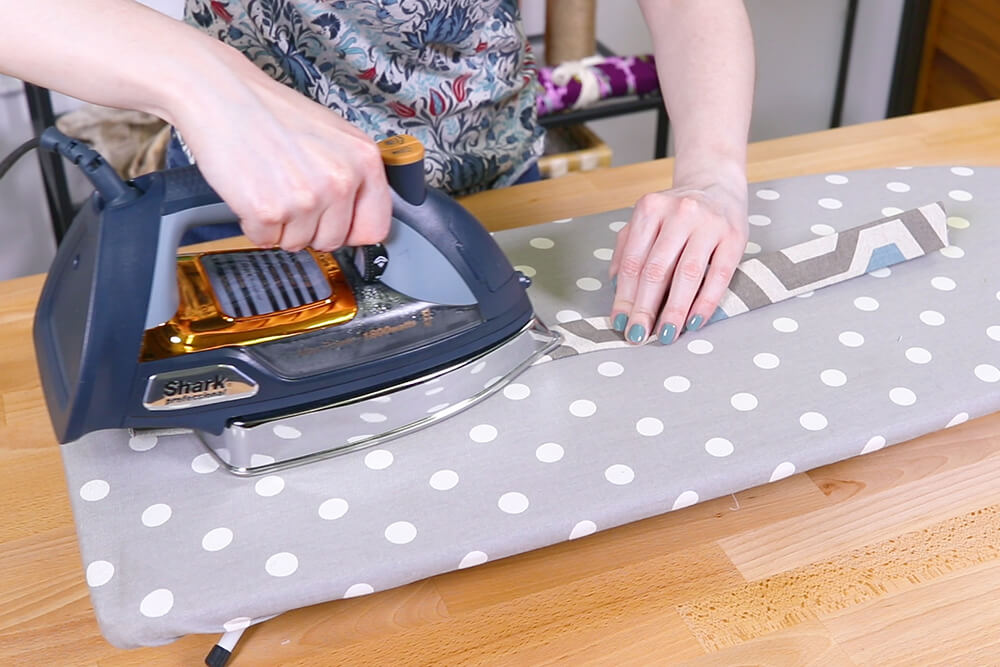
Fold the ends in 1″ and iron.
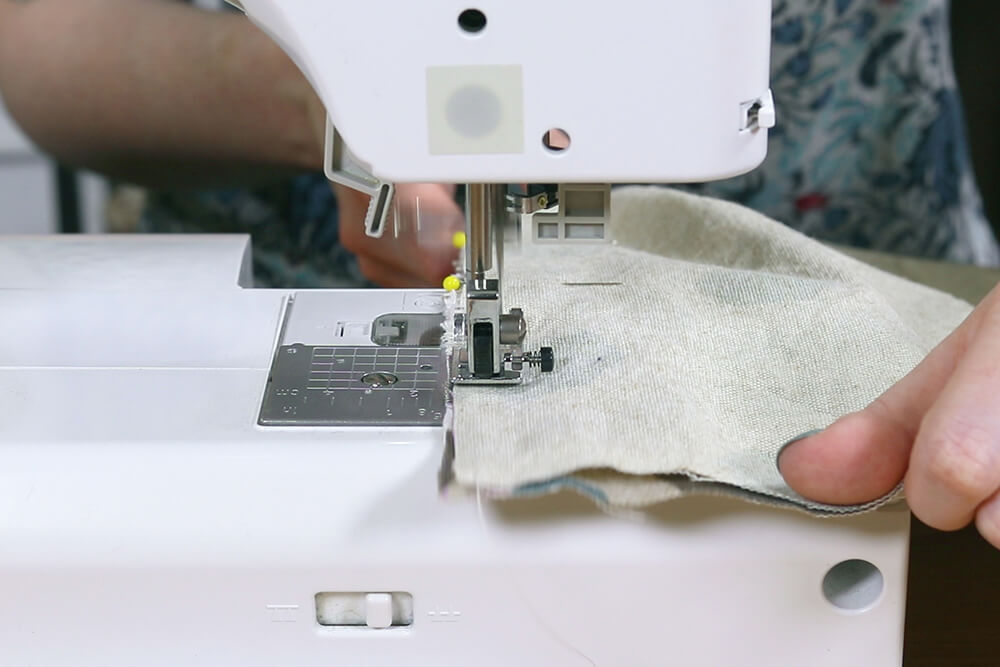
Fold the fabric in half with right sides facing and pin. Sew along the sides with a ½ inch seam allowance. Press the seams open.
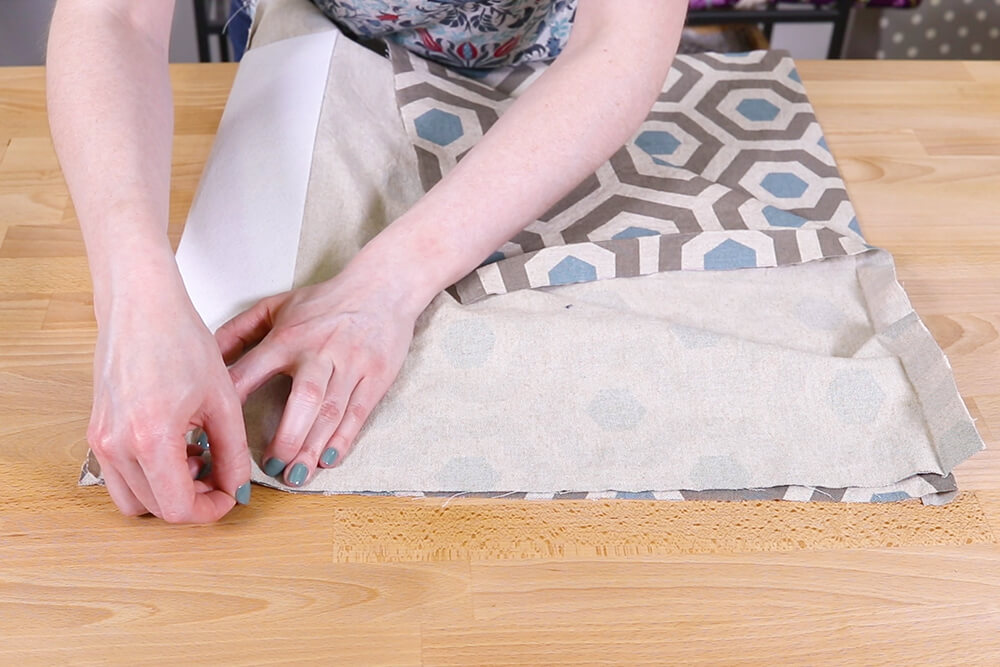
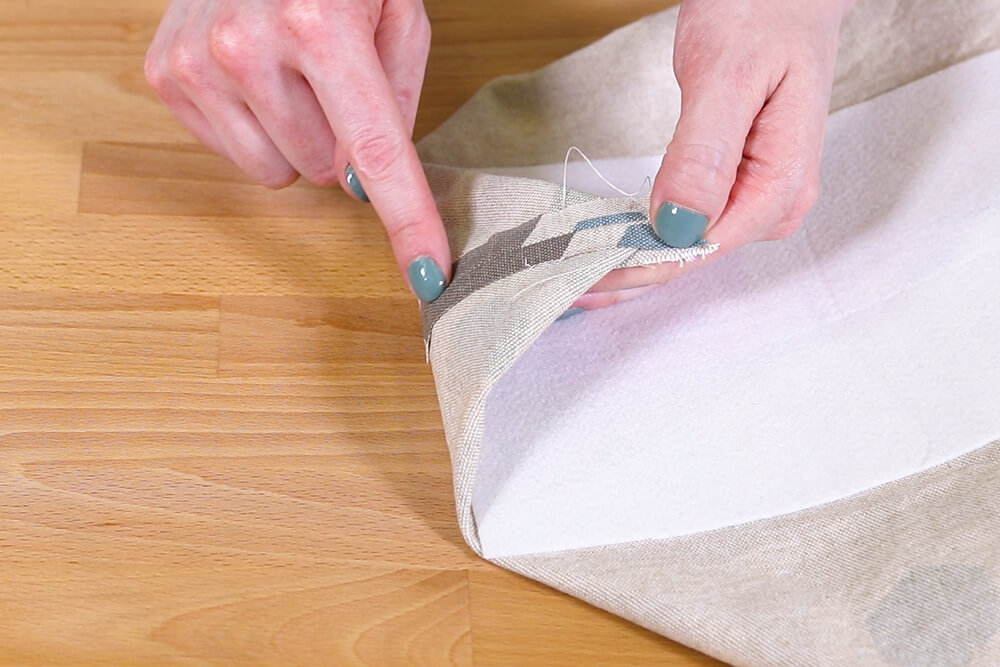
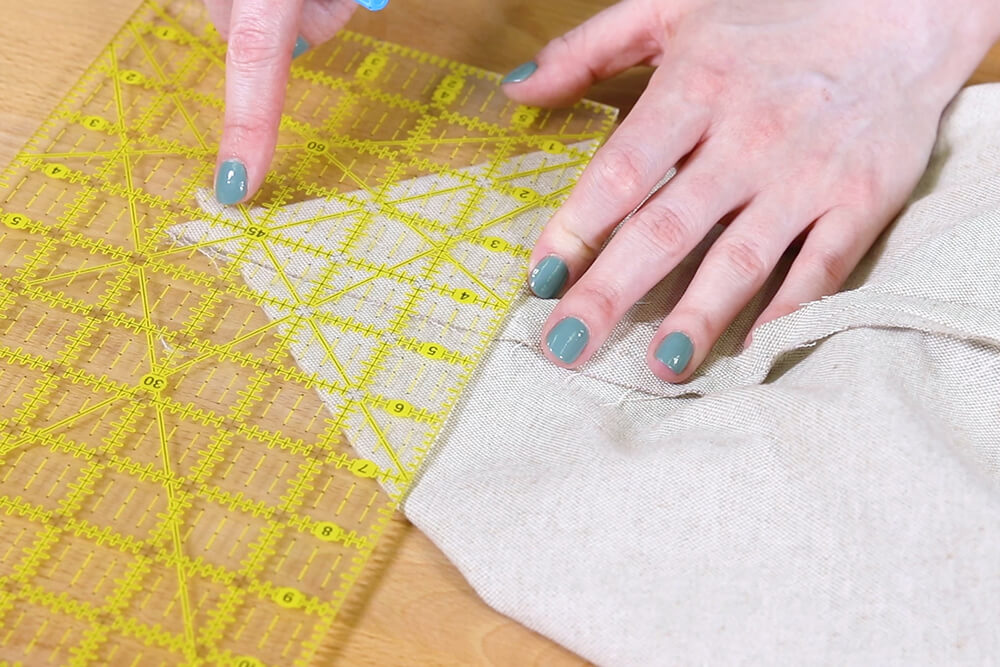
Fold the corner so the bottom seam and the side seam line up.
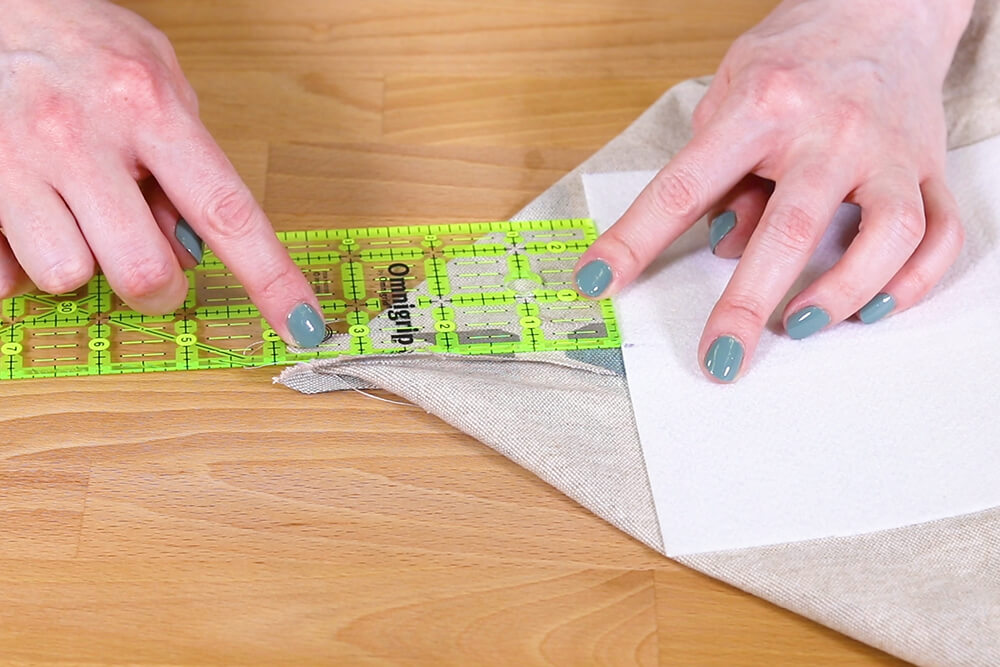
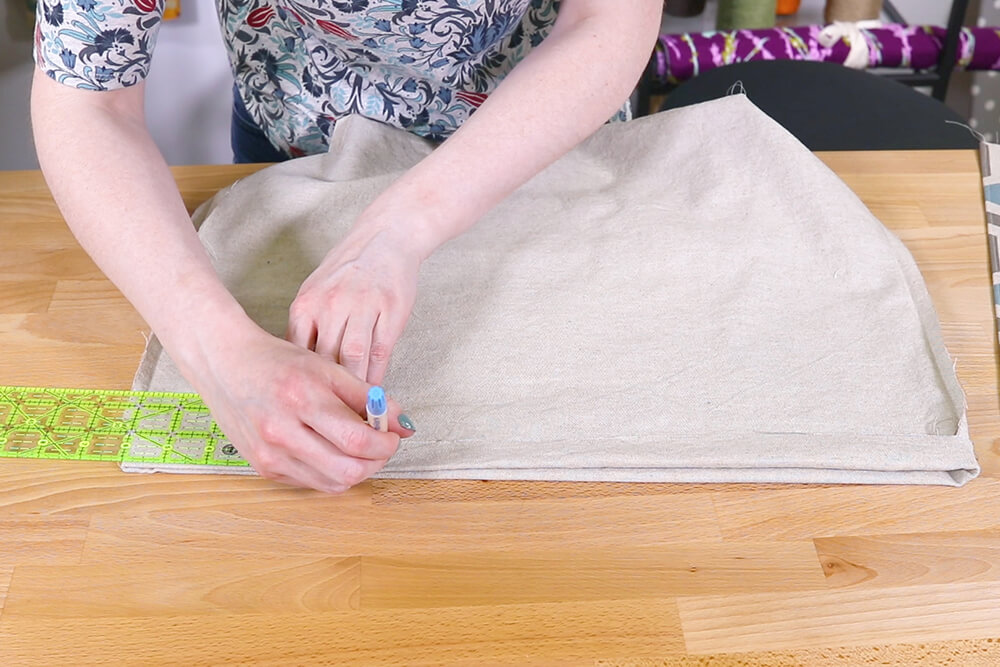
Measure 3 ½” inches from the corner, not including the seam allowance. This should be at the edge of the stabilizer.
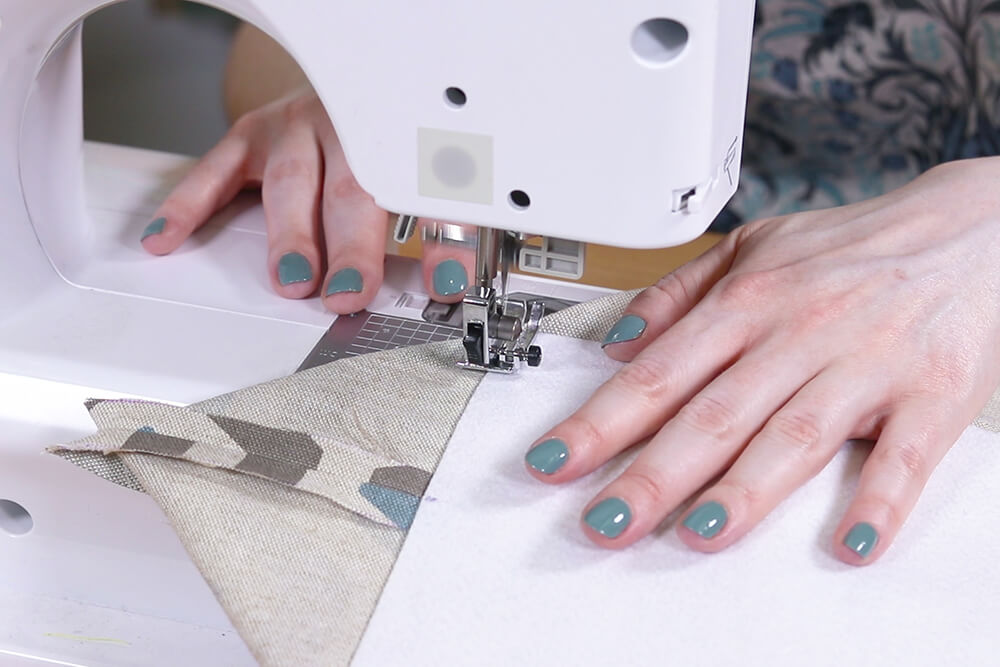
You can either sew just outside, or or on the edge of the stabilizer so it’s extra secure.
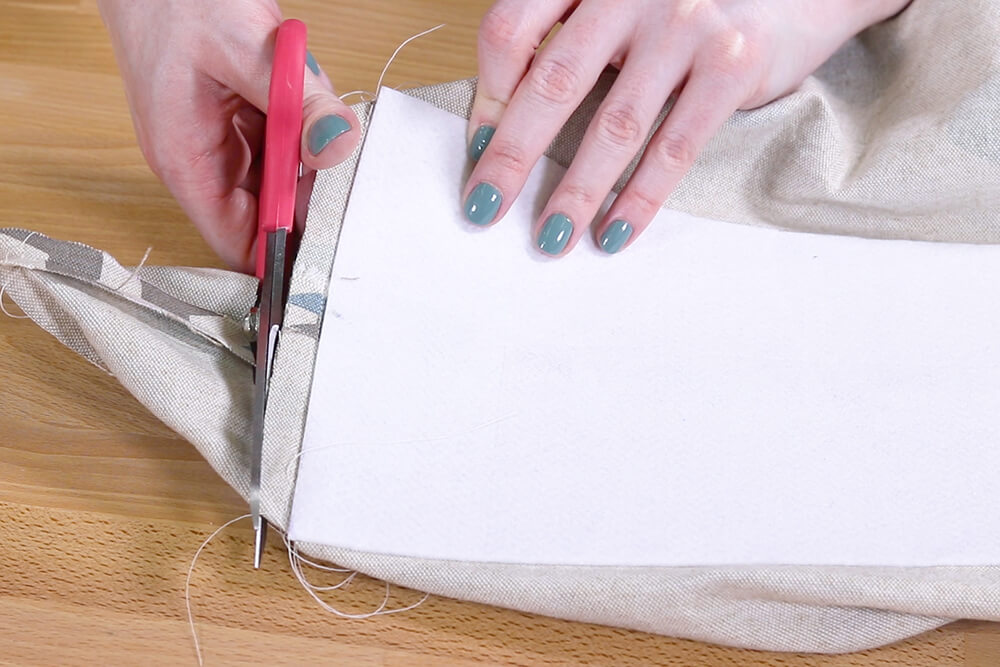
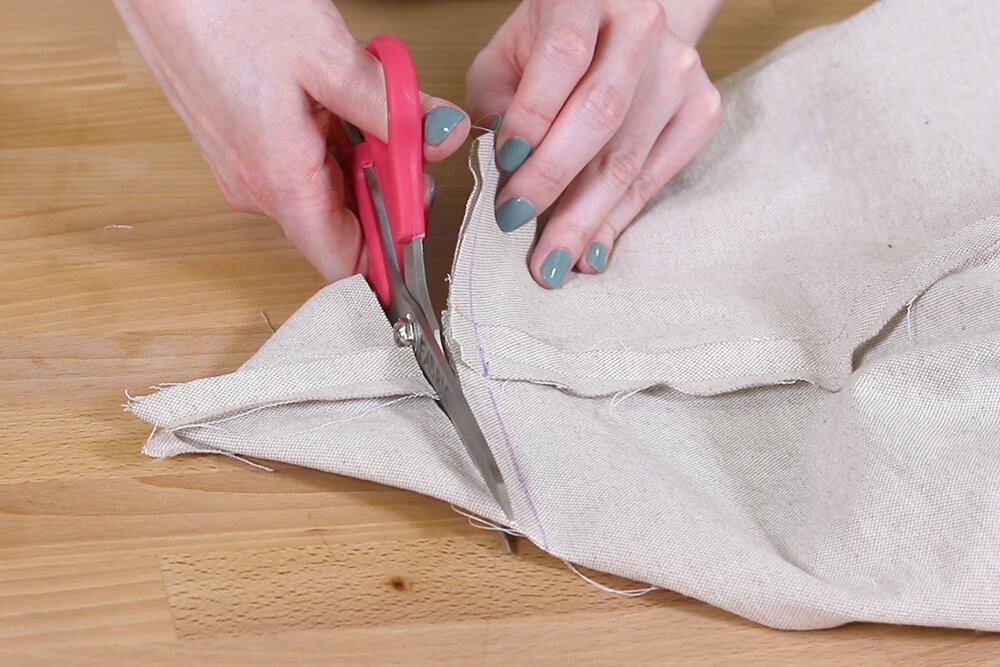
Cut off the corner ½” from the stitches.
Repeat for the other corner.
Turn the bag right side out with the edges folded in 1″.
Step 3: Sew the lining
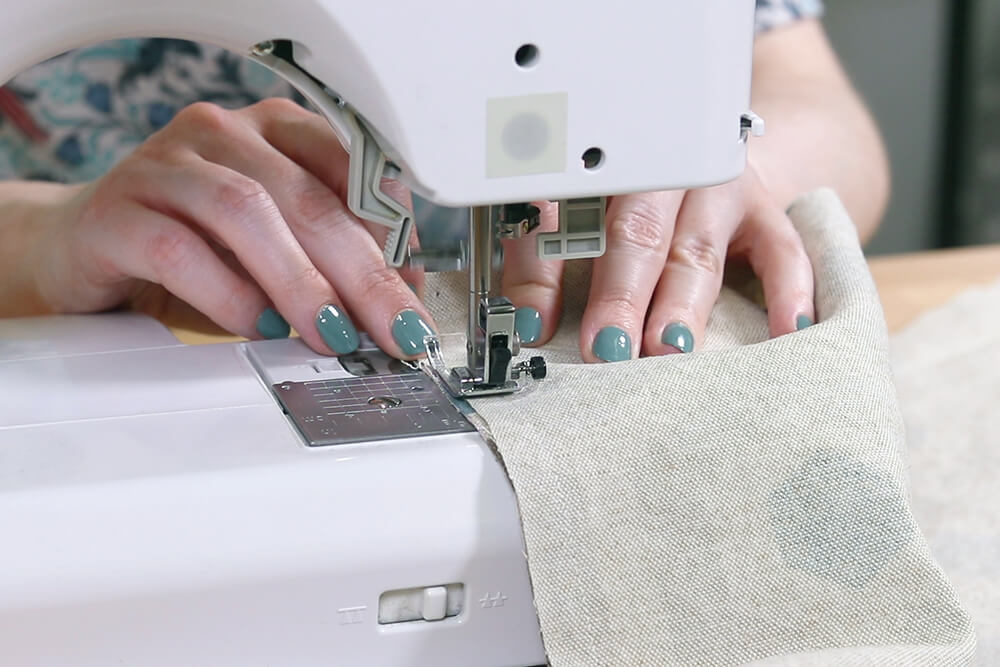
Align the two lining pieces and pin. Sew down the side, across the bottom, and up the other side.
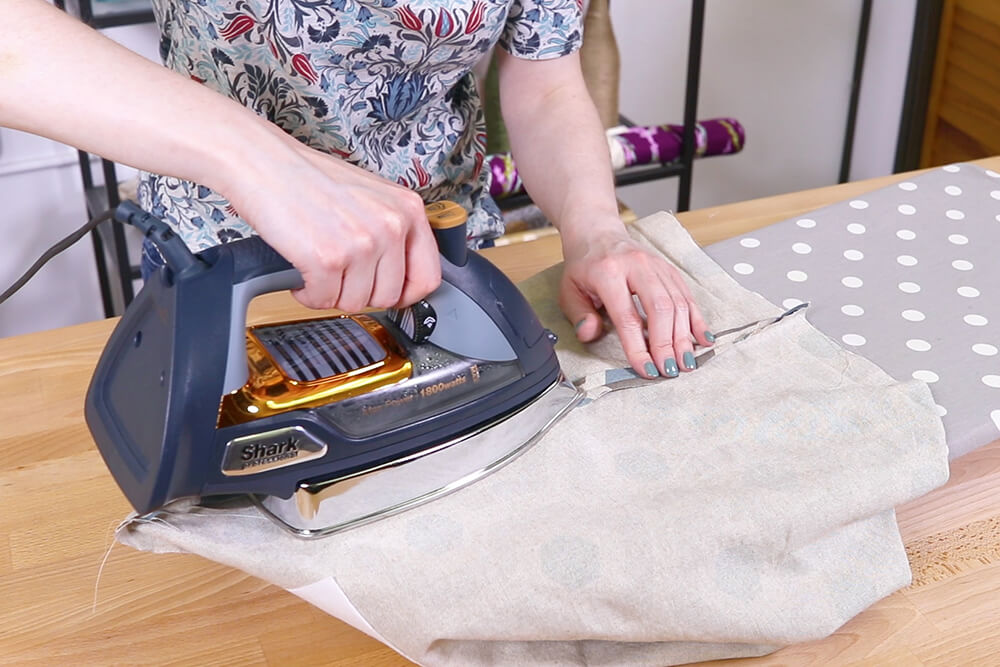
Press the seams open.
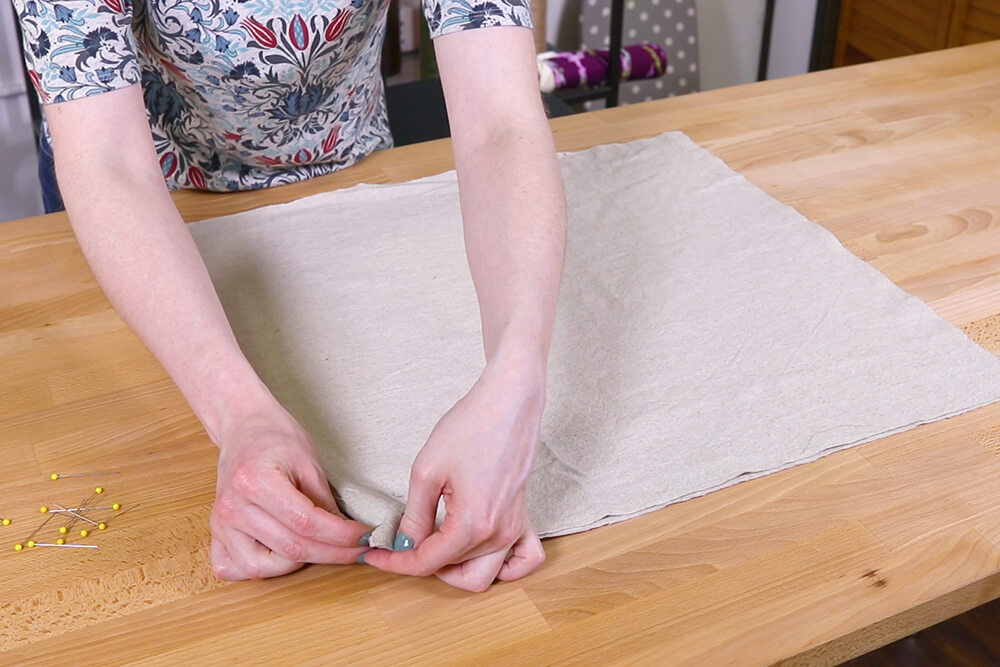
Fold in the ends” and iron.
Box the corners like before but without the stabilizer.
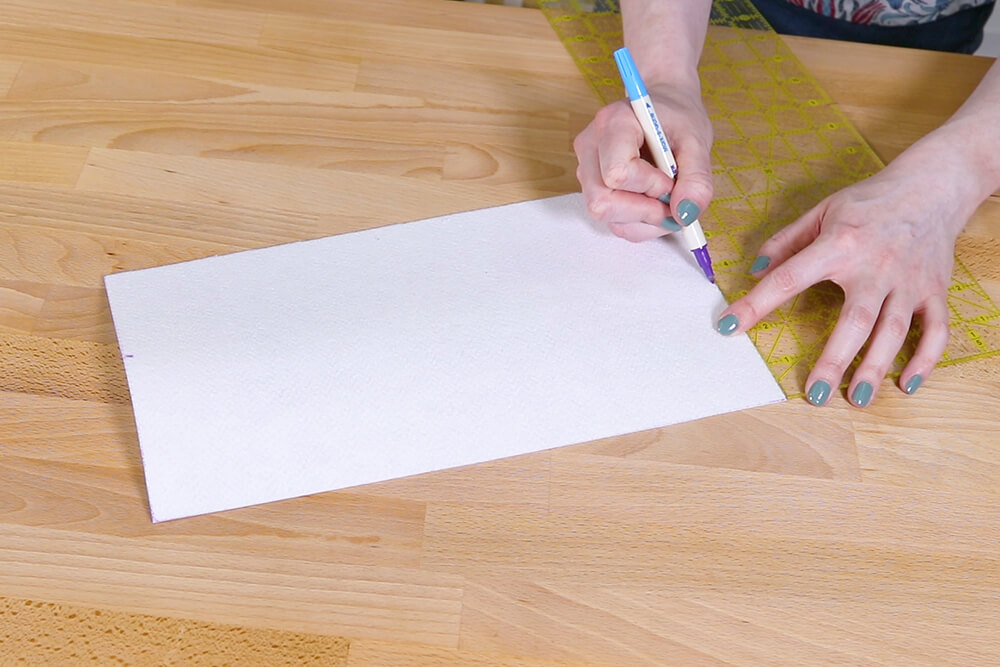
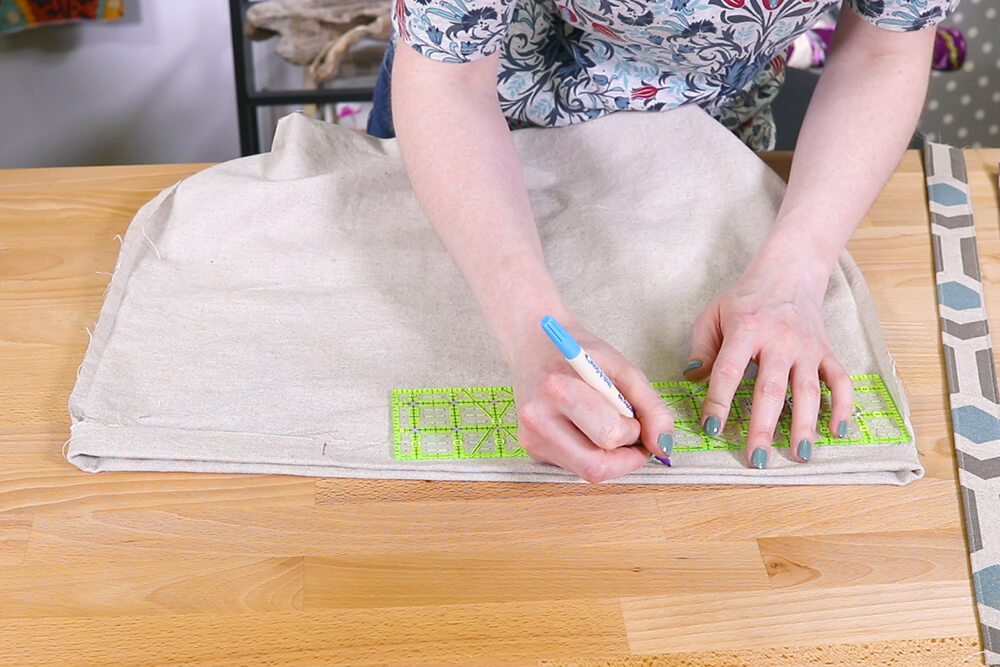
Measure 3 ½” from the corner and draw a line at a 45 degree angle.
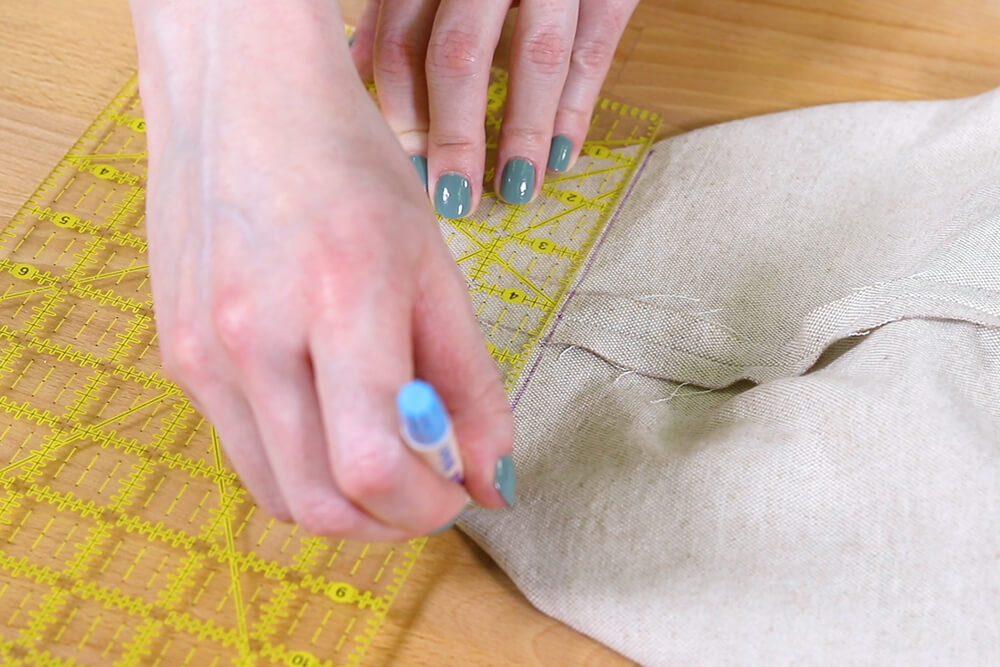
Pin in place.
Sew on the lines and cut ½” from the seams.

Step 4: Sew the handles
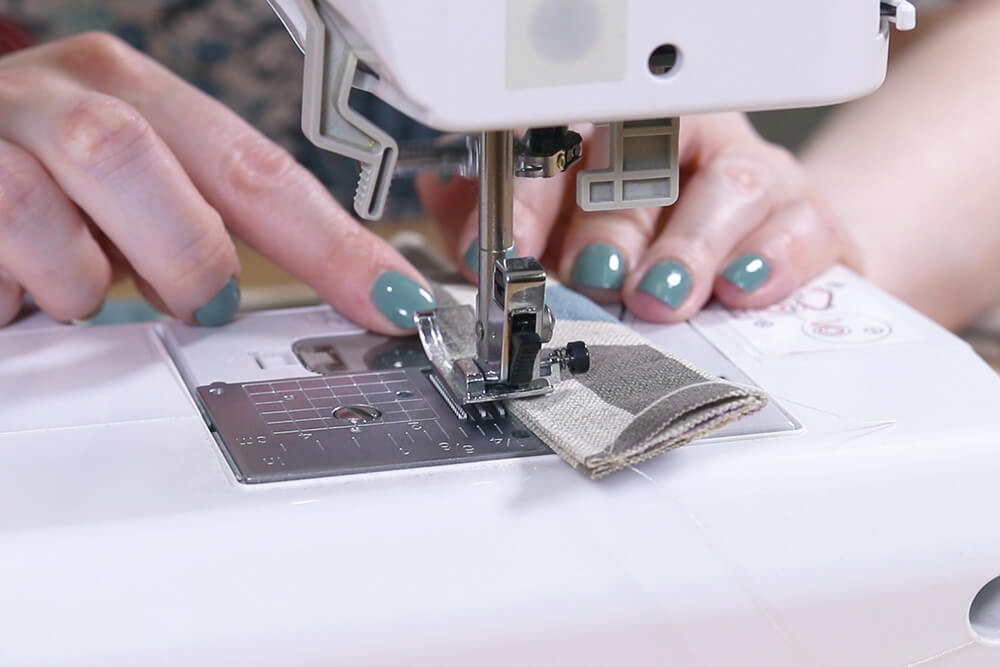
If you’re using fabric for the handles, fold the fabric in half lengthwise and iron.
Fold the edges to the center crease and press.
Fold in half and iron again.
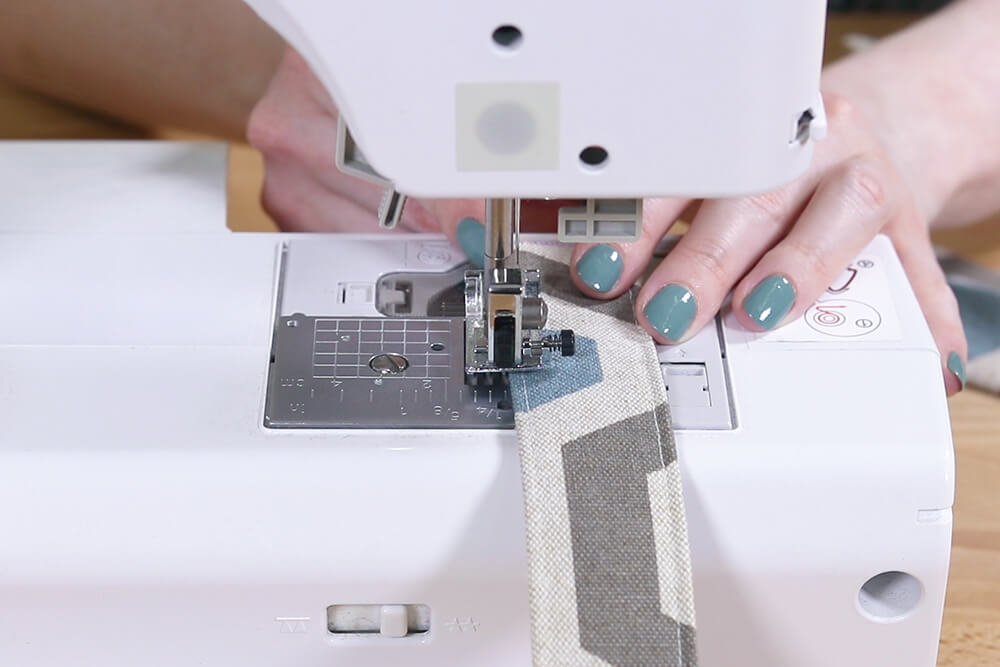
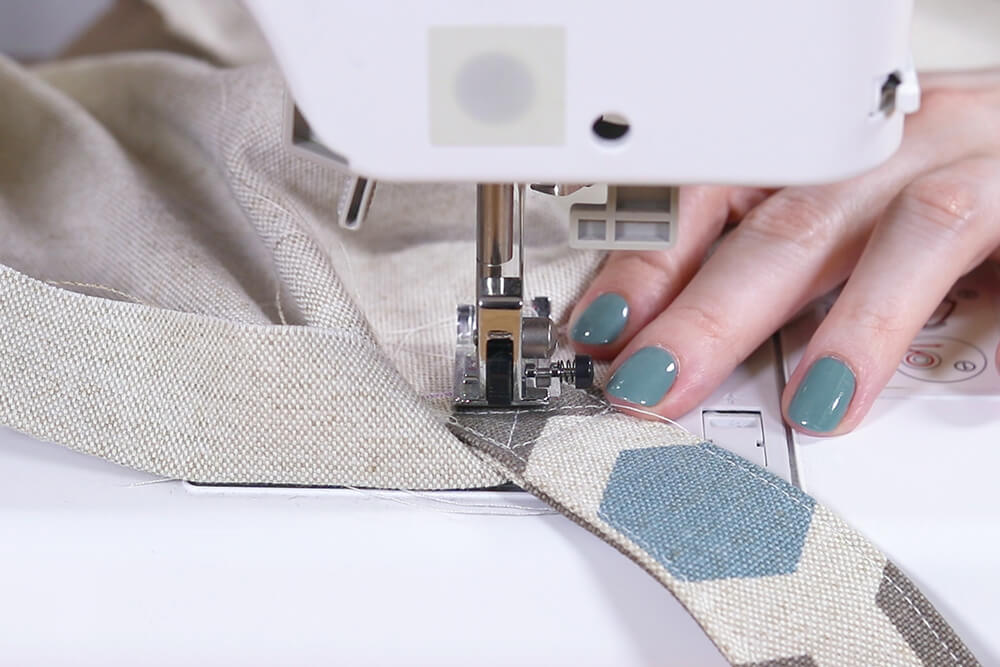
Sew down both sides 1/8″ from the edge.
Repeat for the other handle.
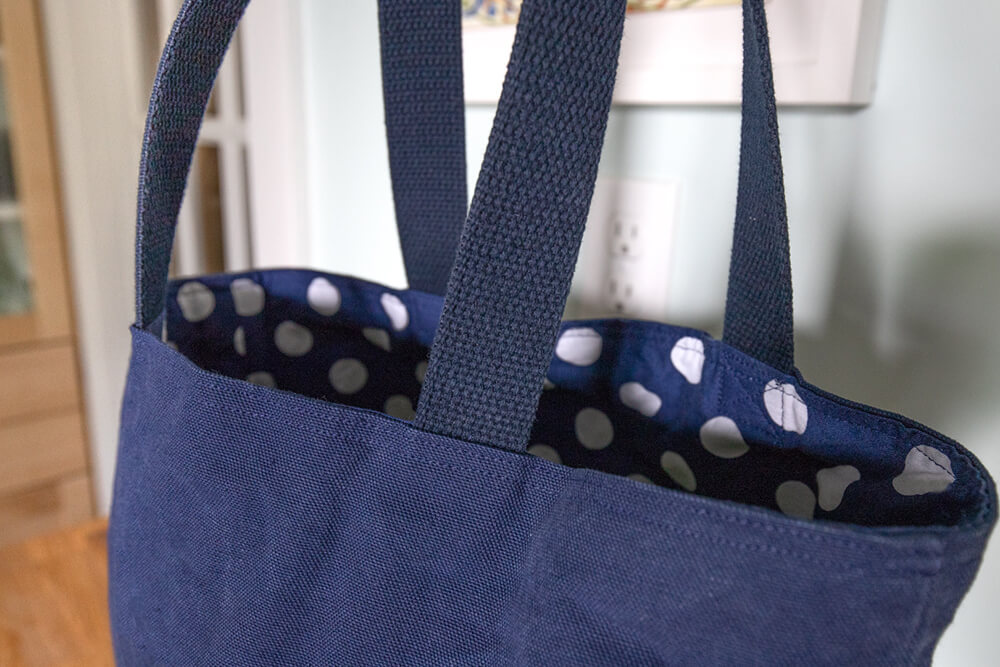
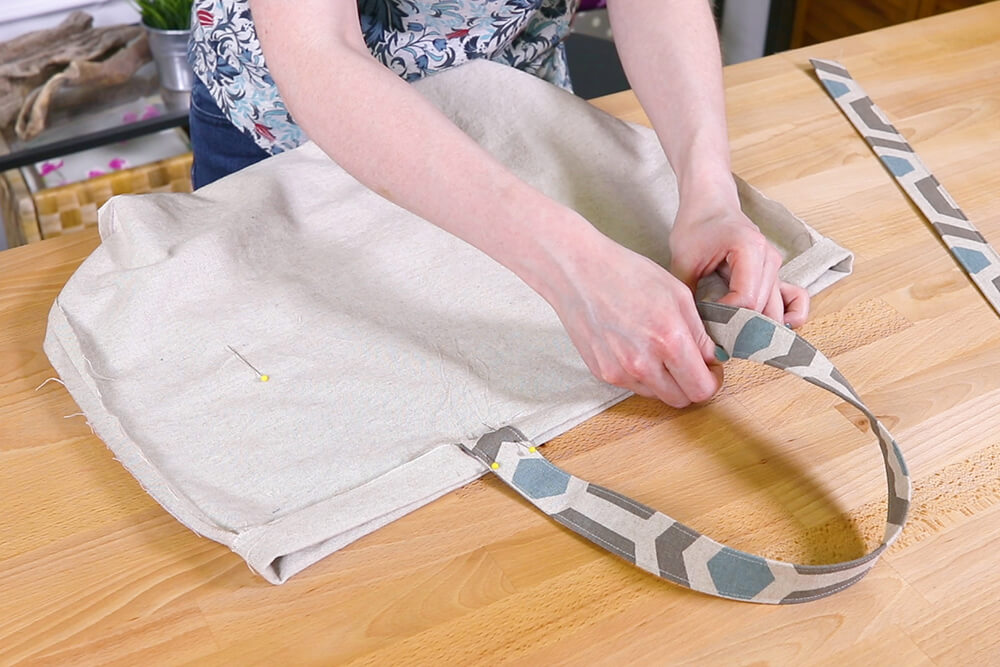
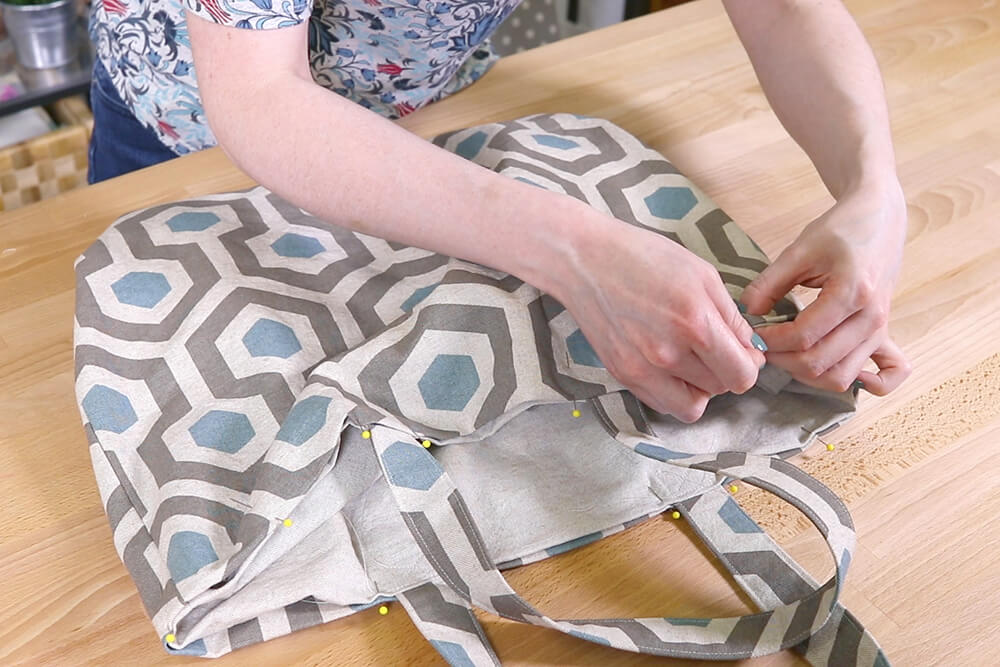
Lay the bag lining flat with the top folded down 1″. Mark 6″ in from the sides.
Place the fabric handle or webbing on the inside of the marks. Match up the ends with the raw edge of the fabric and pin.
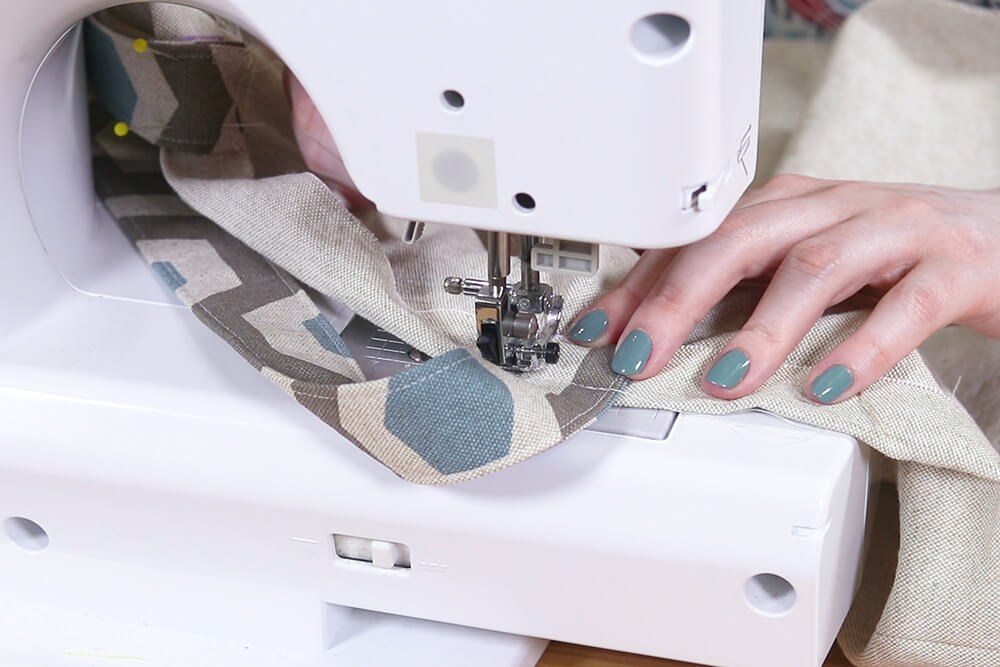
Sew a square with an ‘X’ through it on the ends of the handle. This will make the handles strong without seeing the stitching on the outside.
Repeat for the other handle on the other side of the lining.
Step 5: Sew the top
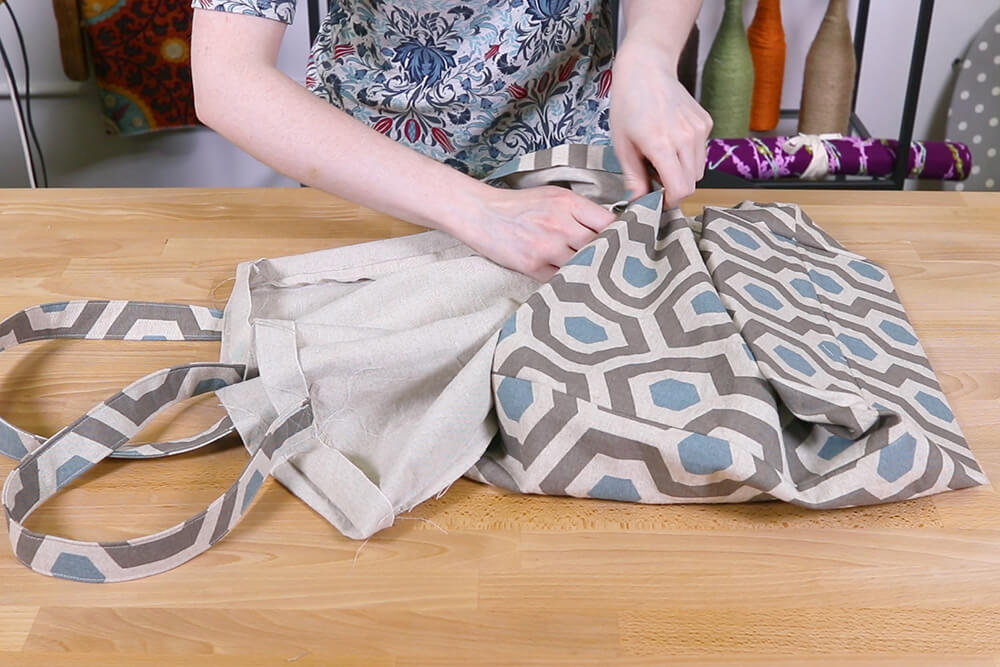
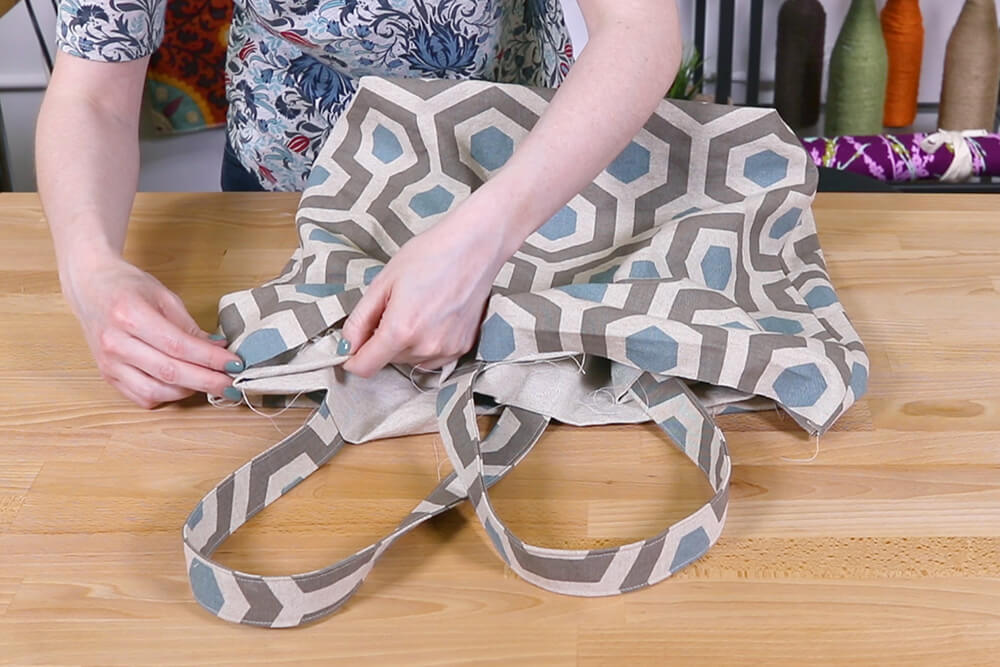
Place the lining inside the outer fabric. Make sure the edges are still folded down.
Match up the top edges and seams, and pin all the way around.
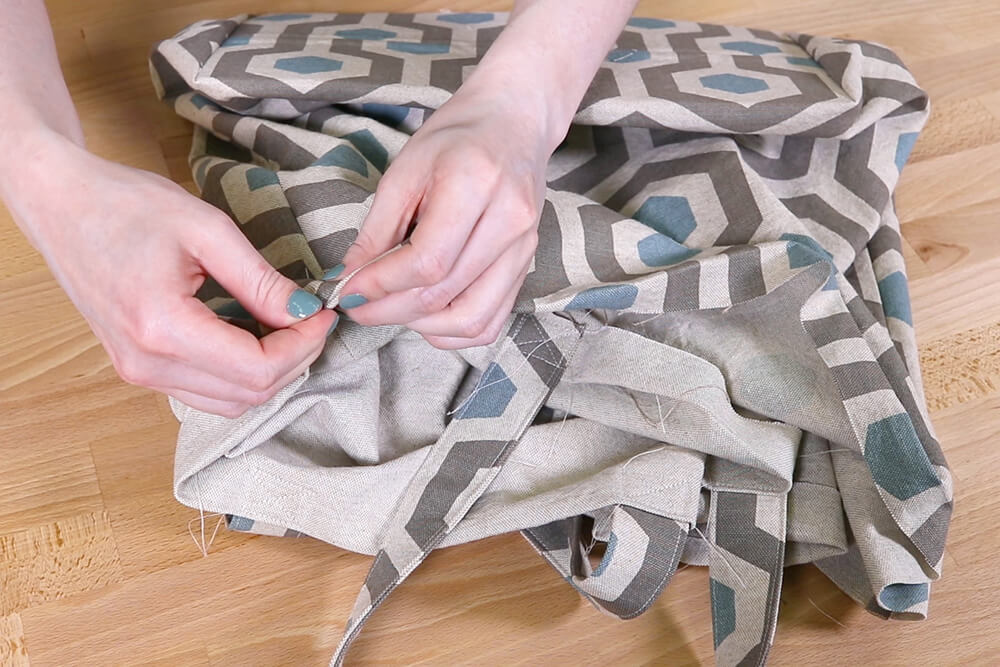
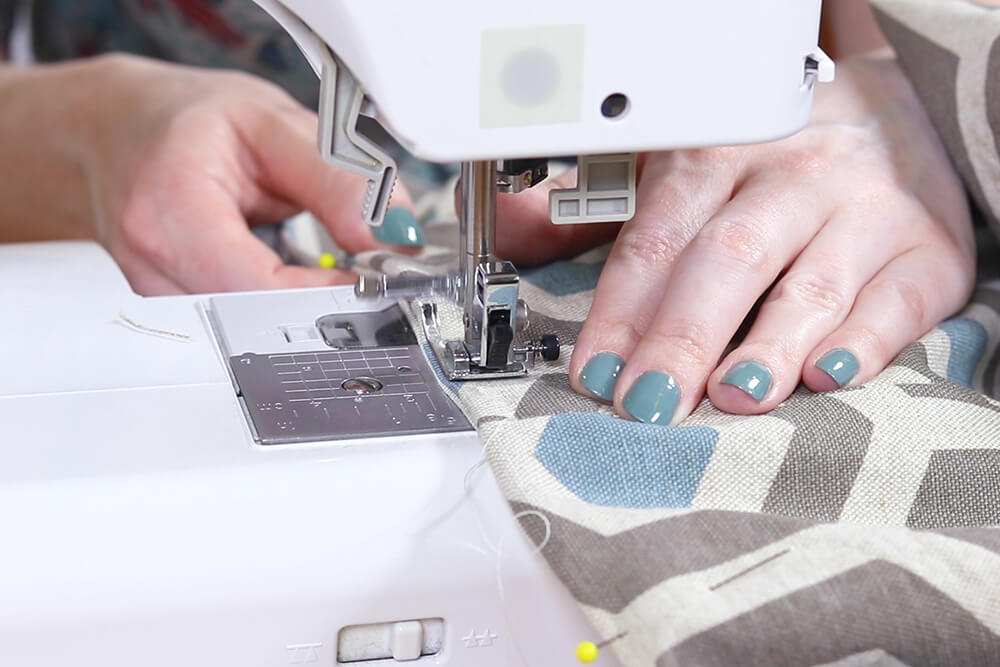
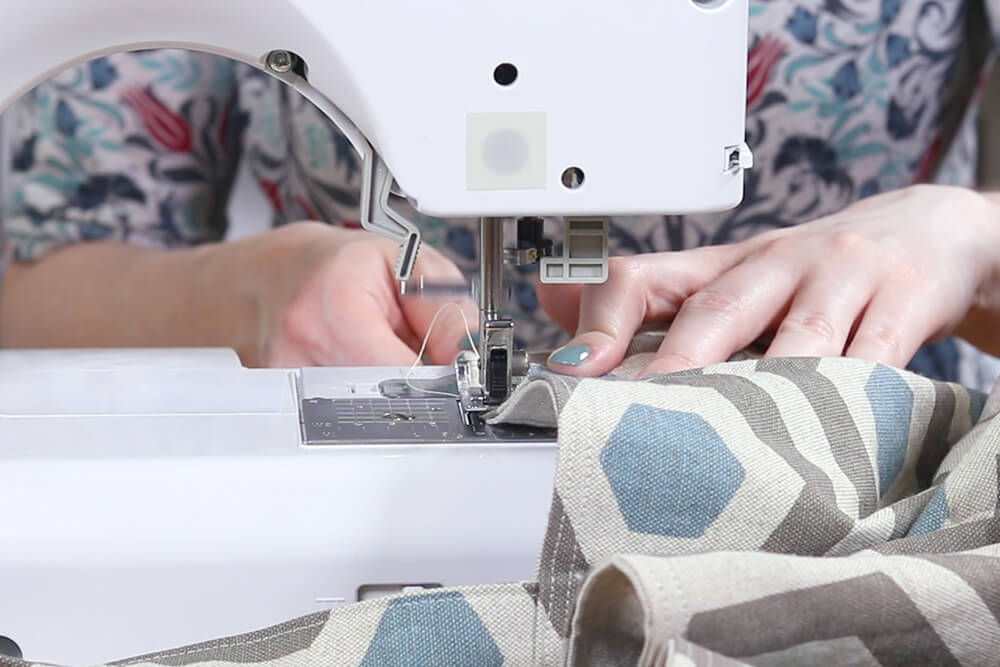
Sew around the entire top 1/4″ from the edge.
Sew around again 1/8″ from the edge.
Now you’re ready to shop with your reusable tote bag.
Ready to make your own reusable shopping bag? Check out our selection of décor fabric.
-
{{#each productSuggestedQueries.results}}
- {{query}} {{/each}}
-
{{#each categories.results}}
- {{html title}} {{/each}}
{{html attributes.description}}
{{/if}}-
{{#each queries.results}}
- {{query}} {{/each}}