How to Sew a Throw Pillow
- By Clara
- Beginner
- 30 minutes
Sewing your own decorative throw pillow is a great DIY project for all sewing levels. There are many different styles of pillows, this one is a basic throw pillow that’s sewn closed. It’s easy to make and a quick way to update your decor with the fabric of your choice.
Want to get the printable PDF instructions?

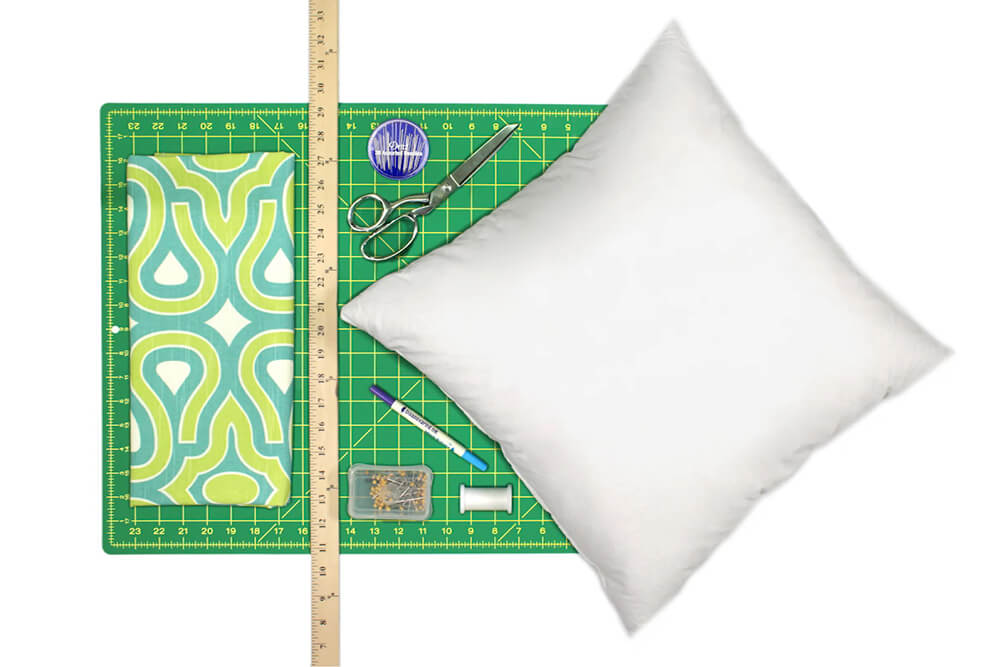
Materials
Related Products


Video
Instructions
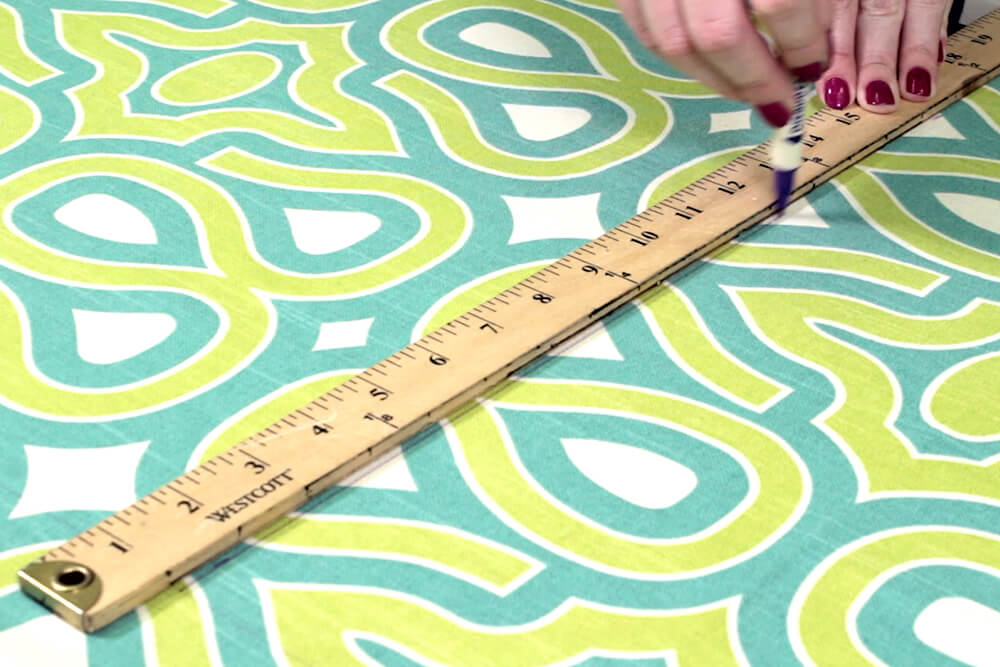
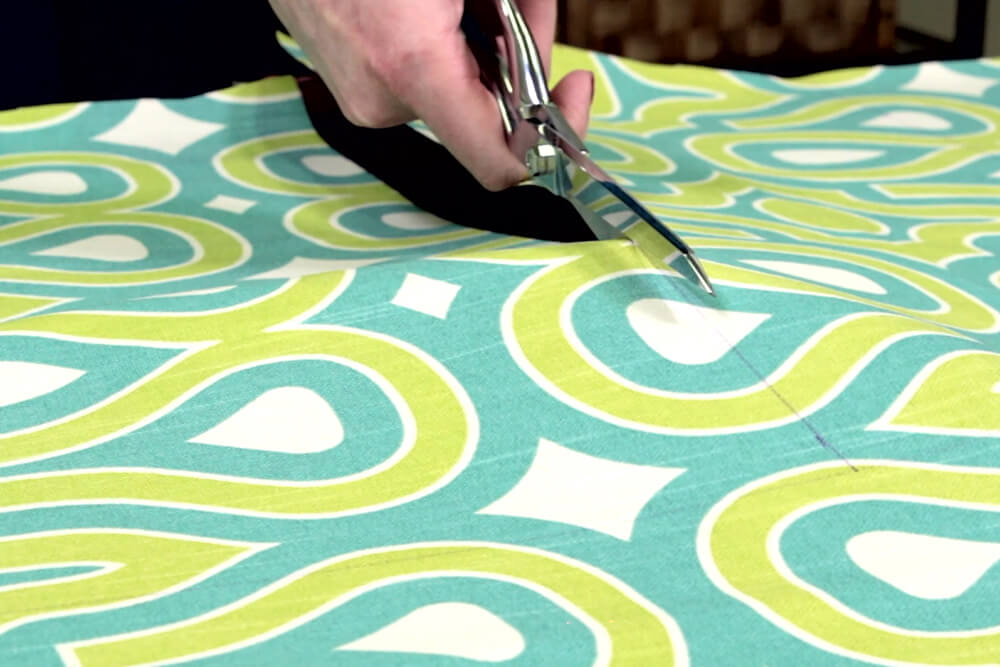
Step 1: Measure & cut the fabric
First I’m going to cut two panels for the front and back of the pillow. My pillow form is 18×18” but I’m going to make the cover 1” smaller to create a nice full looking pillow.
So I want the finished dimensions of the cover to be 17×17”. I’m going to use a ½” seam allowance on all sides, so add an inch to those measurements and cut two 18×18” pieces.
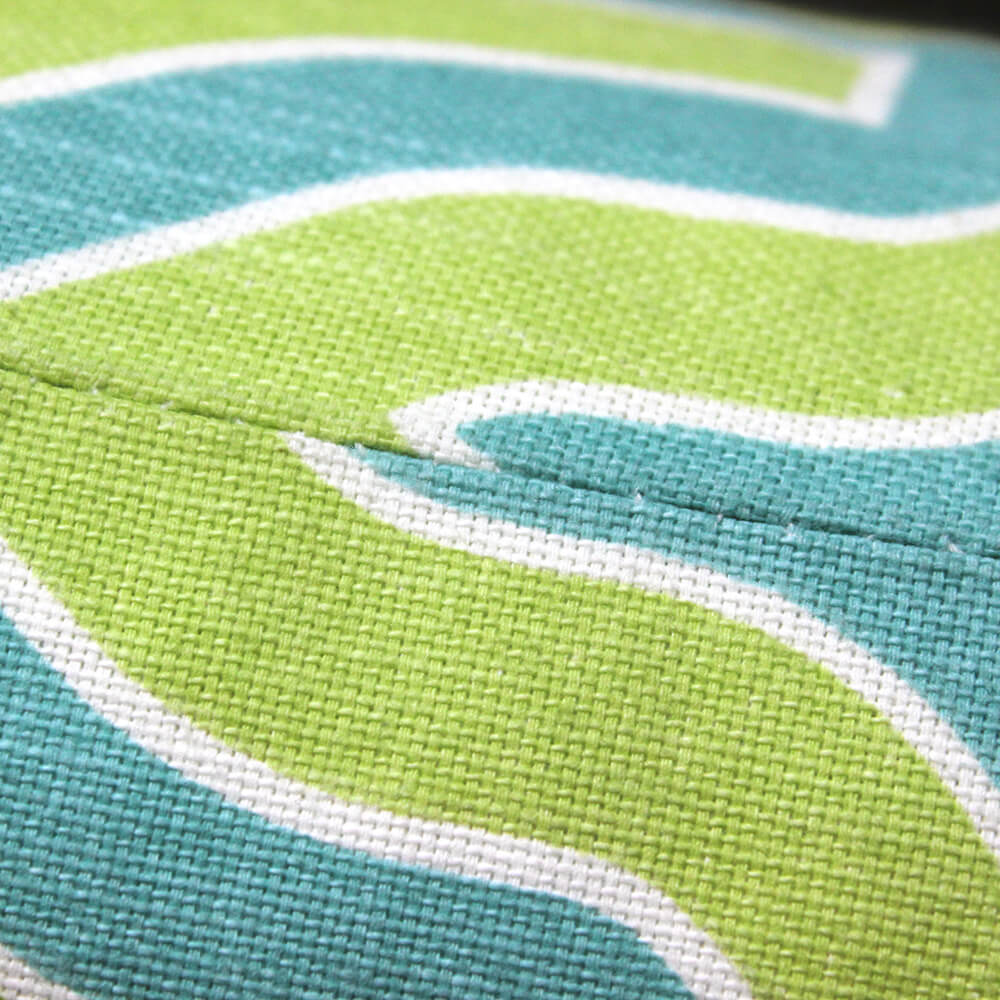
If you’re working with a patterned fabric, pay attention to which part of the pattern you want to see and if you want it centered.
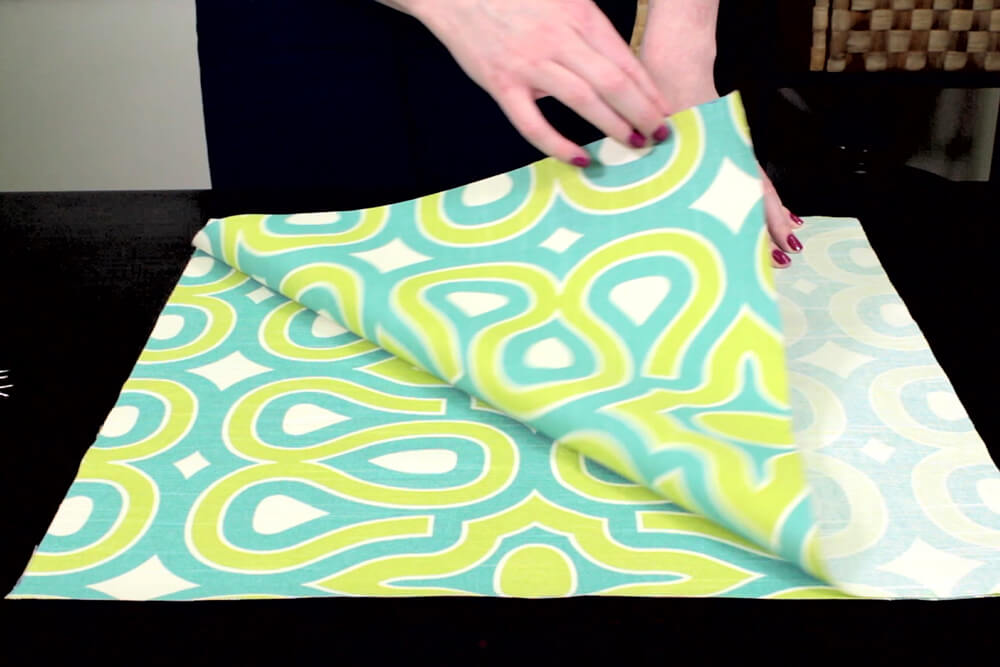
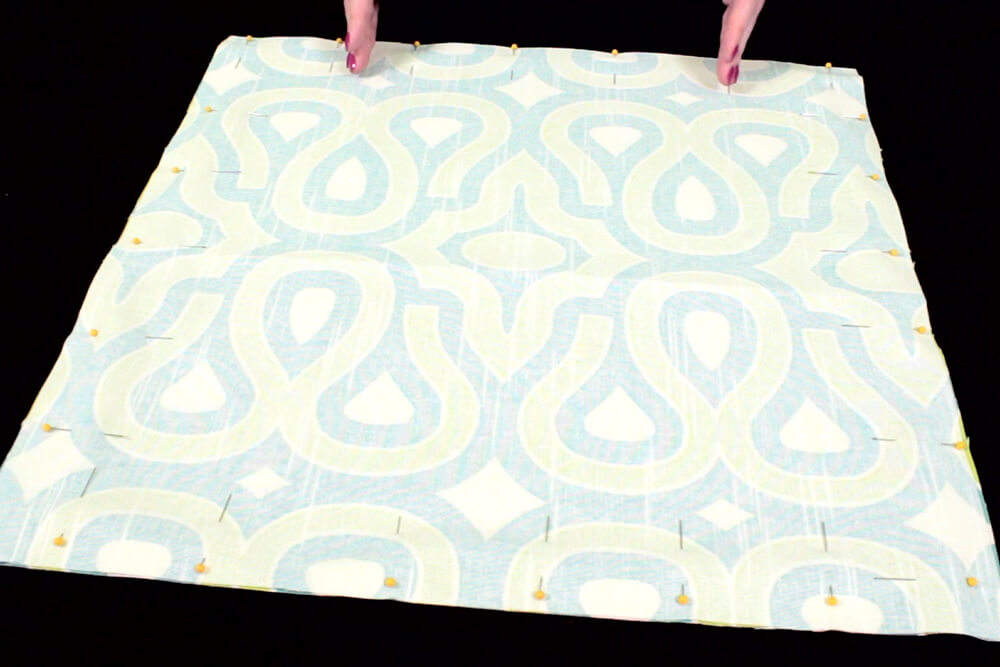
Step 2: Pin & sew the pillow Cover
Align the two squares of fabric with the right sides facing and pin them together. I’m going to sew around the edges of the pillow, leaving a large opening at the bottom about 2” in from the corners.
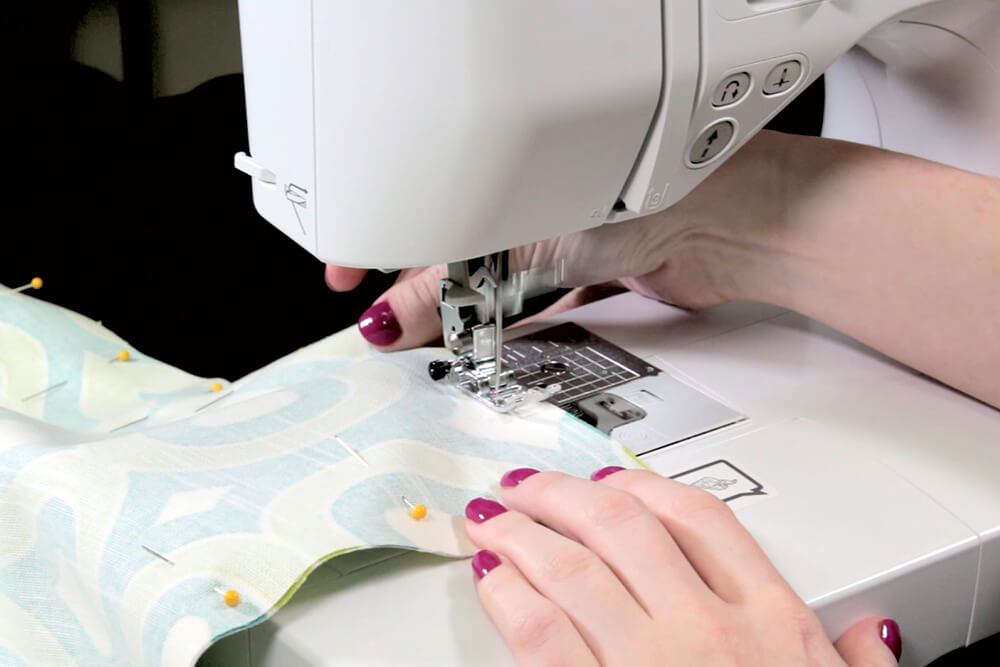
Using a ½” seam allowance, start sewing at one end of the opening. Backstitch to lock in the stitches.
When you get half an inch from the corner, leave the needle in the fabric, lift the presser foot and pivot 90 degrees. Then lower the presser foot and continue sewing around the pillow until you get back to the bottom and sew the final 2”.
Backstitch again and raise the needle and presser foot.


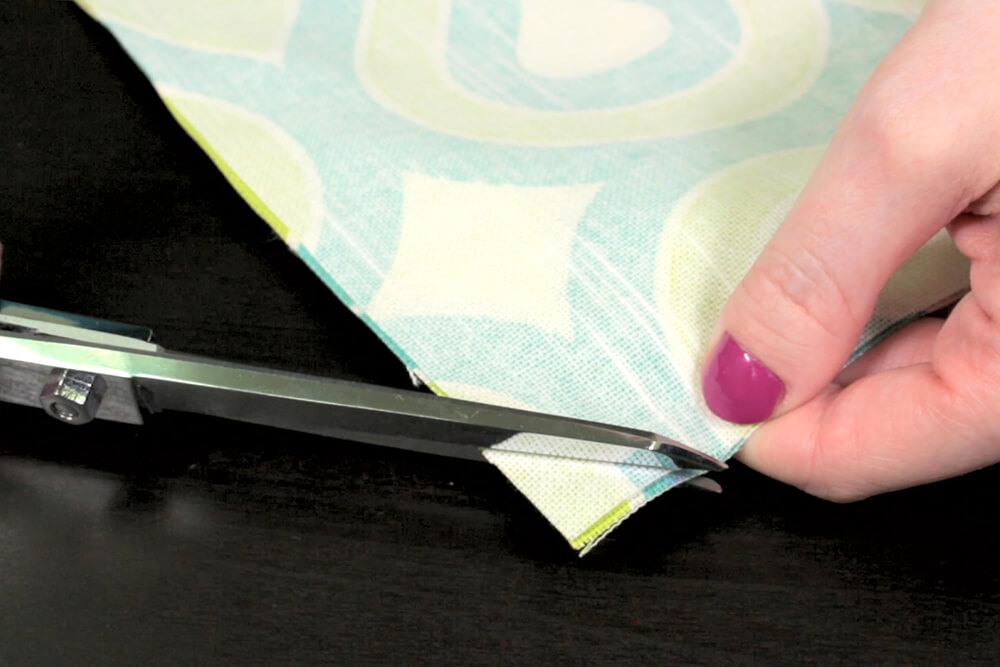
Step 3: Insert the pillow form
Next, trim all 4 corners to remove extra bulk. Cut at an angle close to the stitches without cutting into them.
Then turn the pillow cover right side out. Use your finger or something with a point to push the corners out all the way.
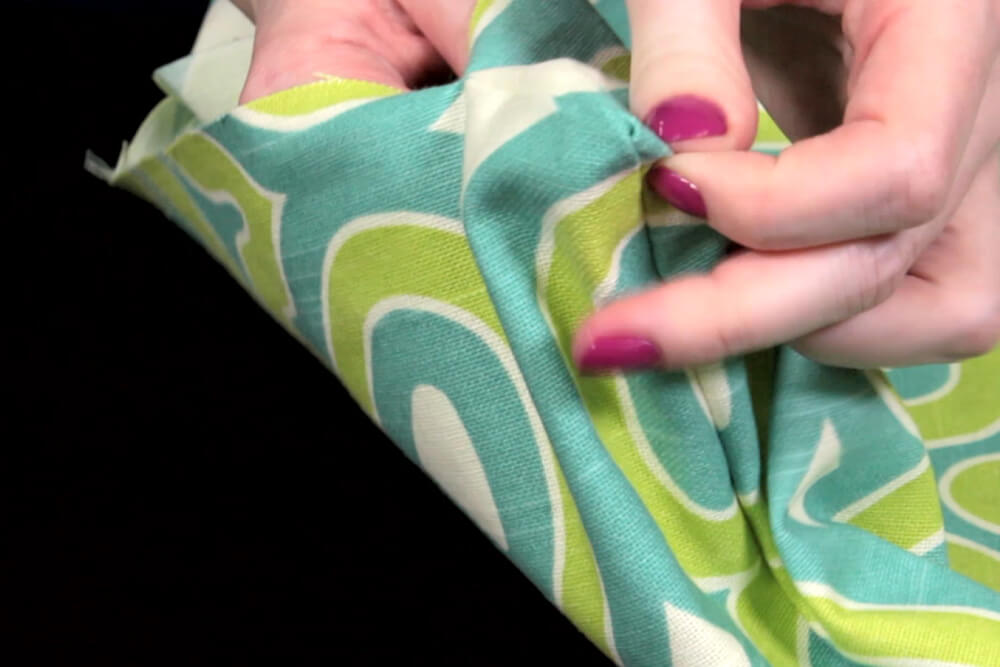
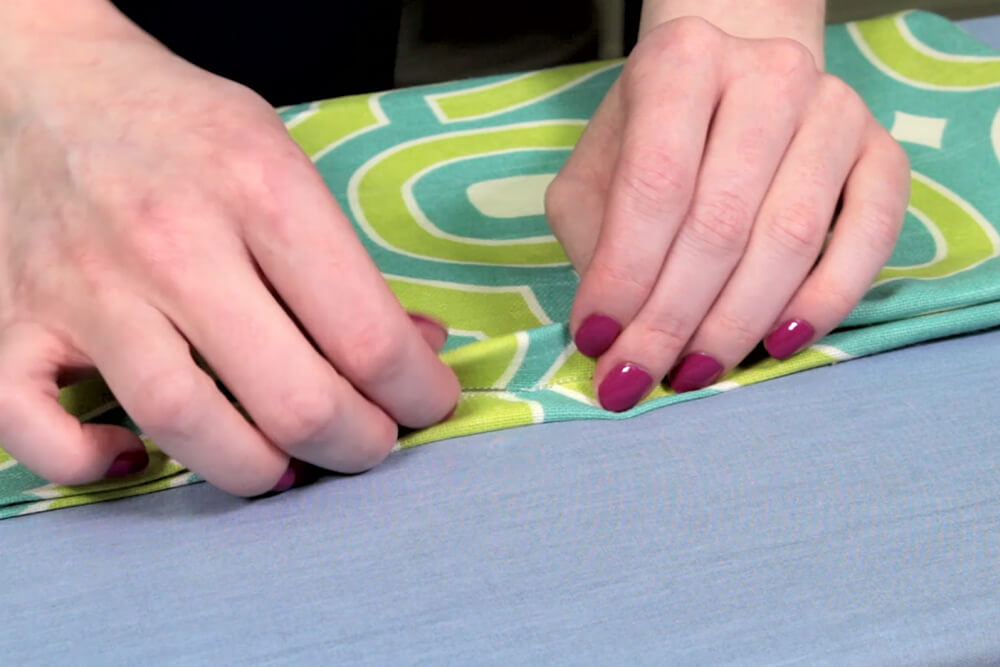
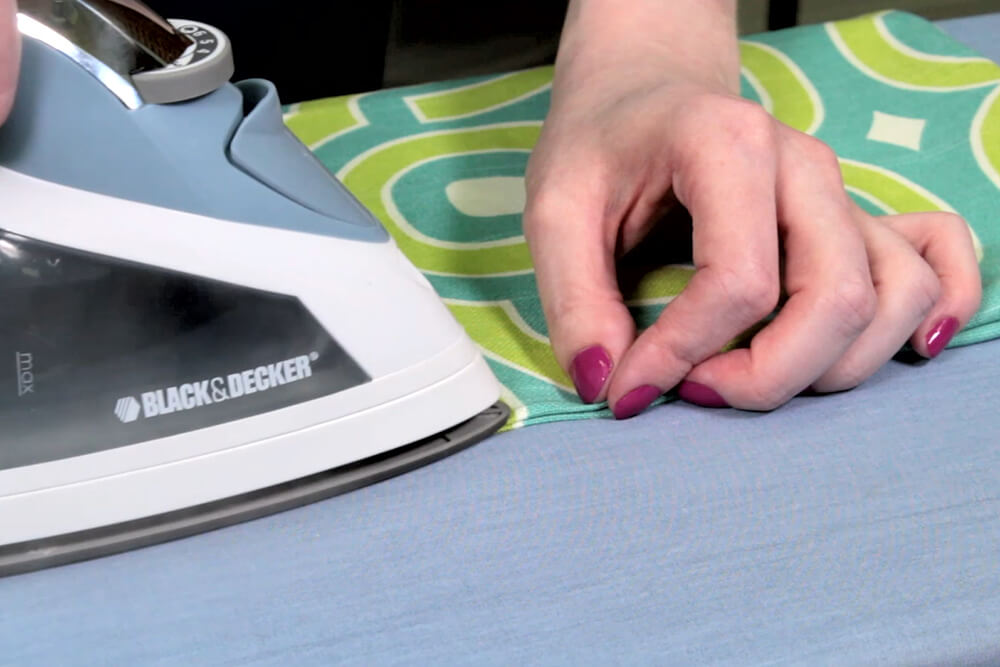
Lay the cover flat and iron the edges of the fabric under 1/2″ at the opening.
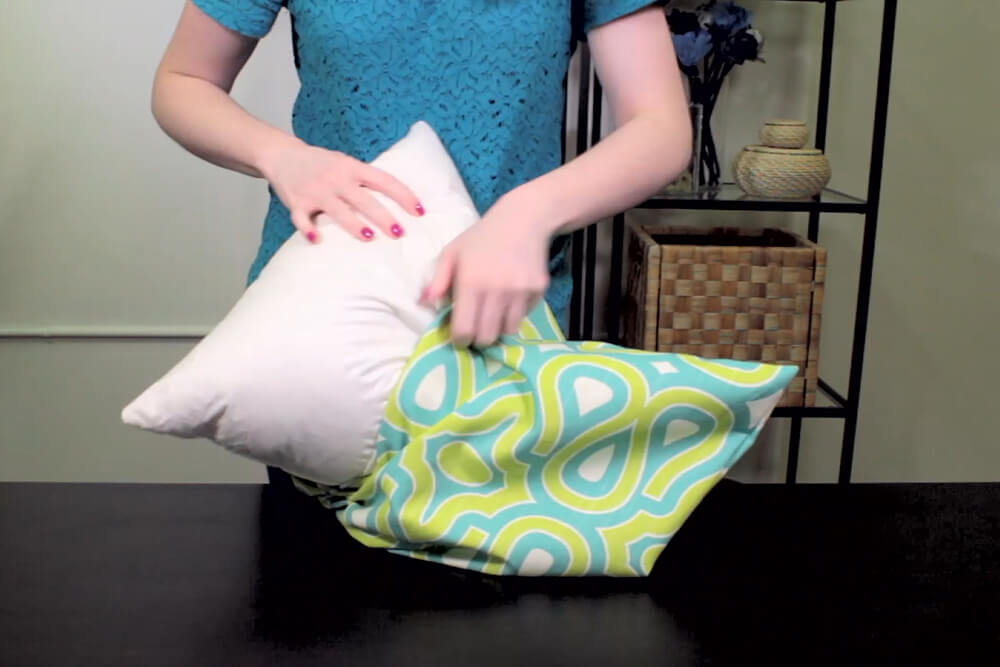
Now insert the pillow form and arrange it until it fills out the cover.
Step 4: Hand stitch the opening closed
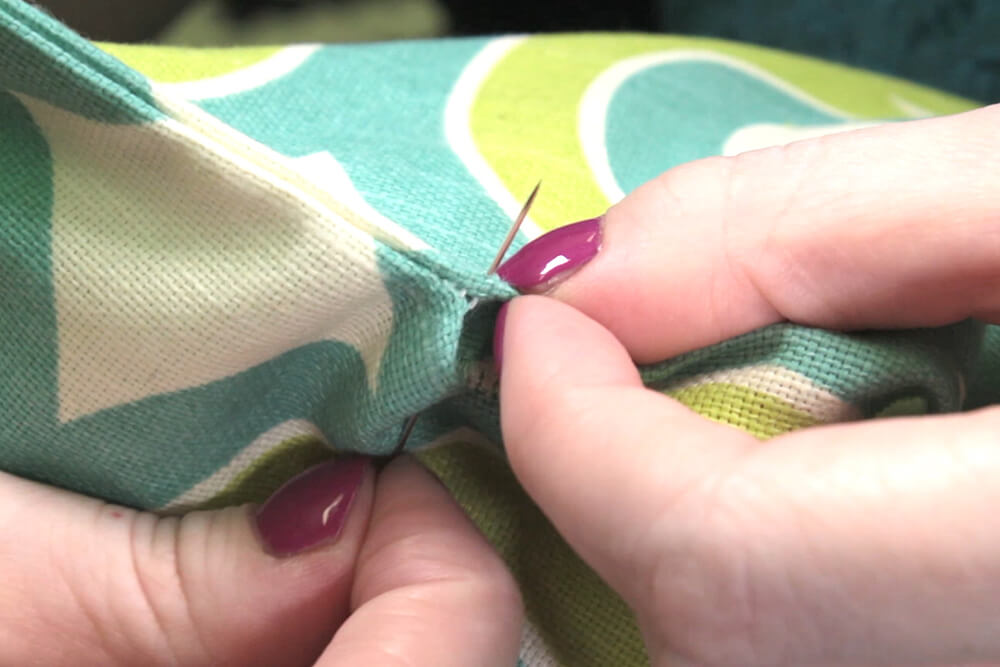
Finally, I’m going to hand stitch the opening closed using an invisible stitch.
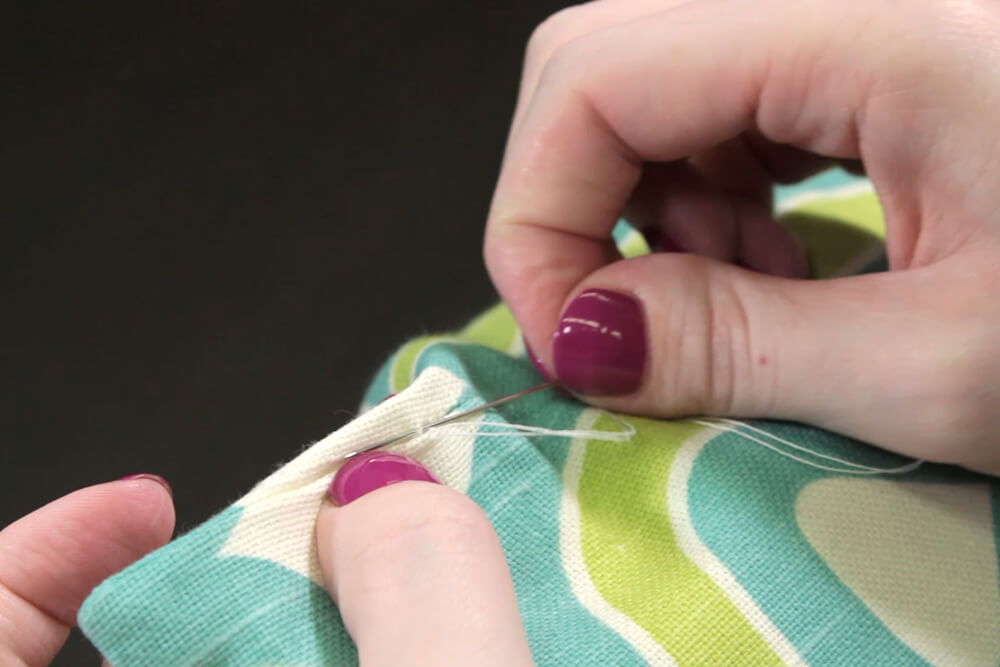
Thread the needle and make a knot at the end. I’m doubling up the thread for extra strength. Bring the needle up through one of the ironed edges so the knot is hidden.
Then go to the opposite side and slide the needle through the top of the fold so you pick up a bit of fabric. Next go directly across to the other side and do the same thing.
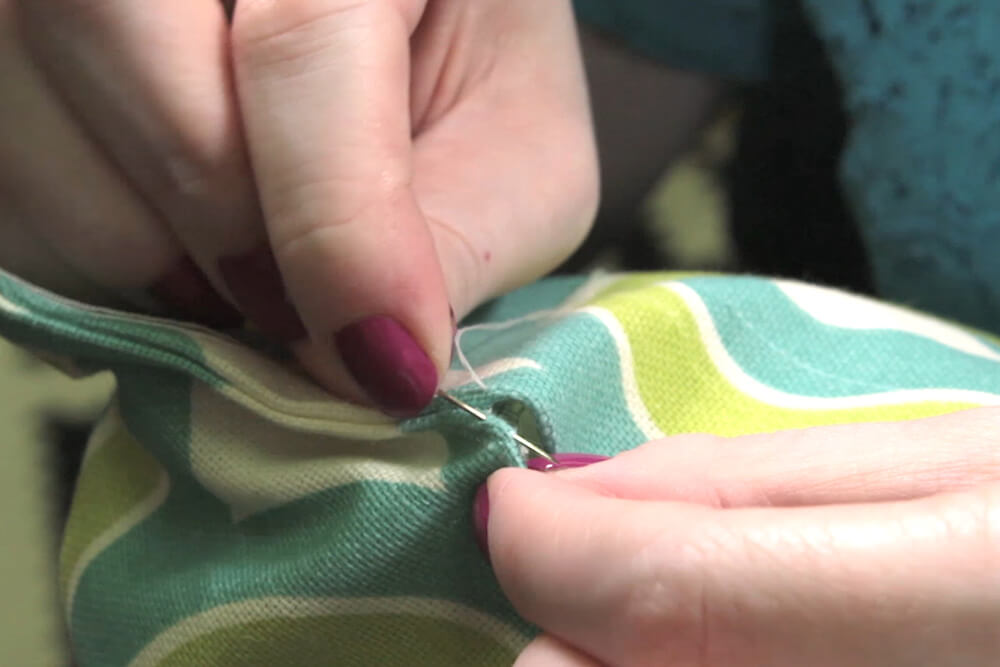
Repeat this a couple more times.
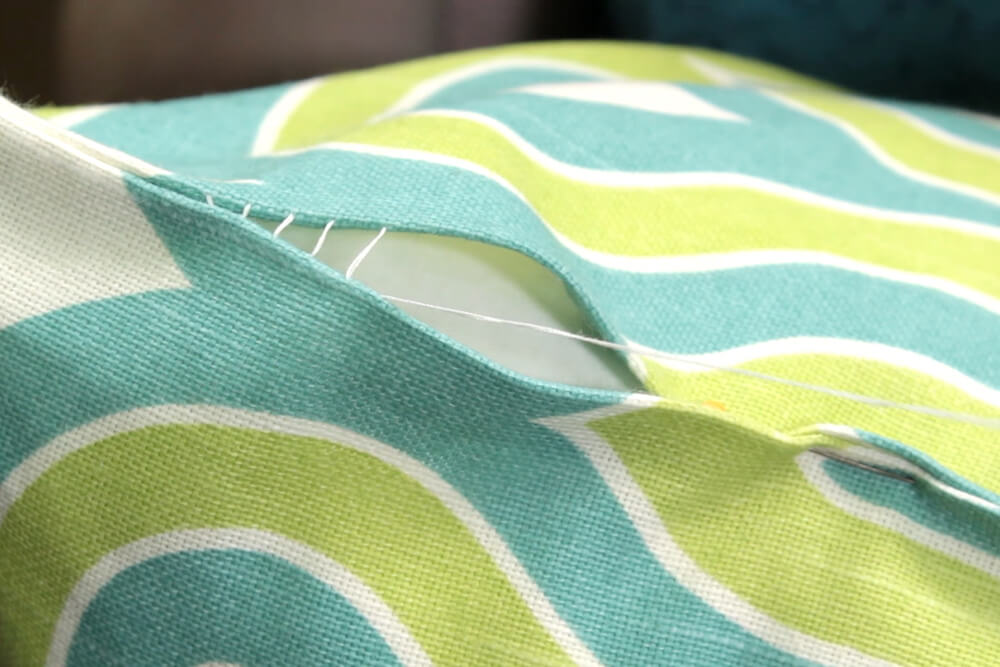
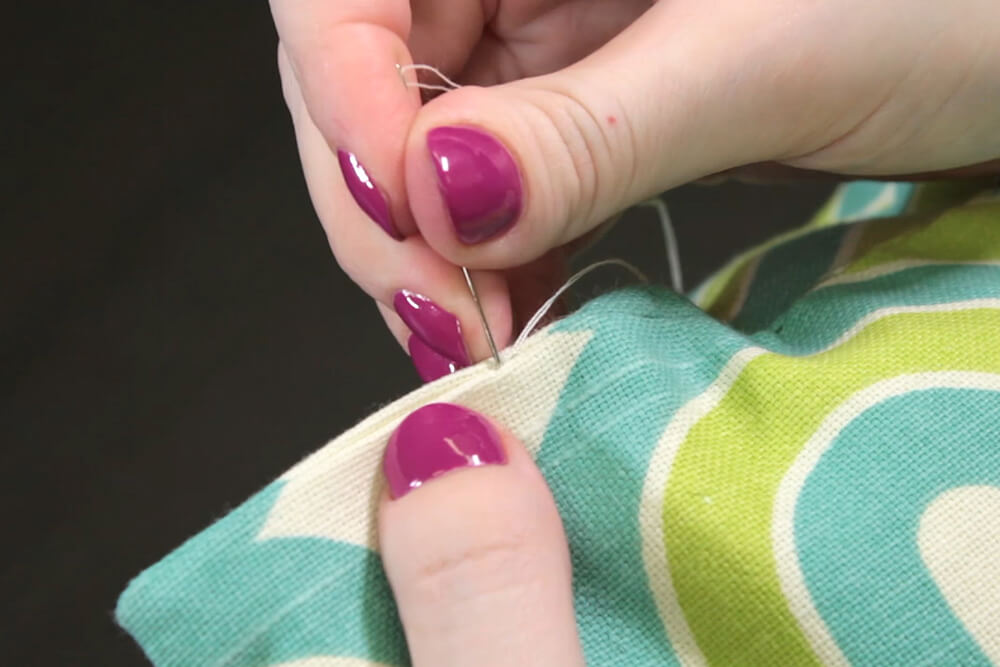
The trick to this stitch is when you go from side to side, go straight across so the thread is perpendicular to the folds. The thread will start to look like the rungs on a ladder. When you pull the thread taut, the stitches will disappear.
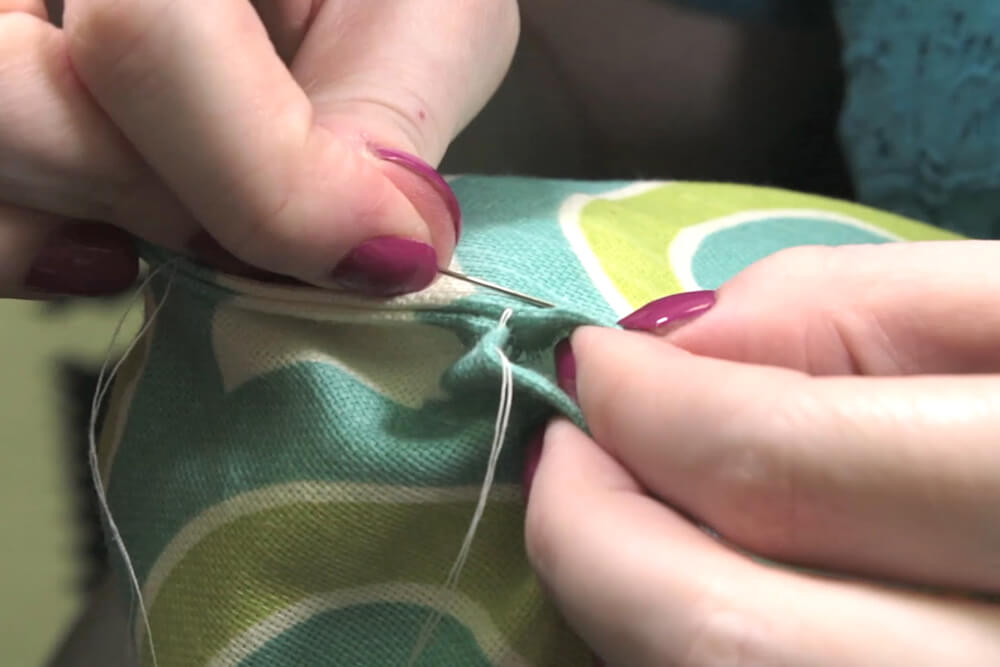
Continue this process down the opening, pulling the thread taut every couple of stitches.

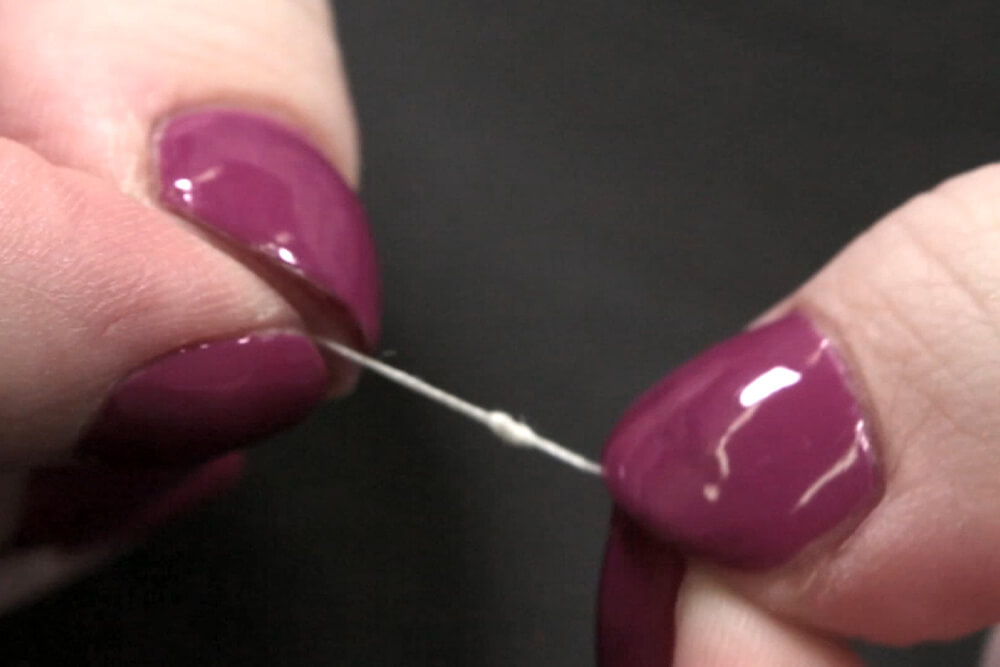
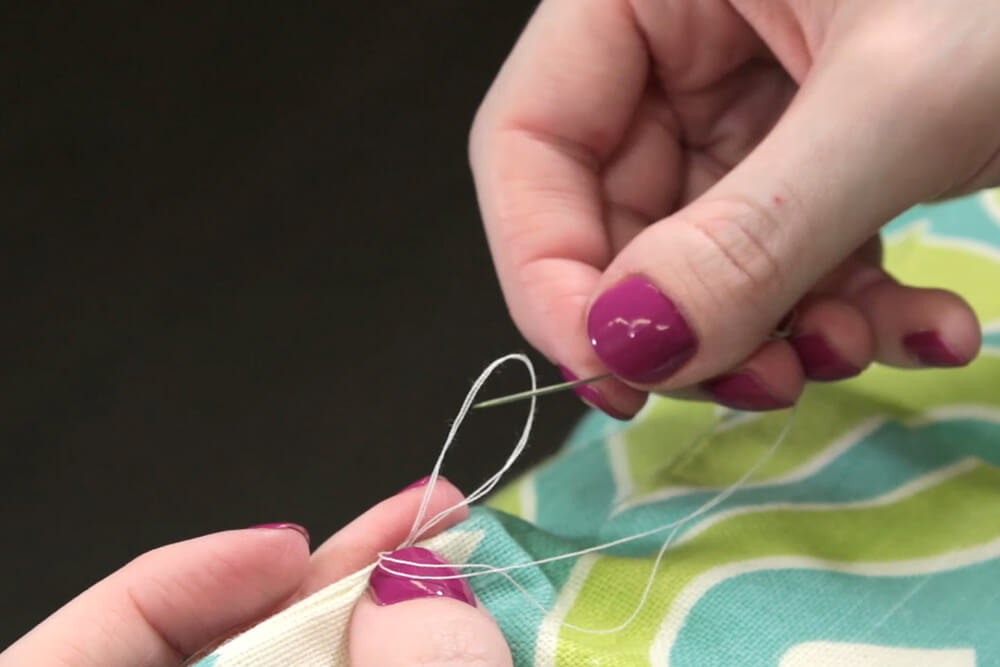
When you get to the end, pick up a bit of fabric like before. This time, bring the needle through the loop of thread so you form a knot. Then repeat this, going through the knot you just made. Do this once more just to make it extra secure.
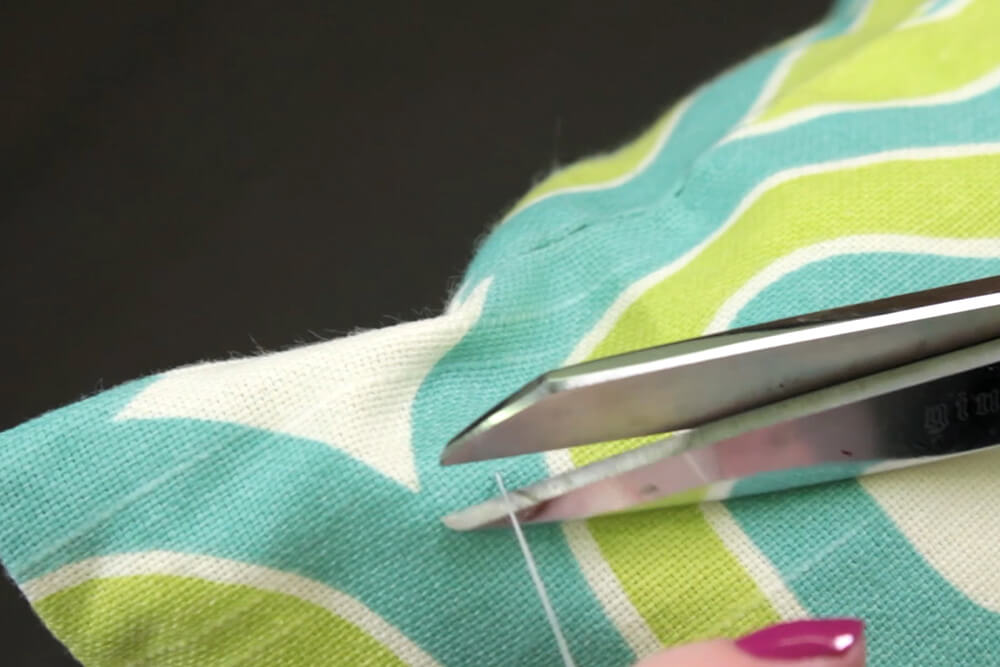
Finally, to hide the tail of the thread, go down through the knot, out the side of the fabric and snip the thread. The pillow is now complete!

Want to make one of your own? Check out our extensive collection of decor fabric!
-
{{#each productSuggestedQueries.results}}
- {{query}} {{/each}}
-
{{#each categories.results}}
- {{html title}} {{/each}}
{{html attributes.description}}
{{/if}}-
{{#each queries.results}}
- {{query}} {{/each}}