How to Sew a Zig Zag Stitch
- By Clara
- Beginner
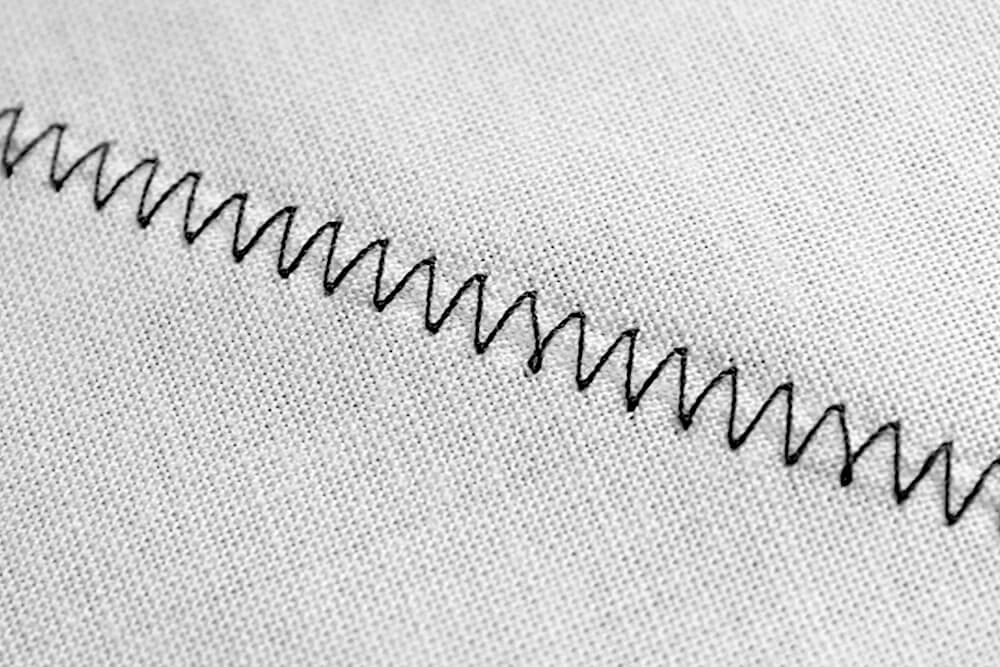
The zig zag stitch is one of the most common stitches, along with the straight stitch, and it has many uses. It’s perfect for sewing stretch fabrics because it has more give than the straight stitch. It’s generally sturdier than the straight stitch, so it can be used if you want something sewn extra strong. It’s often used as a decorative stitch, as well.
Materials
- Fabric
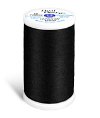
- Thread
- Sewing machine needle
- Sewing machine
Related Products
Video
Instructions
When to Use the Zig Zag Stitch
1. Stretch Fabric: The zig zag stitch is commonly used on stretch fabrics because it is much more flexible than the straight stitch so the thread won’t break when the fabric is stretched.
2. Prevent Fraying: If you don’t have a serger, the zig zag stitch can be used on the raw edge to prevent fraying.
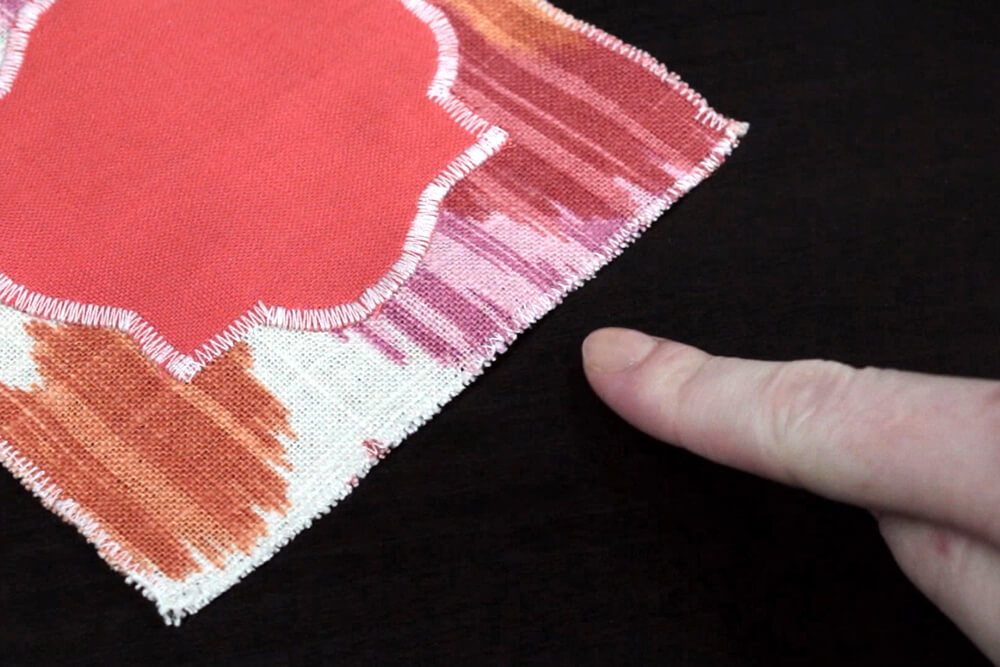
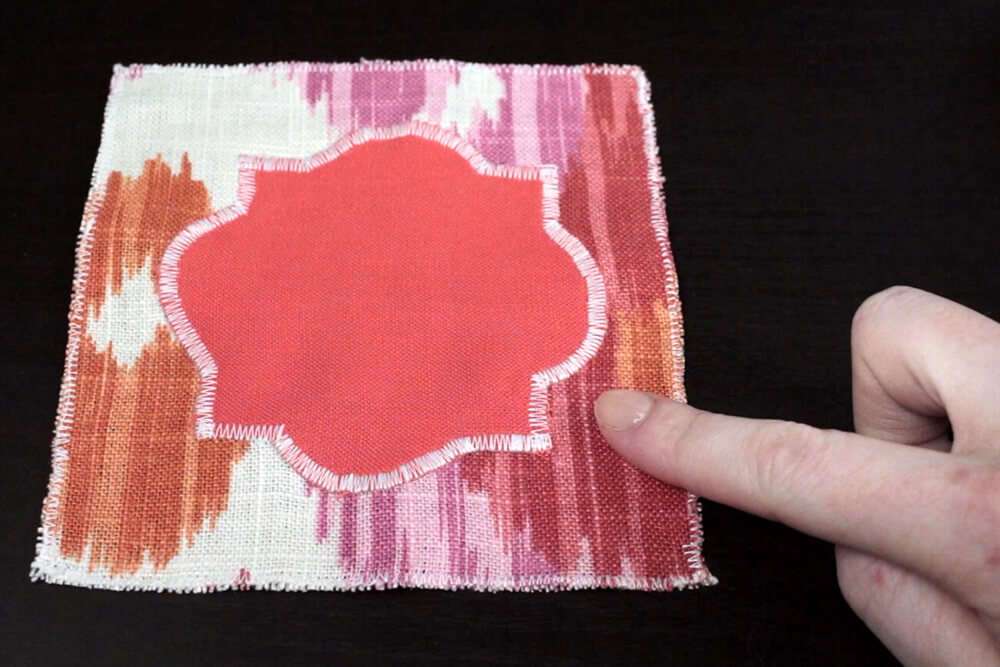
3. Appliques & Decorative Stitching: It’s used around the edges of appliques and for other decorative purposes.
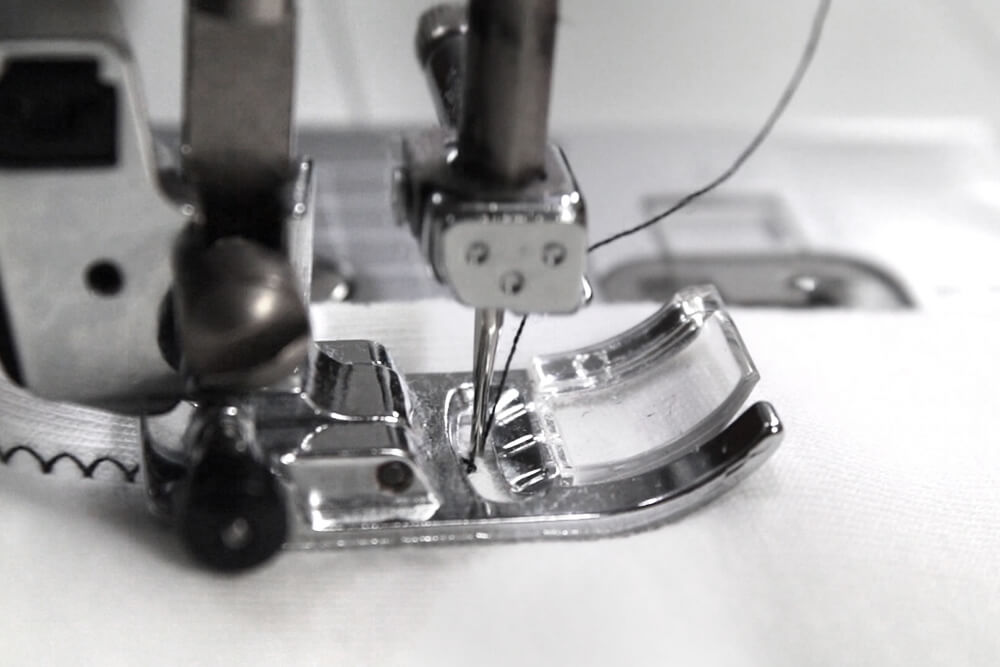
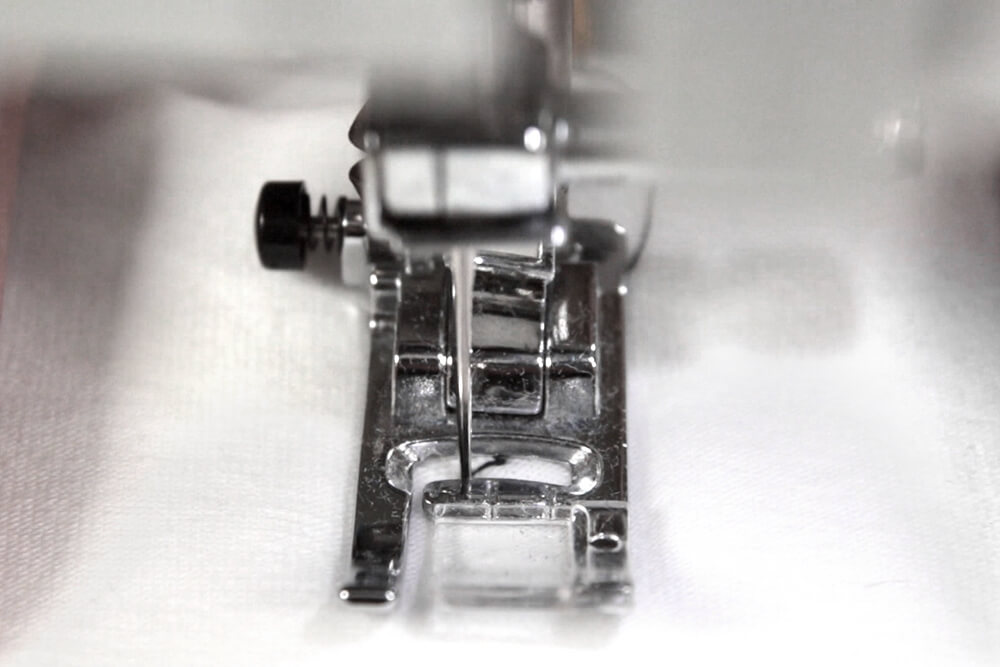
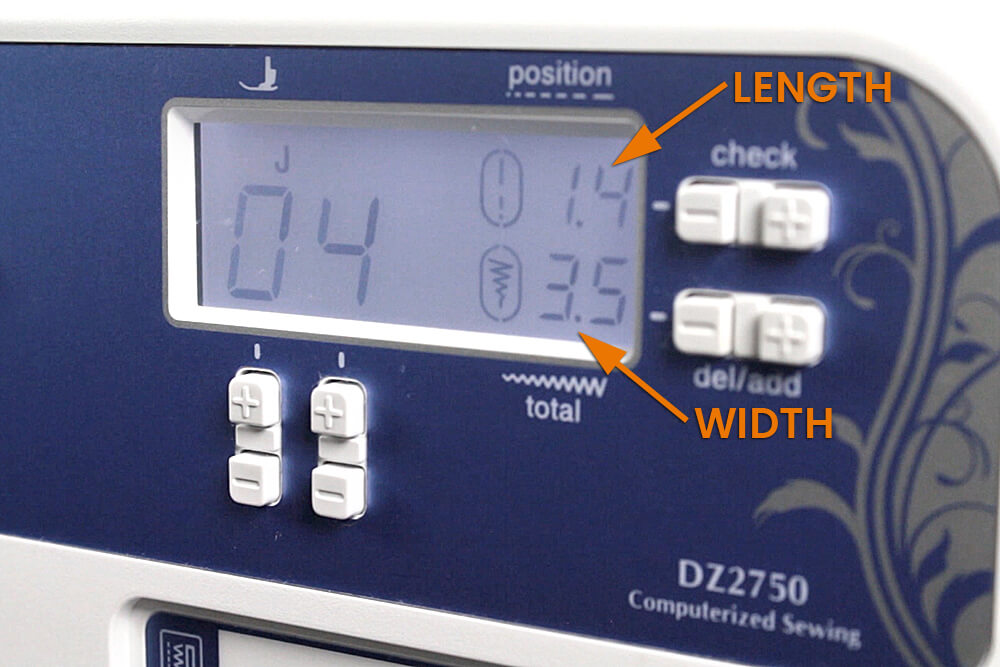
Set the Length & Width
See Sewing Machine Basics for more information on getting started.
You sew the zig zag stitch the same as the straight stitch. The difference is the needle position. It moves from side to side according to the width you set it at.
With the zig zag stitch, you can change both the stitch length and the width, so the possibilities are almost endless.
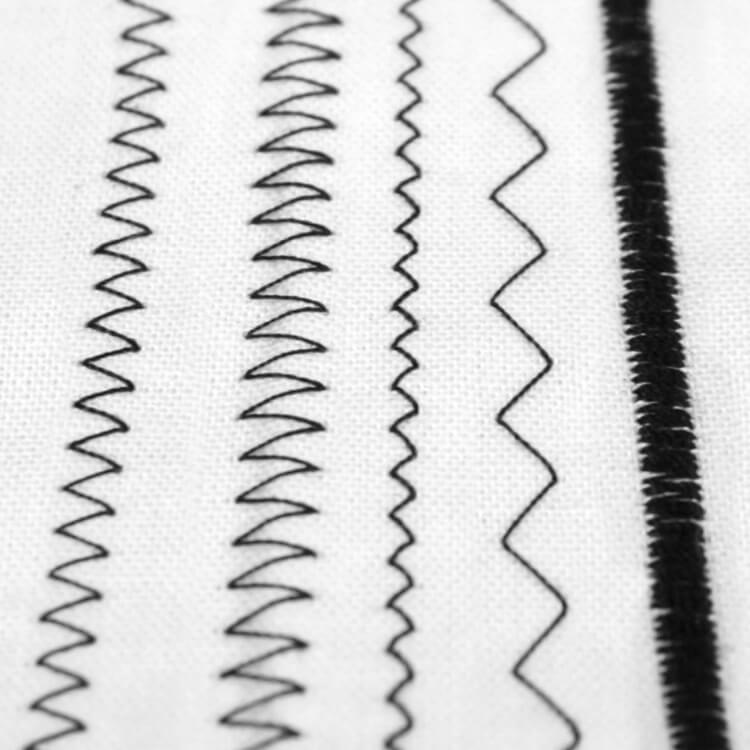
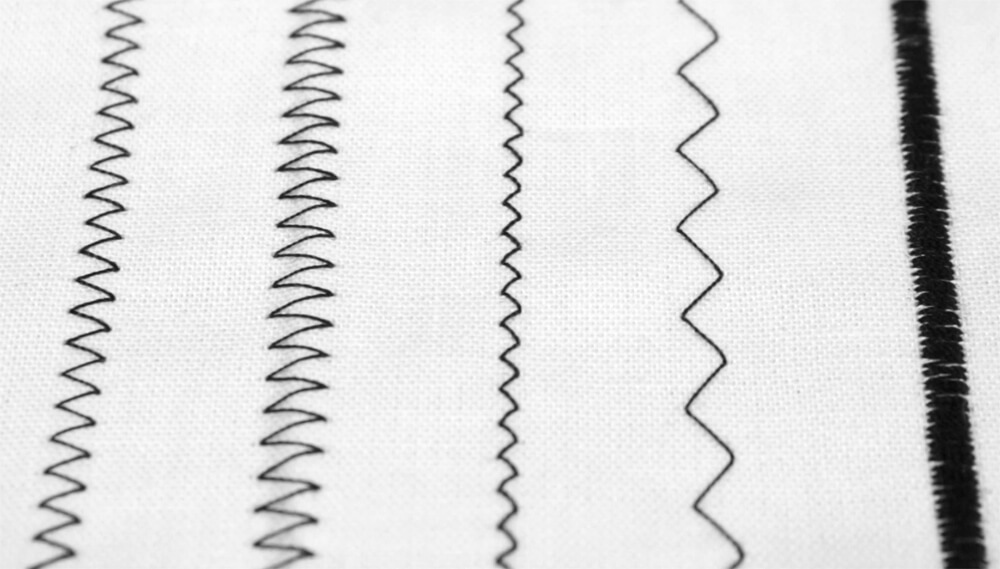
For just a few examples of different zig zag stitches are shown below.
A standard zig zag stitch (on the left) has a medium width and length. When the stitch length is really small, it’s known as a satin stitch (on the right).
The zig zag stitch is great for stretch fabrics. Find stretch fabrics here.
-
{{#each productSuggestedQueries.results}}
- {{query}} {{/each}}
-
{{#each categories.results}}
- {{html title}} {{/each}}
{{html attributes.description}}
{{/if}}-
{{#each queries.results}}
- {{query}} {{/each}}