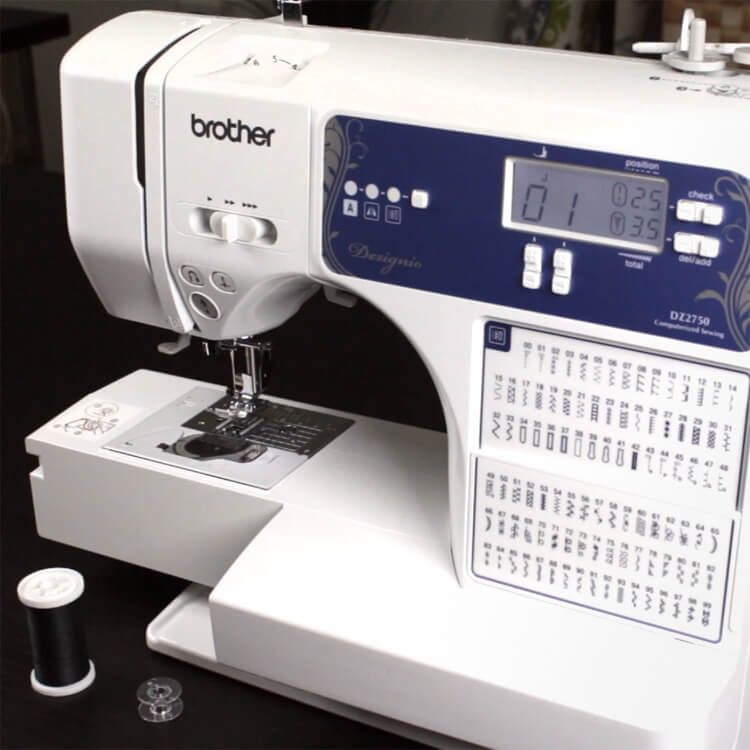
Sewing Machine Basics
- By Clara
- Beginner
Sewing can be intimidating for first time sewers, but it’s really very easy. There are two types of basic sewing machines: mechanical and computerized. They all have the same parts, but will be operated slightly differently. Refer to your manual for specifics about your sewing machine.
Materials
- Sewing machine
- Fabric
- Thread
- Bobbin
- Sewing machine needles
Related Products


Video
Instructions
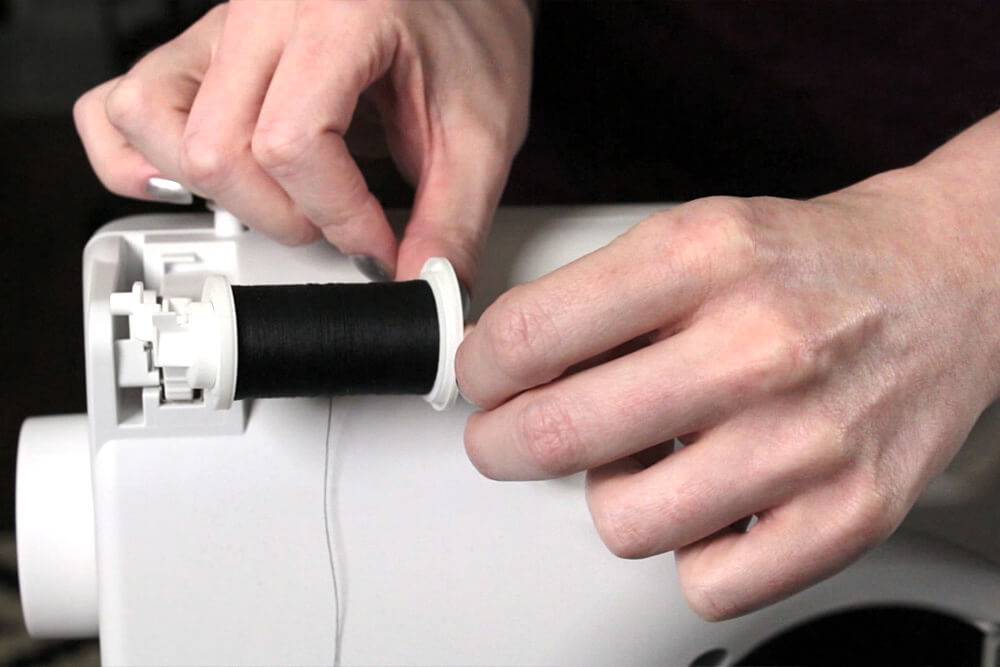
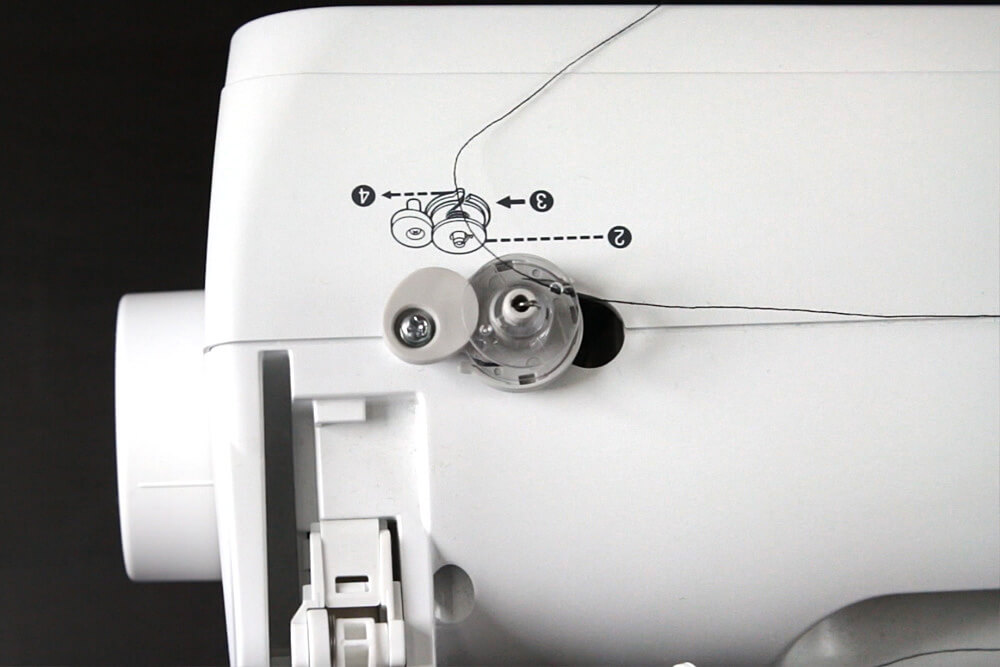
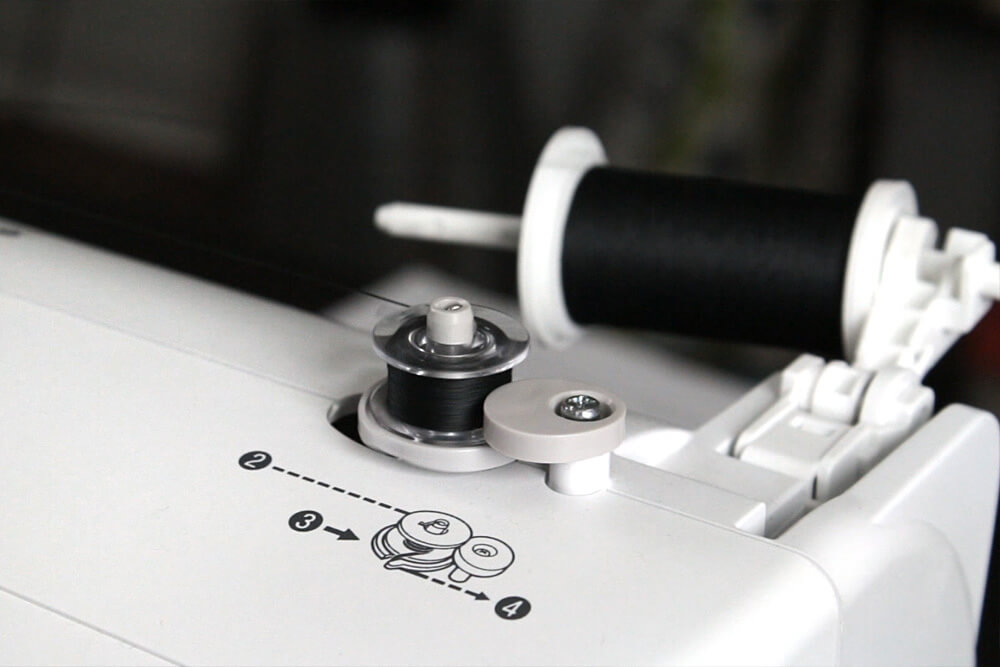
Wind the bobbin
First put your thread on the spool holder, which will either be vertical or horizontal like on this sewing machine.
Refer to your manual to run the thread from the spool to the bobbin.
Then put the bobbin on the bobbin winder, which will be on the top or end of the sewing machine.
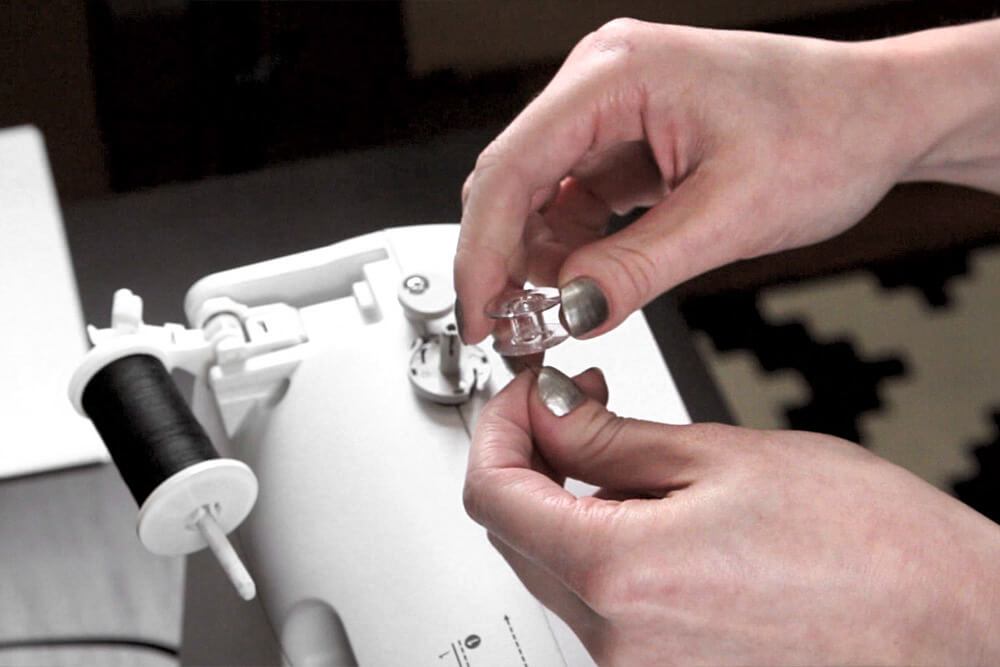
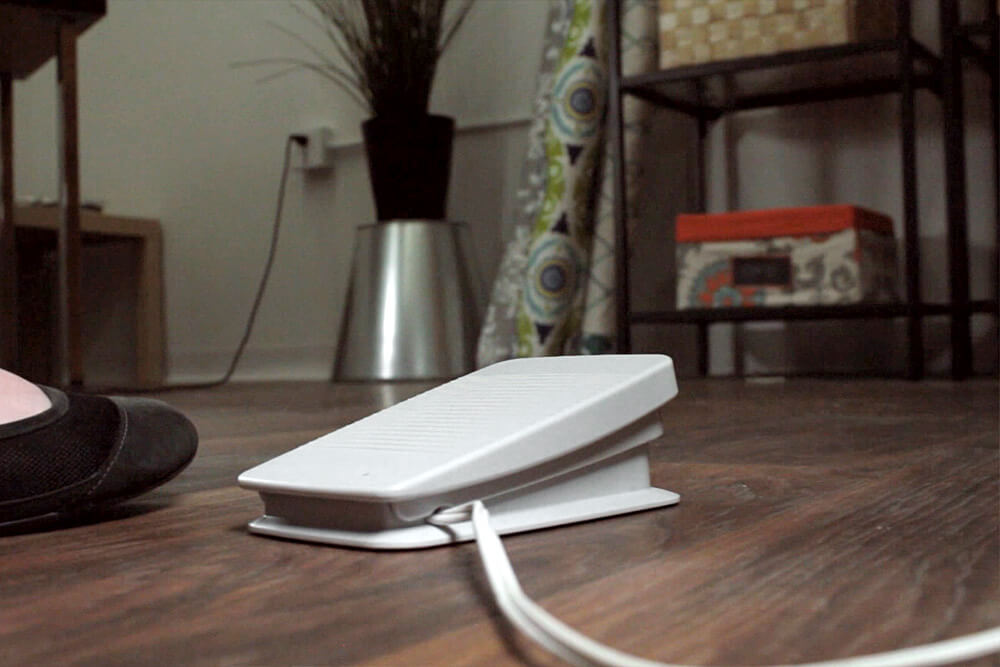
Use the foot pedal to spin it until it’s full.
Then load the bobbin. For some machines, you can load it from the top like this, or else it will be on the front.

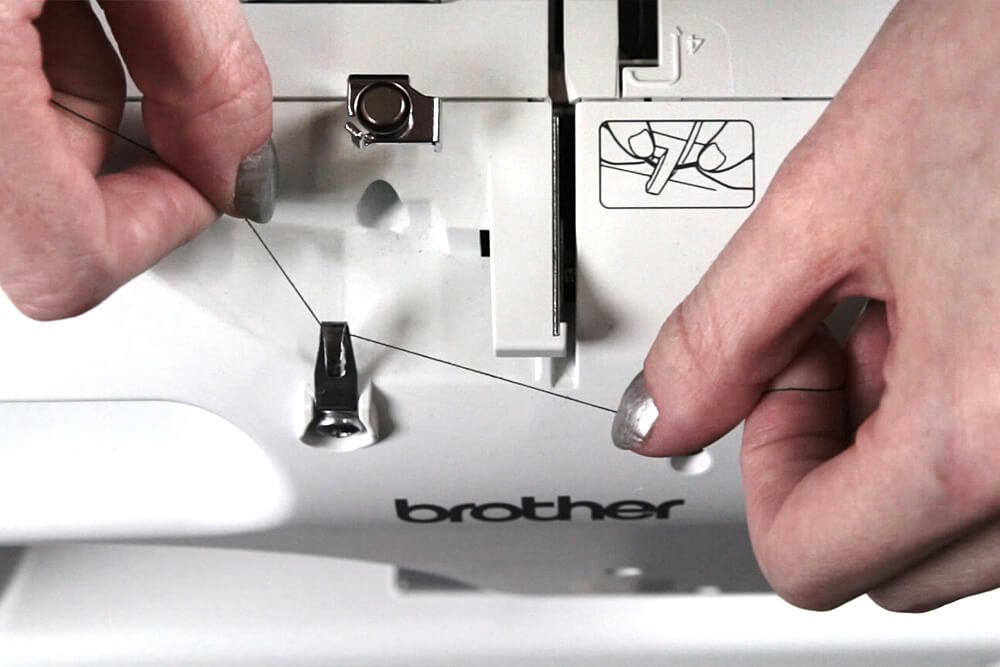
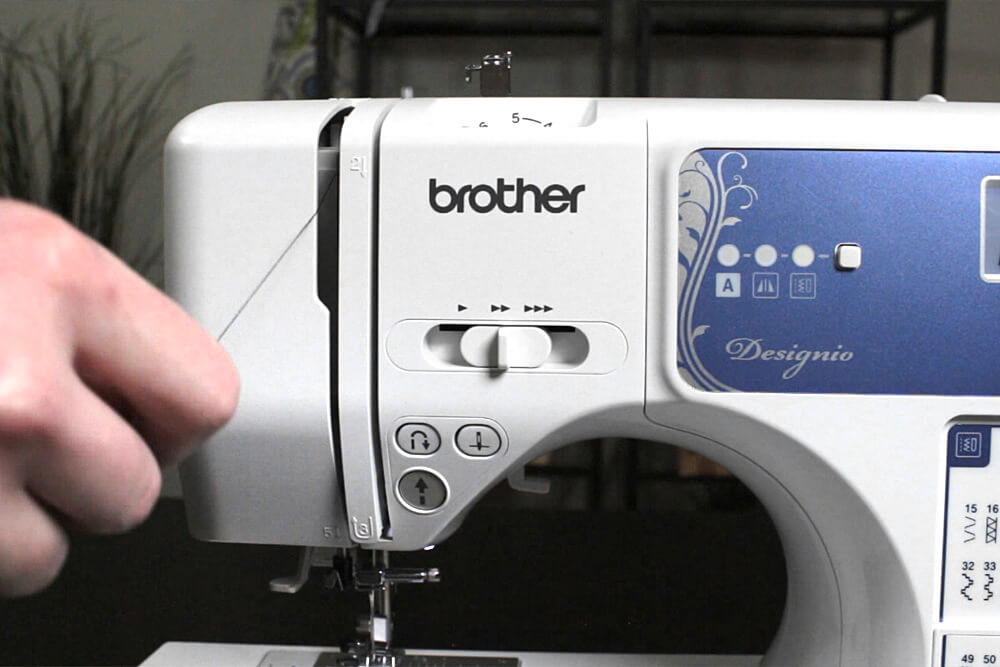
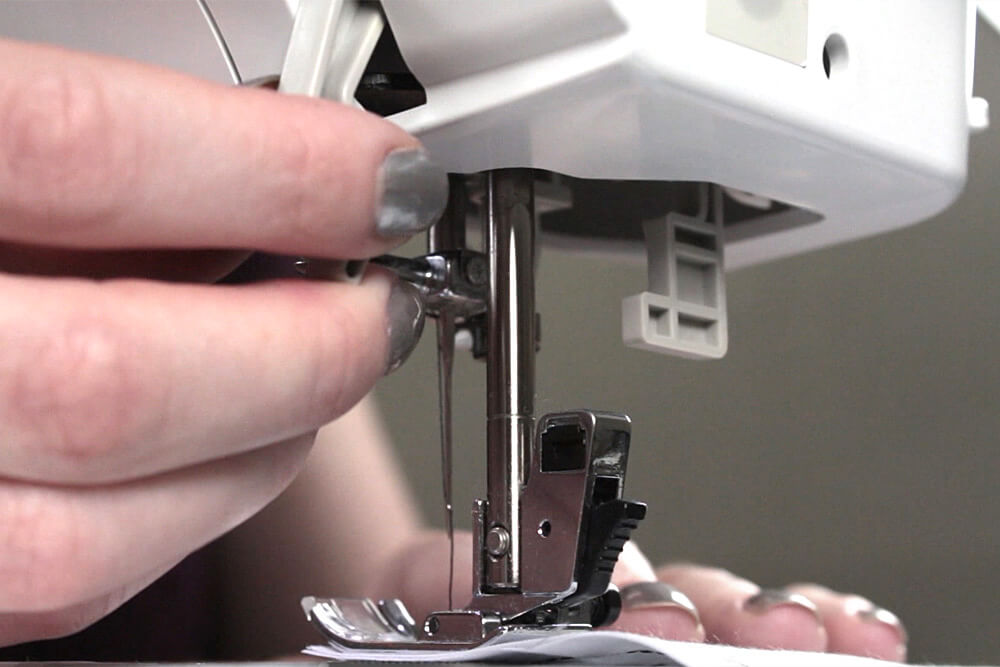
Thread the machine
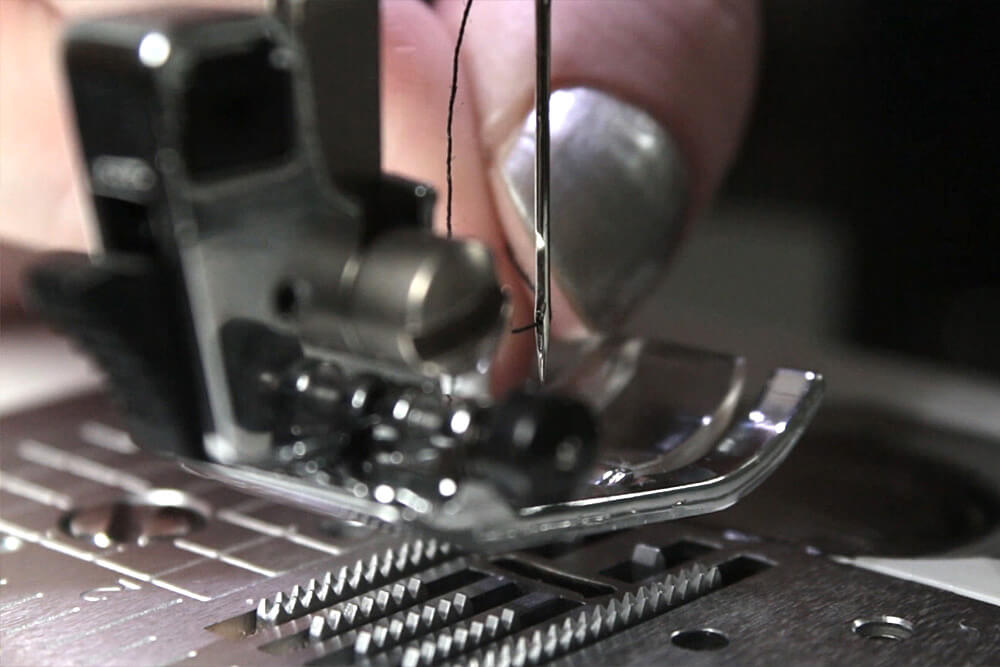
If you’ve just loaded the bobbin, you’ll see one thread, but the majority of the time you’ll start with both the needle and bobbin thread visible. Pull the thread to the back, making sure they’re going under the presser foot.
Next thread the sewing machine. Again refer to your manual for specifics.
Put the thread through the hole in the needle, front to back.
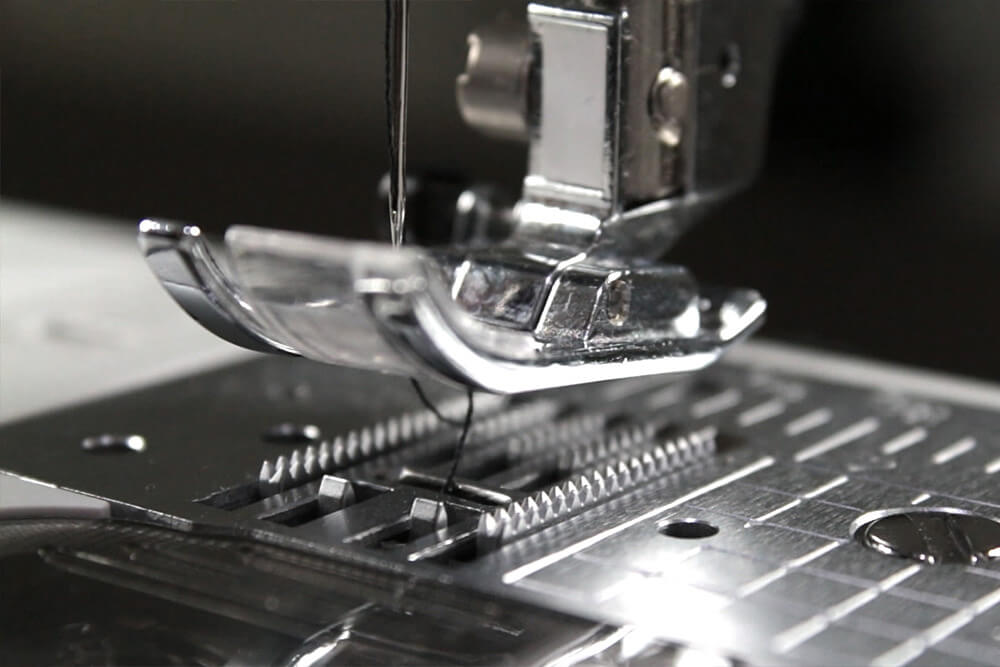
Sewing machines make stitches by taking the top thread that runs from the spools through the needle and looping it with the bottom thread from the bobbin so that they interlock.
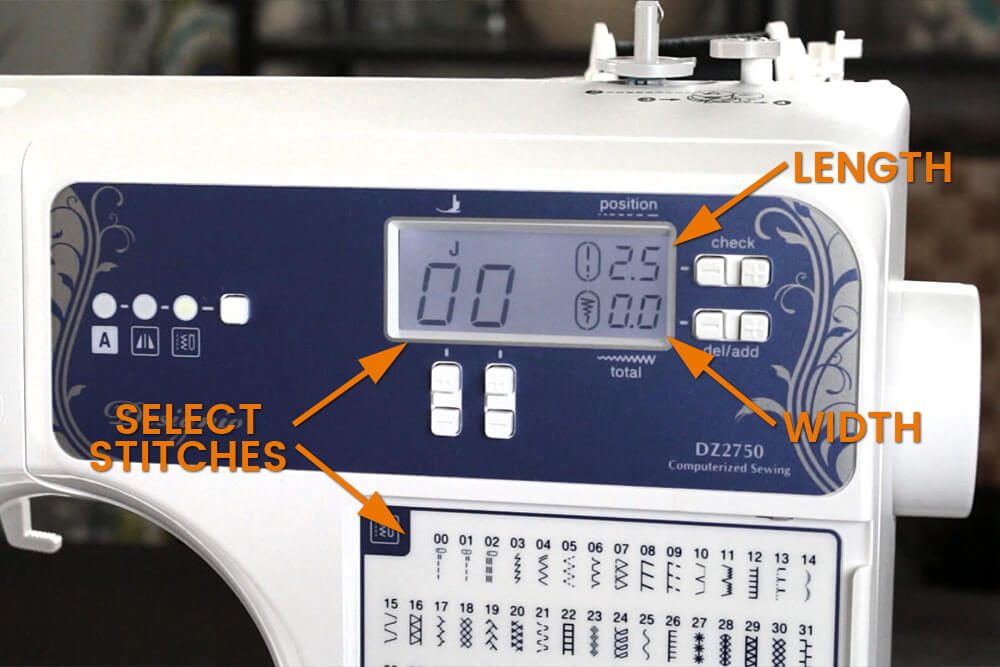
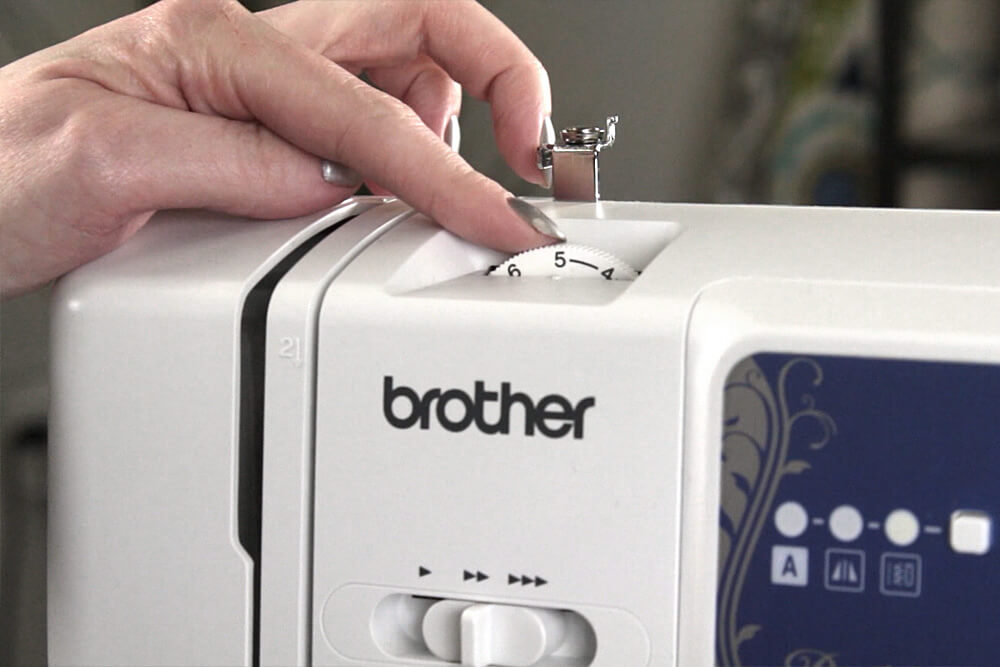
Stitch settings
This machine has quite a few stitches, but there are really just a few that you’ll use the majority of the time, especially the straight stitch.
Depending on your machine, select a straight stitch by either turning a dial or choosing the corresponding number.
You have the option of changing the stitch length and also the stitch width on some stitches, like the zig zag stitch.
The default length for the straight stitch of about 2.5 mm is great for most uses.
Tension is another adjustment you can make, but leave it at a medium tension for now.
Get to know the parts of the machine
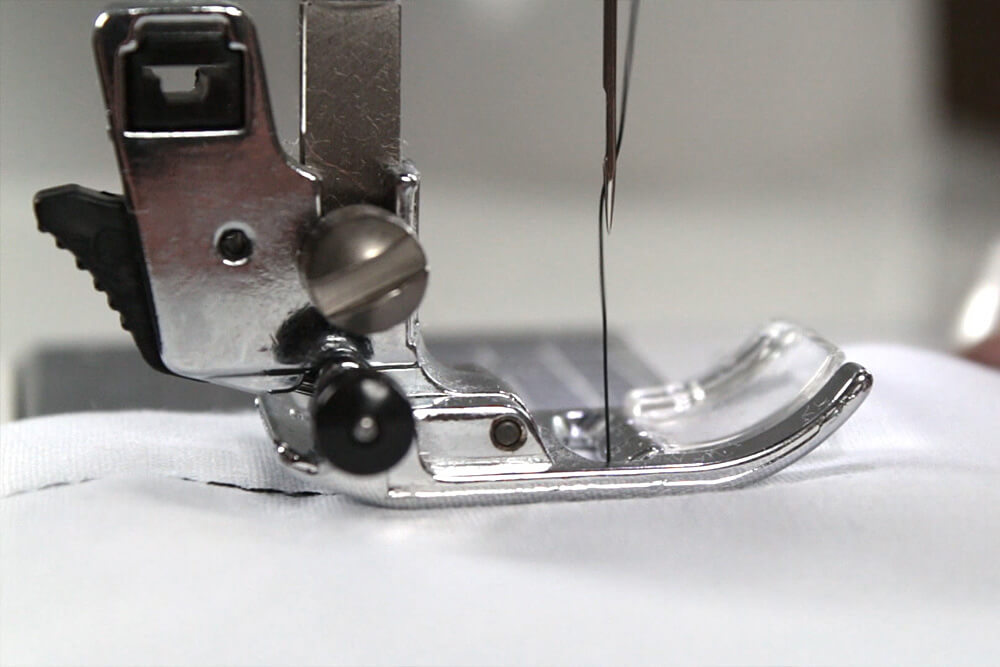
The presser foot, which holds the fabric in place is raised and lowered with a lever.
The feed dogs move back and forth while you sew to pull the fabric forward.
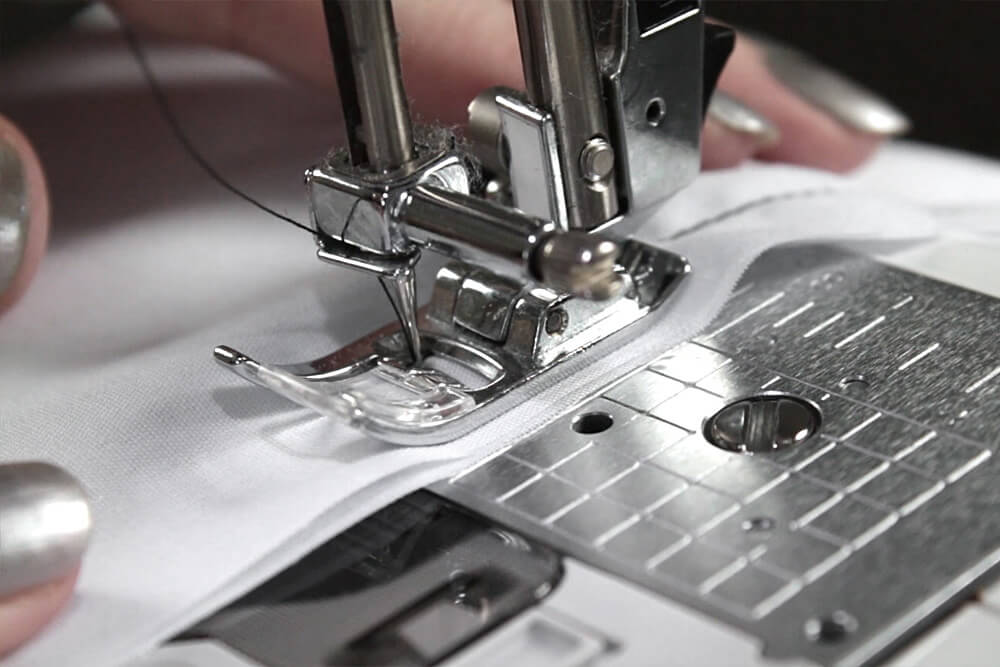
The needle plate will have measurements on it for the seam allowance, which is the amount of space between the needle and the edge of the fabric.

Sew the fabric
On some machines, you’ll want to hold the tails of the threads as you start to sew. You may feel the machine tug on the thread until the first stitches anchor them to the fabric.
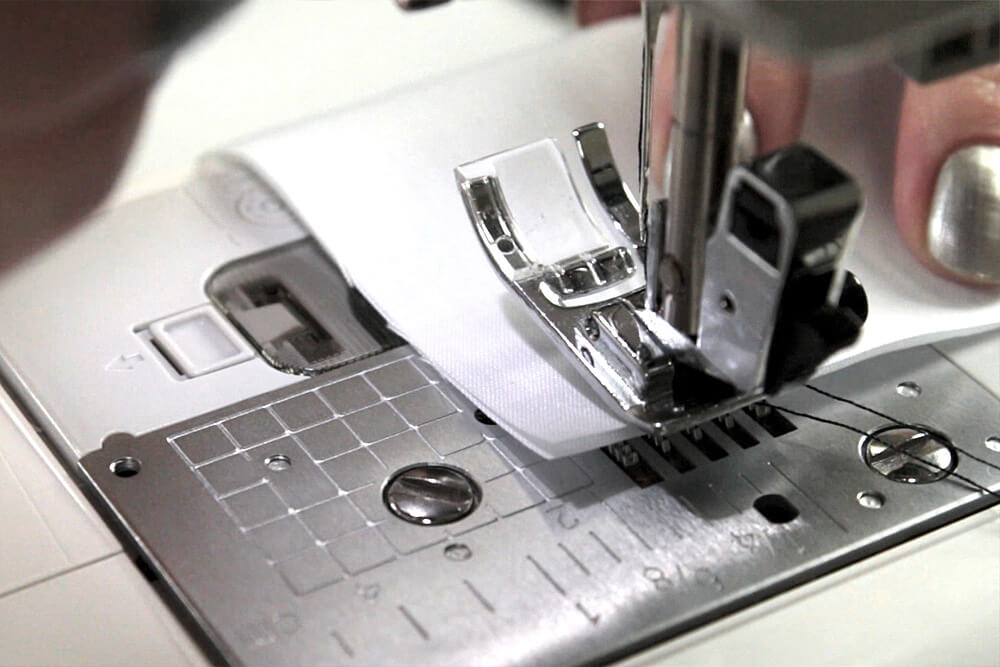
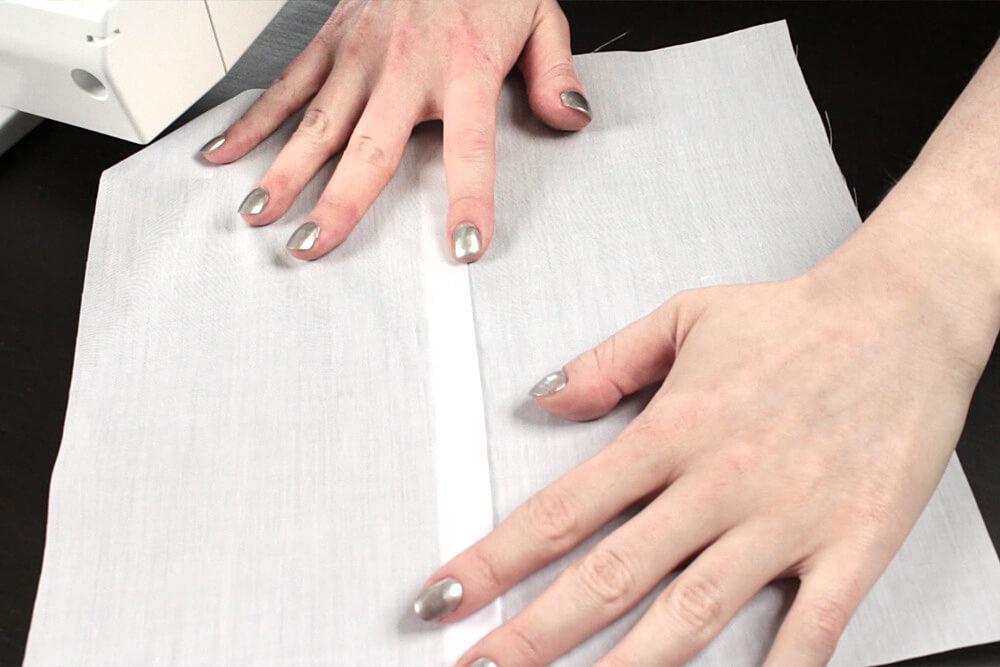
To sew a seam, take two pieces of fabric and position them between the raised presser foot and the needle plate.
Line up the right edge of the fabric with one of the marks on the sewing plate, which will be your seam allowance.
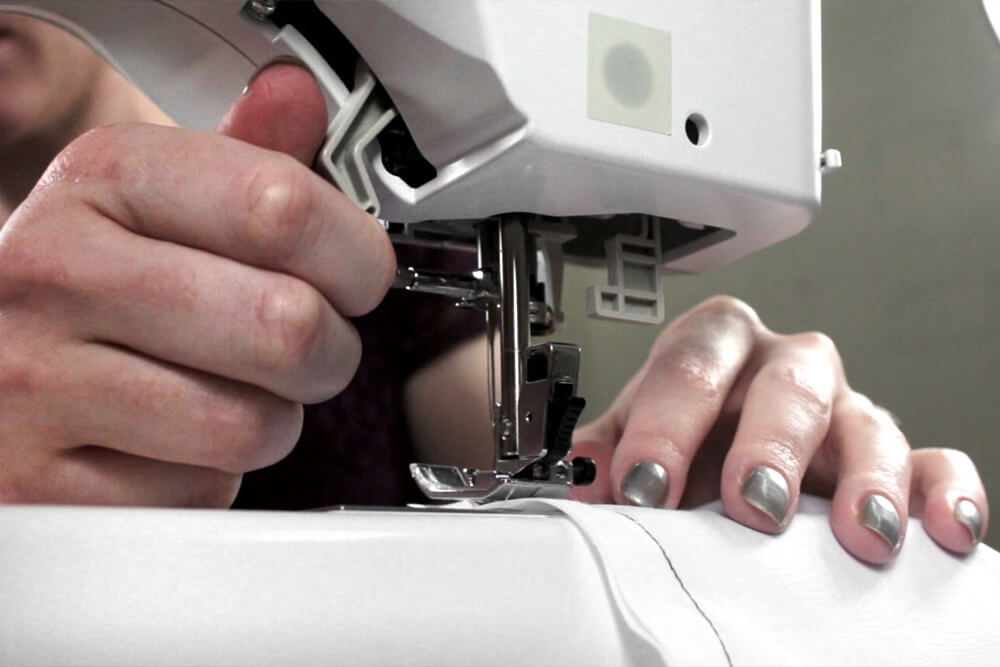
Lower the presser foot with the lever.
To start to sew, press lightly on the foot pedal. The harder you press, the faster it will go.
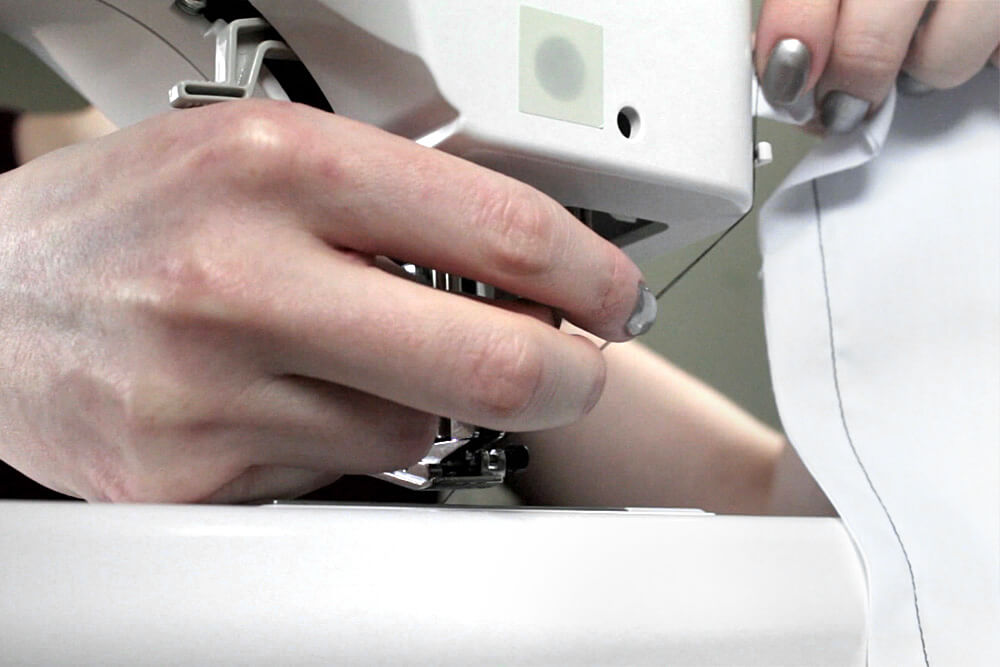
A tip for sewing a straight line is to focus on keeping the edge of your fabric and the mark you chose lined up instead of watching the needle.
Sew for about 1/2″ and stop. It’s best to backstitch to prevent your stitches from unraveling. Hold in the reverse button while you press the foot pedal.
Sew backwards over your stitches until you get back to where you started. Then release the button and continue to sew forward.
The feed dogs will advance the fabric through the machine on their own, so guide the fabric with your hands and don’t pull. You can use your right hand to guide the fabric in front of the needle and use your left hand near the back or to the left of the needle.
When you get to the end, backstitch again to lock in the stitches.
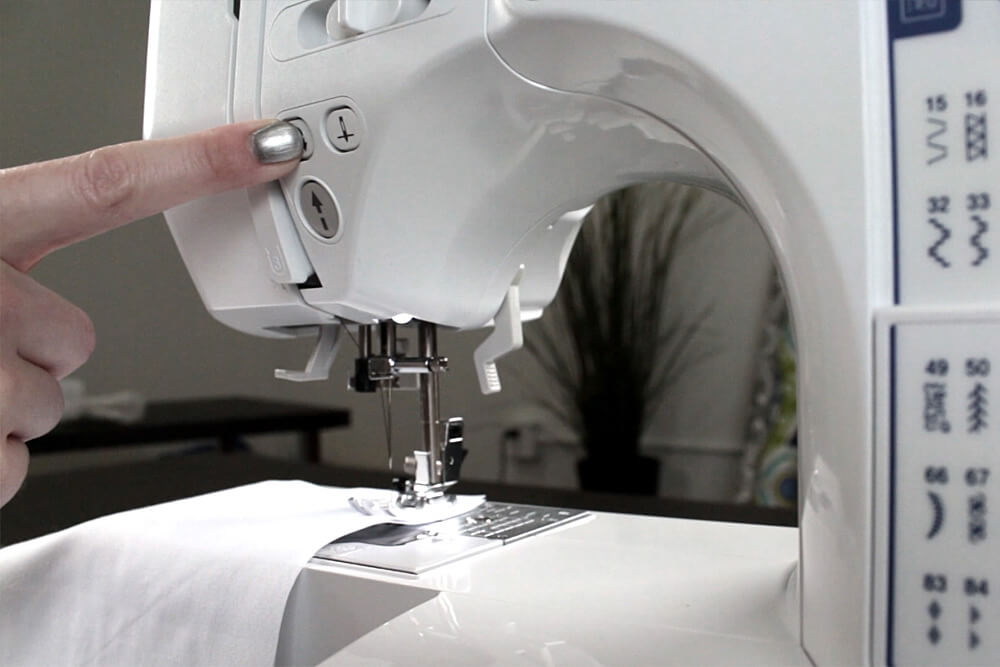
Raise the needle by turning the hand wheel, or your machine may have a button that automatically raises and lowers the needle.
Lift the presser foot, pull the fabric away from you, and cut the thread either with scissors or a thread cutter on your machine.
And that’s it, you’ve sewn a seam.

Troubleshooting
If your stitches look messy, most likely the machine is threaded incorrectly or the tension isn’t right.
Try rethreading and reloading the bobbin and then play with adjusting the tension dial up or down. If you’re working with thicker fabric or many layers, you’ll want the tension lower and it should be higher for lightweight fabric.
When the tension is correct, the knot where the top and bottom threads interlock will be in the center of the layers of fabric where you can’t see it and the stitches will look even on both sides.
Just start experimenting with settings and practicing and you’ll be sewing in no time.
Take a look at our how to tutorials to get more inspiration to start sewing!
-
{{#each productSuggestedQueries.results}}
- {{query}} {{/each}}
-
{{#each categories.results}}
- {{html title}} {{/each}}
{{html attributes.description}}
{{/if}}-
{{#each queries.results}}
- {{query}} {{/each}}