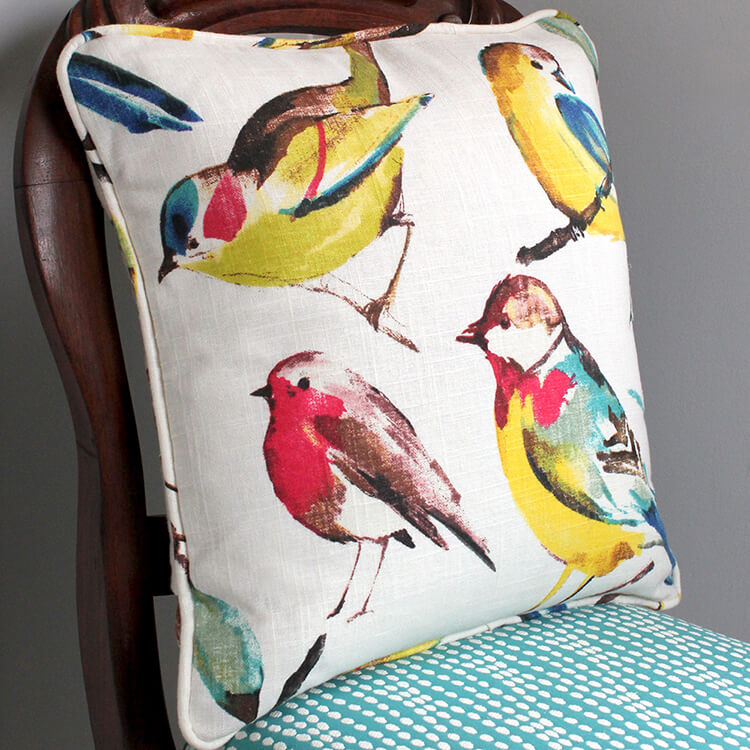
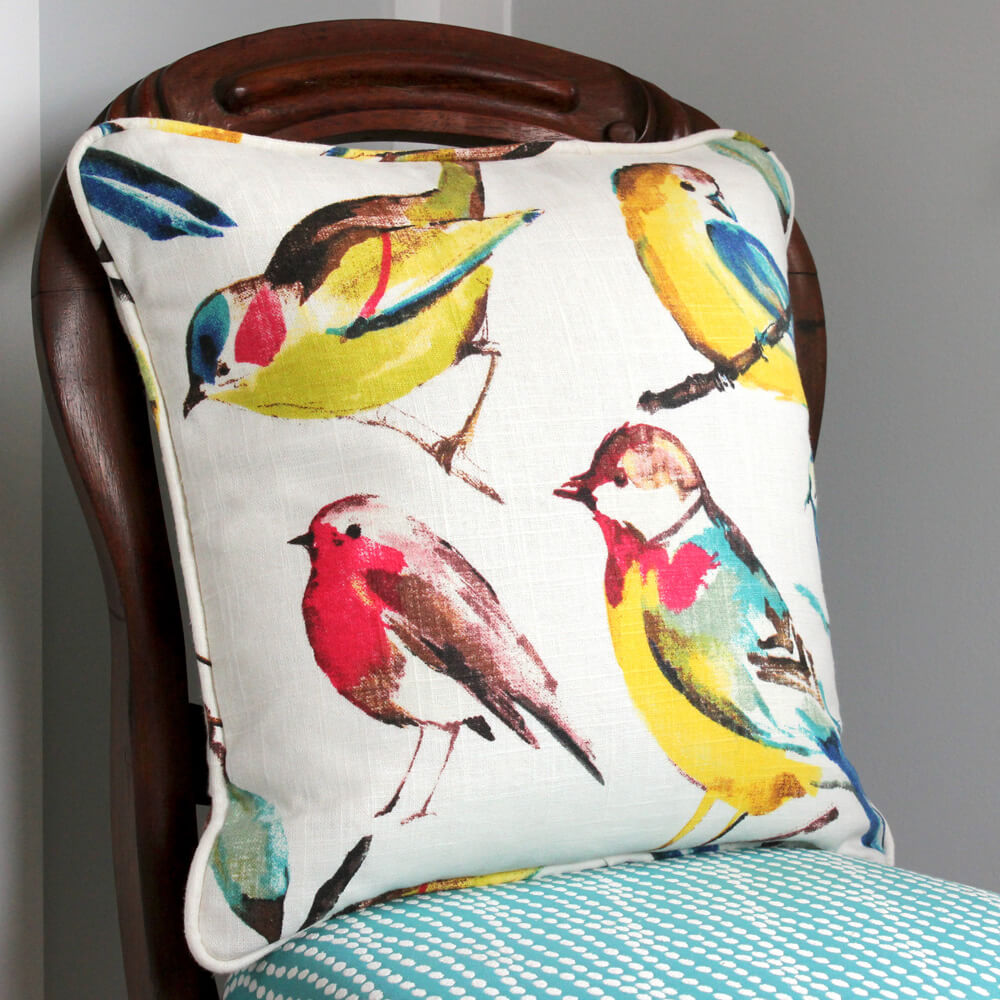
How to Sew an Envelope Pillow with Piping
- By Clara
- Beginner
- 1 hour 30 minutes
An envelope pillow is the easiest style of throw pillow to make. The overlapping pieces on the back make taking off the cover easy, so you can change up your décor any time you want. And for envelope pillows, there’s no hand sewing involved!
This pillow will also have piping around the edges, but you can choose to make it with or without the piping. Piping adds an extra finishing touch that can make the pillow look polished and professional.
Want to get the printable PDF instructions?
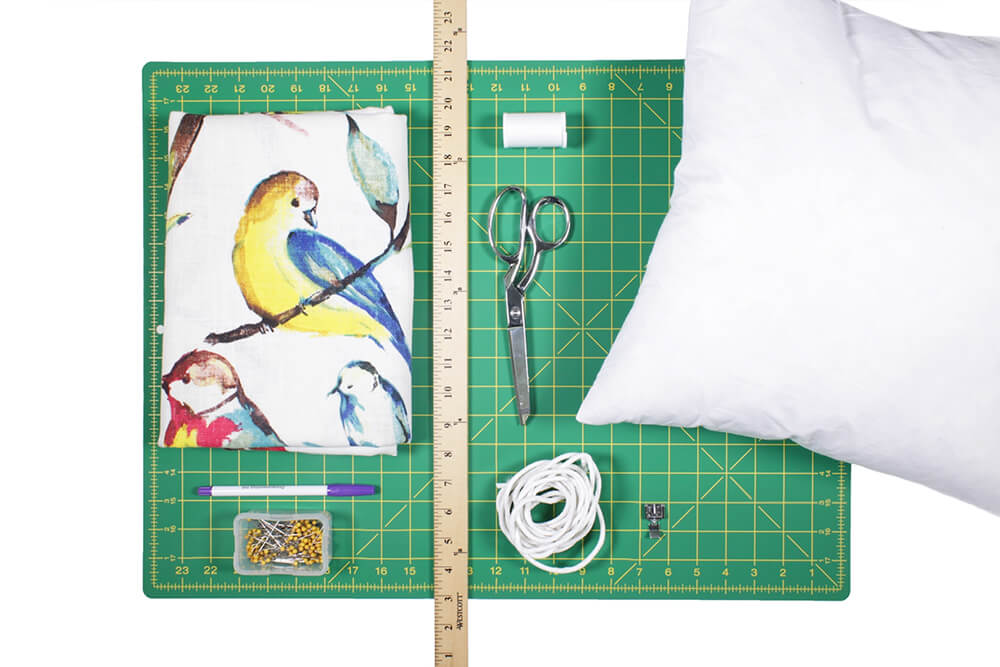
Materials
- 1 yard of decor fabric
- A pillow form
- Ruler
- Scissors
- Fabric marker
- Pins
- Thread
- Cording
- A zipper foot
Related Products


Video
Instructions
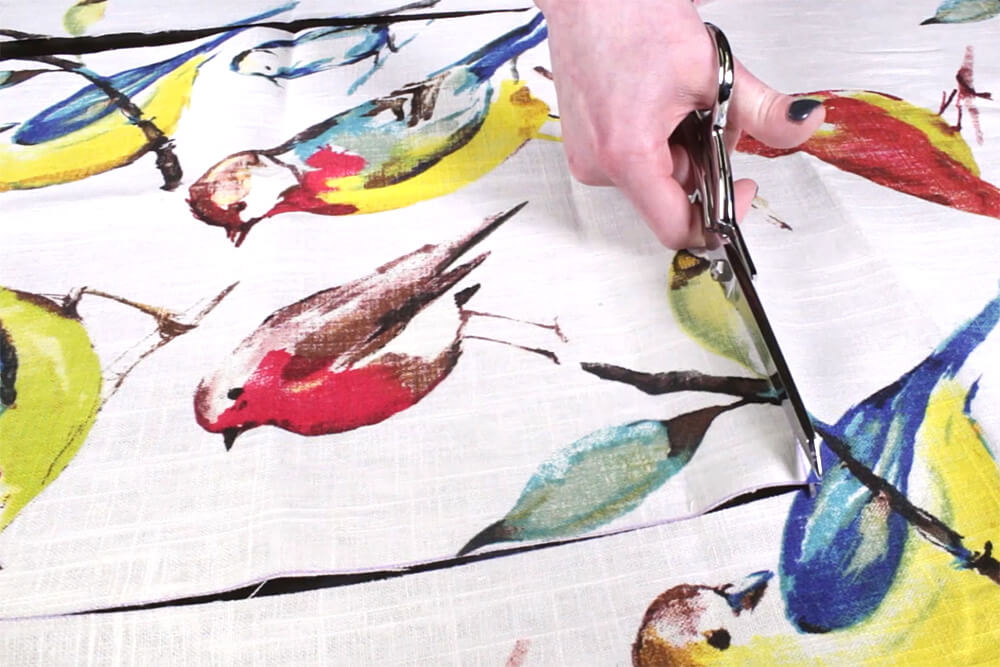
Step 1: Measure & cut the fabric
Piping is often cut on the bias, which means diagonally, because that gives the fabric more stretch for wrapping around corners. But this takes up more yardage and isn’t critical for this project, so you can choose to cut across the width or length of the fabric.
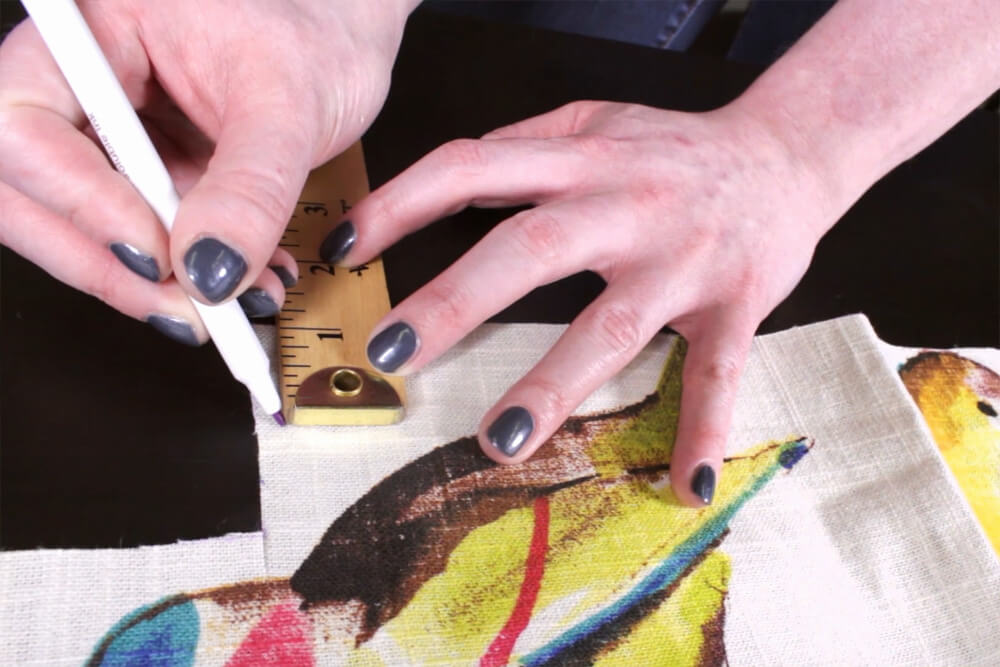
Front Panel: Cut out a piece that is the same size as the pillow. If you want a fuller looking pillow, cut it an inch smaller. In this example, the pillow is 16” x 16” so the front panel is also cut to 16” x 16”.
Your measurements: [pillow width] by [pillow height]
Back Pieces: The back of the pillow is made up of two overlapping pieces. The width for these is the same as the pillow form. The height of each piece should be roughly ¾ the height of the pillow. So for a 16×16” pillow, cut two pieces that are 16” wide and 12” tall.
Your measurements: [pillow width] by [pillow height] x 0.75
Piping: If you’re adding piping to the pillow, cut out strips of fabric for making the piping.
To determine the width to cut the strips, take the width of your cording (welting cord), add the seam allowance you’ll be using, then multiply that number by 2. This is 1/8 inch cording and the seam allowance will be ½”, so the strips are 1 ¼” wide.
For the length, measure enough to wrap around the perimeter of the pillow plus a couple extra inches. I’ll need to sew two pieces together to make a piece that’s 70” long for this pillow.
Your measurements: width = (width of cording + seam allowance) x 2
length = [pillow width] x 2 + [pillow height] x 2 + about 4”
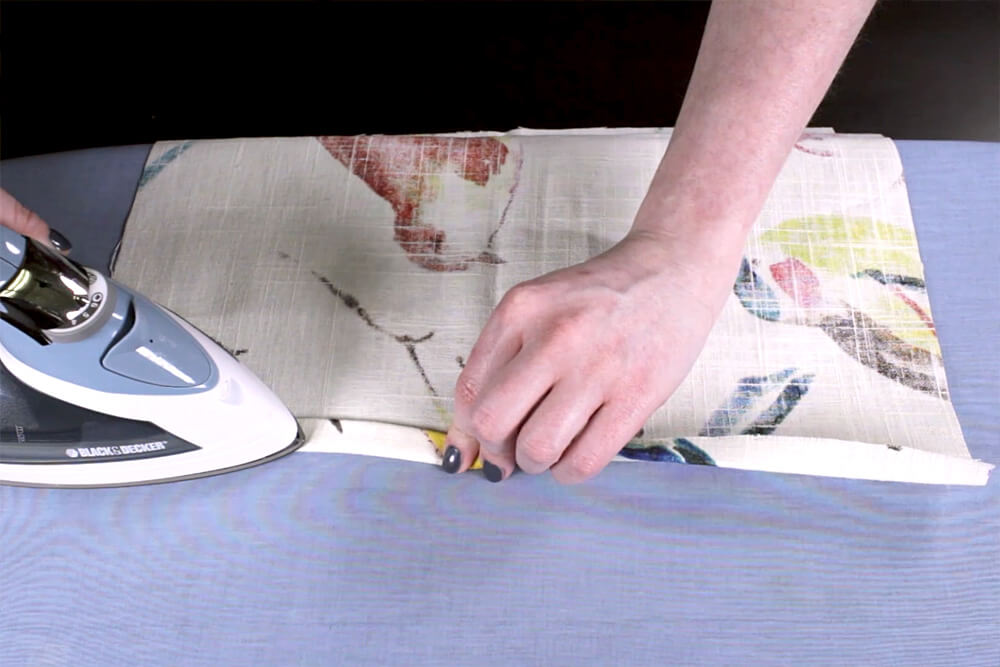
Step 2: Hem the back pieces
If you’re not adding piping, at this point you would lay down the front piece with the right side up. Then place down the back pieces, with the wrong sides up, so that they are overlapping. Pin and sew around the entire outside with a ½” seam allowance.
At the bottom of one of the back pieces, fold the fabric over ½” and iron, then fold over again and press. Sew across, back stitching at the beginning and end.
Repeat the same thing on the top of the other piece.
Step 3: Make the piping (optional)
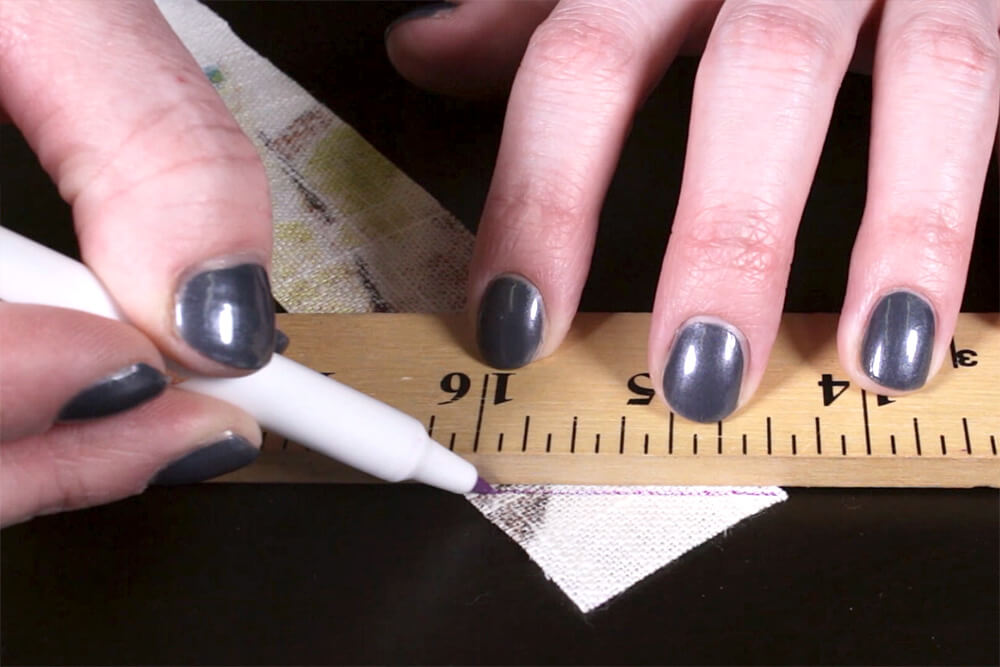
If you need to join strips together to make the piping long enough, sew together diagonally for a smoother transition.
At the end of one of the pieces, mark a 45 degree line on the wrong side of the fabric. Line up the end of another piece perpendicularly with right sides facing, so that when opened it creates a continuous piece. Sew along the line and cut off the excess fabric.
You don’t want to sew too close to the cording or else this seam will be visible once you sew it to other pieces of fabric. This seam is only meant to hold the piping together temporarily.
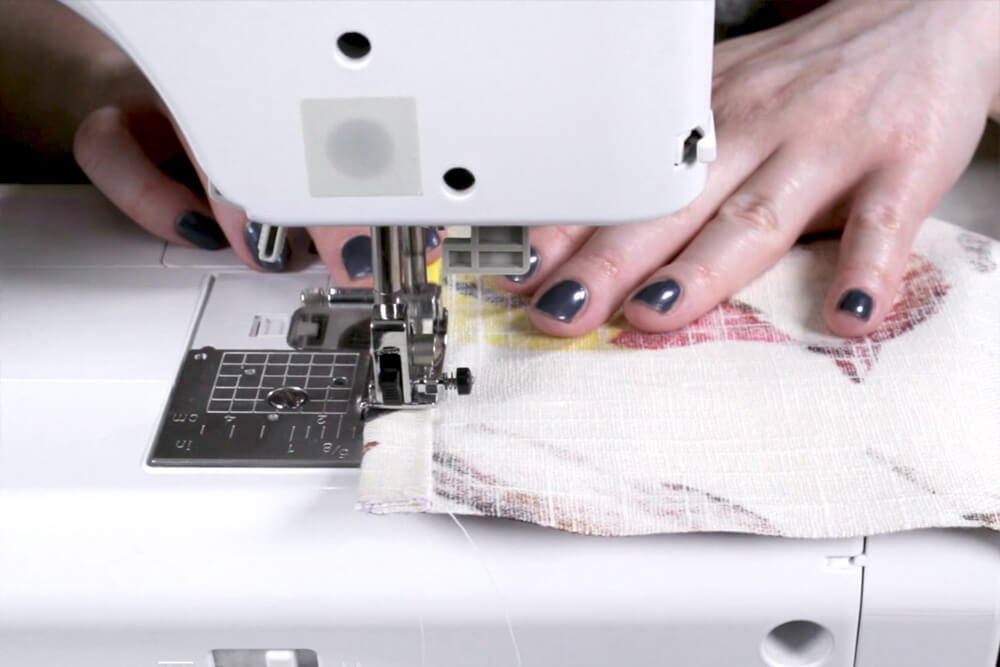
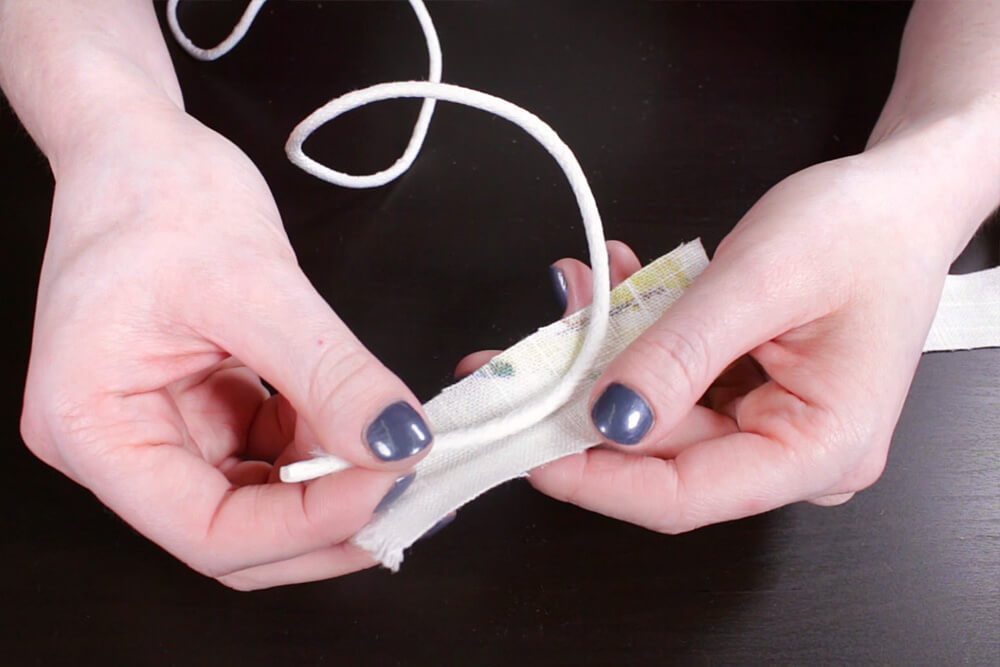
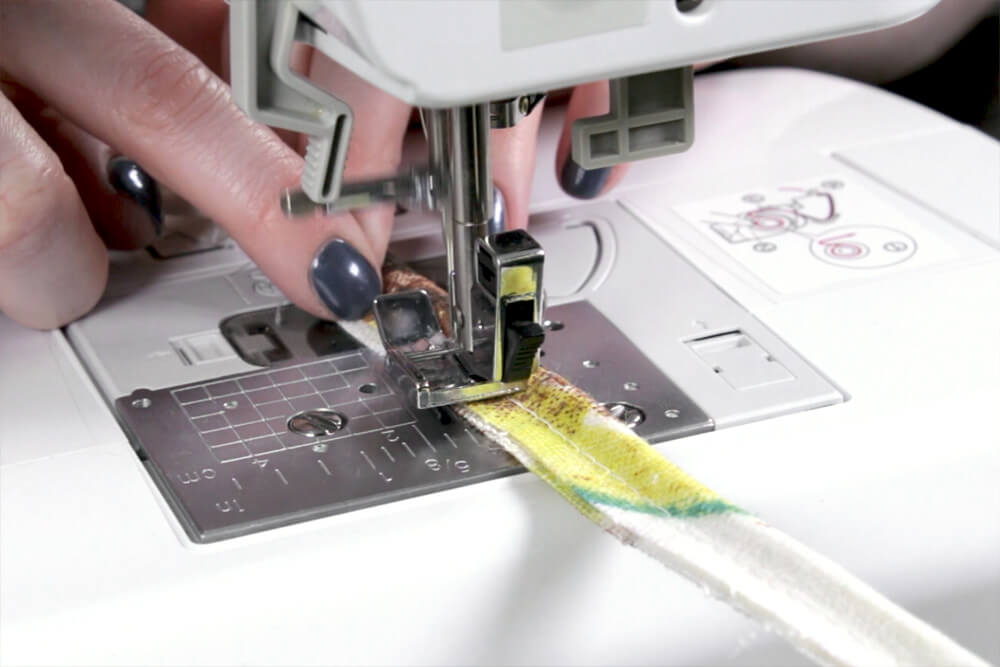
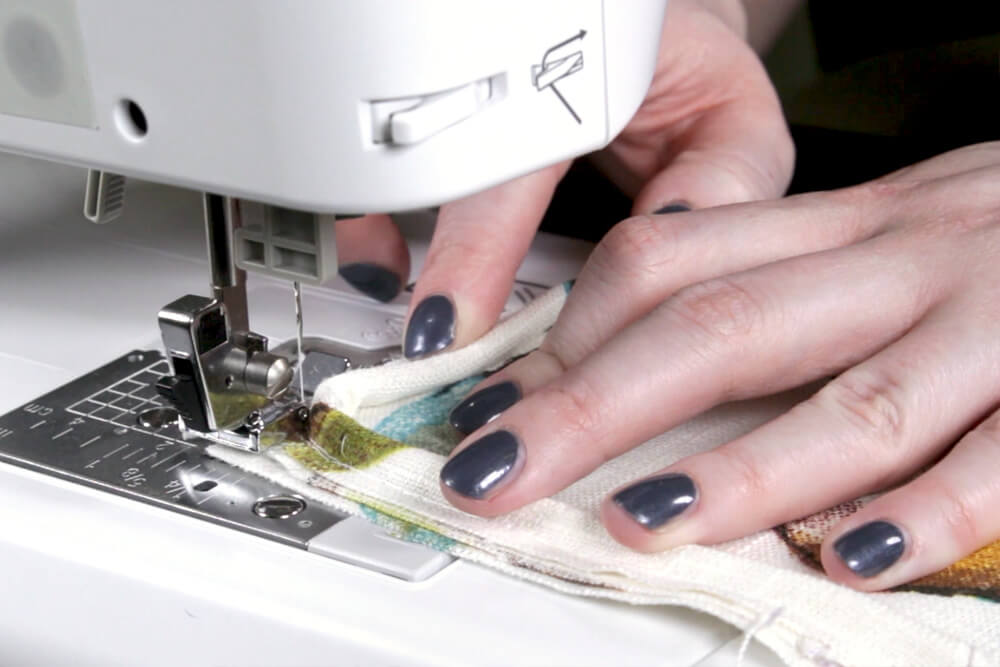
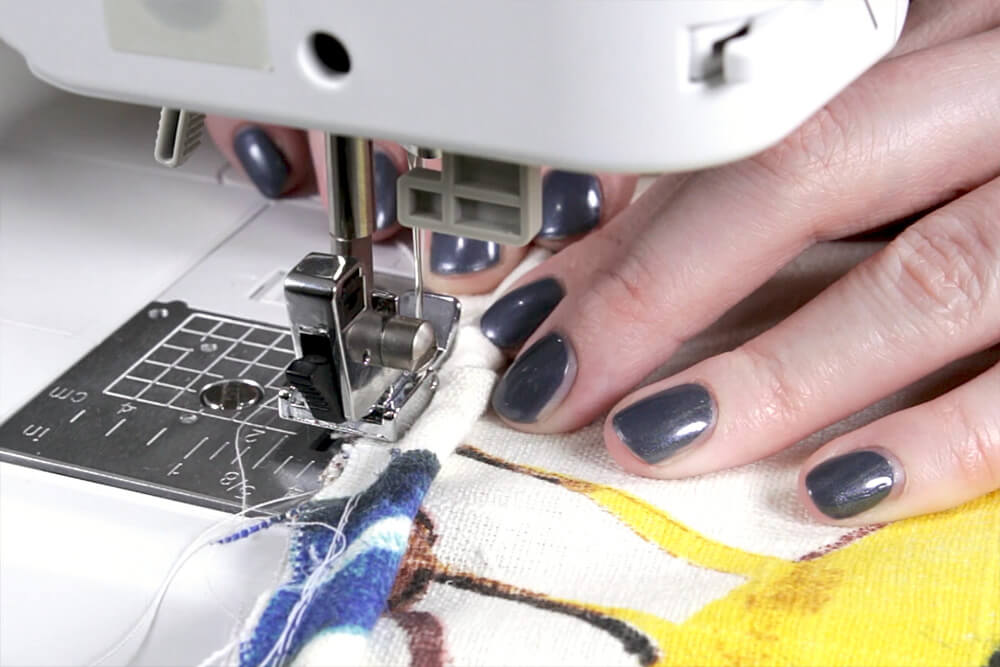
To make the piping, put the cording in the middle of the strip of fabric and fold the fabric in half. Change the stitch length on your sewing machine to as long as it will go (usually 5mm), and attach a zipper foot. Put the cording to the left of the foot and sew down the length of the piping
Step 4: Sew the piping to the front (optional)
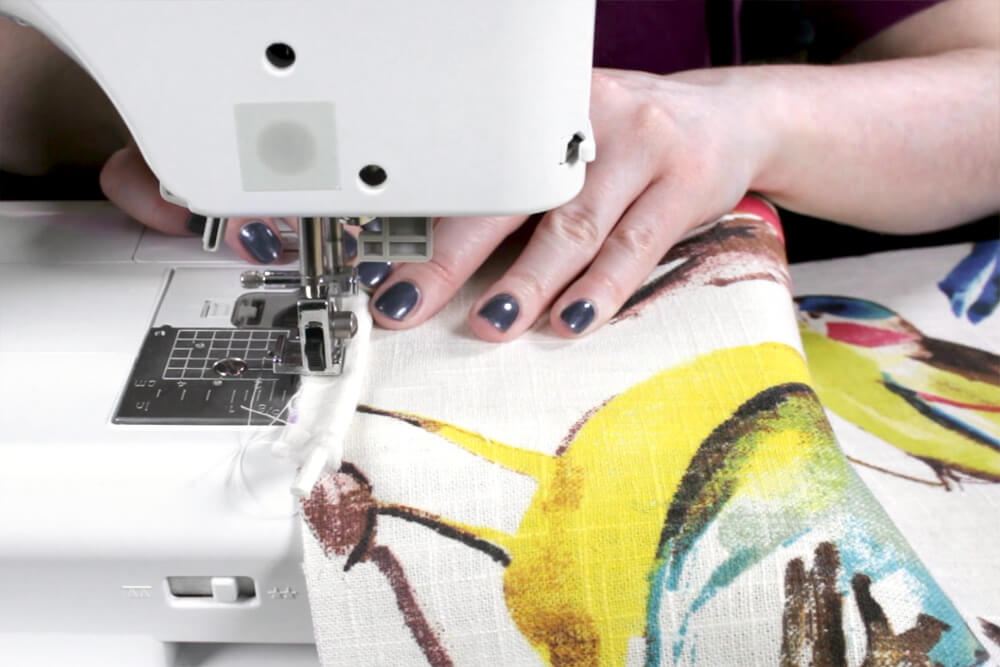
Lay out the front panel with the right side up and place the piping on the bottom of the panel so that the raw edges of both pieces match up. Start sewing about 2” from the end of the piping. You can continue to use a long stitch length here, and again don’t sew too closely to the cording.
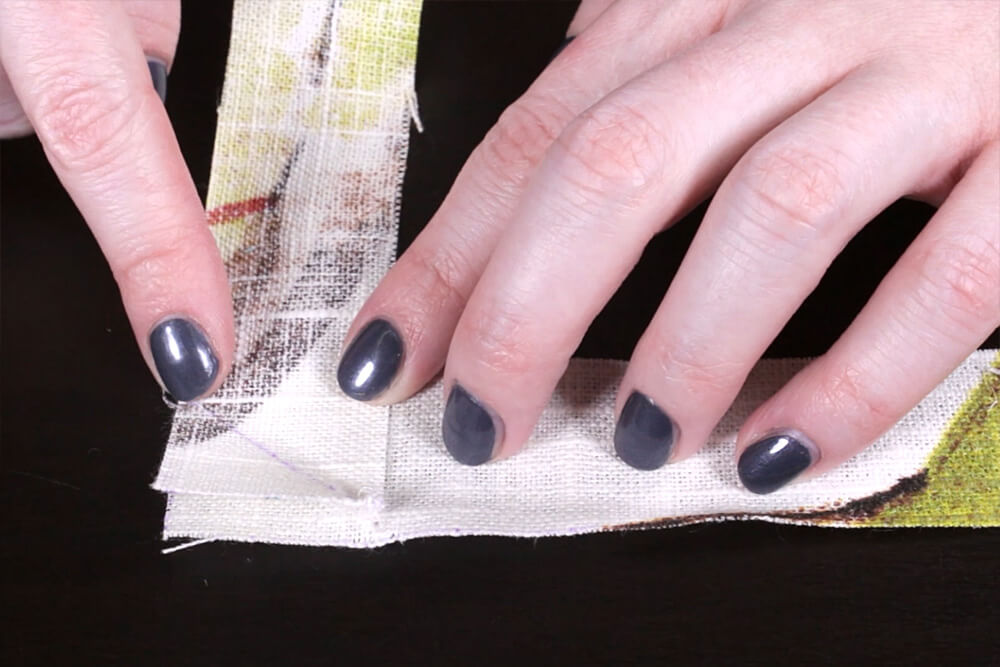
When you reach the corner, make a couple of cuts into the edge of the piping. This will make it easier to turn the corner. Start to sew around the curve, stopping when needed to lift the foot (with the needle down) and adjust the fabric. Continue to sew until you’re a couple inches from the beginning.
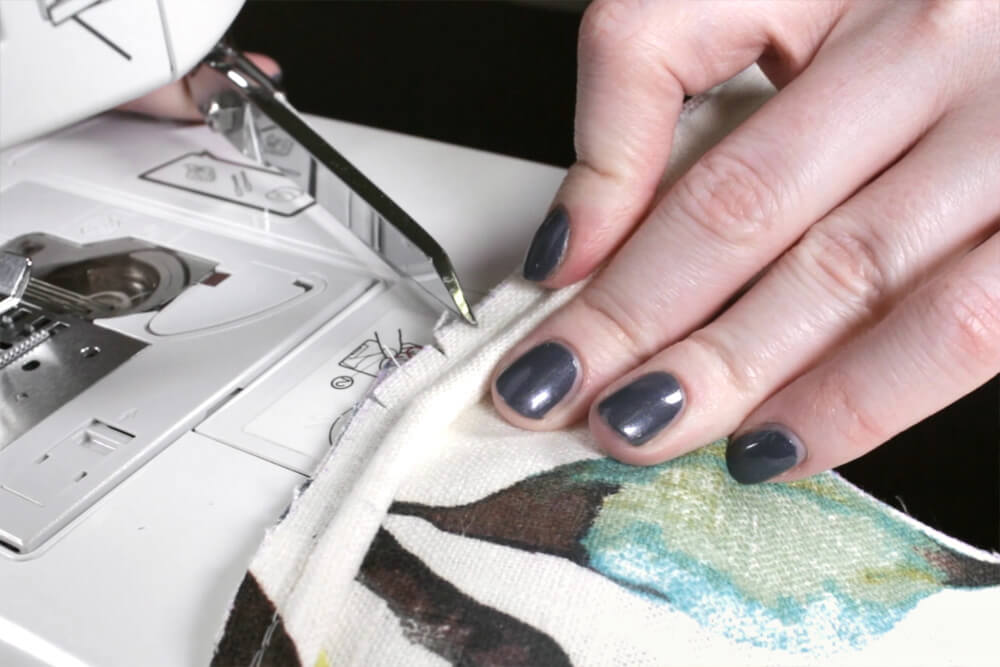
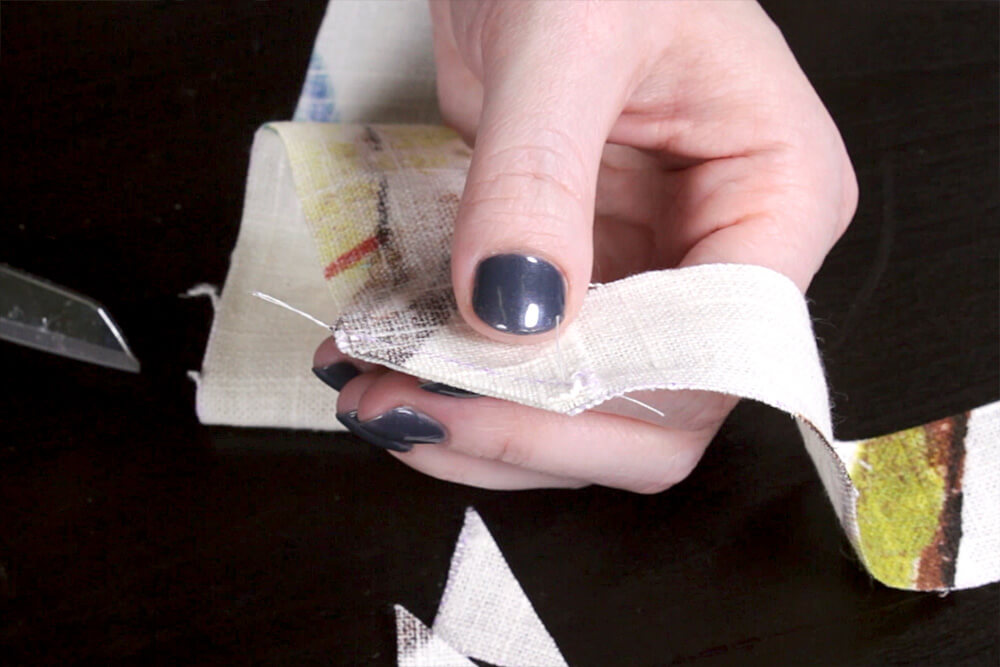
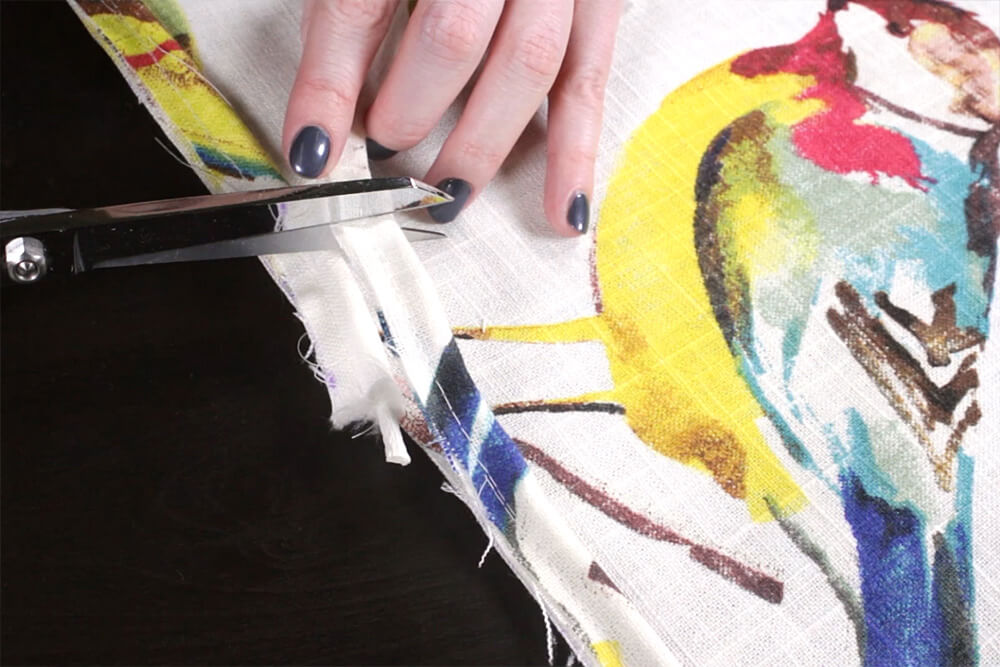
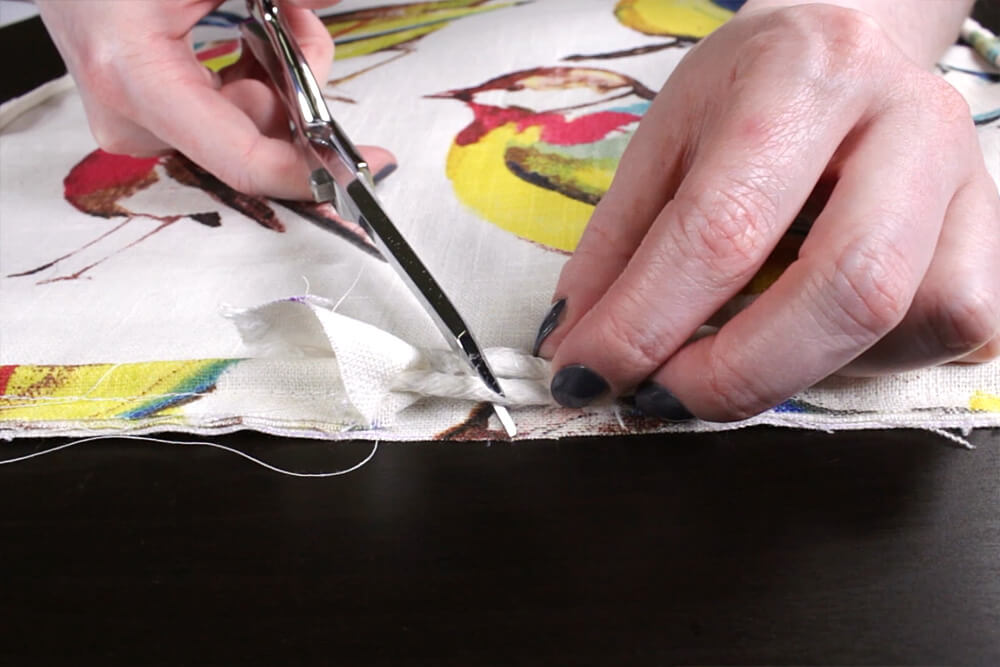
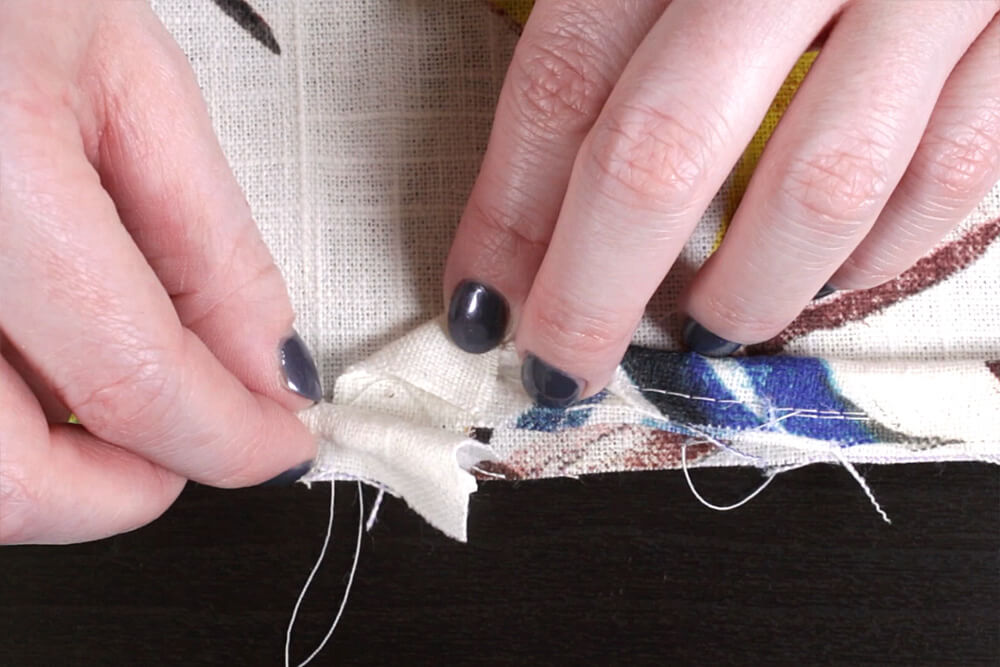
Cut the piping a little long and rip open the cover a couple of inches. Cross the two ends of the cording and cut through, so that they meet without overlapping. Fold over the end of the loose fabric diagonally and wrap it around the other end of the piping. Finish sewing it to the front panel.
Step 5: Sew the pillow together
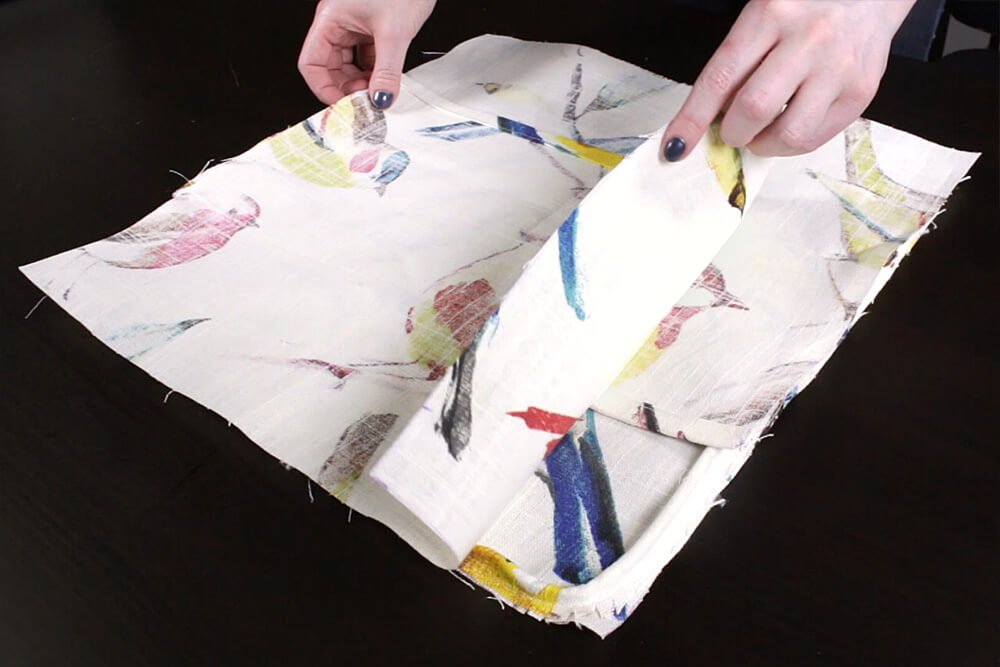
Place the back pieces on the front piece with right sides facing so they overlap. Put the top back piece down before the bottom piece so that the opening will be near the bottom of the pillow when finished.
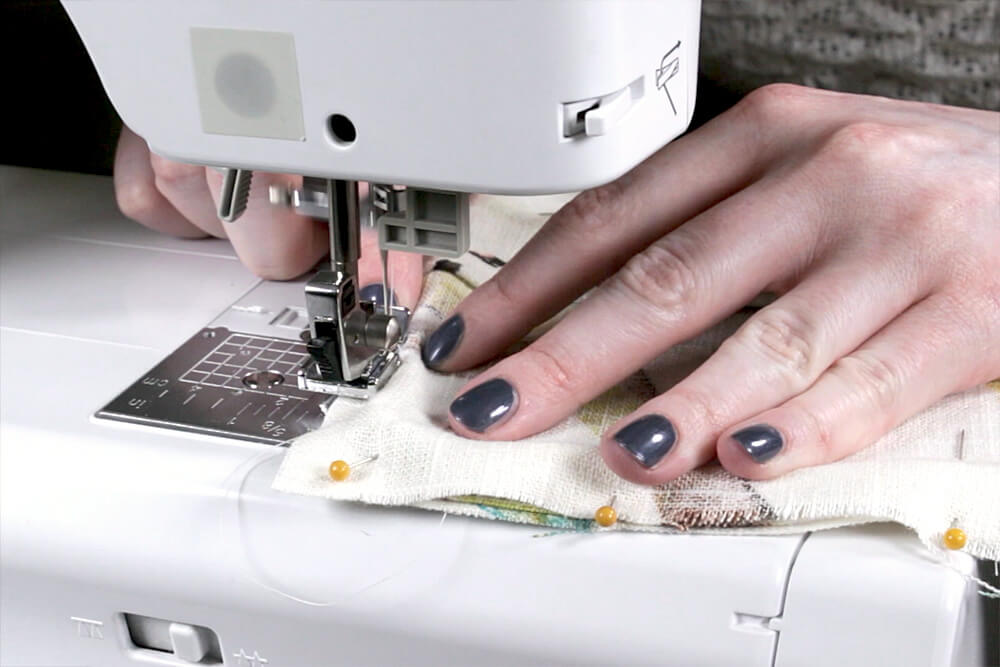
Pin the layers together. Change the stitch length back to a standard length and sew with a ½” seam allowance.
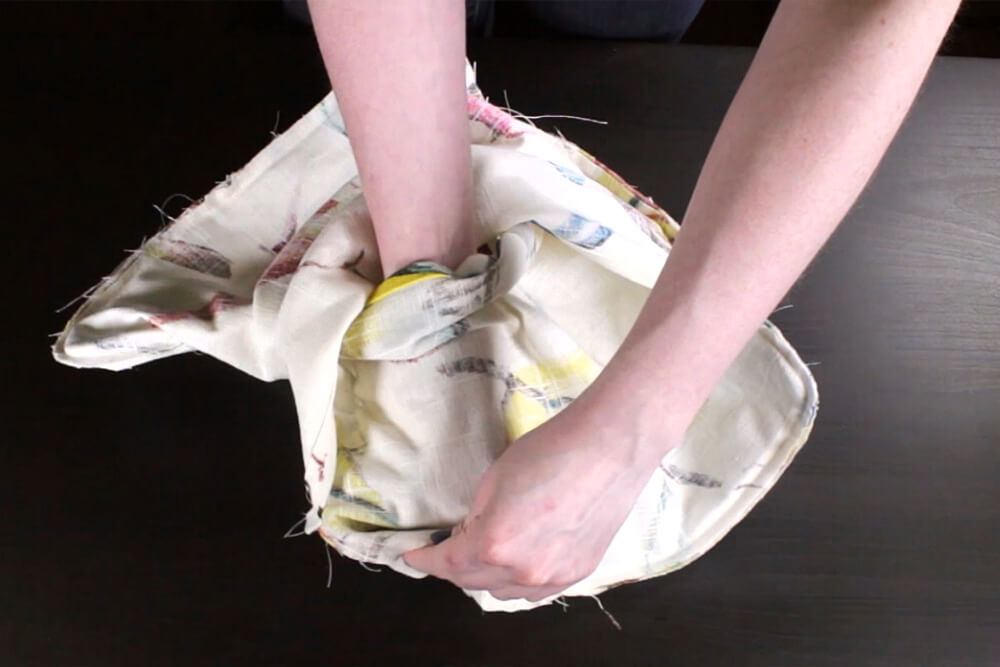
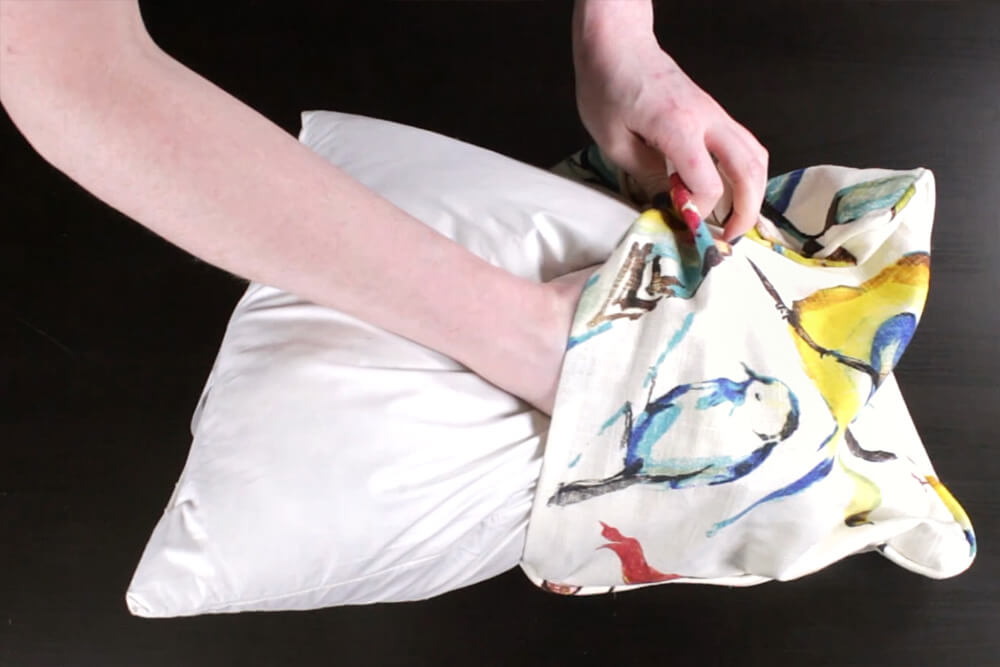
Step 6: Insert the pillow form
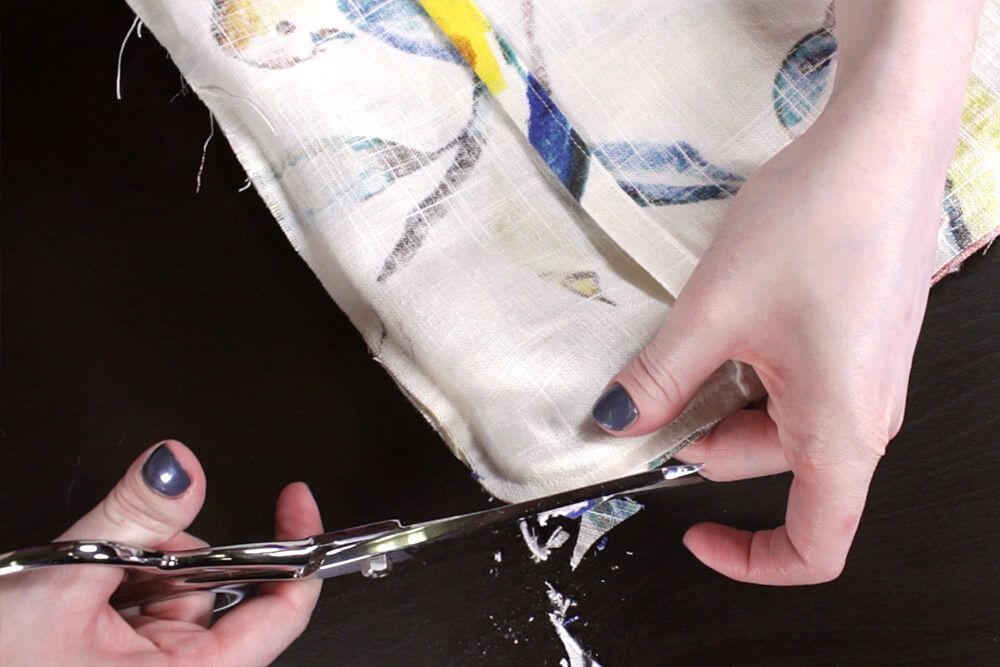
Trim the excess fabric off the corners. Turn the pillow cover right side out. Finally, insert the pillow form through the opening, and the envelope pillow is complete!

Ready to sew your own pillow cover? Check our our great selection of decor fabric!
-
{{#each productSuggestedQueries.results}}
- {{query}} {{/each}}
-
{{#each categories.results}}
- {{html title}} {{/each}}
{{html attributes.description}}
{{/if}}-
{{#each queries.results}}
- {{query}} {{/each}}