How to Make a Bolster Pillow (2 Ways)
- By Alyssa & Clara
- 30 minutes
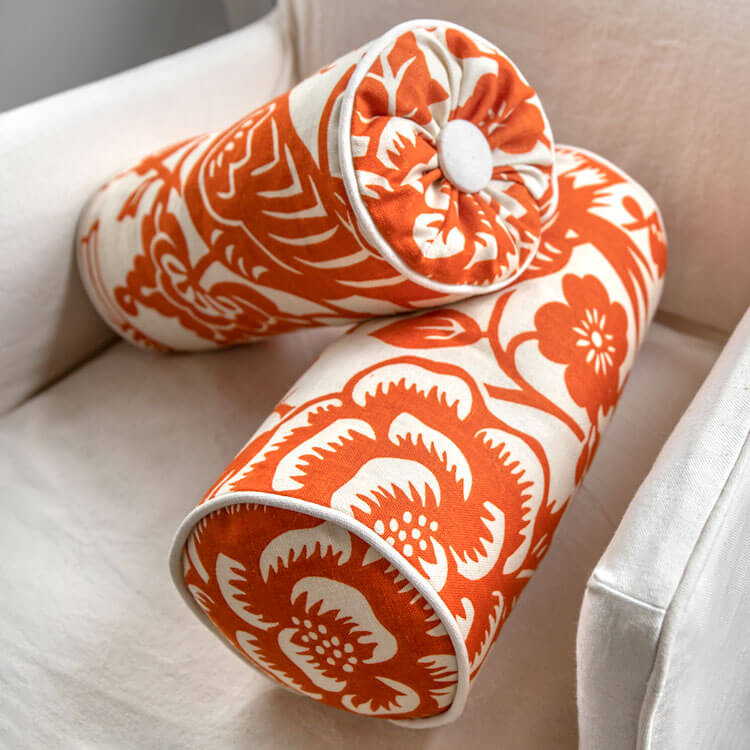
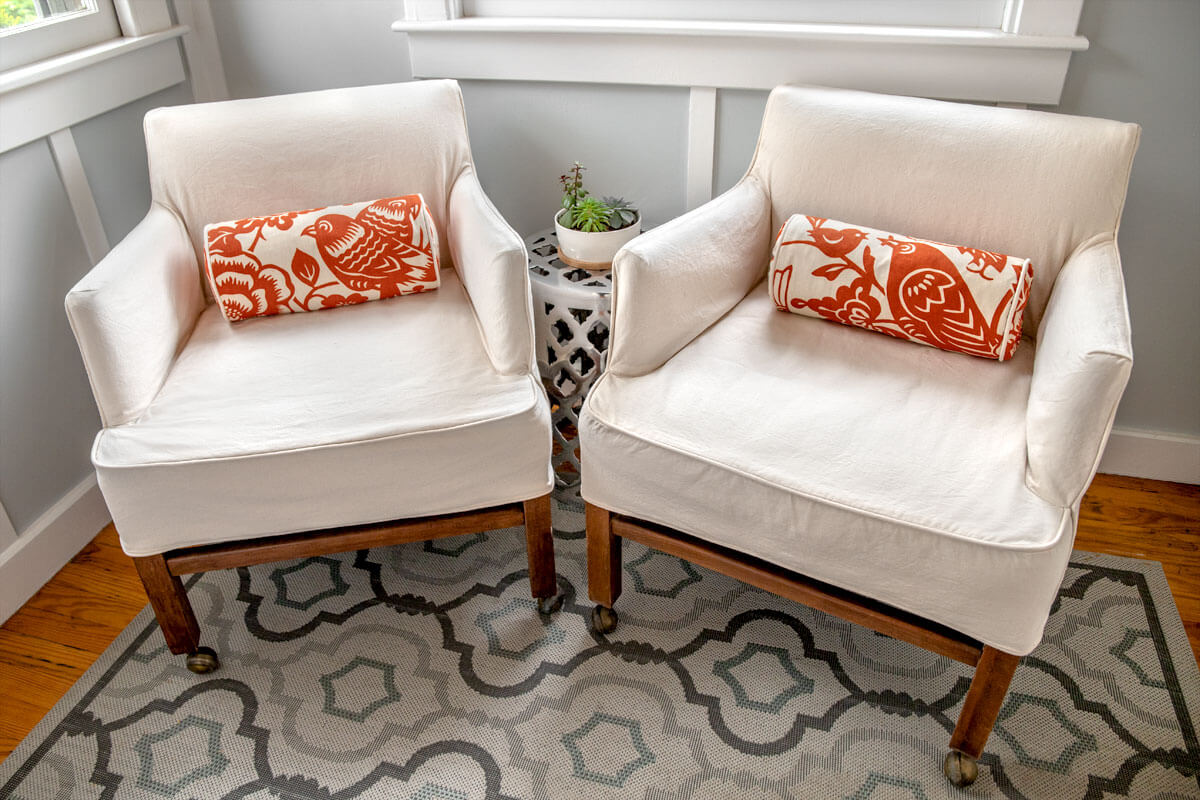
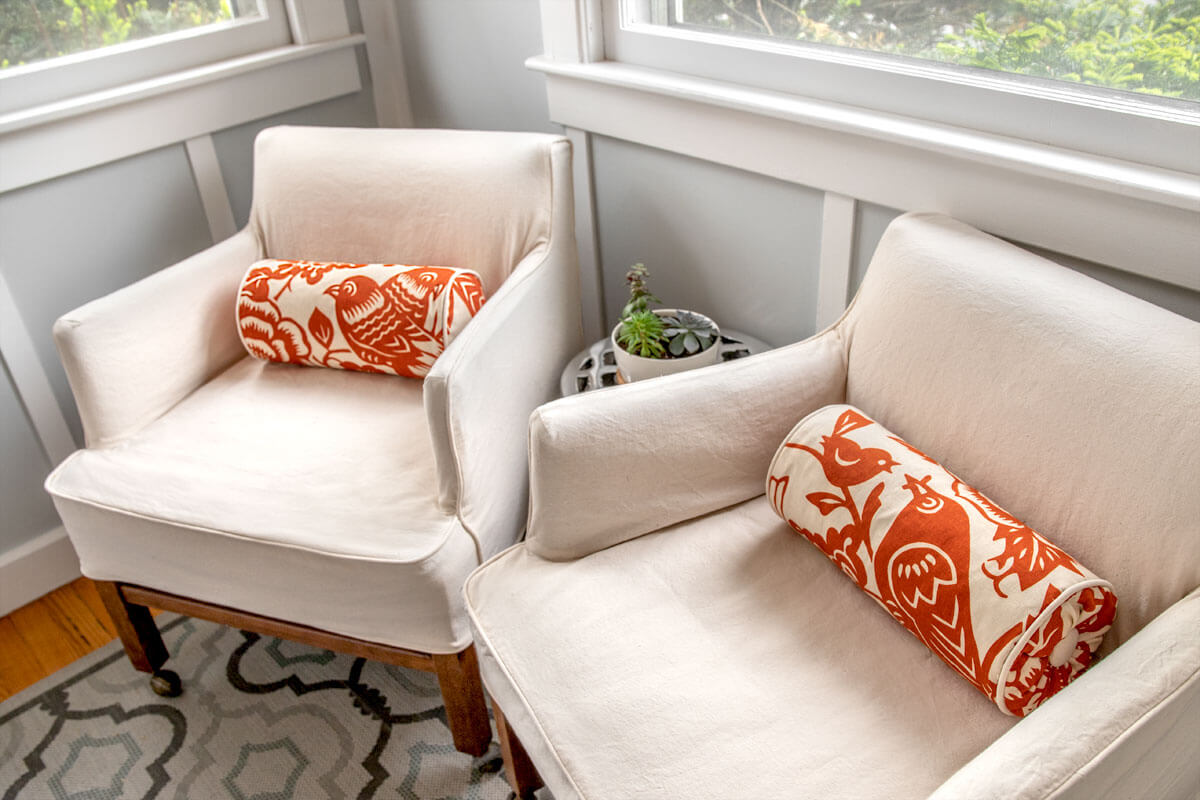
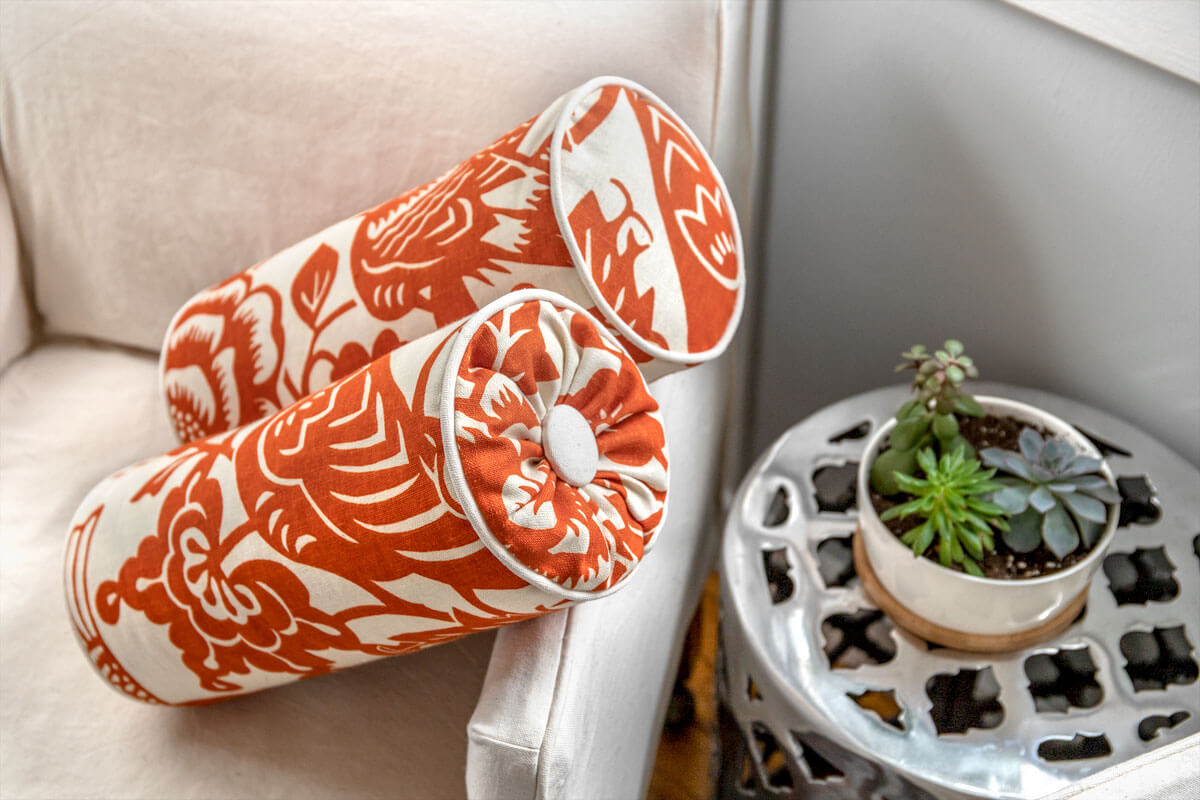
Looking for some decorative bolster pillows? We’ll show you how to make them in two different ways.
One has a Velcro opening and flat ends and the other has gathered, tufted ends. Either way, you’ll have easy pillows that are a great addition to armchairs, sofas, and beds.
Not only are they beautiful, but they can also help support your back, arms, or neck.
We used down bolster pillow forms but you can also use polyester inserts, foam bolsters, or stuffing.
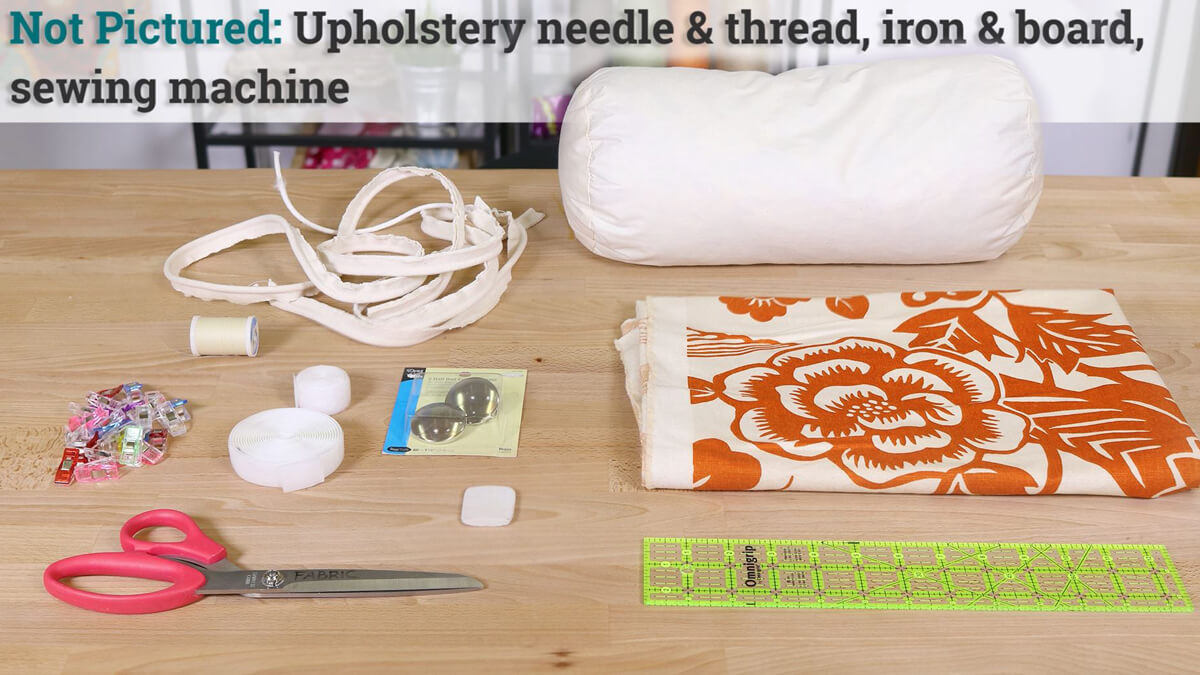
Materials
- 1 Yard of décor fabric
- Bolster pillow form
- Scissors or a rotary cutter and mat
- Ruler
- Thread
- Upholstery thread
- A fabric marker
- Buttons
- Piping
- Velcro
- Pins or Clips
- An iron and board
- A sewing machine
Related Products
-
 Knife Edge Dressmaker's Shears - 8"
-
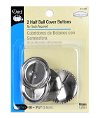 2 Half Ball Cover Buttons - Size 60
-
 Extra Strong Upholstery Thread - Natural
-
 Dual Duty XP Thread - White, 500 Yards
-
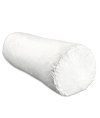 Down Pillow Form - 6" x 14" Bolster
-
 Fiberflex Tissue Welting Cord Single - 5/32"
-
 Hook Fastener 3/4" Sew-On White - 5 Yard Roll
-
 Loop Fastener 3/4" Sew-On White - 5 Yard Roll
-
 Dual Tipped Marking Pen - Blue & Purple
-
 500 Quilting Pins - Size 28
-
 Quilter's Ruler - 6" x 24"
Video
Instructions
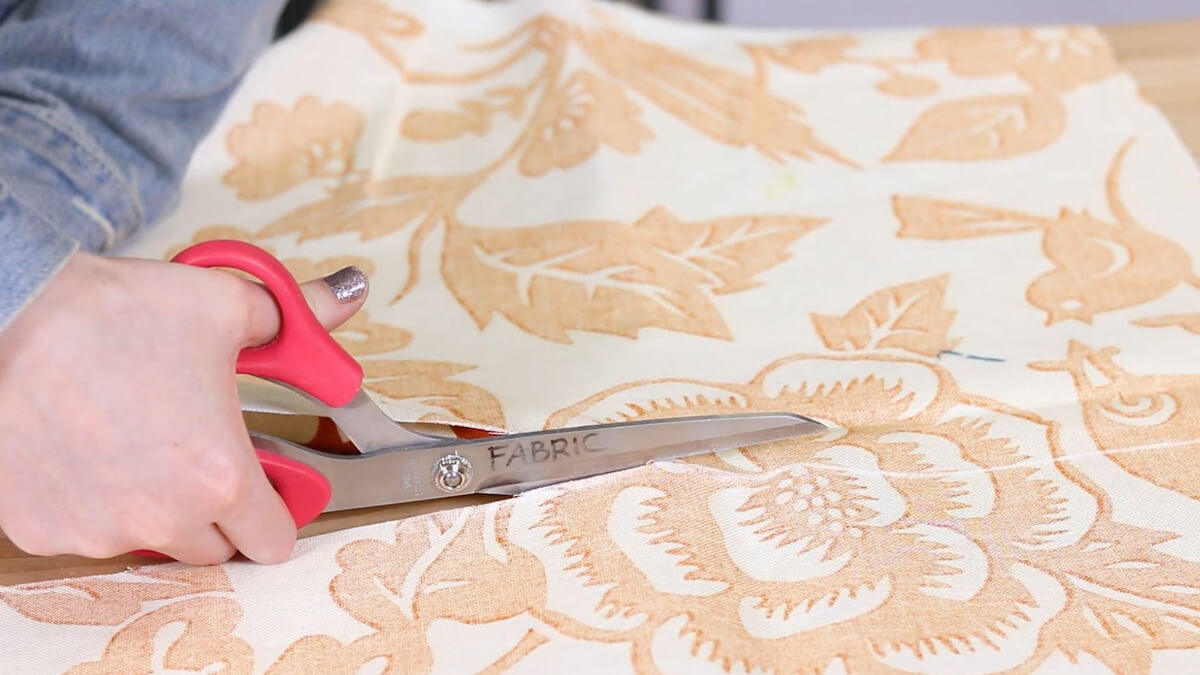
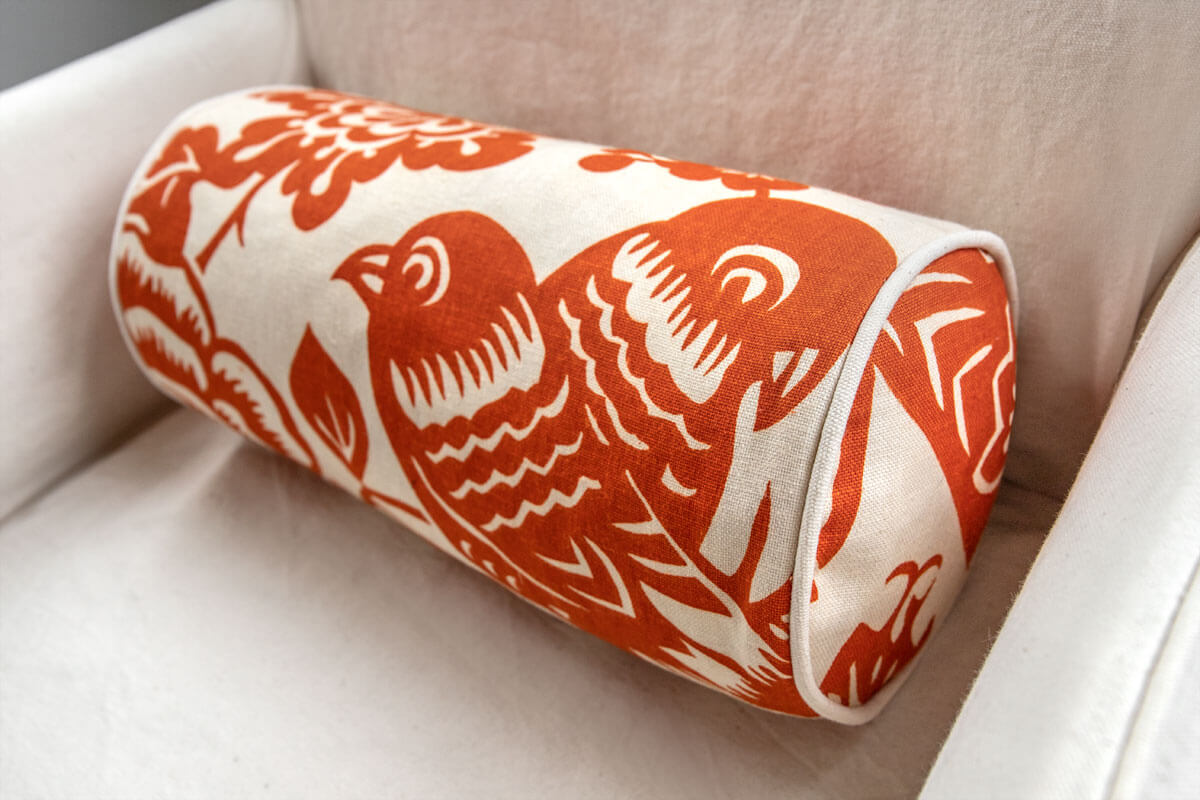
Flat End Bolster Pillow - Step 1: Measure & cut the fabric
My pillow case will be 21 x 14″
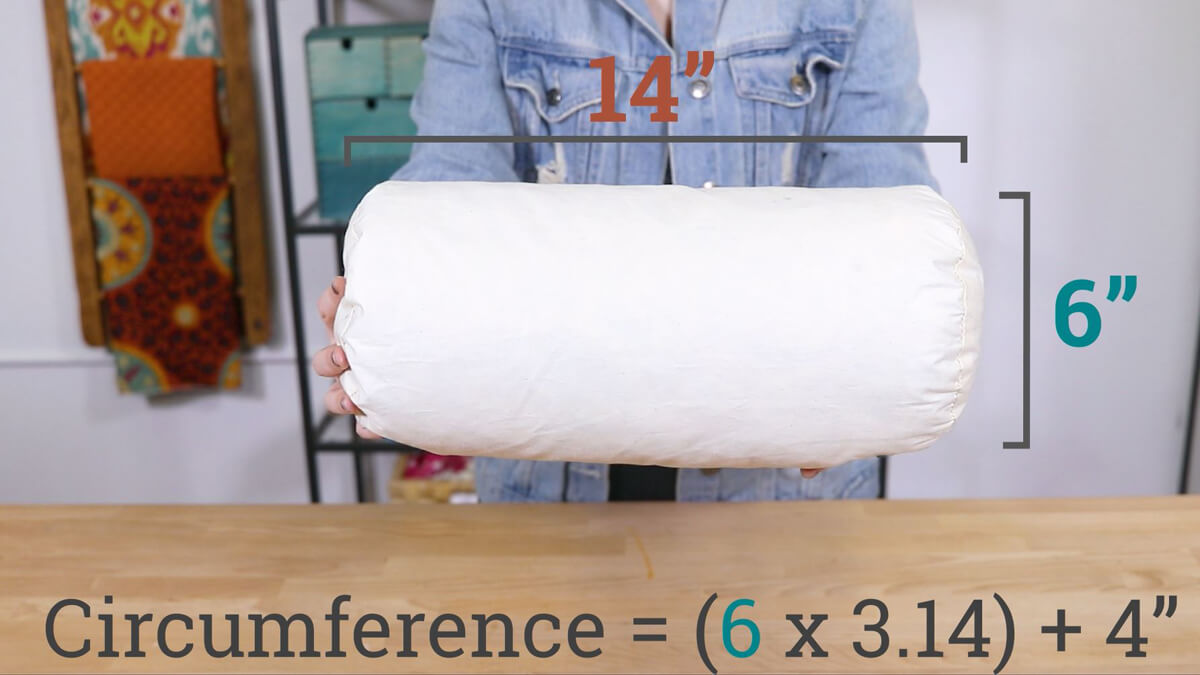
I’m making this pillowcase for 14” inch pillow with a 6” diameter.
To calculate the size of the pillow case you need the circumference, to do that you want to multiply the diameter by 3.14.
Then add four inches for the Velcro and seam allowance.
The width of the pillow case will be the circumference by the length of the pillow.
Also, cut two circles that are the diameter of your pillow.
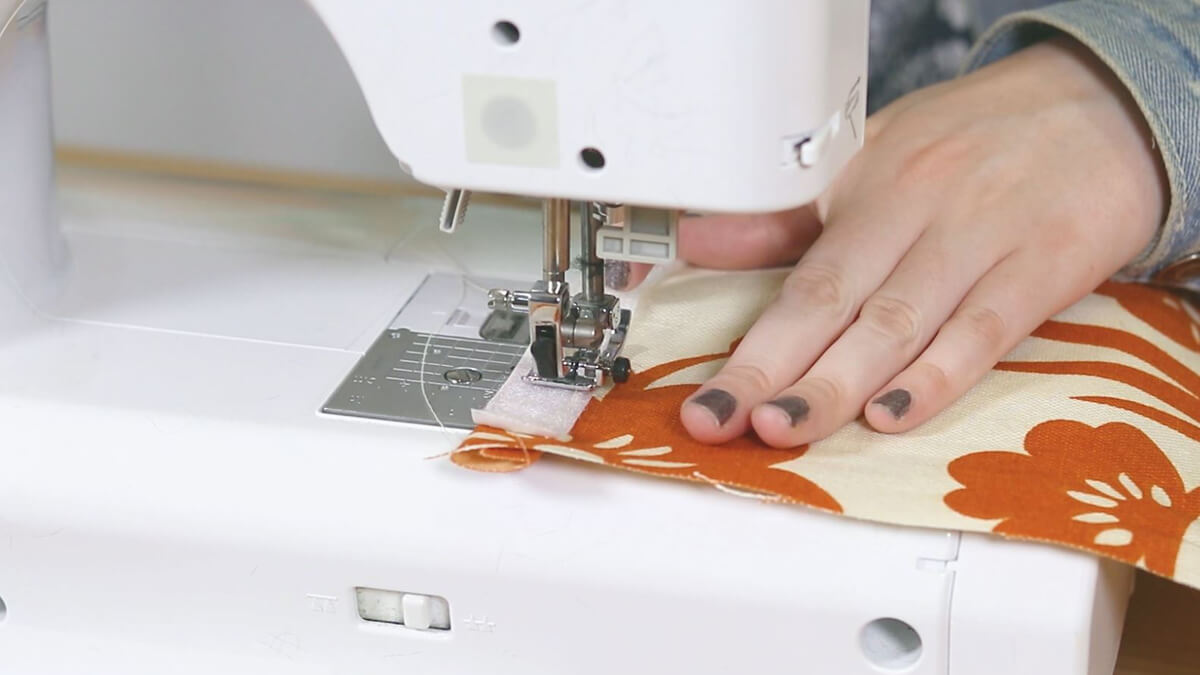
Step 2: Sew the pillowcase
Cut two pieces of Velcro that are an inch less than the length of the pillow.
Fold in the raw edges on the length side twice to hide the raw edge and sew the Velcro into the ends making sure to put them on opposite sides of the fabric so it closes with a flat seam.
I already made my piping, but if you have any questions about this step see our how to make and sew piping tutorial.
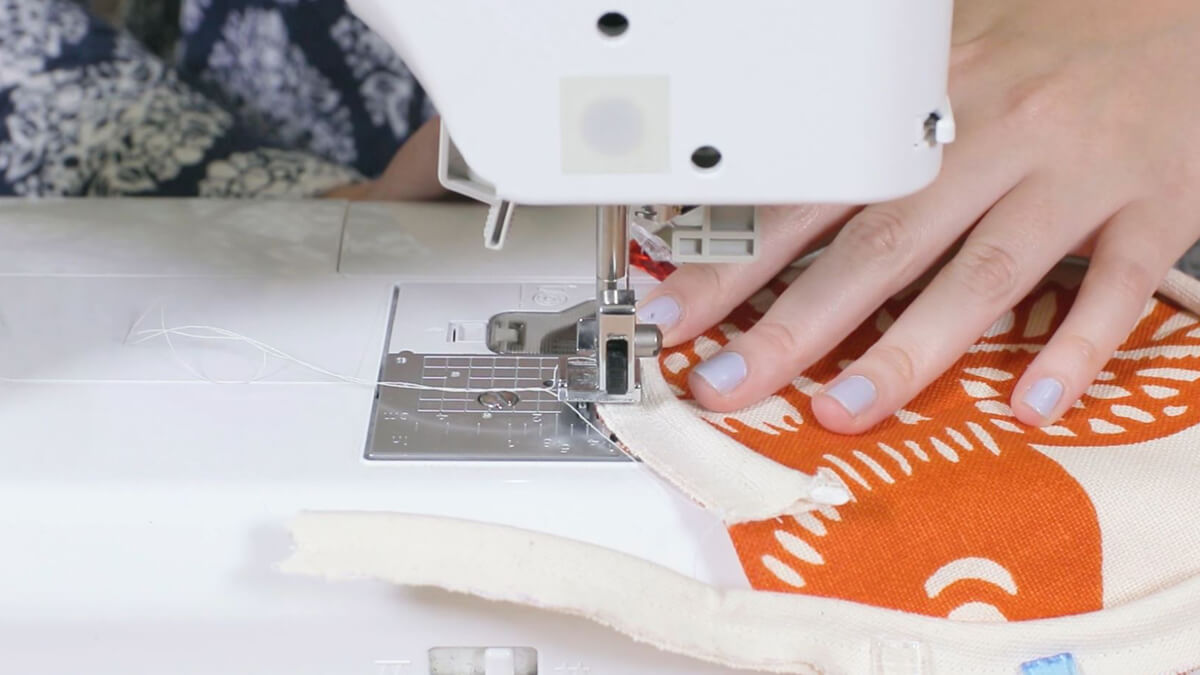
Now pin and sew the piping to your circular ends. You will want to place the piping around the right side of the fabric so the edges are lined up and sew it on using a zipper foot.
Do this to both ends.
Also, close the piping ends over each other. To do this fold in the raw edge of one side of the piping and sew it closed around the edge of the other side.
Step 3: Combine the pieces
Pin one end of the body around one of the circles with right sides facing and sew all the way around using the same zipper foot.
Do this to the other side as well.
Step 4: Finish
Flip the case right side out and stuff the pillow form inside.
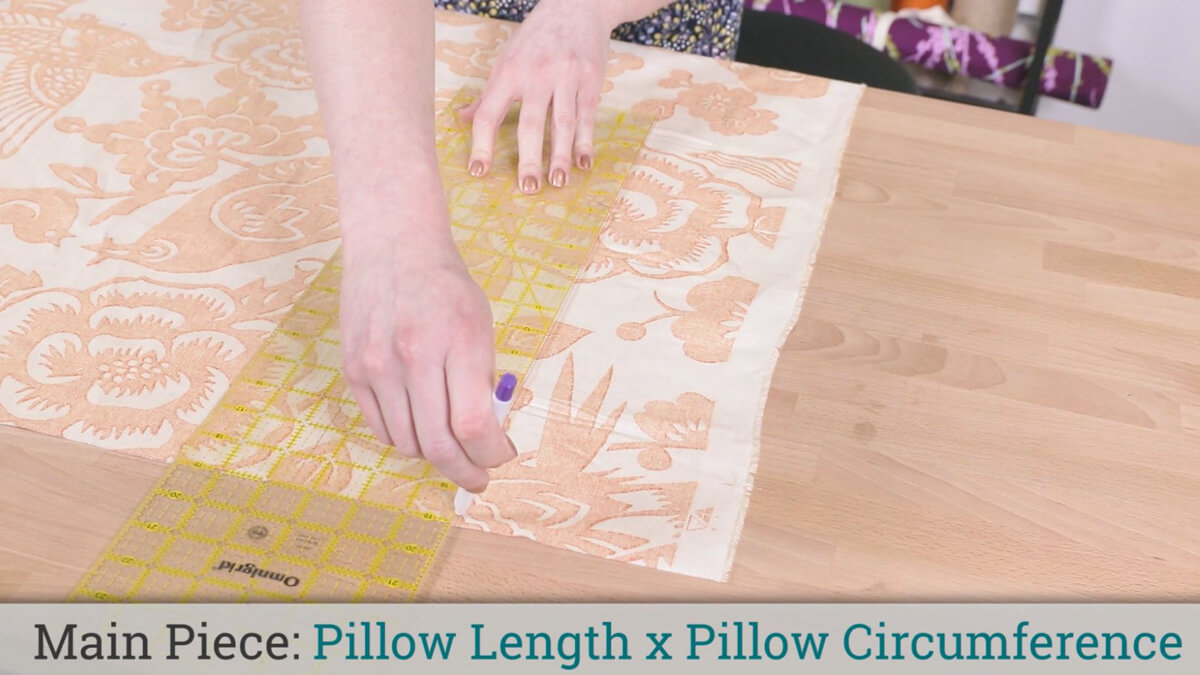
Tufted Bolster Pillow - Step 1: Measure and Cut the Fabric
Cut a piece of fabric that is the length of the bolster pillow by the circumference.
You can either measure around the pillow or do the diameter times pi (3.14) if you want to get fancy about it!
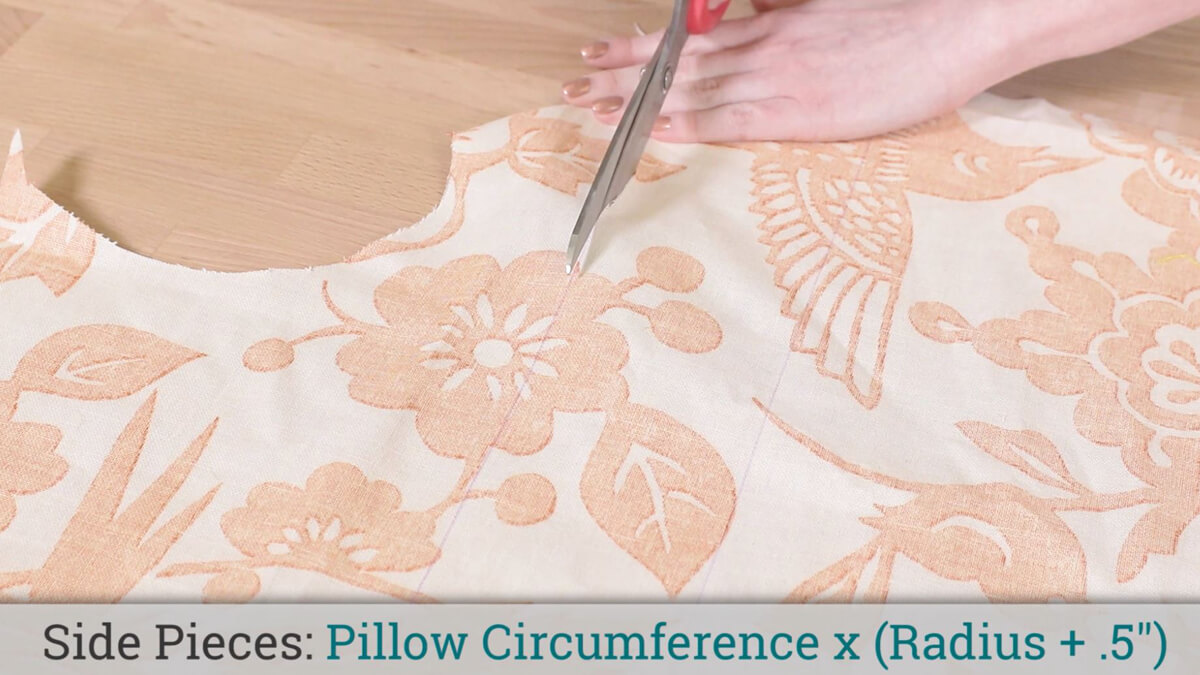
Cut 2 pieces that are the circumference of the pillow by the radius plus ½”
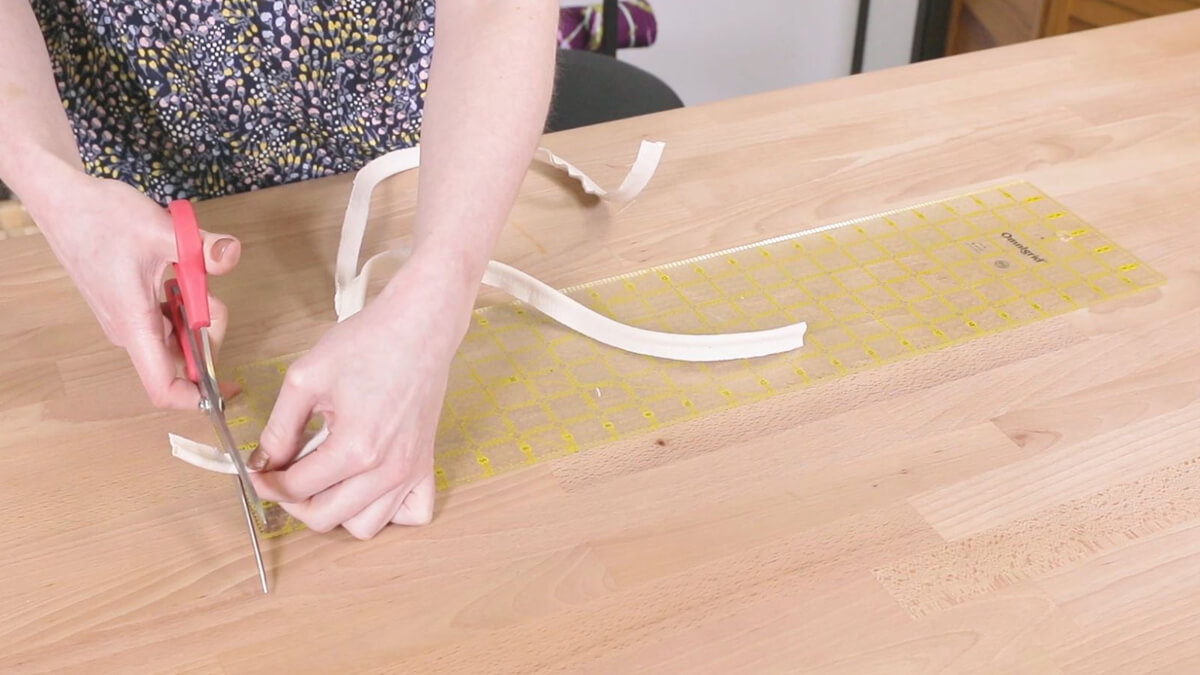
Cut 2 lengths of piping that are the circumference of the circle. You can use pre-made piping or make your own. See our tutorial on how to make and sew piping for details.
Step 2: Sew together
Cut the cording back ½” on all the ends of the piping.
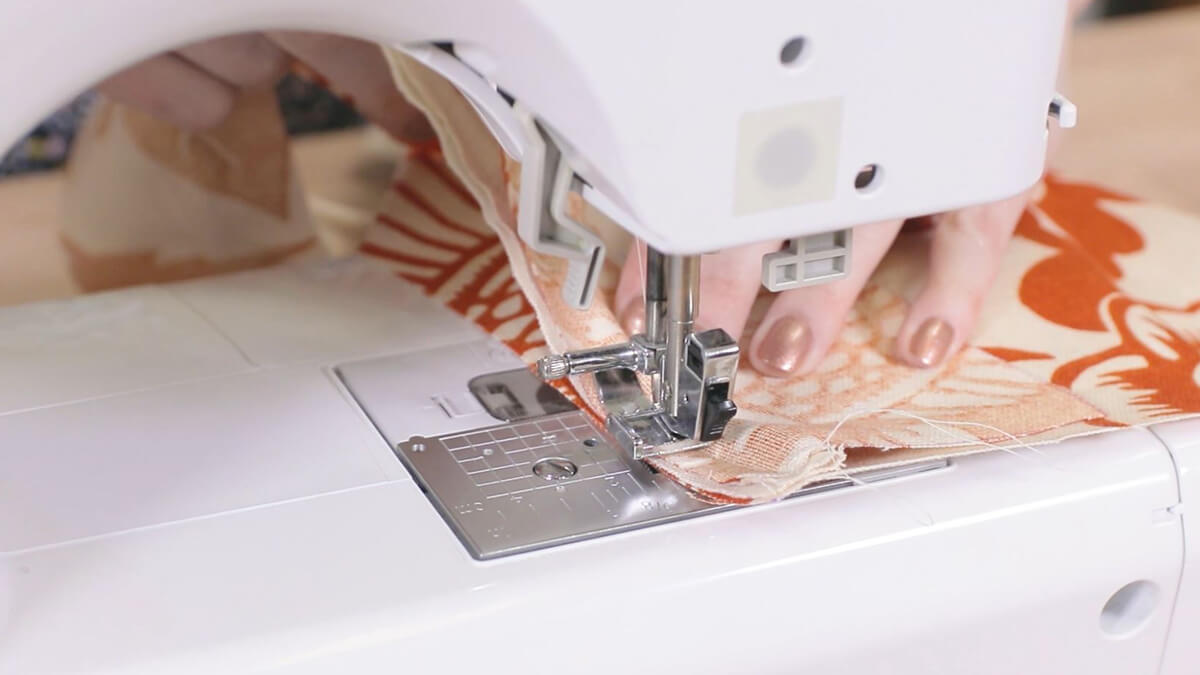
Sandwich the piping between the larger piece of fabric and one of the smaller pieces with the right sides of the fabric facing.
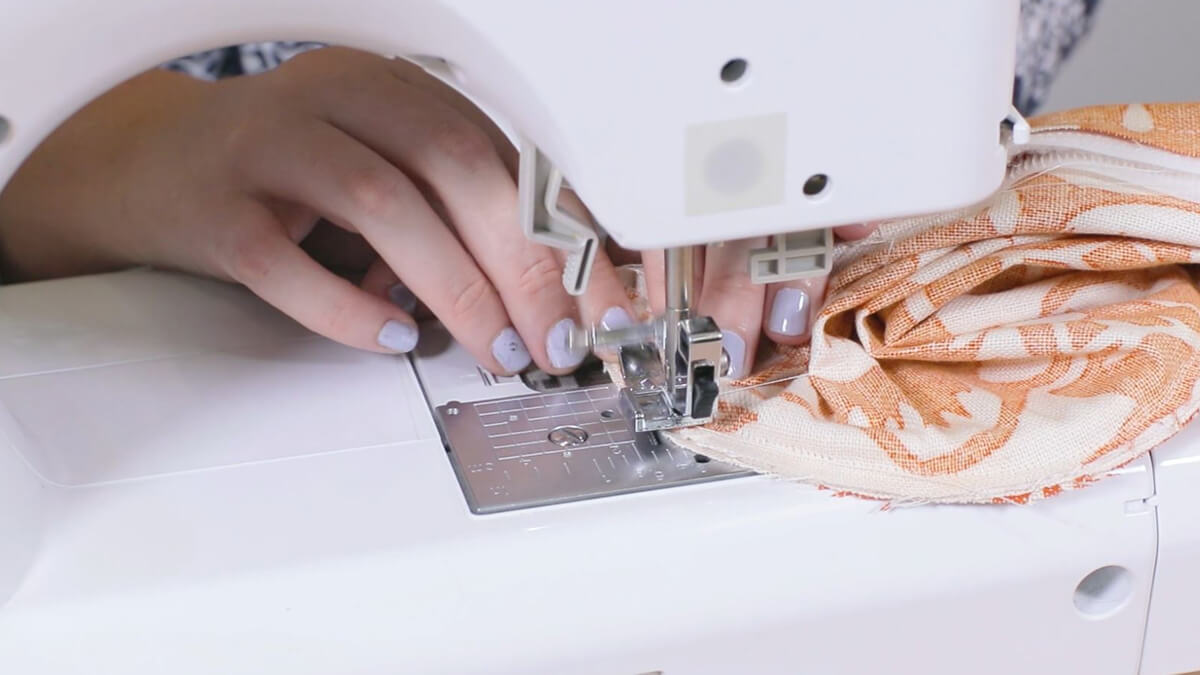
Put the zipper or piping foot on your sewing machine. Sew as close to the piping as you can. Repeat for the other end.
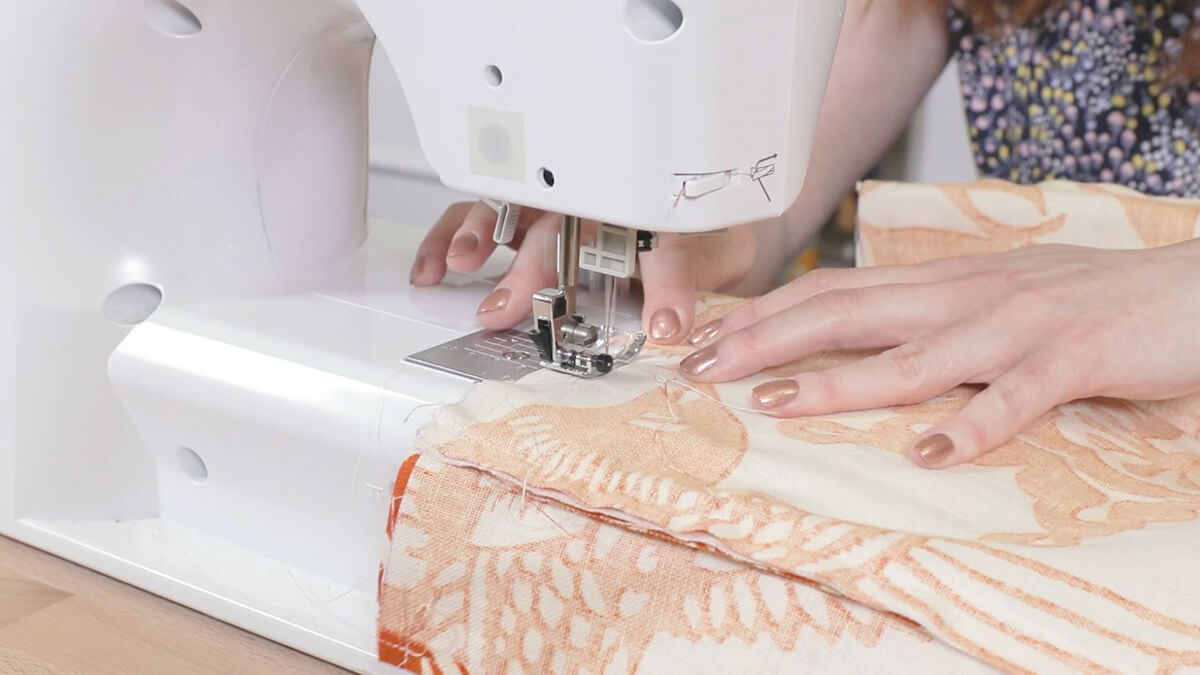
Fold in the ends of the smaller pieces in ¼”, iron, and sew.
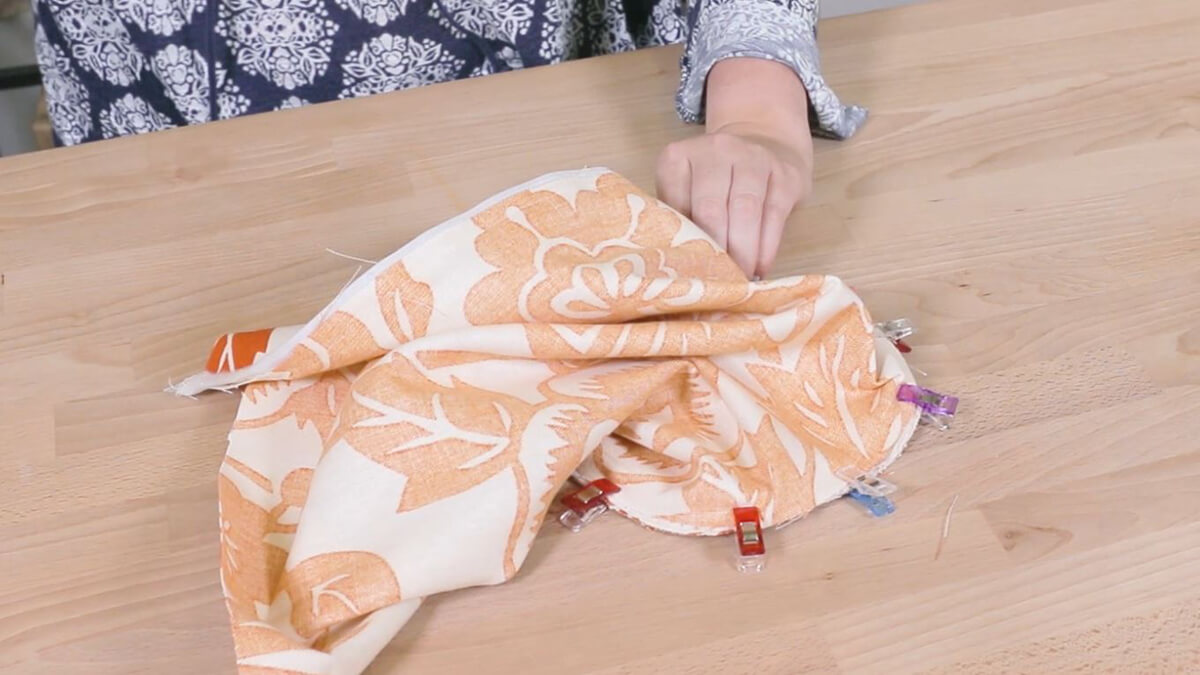
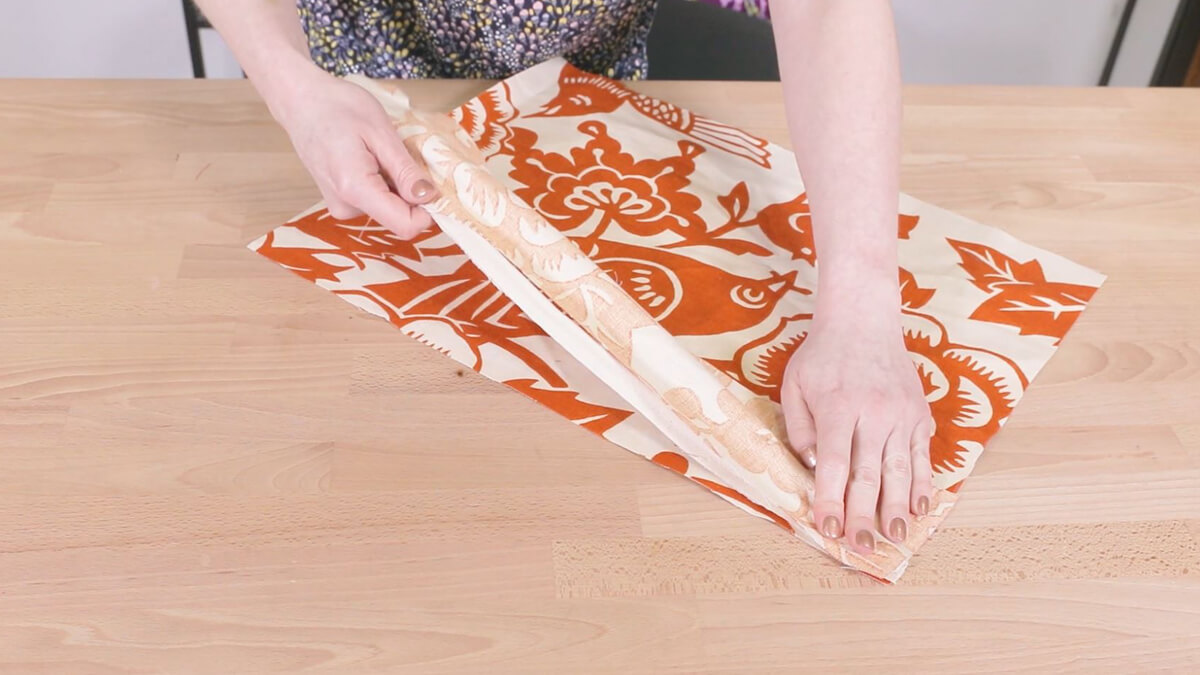
Fold the fabric in half so the raw edges are aligned with right sides facing. Sew with ½” seam allowance.
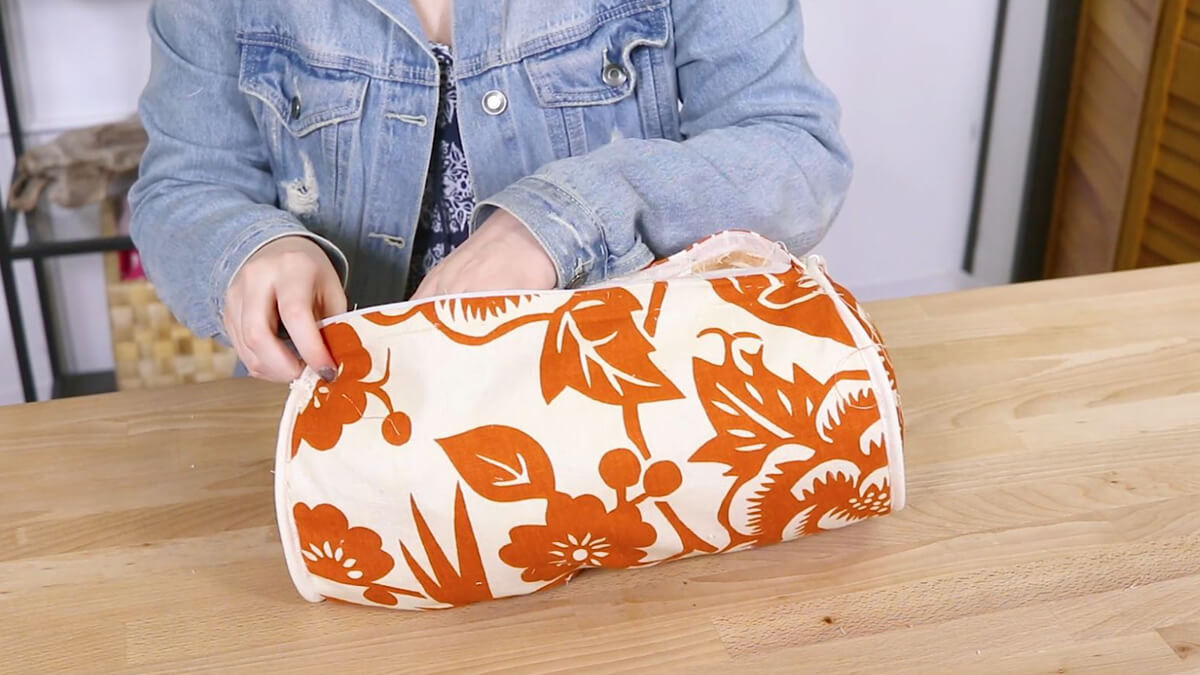
Turn the tube right side out.
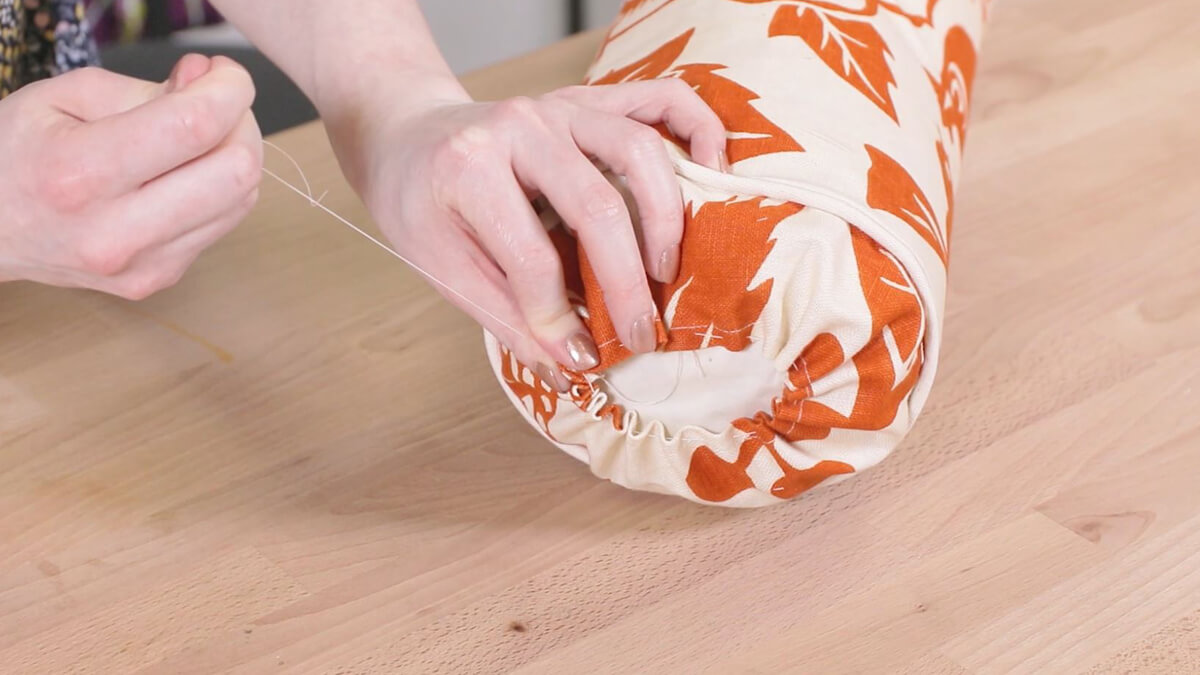
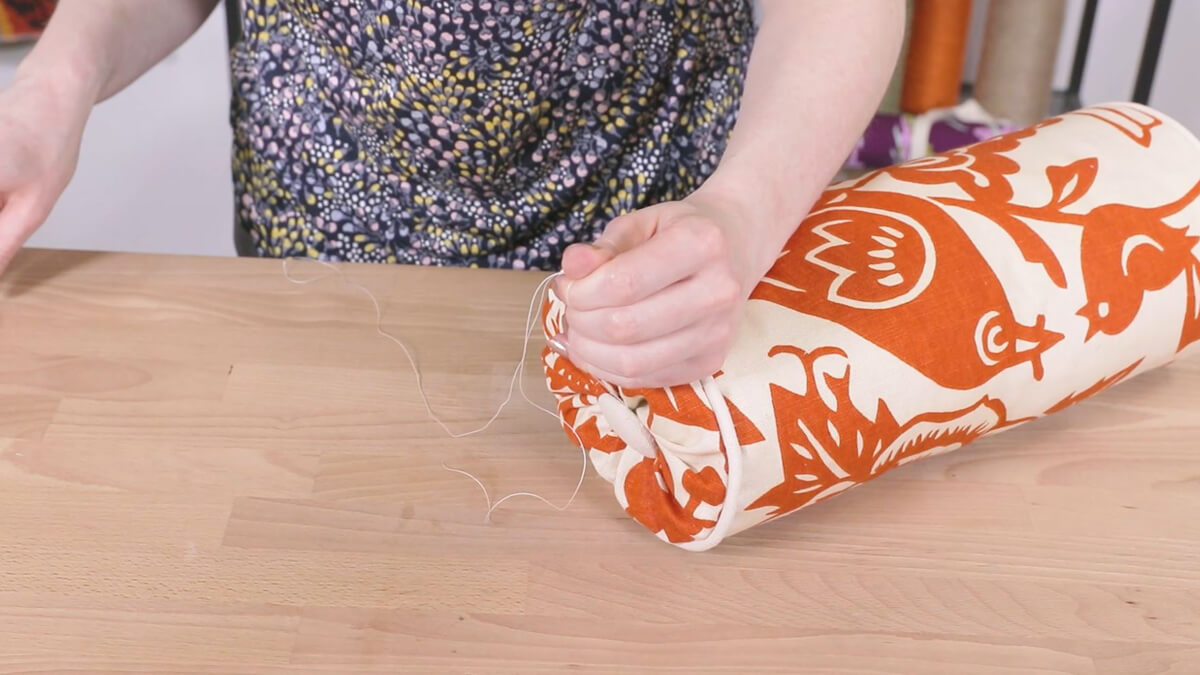
Step 3: Gather the ends
Insert the pillow form so it’s in the center of the cover.
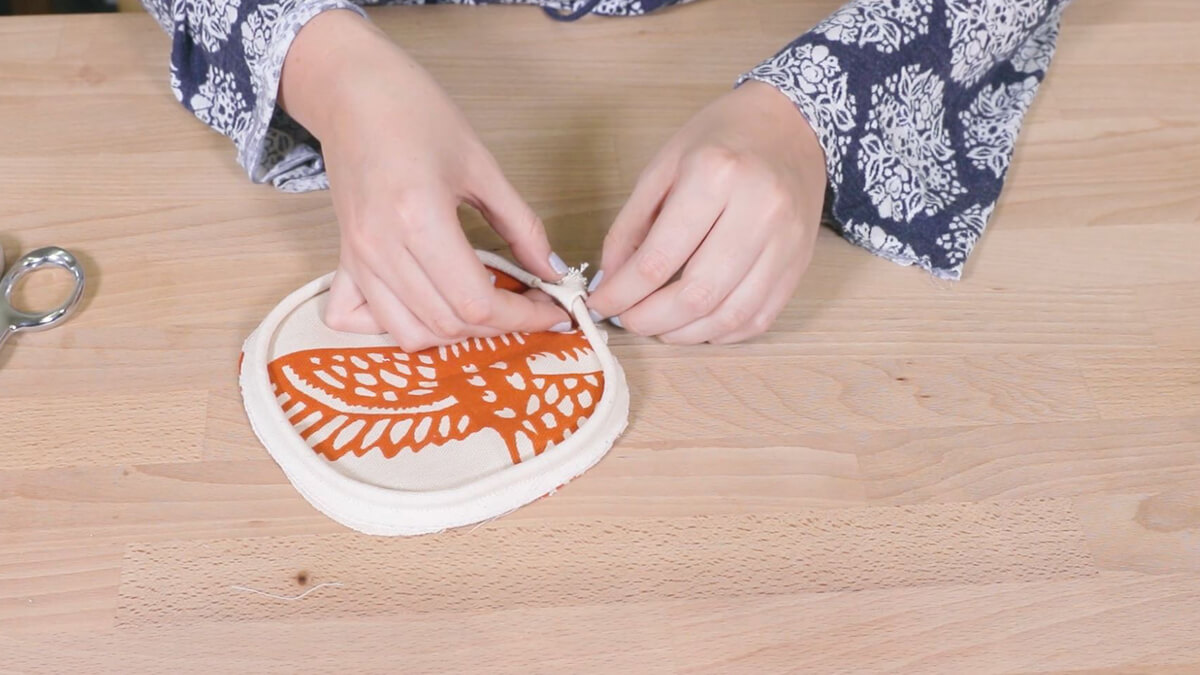
With a hand needle and upholstery thread, use a running stitch along the ends. The stitches should be about ½” long.
Pull the thread to gather the fabric and close the end. Knot off the thread. Repeat on the other end.
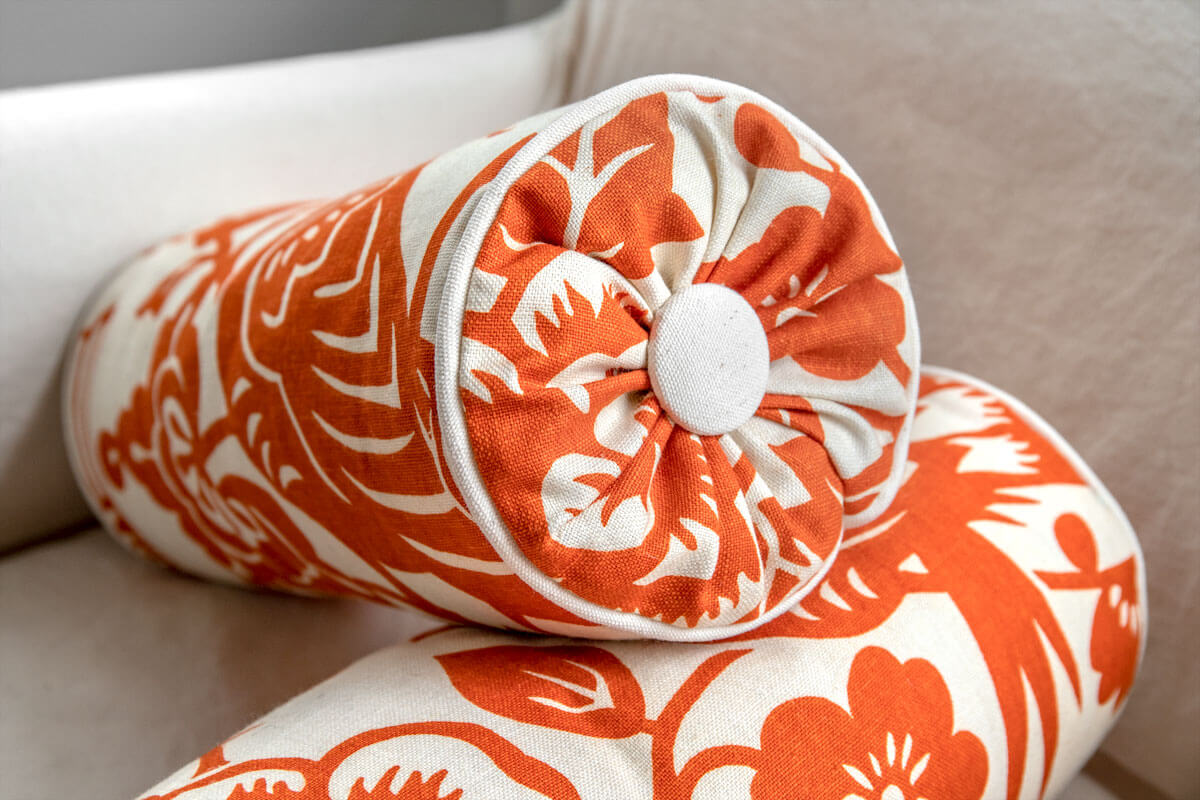
Step 4: Tuft the ends
Cover the buttons with fabric. See our How to Use Dritz Half Ball Cover Buttons tutorial for details.
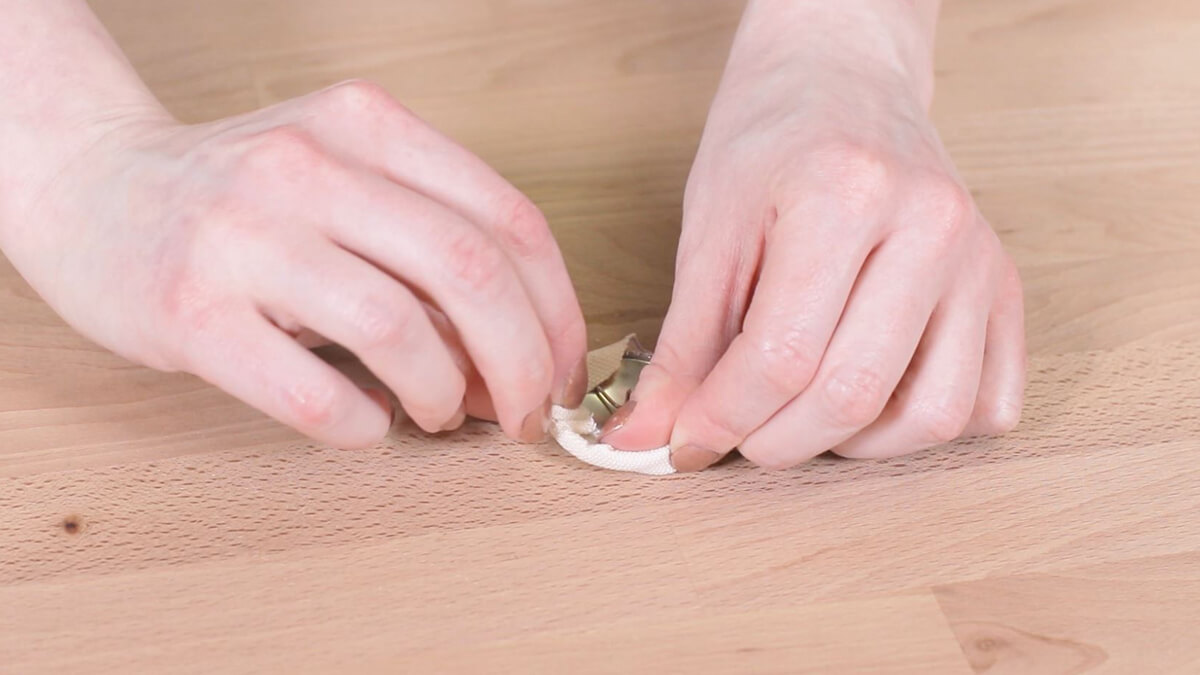
Cut a long piece of upholstery thread of tufting twine and slide a button to the middle of the thread. Thread a long upholstery needle with both ends of the thread.
Insert the needle through one end of the pillow. Carefully push the needle through the middle of the pillow so it comes out the center of the other end.
Put the other button on one of the ends of the thread and tie a slipknot. If you’re not familiar with how to tie this knot, it’s easiest to tie a loop in one end of the thread without tightening it, then put the other end through the loop
Tighten until the buttons are drawn in the amount you want. Knot the thread twice more and cut off the extra.
)
-
{{#each productSuggestedQueries.results}}
- {{query}} {{/each}}
-
{{#each categories.results}}
- {{html title}} {{/each}}
{{html attributes.description}}
{{/if}}-
{{#each queries.results}}
- {{query}} {{/each}}