
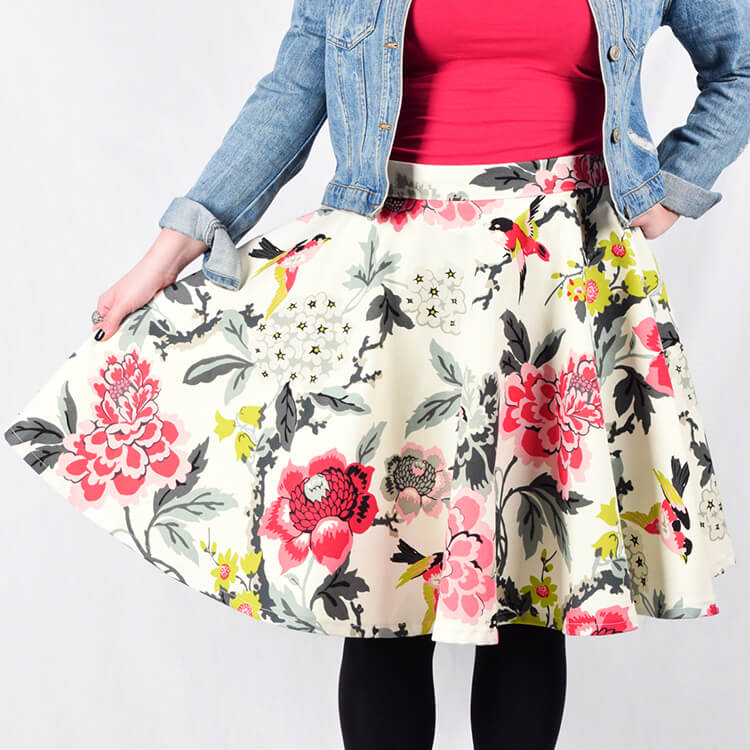
How to Make a Circle Skirt
- By Jen
- Beginner
- 45 minutes
This simple tutorial shows you how to make a circle skirt with a zipper using a versatile décor fabric. By using a drapery fabric, it gives the skirt more weight and volume. You can also use cotton broadcloth or linen.
Click here to see how to make pencil pleat curtains using the same fabric!
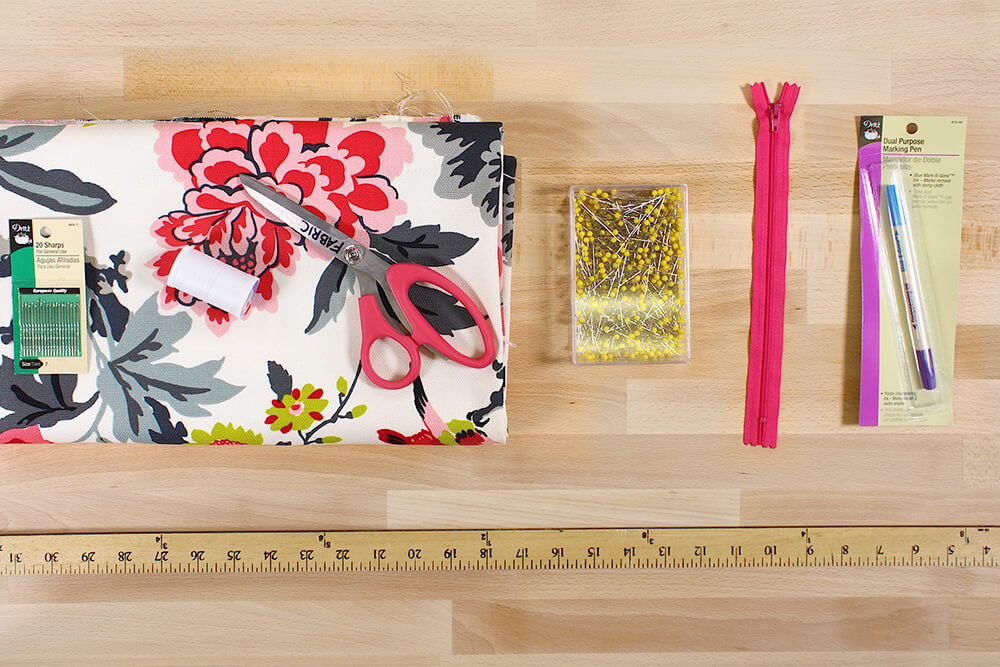
Materials
Related Products


Video
Instructions
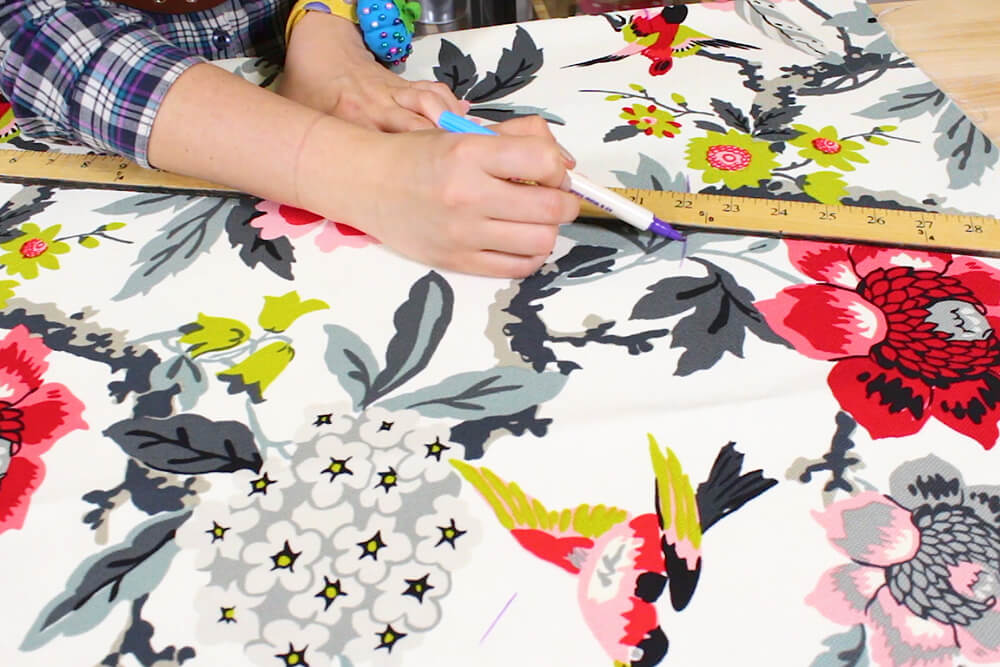
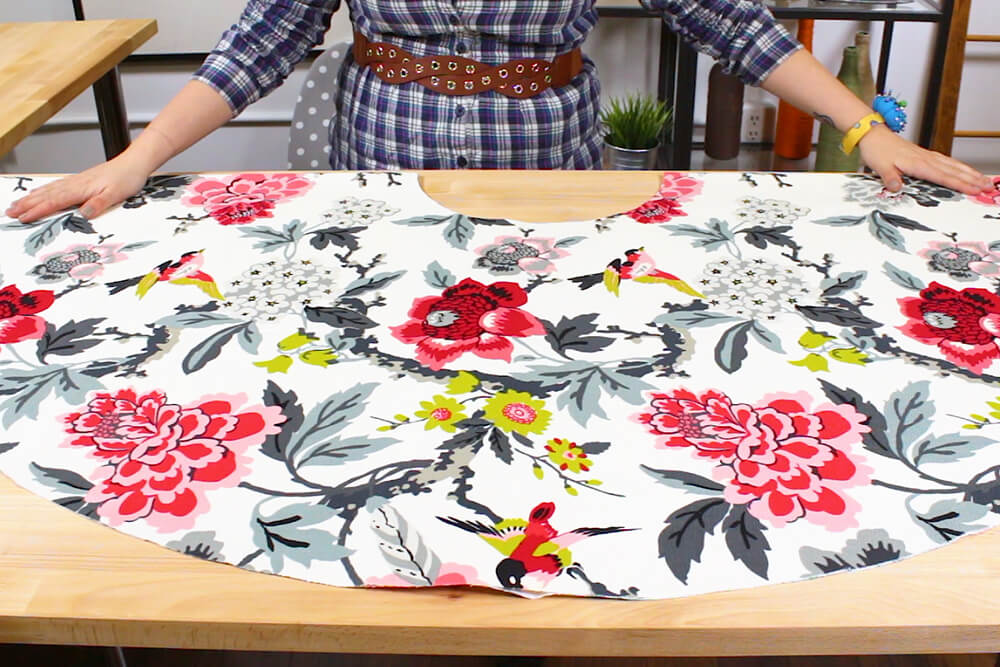
Step 1: Measure & mark the waist
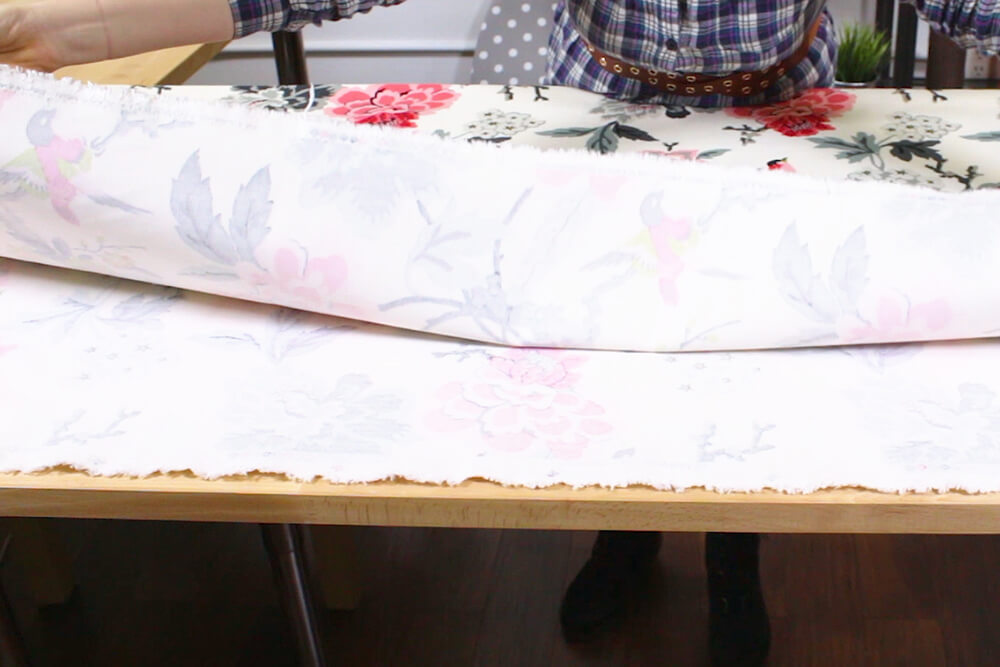
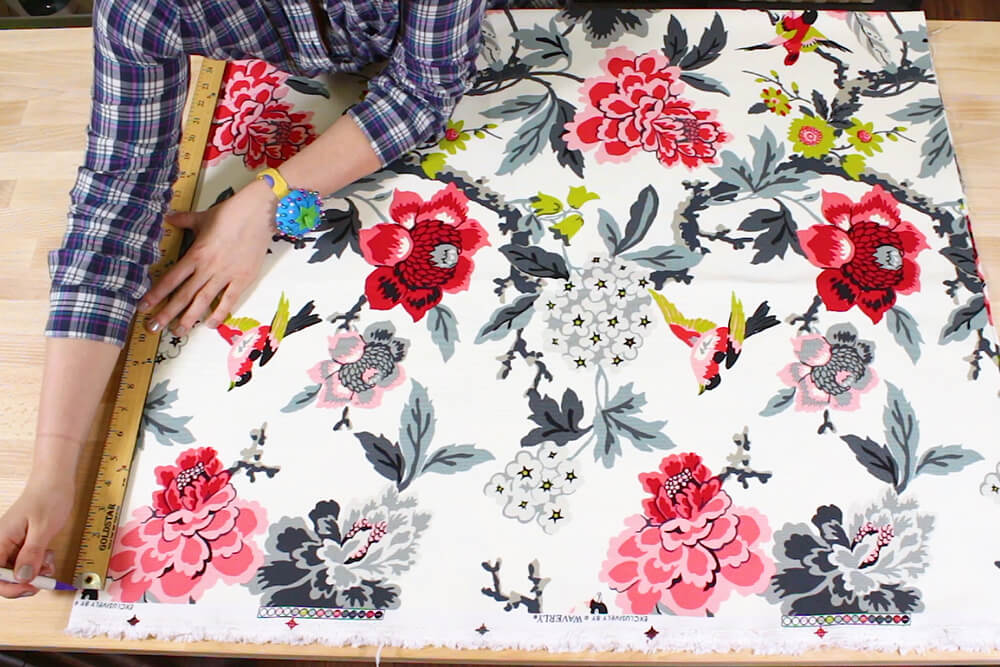
Fold the fabric in half so the selvages meet. Then fold in half again in the opposite direction.
To calculate the size of the waist, take your waist measurement and divide it by 2 times pi (which is 6.28). My measurement is 36 inches, so I’m dividing 36 by 6.28, which comes out to 5.7. I’m going to round this up to 5 and 3/4 inches to make sure I have enough fabric.
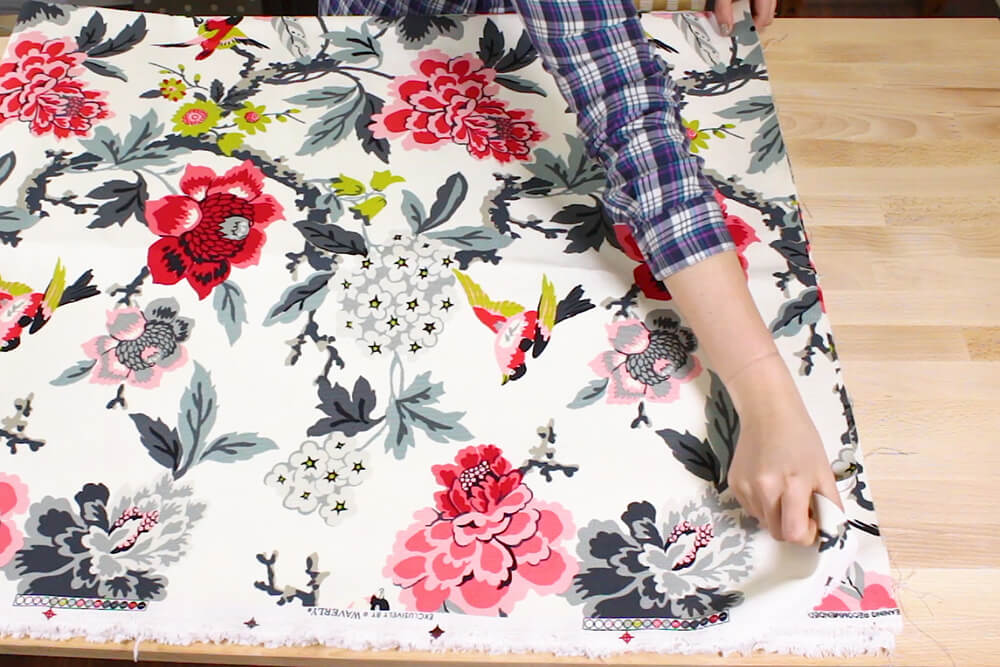
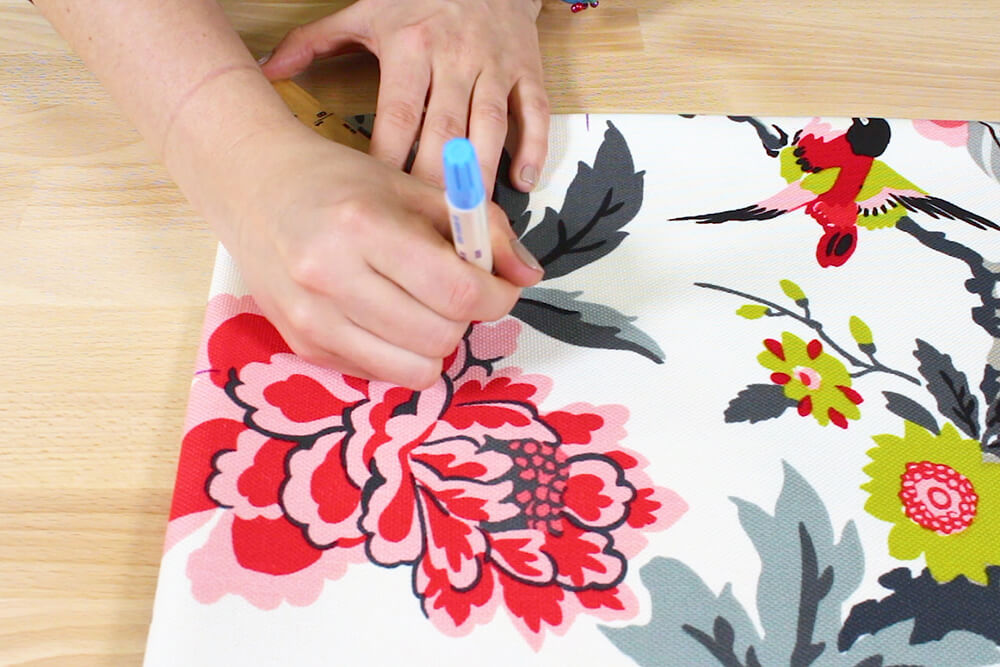
From the folded corner of the fabric, measure down 5 and 3/4 inches (or whatever your measurement is) and mark on the sides and center.
Make 2 more marks between the center and sides. Connect the markings so that it forms a quarter circle.
Step 2: Measure & cut the skirt
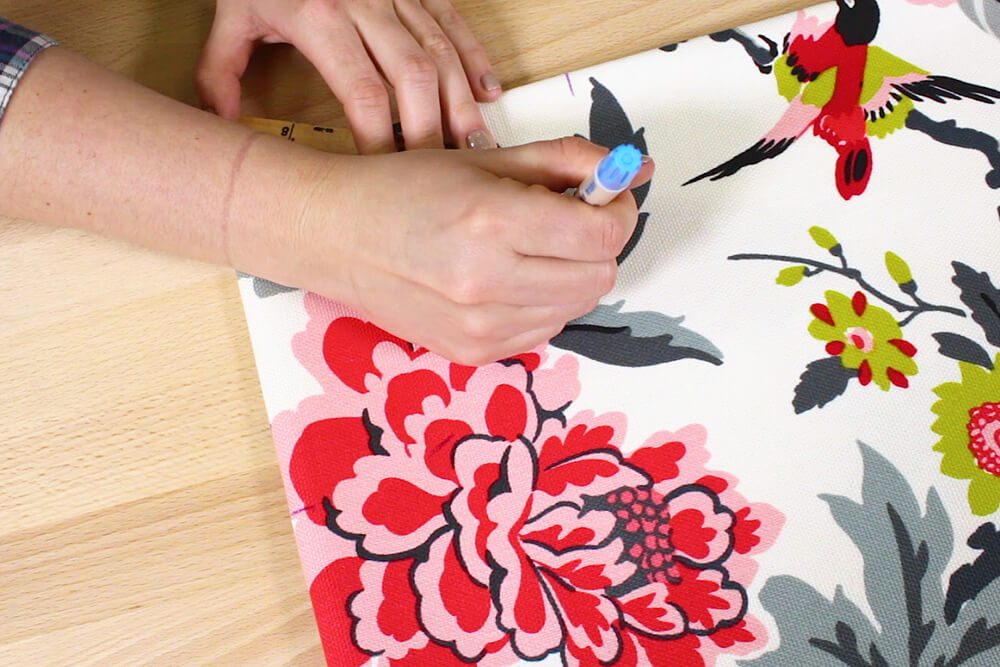
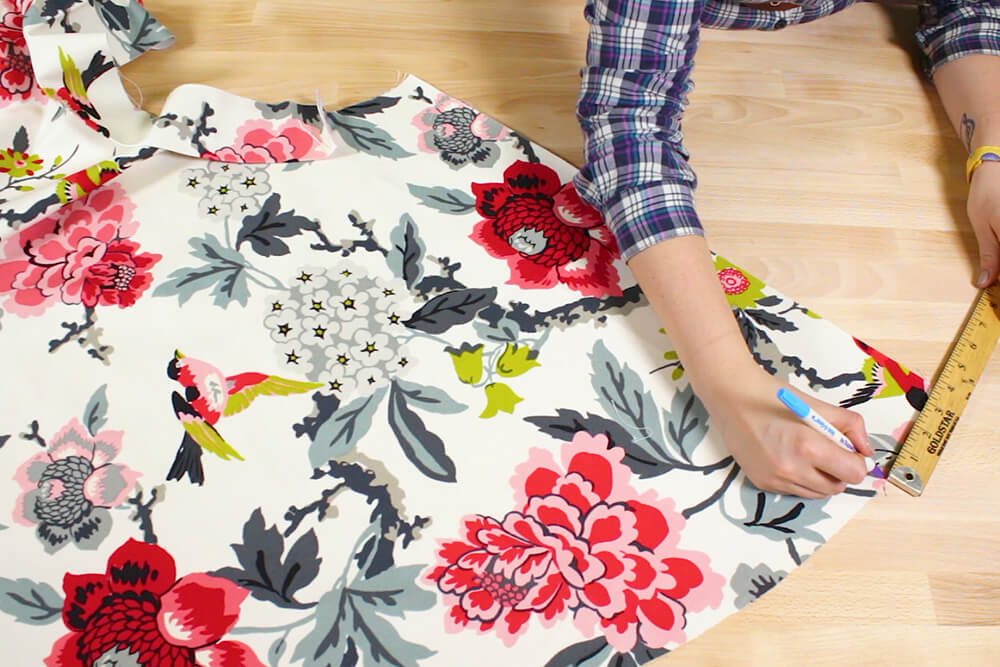
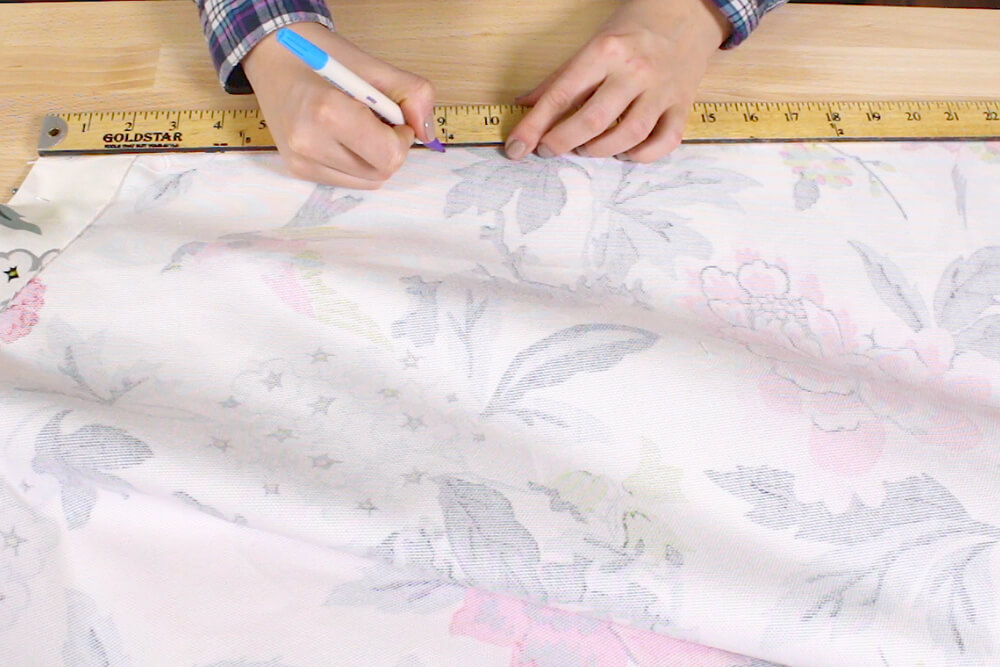
From the waist markings you just made, measure down the desired length you want for the skirt on the sides and center and mark. I want my skirt length to be 21 inches including my hem, so I’m measuring down 22 inches.
Make a couple more marks between the center and sides. Connect the markings to form another quarter circle.

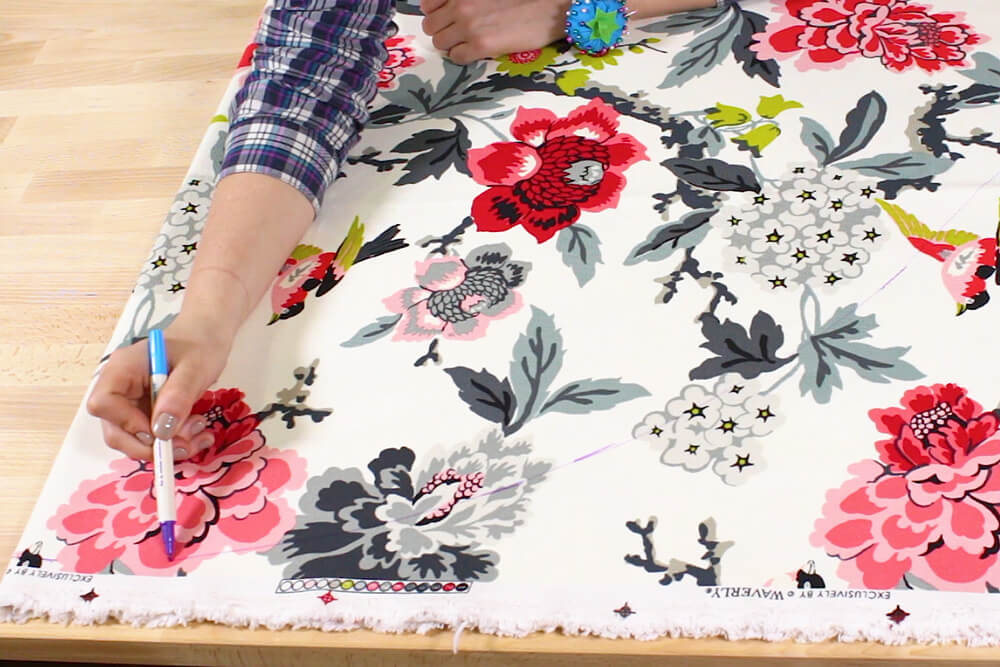
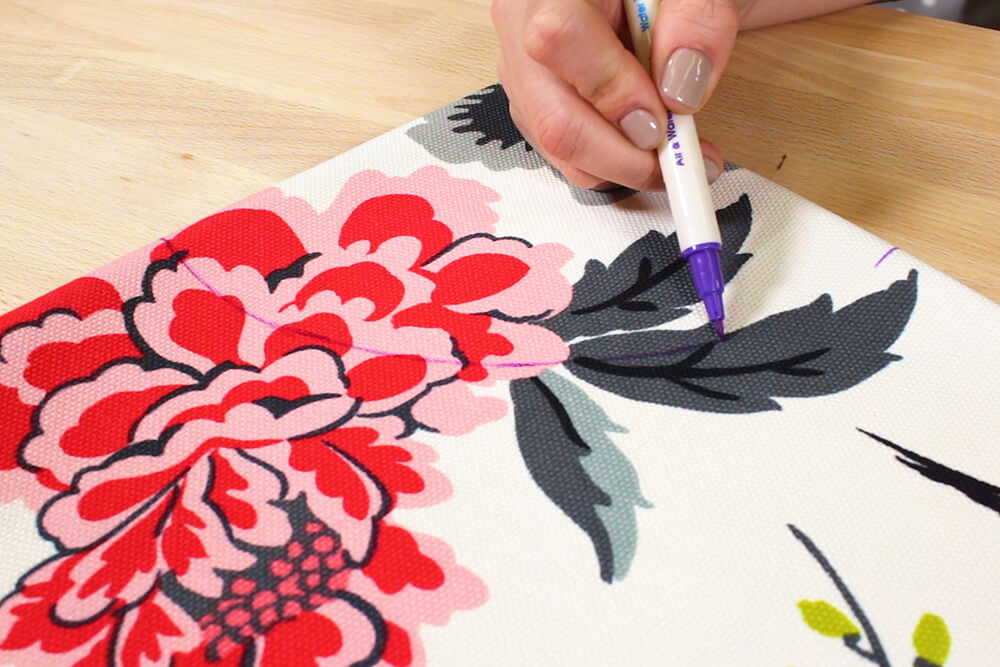
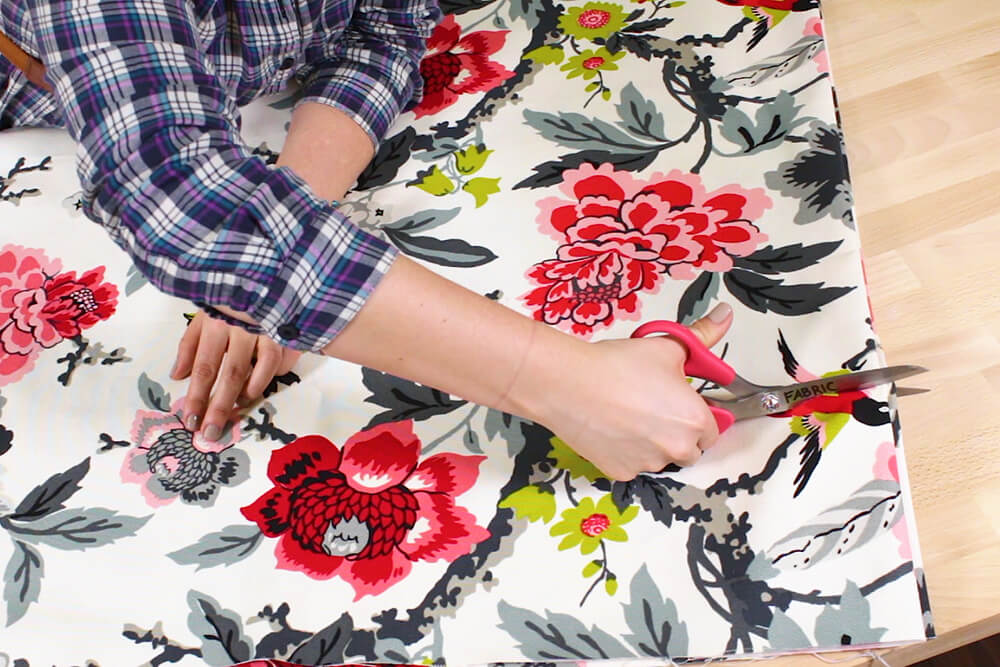
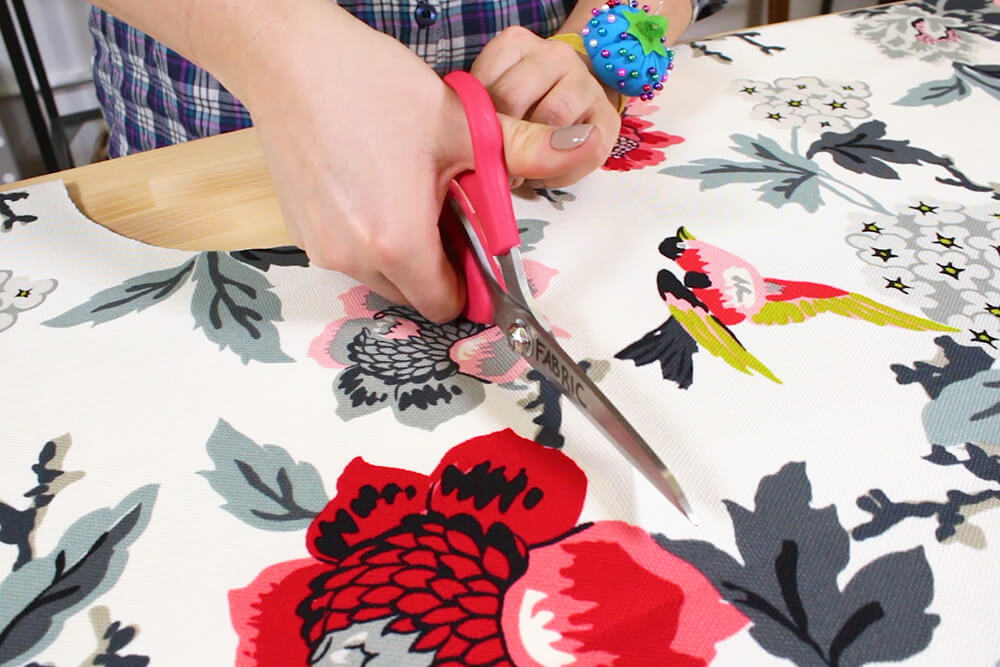
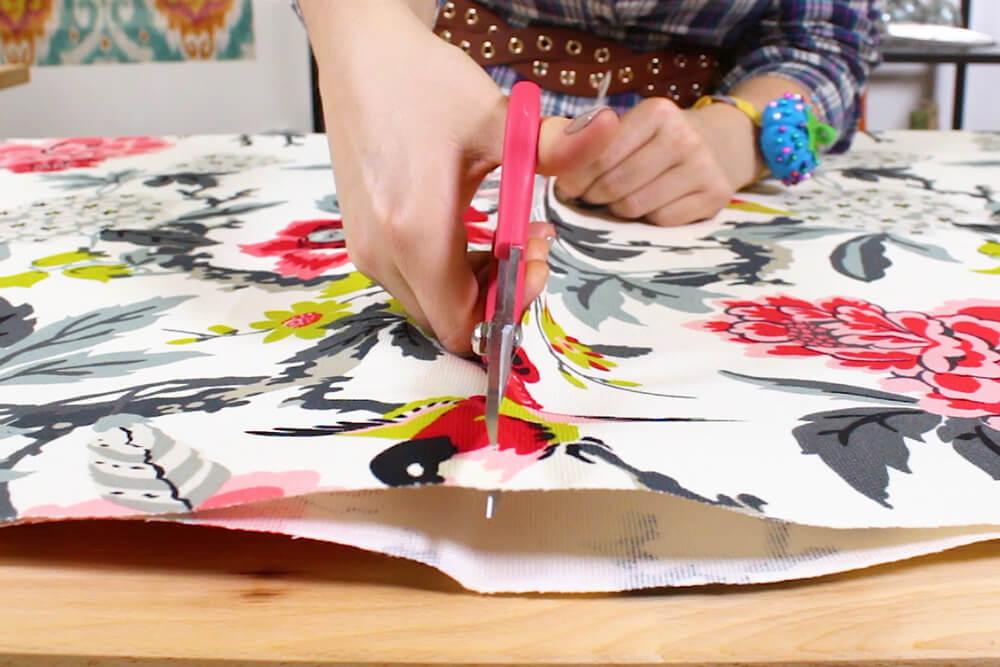
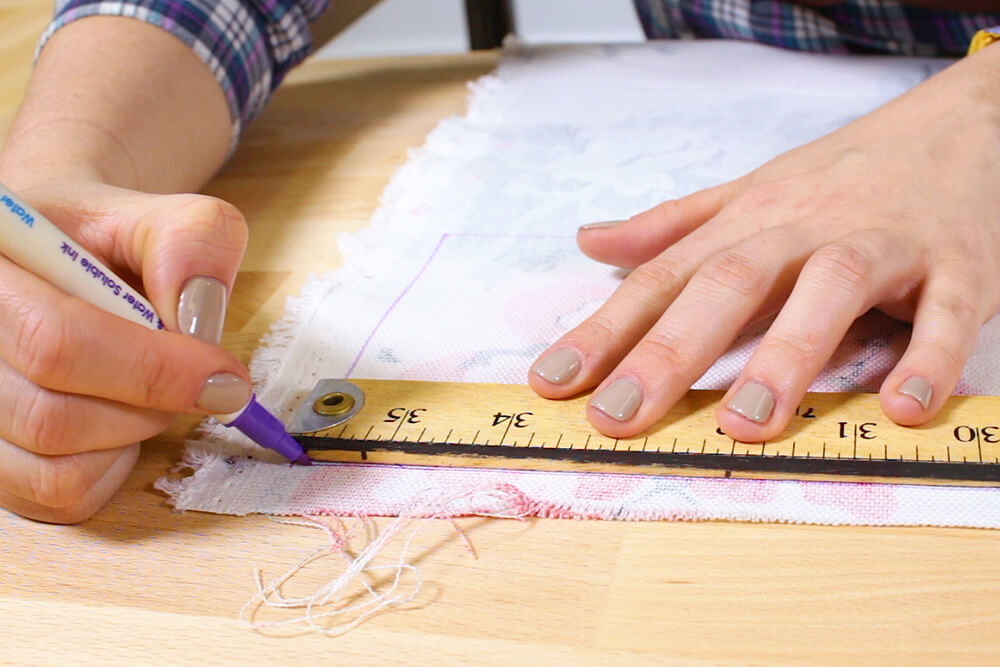
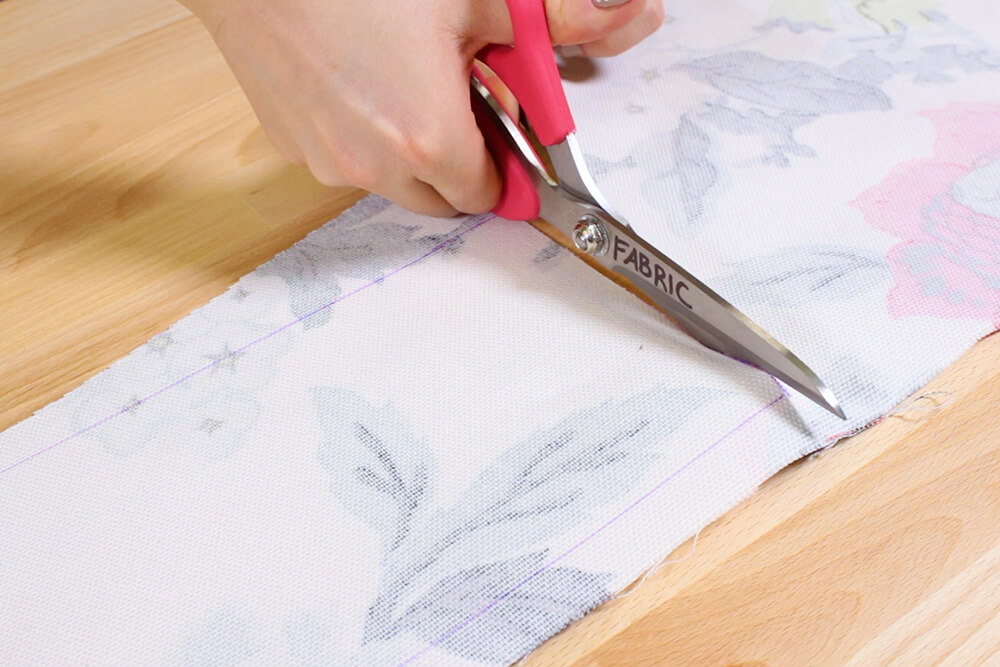
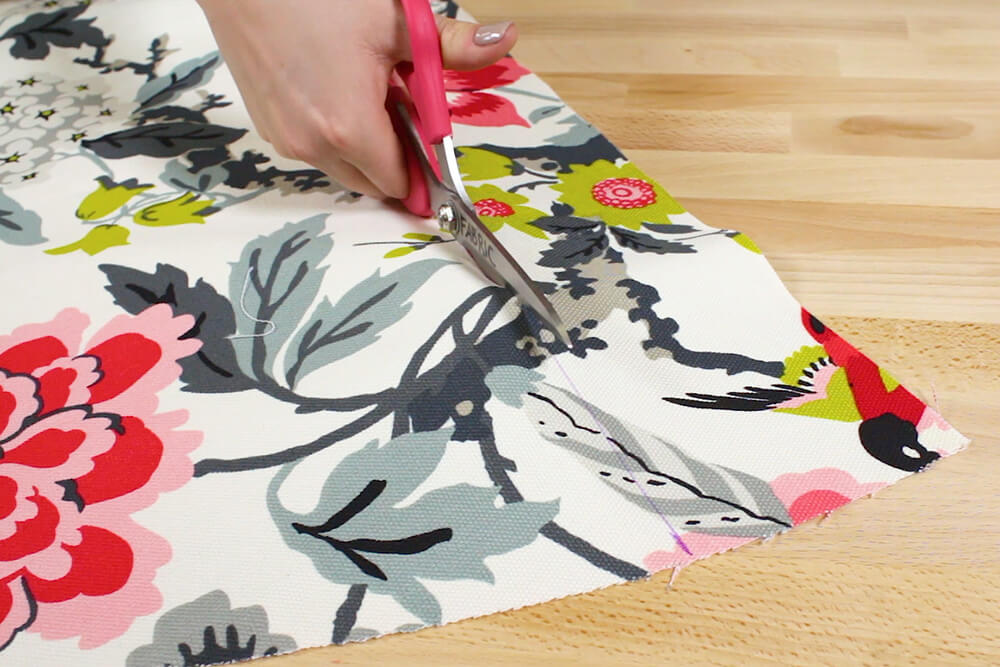
Now you can cut along the lines and the waistband.
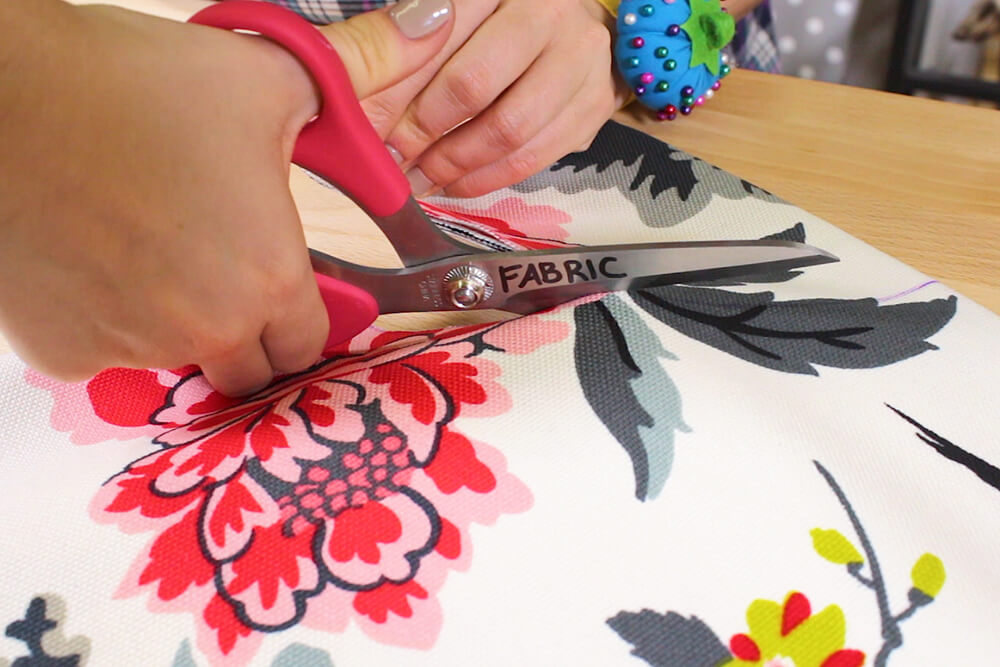
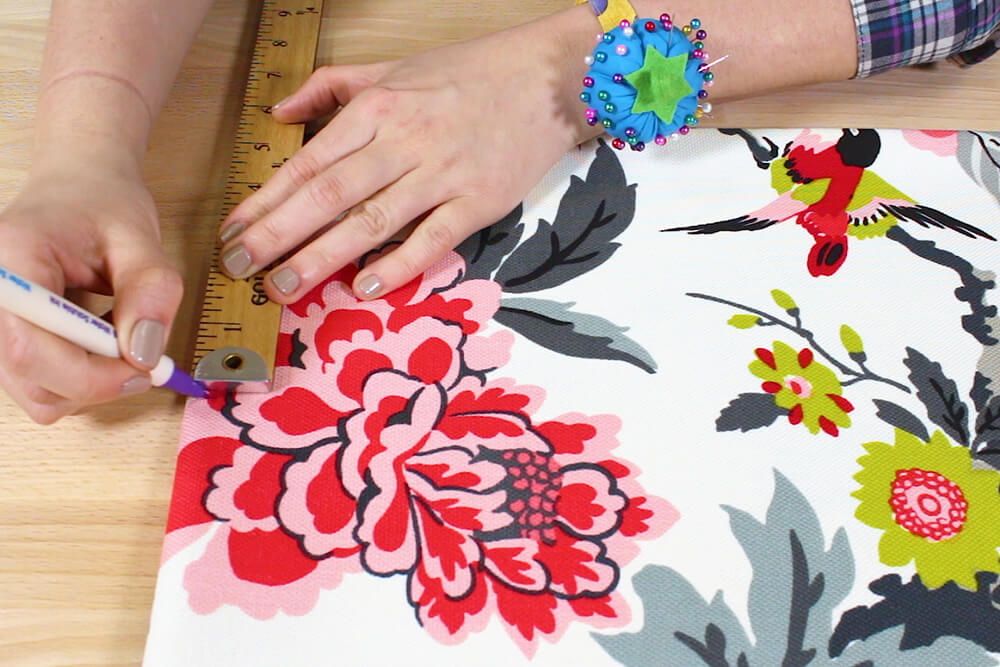
You might want to make a line with a ruler and fabric marker before cutting to make sure the cut is straight.
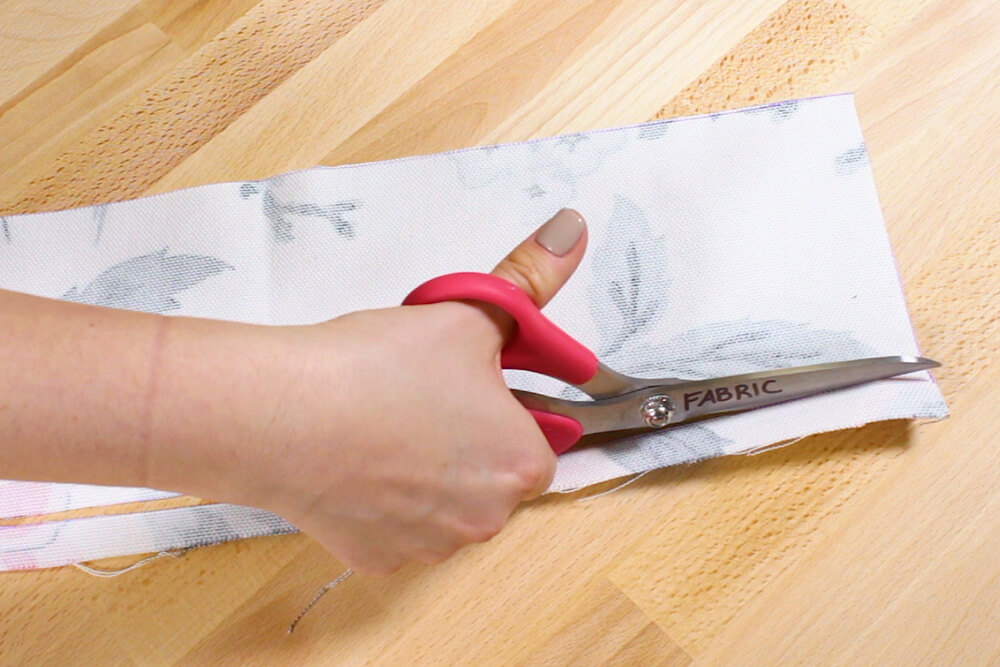
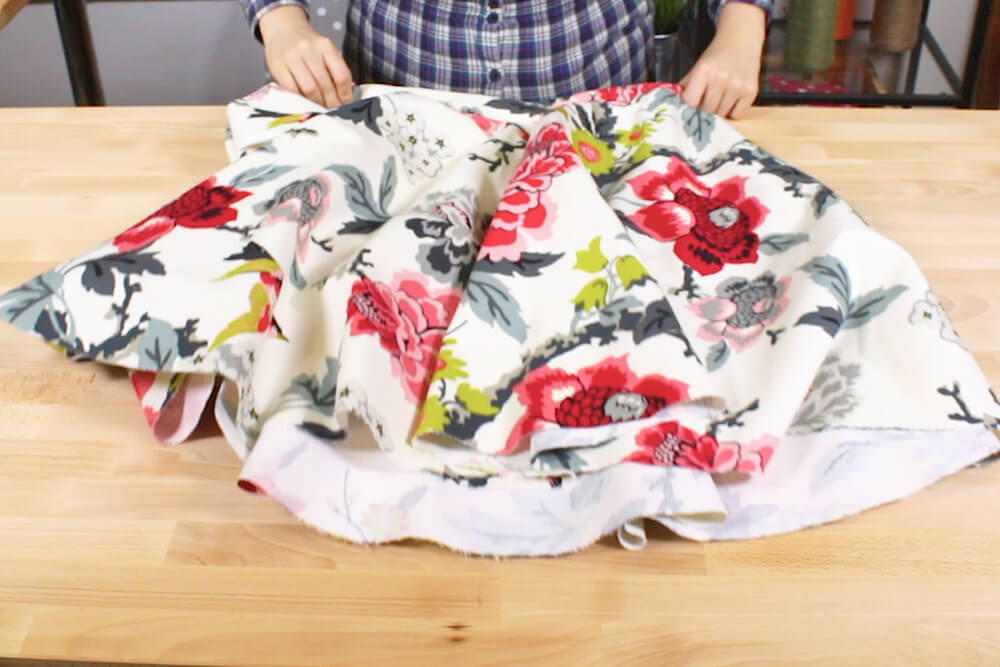
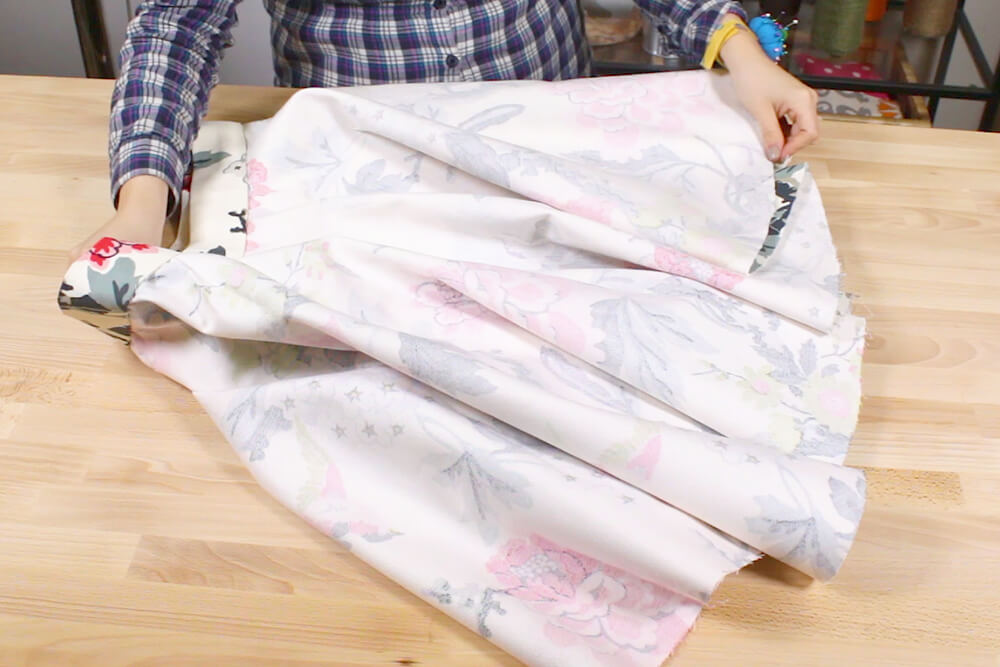
Unfold the skirt to a half circle. In the center of the waist, cut the top layer of fabric all the way down to the bottom of the skirt.
Step 3: Cut & attach the waistband
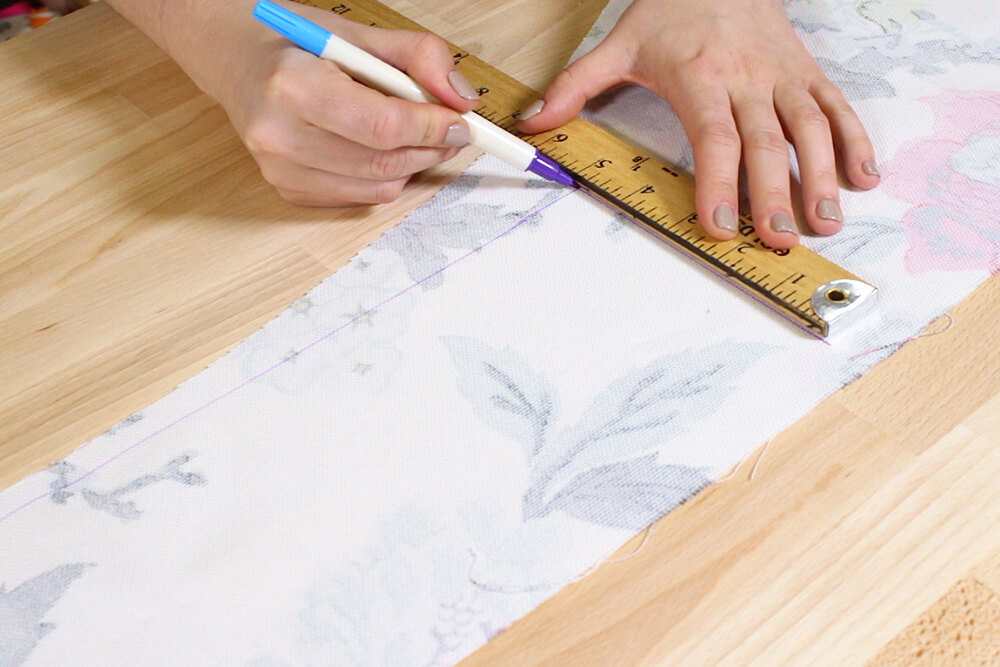
On the wrong side of the remaining fabric, measure and cut a waistband that is 5 inches wide, and 1 inch longer than your waist measurement. My waistband will be 5 by 37 inches.
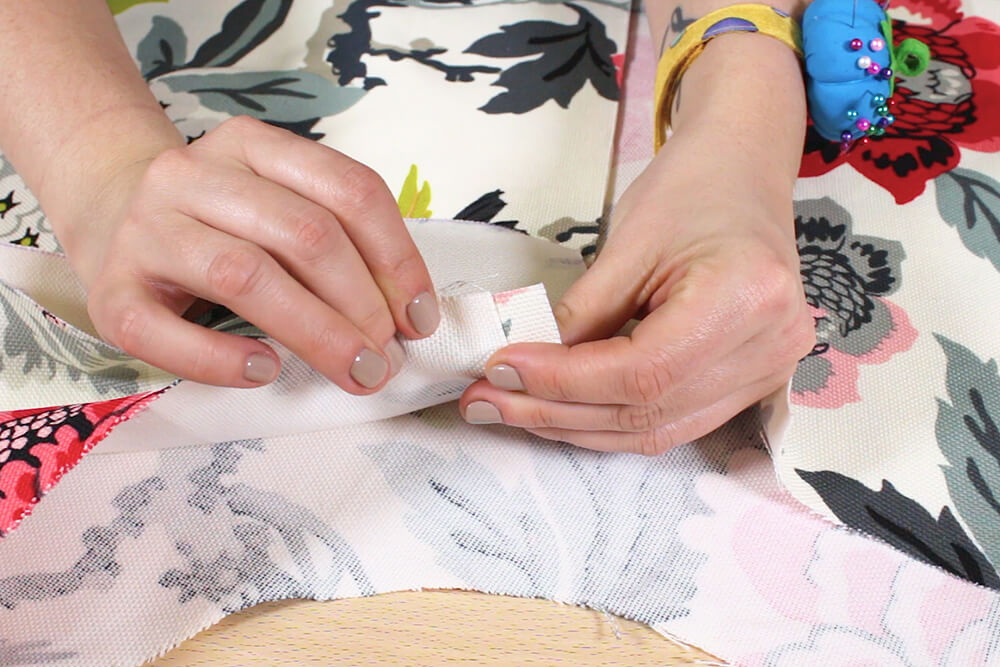
Fold the waistband so that one side is a 1/2 inch longer than the other, and iron.
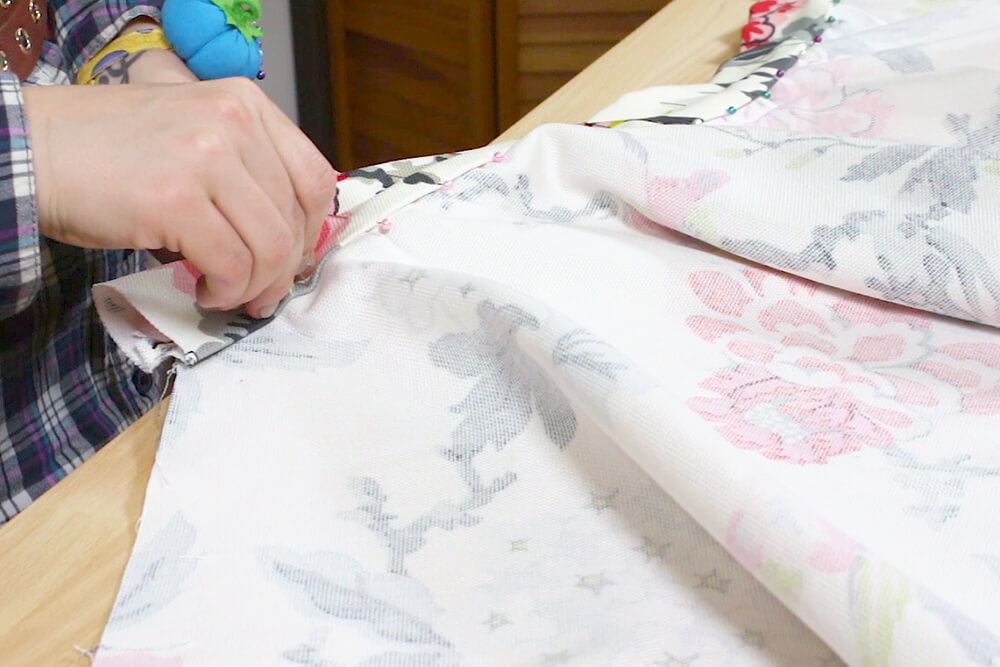
Take the shorter side and pin the right side of the fabric to the right side of the skirt starting at the edge of the waist. Leave a 1/2 inch of the waistband hanging off at both ends. Continue pinning until you’ve reached the end.

If you’re cutting off extra fabric it may help to mark a line so the cut is straight.
There may be a little extra fabric on the skirt. If so, measure and cut a 1/2 inch in from the end of the waistband to the bottom of the skirt.
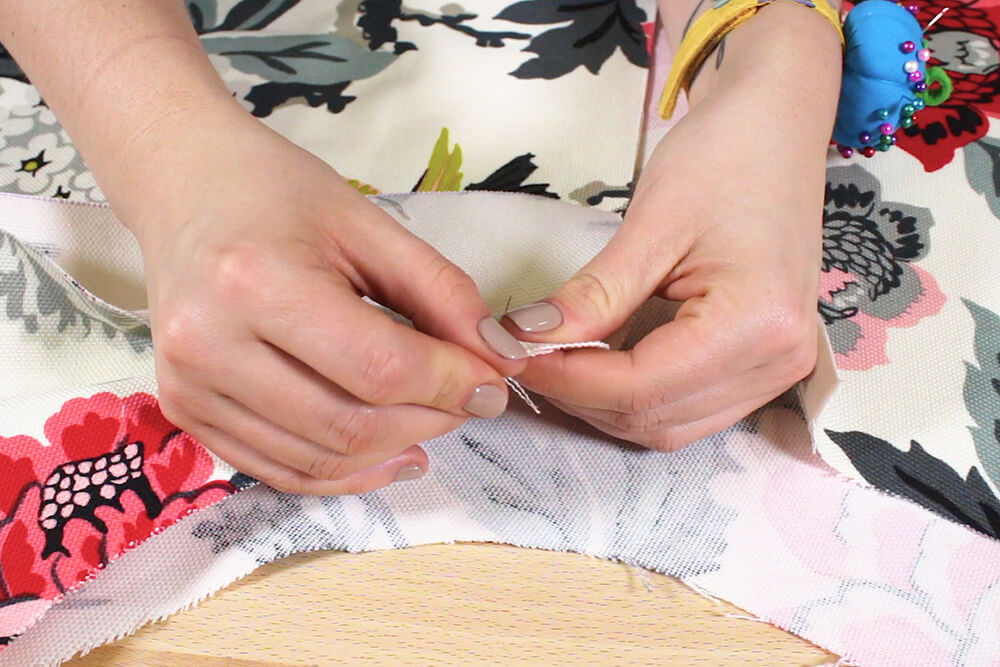
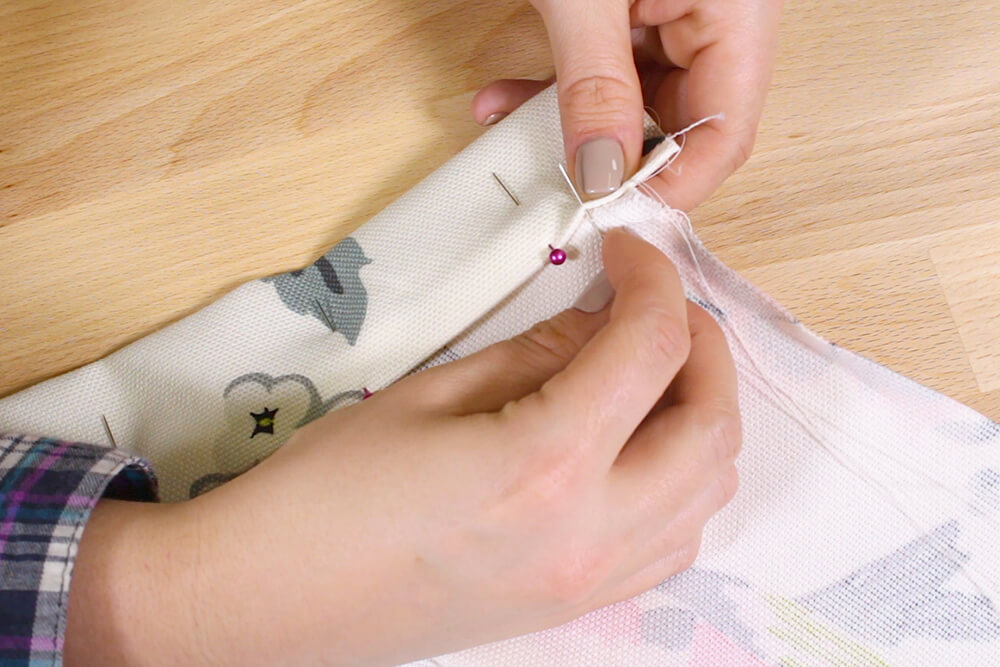
Stitch the ends of the skirt together with a 1/2 inch seam allowance, leaving a 1/2 inch open at the beginning and the end of the waistband.
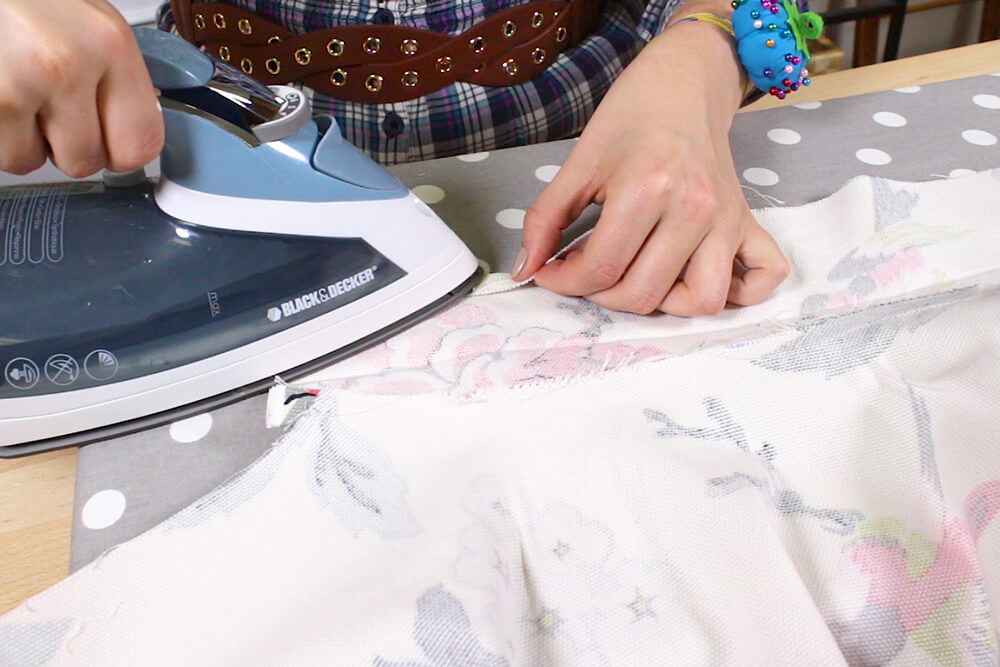
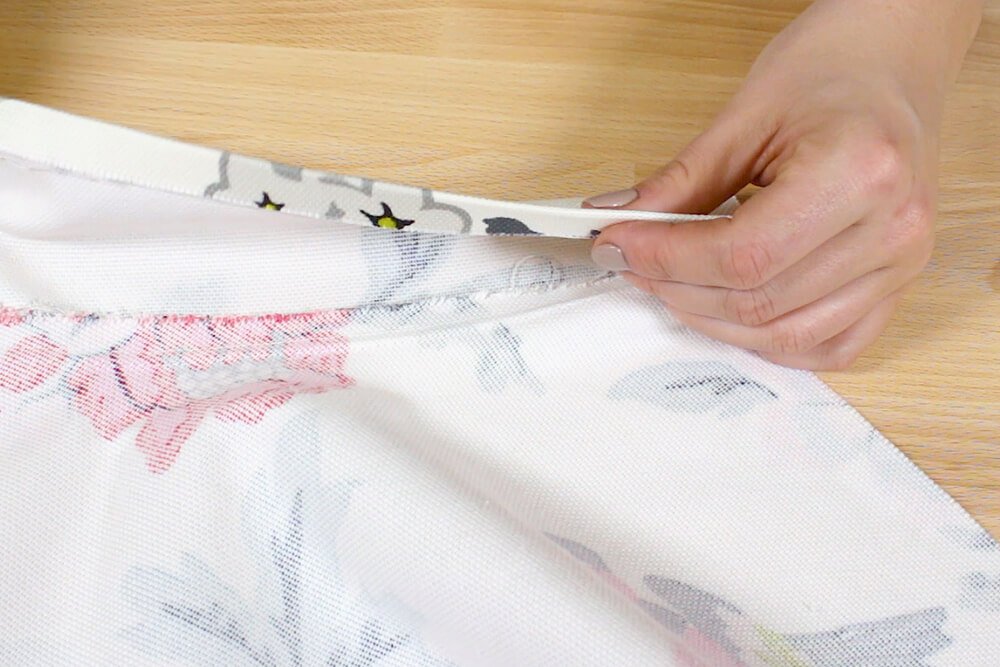
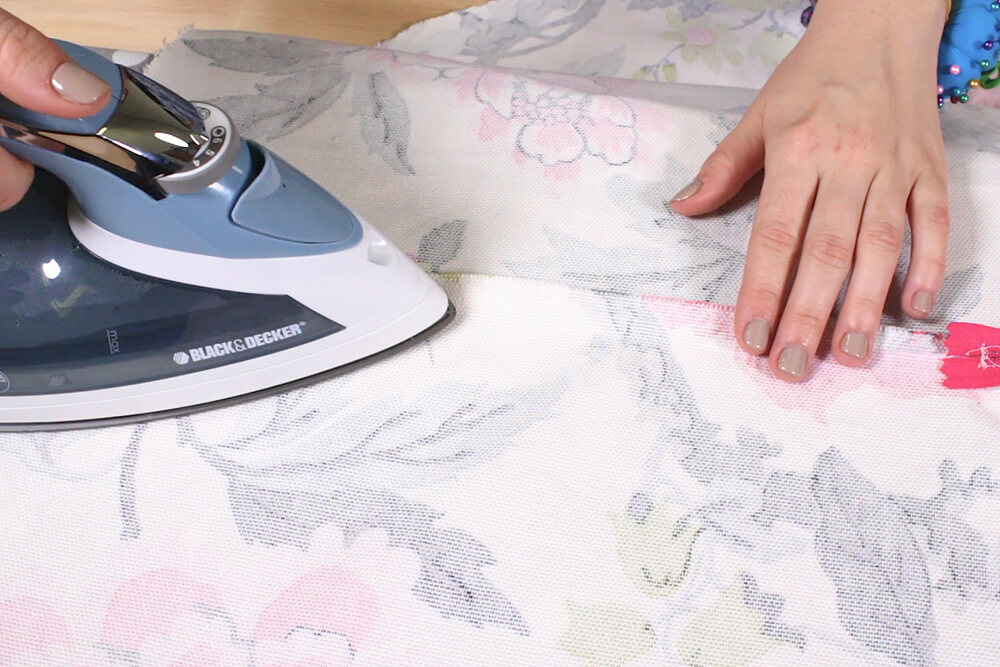
Iron the seam allowance so that it’s facing upwards toward the waistband. Fold and iron the other side of the waistband a 1/2 inch.
Top stitch about a 1/4 inch above the waistband seam.
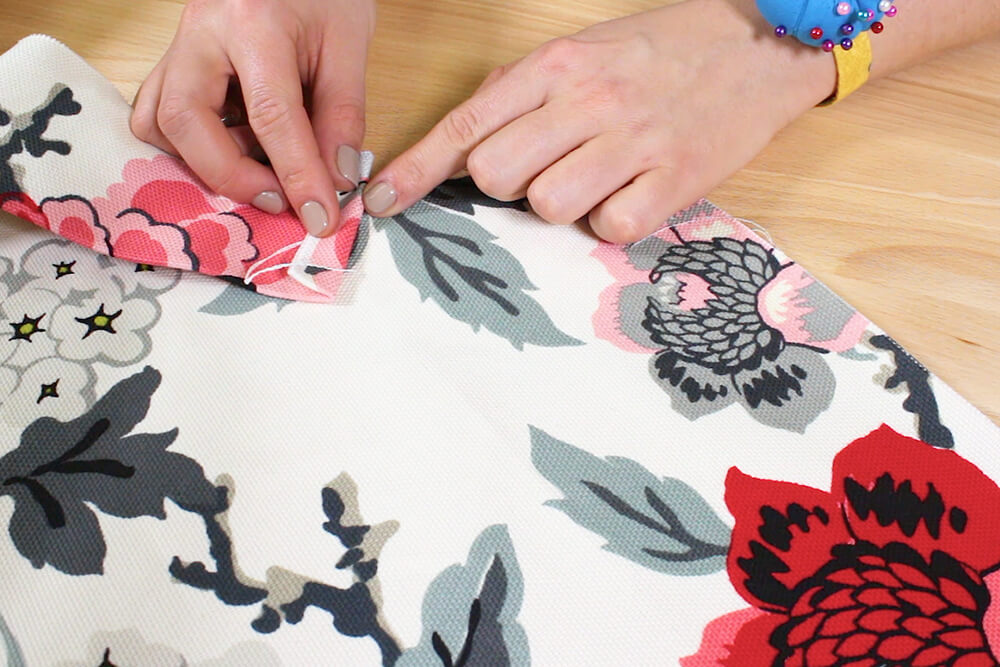
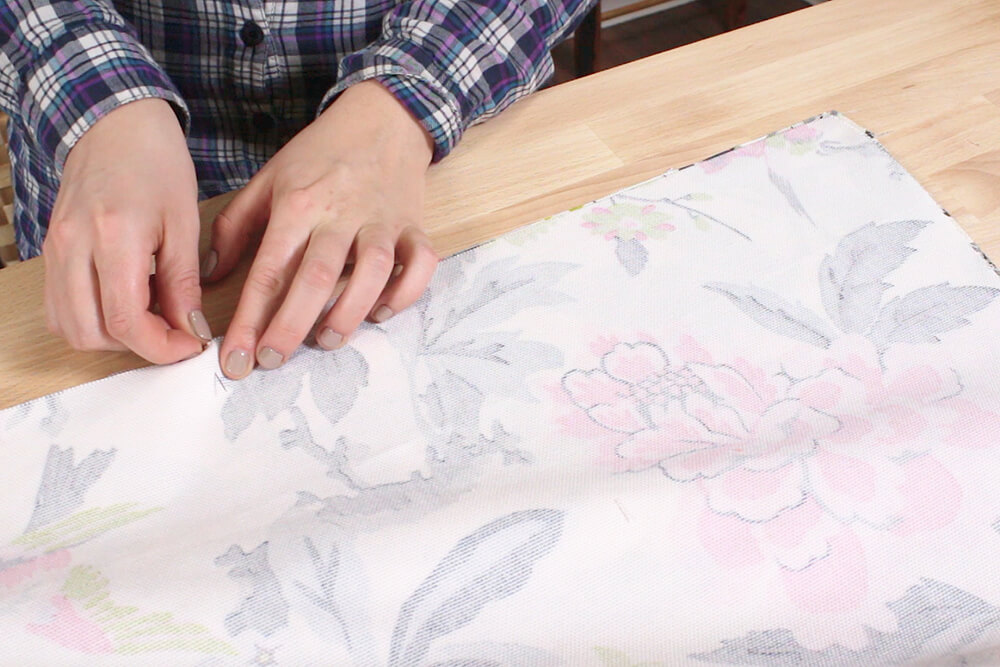
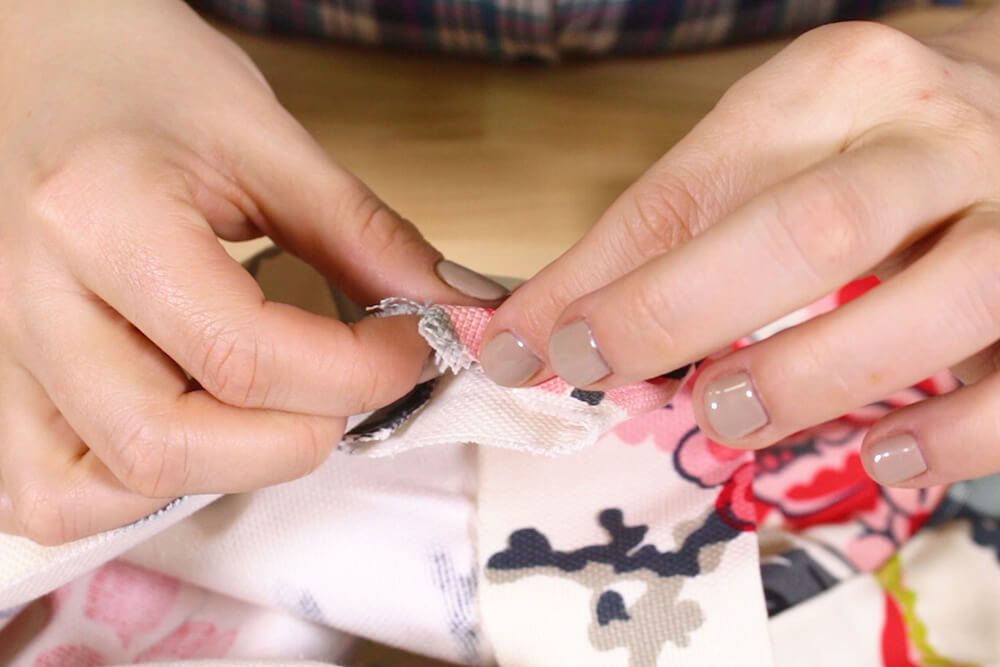
Fold the top of the waistband to the inside and pin so it matches up to the stitch line of the first seam.

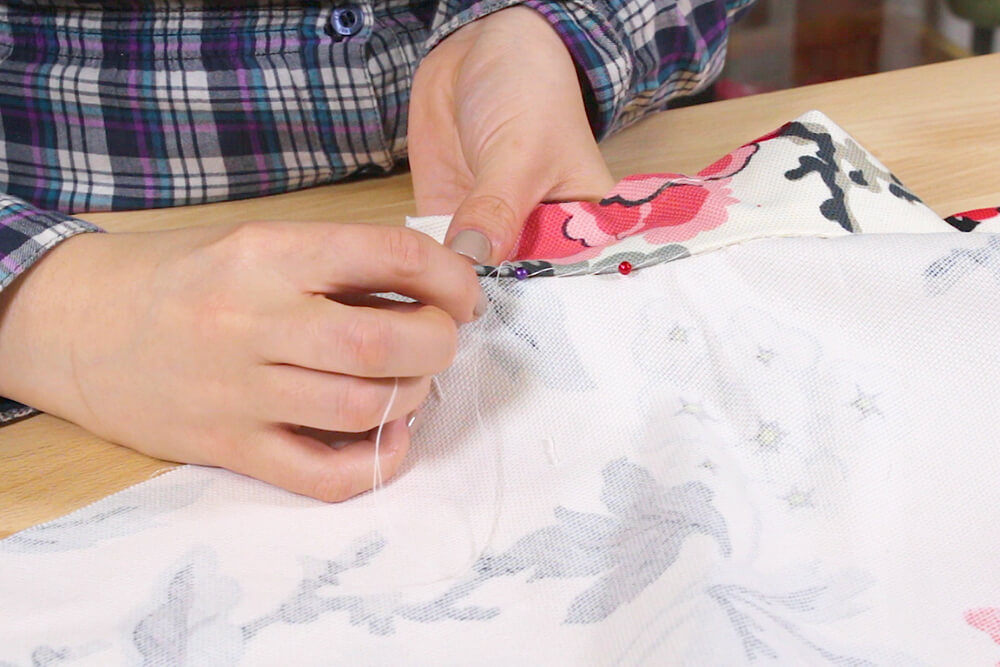
Hand stitch the inside of the waistband just enough so that it catches a few threads and doesn’t show on the other side.
Step 4: Insert the zipper
From the top of the waistband, measure and mark 9 inches down. Pin and stitch from this mark to the bottom of the skirt.

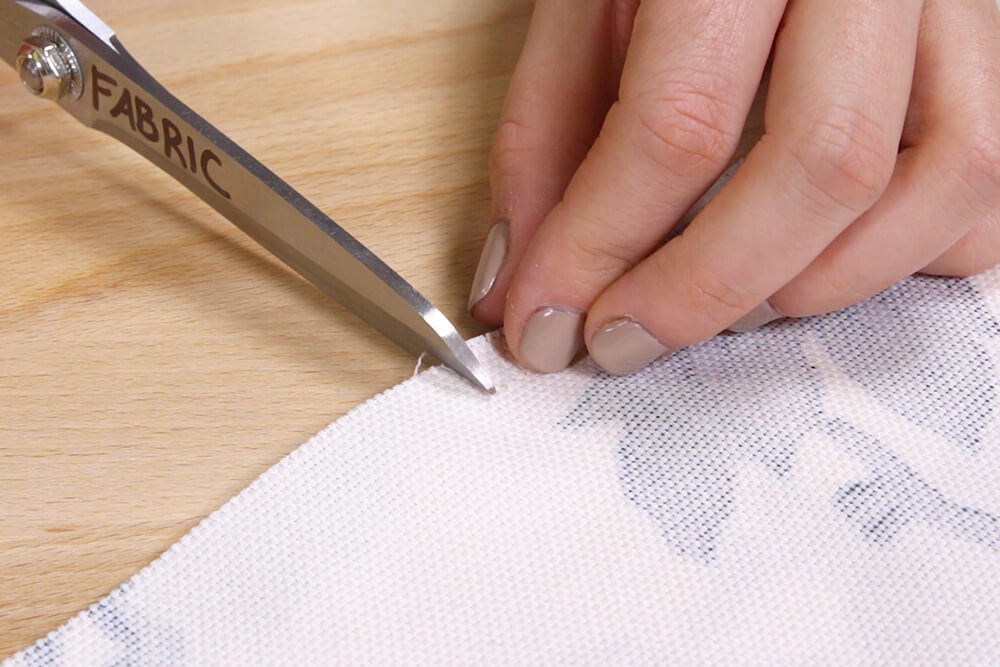
Make a small snip right above the where you just stitched.
Turn the skirt to the right side.
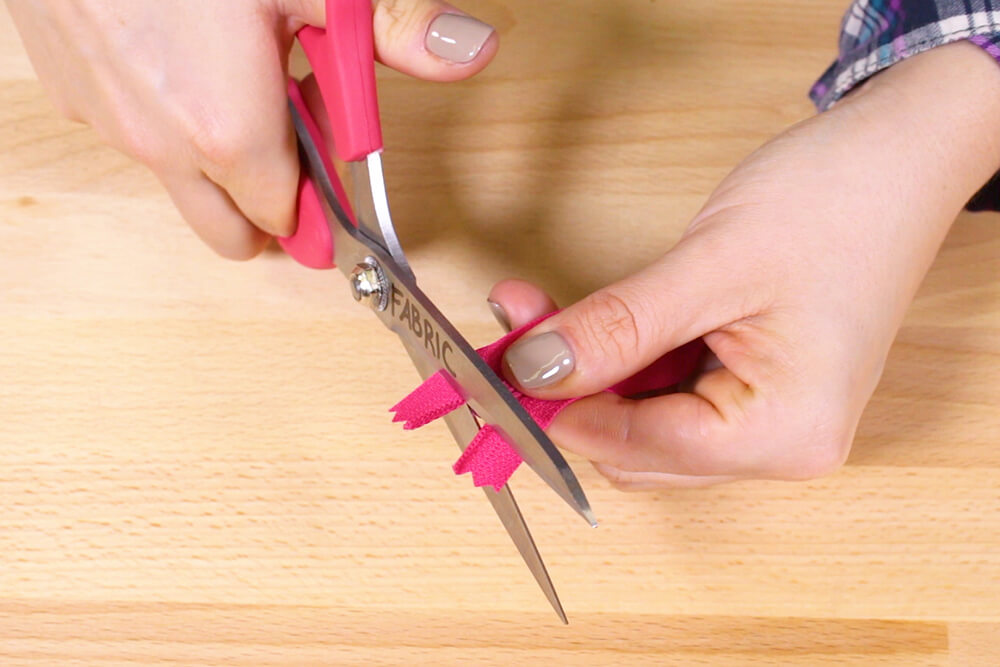
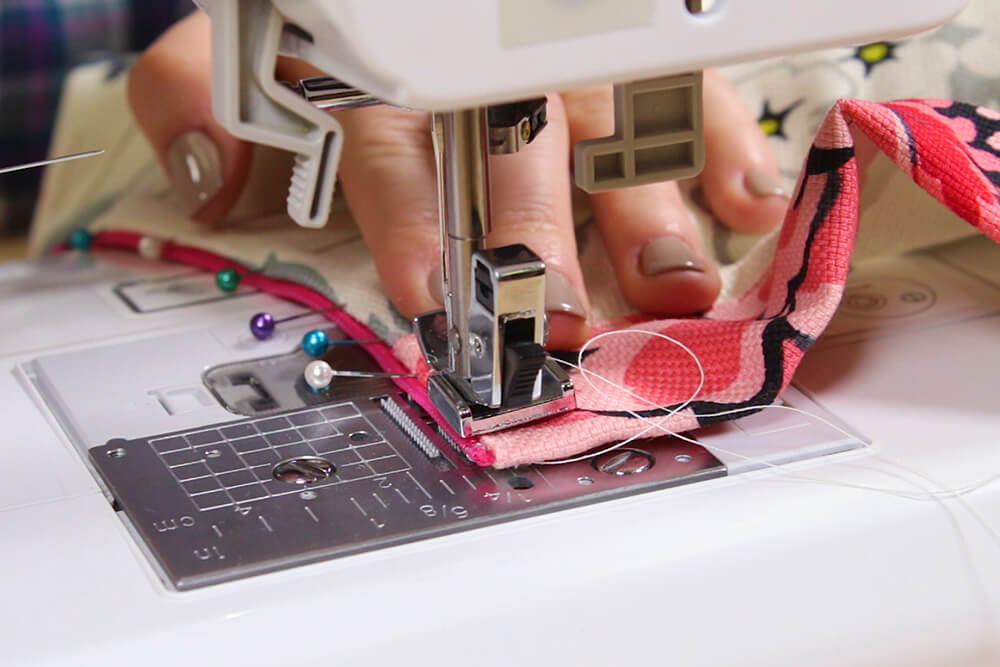
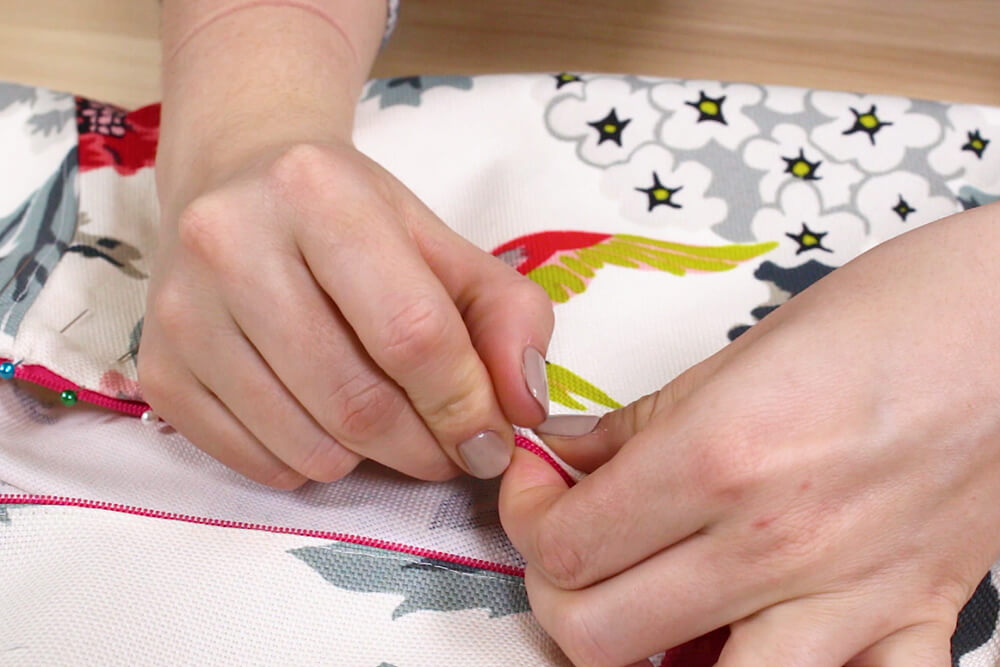
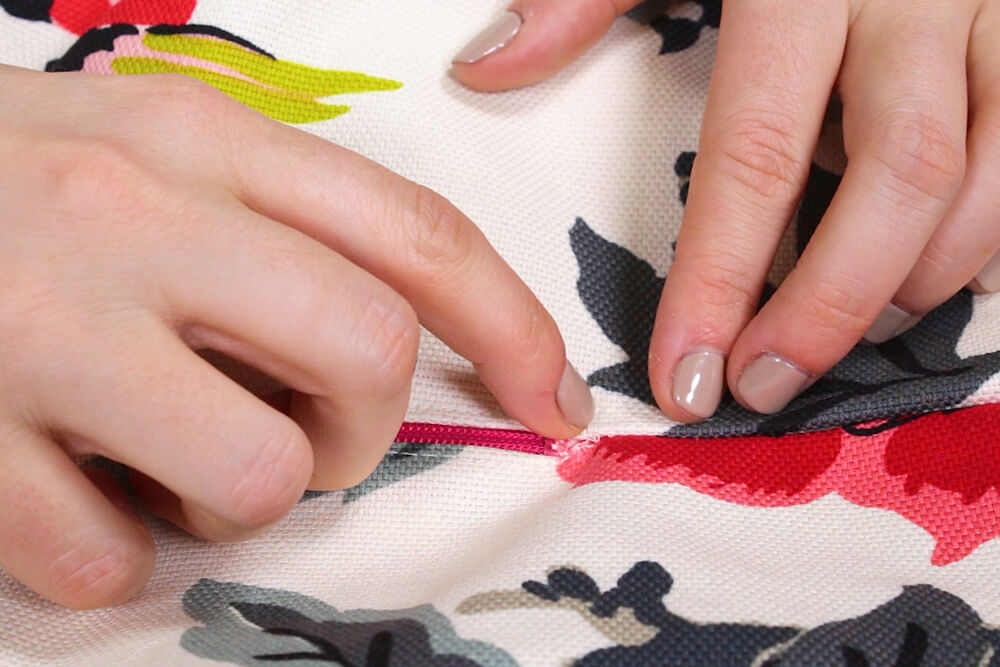
Cut off the top part of the zipper. Fold the waistband edges a 1/2 inch in. Unzip the zipper and insert the top into the waistband. Pin the zipper all the way to the bottom, folding the edge of the fabric about a 1/4 inch.
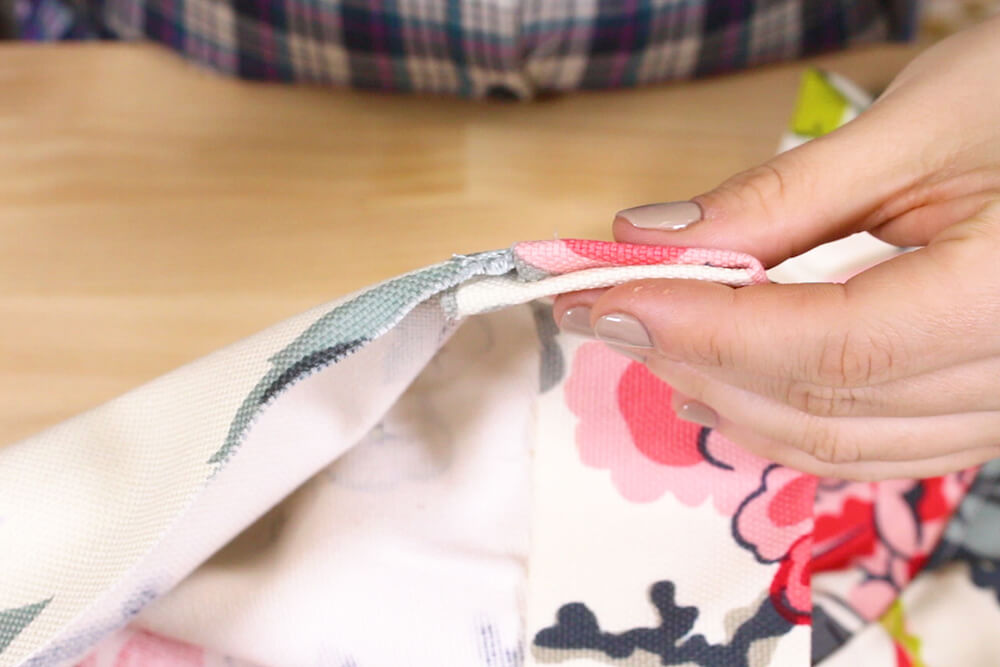
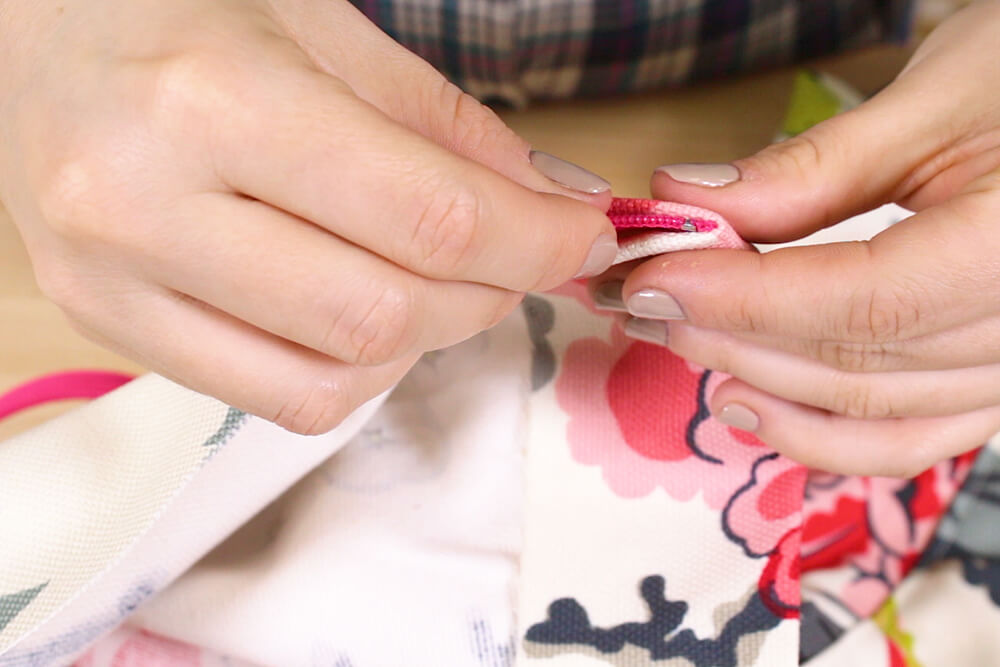
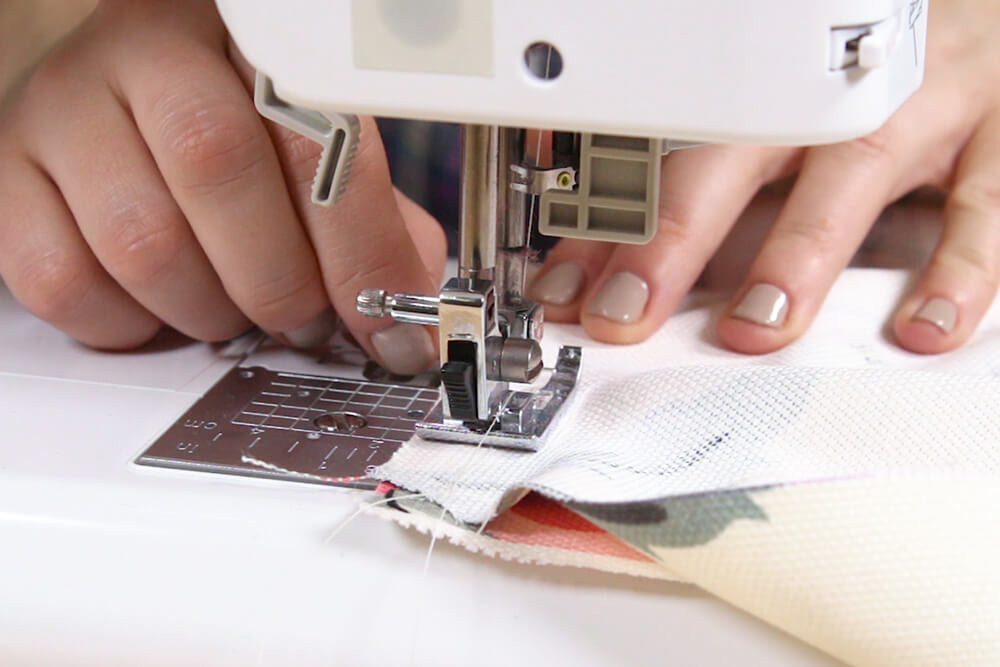
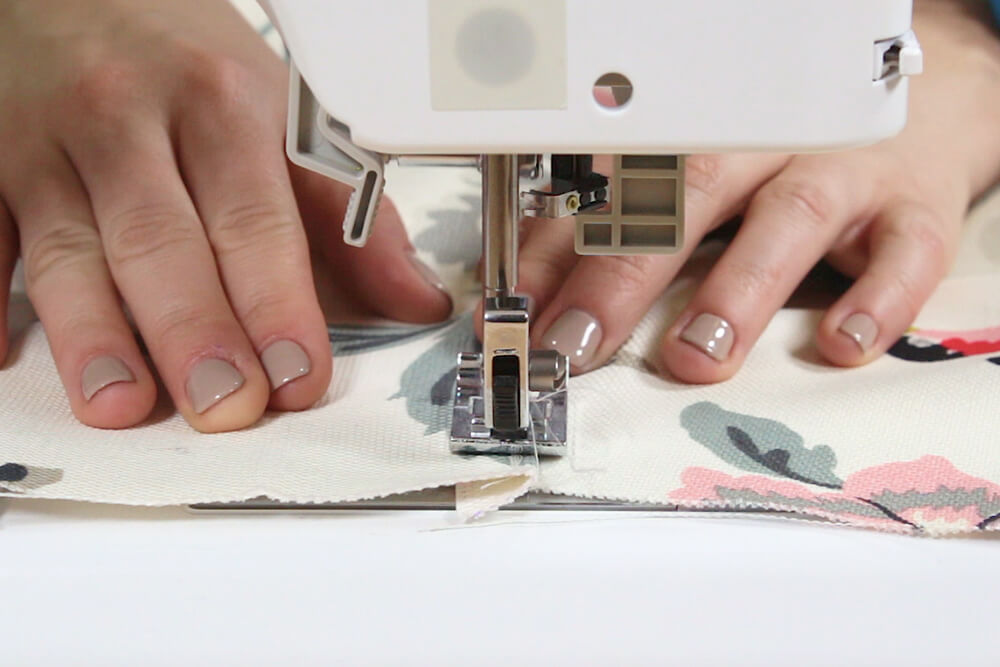
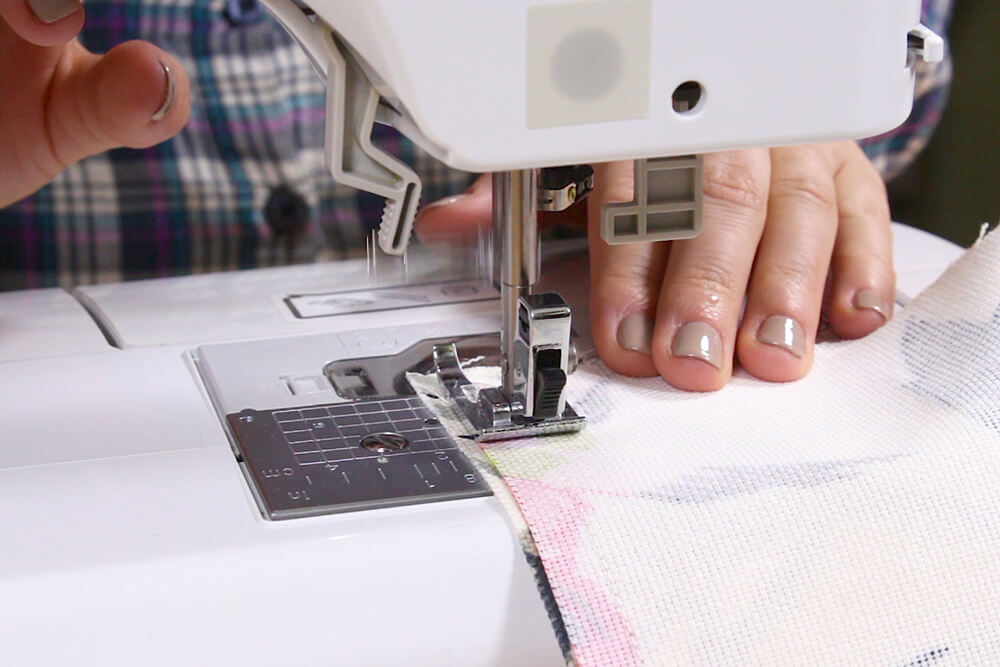
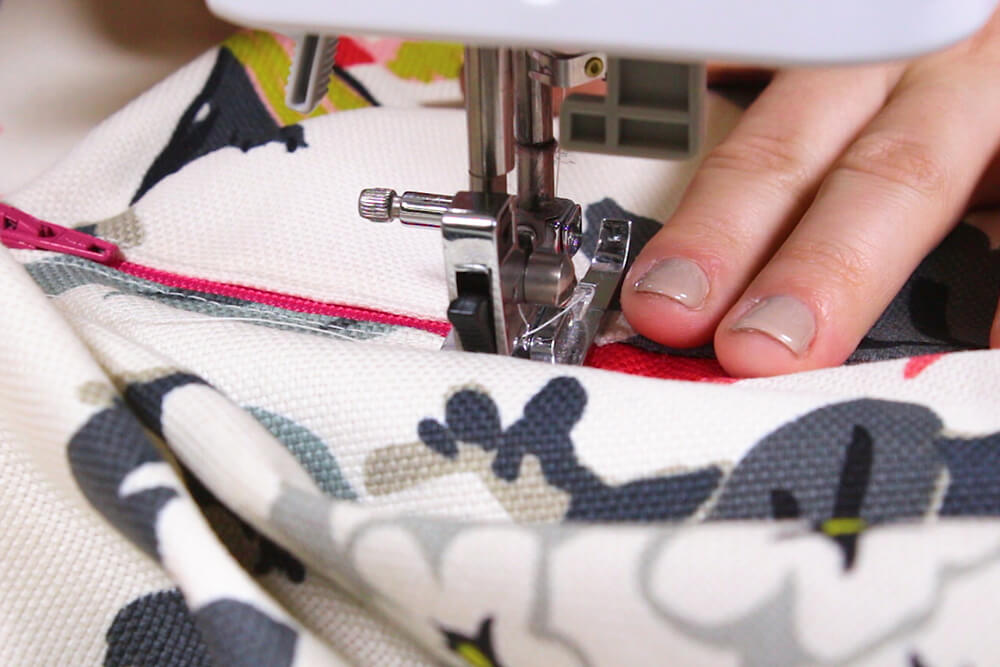
Make sure to use a zipper foot for this part.
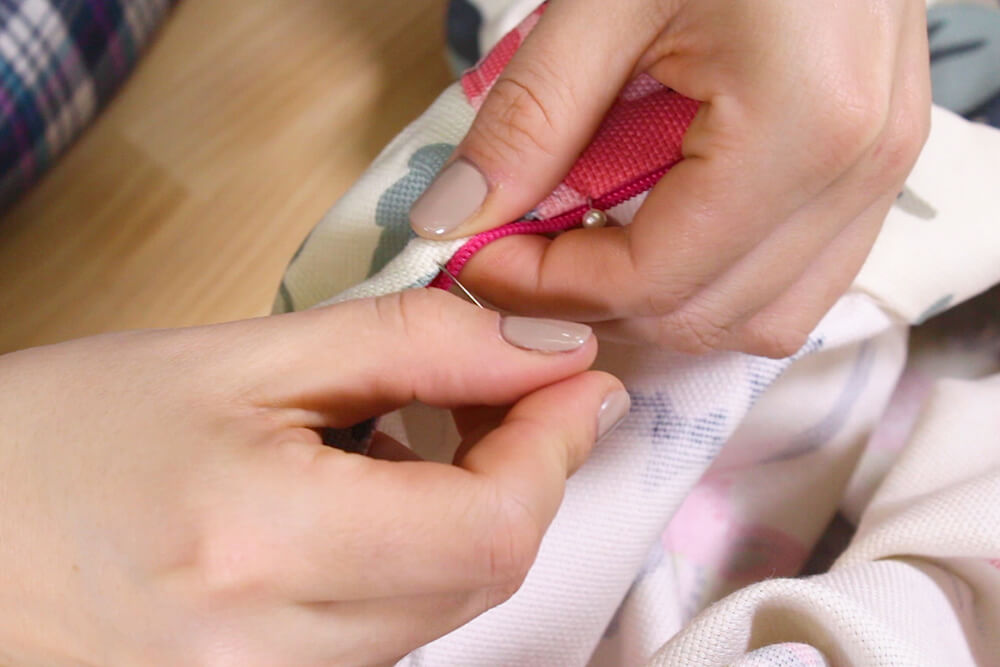
Pin the zipper all the way to the bottom, folding the edge of the fabric about a 1/4 inch.
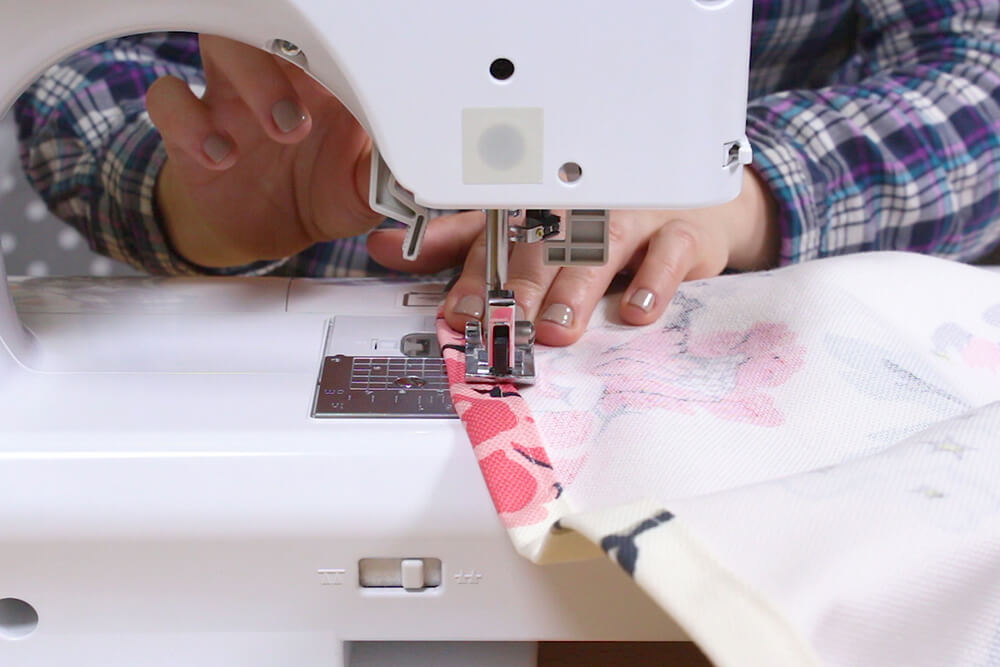
Stitch along the zipper about 1/8 inch away from the zipper teeth.
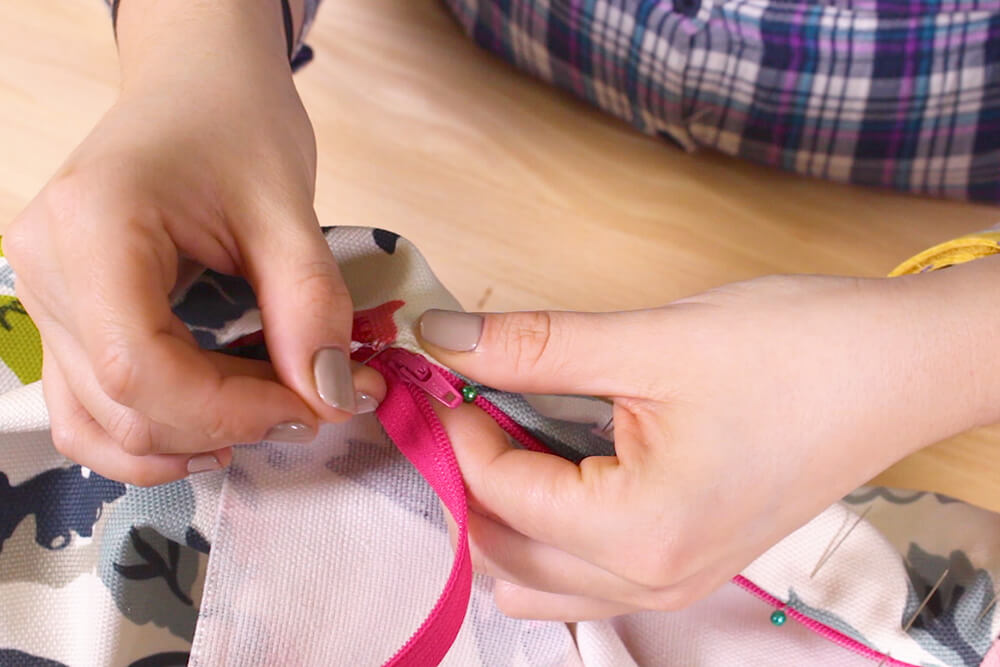
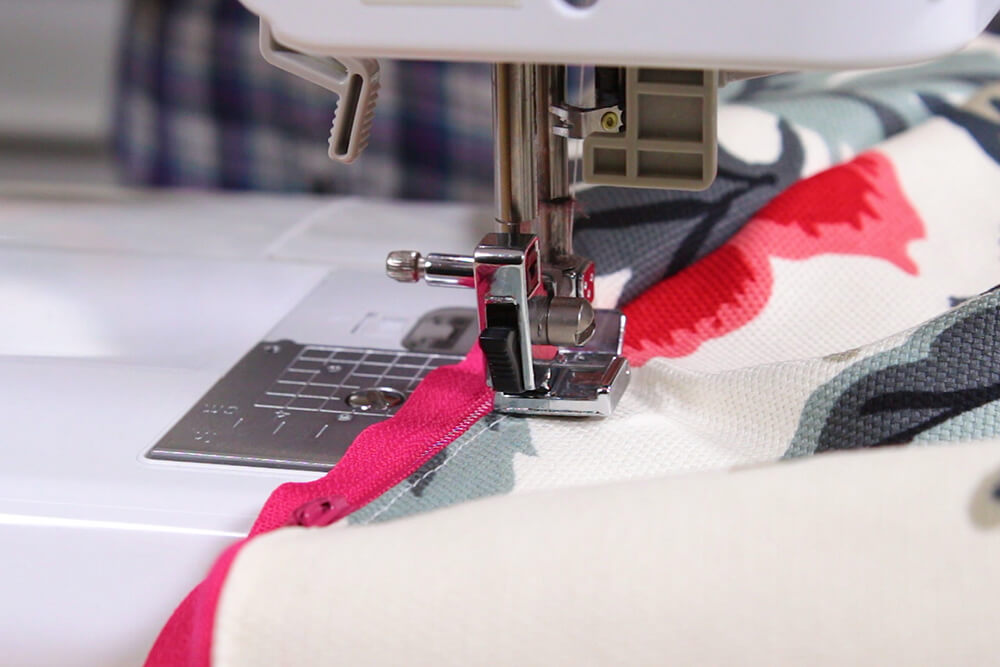
Repeat this to attach the other side of the zipper.
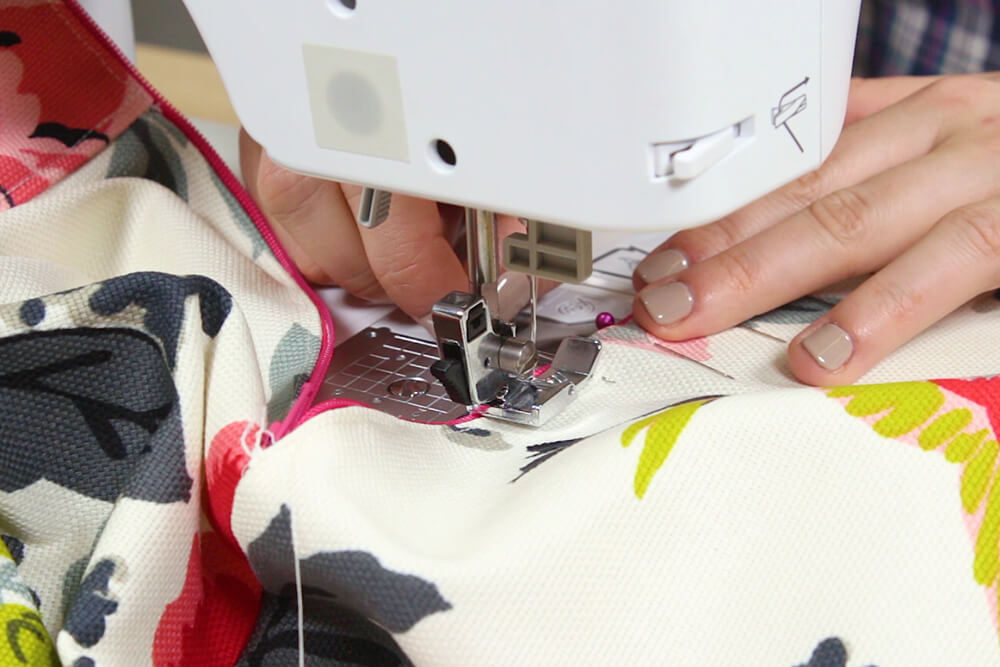
Once both sides are sewn, stitch about a 1/2 inch across the bottom of the zipper.
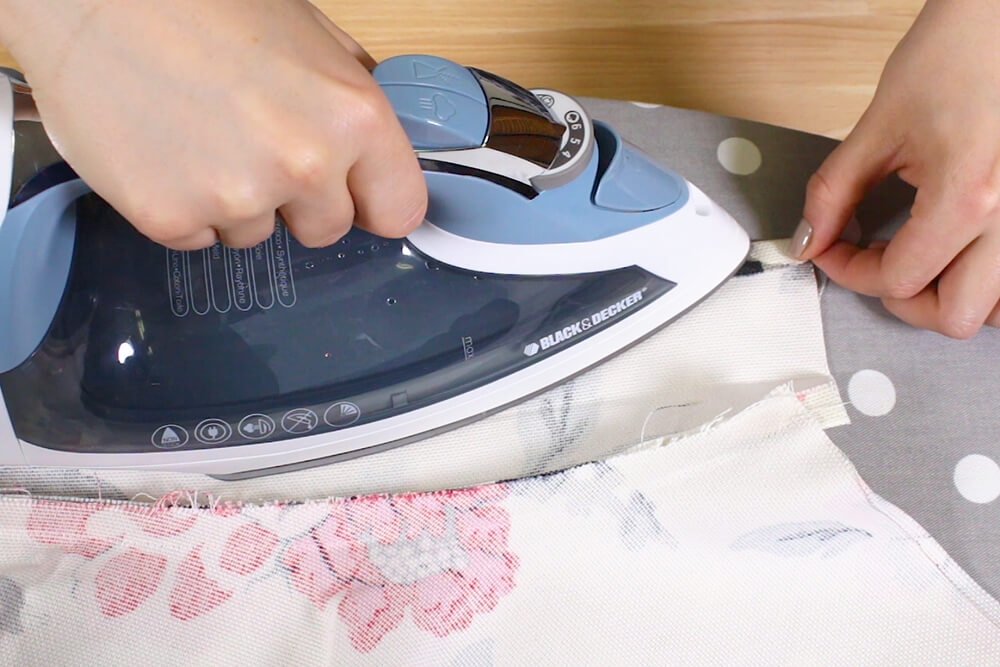
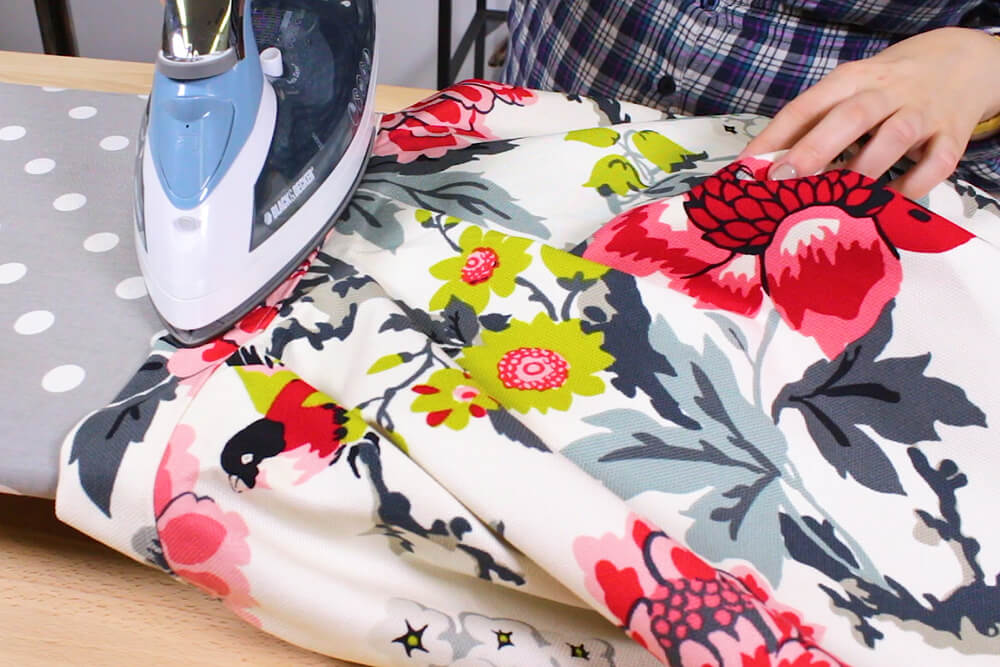
Iron to flatten the waistband.
Step 5: Hem the bottom
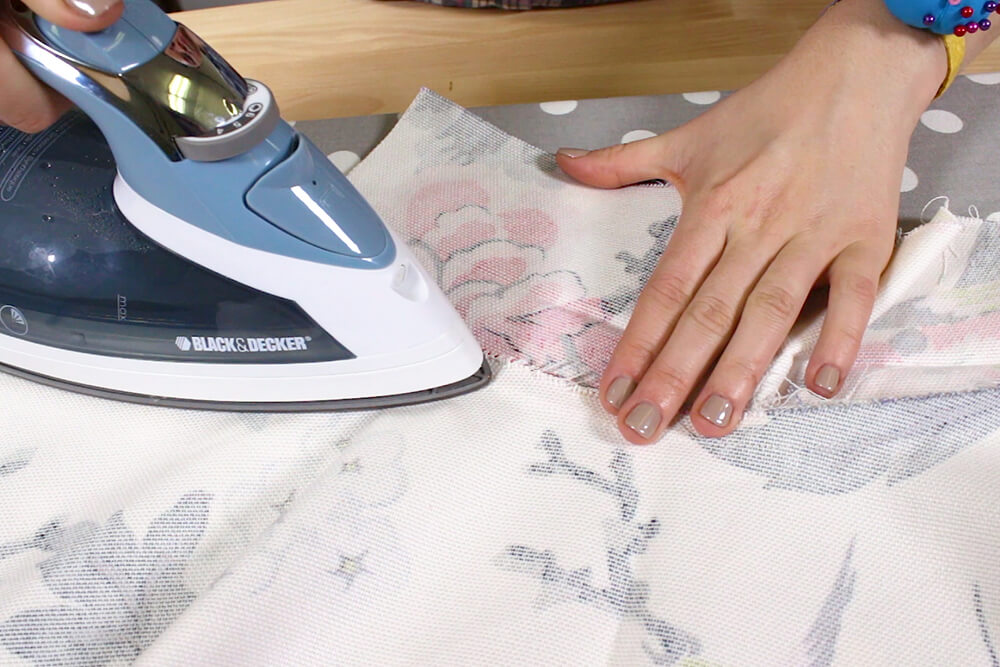
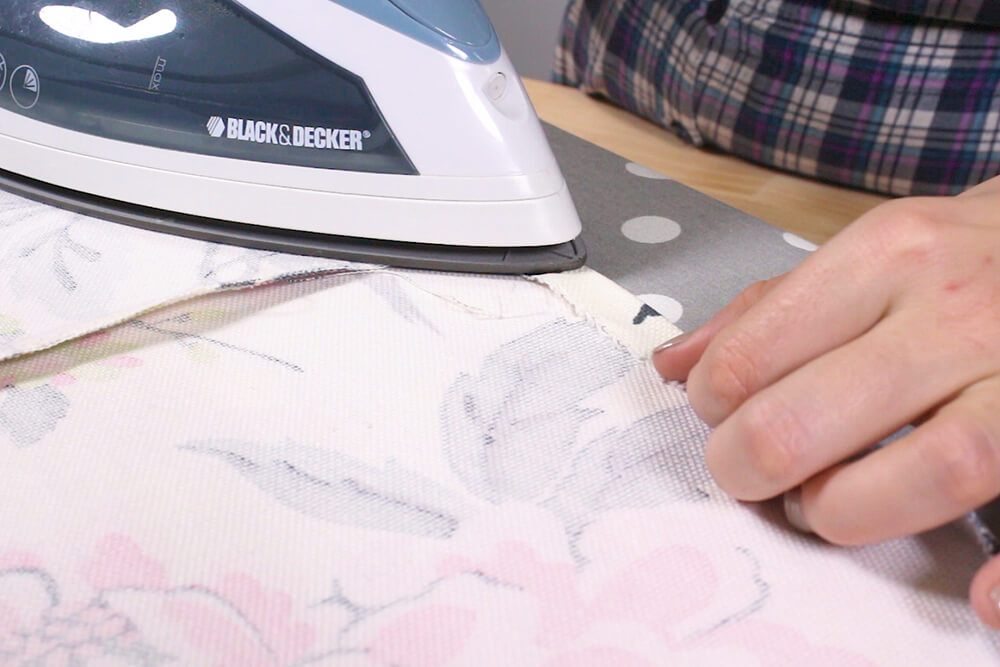
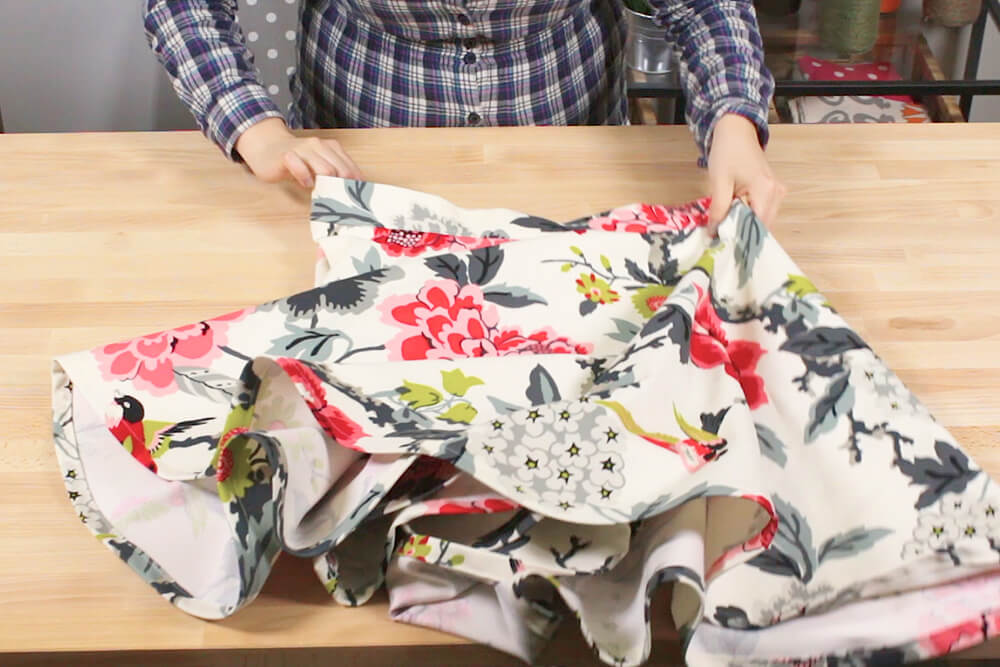
Turn the skirt inside out and press the inside seam to one side.
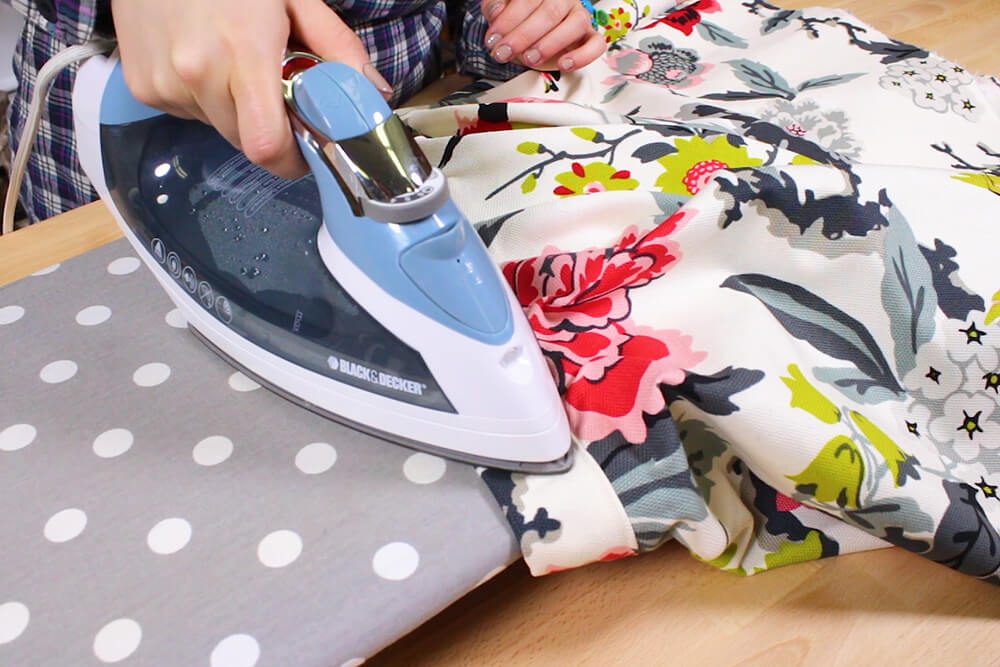
Iron the hem up a 1/2 inch all the way around the skirt.
Fold up another 1/2 inch and iron again.
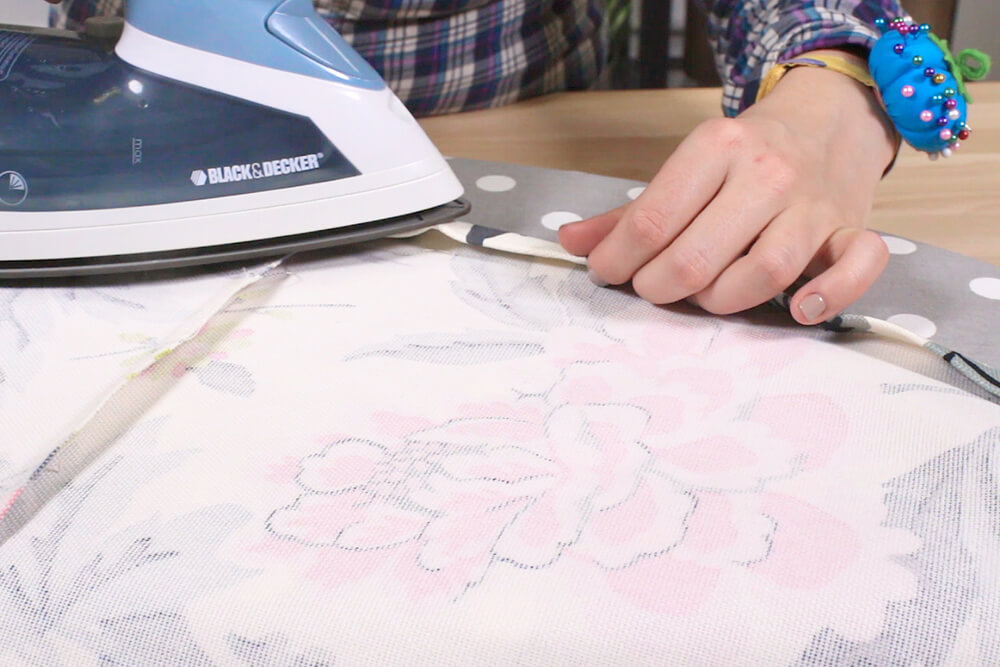
Stitch along the fold line.
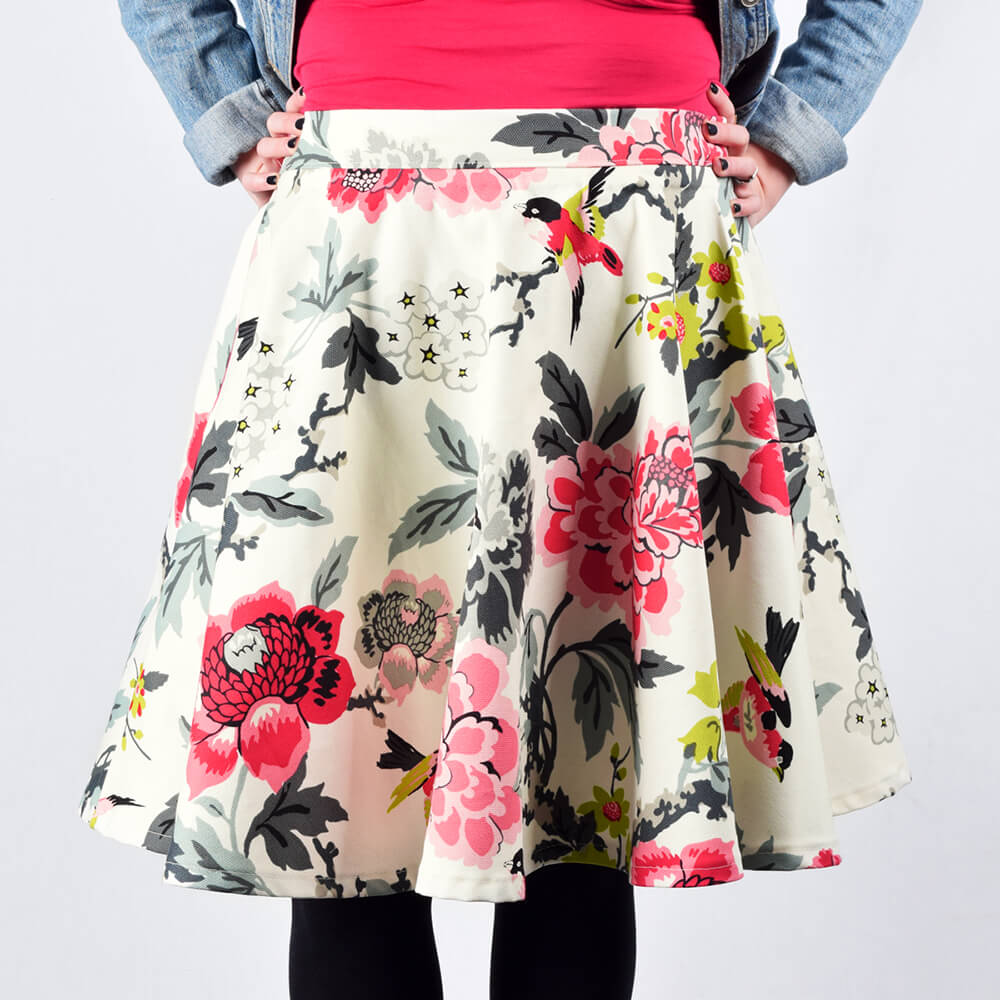
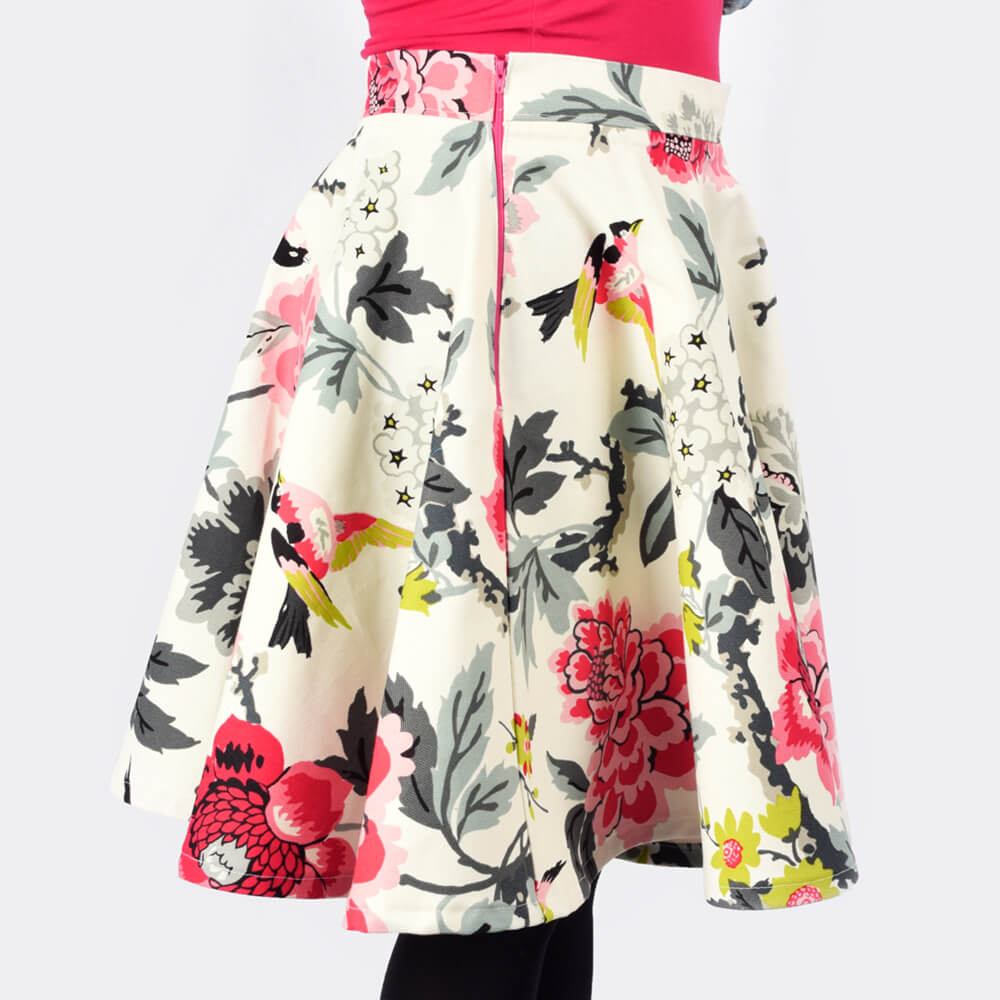
Turn the skirt to the right side, and it’s done!

Check out our great selection of décor fabric
-
{{#each productSuggestedQueries.results}}
- {{query}} {{/each}}
-
{{#each categories.results}}
- {{html title}} {{/each}}
{{html attributes.description}}
{{/if}}-
{{#each queries.results}}
- {{query}} {{/each}}