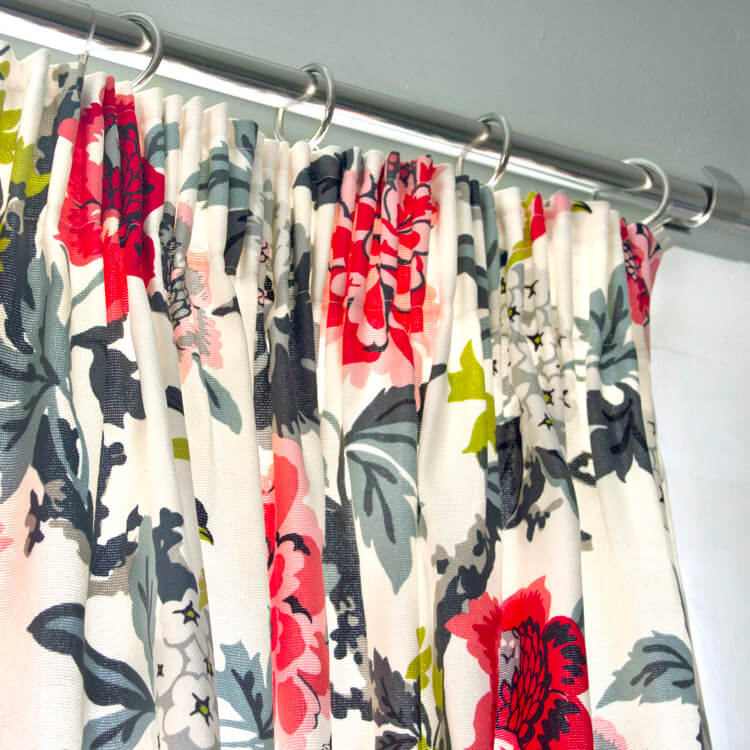
How to Make Pencil Pleat Curtains with Shirring Tape
- By Clara
- Beginner
- 2 hours
Pencil pleats are thin, even pleats used in drapery headings, valances, and bed skirts. Using shirring tape makes creating these pleats simple. You can control how tight or loose you want the pleats.
Like the fabric used in this project? Drapery fabric isn’t just for decor. You can use it in fashion too, like this circle skirt Jen made with the same fabric as these pencil pleat curtains.
Want to get the printable PDF instructions?
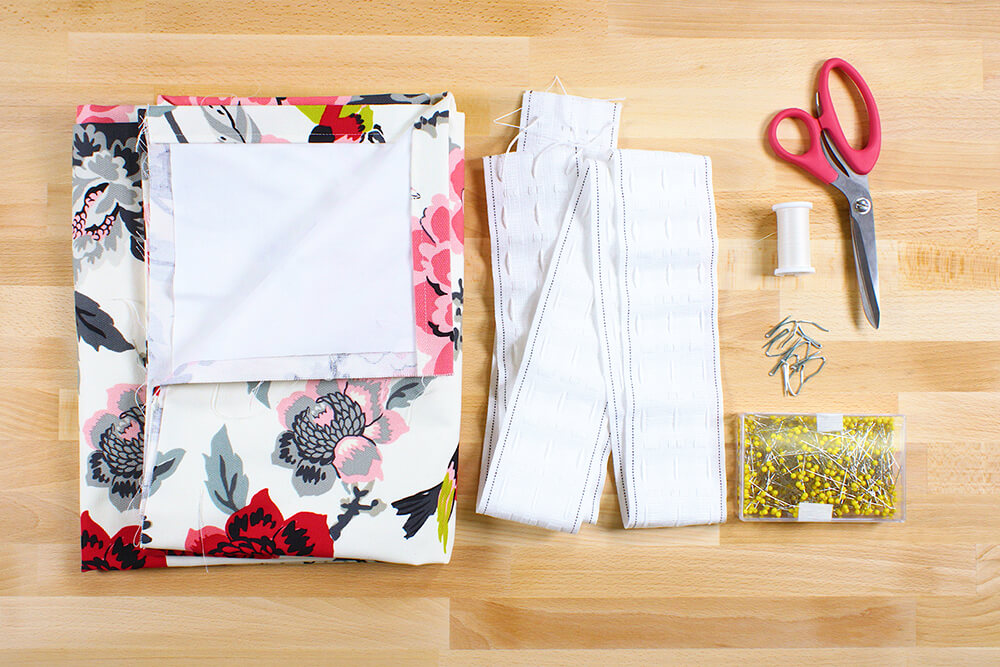
Materials
Related Products


Video
Instructions
Step 1: Sew the shirring tape to the heading
I have already sewn the sides and hem of this curtain panel so we can focus on the heading. See our other curtain videos for instructions on getting to this point.
For lined curtains, check out How To Sew Lined Back Tab Curtains, and for unlined instructions, look at How To Make Rod Pocket Curtains.
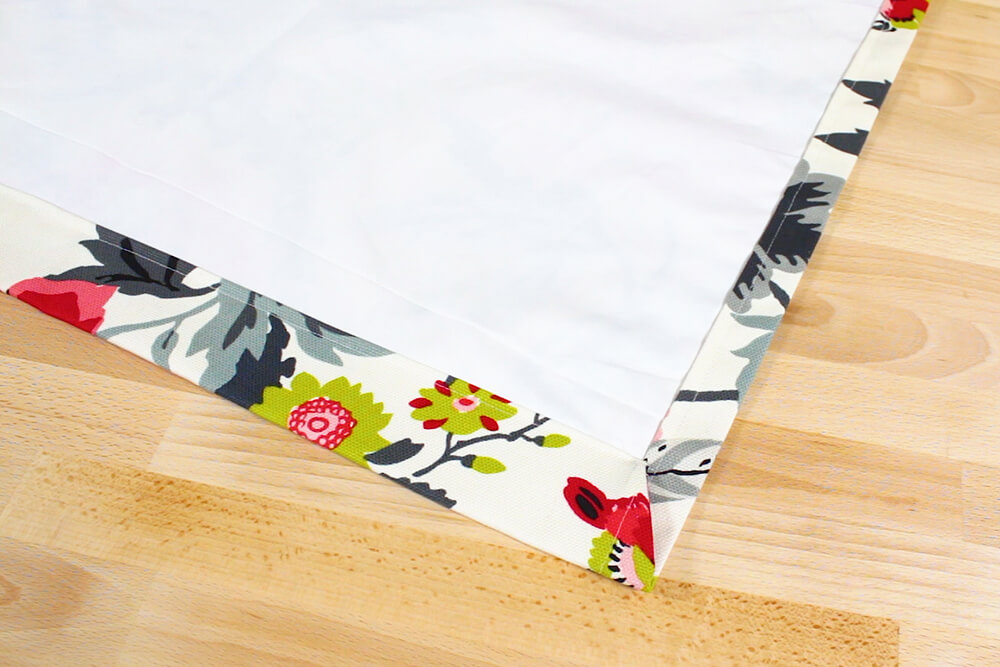
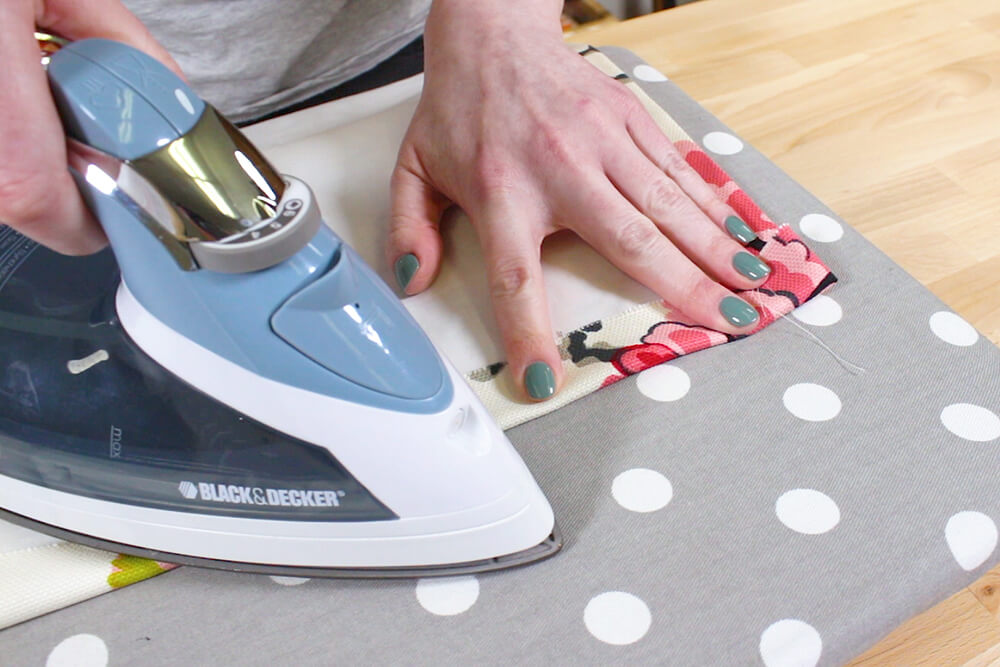
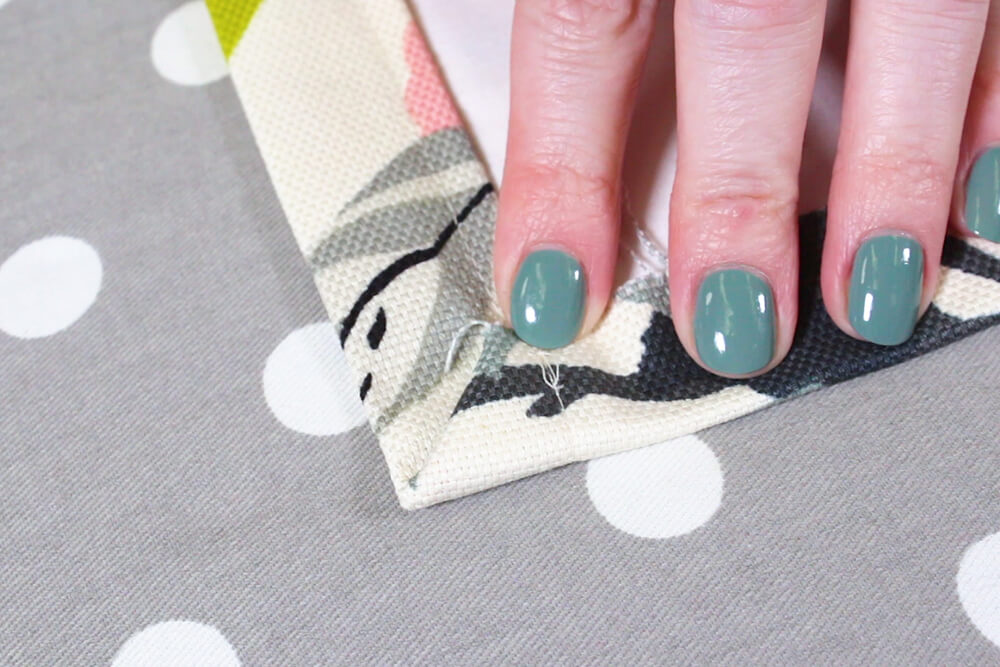
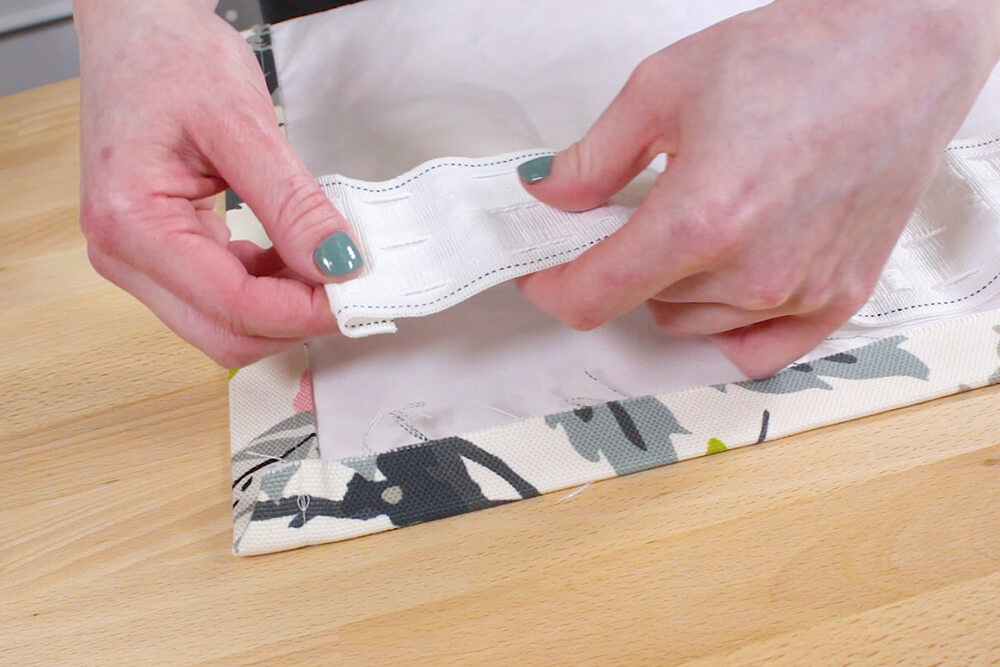
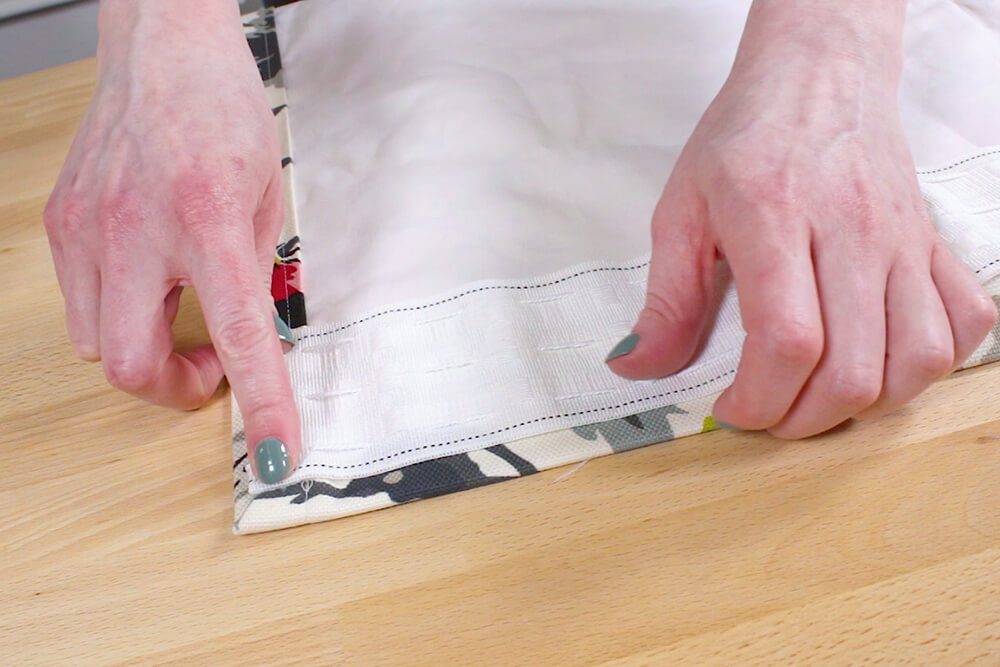
To start the heading, fold down the top edge about an inch and iron. Also tuck under the corners.
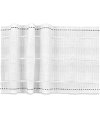
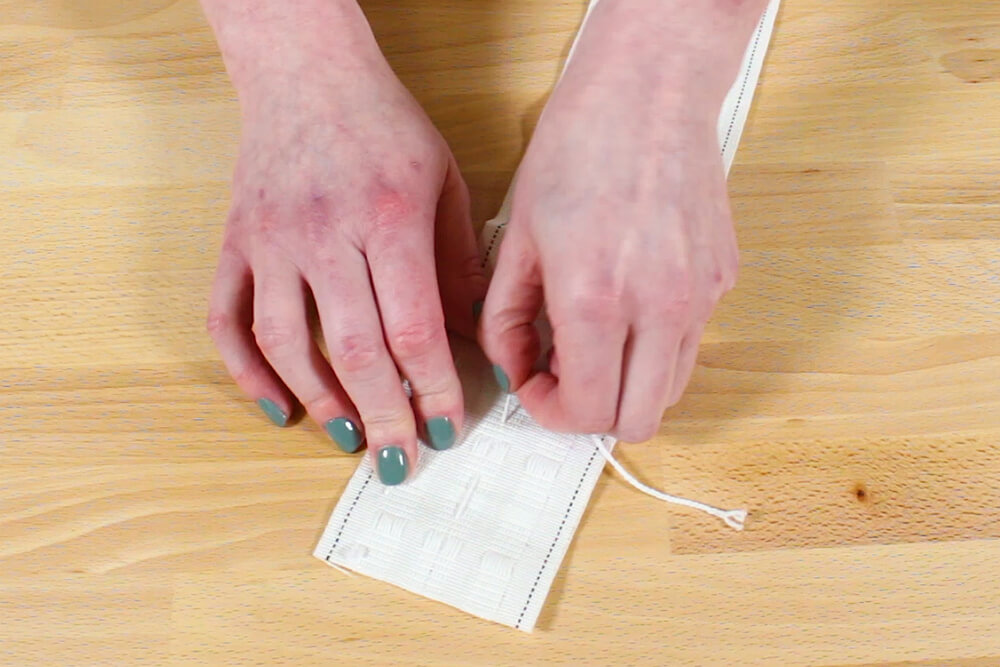
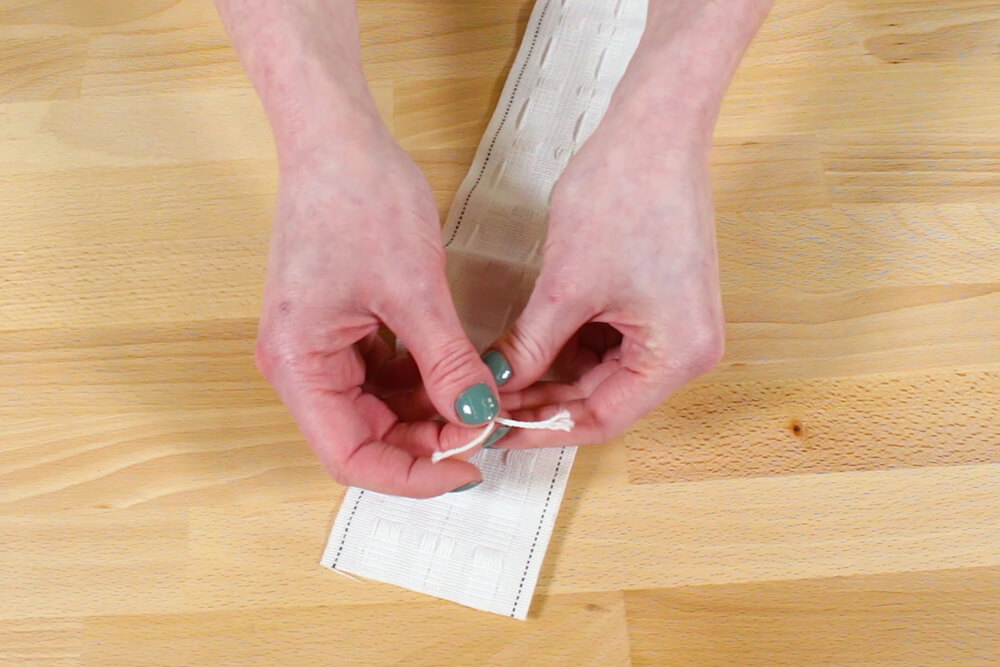
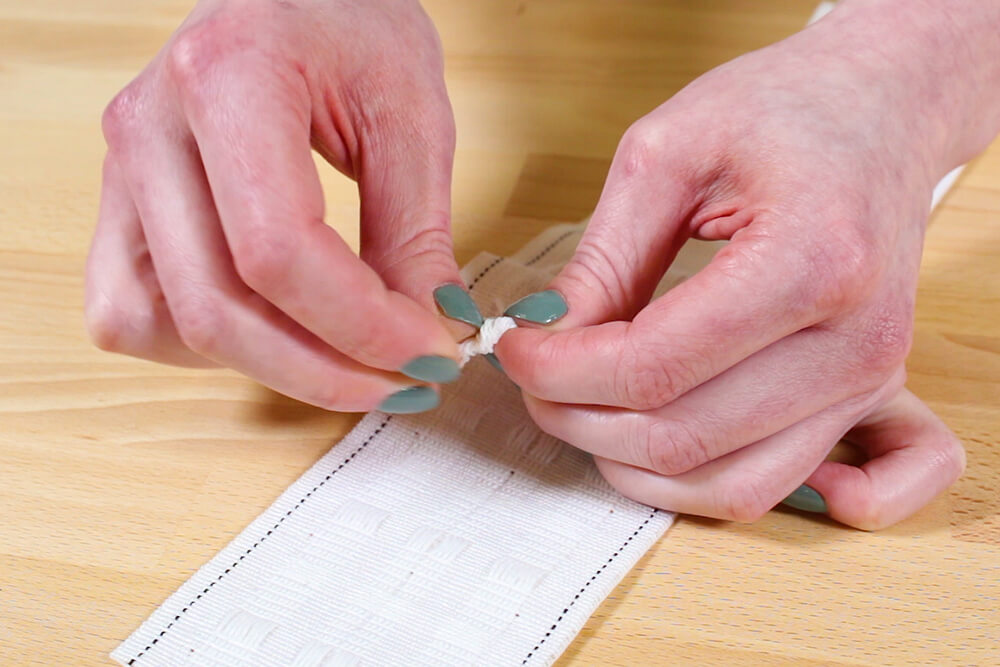
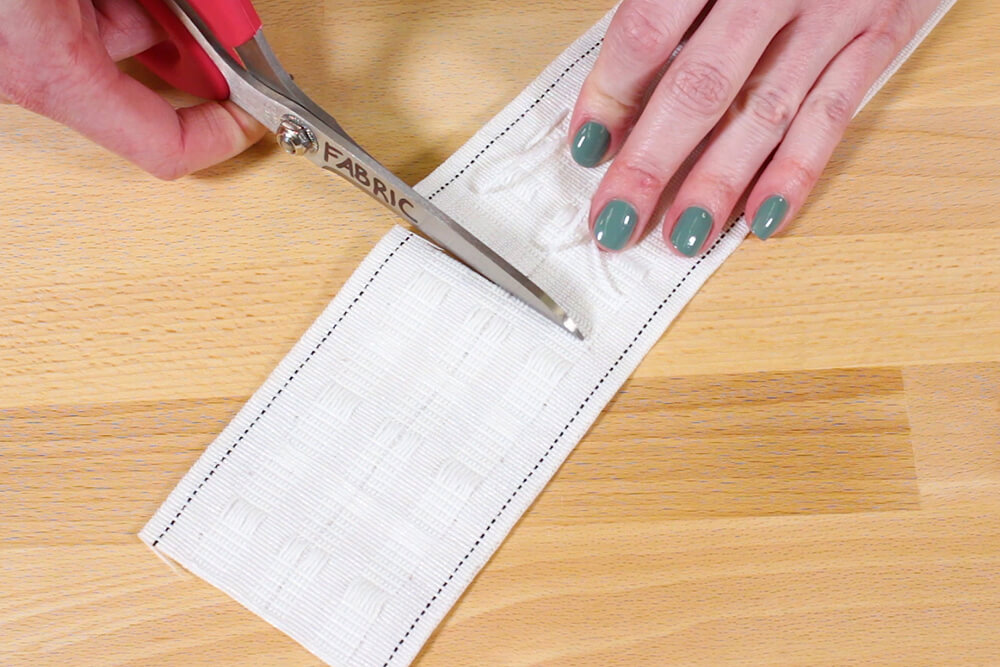
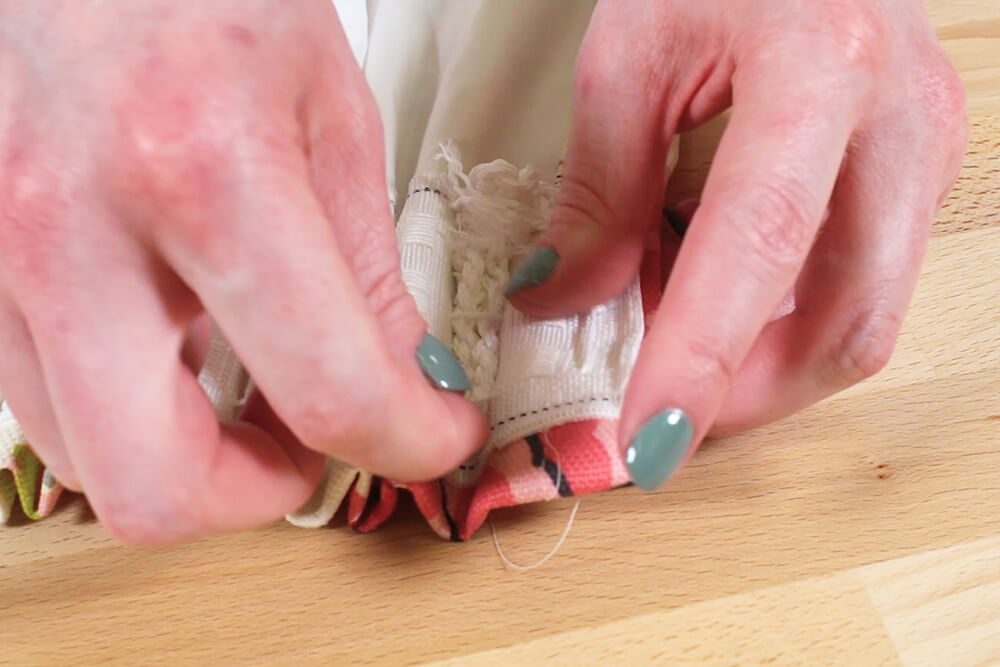
Take the shirring tape and pull out the strings at one end so you can knot the ends together. This 3″ shirring tape also comes in a 4″ version with 4 strings.
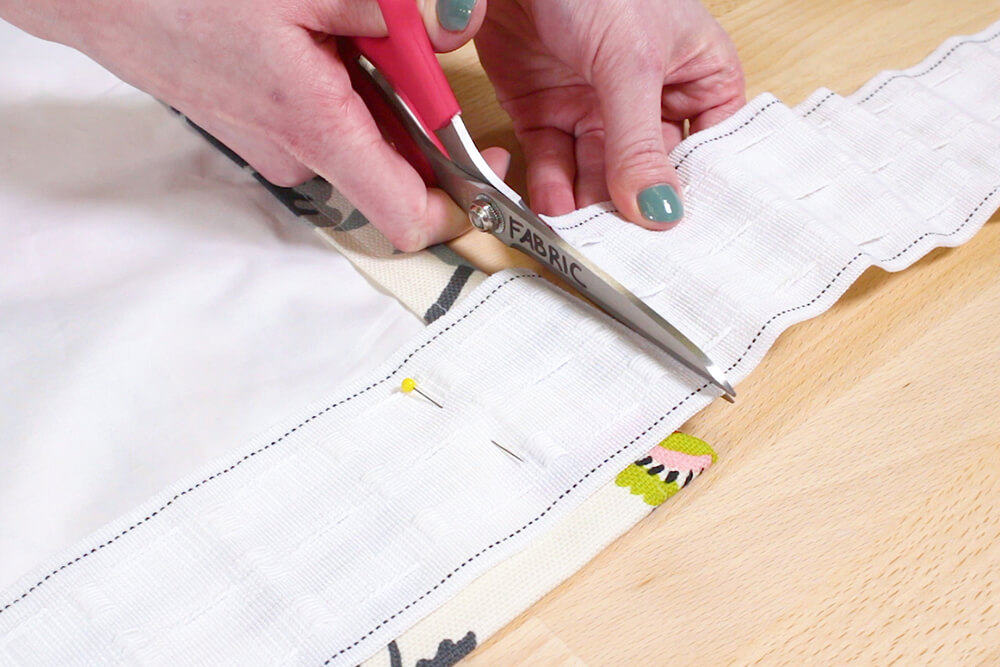
Cut off the extra tape so you leave about ½” beyond the strings.
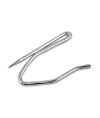
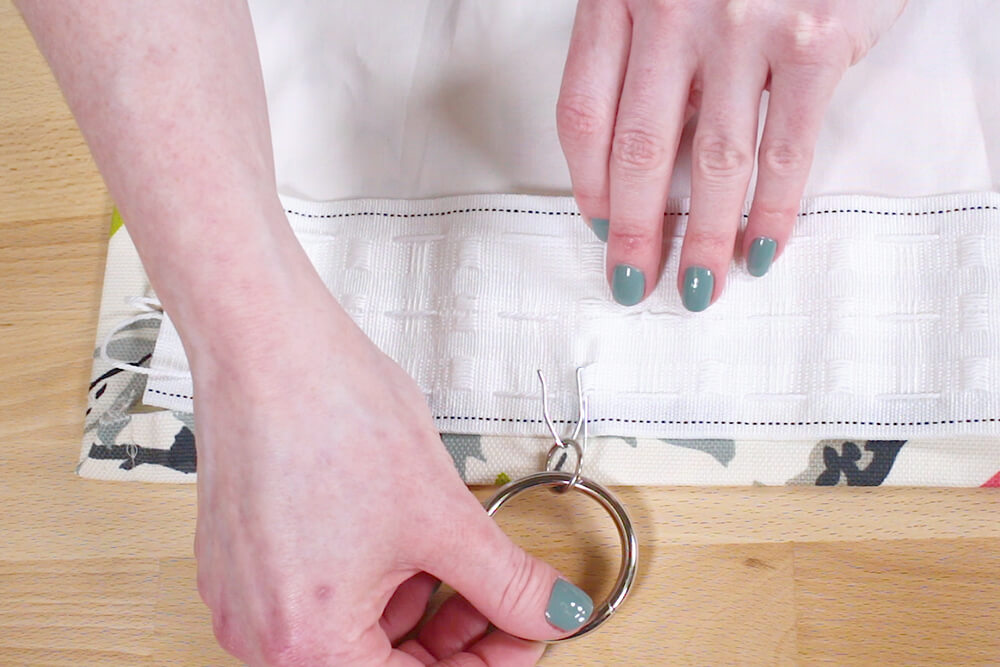
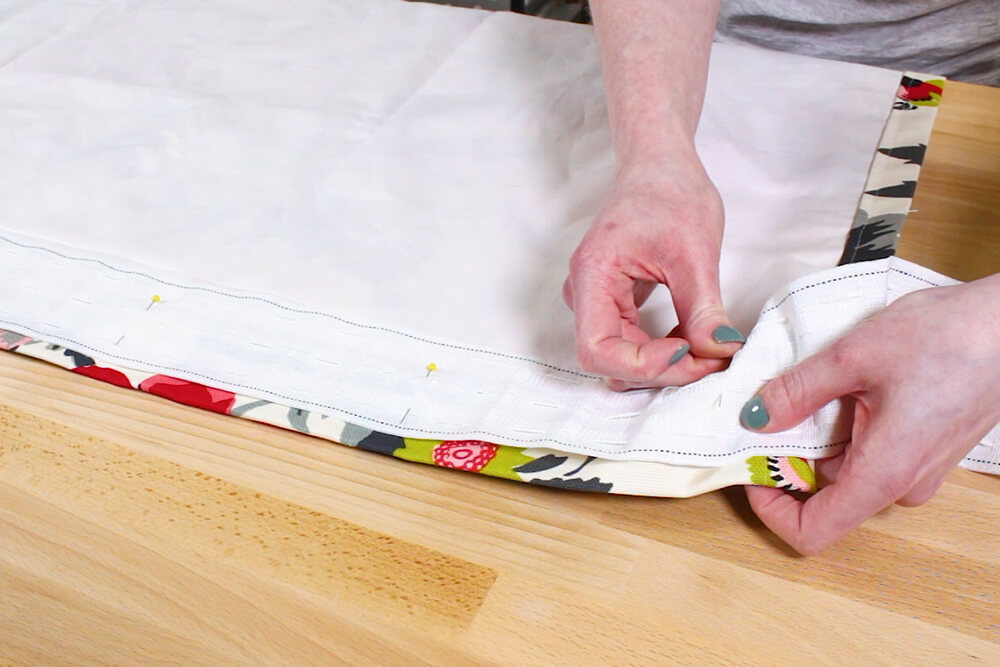
How far from the top you place the tape depends on how you want them to hang in relation to your hardware. Insert a drapery hook into one of the pockets. This tape has 3 options, but you’ll usually want the top one.
Then hook on the eyelet curtain ring, if that’s what you’re using. I’m going to position the tape so that the curtain comes to the very bottom of the ring. That’s ½” from the top.
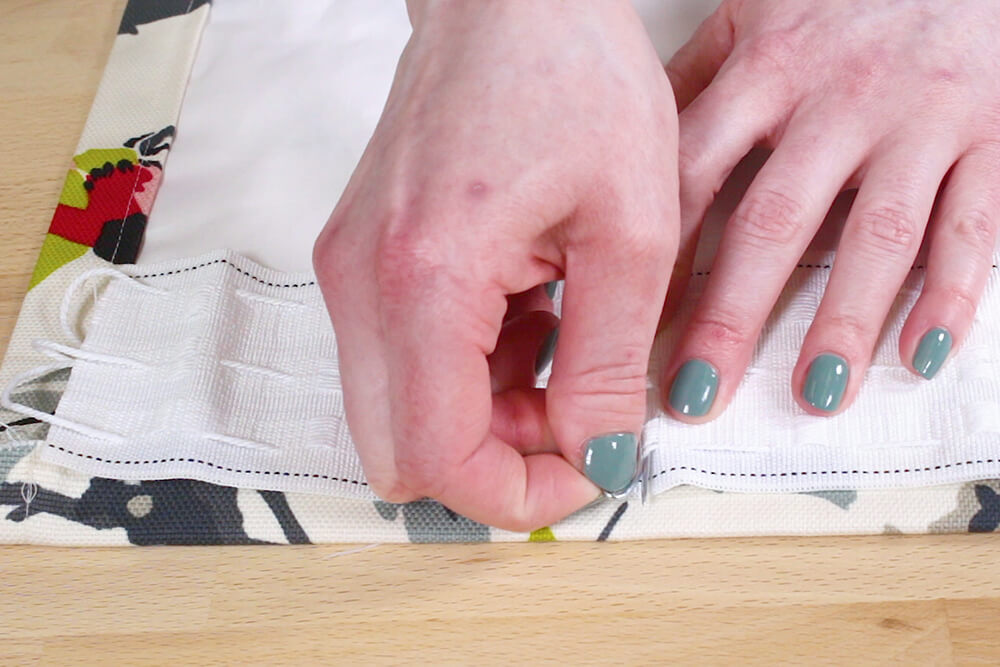
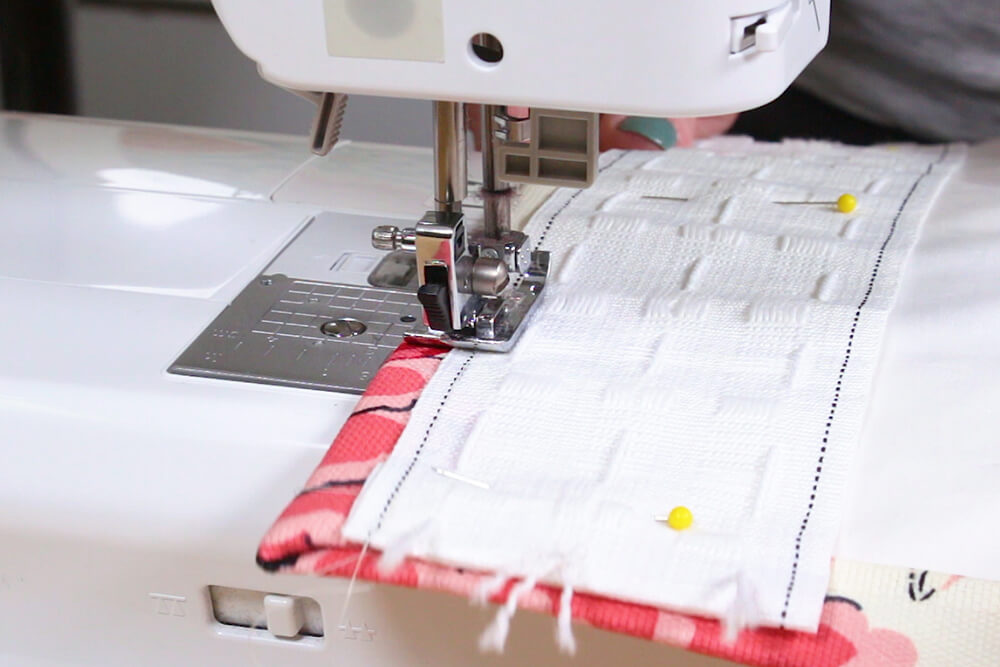
Fold under the end of the tape with the knot under the tape. Pin across the width of the panel. Cut off the tape on the other end leaving enough to fold under.
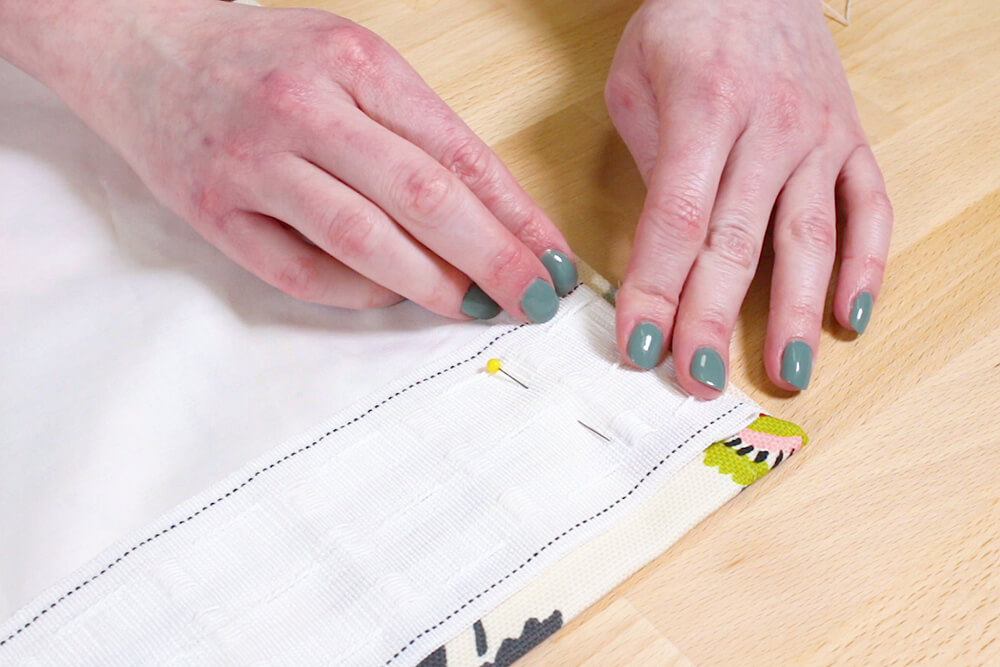
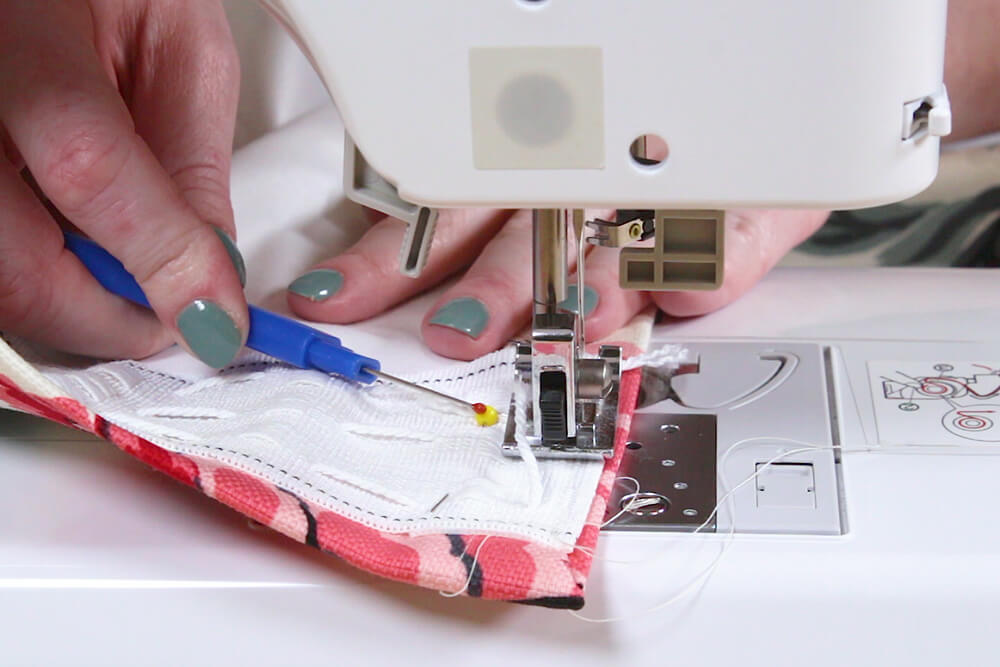
Sew around the top, bottom and sides of the tape. Make sure not to sew over the loose strings at the end.
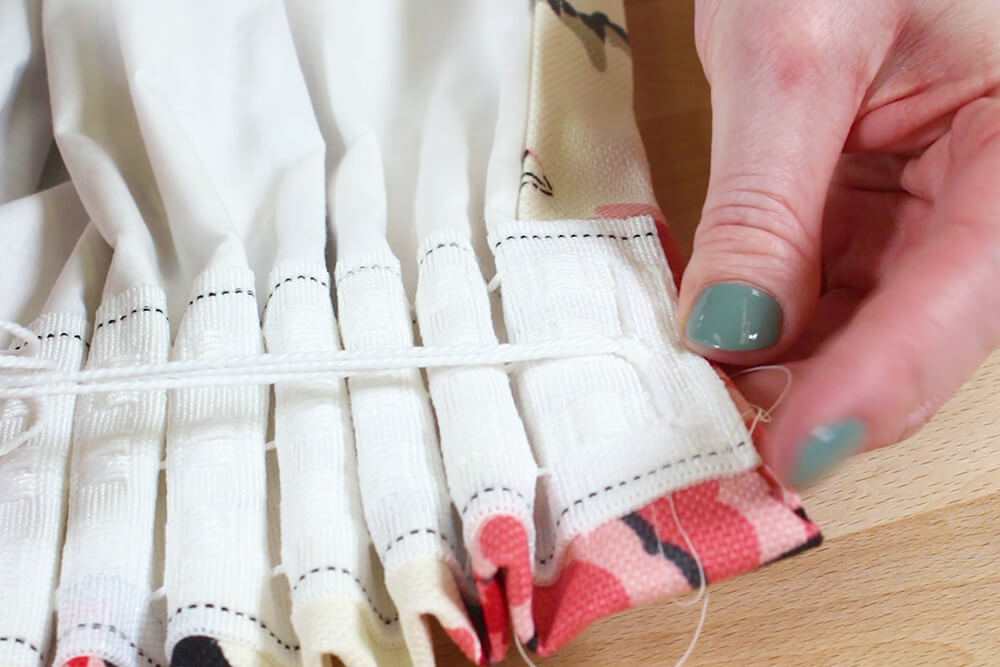
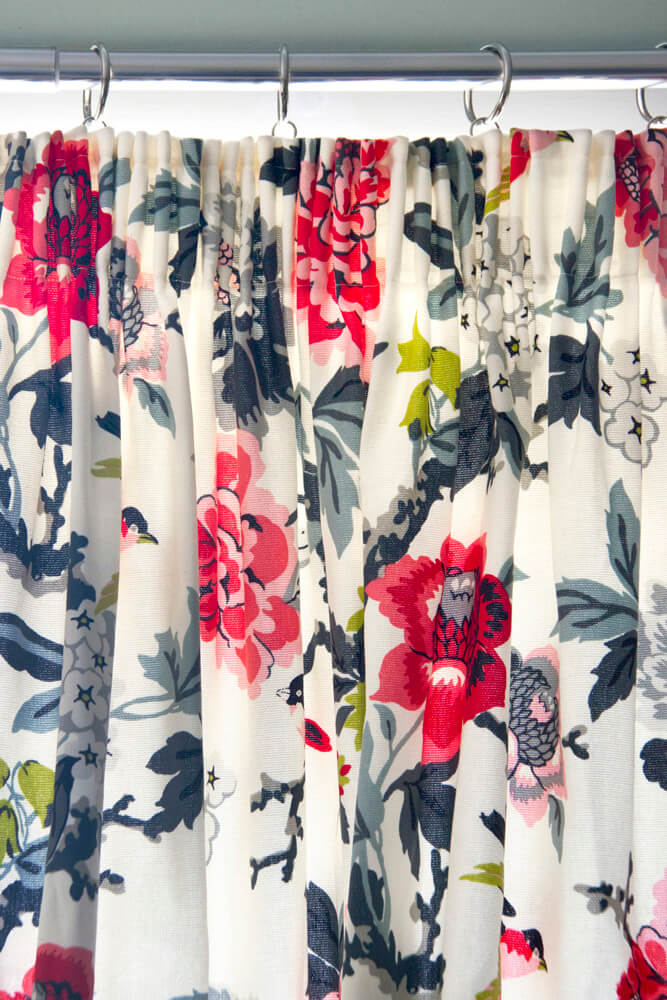
Step 2: Gather the pleats
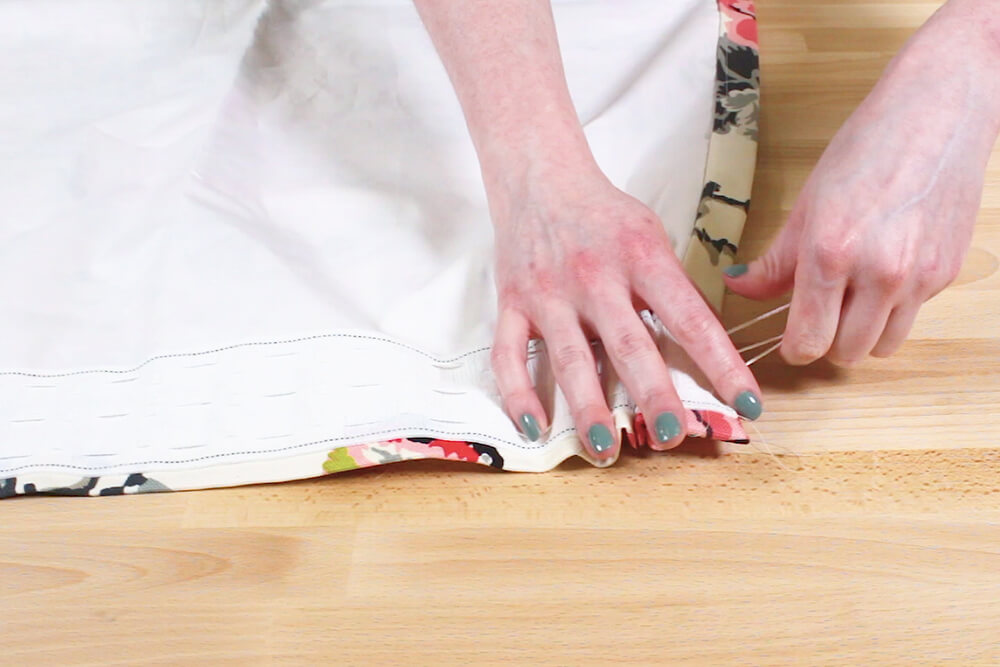
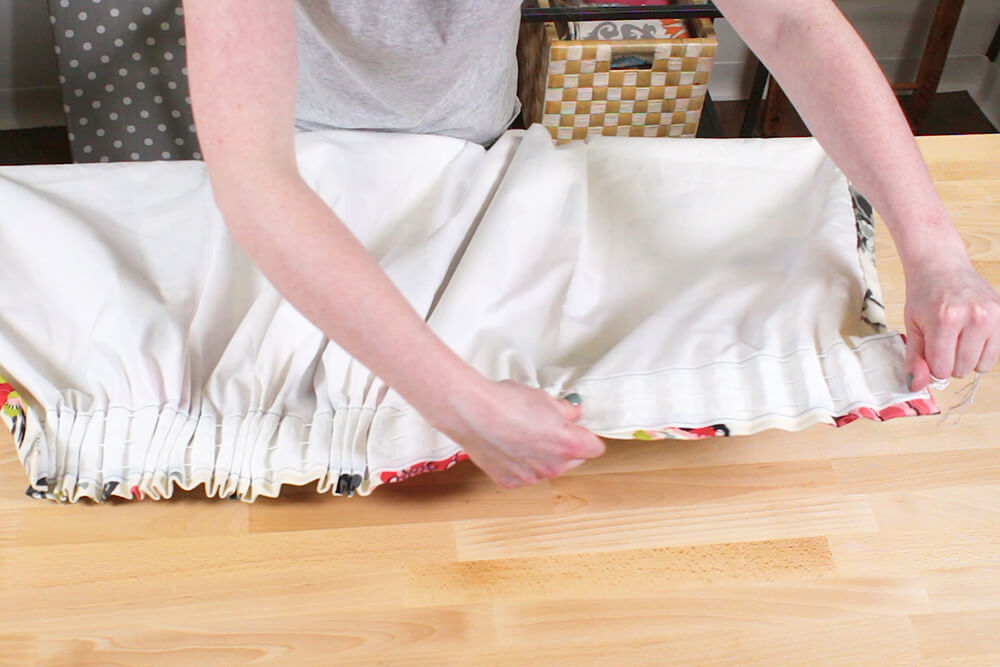
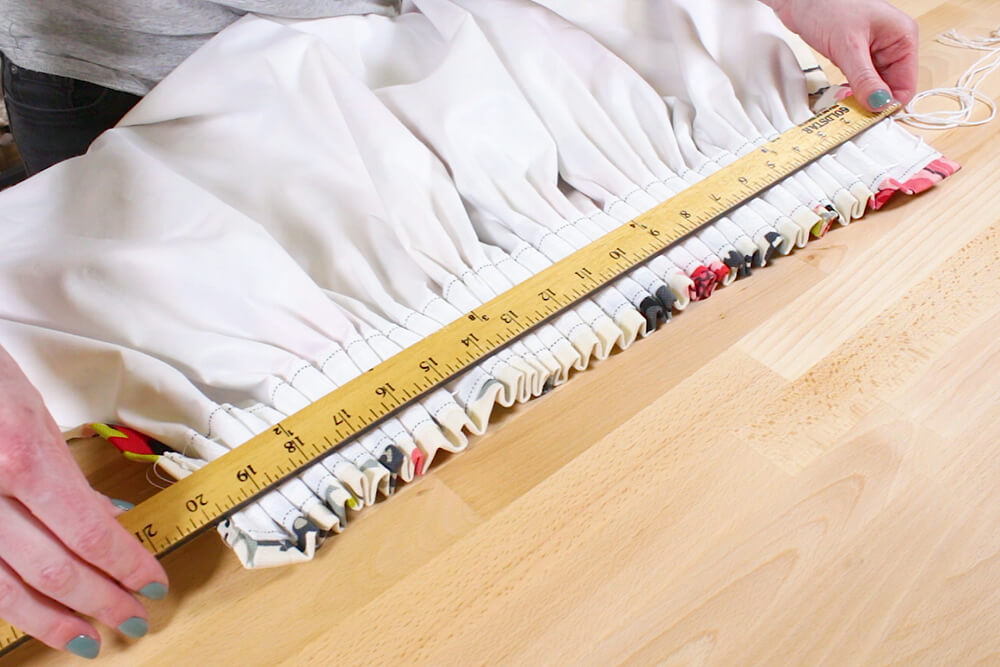
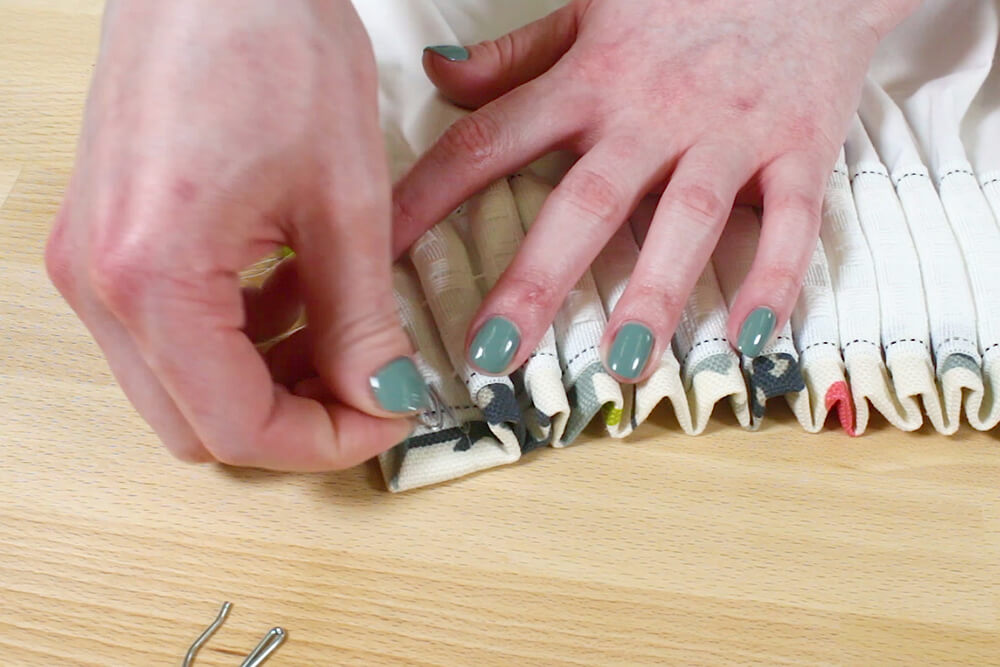
Pull the strings to gather the pleats. Pull until you get to your desired finished width for the panel.
For pencil pleat curtains, you want to multiply the width you want the finished panel to be by about 2.5. It can be more or less depending on how full you want the curtains. I want this panel to be 20 inches wide.
If you’re making two drapery panels, the ends with the extra string should go on the outer edges of the panels, so reverse which ends of the shirring tape are on the left and right sides for the second panel.
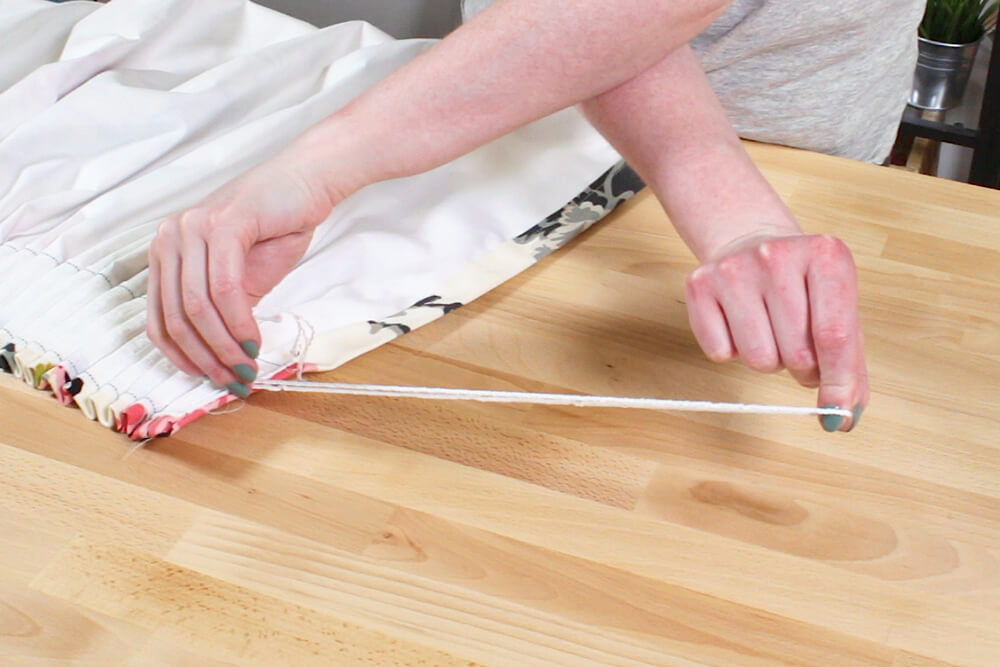
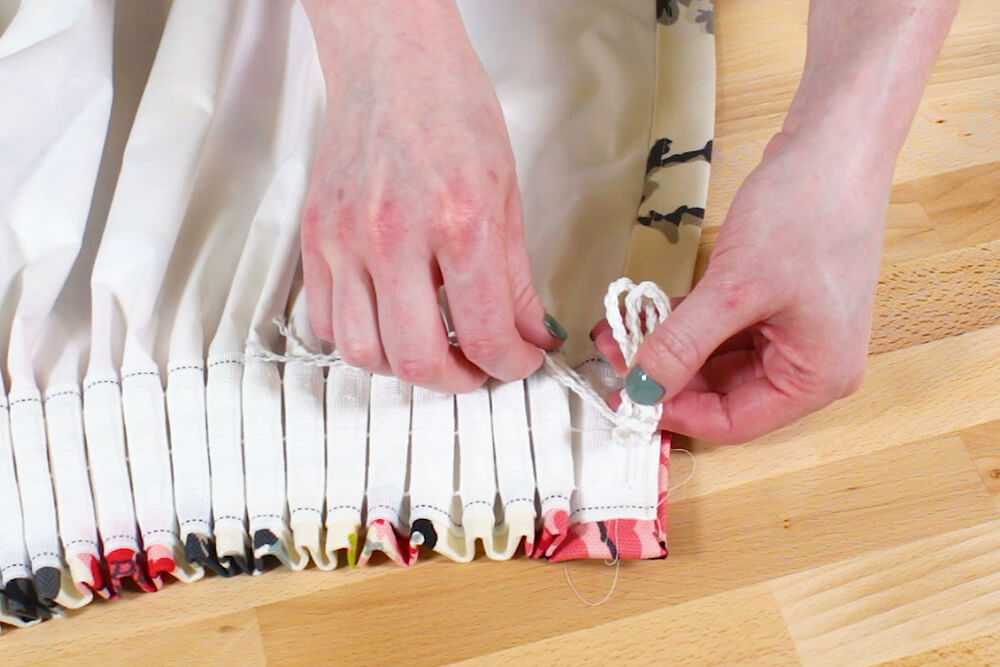
In case you want to change the width later, don’t cut the strings, but rather bundle up the extra. Knot the strings, and then twist them. Fold them in half so they twist themselves together, then bundle it up and tuck it between the first and second pleats.
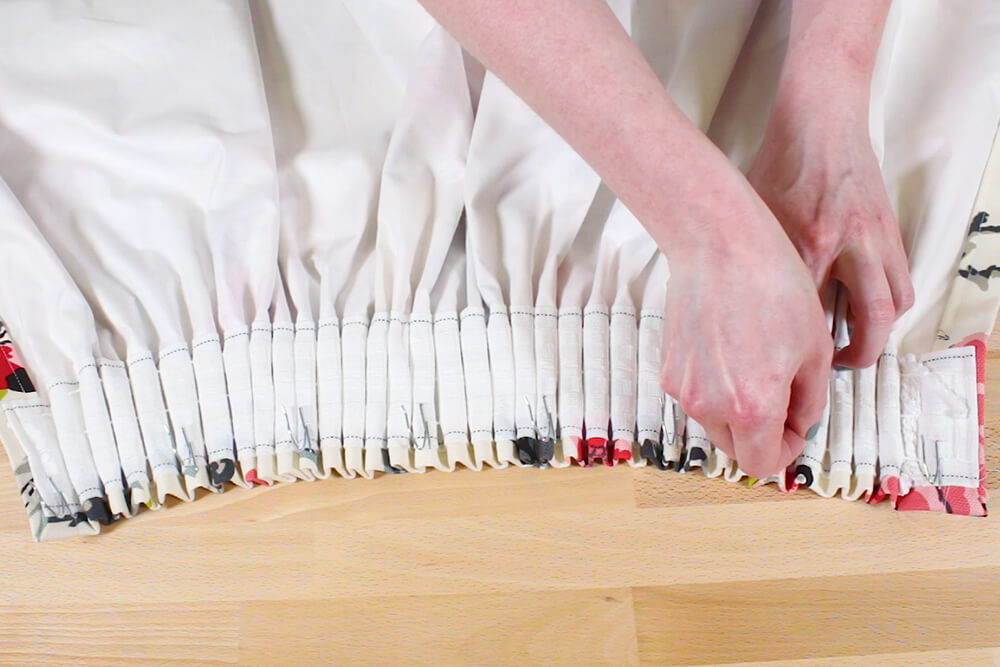
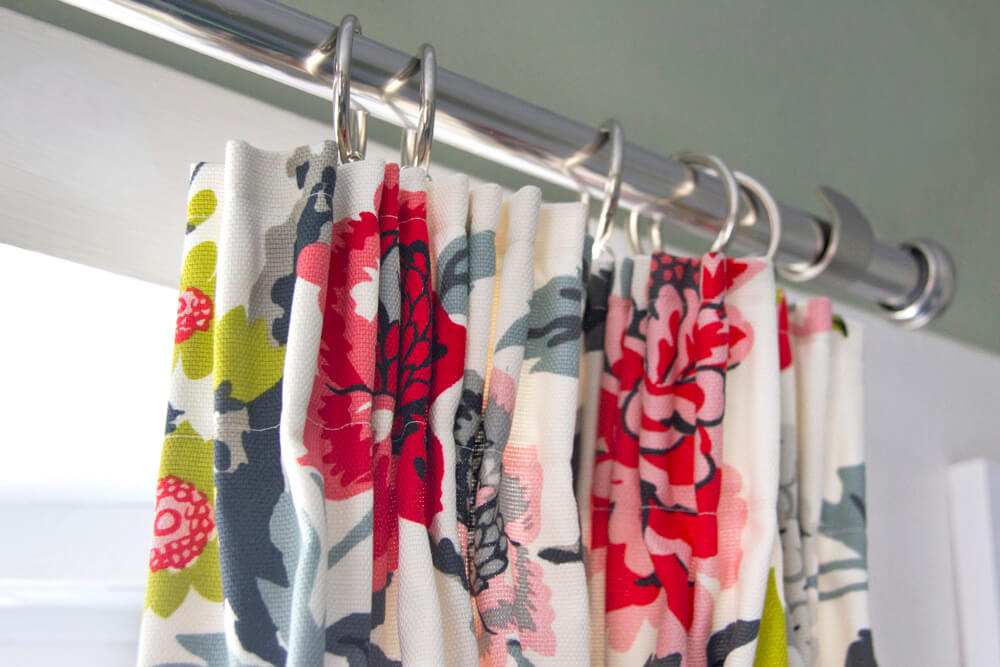
Step 3: Add drapery hooks
Insert the drapery hooks into the pockets on the shirring tape. Put one at each end and distribute the rest evenly.
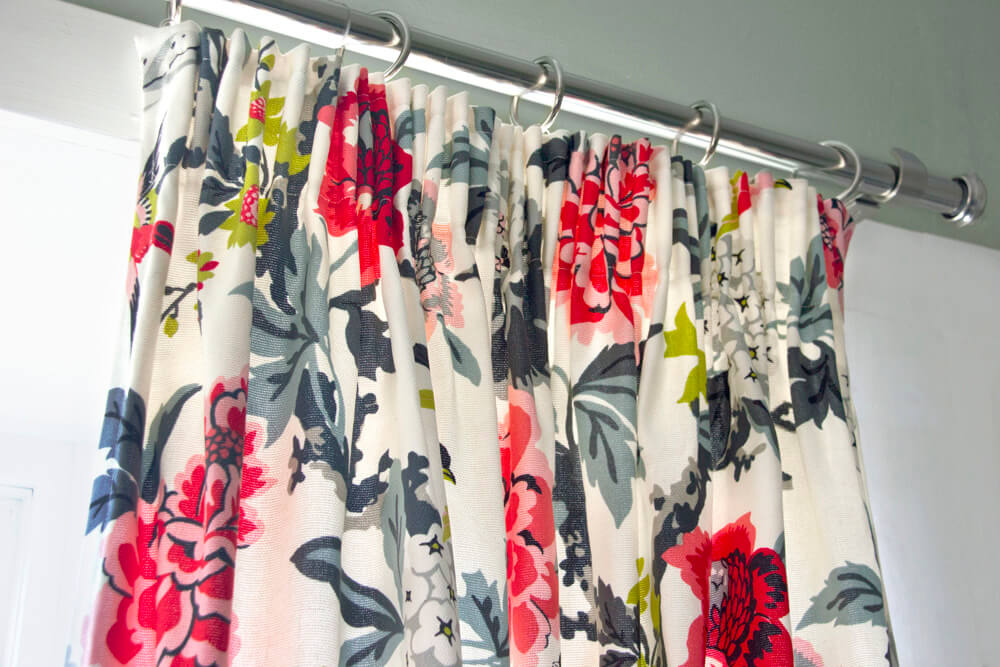
The curtain is now ready to hang on either curtain rings or a traverse rod.

Find the drapery fabric you want for this project in our vast decor fabric selection.
-
{{#each productSuggestedQueries.results}}
- {{query}} {{/each}}
-
{{#each categories.results}}
- {{html title}} {{/each}}
{{html attributes.description}}
{{/if}}-
{{#each queries.results}}
- {{query}} {{/each}}