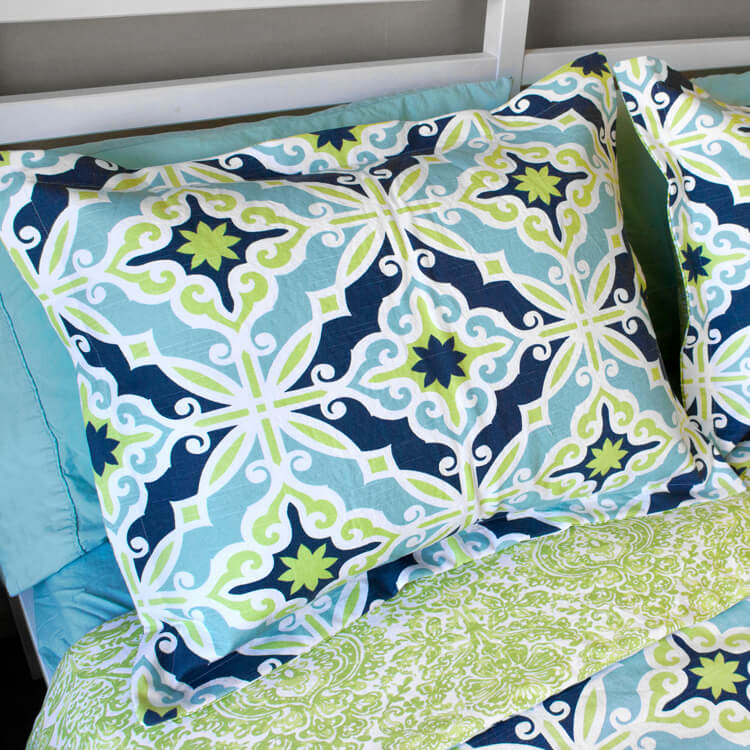
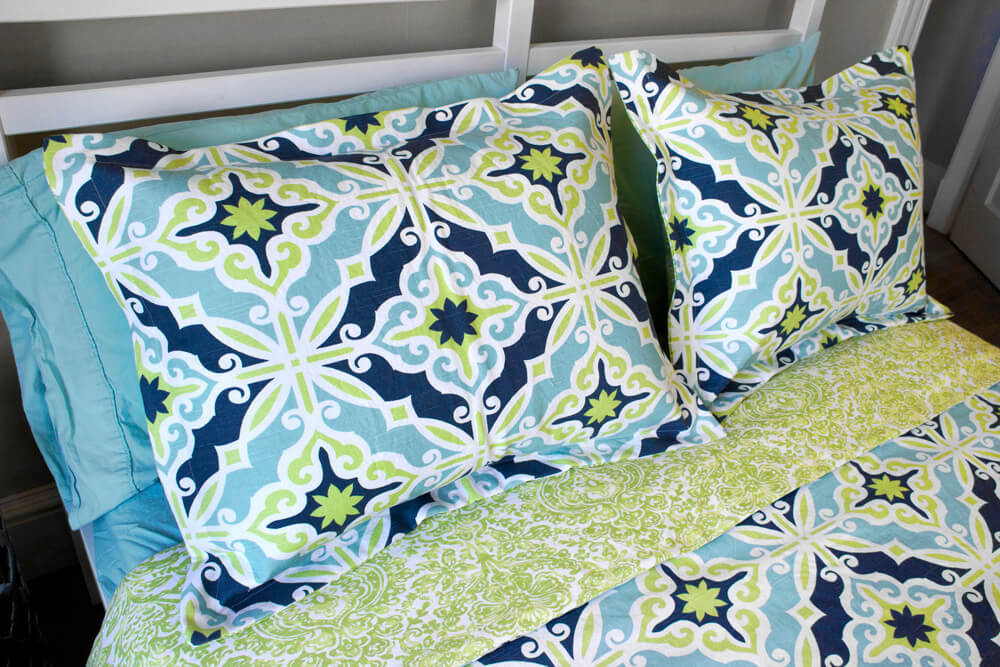
How to Make Flanged Pillow Shams
- By Clara
- Beginner
- 1 hour
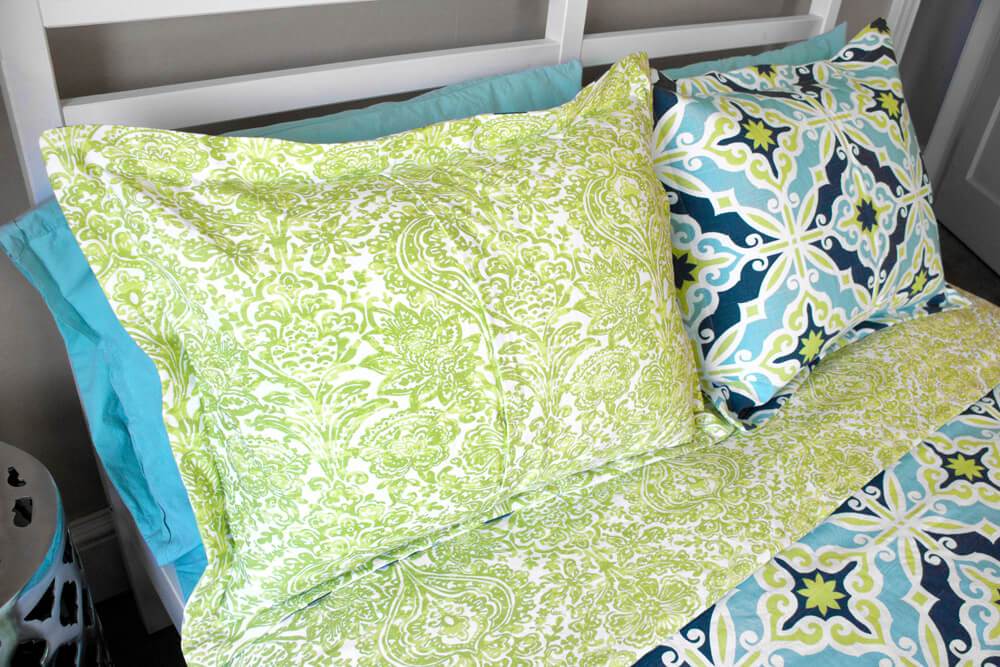
I’m going to make a simple flanged pillow sham with an envelope back. The flange refers to the extra fabric around the edges. You can use quilting weight cotton, sheeting, or décor fabric.
Customize your pillow sham in any way you want. Want to make a matching duvet cover? Check out How to Make a Duvet (Comforter) Cover to see how.
Want to get the printable PDF instructions? Sign up to our mailing list to download the PDF.
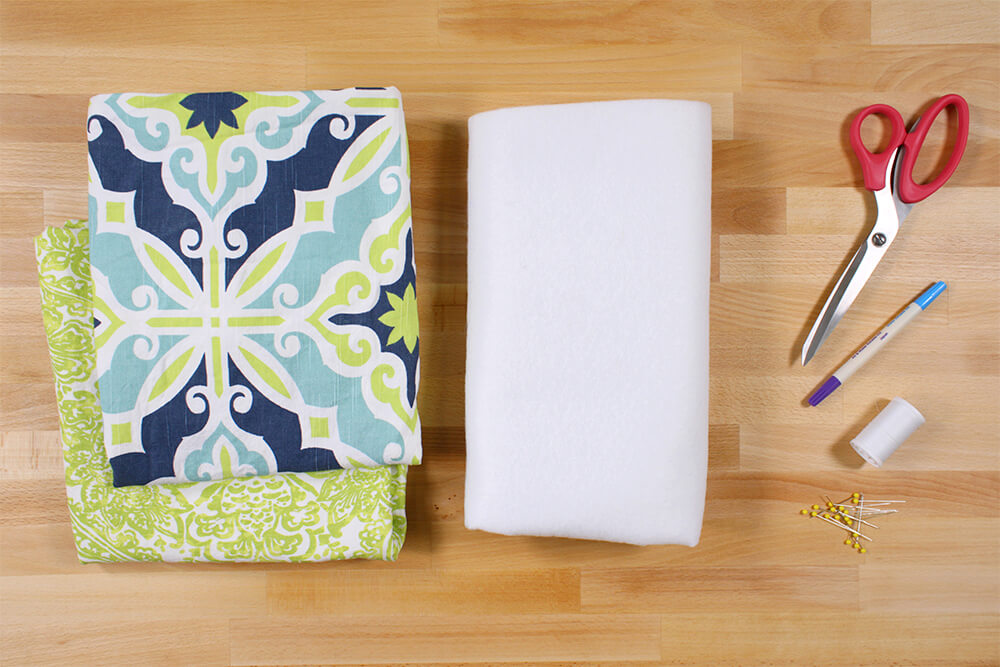
Materials
Related Products


Video
Instructions
Step 1: Pre-wash the fabric
If you plan on washing the sham covers in the future, always pre-wash the fabric. Many décor fabrics are dry cleaning only, but you may be able to get away with machine washing, especially with cotton fabrics. The fabric may shrink when you wash it. See Can I Wash Décor Fabric? for more information.
Step 2: Measure & cut the fabric
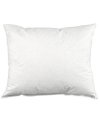
I’m using a standard sized down pillow, which is 20 x 26 inches.
You can use any size or fill you want. King pillows are 20 x 36 inches, and euro shams are 26 x 26 inches.
This pillow will have a 1 ½ inch flange, but you can go smaller or larger up to 3 inches.
We suggest making pillow covers that are 1 or 2 inches smaller than the pillow so that it has a nice full look. I’m making this pillow cover 1 inch smaller.
I’m cutting a 29 x 23 inch piece from the front fabric. That’s the size of the pillow plus double the size of the flange.
Normally you would add an inch for seam allowance, but since I’m also subtracting an inch to make the pillow look fuller, they cancel out.
(Size of pillow – 1″ or 2″) + (flange size x 2) + 1″ seam allowance
Cut a piece of fusible fleece that’s one inch smaller in both directions. This is optional, but it prevents the corners from looking floppy. This is especially important for larger flanges.

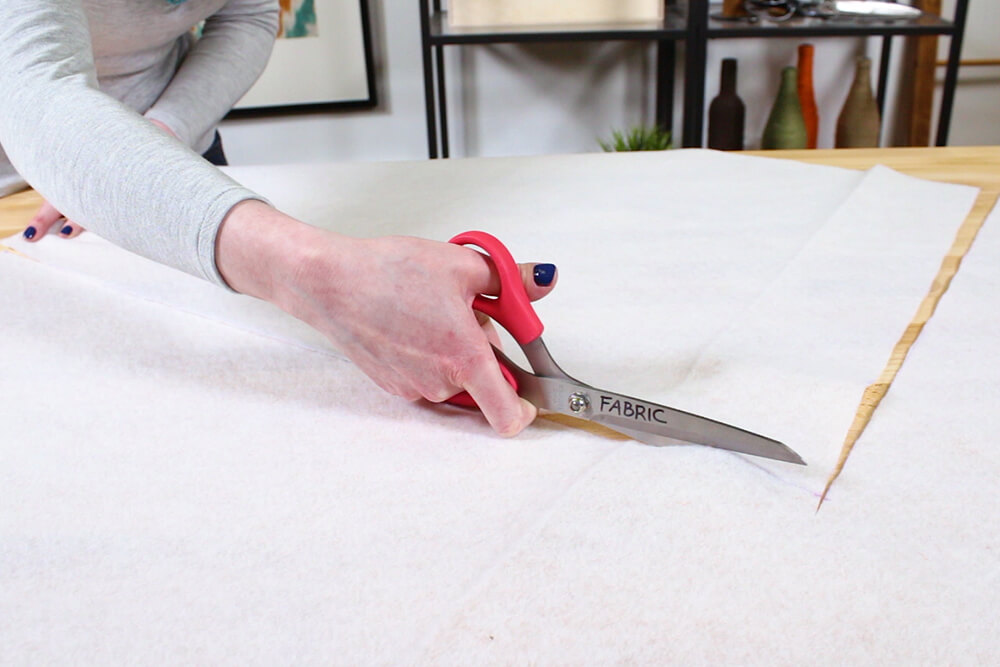
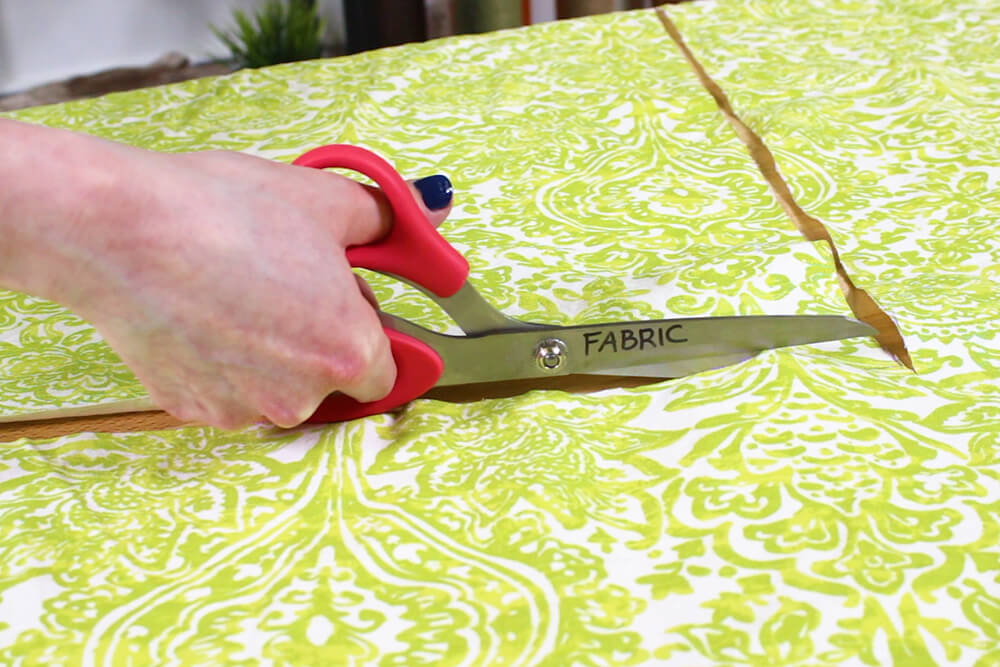
The back will have 2 overlapping pieces which create an envelope opening. I’m using a coordinating fabric on the back.
Cut a piece of the back fabric that’s the same height as the front piece and 8 inches longer. For me, that’s 35 x 23 inches.
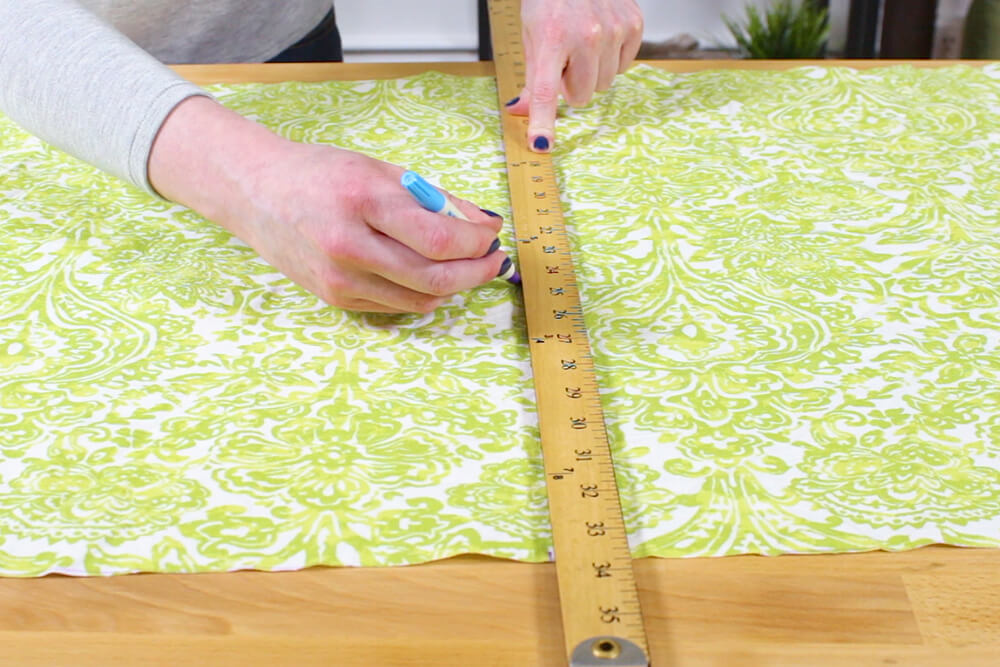
Then draw a line half way across and cut so you have 2 equal pieces.
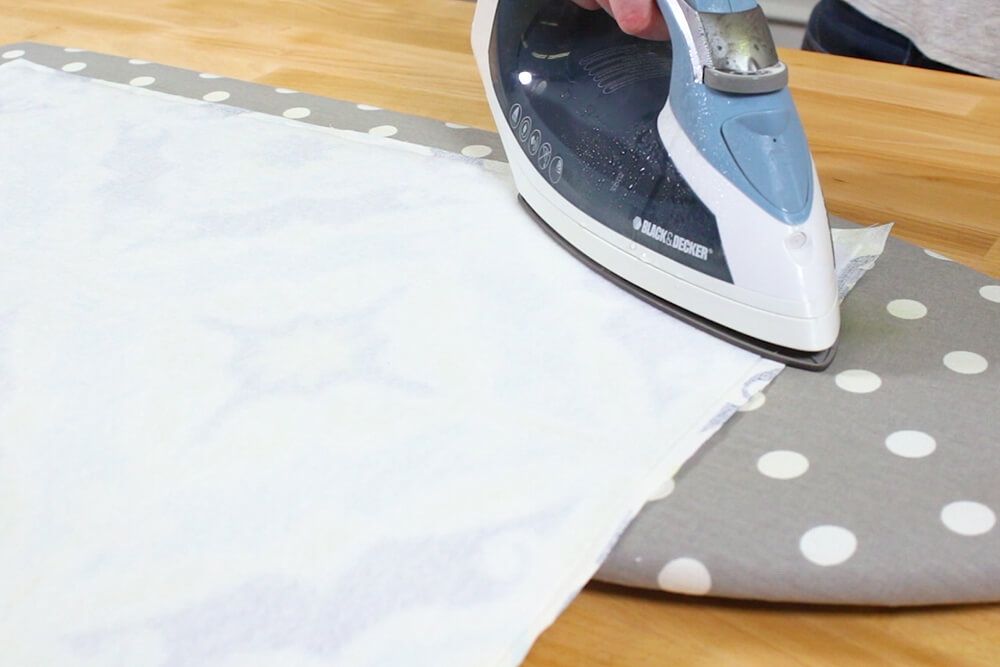
Center the fusible fleece on the back of the front fabric and iron to attach it.
Center the fusible fleece on the back of the front piece and iron to attach it.
Step 3: Sew together
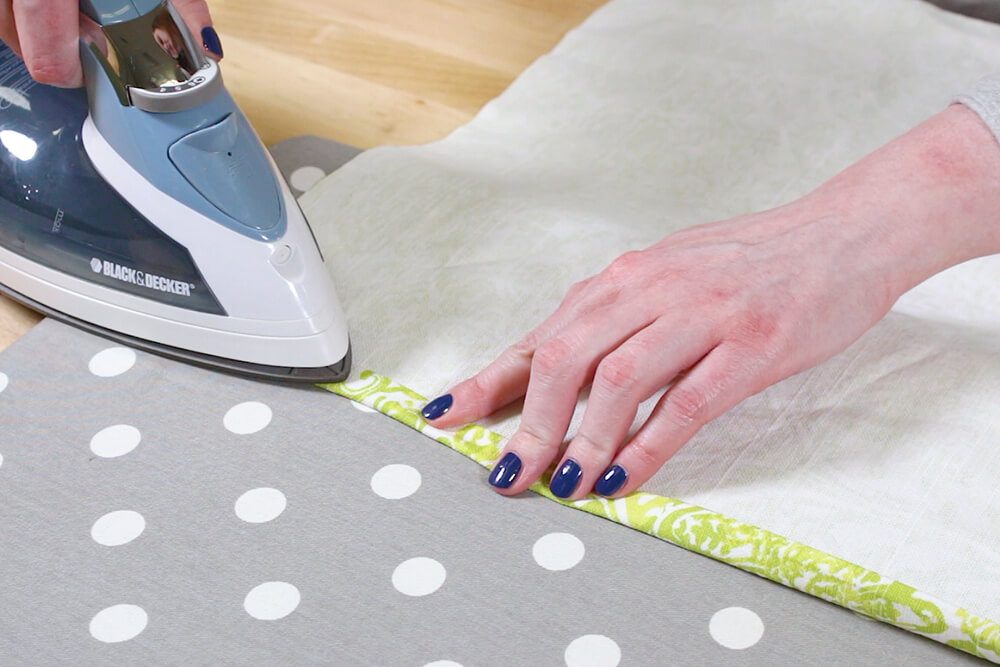
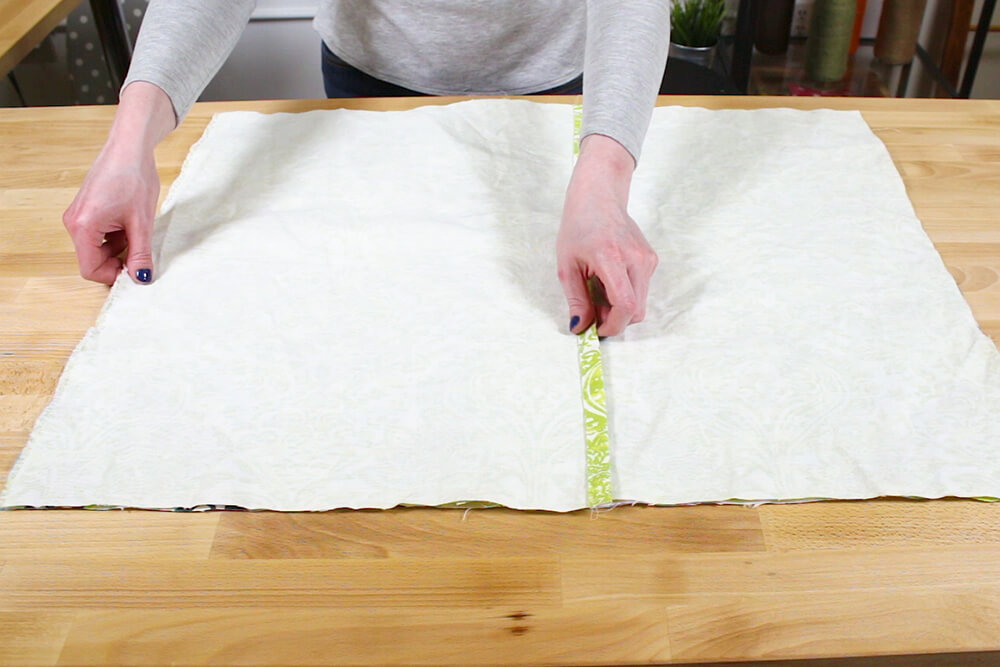
On each of the back pieces, fold over the end ½” and iron. Fold another ½” and iron again. Make sure you’re doing this on the ends that will overlap.
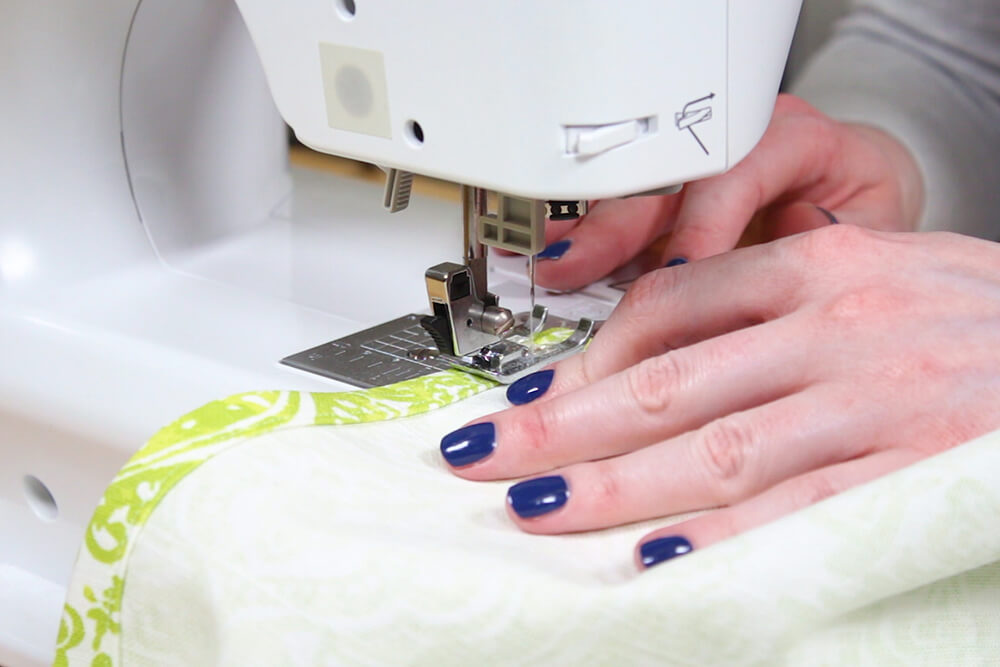
Sew close to the inner fold of these edges.
With the front piece facing up, line up the back pieces facing down.
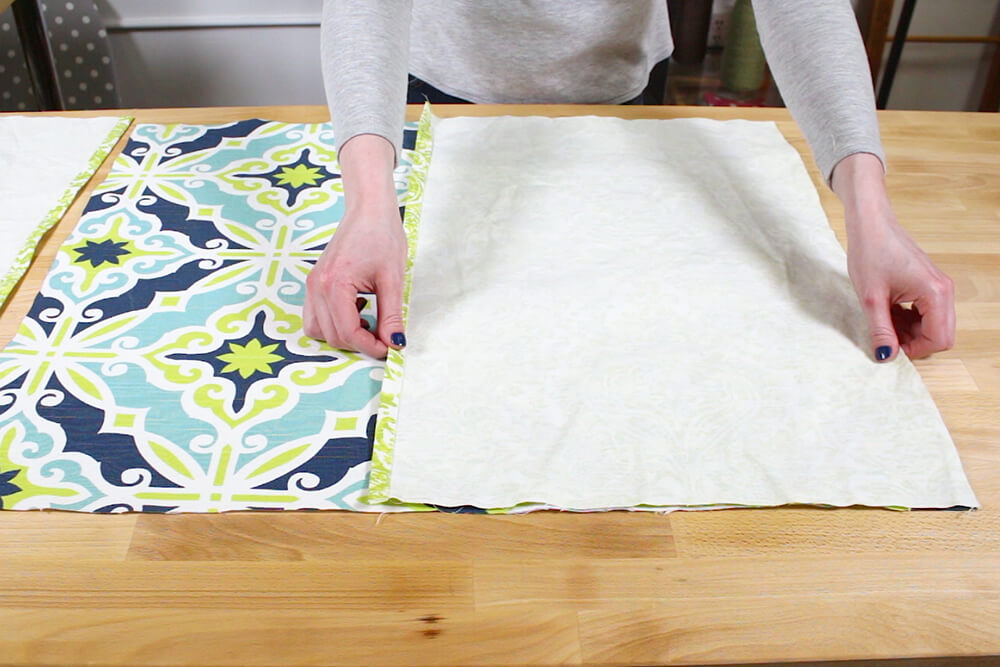
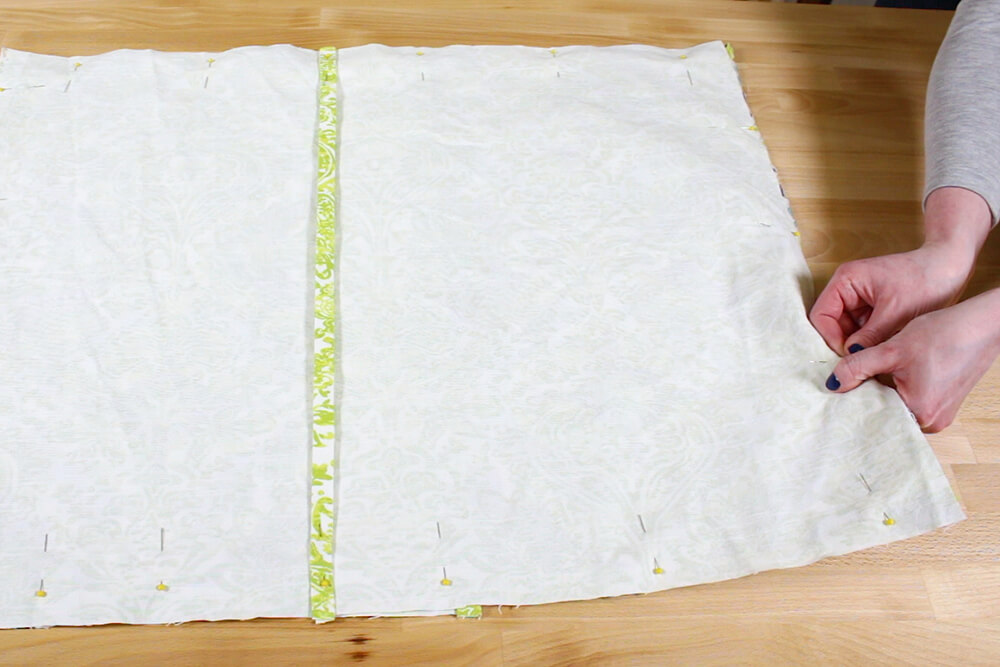
Pin in place. Sew around the entire piece with a half inch seam allowance. Backstitch at the beginning and end.
Clip the corners. Turn the sham cover right side out and poke out the corners. Iron to flatten the edges.


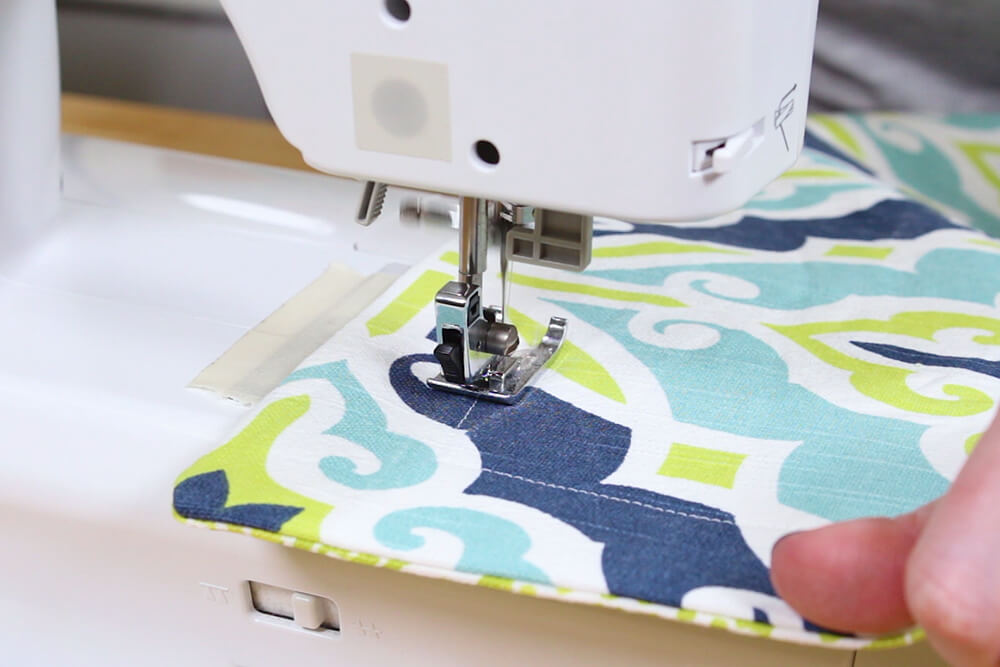
Step 4: Sew the flange
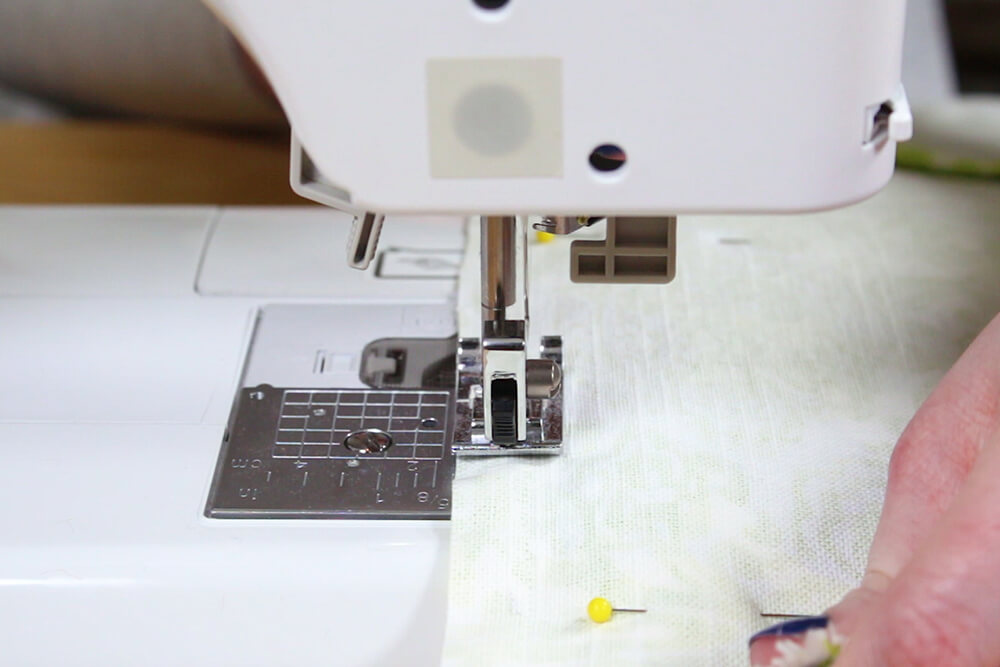
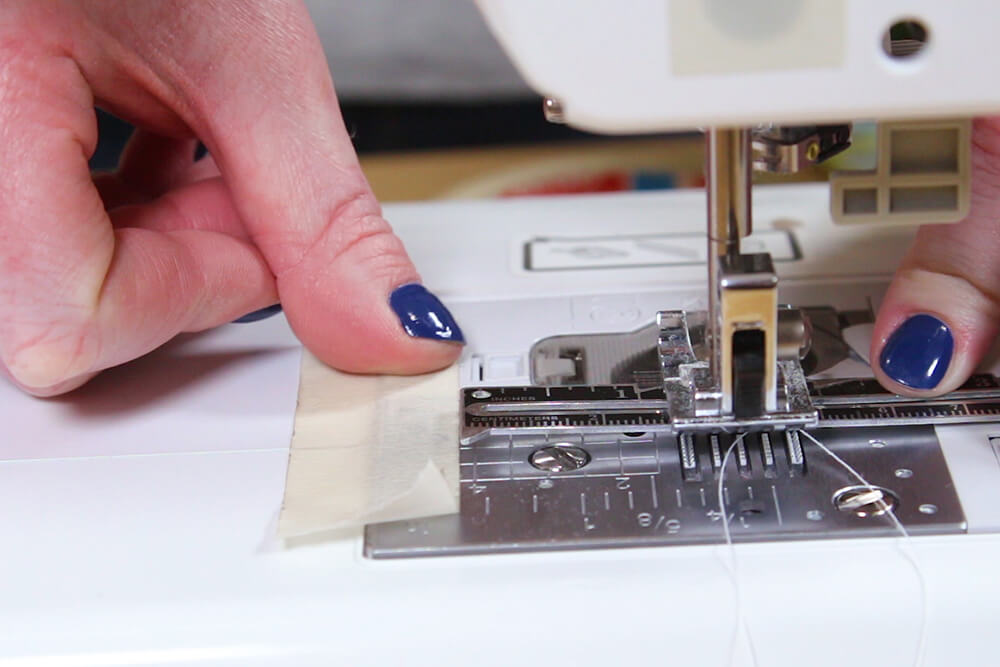
On your sewing machine, measure 1 ½” out from the needle and place a piece of tape there. If the size of your flange is different, use that measurement instead.
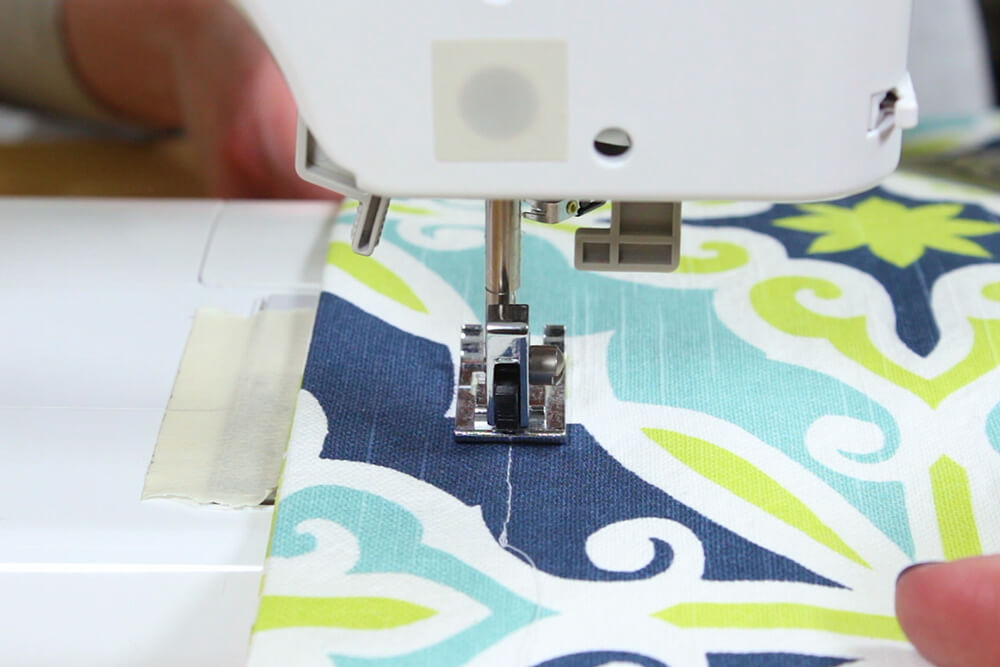
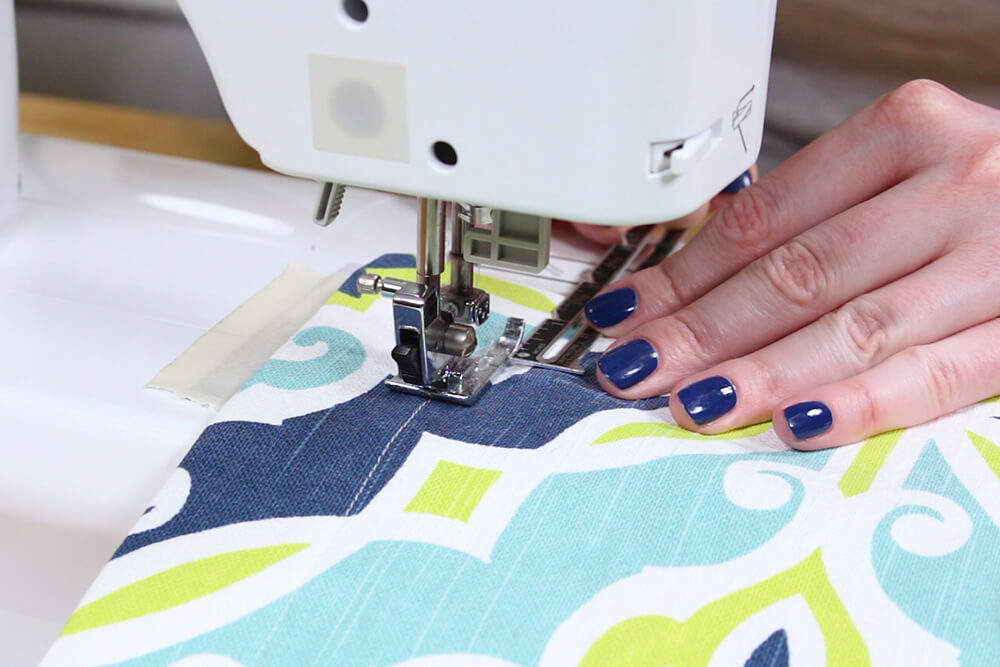
Start sewing 1 ½” in with the edge of the lined up with the tape. Sew all the way around, backstitching at the beginning and end.
When you get to the corners, stop 1 ½” from the edge, raise the foot and turn the fabric.
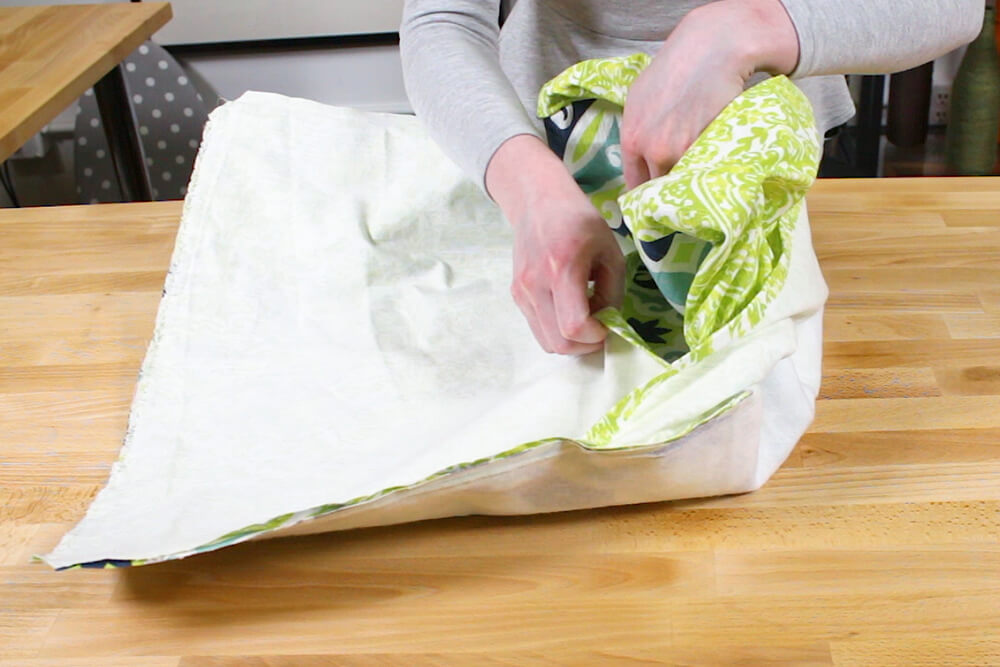
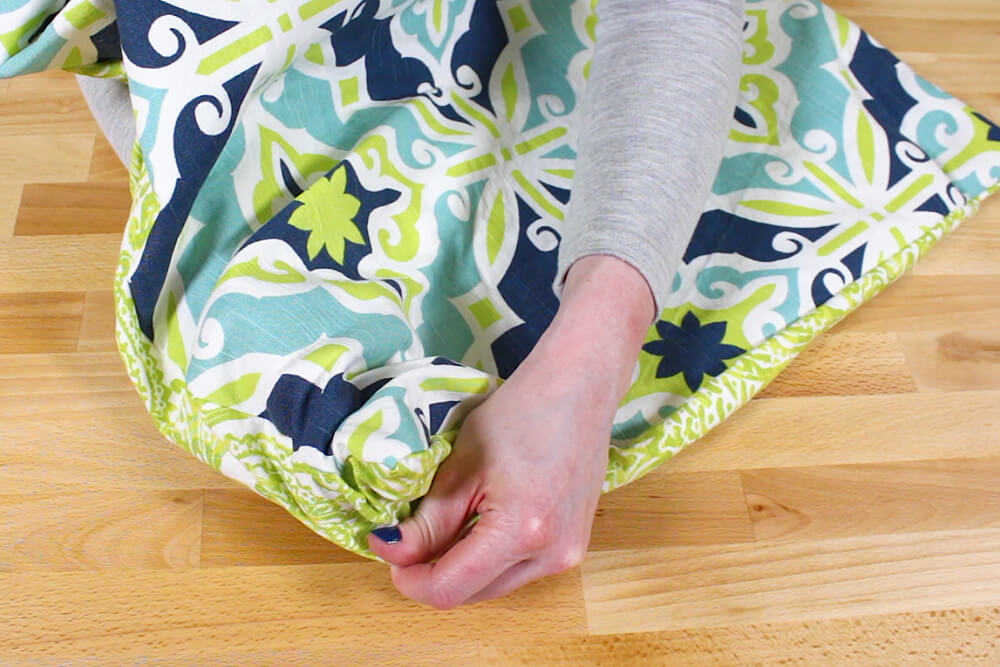
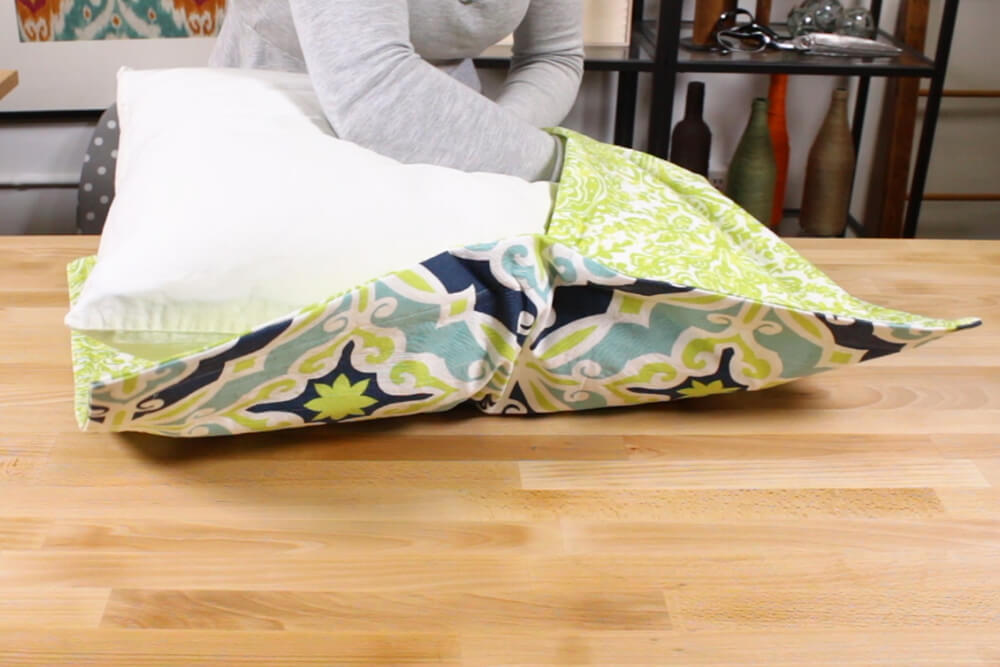
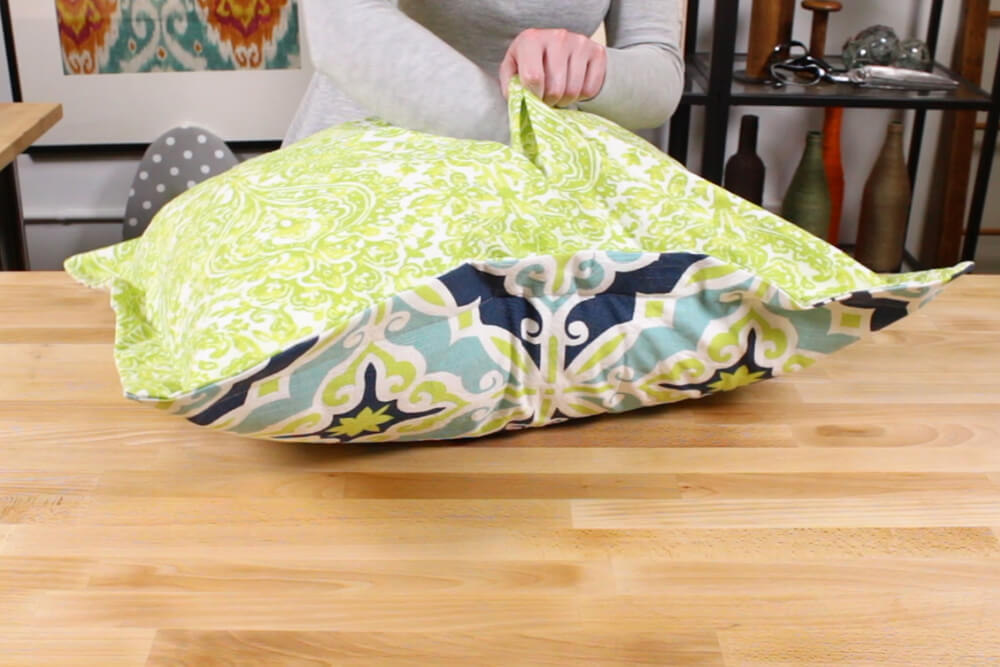
Insert the pillow and the flanged pillow sham is done.

Find out how to make a duvet cover here.
-
{{#each productSuggestedQueries.results}}
- {{query}} {{/each}}
-
{{#each categories.results}}
- {{html title}} {{/each}}
{{html attributes.description}}
{{/if}}-
{{#each queries.results}}
- {{query}} {{/each}}