
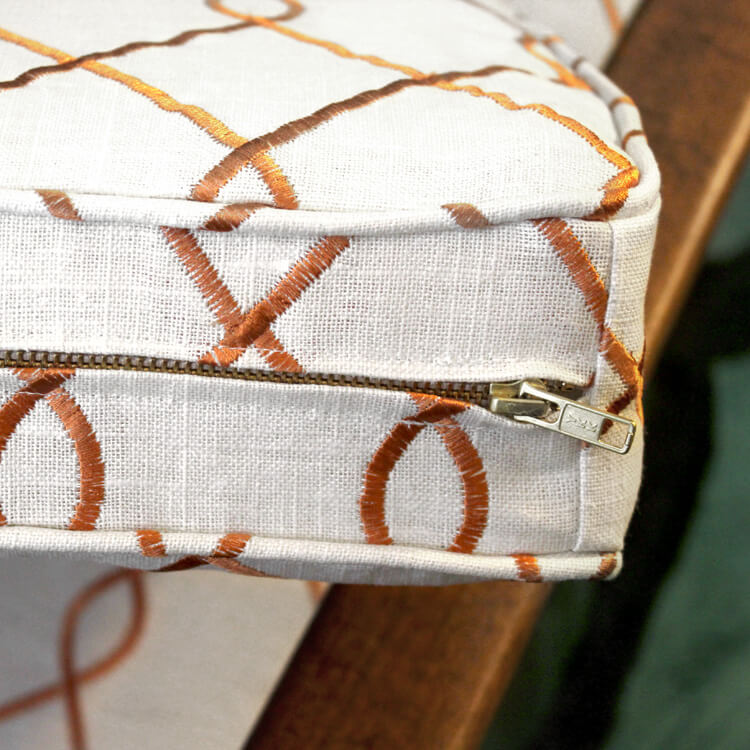
How to Sew an Upholstery Zipper
- By Clara
- Beginner
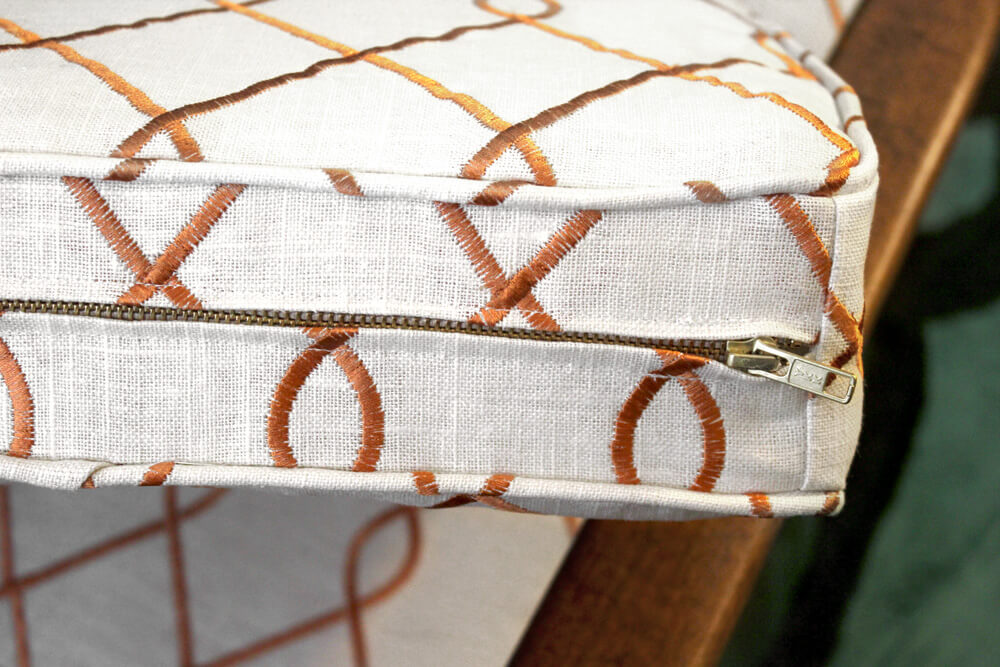
There are many ways to sew a zipper but this method is great for home décor projects like cushions or pillows with zippers. This technique creates flaps over the zipper to make it less visible.
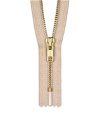
Our YKK upholstery zippers are available in many lengths and have durable brass teeth.
See How to Make Box Cushions with a Zipper for the full tutorial on making box cushions.
Want to get the printable PDF instructions? Sign up to our mailing list to download the PDF.
Materials
Related Products
Video
Instructions
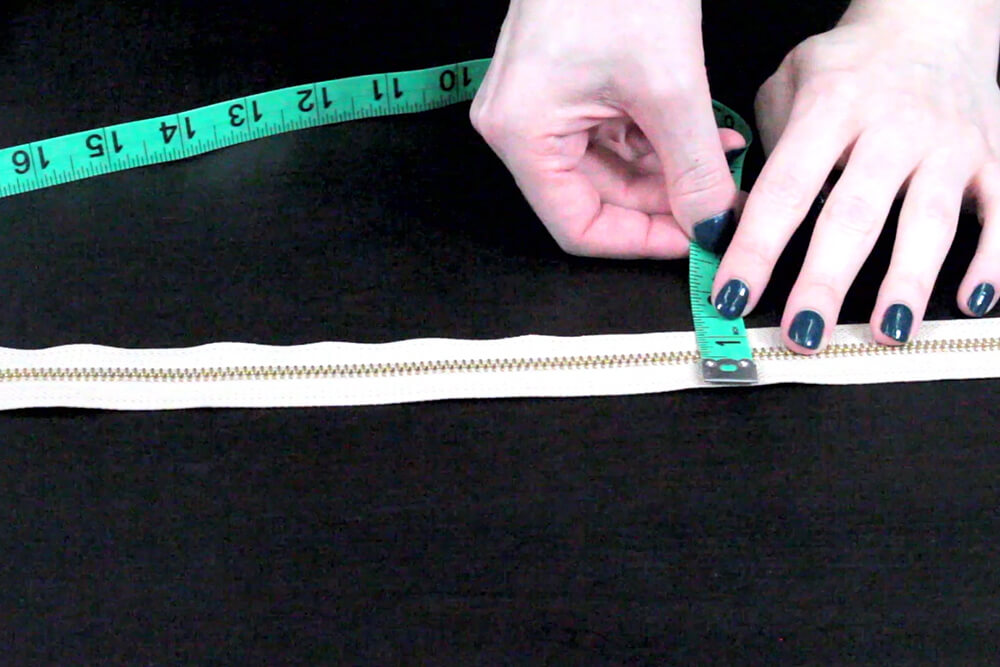
Step 1: Measure & cut fabric
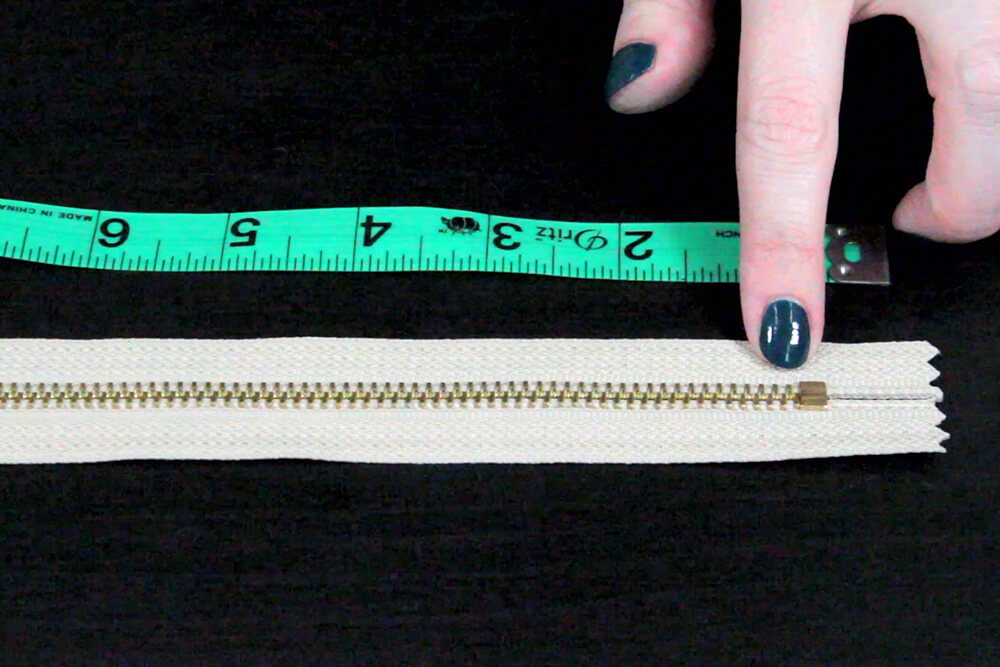
Start by measuring the width and length of your zipper. This zipper is 1 -1/8″ wide and 18″ long. It has a closed end but you can also use one with an open end and cut it to size.
When cutting your piece of fabric to make the zipper panel, make it at least as long as your zipper. The other dimension should be your desired finished height plus the width of your zipper (the measurement across the zipper from edge to edge) plus any seam allowance you need.
For example, this cushion will be 3″ high with 1/2″ seam allowances, so I’m cutting the fabric to be 5-1/8″.
3 + 1.125 + (2 x 0.5) = 5.125
Step 2: Sew fabric
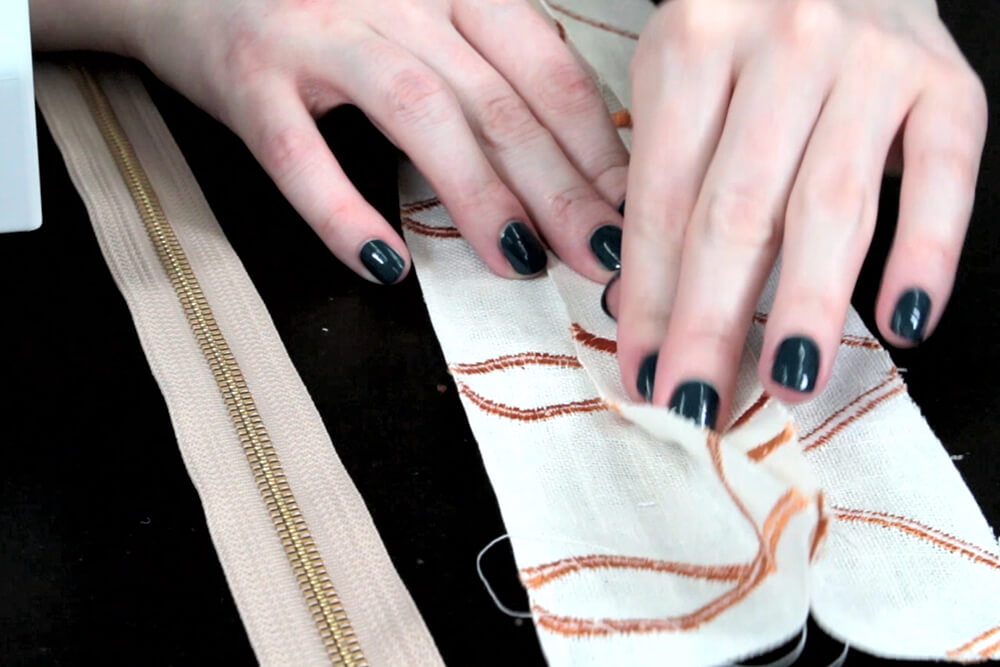
Fold the piece of fabric in half lengthwise with right sides facing.
On the folded side, sew down the length using a seam allowance that is half the width of the zipper.
For this example that’s 1-1/8″ ÷ 2 = 9/16″. Since that’s not a normal seam allowance, I measured this distance out from the needle and marked the seam allowance with some painter’s tape.
You can use a long stitch length (a basting stitch) here because you’ll be ripping out this seam later.
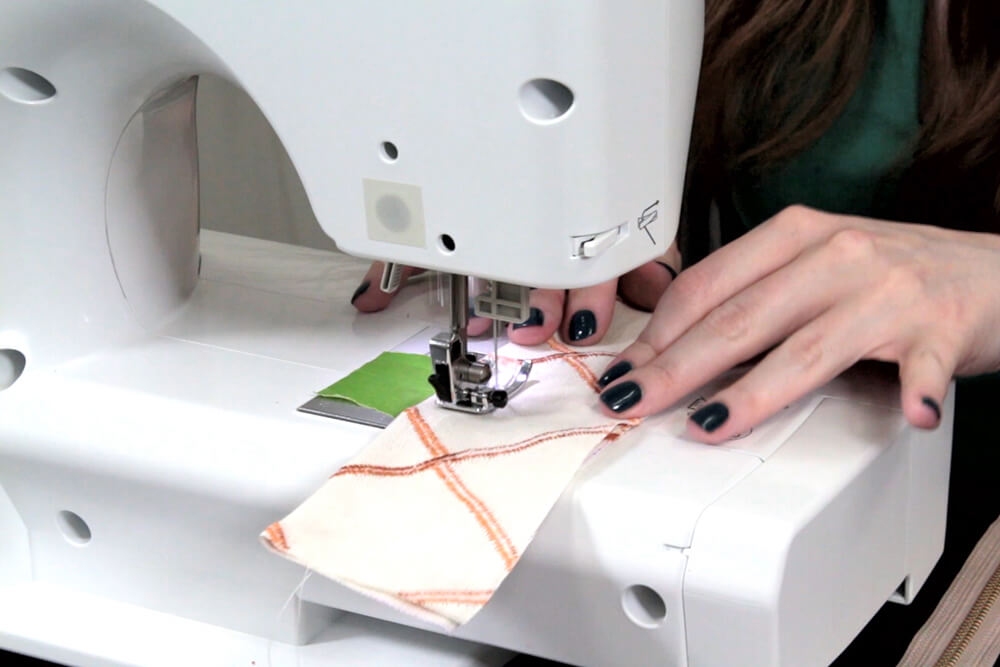
Change the foot to a zipper foot. Also change the stitch length back to the default length.
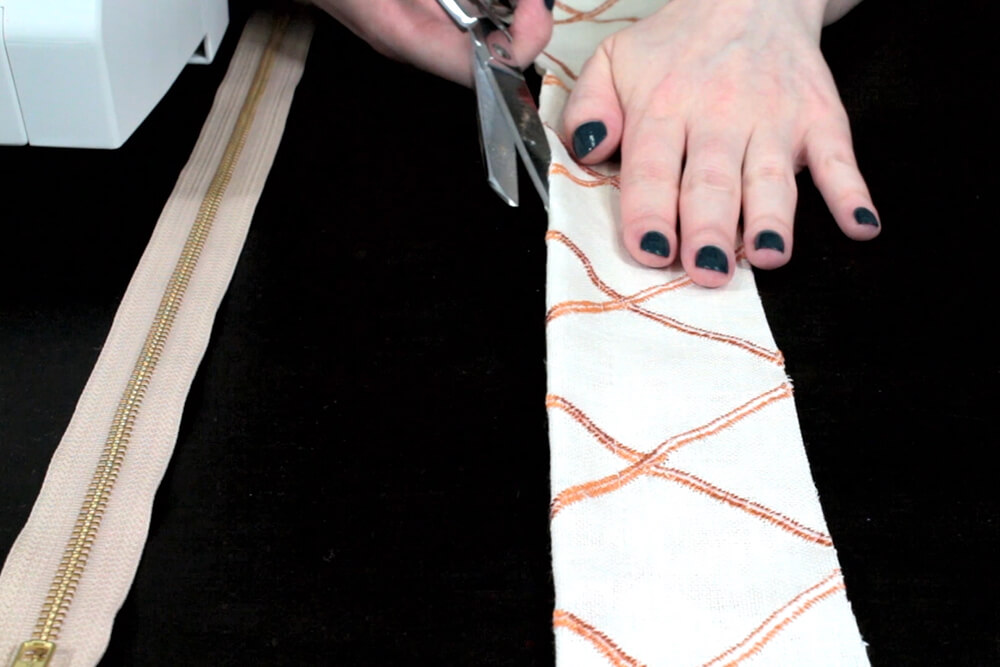
Cut down the middle of the fold and open up the seam.
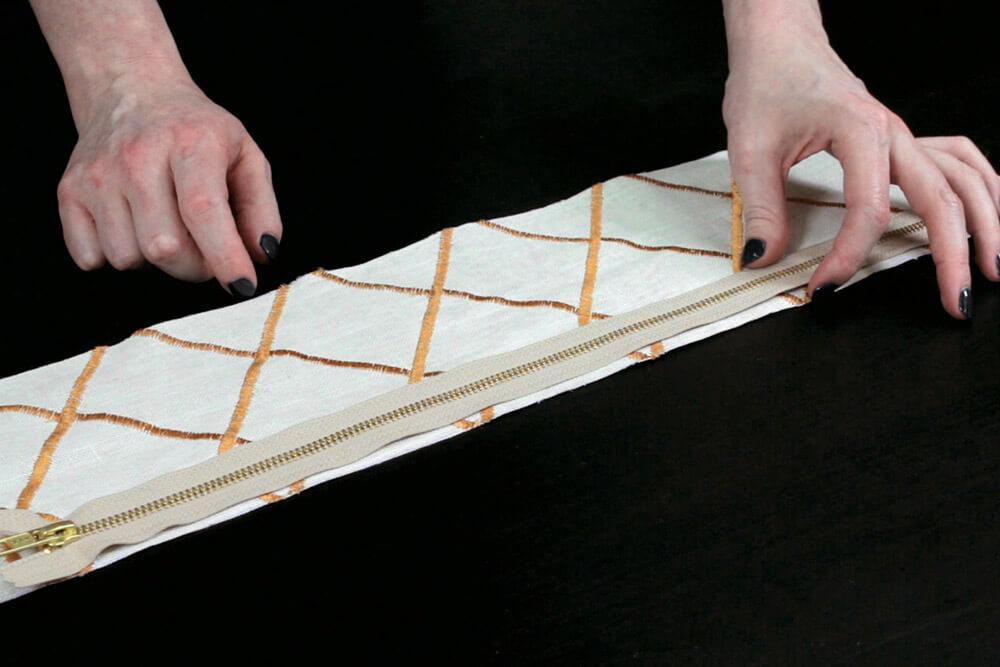
Step 3: Sew the zipper
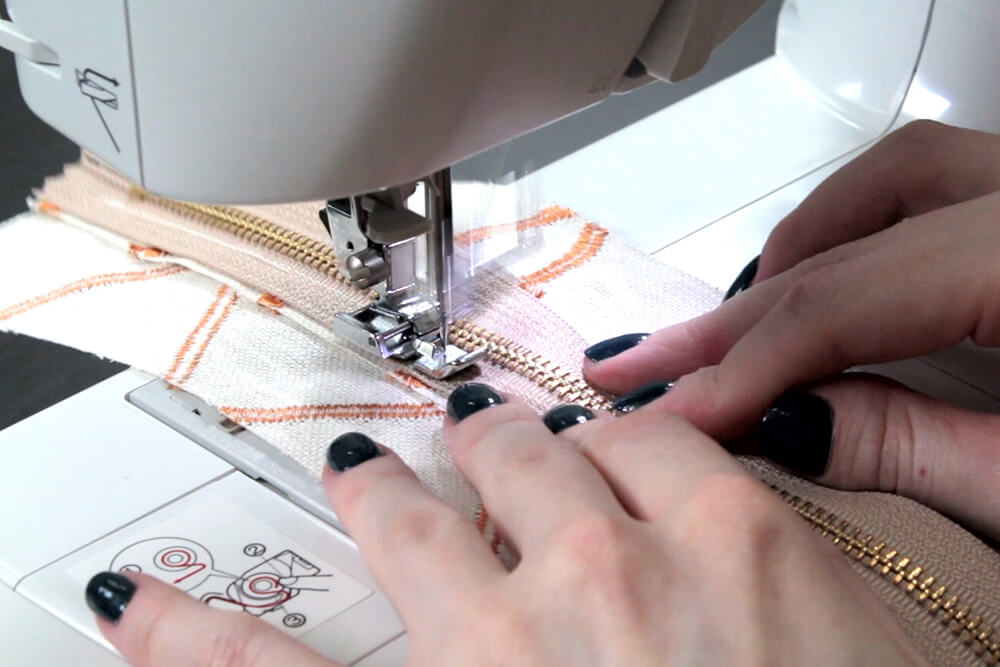
Lay the zipper on top of the seam facing down so that the center of the zipper is right on top of the center of the seam. The edges of the zipper should line up with the open seam edges.
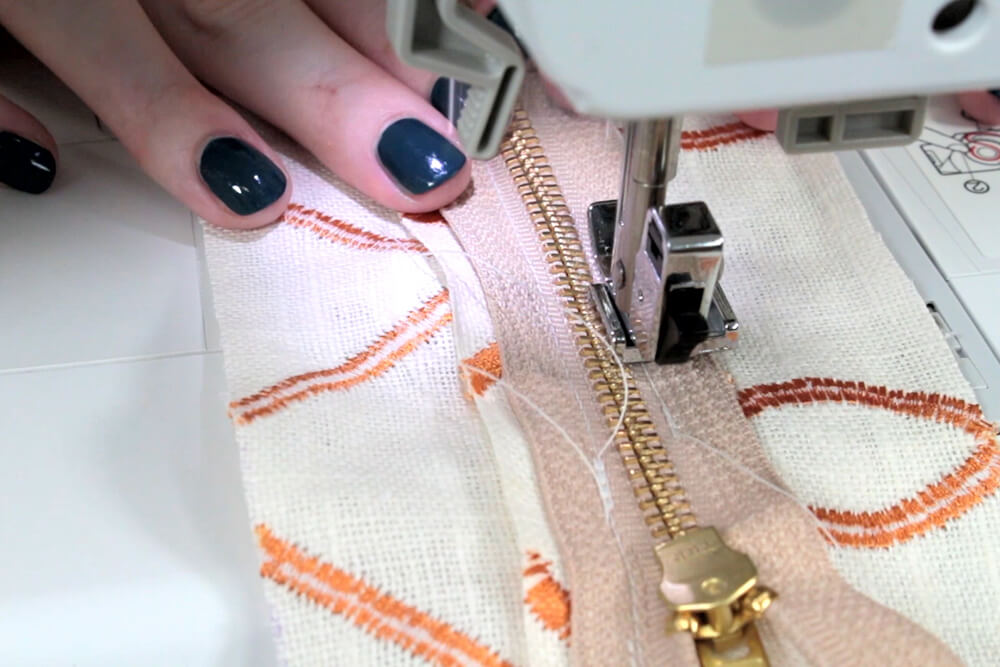
Put the zipper up against the side of the zipper foot. Sew down the length making sure the center of the zipper remains in line with the seam.
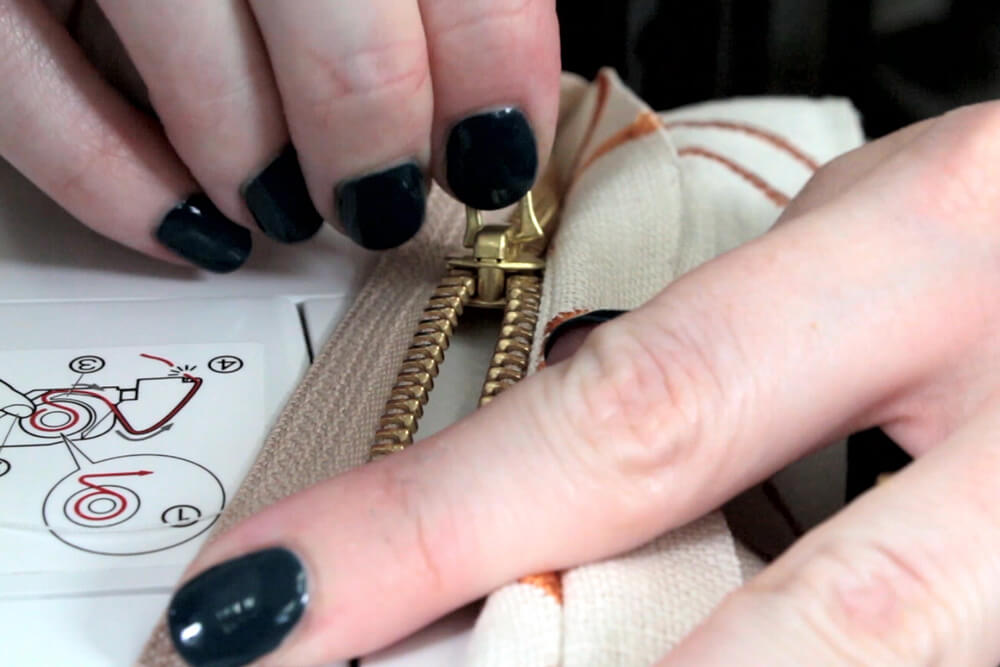
Stop before you reach the pull tab. Slide the tab up so it’s out of the way and finish sewing to the end of the zipper.
Repeat this on the other side of the zipper.
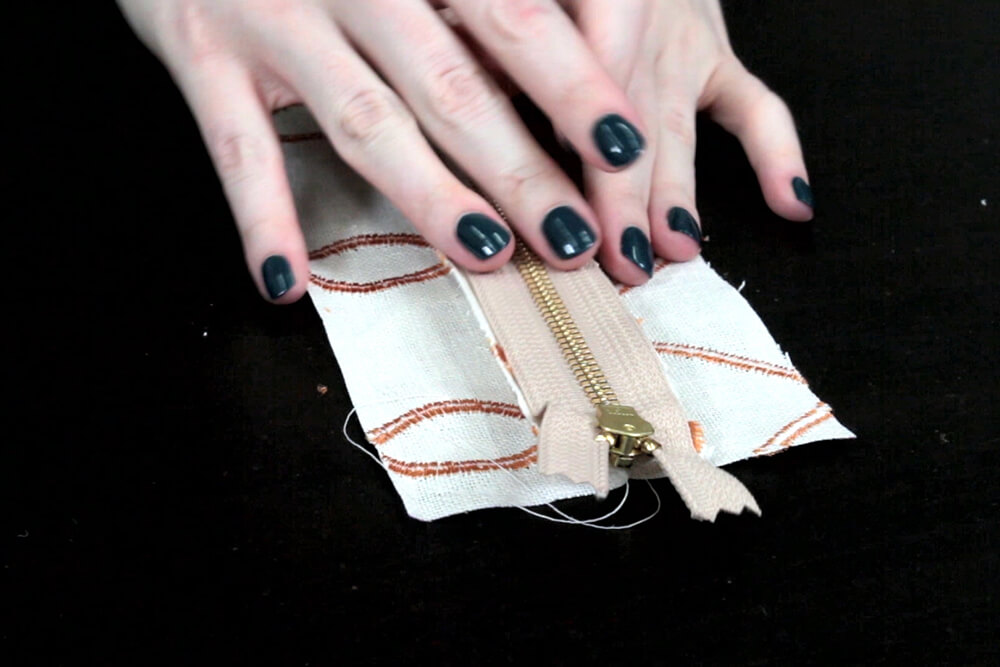
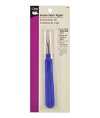
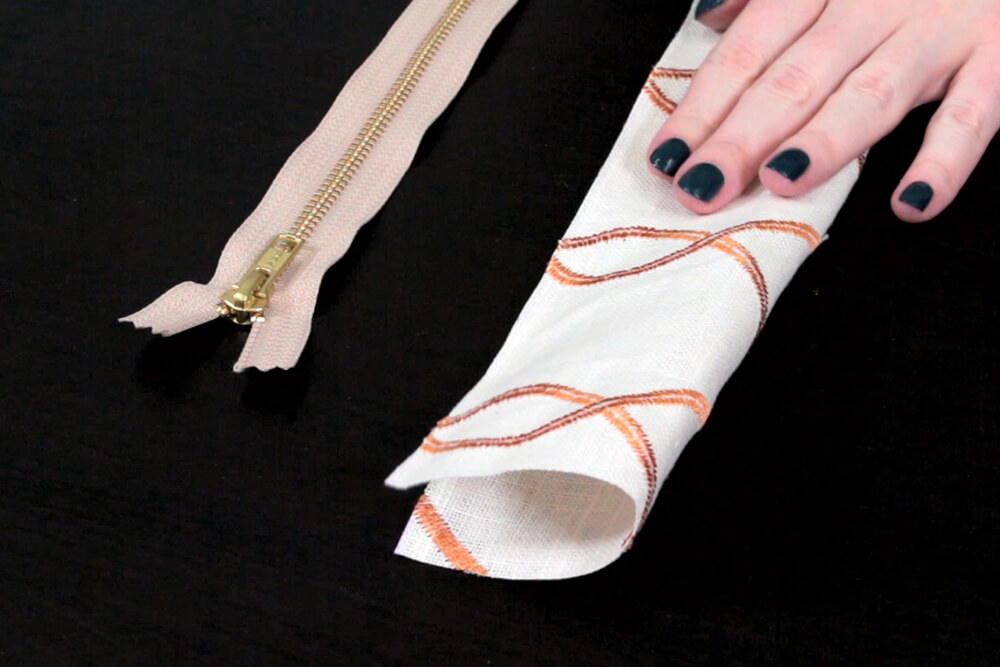
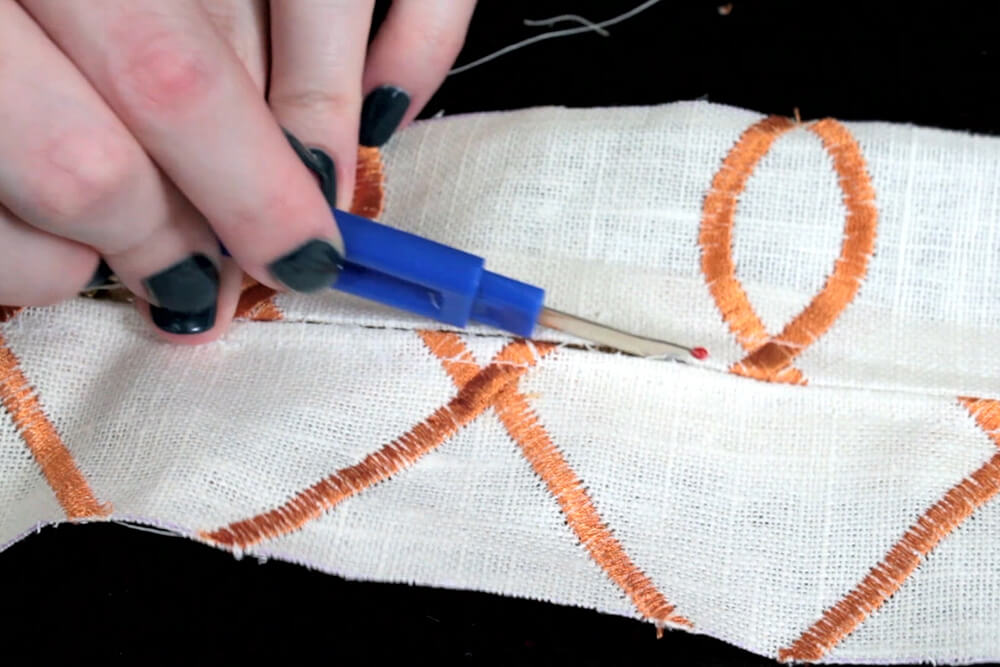
Step 4: Rip open the seam
Finally, take a seam ripper and open the basted seam to reveal the front of the zipper.
Remove the stray threads and you’re ready to add the zipper panel to your project.
See our box cushion tutorial to find out how to add this zipper panel to the cushion.
-
{{#each productSuggestedQueries.results}}
- {{query}} {{/each}}
-
{{#each categories.results}}
- {{html title}} {{/each}}
{{html attributes.description}}
{{/if}}-
{{#each queries.results}}
- {{query}} {{/each}}