How to Make No Sew Burlap Bunting Banners
- By Greg
- Beginner
- 45 minutes
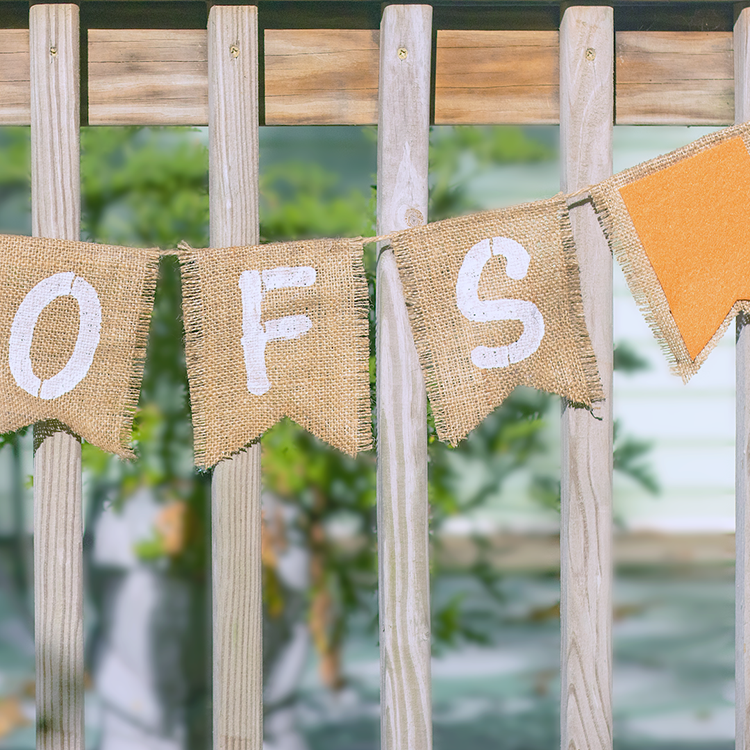
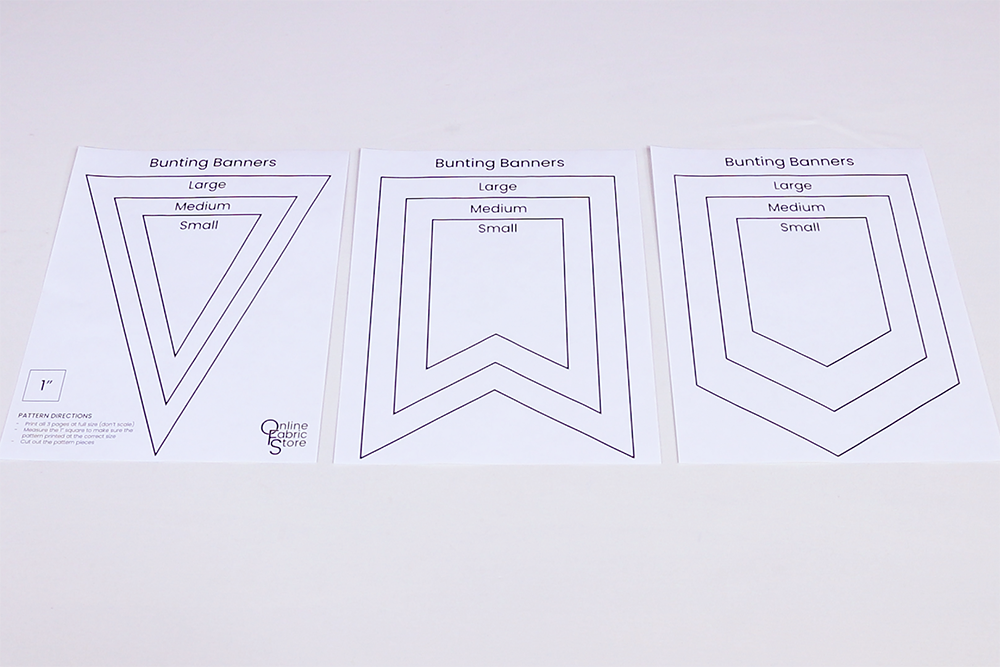
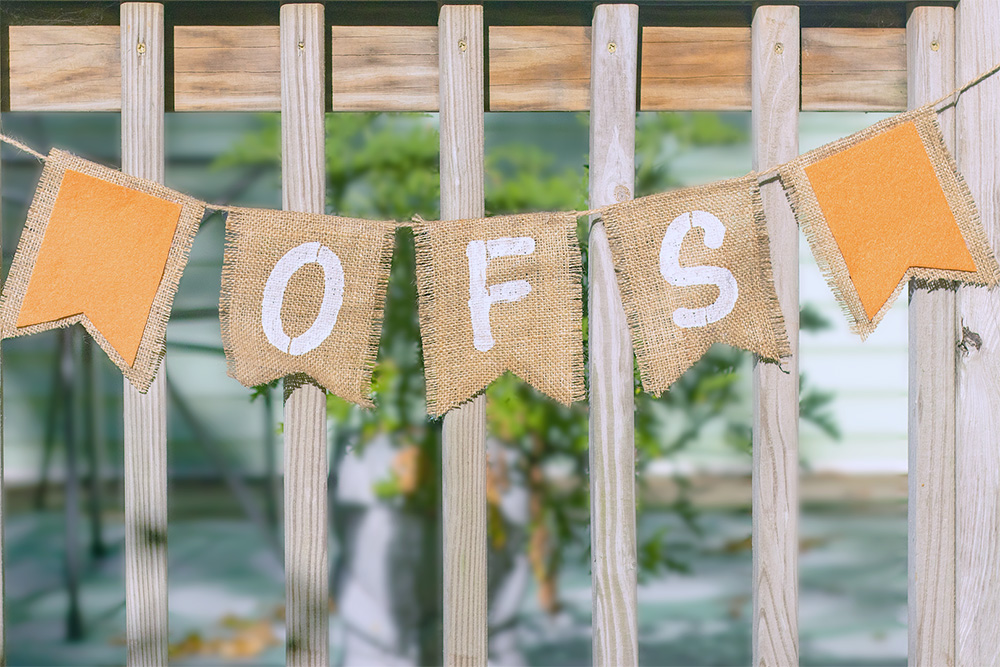
I needed some decorations for an upcoming party, so I made my own! These bunting banners are made using a free pattern with 3 different sizes and styles, and there are TONS of ways to make them truly unique. You can use these banners for parties, seasonal and holiday décor, and so much more.
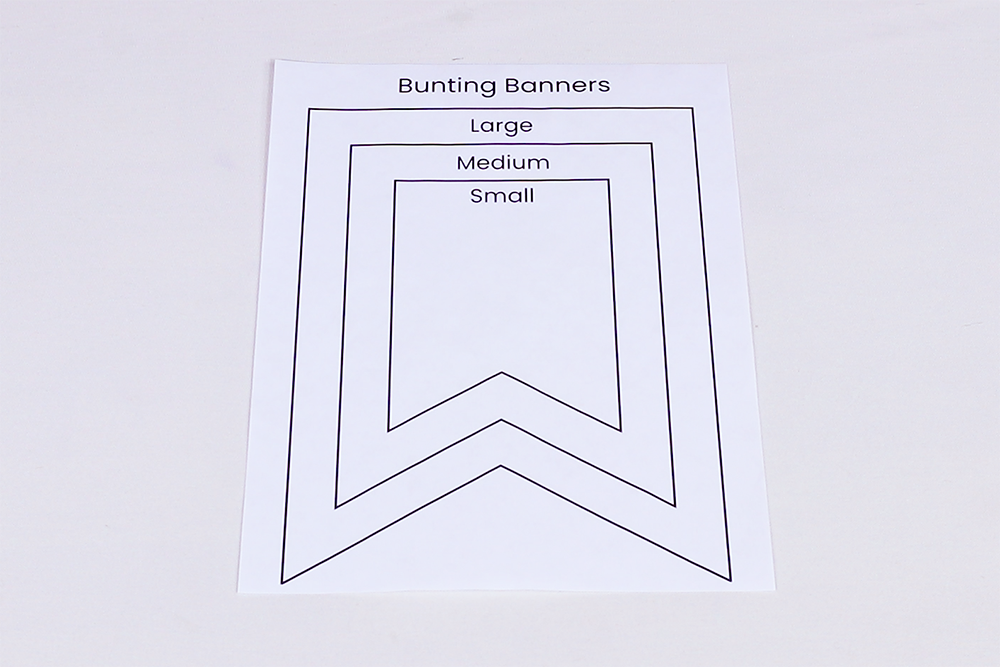
Print out the pattern, and let’s get started!
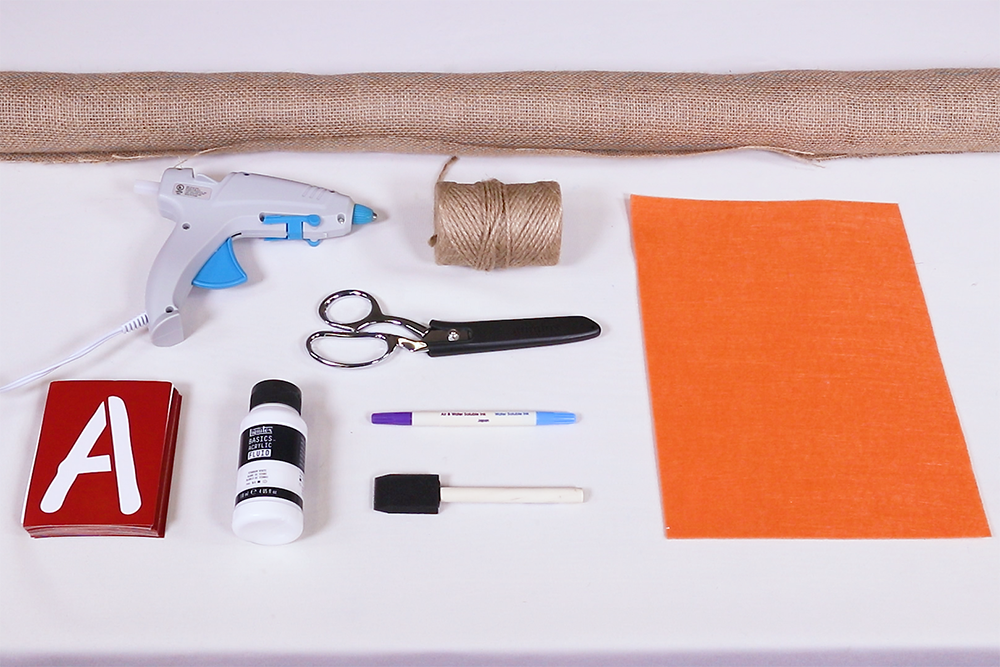
Materials
- Burlap
- Jute Twine
- Scissors
- Fabric Marker
- Hot Glue Gun
- Felt
Video
Instructions
Step 1: Cut the Burlap Sections
Before cutting burlap vertically or horizontally, you can pull out individual threads to ensure a straight line.
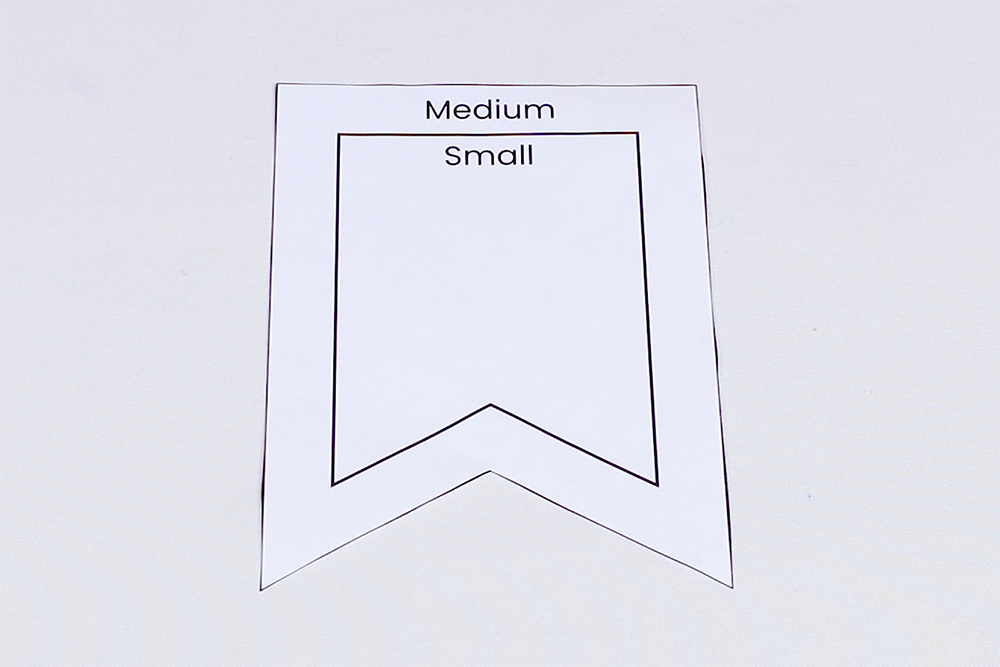
Print out the pattern and choose the style and size you would like to use. Feel free to use a combination of shapes and sizes. For this banner I’ll be using the fishtail shape, medium size.
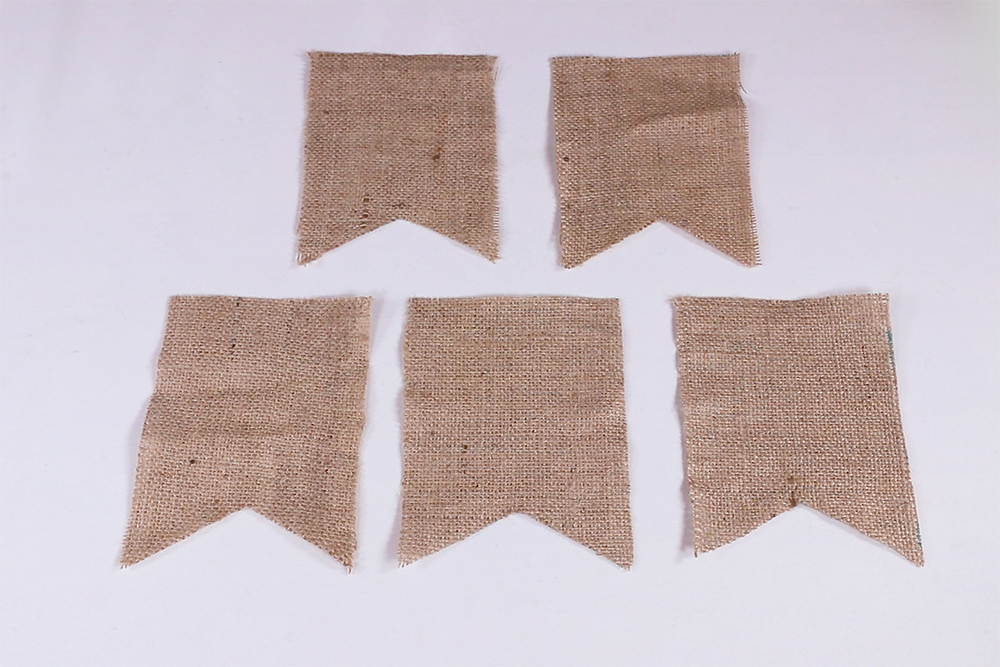
Cut out the pattern and use it to cut pieces of burlap fabric. The number of pieces is up to you. This banner will have 5.
Step 2: Prepare the Burlap Pieces (optional)
Now that you have your pieces, you can prep them for construction.
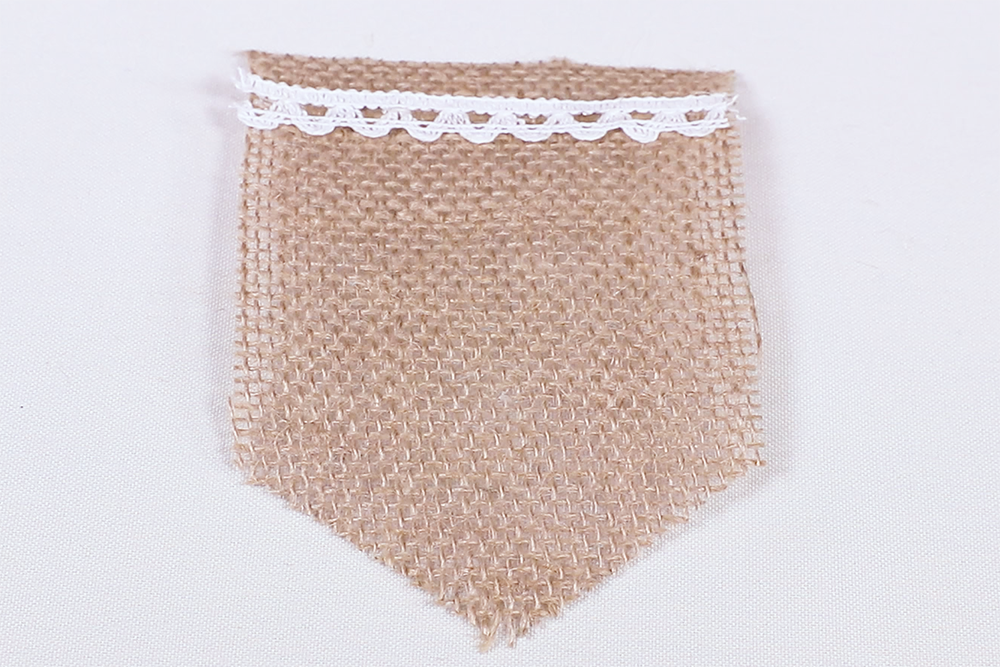
For the straight edges, you can remove a few burlap threads from the sides for a more rustic look.
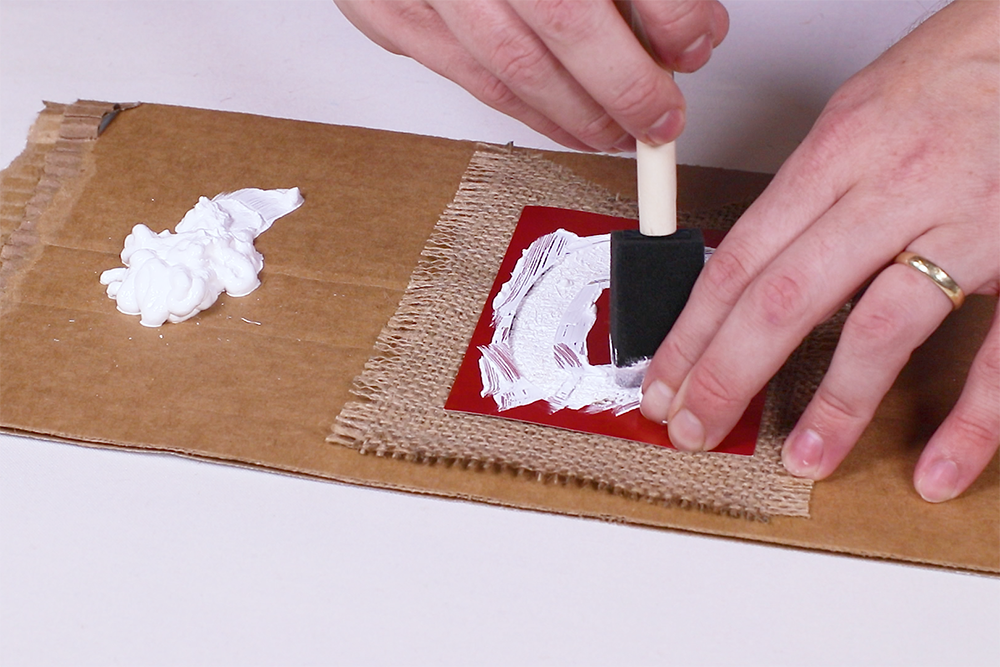
I have some craft paint supplies here for painting letters, make sure the burlap is not directly on the table if you do this, since the paint will bleed right through.
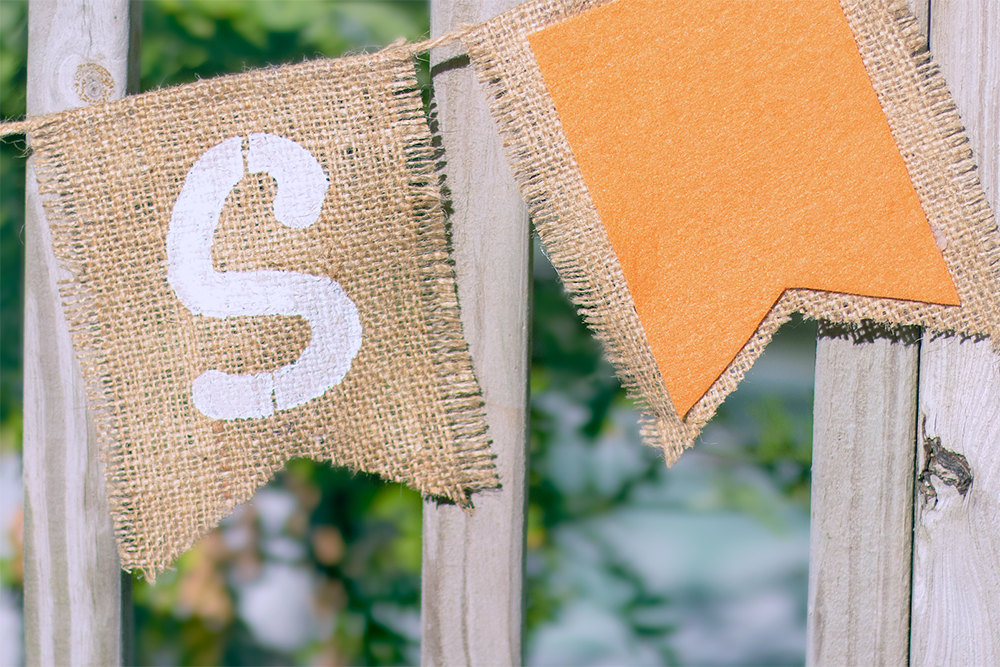
These are 4 inch letter stencils which ended up working really well with these medium size pieces. Let the paint dry completely before constructing the banner.
Step 3: Construct the Banner
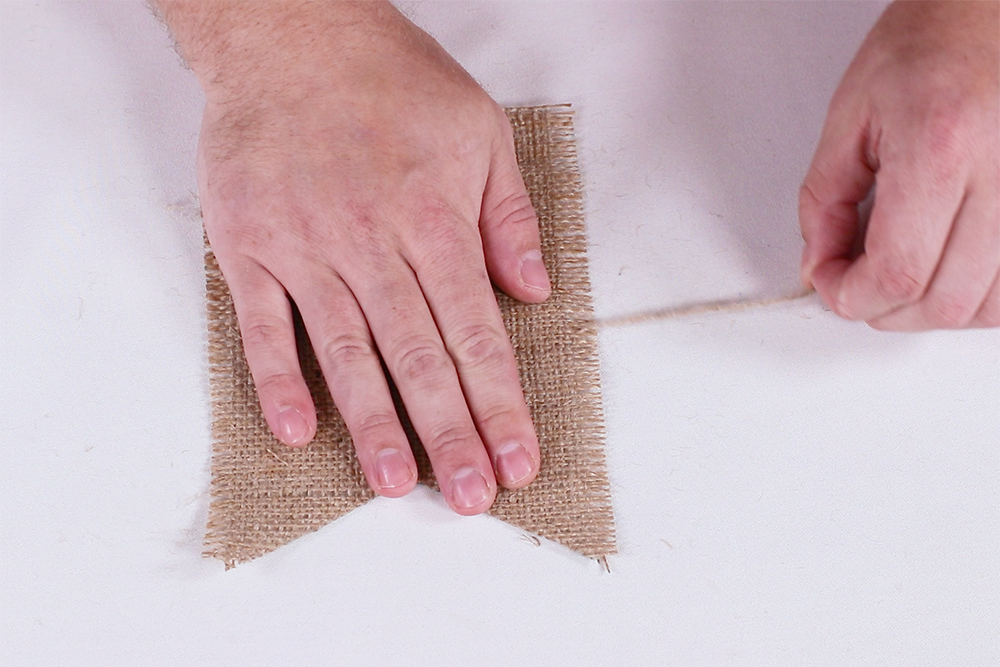
Now it’s time to make the banner. Arrange the burlap sections upside down. The spacing in between each piece is up to you, I would suggest keeping it at or under 1 inch between each one. Before gluing, make sure to leave an extra 8-12 inches the end of the twine.
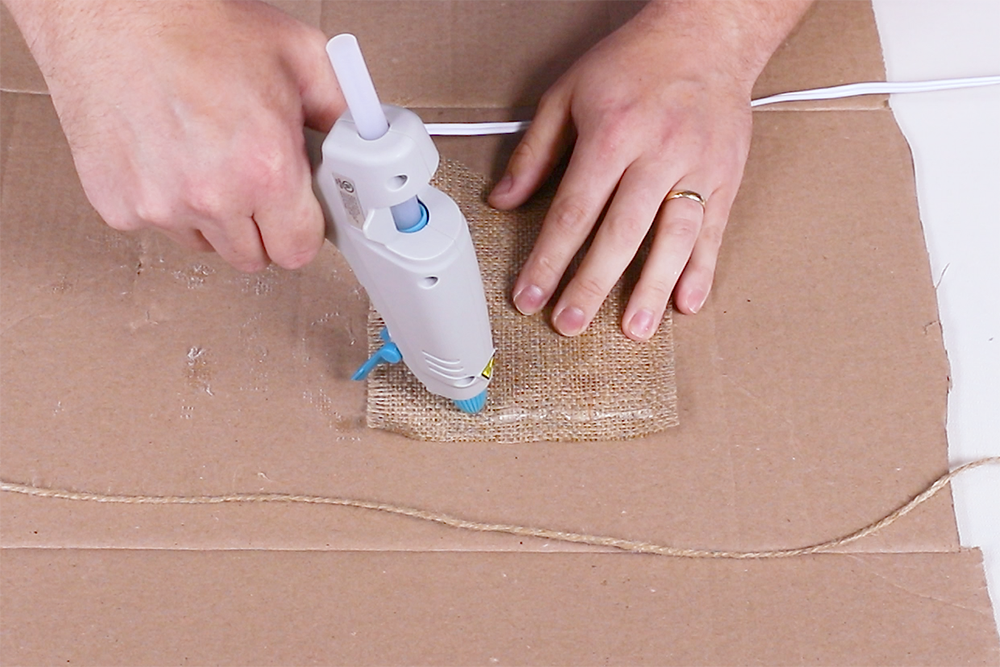
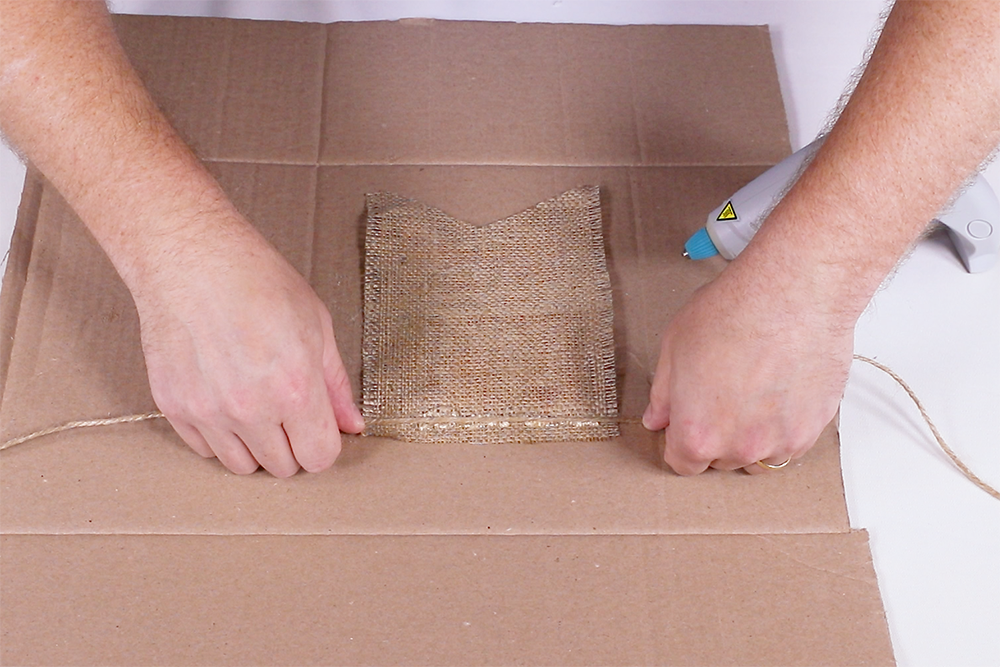
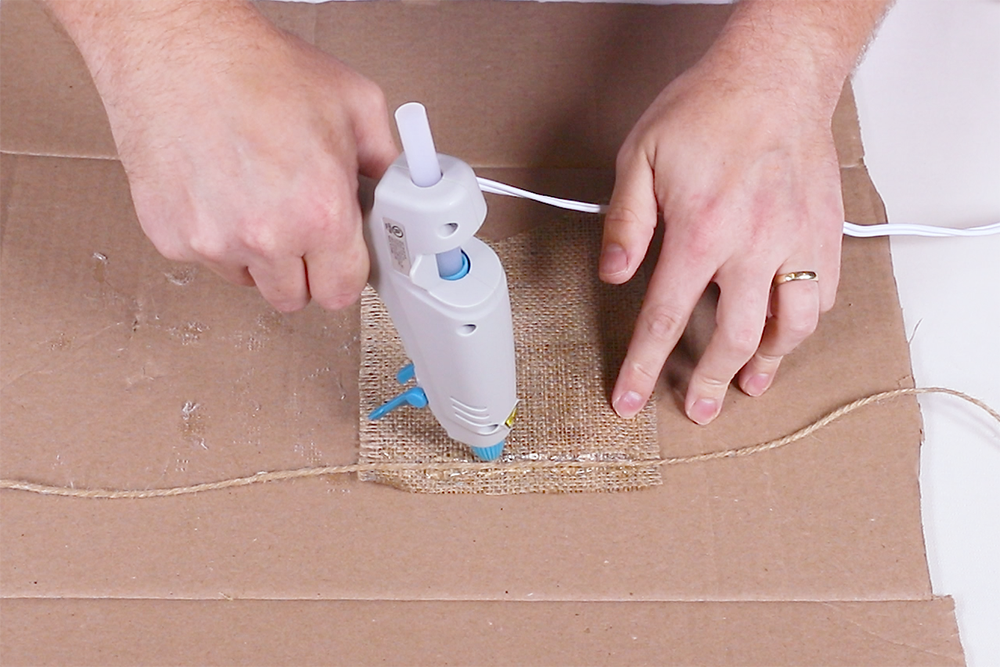
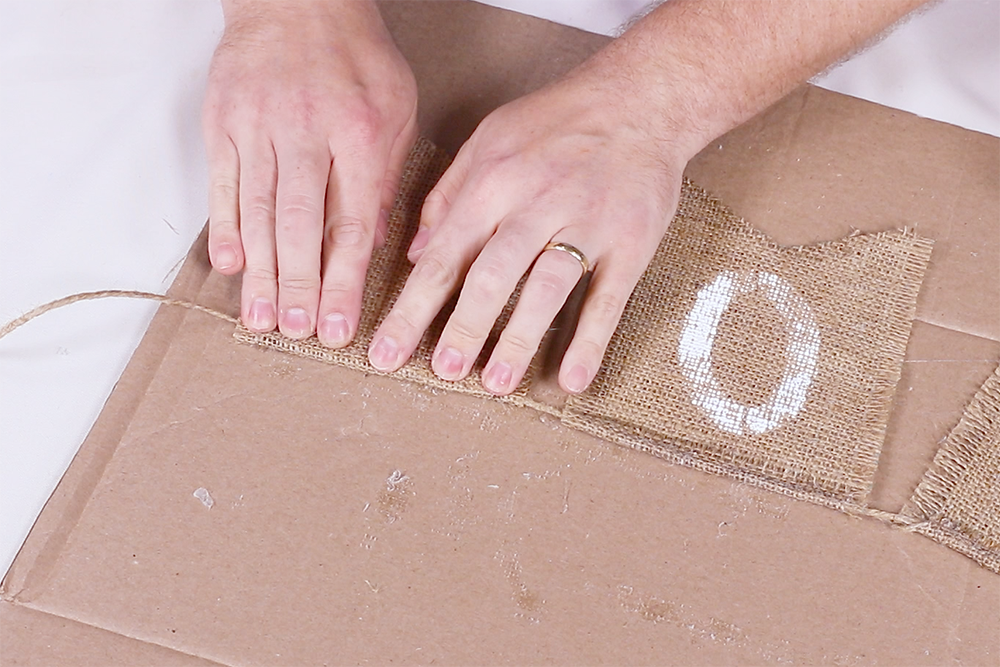
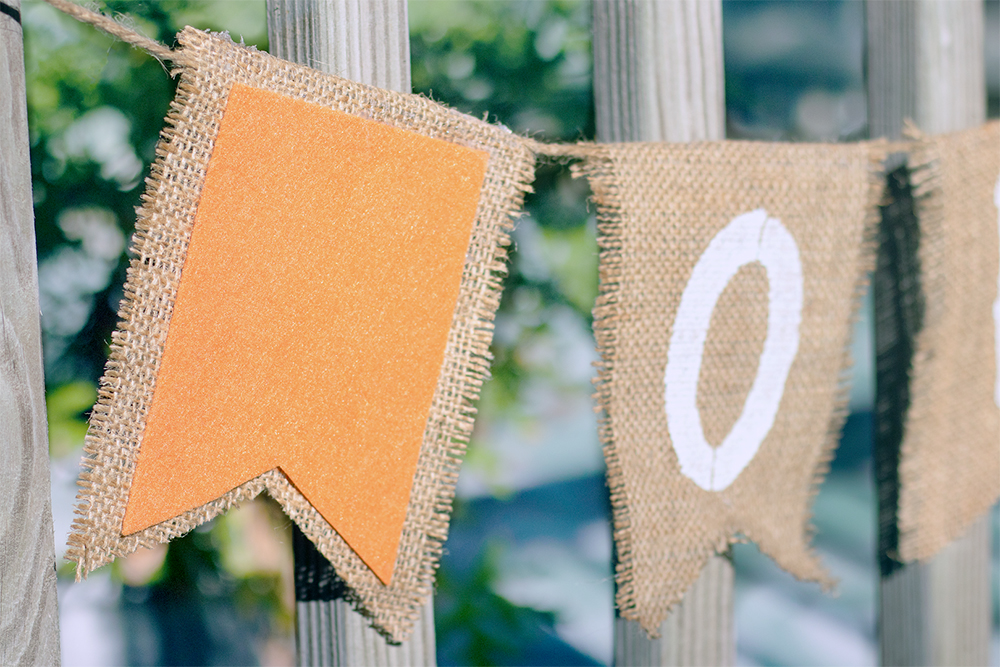
Glue the twine about ½ inch from the top of the back of the burlap. Add more glue and fold down the top edge. Since the sections are upside down, make sure to attach them in reverse order. Repeat to attach the rest of your bunting. Cut the other end of the twine, leaving another 8-12 inches.
Hang the banner for display, and you’re good to go!
Ready to make your own? Check out our selection of burlap fabric:

