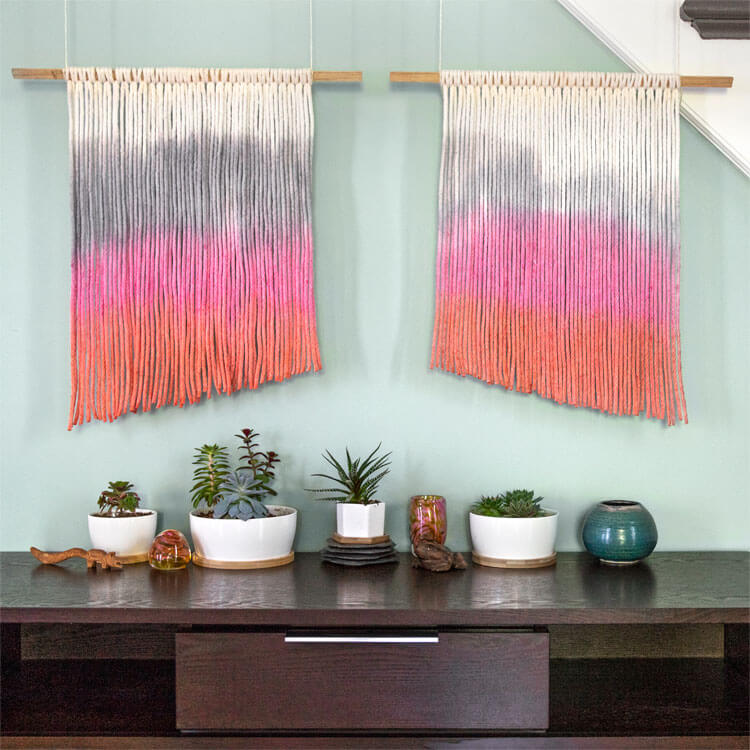
How to Make a Dip Dyed Tapestry
- By Alyssa
- 2 hours
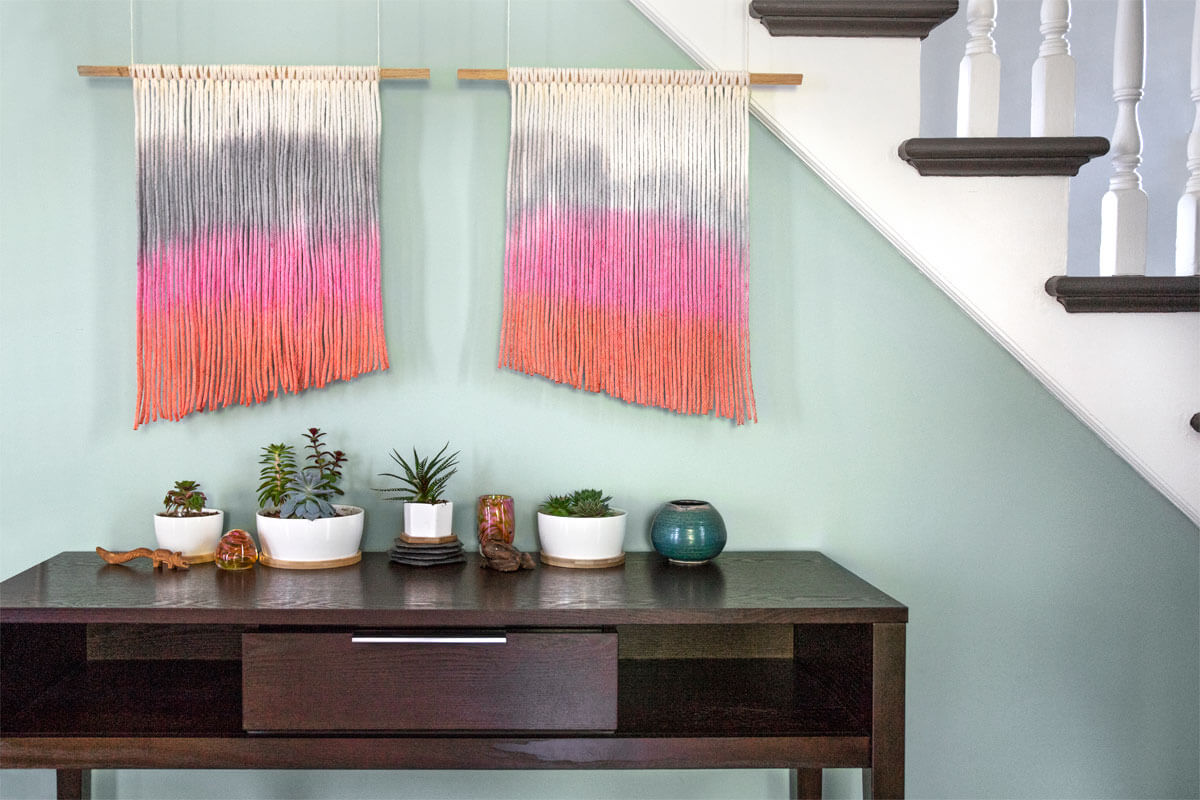
Dip dyed tapestry’s can be pretty expensive online, especially if you are looking for something personalized. So, today, I am going to show you how to make your own.
These tapestries can be made any shape, color, or size.
You can use a dowel for a more classic look or a tree branch for something more natural. I also thought it would be really pretty to use a necklace to hang them from the wall but I just used twine and that worked well.
Like I said, these are super easy to customize to your style so without further ado..
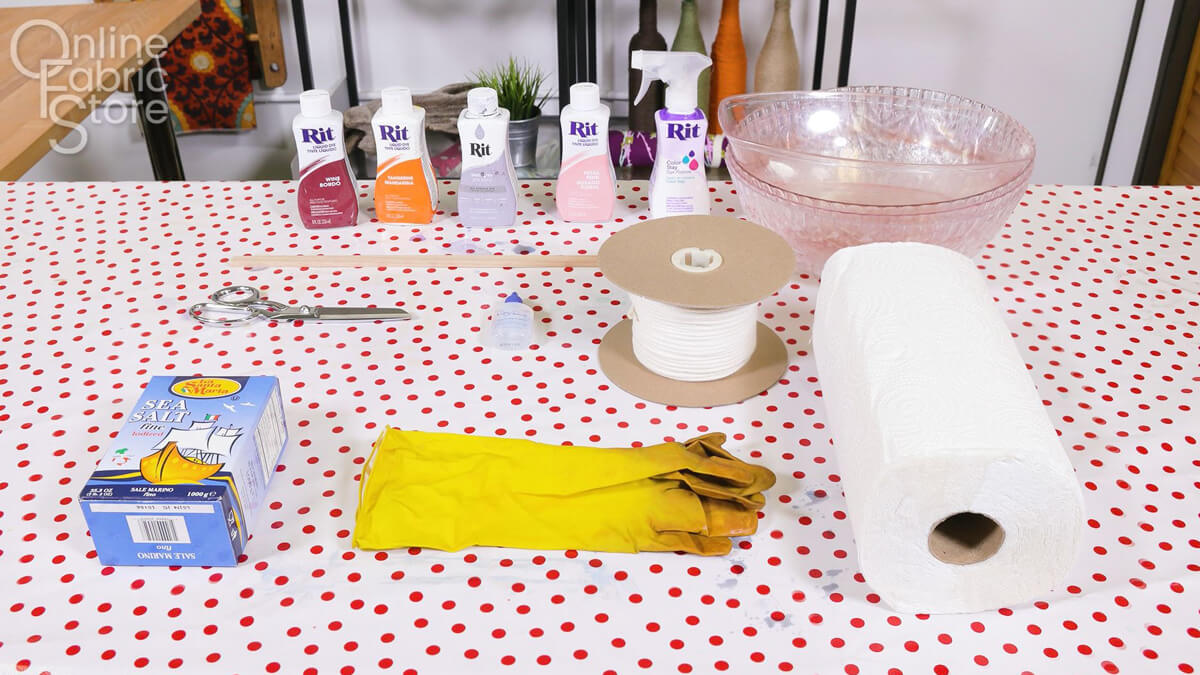
Materials
- A dropcloth
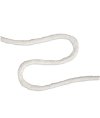
- 1/8" Cotton Upholstery Cord
- Scissors
- A Dowel
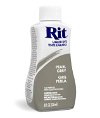
- All Purpose Rit dye
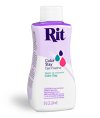
- Dye fixative
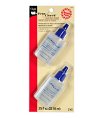
- Fray Check
- Gloves
- Salt
- Boiling water
- Several Large Containers
- LOTS of paper towels
Related Products


Video
Instructions
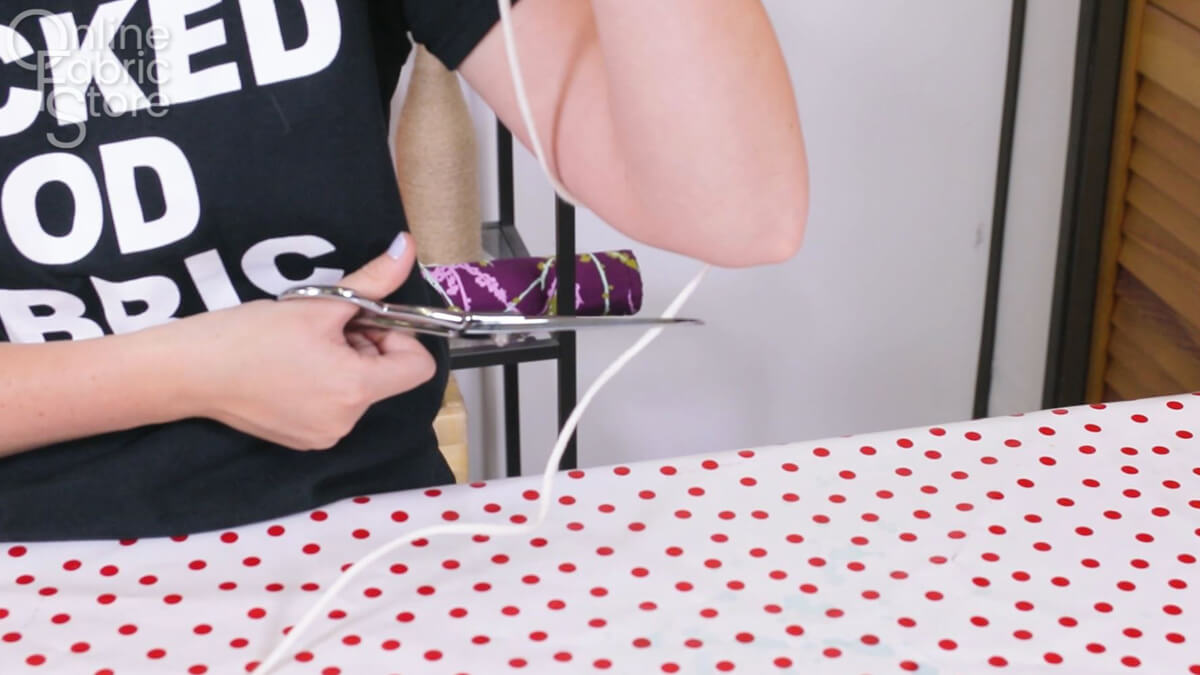
Step 1: Cut cord
I am using my arm as a rough measurement!
Cut the cord to double the length you want it. You are going to cut off an inch or two at the very end so add that into your measurement. For me, this doesn’t have to be super exact, but feel free to use a ruler or measuring tape.
Step 2: Tie onto the dowel
Tie the cording to the dowel by folding each piece in half and pulling the ends through the loop around the dowel.

Step 3: Create the dye baths
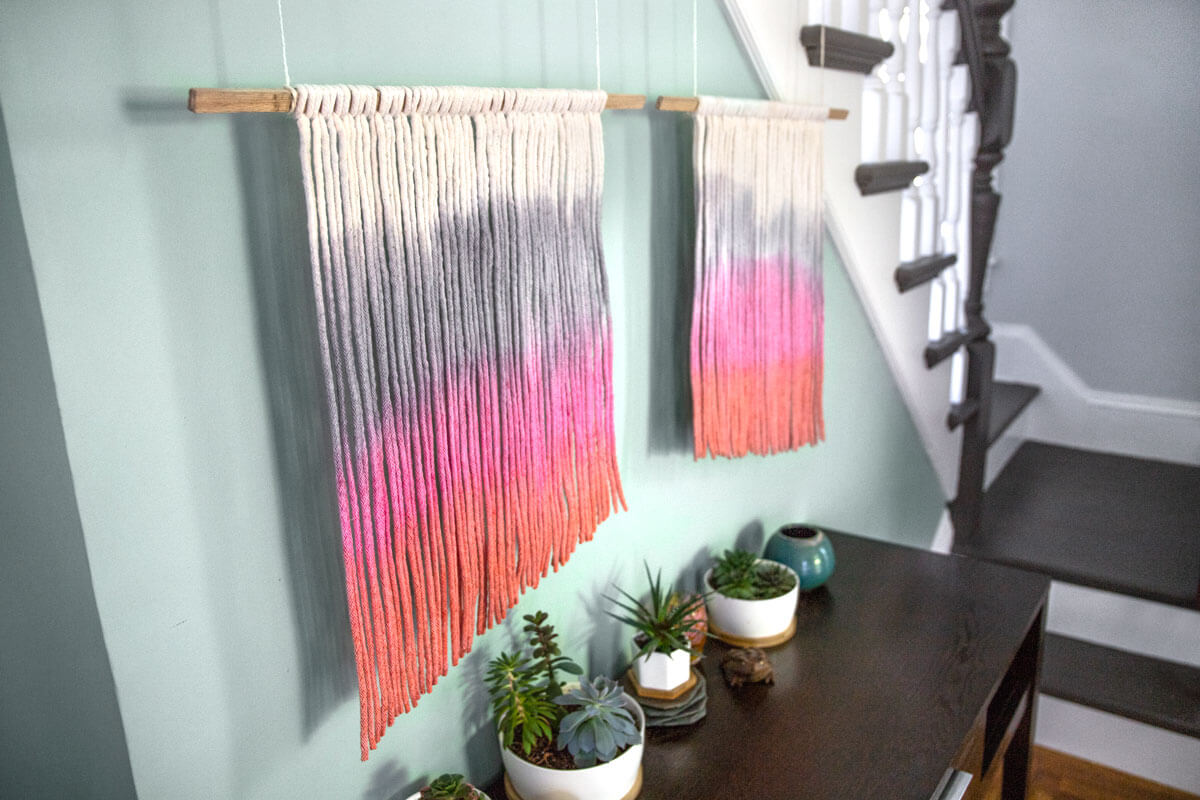
Make your dye baths. I am using gray, pink, orange, and red Rit dye. Don’t forget to add your salt.
This is optional but I totally recommend taking a few scrap pieces of cording and dipping them in the dye baths to make sure the colors are exactly how you want them.
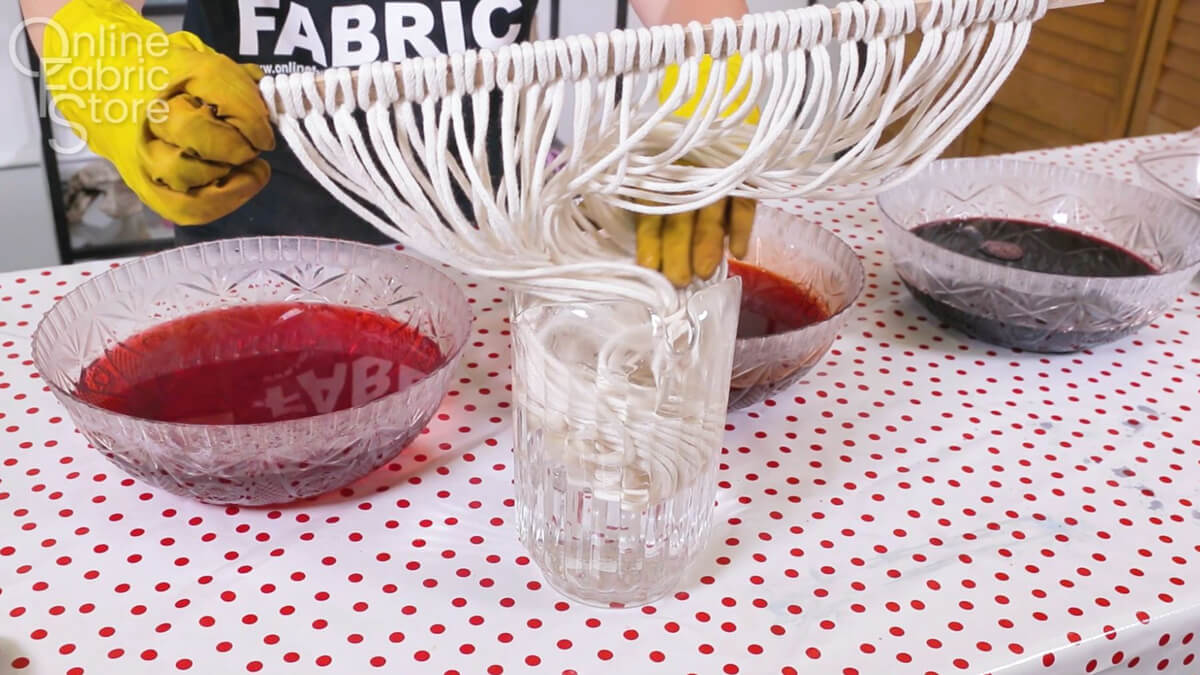
Step 5: Dip Dye
Something I found helpful was starting with a sketch of what I wanted and working off of that. Then I got to dipping.
Start by dipping your tapestry in clean warm water and letting it sit for a minute so the fibers open up.
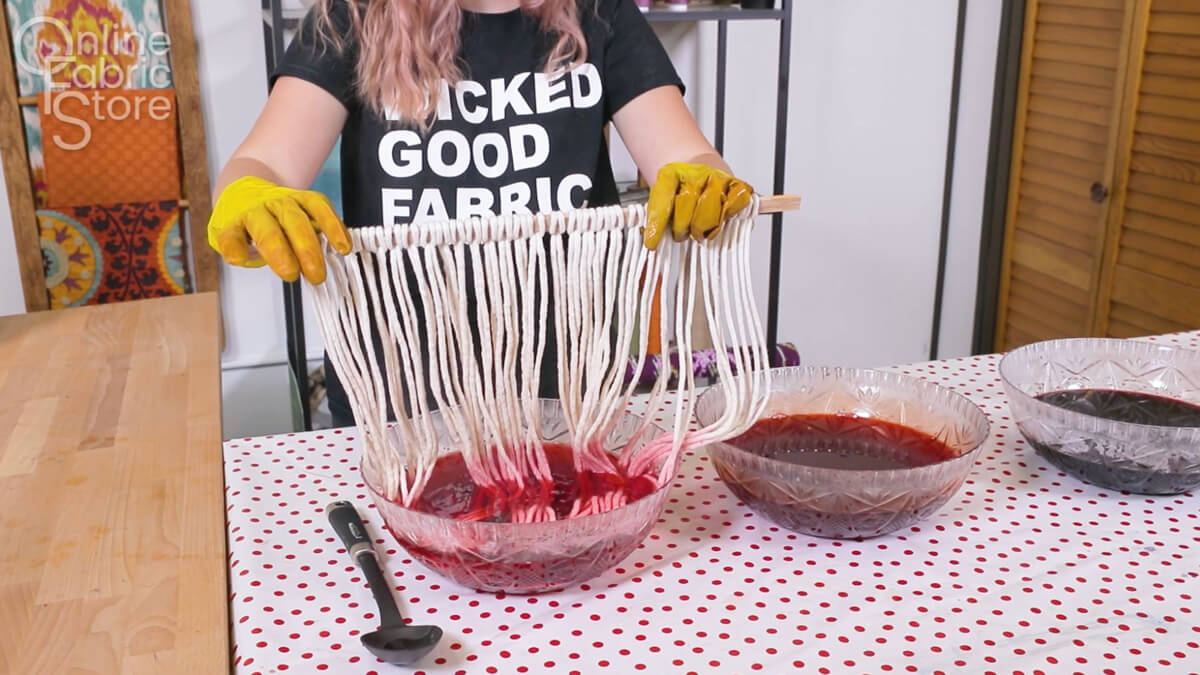
Be really mindful about getting dye on your hands, if you are leaving parts of the tapestry natural like me, you don’t want to get dye in spots that should be clean.
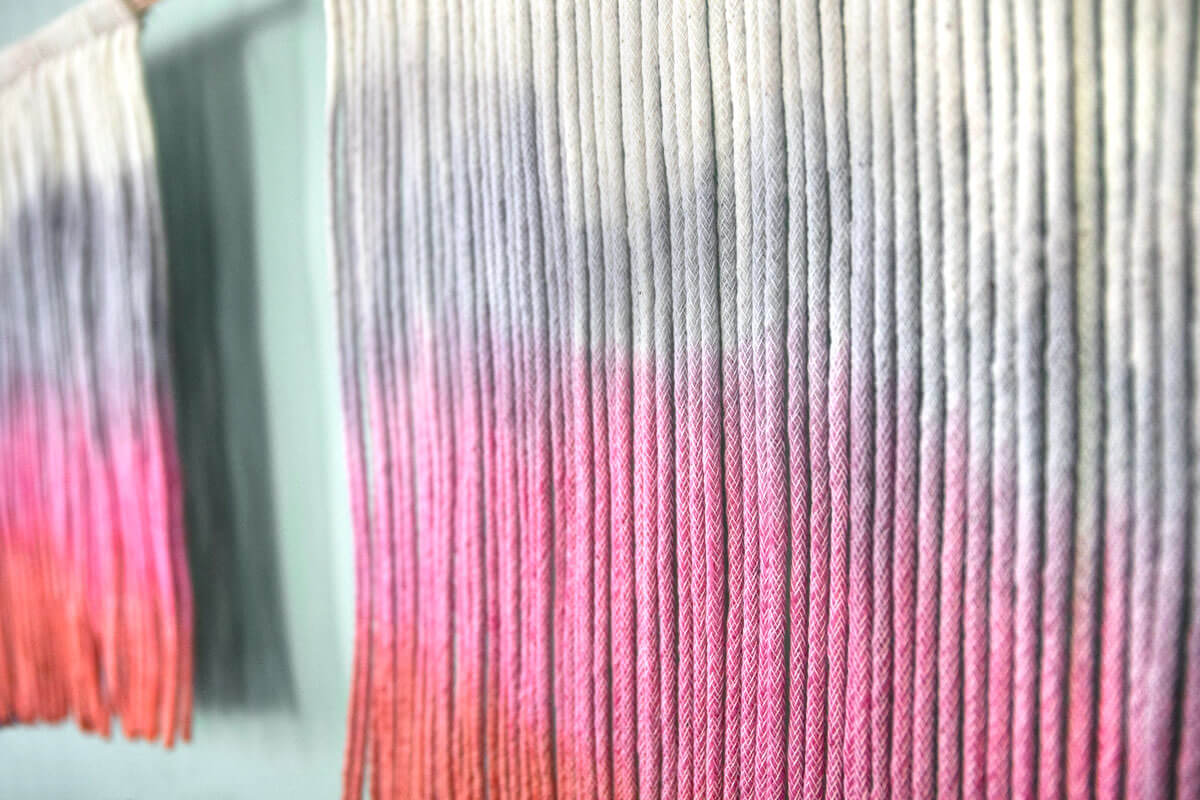
I started dipping the tapestry in pink up to about 3 inches from where I wanted the color to start. Keep pulling the tapestry out and re dipping until you get the color you want, you don’t want to let the cords just sit in the dye bath.
Then move to your second and third colors.
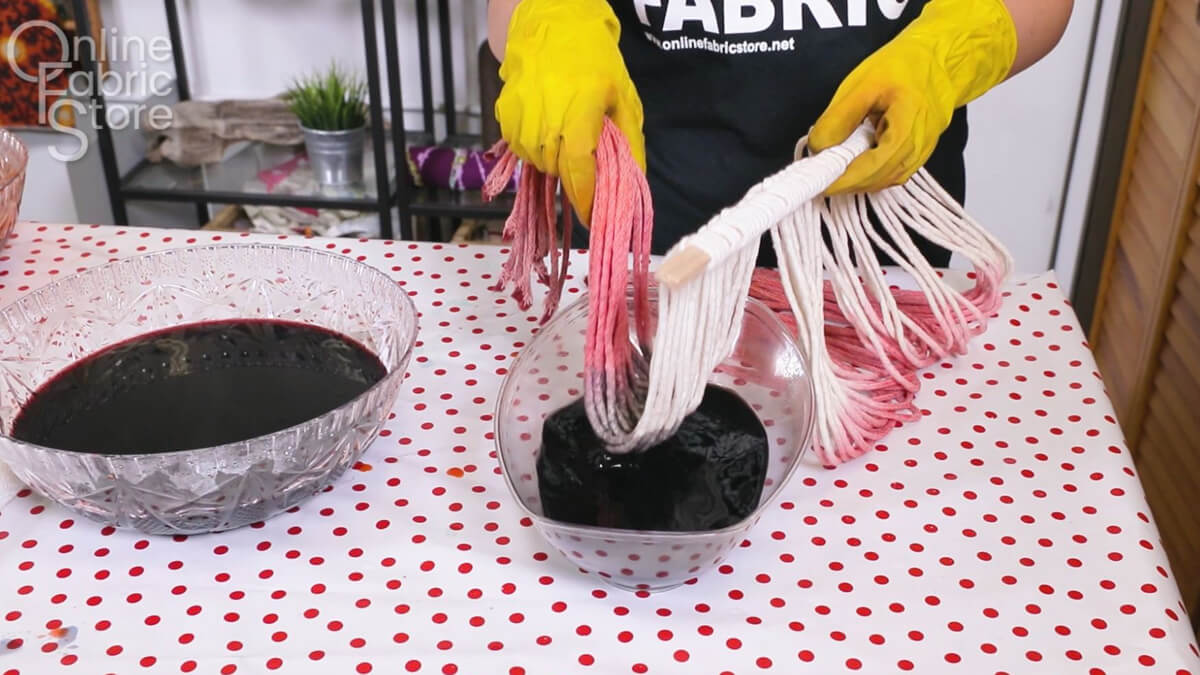
Now, I wanted the first color to be gray but I didn’t start with the grey because it would make the other colors looks dull, so I am going to be folding the cords and dipping just the sections I want dyed in gray. Do this for any color in your pattern that will not blend well or if it is darker than the colors below it.
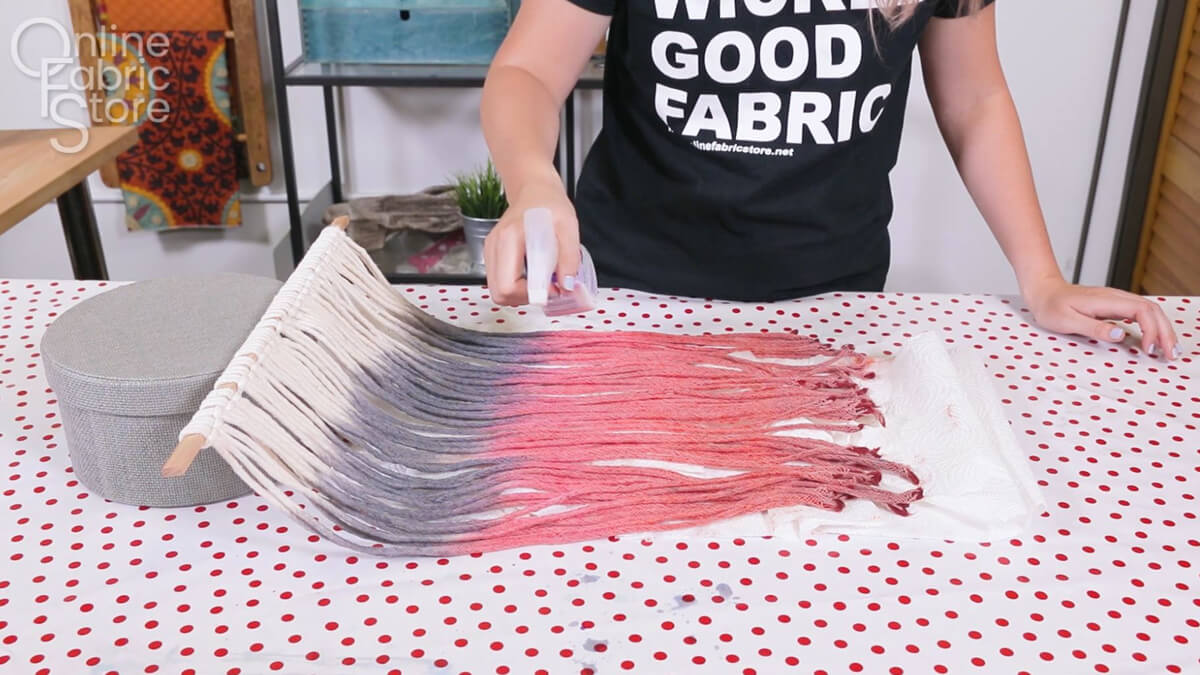
Step 6: Fixative
Spray fixative onto the tapestry and allow it to sit for about 30 minutes. Elevate the dowel slightly so the dye does not travel up the cord.
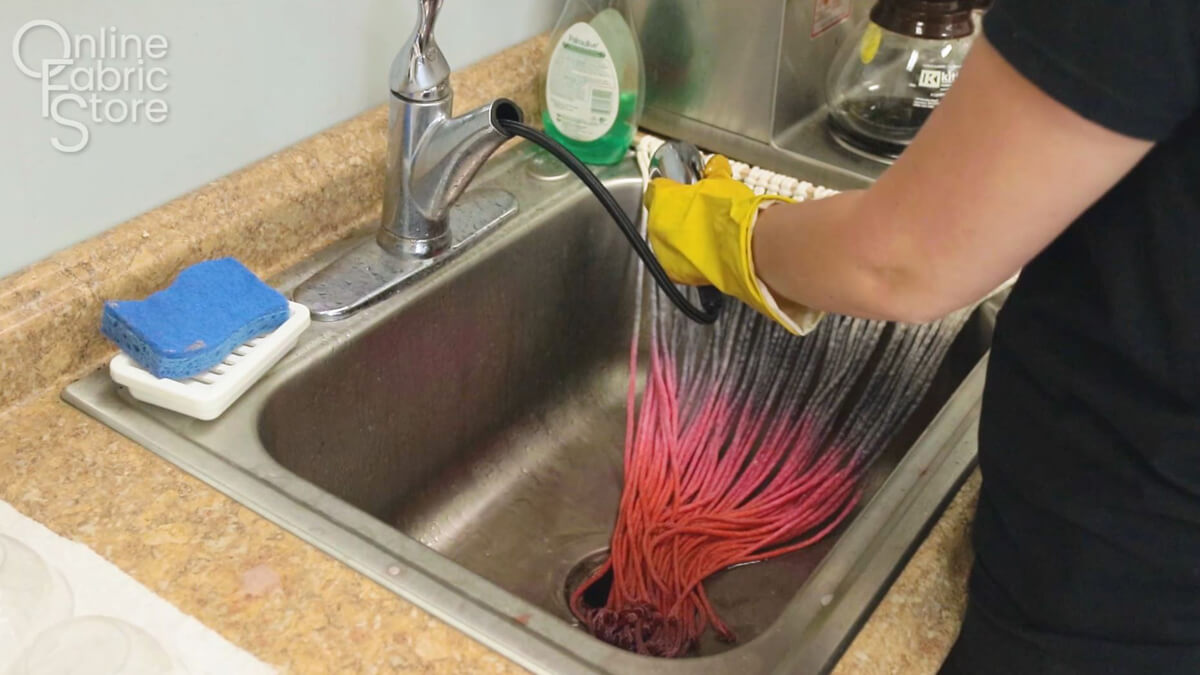
Step 5: Rinse and dry
Rinse the dye out, starting with warm and then cold water. Once the water is running clear hang it to dry
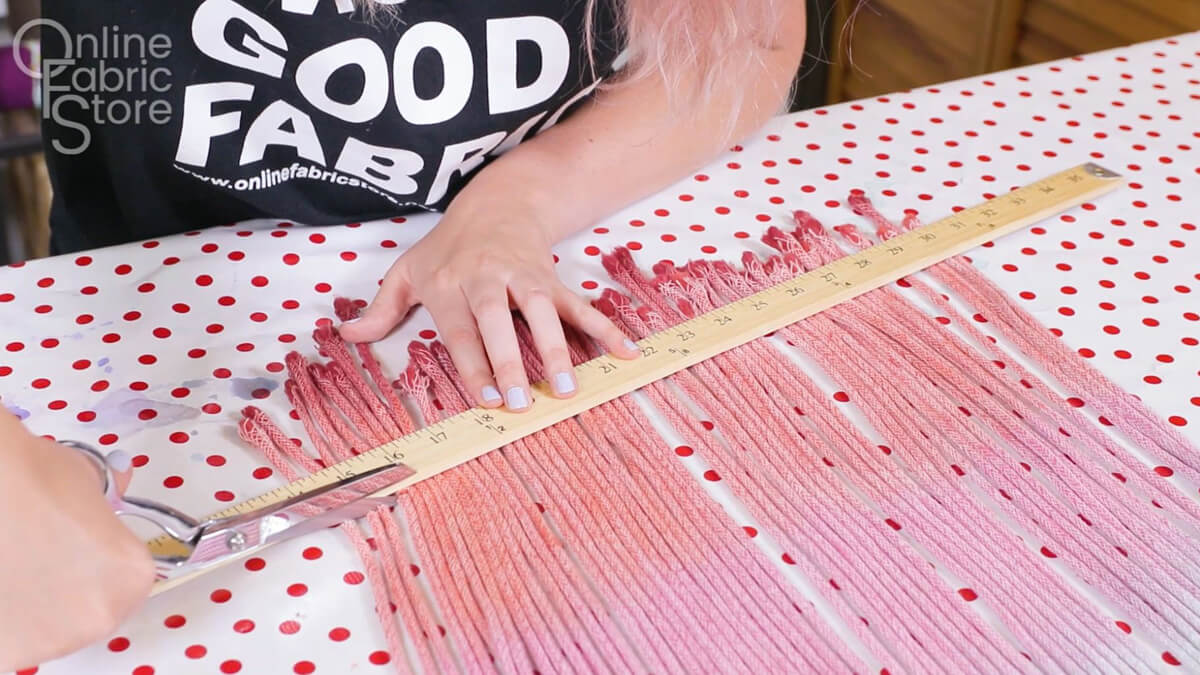
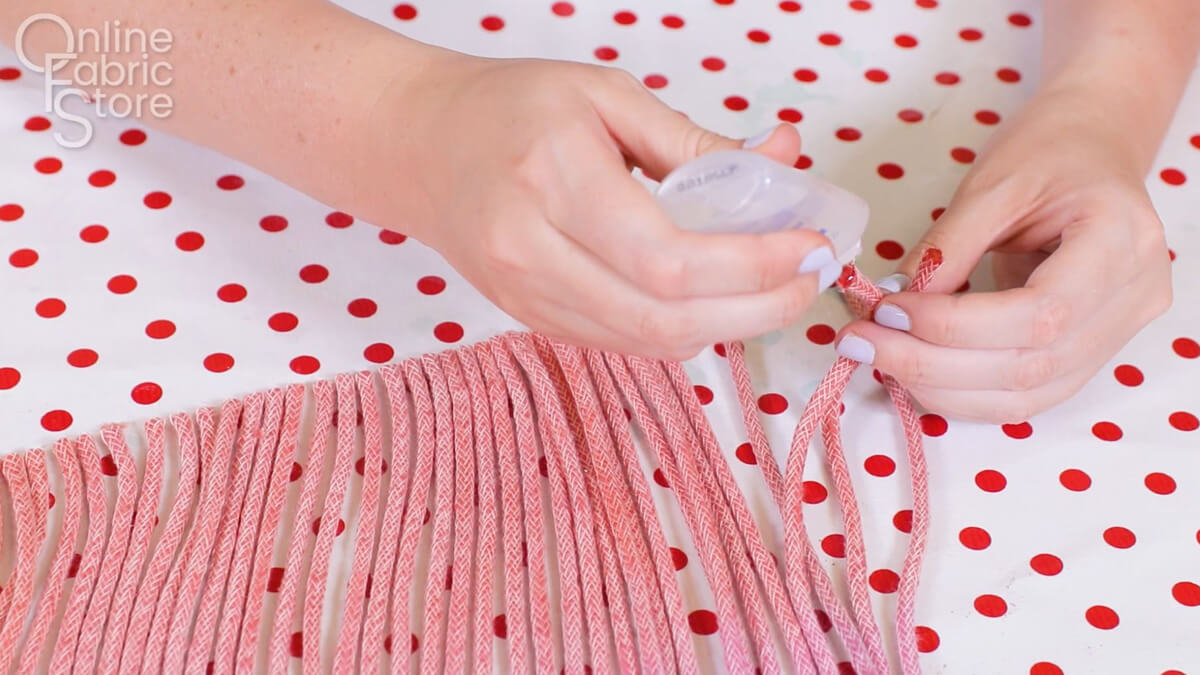
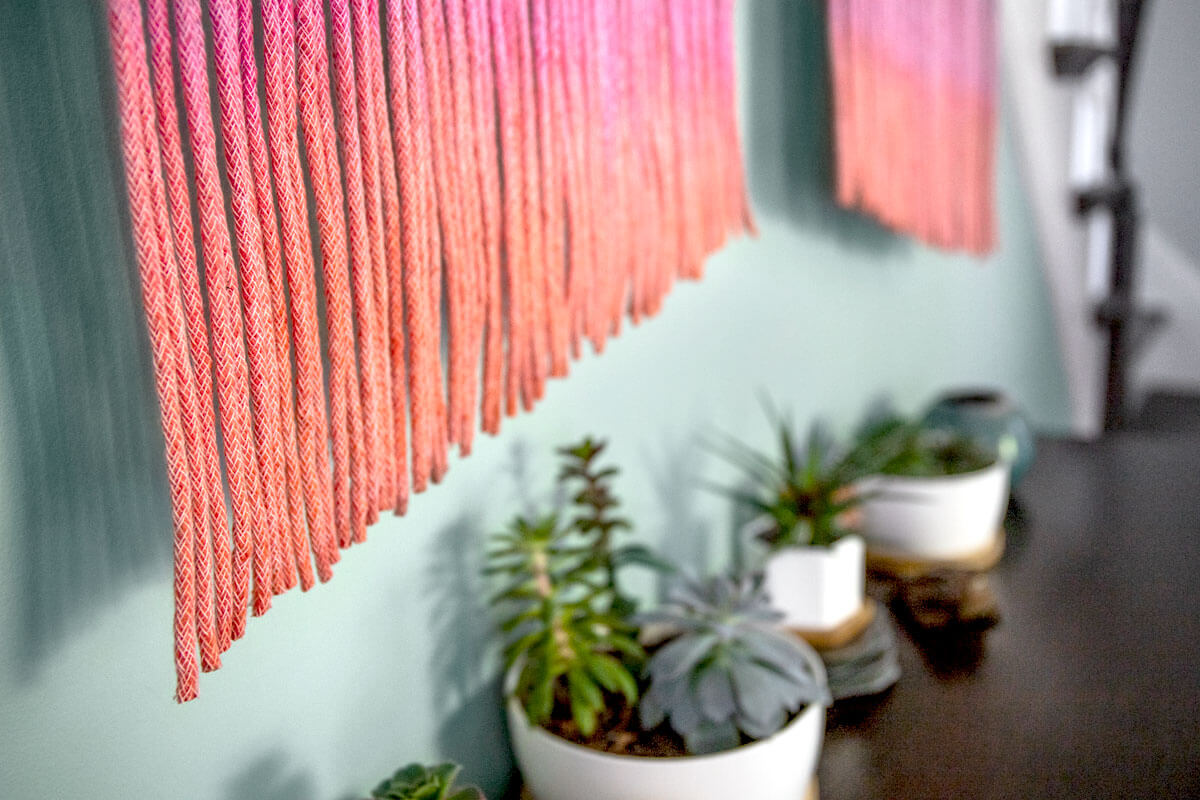
Step 5: Trim and fray check
Trim the ends of each cord separately to your desired length. Use fray check at the end of each cord to lock the fibers in place.
