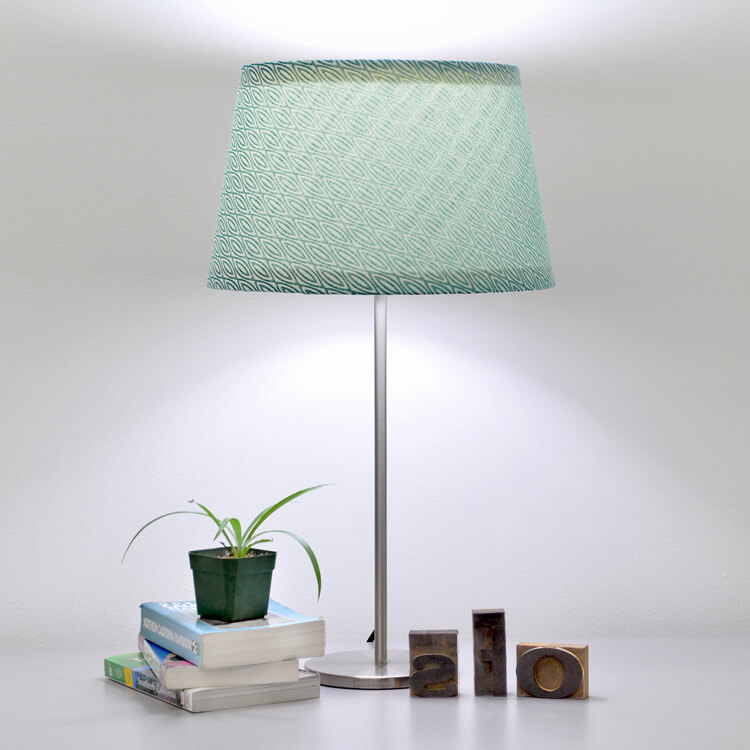
How to Cover a Lampshade with Fabric
- By Clara
- Beginner
- 1 hour
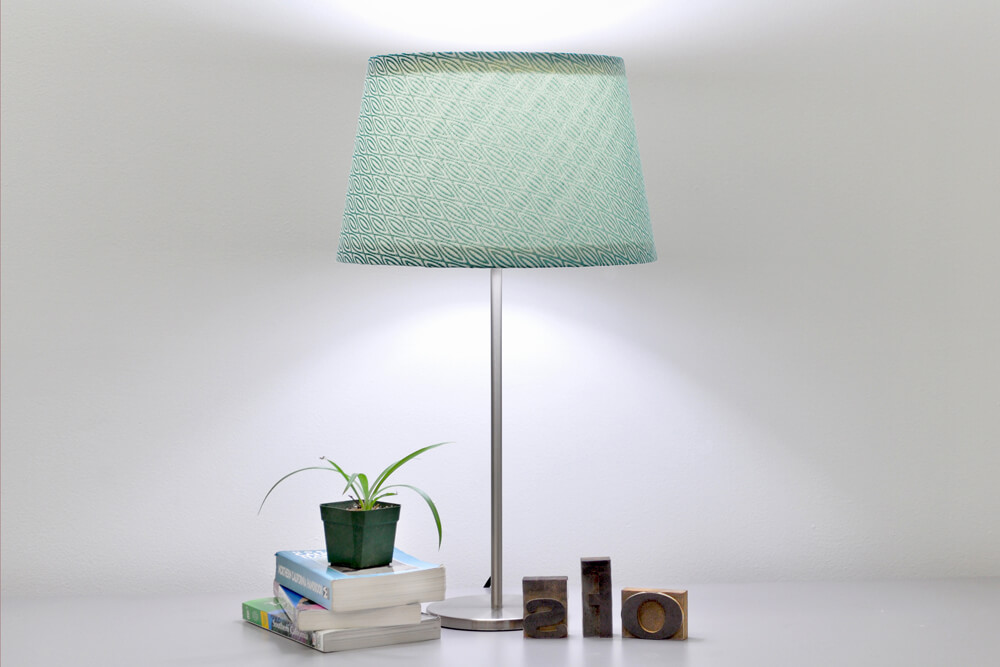
Today I’m going to turn a plain, boring, white lampshade into a snazzy, fabric covered lampshade. This is a quick & easy, no-sew project that you can customize to your style.
Materials
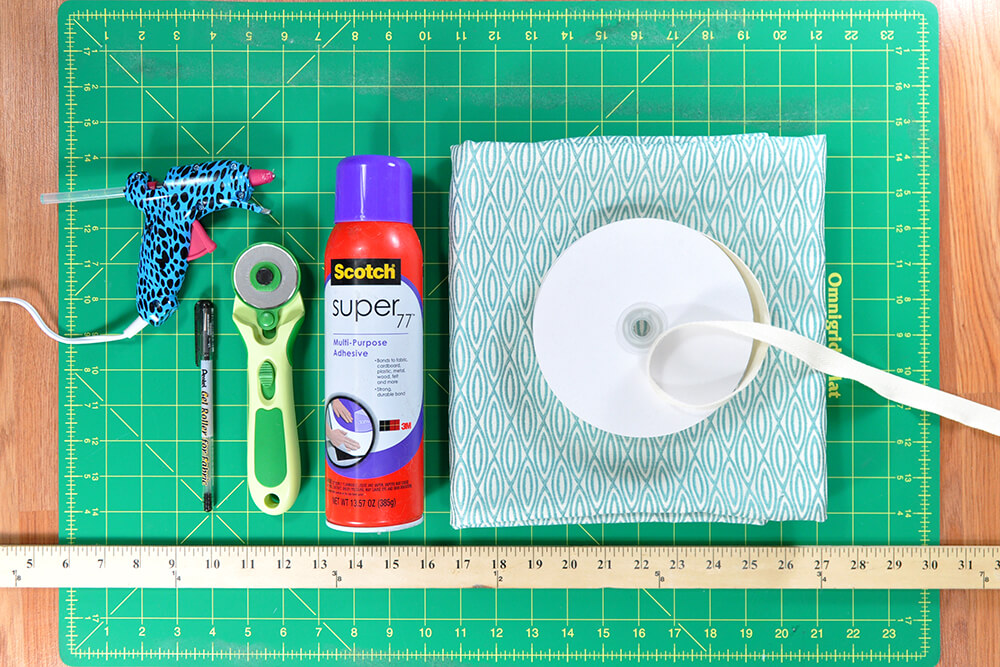
Related Products

Video
Instructions
Step 1: Mark the fabric
The weight and color of your fabric will affect the amount of light that passes through it. The thicker and darker the fabric, the less light will shine through. The fabric that I’m using will only dim the light slightly.
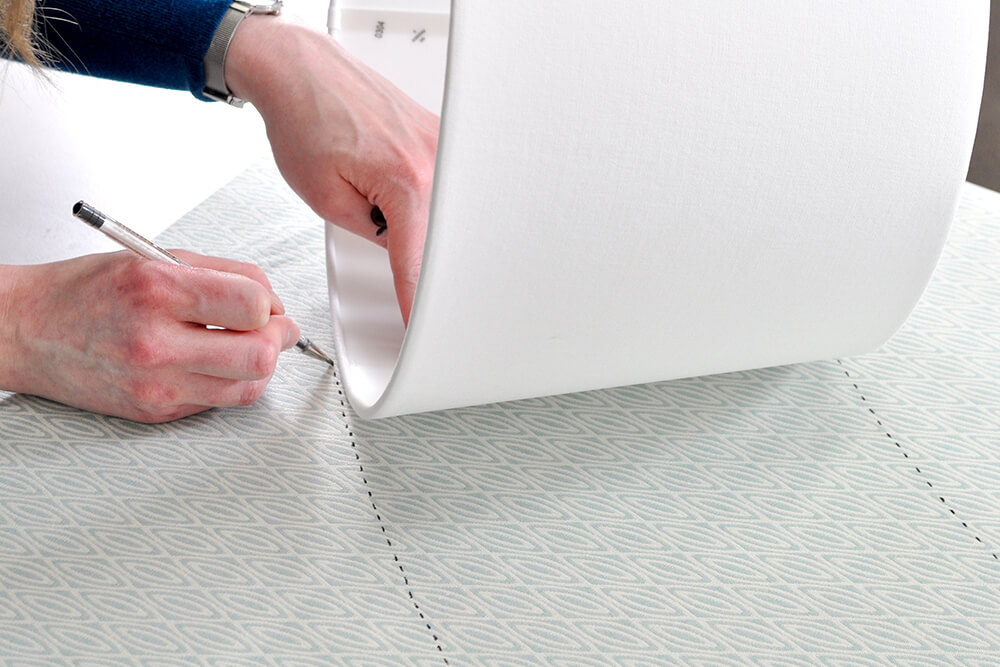
Layout your fabric, wrong side up, and roll the shade over it to make sure there’s enough room and that the pattern will be positioned how you want it. To do this, bring the shade back to the corner of fabric, bring the shade about an inch or so away from the edge, and line up the seam of the shade where you want to start. Take your fabric marker and mark the top and the bottom of the lampshade.
Draw a line along the bottom edge of the shade as you roll it across the fabric. Stop when the seam of the lampshade comes back around.
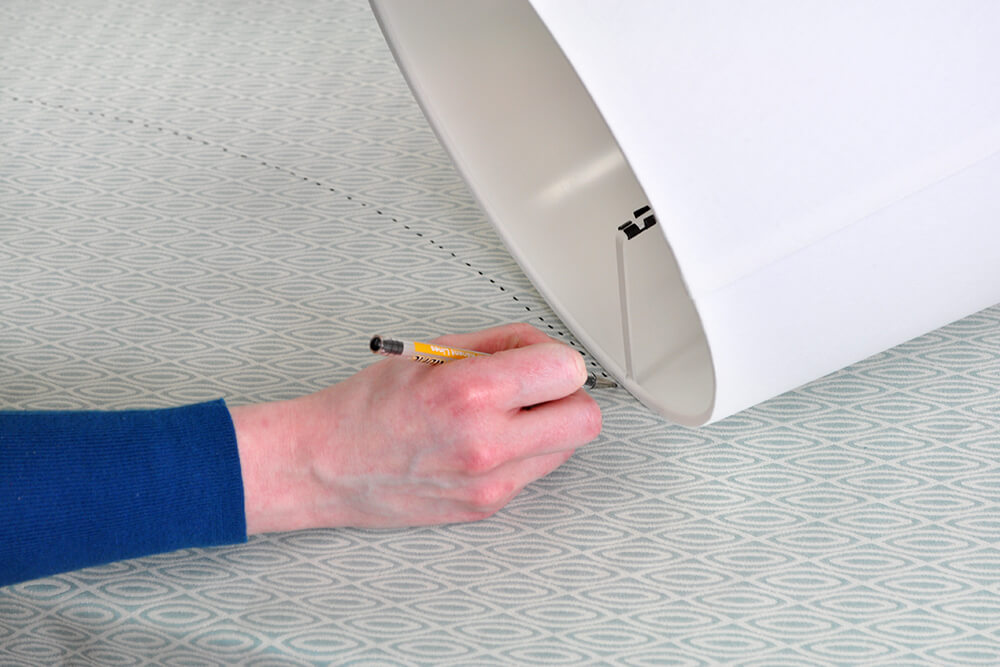
Without shifting the shade, bring it back to your starting point and repeat to mark the top edge. At each end, connect the two dotted lines with a straight line.
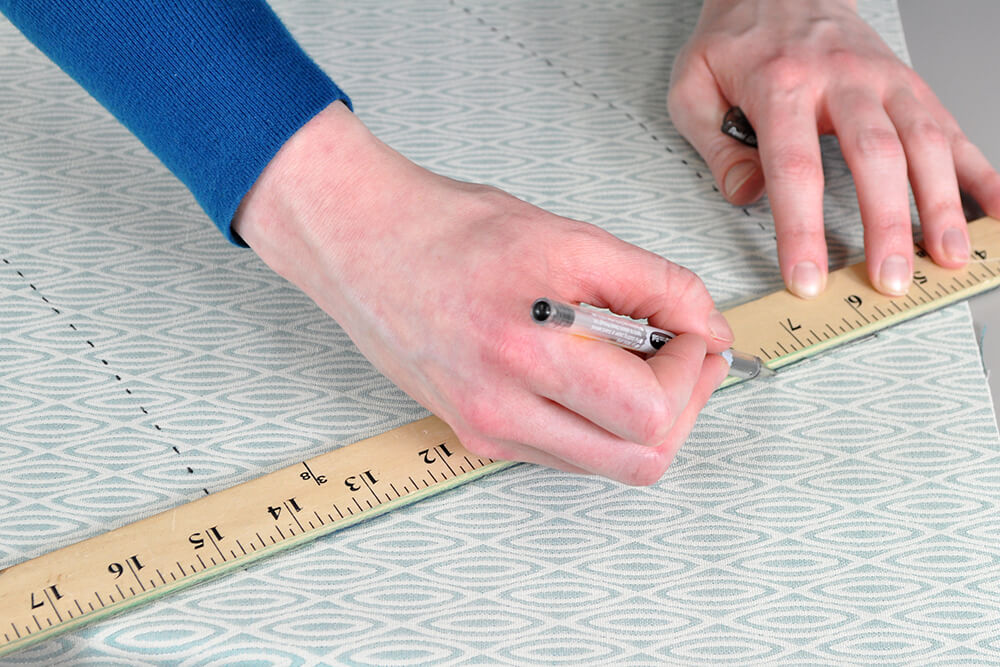
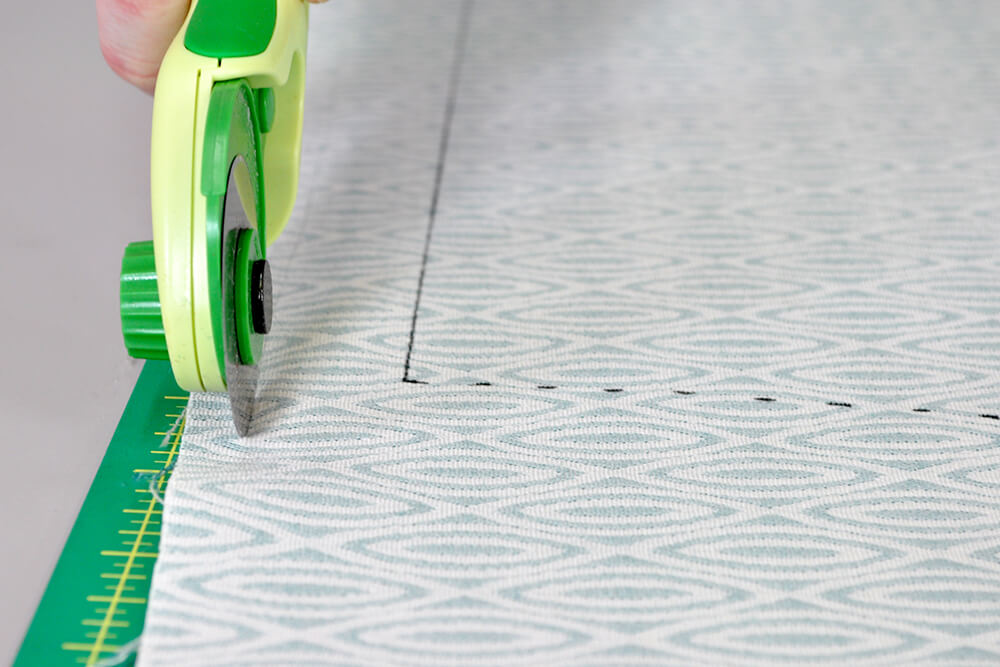
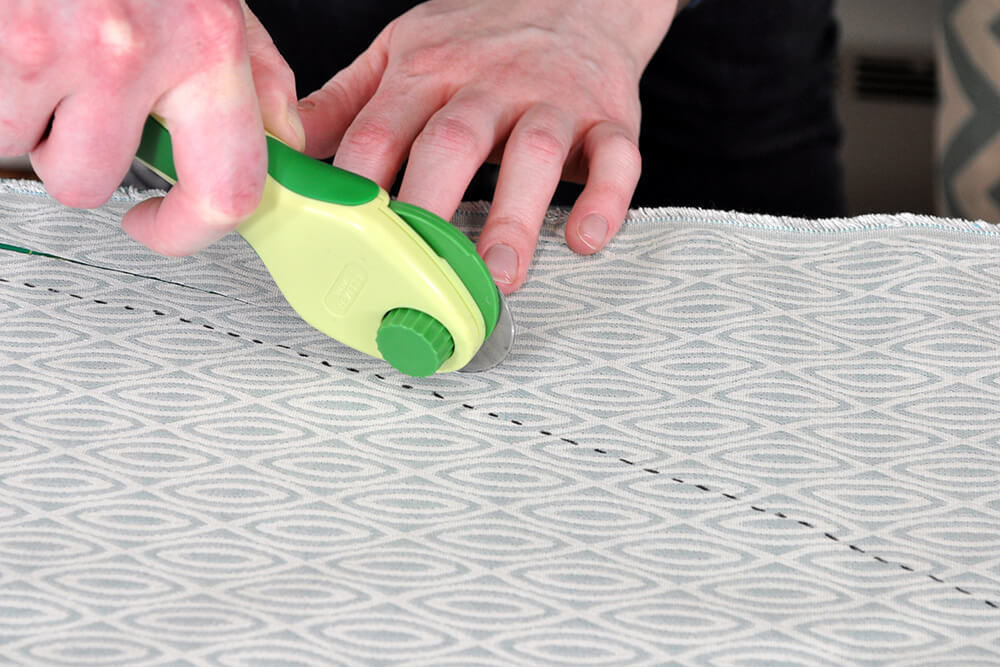
Step 2: Cut the fabric
Dry fit the fabric with the lampshade to make sure everything lines up.
When cutting the fabric, you want to add about half an inch to the top and bottom edges and an inch to each end. I’m going to eyeball it as I cut but you could also mark it before you cut. It doesn’t need to be exact because we’ll be covering the raw edges on the inside of the shade with ribbon.
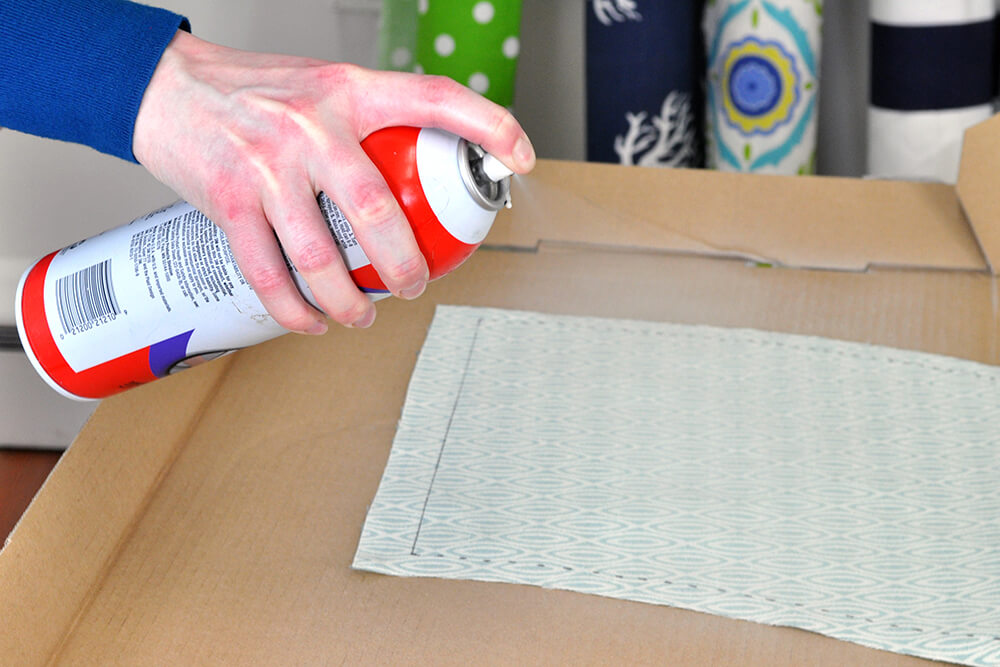
Step 3: Coat the fabric with spray adhesive
Ideally you’d want to do this step outside or in a well-ventilated space. Cover your work surface with craft paper, cardboard, or newspaper. Follow the directions on the can and coat the backside of your fabric with a coat of spray adhesive. Fold over one of the short ends about an inch and spray that with adhesive too. This will be your seam.
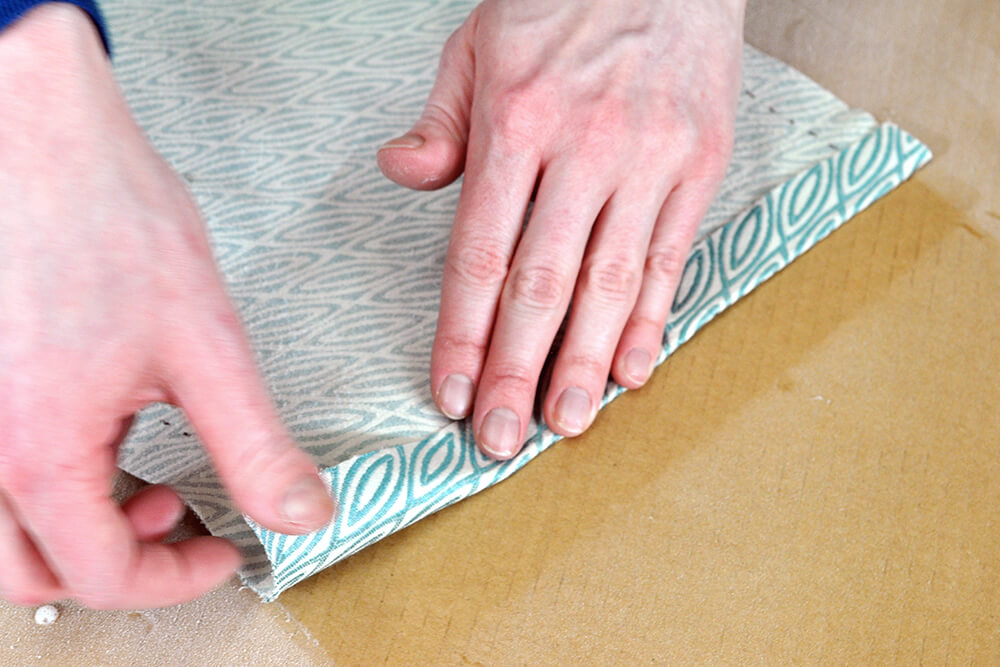
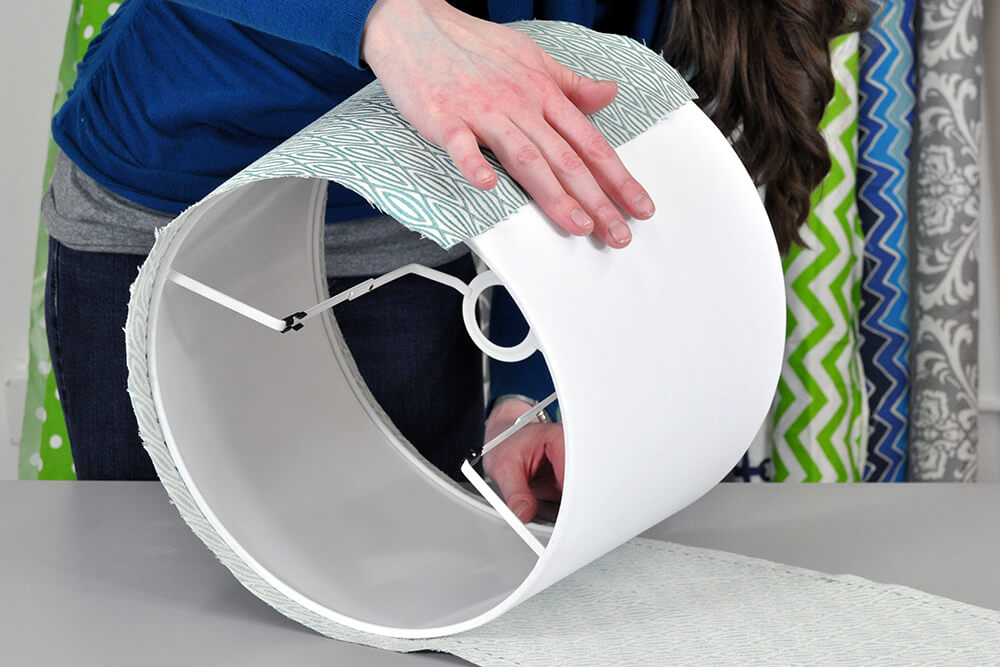
Step 4: Wrap the shade with the tacky fabric
The adhesive stays tacky for a while, so you’ll have time to re-position the fabric if needed.
While the fabric is still tacky, roll the shade over the fabric like you did while marking it. Be sure to line up the seam of the shade with the edge of the fabric. As long as the spray is still tacky, you can re-position the shade. Press the fabric to the shade to make sure it is fully secure. Then fold the edges over the top and bottom of the shade.
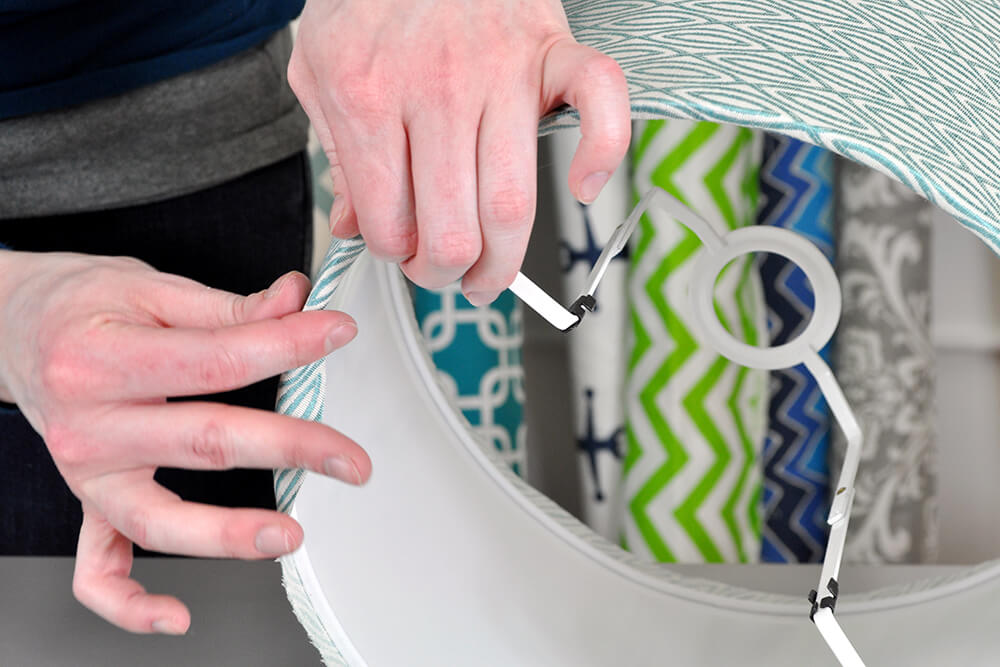
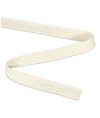
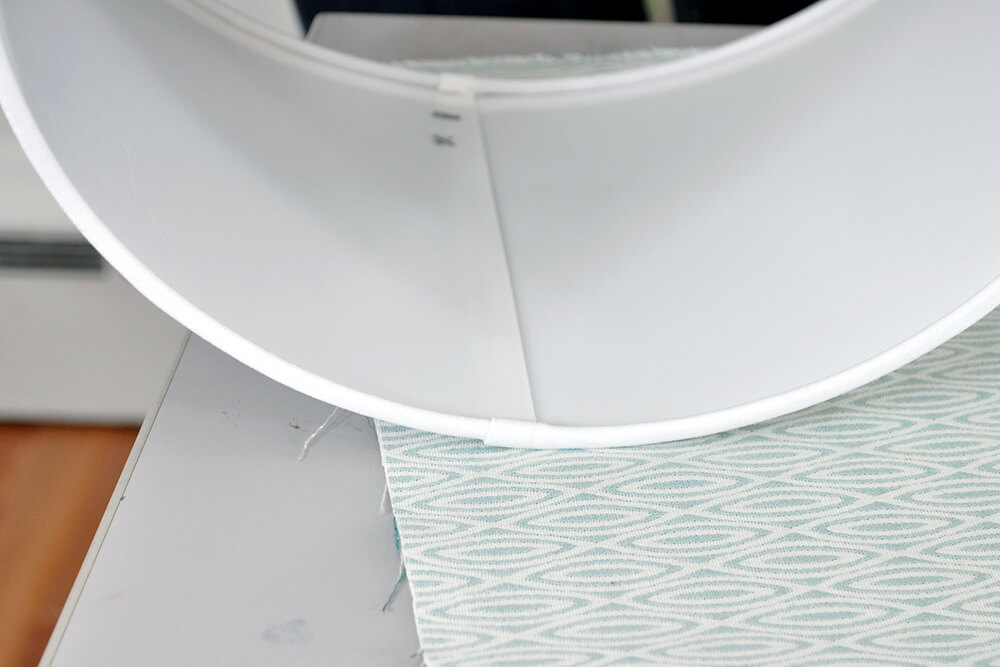
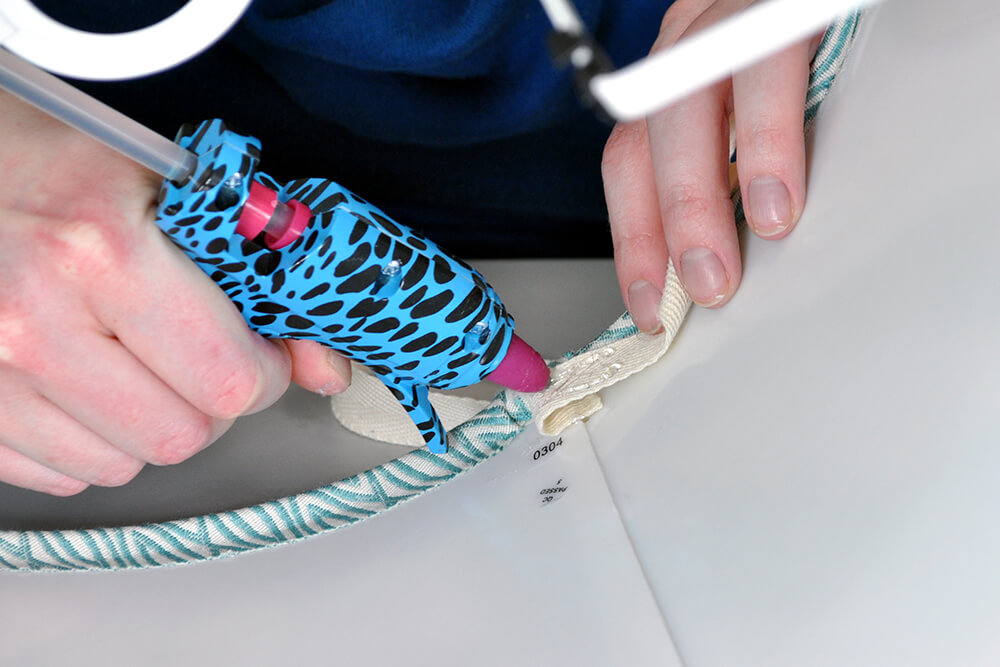
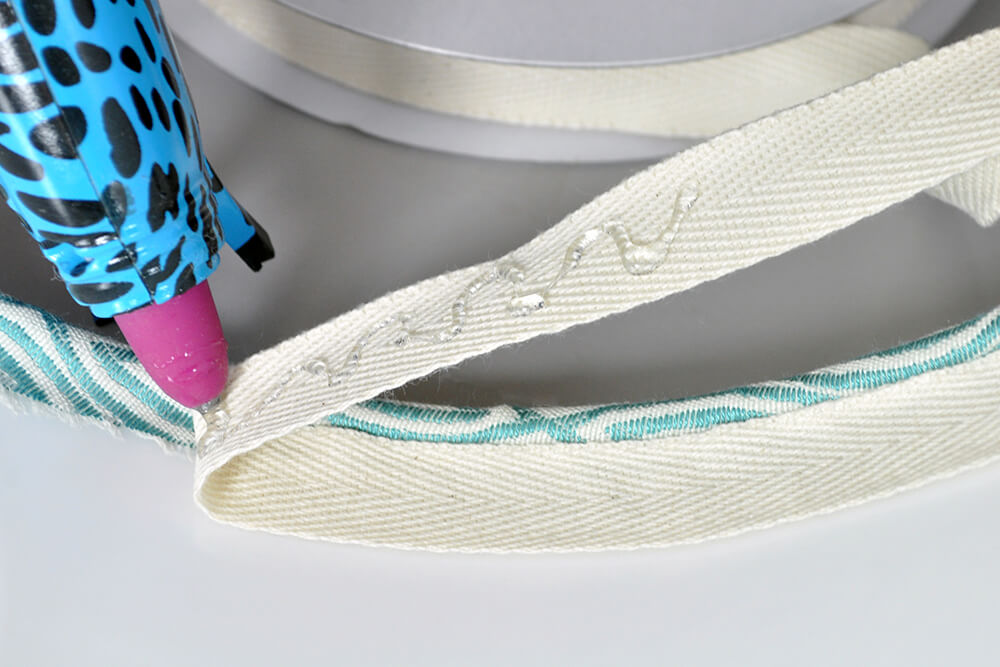
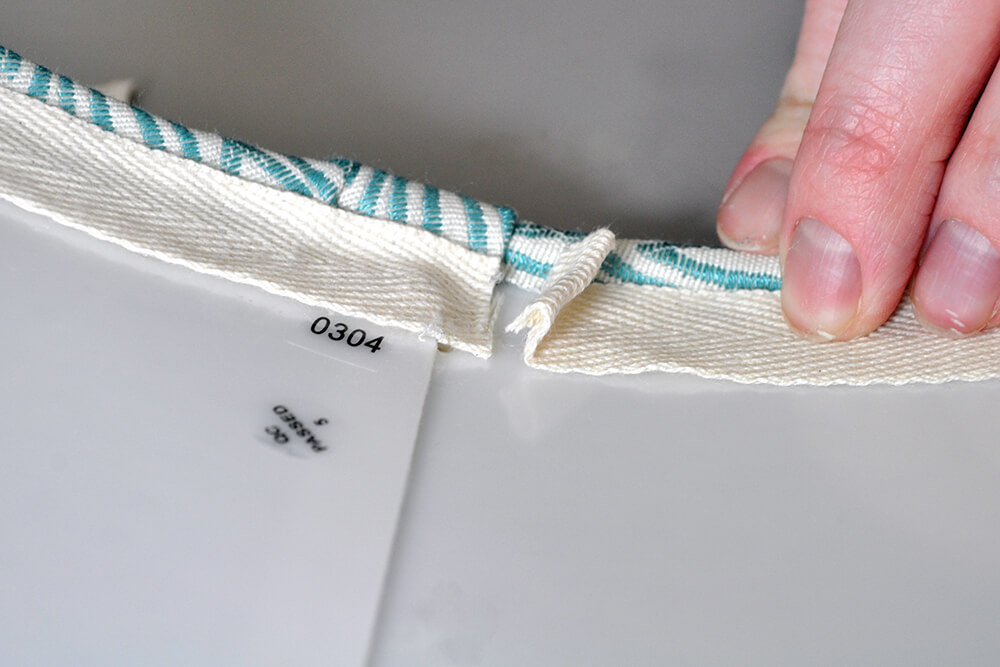
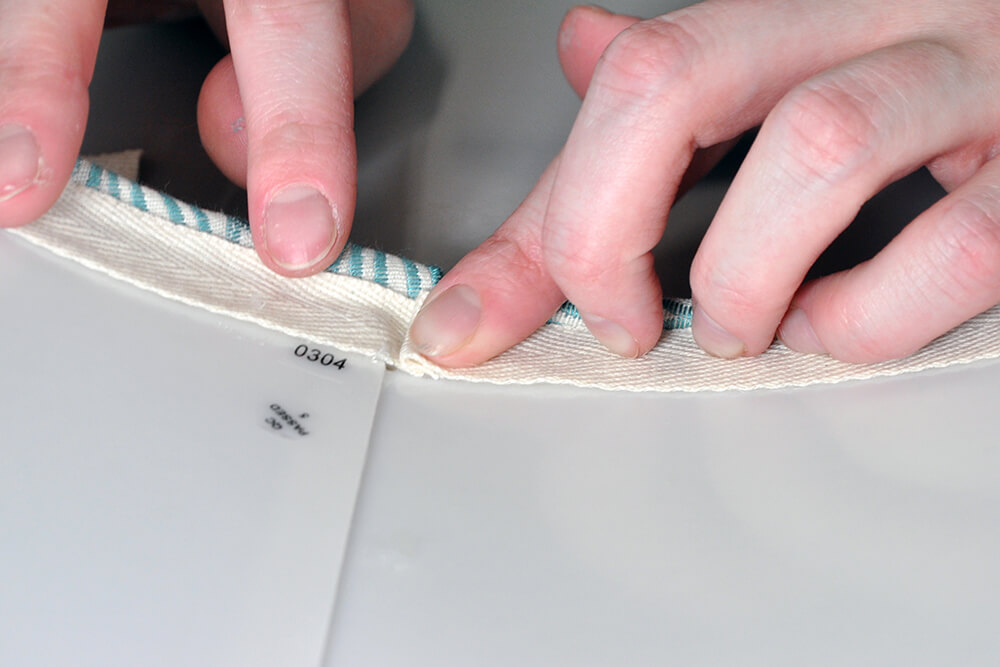
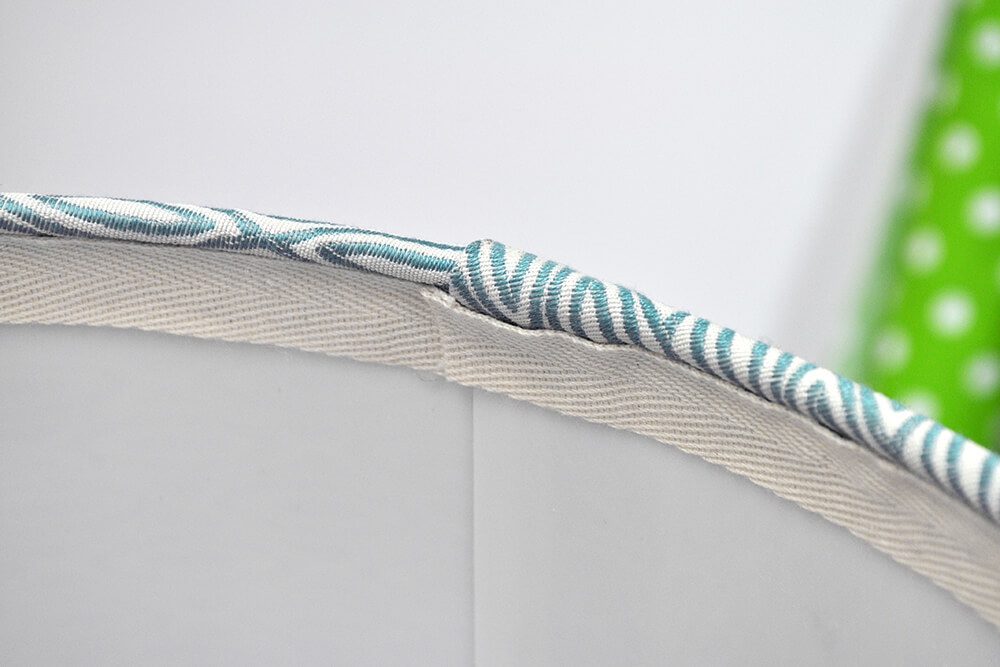
Step 5: Add ribbon to finish the edges
If your lampshade has any parts that you need to work around, simply snip the fabric and press around it.
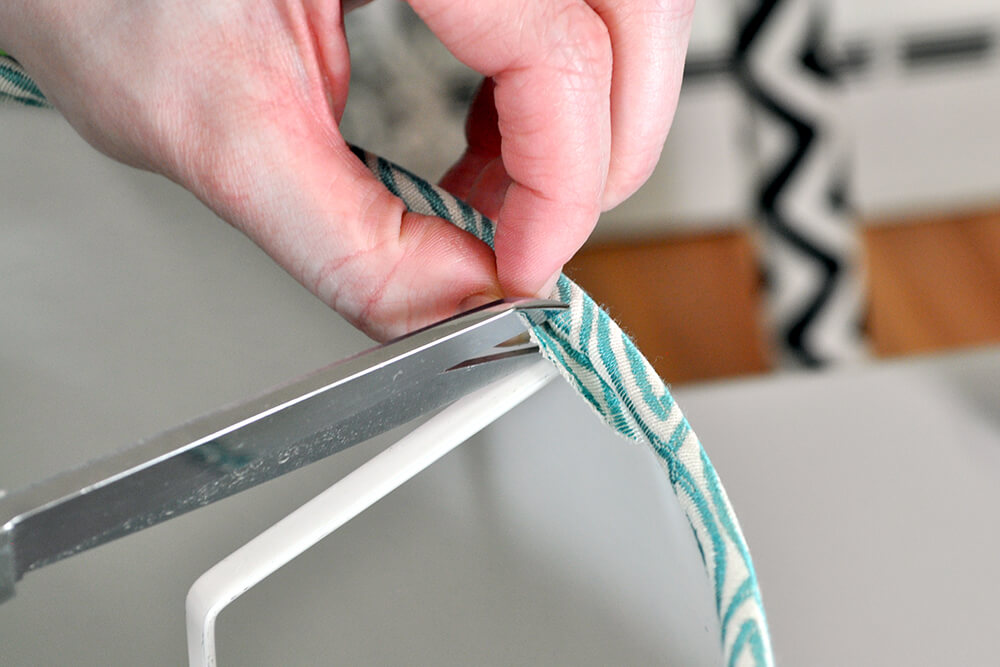
To create a polished look, we’re going to cover the raw edges of the fabric with ribbon. This step is optional but makes the finished product look nice. Use a hot glue gun to attach the ribbon to the inside edges of the shade. It’s best to start the ribbon where ever the seam of the lamp shade is.
And there you have it, a unique lampshade that you can customize to your style.
Looking for more beautiful decor fabric? Click this link to view our wide selection!
-
{{#each productSuggestedQueries.results}}
- {{query}} {{/each}}
-
{{#each categories.results}}
- {{html title}} {{/each}}
{{html attributes.description}}
{{/if}}-
{{#each queries.results}}
- {{query}} {{/each}}