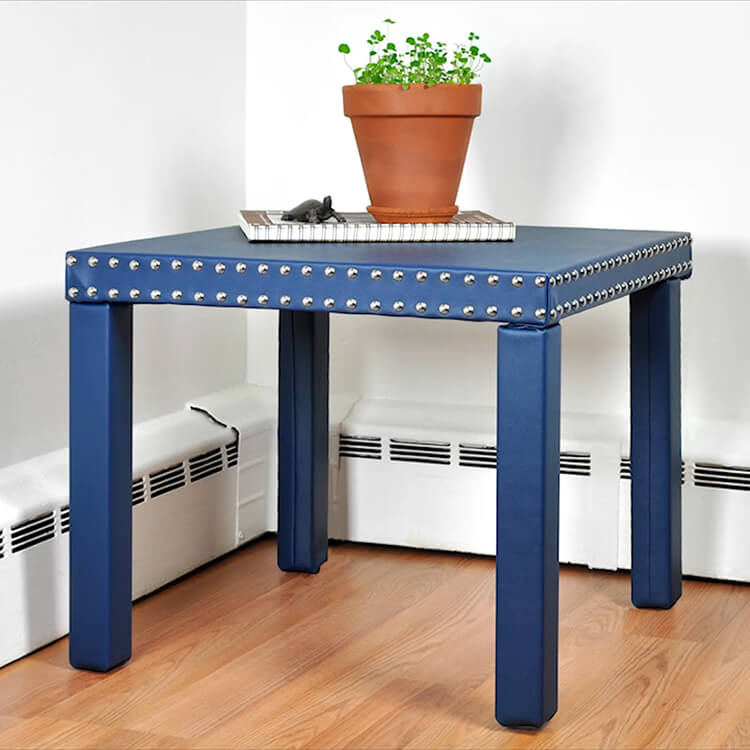
How to Cover a Side Table with Vinyl
- By Clara
- Beginner
- 1 hour
There are many creative ways to take an inexpensive piece of furniture and turn it into something unique. I’m going to be transforming an Ikea side table by covering it with vinyl and adding a decorative nail head trim. Adding nail head trim is a great way to add interest to an otherwise plain piece of furniture from headboards to chairs to tables.
Materials
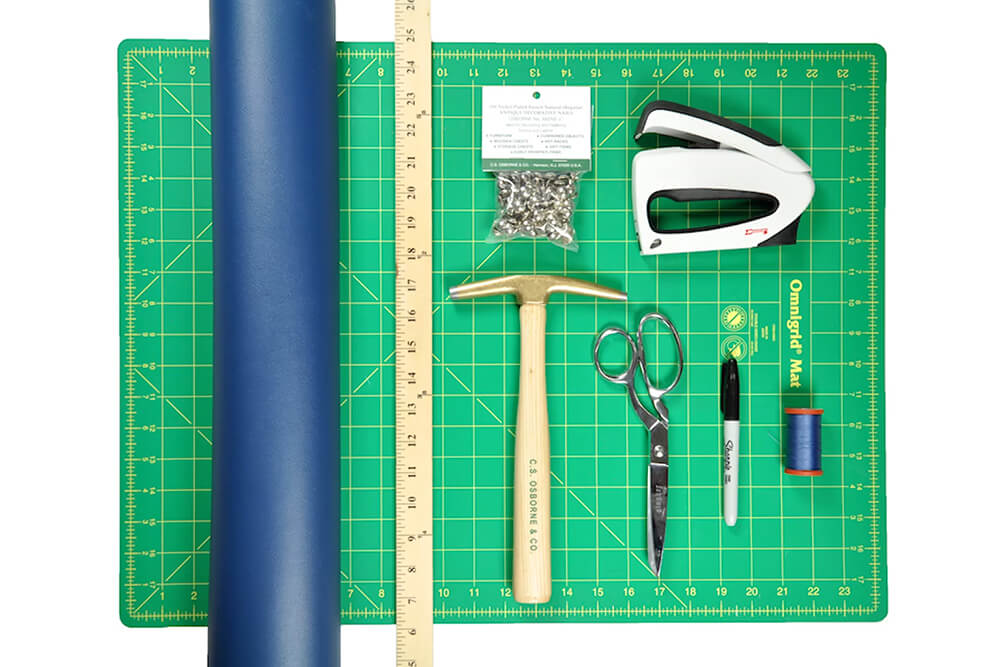
Related Products

Video
Instructions
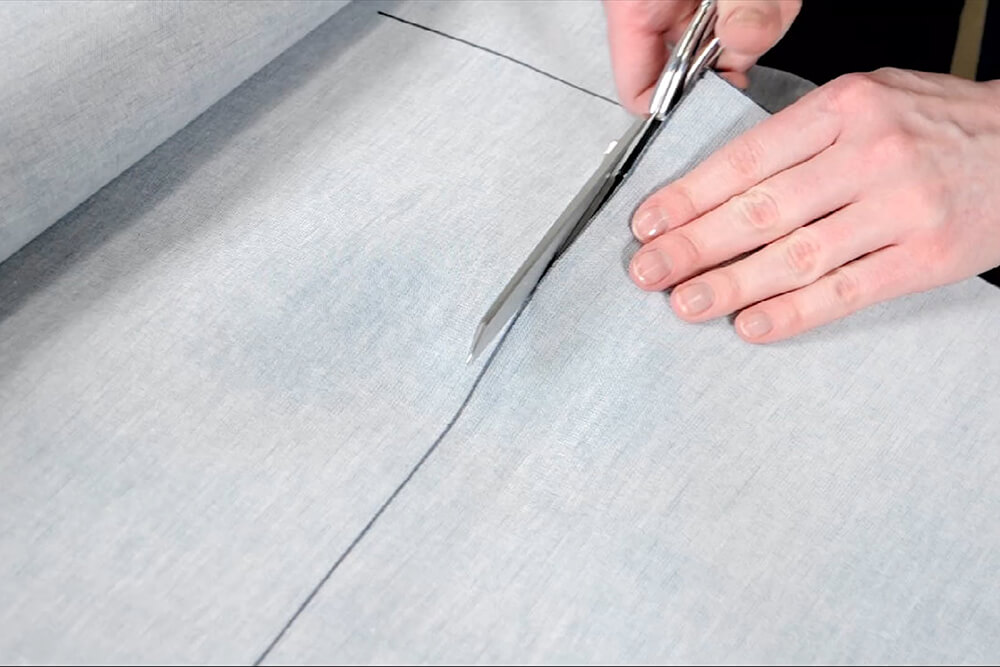
Step 1: Measure and cut the fabric
My table is about 22 by 22 inches square and 2 inches thick. You’ll want the vinyl to wrap under the table a couple inches on all sides so for my tabletop I’m cutting a piece that’s 30 by 30 inches.

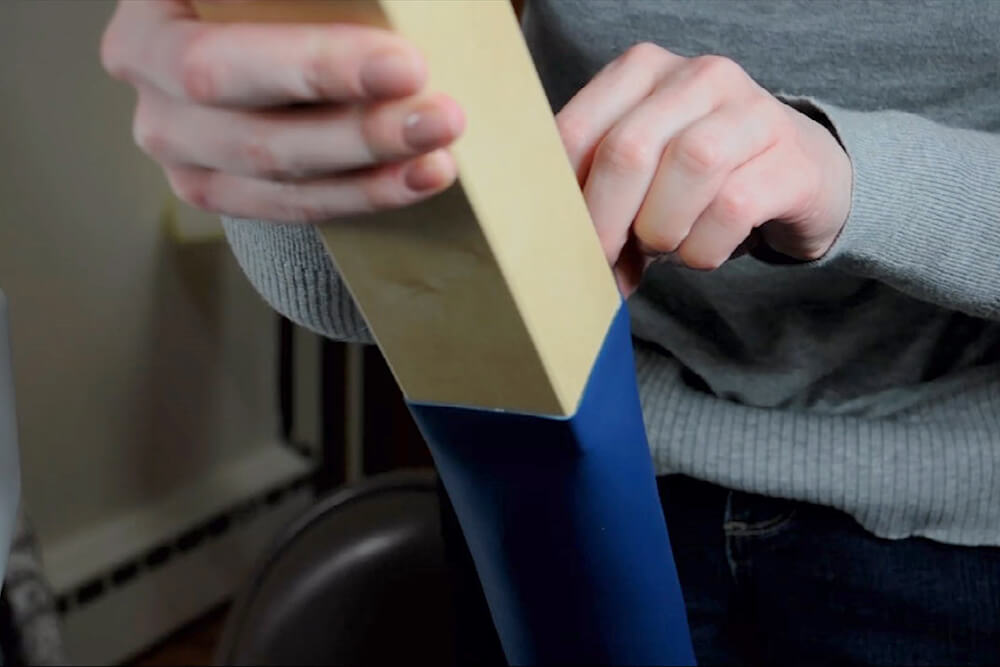
For the legs you will need enough material to wrap around the legs plus an inch for seam allowance. Since this leg is 2 by 2 inches square, I’m going to cut 9 inches for the width. This leg is 16 inches long plus I’m adding an inch at each end to ensure that the top and bottom are covered, so I’ll be cutting four 9 by 18 inch pieces for the legs.
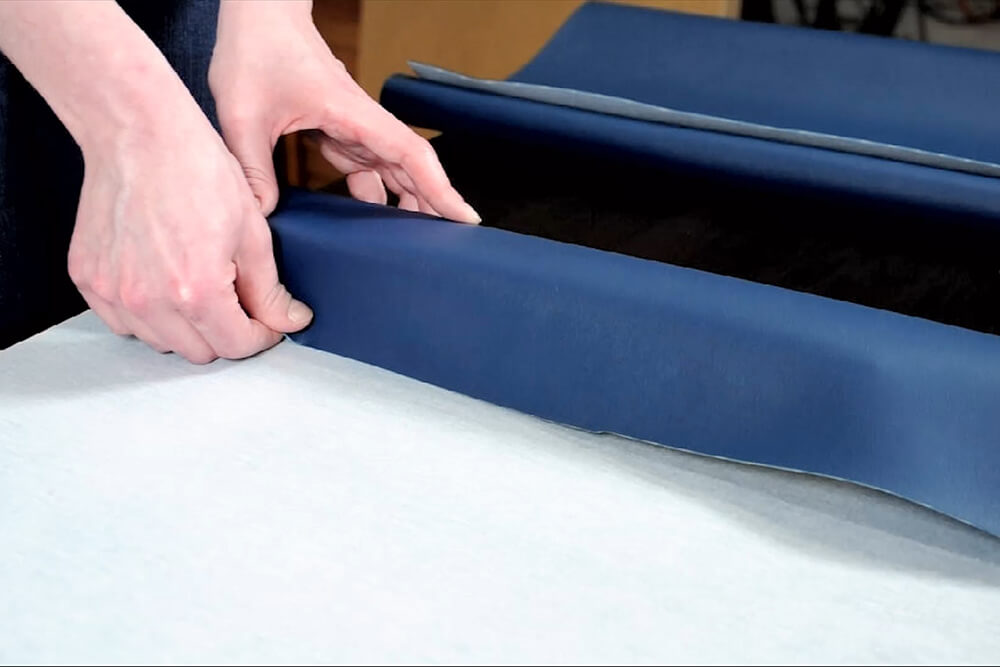

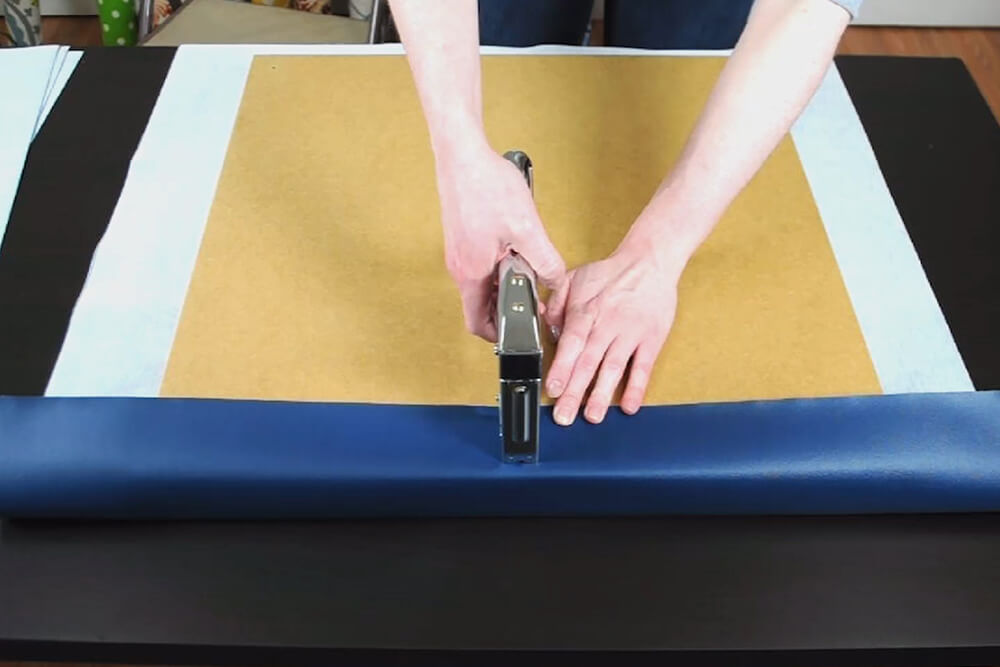
Step 2: Wrap the tabletop with vinyl
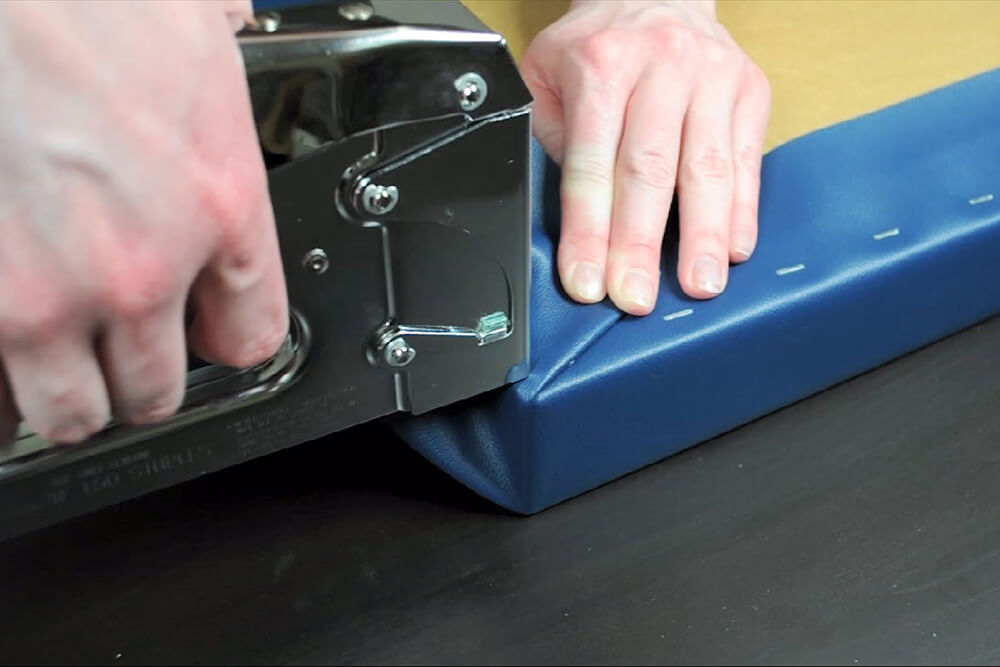
Place the tabletop face down on the vinyl and center it. Fold over one edge, pull it taut, and place one staple in the center. Now go to the opposite edge, pull the fabric tightly again, and staple in the center. Do this for all 4 sides.
Next, add a staple to each side of your initial staple, remember to pull it taut as you do it. I’m leaving about an inch between my staples. Continue to staple your way outwards, but stop a couple of inches before you get to the corners.
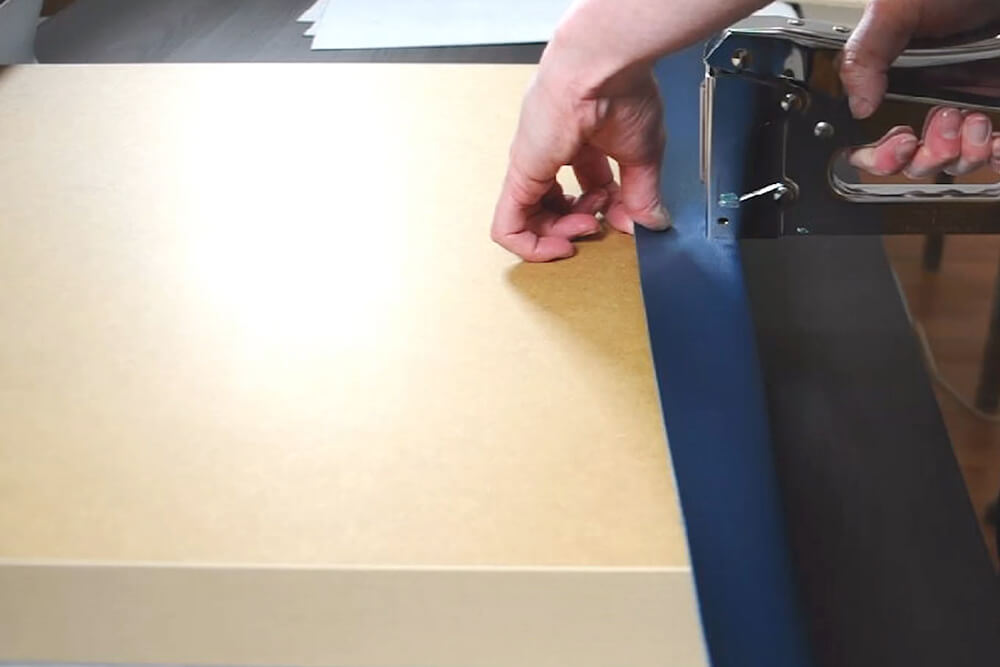

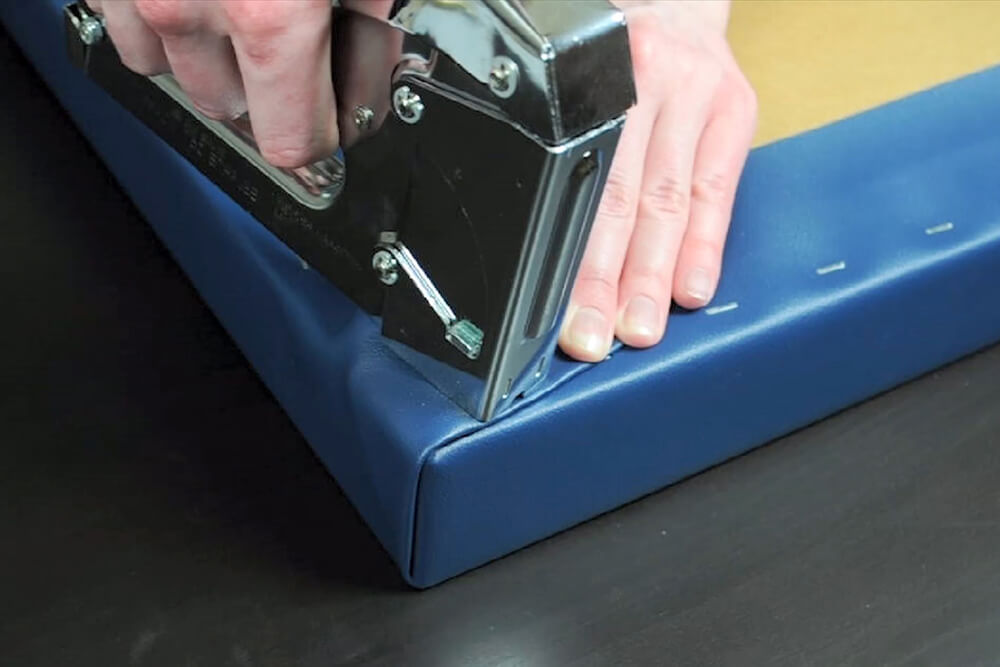
Once you get close to the corner with your staples, fold the vinyl to make a 45 degree angle at the corner. Pull taut and staple the top of the folded fabric down to the corner. Pull the remaining fabric tightly over the 45 degree fold so that it’s flush with the corner and staple 1 or 2 times.
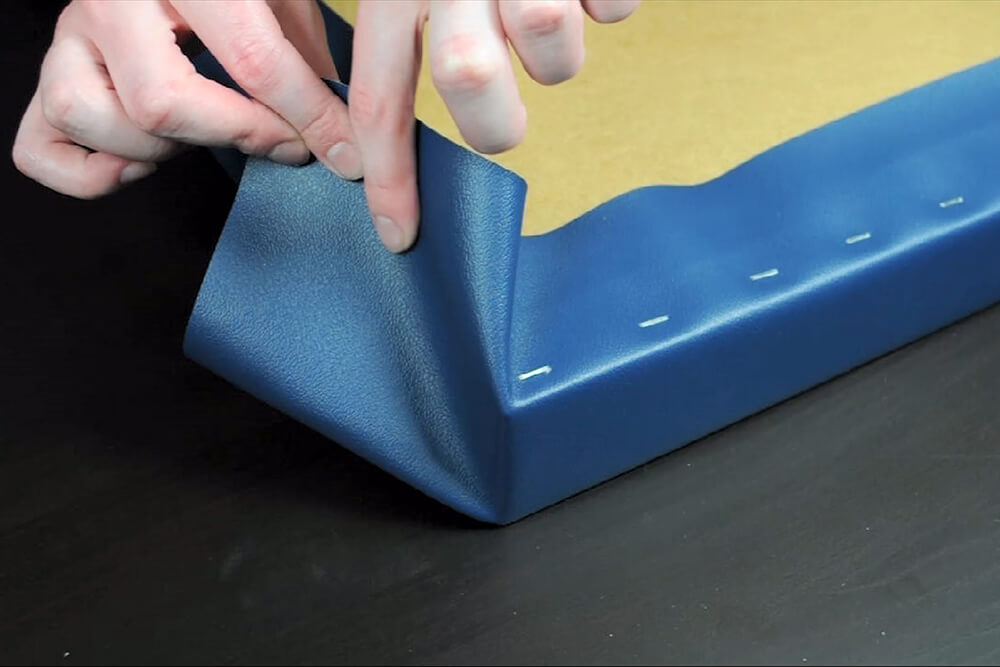
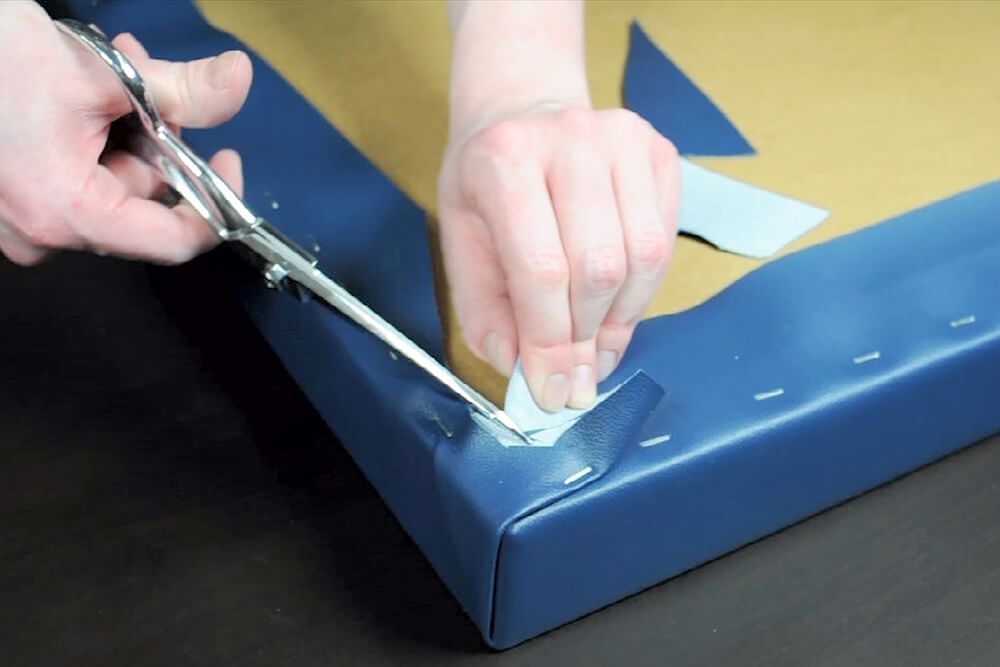
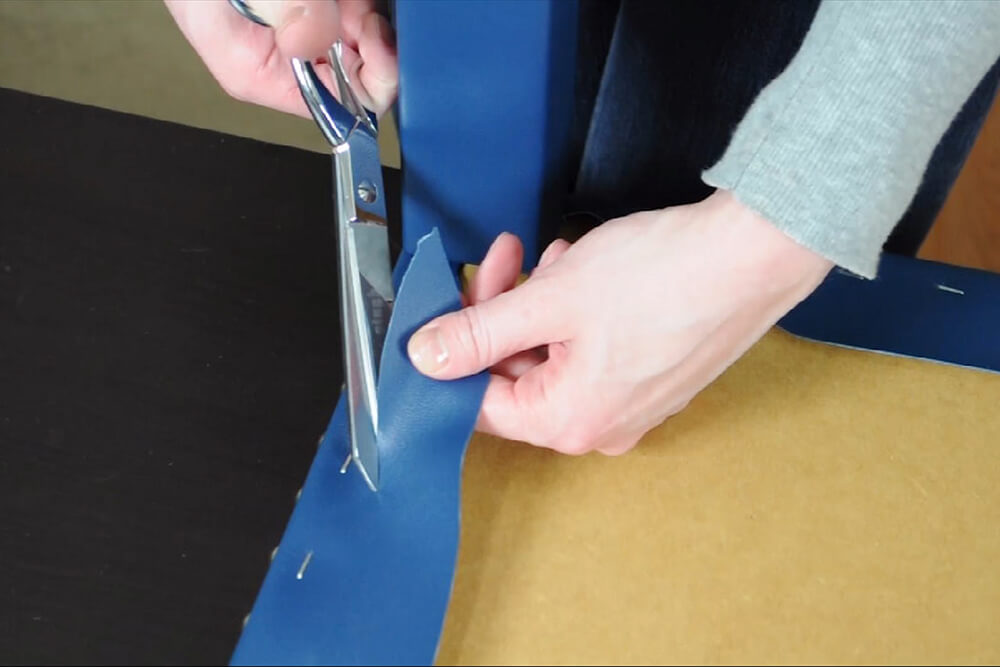
Cut away the excess fabric to expose the screw hole. Don’t worry if this looks messy, it’s going to be covered by the leg. For good measure, you may want to add one more staple.
Repeat this on all 4 corners.

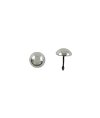
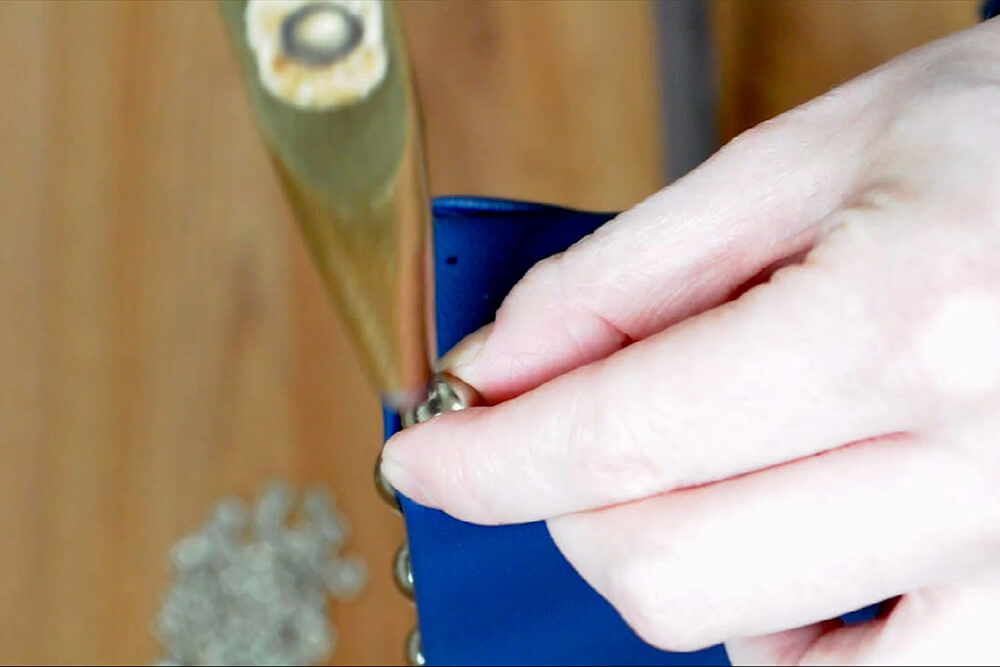
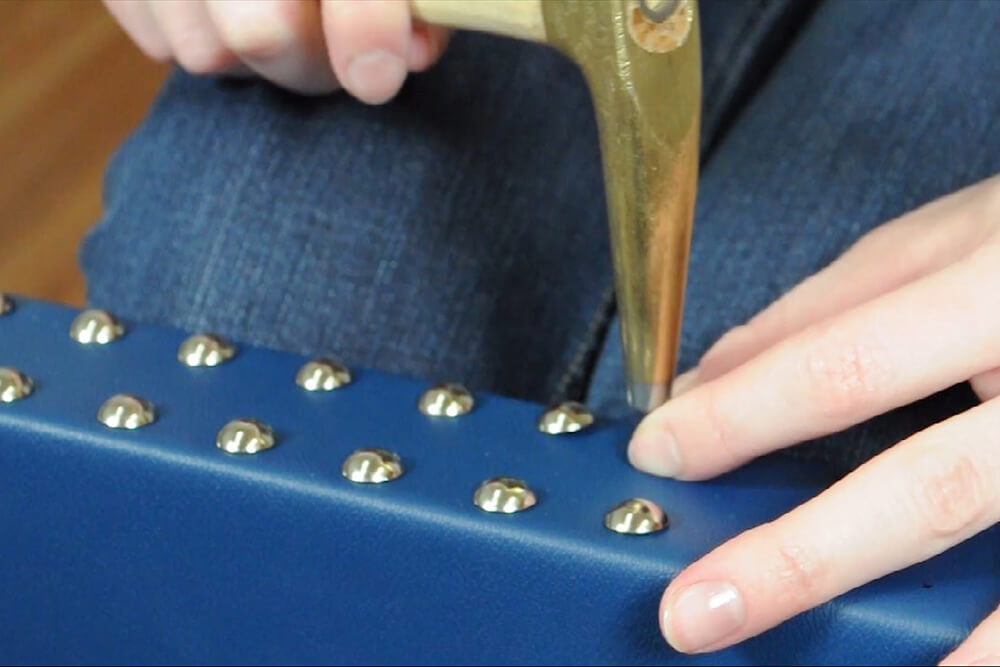
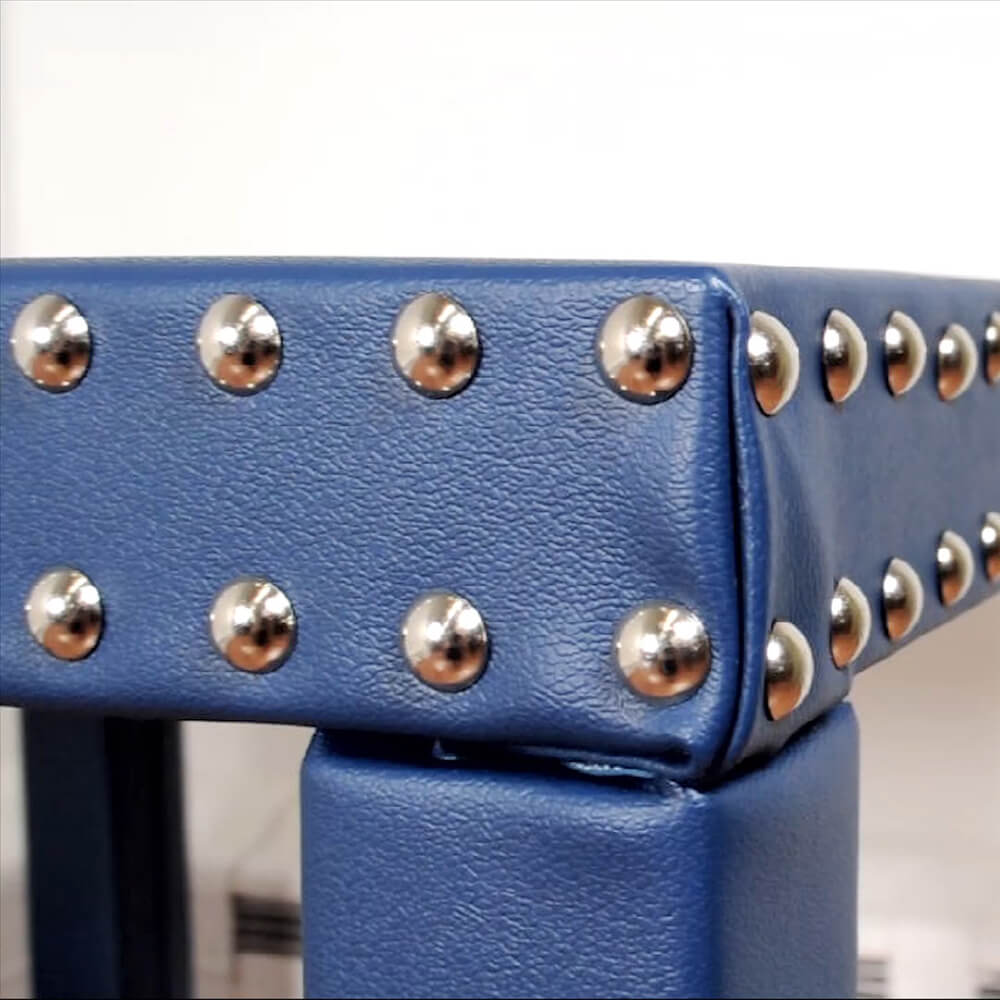
Step 3: Add nail heads
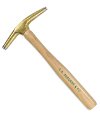
I’m using an upholstery hammer but you might want to use a rubber mallet if the hammer is knocking off the finish of your nail heads.
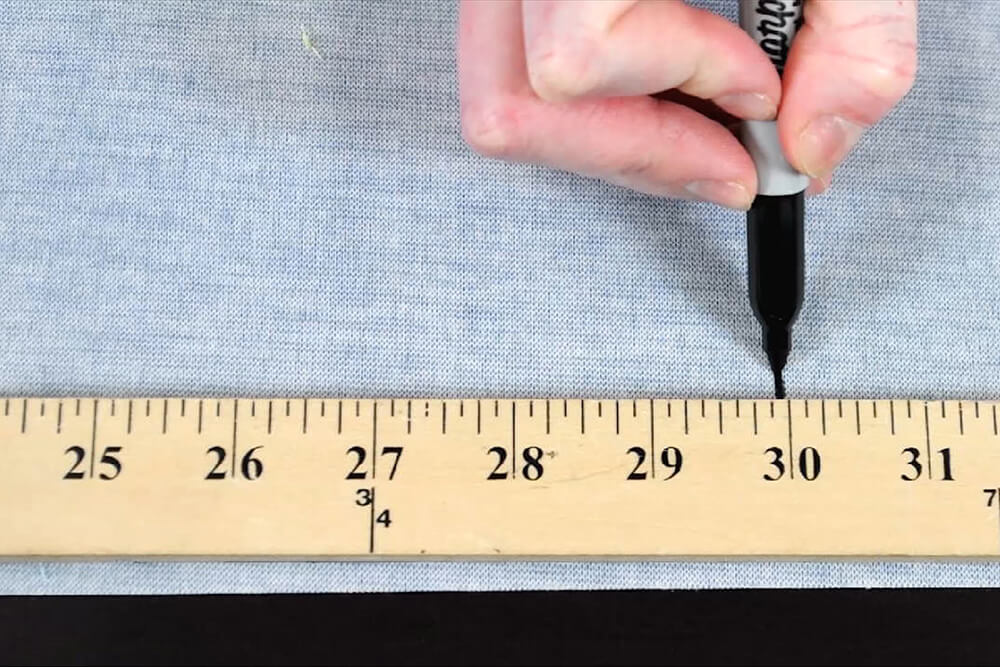
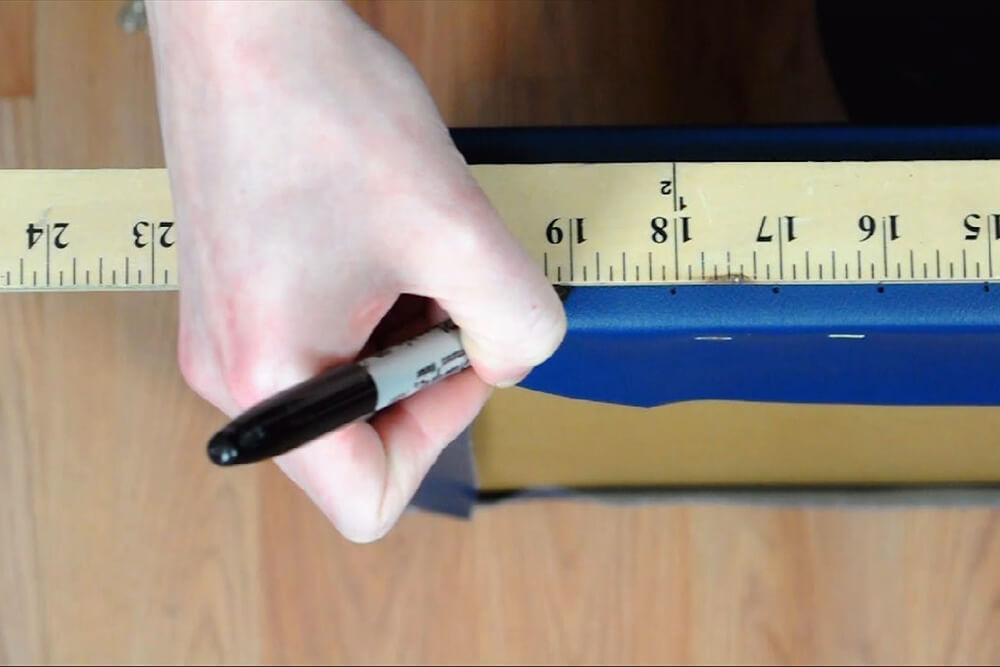
You may want to mark the vinyl first before adding the decorative nail heads. I’m going to start an 1/8 of an inch in from the side and center my yardstick between the 2 edges. These marks will be 1 inch apart.
Hammer the nail heads into the marks.

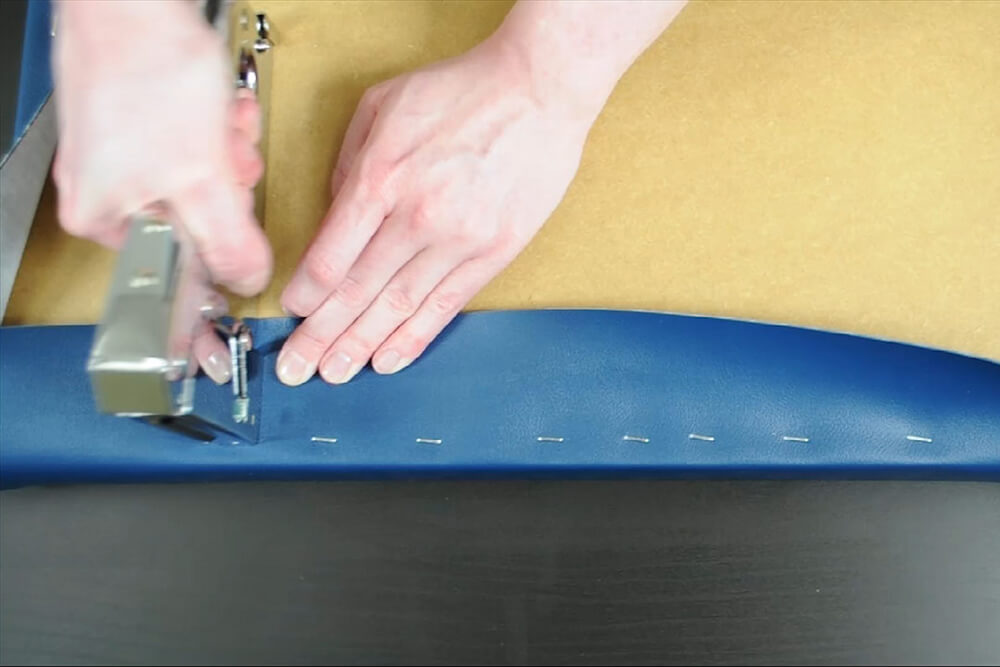
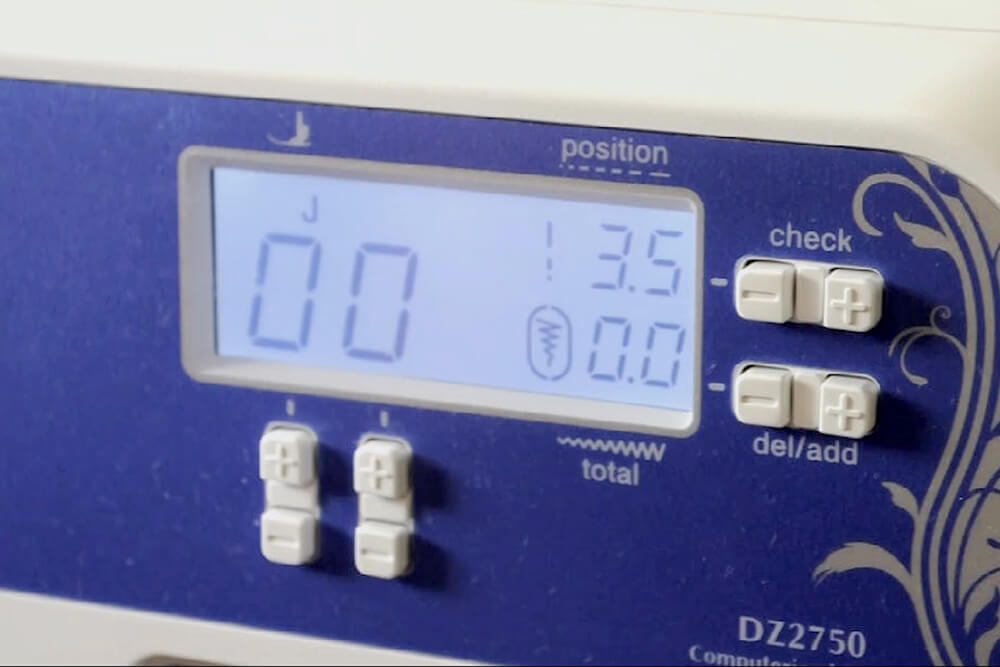
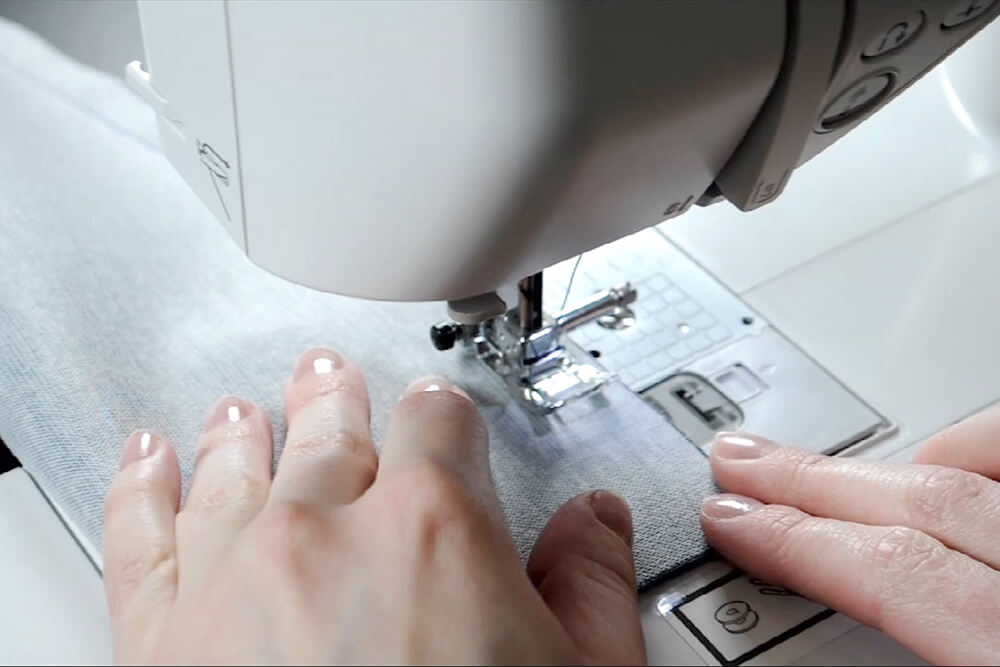
Step 4: Sew vinyl sleeves for the legs
When sewing with vinyl, you’ll want to pay attention to the tension on your sewing machine. Normally it’s around 4 but I’m going to increase it to 8. Also with vinyl and leather you want your stitch length to be a little bit longer because too many holes close together will perforate it and it may rip. I’m going to put it to 3.5 mm.
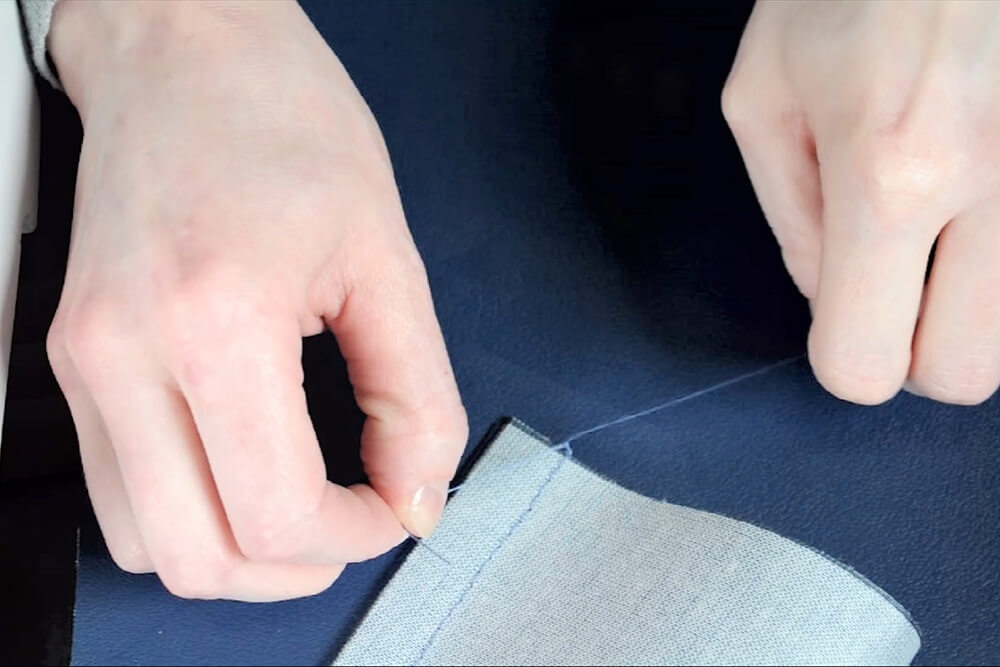
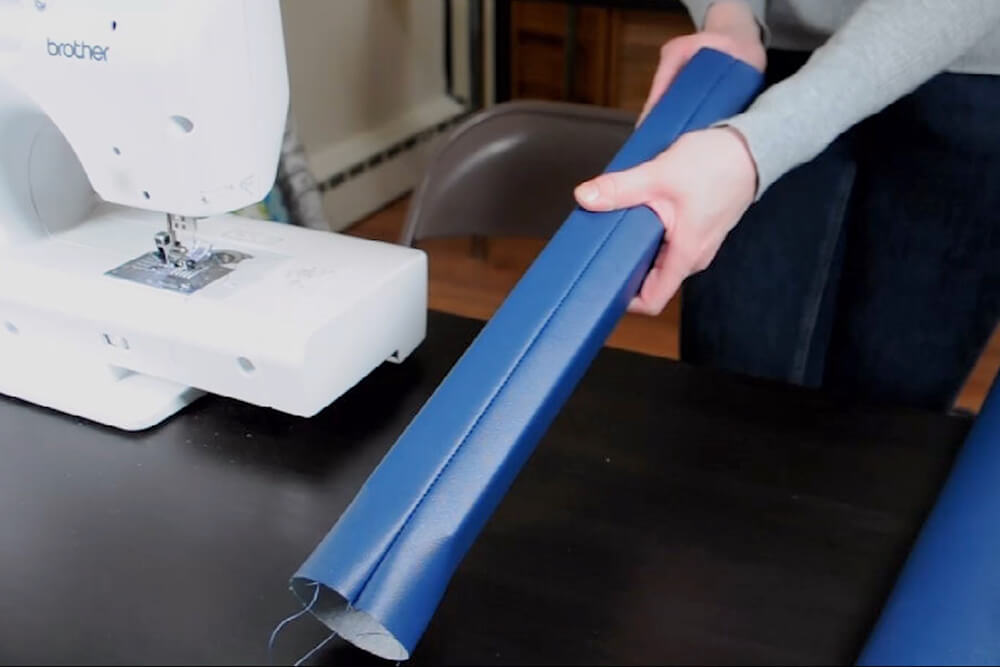
Fold the leg pieces in half with the right sides facing inward and sew a seam down the side with a 5/8 inch seam allowance. At the beginning and end of your stitching, you don’t want to back stitch because again you don’t want to create too many holes, so stop and cut the strings longer than you usually would and tie them.

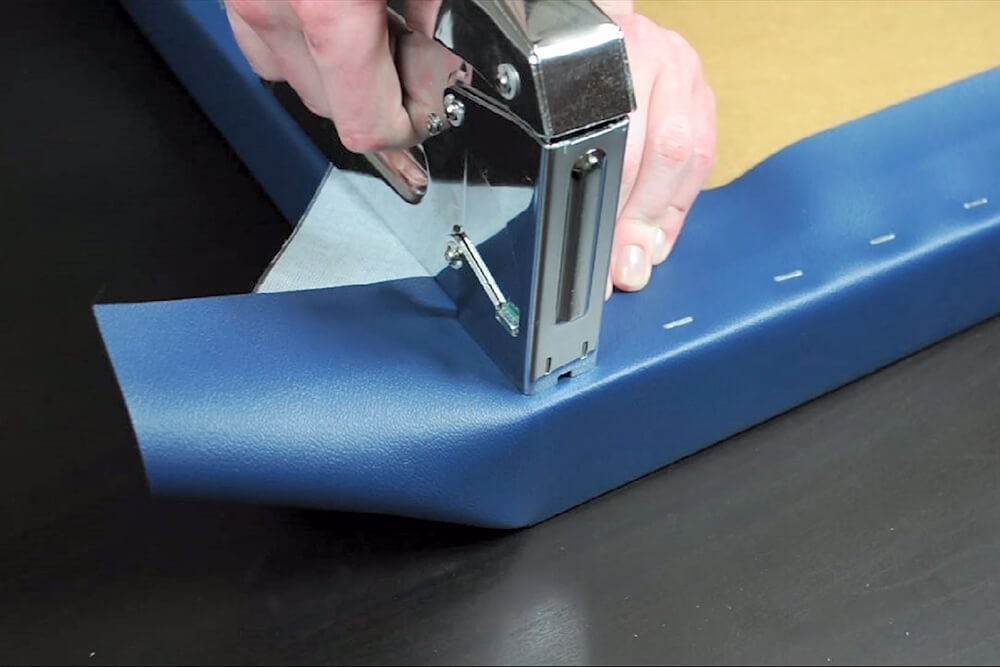
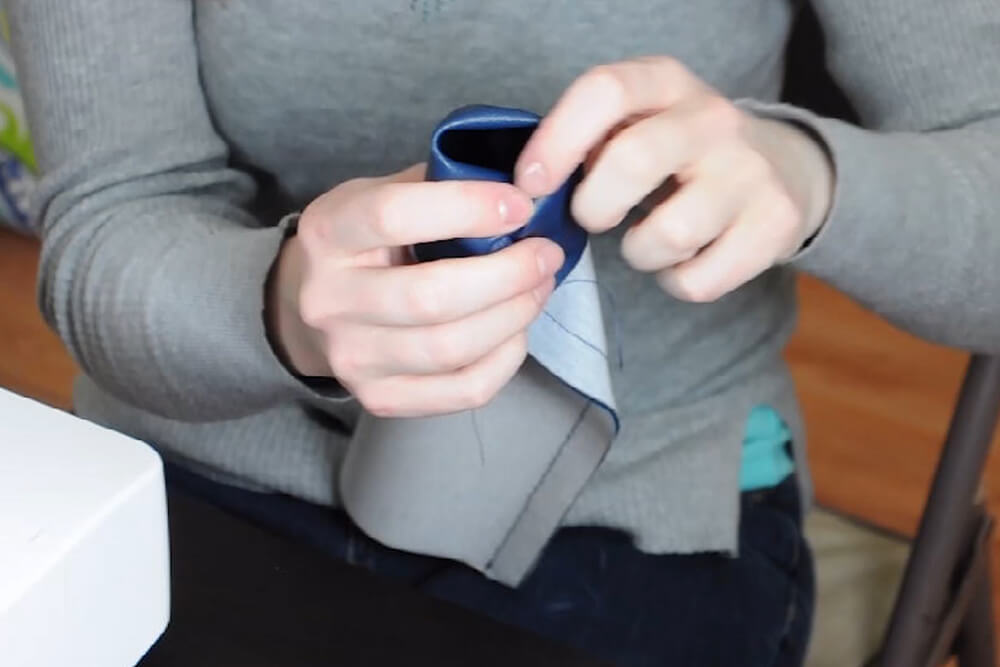
Turn the tubes inside out. Flatten out the seam and slide the vinyl sleeve over the leg. Once you get the leg in a little bit, it should slide pretty easily.
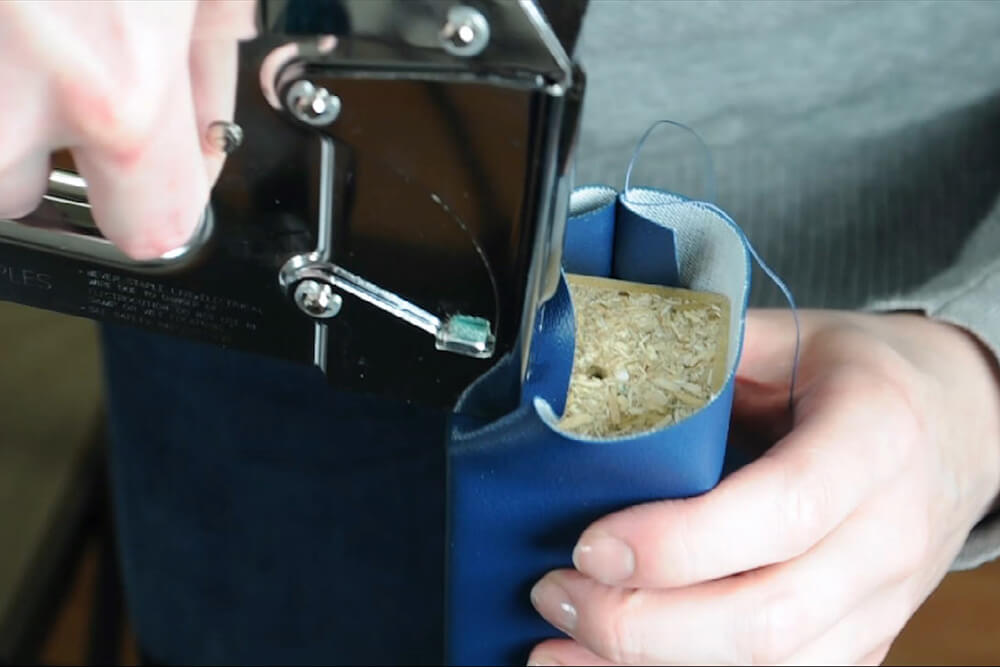
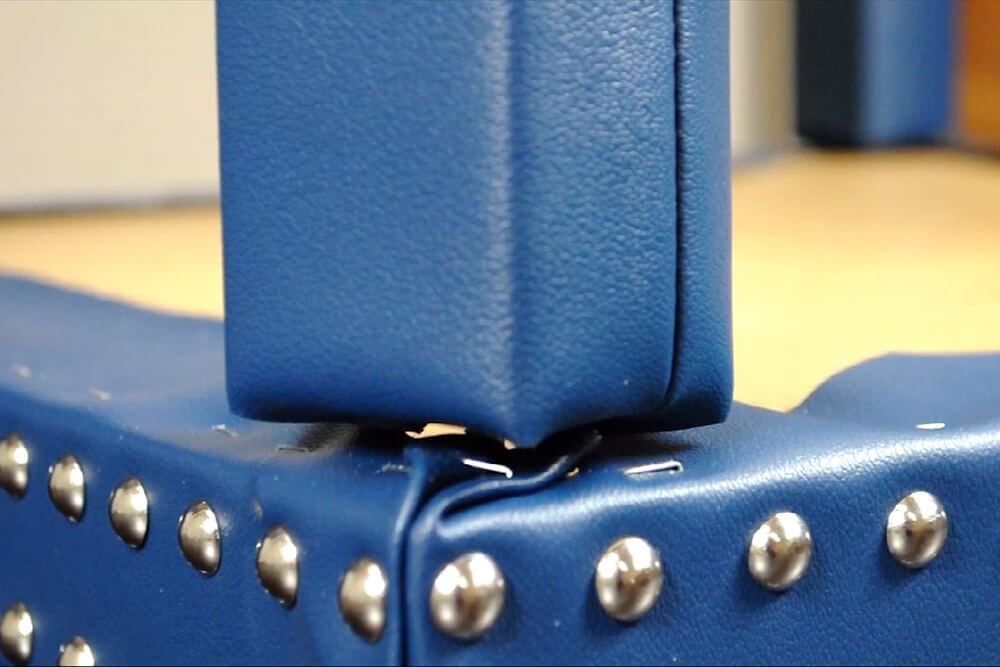
Before you staple, make sure the bottom of the leg has more extra material than the top.
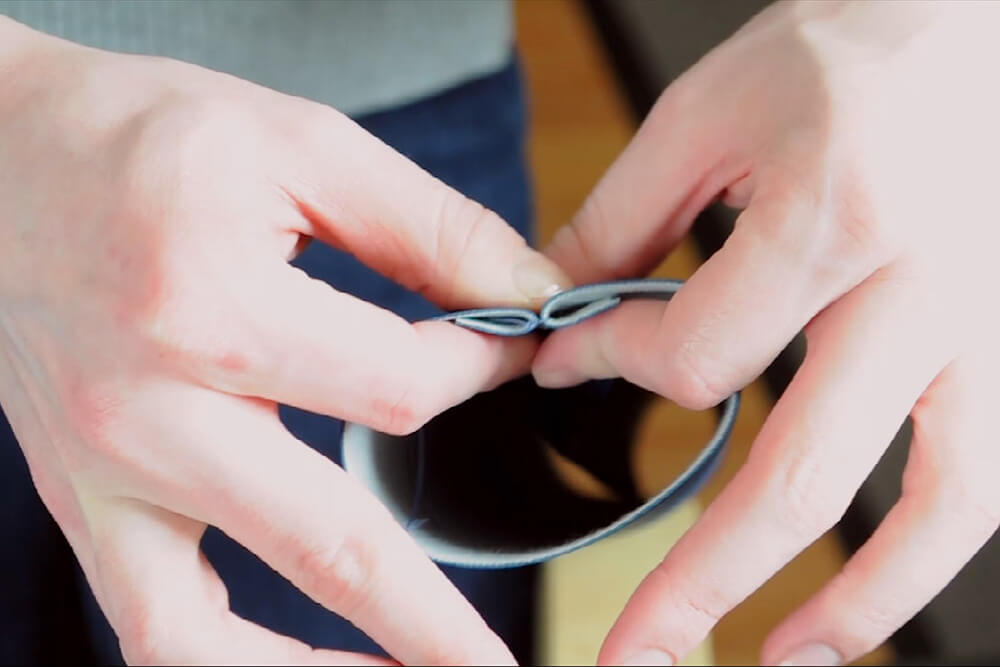
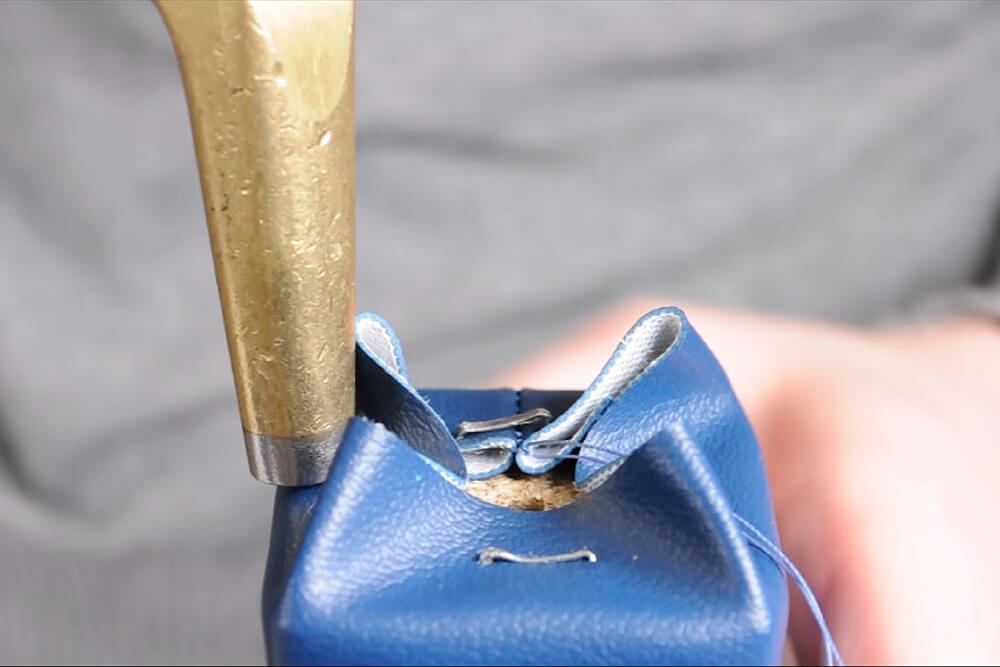
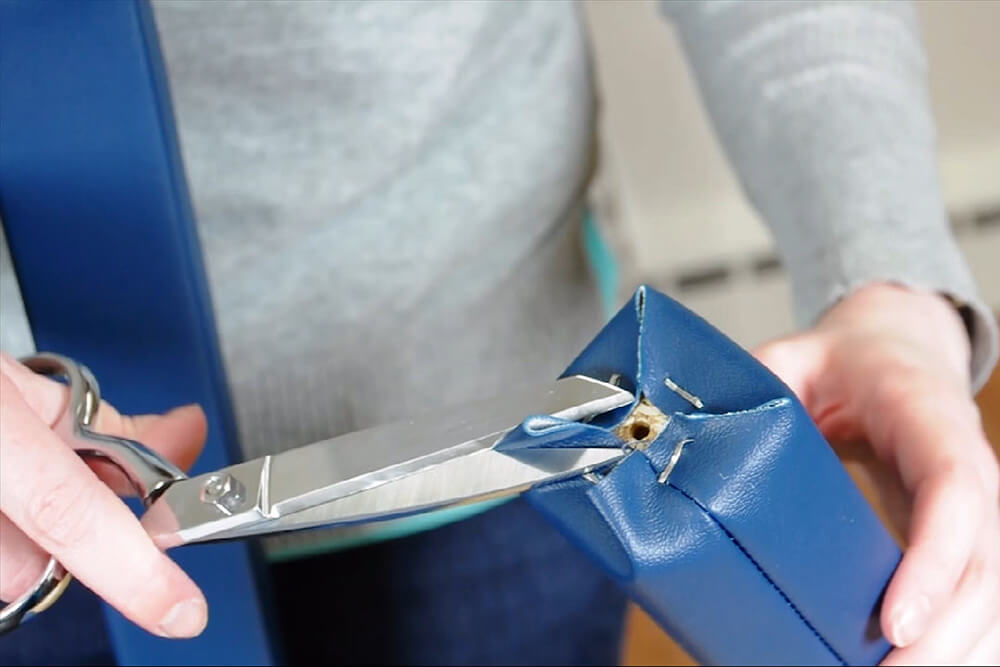
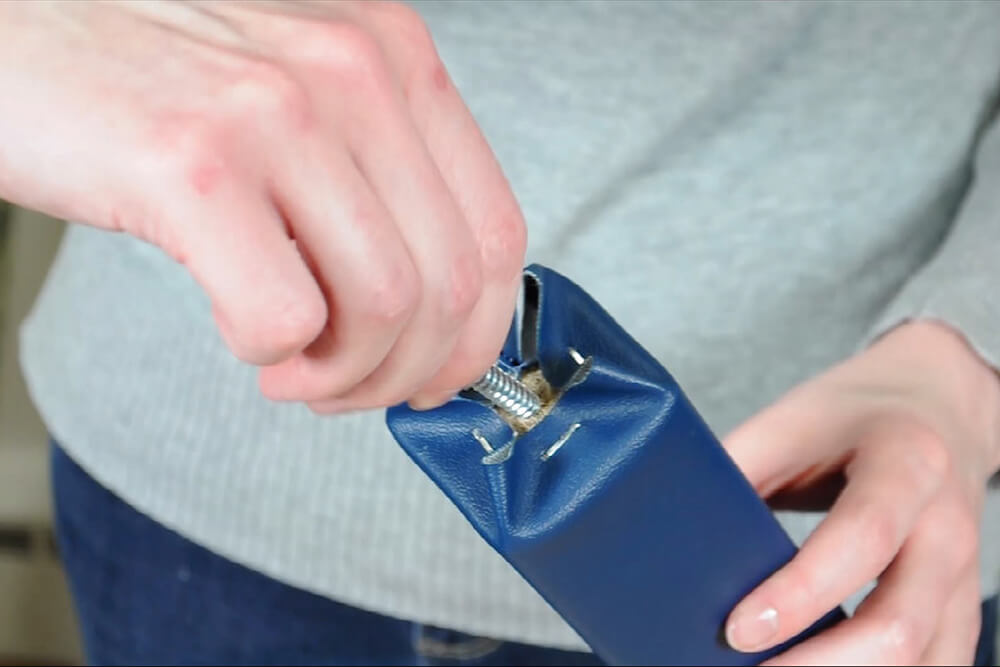
At the top of the leg (which will later be screwed into the tabletop) fold the sides down and staple.
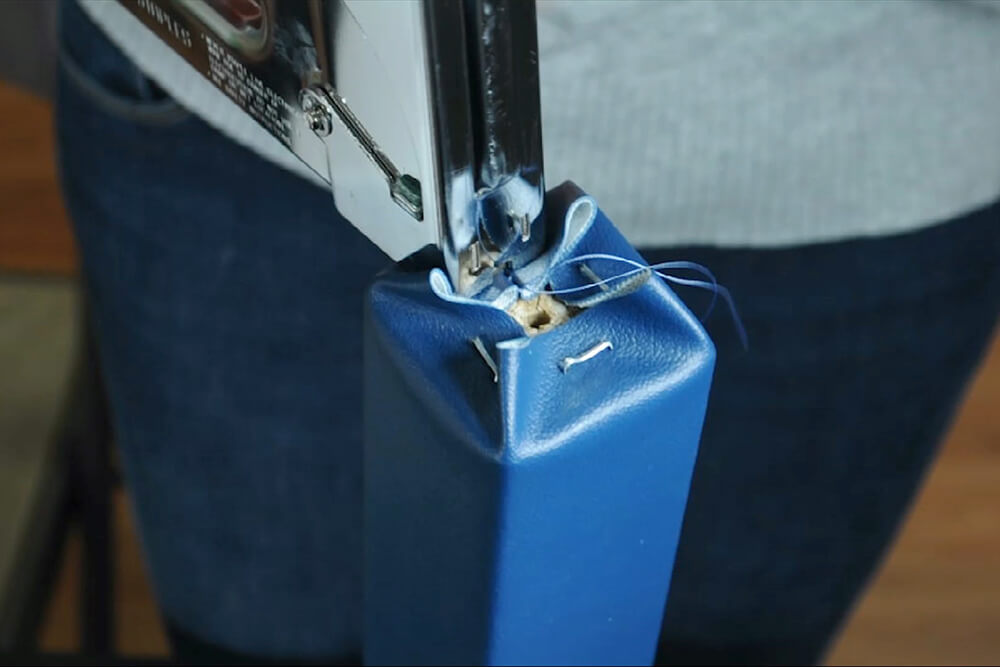
Hammer down the staples if they’re sticking out and trim any extra fabric at the corners. Make sure the screw hole is not covered.
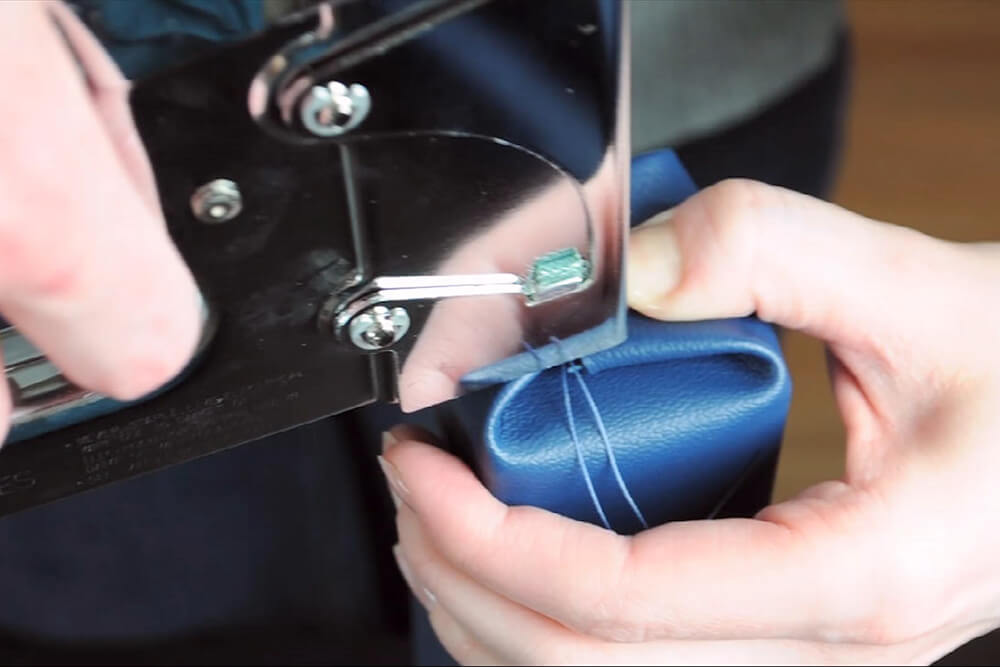
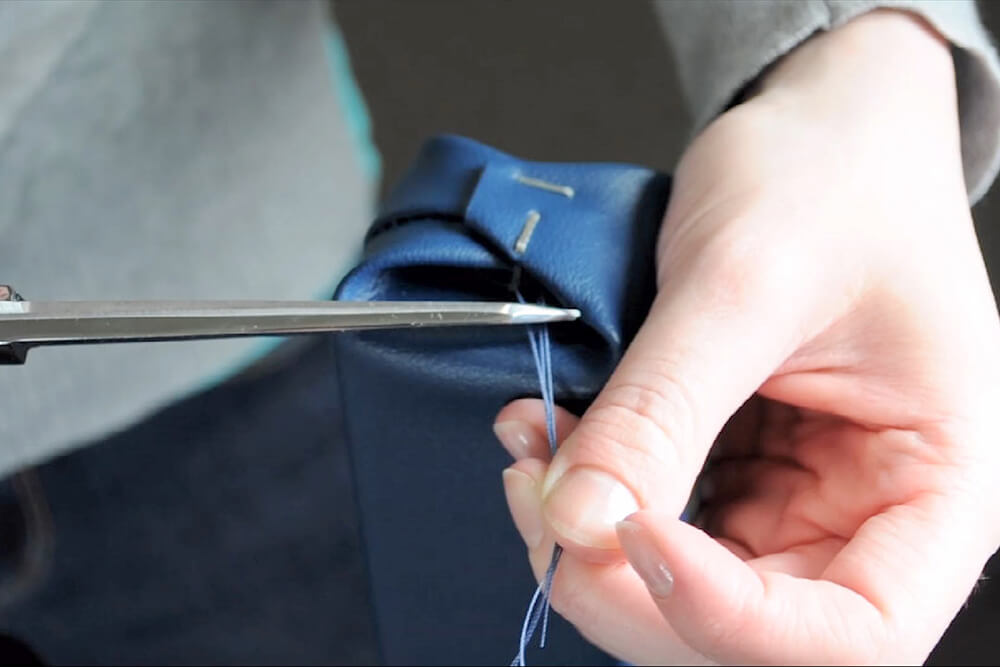
Fold and staple the sides at the bottom as well. This time you may not need to trim any extra fabric, because the bottom of the legs should be completely covered. Trim the extra thread if necessary.
Repeat these steps for the rest of the legs.
Step 5: Attach the legs to the tabletop
Attach the legs to the table.
My table has a double sided screw for the legs so I’m going to start screwing it into the leg. Then I’m going to put it in the hole on the bottom side of the table and spin.
I’m also going to trim off some of the excess vinyl which you can do before putting on the legs if you prefer.


Ready to try it out? Check out our selection of vinyl fabric!
-
{{#each productSuggestedQueries.results}}
- {{query}} {{/each}}
-
{{#each categories.results}}
- {{html title}} {{/each}}
{{html attributes.description}}
{{/if}}-
{{#each queries.results}}
- {{query}} {{/each}}