How to Dye Fabric: Ice Dyeing
- By Clara
- Beginner
- 6+ hours
Ice dyeing is a really fun technique with unexpected and beautiful results.
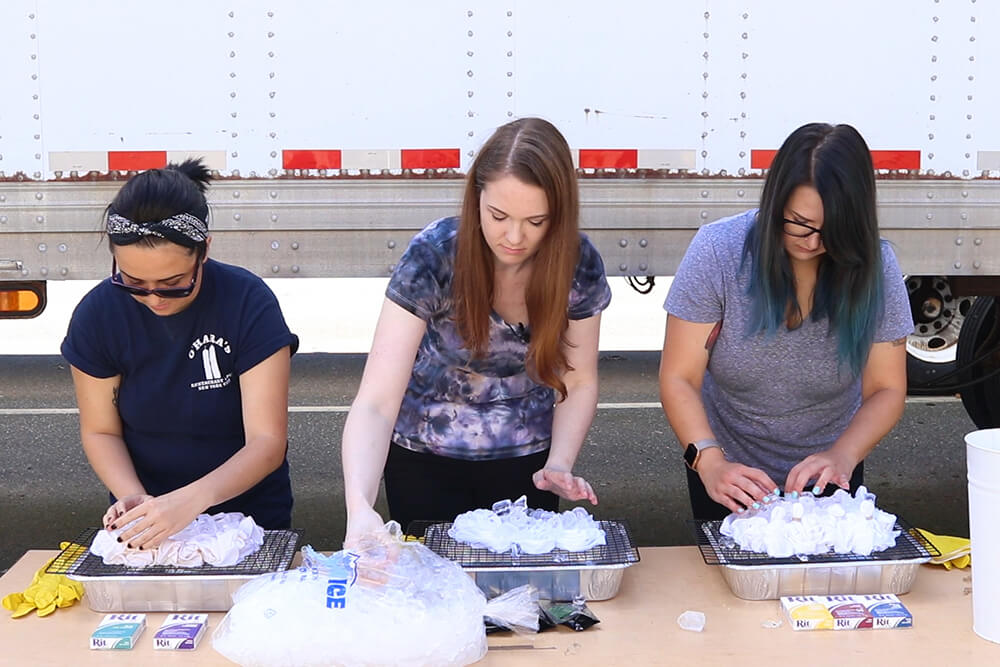
Cathy, Jen, and I each dyed an item using different dyes, colors, and ways of manipulating the fabric. Watch the video or read below to see how they turned out!
We used Rit Powder Dye and Dylon Dye.
We also have many more awesome dyeing techniques that you can find here.
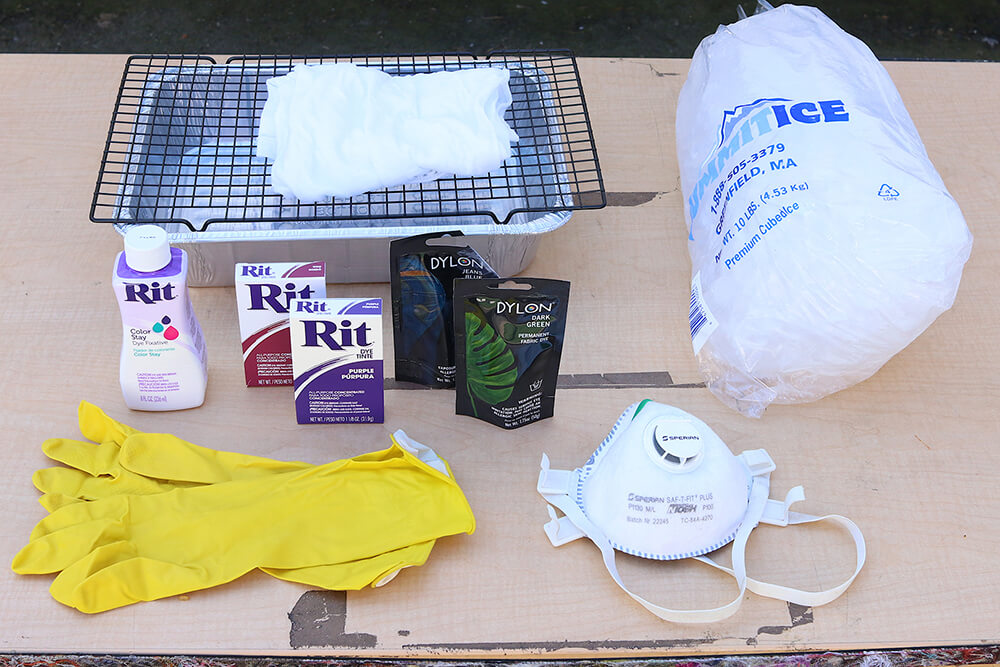
Materials
- Rit Powder Dye
- Or Dylon Dye
- Item to dye
- Cooling rack
- Tray or plastic bin
- Rubber gloves
- Dust mask (if using Dylon)
- ICE!
Related Products
Video
Instructions
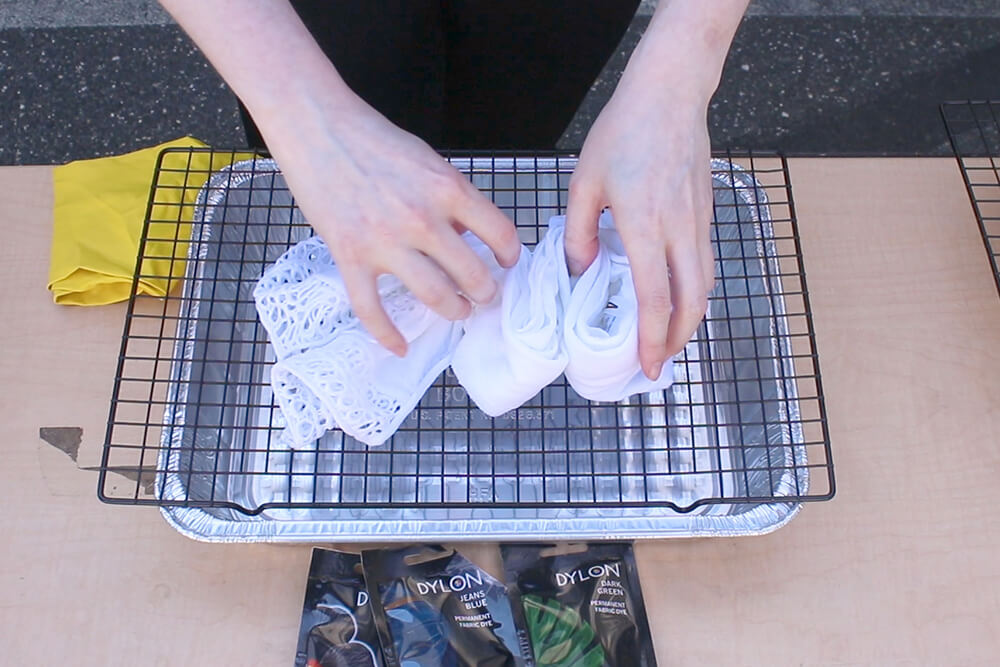
Step 1: Arrange the fabric
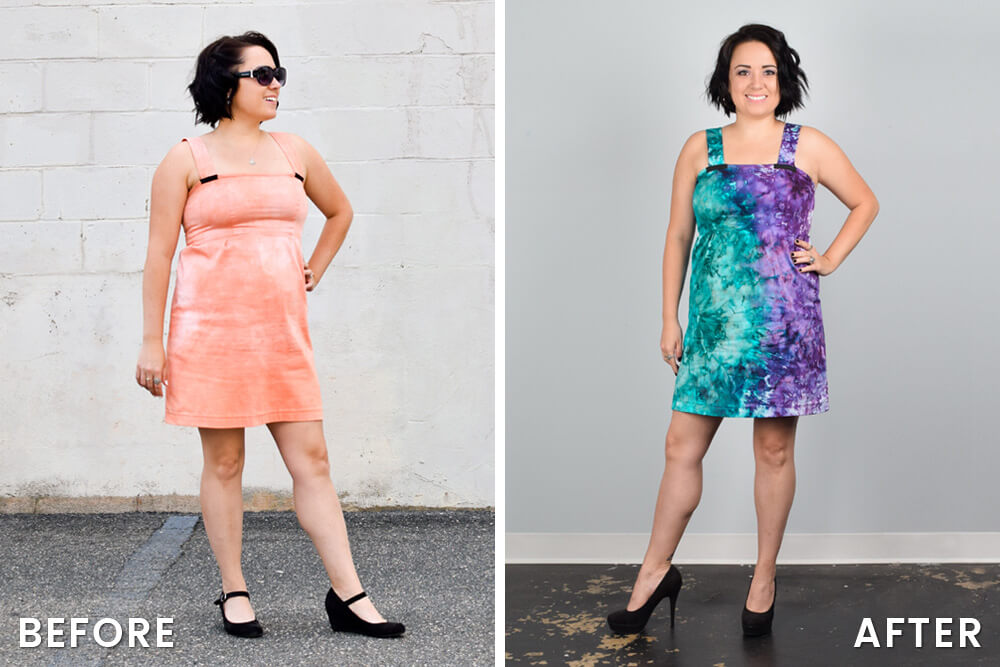
Jen’s dress had been previously dyed with Rit dye. She used Rit Color Remover to make it white.
Before you start, make sure to pre-wash the item you’re going to dye.
You can do the dyeing in a large plastic tub or outside. Cover your surface because it can get pretty messy if not contained in a tub.
Make sure the fabric is wet or damp.
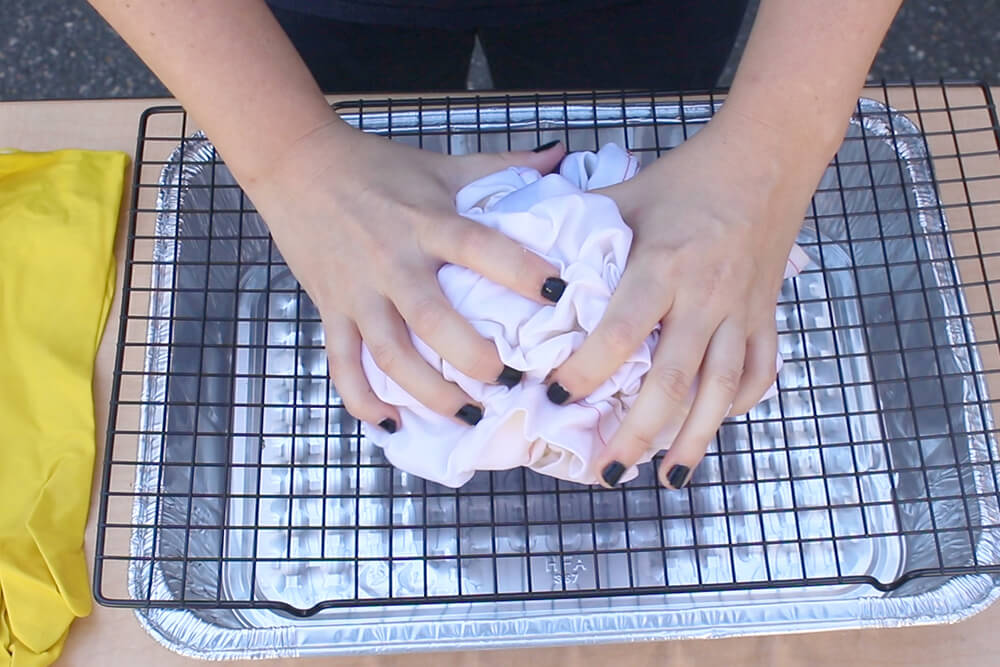
You can arrange the fabric in any way you want. You can scrunch it, fold it, tie it, swirl it, or arrange it in any other random way.
For best results, make sure it’s fairly flat and arranged in a way that the dye will be able to get to all the sections of the fabric.
For my linen shirt, I’m vertically folding it, then arranging it in a wave.
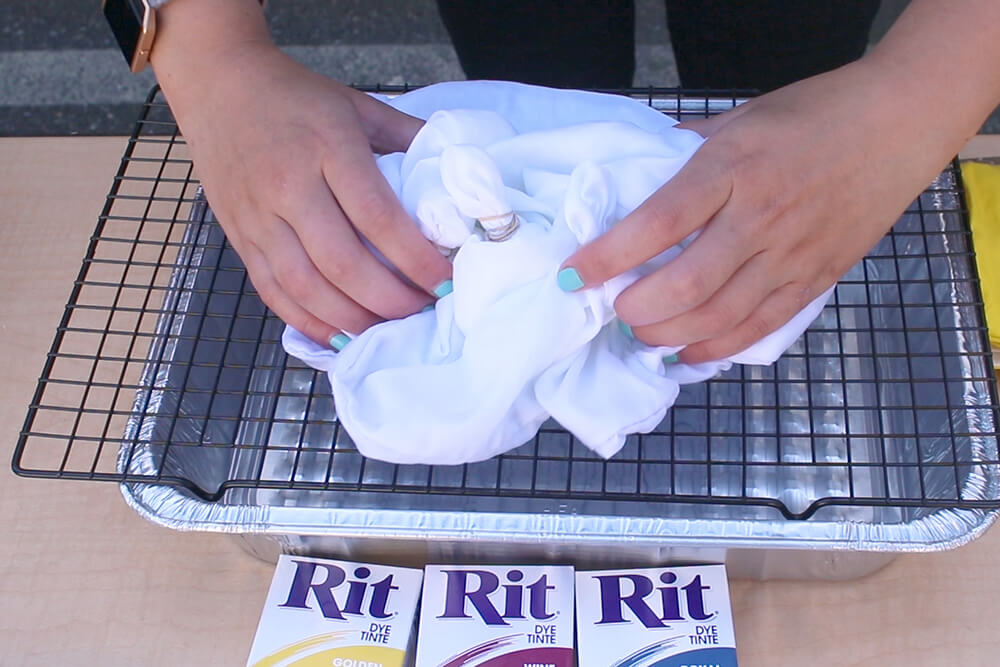
Jen is dyeing a cotton dress with a scrunching technique.
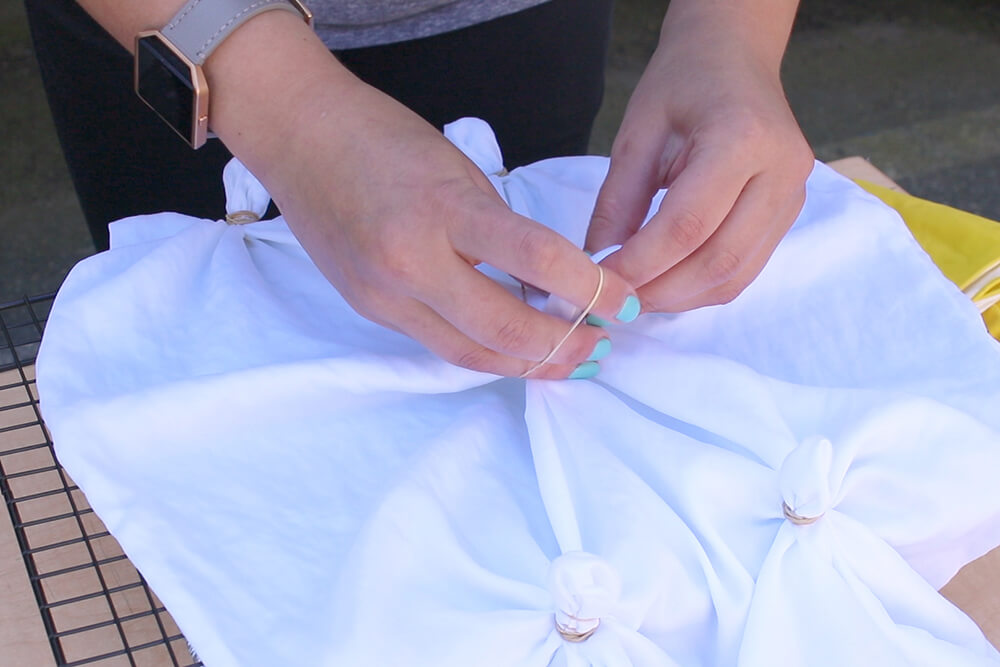
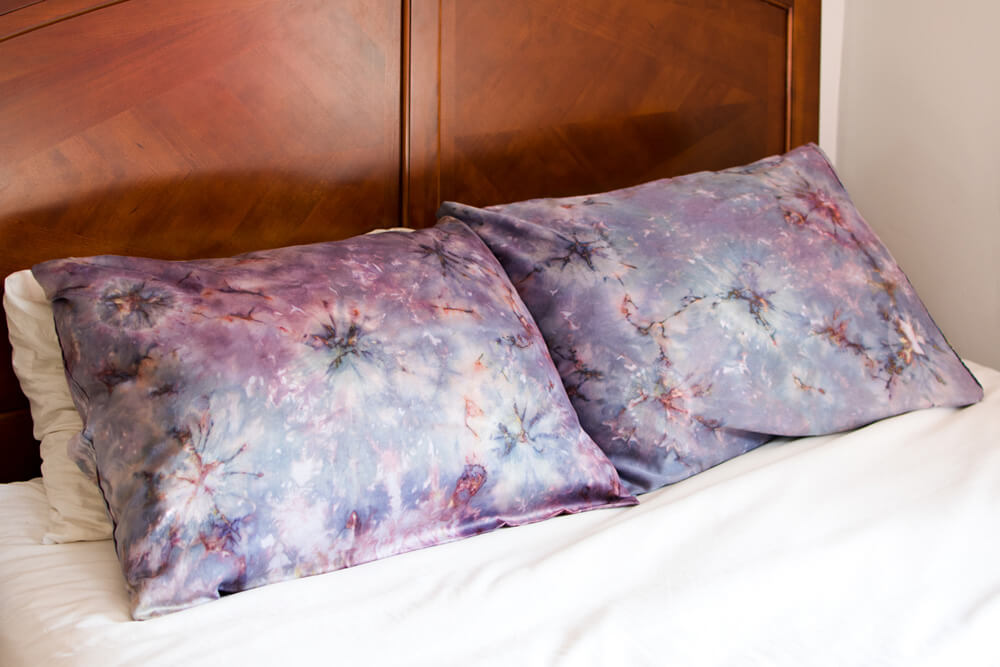
Cathy is dyeing cotton pillowcases. She’s using rubber bands to tie the fabric and is then scrunching the rest.
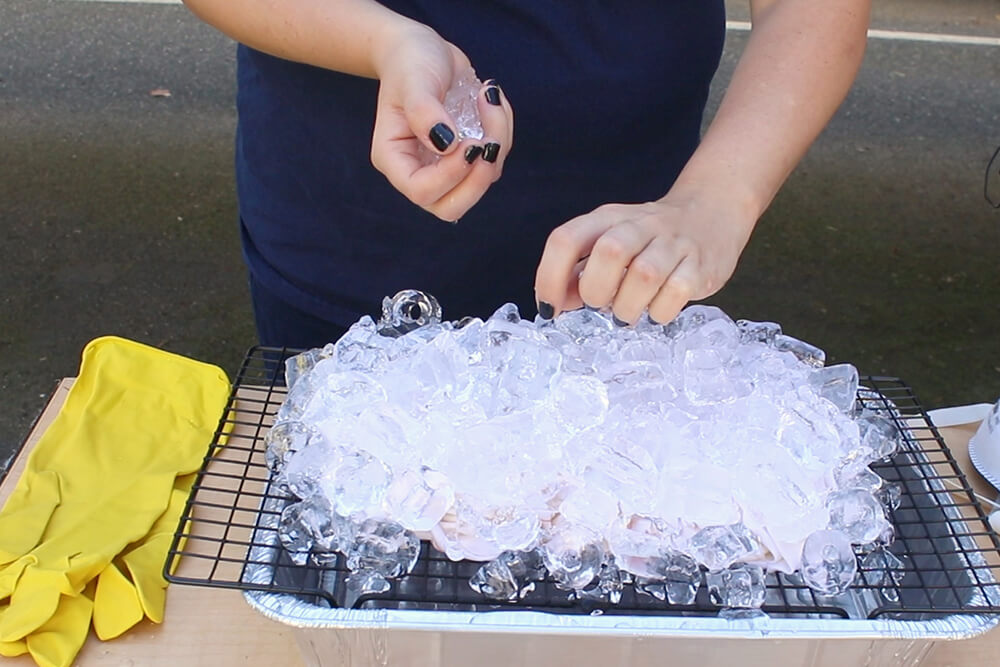
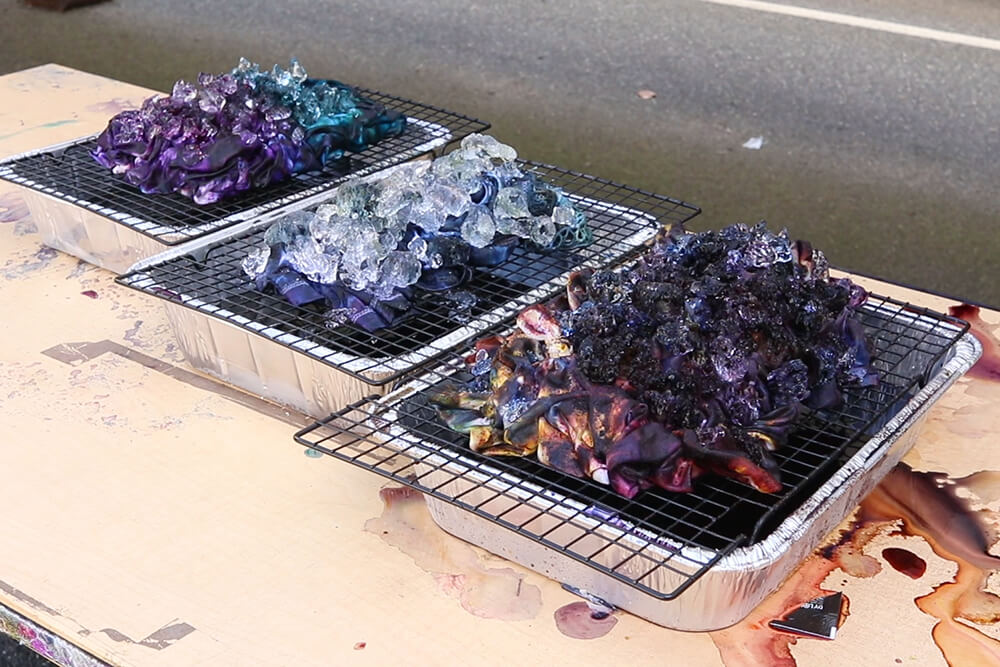
Step 2: Add ice
Now we’re going to completely cover our fabric with ice.
The size of the ice may produce different results. Cathy decided to crush her’s up more. You can also use snow.
Cover the fabric as much as possible because when adding the dye, it will create darker speckles if it falls directly on the fabric.
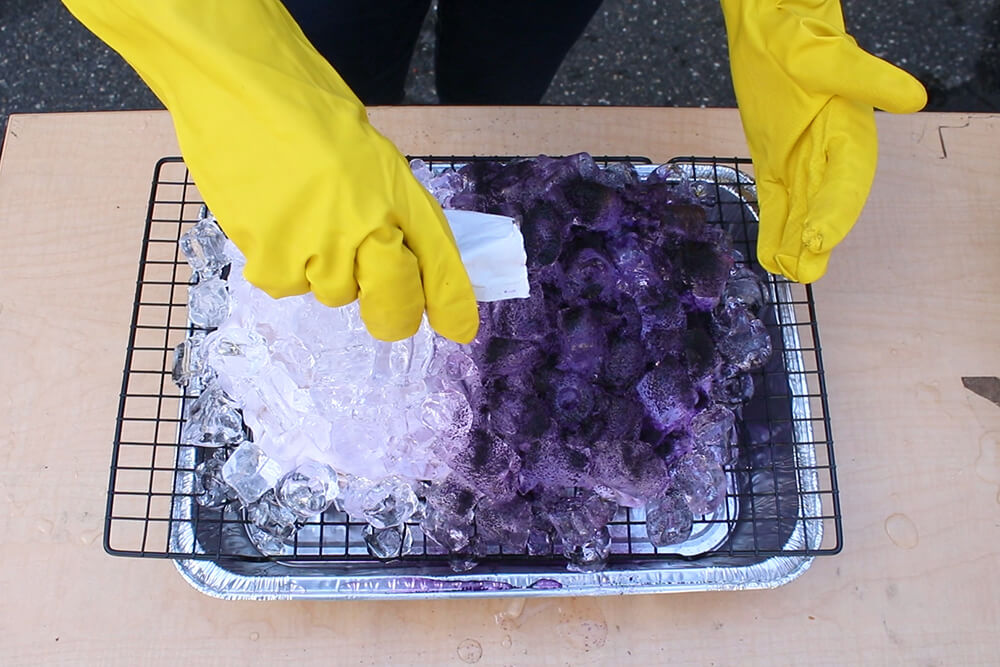
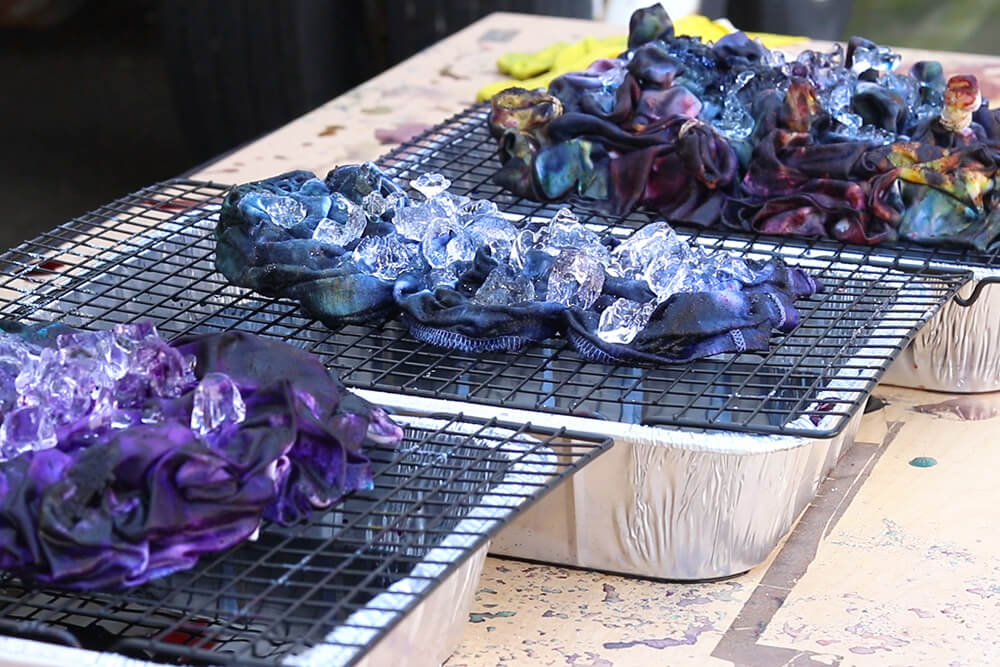
Step 3: Add powdered dye
It’s time to sprinkle powder dye on the ice.
I’m using Dylon Permanent Fabric Dye, and Cathy and Jen are using Rit Powder Fabric Dye.
Make sure to put on gloves. If you’re using Dylon dye, put on a dust mask while adding the powder dye.
You can sprinkle the dye on any way you want. The more dye you use, the more saturated the color will be. You can put different colors on different sections or overlap them in layers.
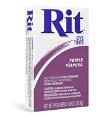
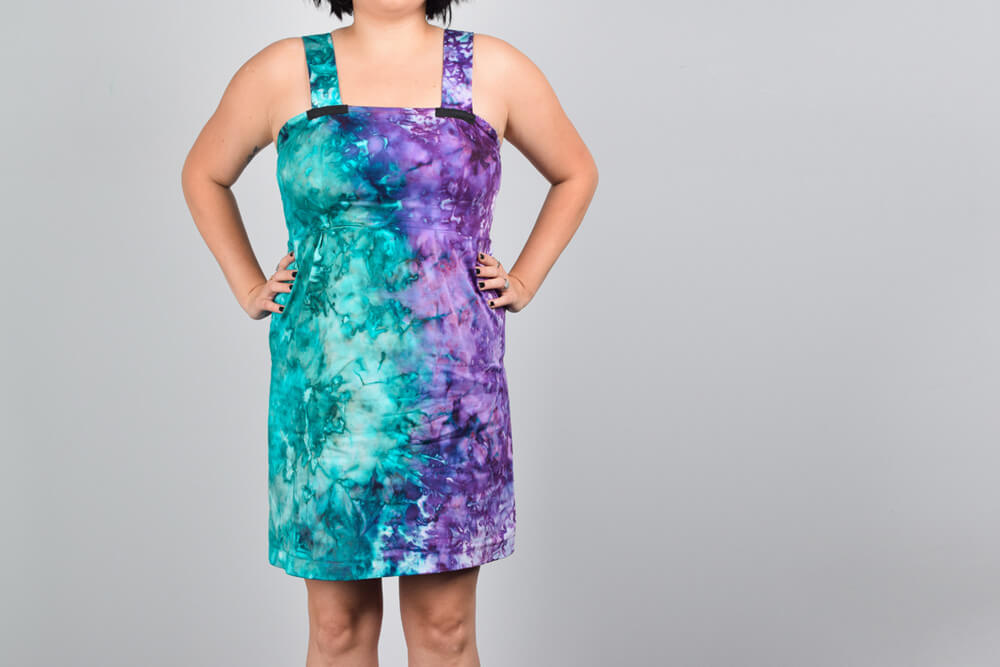
Jen’s putting Purple Dye on one half and Teal Dye on the other.
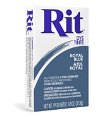
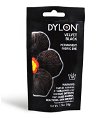
I did Jeans Blue Dye all over and Dark Green Dye near the top and Velvet Black Dye near the bottom.
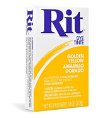
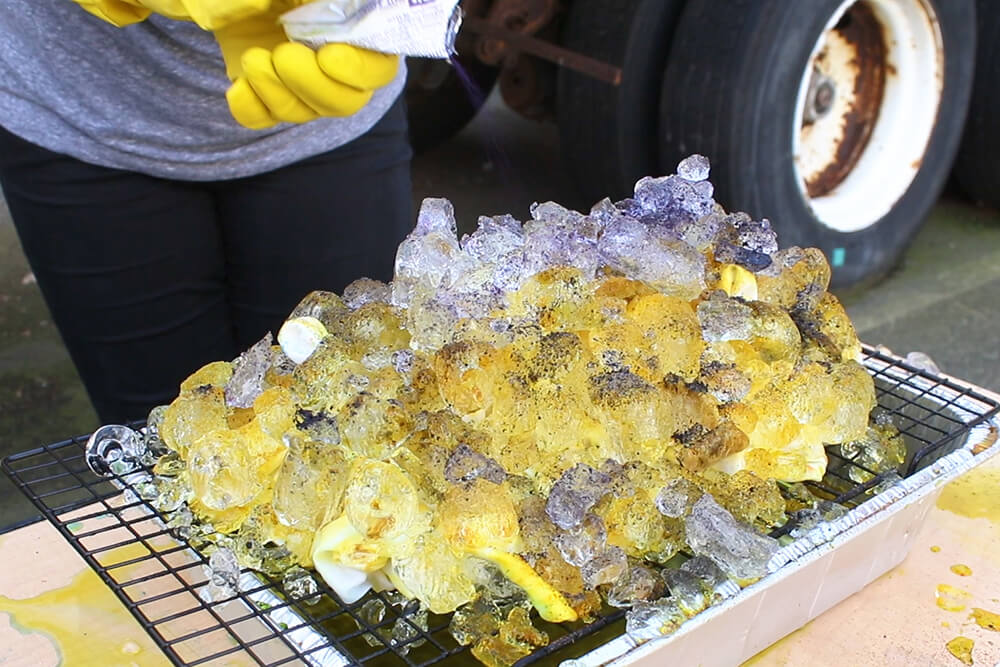
Cathy layered, Golden Yellow Dye, then Royal Blue Dye, and Wine Dye.
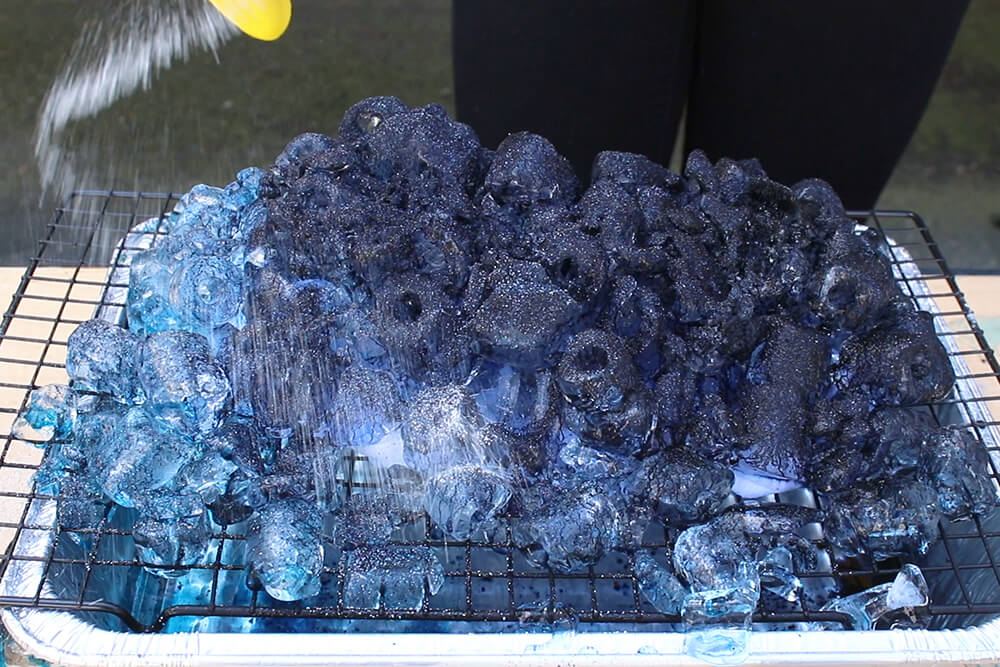
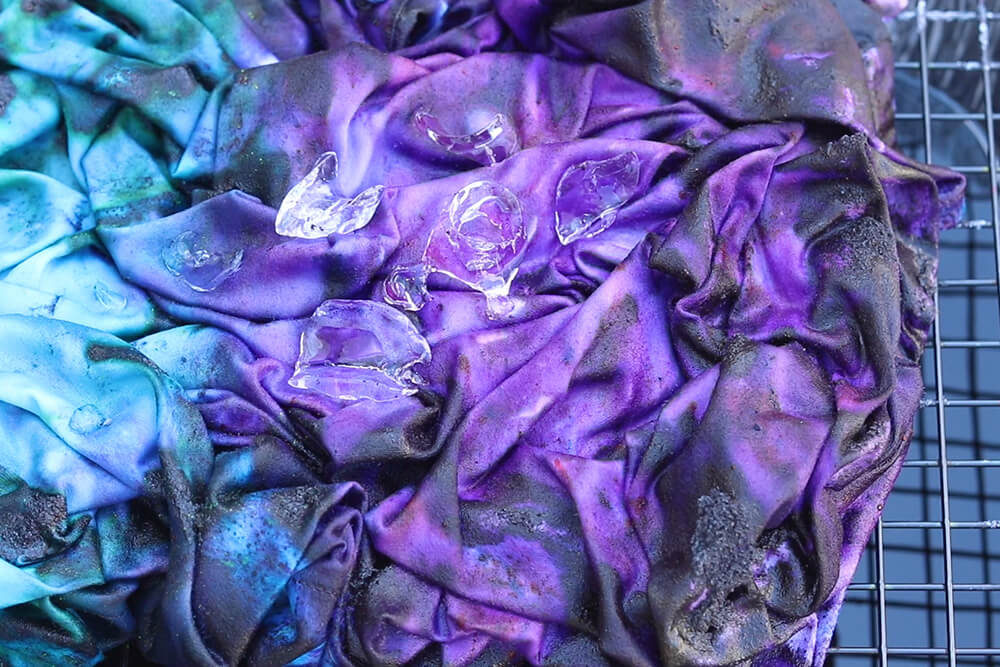
Step 4: Let the ice melt
Let the ice melt all the way and then let it sit for a couple more hours or even overnight.
You don’t want the ice to melt too quickly and the fabric to dry out so keep it in the shade. If you’re dyeing it in a plastic tub and letting it sit overnight, put the lid on the container to keep the moisture in.
We let the fabric sit for a total of 6 hours.
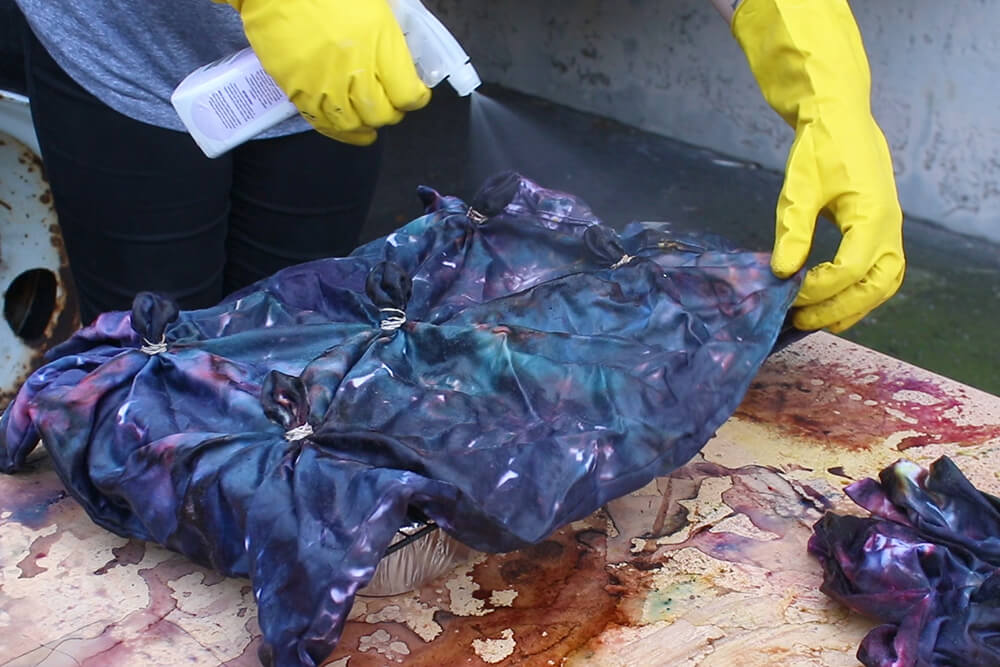
Step 5: Fix and rinse
If you’re using Rit Dye, use Rit Color Stay Fixative to make the colors last longer. You can spray it on or mix it with hot water and submerge the fabric. Either way, let it sit 20 minutes.
Rit Dye sets best with heat, so you can also wrap the fabric in plastic wrap and microwave it before rinsing.
Dylon Dye is a different kind of dye (fiber reactive), which sets with soda ash. This dye already has the soda ash mixed in, so I don’t need to fix it further.
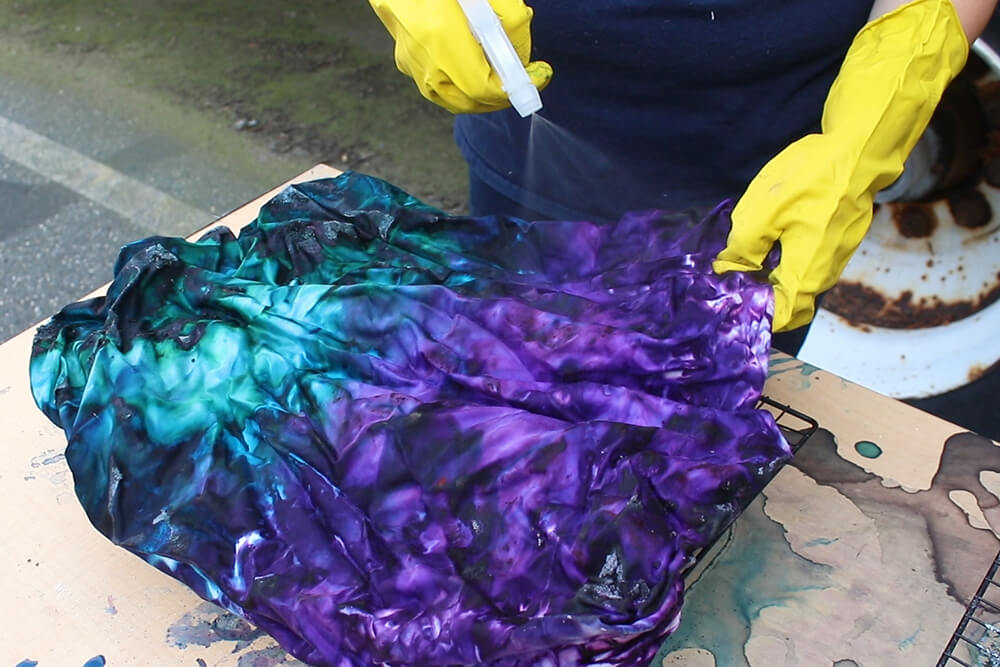
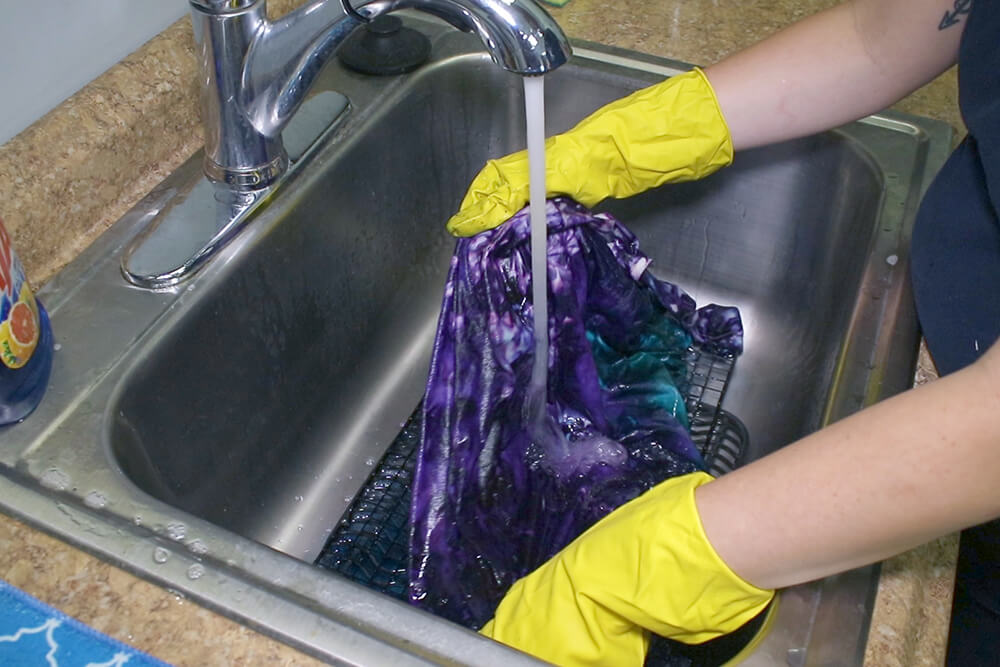
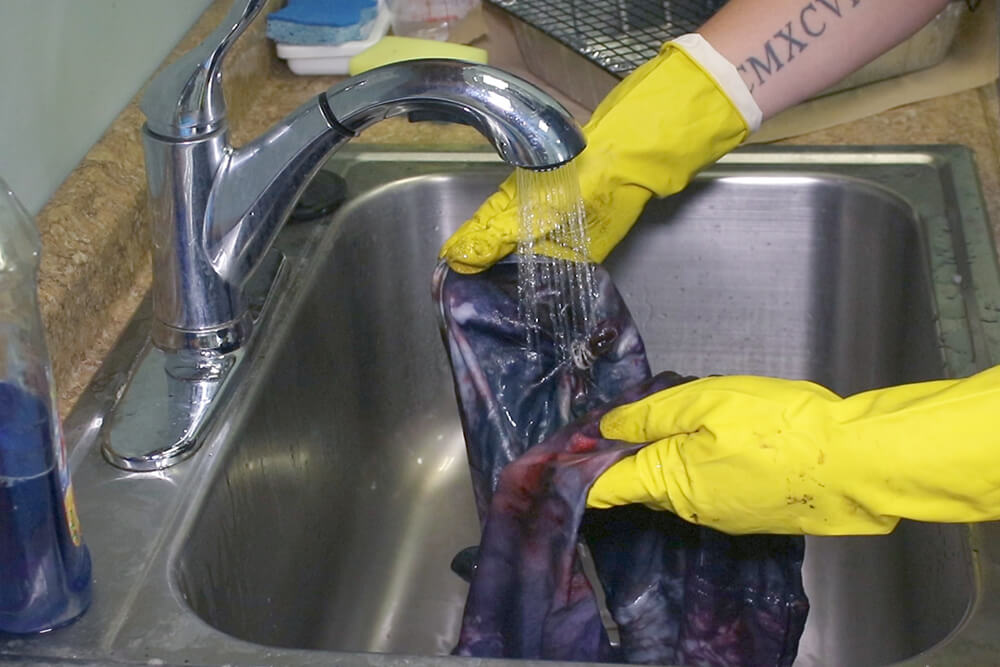
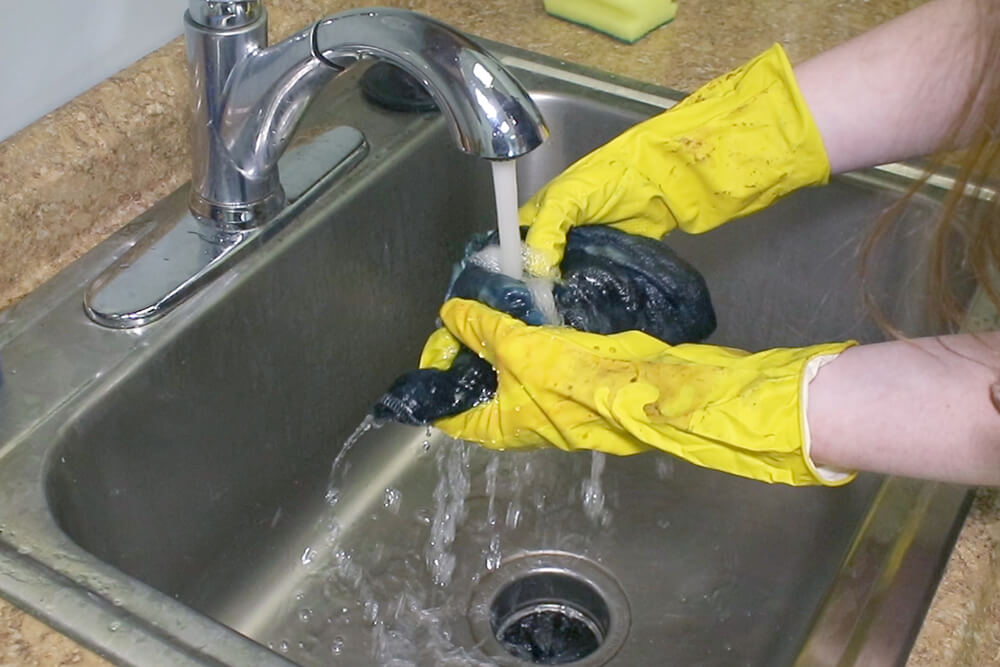
Rinse with warm water, then cold. You can follow the instructions on your fabric for washing and drying. A safe bet is machine washing on cold and air drying.
Cathy threw an old towel in when washing and drying to absorb extra dye.
The Results
Jen’s Dress
We all like how ours came out, but we think Jen’s dress came out wicked cool!
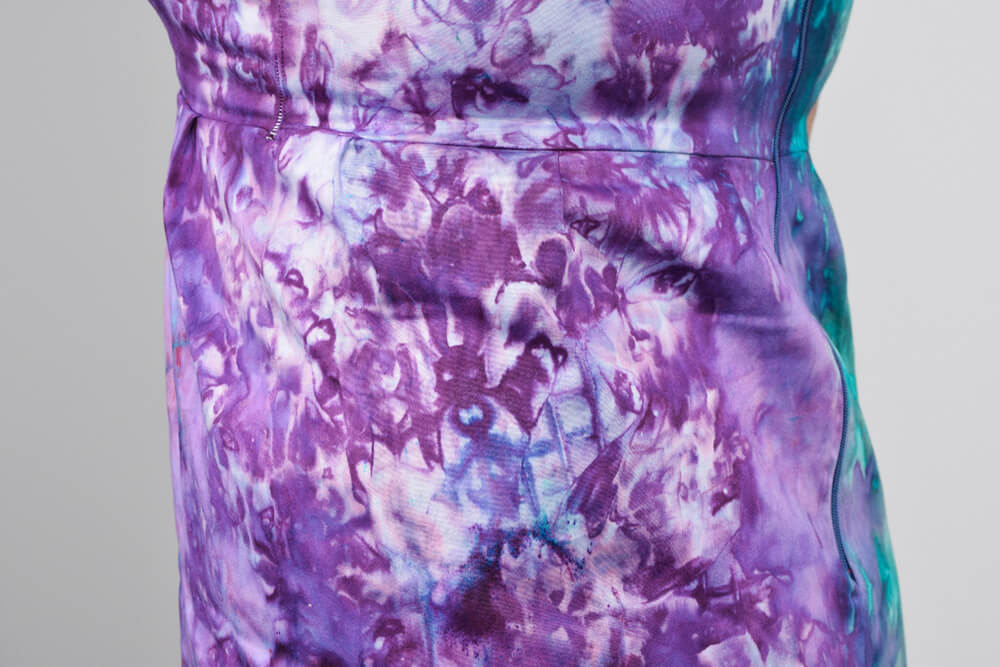
The color is very saturated and the pattern is beautiful. An interesting detail is the cooling rack left a grid pattern on parts of it, which is unexpected and neat.
We think using the Rit Color Remover may have helped the dye absorb and the color to remain so vibrant. Even if you’re starting off with a white fabric, the Color Remover prepares the fabric nicely, so you might consider using it before dyeing anything.
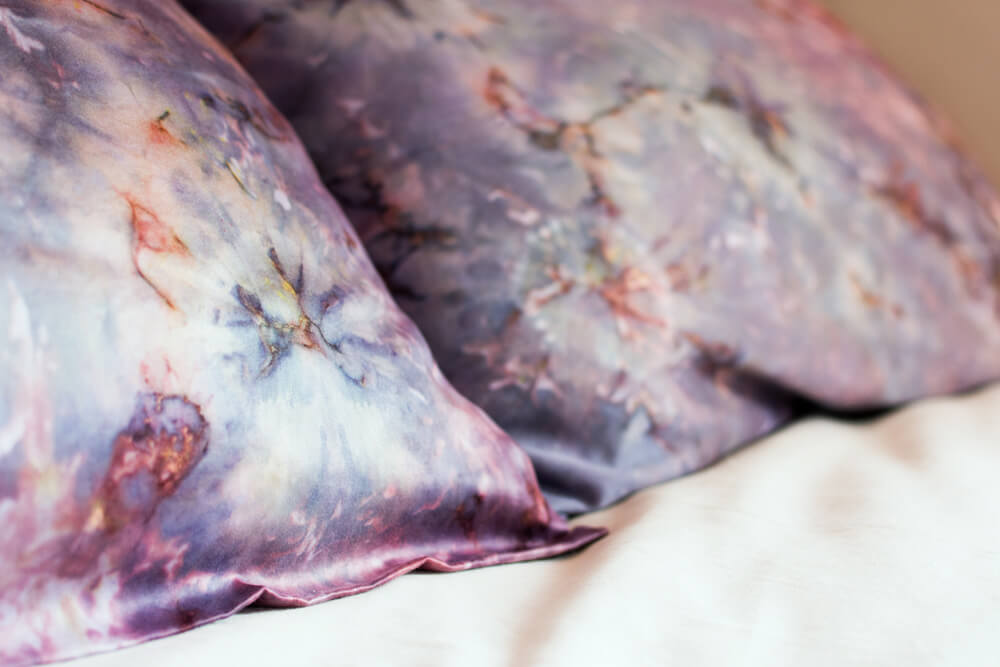
Cathy’s Pillowcases
Cathy got a lot of colors, but they also mixed a lot, making it more muted.
A lot of dye washed out, so it came out much lighter than it originally appeared. This may have been because it was a cotton sateen and didn’t absorb the dye as well, or maybe it really needed to be heat set along with the fixative. She also washed it in warm water and machine dried it.
She was going for a galaxy effect and still got it. We were all expecting the places tied with rubber bands to stay white as has been my experience when Shibori dyeing with rubber bands, but maybe it had time to absorb because it sat so long. Still the pattern came out pretty cool where the rubber bands were tied.
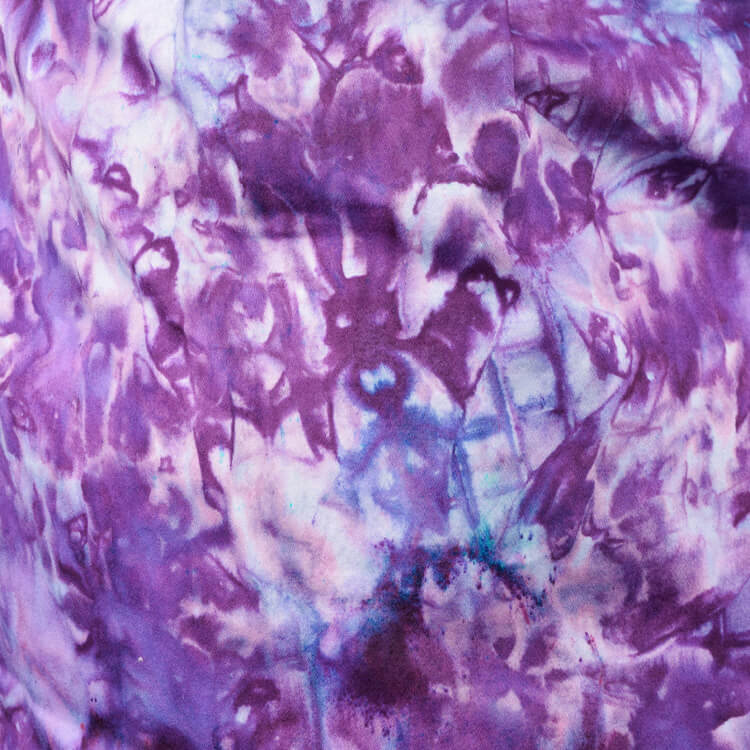
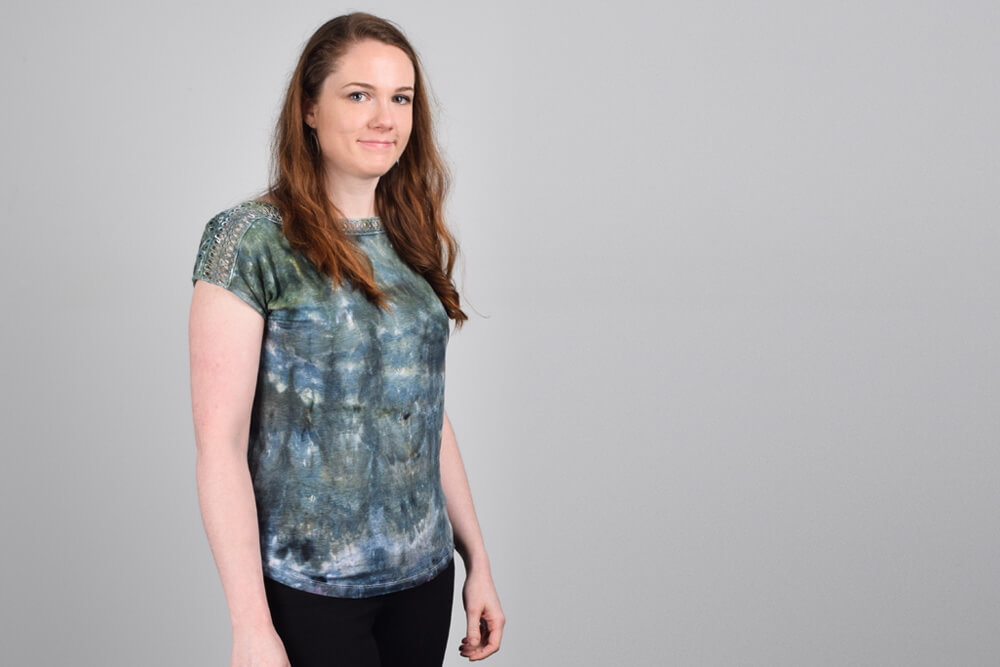
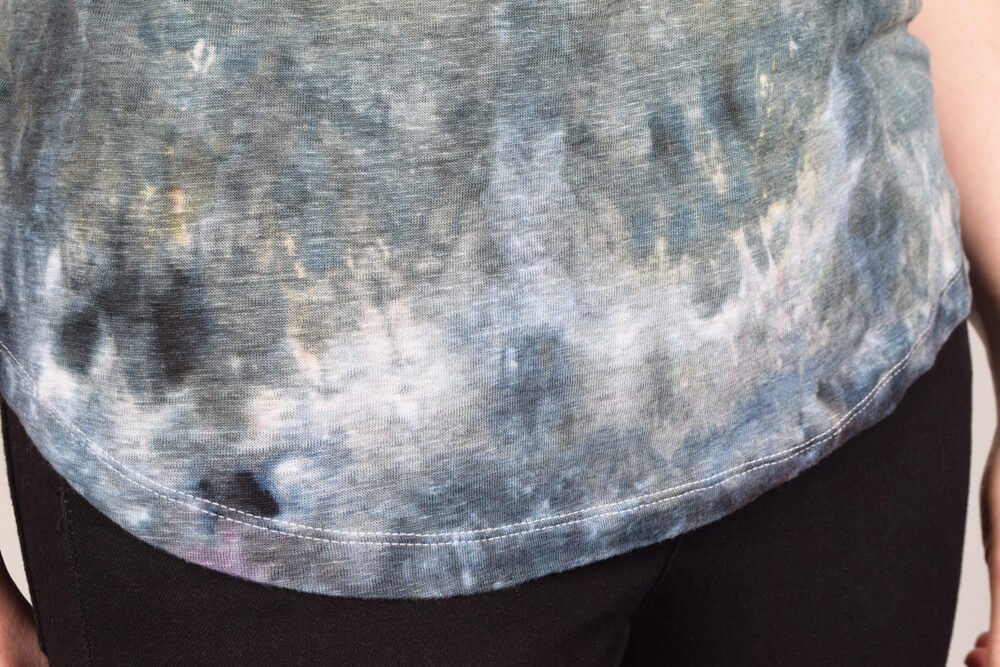
Clara’s Shirt
Mine came out less vibrant than I was expecting and the pattern wasn’t as defined.
I had previously ice dyed a cotton shirt with Dylon Dye (see the shirt I’m wearing in the video), and it came out with a crisper pattern. I suspect the linen made a difference and the the colors blended together more with a softer look.
You can’t see the vertical lines as much as I was expecting, so next time I would fold it a little tighter.
But I’m still happy with the results, and it was so much fun ice dyeing with Jen and Cathy and seeing how each turned out!

Feeling inspired? Get started by picking out some powder fabric dye here.
-
{{#each productSuggestedQueries.results}}
- {{query}} {{/each}}
-
{{#each categories.results}}
- {{html title}} {{/each}}
{{html attributes.description}}
{{/if}}-
{{#each queries.results}}
- {{query}} {{/each}}