
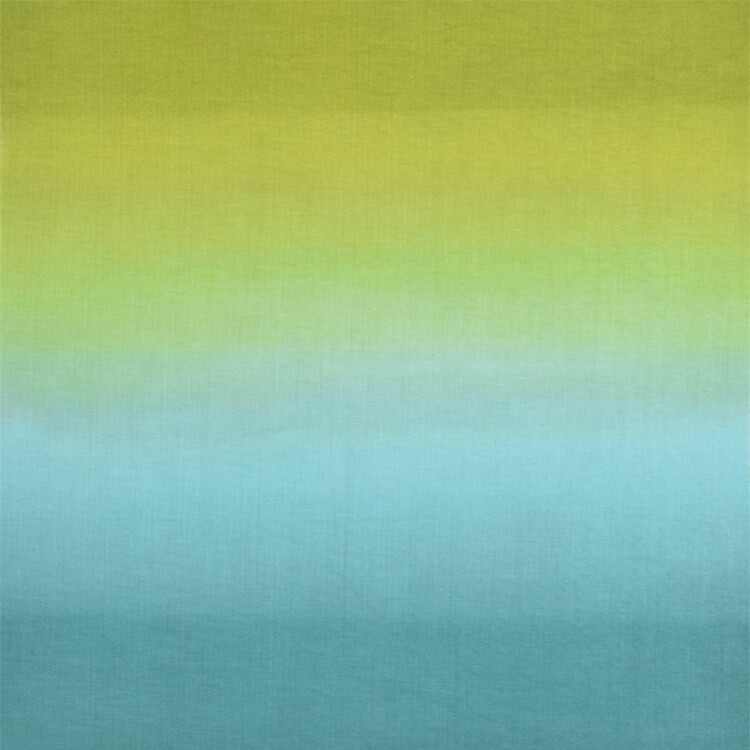
How to Dye Fabric: Ombre Dip Dye Technique
- By Clara
- Beginner
- 45 minutes
Ombre is popular in fashion, hair, and decor. It describes the blending of one color to another or light to dark. This gradient is easy to create by dip dyeing fabric or clothing. You can ombre pre-made items like shirts, dresses, curtains, or pillow covers, or dye fabric and use it to create something of your own.
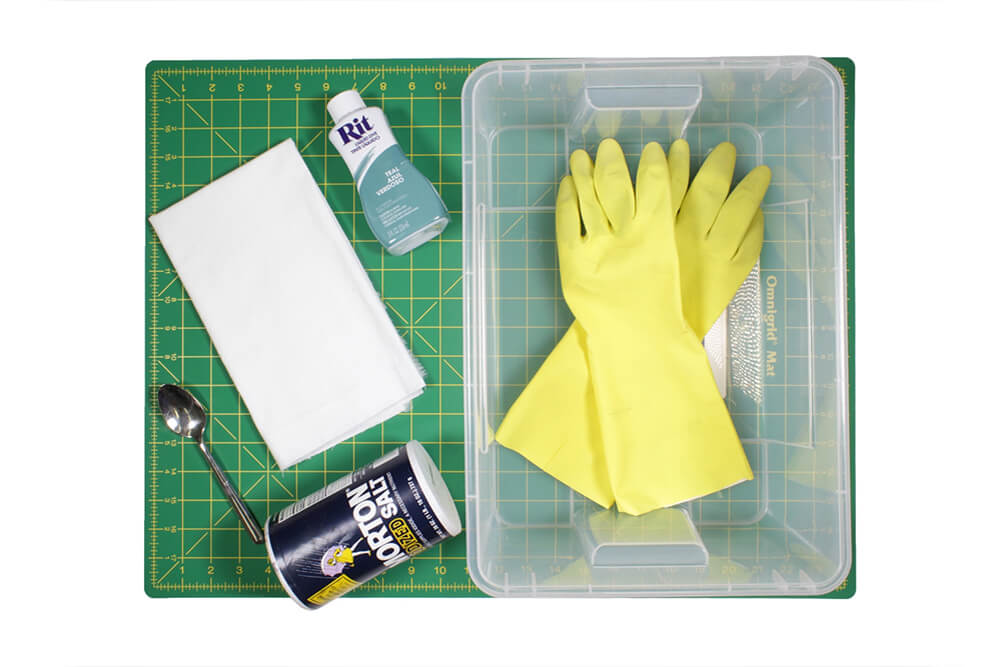
Materials
- 1 yard of fabric
- Fabric dye
- Salt
- Rubber gloves
- A container for dyeing
- Plastic to cover your work space
- A pot for boiling water
Related Products
Video
Instructions
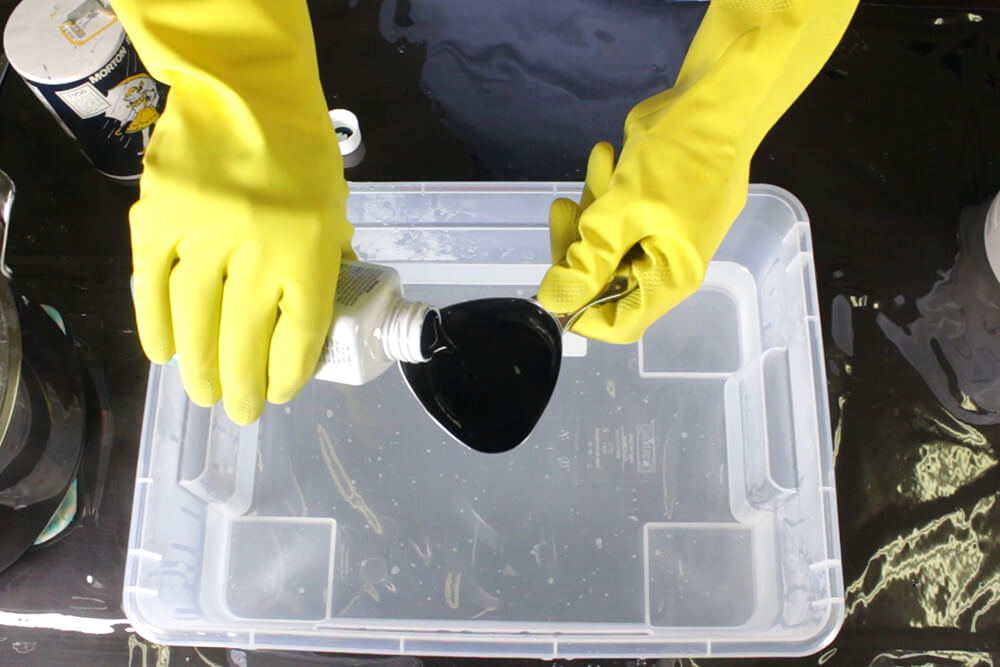
Step 1: Prepare the dye bath
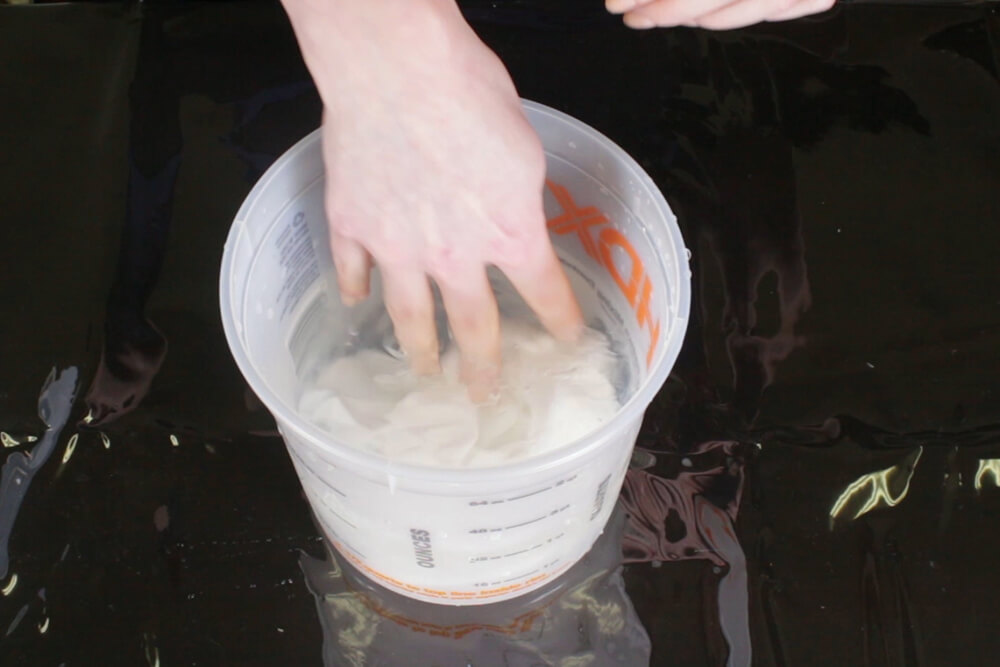
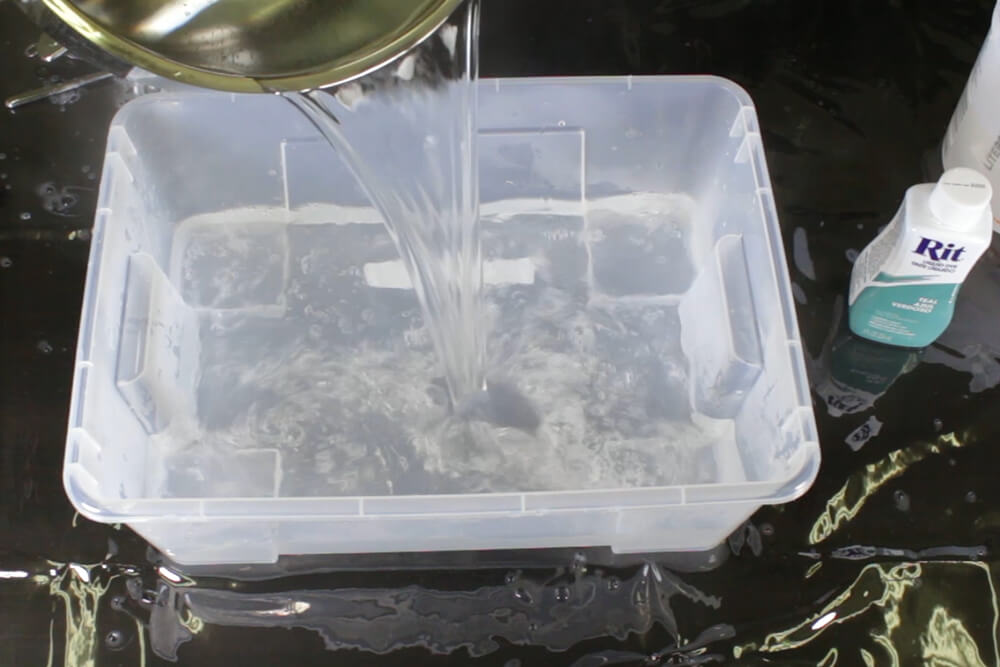
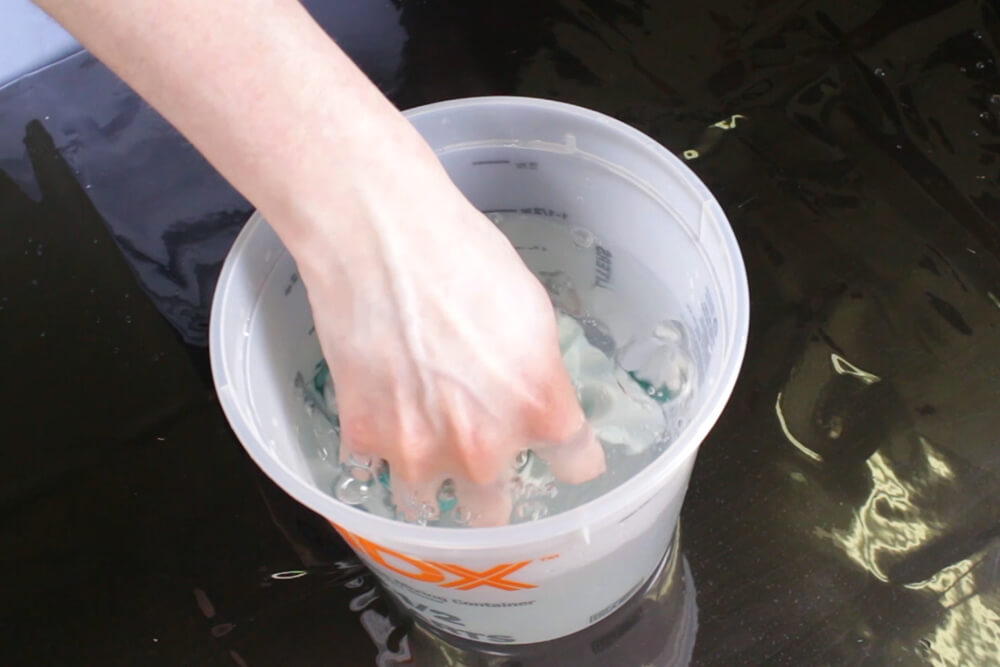
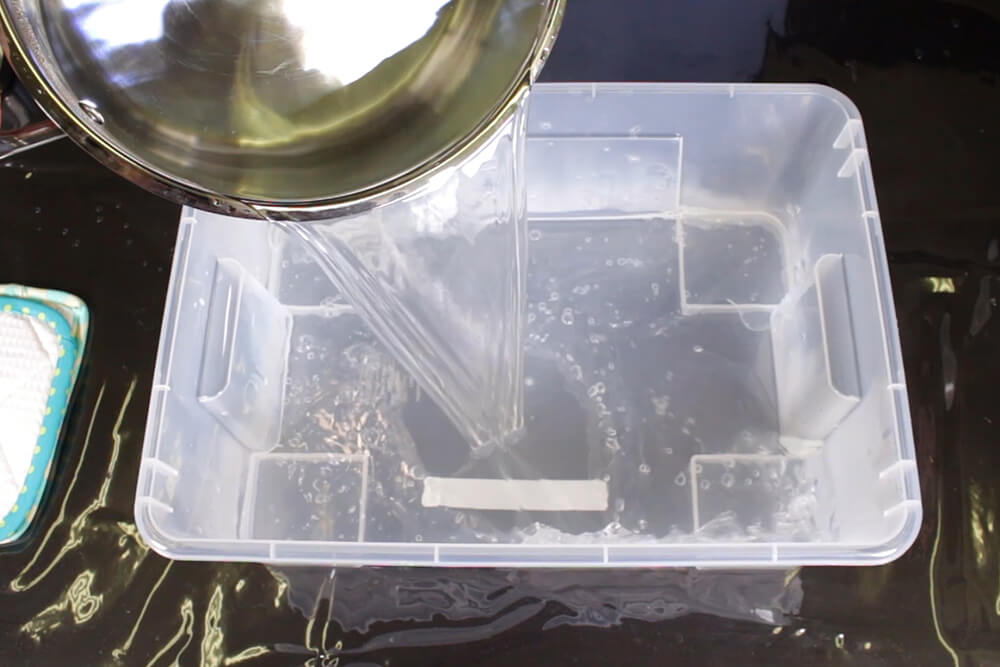
Make sure your work space is covered with plastic or something to protect it from staining. For best results, use a fabric made from natural fibers like cotton and pre-wash the fabric. First, heat water for the dye bath. For this ombre technique you want enough water to be able to submerge the fabric. Soak the fabric in warm water. Wet fabric takes dye better and more evenly than dry fabric. Once your water is close to boiling, pour it into the container you’re using for dyeing.
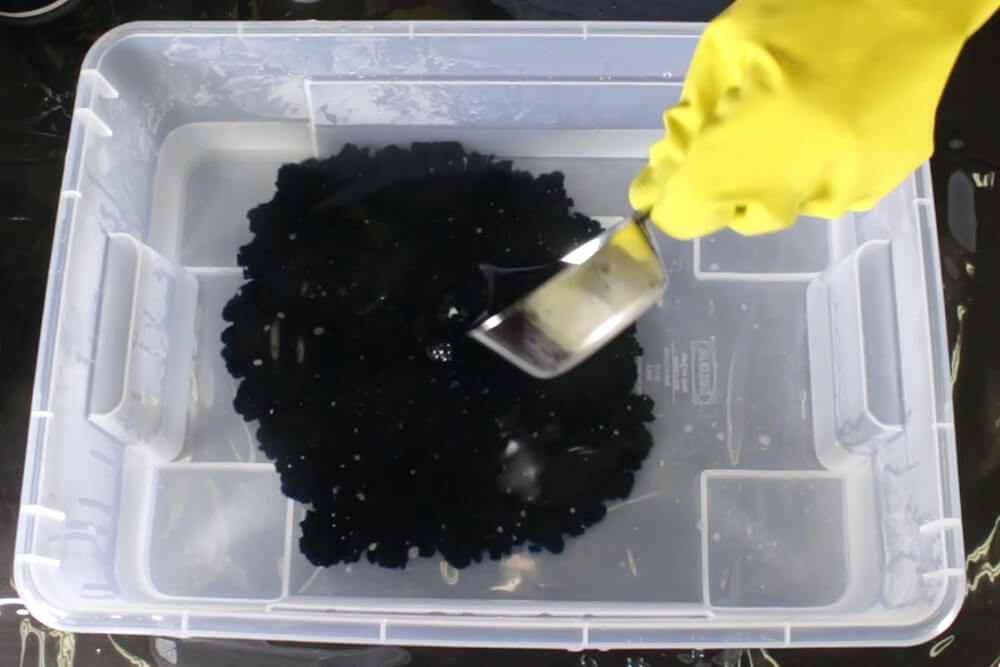
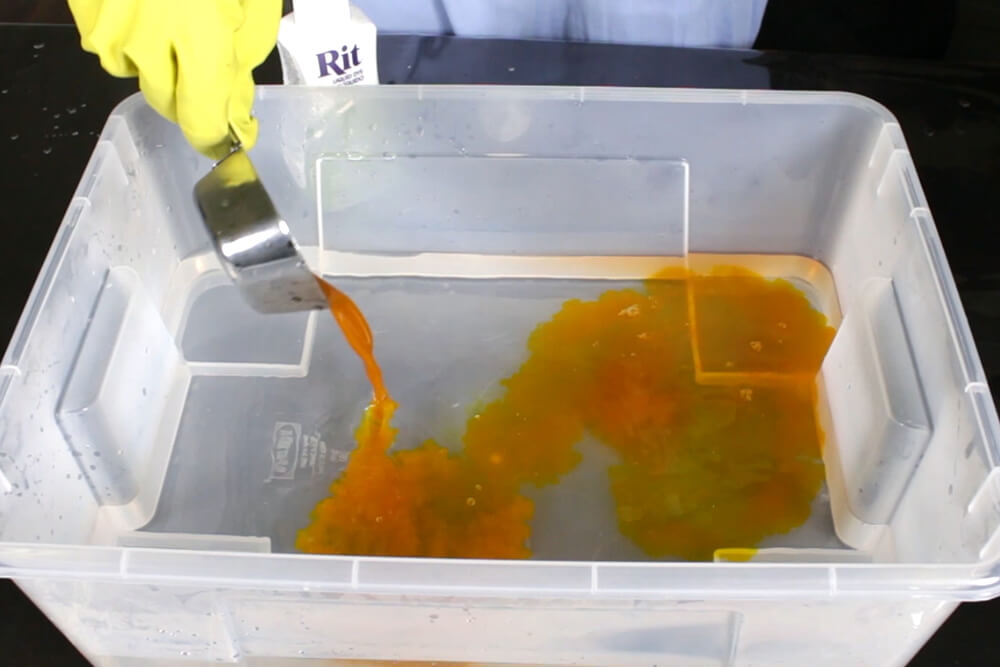
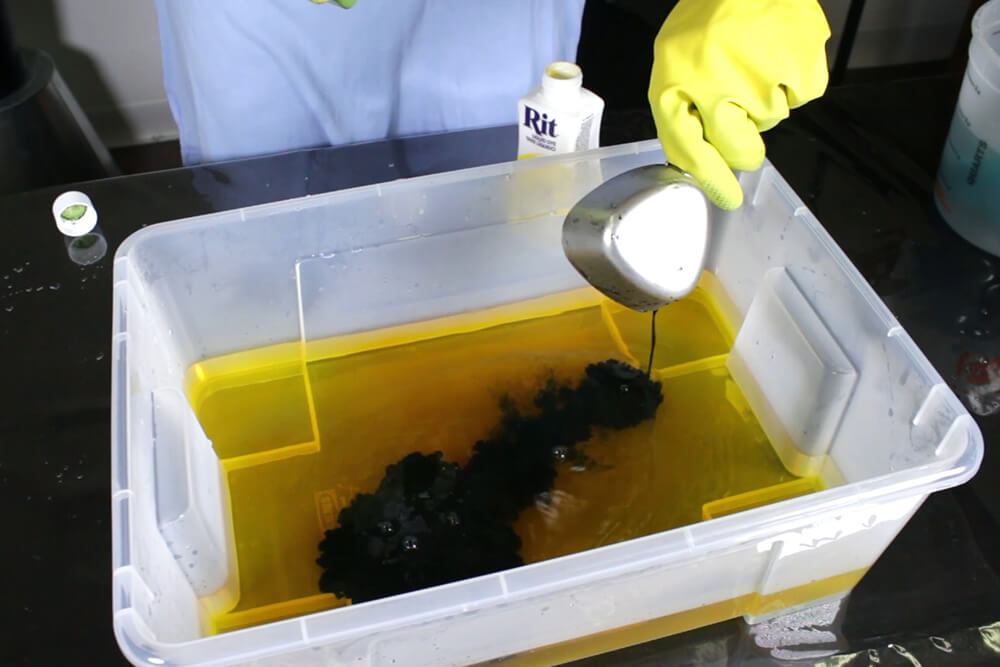
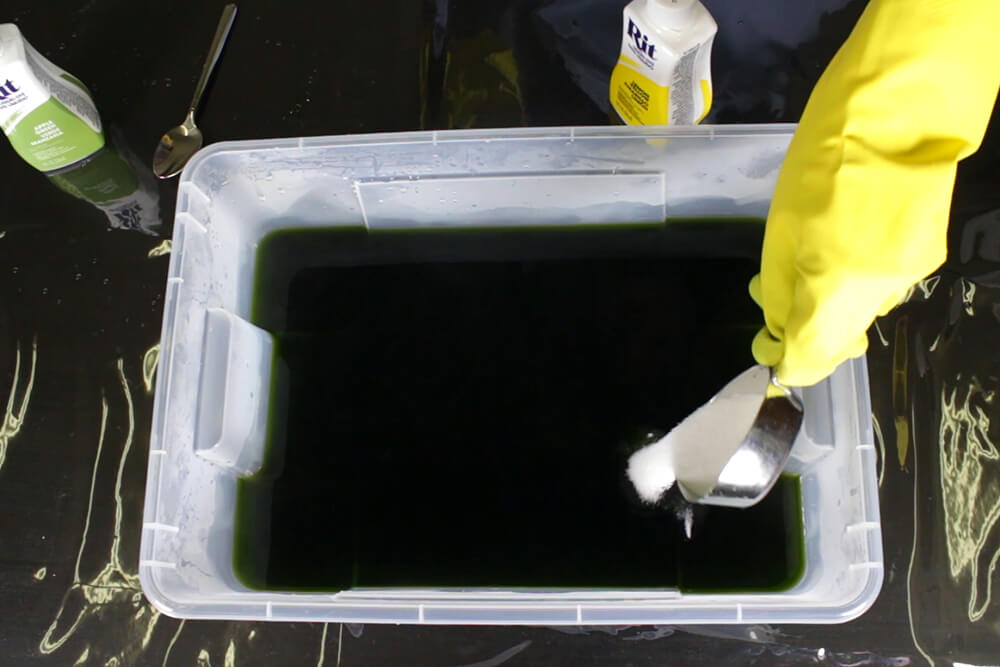
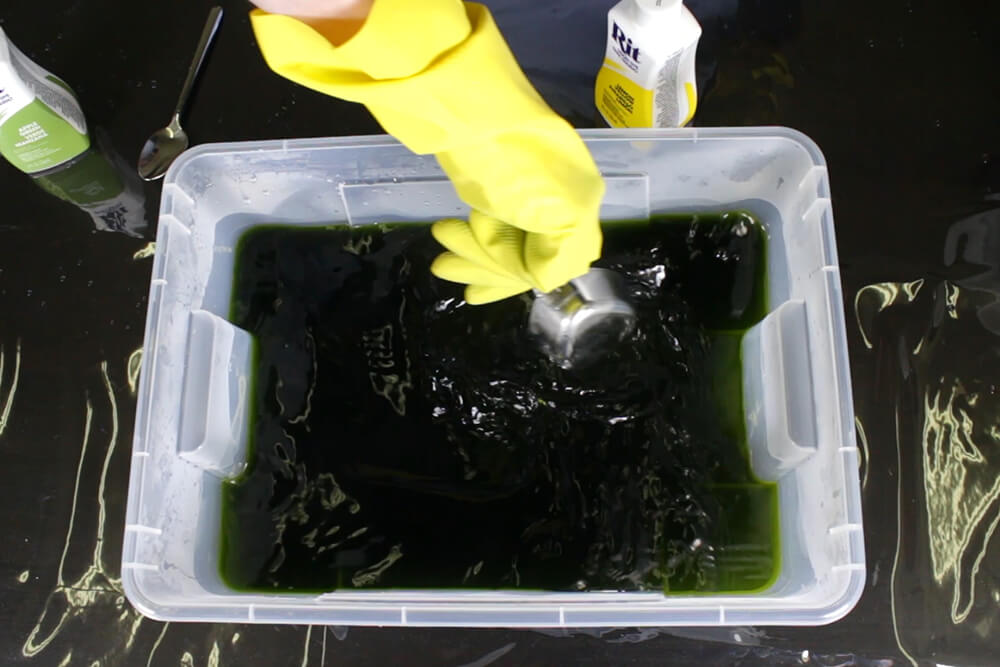
Put on rubber gloves and add the dye, shaking it well first. I’m using about 1/2 a cup of teal Rit dye for a strong concentration. How much dye you use will vary greatly depending on the amount of water, the amount of fabric you’re dyeing, and the color you want to achieve. For cotton, rayon, or linen fabrics, adding salt will help the dye absorb better. Stir the dye bath.
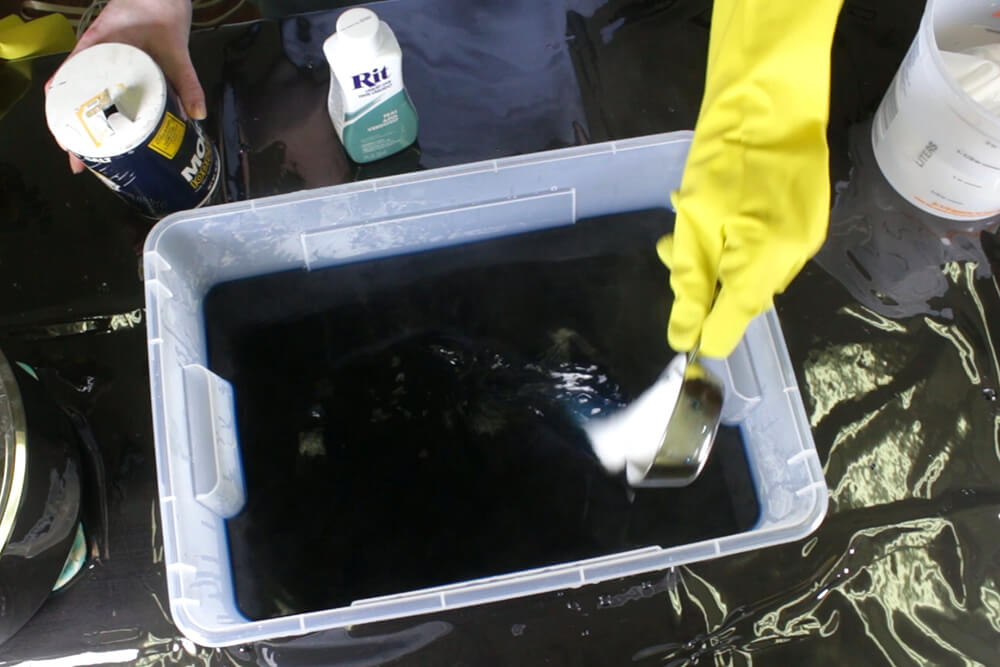
Step 2: Dye the fabric
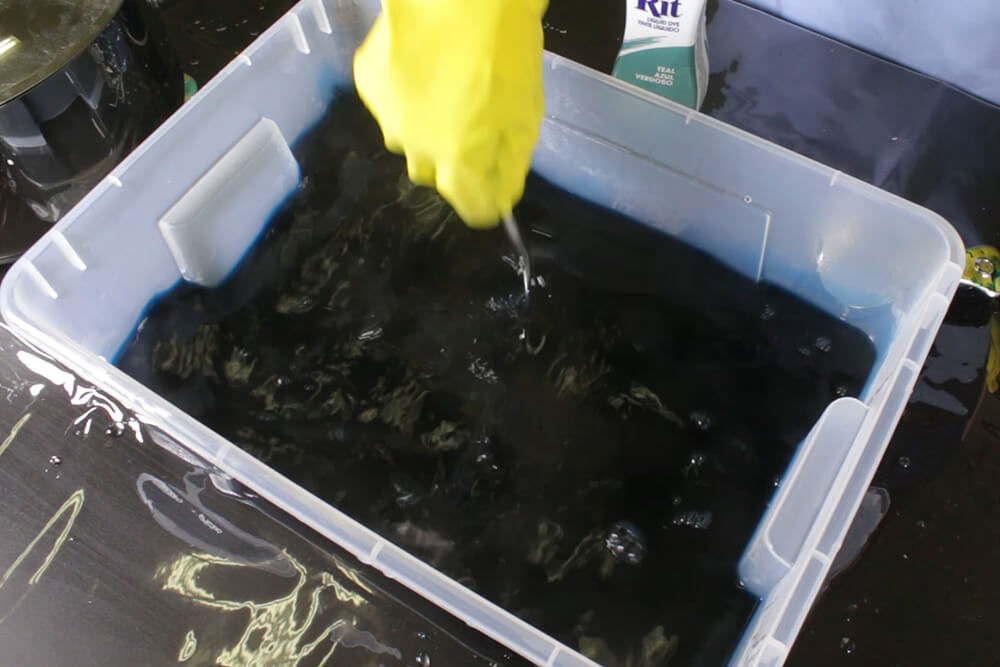
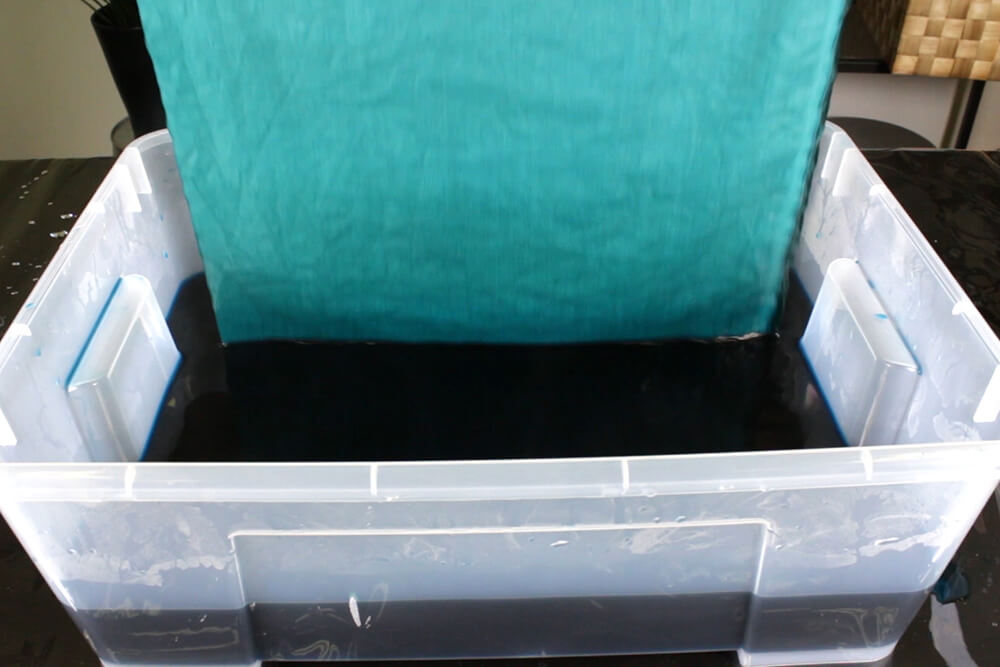
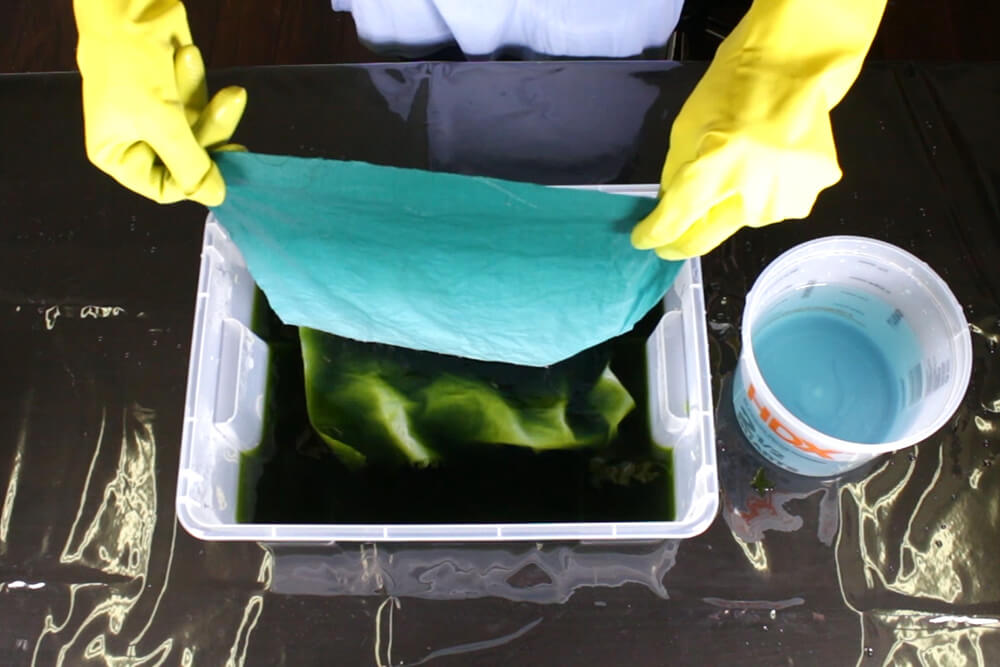
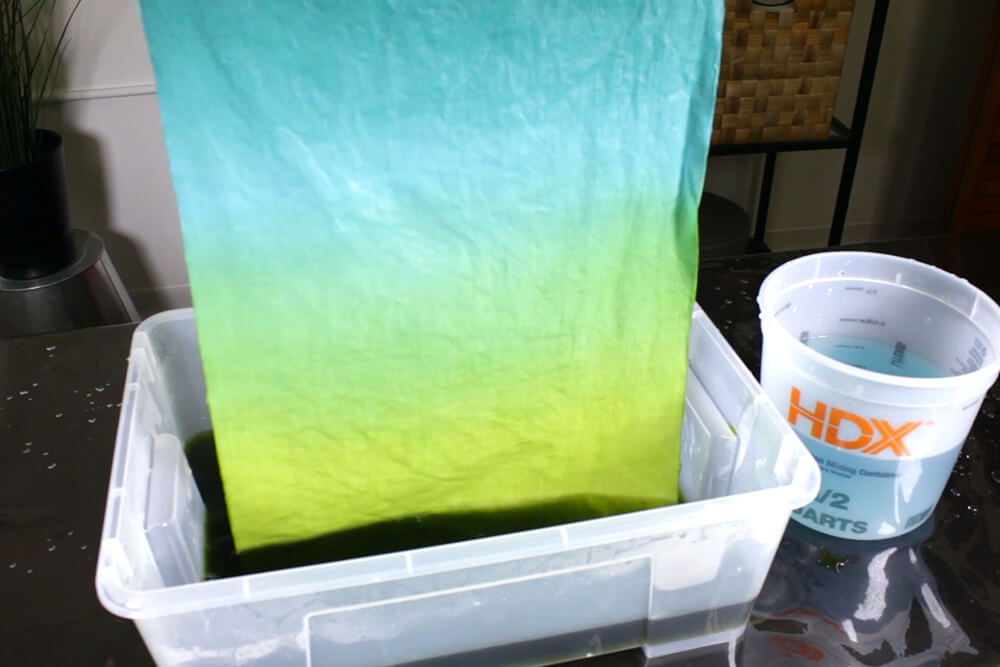
To create the ombre gradient, the top of the fabric will be in the dye the least amount of time and the bottom will be in the longest. Holding onto the top corners, dip the fabric all the way into the dye for a couple of seconds. If you want white to show, or if you want to add a second color later, don’t dip it all the way in. Then dip the majority of the fabric back in and out. Continue to move the fabric in small up and down motions as you slowly pull the fabric further out of the dye. Moving it up and down will create a smooth gradient.
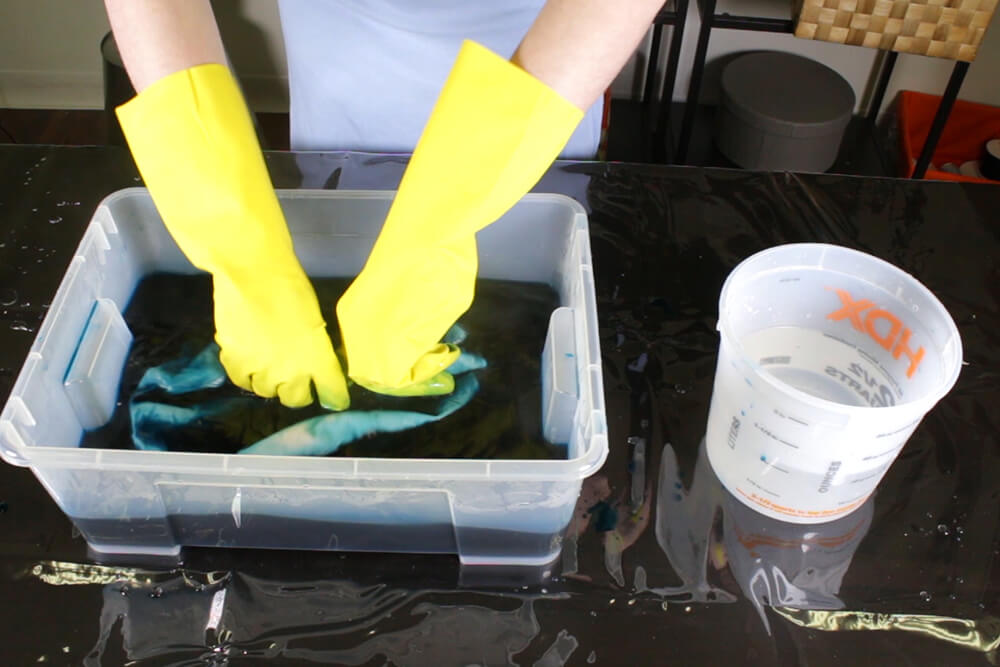
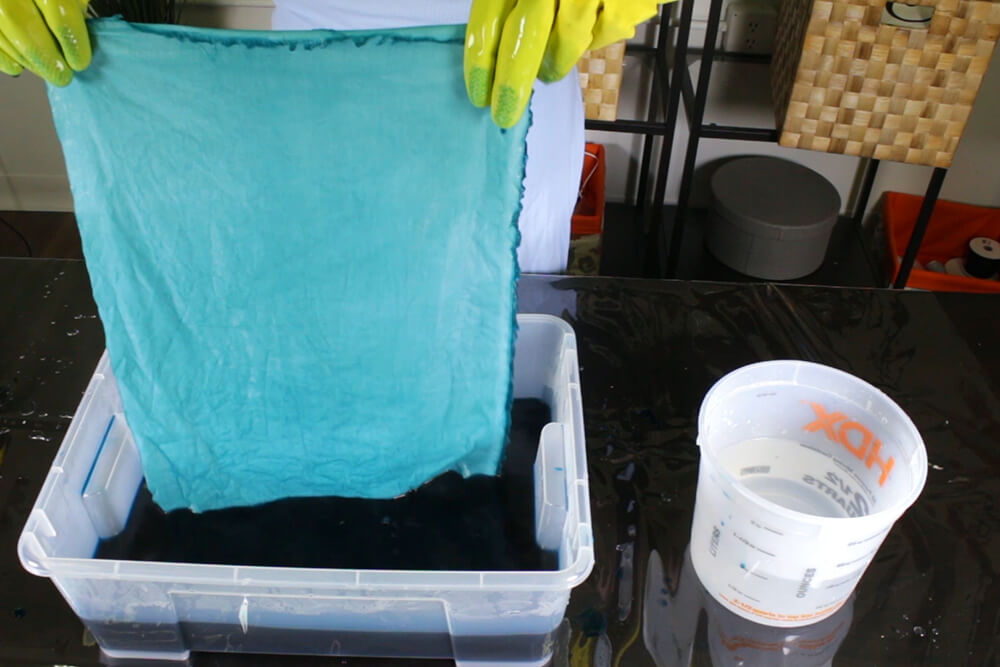
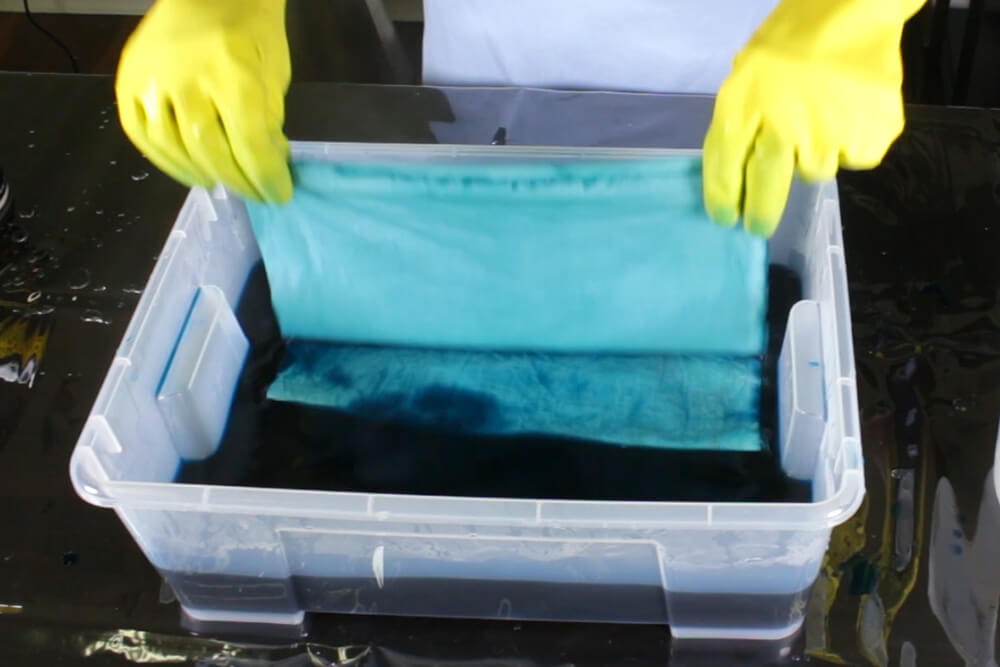
If you want more defined lines between shades of color, hold it still at various levels. If you’re dyeing a lot of fabric, it may stick together and create folds that will cause the fabric to dye unevenly. Move the fabric around so the dye can reach all areas. The bottom part of the fabric will be in the dye about half an hour total. When you’re happy with how the dye is looking, you can leave the bottom in the dye for longer periods of time. Keep in mind that the color looks darker when the fabric is wet.
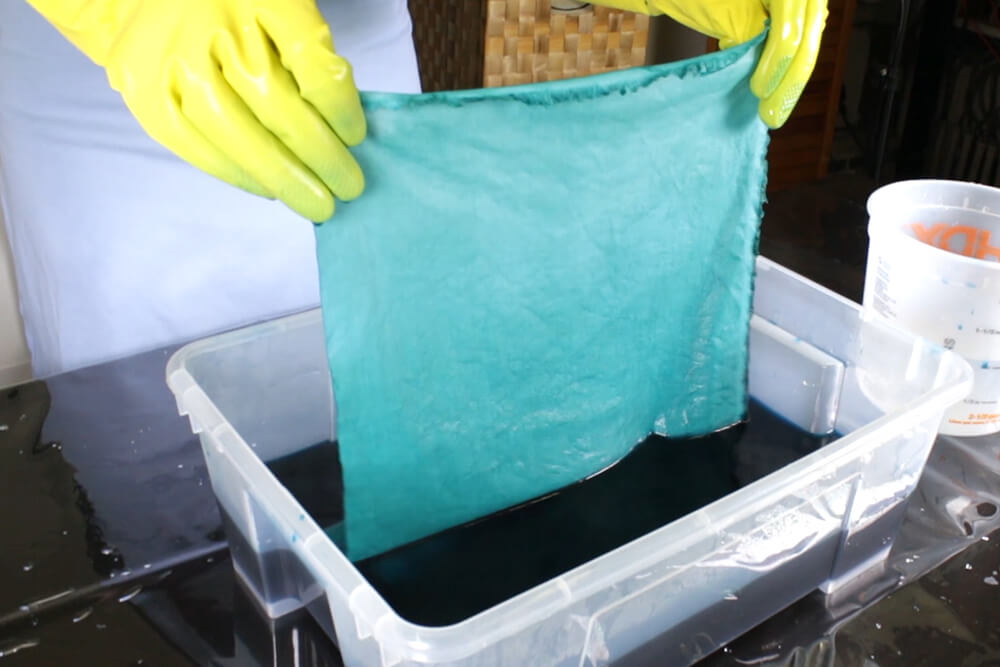
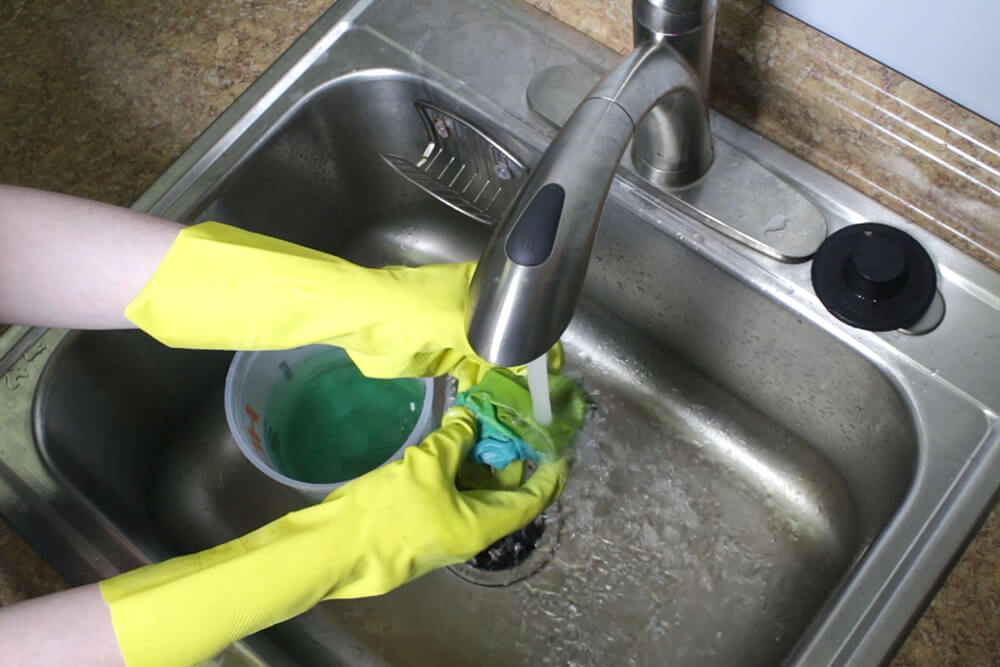
Step 3: Rinse the fabric
When you’re happy with the ombre, rinse with warm water. Then switch to cold water, and continue to rinse until the water runs clear. Machine wash on cold and hang dry.

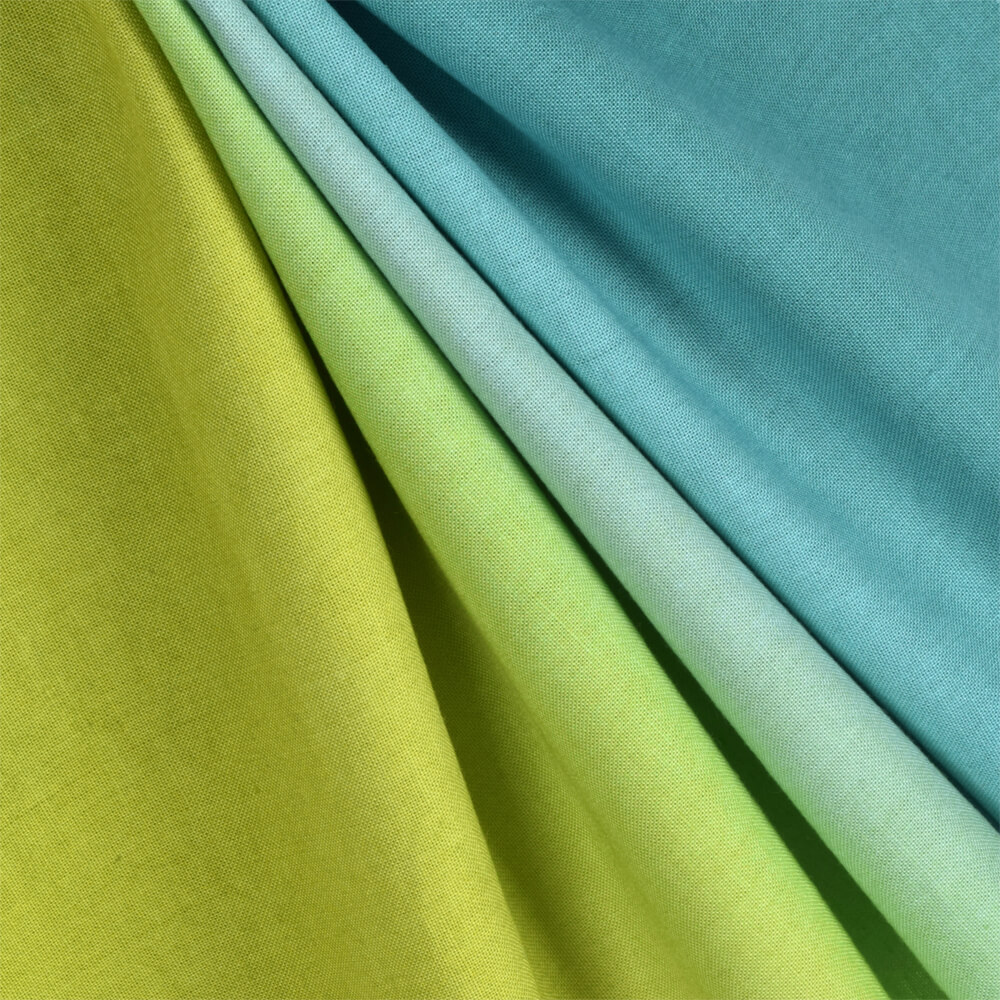
Add a second color (optional)
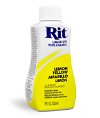
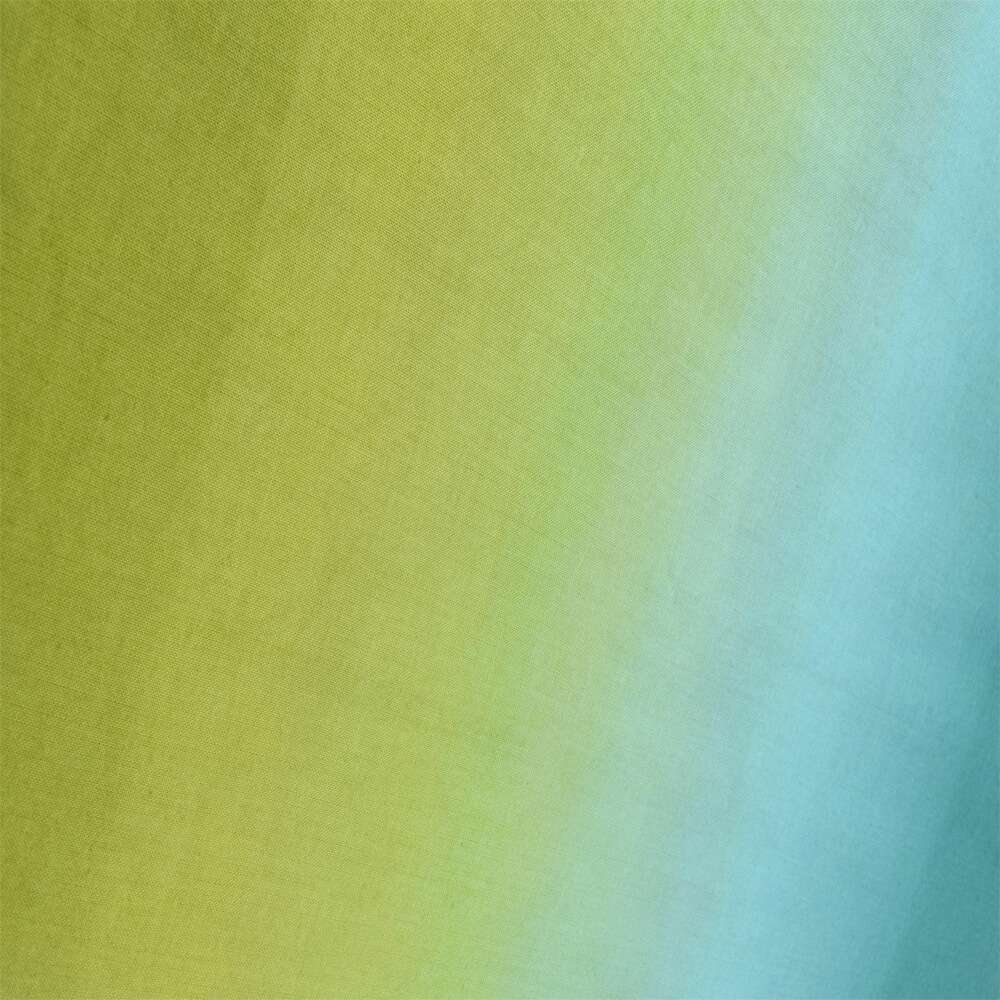
If you want to add another color, after rinsing, repeat the process, this time dipping the other end into the second color. I’m mixing lemon yellow and apple green Rit dye. Dip the fabric into the dye like before, overlapping the color to blend them together. Finally, rinse the fabric and machine wash.
Check out all the dye colors here.
-
{{#each productSuggestedQueries.results}}
- {{query}} {{/each}}
-
{{#each categories.results}}
- {{html title}} {{/each}}
{{html attributes.description}}
{{/if}}-
{{#each queries.results}}
- {{query}} {{/each}}