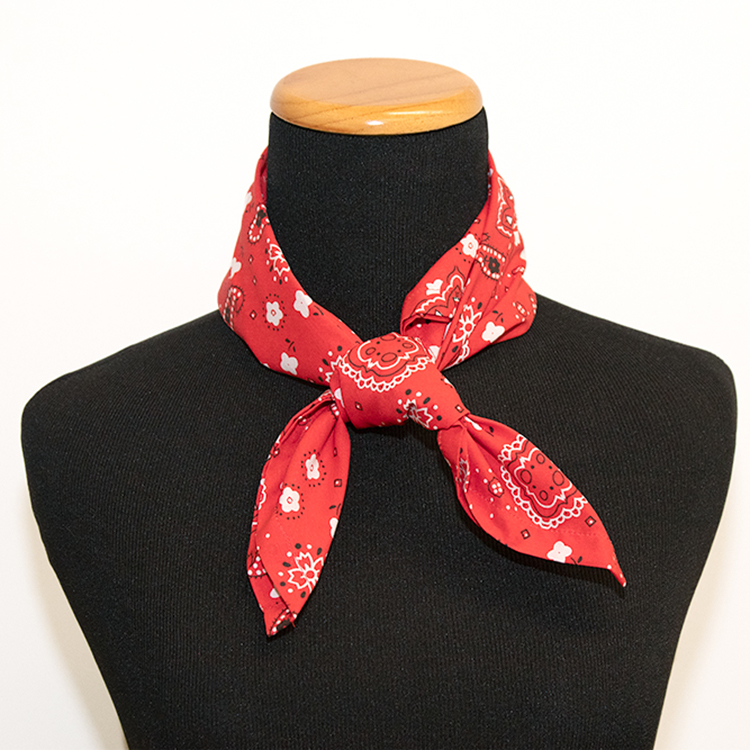
How to Make a Bandana
- By Greg
- Beginner
- 45 minutes
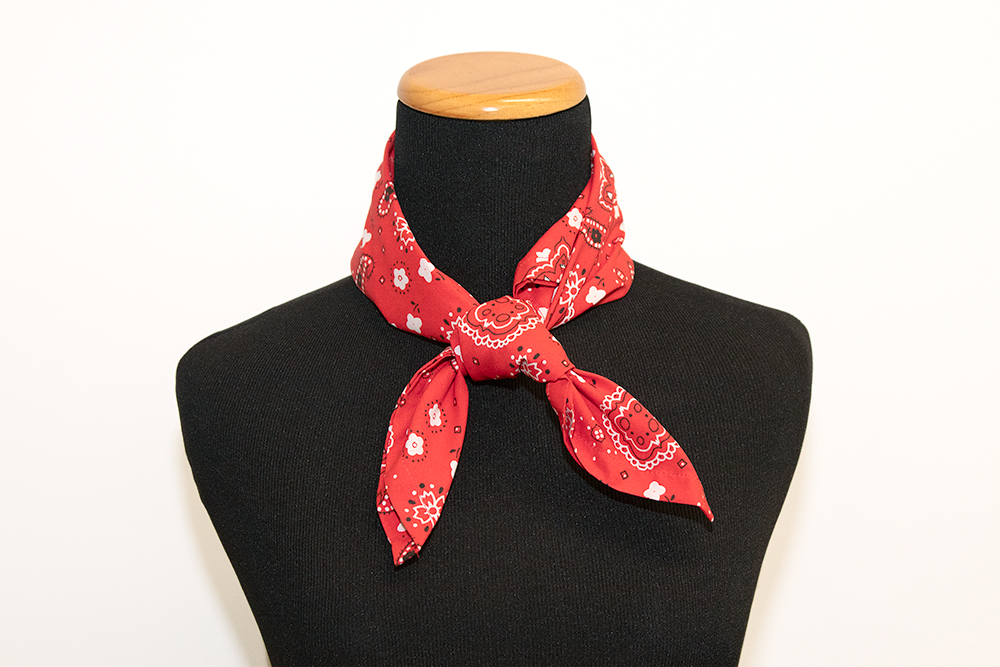
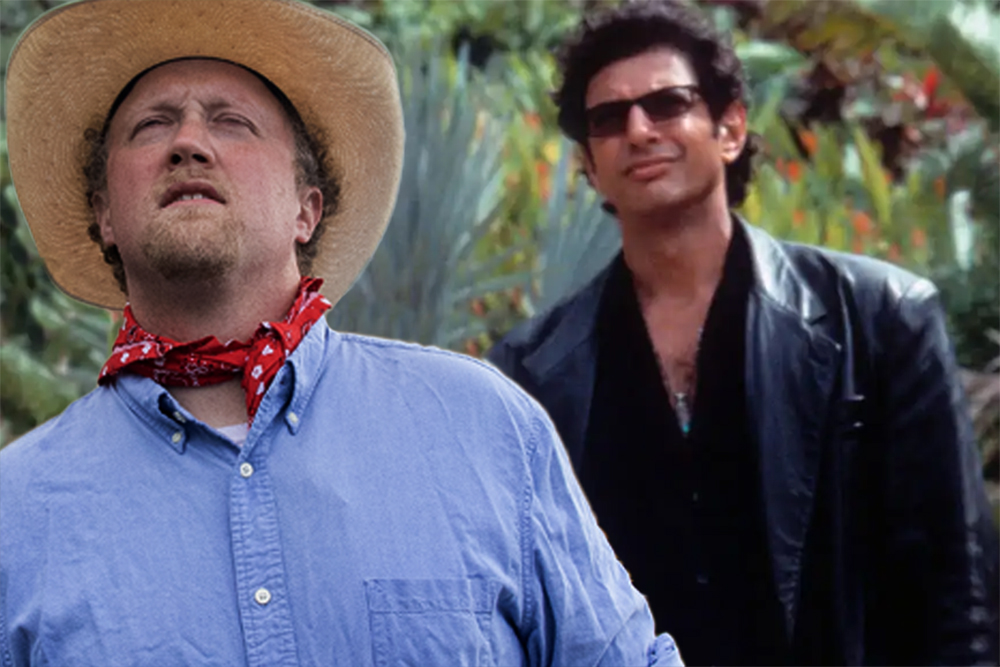
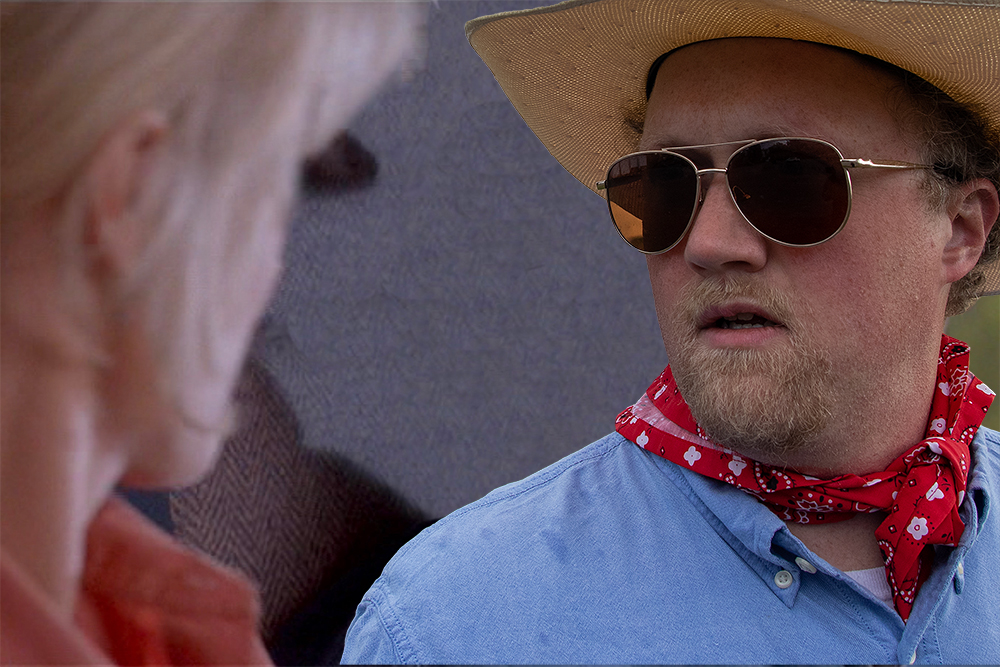
There are many practical and fashionable reasons to wear a bandana, I made this one to complete my Halloween costume. Can’t say what it’s from I don’t want to get sued but I’ll give you a clue, it rhymes with Shmurassic Park.
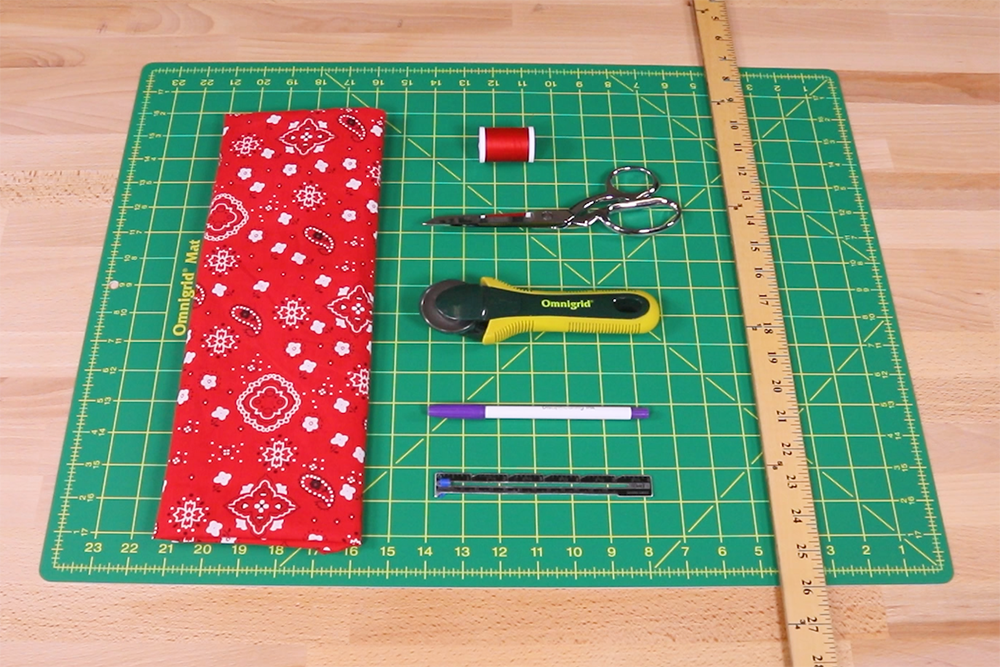
Ready to make your own custom bandana? Grab your sewing kit and some fabric and let’s get to it!
Materials
Related Products


Video
Instructions
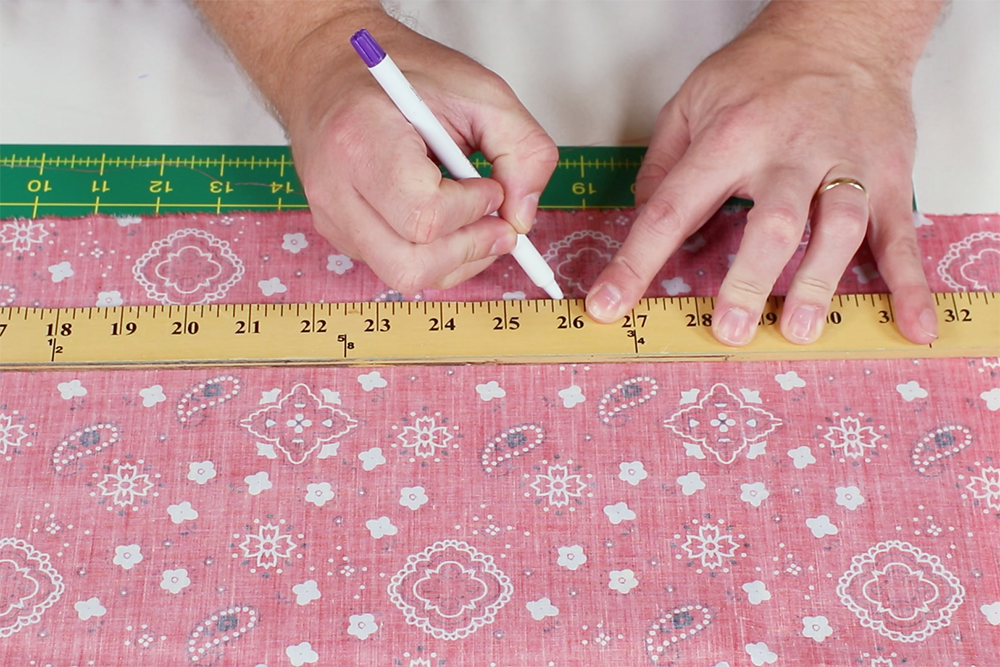
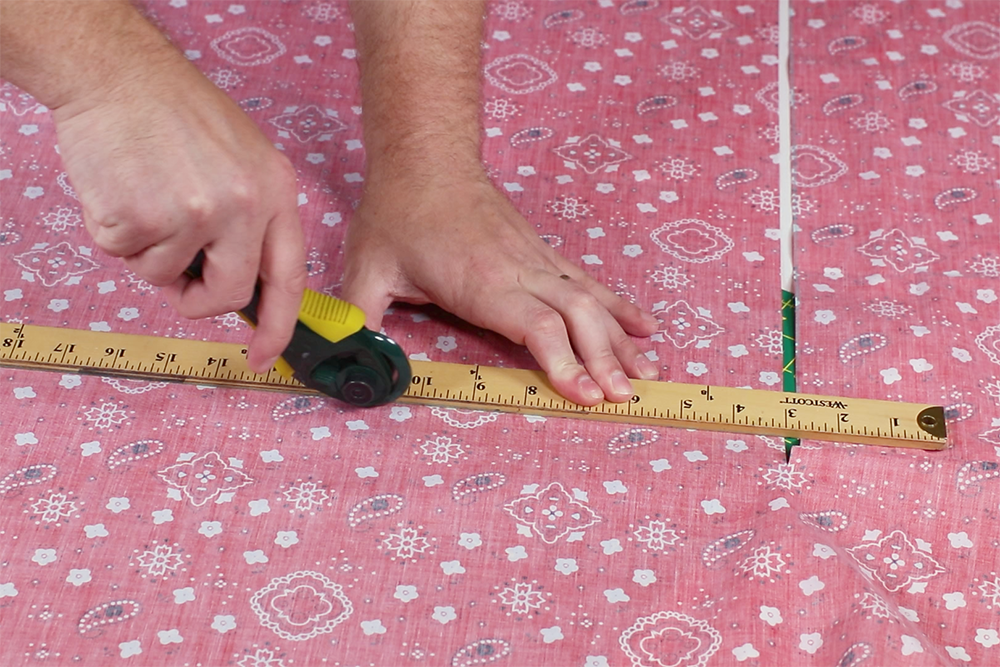
Step 1: Measure & Cut the Fabric
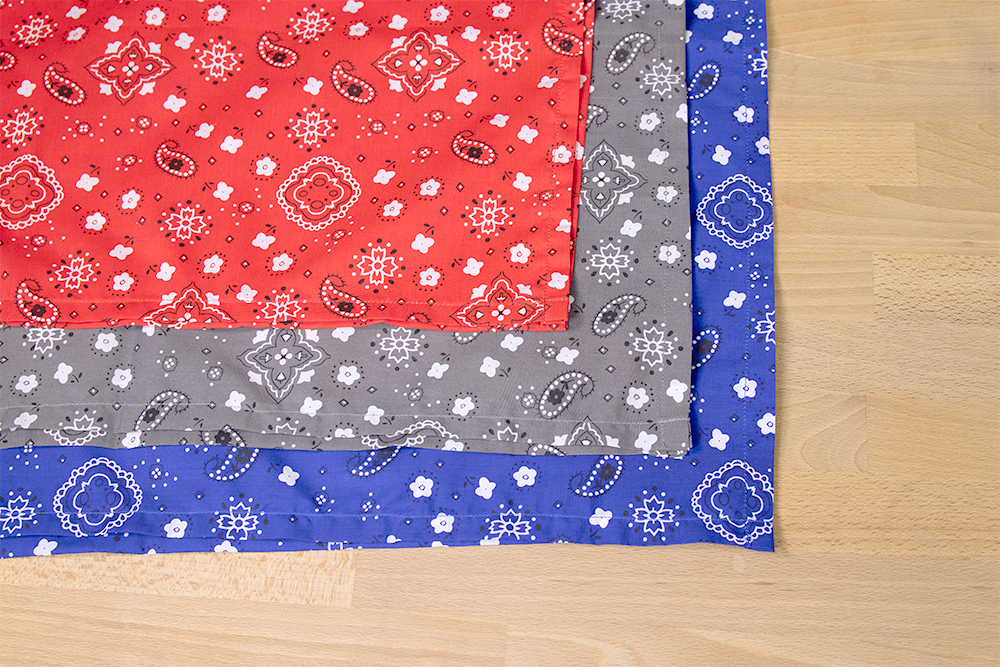
Bandanas are typically 22 inches square. I want a little more flexibility for my abnormally large head so I’ll make this one 24 by 24 inches.
I’m utilizing a 1/2 inch double fold hem on the sides, so I’ll add 2 inches to the width and height when I cut my piece. You can use other seam styles and allowances if you want to, just be sure to include it in your calculations. This piece is 26 by 26 inches.
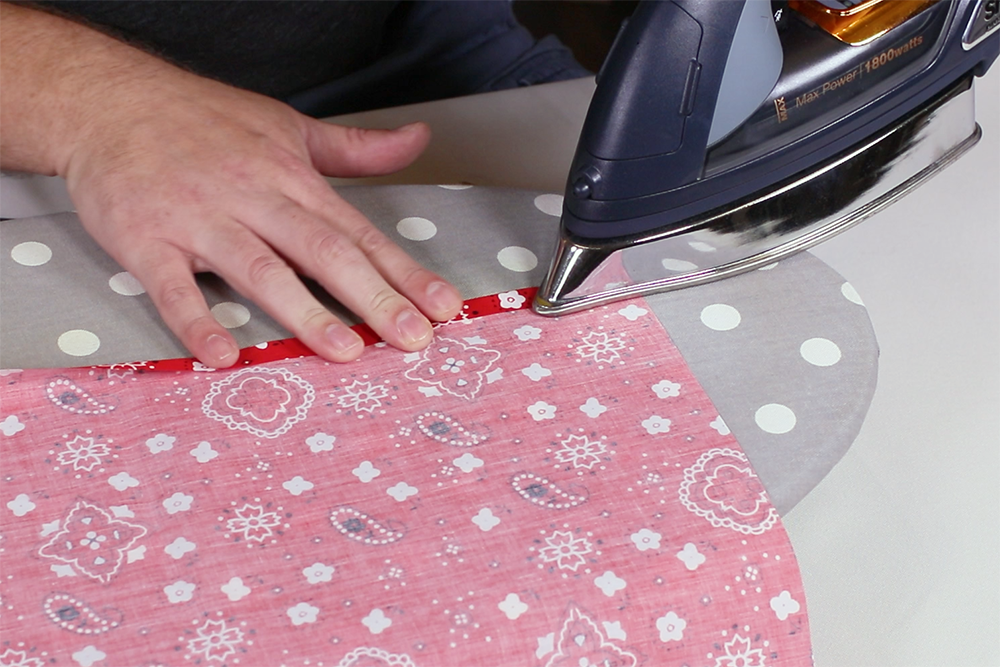
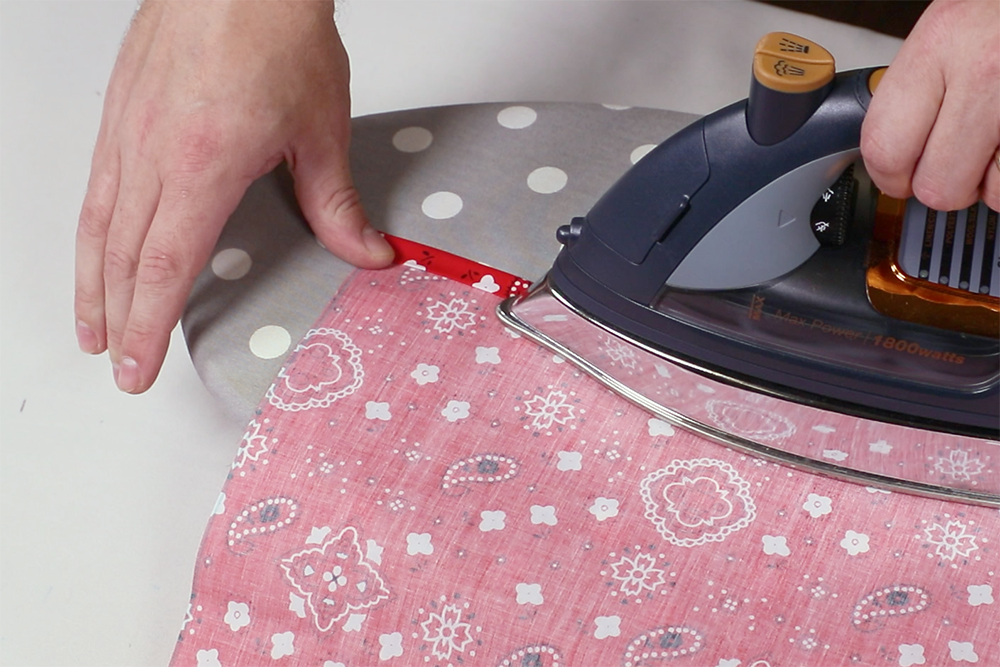
Step 2: Iron & Sew the Sides
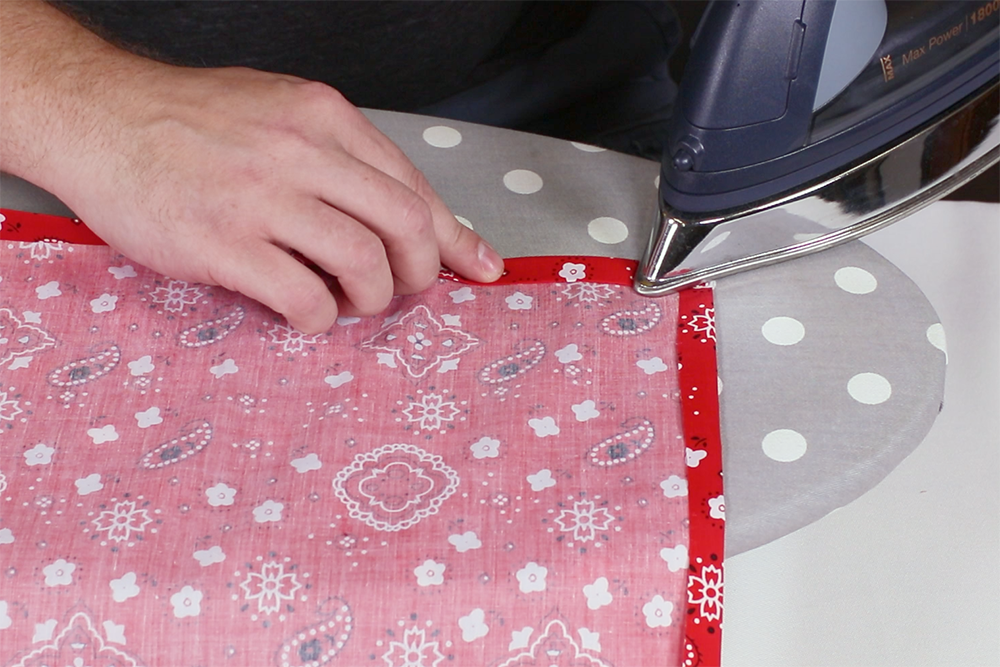
Fold the edges over 1/2 inch to the wrong side and iron. Fold another 1/2 inch and iron again. Repeat for the other edges.
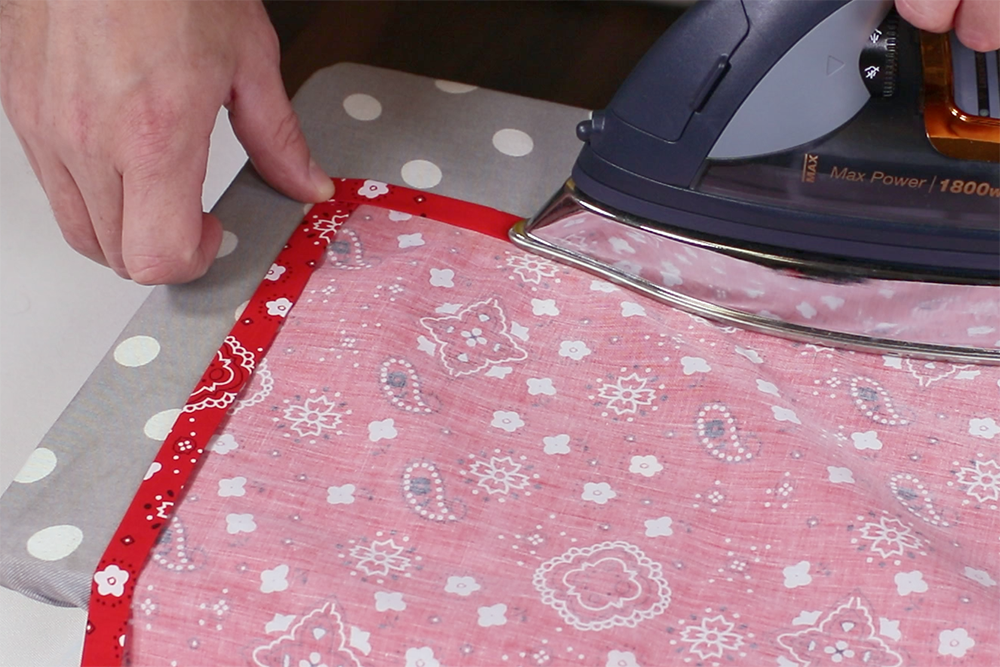
Now it’s time to sew. You can just top stitch a line or two around the edges if you prefer, but I’ll be sewing 4 straight lines near the fold of the edges back stitching at both ends for extra secure corners.
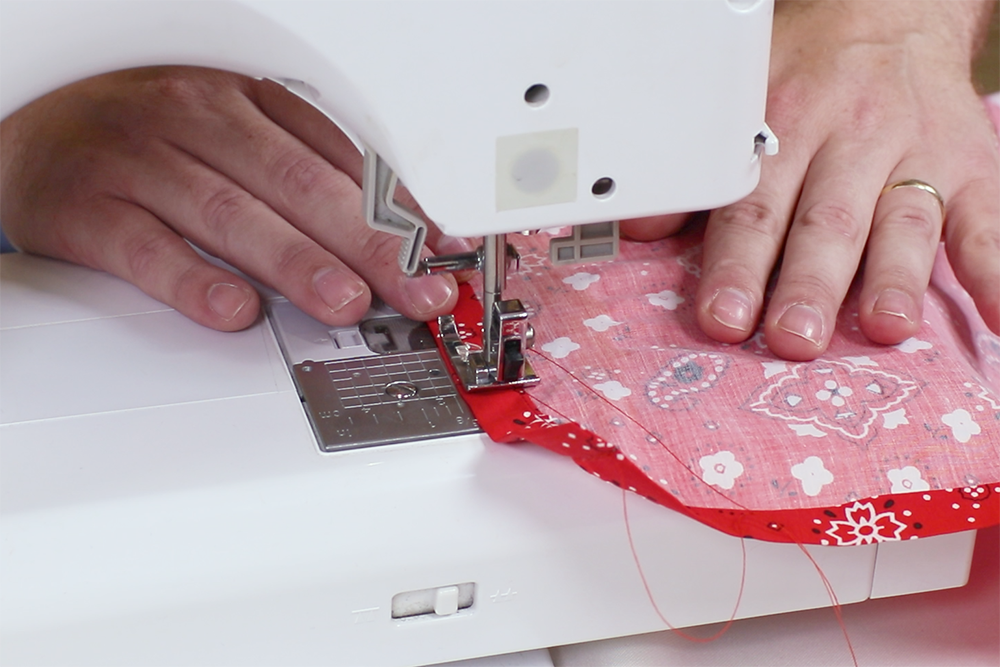
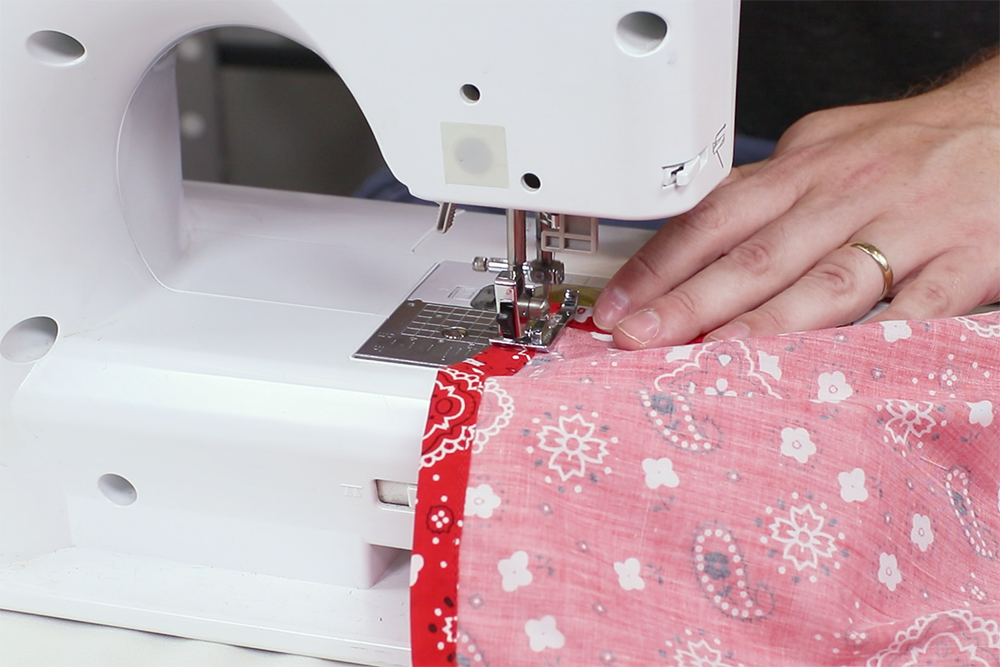
That’s it, the bandana is good to go!
-
{{#each productSuggestedQueries.results}}
- {{query}} {{/each}}
-
{{#each categories.results}}
- {{html title}} {{/each}}
{{html attributes.description}}
{{/if}}-
{{#each queries.results}}
- {{query}} {{/each}}