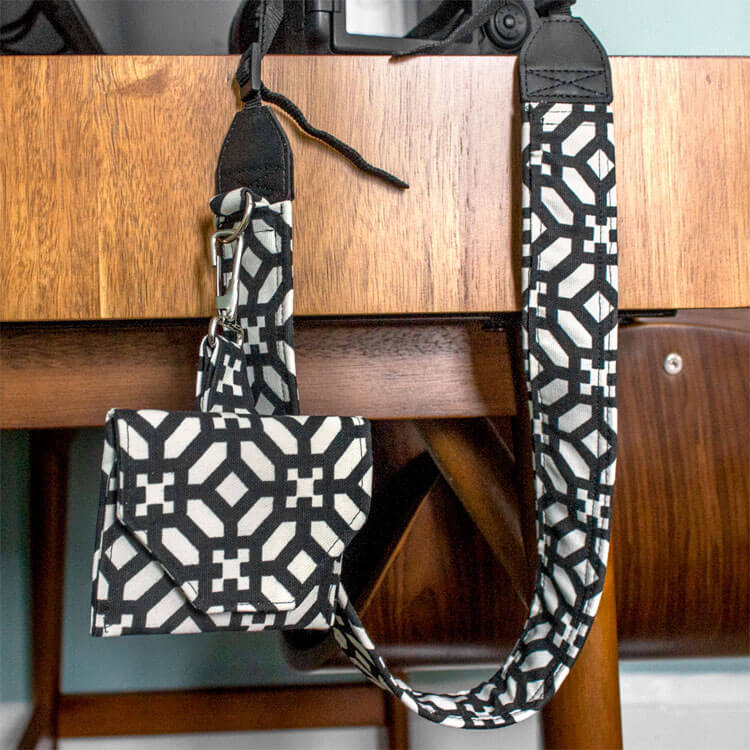
How to Make a Camera Strap with a Lens Cap Pouch
- By Clara
- 1 hour
Whether you’re team Nikon or team Canon, I think we can all agree that the camera straps are pretty ugly. I’m going to cover an existing camera strap with new fabric and make a detachable lens cover pouch to go with it.
This strap makes my camera feel unique and gives it some personality. This project is so easy, you can change out the fabric whenever you feel like it.
Sign up to our mailing list to get the FREE pattern and printable PDF instructions.
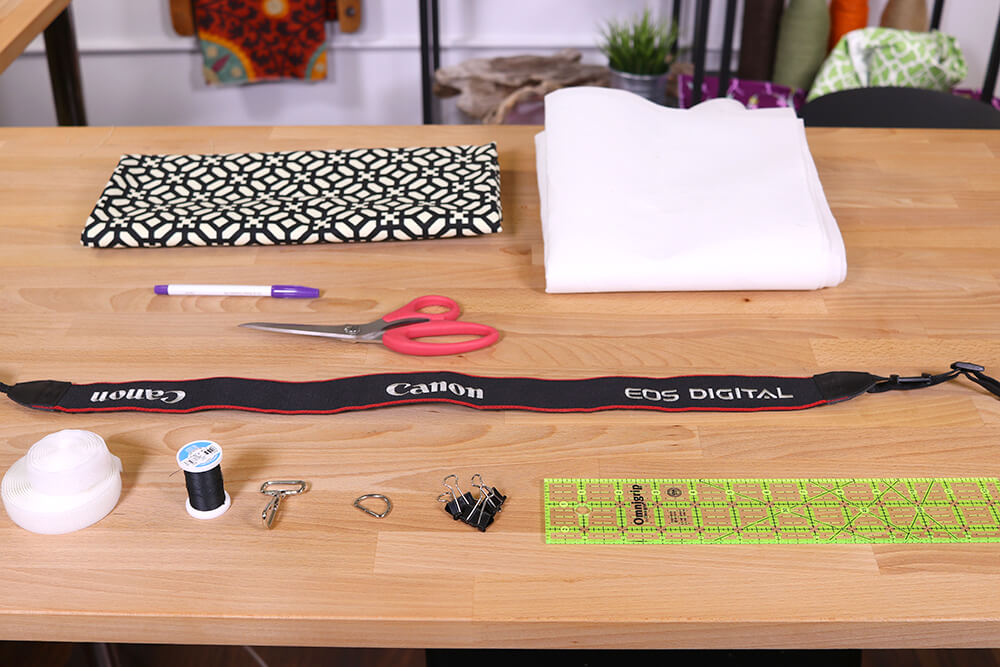
Materials
- Fabric (decor, outdoor, or quilting fabric recommended)
- Stabilizer (optional)
- 1 D-ring
- 1 Hook
- Velcro
- Thread
- Fabric marker
- Ruler
- Scissors
- Clips
- Iron
- Sewing machine
Related Products
-
 Hook Fastener 3/4" Sew-On White - 25 Yard Roll
-
 Loop Fastener 3/4" Sew-On White - 25 Yard Roll
-
 Dual Duty XP Thread - Black, 500 Yards
-
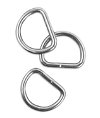 1" Nickel D-Ring
-
 1" Nickel Fixed Snap Hook
-
 #809 Decor Bond Fusible Stabilizer
-
 Disappearing Ink Marking Pen - Purple
-
 Non Slip Ruler 2-1/2 inch X 12-1/2 inch
-
 In the Frame Graphite
Video
Instructions
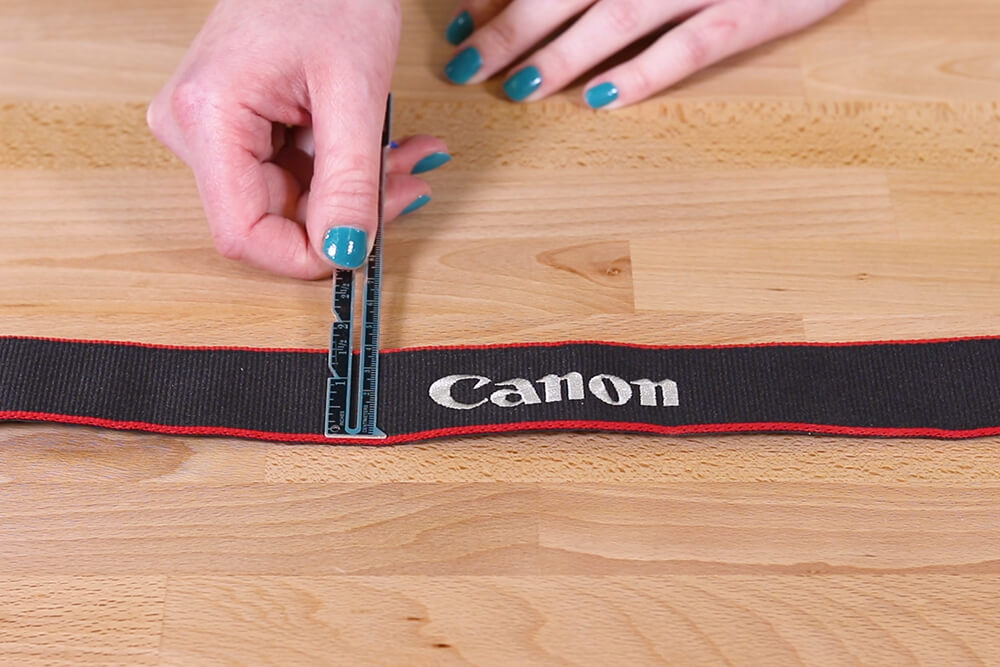
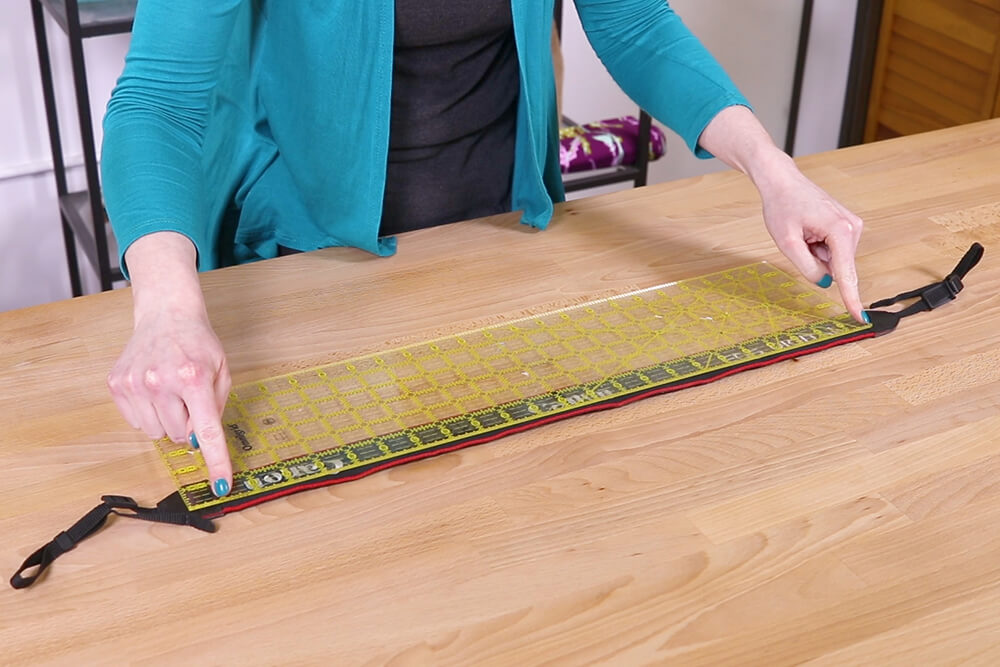
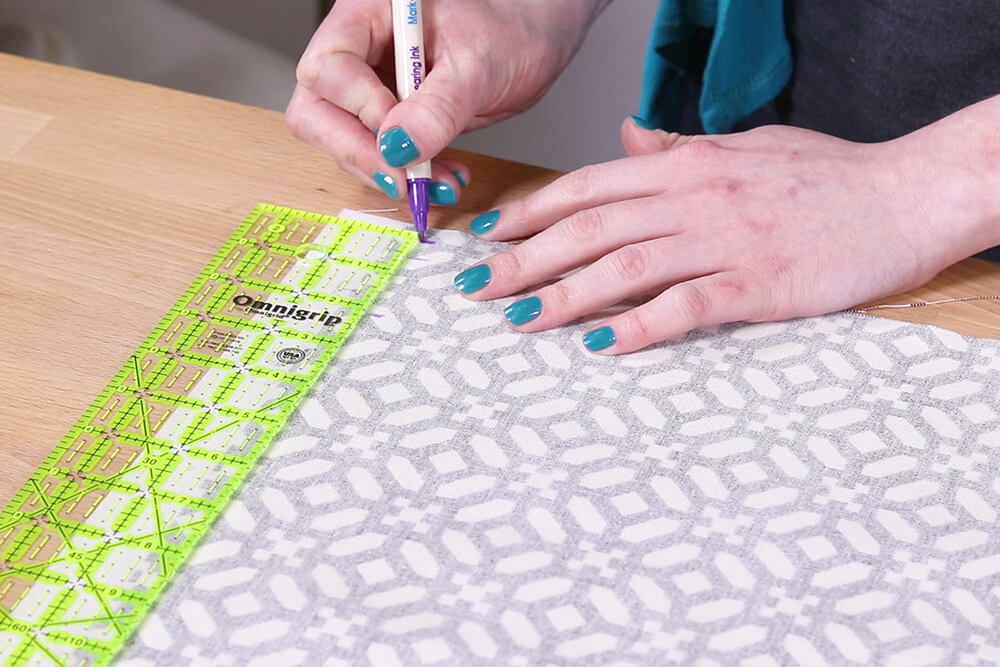
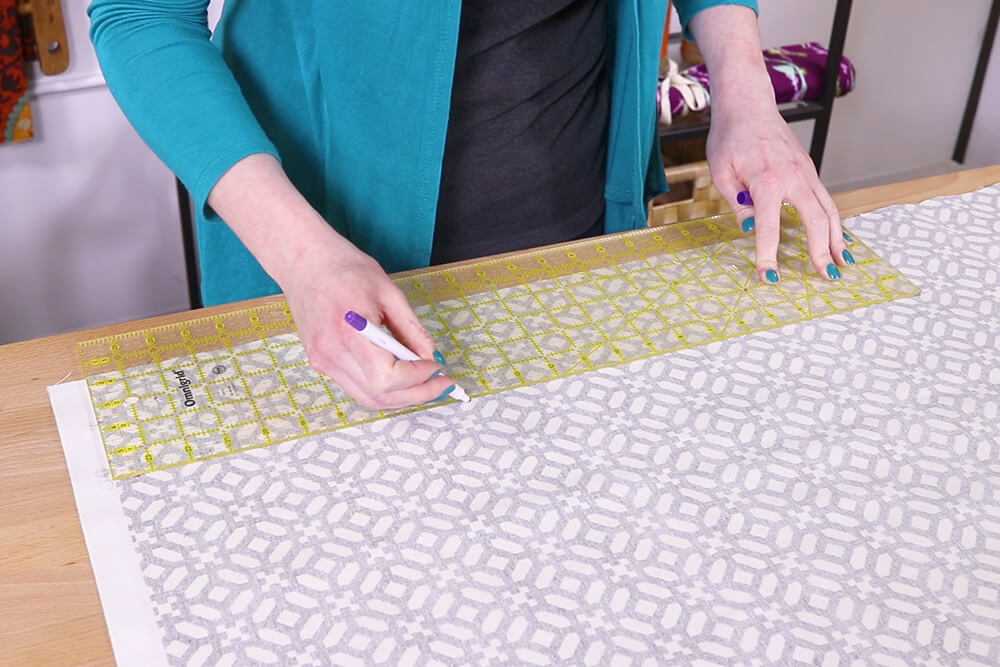
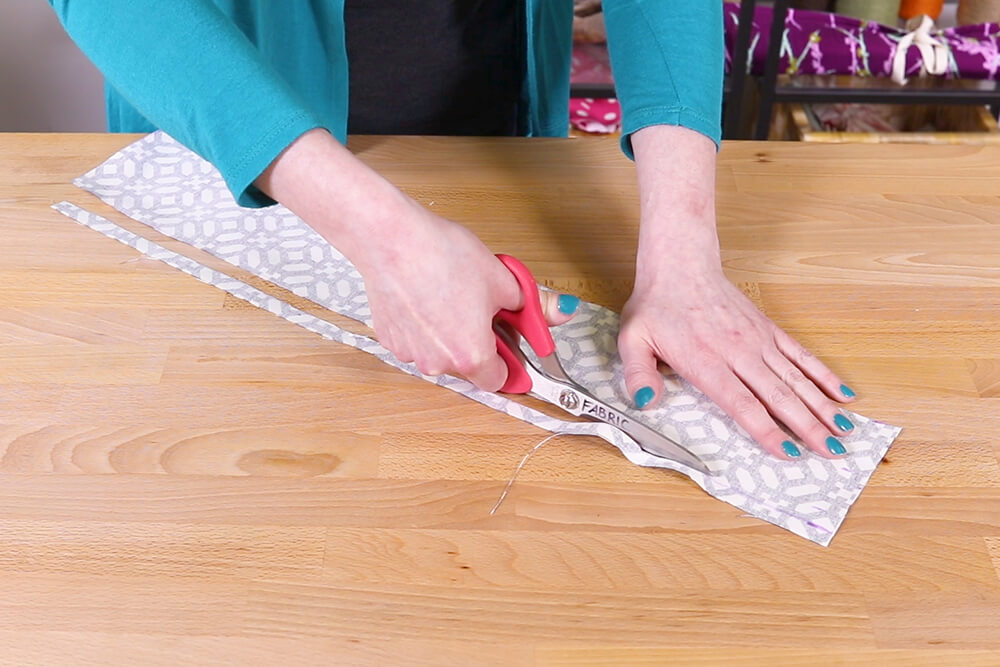
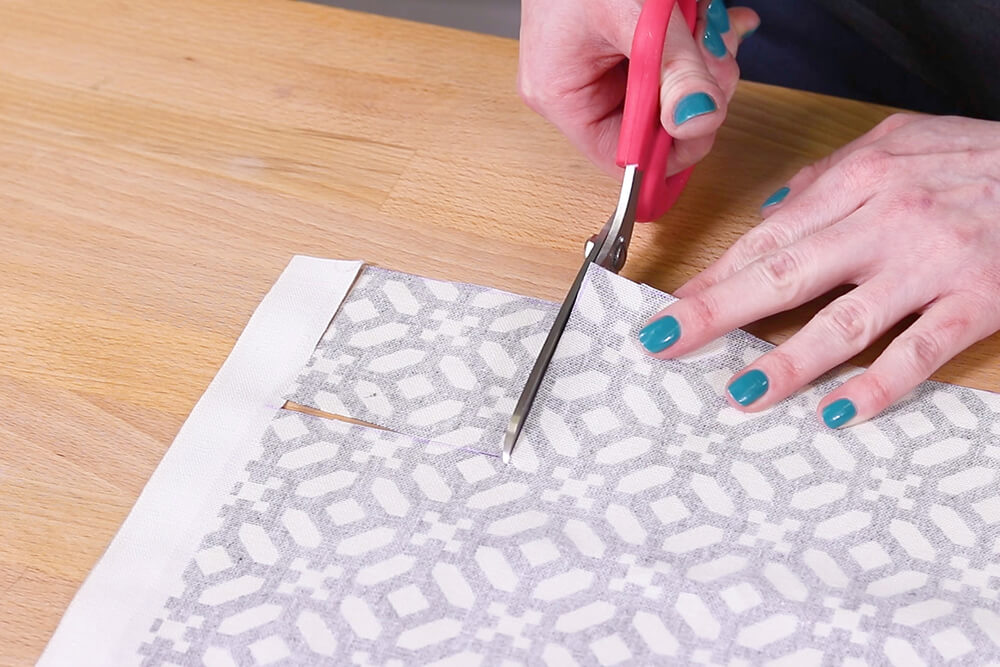
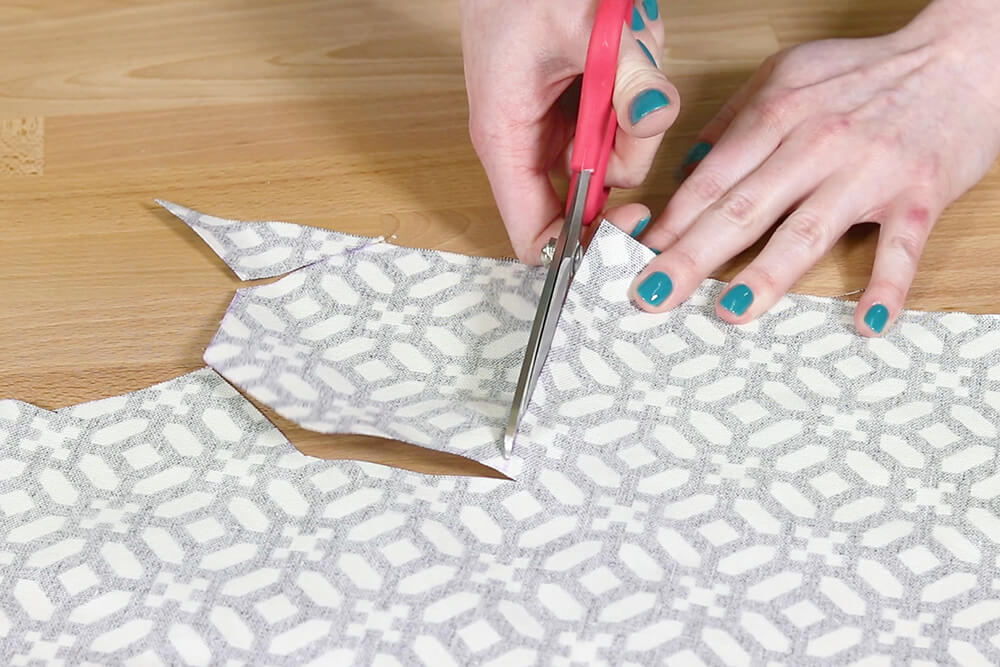
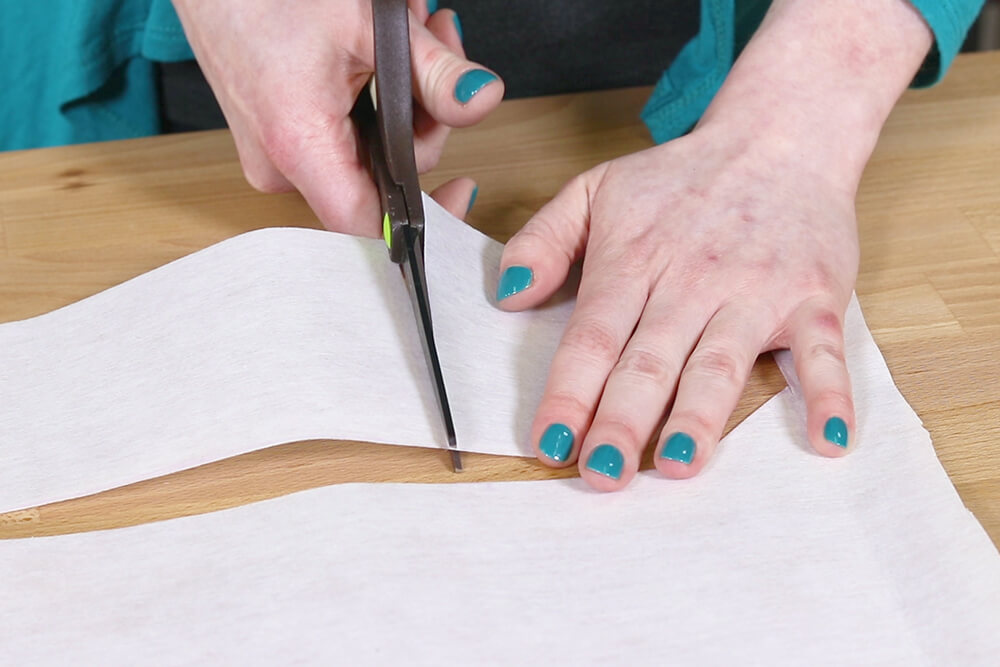
(Camera Strap) Step 1: Measure & cut the fabric
Measure the width and length of your camera strap. Most straps have similar vinyl pieces at the ends so measure up to those.
If you’re using a lightweight fabric like quilting cotton, you may want to iron on a piece of stabilizer to make it heavier.
The width of the fabric should be the width of the strap times 2, plus 1″. Add an inch to the length of the strap.
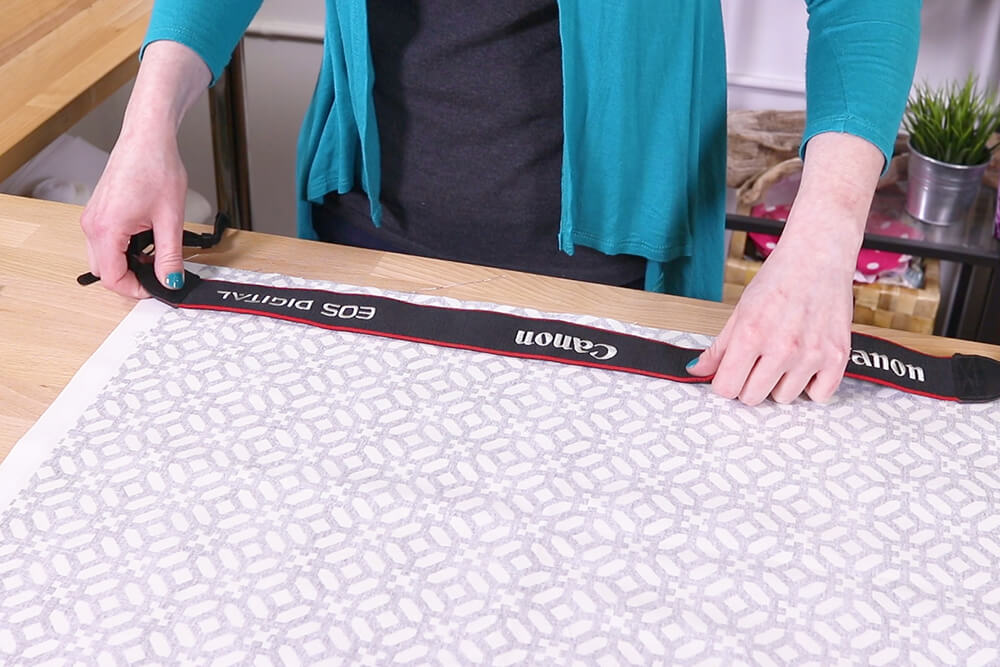
I’m going to make sure the pattern will be centered.
This strap is 23″ long and 1.5″ wide, so I’m cutting a piece that is 24″ long and 4″ wide.
If you want to be able to clip on a lens pouch, cut a 3 by 3 inch piece of fabric which will be used to attach a D-ring.
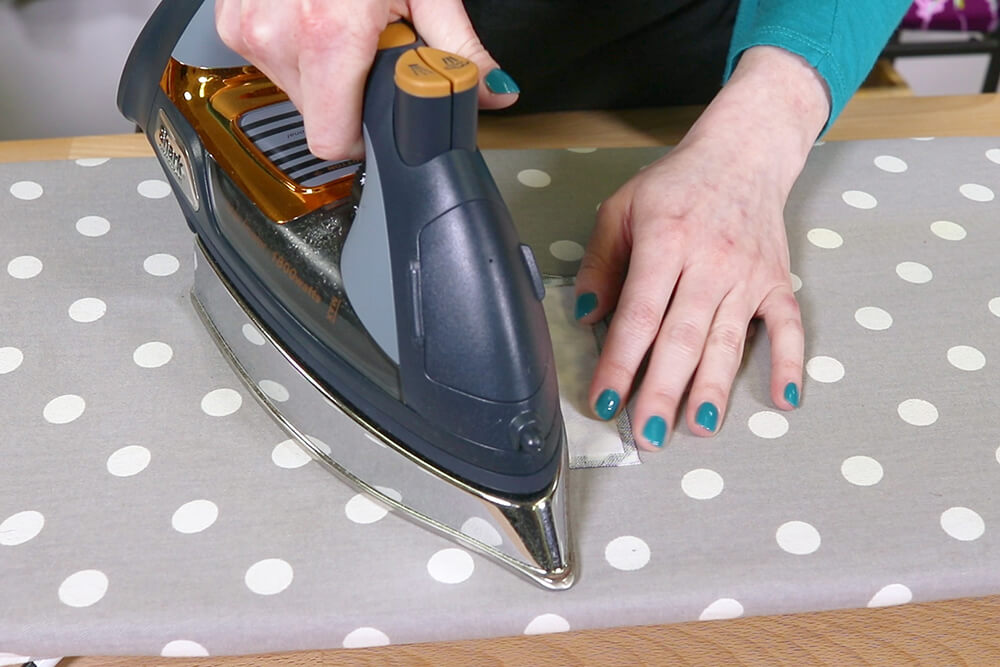
(Camera Strap) Step 2: Iron the fabric
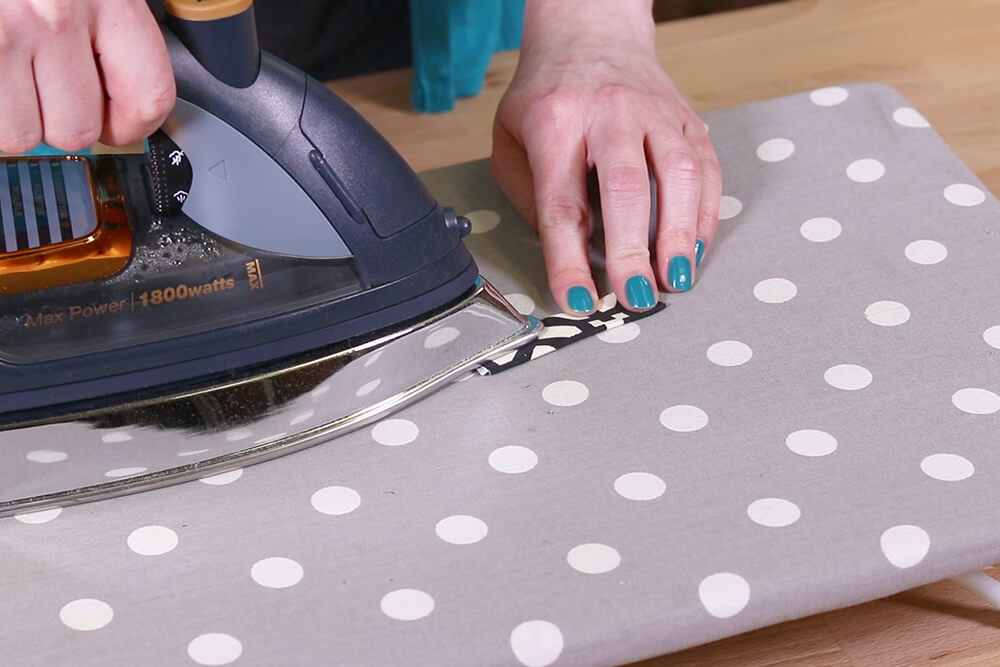
Fold the strap piece in half and iron. Fold in the sides 1/2 an inch and press. Do the same for the ends.
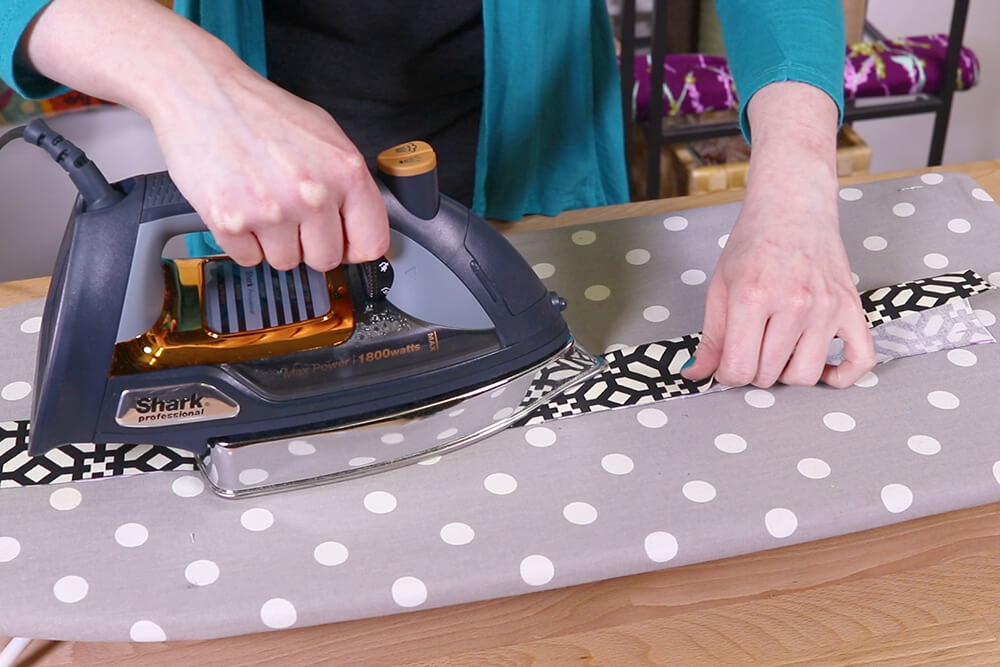
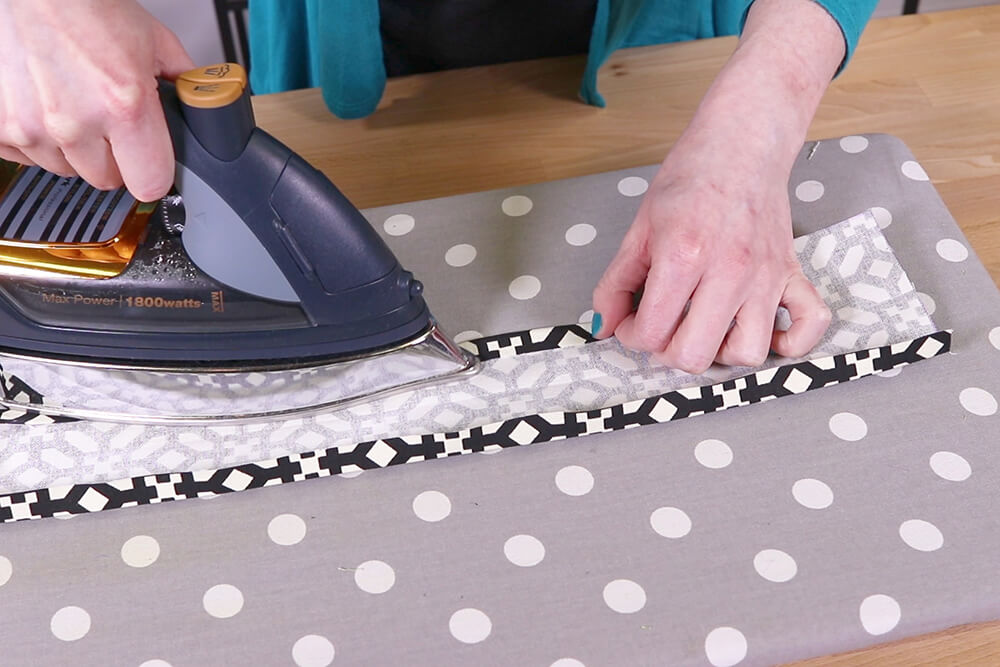
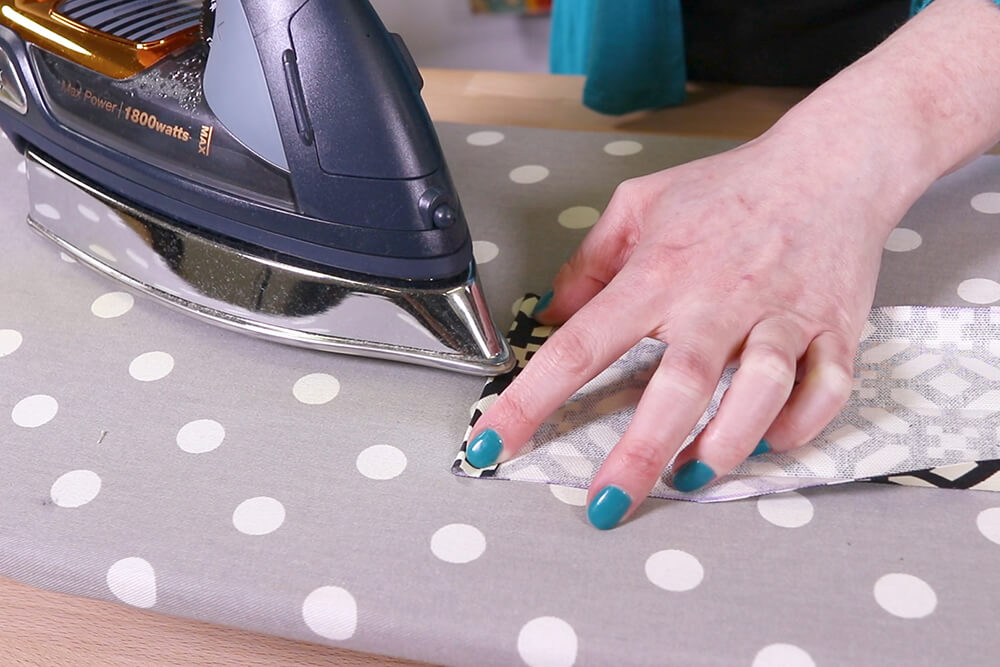
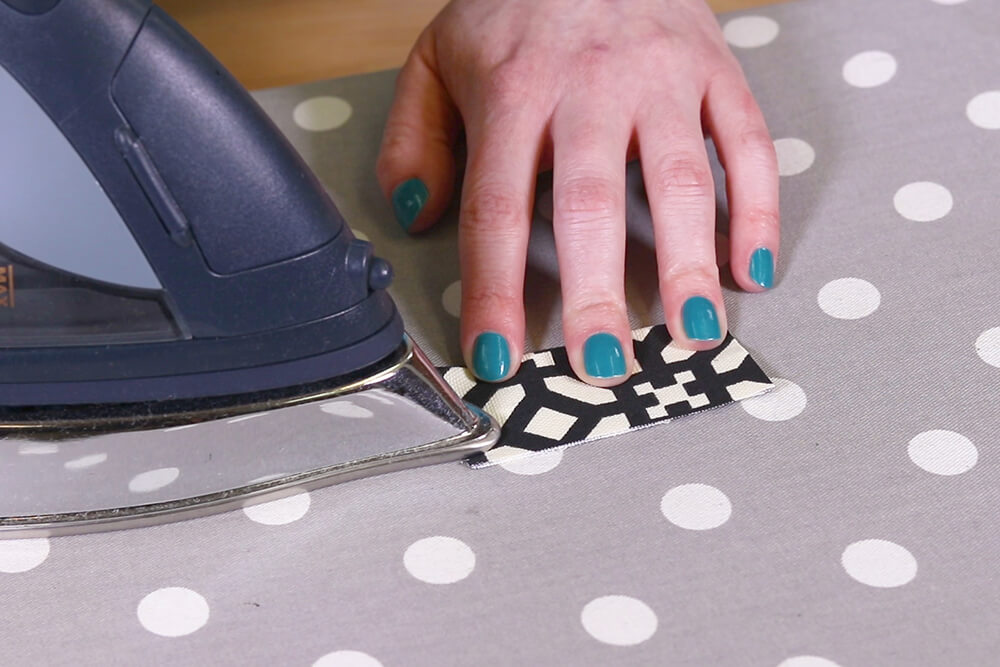
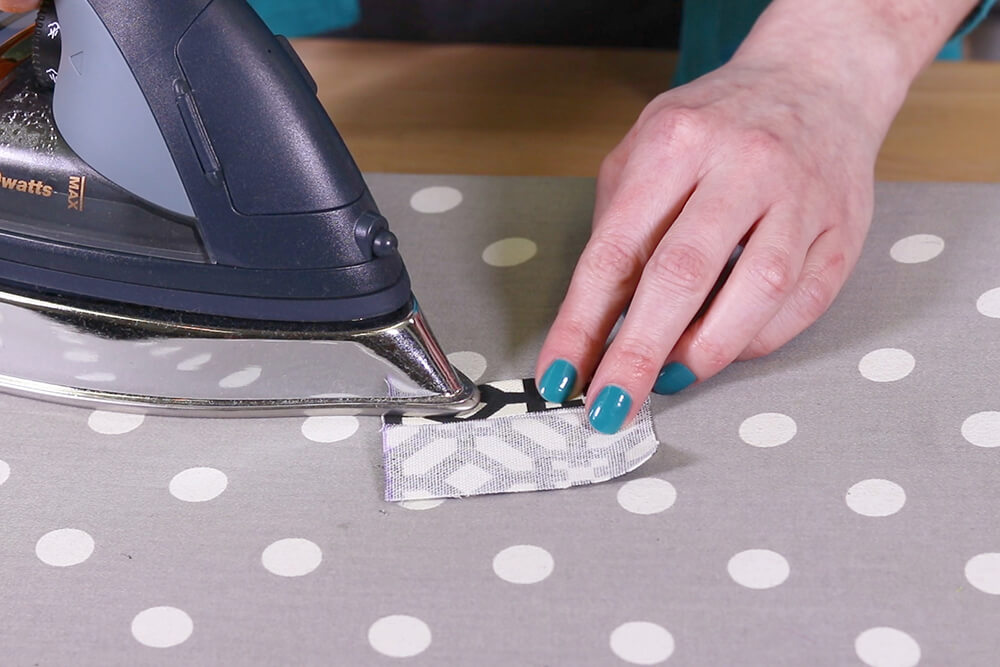
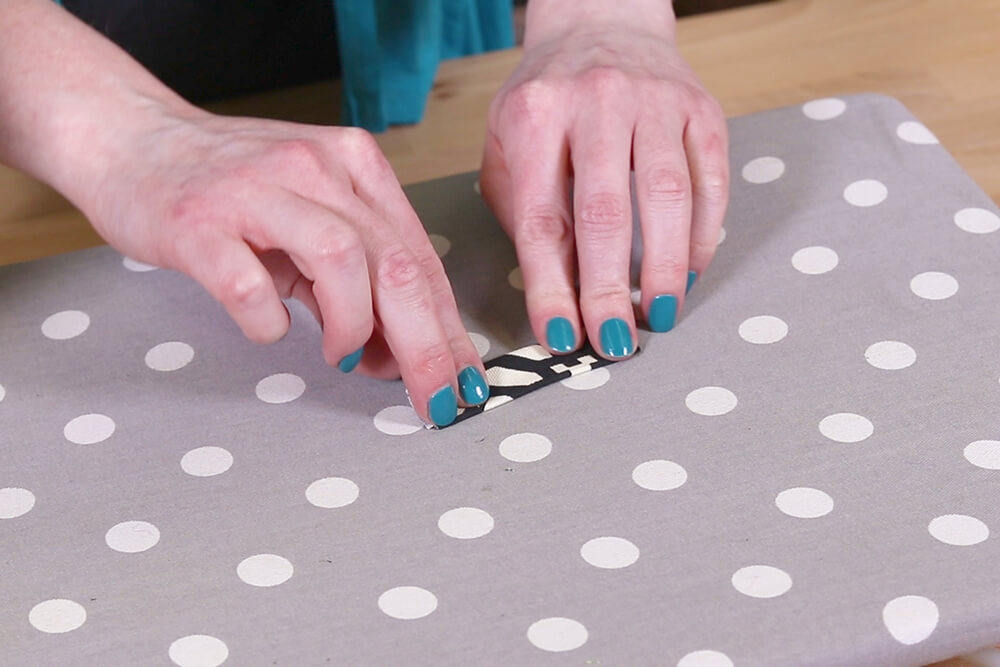
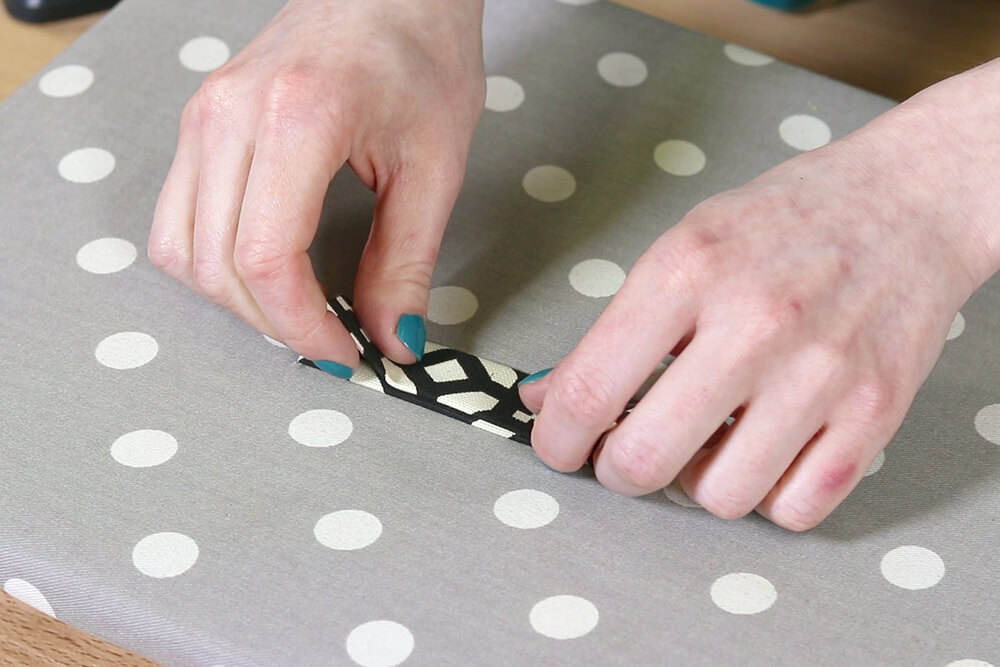
Iron the 3 by 3 inch piece in half. Fold both edges in to the center crease and iron. Refold and press one more time.
Set this piece aside for now.

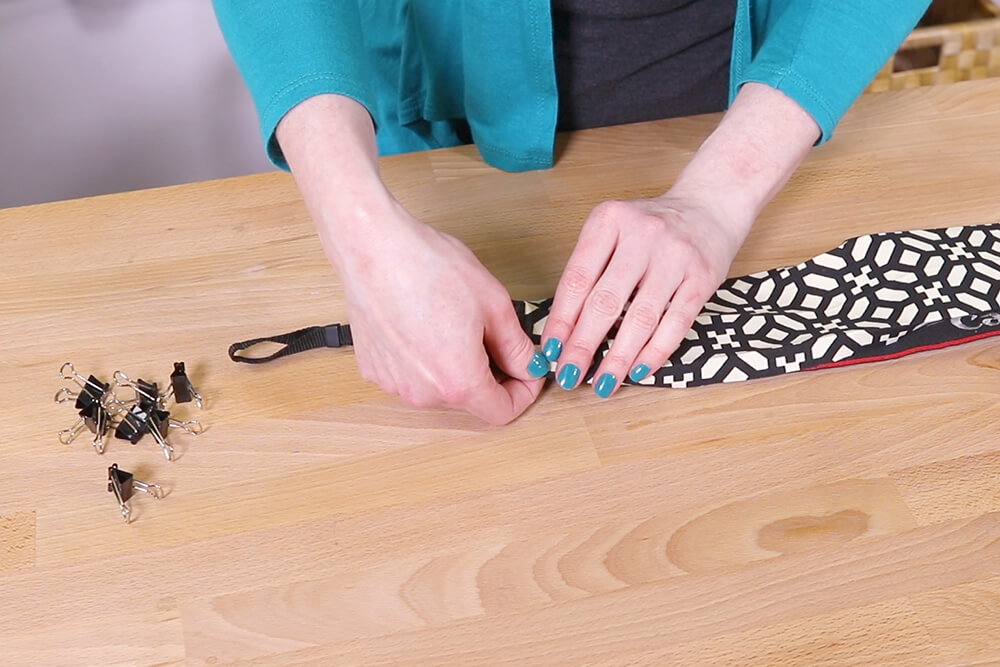
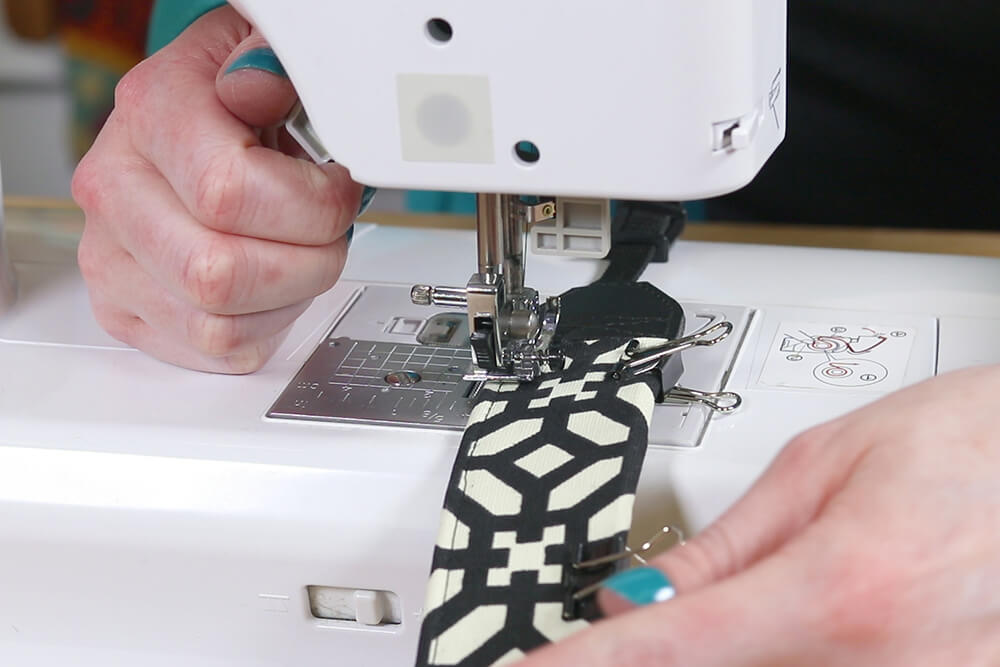
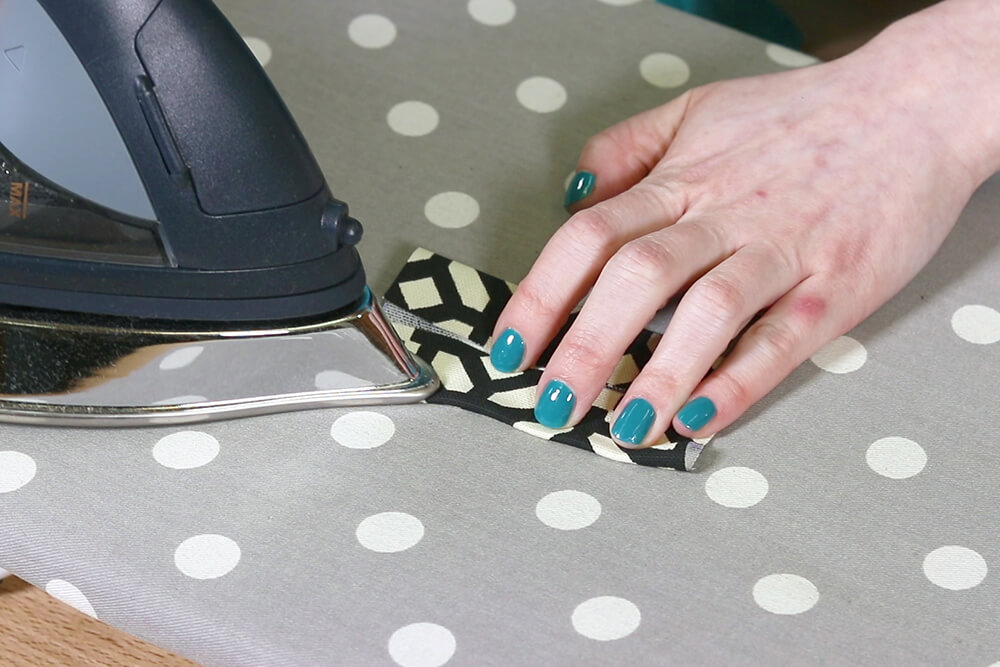
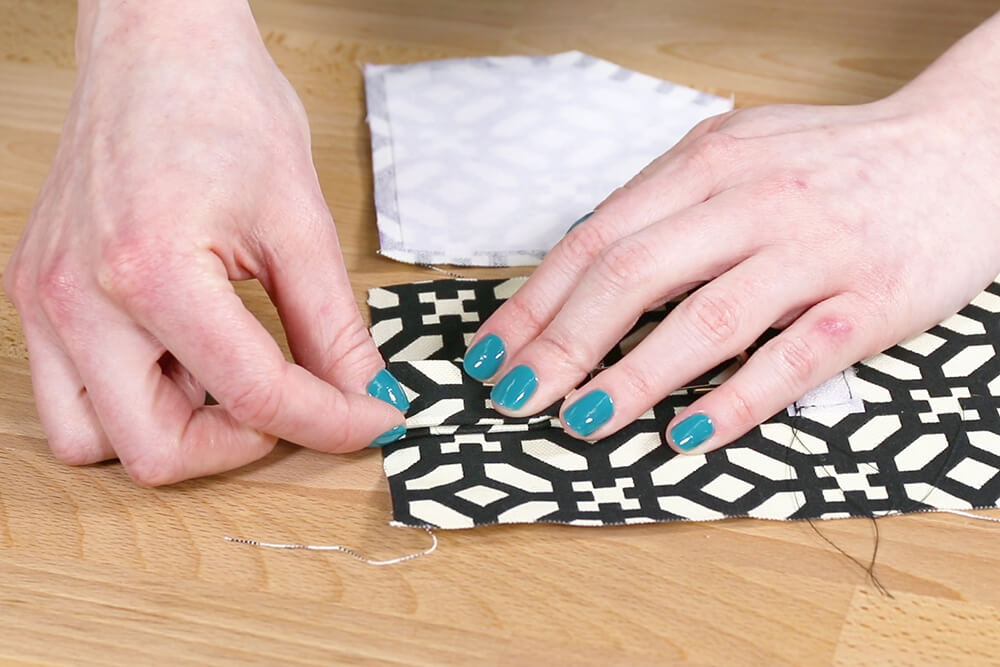
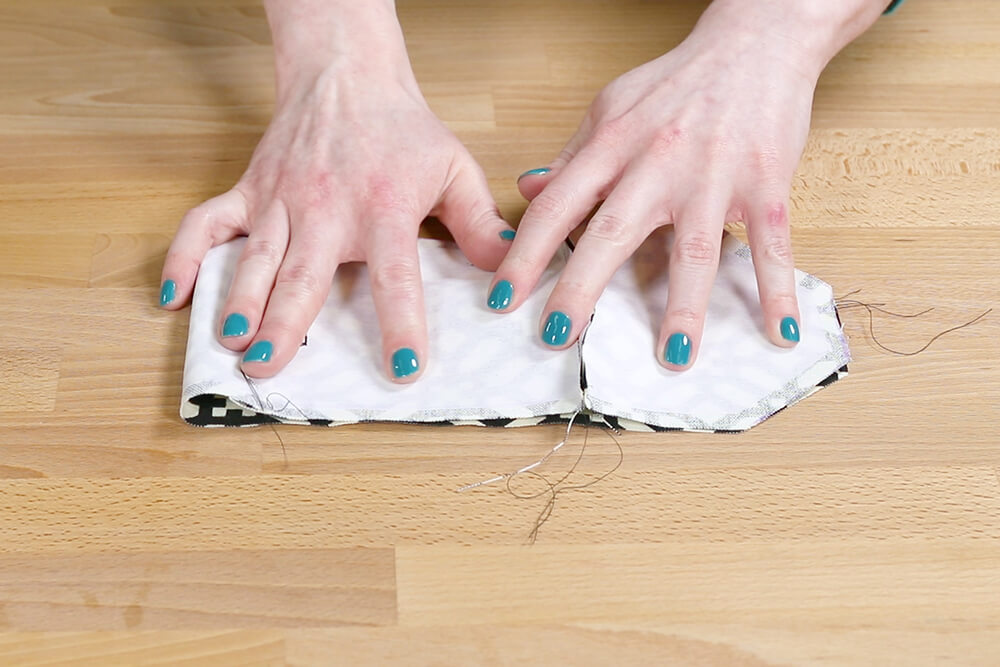
Place the camera strap between the half inch and center creases. Tuck under the end where creased and place the fabric so it’s up against the vinyl part. Fold in the side at the half inch crease mark.
Wrap the fabric around to the back and tuck under the other half inch crease. The fabric should end slightly short of the edge of the strap. You can adjust the folds if needed, especially if the strap is thick.
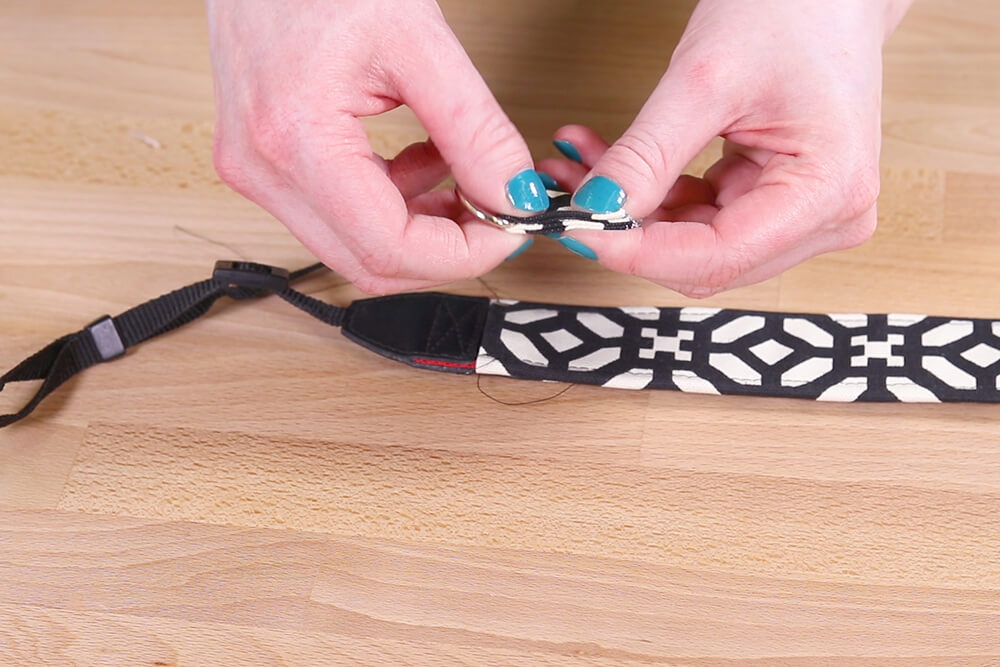
Clip the fabric so it stays in place.

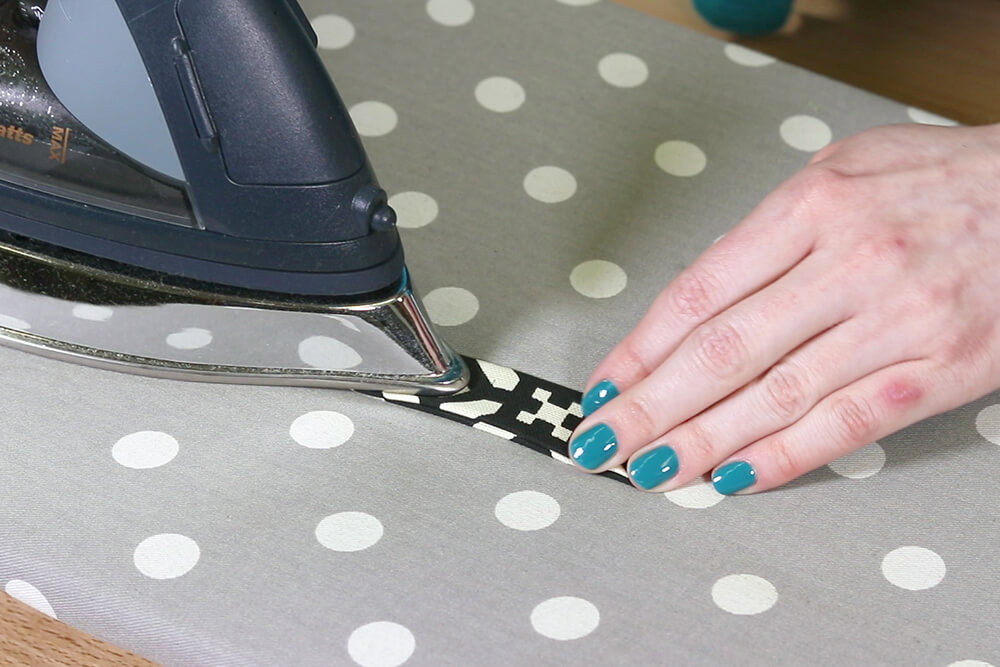
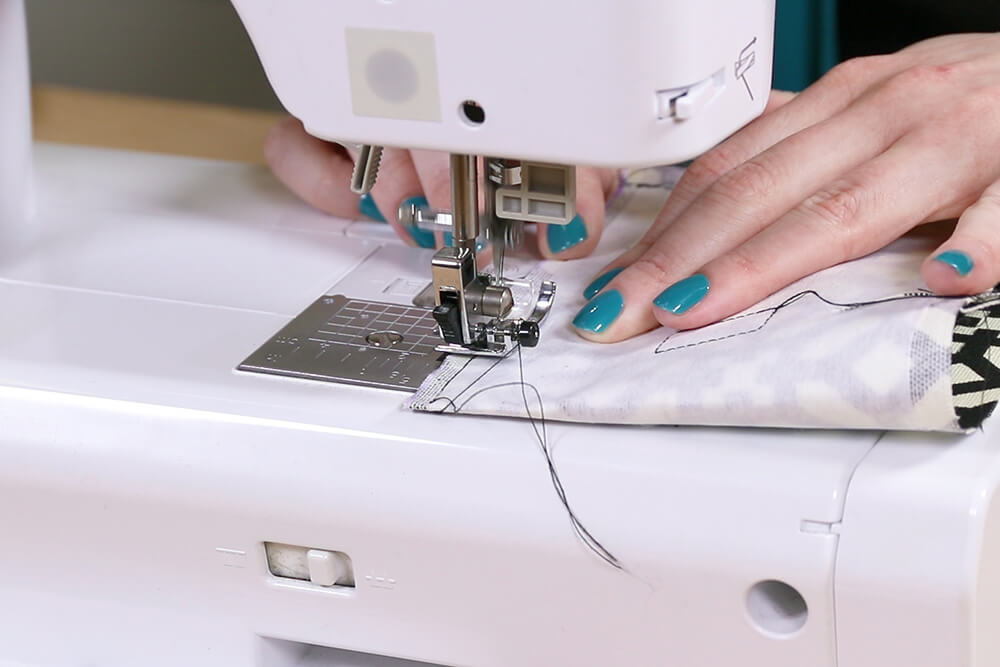
(Camera Strap) Step 3: Sew the strap
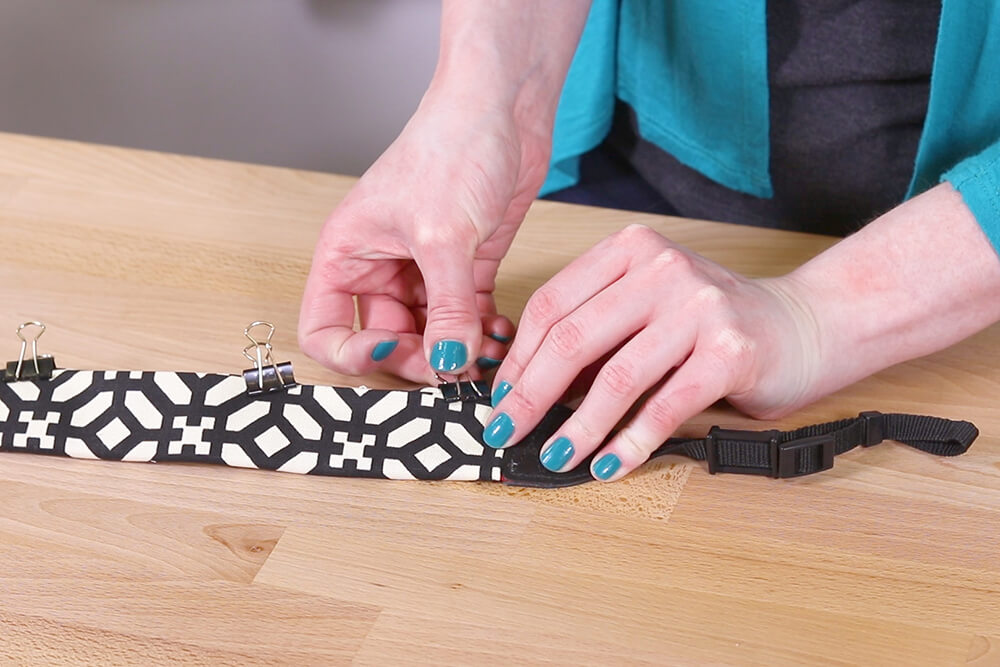
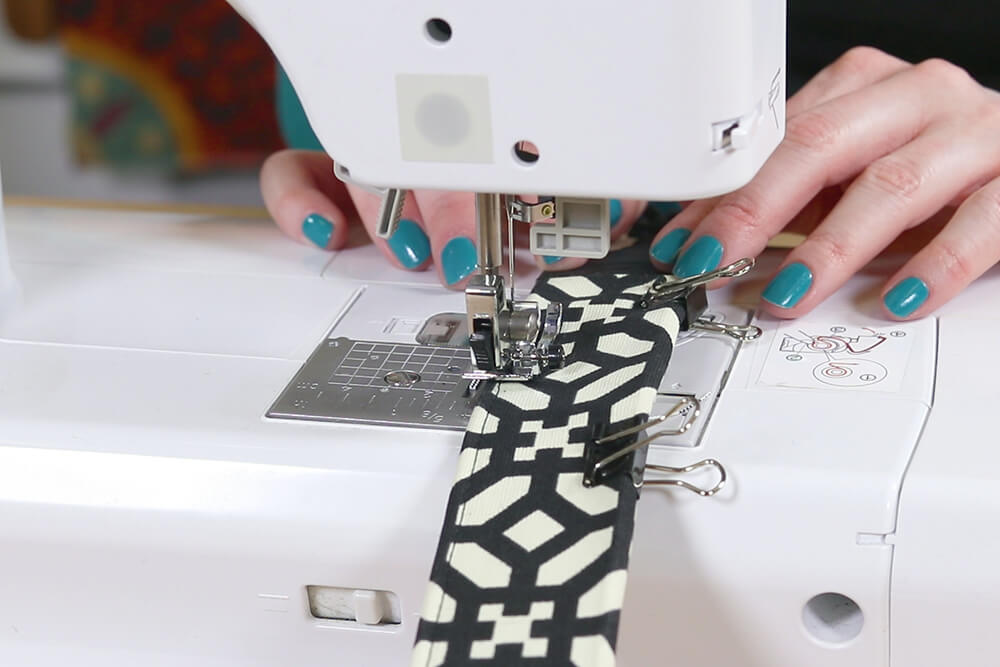
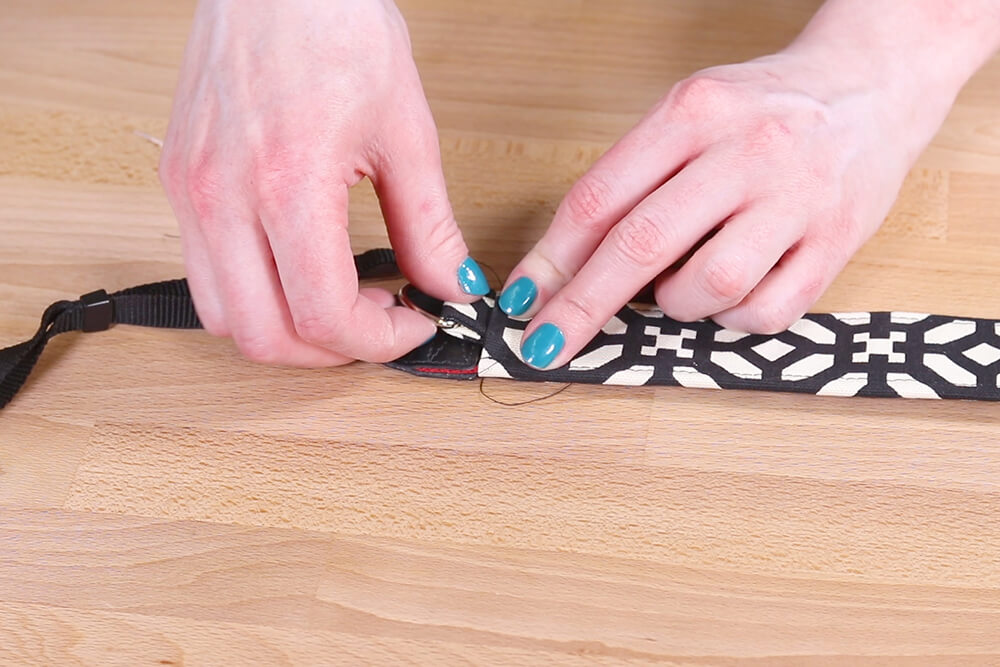
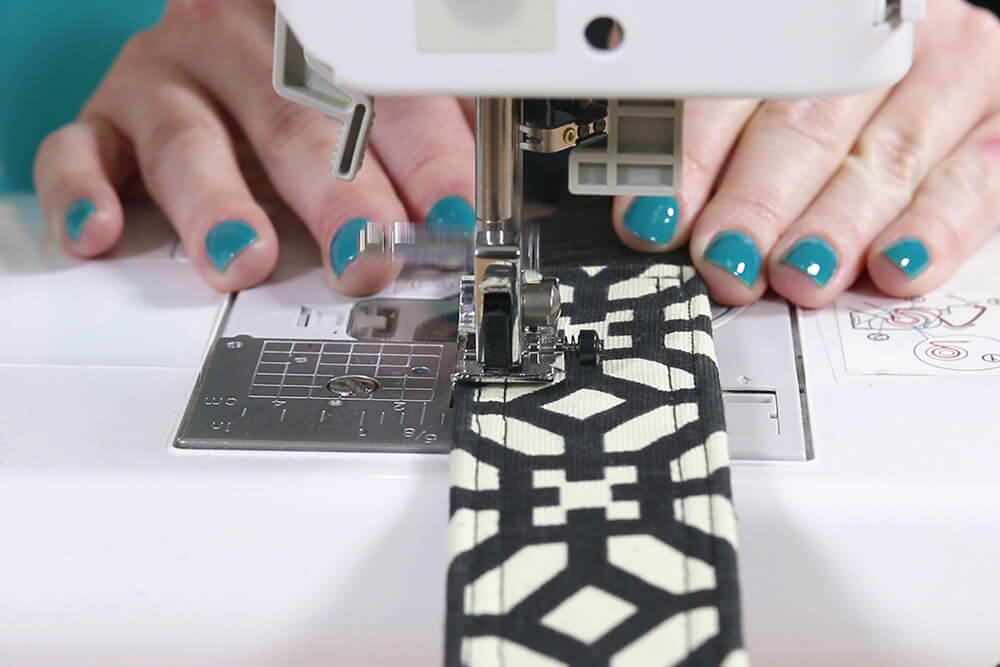
Sew down one of the sides about 1/8″ from the edge. Back stitch at the beginning and end.
At the corner, pivot, sew across, and down the other side.
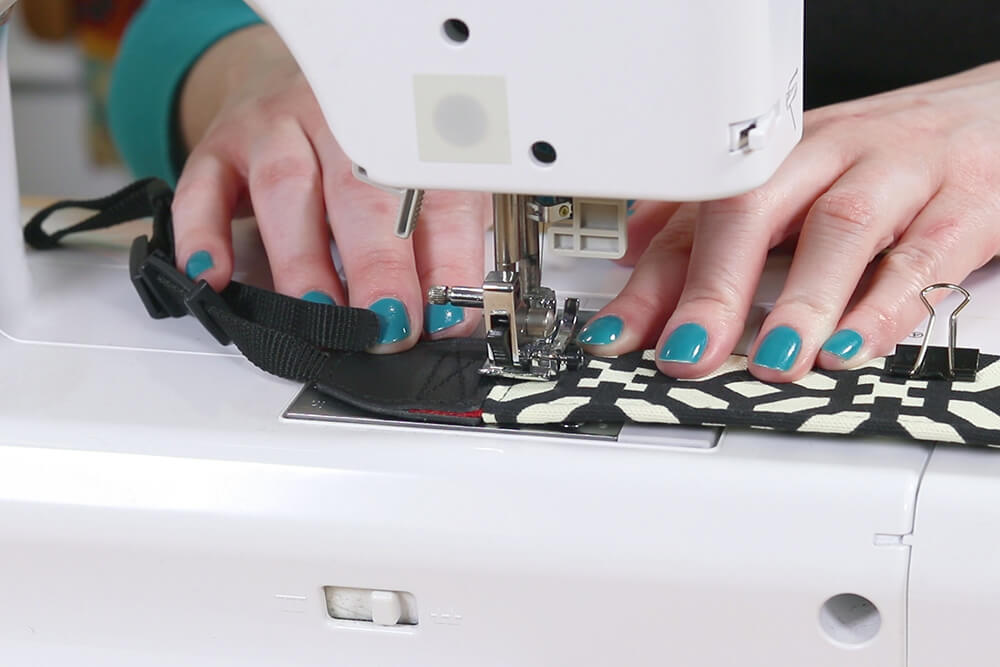
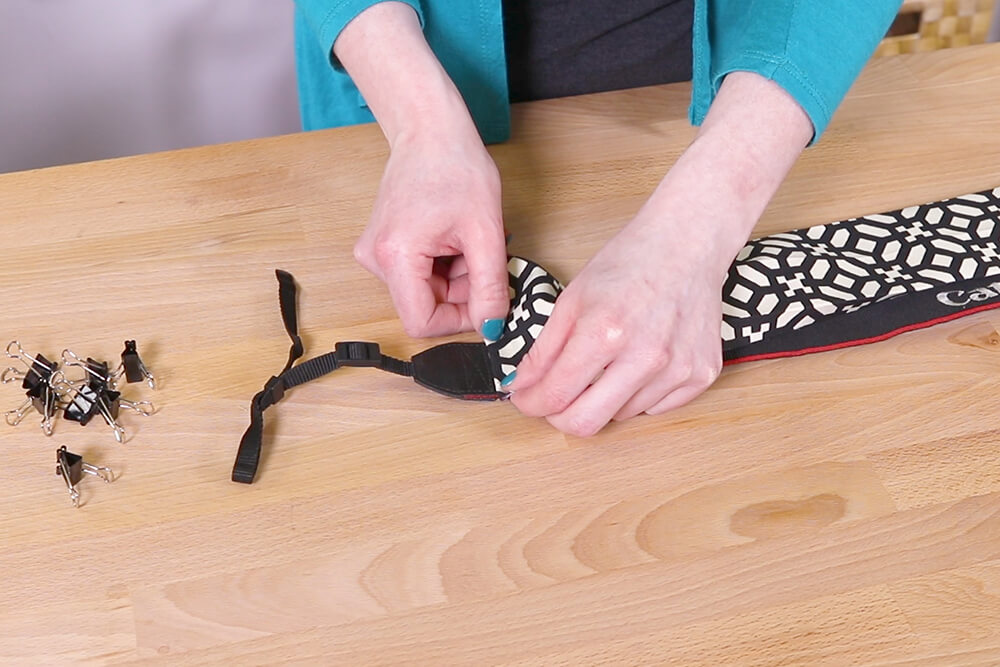
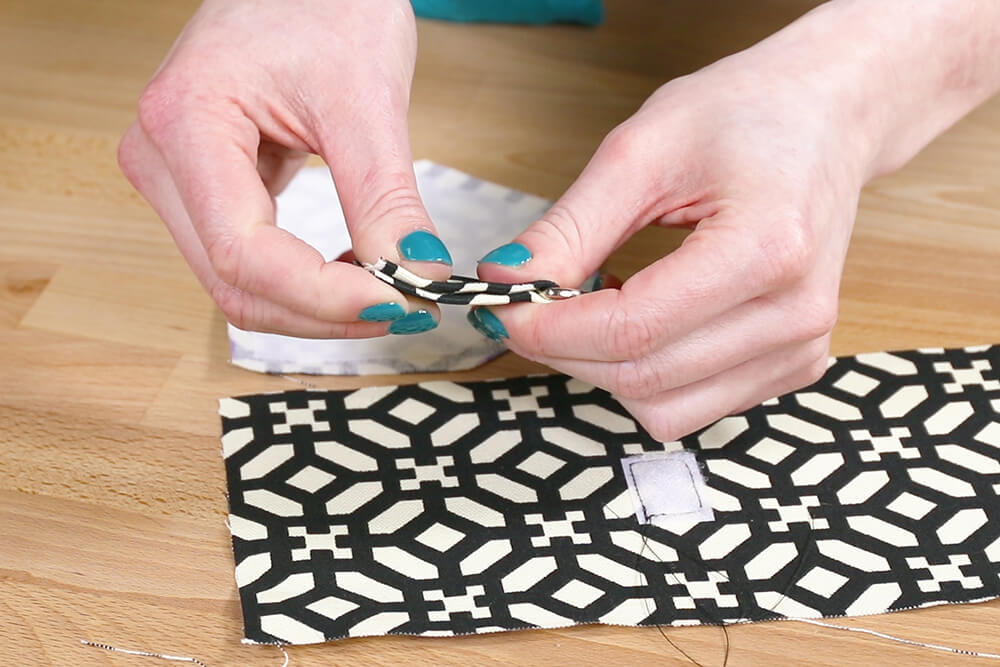
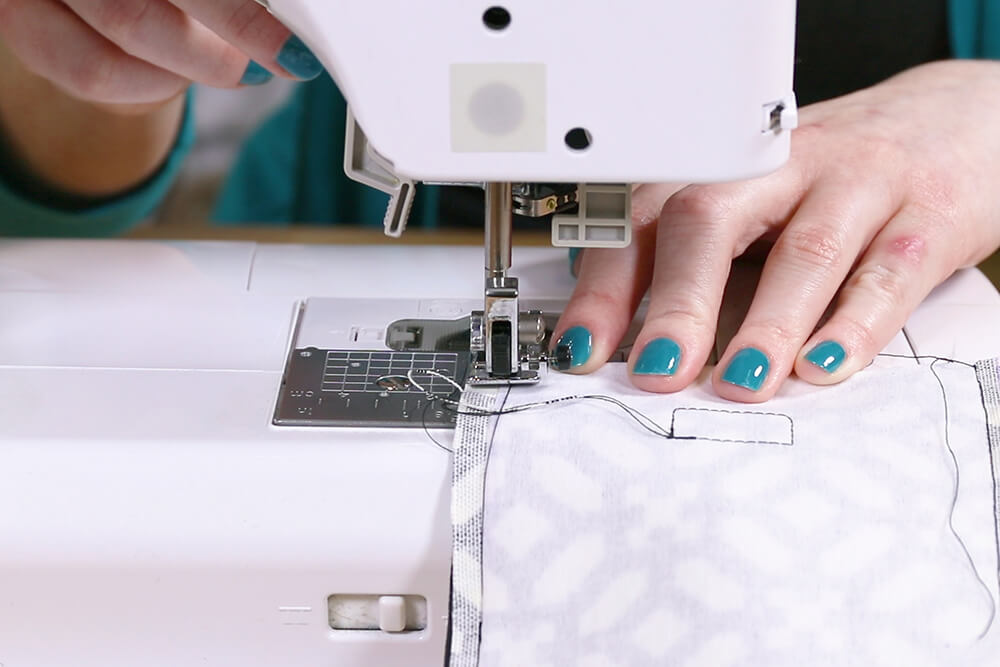
Before sewing across the final end of the strap, put the D-ring on the small strip and tuck it under the edge. Adjust the length of the strip and center it.
Finish sewing across the end.
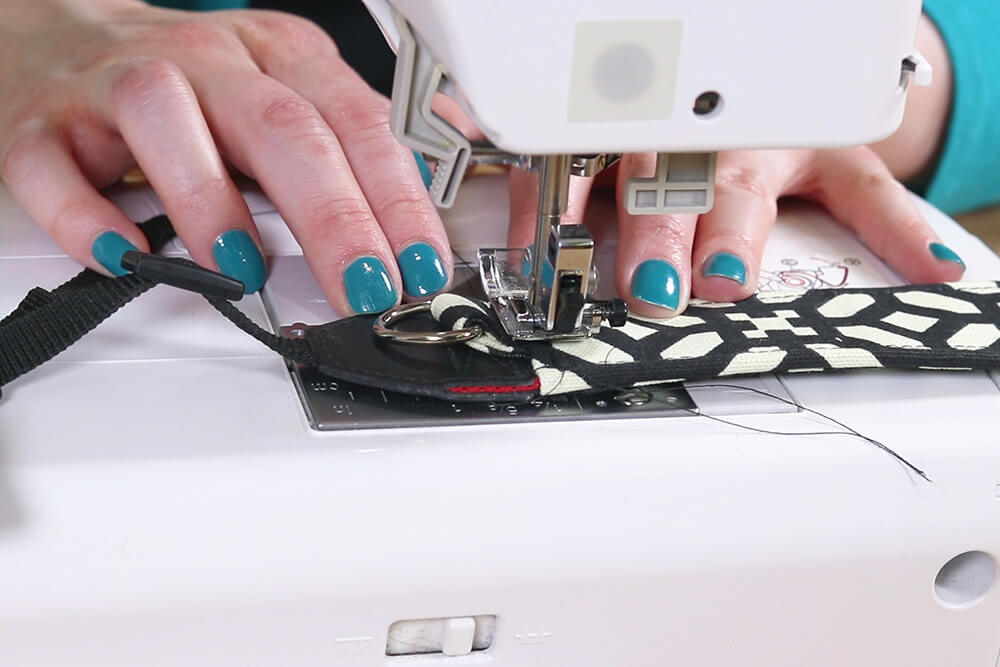
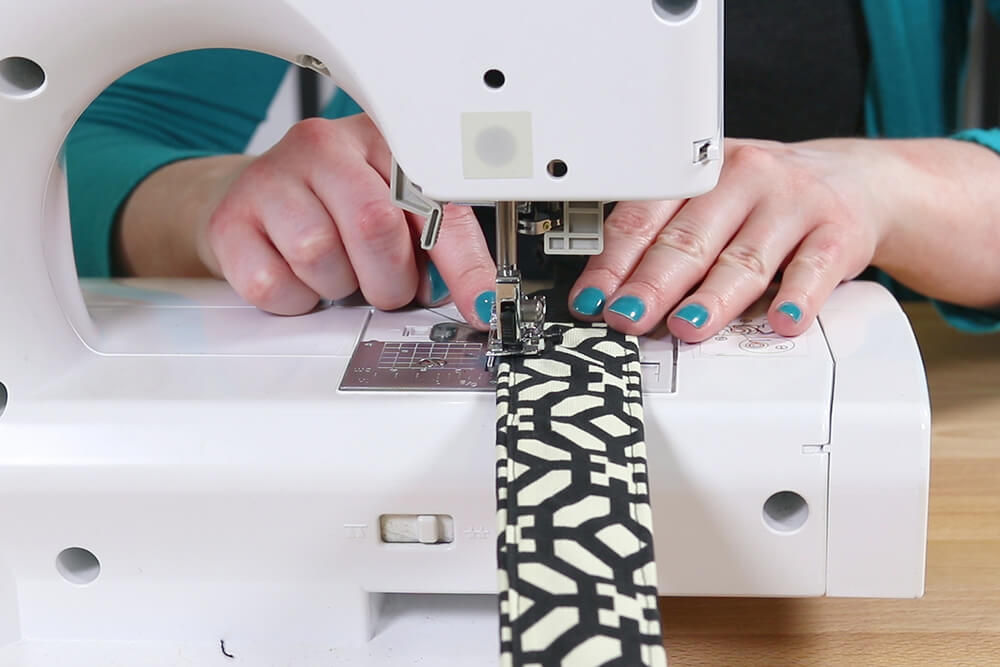
If you want, you can do a second row of top stitching around the camera strap.
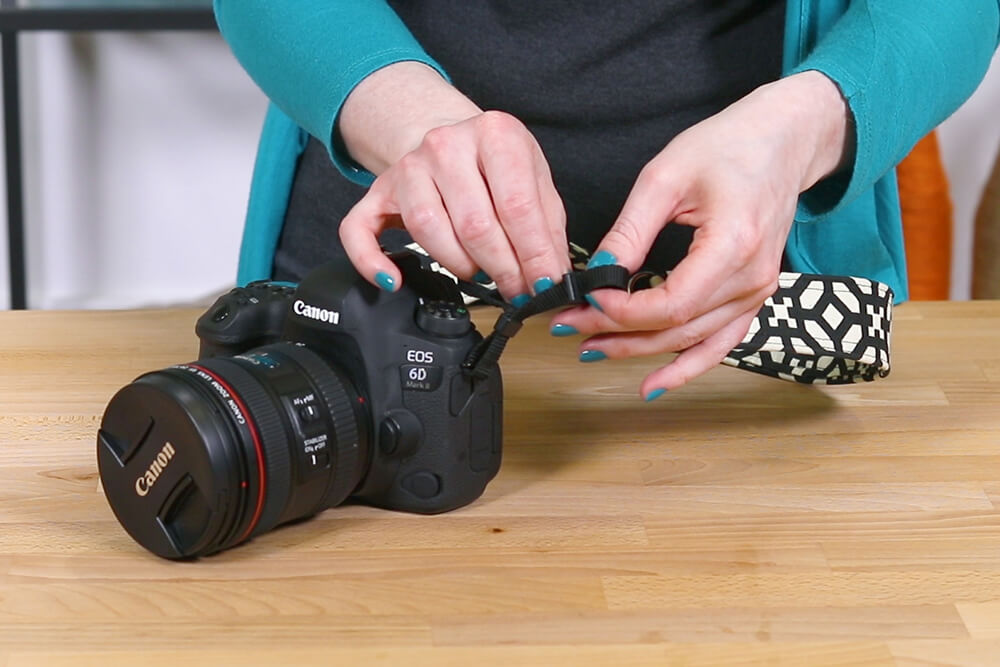
Reattach the strap to the camera.
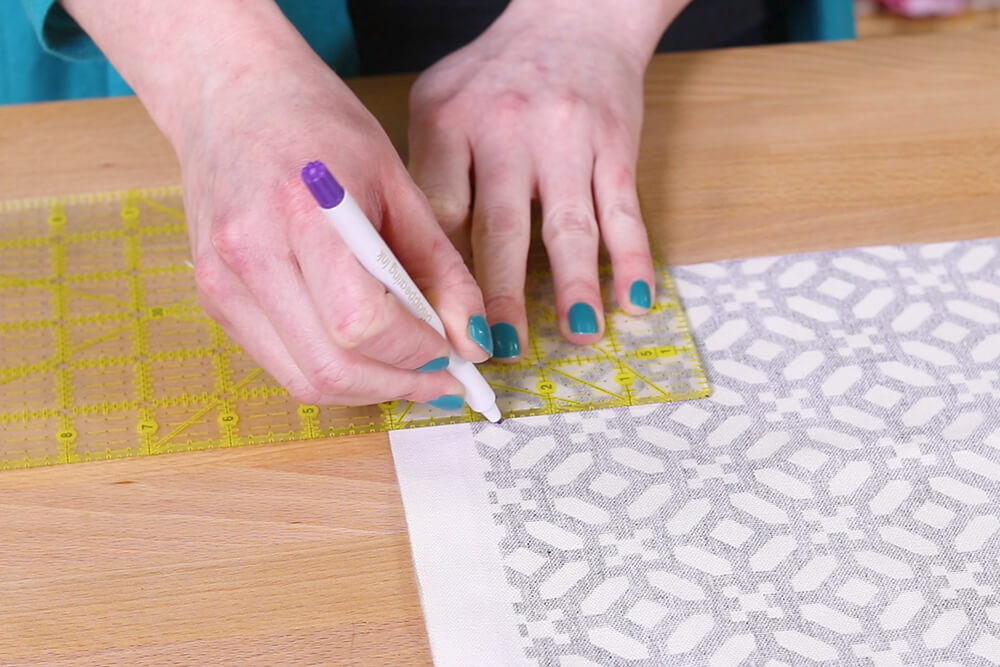
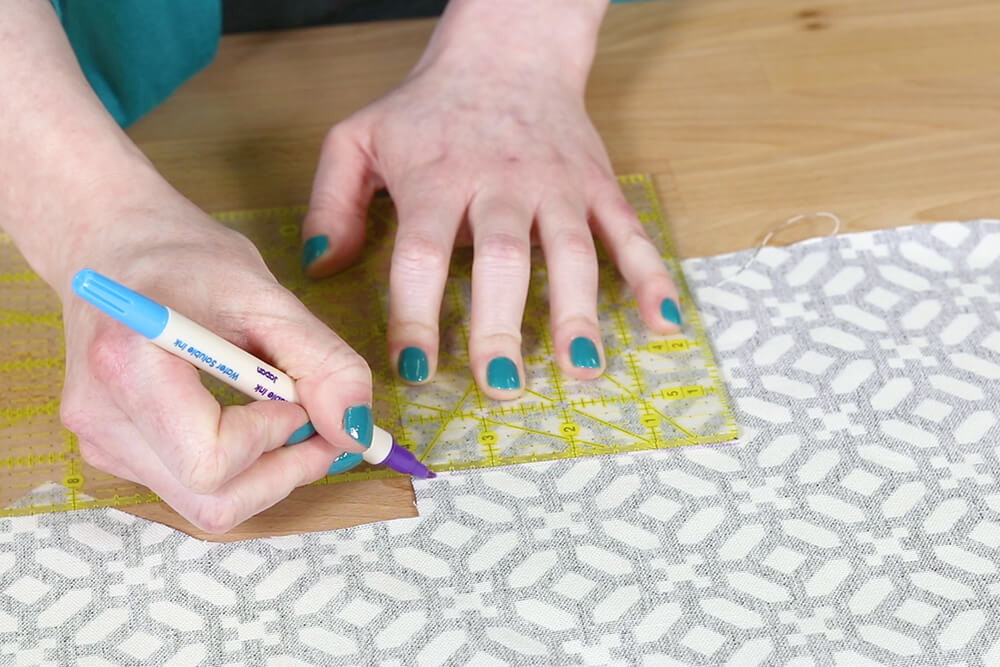
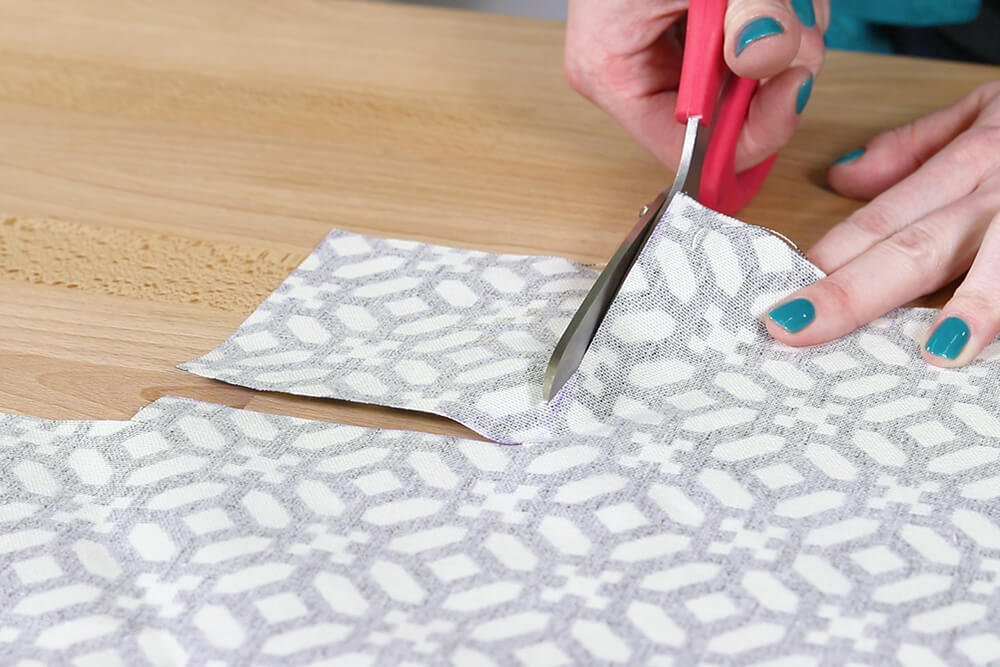
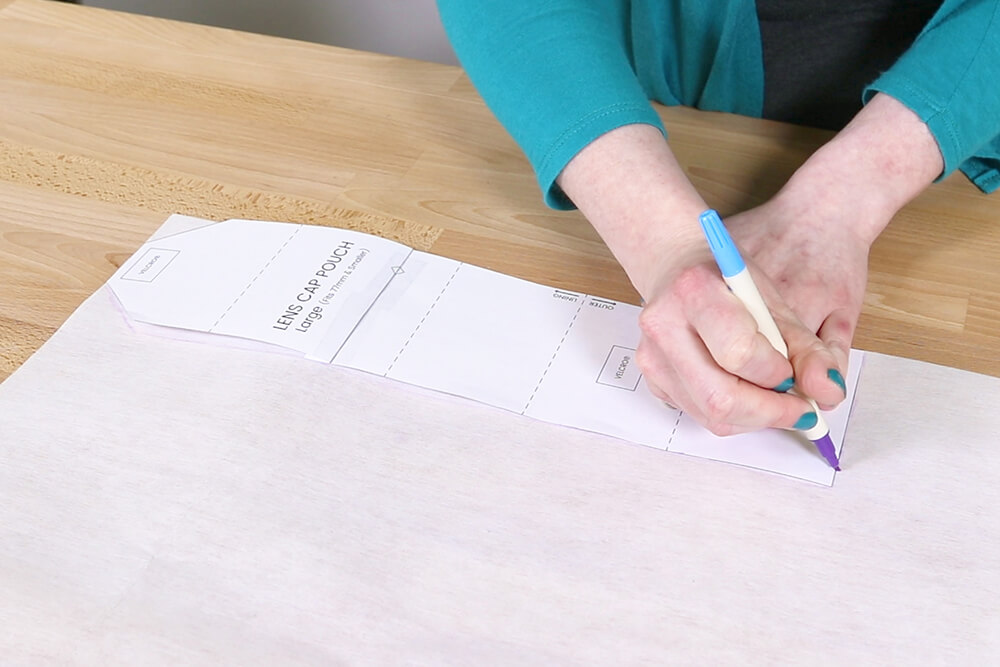
(Lens Cap Pouch) Step 1: Measure & cut the fabric
I’m using the same fabric for the outside and lining but you can use different fabrics, which is indicated on the pattern.
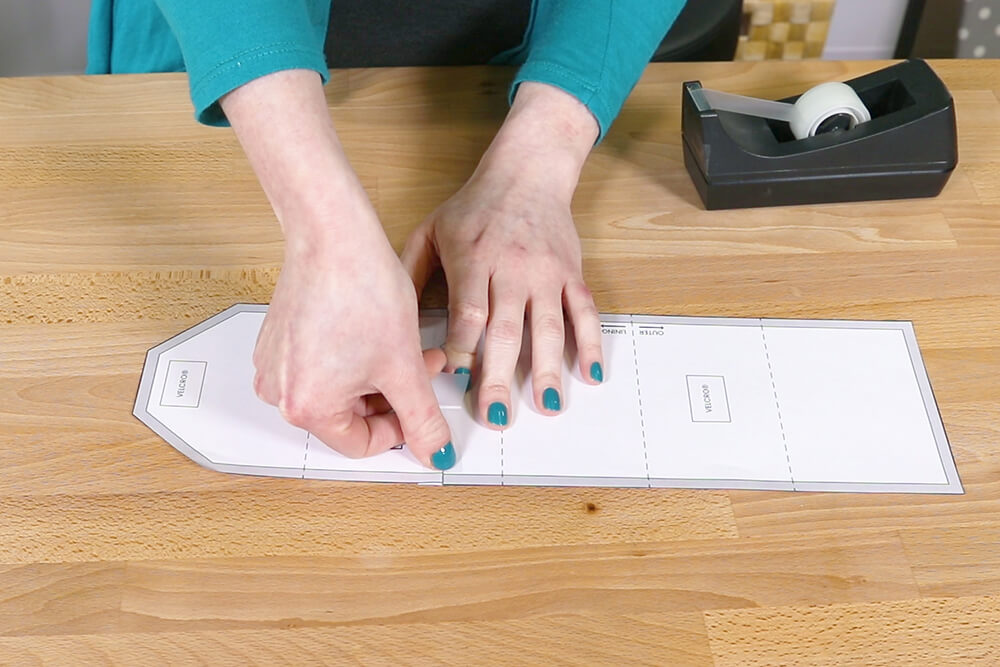
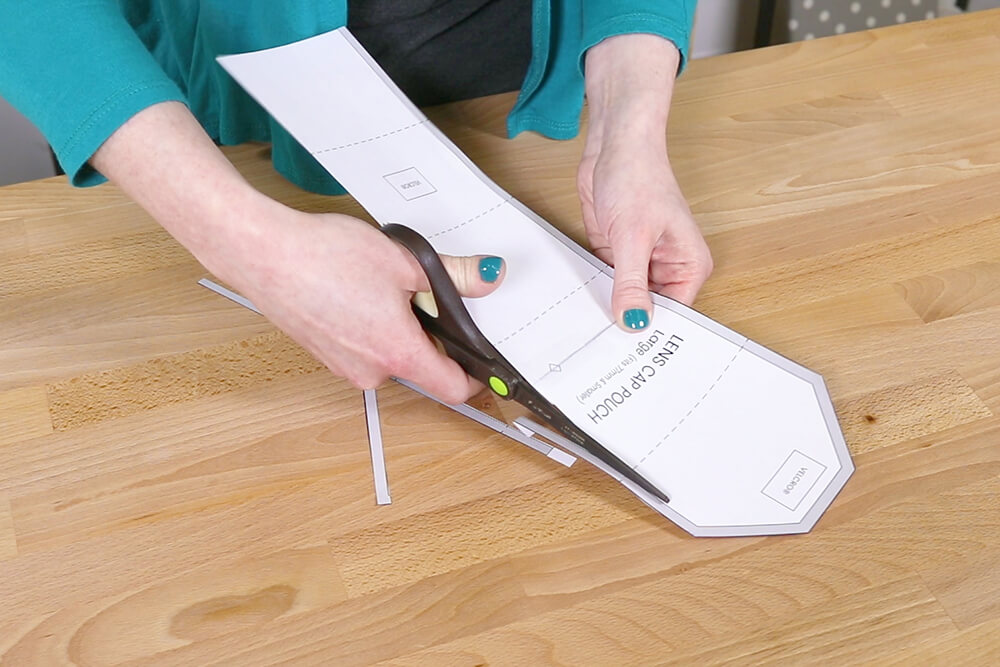
I’m also going to make a lens cap pouch which is detachable and can also be used to hold other accessories. We are providing a pattern in 2 sizes that you can download above.
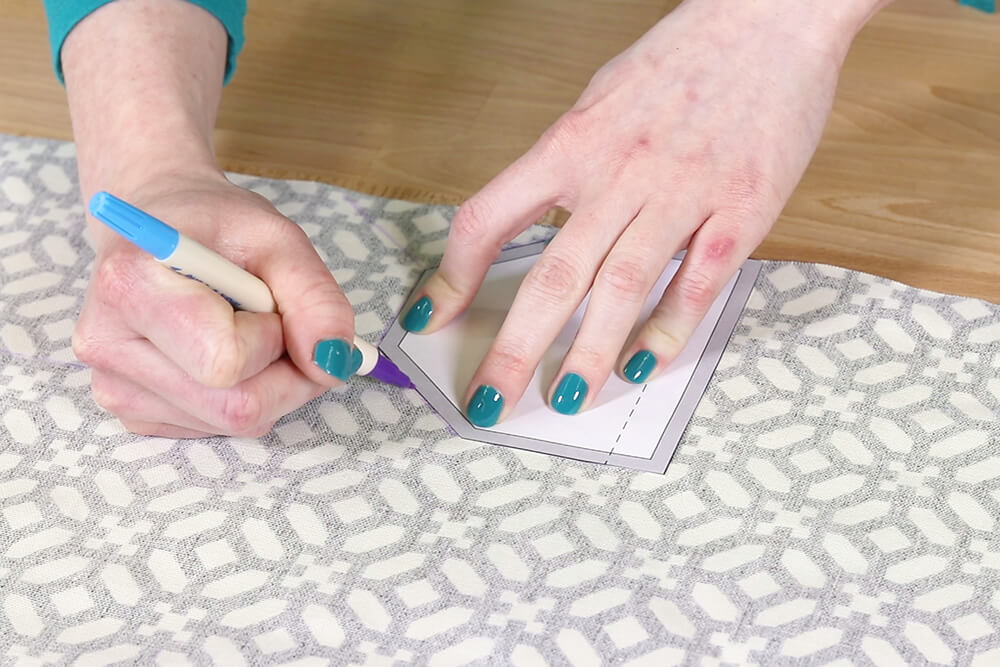
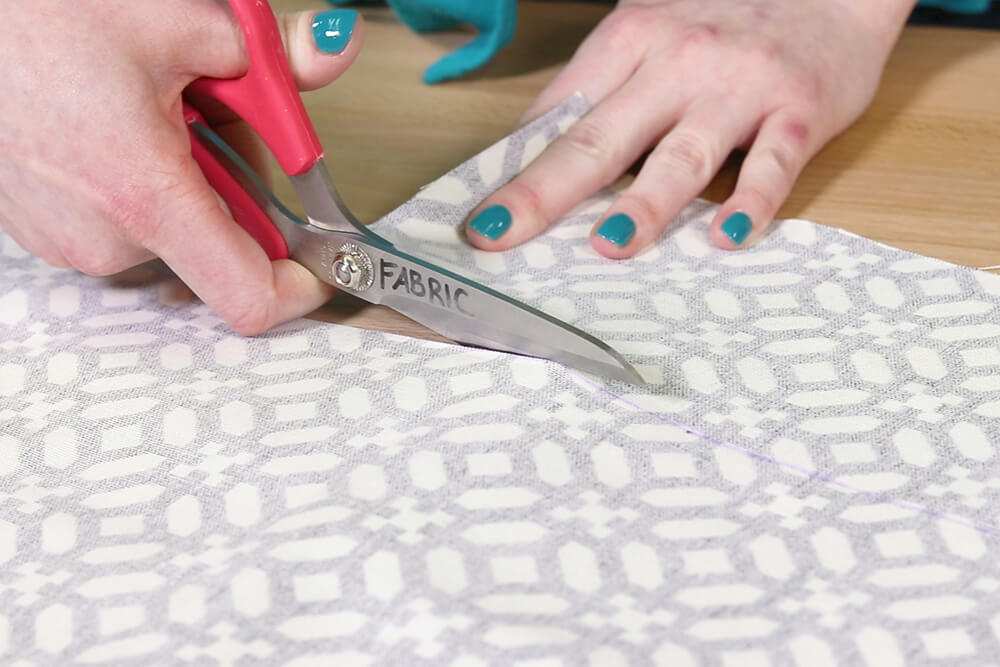
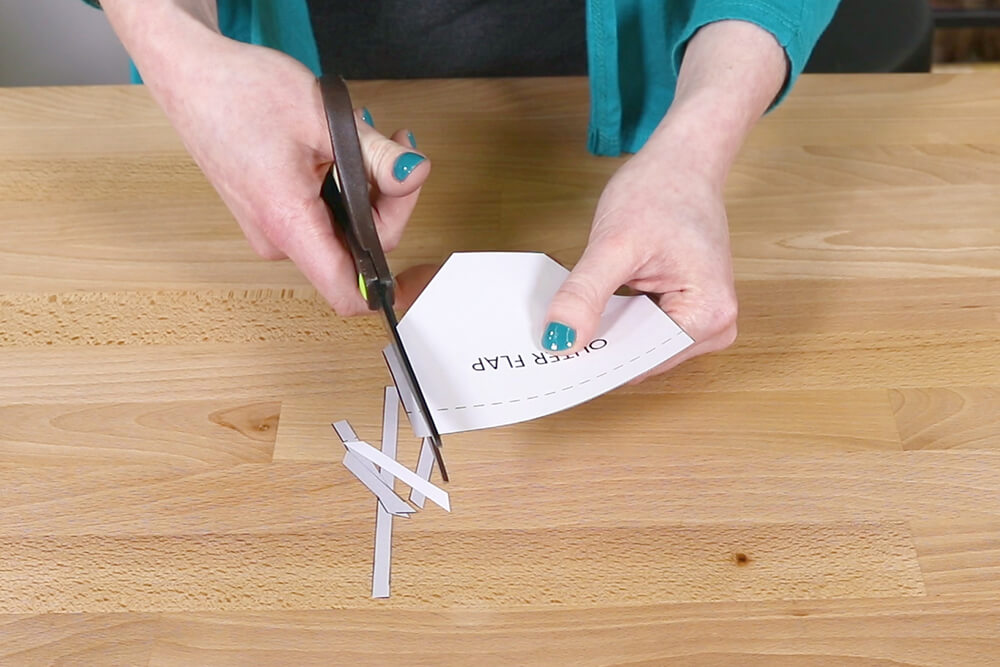
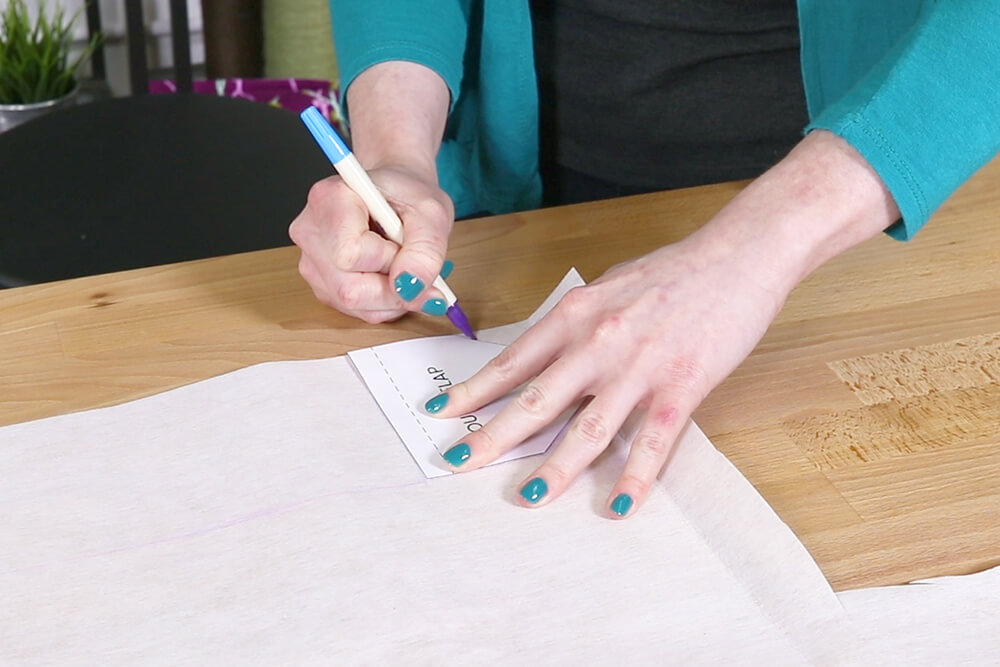
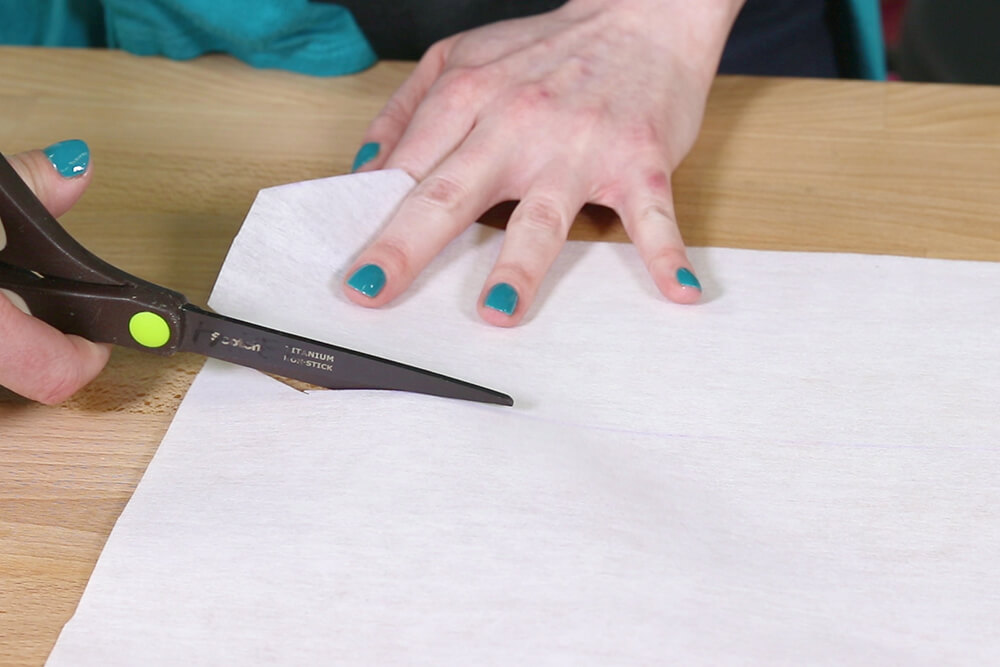
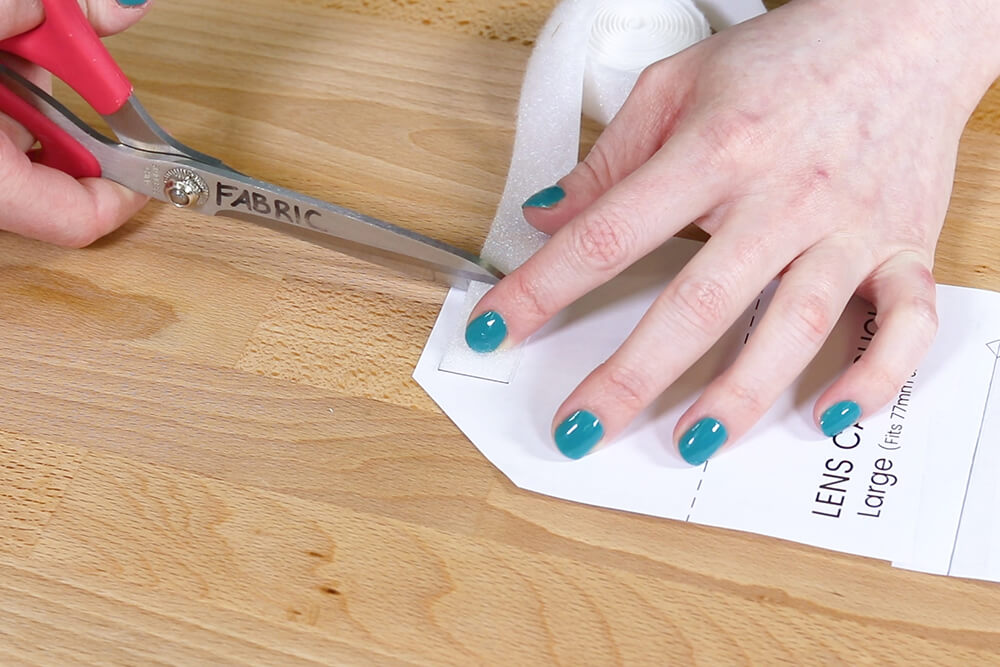
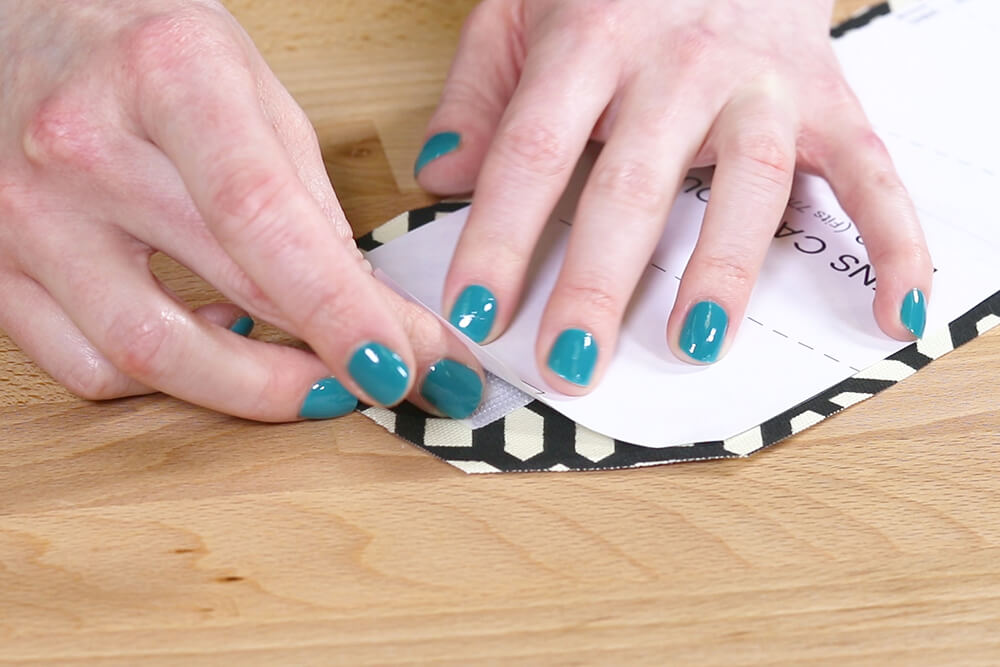
Cut out and tape together the pattern pieces. Trace around the pieces and cut them out.


Also cut a piece that’s 4 by 4 inches.
Adding stabilizer is optional but it will help the pouch hold it’s shape better.
Cut off the seam allowance on the pattern. Trace on to the stabilizer and cut out the pieces.
(Lens Cap Pouch) Step 2: Prepare the pieces
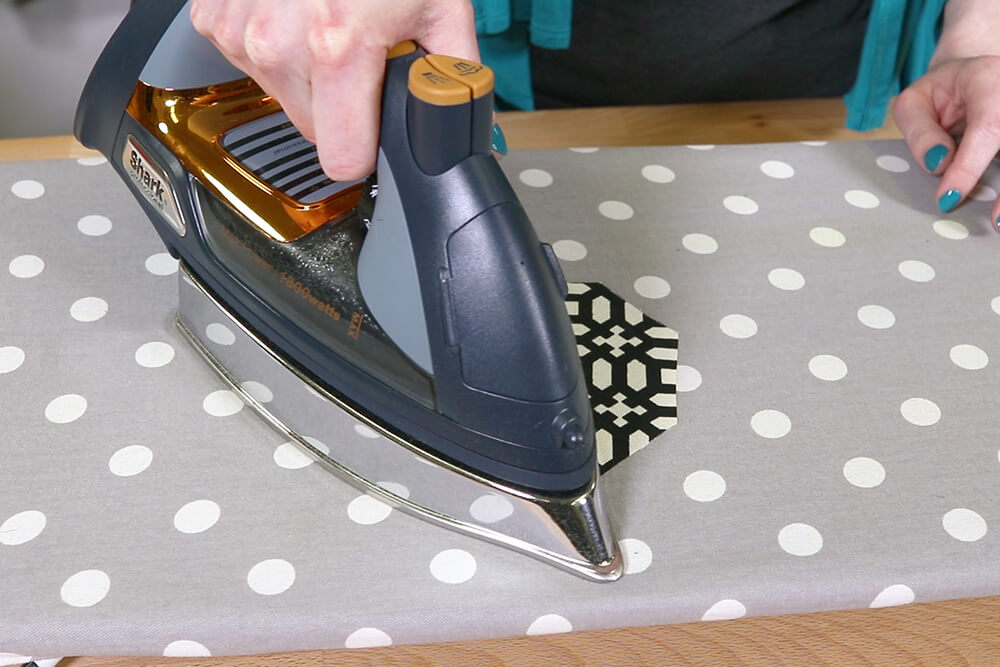
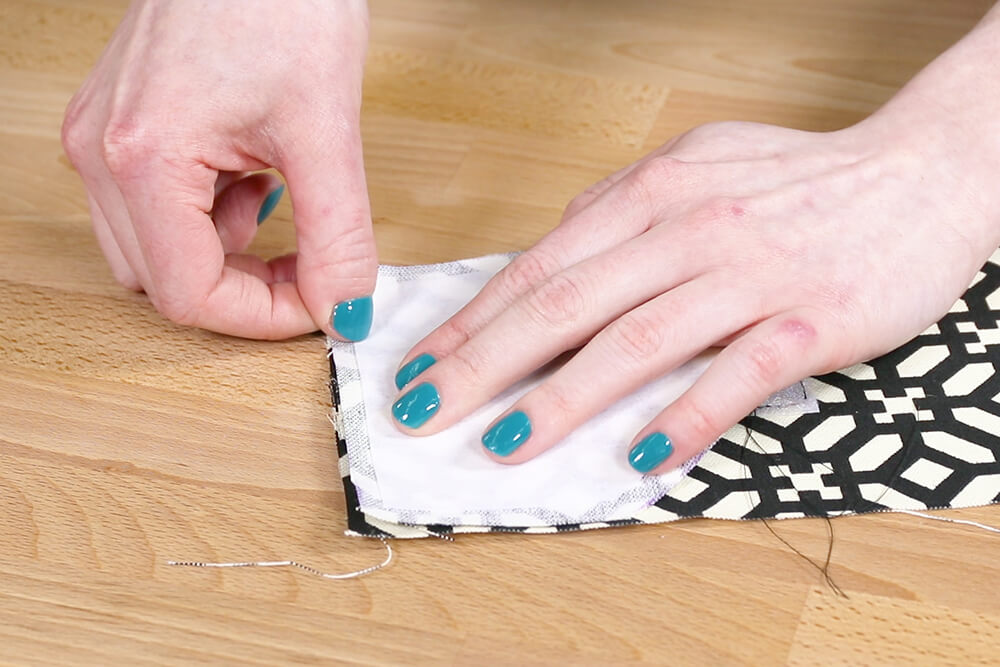
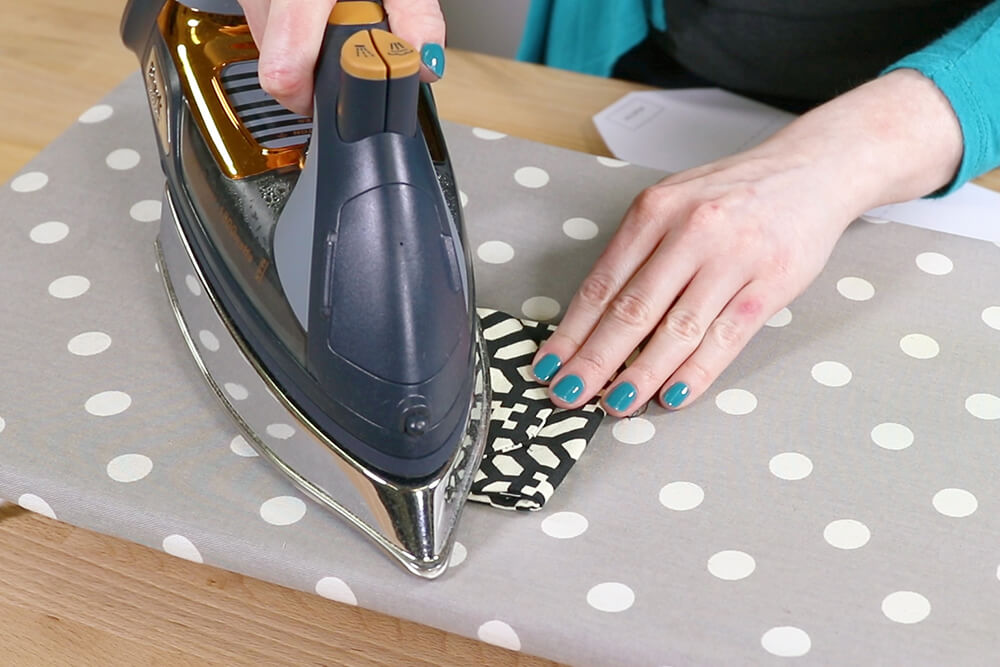
Iron the fusible stabilizer to the fabric pieces. Press each section for about 10 seconds. Flip the piece over and iron on the other side.
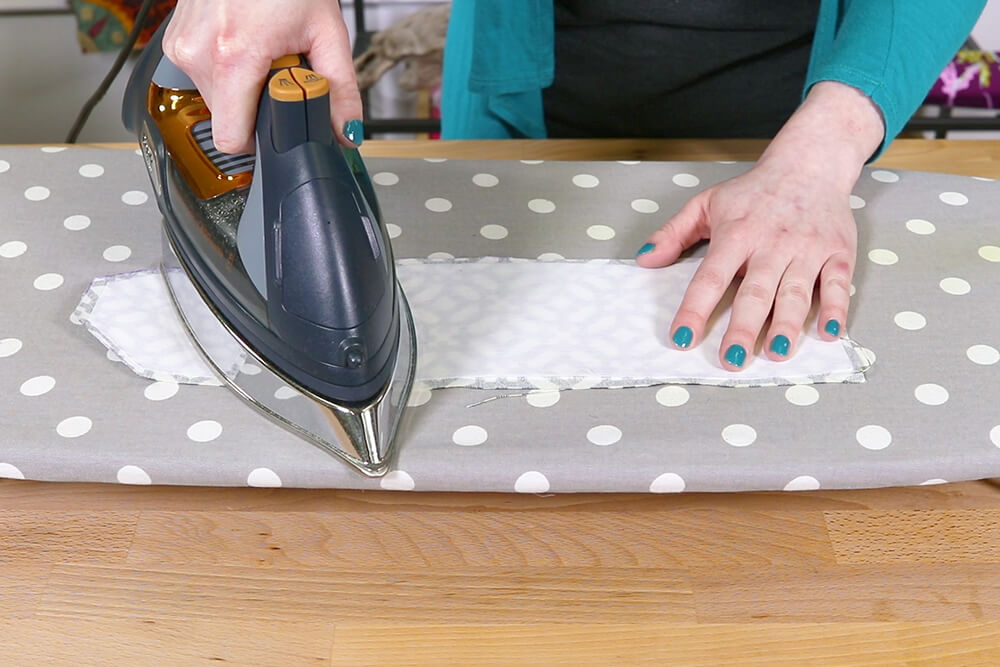

Fold the 4 by 4 inch piece in half and press. Fold the sides in to the center crease and iron. Refold and iron again.

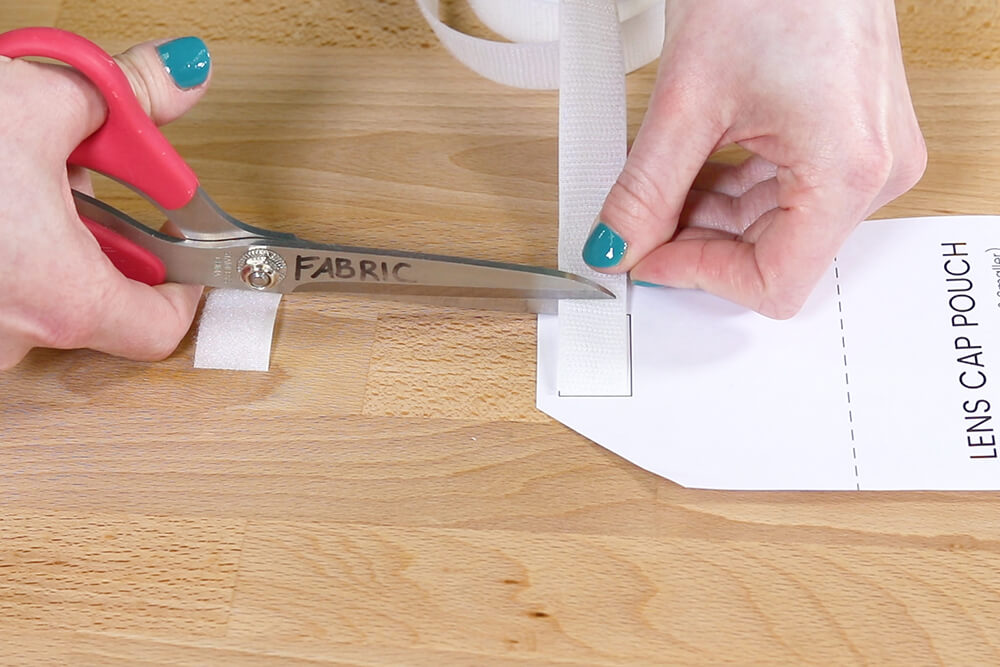
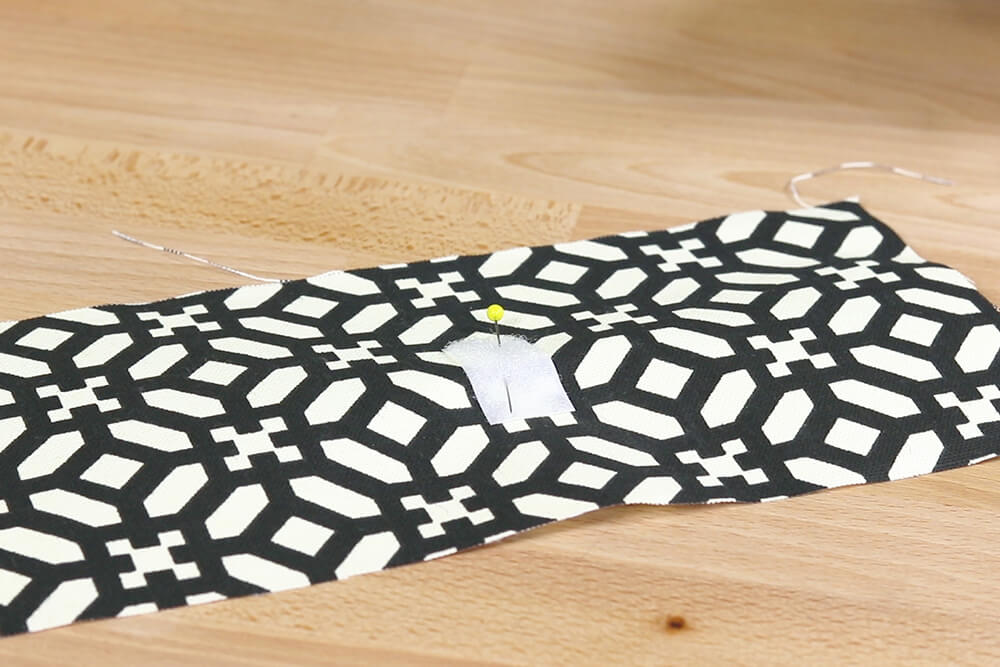
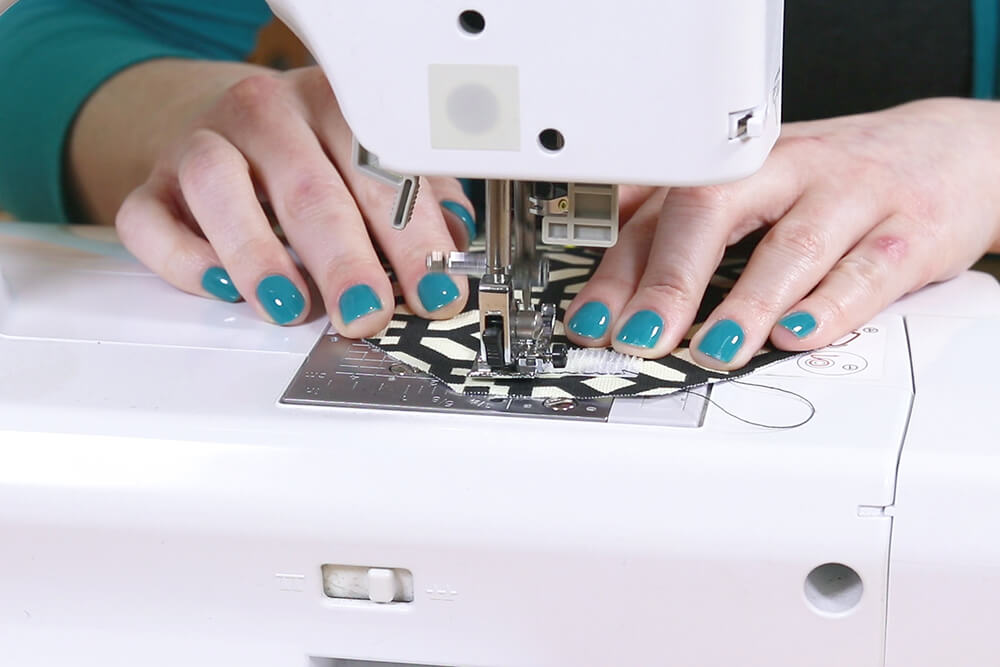
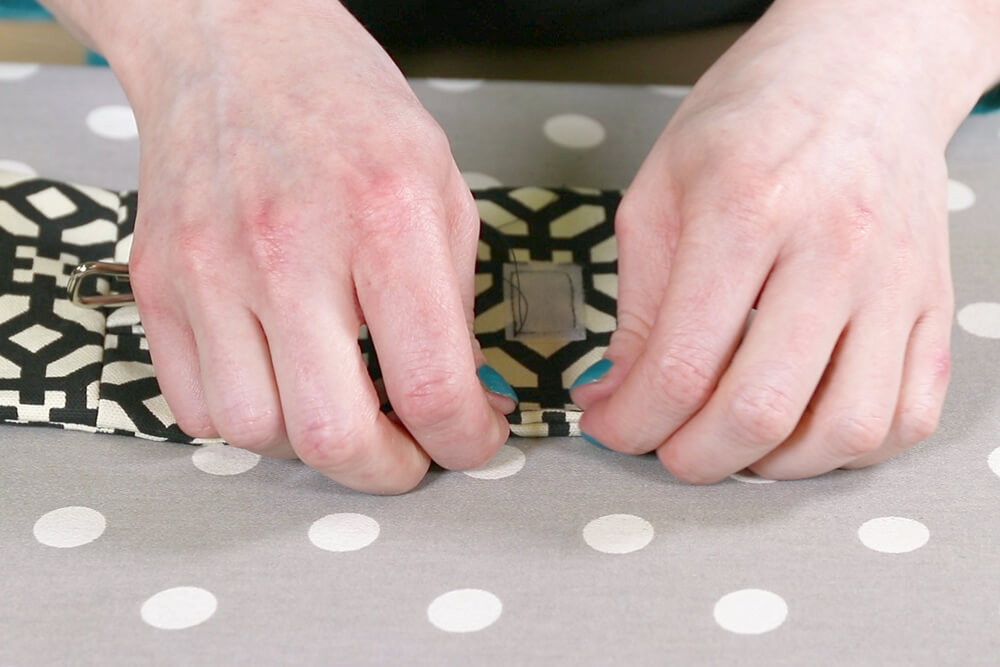
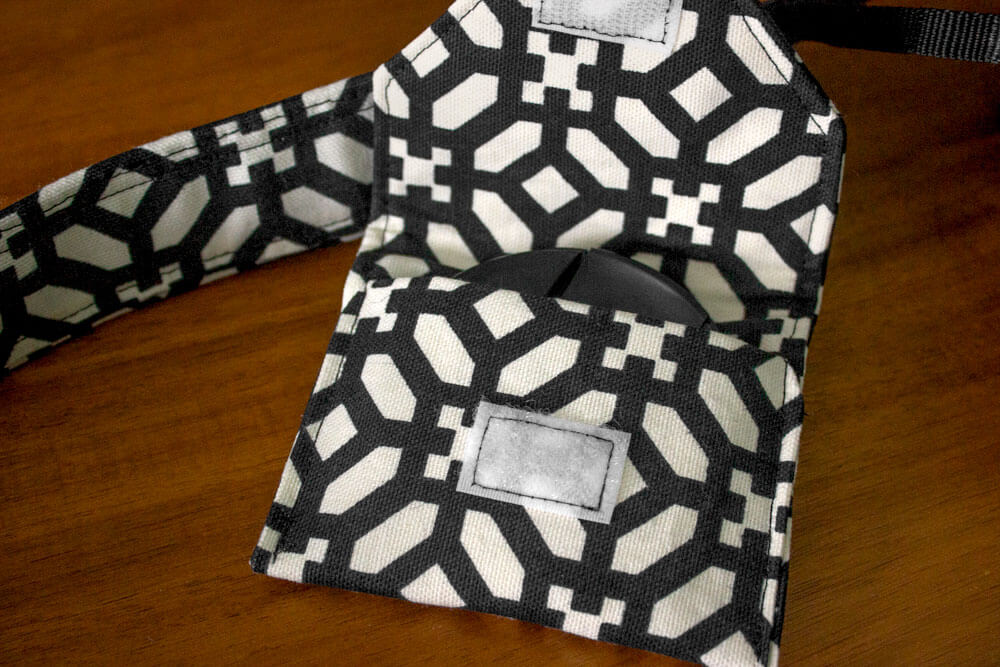
Cut the Velcro to the correct size. Place the Velcro where indicated on the pattern and clip or pin. Sew around the edges of the Velcro.

(Lens Cap Pouch) Step 3: Sew together
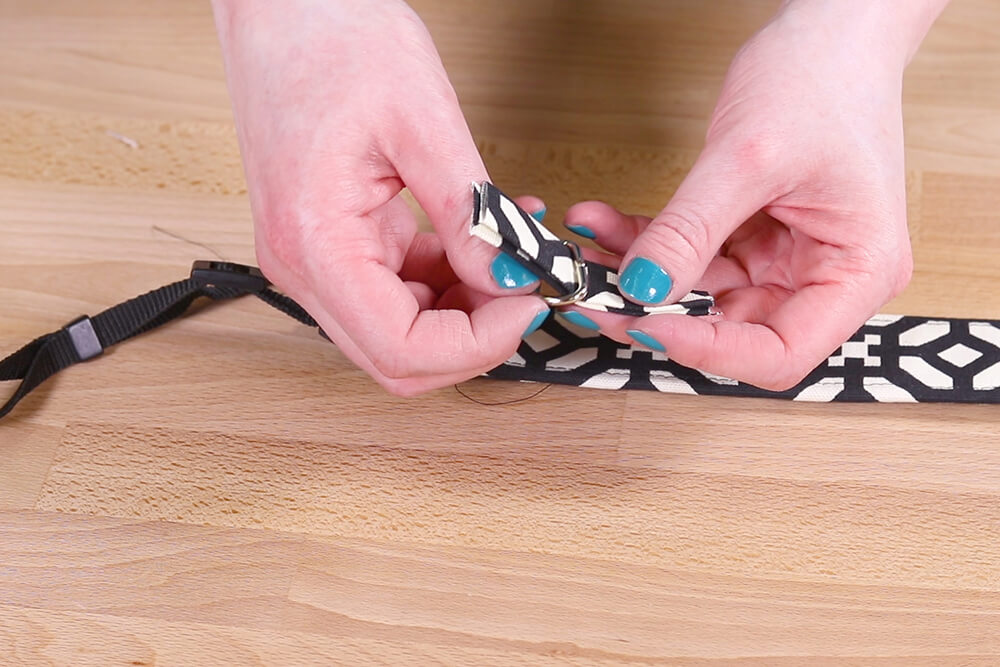
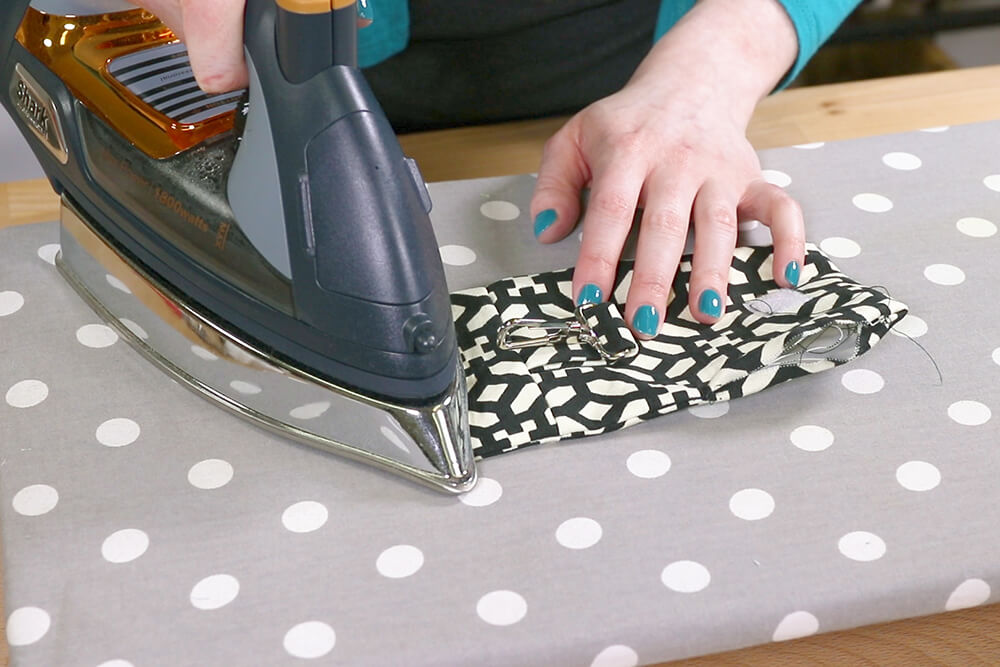
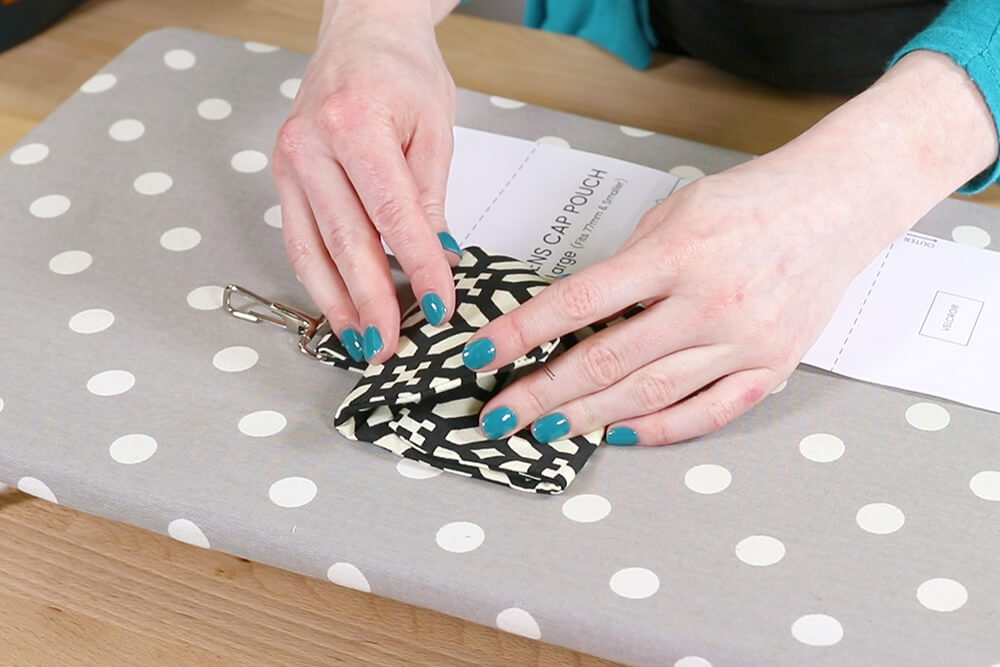
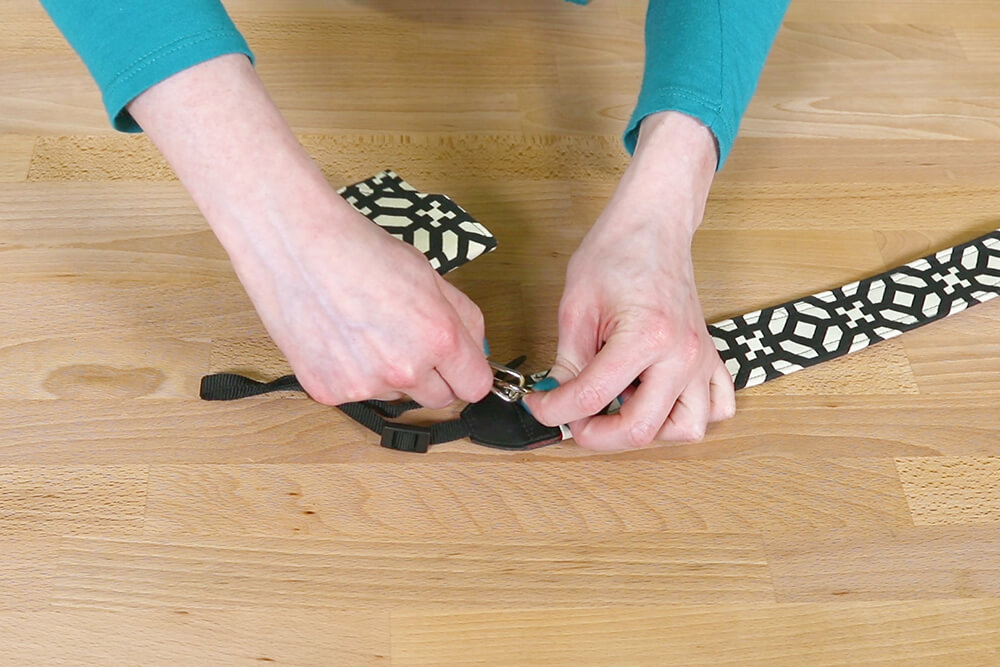
Place the smaller piece on top with the right sides facing. Slide the hook onto the strip of fabric and center it on the end of the larger piece.
Sew with a 1/4″ seam allowance.
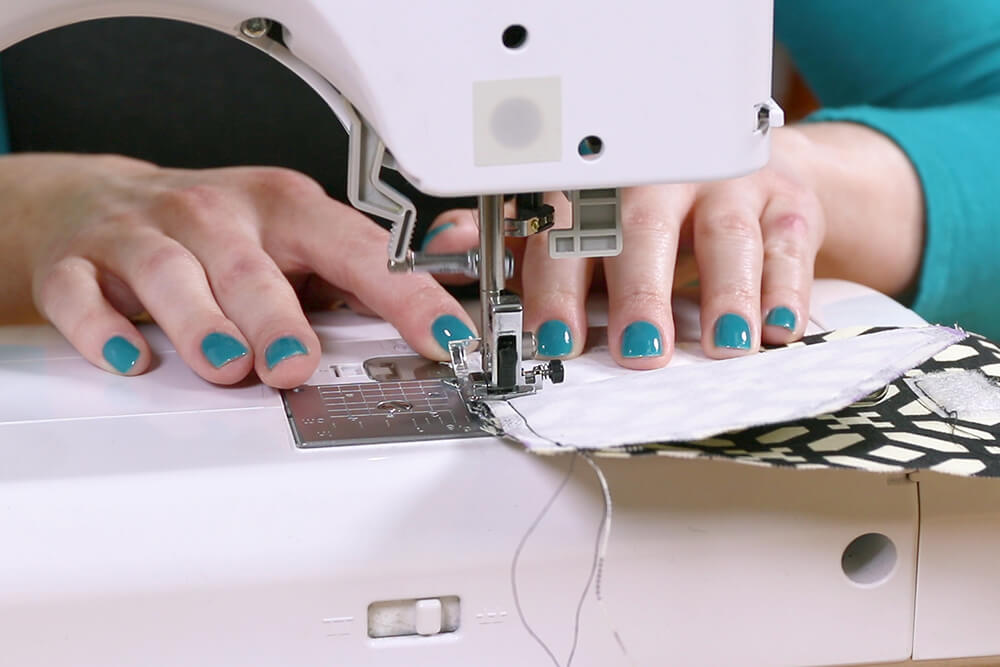
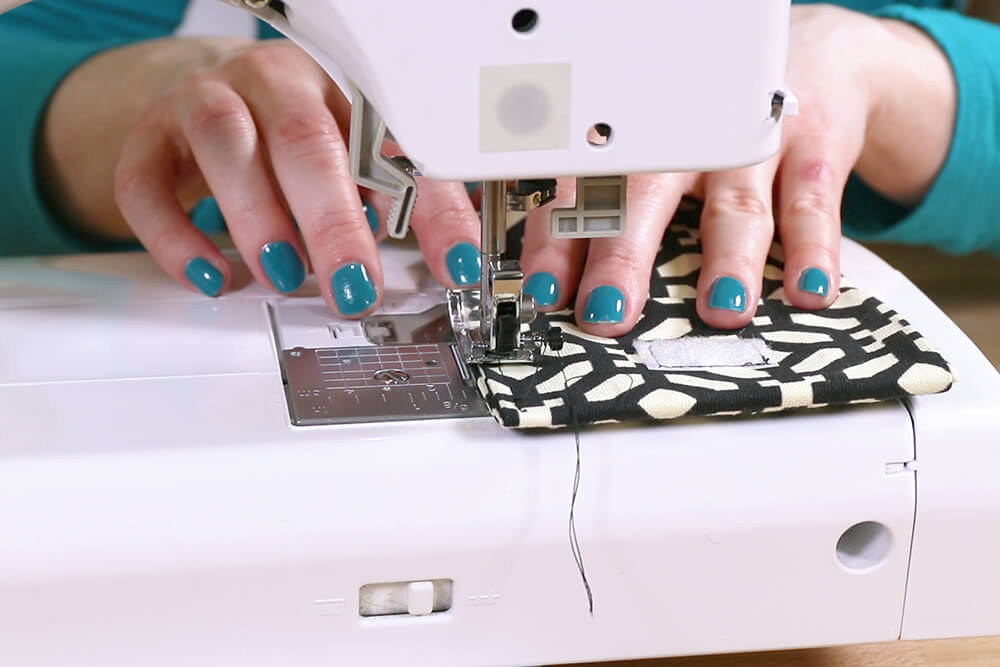
Fold the piece in half so the ends line up with right sides facing. Sew around the edges with a 1/4″ seam allowance, leaving a gap of a couple inches on one of the sides.

Clip the corners close to the stitching. Turn the piece right side out.

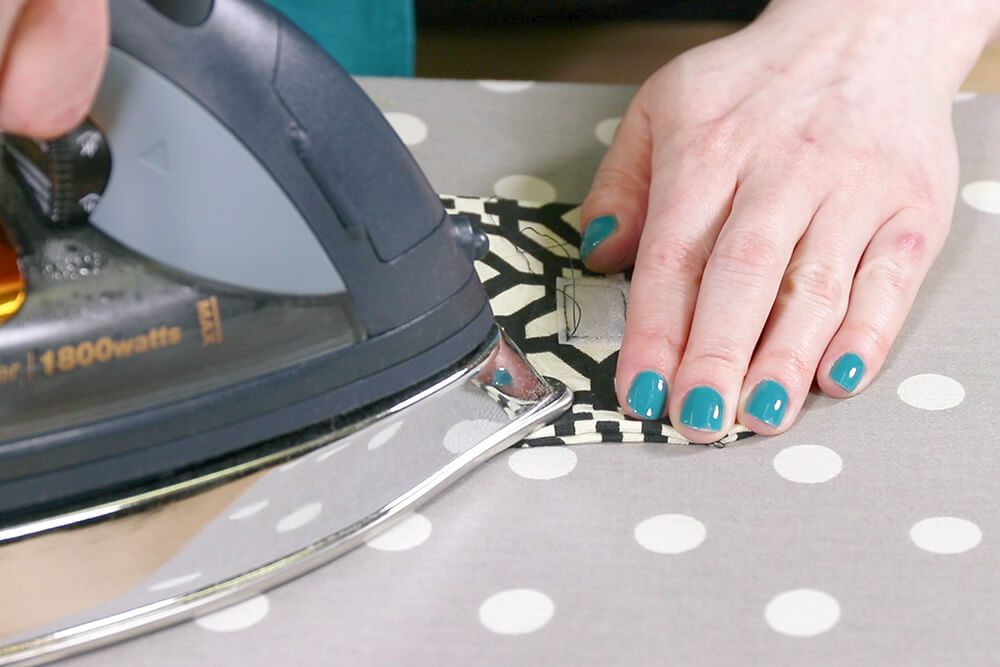
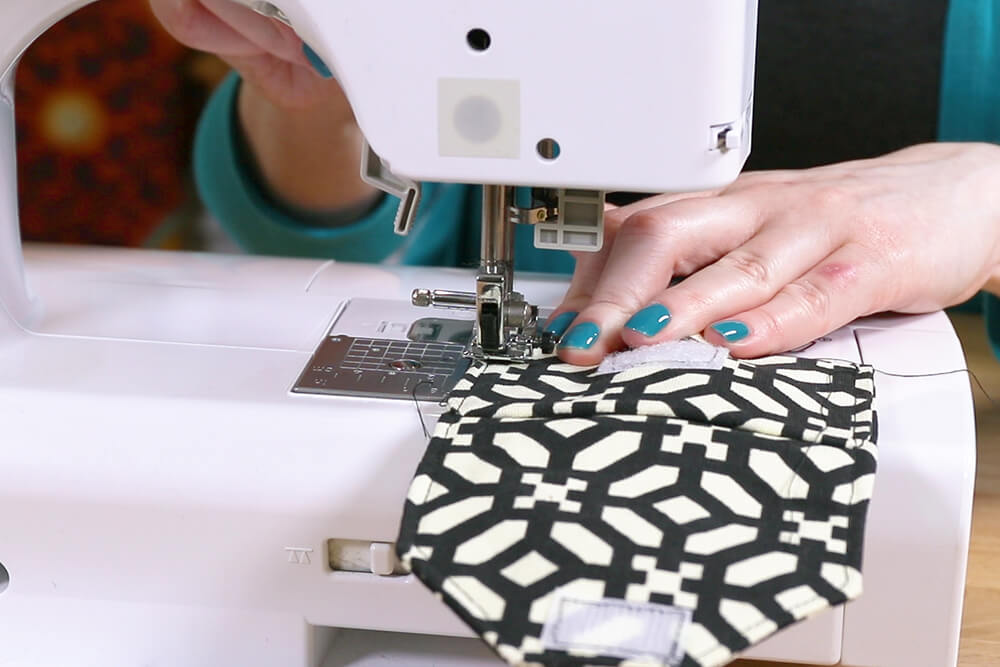
Iron flat and fold in the edges at the opening. Use the pattern piece to determine where to iron creases to form the pouch.
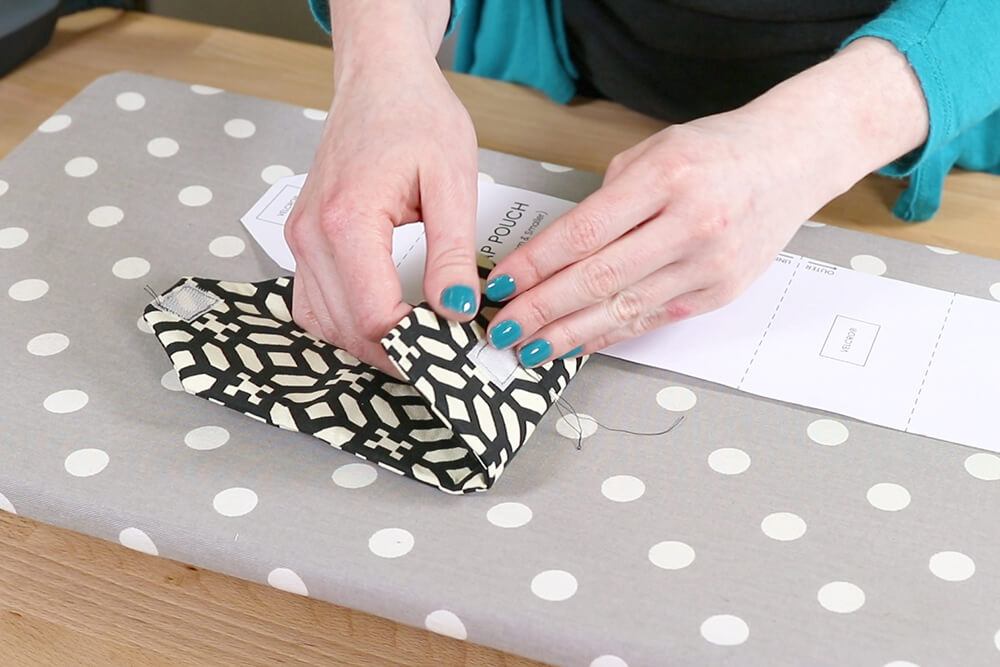
With the bottom section folded, sew about 1/8″ from the edges of the sides and flap.
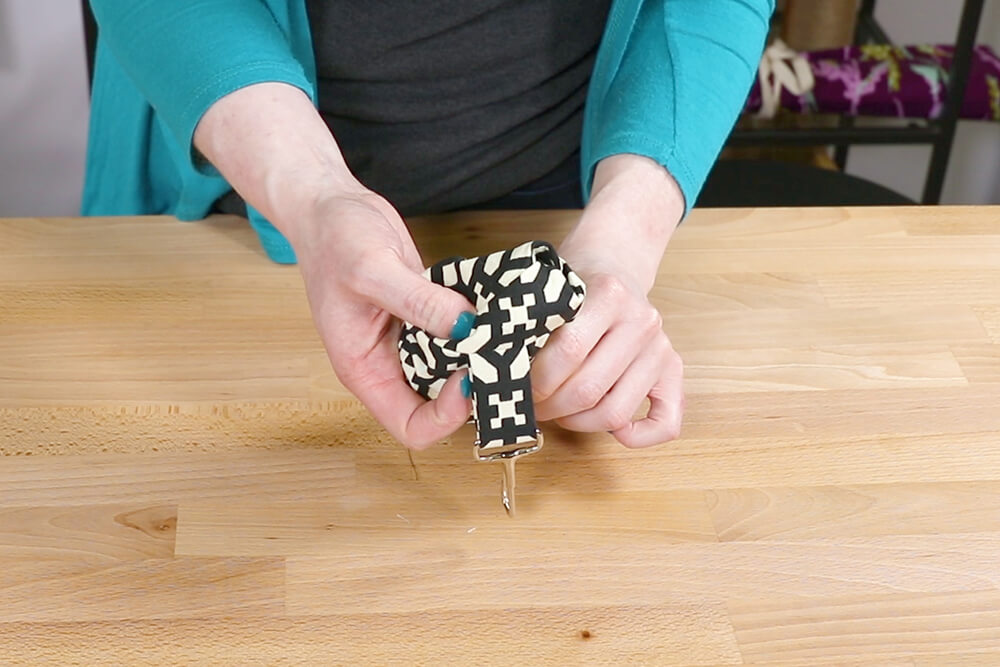
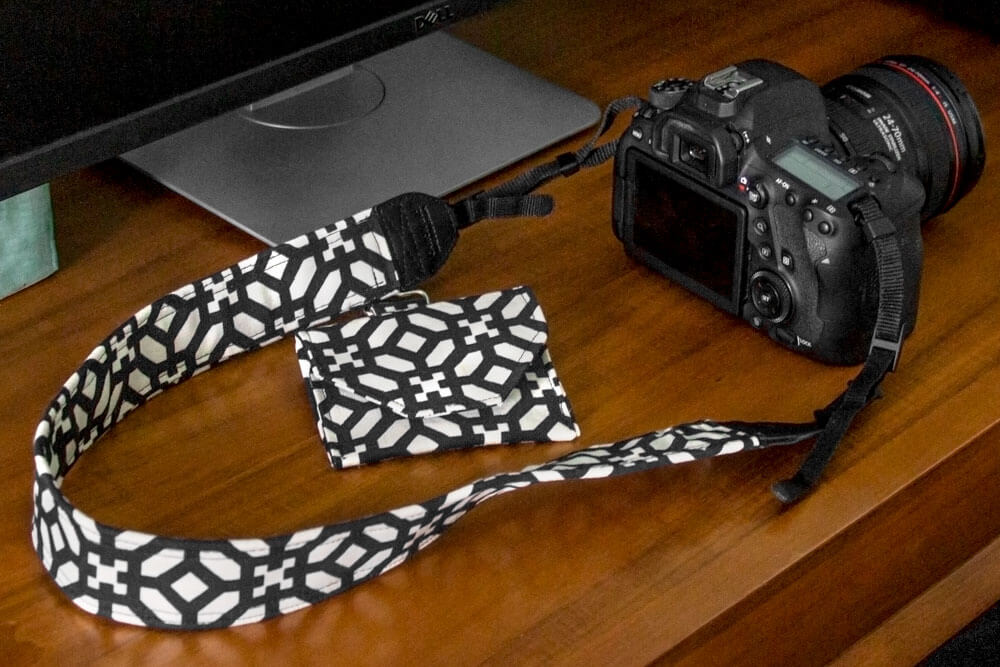
Put your lens cap in the pocket and close the flap. Clip the pouch onto the D-ring and the camera strap is done!


Looking for the perfect fabric for your camera strap? Check out our decor fabric selection.