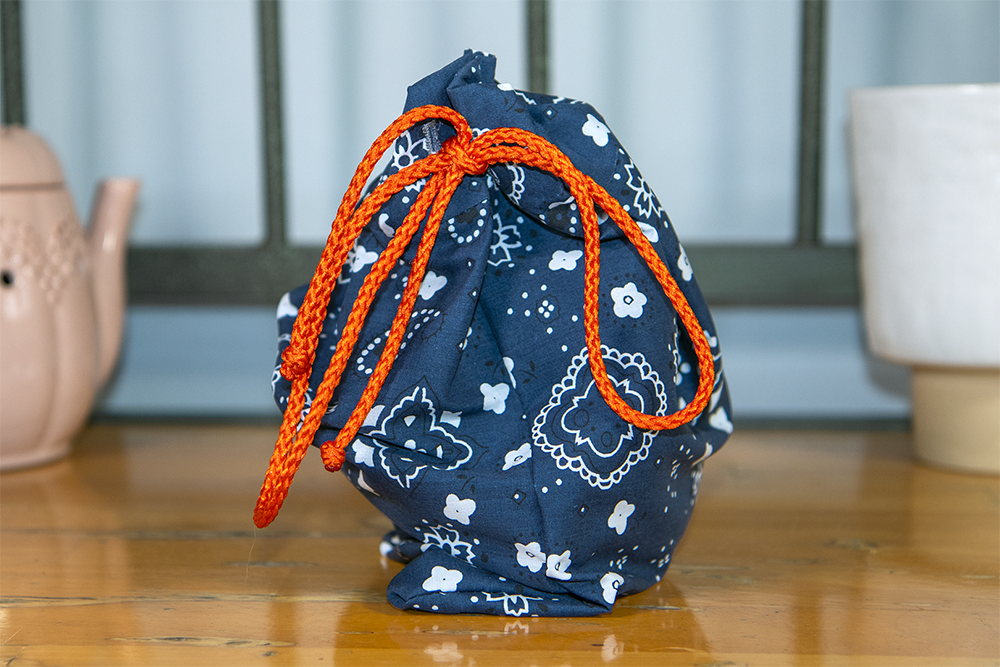
How to Make a Drawstring Project Bag
- By Abby
- Intermediate
- 45 minutes
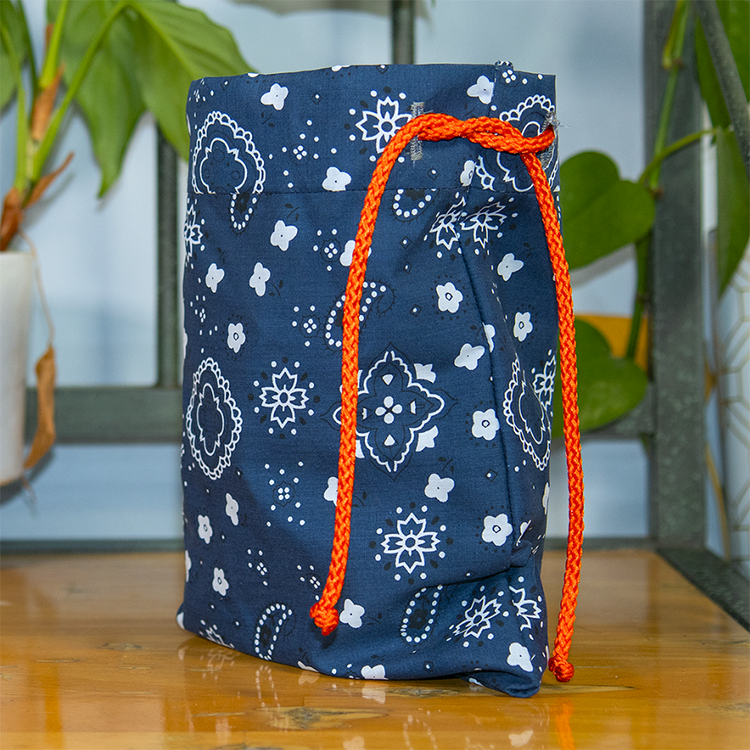
Today I’m going to talk about a bag I made to store my knitting projects. I did so by modifying a pattern for a pillowcase that I learned in my sewing class. I then added buttonholes for a drawstring. This project features encased seams, which means the raw edges of the seams will not be visible. I like using this so that the threads of the fabric don’t get tangled with the yarn and it has a smooth finish inside.
Materials
Related Products


Video
Instructions
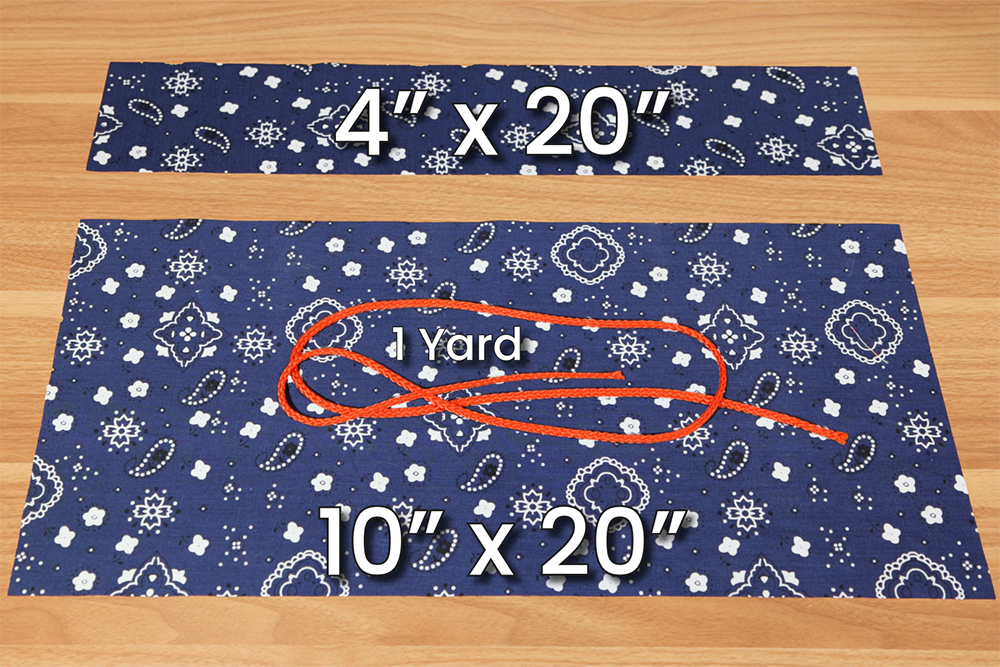
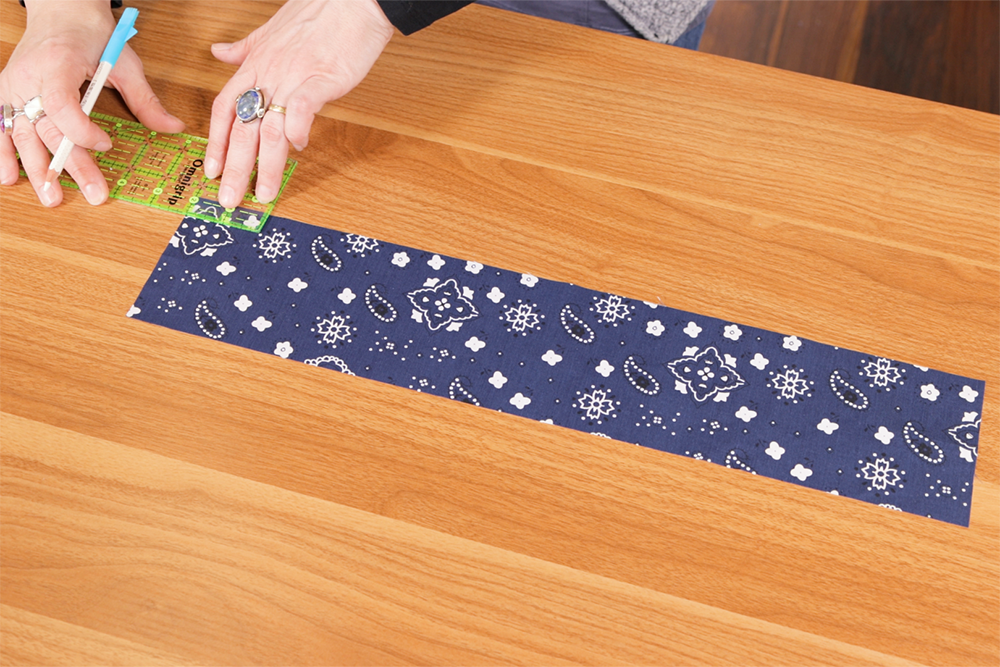
Step 1: Cut the fabric
First, cut the fabric to your desired dimensions. My bag body is 10 inches by 20 inches and the edge is 4 inches by 20 inches.
The cord is about 1 yard long to start.
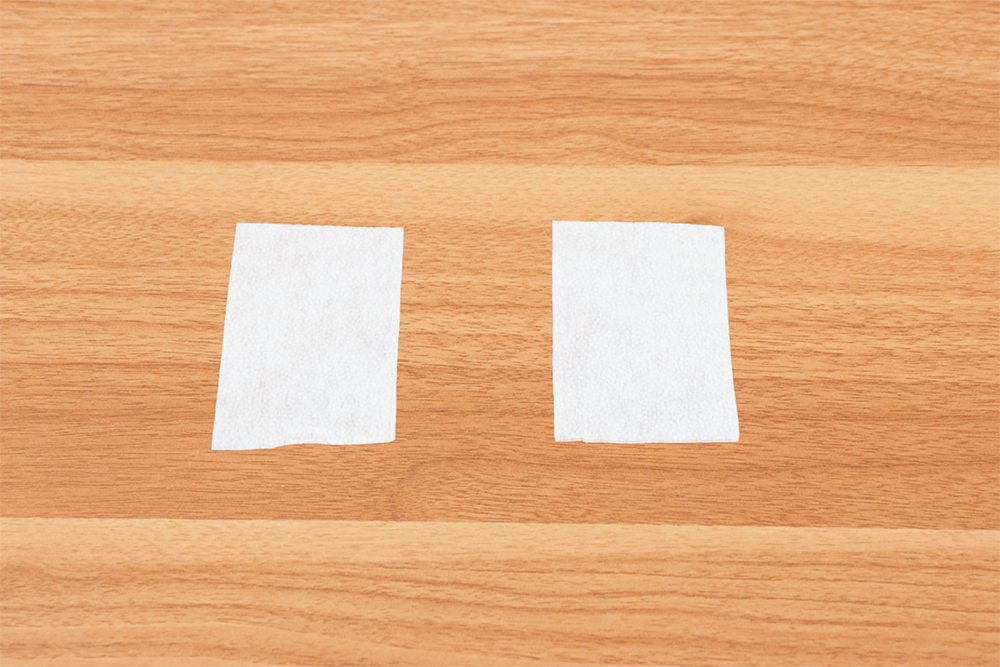
I will also use 2 small pieces of stabililzer.
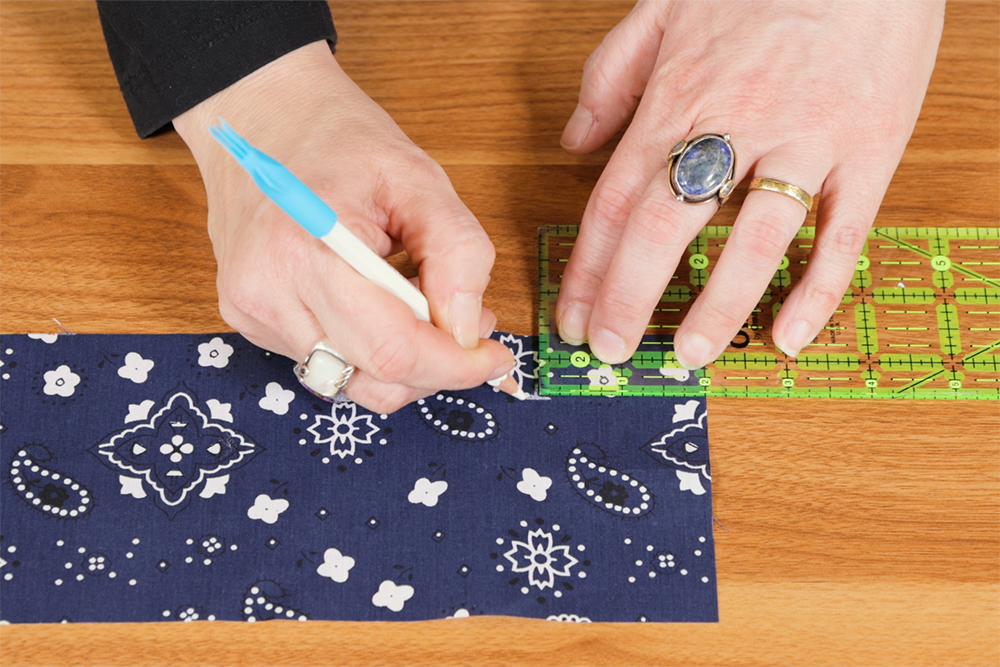
Step 2: Create the buttonholes
If the fabric is directional, mark the bottom of the fabric.
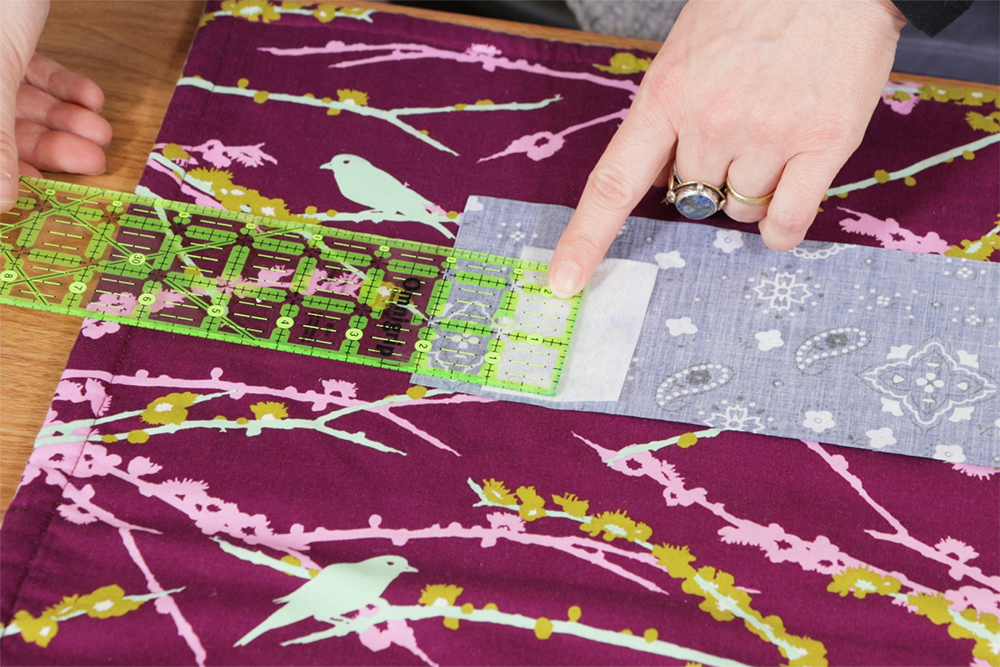
First I’ll sew the buttonholes on the edge strip. Measure 2 inches in from the side and 5/8th inch up from the bottom of the fabric. Mark with a small “T”. This will be the bottom of the buttonhole.
Measure and mark the other side of the edge strip as well.
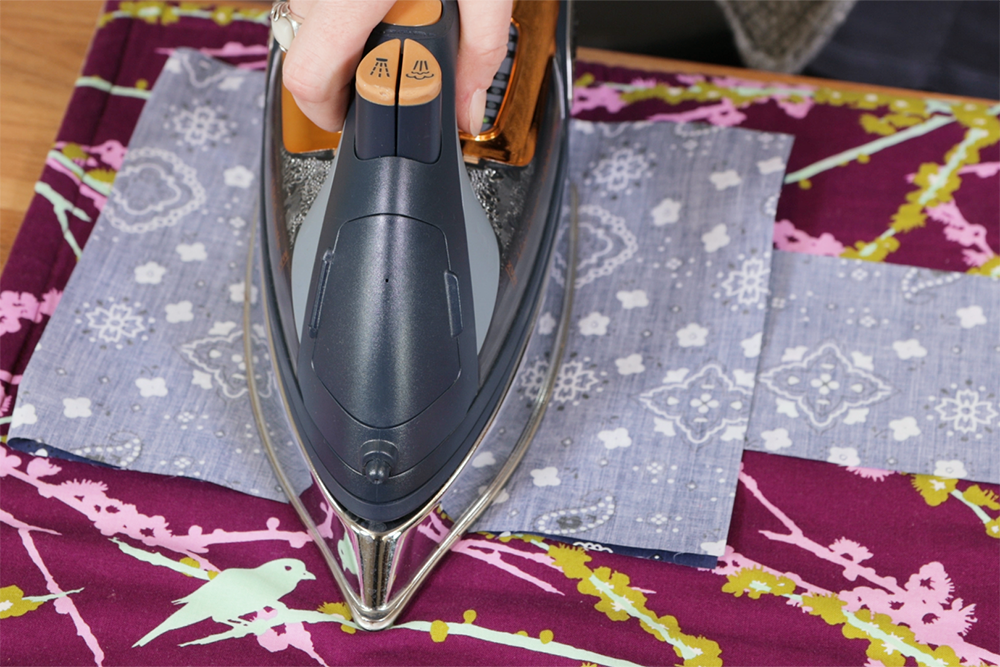
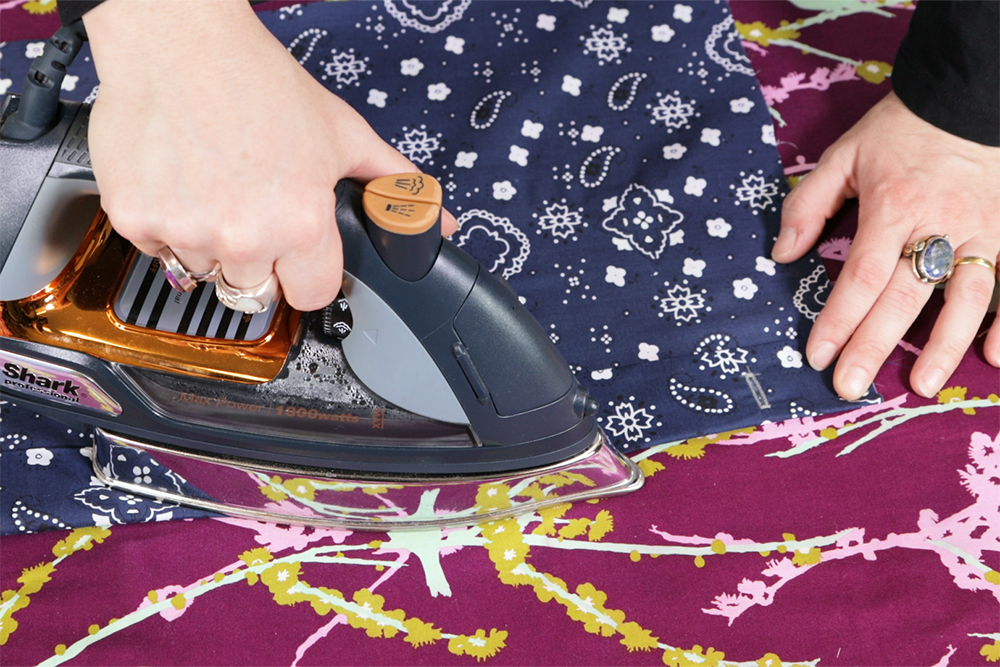
Fuse a small piece of stabilizer on the wrong side of the edge strip behind both buttonholes. This will help prevent fraying.
Use a scrap piece of fabric in between the iron and the stabilizer.
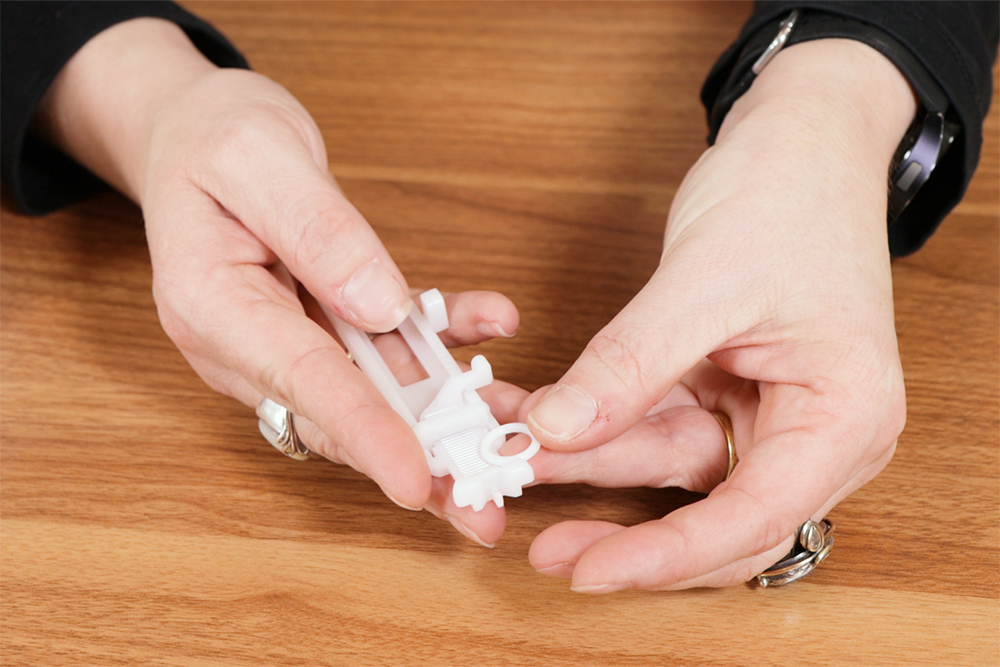
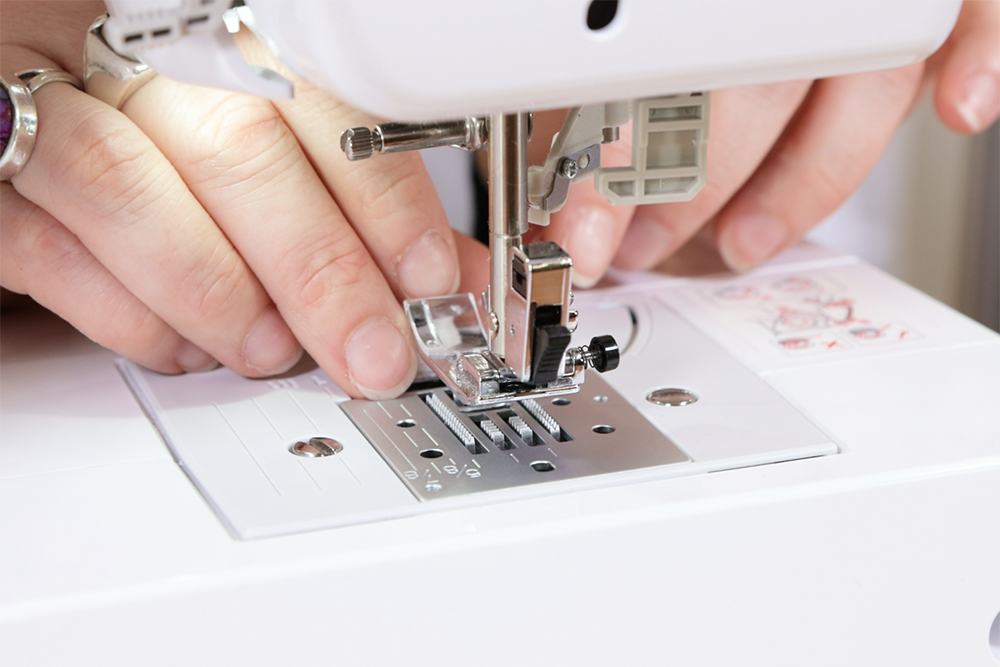
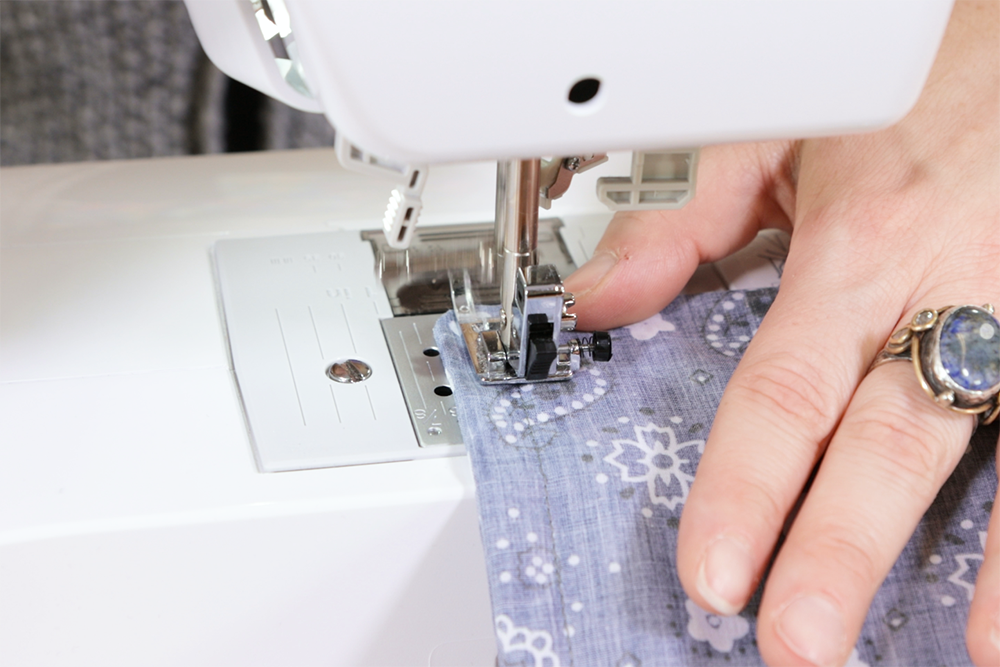
Switch to the buttonhole presser foot on your machine. Usually you would put a button in the top to measure the hole, but I’ll just be using a curtain ring.
Attach the presser foot and change the setting of the machine to the buttonhole setting.
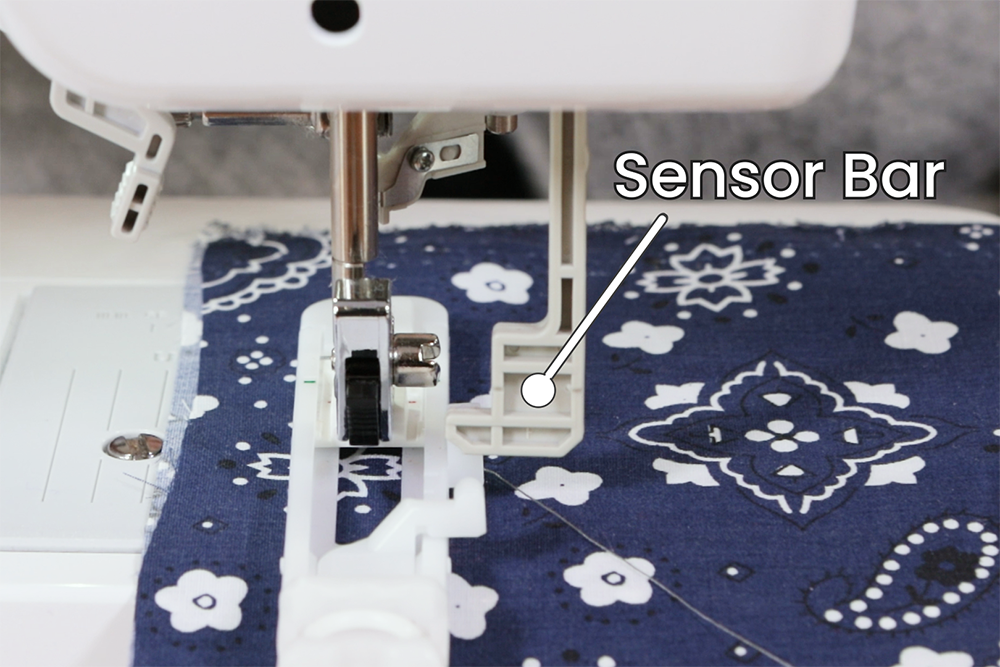
Make sure to lower the little bar for the presser foot.
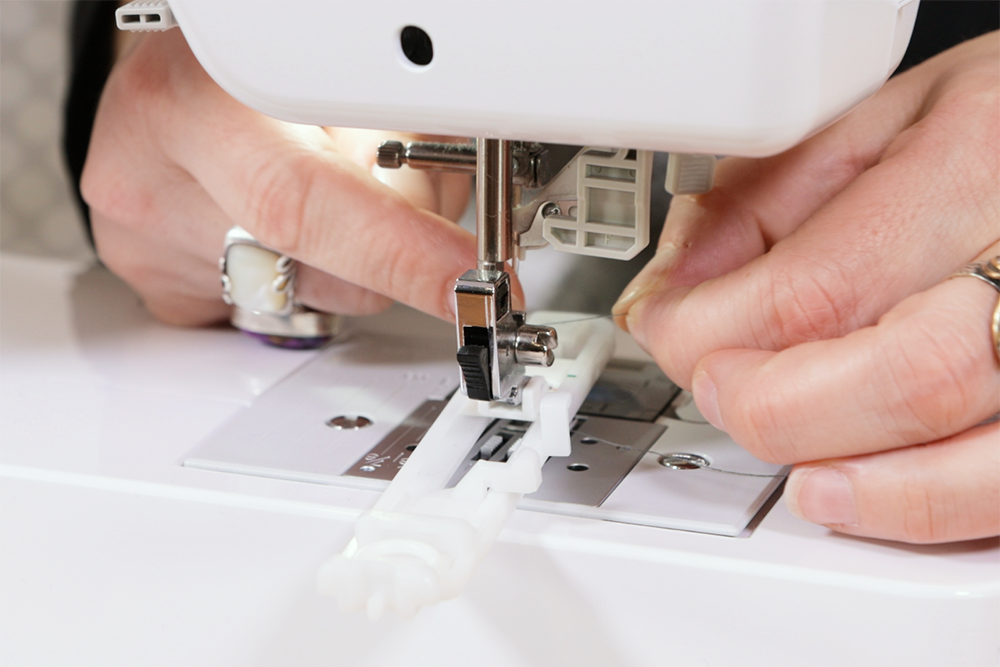
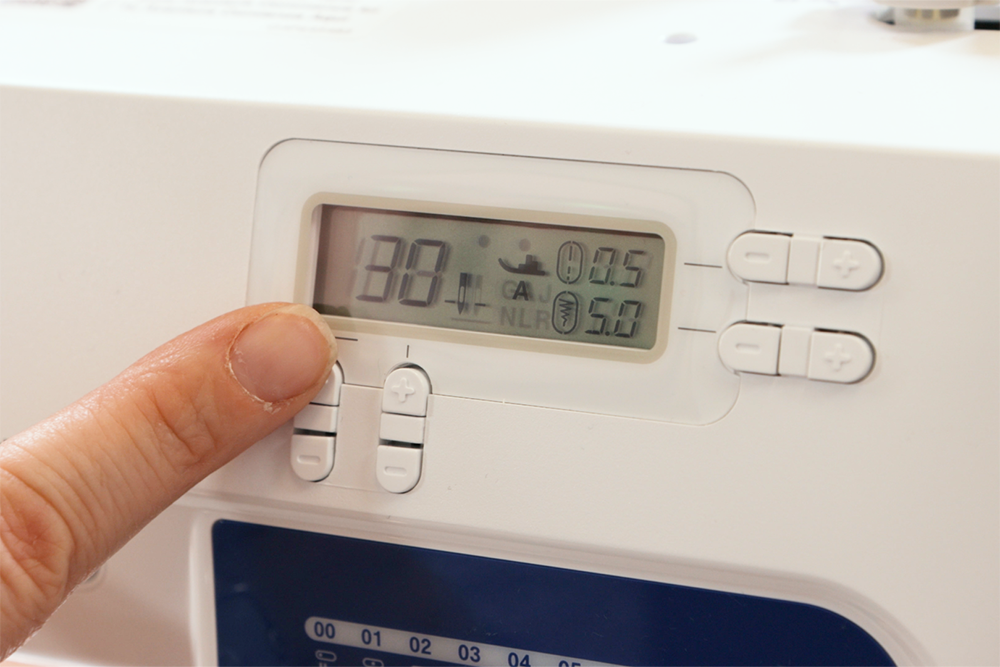
Line up the “T” in the window of the presser foot and sew the buttonholes. These new machines are great because the buttonhole is automatic, you don’t have to do any thinking!
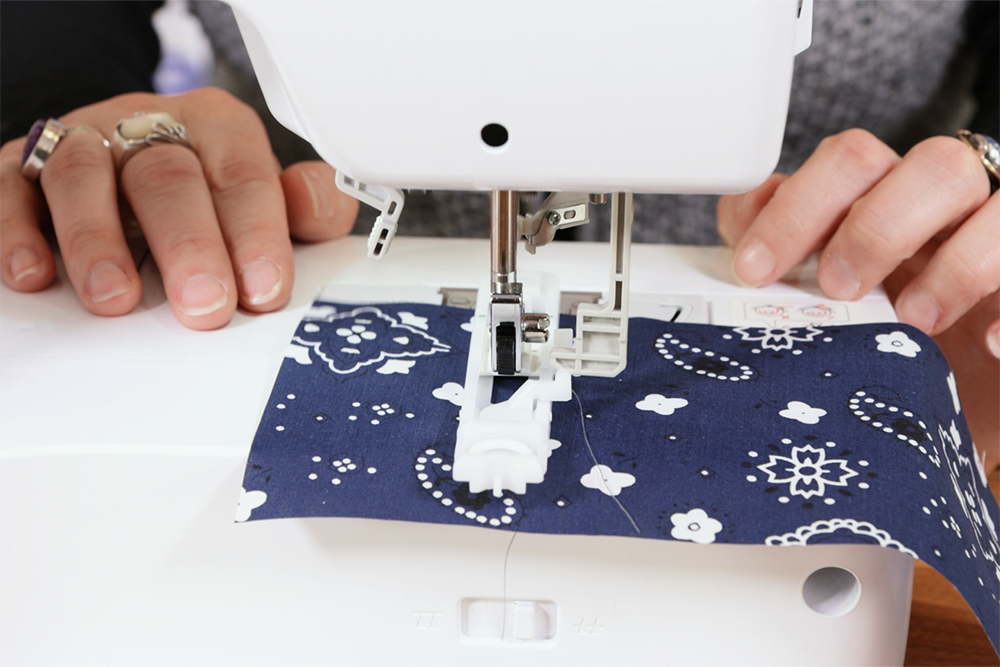
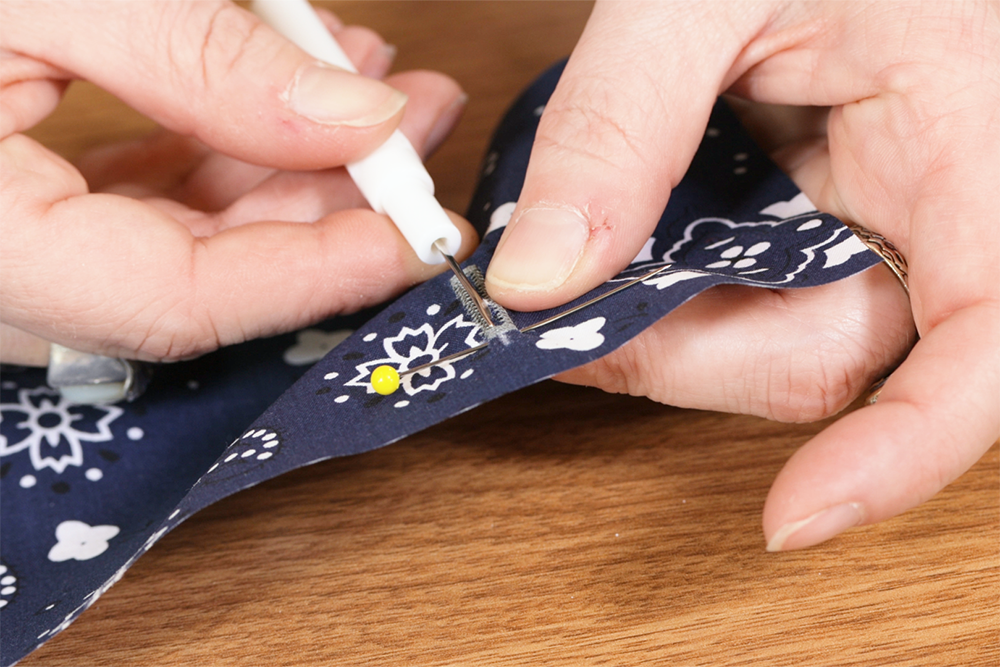
Place a pin at the top of the stitches to make sure you don’t rip any farther than you need to.
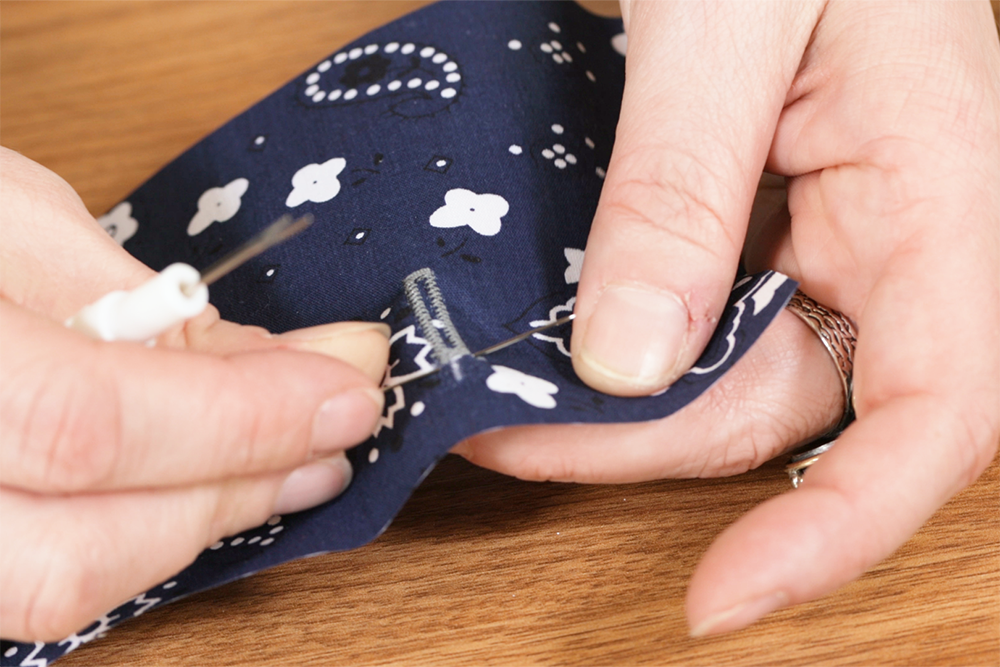
Carefully open the buttonholes. This is to prevent any unintentional fraying of the fabric when folded later. Use a seam ripper to slice the fabric in between the stitches.
Step 3: Sew together
Don’t forget to reset your seam allowance and thread after basting.
Next we’re going to attach the edge to the body. Pin the long sides of the 2 pieces face together with the buttonholes closest to the edge.
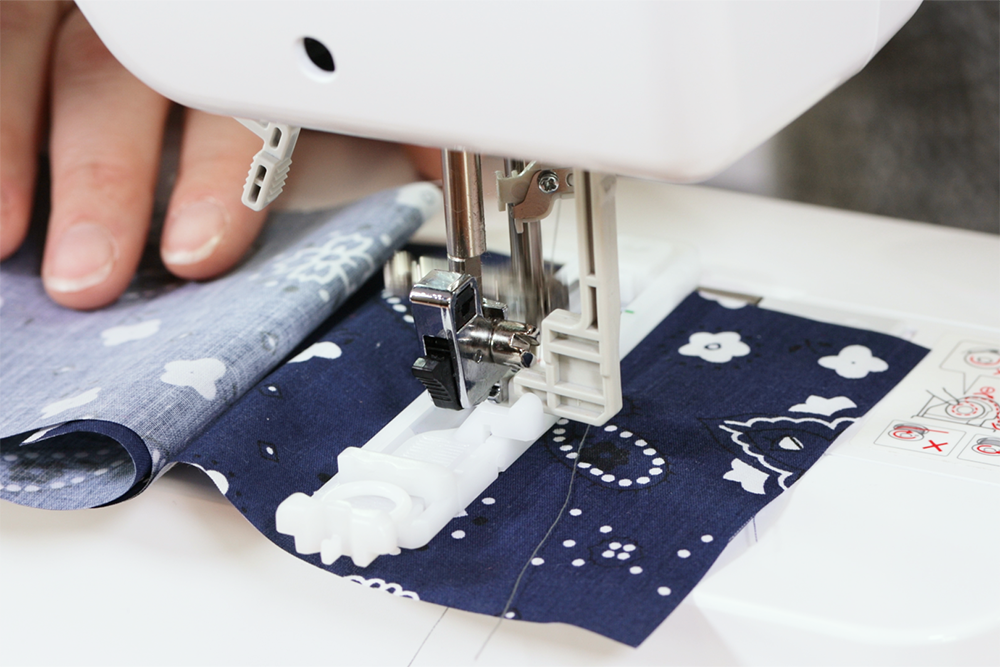
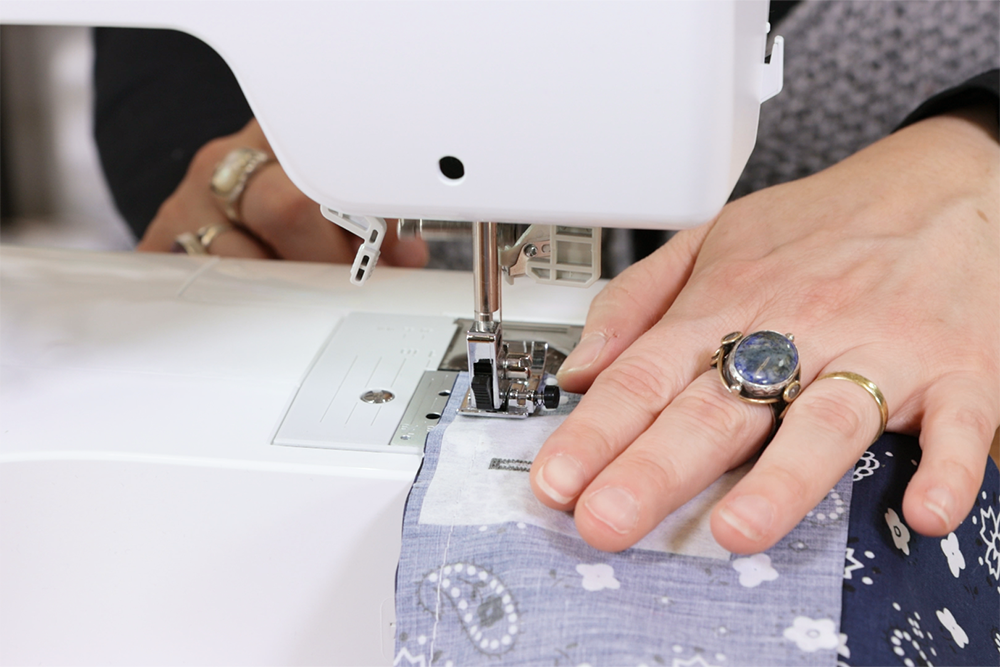
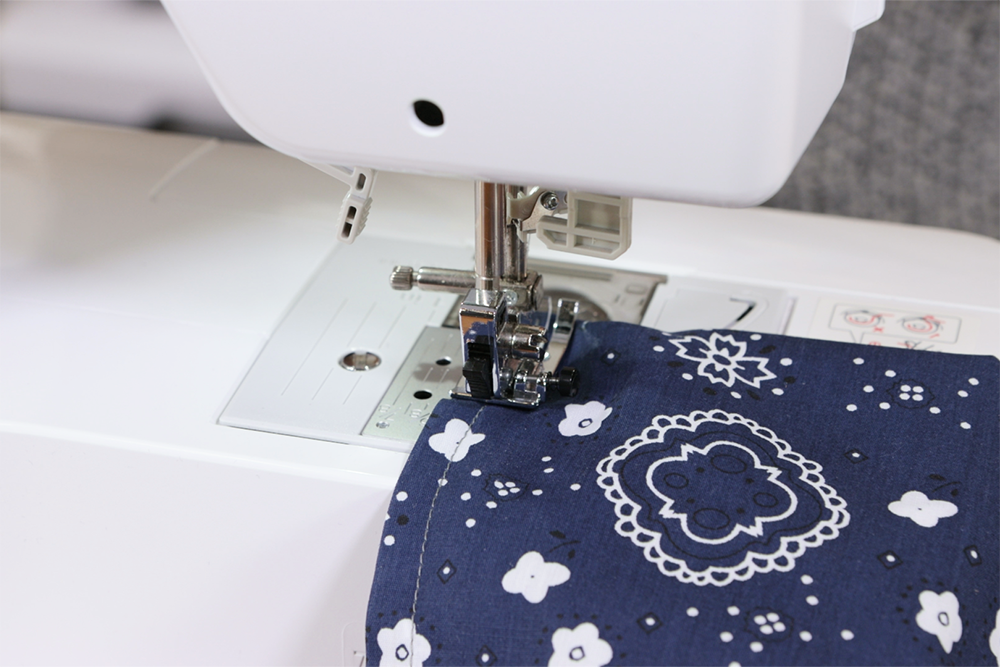
Baste stitch to attach the pieces together using a 1/2 inch seam allowance. Basting with a different colored thread makes it easier to see after sewing.
Use a straight stitch with a 5mm stitch length (or as long as it will go) without back stitching.

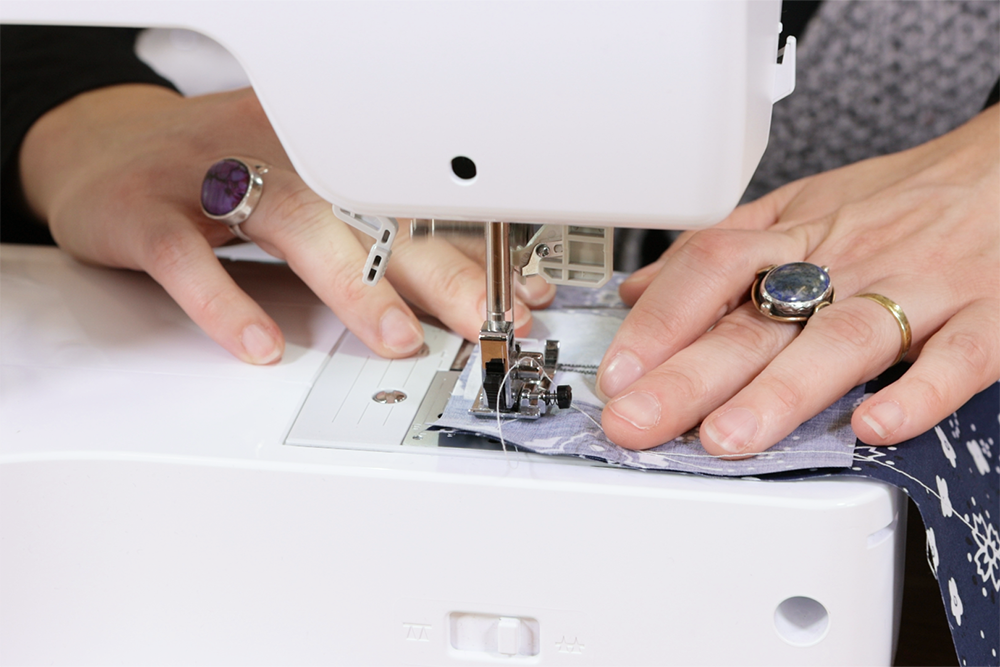
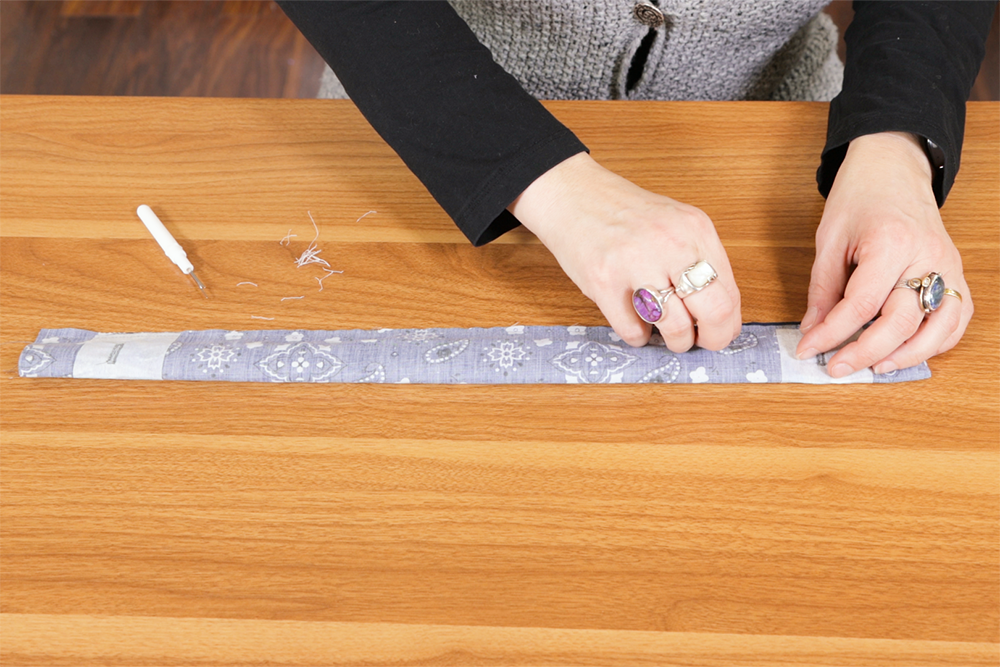
Face your project right side and face up. Roll the bag body towards the edge of the fabric. Pin the sides of the bag edge strip together sandwiching the rolled bag body inside.
Sew a regular straight stitch using a back stitch this time. Make sure to keep your new seam to the right of the basting seam.
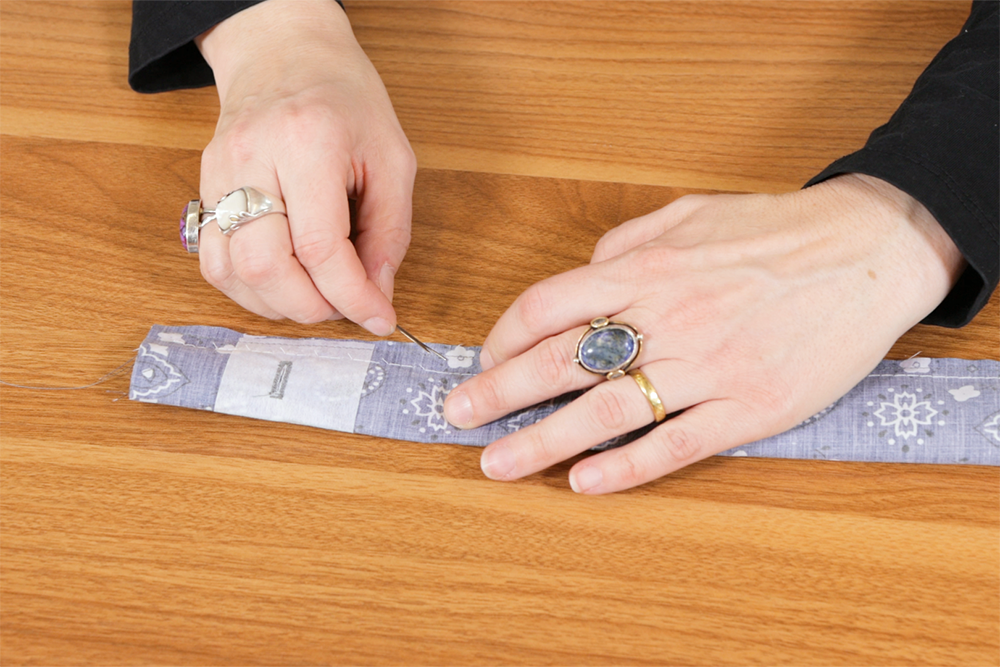
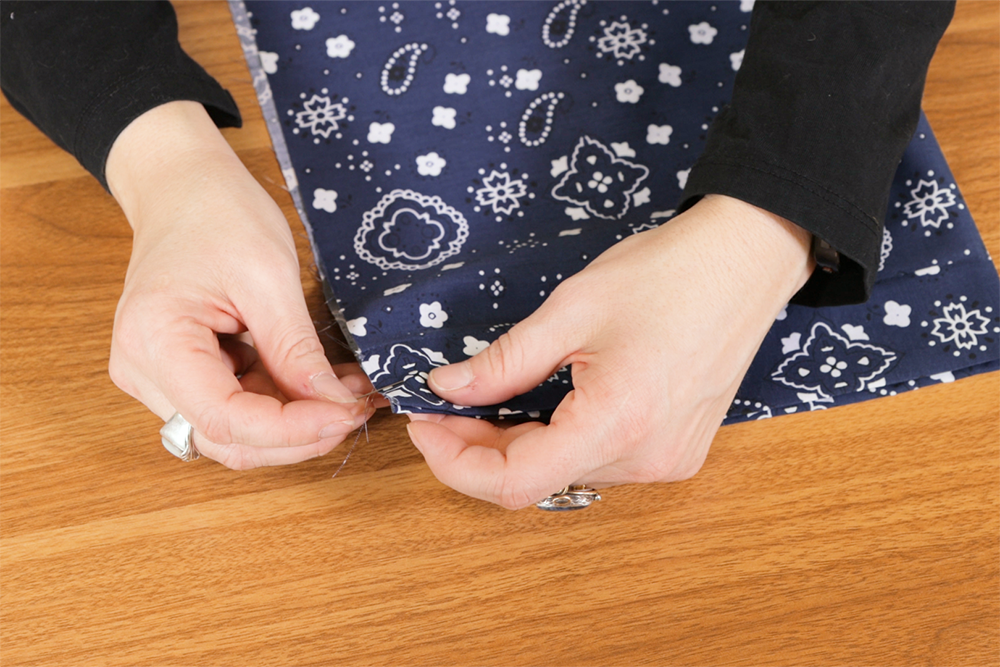
Remove the basting seam by cutting every 3rd stitch or so using a seam ripper. You might be able to pull the bottom thread right out.
Pick out the leftover threads.
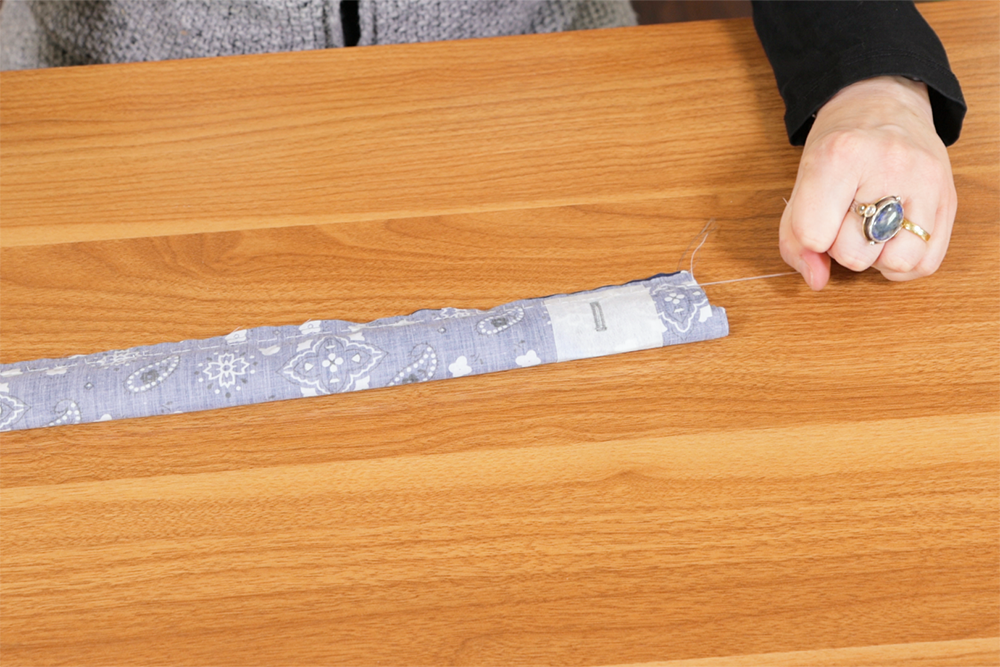
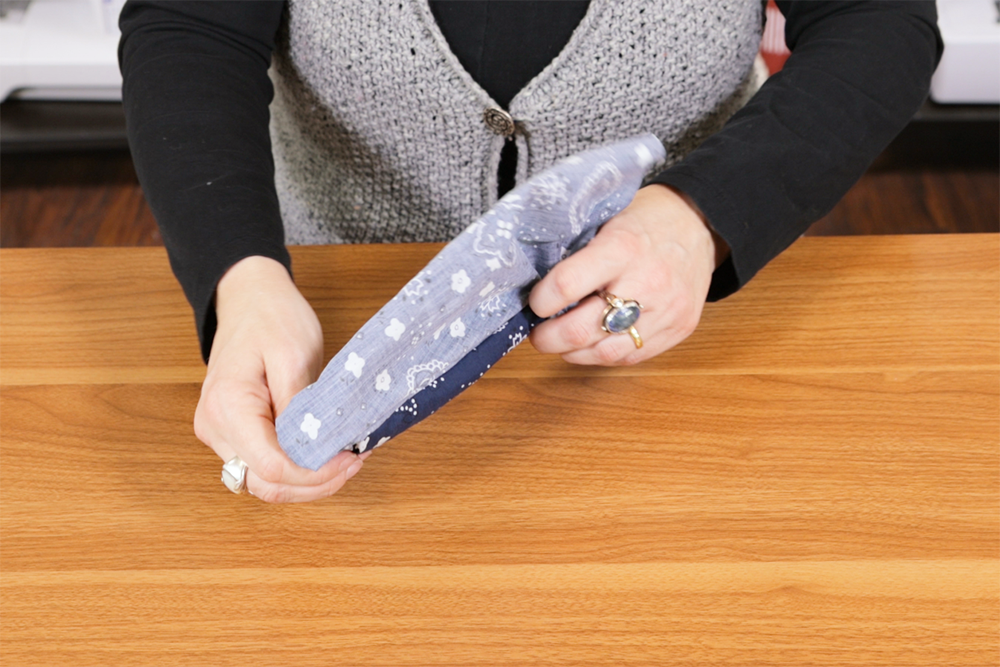
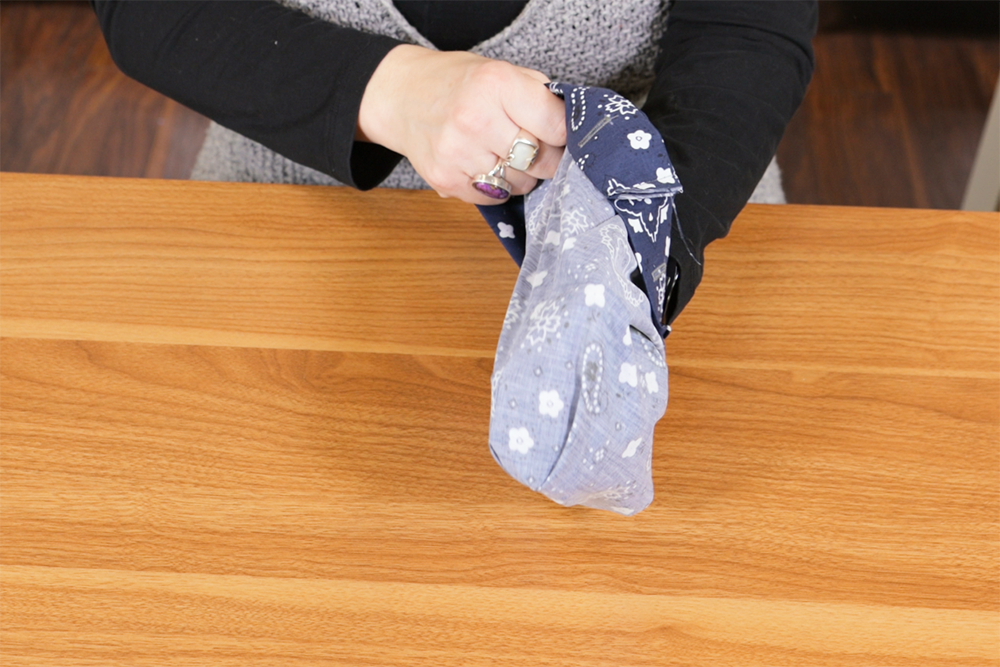
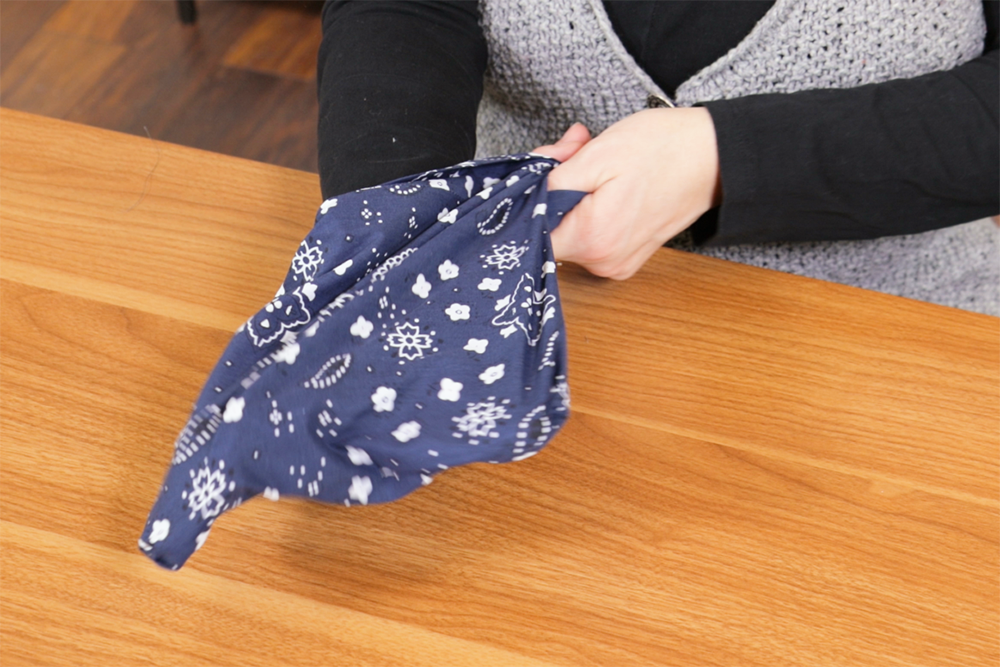
Pull out and unroll the body of the fabric from the seamed tube. The edge fabric will turn right side out.
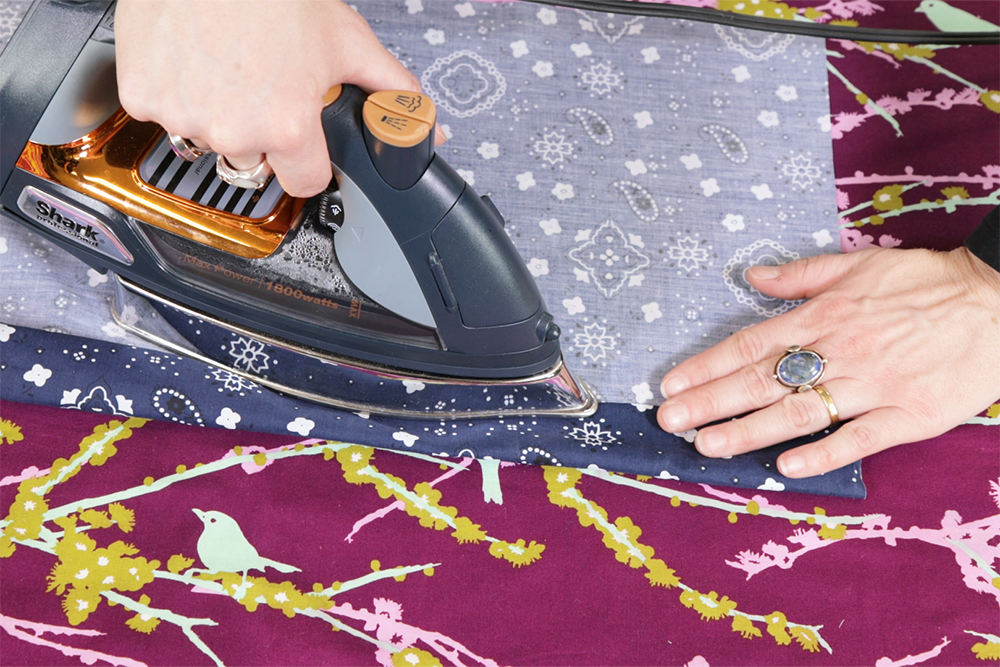
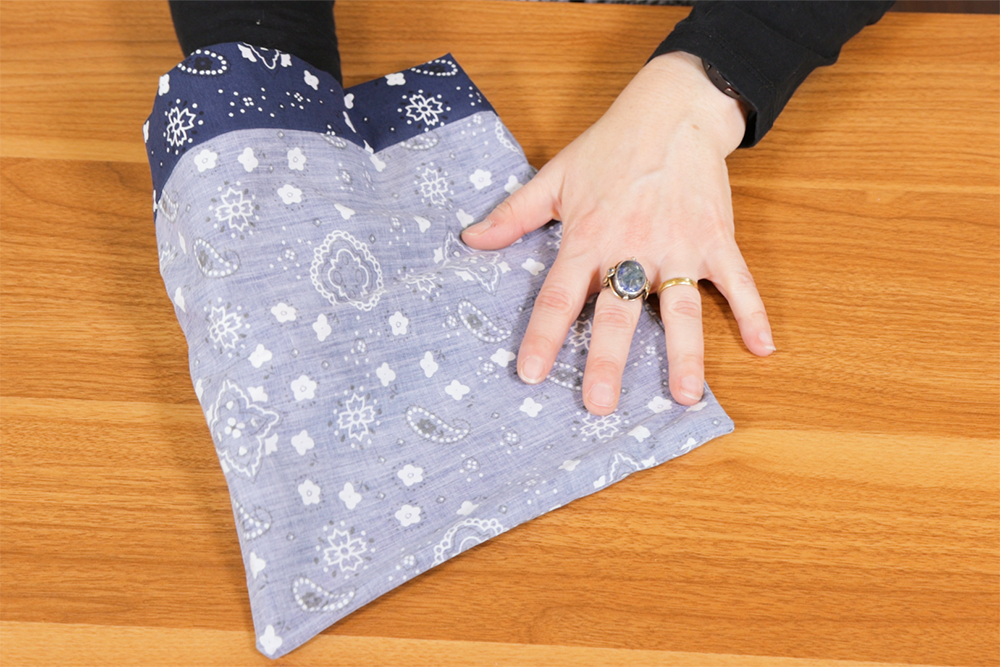
Next you’re going to press your seams. Press the seams up on the back of your fabric. Don’t go all the way to the top.
Flip over and press the seam on the face of the fabric, this time press all the way to the top.
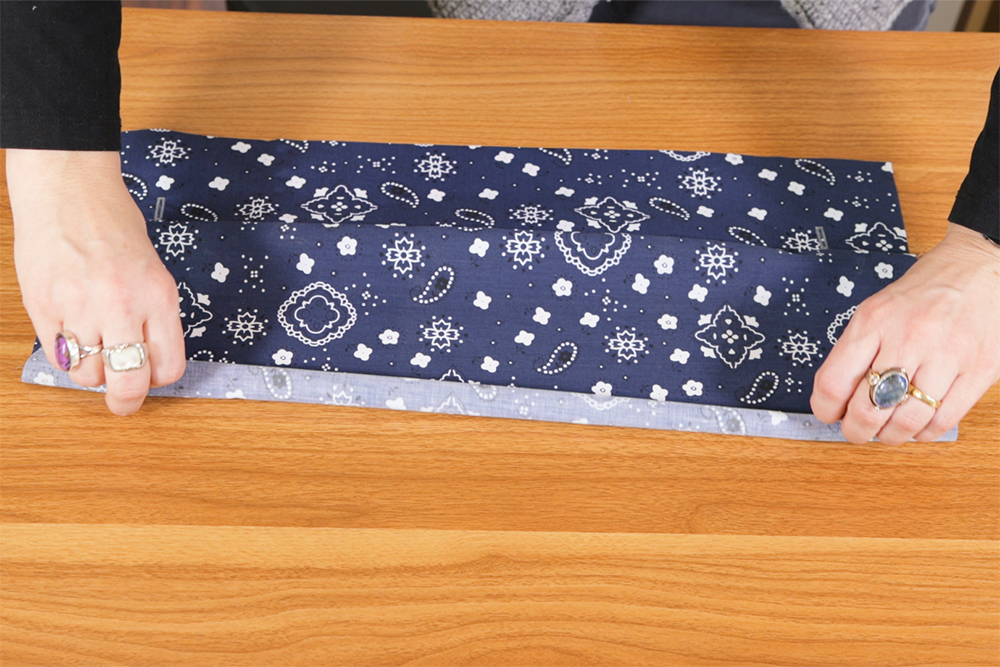
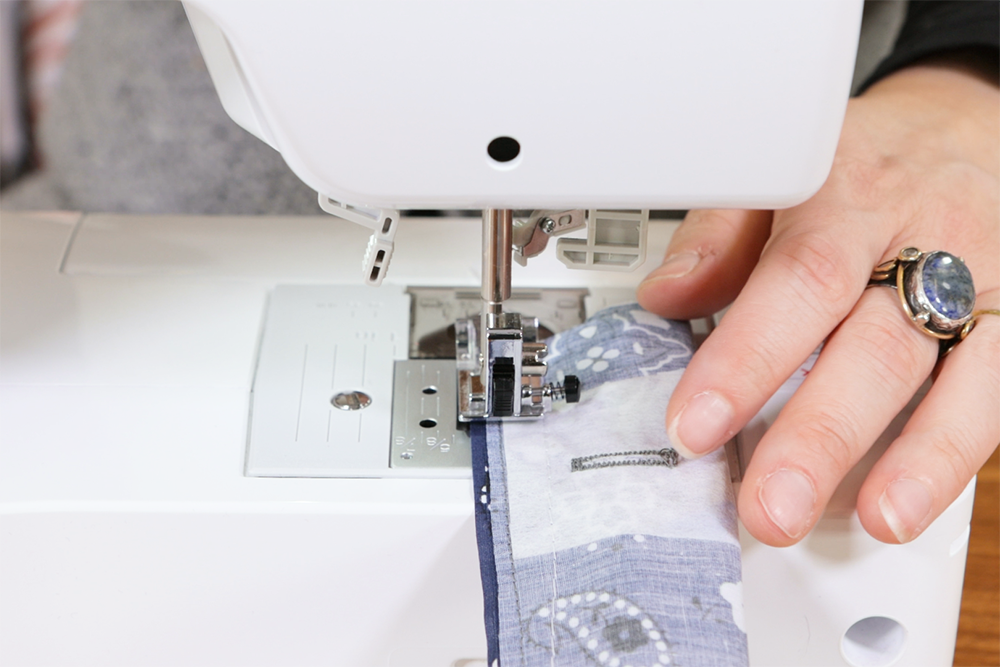
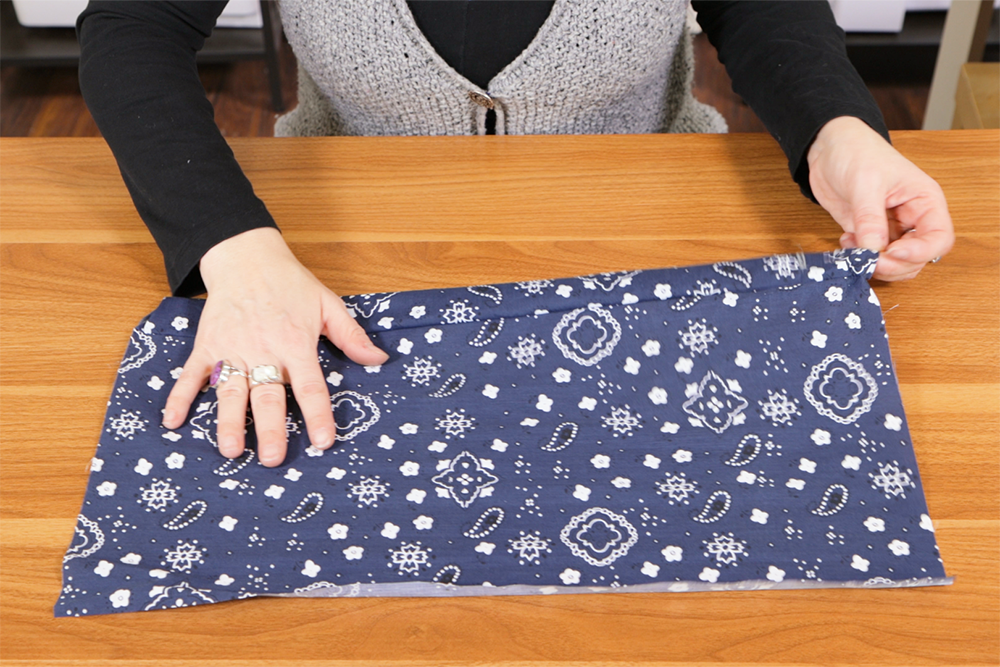
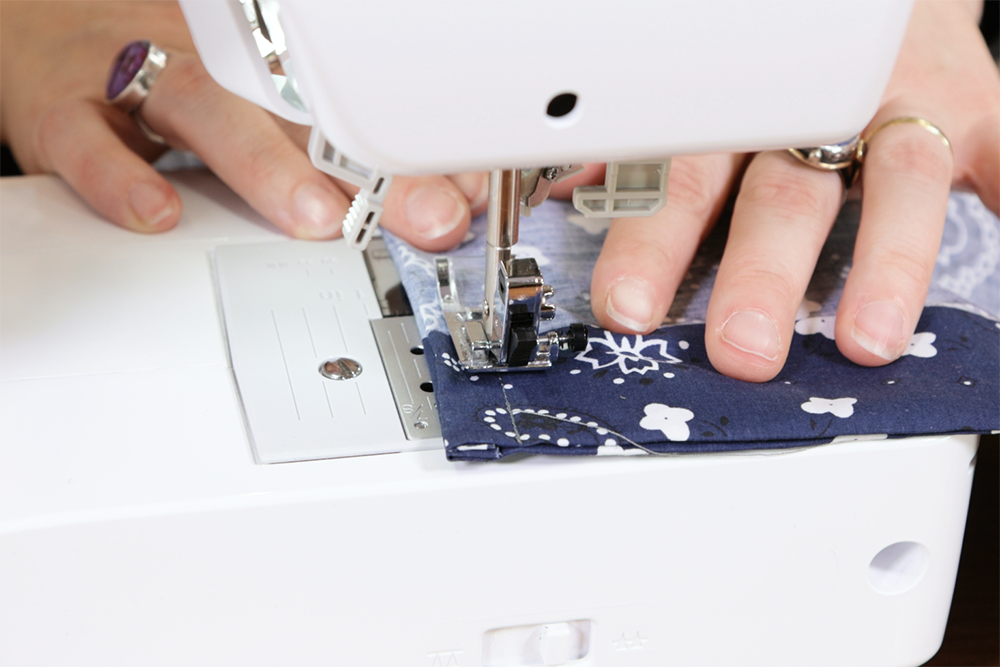
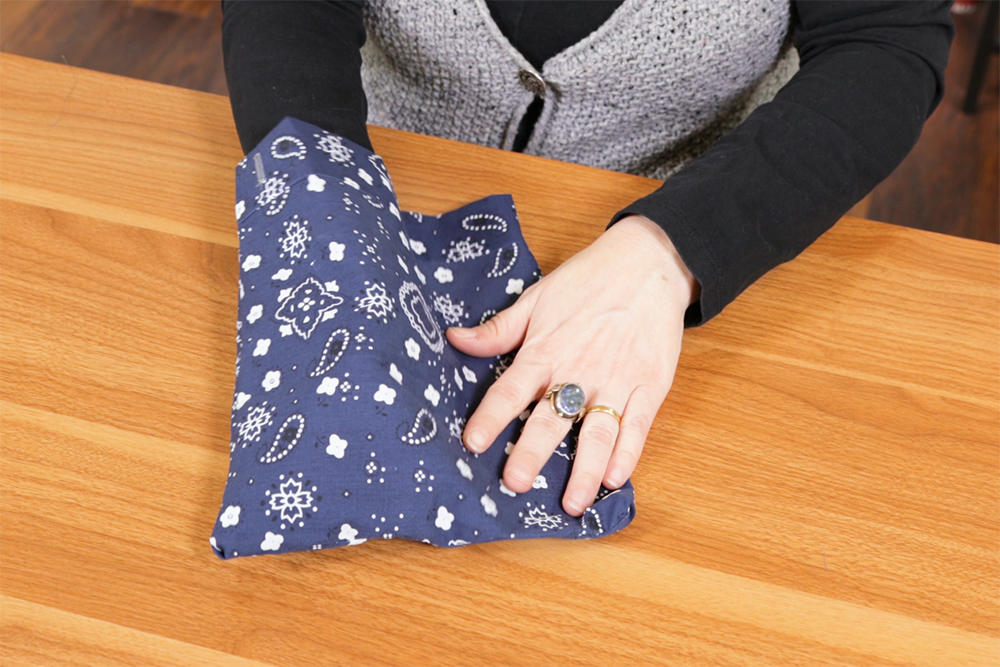
Next we’ll sew French seams on the side and bottom. Fold in half with the face side out and pin.
Sew the edges with a 1/4 inch seam allowance.
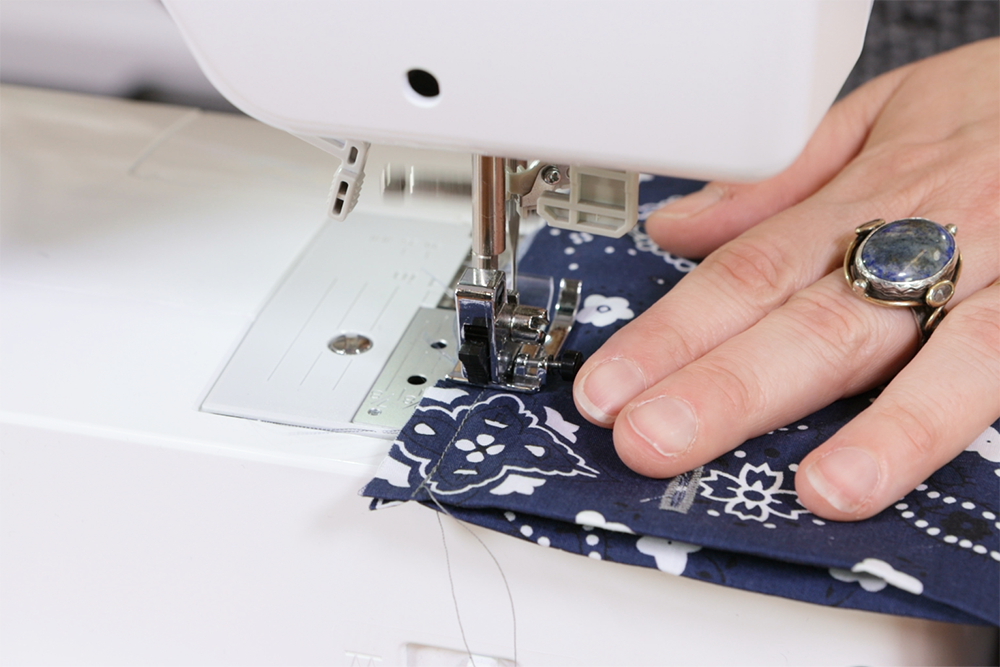
Do what feels right so you’re not running over your previous seam.
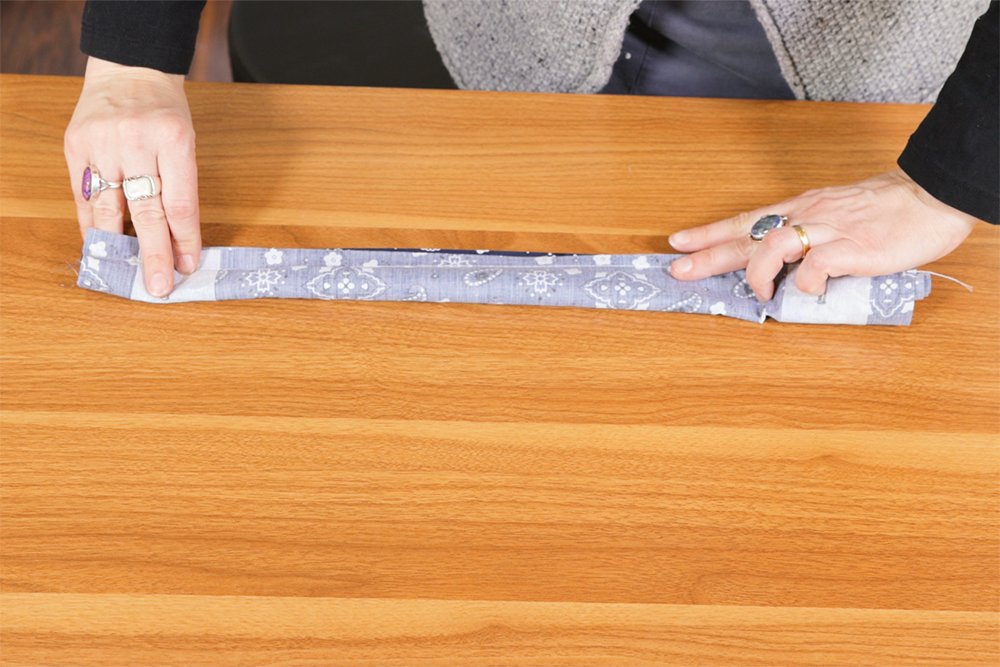
Flip the project wrong side out.
Sew the same edges again with a 1/2 inch to 5/8 inch seam allowance.
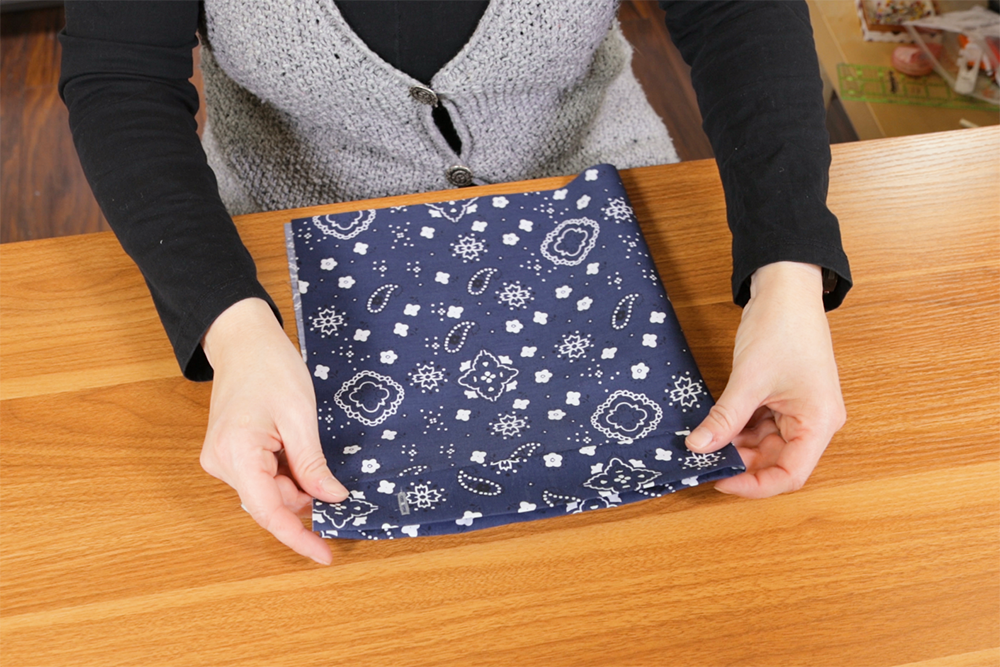
Flip your bag right side out and poke out the corners.
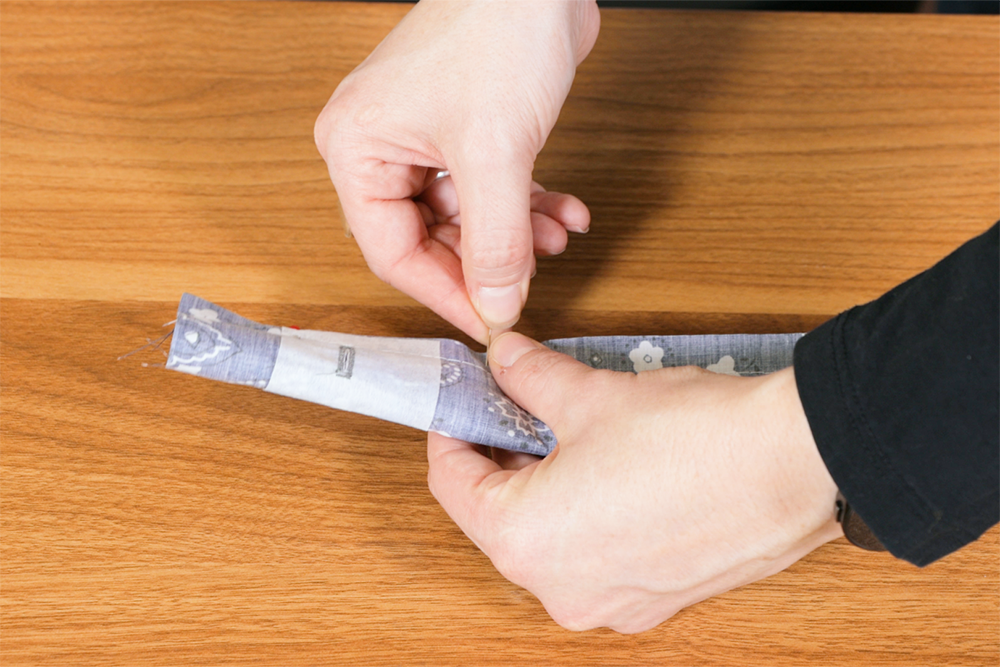
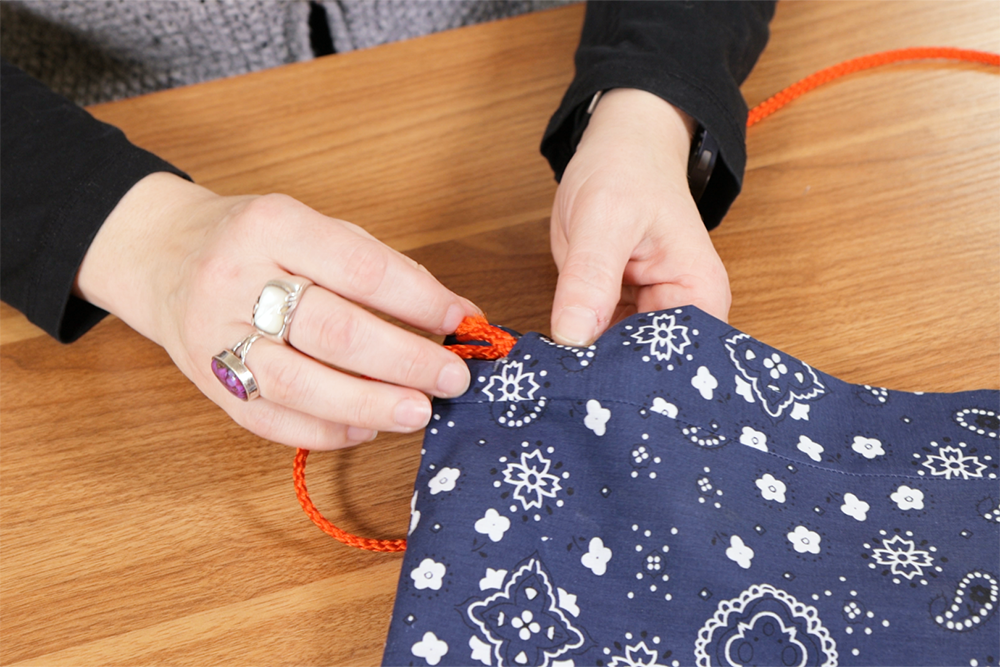
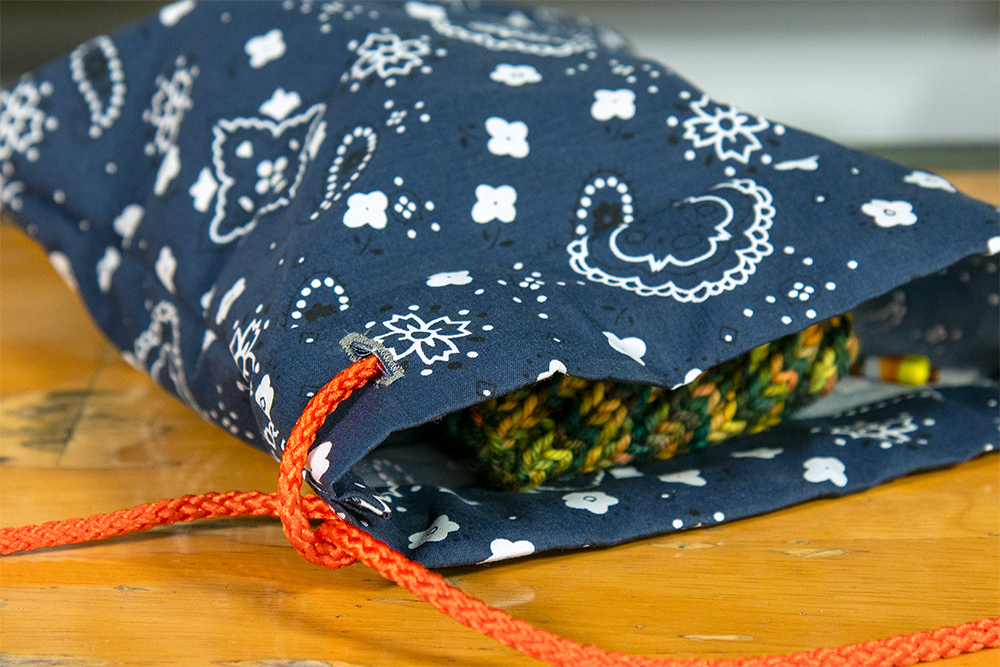
Tie a knot at one end of the cord and attach a safety pin. This will help the cord through the channel.
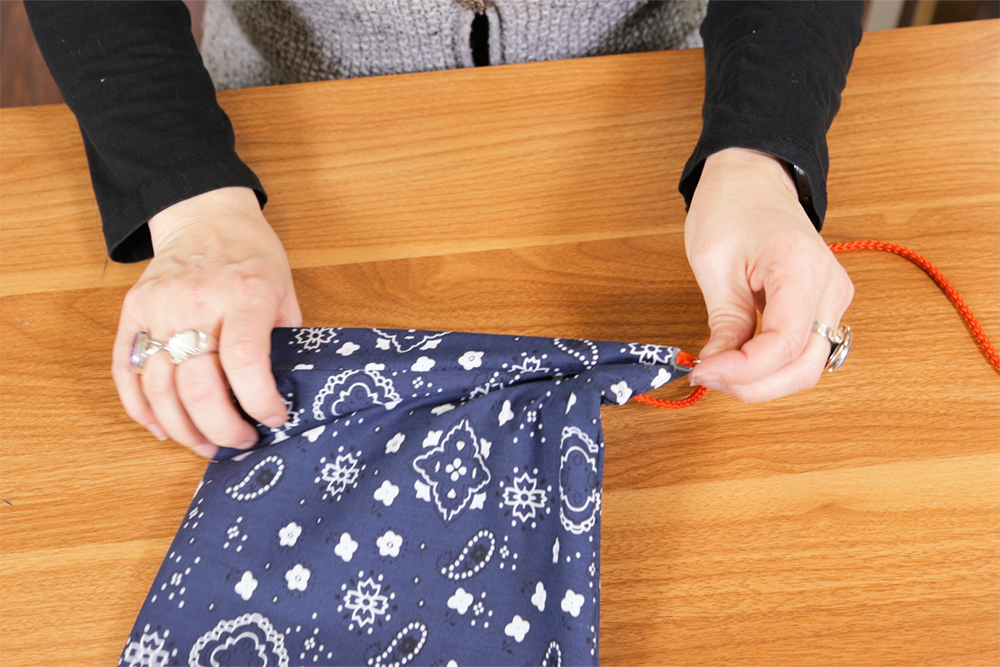
Run the cord into one buttonhole, through the channel, and out the other buttonhole.
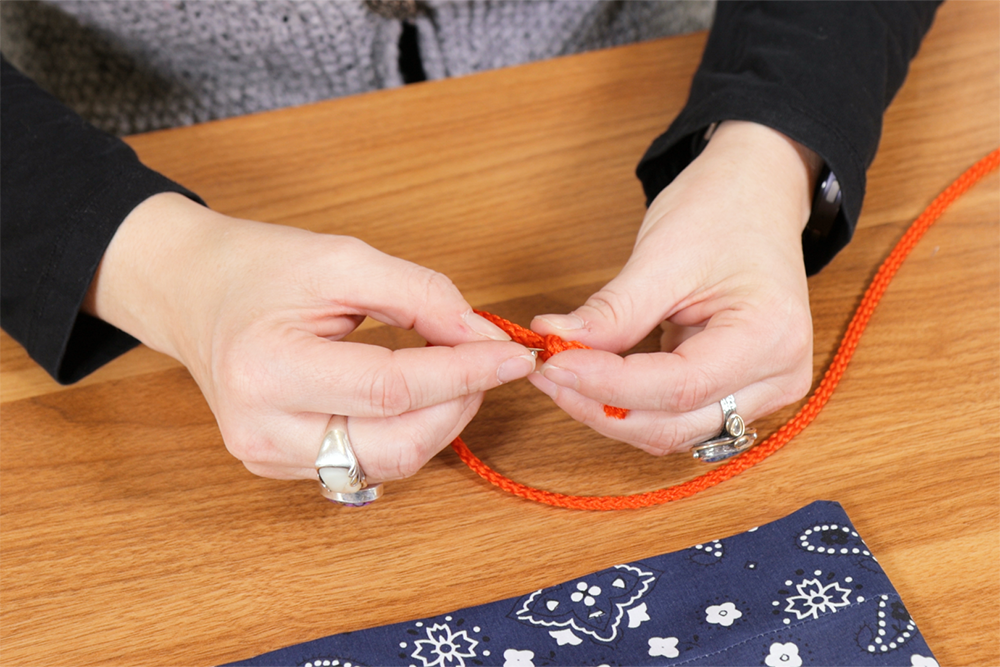
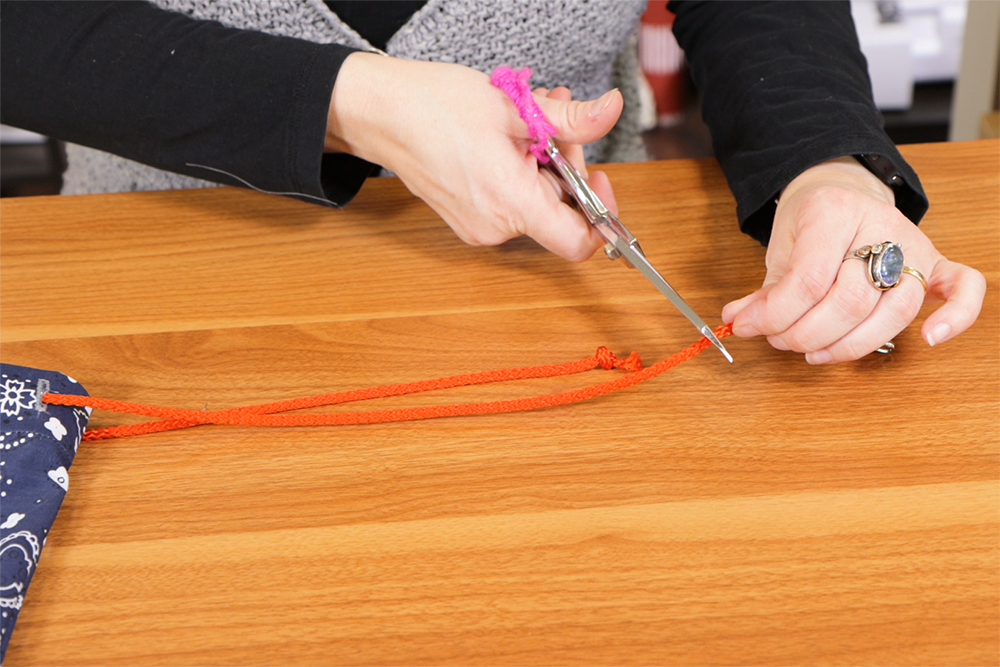
Trim the other end of the cord if necessary and tie a knot.
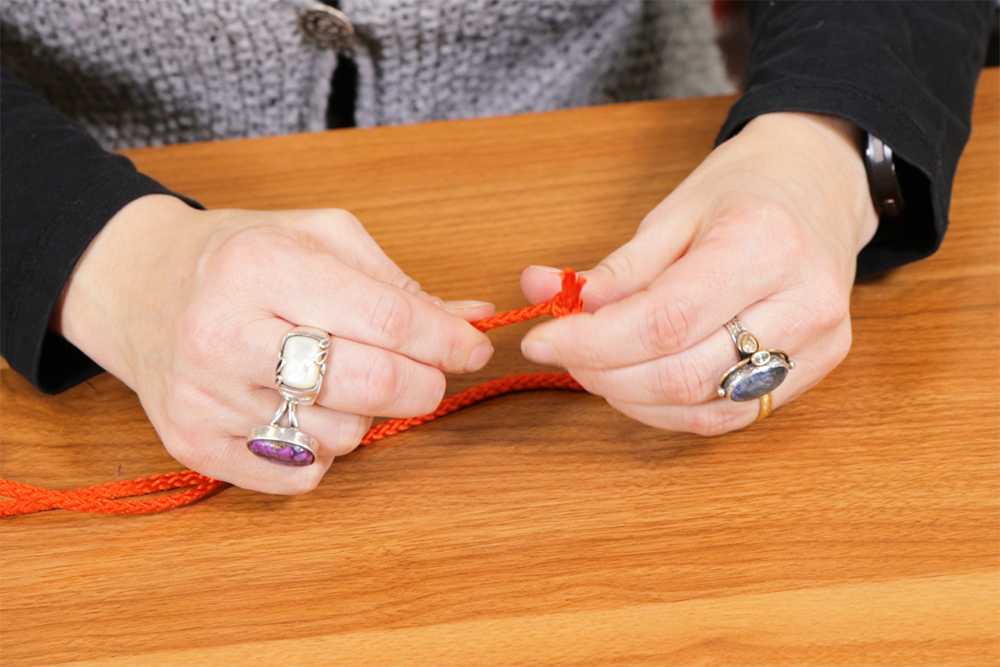
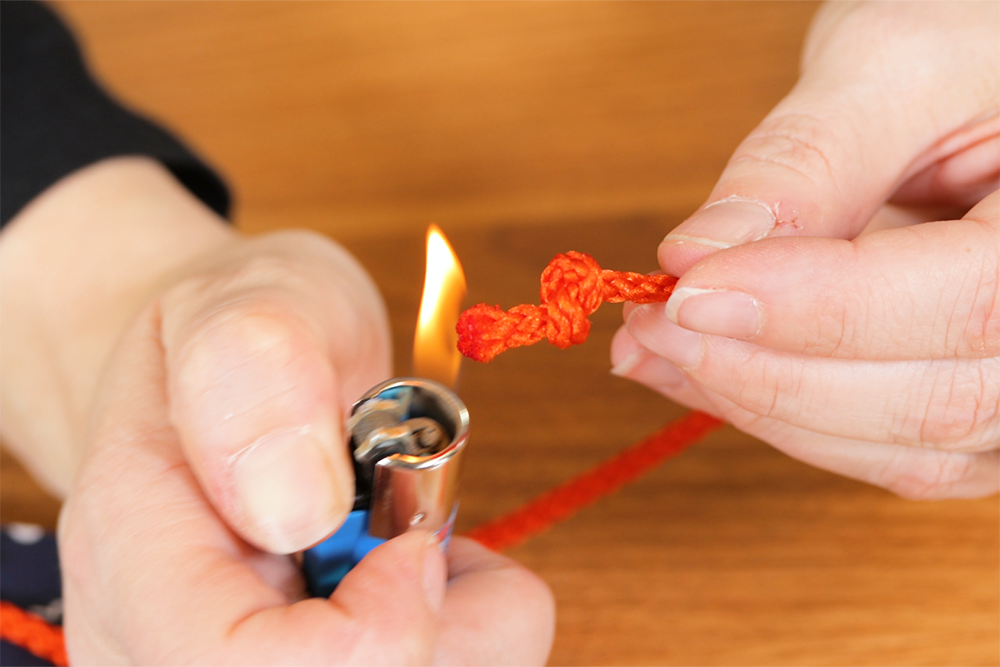
I used a nylon cord so I’m going to burn the ends to prevent fraying. Be careful when you’re doing this because the molten nylon can stick to your skin.
Want to try this out? Shop décor fabric!
-
{{#each productSuggestedQueries.results}}
- {{query}} {{/each}}
-
{{#each categories.results}}
- {{html title}} {{/each}}
{{html attributes.description}}
{{/if}}-
{{#each queries.results}}
- {{query}} {{/each}}