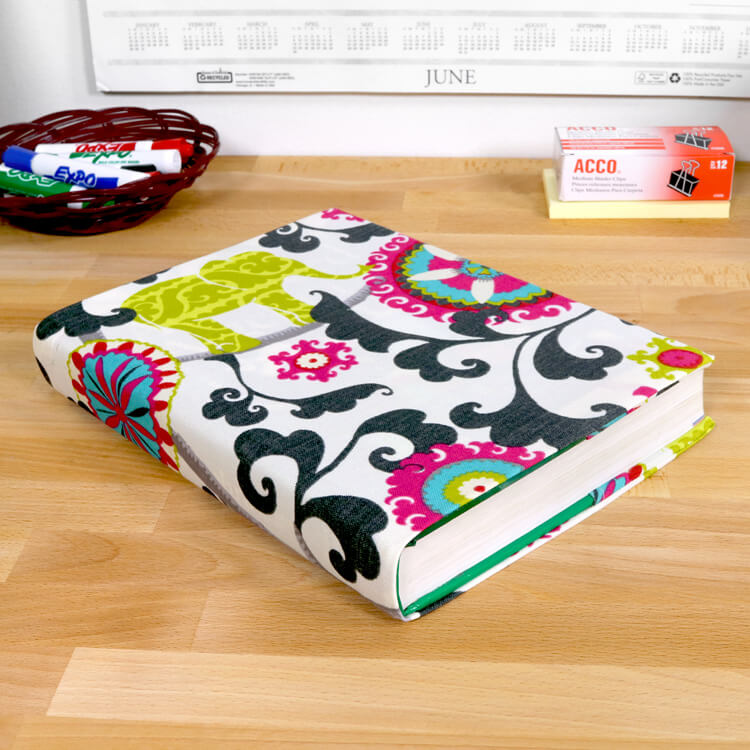
How to Make a Fabric Book Cover
- By OnlineFabricStore
- Beginner
- 30 minutes
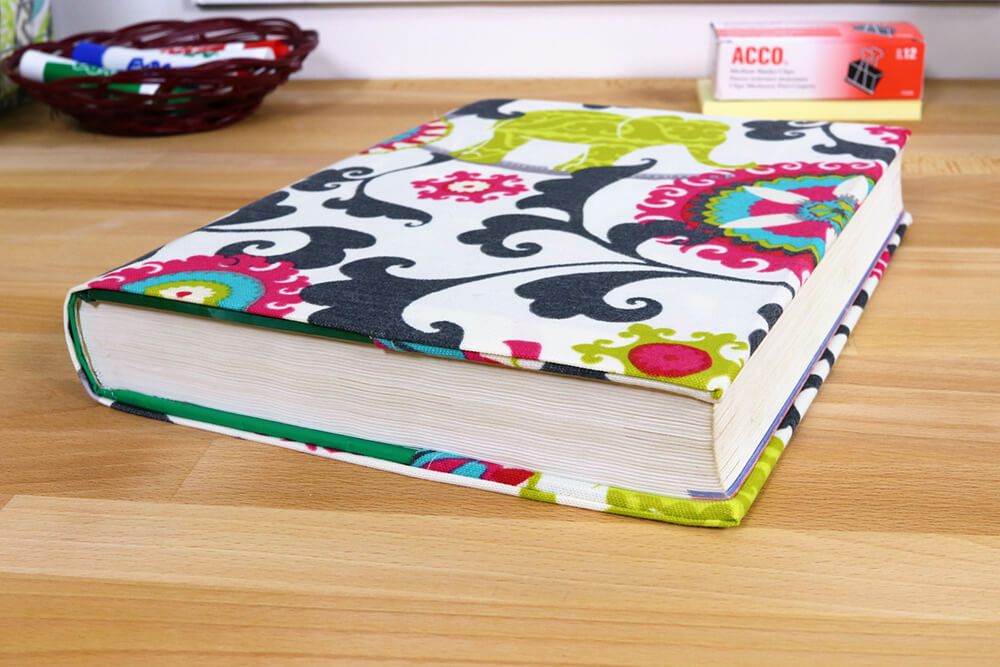
Making a fabric book cover is super easy. I’m making one for a textbook, but you can use in on any hardcover book, journal, or binder.
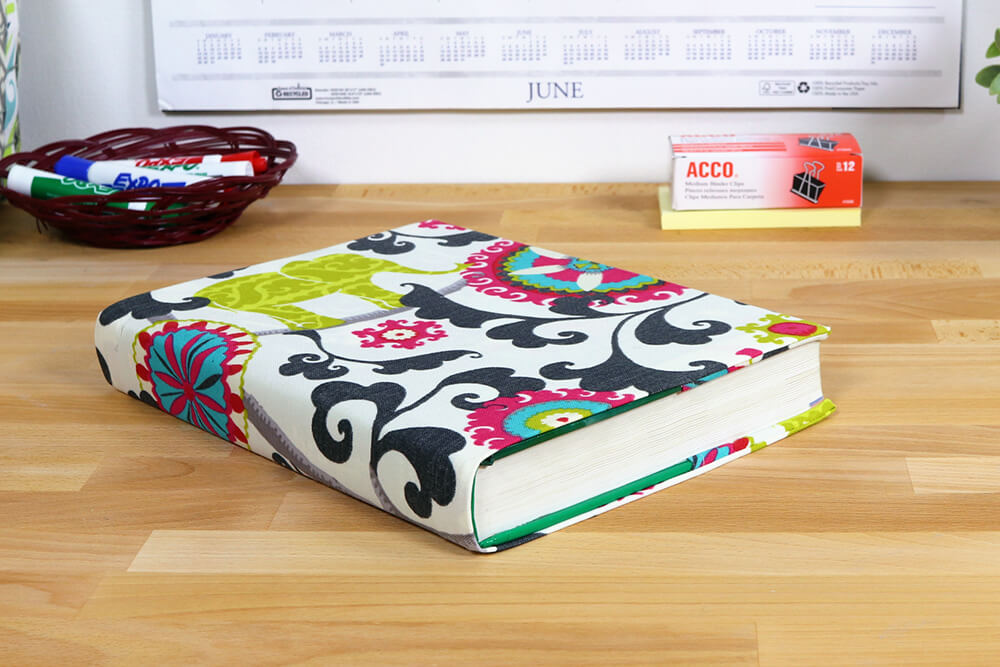
This is a great back to school project to beautify and protect all your books and binders. You could also use it to add color and pattern to books on a shelf or coffee table.
Want to get the printable PDF instructions?
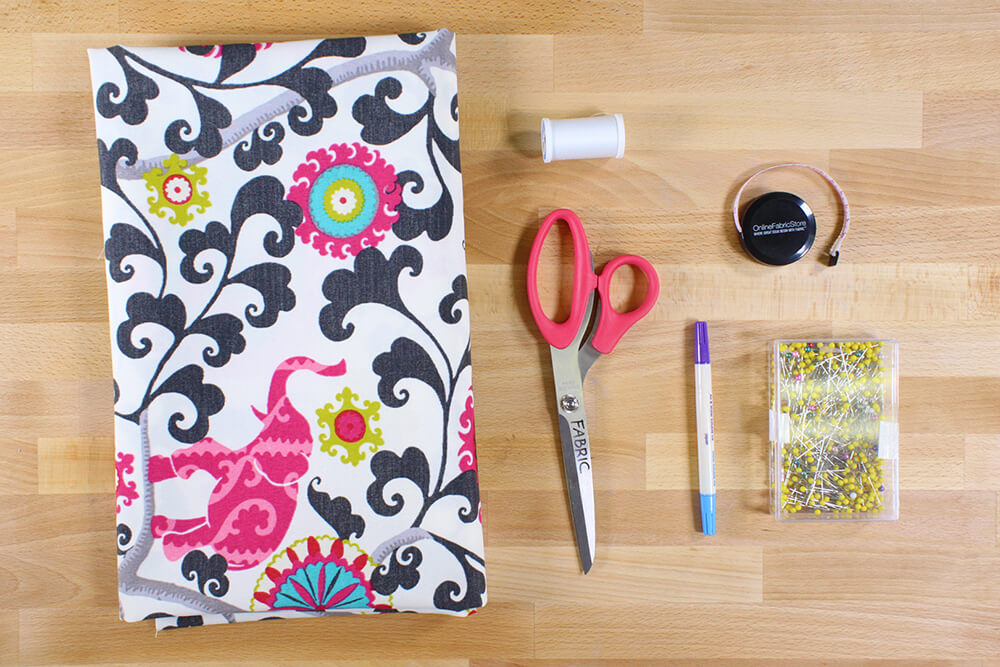
Materials
Related Products


Video
Instructions
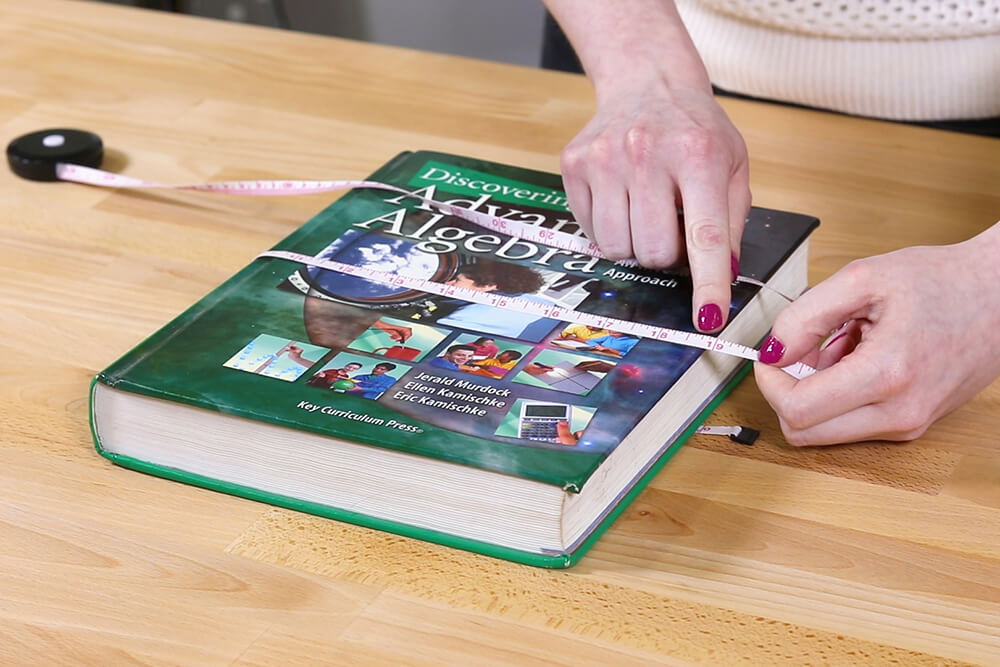
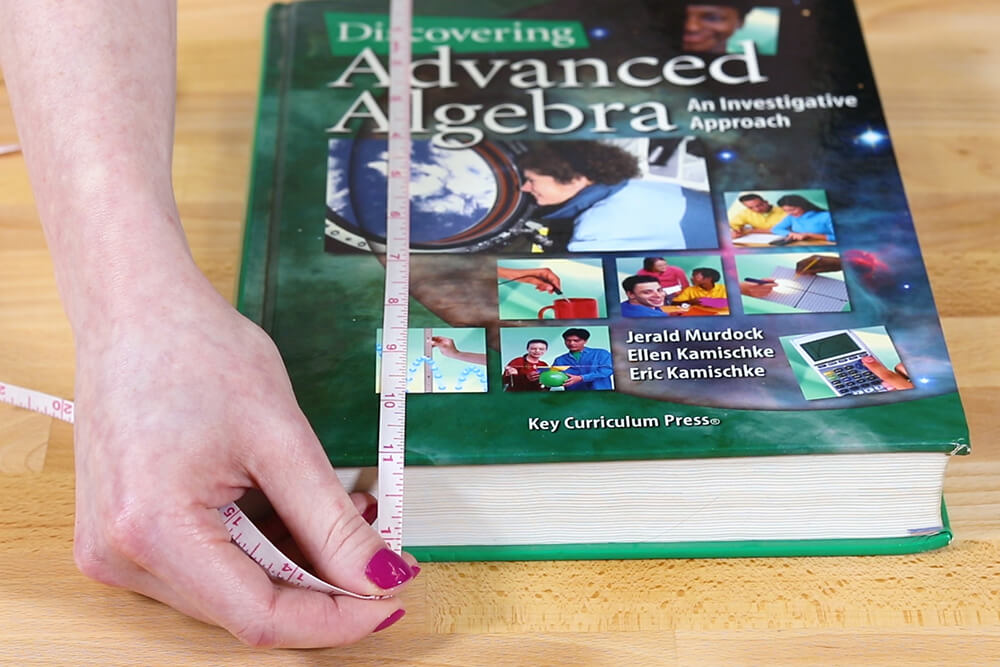
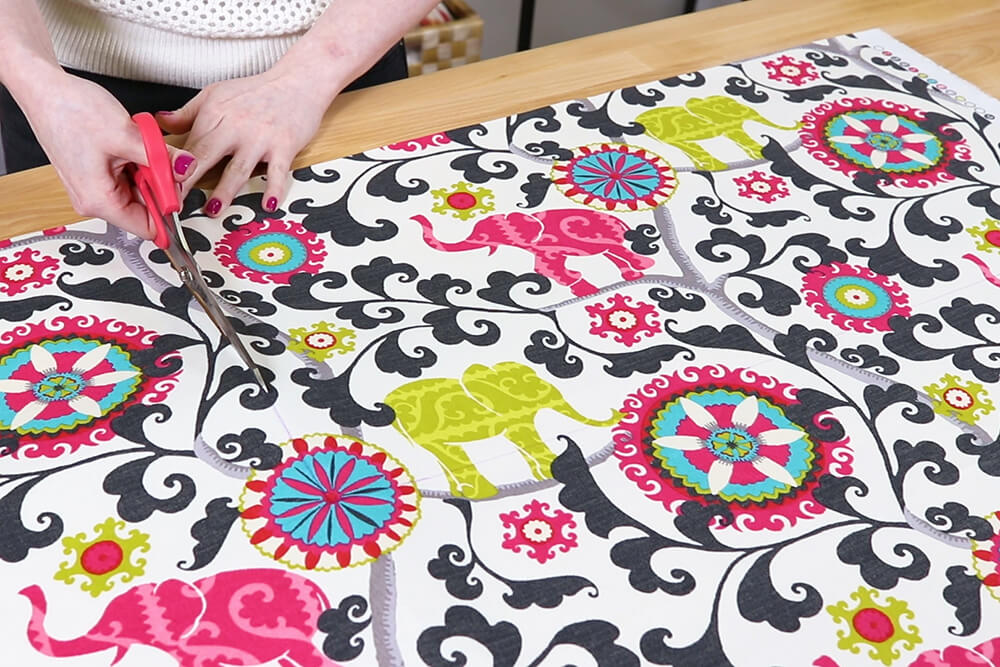
Step 1: Measure and cut the fabric
With the book closed, measure from the edge of the back cover around to the edge of the front. That’s 19” for this book. Also measure the height, which is 11” here.
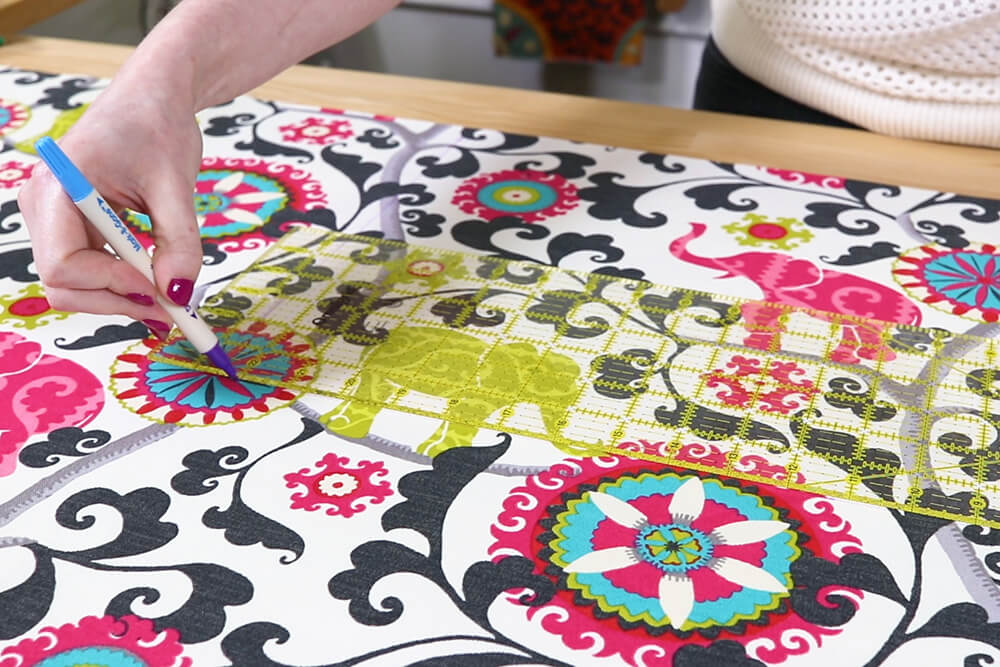
Add 8” to the width and 2” to the height and cut out a piece of fabric that’s this size. My piece is 27″ x 13″.
I’m using an outdoor fabric for this textbook because it’s durable and water and stain resistant. You could also use a lightweight cotton print or a drapery fabric.
Step 2: Sew the pockets
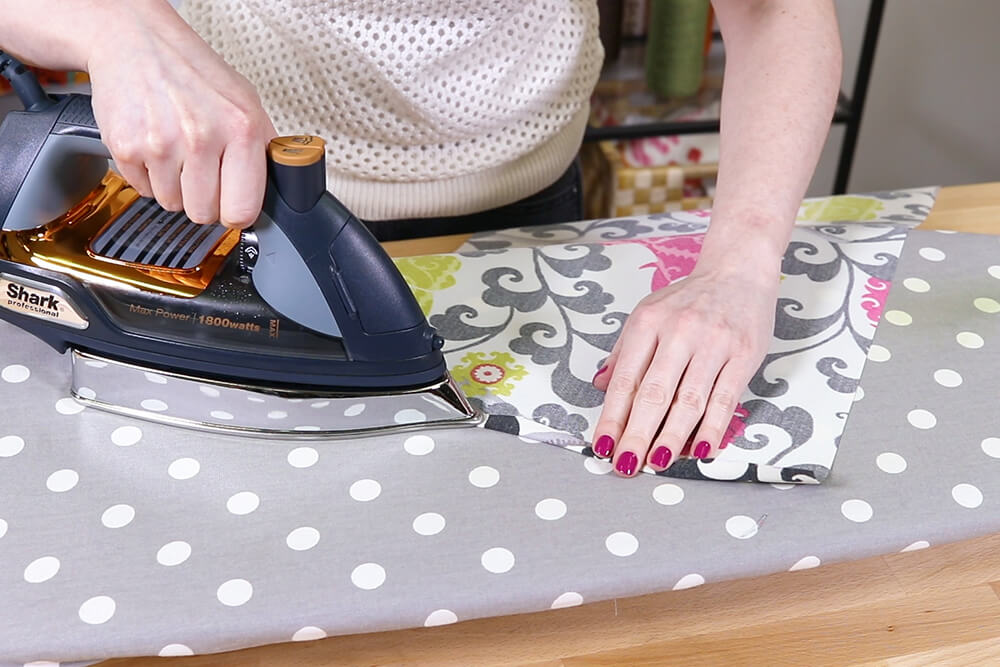
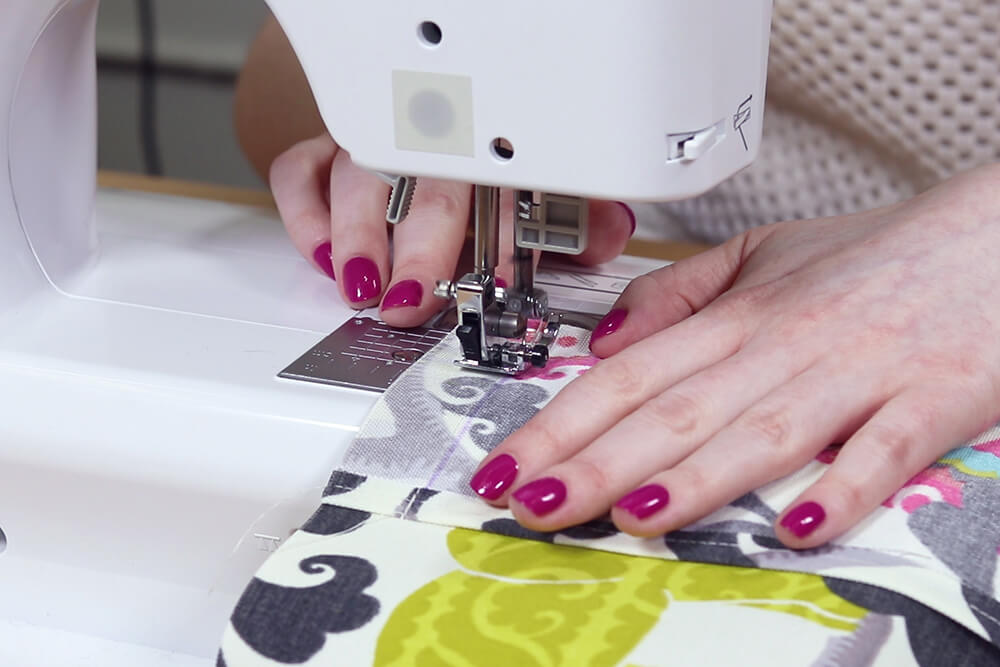
Fold in the ends about ¼” and iron. Sew down the fold on both sides.

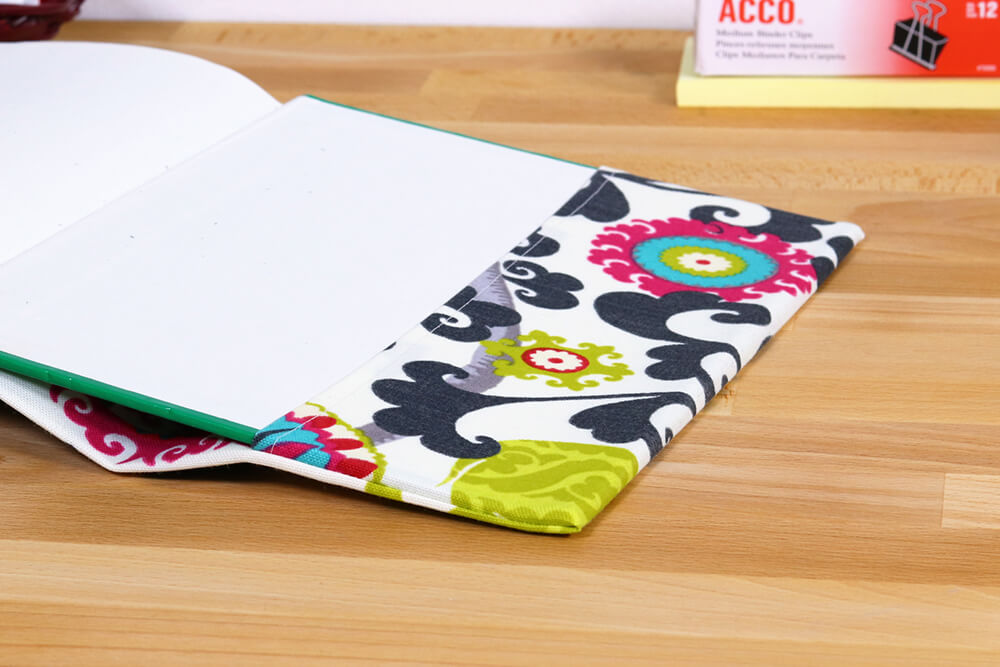
Lay the book out flat on the right side of the fabric and center it. There should be about 4” or a little less on the sides.
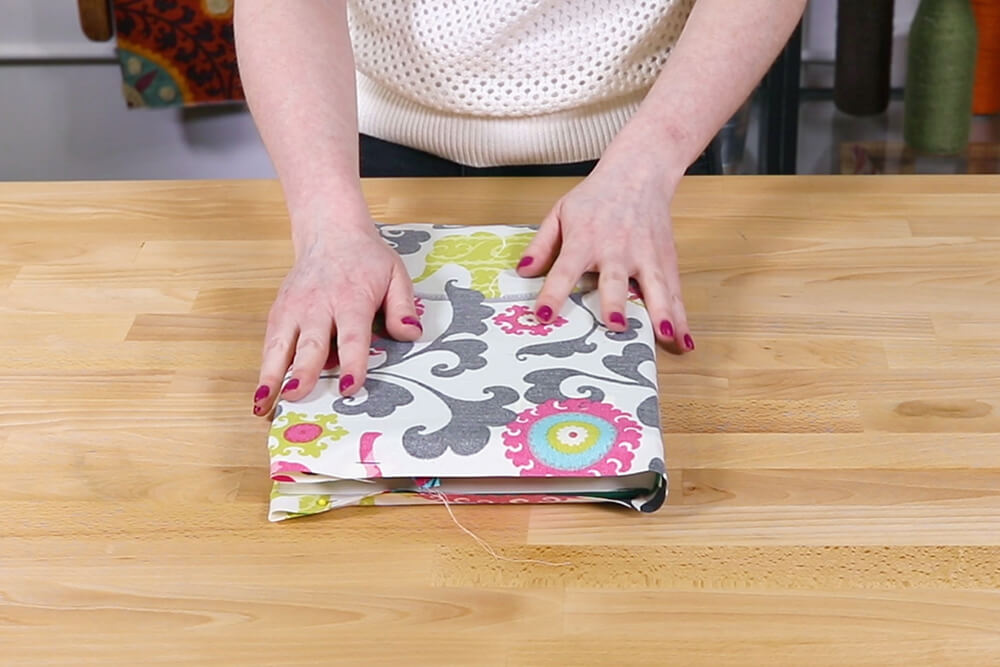
Fold the fabric in over the ends of the cover and pin on the top and bottom. Make sure it fits when closed.
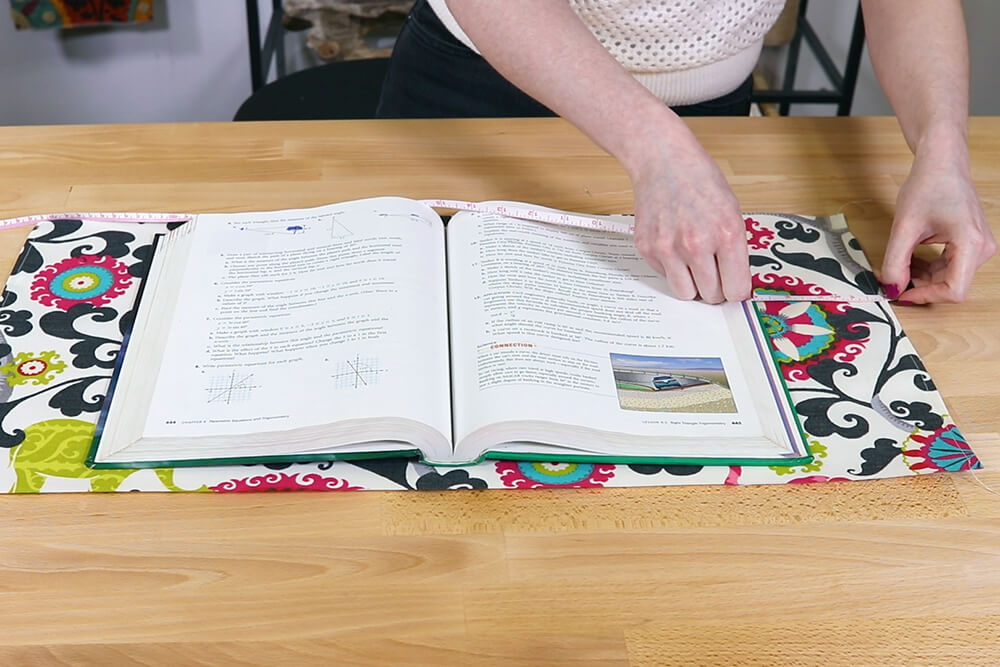
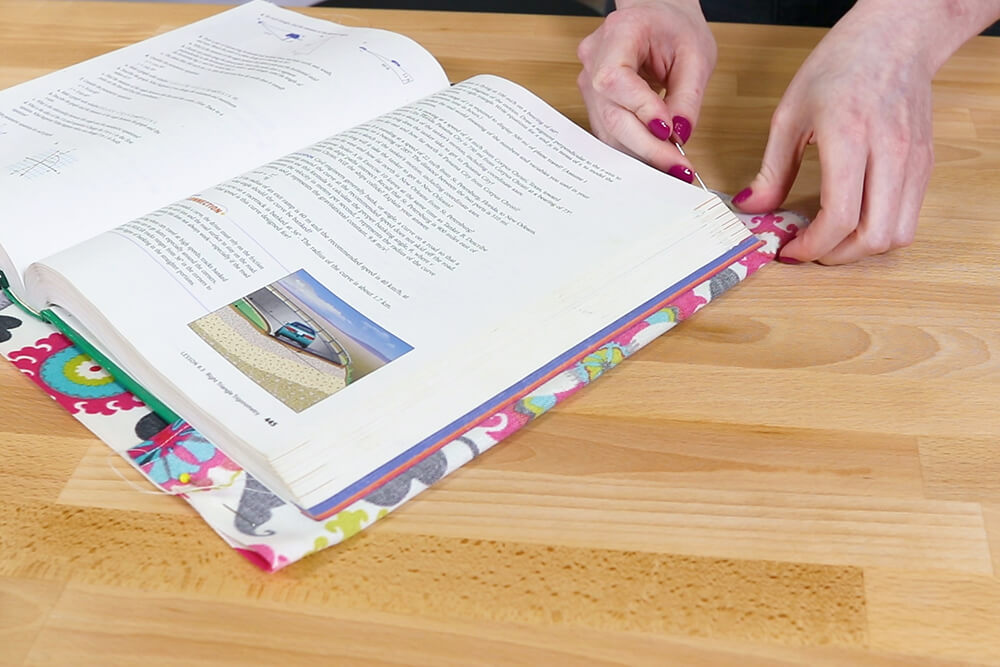
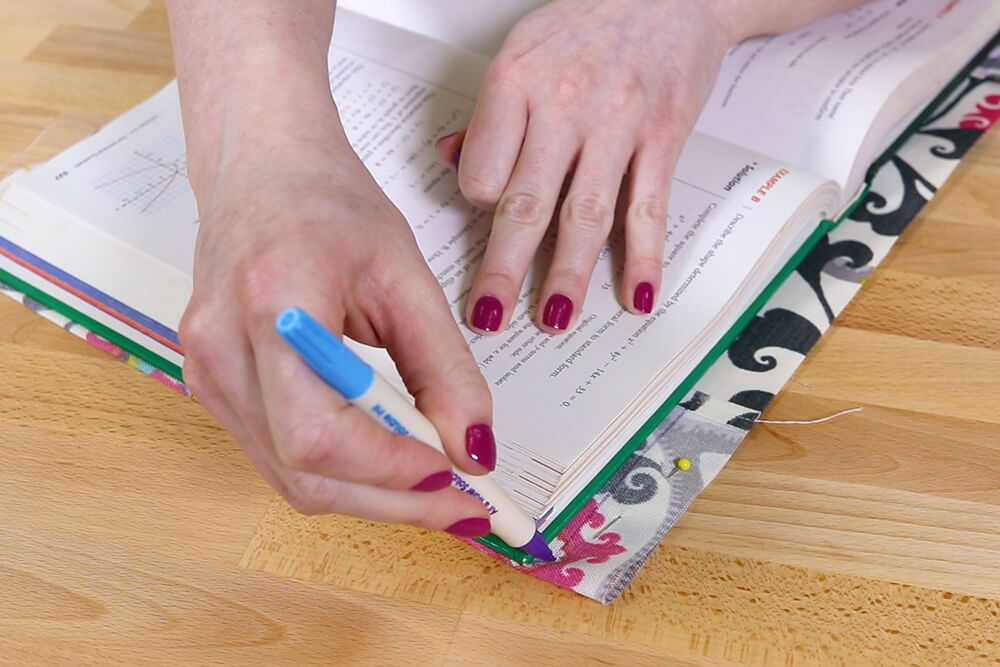
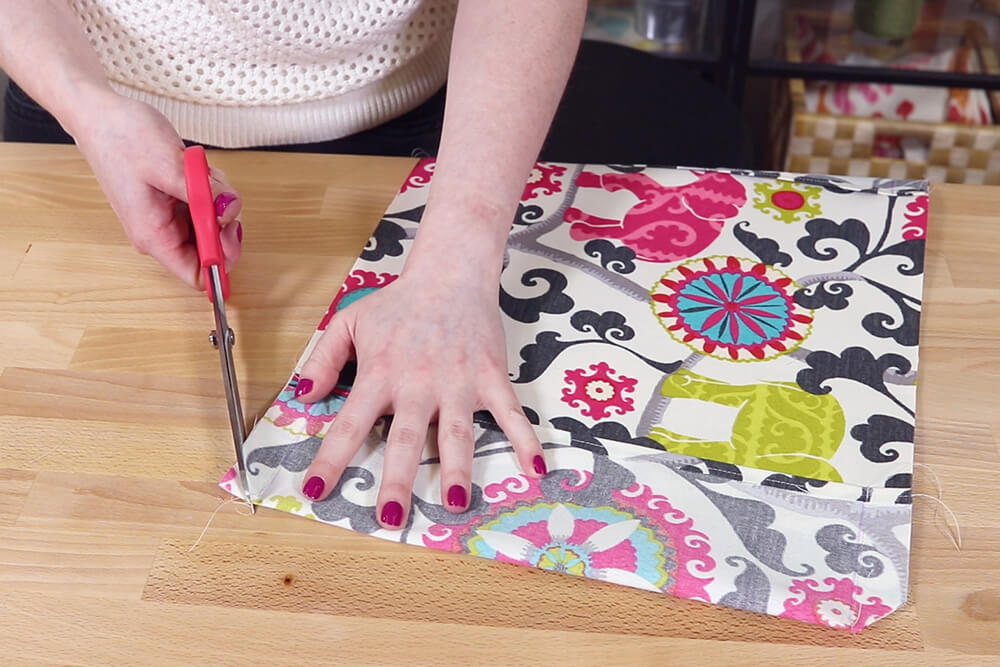
Mark a line about 1/8” from the top and bottom of the book on all the corners.
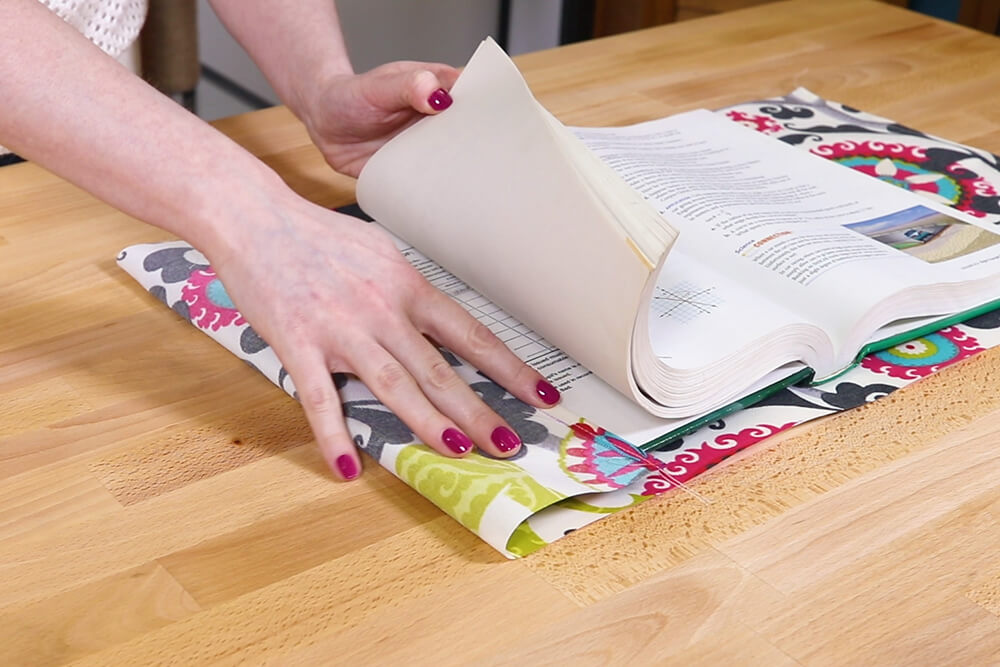
Sew on the marked lines. Clip the excess fabric from the corners and turn right side out.

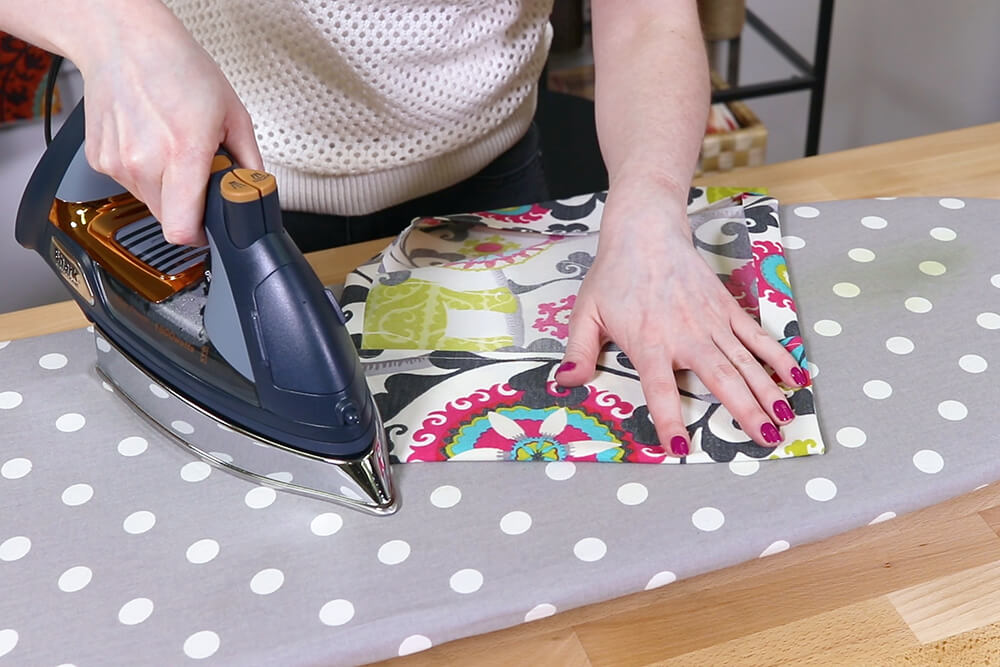
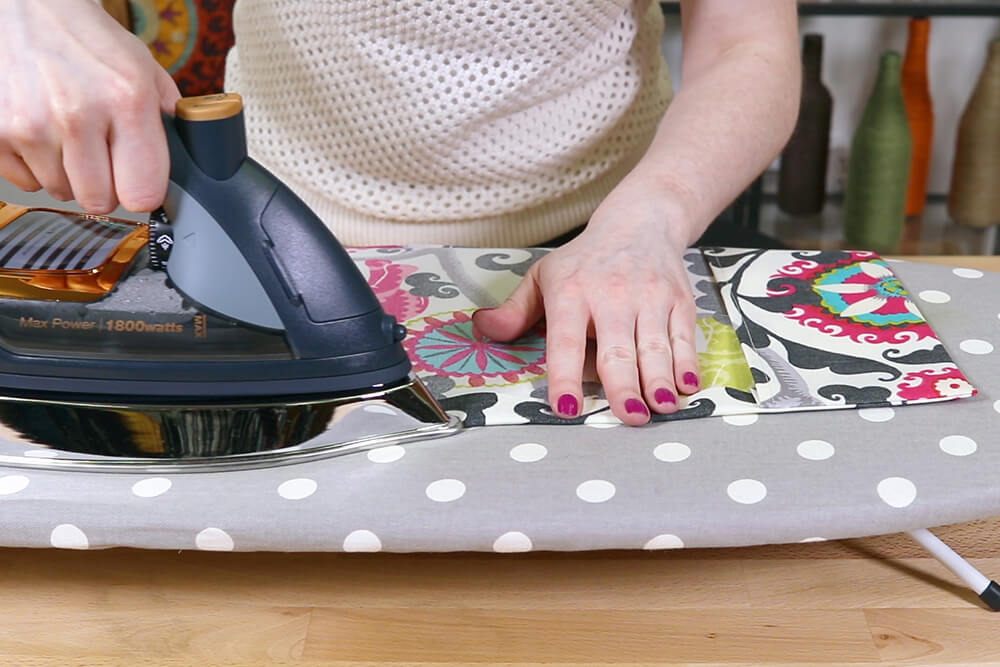
Step 3: Iron
Iron the ends flat. Fold the top and bottom in to match the pockets and iron.
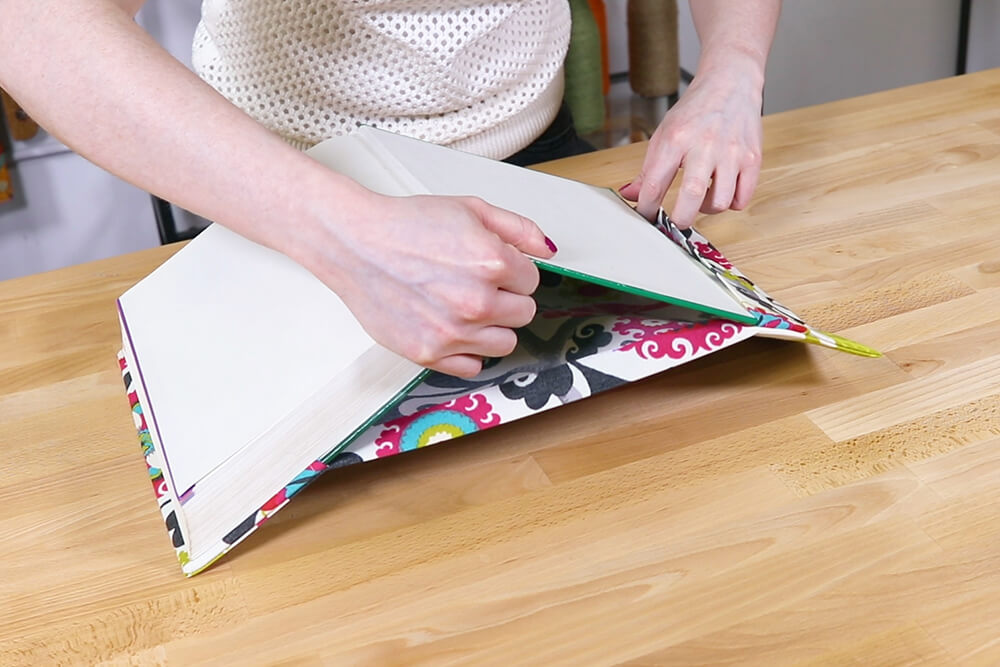
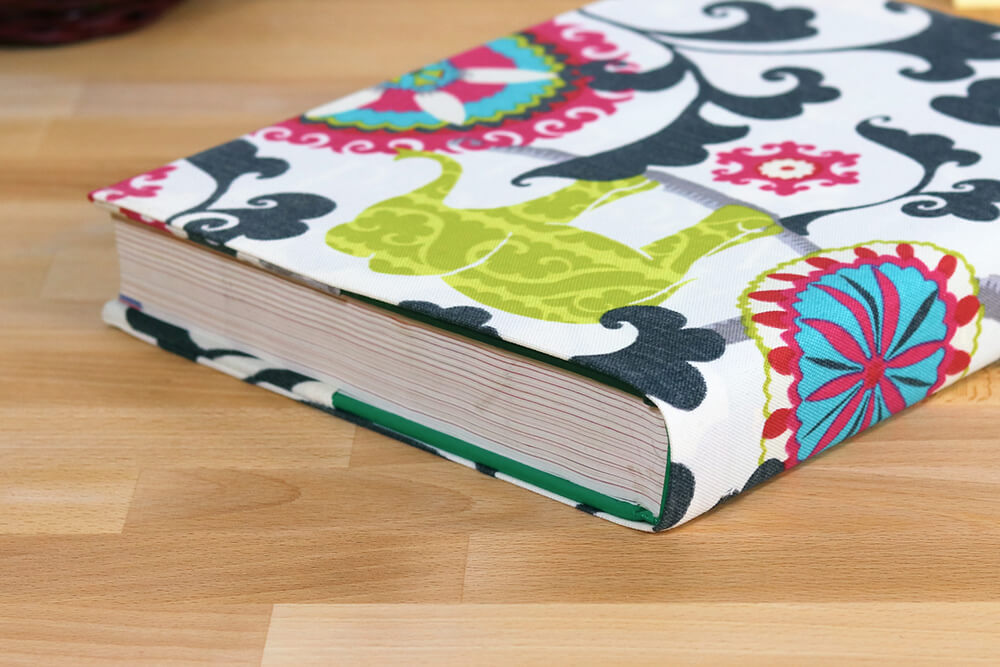
Slide the cover into the pockets and the fabric book cover is done!
See more back to school projects.
-
{{#each productSuggestedQueries.results}}
- {{query}} {{/each}}
-
{{#each categories.results}}
- {{html title}} {{/each}}
{{html attributes.description}}
{{/if}}-
{{#each queries.results}}
- {{query}} {{/each}}