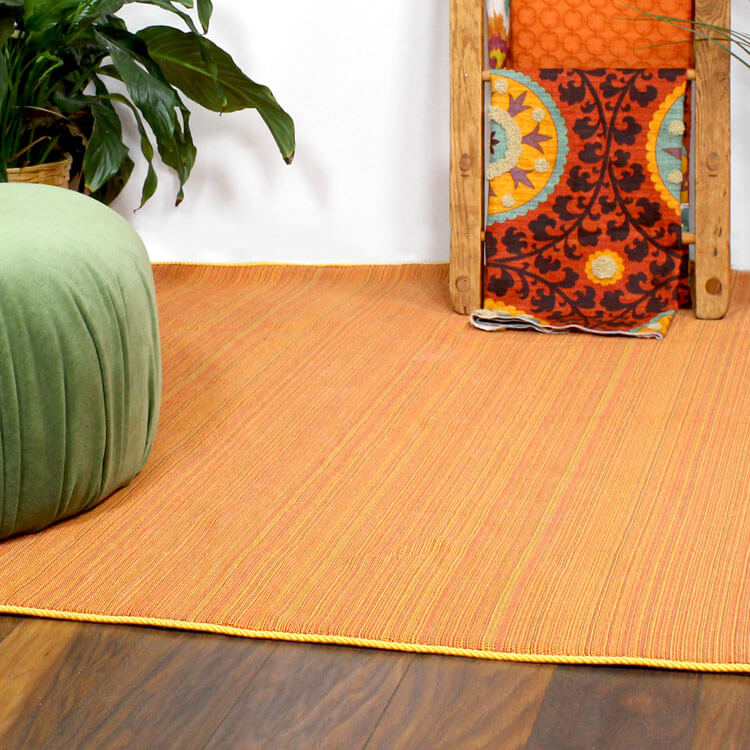
How to Make a Fabric Rug with Trim
- By Alyssa
- Beginner
- 45 minutes
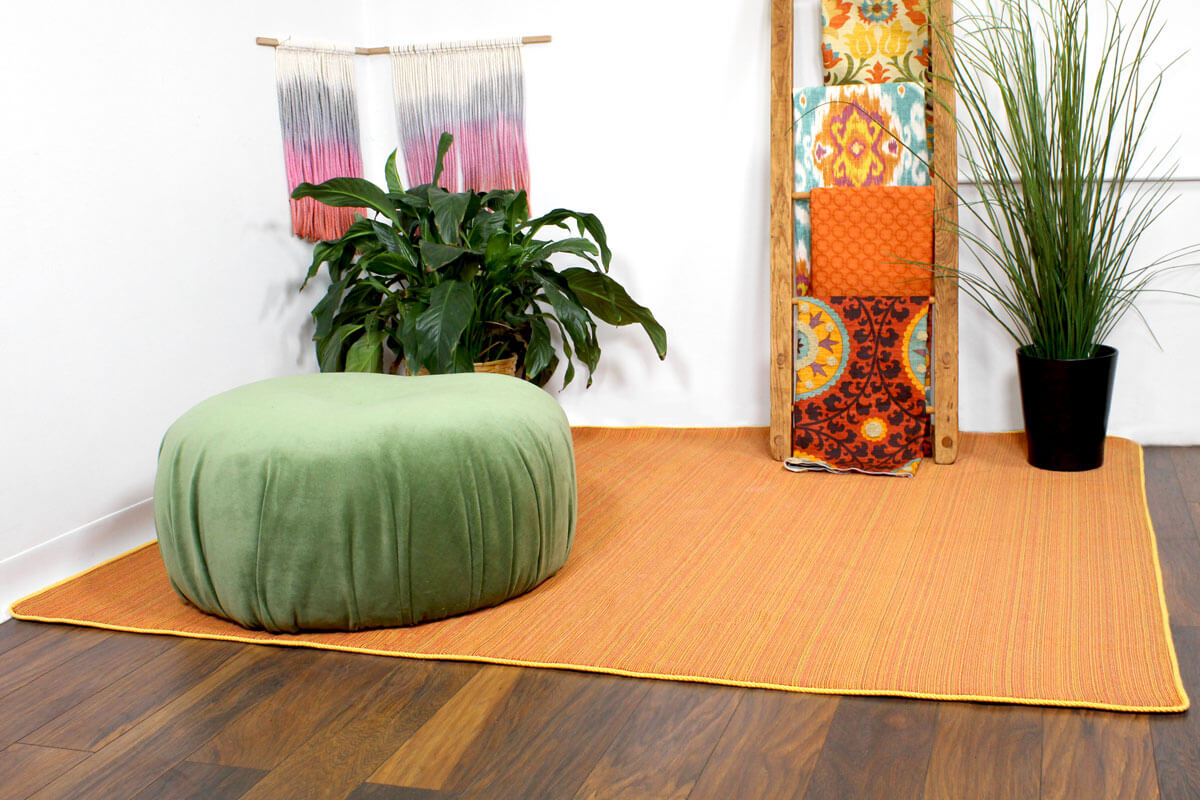
I am going to show you a super easy way to make a rug. We all know rugs can be insanely expensive, but this project is great because you can make a high quality and great looking rug without breaking the bank.
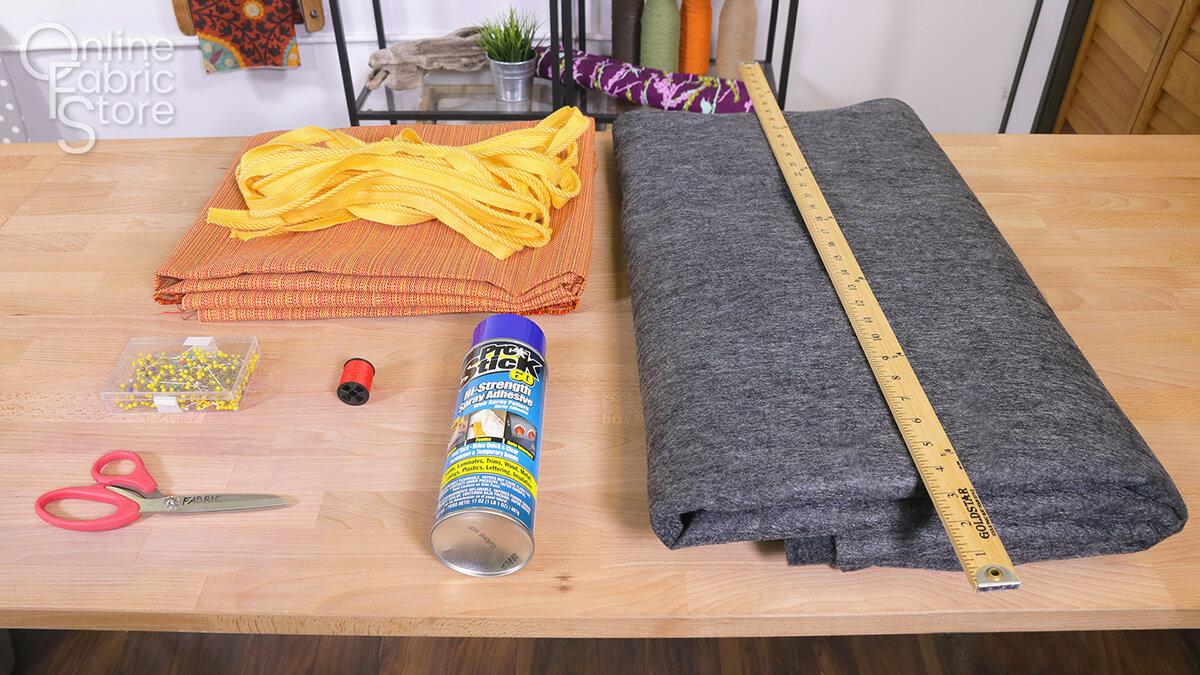
Materials
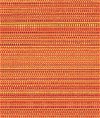
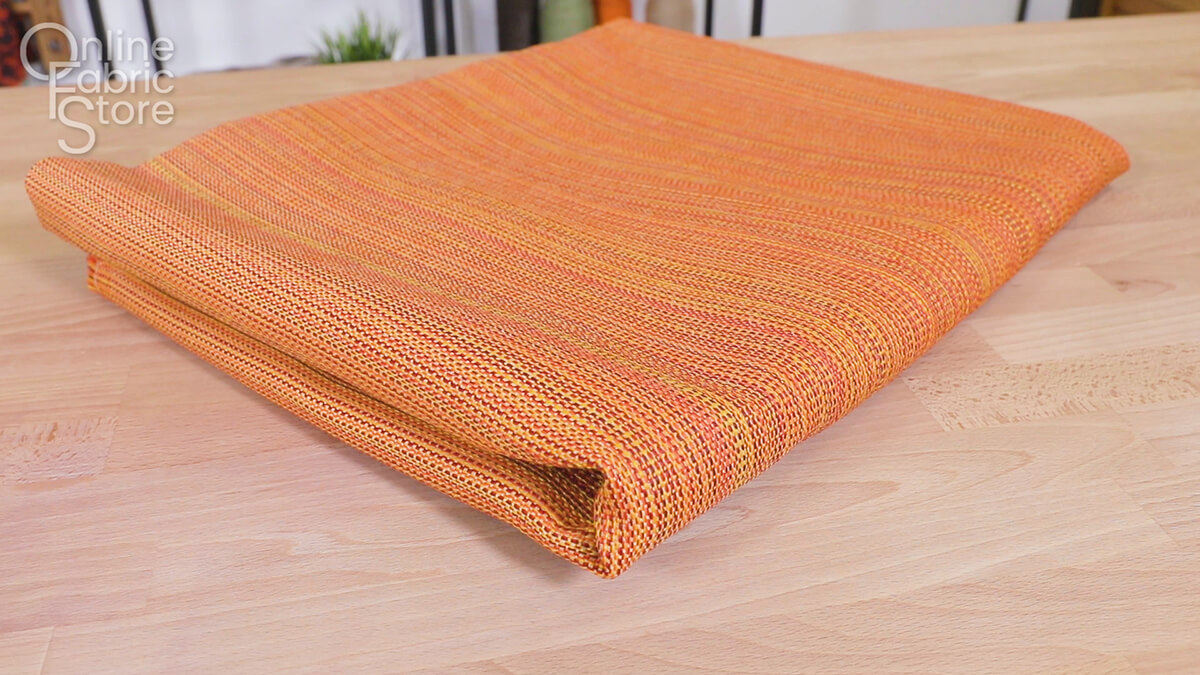
- Outdoor or upholstery weight fabric
- Trim
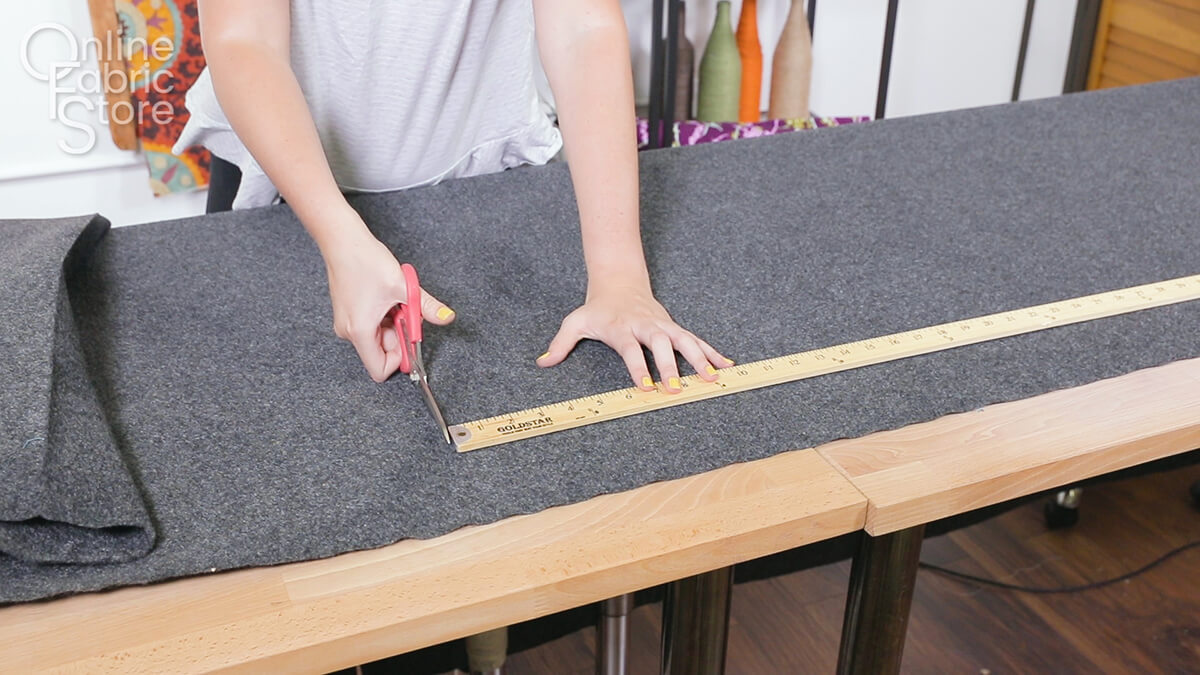
- Trunk liner
- Scissors
- Pins
- Spray adhesive
- Thread
- Sewing machine
Related Products


Video
Instructions
Step 1: Cut & sew the fabric
Cut your fabric to the desired size. I am making mine 4.5 feet x 6 feet. I made my rug the width of the fabric by 2 yards, so I didn’t actually cut that piece.
Also cut a piece of trunk liner that is about 1” smaller than your fabric all the way around.
Fold the raw edge in towards the wrong side of the fabric and pin.
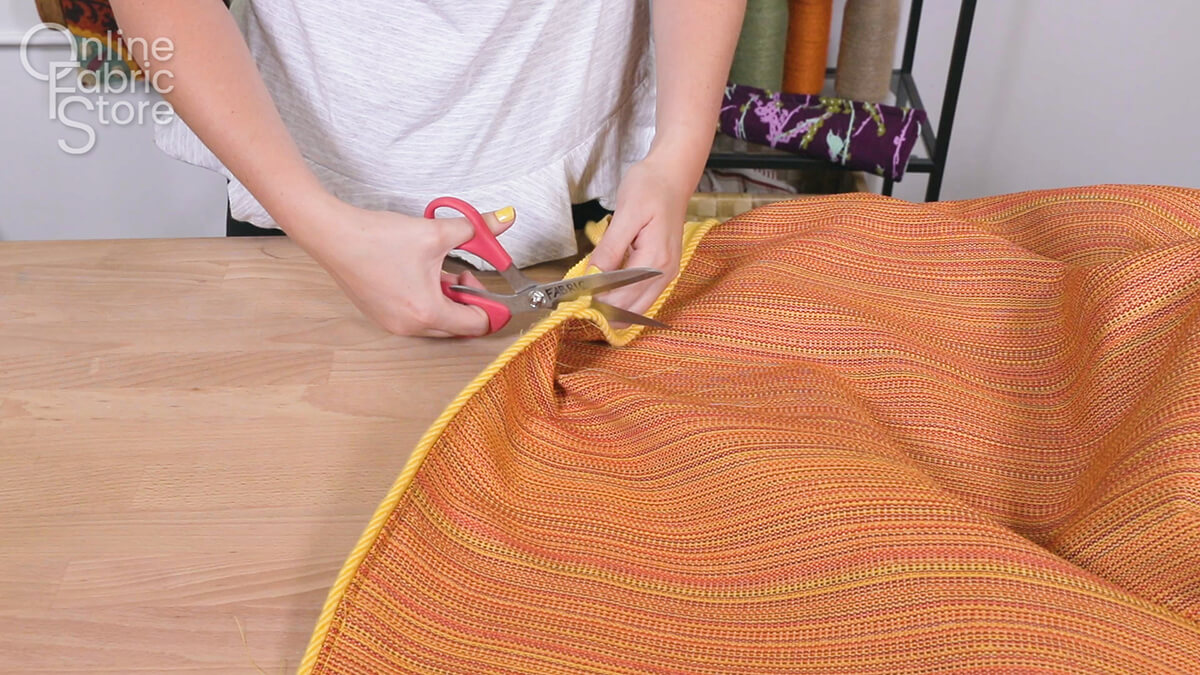
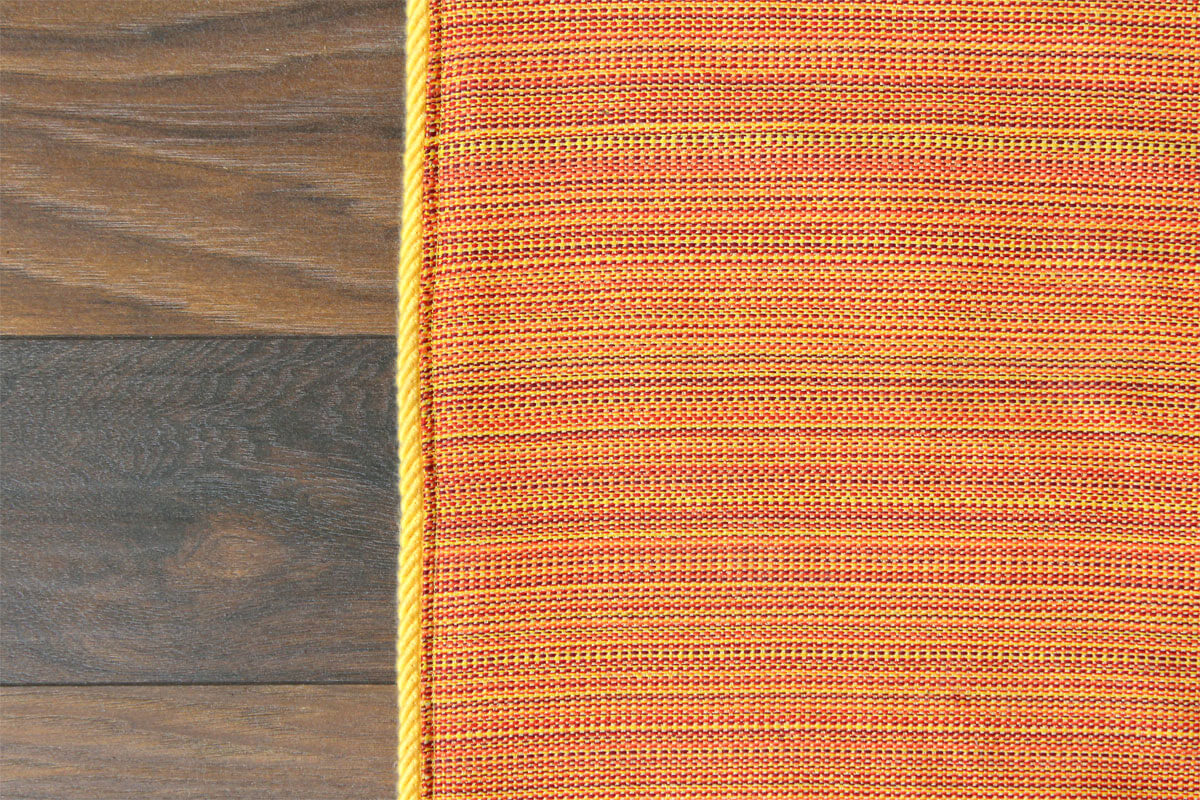
Place the trim under the fabric and start sewing around the edges. Your trim could also need to be place on top like in the case of this cheetah print rug I made earlier. But either way, I found it easier to not pin down the trim before sewing.
When you get to end, tuck the trim under and sew. Then cut off the extra trim.


Step 2: Attach the lining
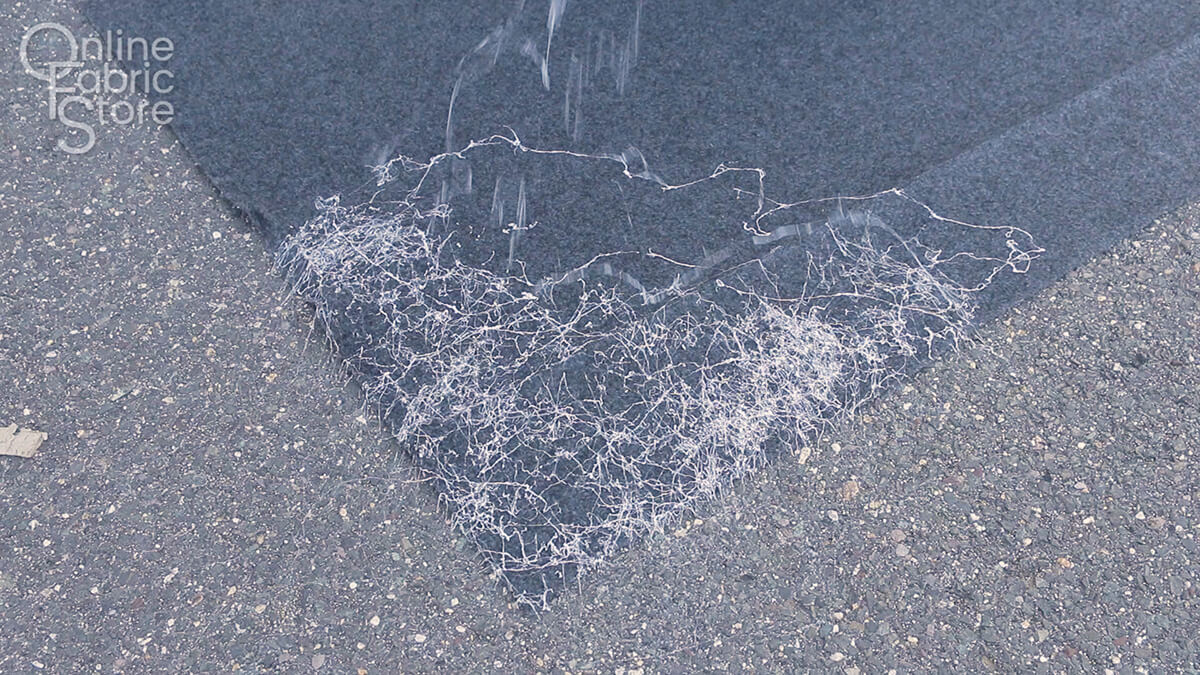
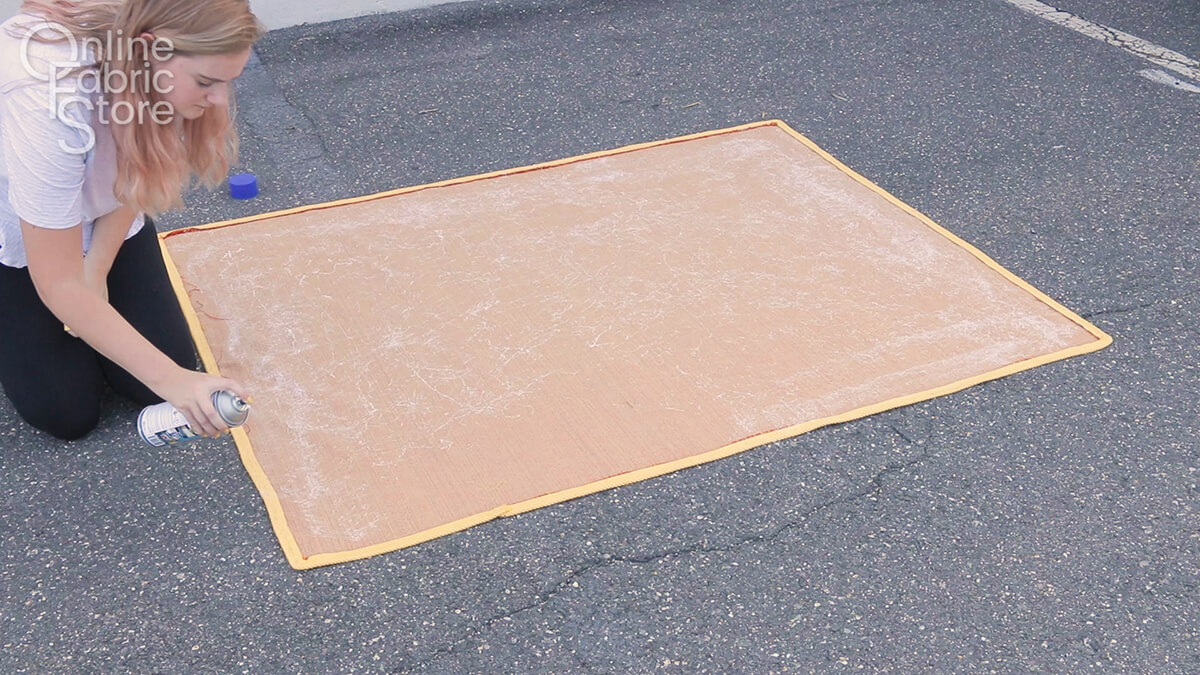
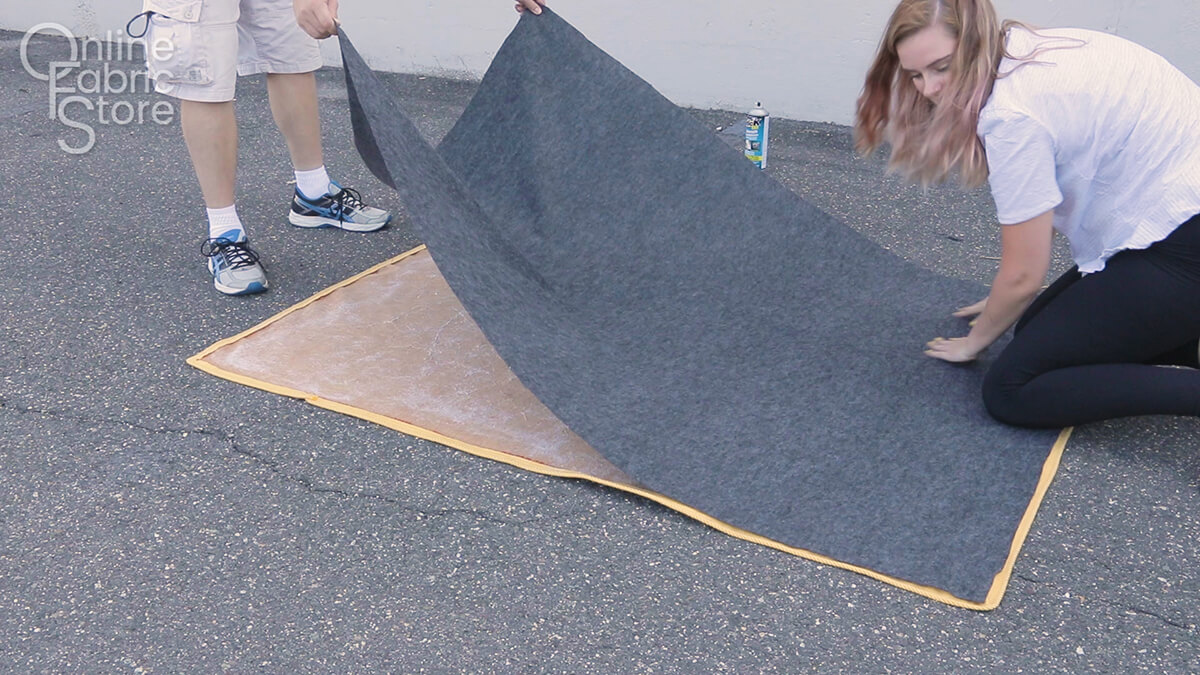
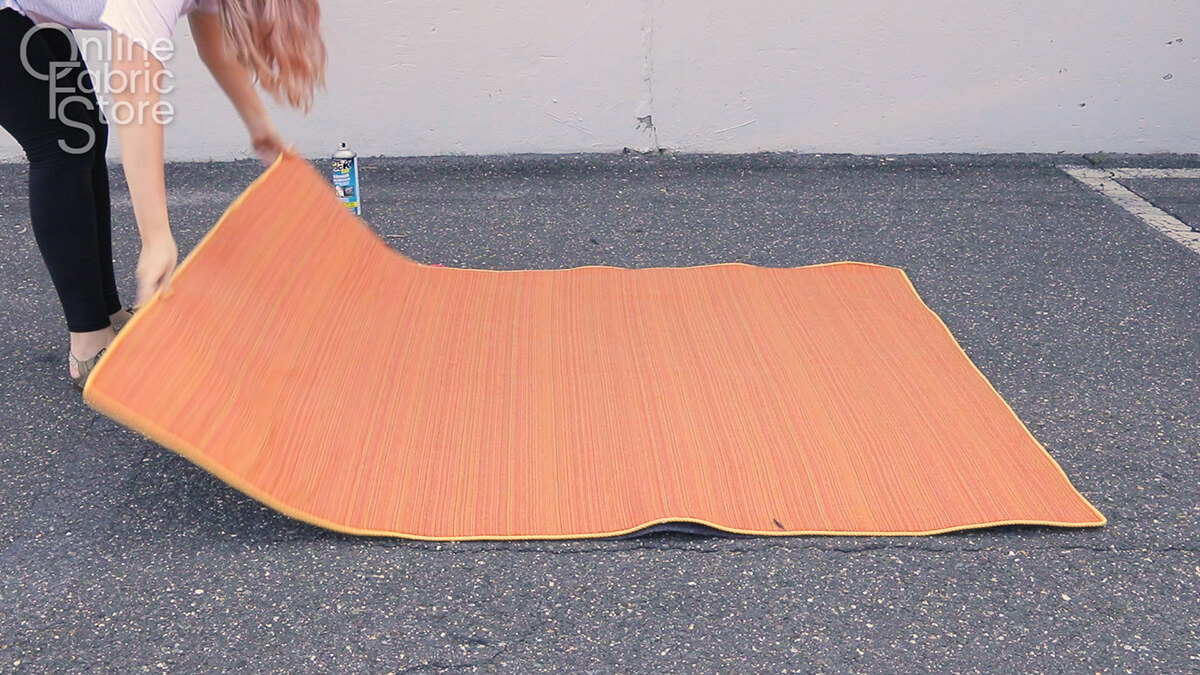
Spray the right side of the lining and the underside of the outdoor fabric with spray adhesive. Center the lining on the wrong side of the outdoor fabric. Greg helped me with this step because having someone hold each corner was the easiest way to get the lining to lay flat. You could also spray and lay it down in sections.
Lay your rug out flat and let it dry for a few hours.

Check out our selection of outdoor fabric.
-
{{#each productSuggestedQueries.results}}
- {{query}} {{/each}}
-
{{#each categories.results}}
- {{html title}} {{/each}}
{{html attributes.description}}
{{/if}}-
{{#each queries.results}}
- {{query}} {{/each}}