How to Make a Faux Leather Vinyl Handbag
- By Clara
- Intermediate
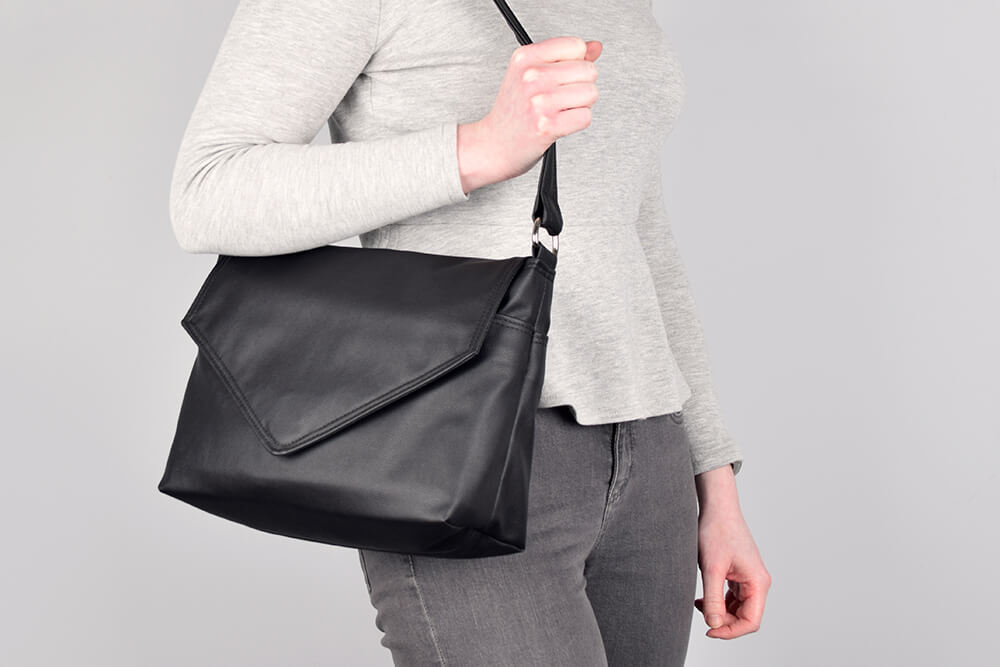
Handbags and pocketbooks can be expensive, so why not make your own? If you’re not a fan of leather, vinyl is a great alternative because it’s less expensive and easier to work with. This handbag has pockets on the front and back, great for easy access to your phone and keys. There’s also plenty of interior storage space including a zipper compartment and interior pockets.
Sign up to our mailing list to get the FREE pattern and the printable PDF instructions.

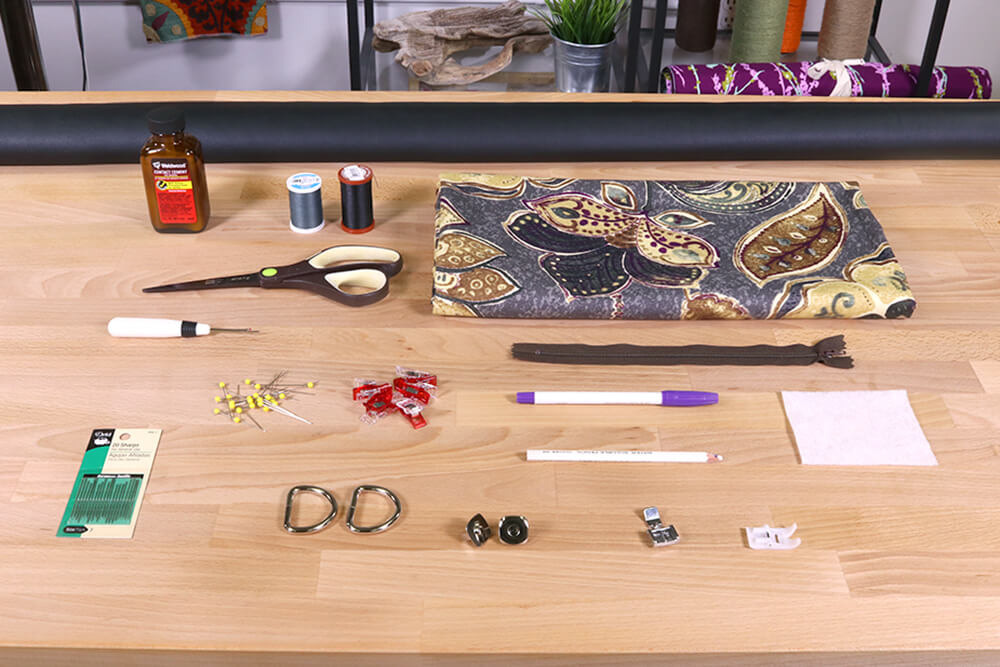
Materials
- 1 yard of vinyl
- 1 yard of lining fabric
- Upholstery thread
- All-purpose thread
- 9" zipper
- Scissors
- Seam ripper
- Clips
- Pins
- Fabric marker or pencil
- Heavy stabilizer or cardboard
- Teflon presser foot
- Zipper foot
- Magnetic snap
- 2 D-rings (1 1/4")
- Contact cement (optional)
- Hand sewing needle
- Iron
Related Products
-
 Dressmaker's Marking Pencil - White
-
 20 Sharps Hand Needles - Size 8
-
 Deluxe Seam Ripper
-
 Extra Strong Upholstery Thread - Black
-
 Dual Duty XP Thread - Sharkskin, 250 Yards
-
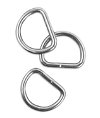 1-1/4" Nickel D-Ring
-
 #70 Peltex Ultra-Firm Sew-In Stabilizer - White
-
 Persuasion Onyx Vinyl
-
 2 Magnetic Snaps - 3/4"
-
 Disappearing Ink Marking Pen - Purple
-
 500 Quilting Pins - Size 28
Video
Instructions
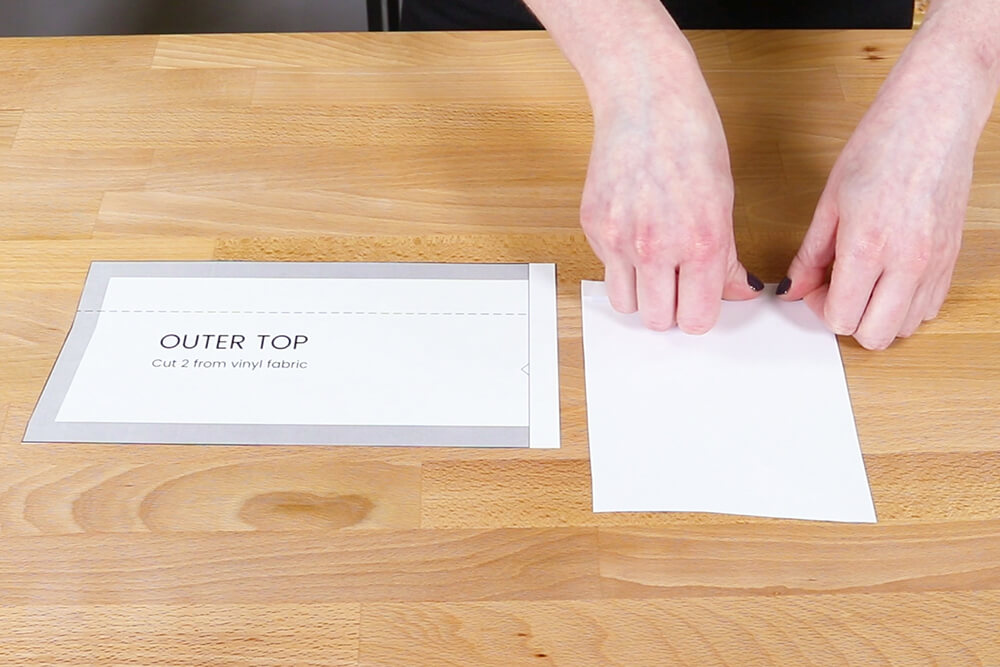
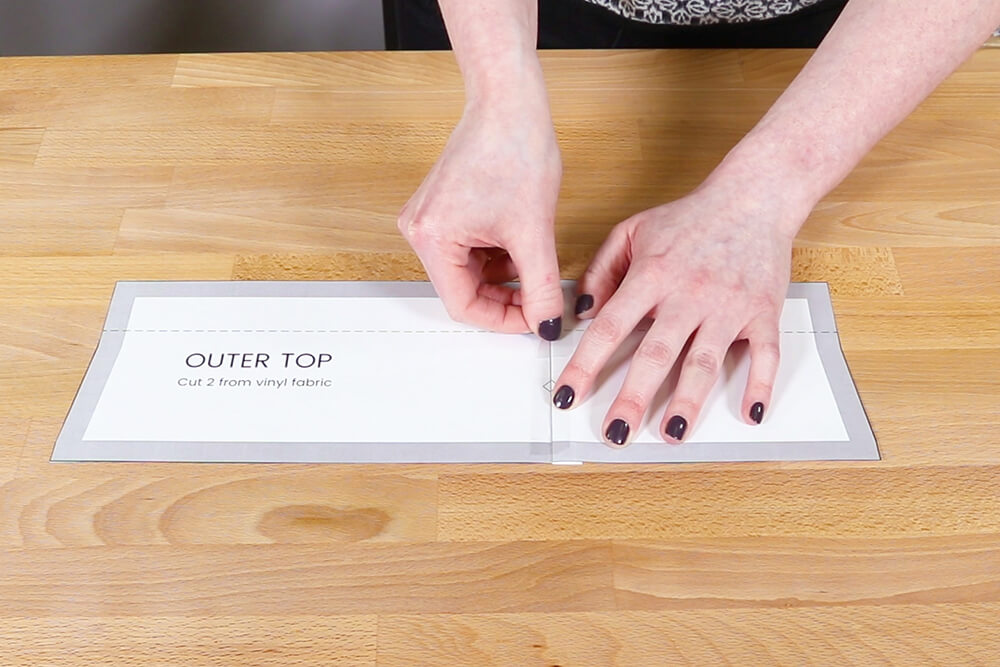
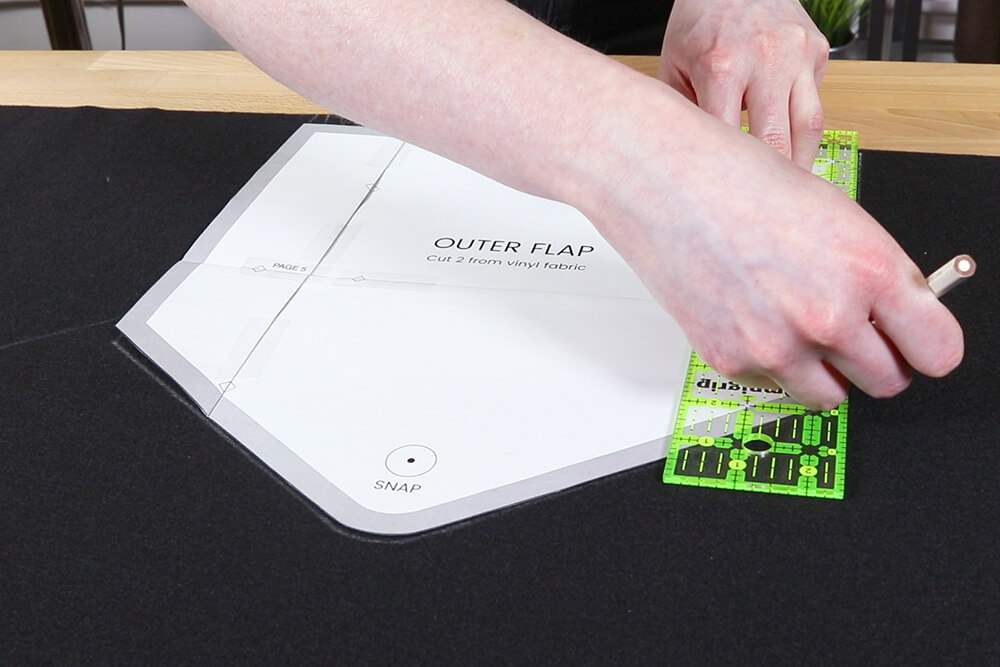
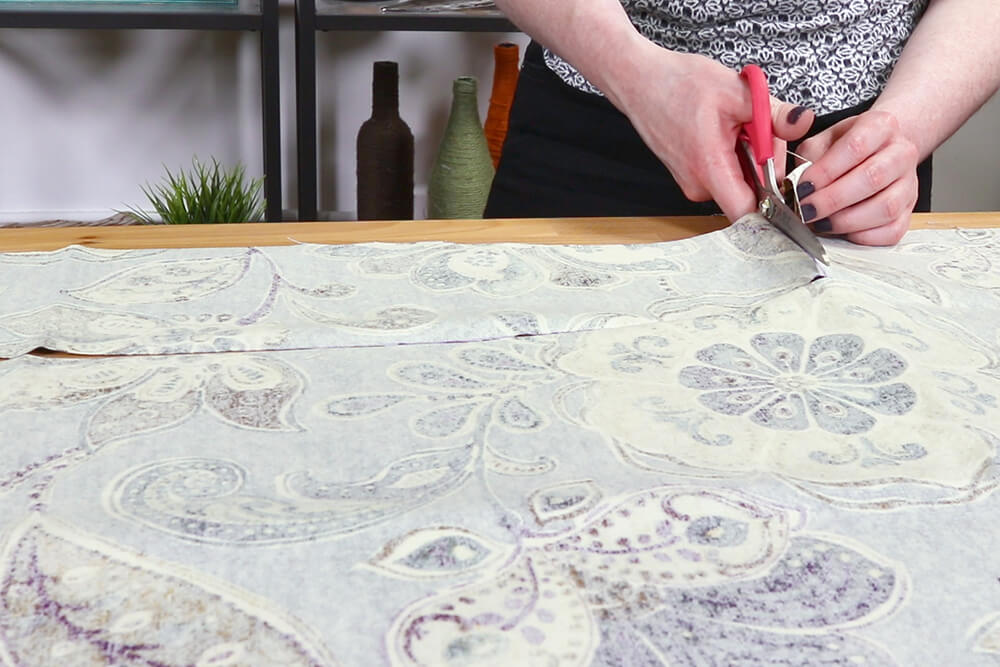
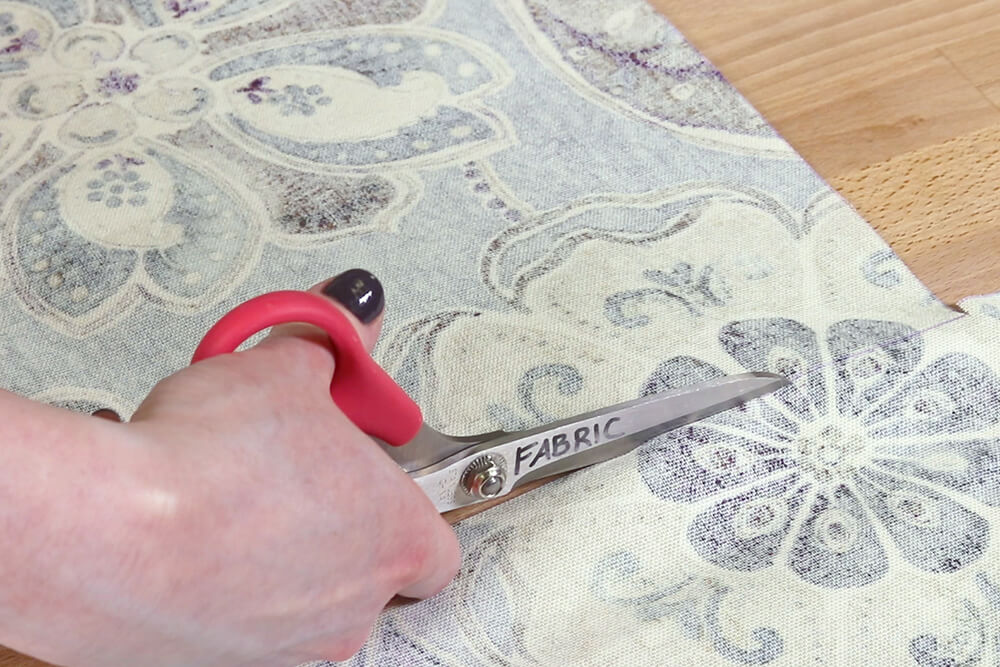
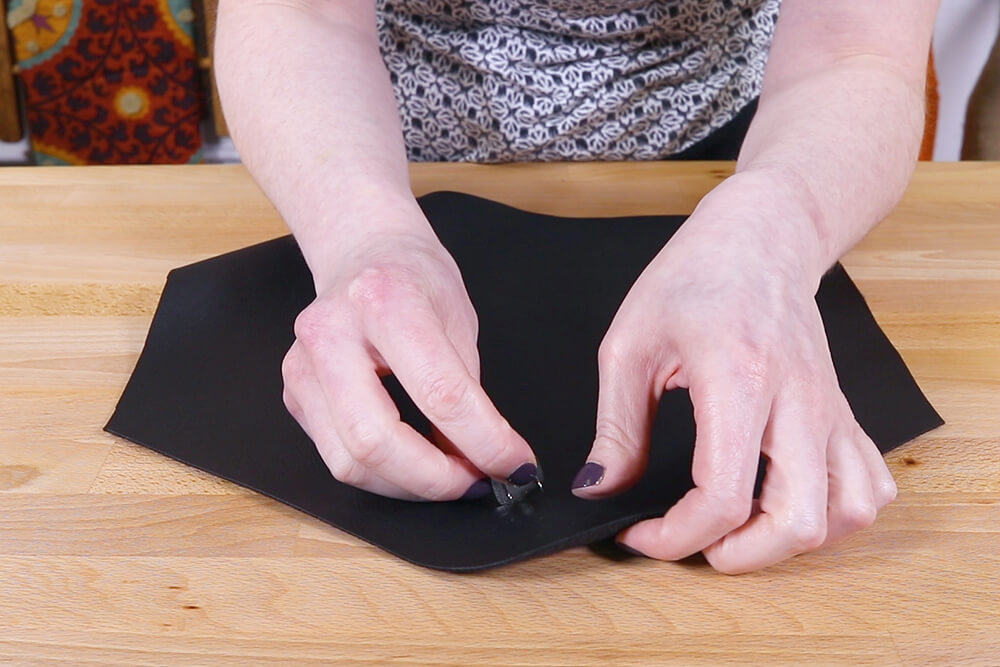
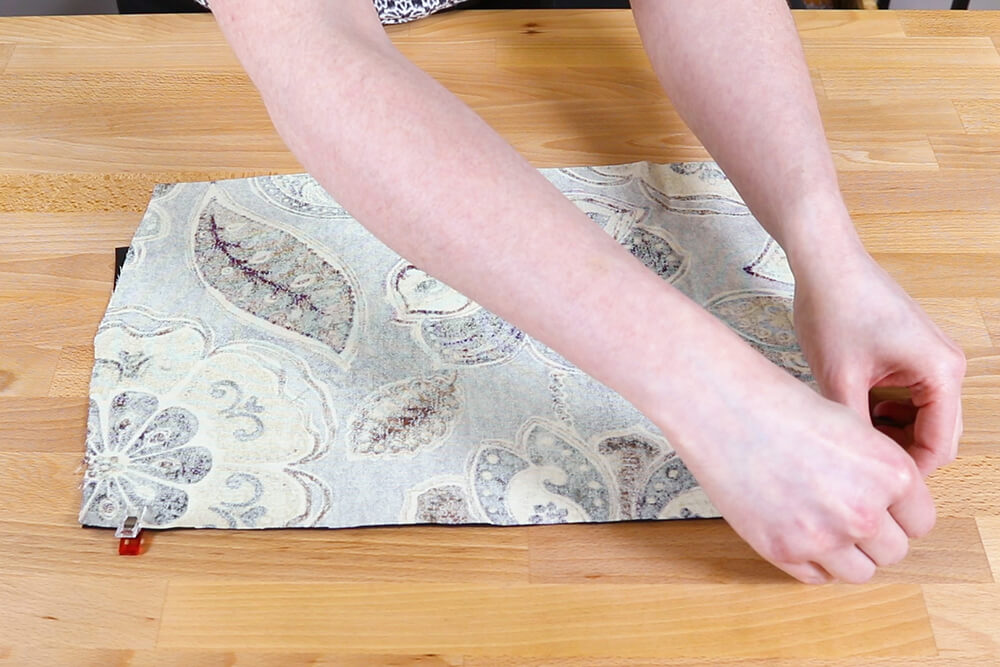
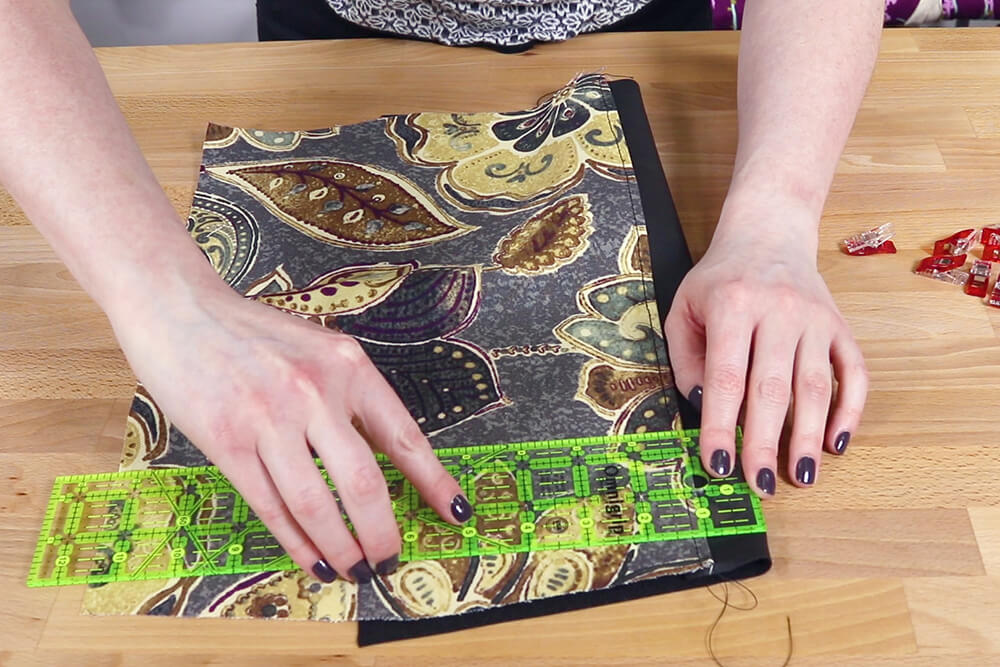
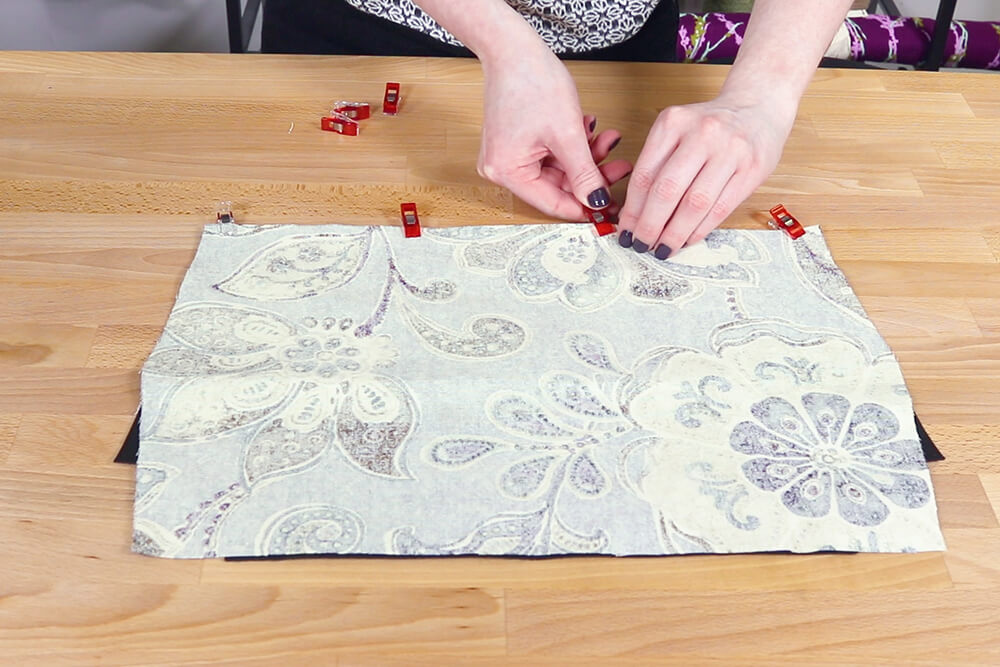
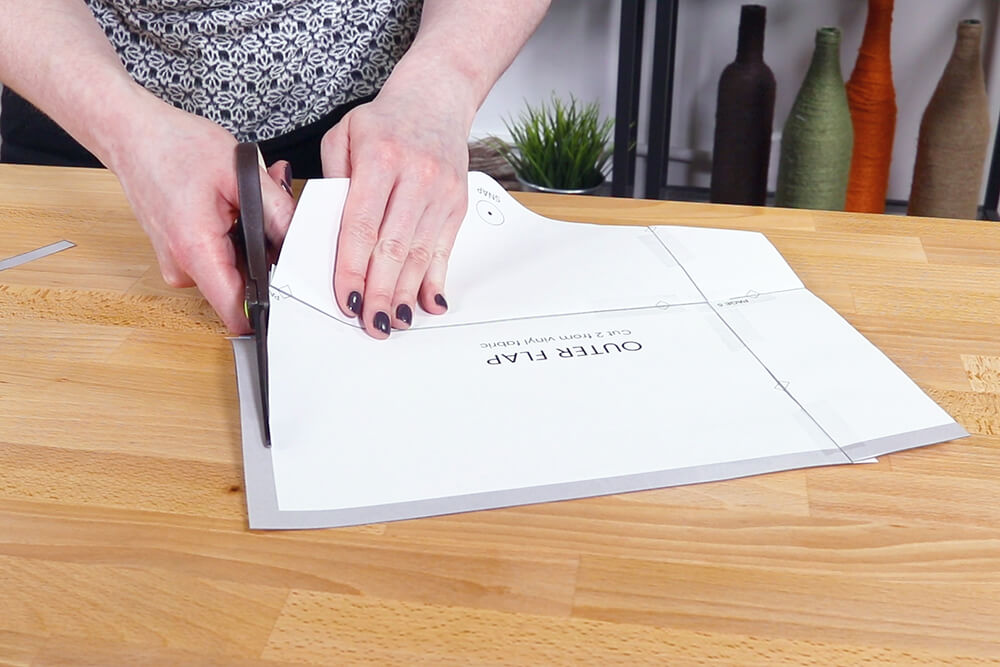
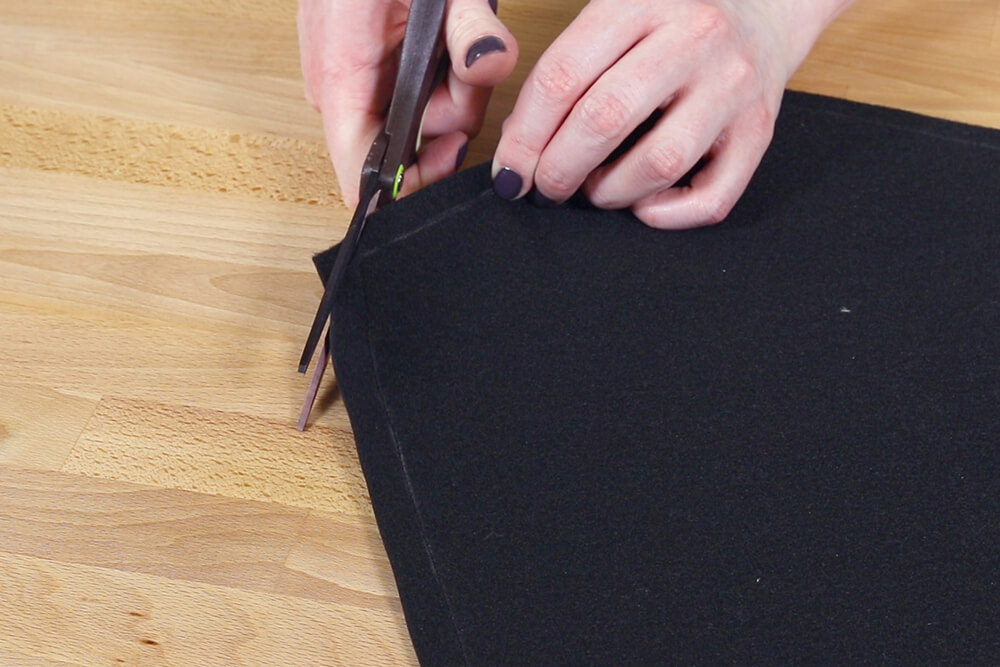
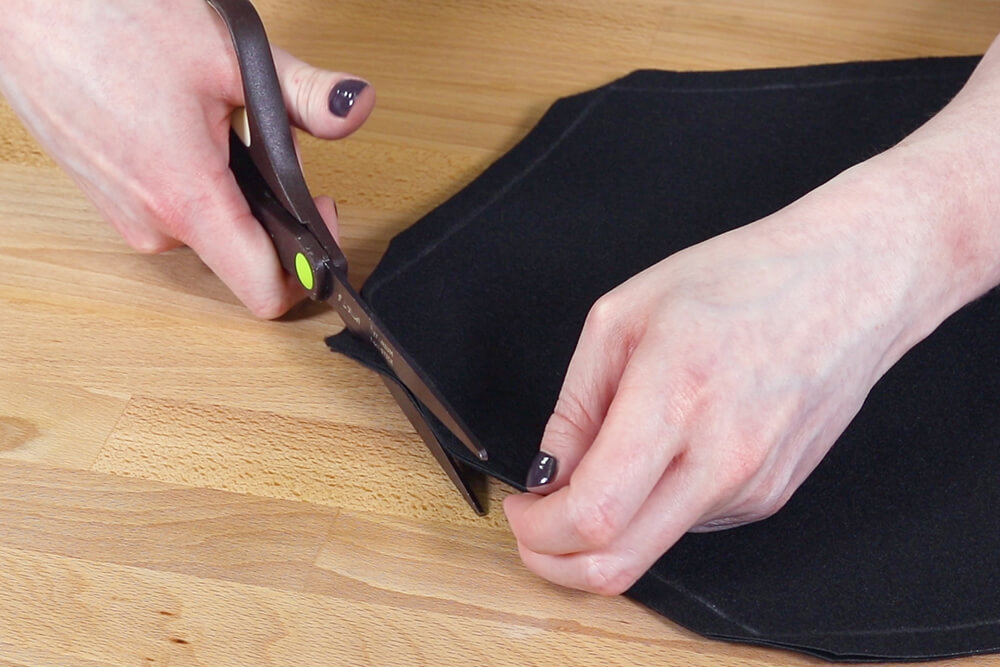
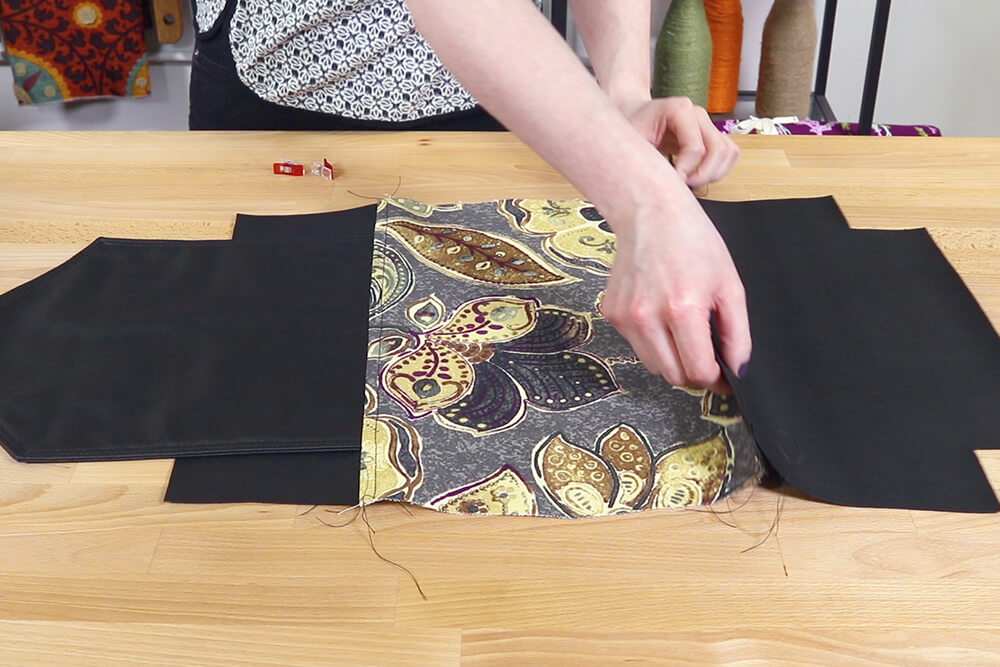
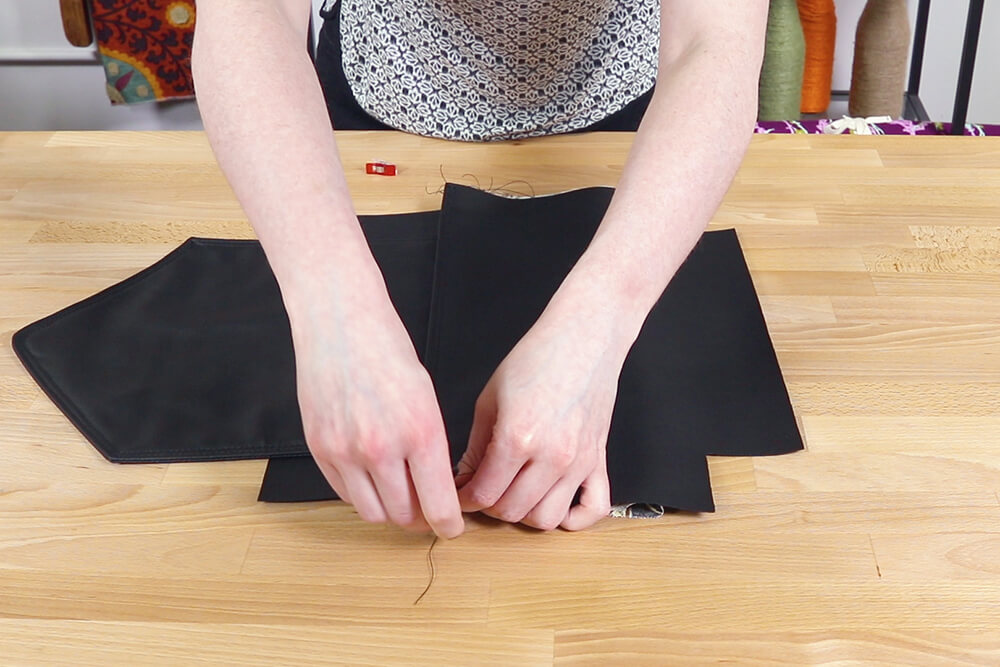
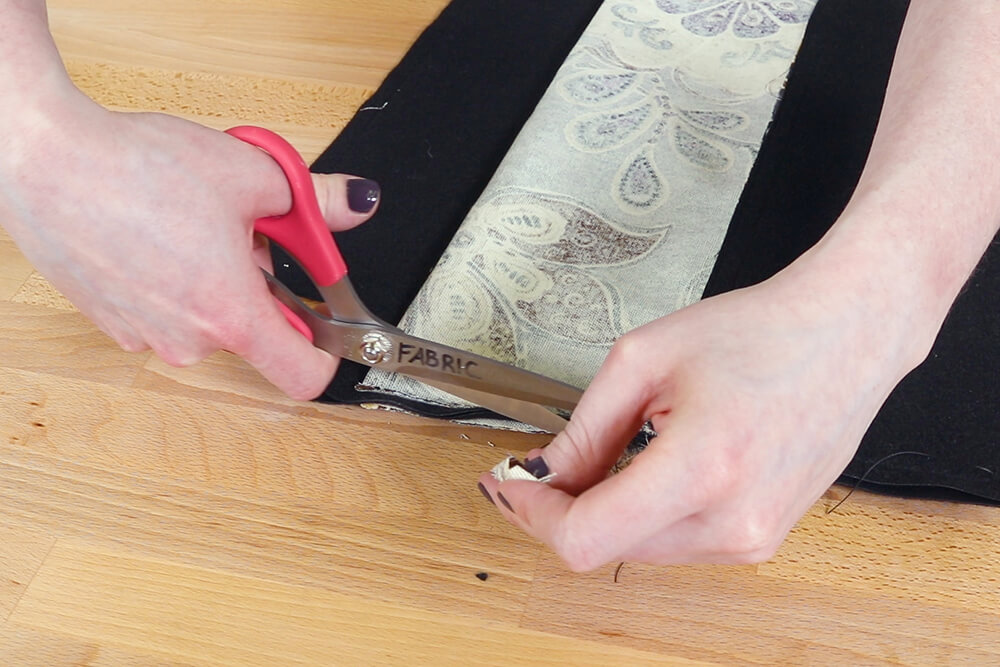
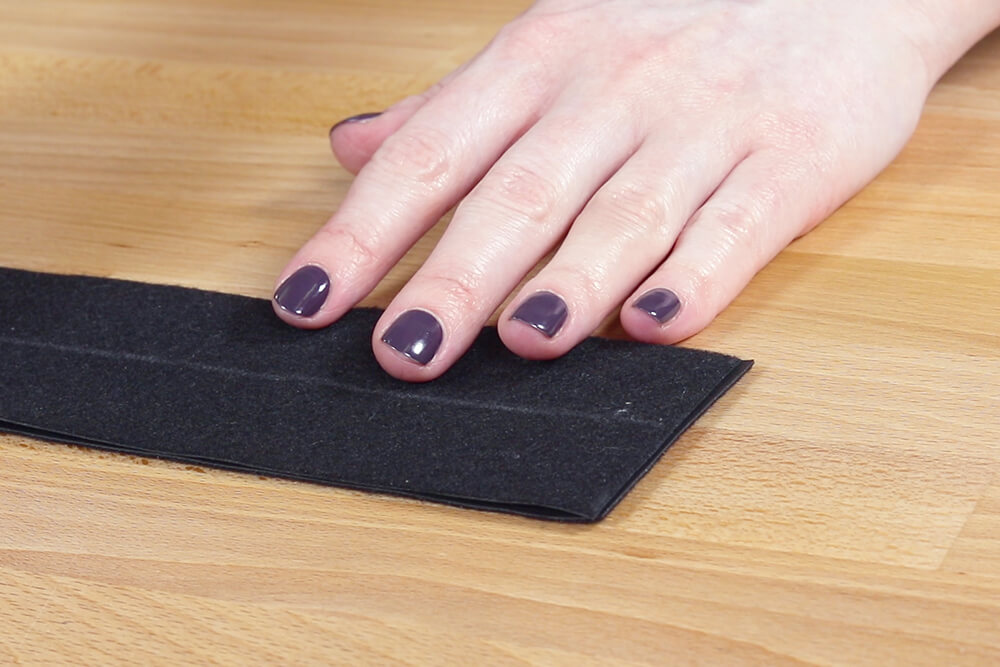
Step 1: Cut out the fabric
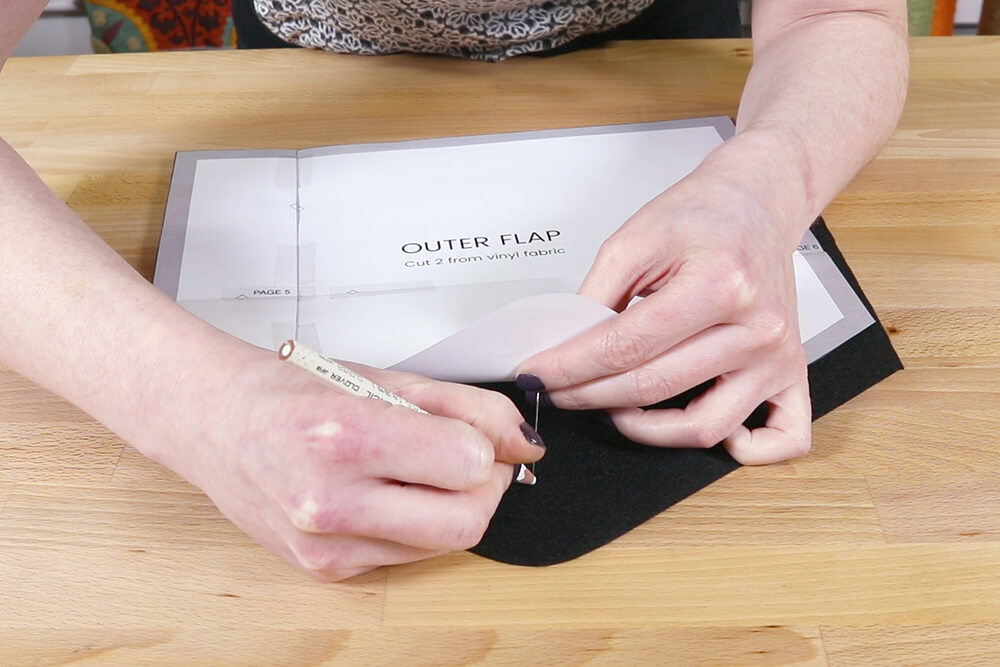
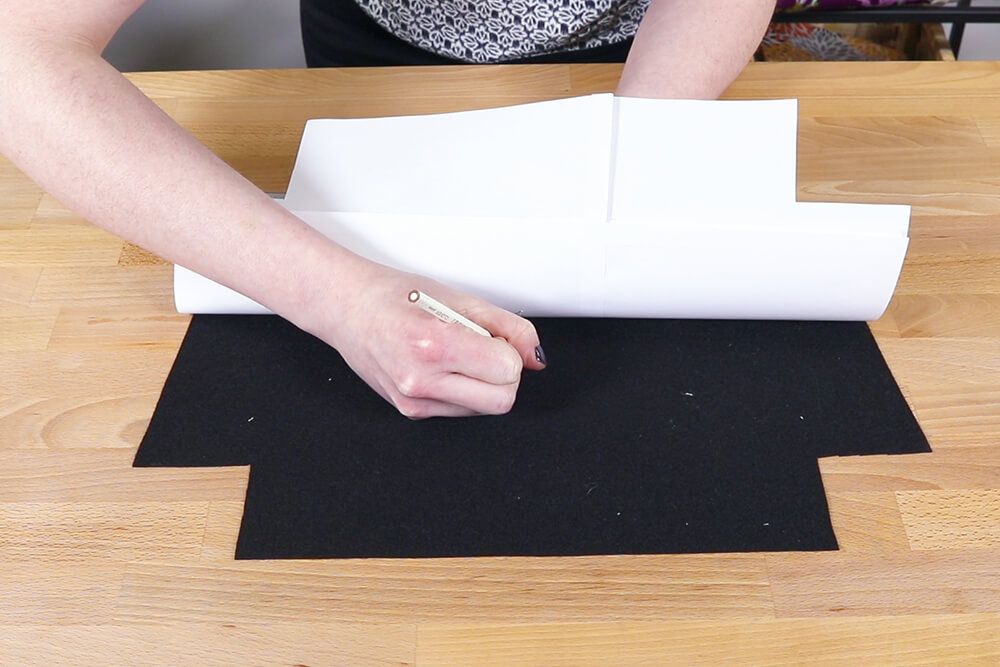
Print, cut, and tape the pattern pieces.
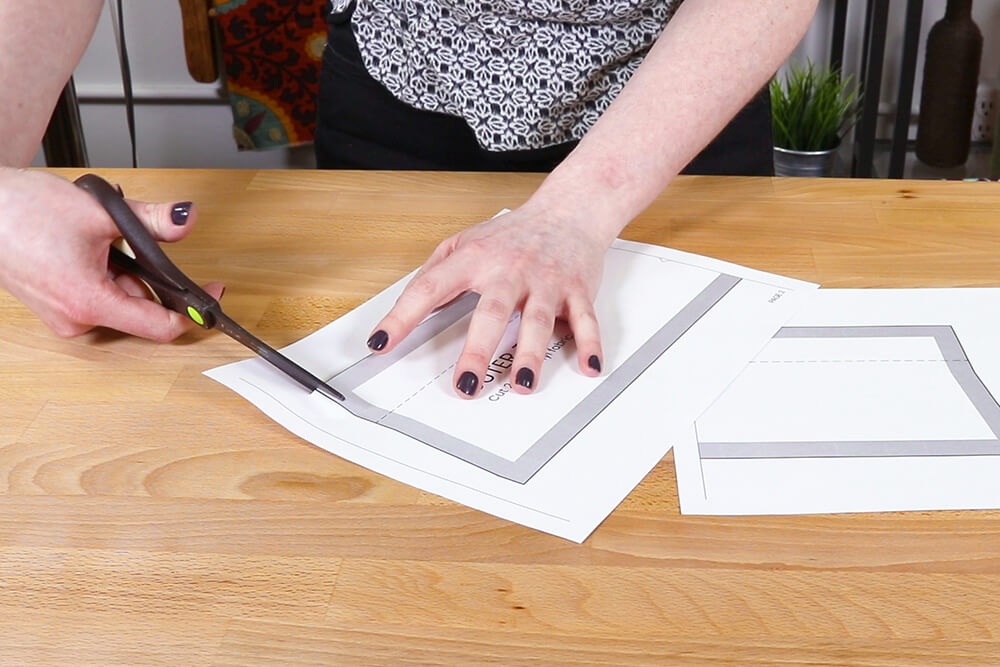

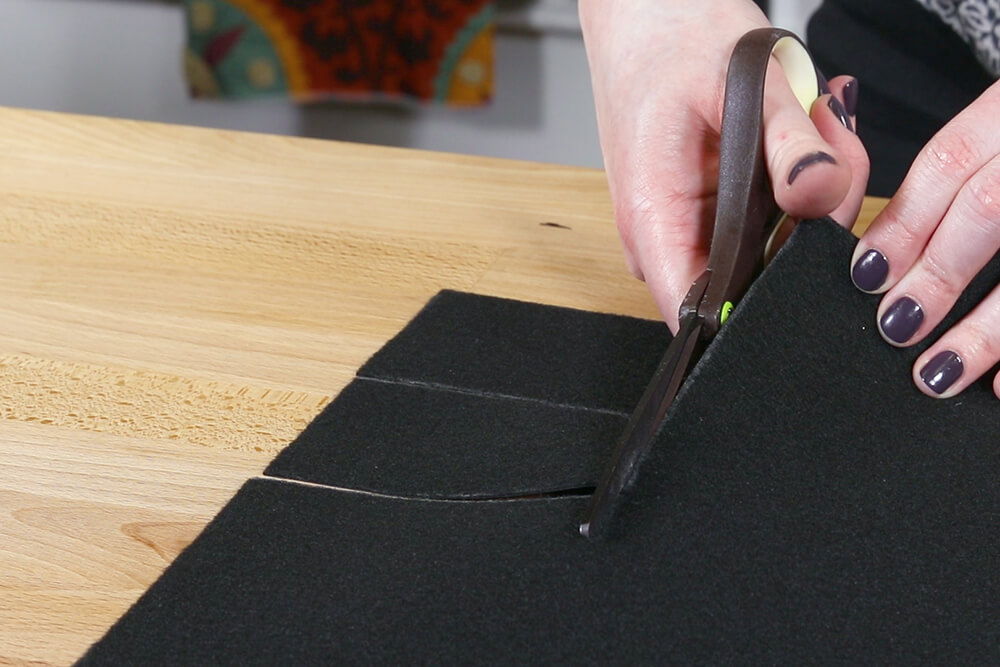
Trace pattern pieces onto the vinyl.
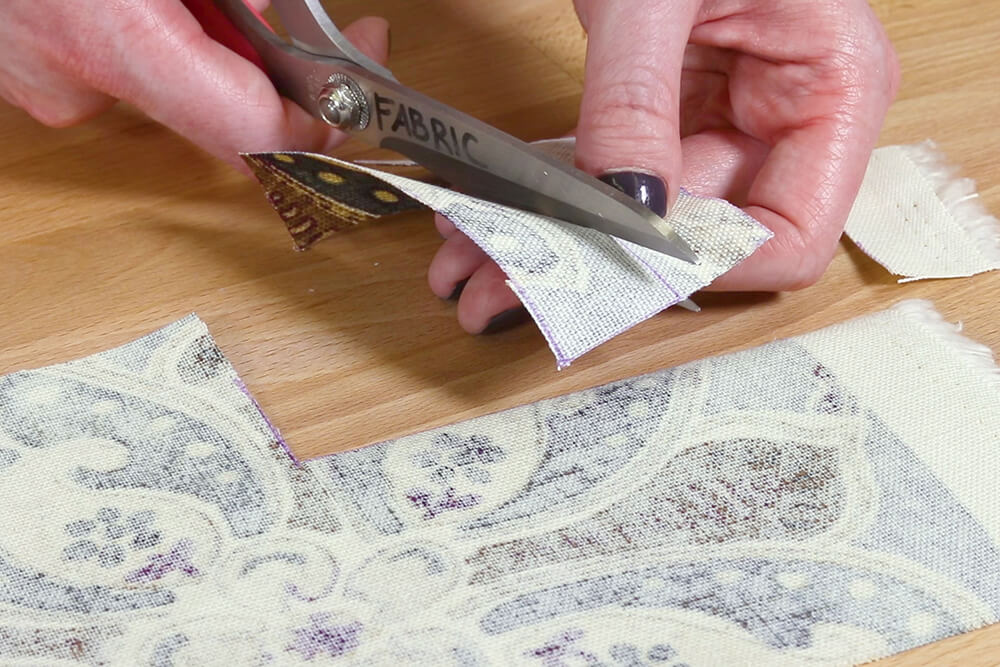
Cut out 2 each of the outer top, the outer pocket, outer flap, and strap loops.
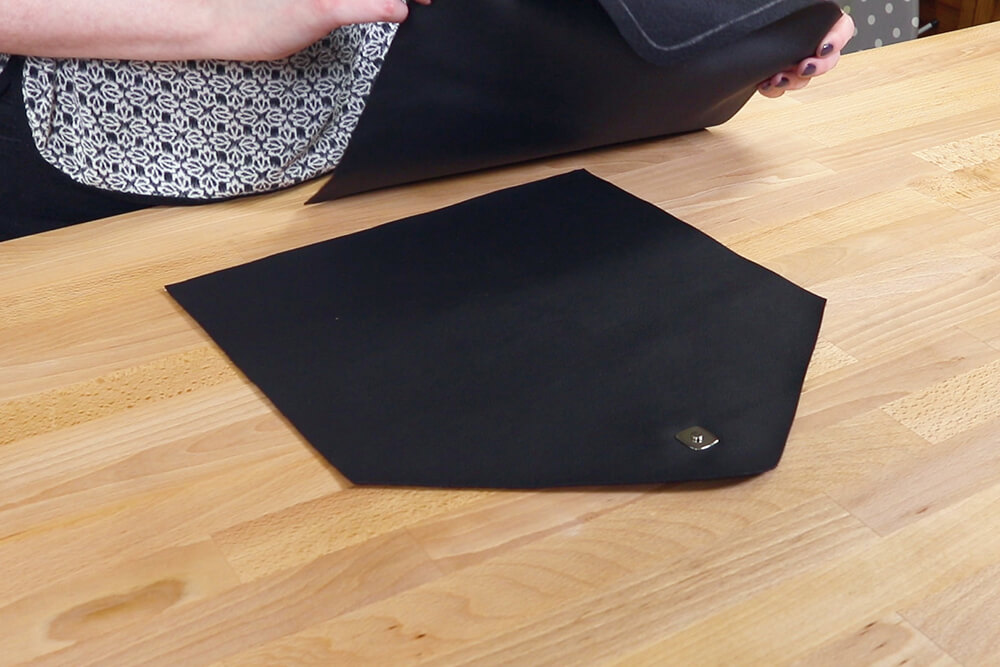
When choosing a vinyl fabric, you want to make sure it’s not too thick for a regular home sewing machine. I’m using Nassimi Persuasion vinyl, which is 28 ounces per square yard. It’s best to get a sample, fold it in half twice creating four layers, and test sewing it with your machine. You also want the vinyl to be soft and pliable.

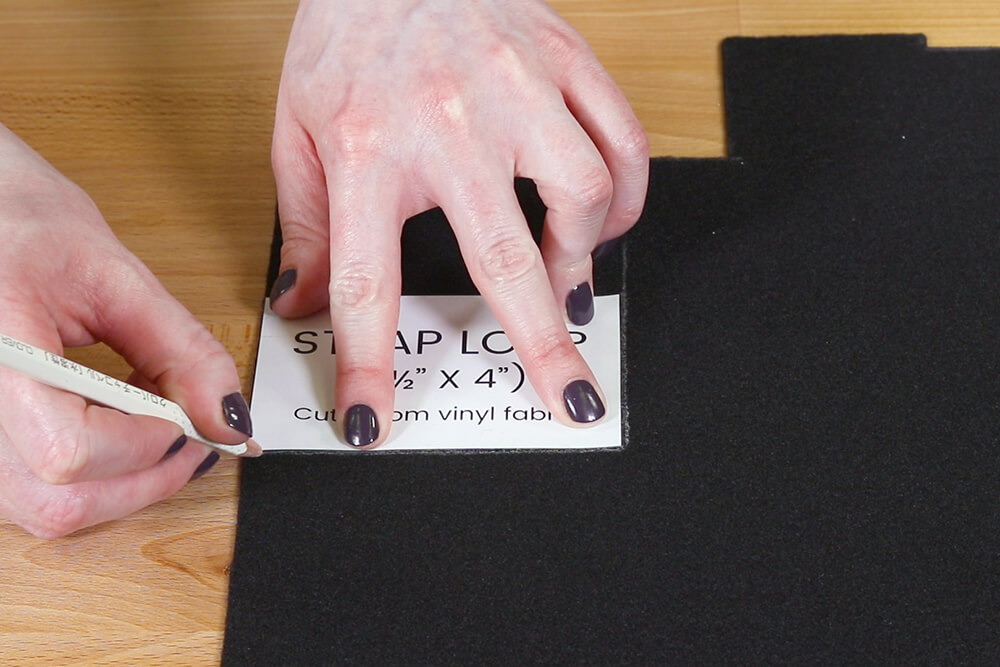
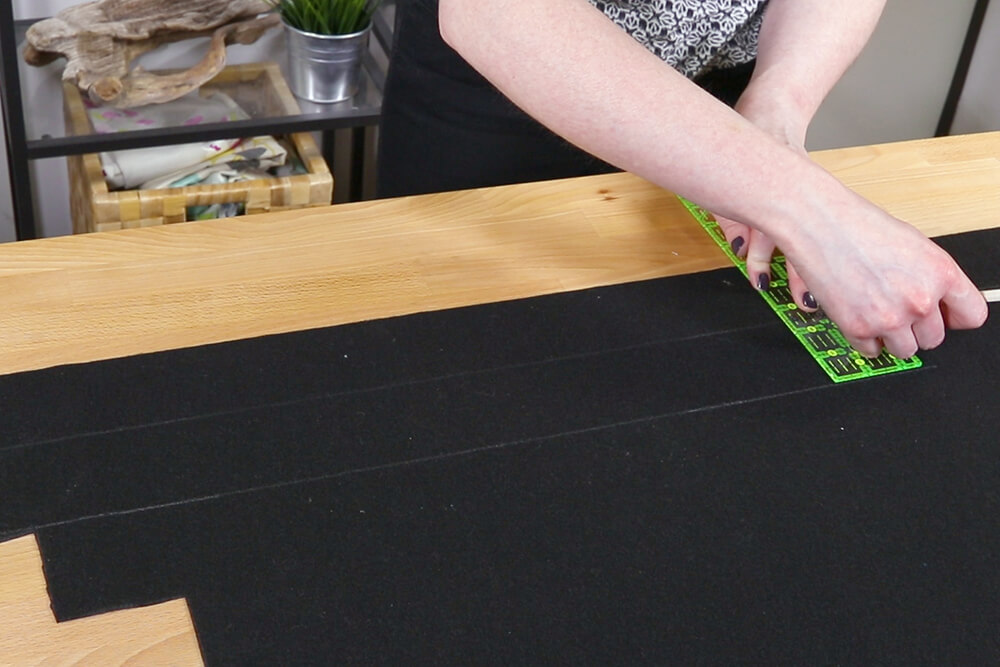
Also cut out two pieces of vinyl that are 2.5 by 30 inches for making the strap.

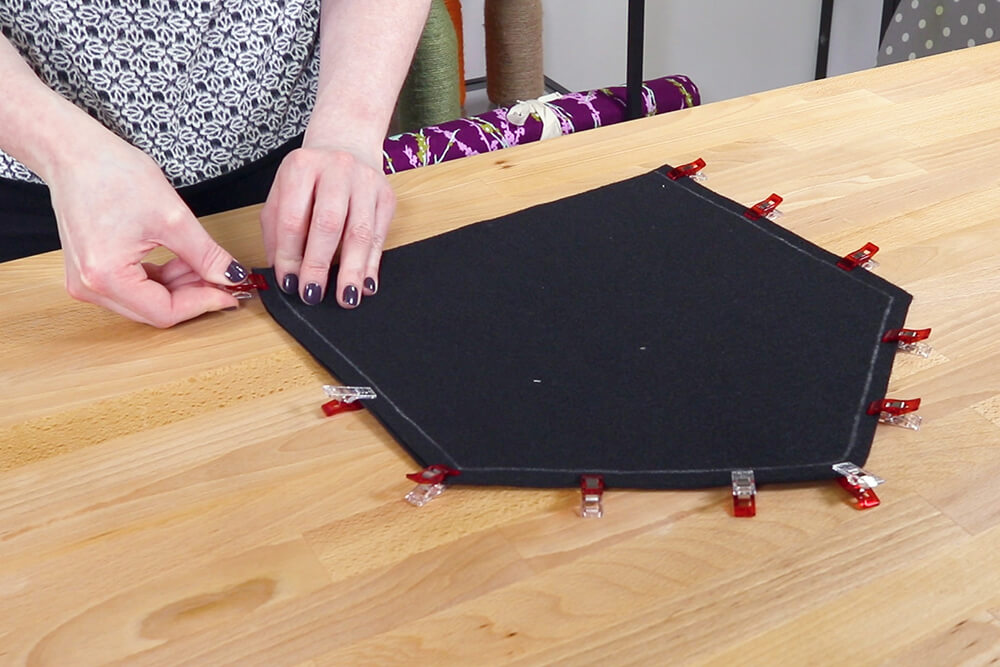
To add more stiffness to the lining, iron a stabilizer like Pellon #809 Decor Bond Fusible Stabilizer to the back of all the lining pieces.
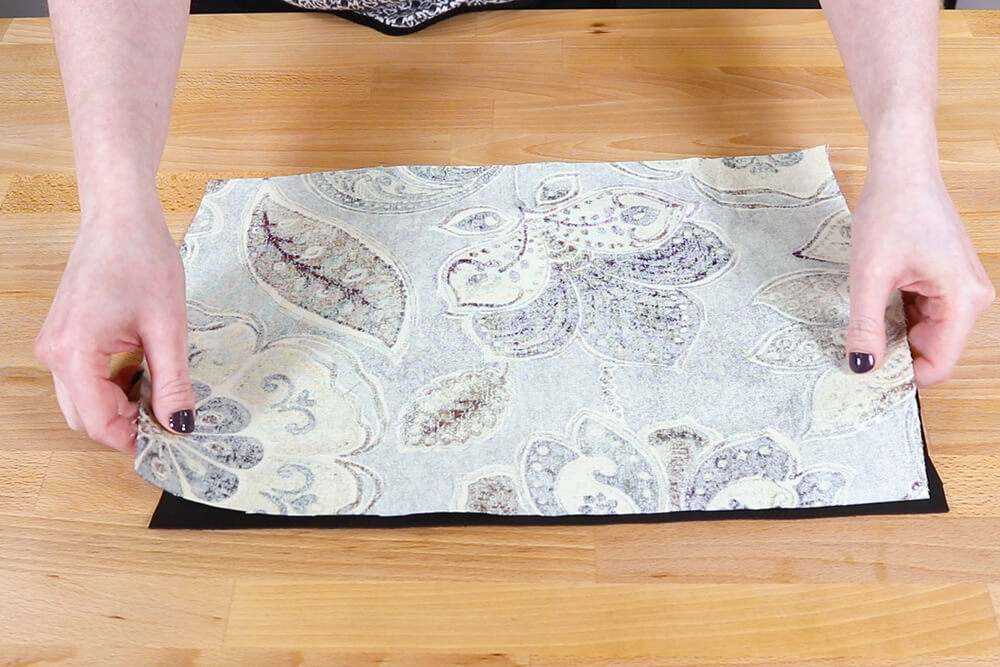
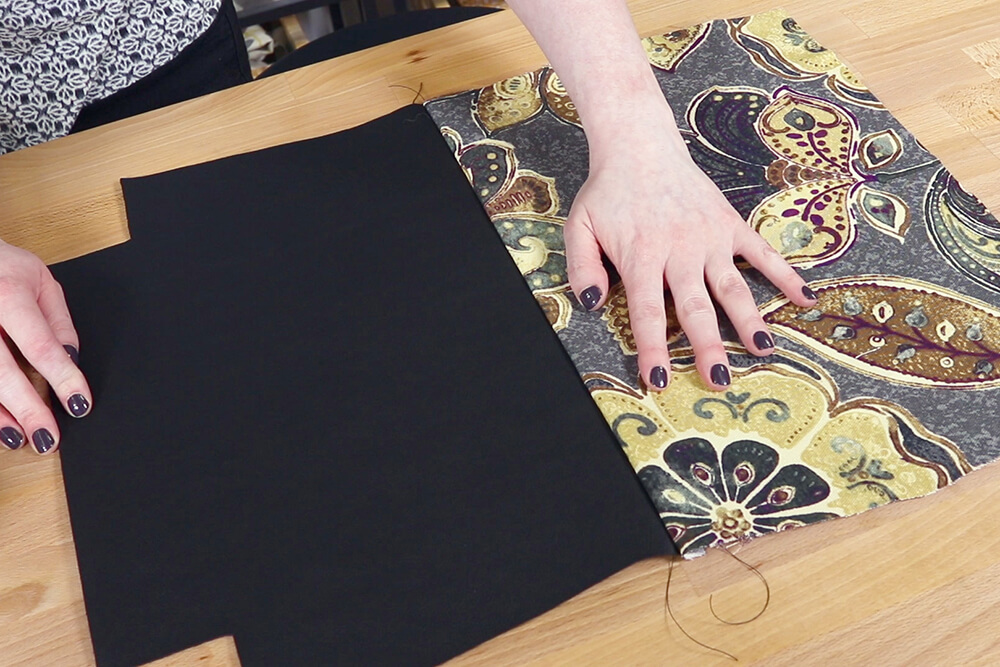
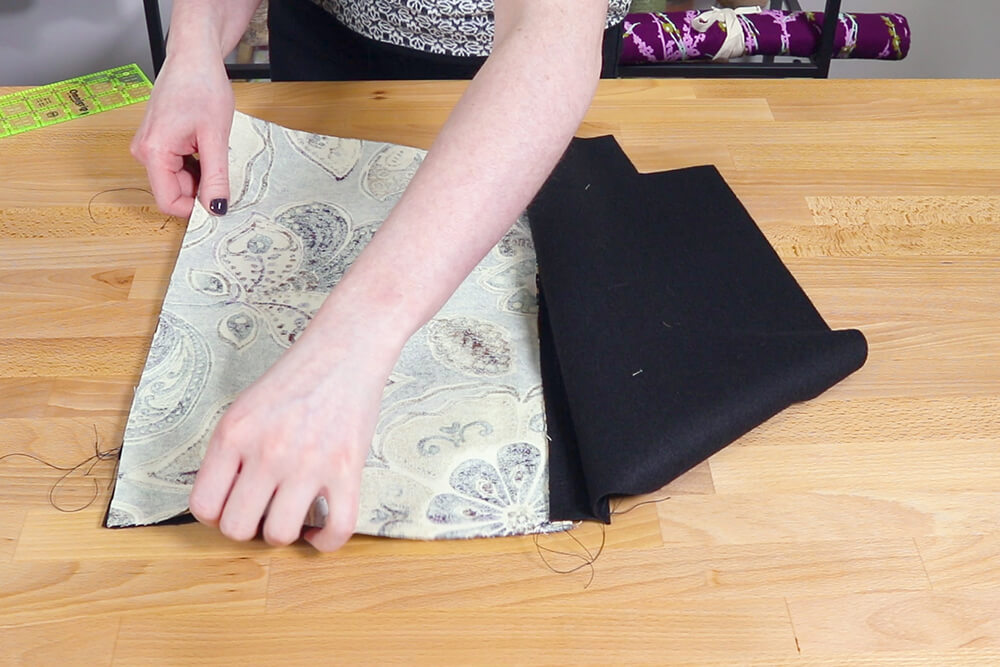
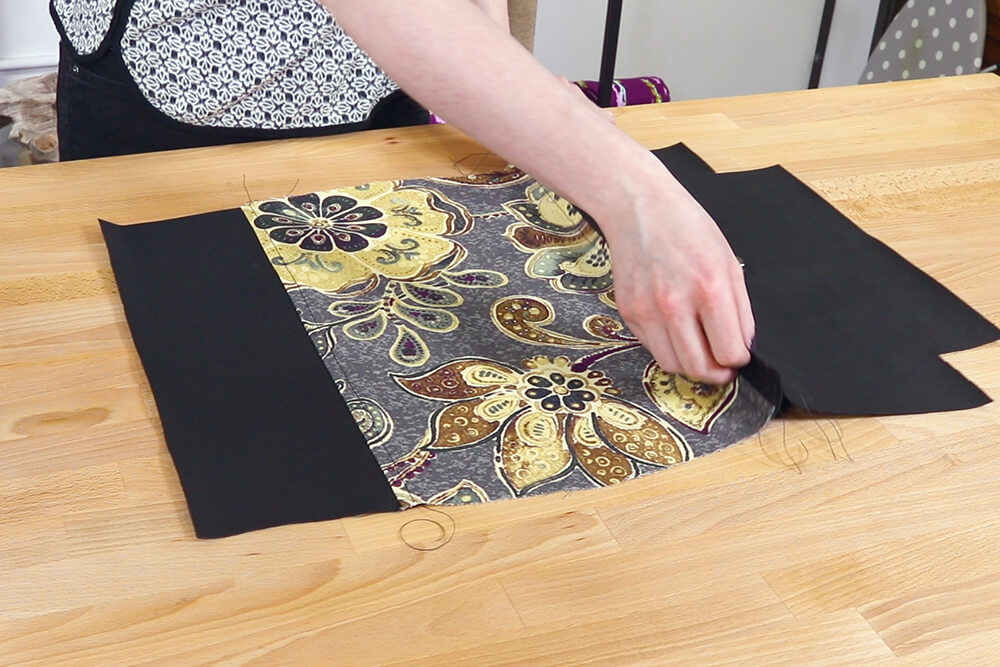
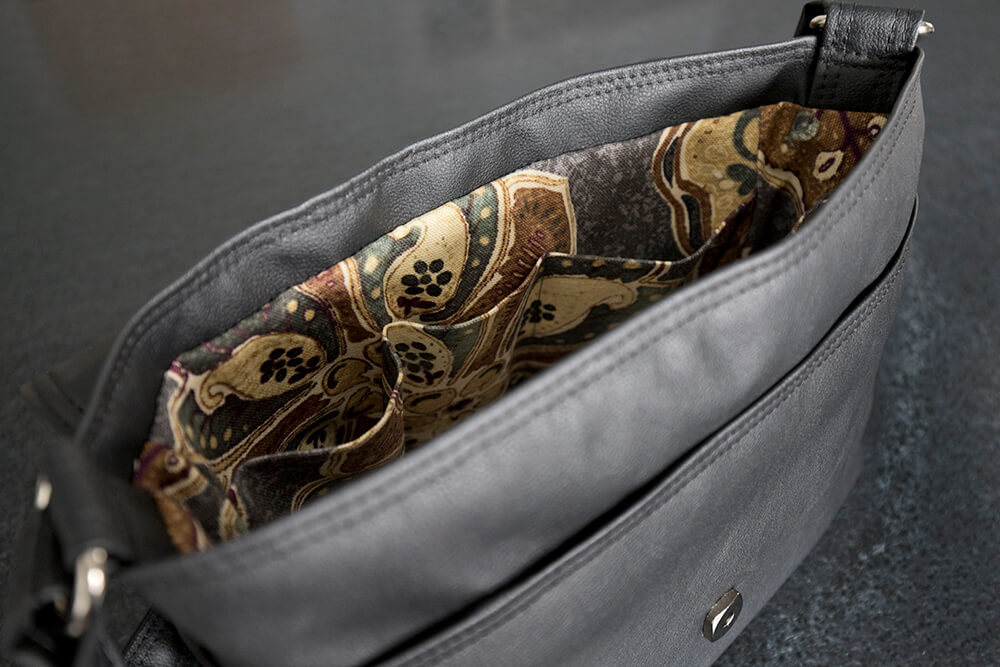
You can use many different types of fabrics for the lining. We’re using a drapery fabric.
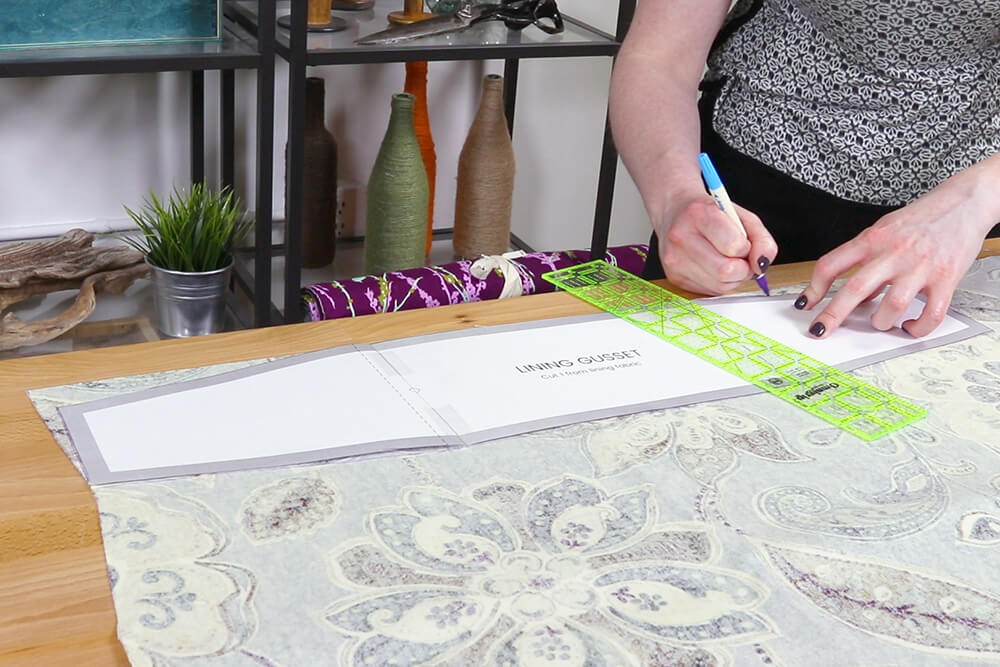
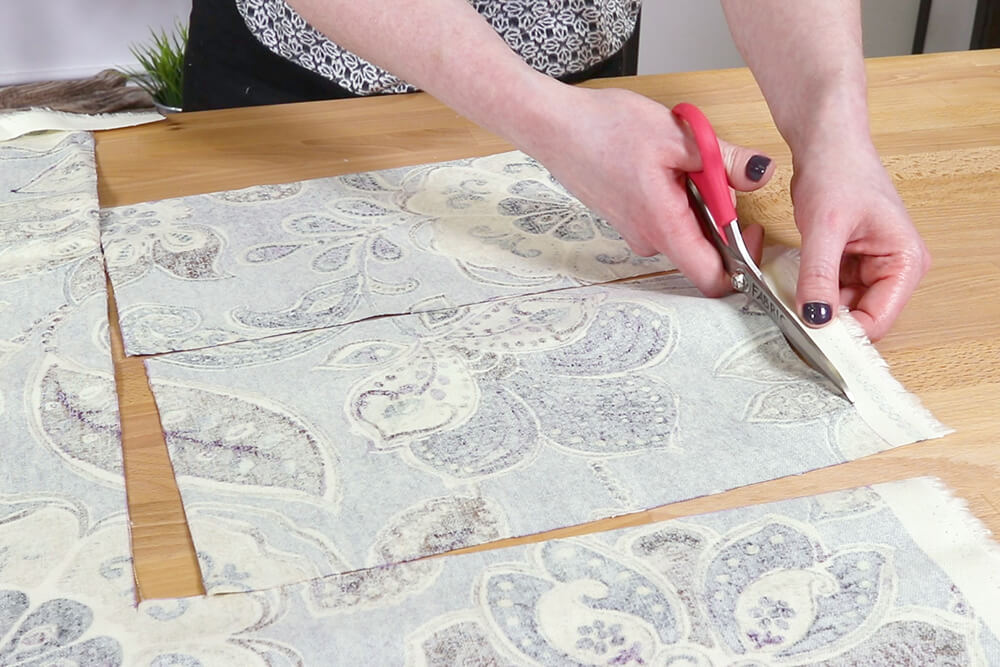
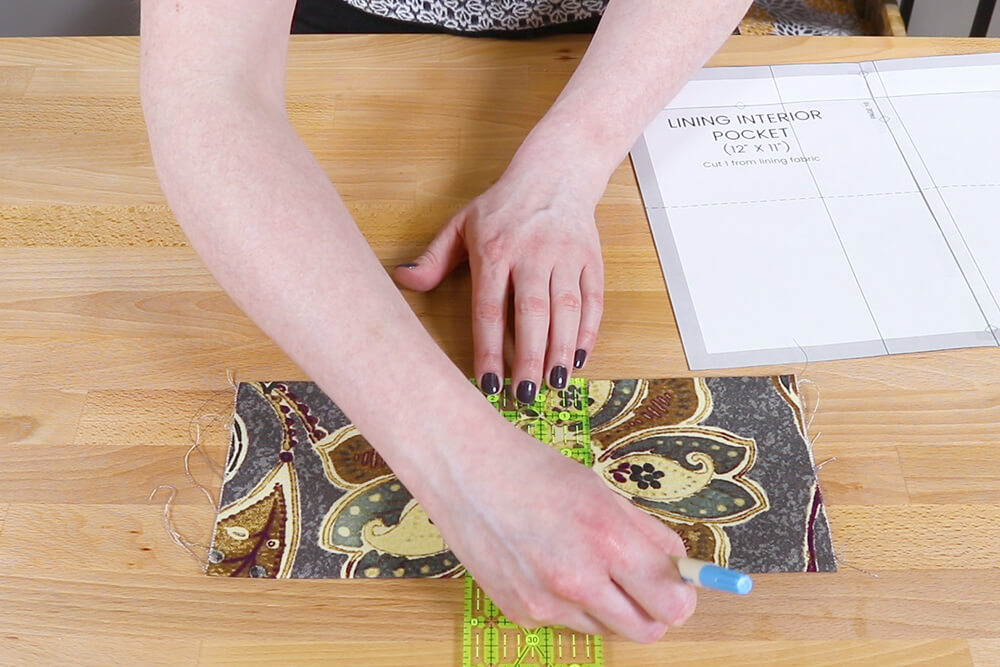
With your lining fabric, cut out 1 piece of the lining gusset and lining pocket.
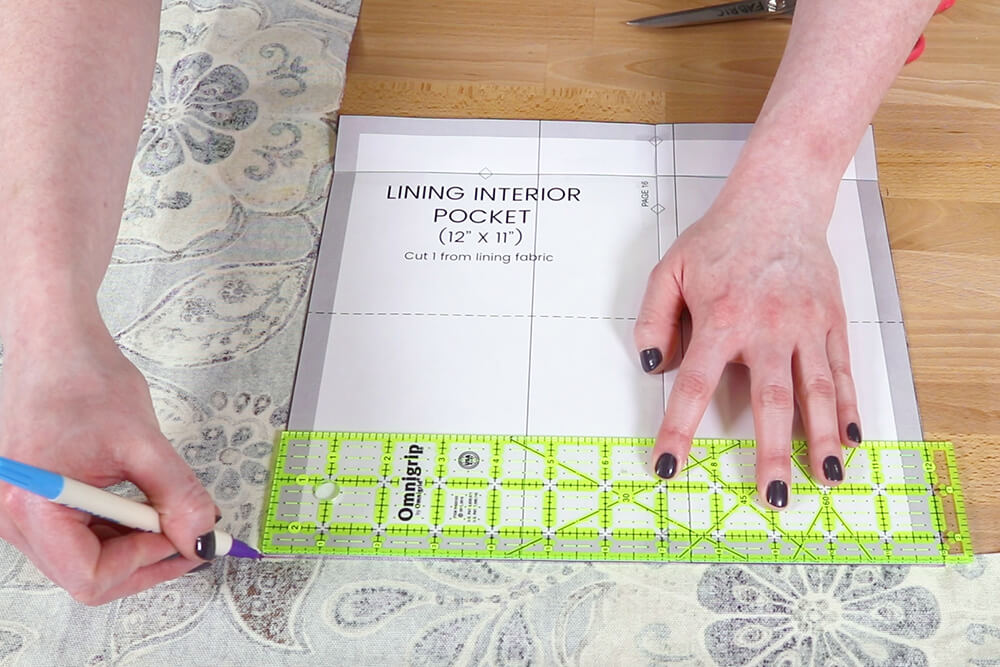
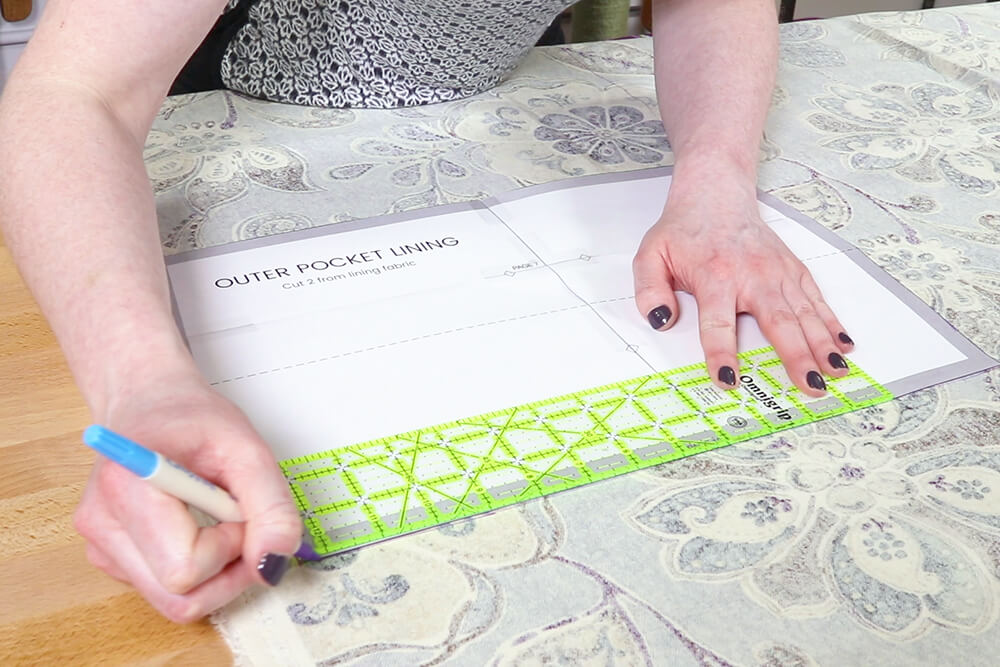
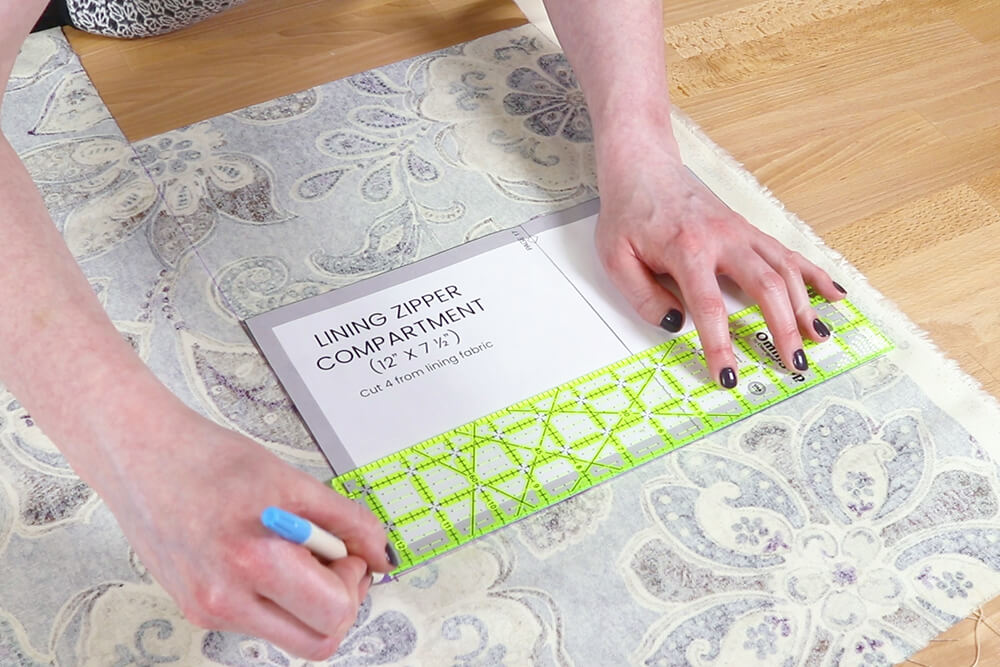
Cut out 2 pieces each for the outer pocket lining, the front/back piece, and the zipper extender.

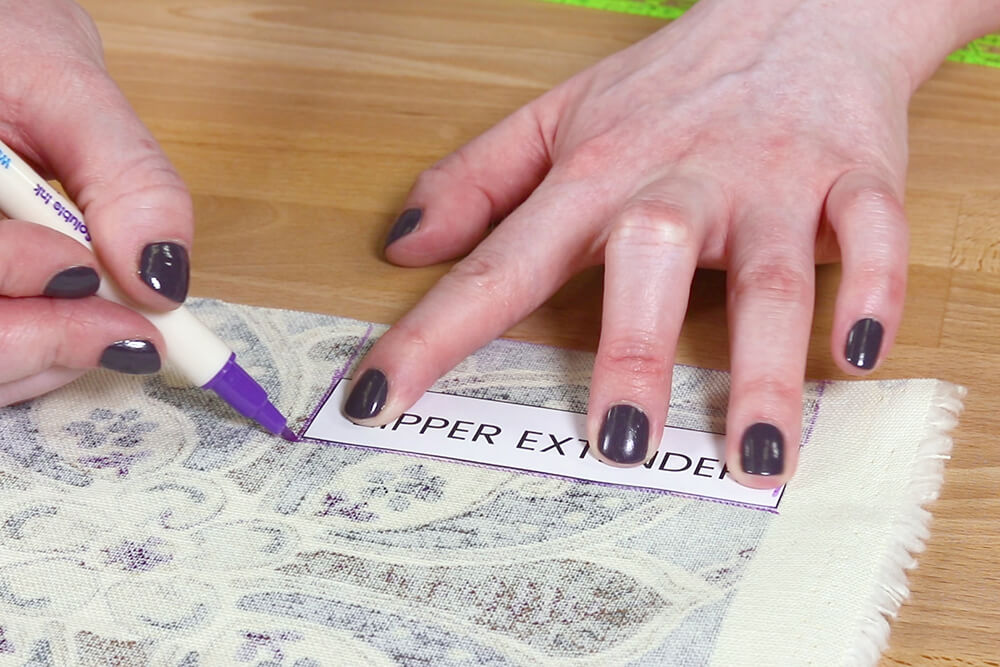
You’ll need 4 pieces for the lining zipper compartment.
I’m using a medium weight drapery fabric for the lining but you can use just about any light or medium weight fabric. For thinner fabrics, you may want to use a fusible interfacing on the back.
Step 2: Make the interior zipper compartment
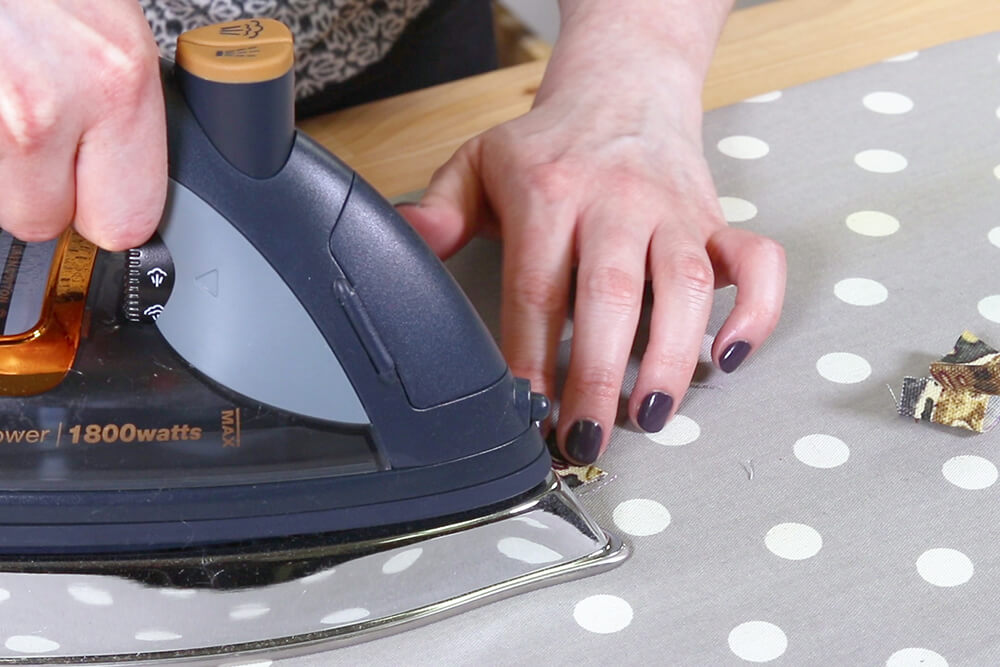
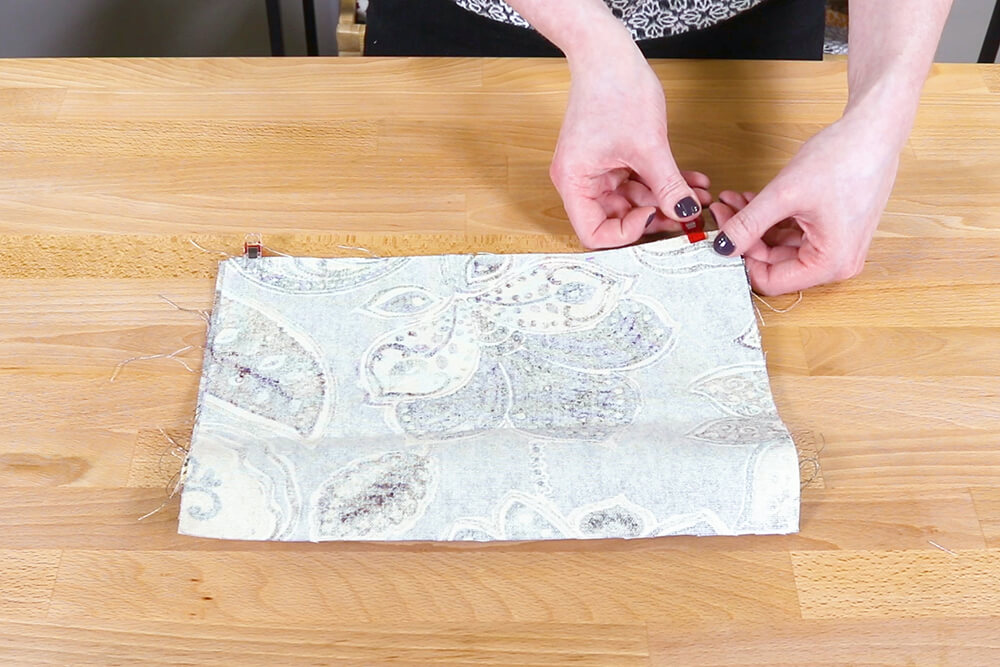
Put the zipper foot on your machine. Fold the zipper extender pieces in half and iron.
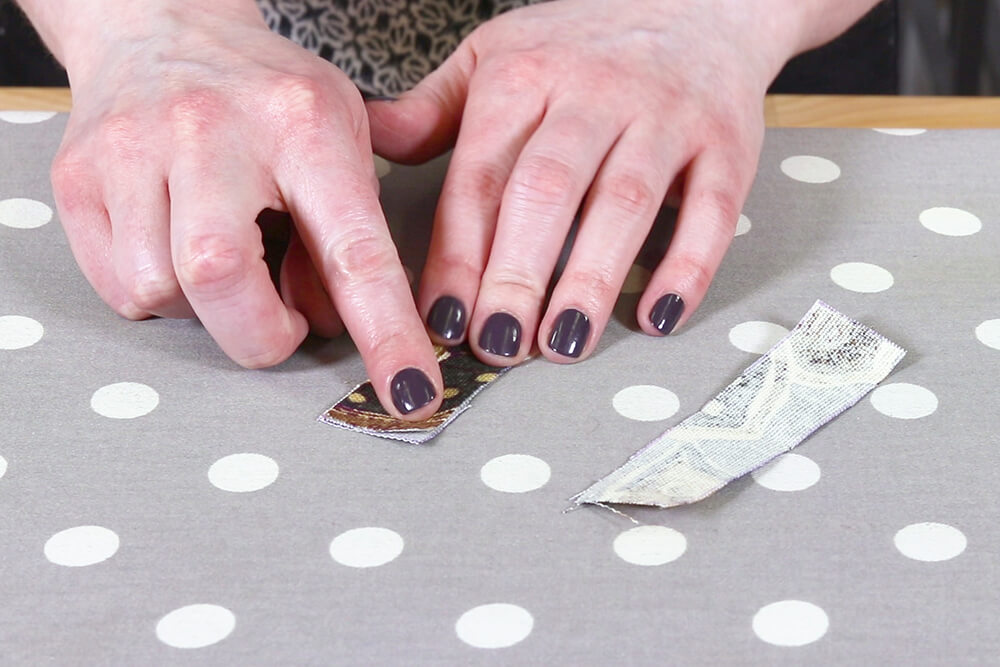
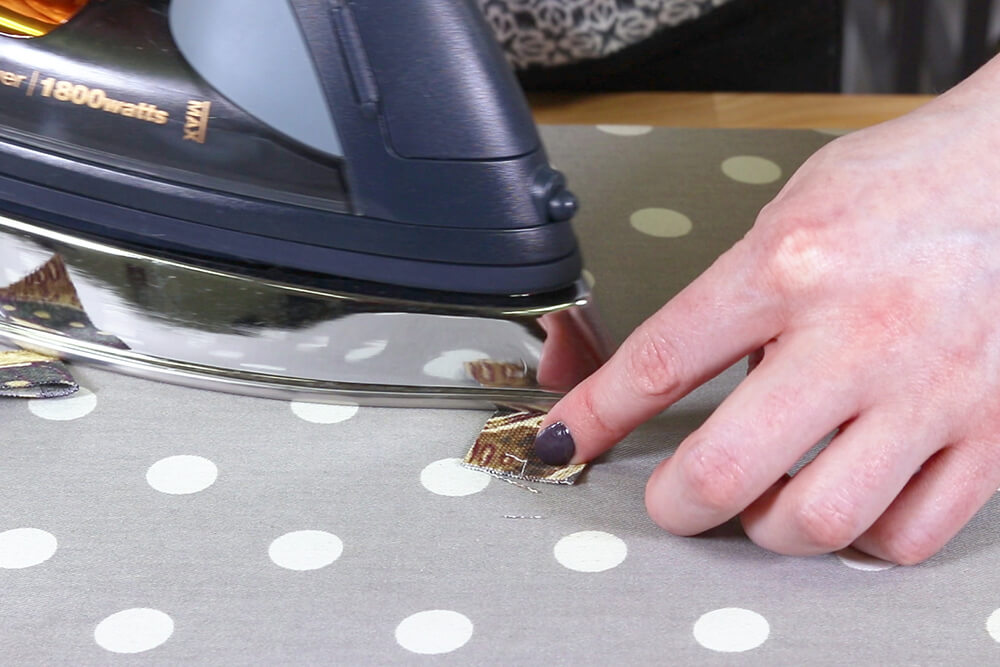
Fold the ends in 1/2″ and iron again.
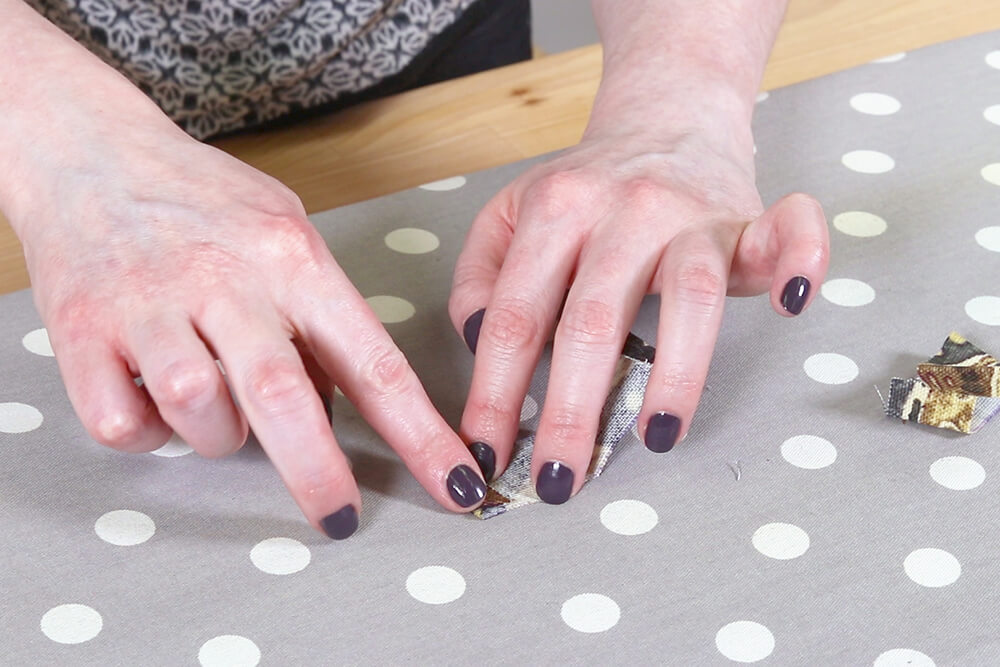
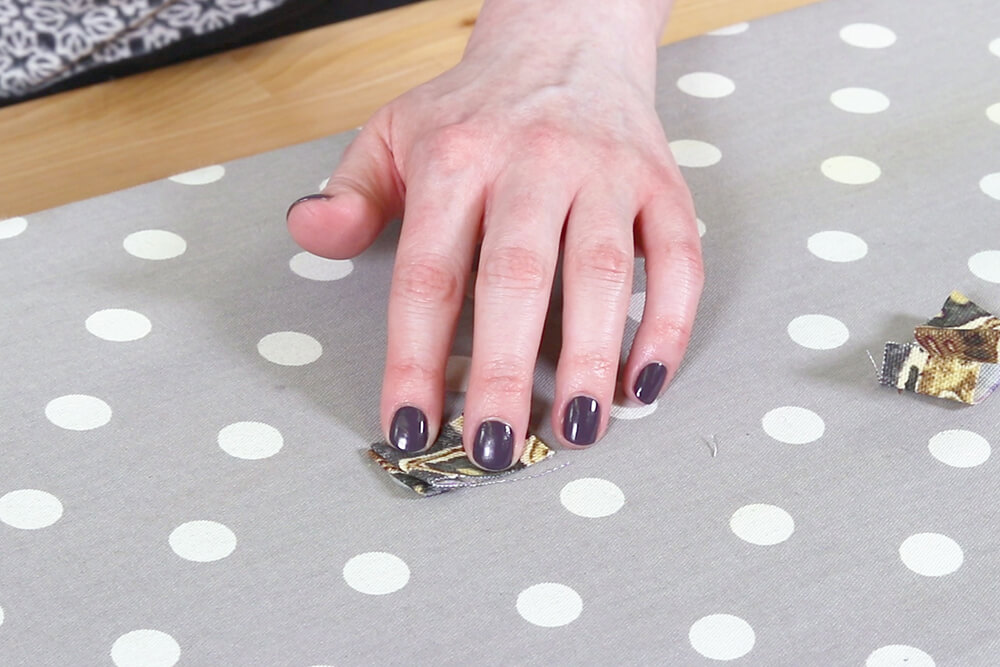
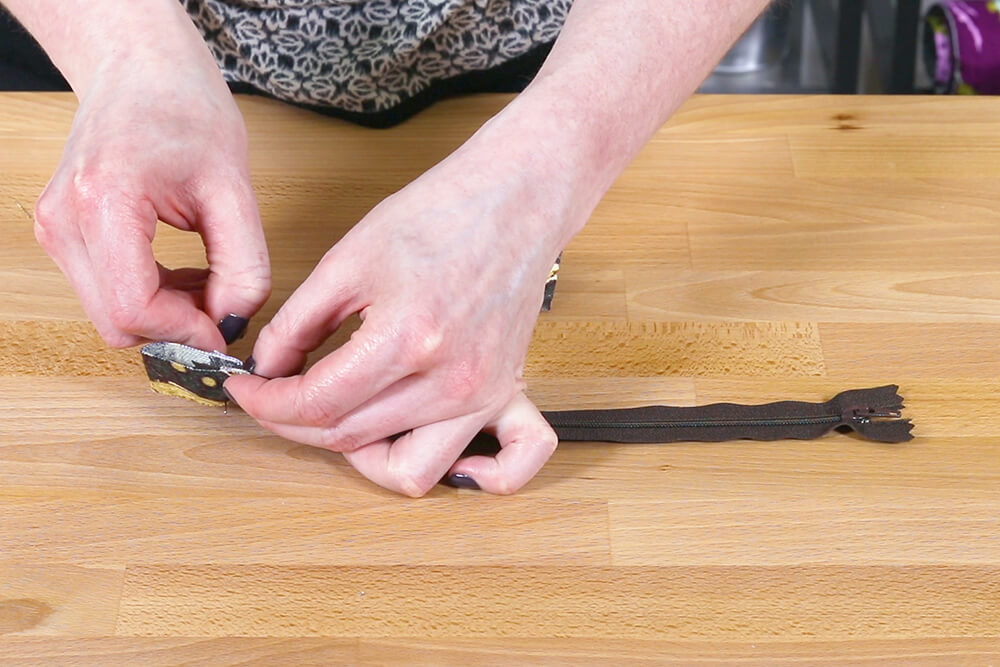
Sandwich the ends of the zipper between the fabric and sew across 1/8 to 1/4 inch from the edge.
Do the same thing for the other end. You can unzip a little so the tab isn’t in the way.

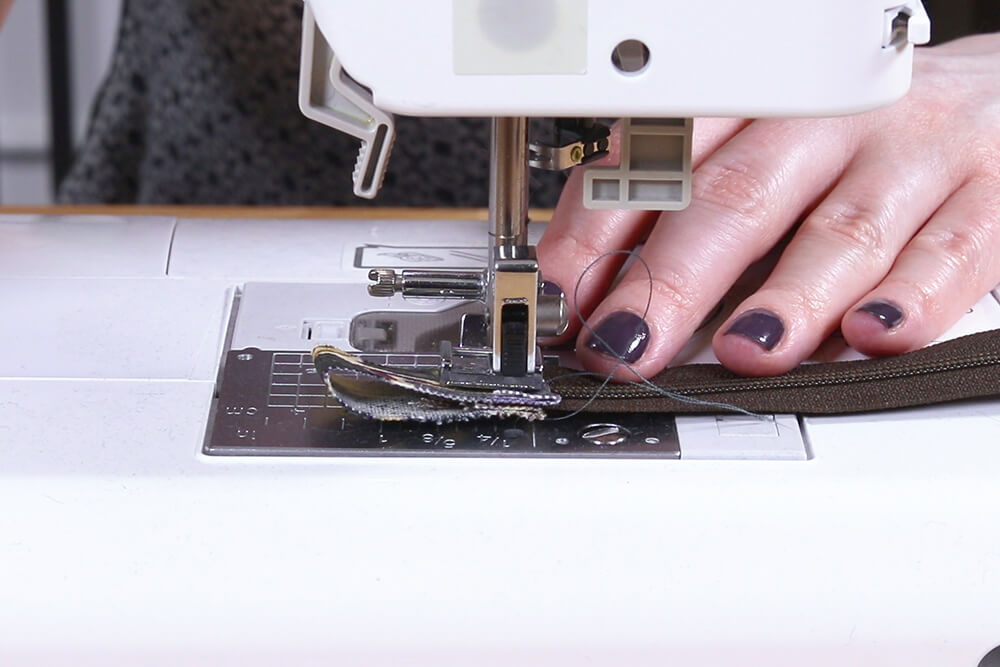
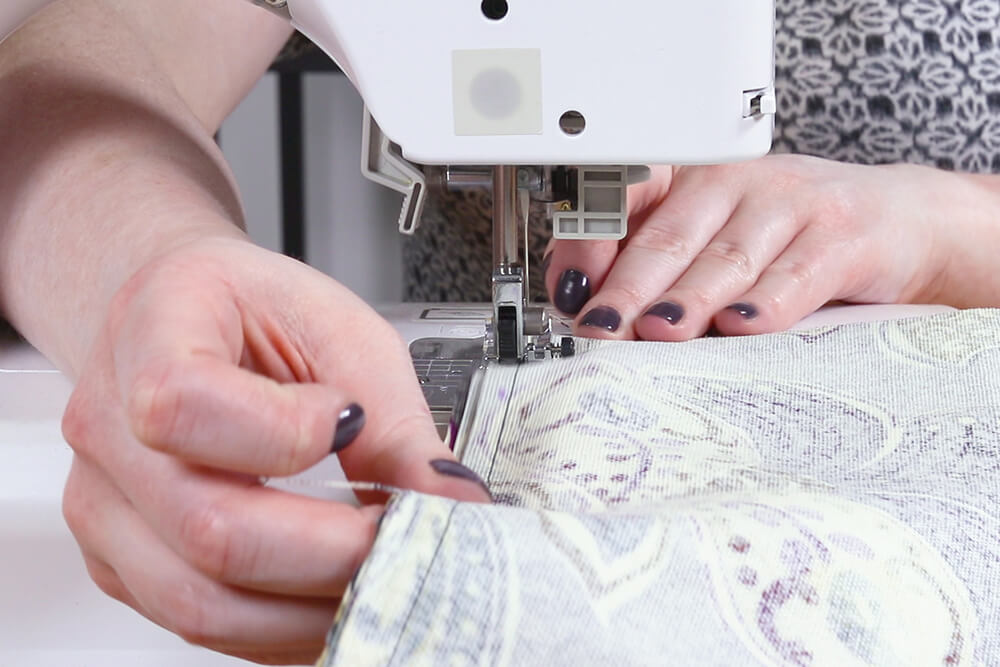
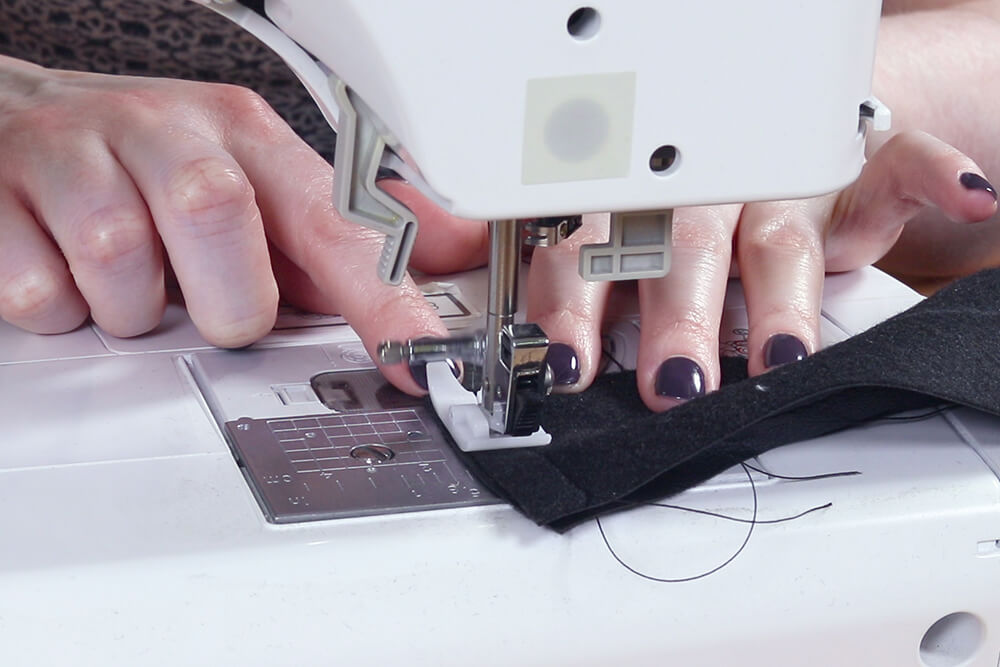
Place the zipper on the top right side edge of one of the zipper compartment pieces. Place another piece on top with the right side down so all 3 edges line up. Pin or clip in place.
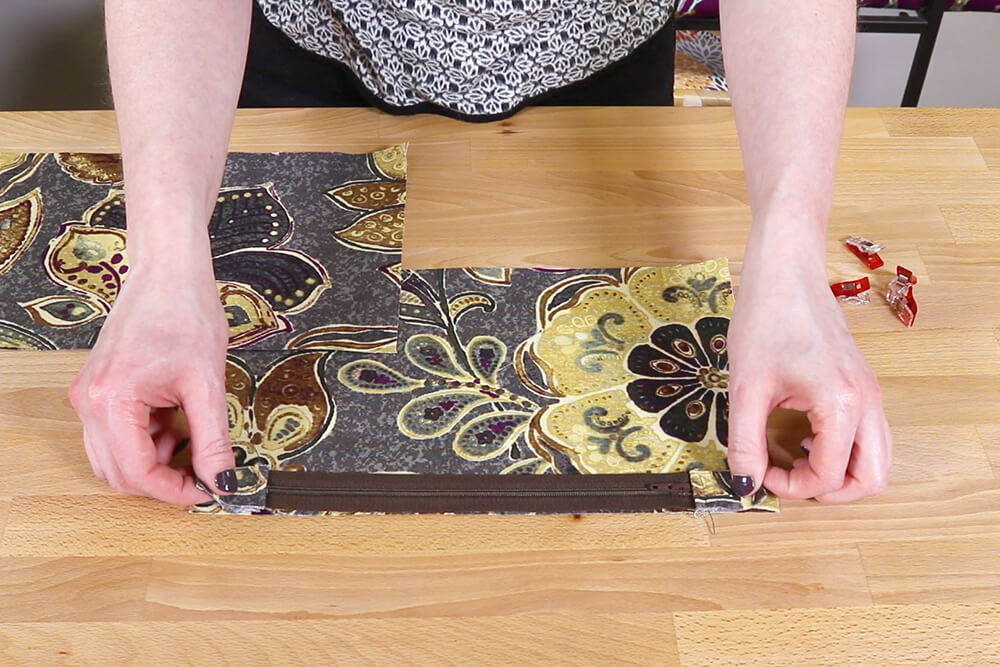
Sew close to the zipper. You may have to move the tab part way through.
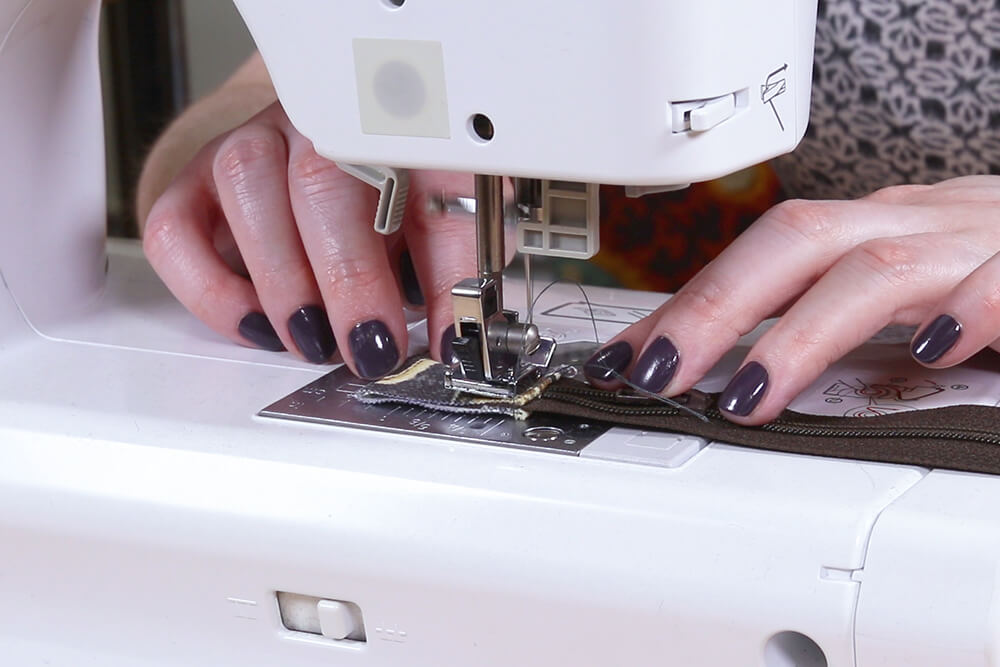
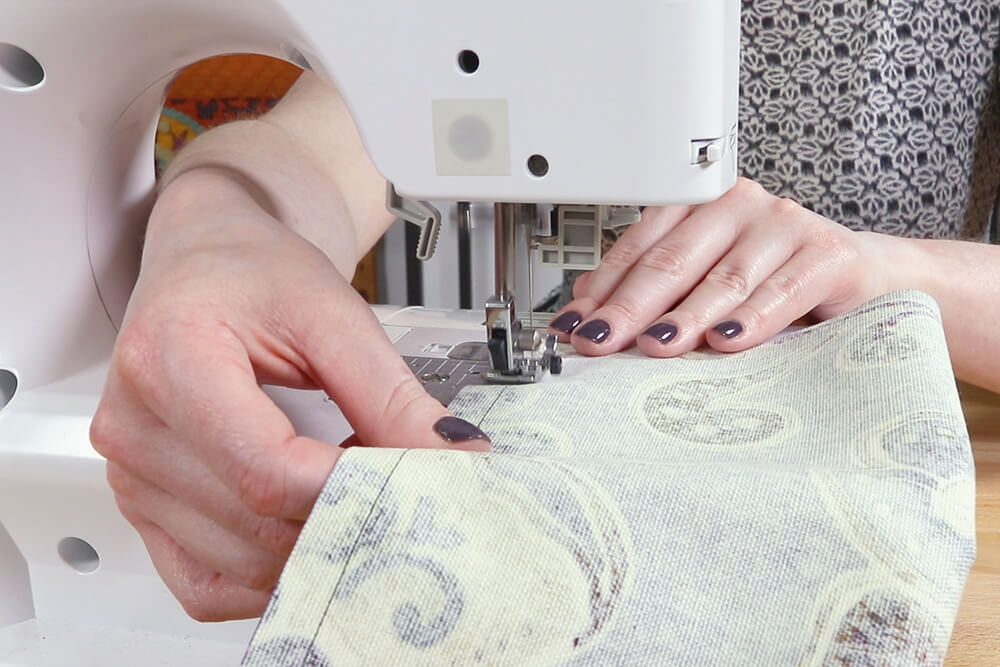
Repeat for the other side of the zipper using the other 2 zipper compartment pieces.
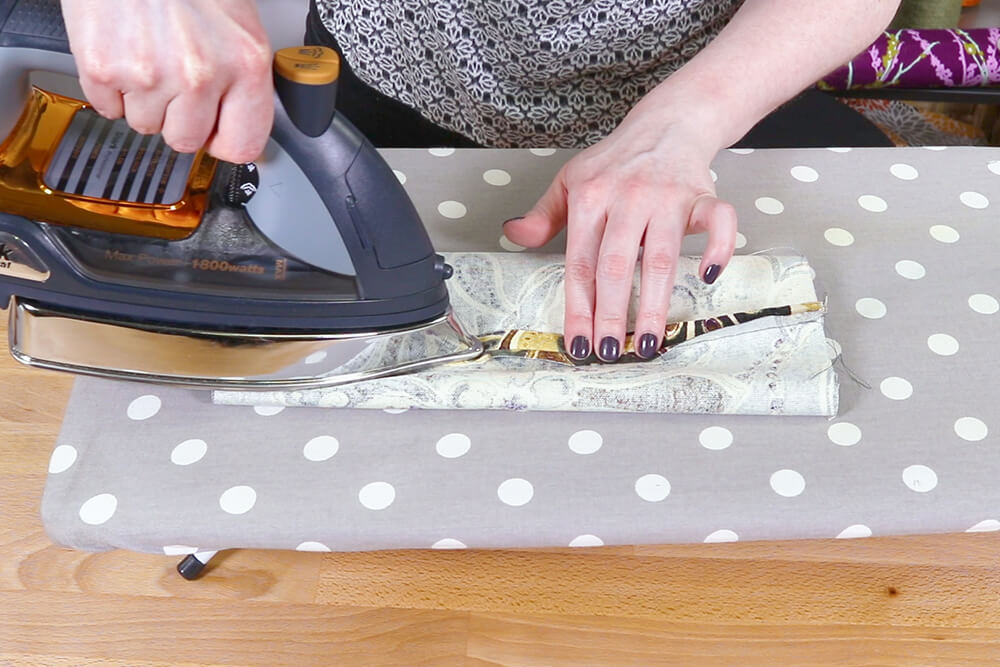
Iron the seams on both sides of the zipper.
Take one of the lining front/back pieces and place it on the zipper compartment with the right side facing down and pin the bottom edges together. Baste across the bottom. You can use a long stitch, like 5mm, and 1/4″ seam allowance.
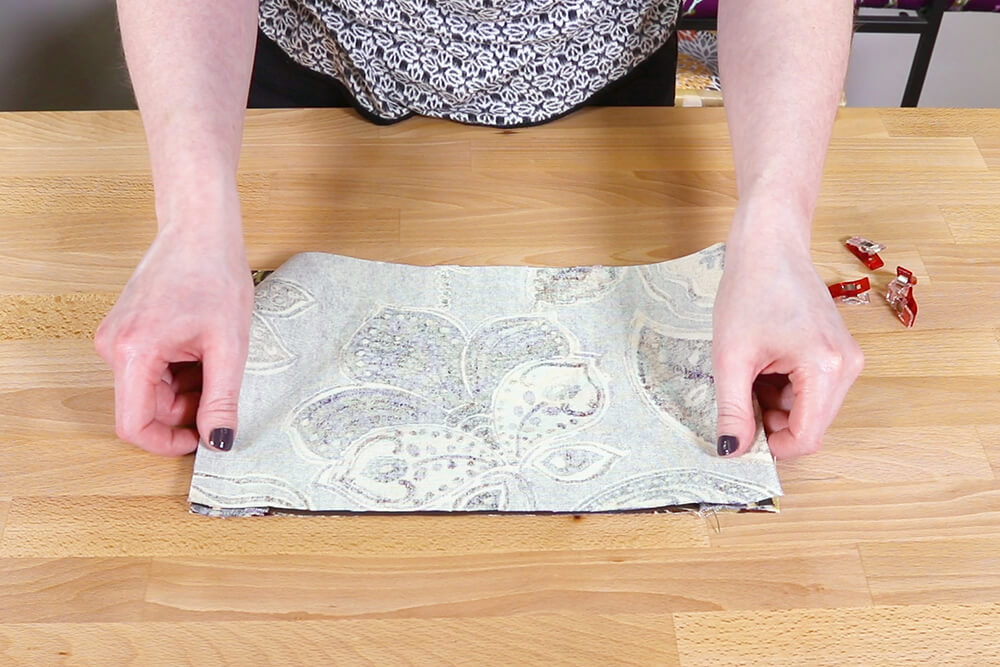
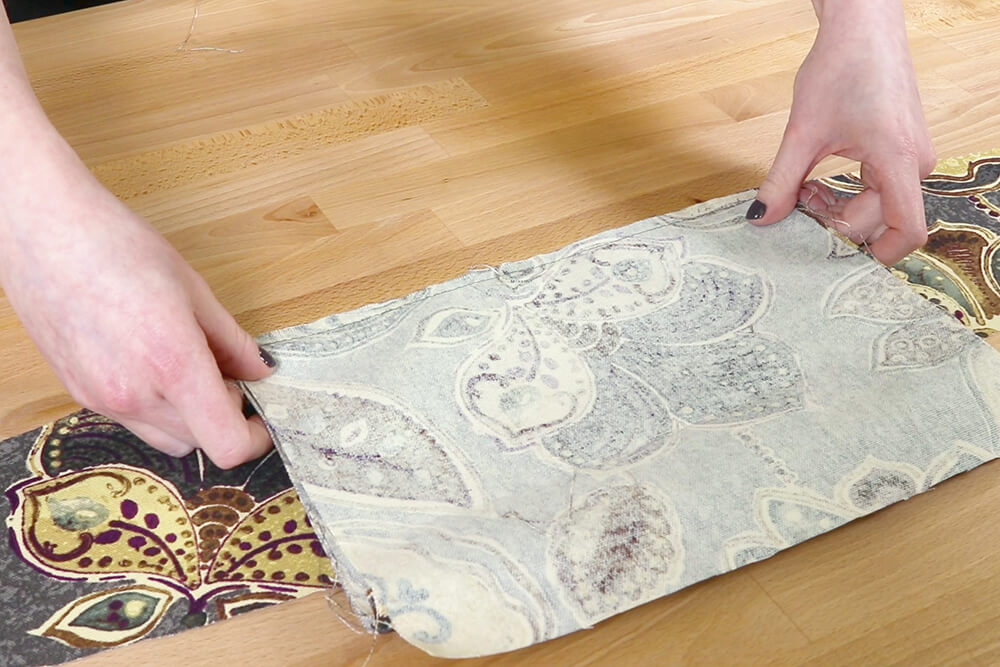
Step 3: Make the interior pockets
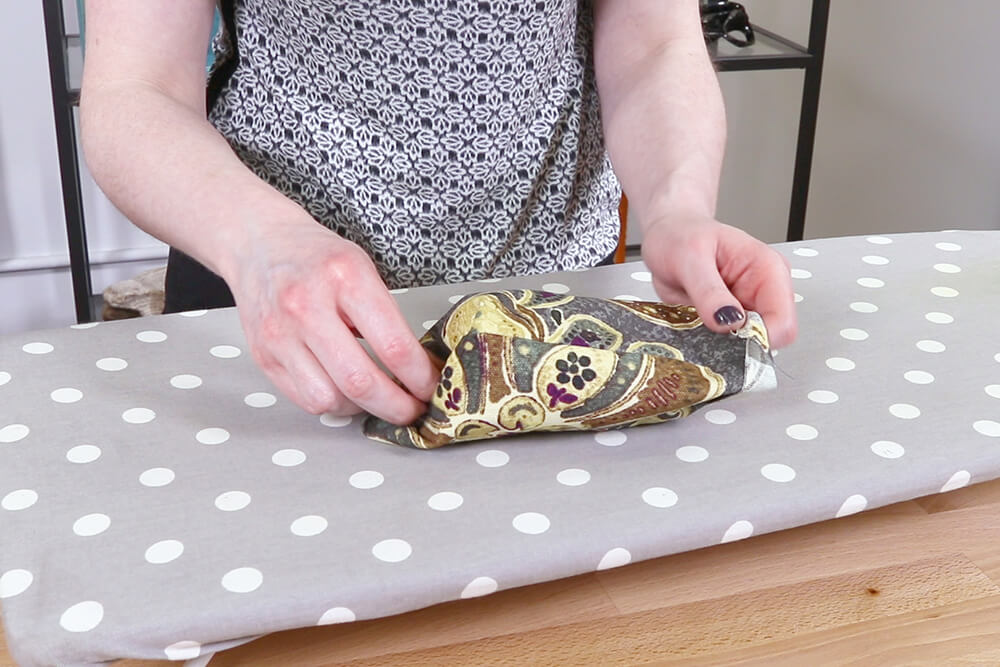
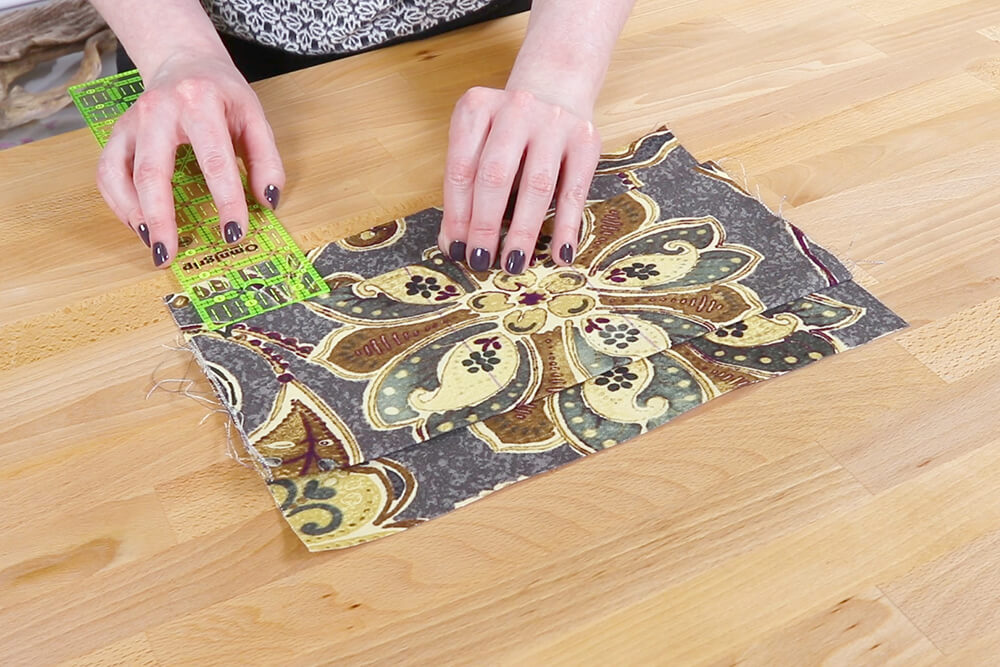
Fold the lining pocket in half with right sides facing and sew across the longer side.

Iron the seam open.
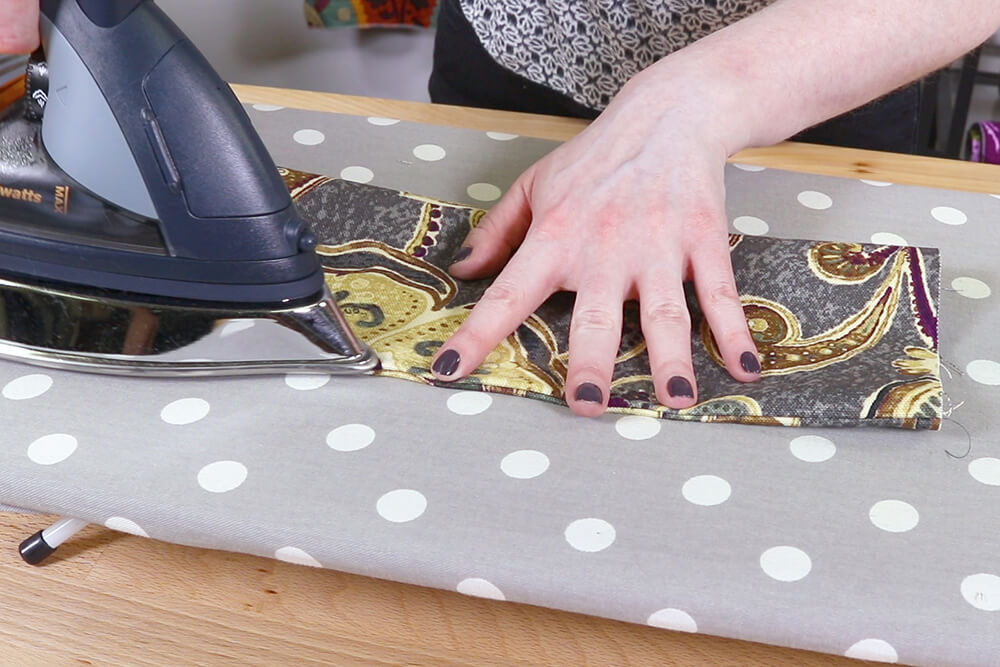
Turn it right side out and iron the piece in half with the seam at the bottom.
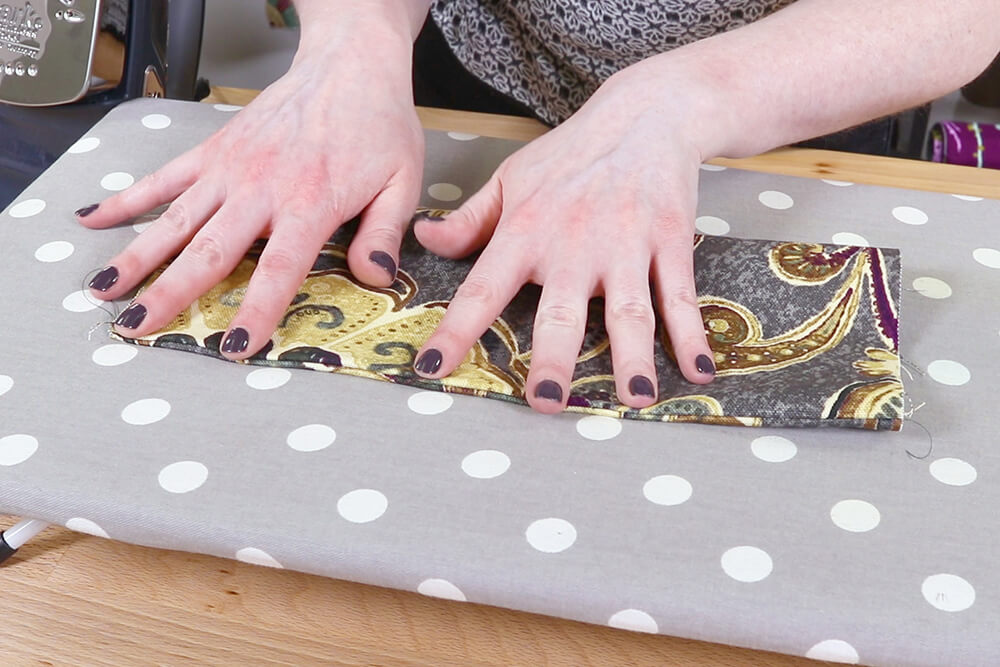
Use a fabric marker to draw the vertical lines that are on the pattern piece.
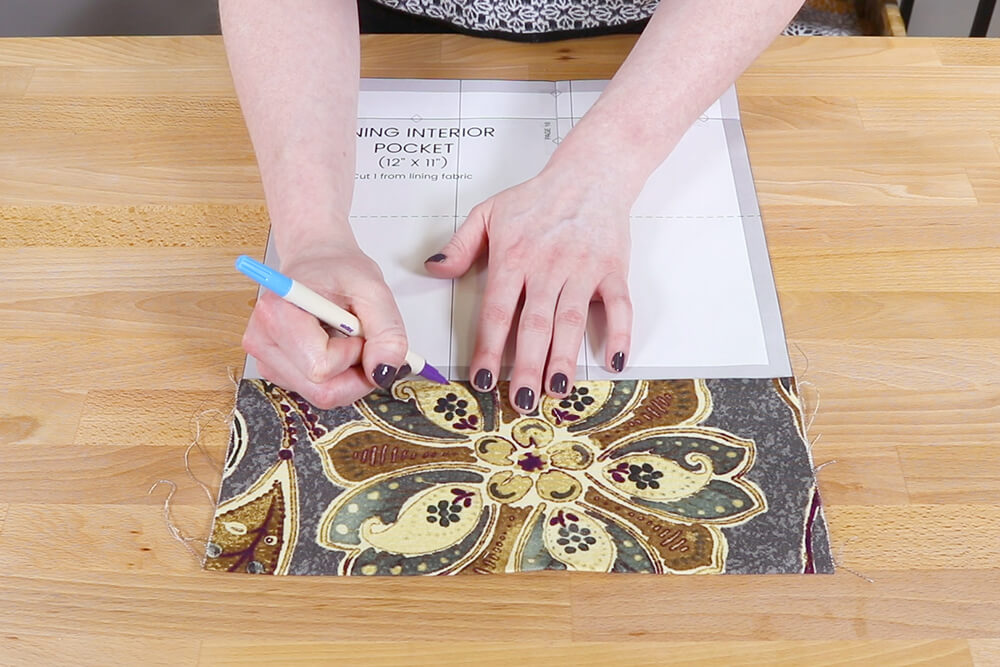
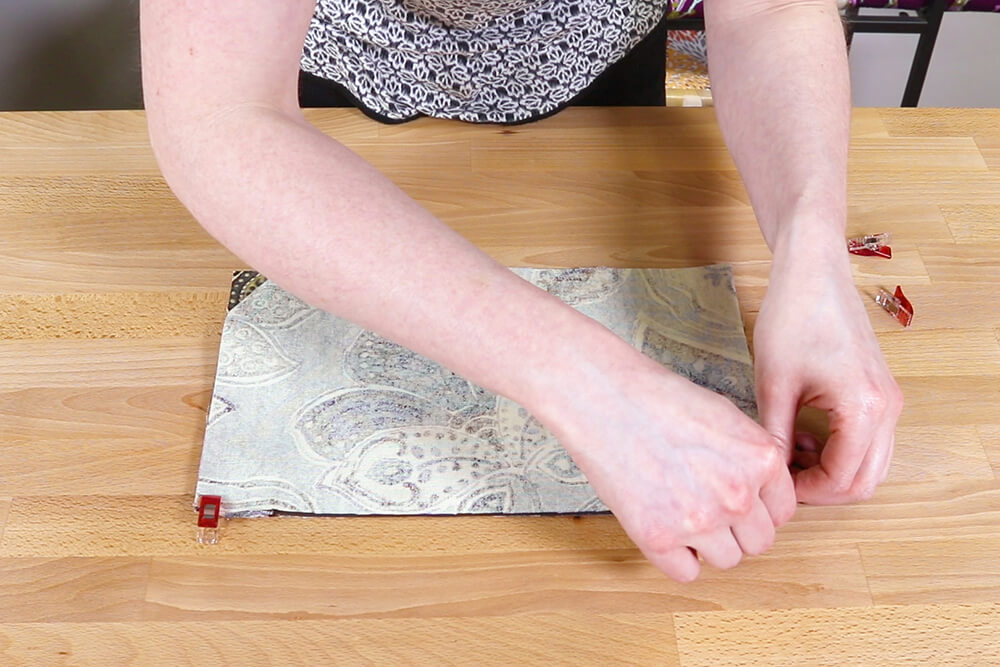
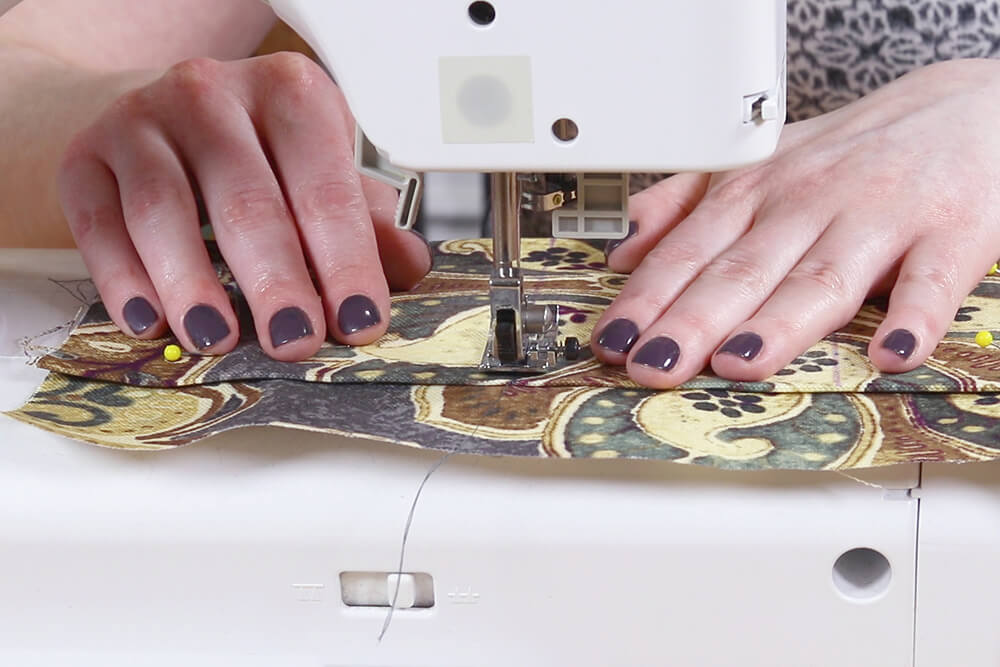
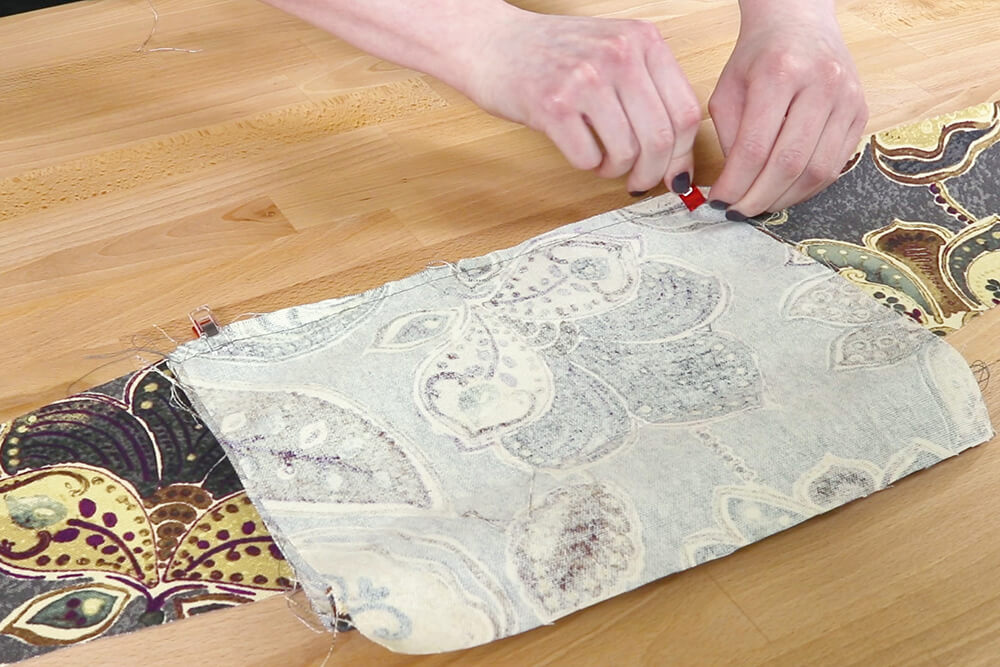
Place the pocket on the other lining front/back piece about 1 and 3/4 inches from the bottom and pin.
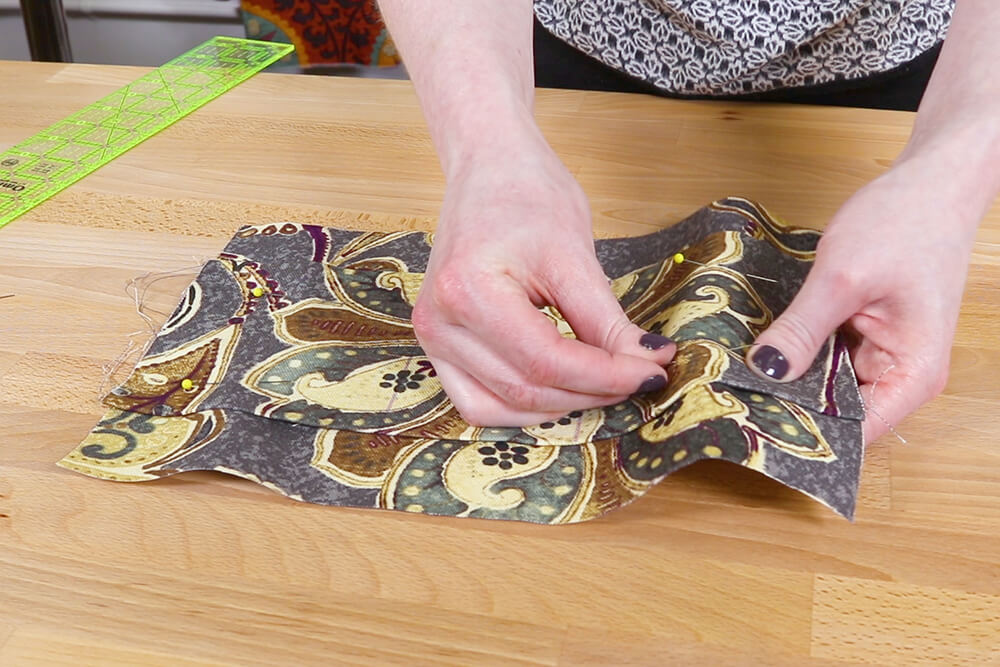
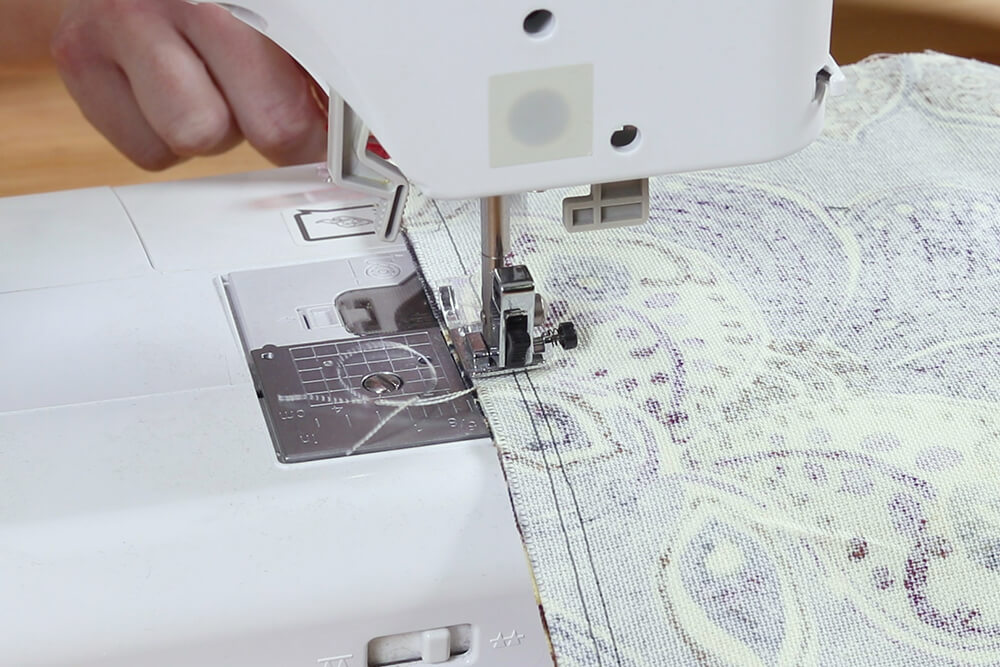
Sew on the lines, backstitching at the beginning and end.
Sew across the bottom of the pocket.
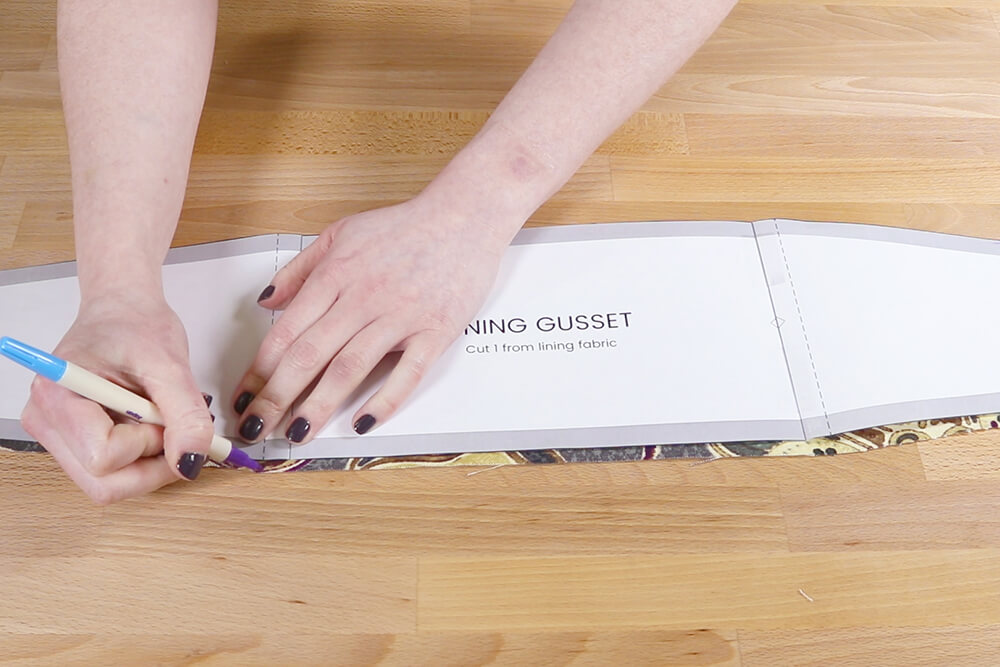
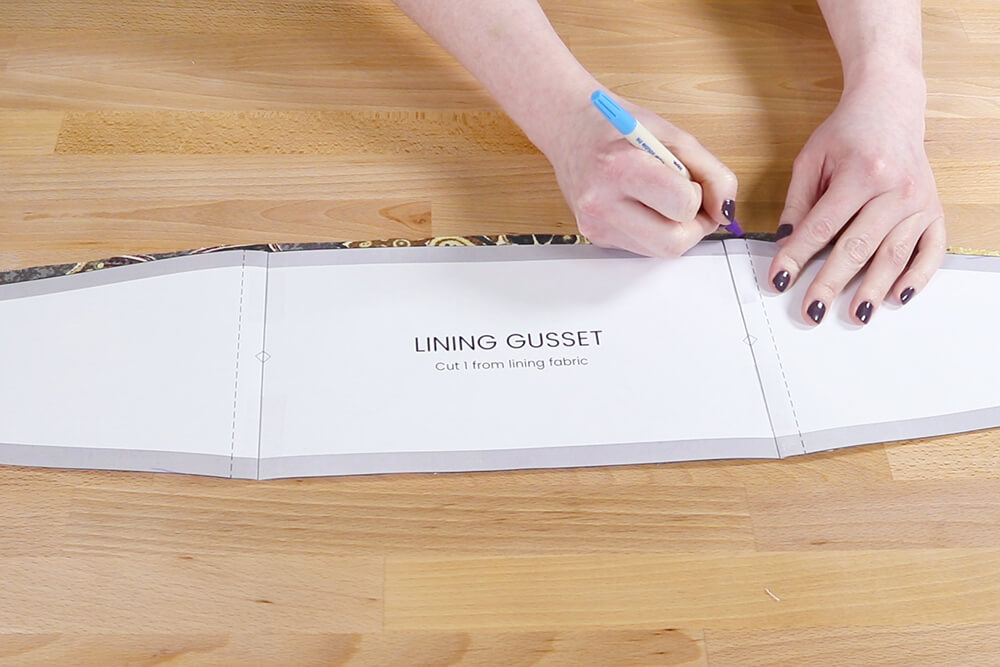
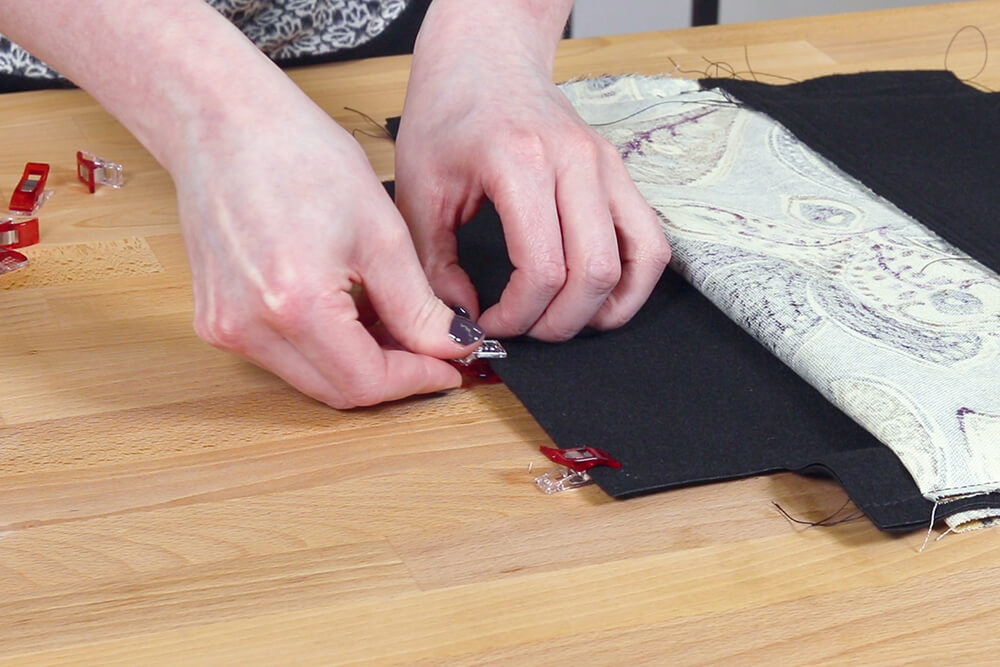
Step 4: Sew the lining gusset
Use the gusset pattern piece to mark the dotted line on the edges of the gusset fabric.
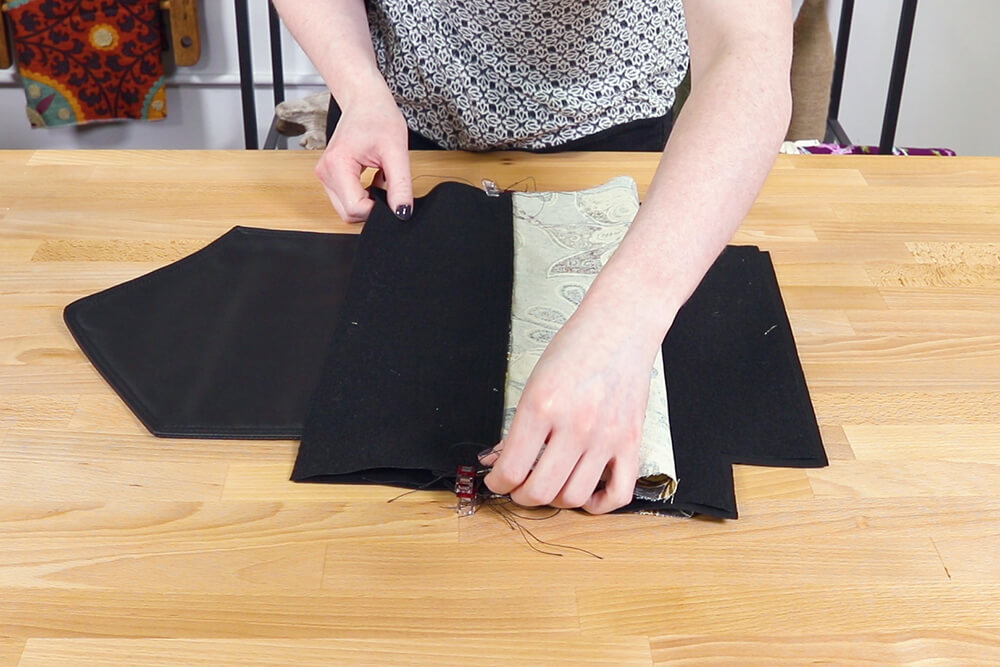
Center the side with the zipper compartment on the edge of the gusset with right sides facing and clip. Make sure you’re clipping the bottom of the zipper compartment here.
Sew between the marks with a 1/2″ seam allowance.
Line up the sides, clip, and sew.

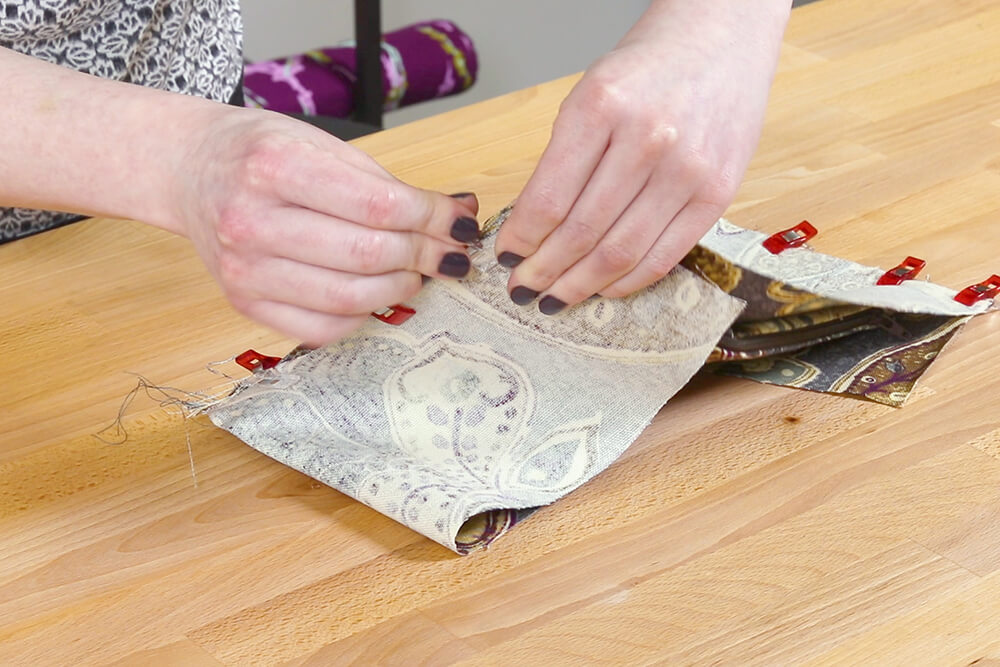
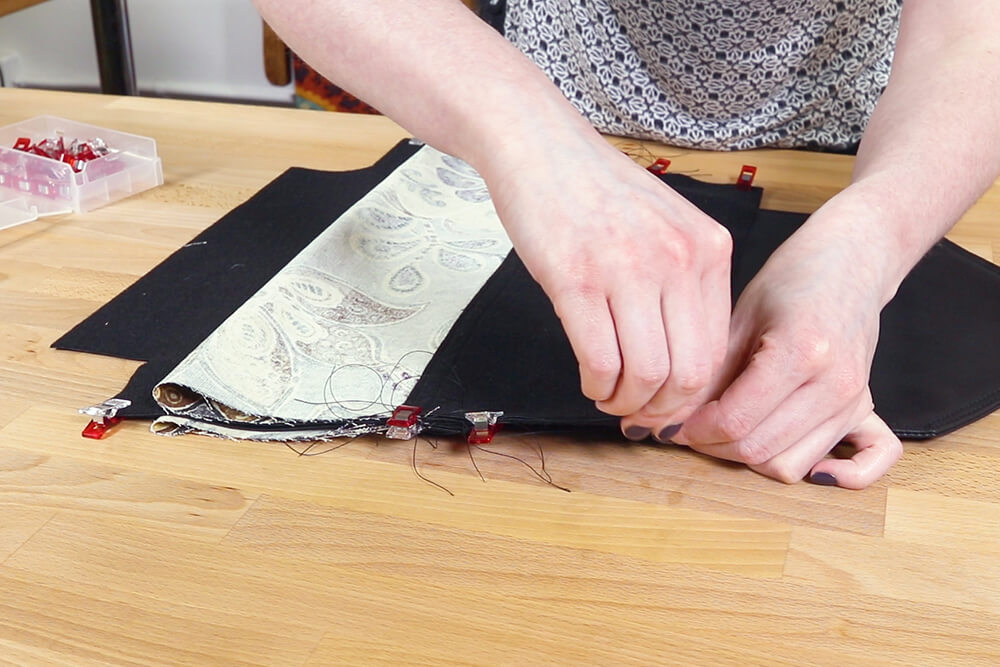
Clip the pocket side of the lining and the gusset together on the bottom and sides.
This time I’m going to leave a large opening in the bottom.
Sew down the sides and stop about an inch after the corners. This opening is for turning the bag right side out after sewing the outer vinyl and the lining together.
Trim the seams and the lining is done.

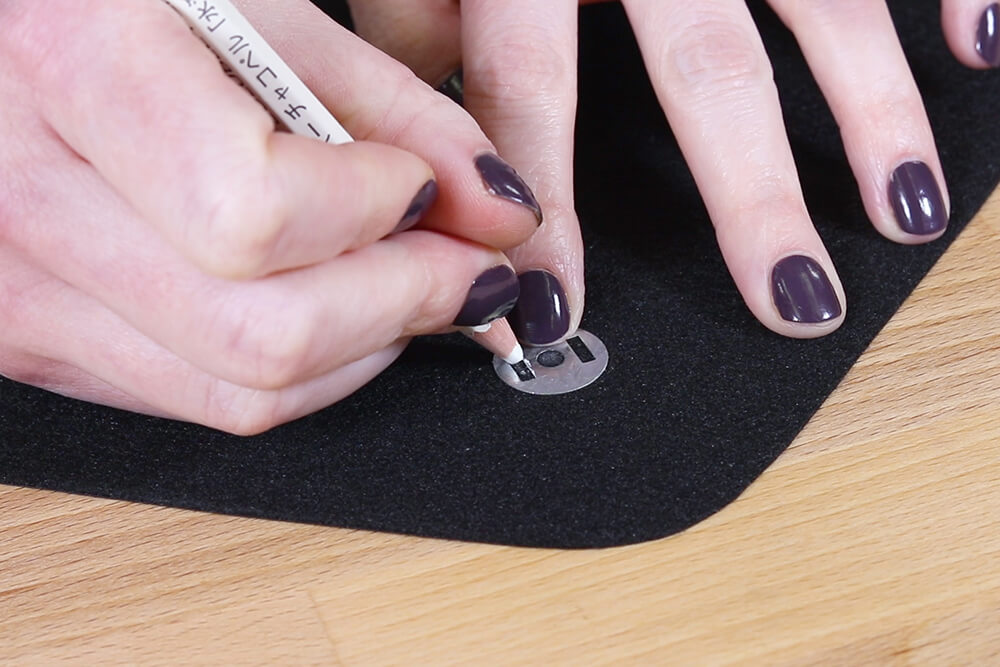
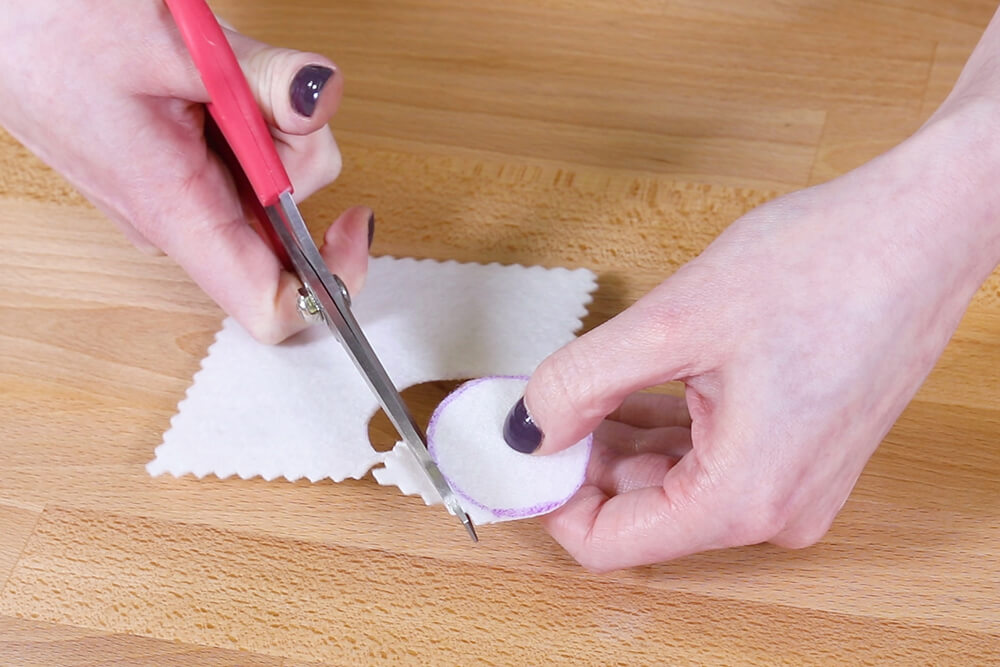
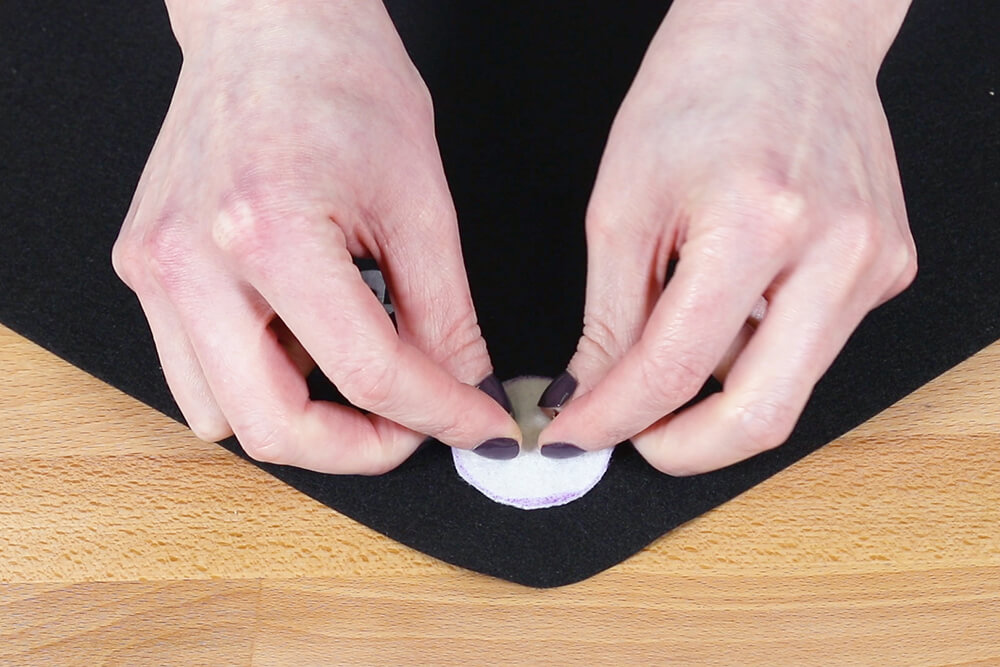
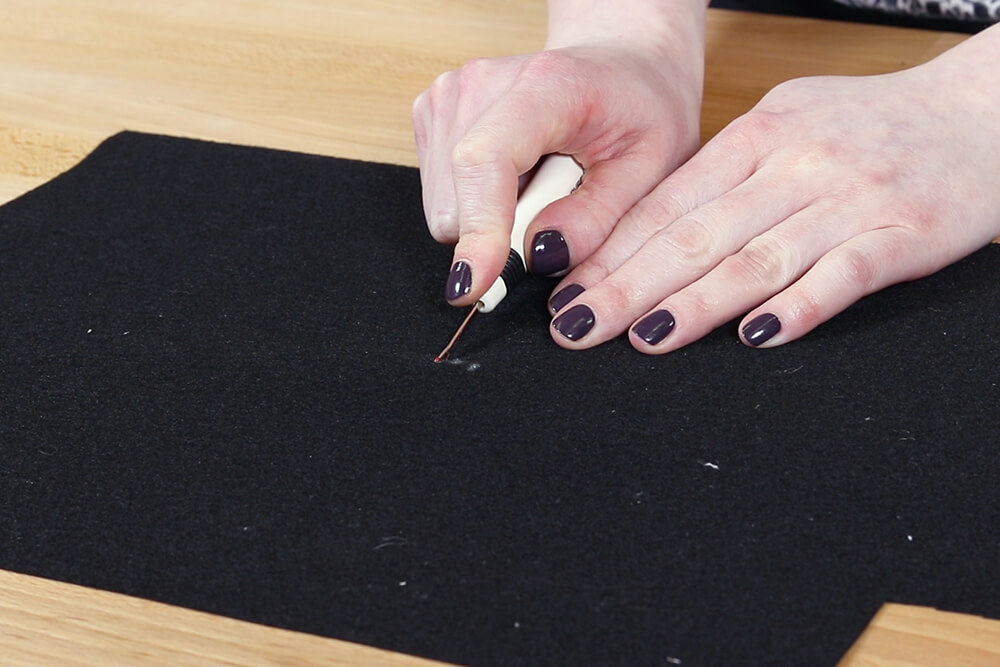
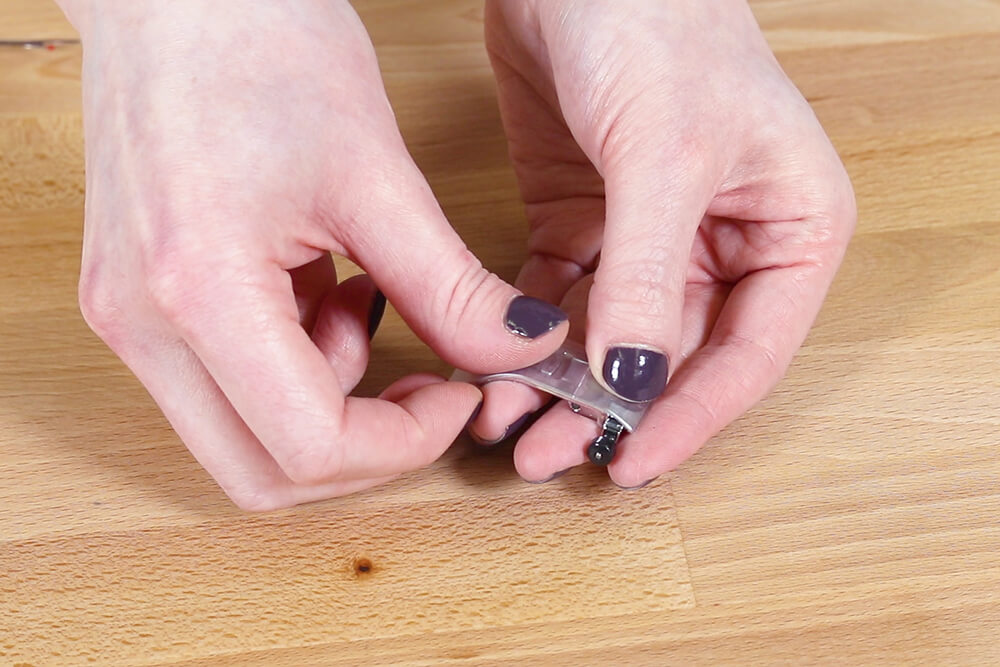
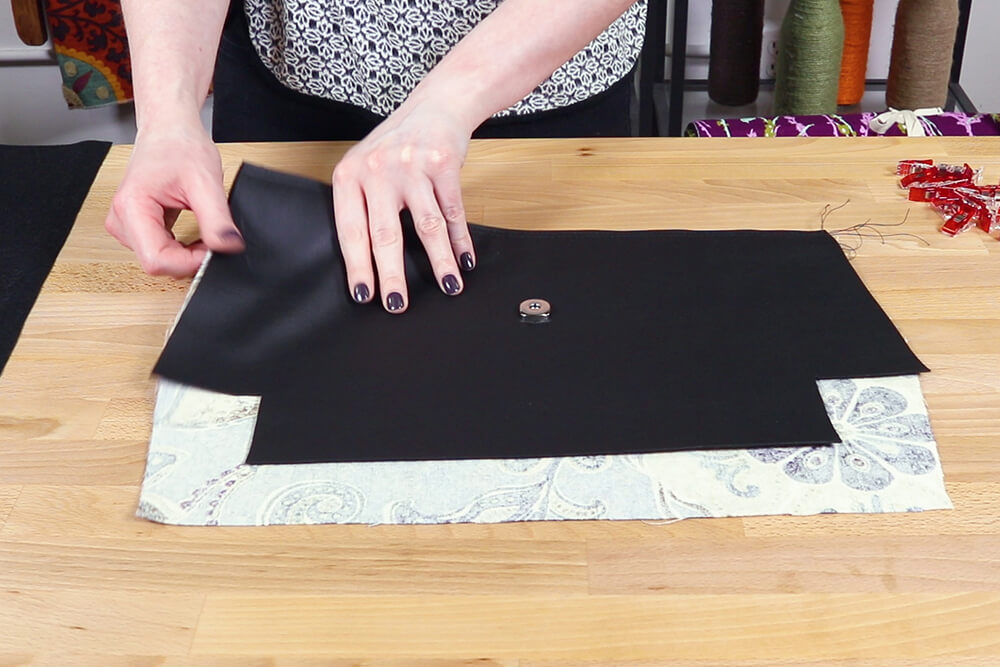
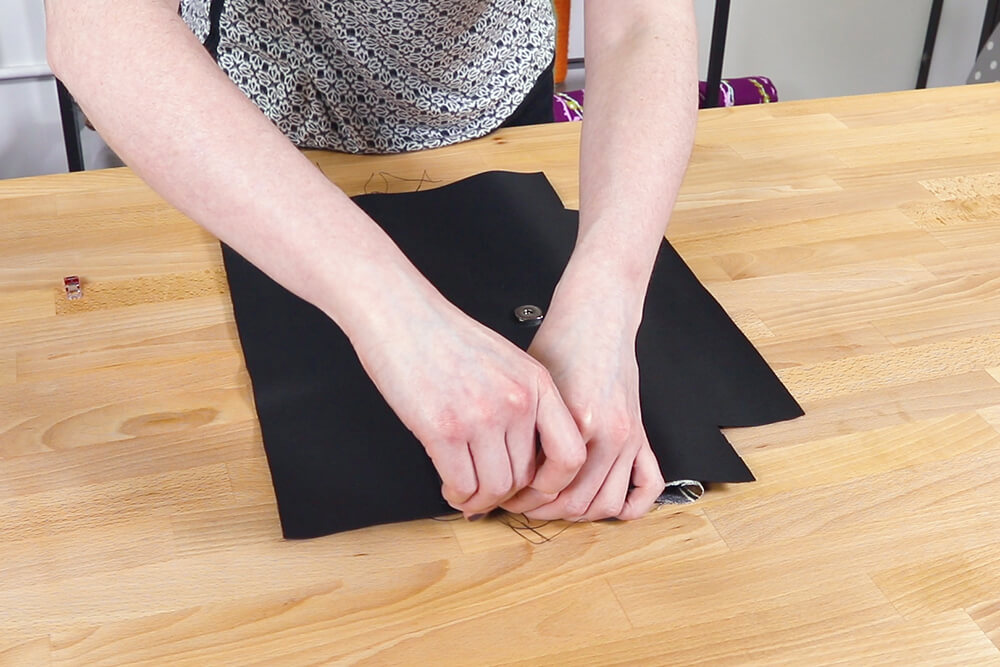
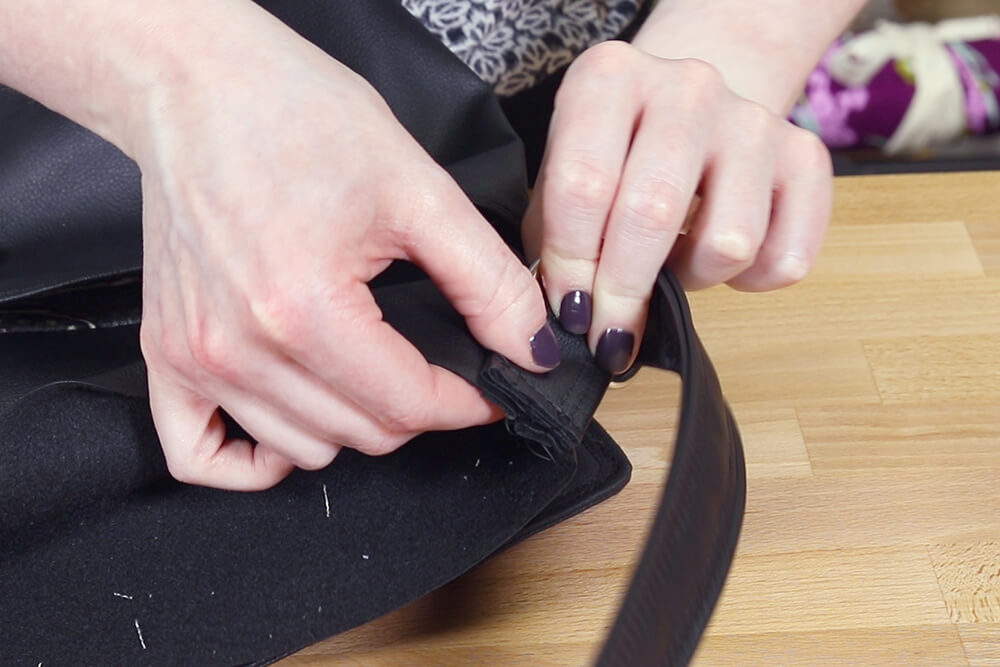
Step 5: Attach the magnetic snap
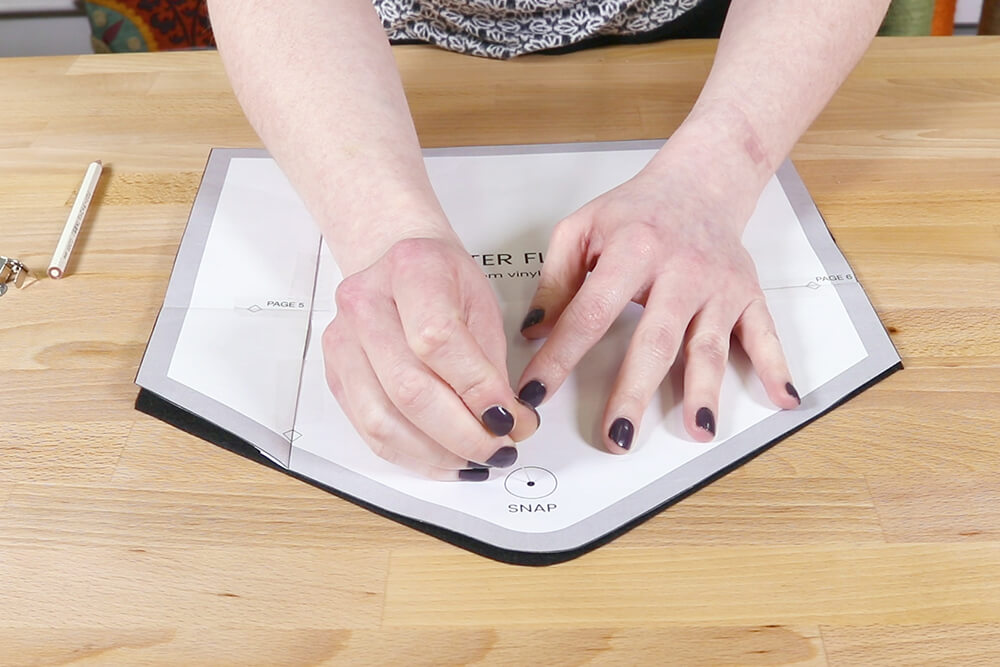
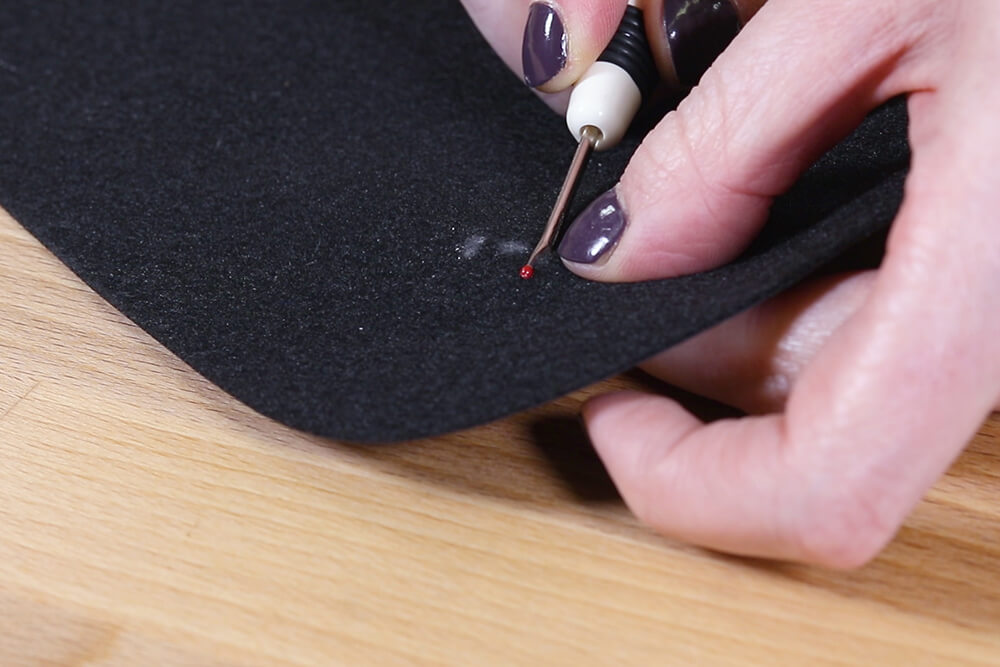
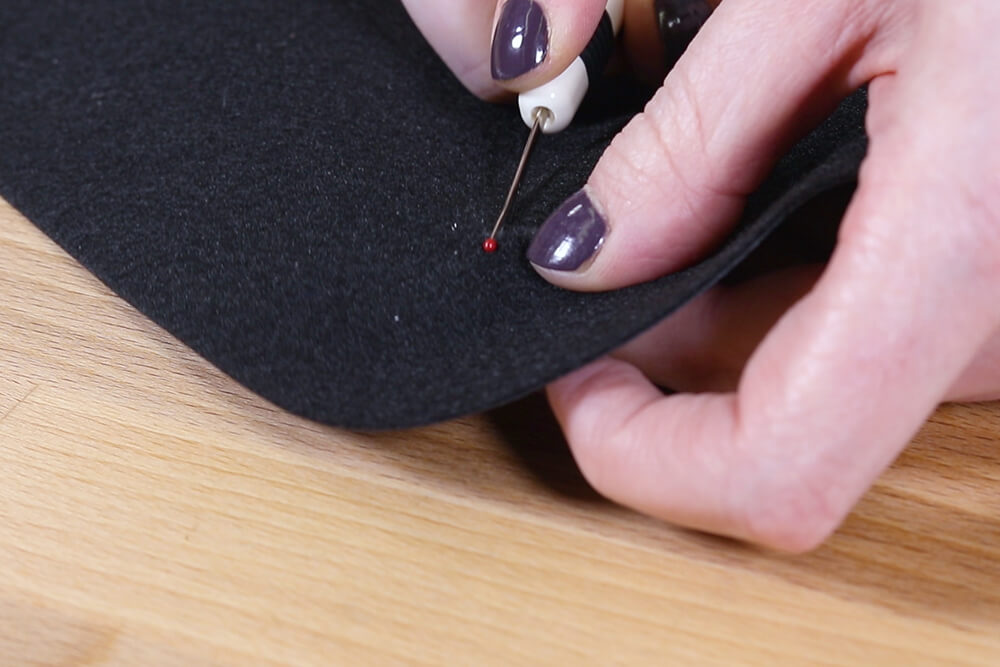
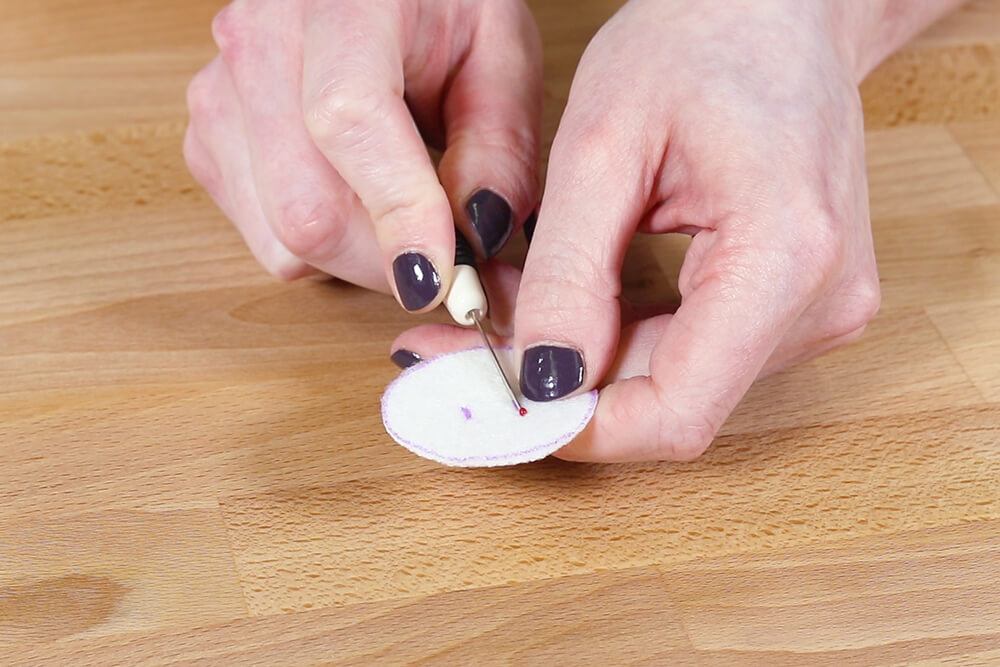
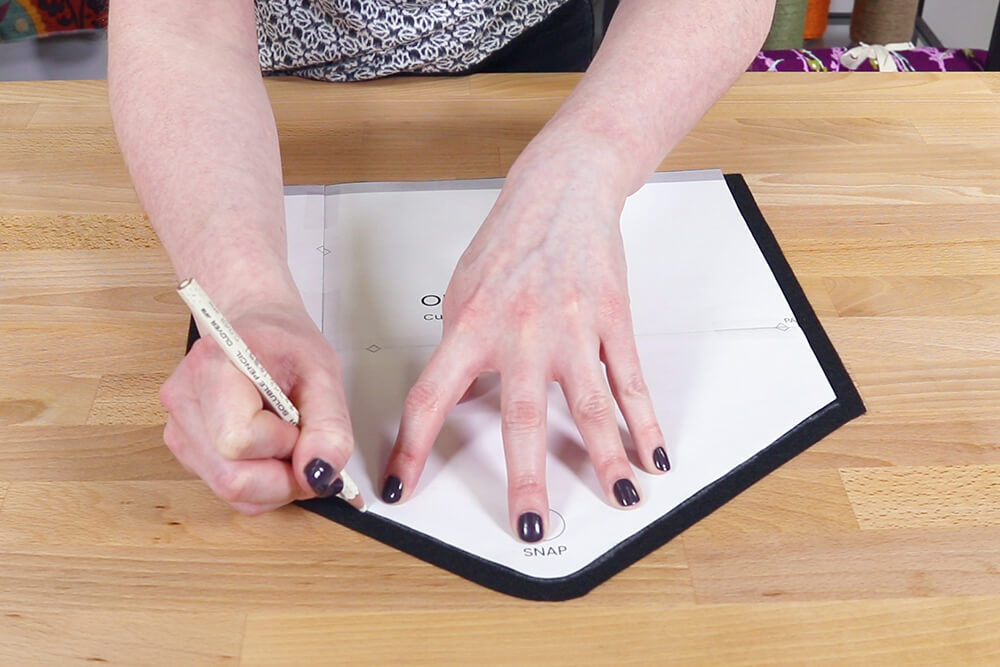
Place the pattern on one of the flap pieces. Poke a hole through the snap marking with a pin and mark the center dot.
Line up the metal backing on the dot and mark the two slots.
Use a seam ripper to cut slits just big enough for the prongs to fit through from the front side of the fabric.
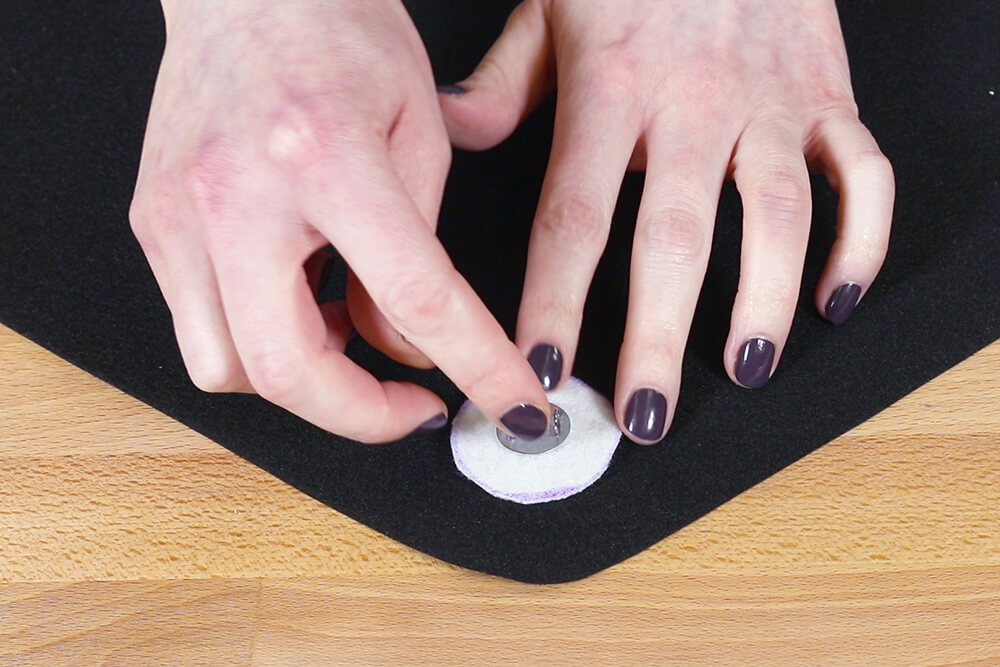
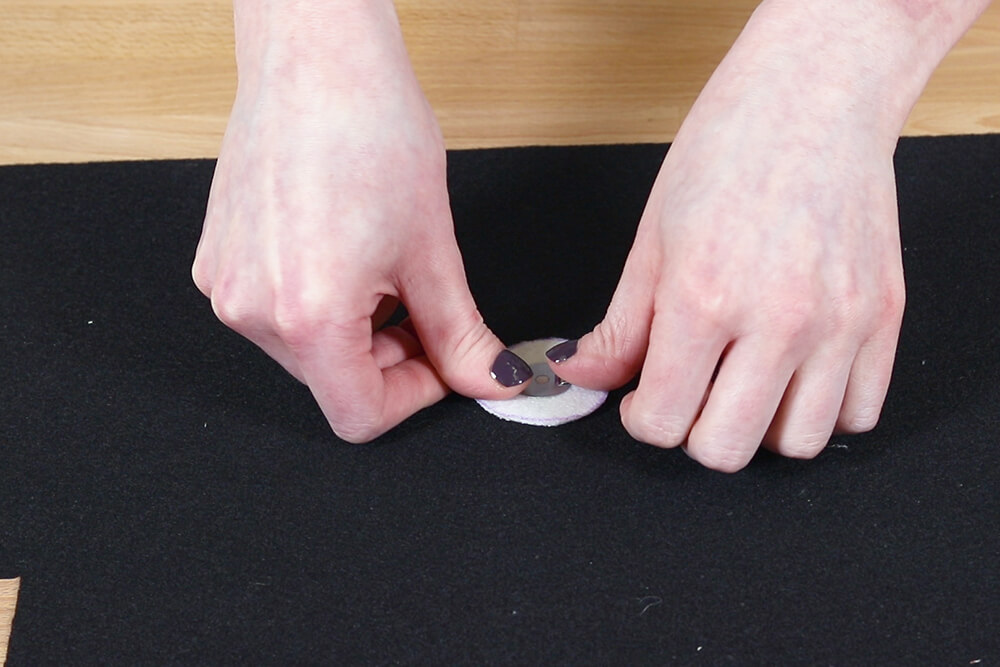
You can use a heavy stabilizer or a piece of cardboard to reinforce the snap on the back.
Cut out a piece a little larger than the snap and cut the slits.
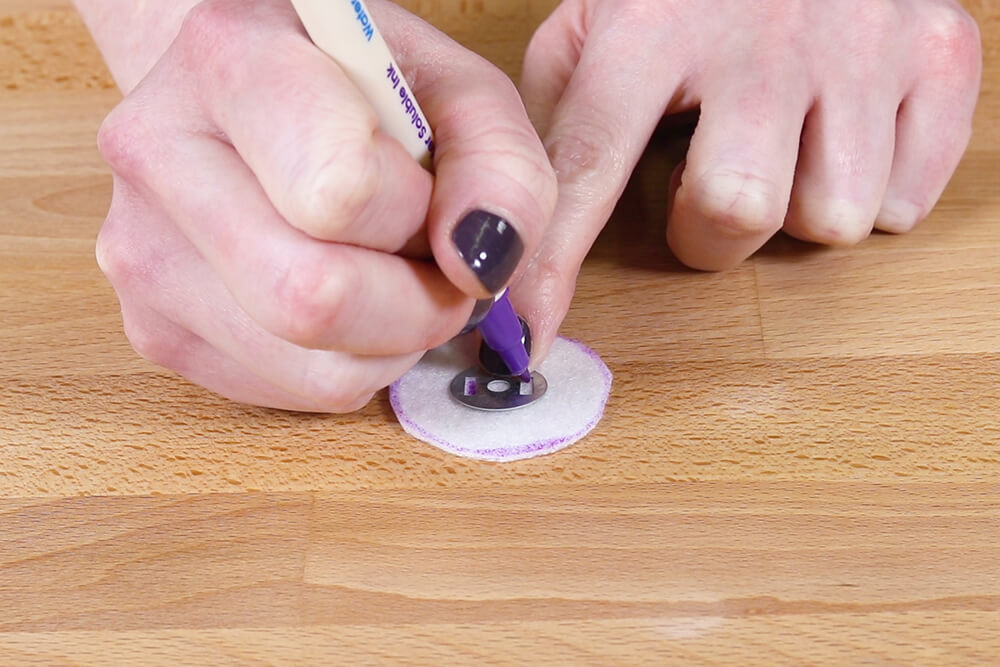
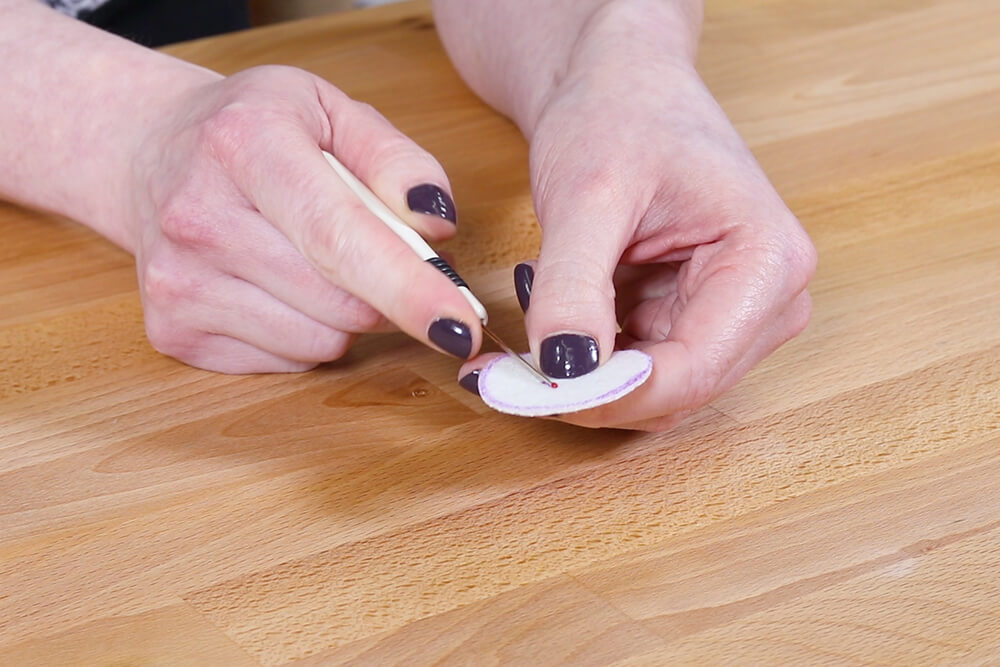
Slide it onto the back followed by the metal support. Use your fingers or pliers to bend down the prongs so they lay flat.
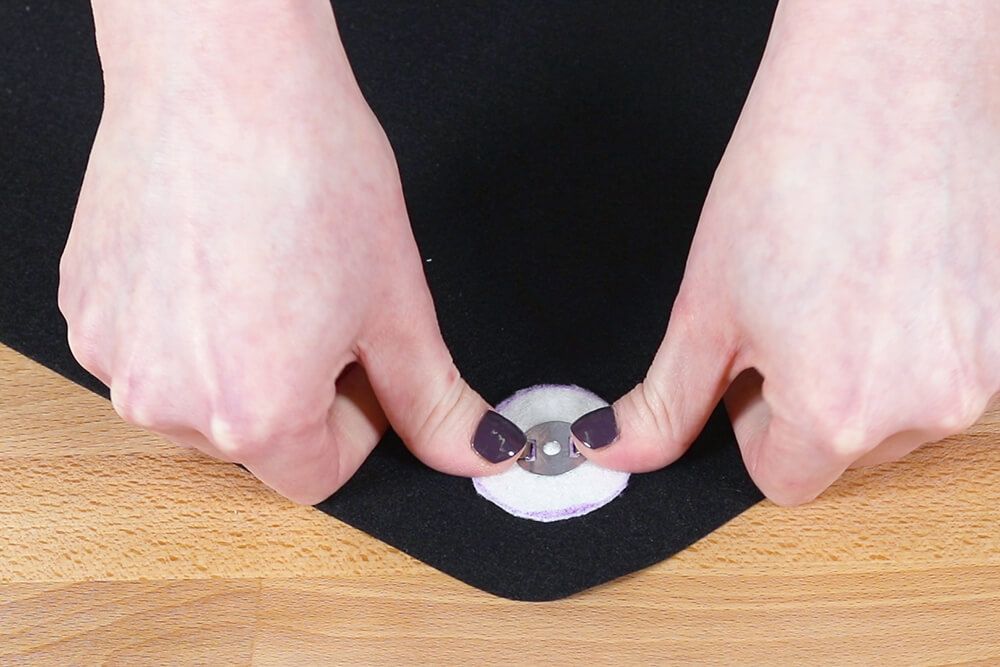
Repeat for the other side of the snap on one of the outer pocket pieces.
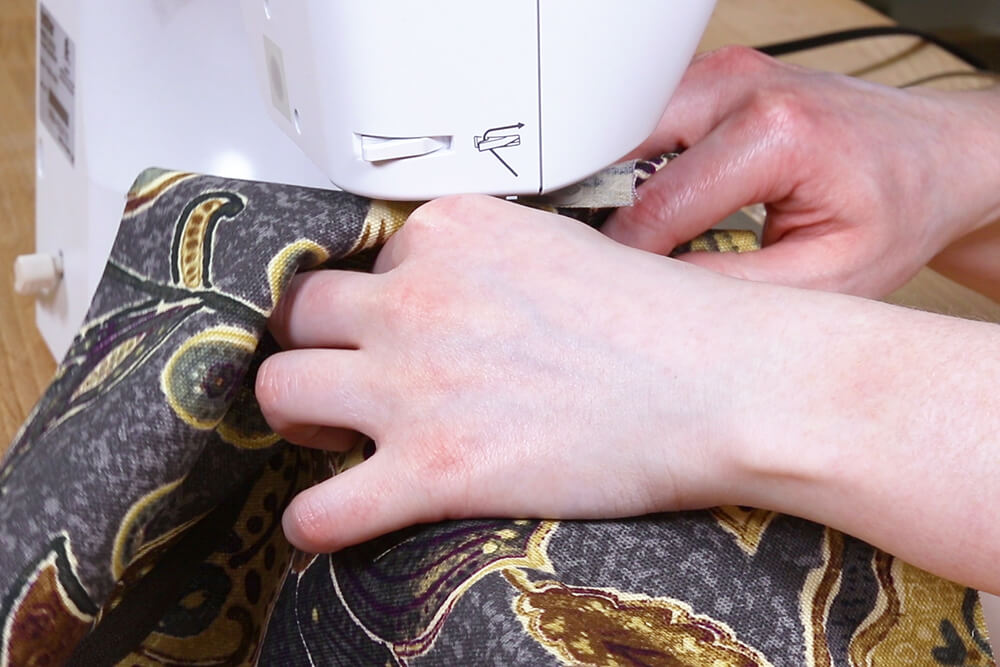
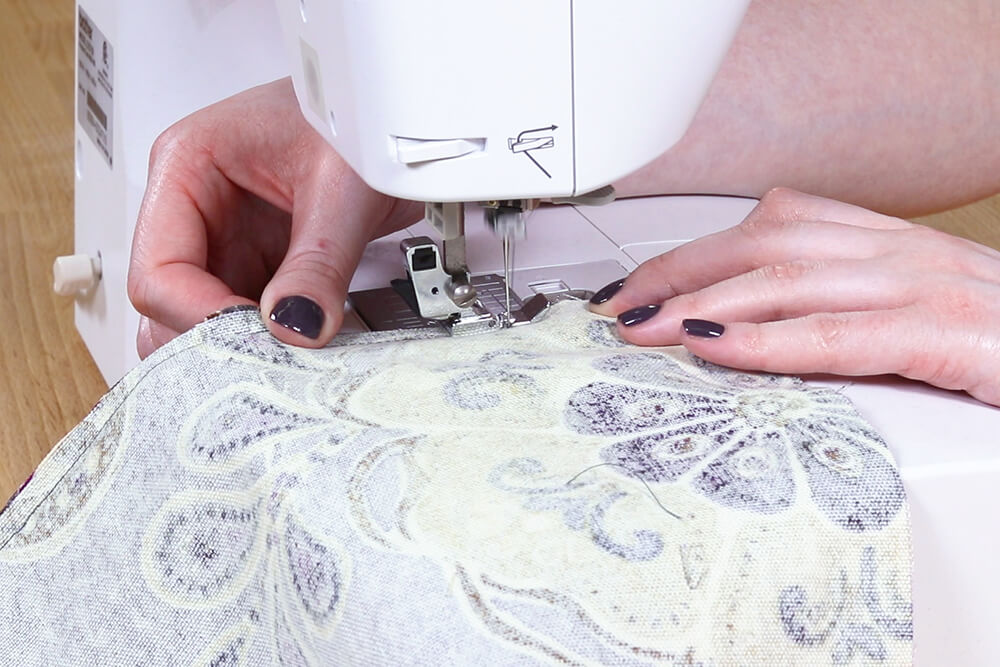
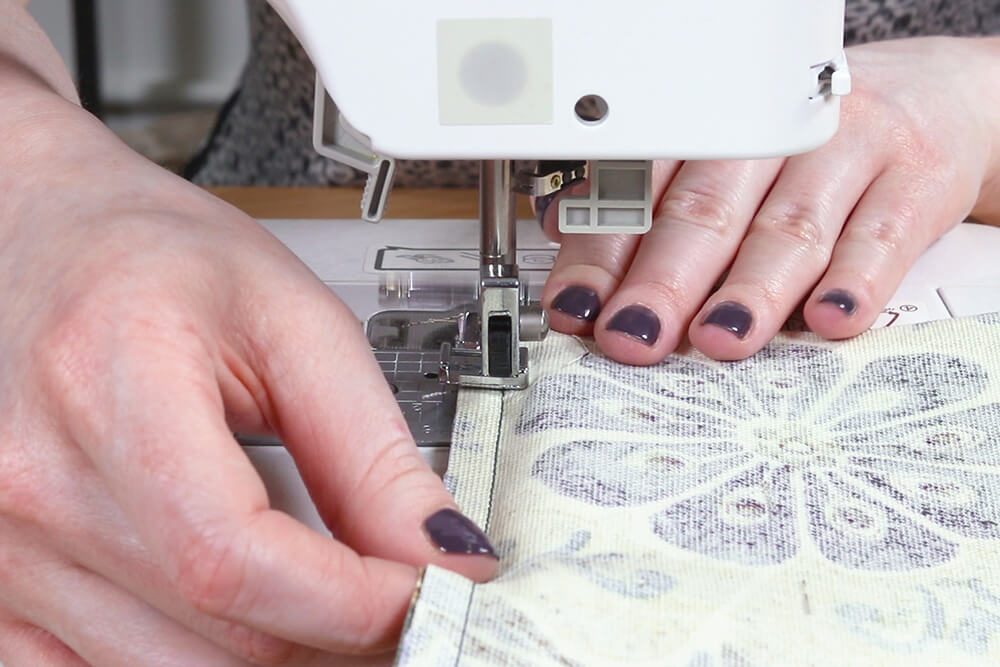
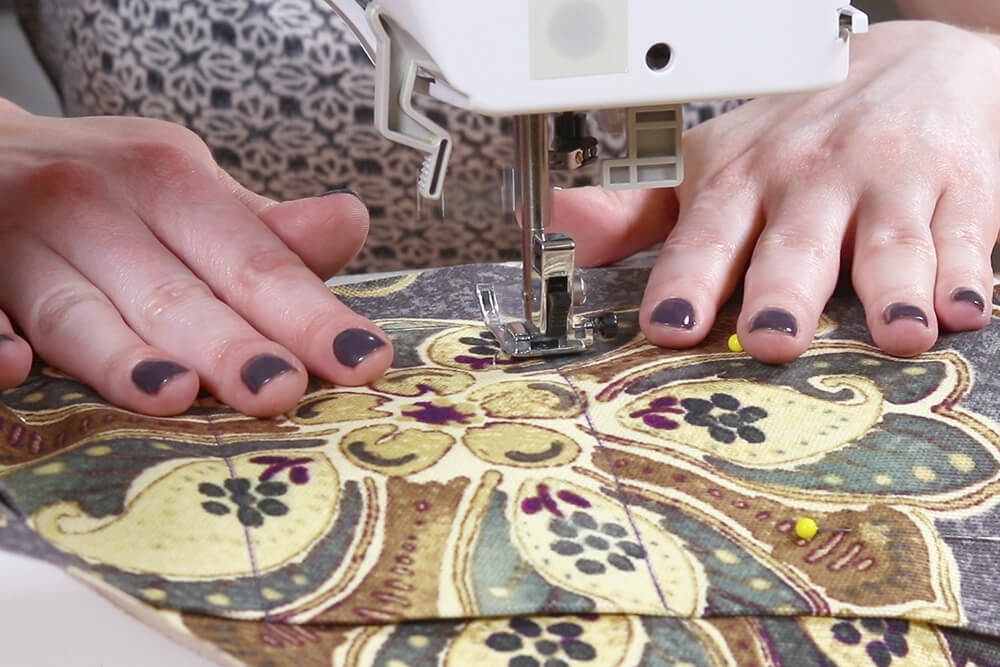
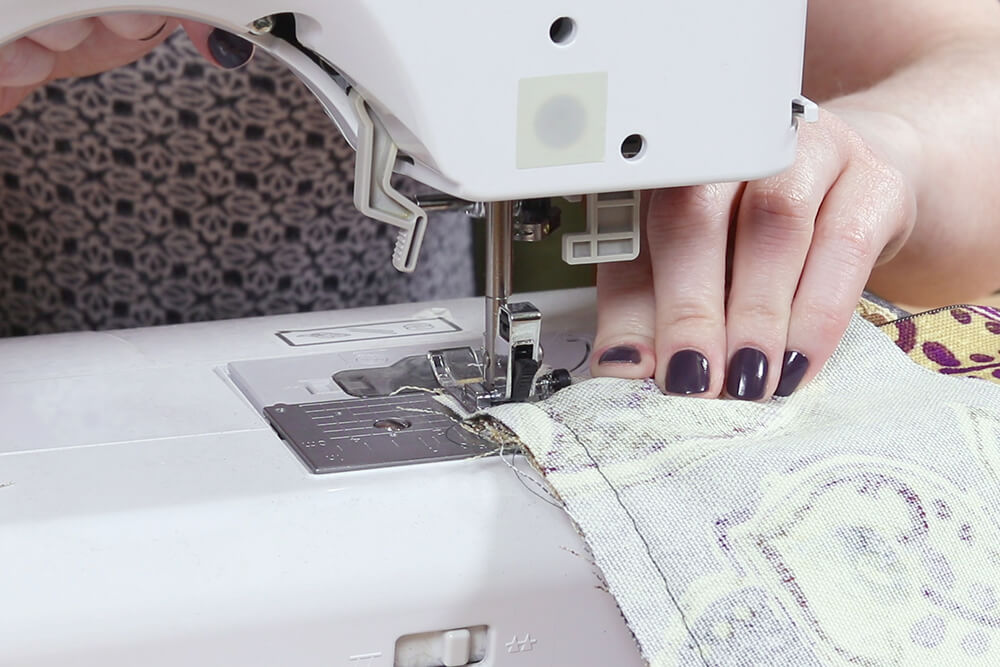
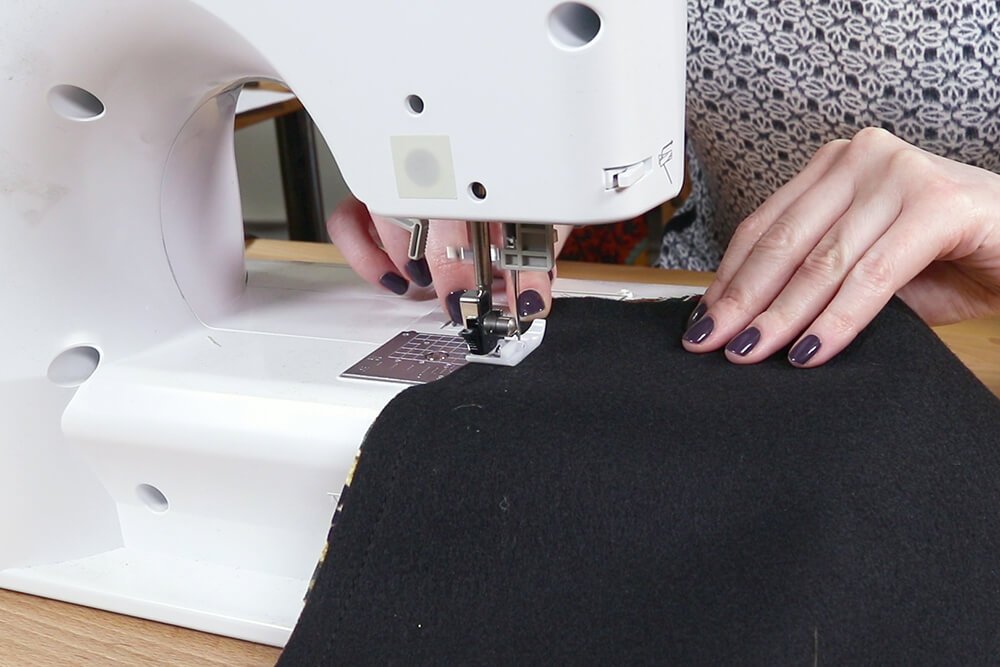
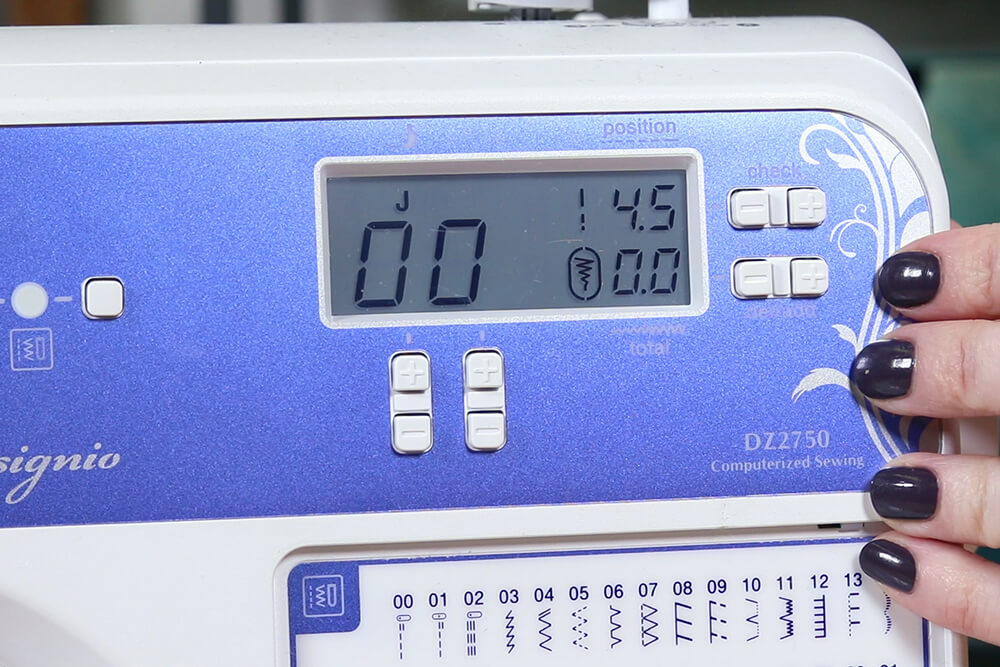
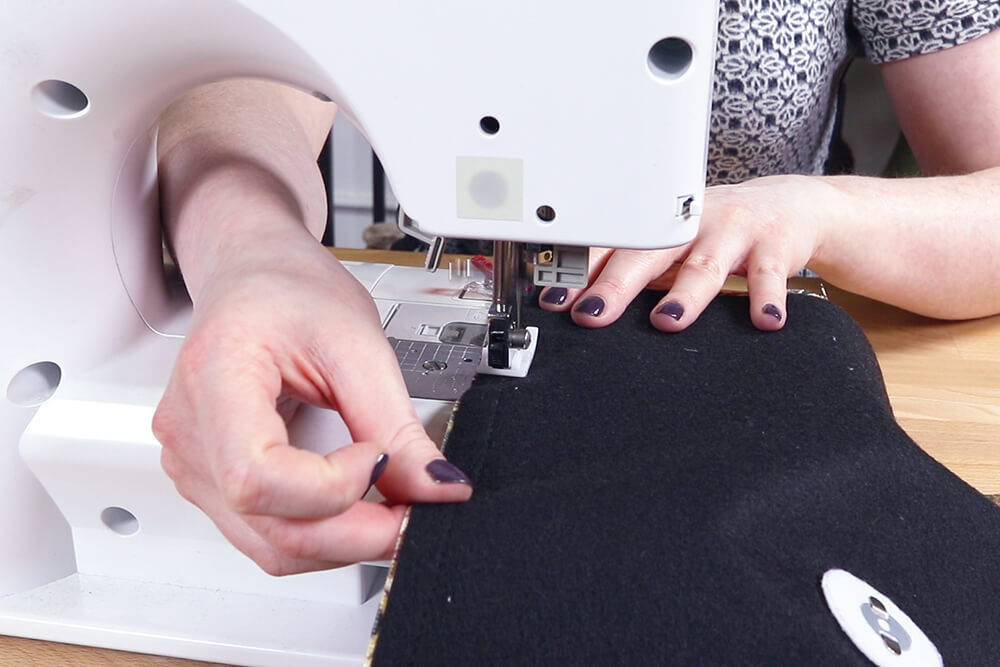
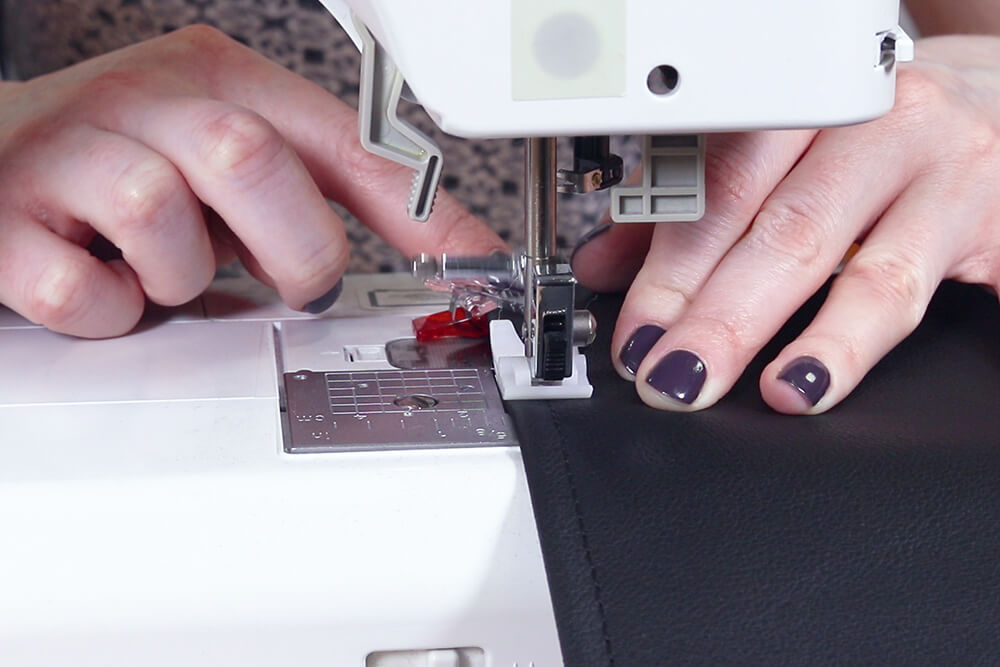
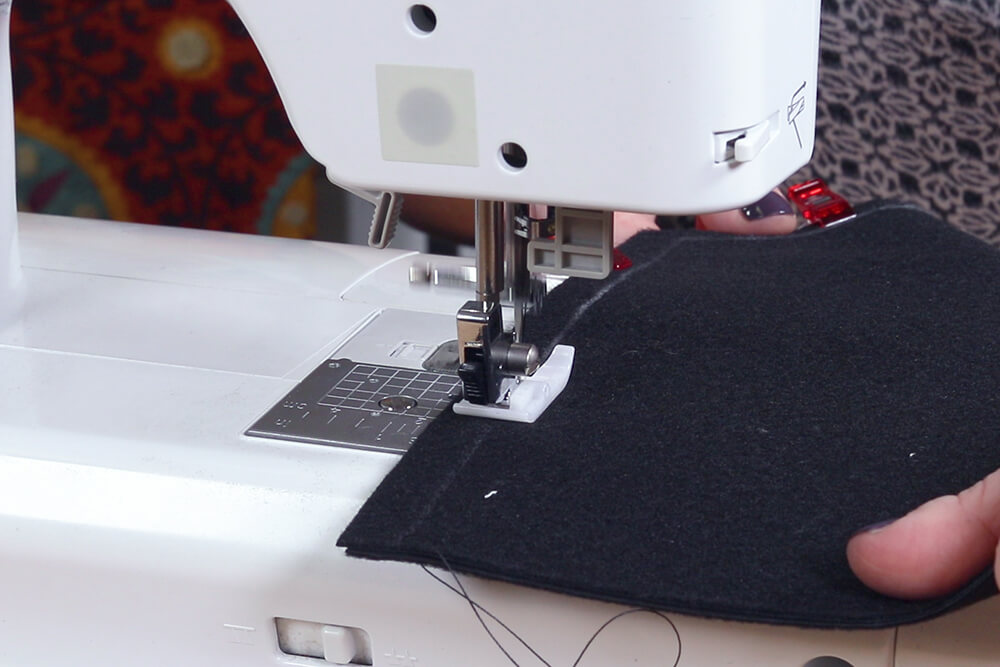
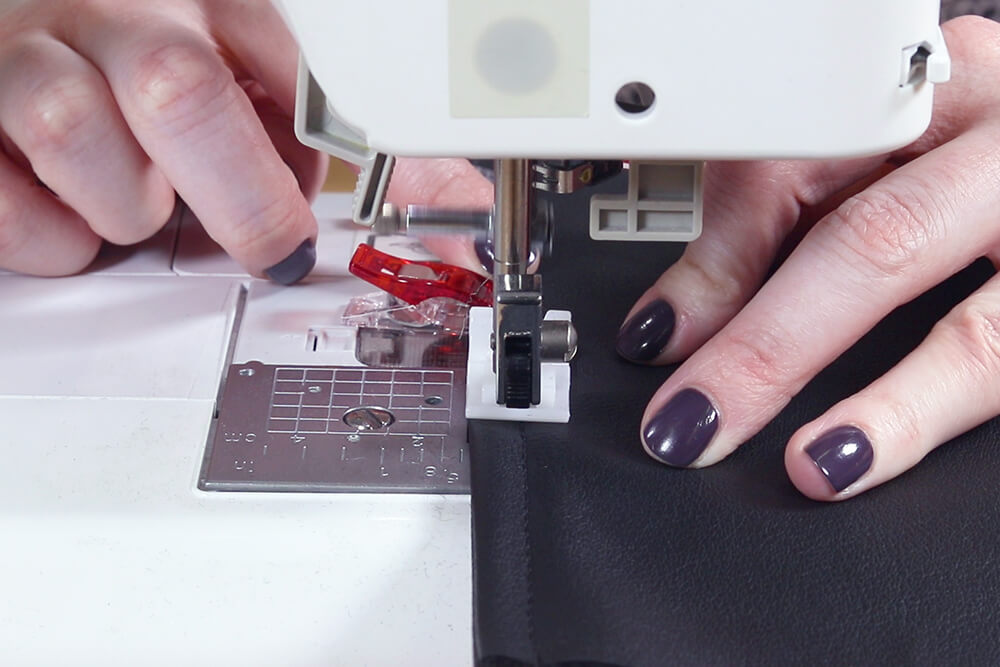
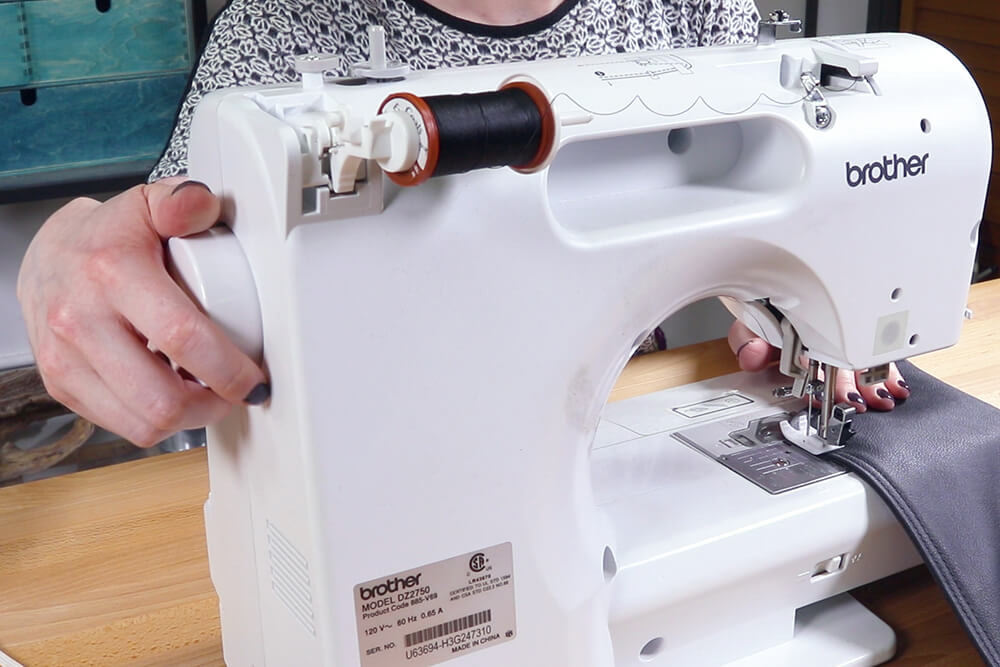
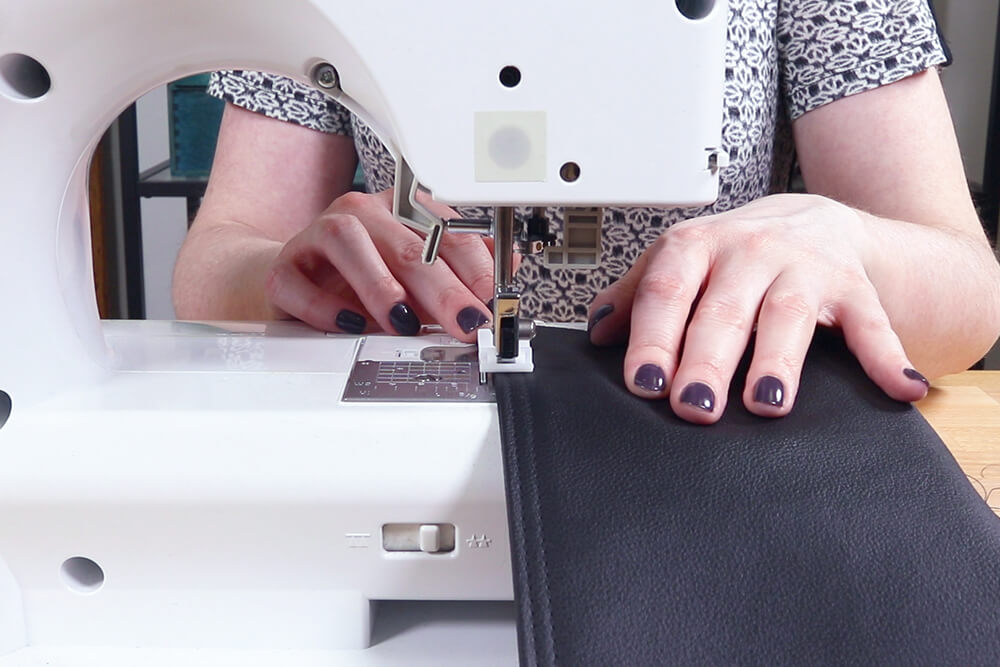
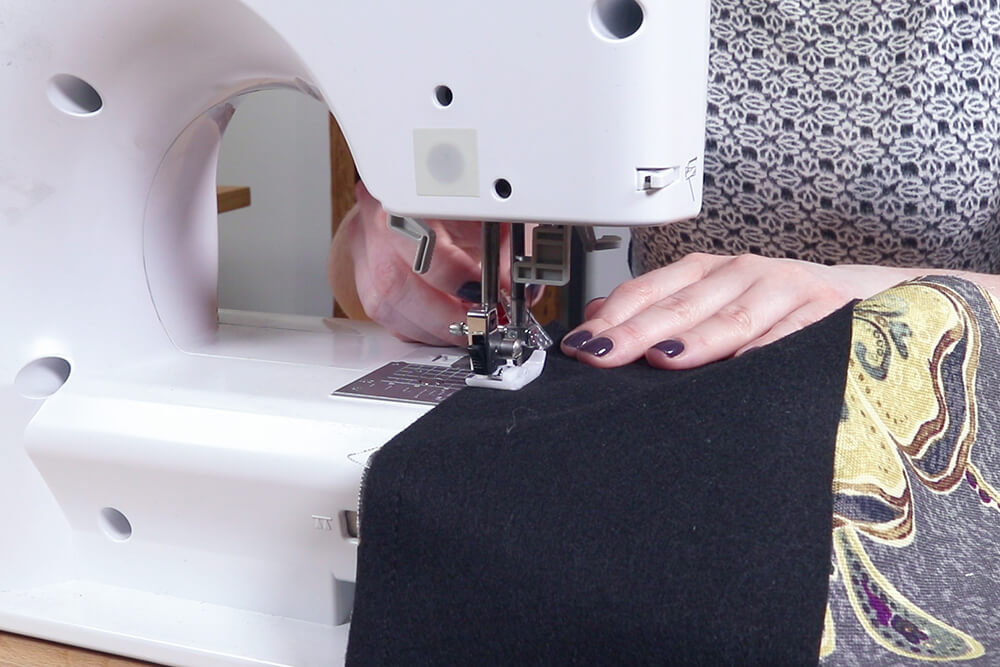
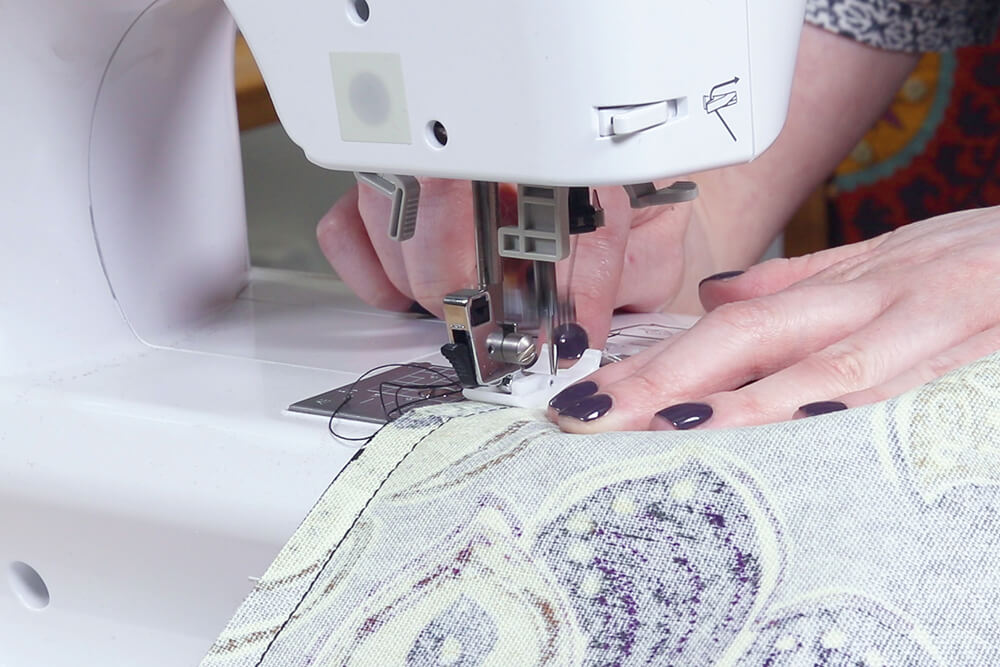
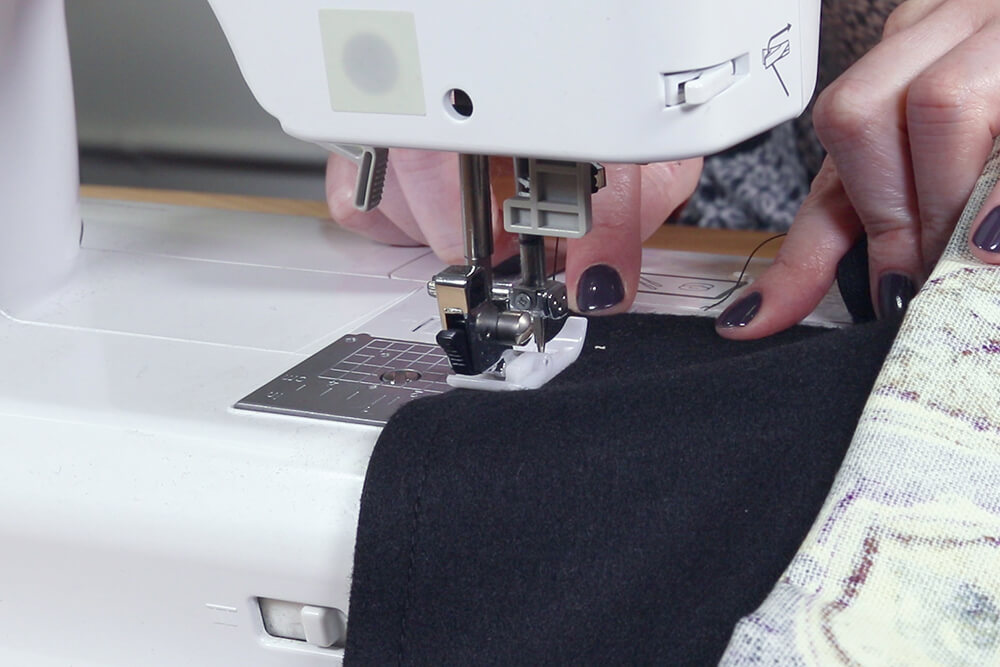
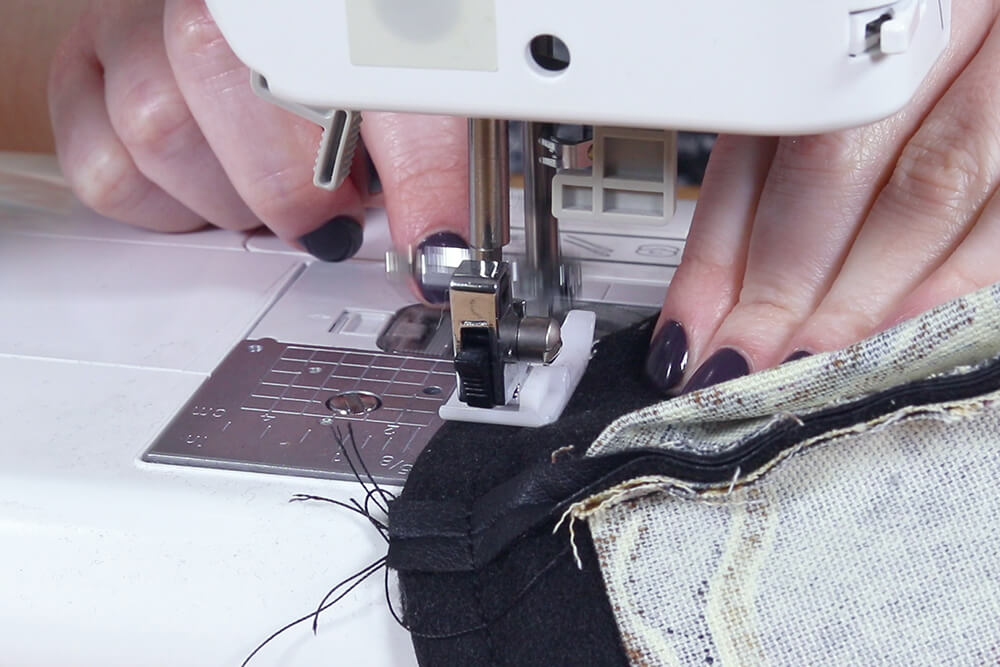
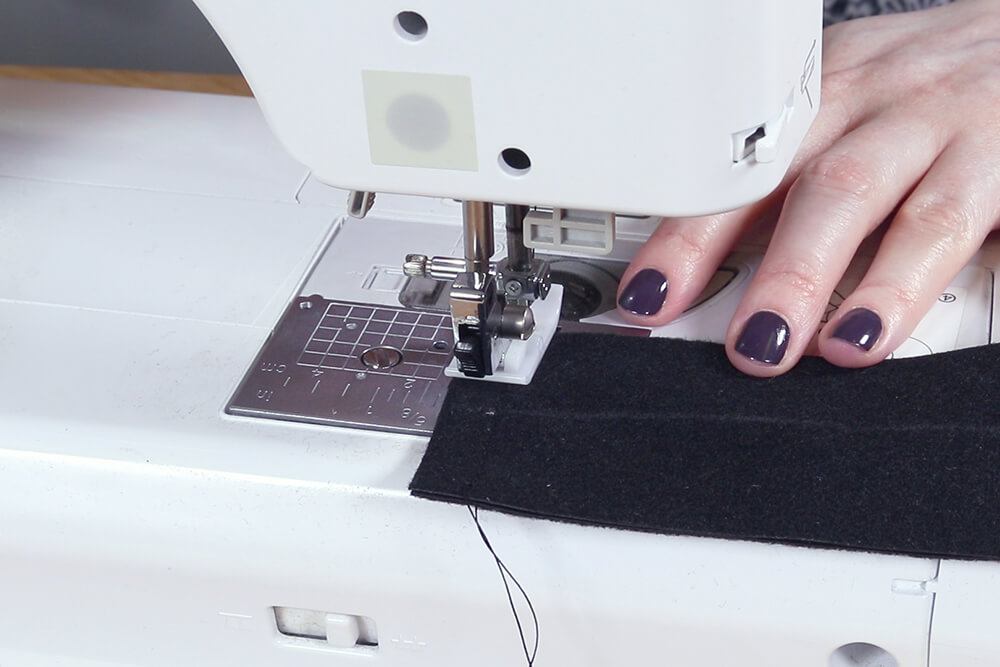
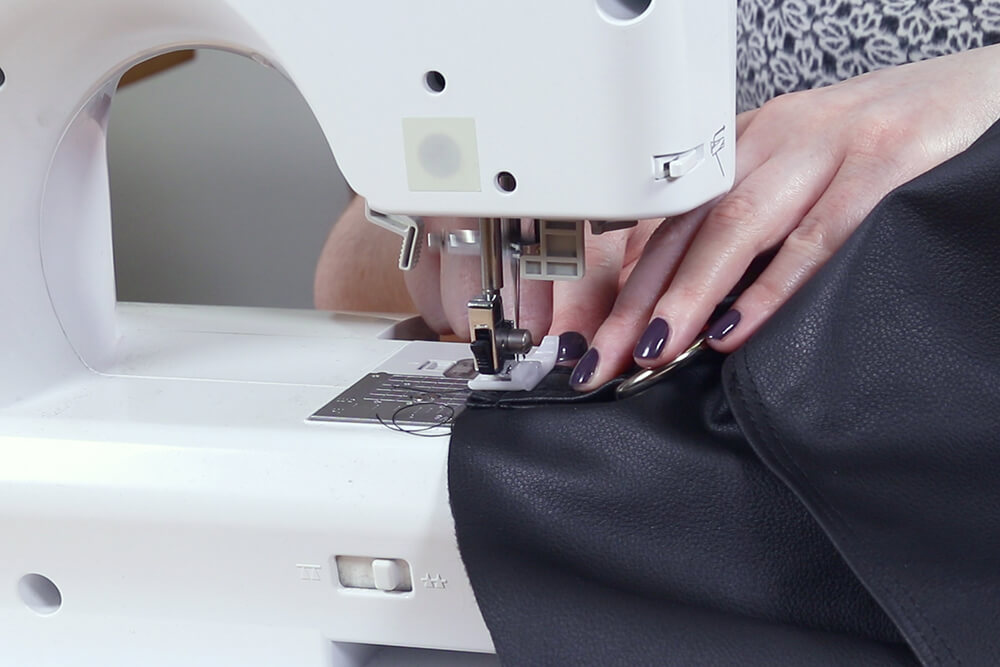
Step 6: Prepare your machine for vinyl
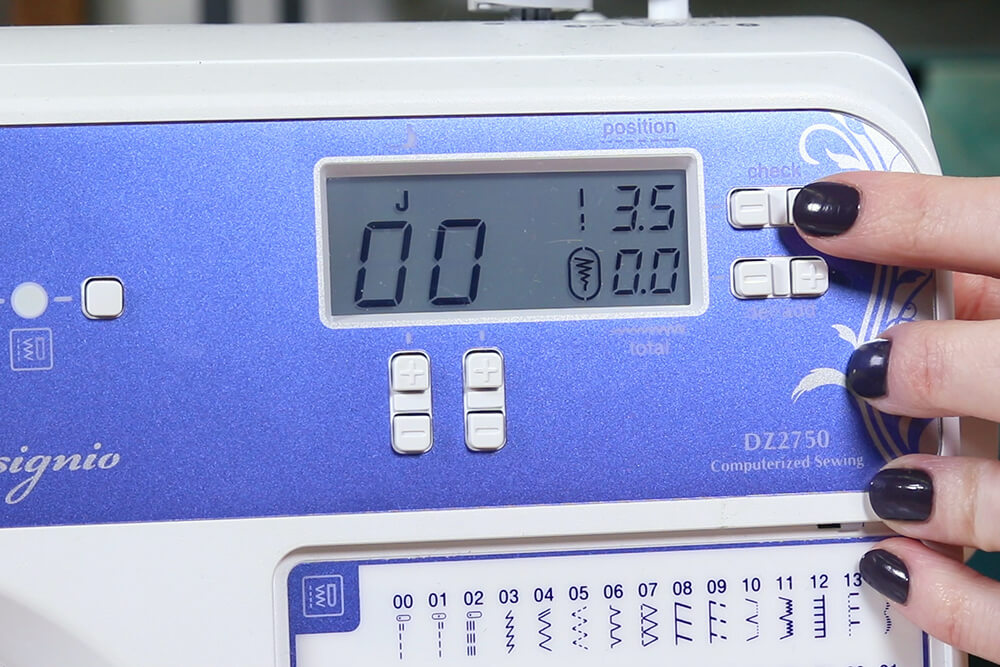
Before you start to sew, set up your machine for vinyl. We recommend using a Teflon presser foot because vinyl tends to stick when fed through the metal presser foot and needle plate. If you don’t have one, you can use matte tape on the bottom of your presser foot.
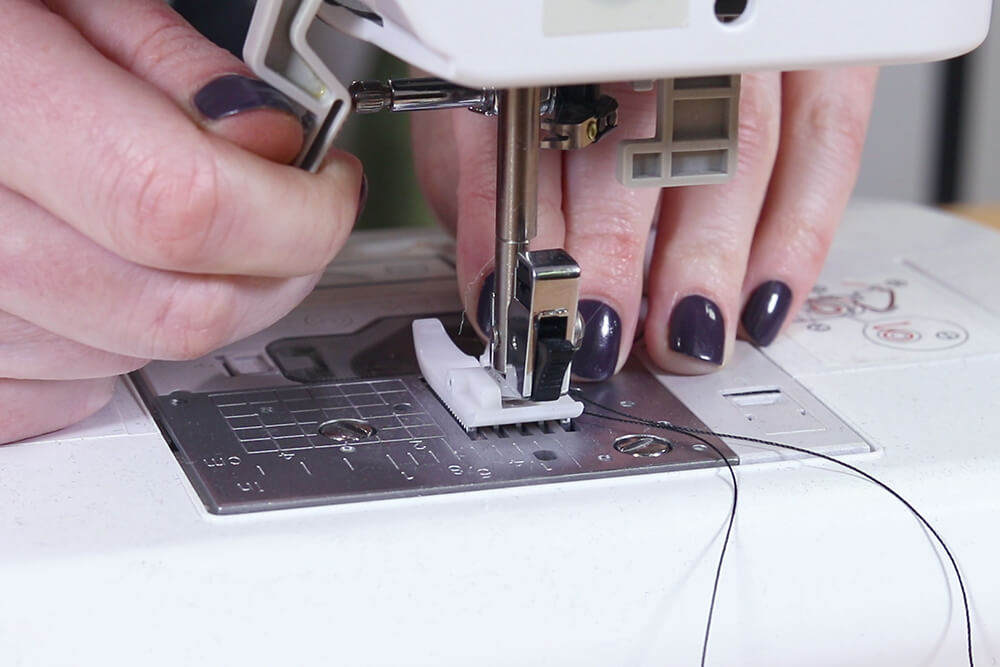
I’m using nylon upholstery thread because it’s stronger and thicker than regular thread. Thick thread looks best for top stitching.
You may need a larger needle, like a size 16, for this thread. Use a new universal needle or one made specifically for vinyl.
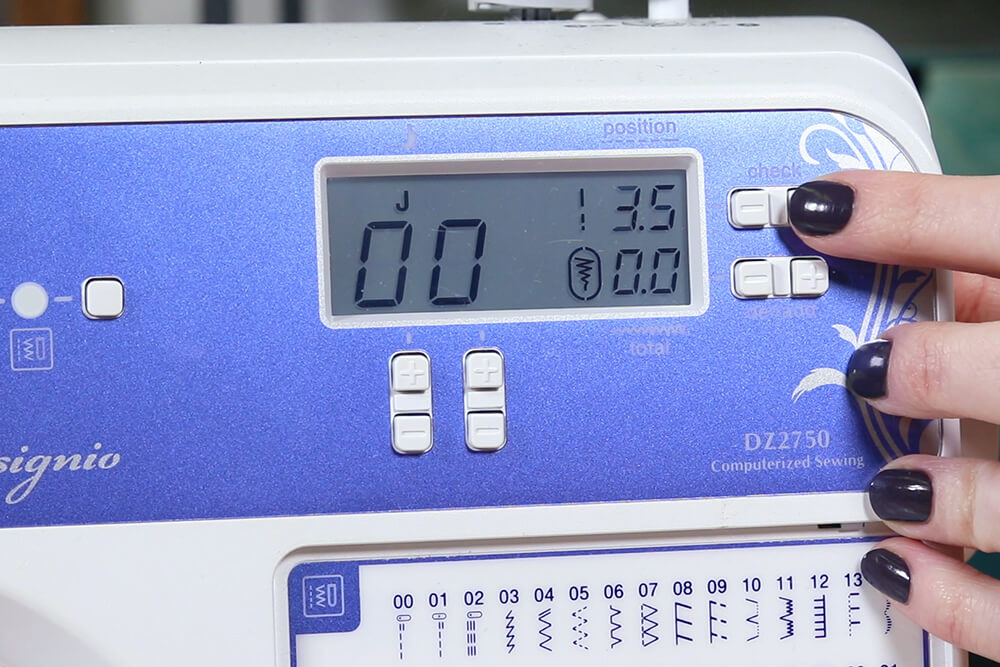
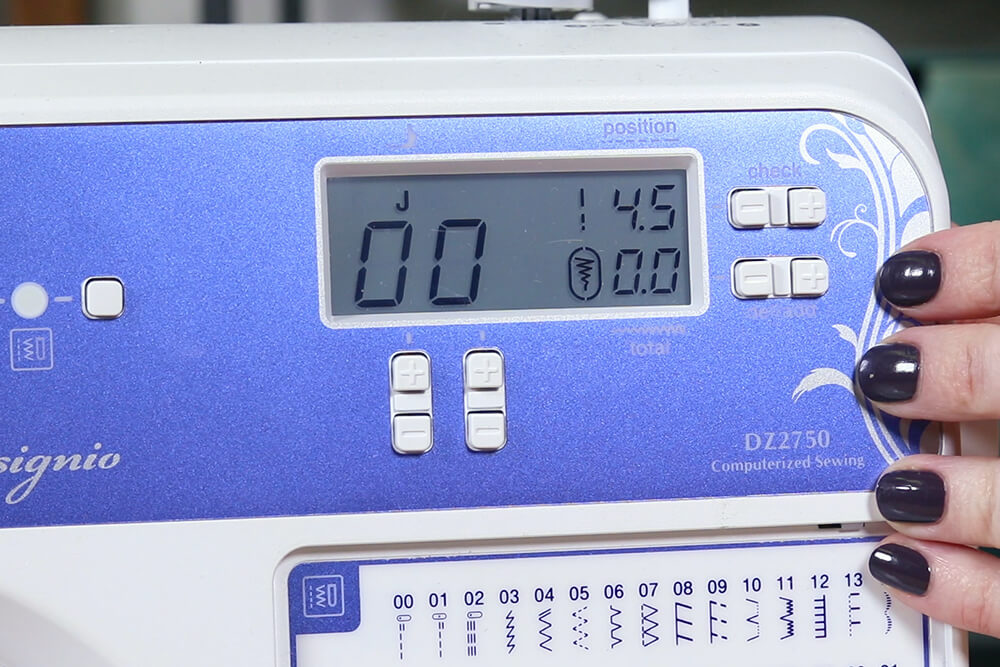
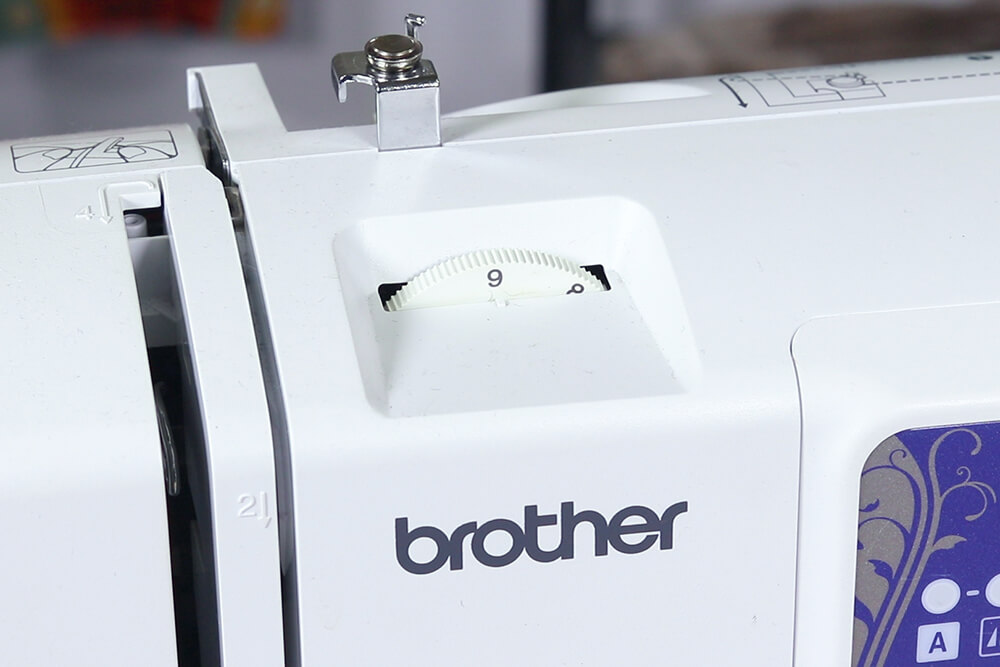
You’ll want to use a longer stitch length than usual with vinyl because having lots of needle holes close together perforates the vinyl, making it more likely to tear. I’m using 3.5mm, and for top stitching 4.5mm, because longer stitches look nicer.
Test out your stitching before starting. The tension will probably have to be adjusted because of the thickness of the fabric and thread. If you use a normal tension, knots will show on the back of the fabric, and the stitches might look loose. Set it so the stitches look uniform and the same on the front and back.
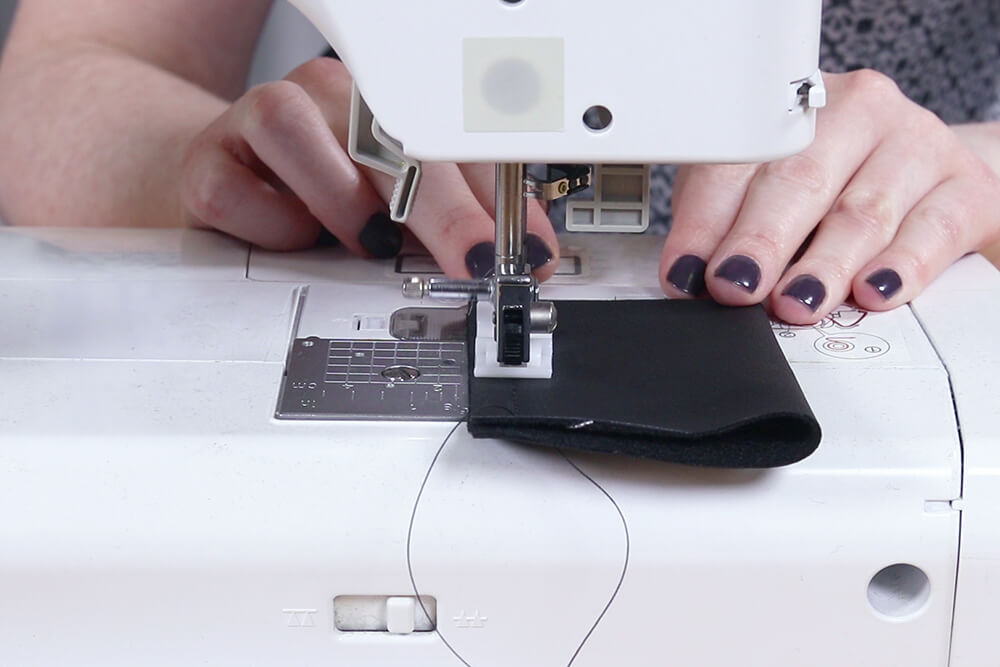
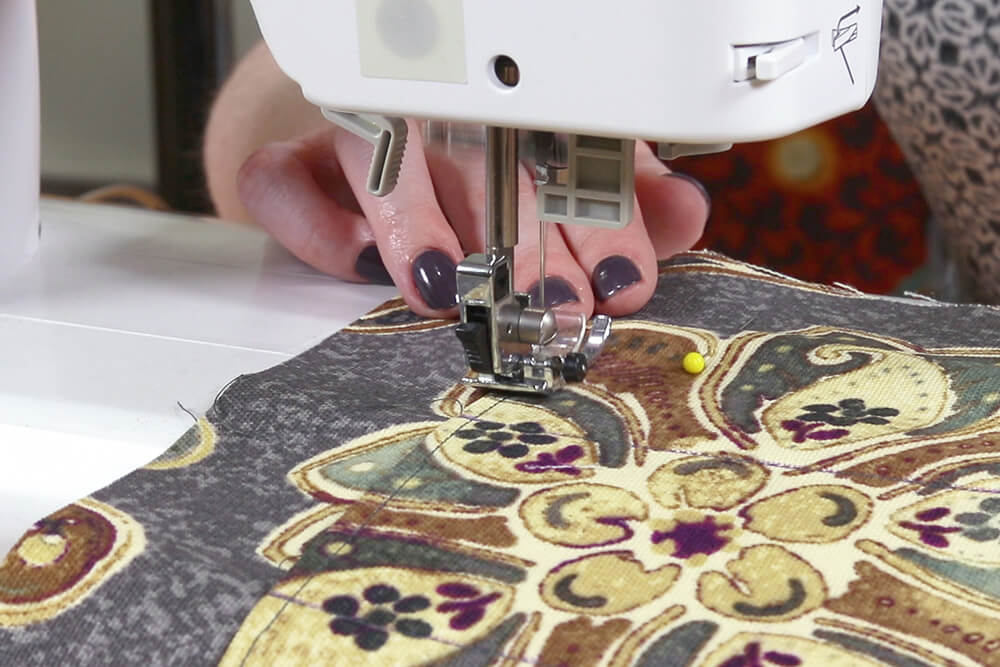
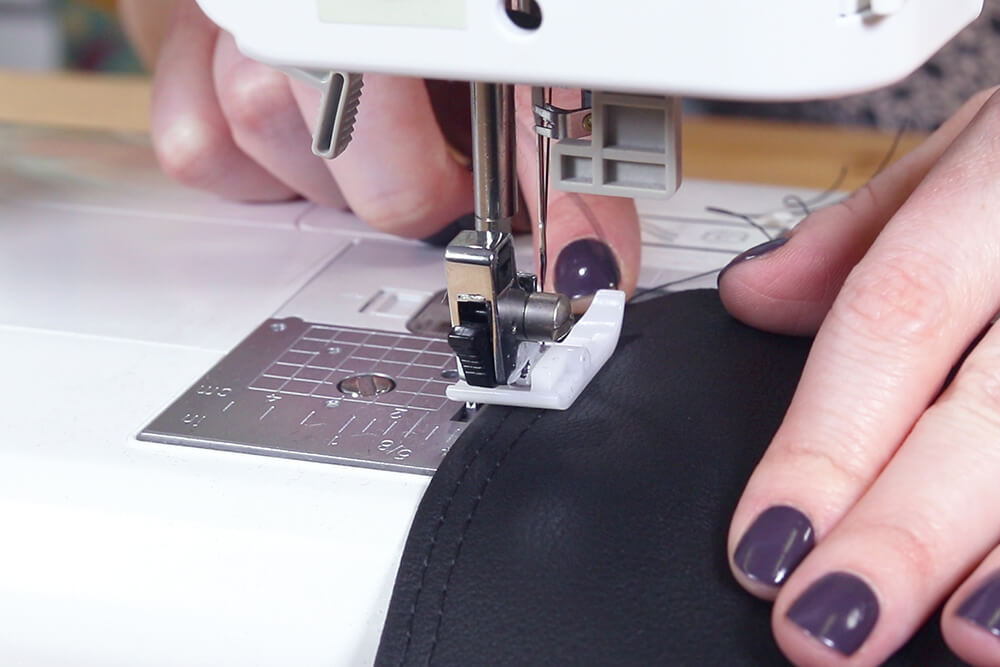
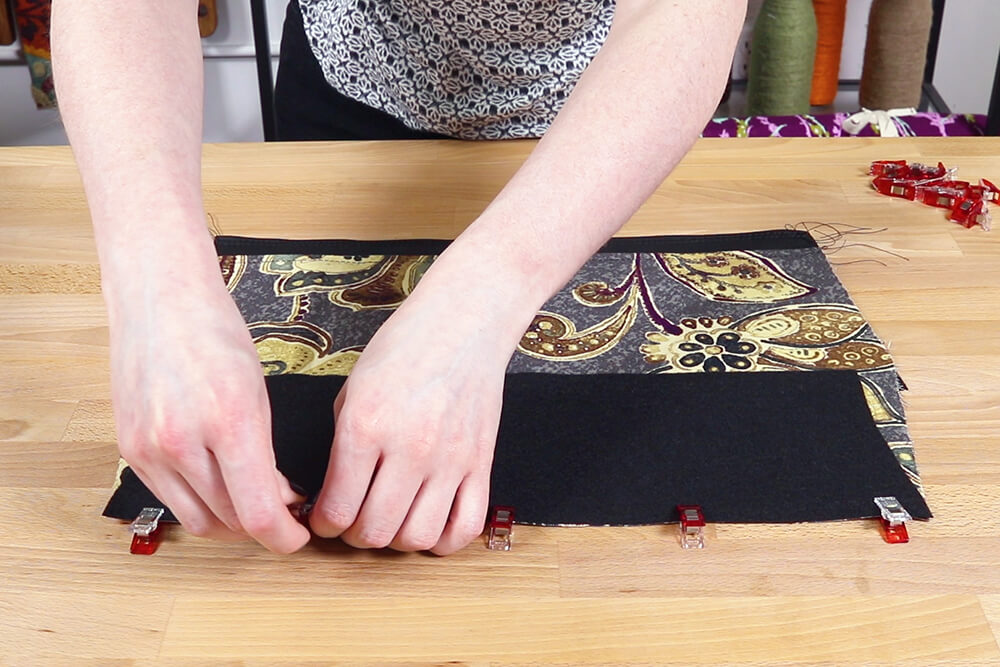
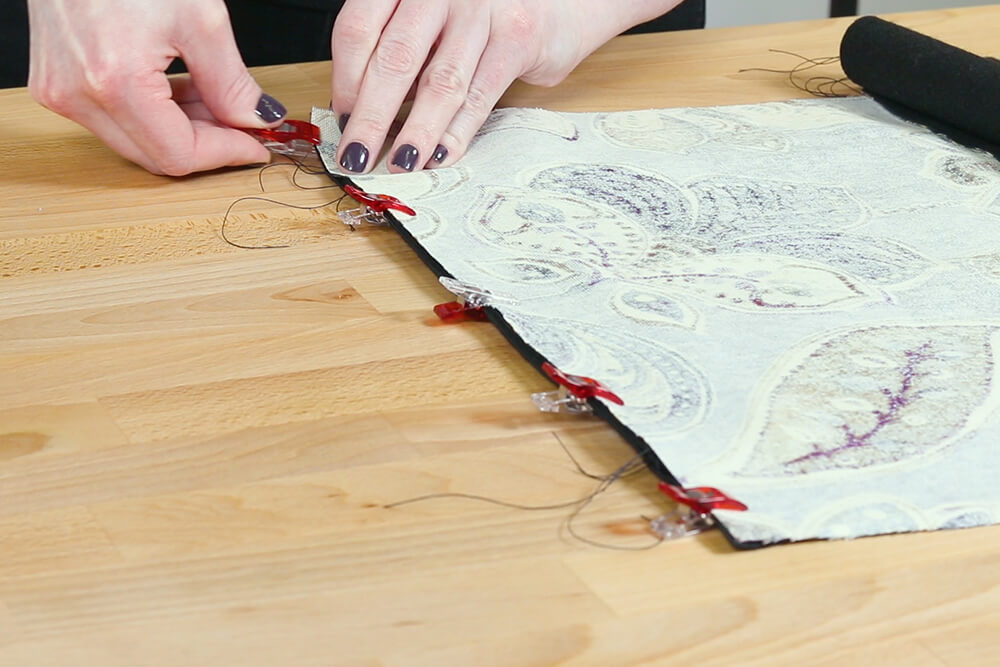
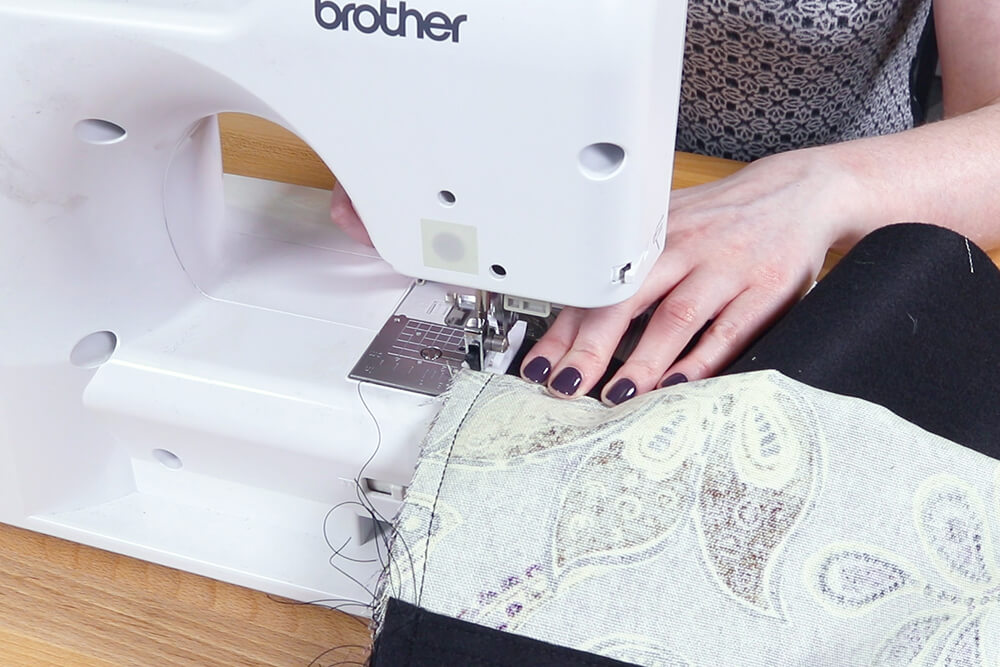
Step 7: Sew the outer pockets
Line up the top edges of the outer pocket and outer pocket lining with right sides facing. Clip the fabric together instead of pinning because pins will create permanent holes.
Sew with a 1/2″ seam allowance.
Fold the lining fabric back and top stitch about 1/4″ from the seam.
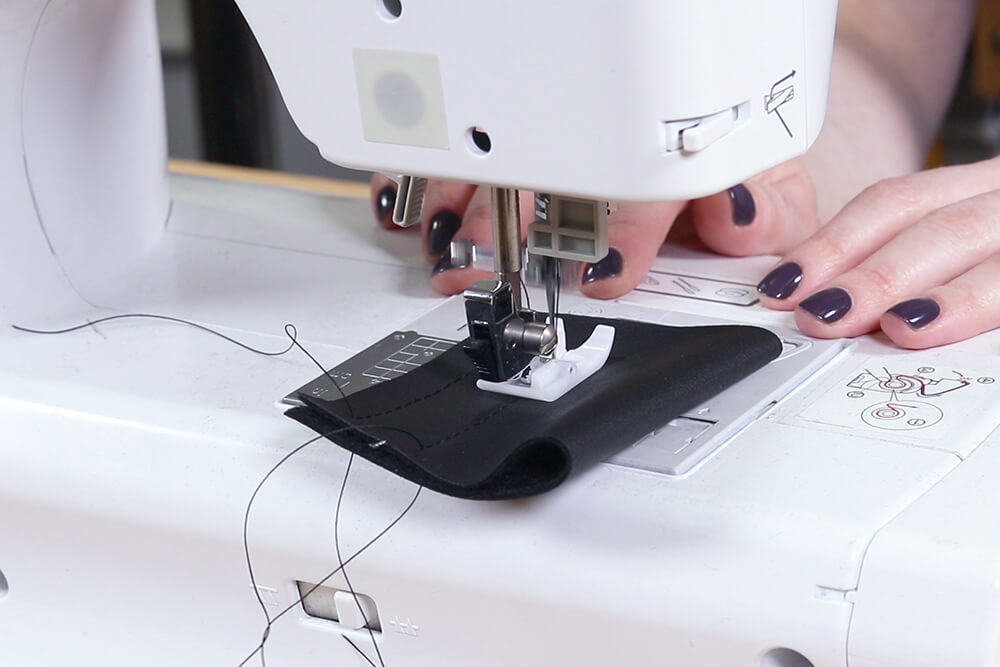
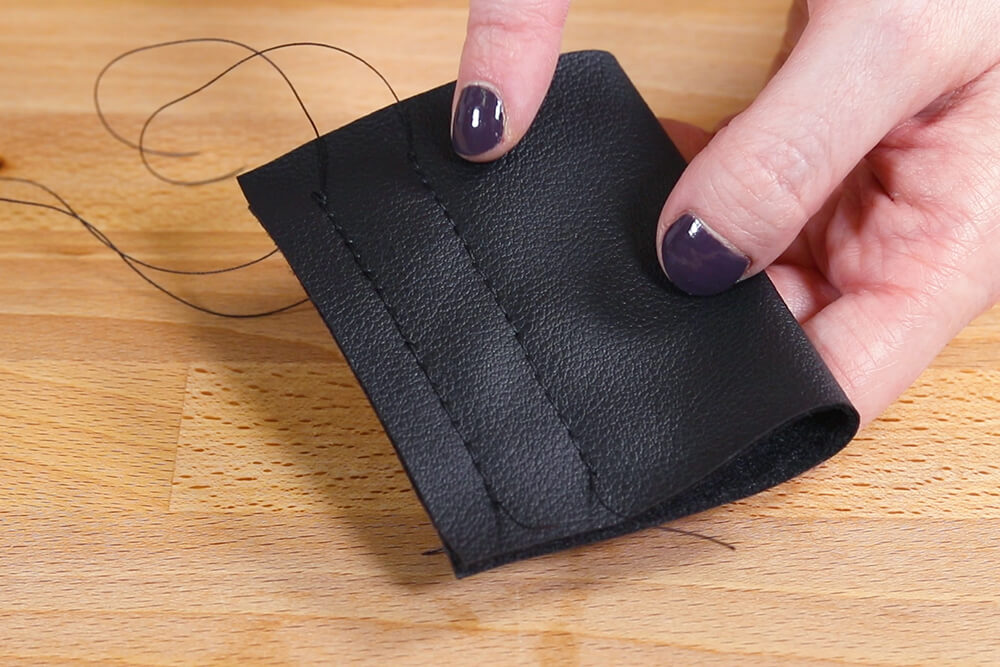
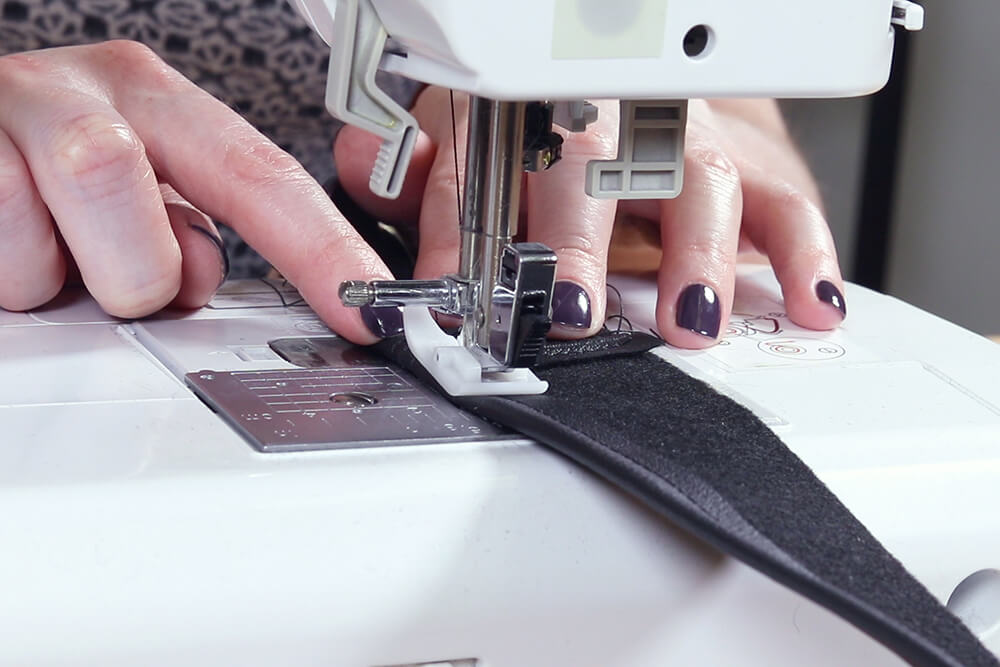
On the outer pocket pieces, fold the vinyl 1 inch above the lining seam and clip.
Change the stitch length to 4.5mm whenever top stitching the vinyl. Stitch 1/4 inch from the fold. Sew slowly and carefully when top stitching vinyl so you don’t have to rip out stitches and leave visible holes.

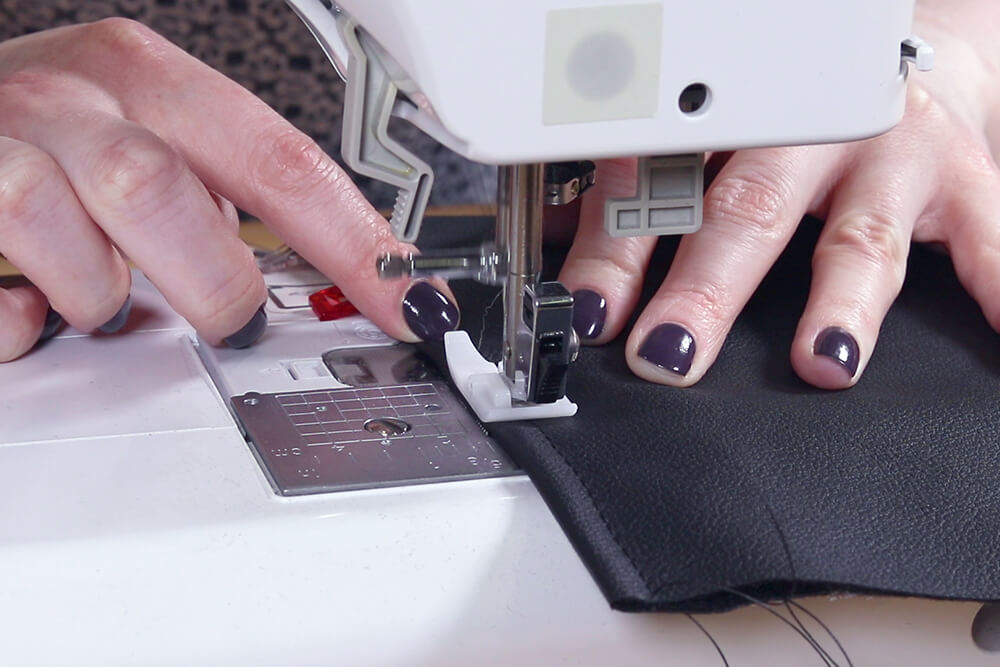
Sew another line of top stitching between the first and the edge of the vinyl. This is mostly decorative, but also helps flatten the fold.
Repeat for the other outer pocket and lining pieces.
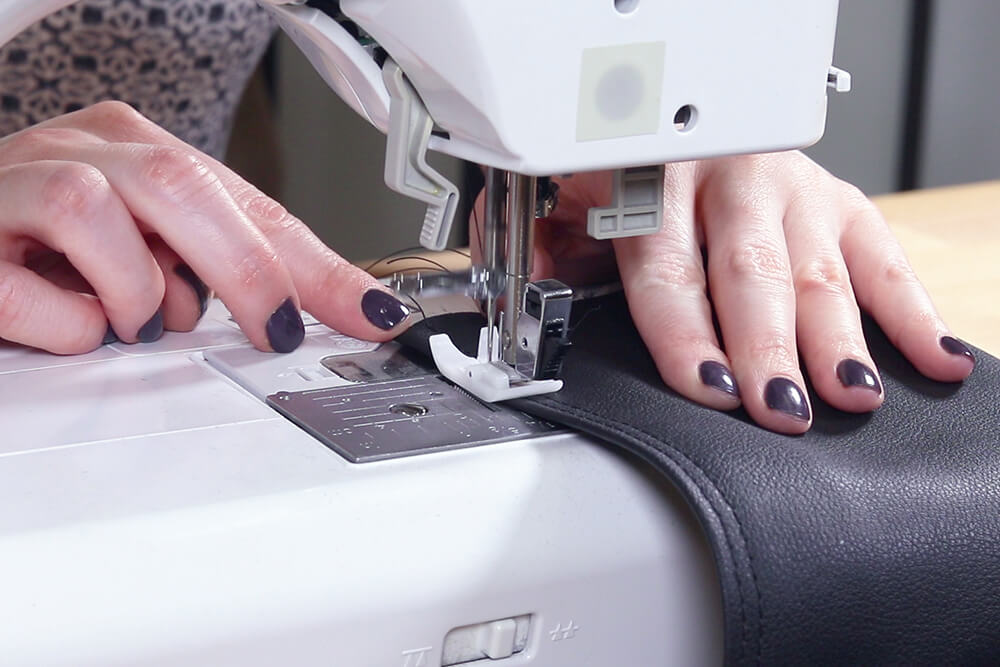
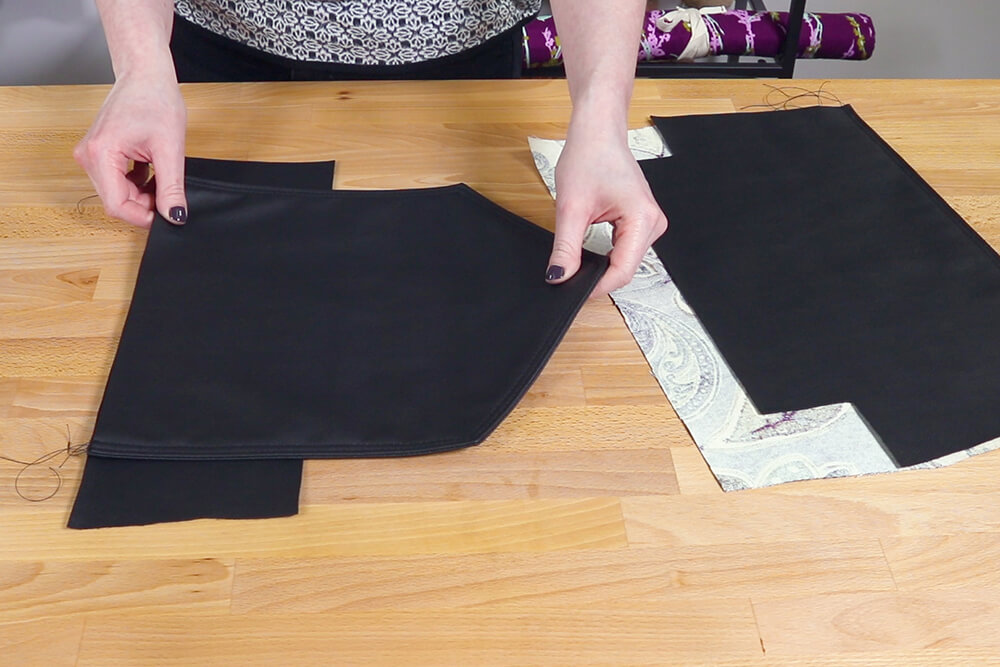
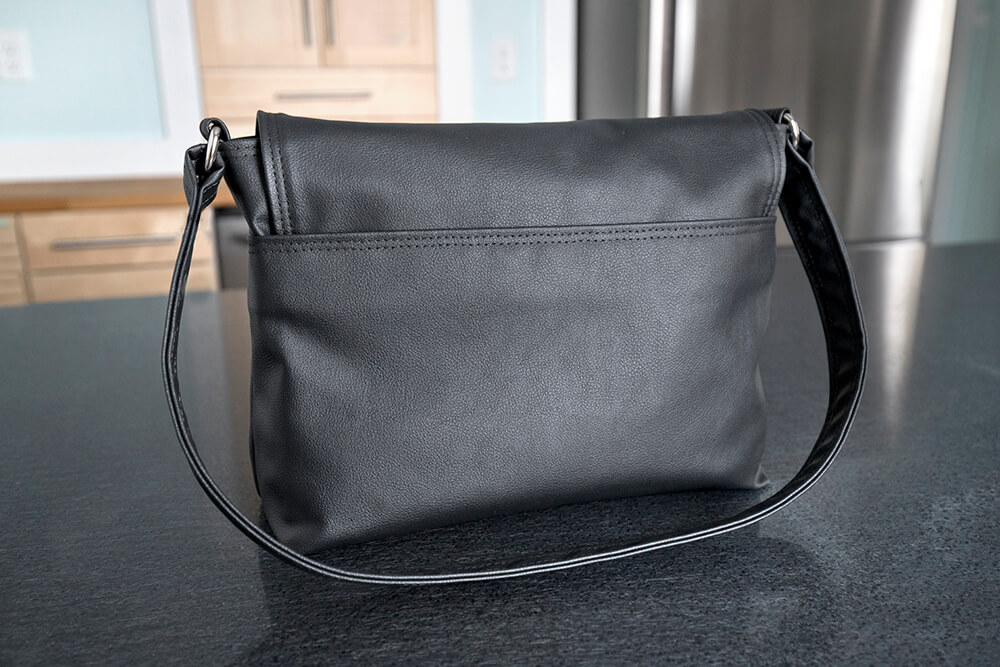
Step 8: Sew the flap
Next, sew the flap pieces together.
Cut the seam allowance off the sides and bottom of the pattern piece and trace it onto the back of one of the flaps.
Clip the two pieces together with right sides facing.
Change the stitch length back to 3.5mm.
Sew on the marked line.
Trim the corners and cut closer to the curved point.
Turn the flap right side out.
Push out the corners and edges and clip.
Top stitch 1/4″ from the edge of the sides and bottom. Don’t forget to switch to a 4.5mm stitch length for top stitching.
To make the flap stiffer, cut out a piece of Pellon Ultra-Firm Stabilizer and slide it between the two layers of vinyl. This helps the bag keep its shape better when carrying it.
Top stitch again 1/8″ or less from the edge.
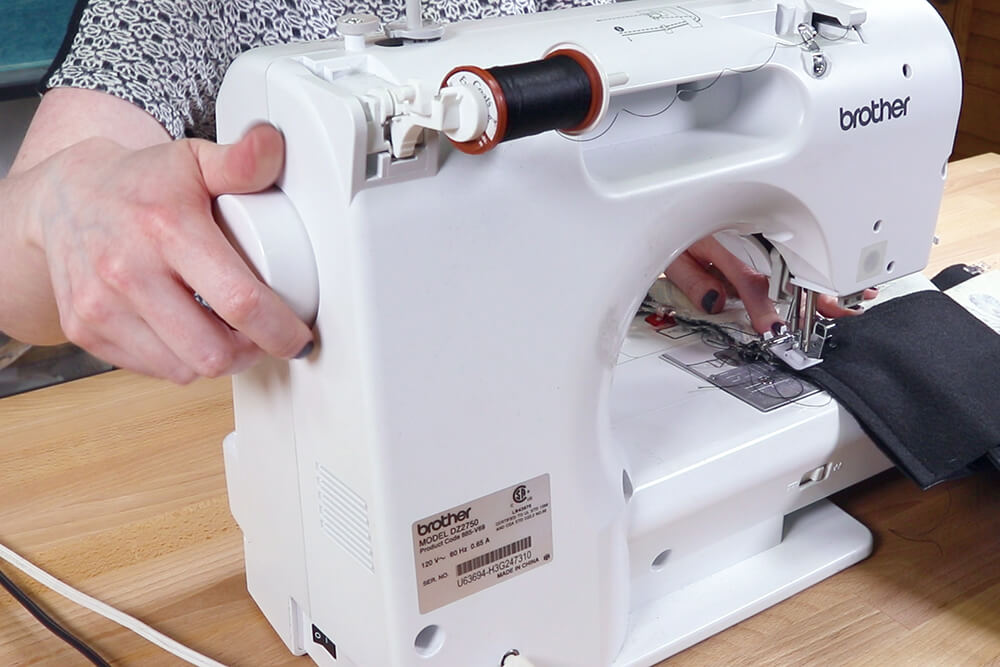
The curve can be tricky, so I like to use the hand wheel instead of the pedal to have better control.
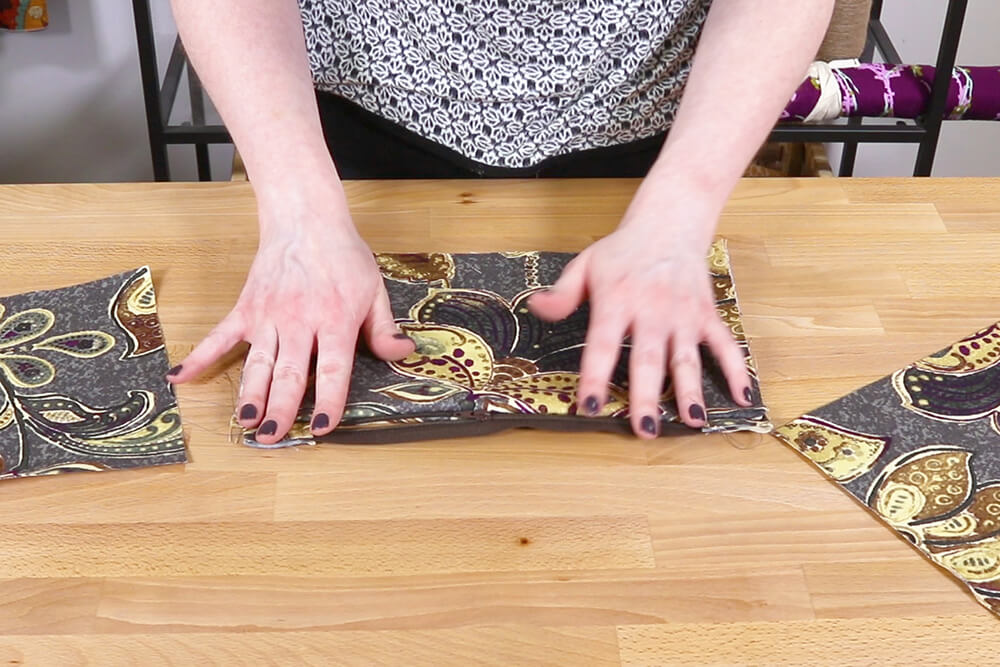
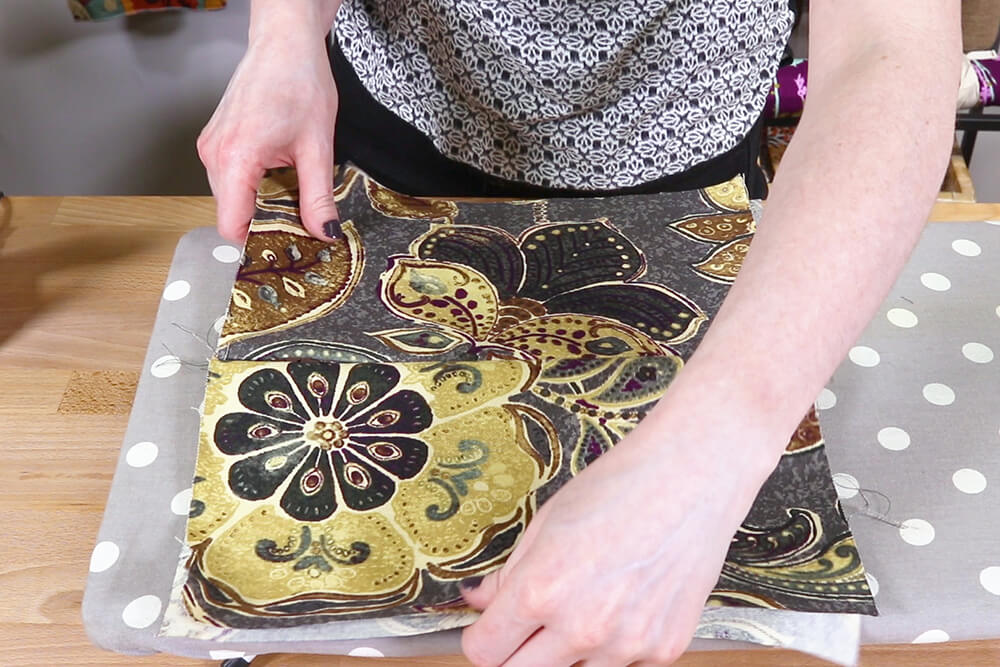
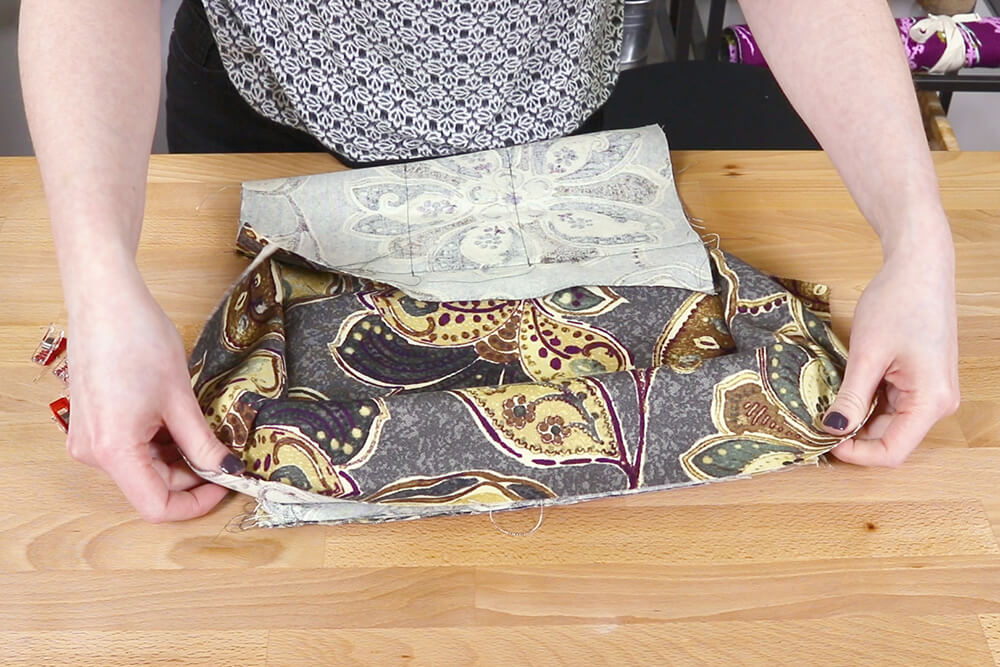
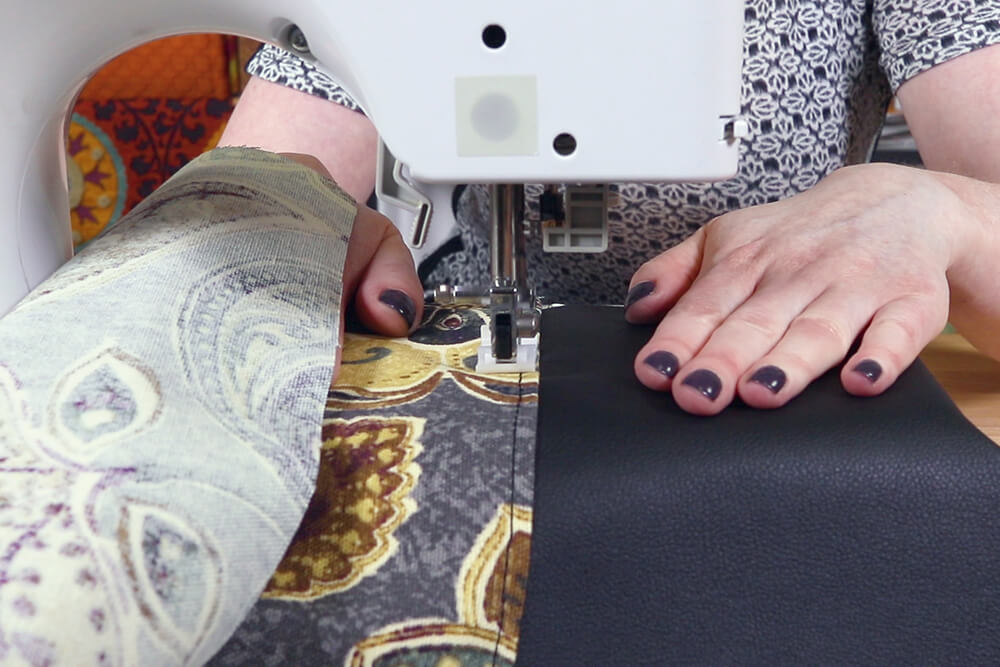
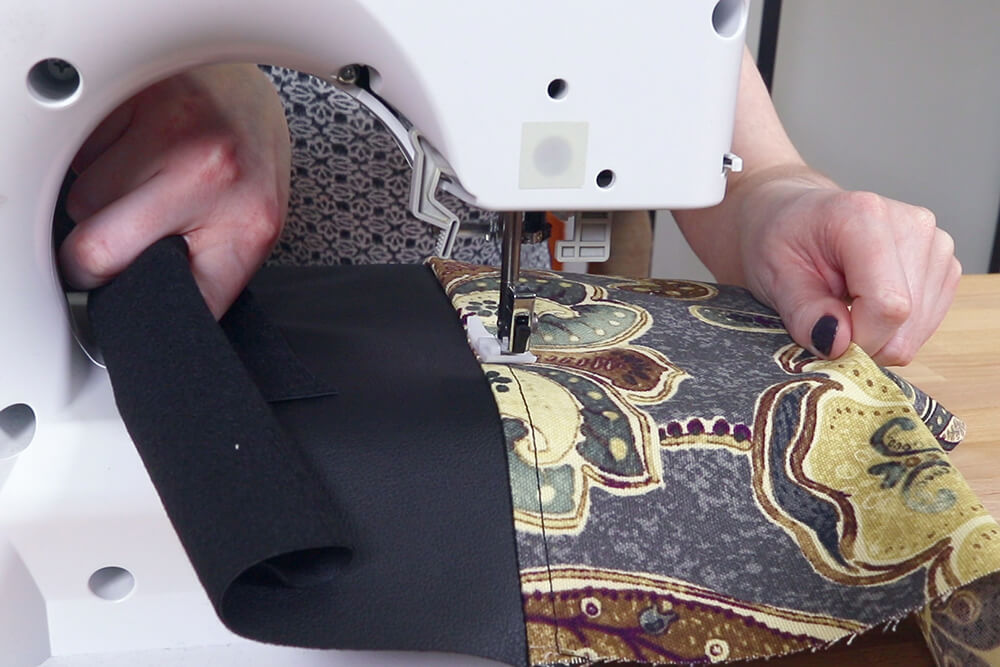
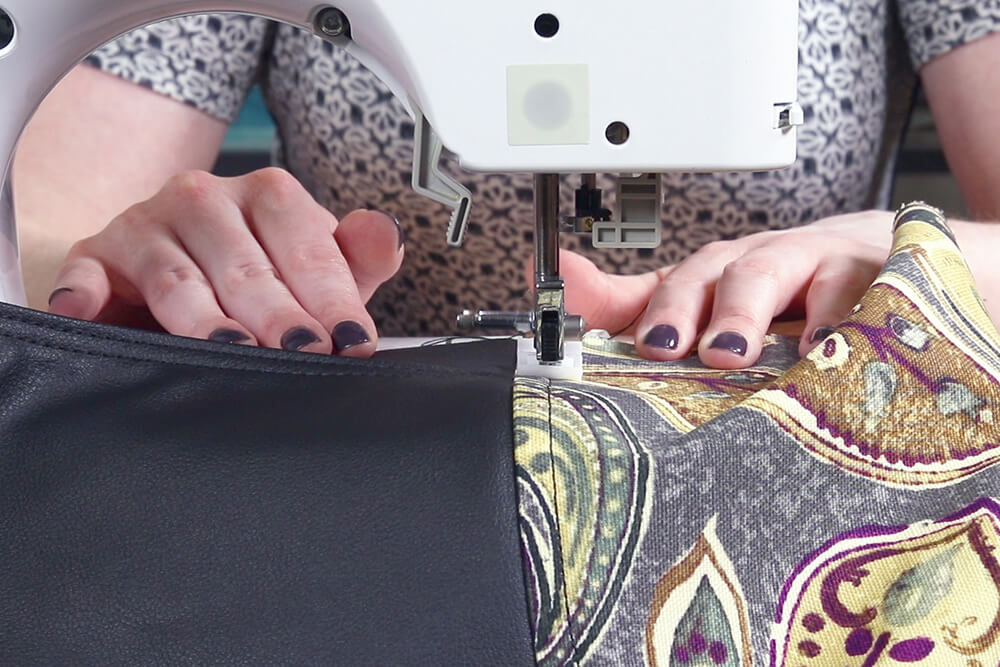
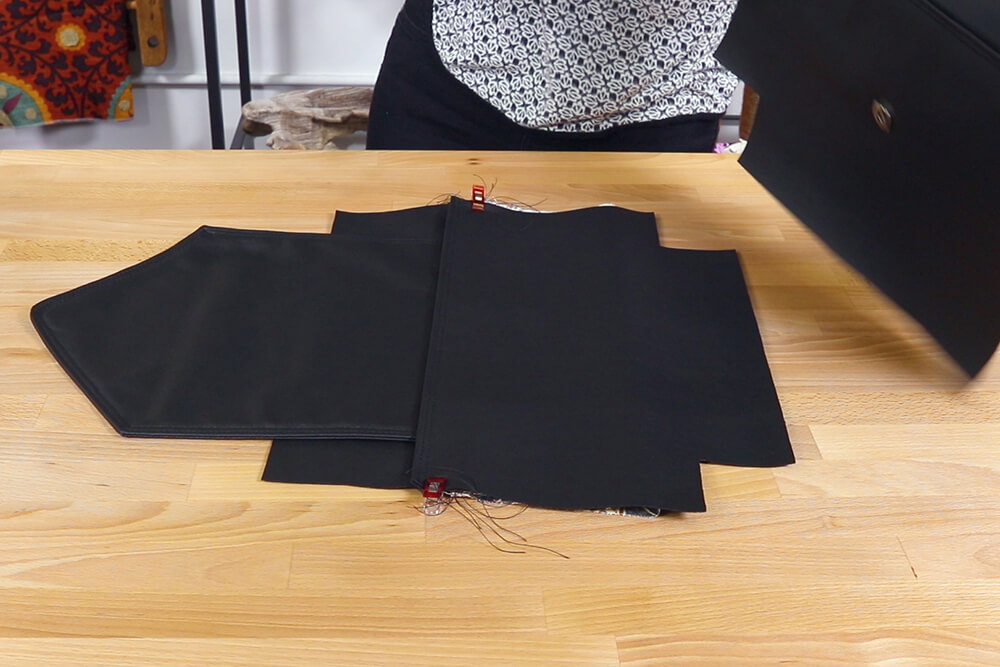
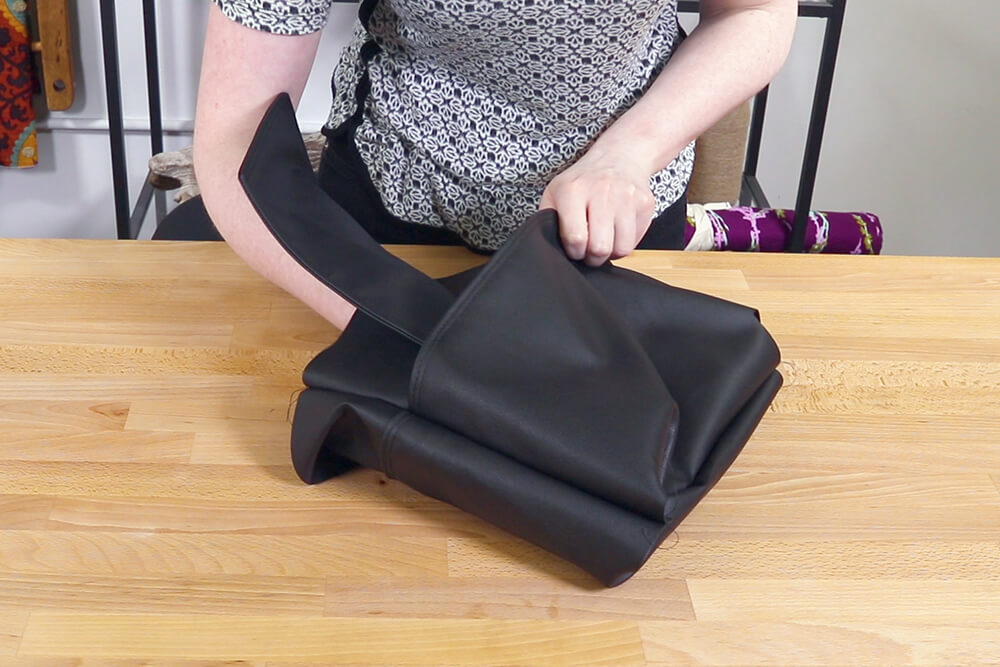
Step 9: Sew the outer bag together
Next sew the outer pocket piece with the snap and the outer top piece together.
Line up the bottom edge of the outer top and the lining with right sides facing.
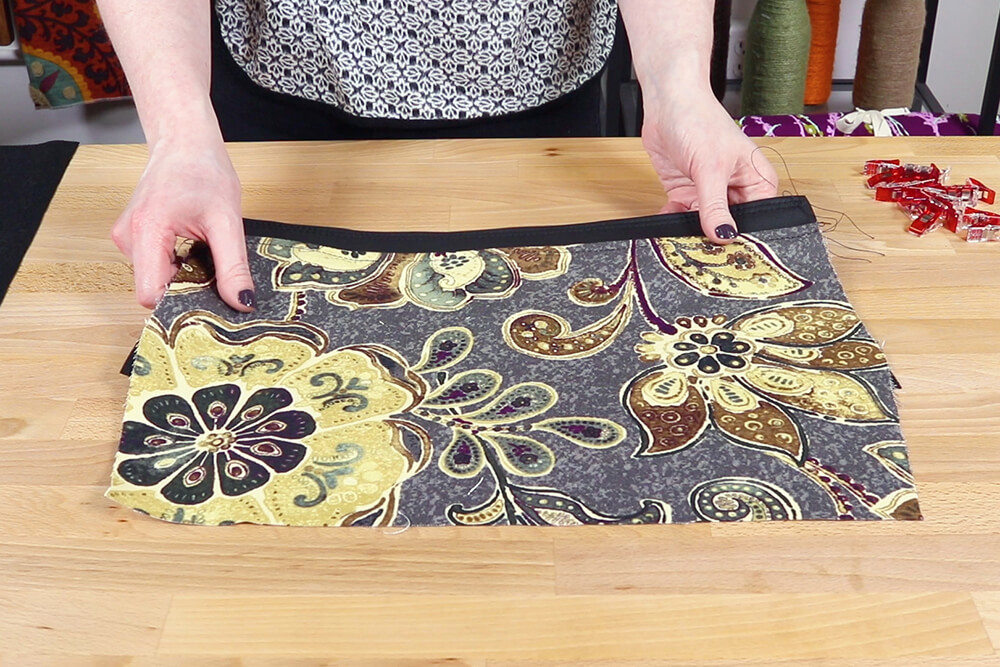
Clip and sew with a 1/2″ seam allowance.
Top stitch on the lining like before.

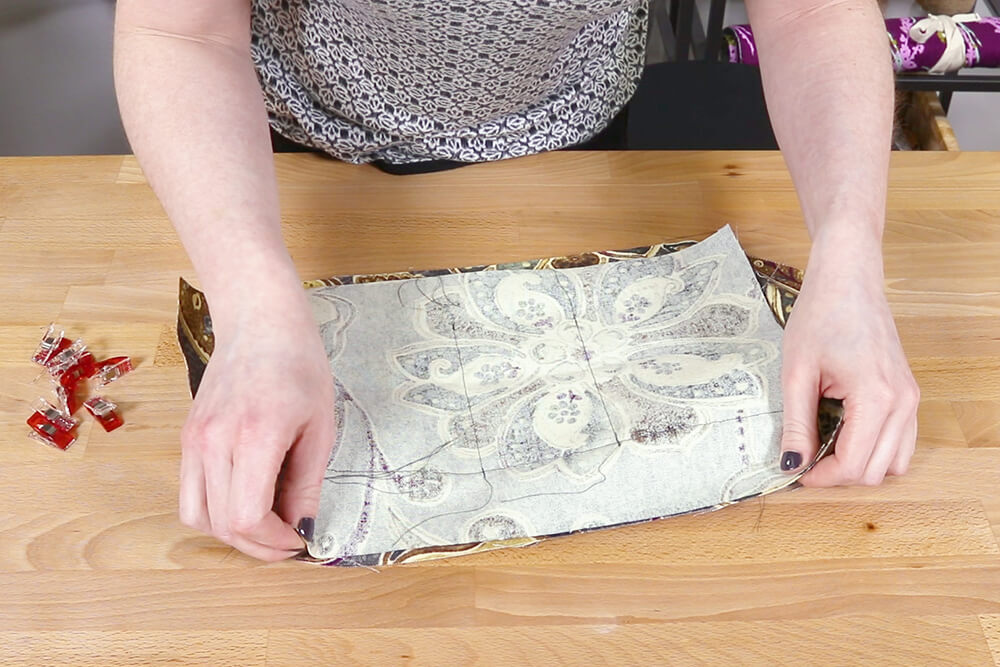
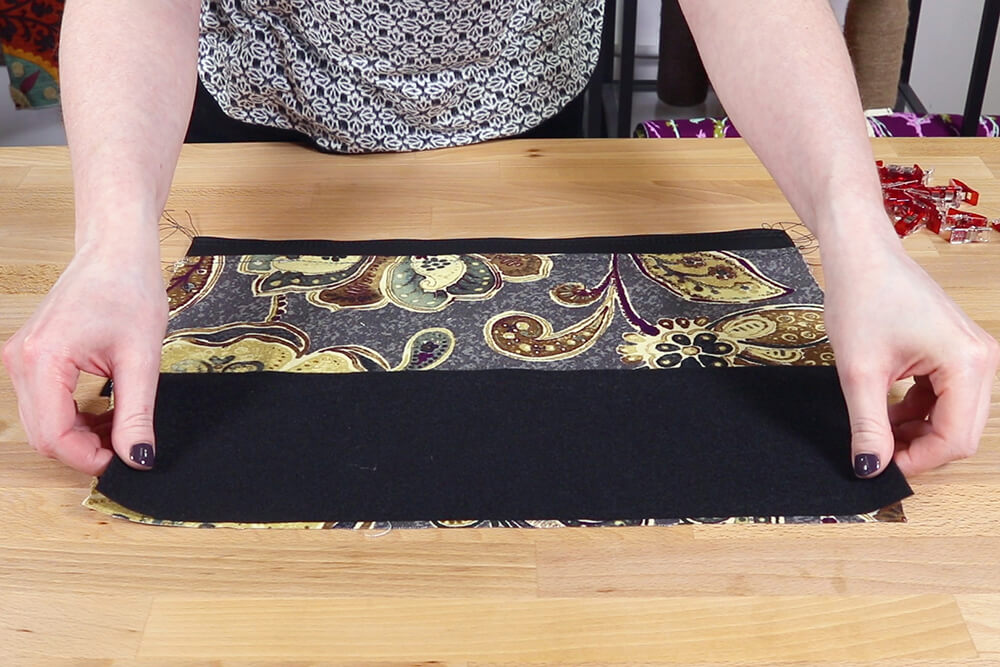
Now we’re going to do the same thing on the other side, but sandwich the flap in between.
Place the outer top piece with the right side facing up. Line up the bottom edges of the flap and outer top piece. The snap on the flap should be facing down. Align the edge of the outer pocket lining facing down.
Clip the pieces together and sew with a 1/2″ seam allowance.
Top stitch on the lining.
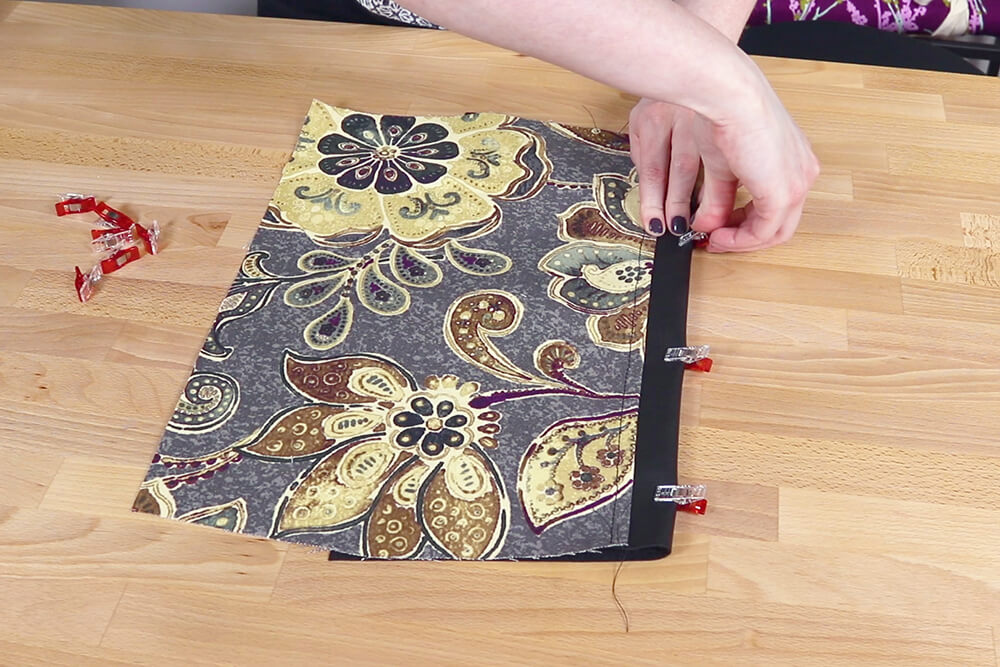
On both pieces, fold the pockets so the lining matches up and clip in place.
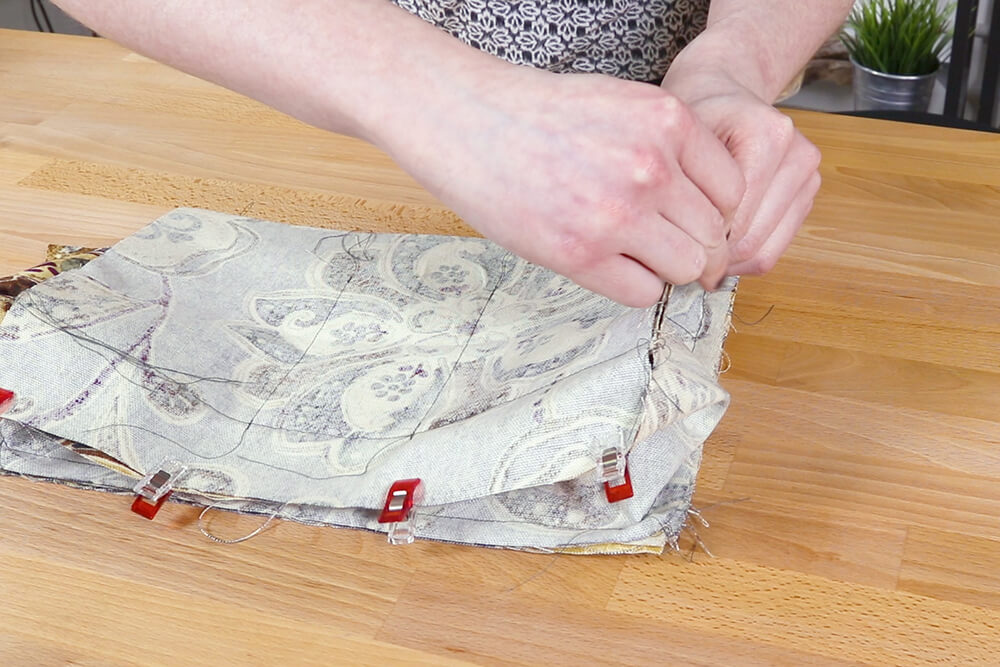
Place one piece on top of the other with right sides facing. Clip the sides together.
Sew down the sides with a 1/2″ seam allowance and a 3.5mm stitch length. You may want to use the hand wheel here for the thicker parts.
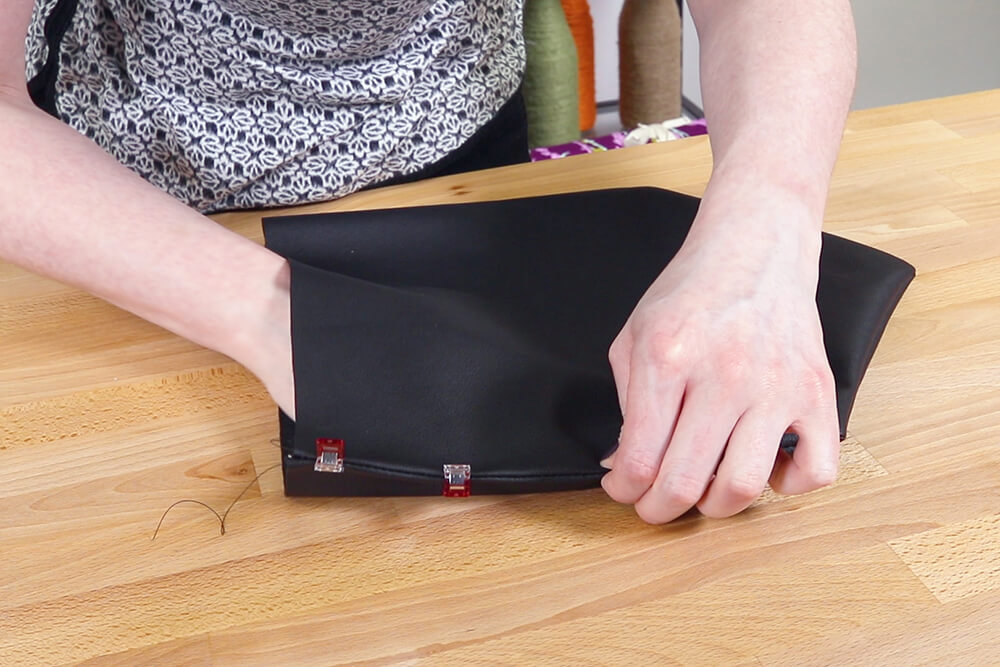
Clip the bottom together and sew.
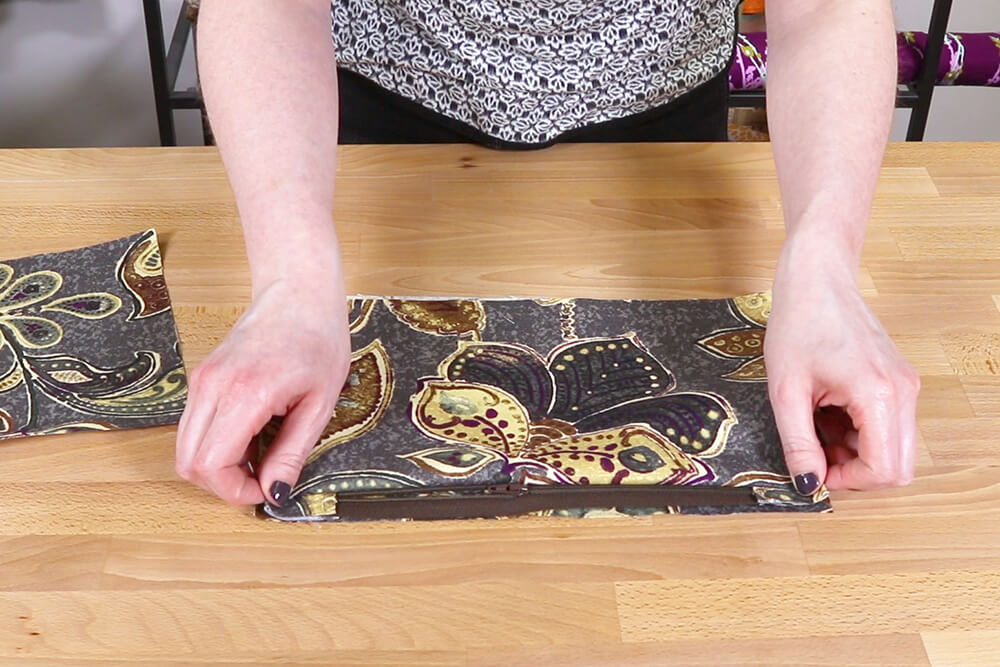
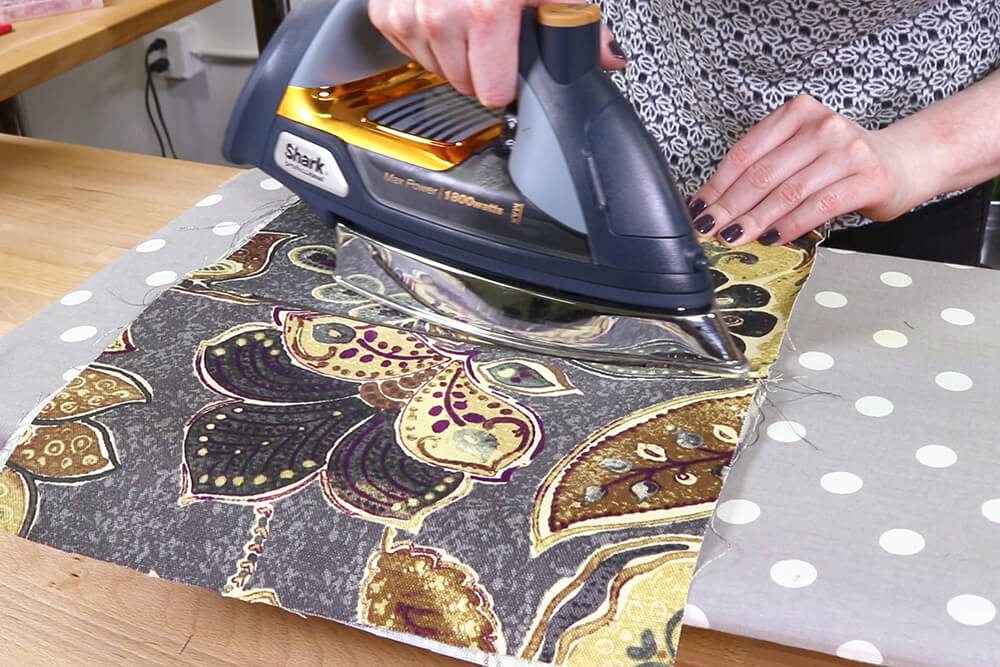
At this point you can turn it right side out to see if you want to glue the seams open. The seams don’t lie very flat, so if you want them to look crisper you can use contact cement on the side and bottom seams.

Turn the bag wrong side out again.
Trim down the side seams of the lining.
Brush on contact cement so a 1 inch area from the edge is covered. I’m also gluing just the top of the side seams.
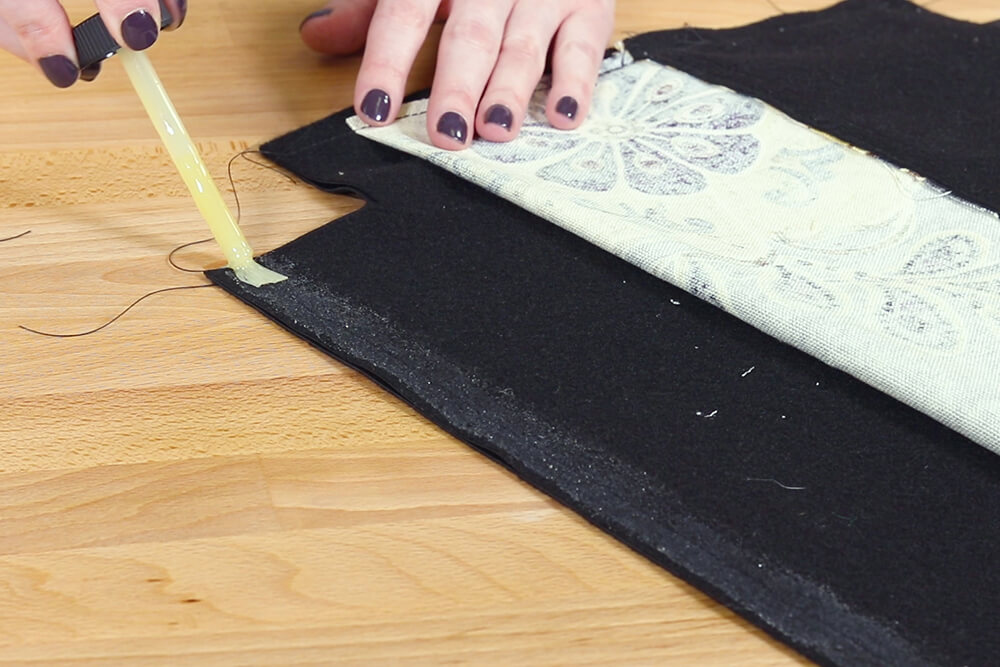
Let it sit for the specified time on your contact cement, which is 20 minutes for me.
Fold back the edges so they stick.
Turn the bag to the other side and do the same thing.
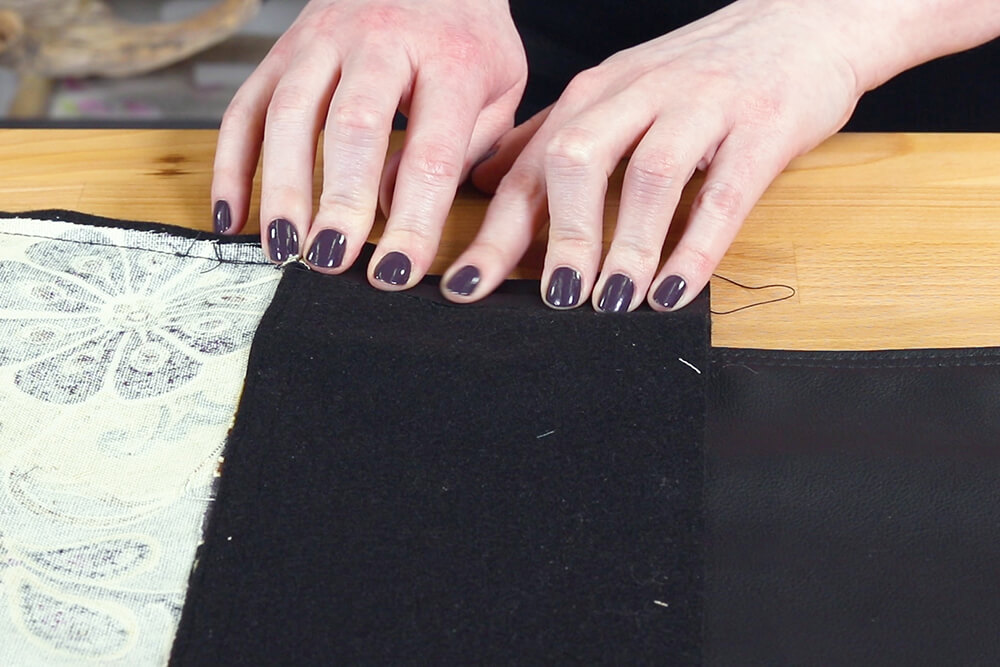
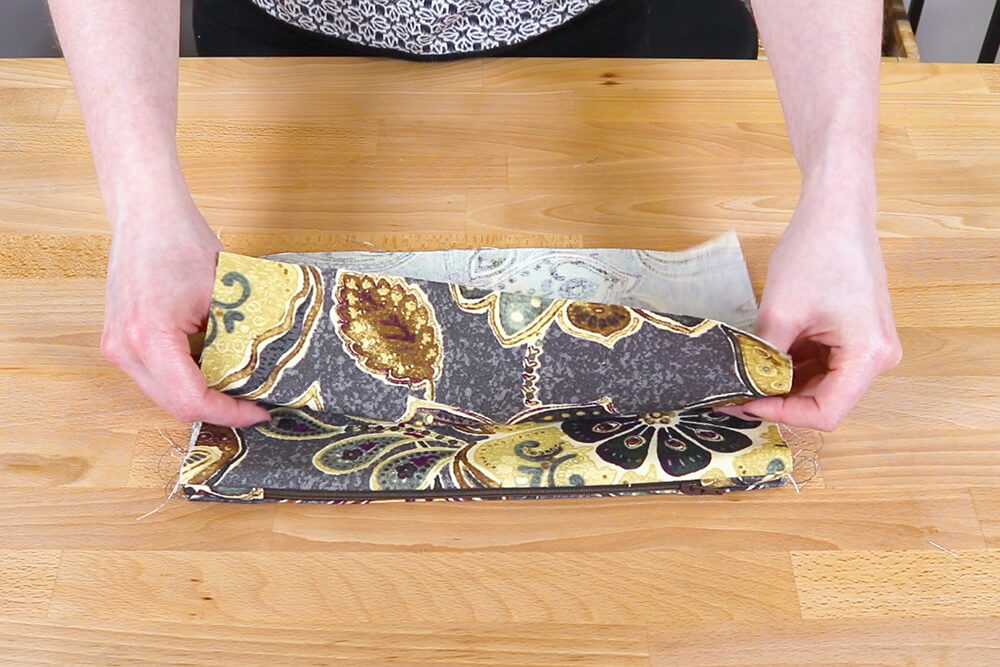
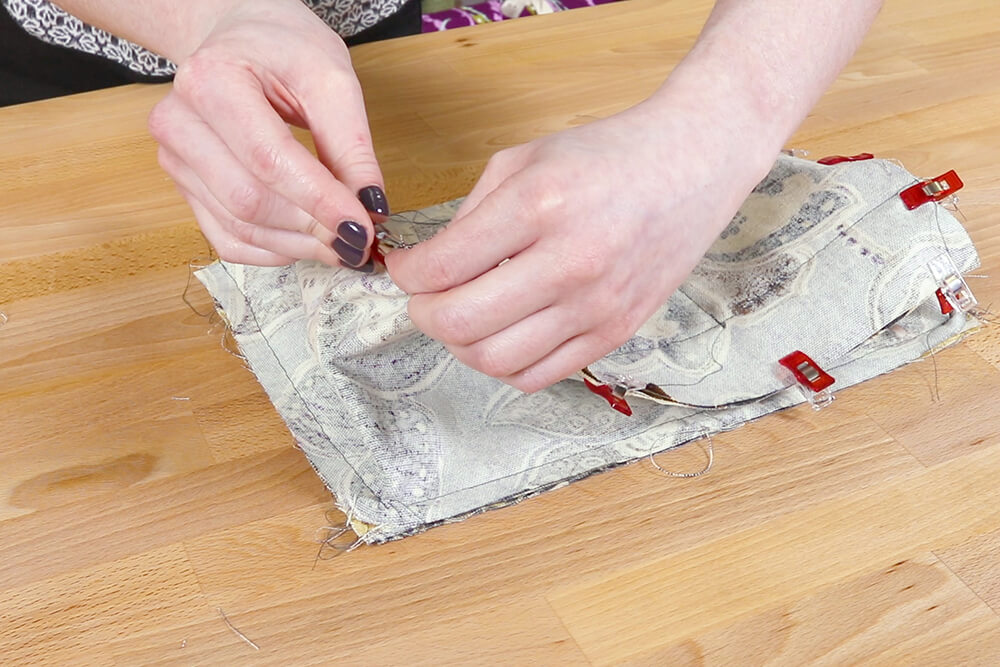
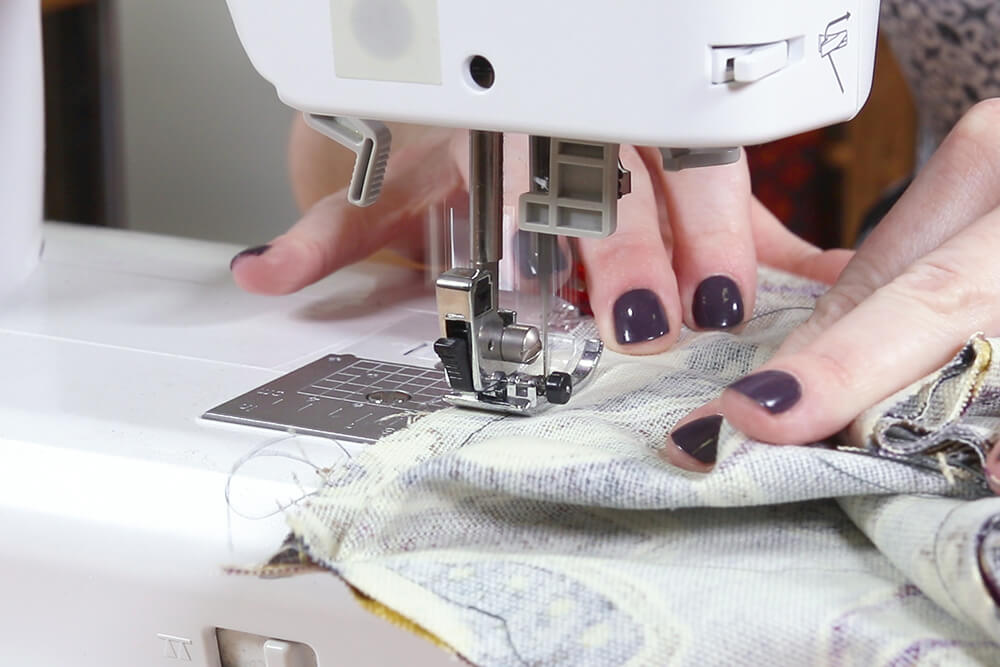
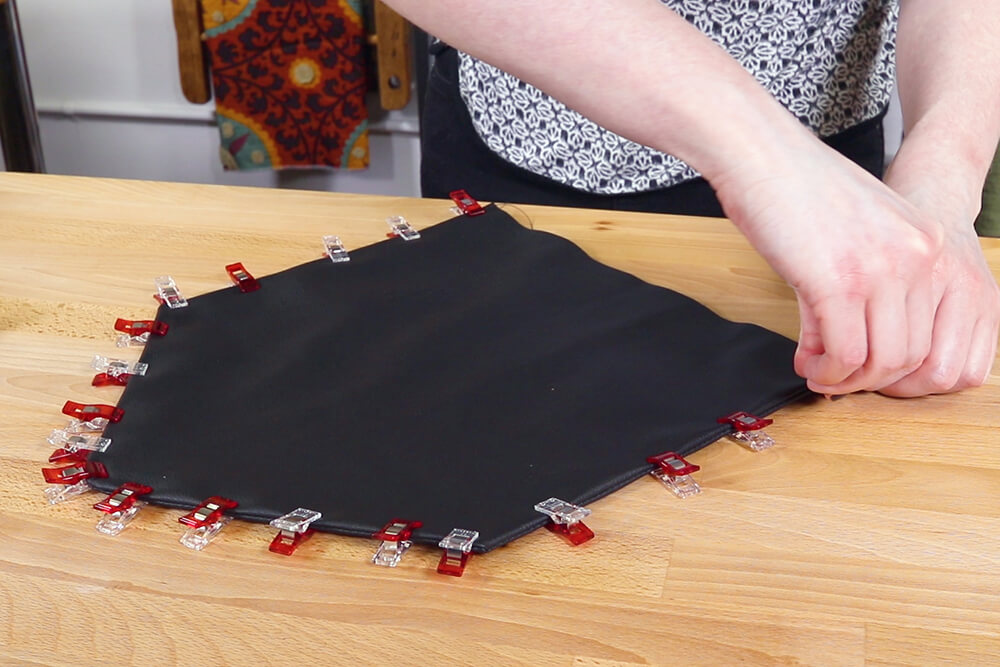
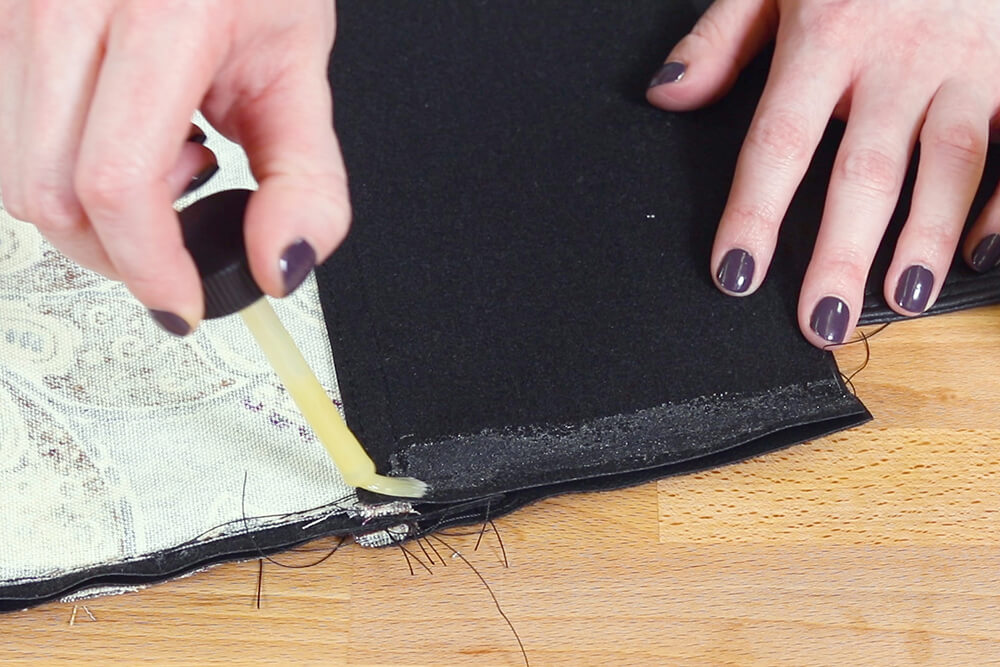
Pinch the bottom corners together so the seams line up and clip in place. Sew both corners with a 1/2″ seam allowance.
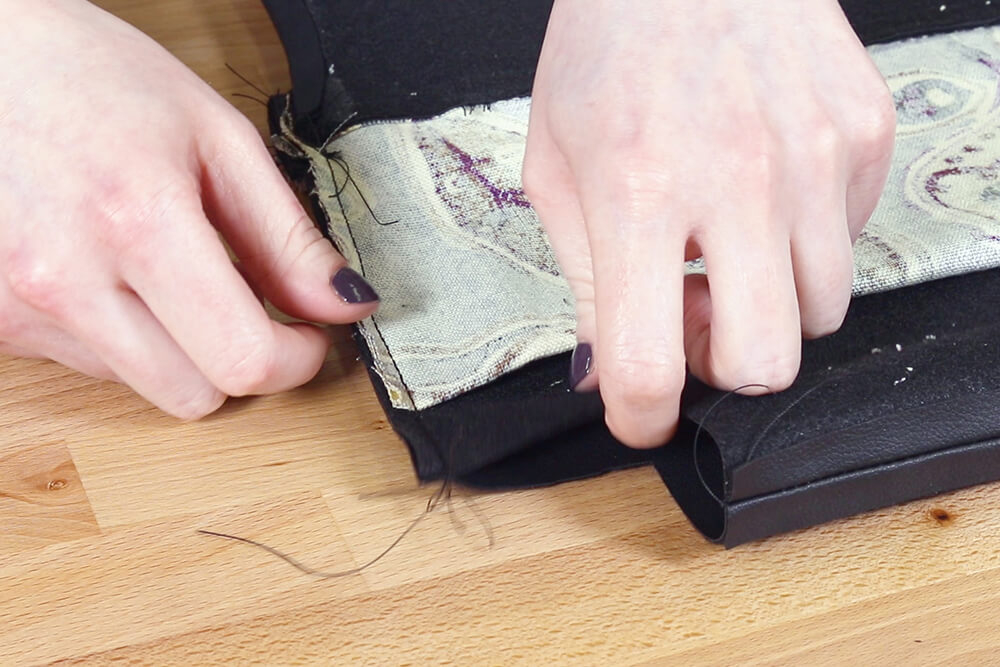
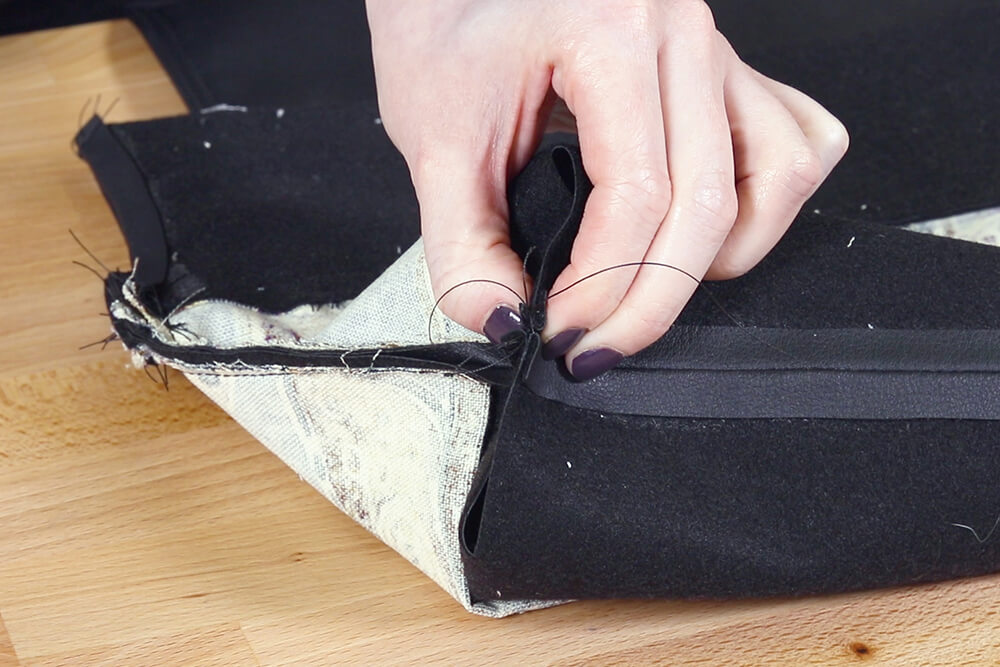
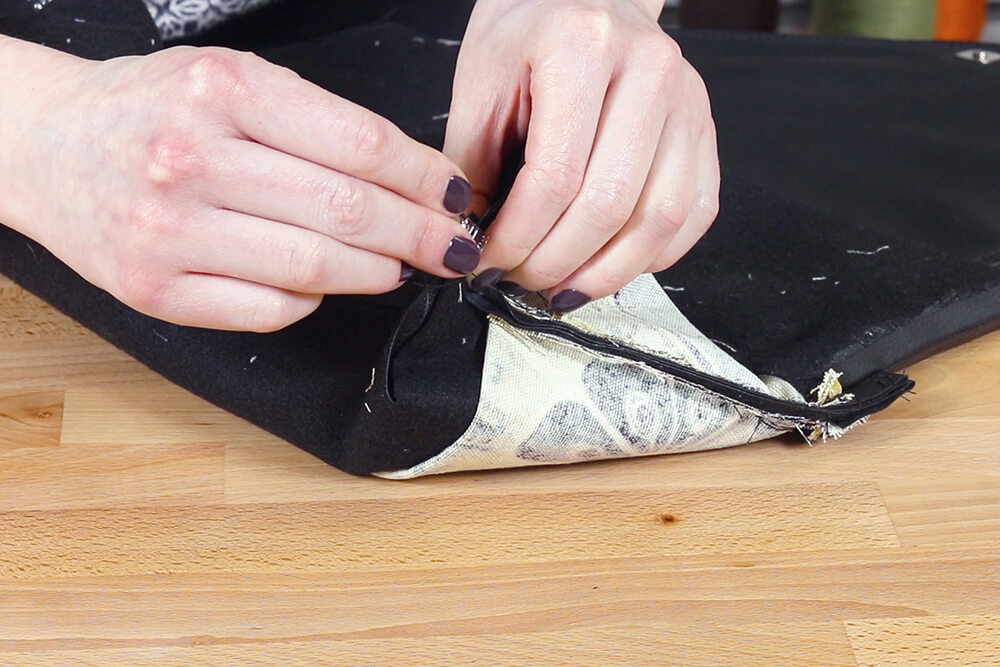
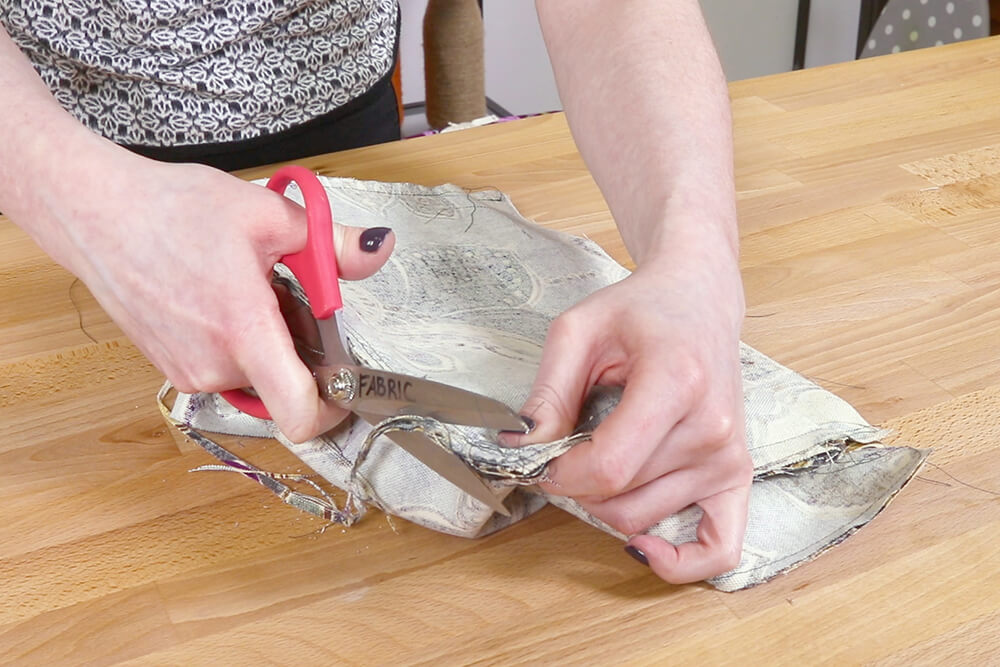
Trim all the seams to about 1/4″.
Turn the bag right side out.
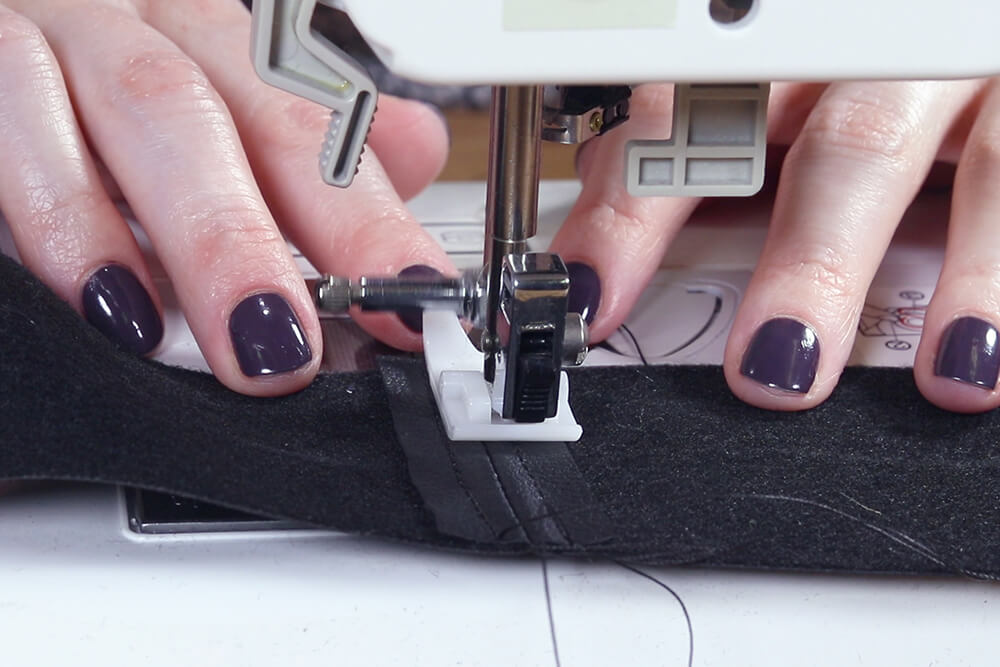
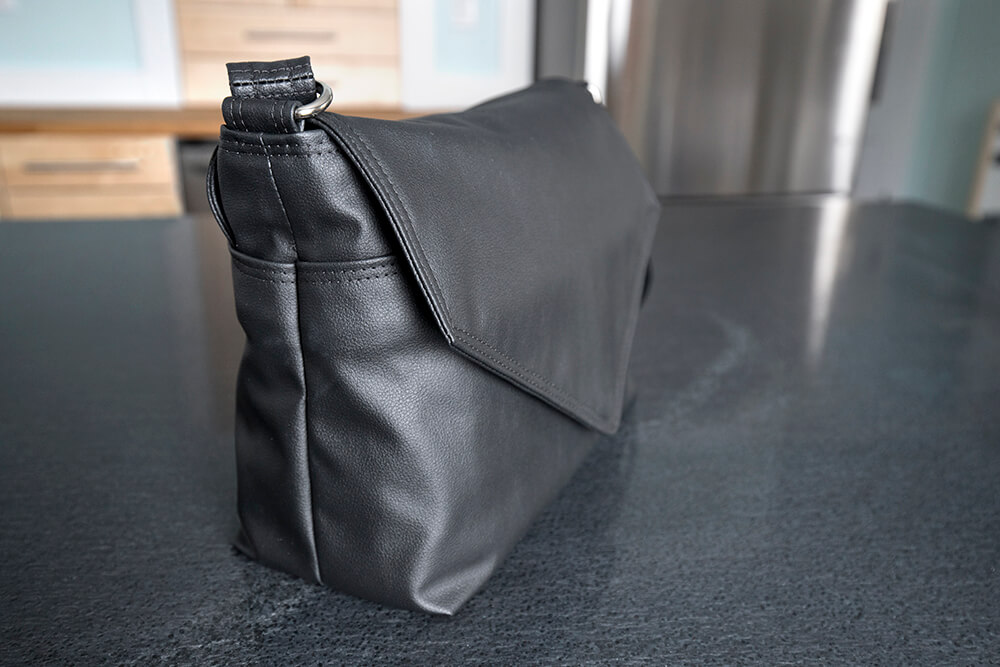
Step 10: Make the straps
On the back of the two smaller strap pieces, mark a center line.
Fold both sides to the middle line and clip.
Top stitch 1/4″ from the edges. Then top stitch again 1/8″ from the edges.

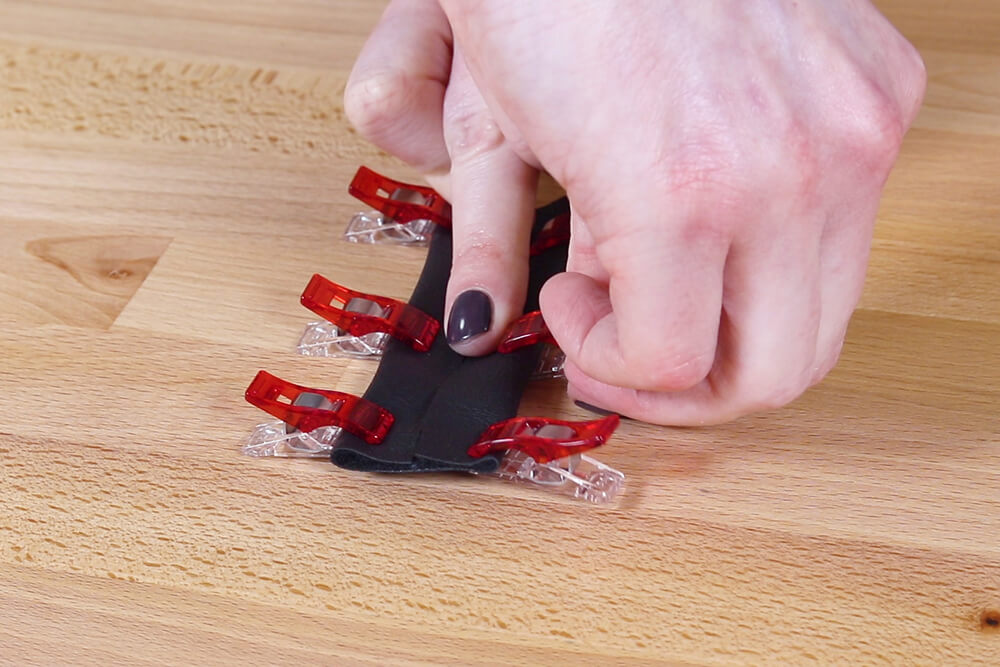

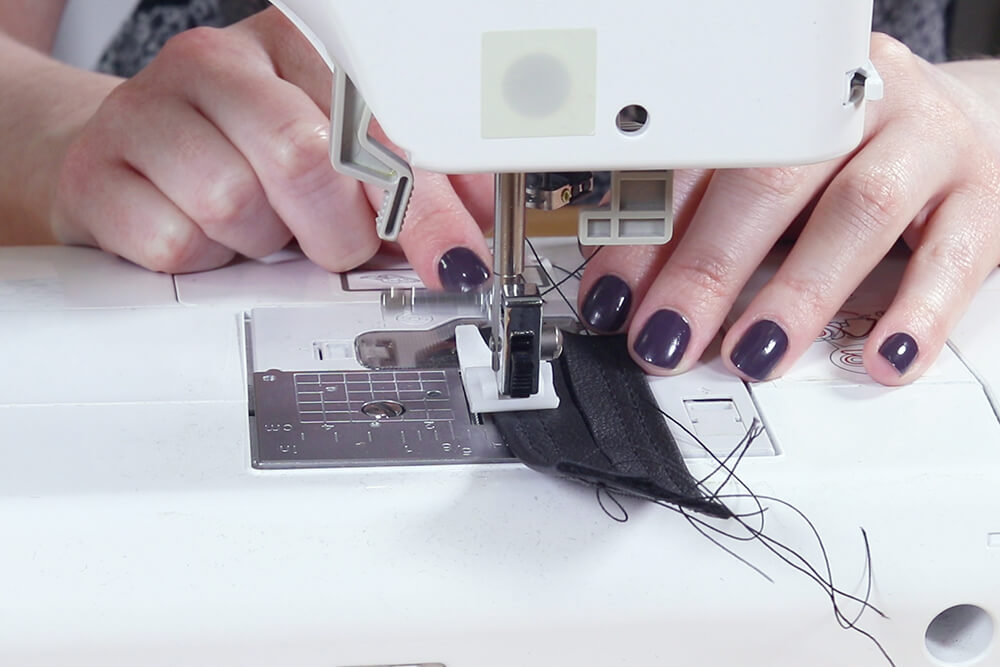
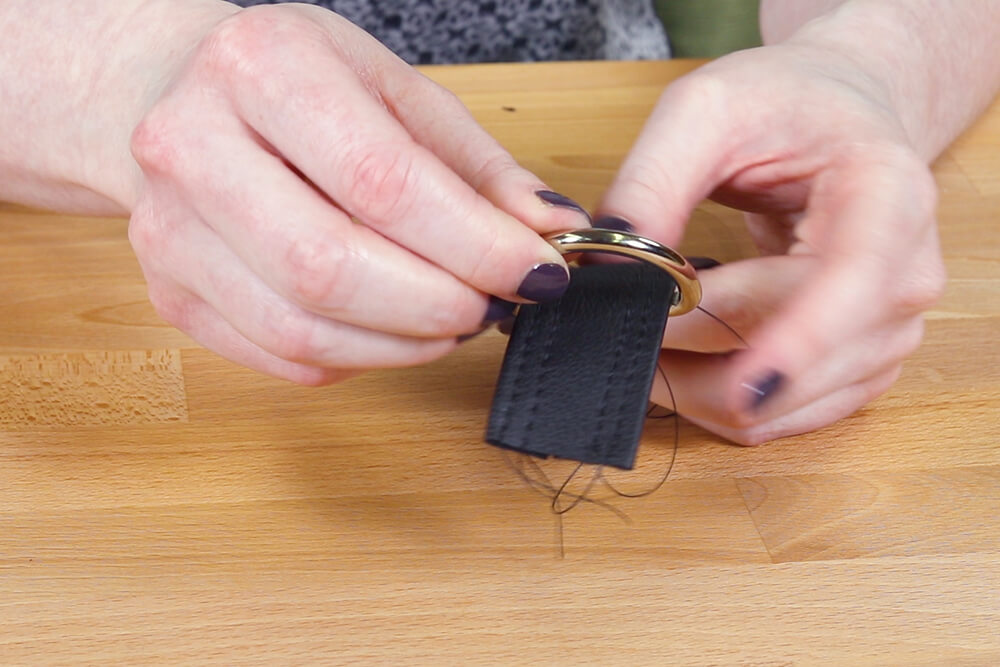
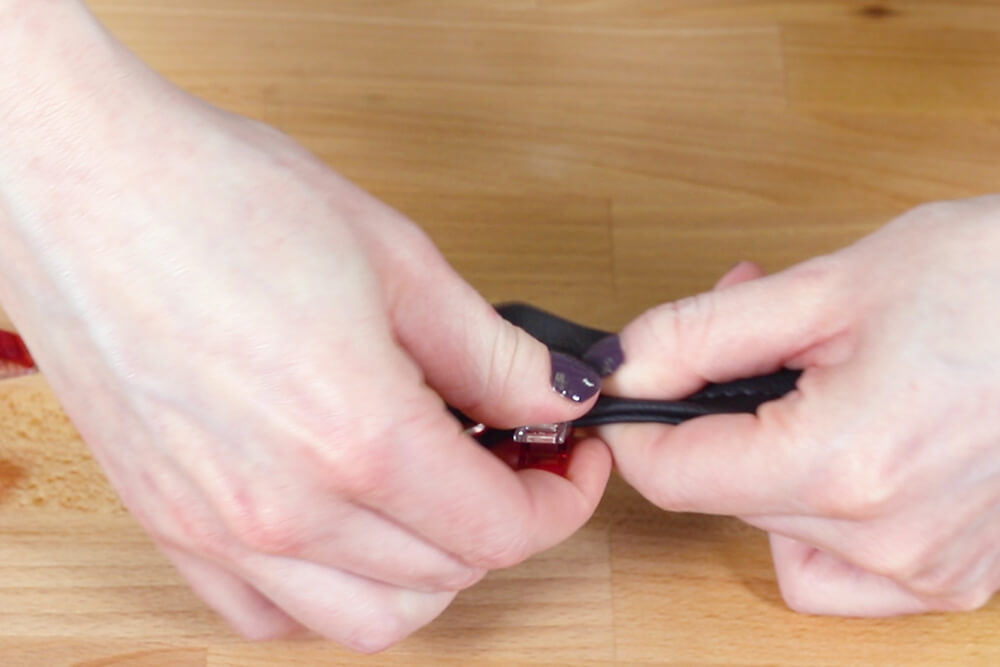
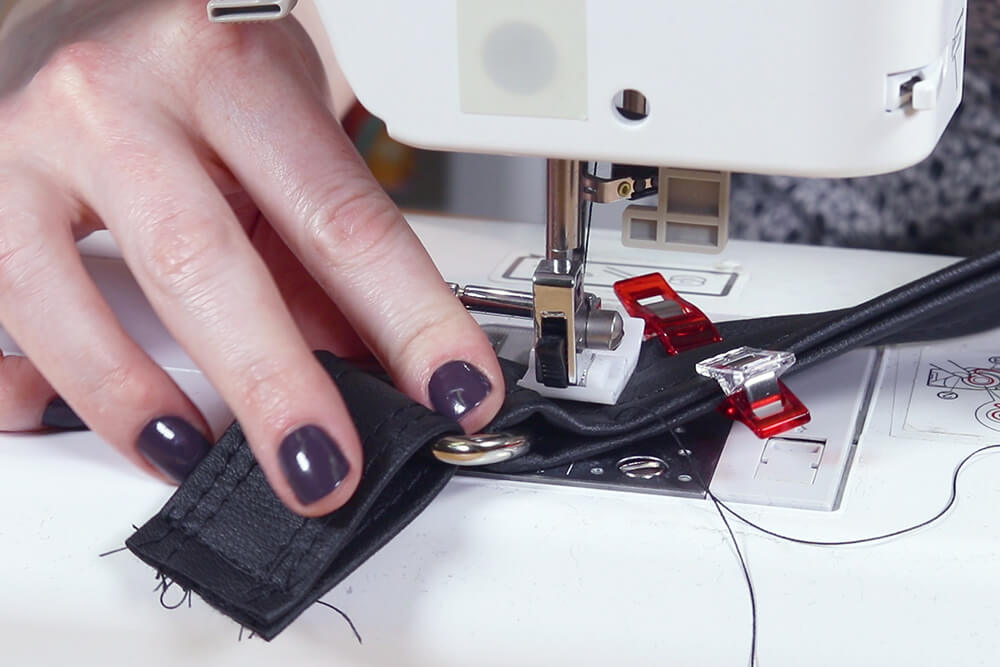
Slide a ring onto each piece and sew the ends together.
Take the two long strap pieces and mark a center line.
Sew the ends together with right sides facing and a 1/2″ seam allowance.
Open the seam and sew down each side.
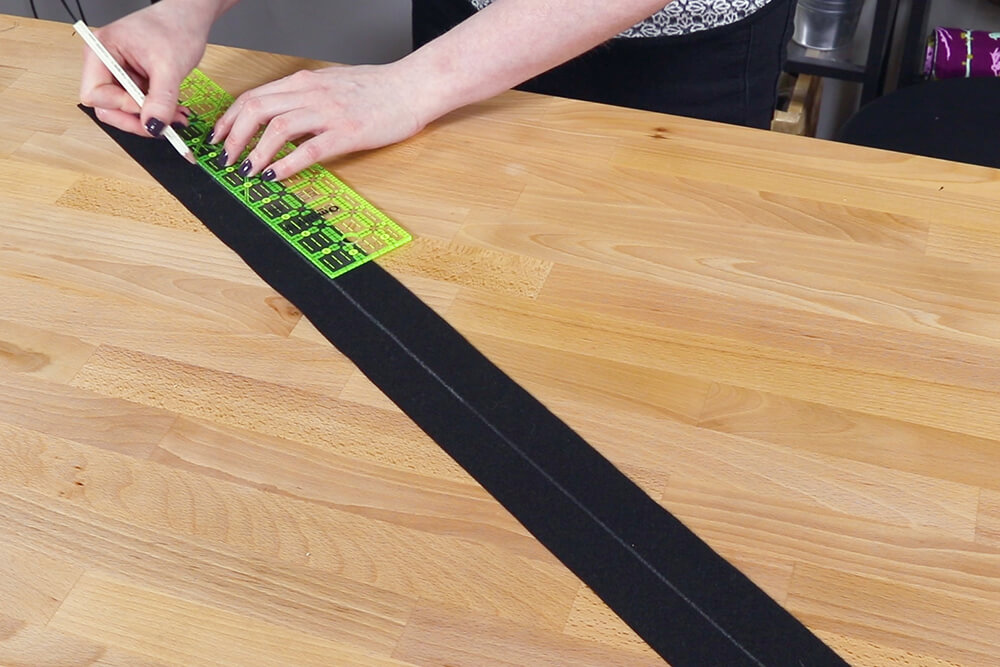
Slide on the rings, then sew the other ends together.
Open the seam and sew down each side.
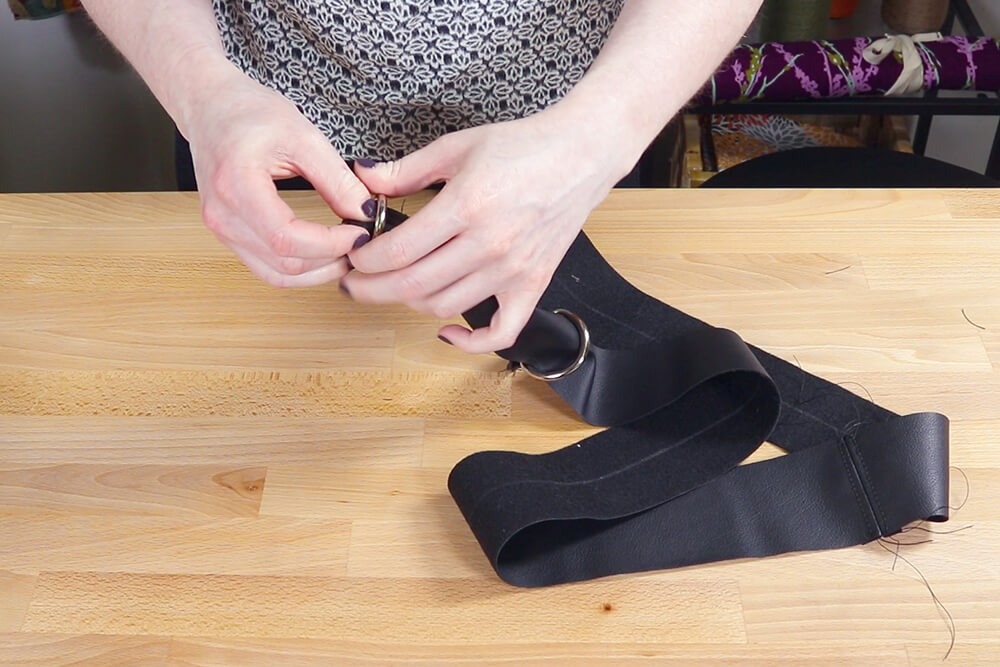

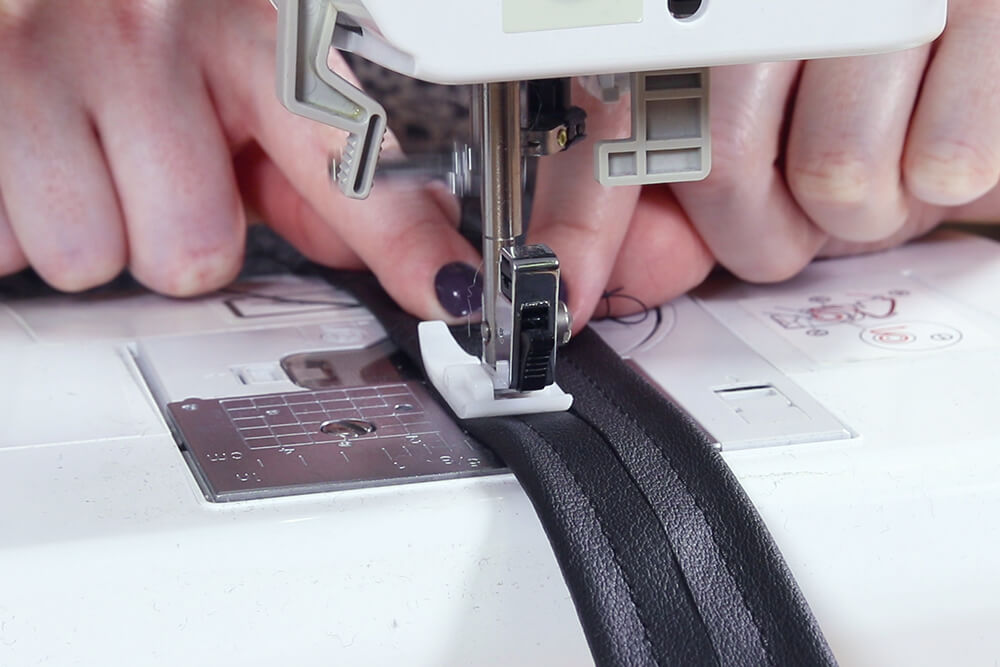
Fold one edge to the center line and top stitch 1/4″ from the edge all the way around.
When top stitching, it looks best not to back stitch unless it will be hidden.
Do the same thing for the other edge.
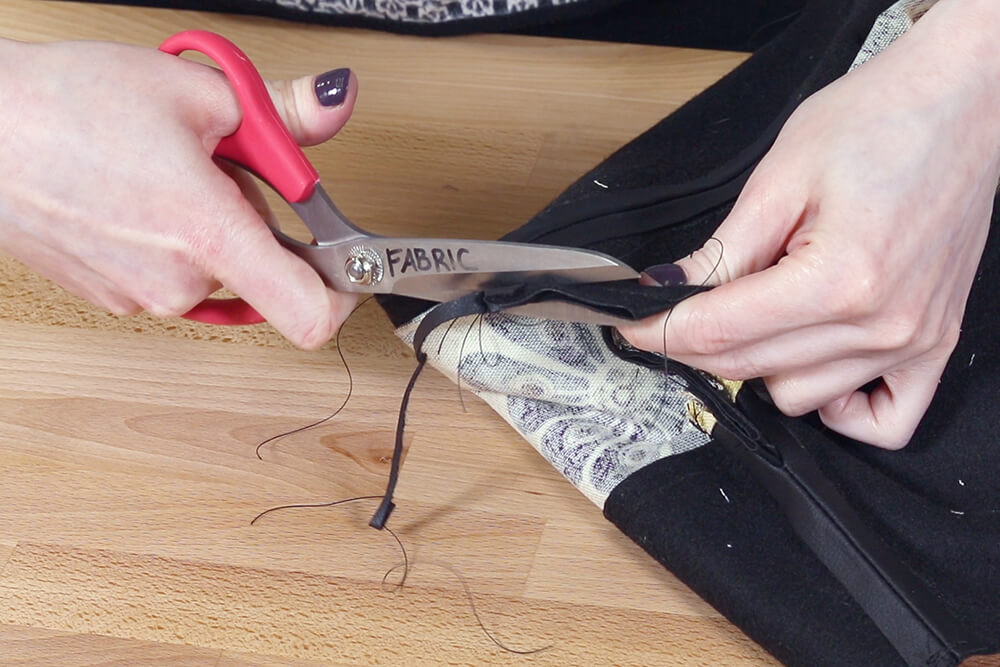
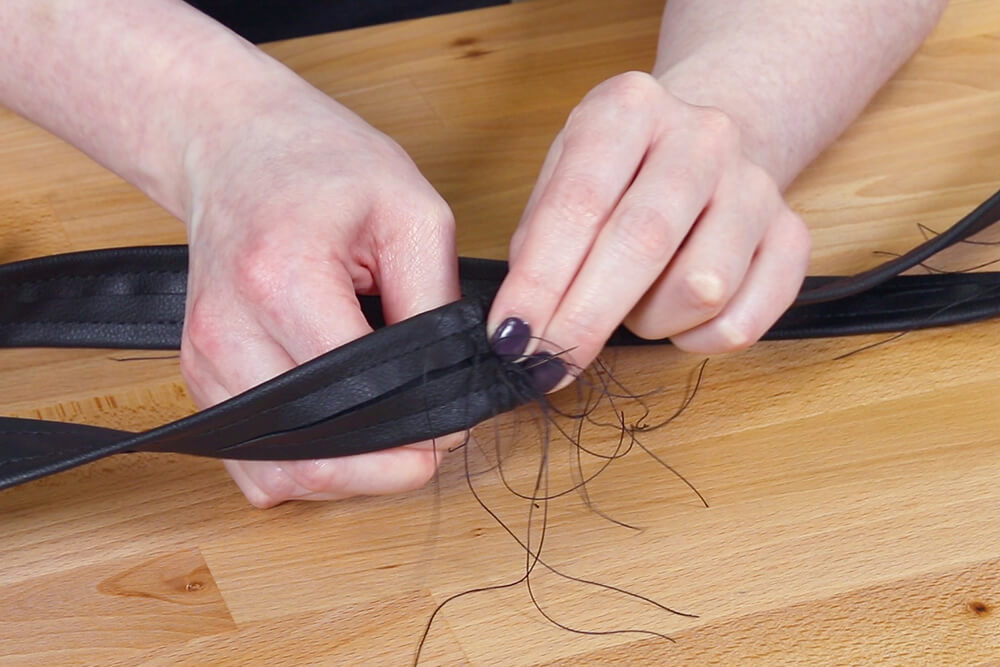
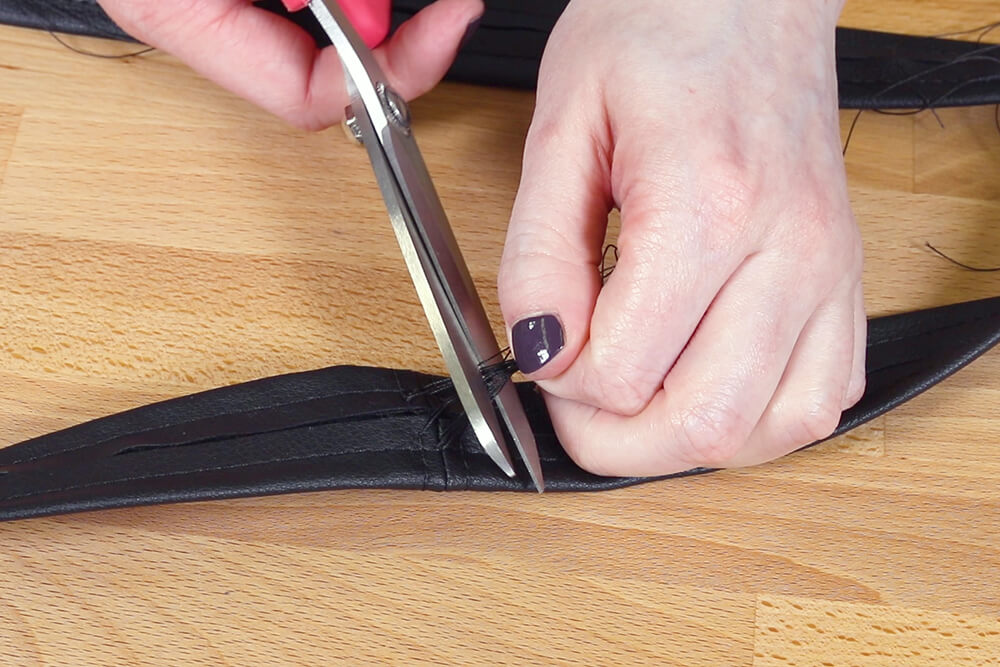
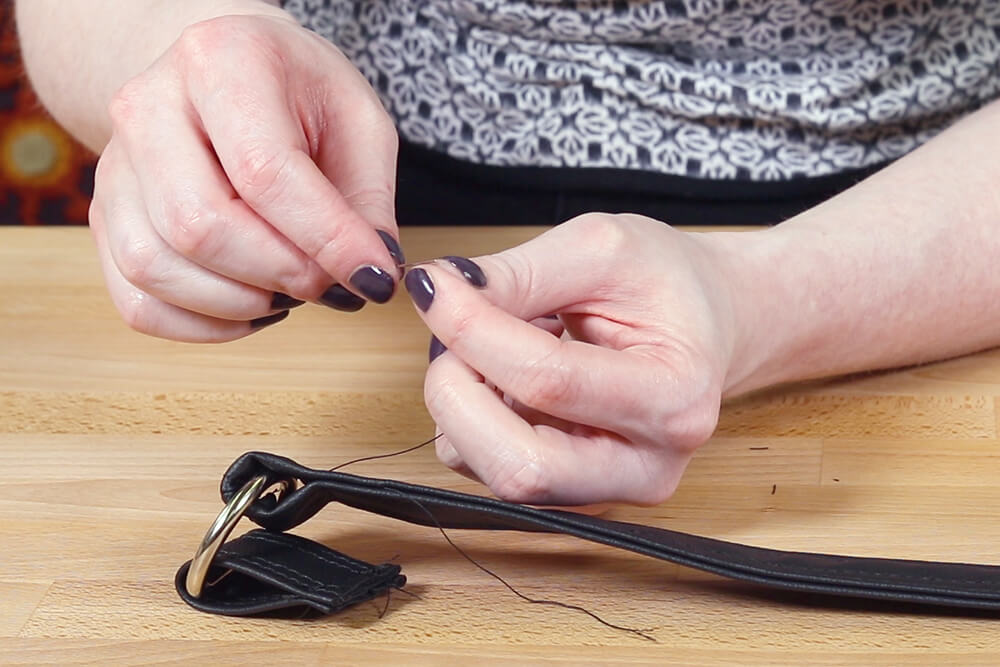
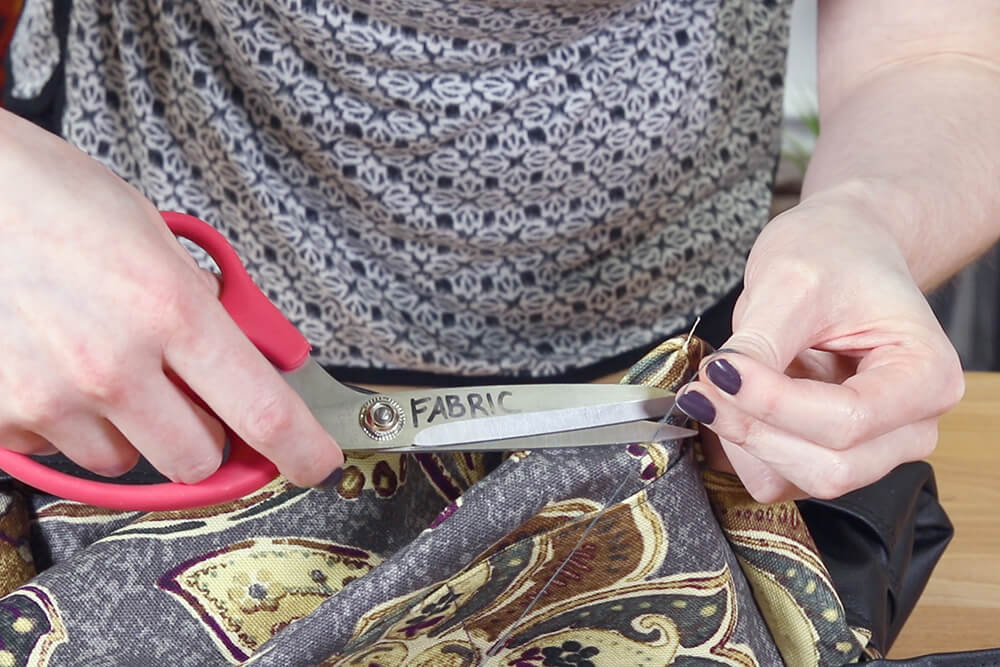
Bring the threads on the front to the back with a hand needle. Cut off the loose thread.

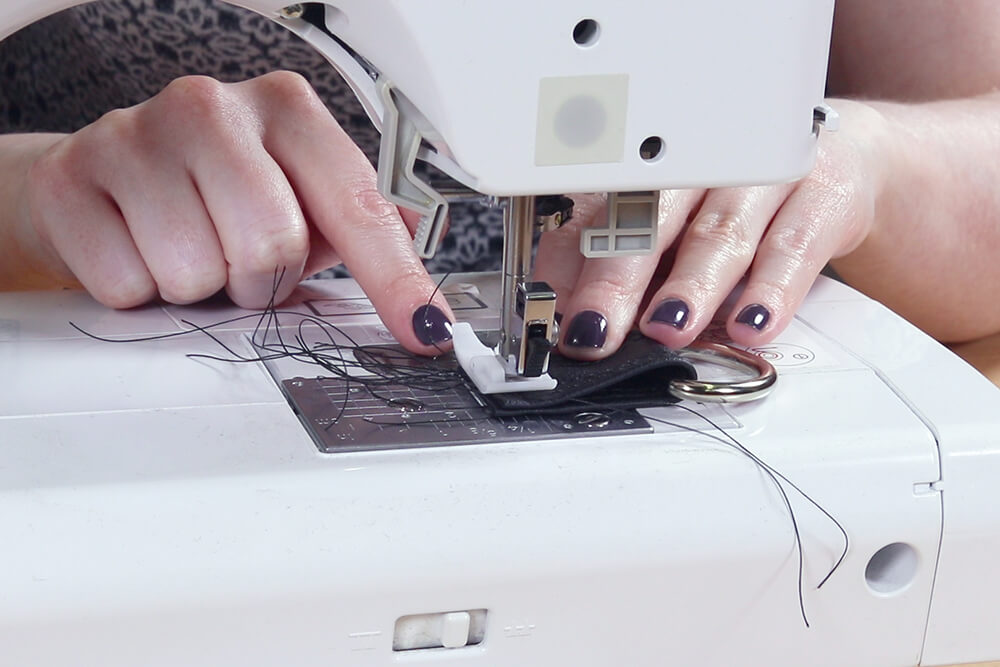
Place the rings on the seams and clip in place.
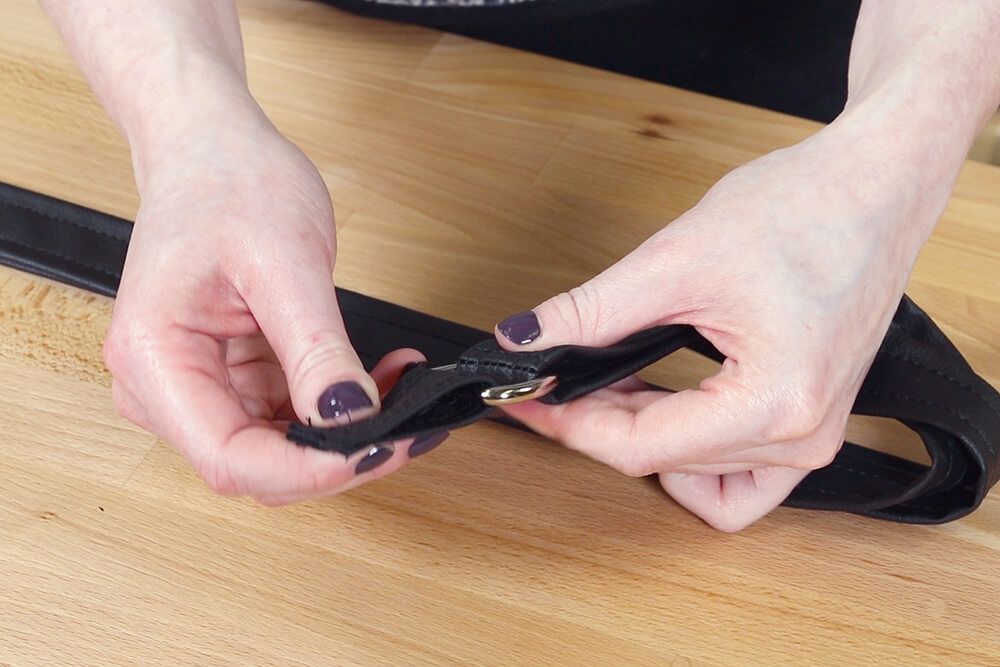
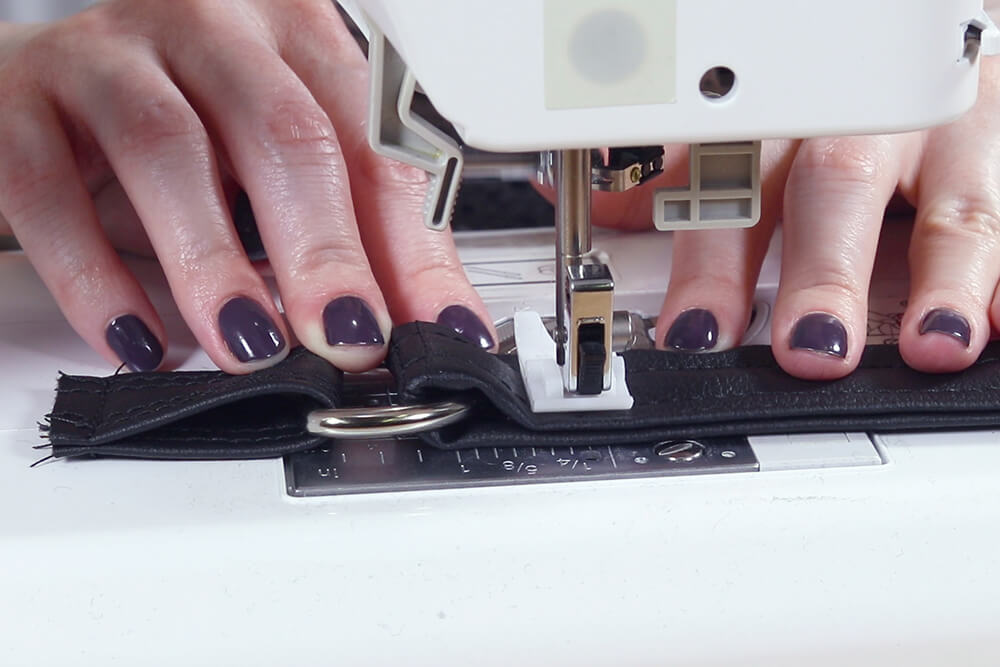
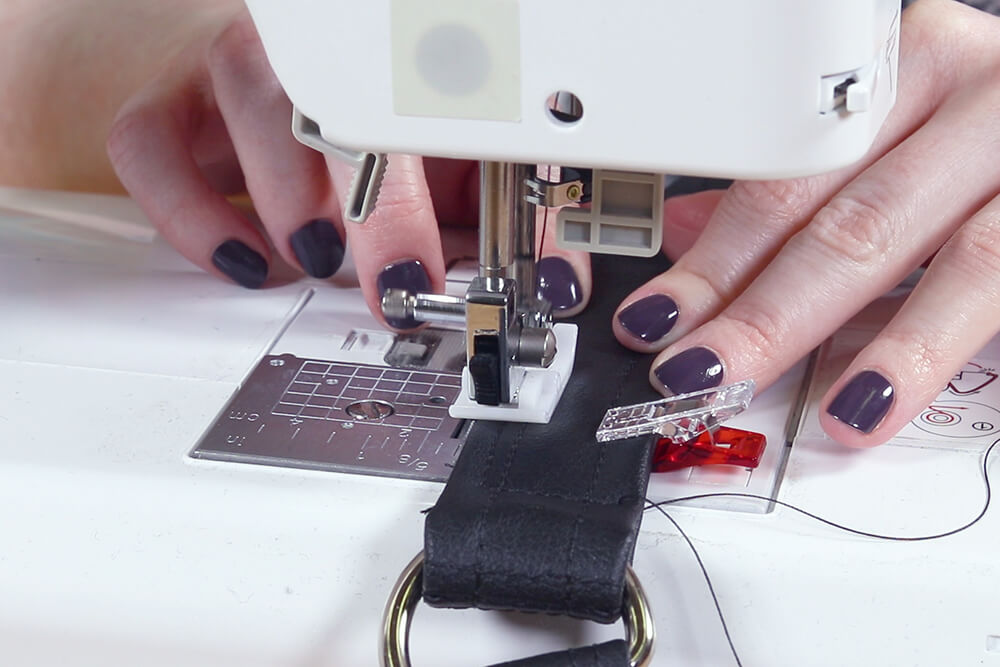
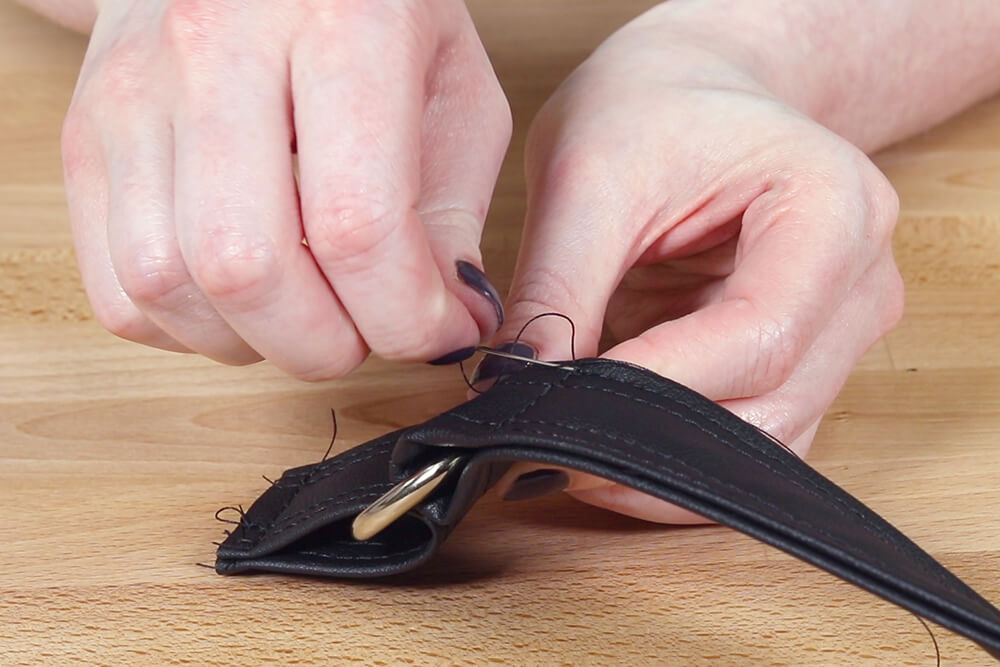
About 1 inch from the ring, sew across, then turn and top stitch 1/8″ from the edge.
Stop when you get 1 inch away from the other ring. Sew across and down the other side until you get back to the beginning.
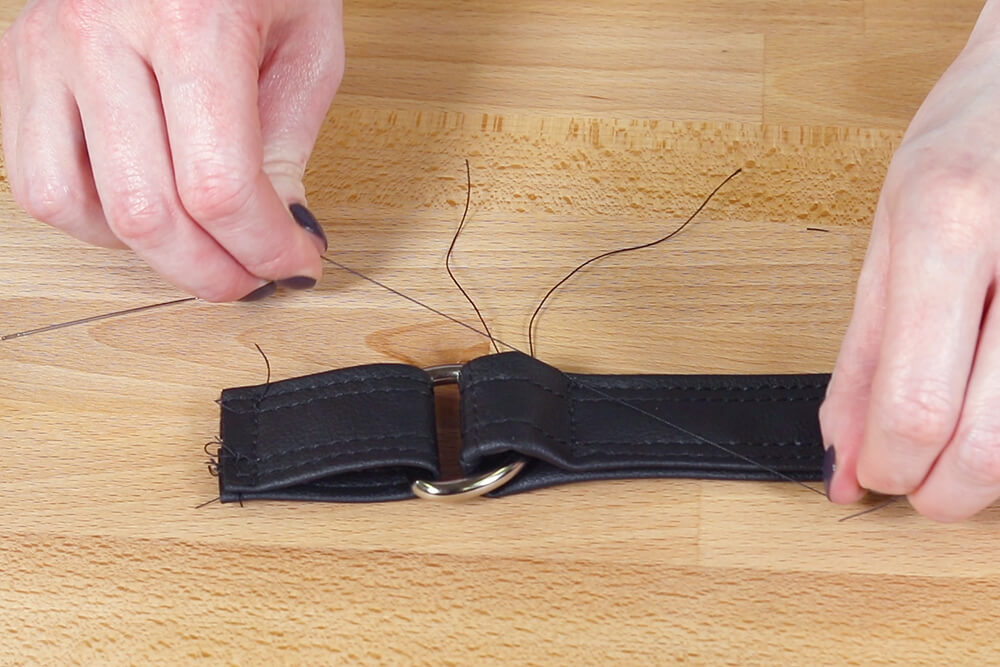
Make sure to leave extra thread at the ends.
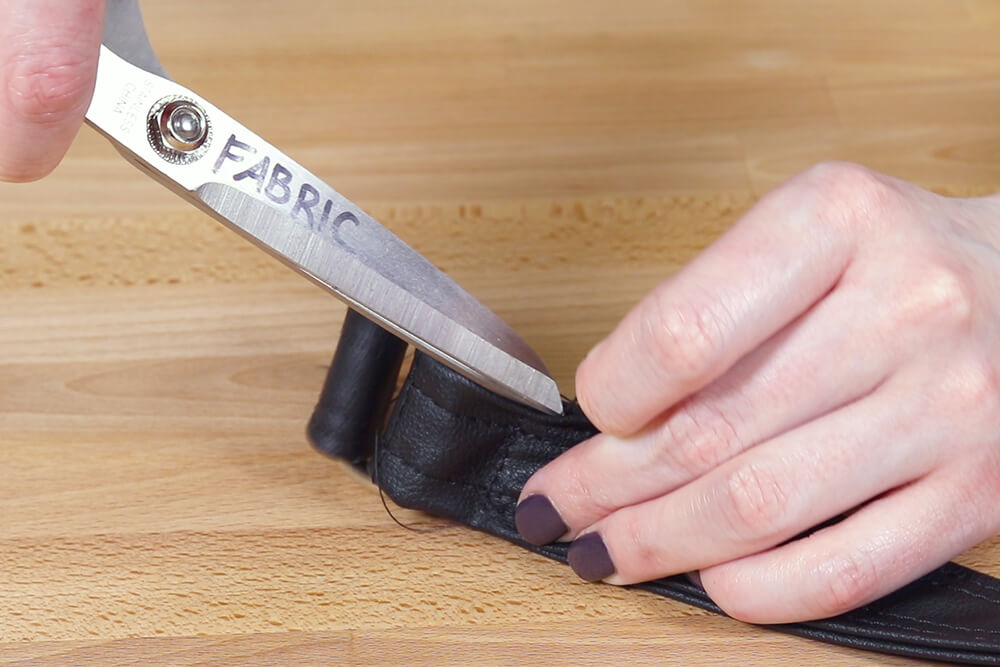
Tie the thread together and bury between the layers.
Cut off the loose thread.
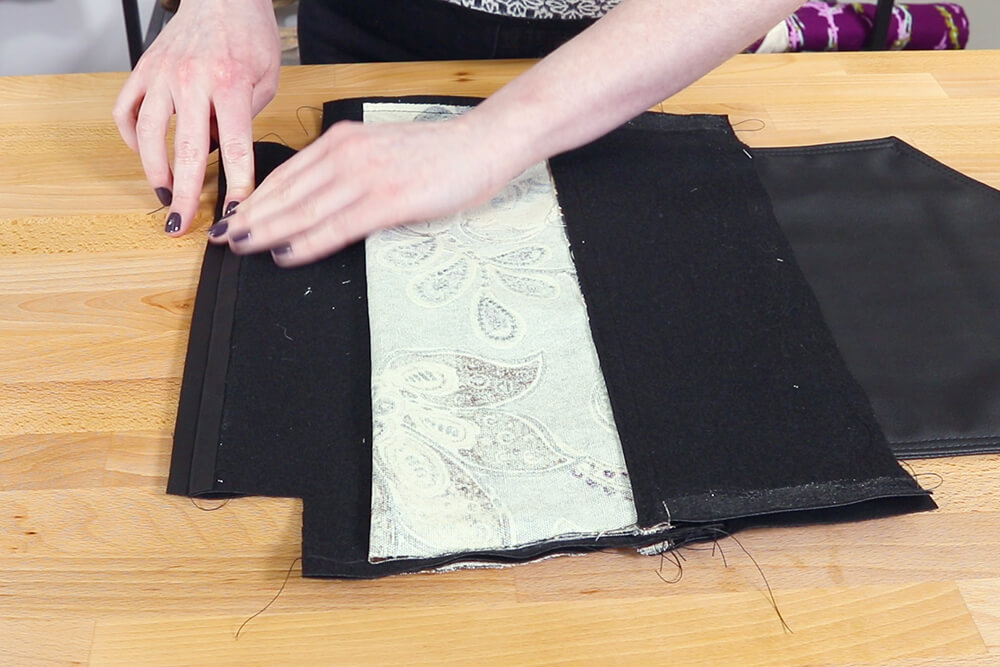
Step 11: Sew the outer bag and lining together
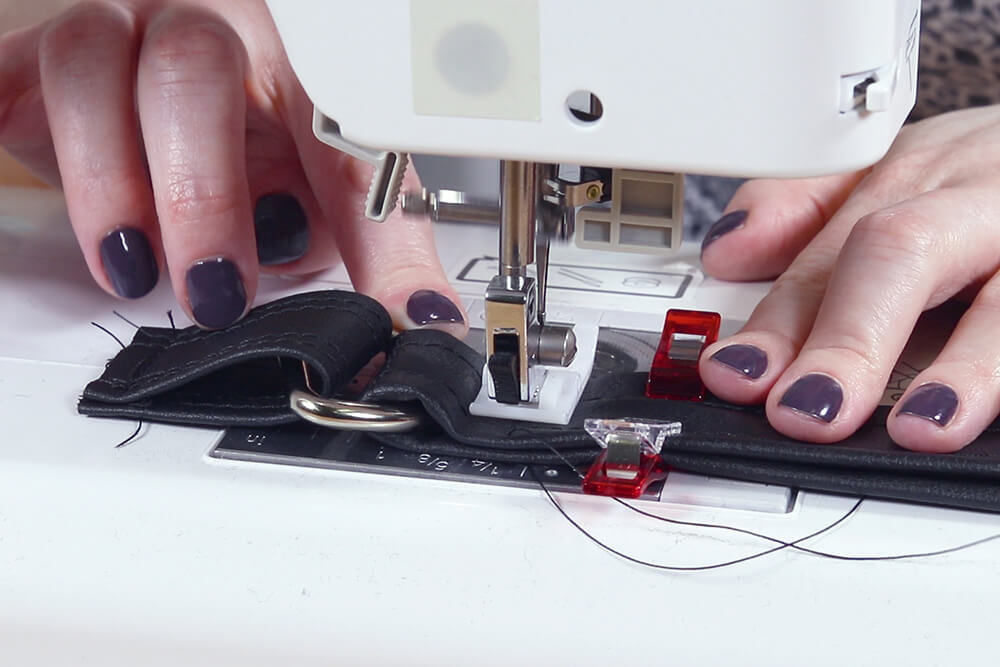
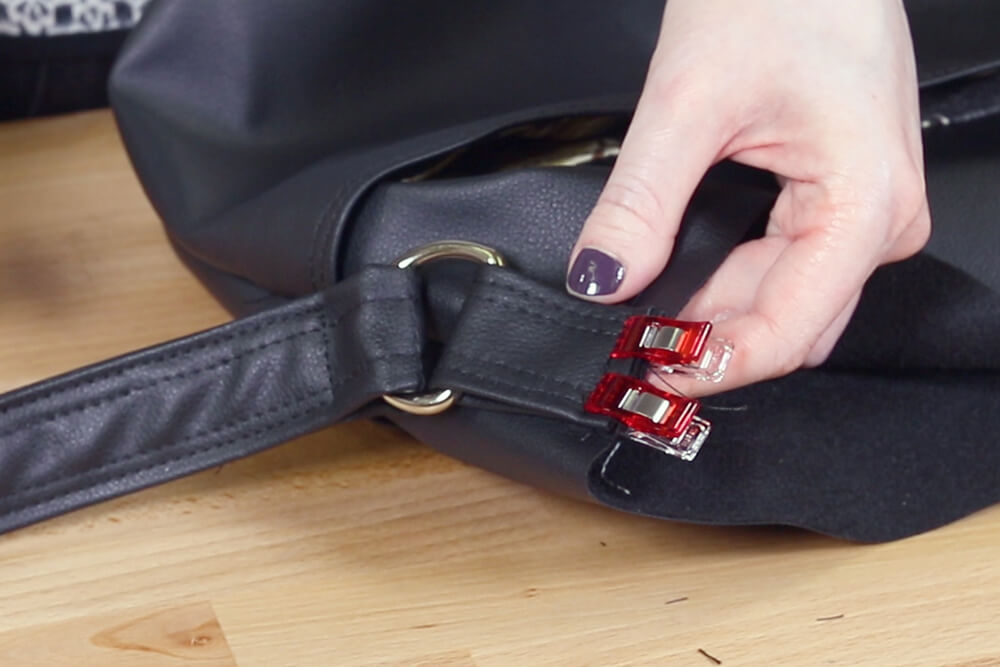
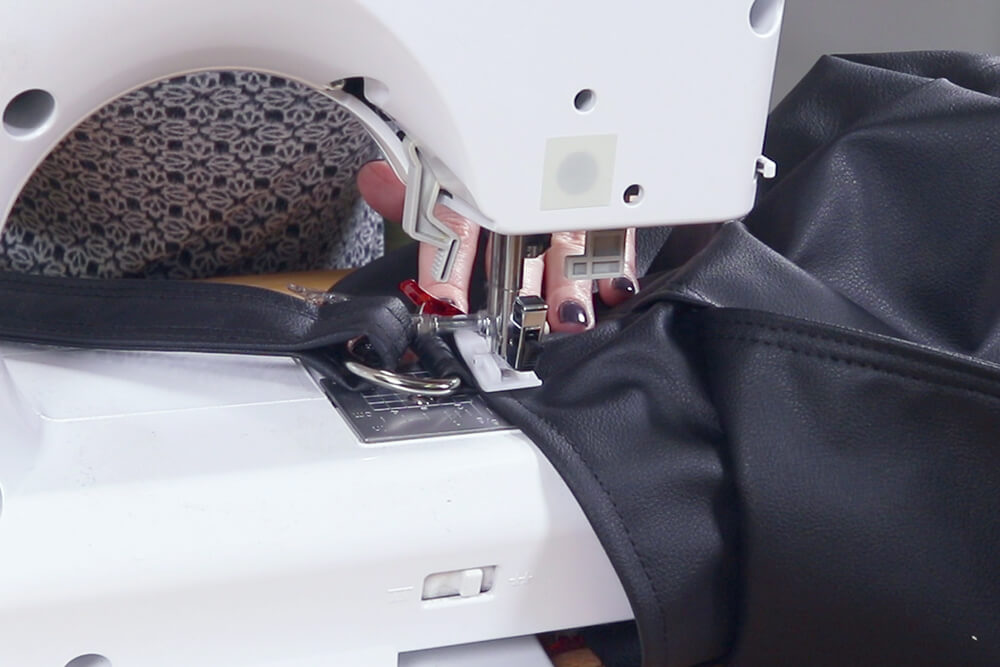
Line up the bottom edge of the strap loop with the top of the bag so it;s centered on the side seam.
Clip in place and sew 1/4″ from the edge. Repeat for the other strap loop.

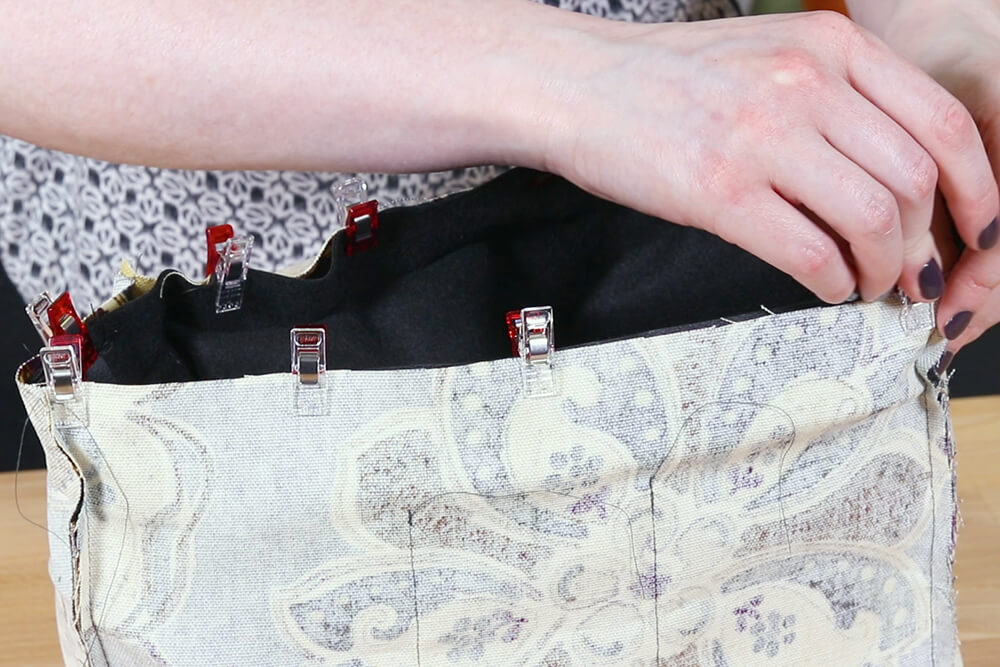
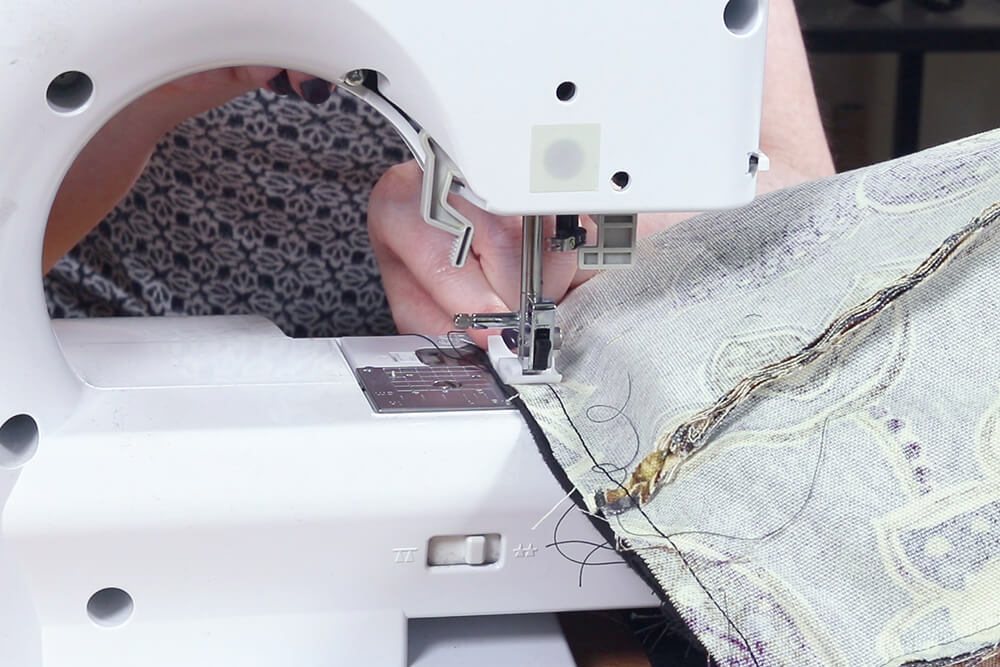
Fold the top down 1 and 1/2″ and clip all the way around.
Top stitch two lines around the top. When sewing over the straps, use the hand wheel so the needle doesn’t break.
Make sure to leave extra thread on the tails to tie and bury afterwards.
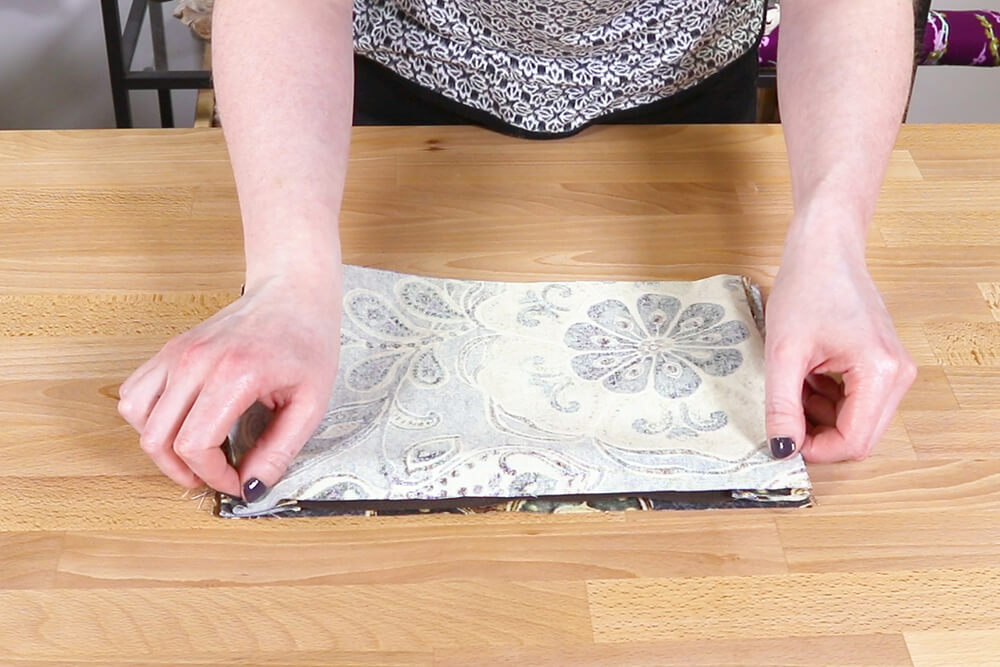
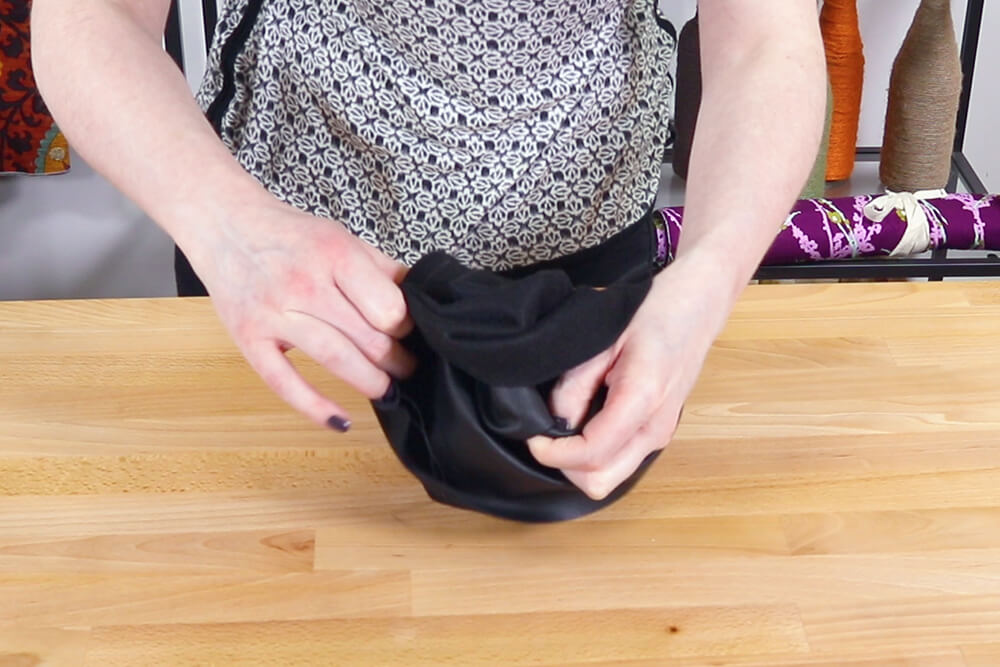
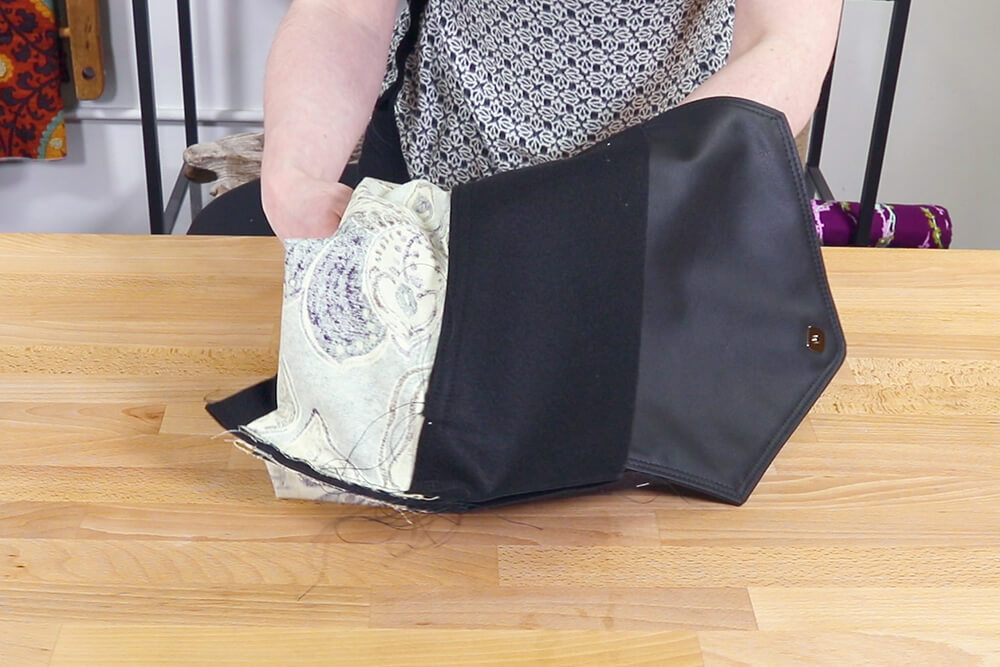
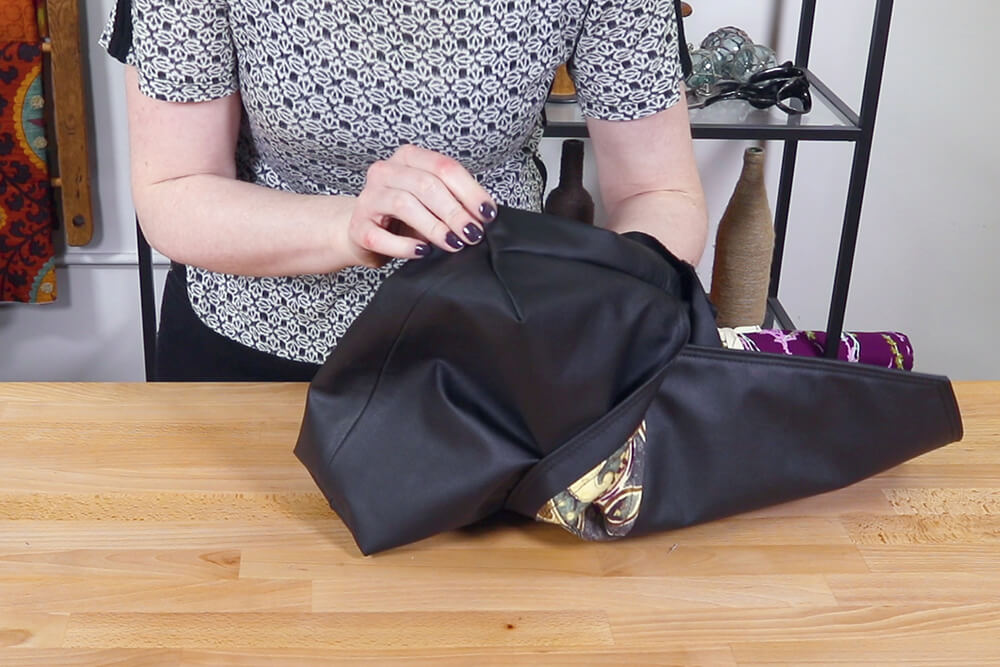
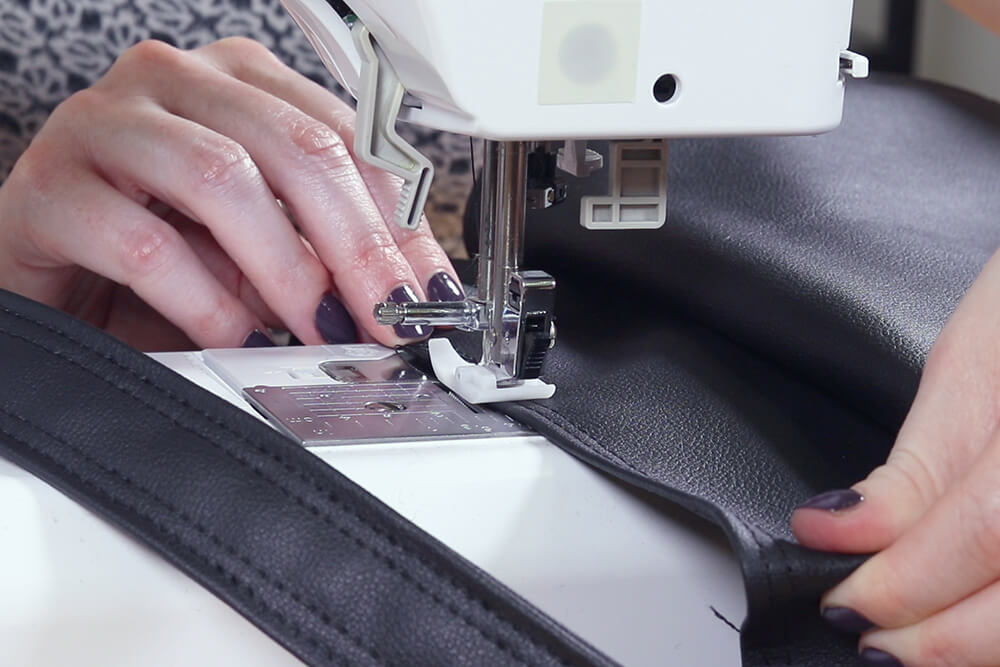
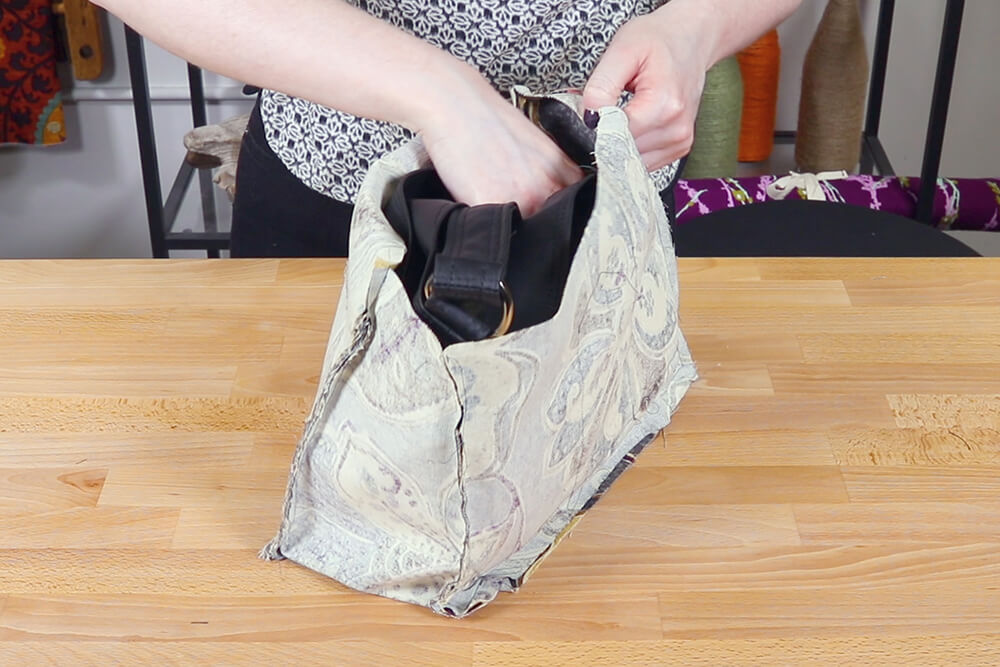
Place the outer bag inside the lining so the right sides are facing. Fold up the raw edge of the vinyl and clip to the edge of the lining.
Sew all the way around with a 1/2″ seam allowance.
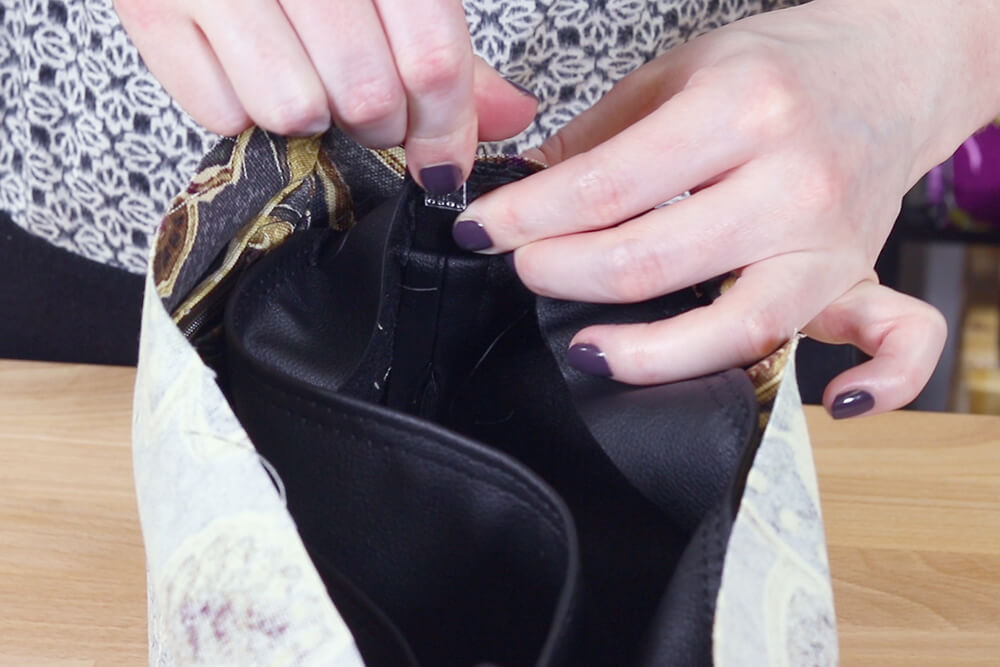
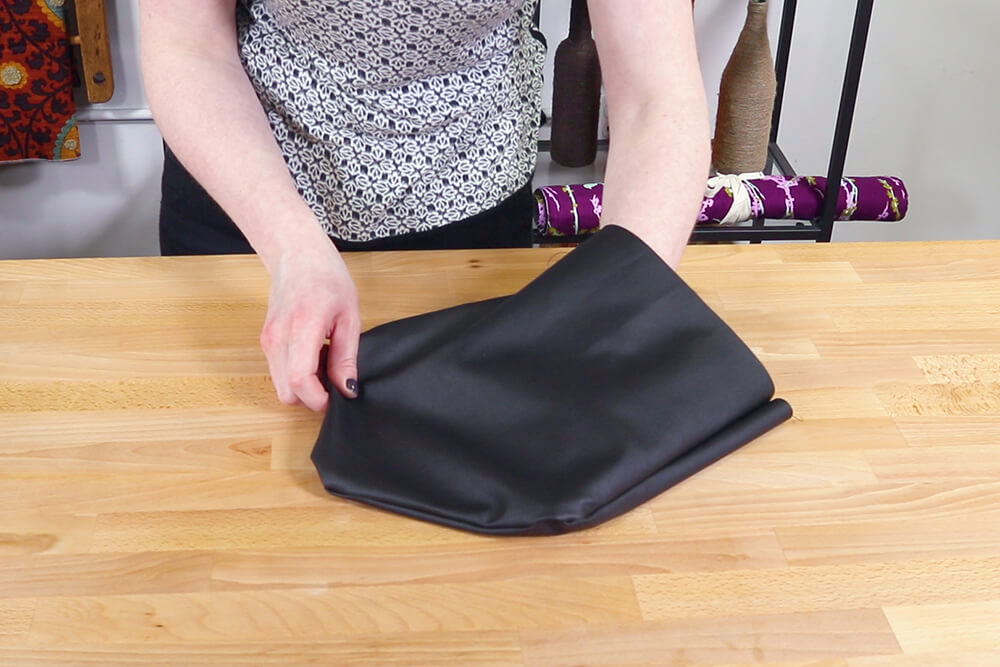
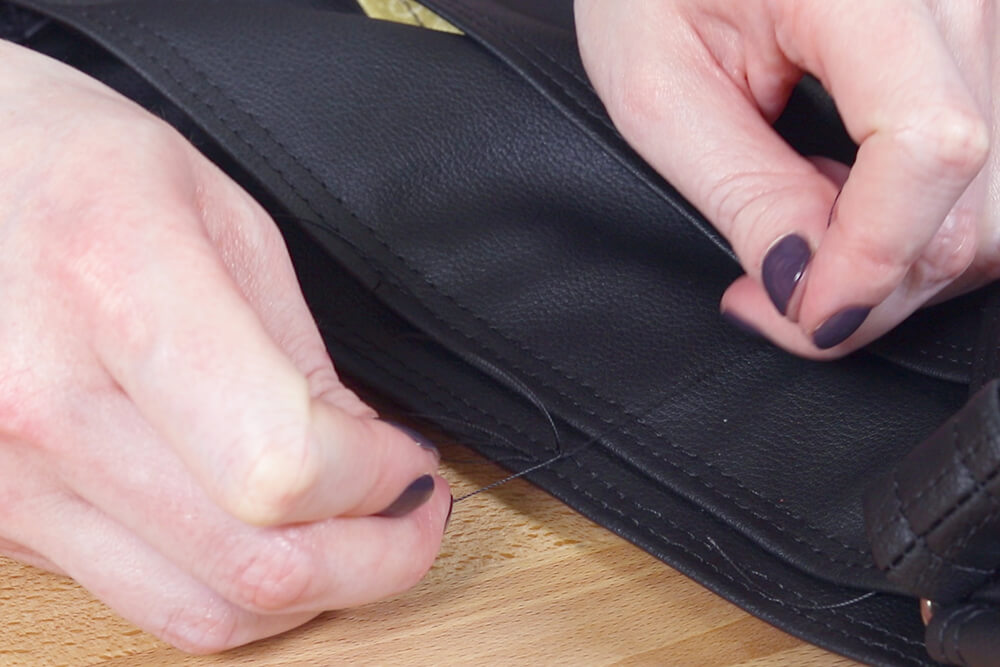
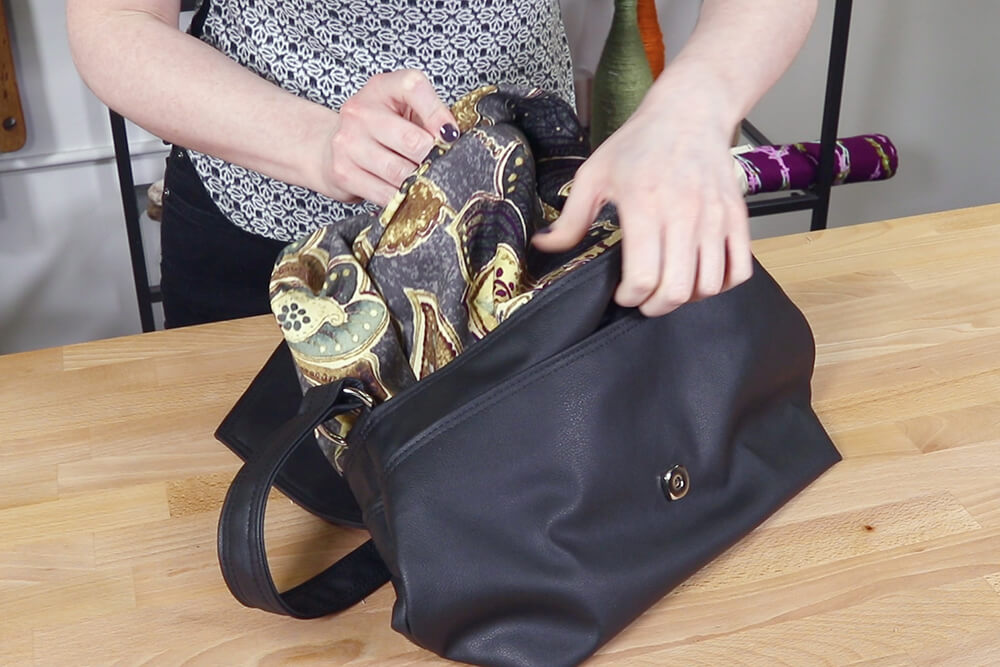
Pull the bag through the bottom opening of the lining to turn it right side out.
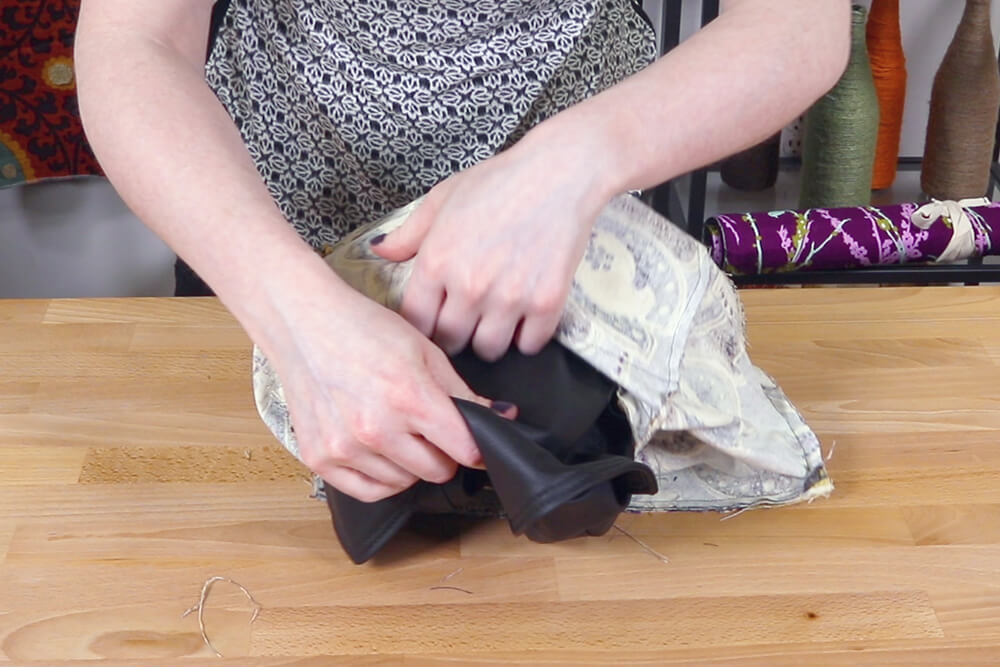
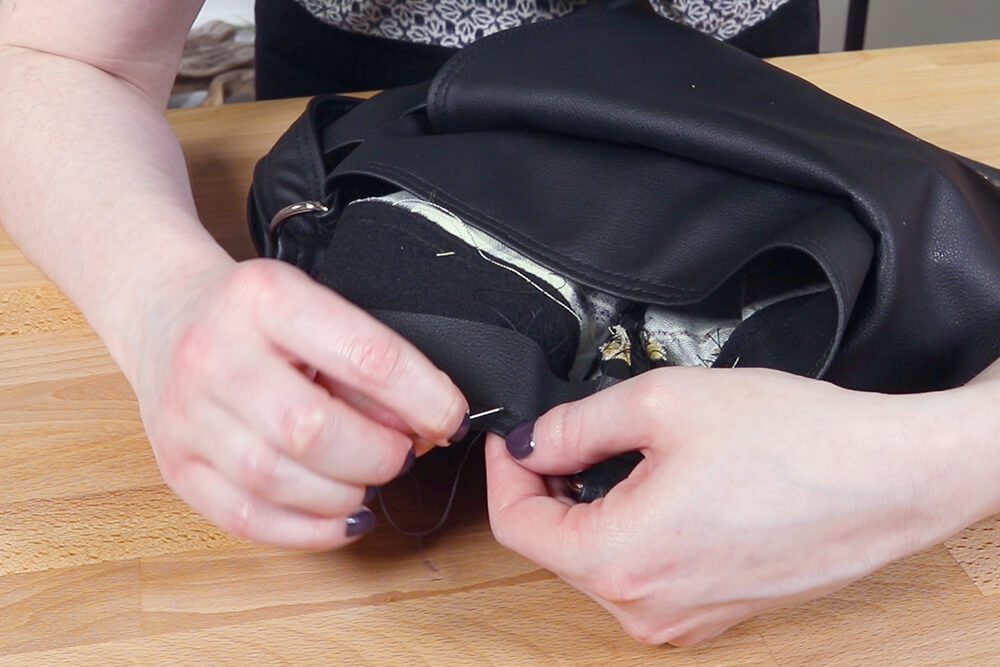
Hand stitch the opening in the lining closed.
Learn how to sew an invisible stitch here.
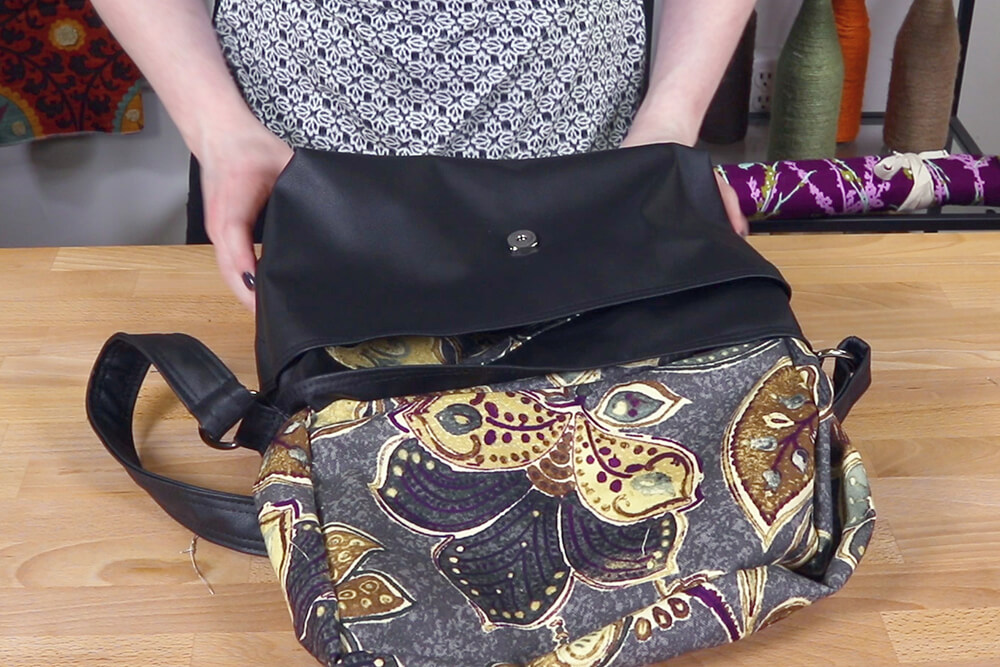
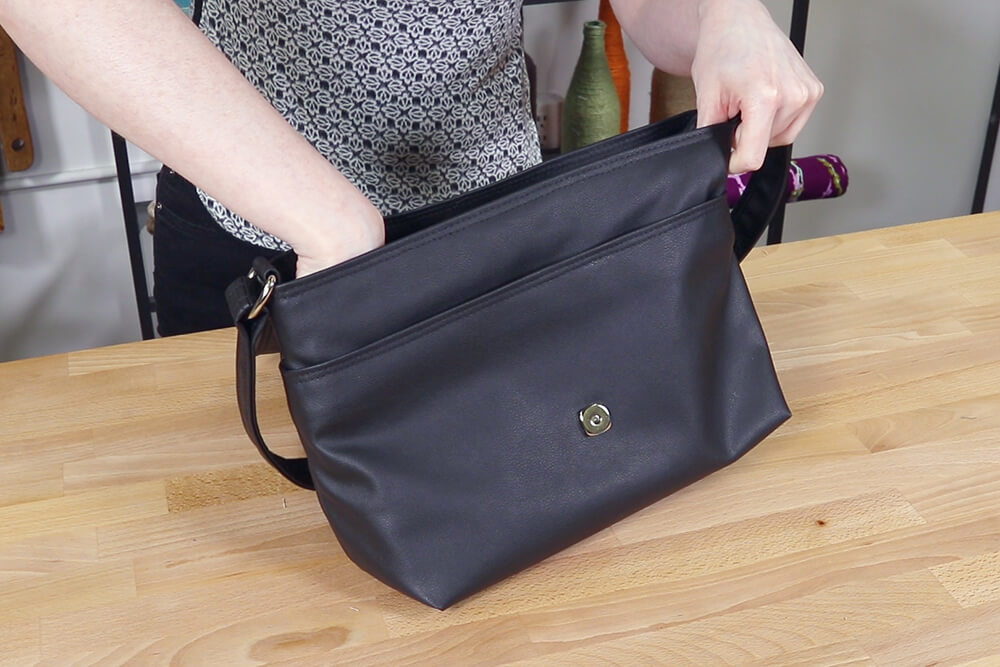
Tuck the lining into the bag, and it’s complete!

Check out our selection of vinyl fabric.
-
{{#each productSuggestedQueries.results}}
- {{query}} {{/each}}
-
{{#each categories.results}}
- {{html title}} {{/each}}
{{html attributes.description}}
{{/if}}-
{{#each queries.results}}
- {{query}} {{/each}}