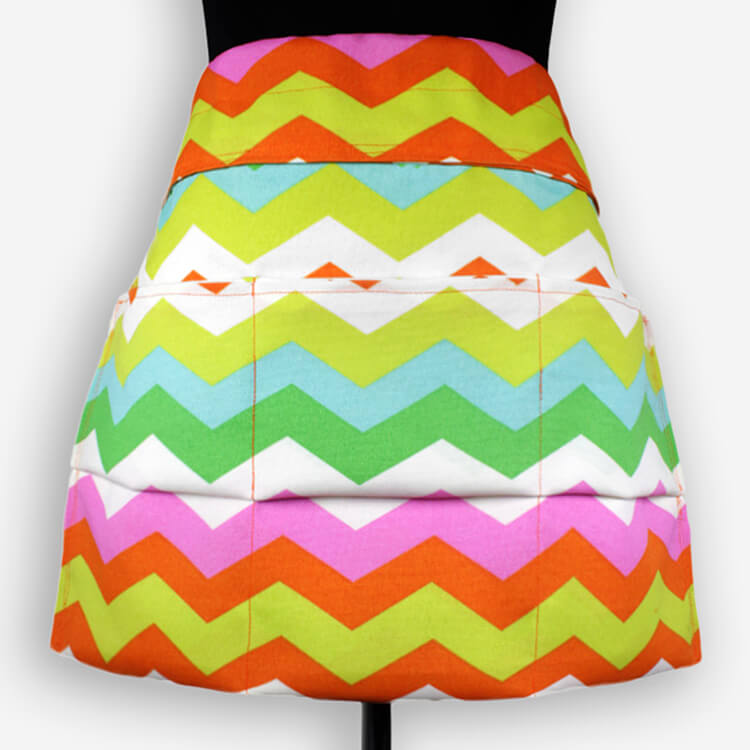
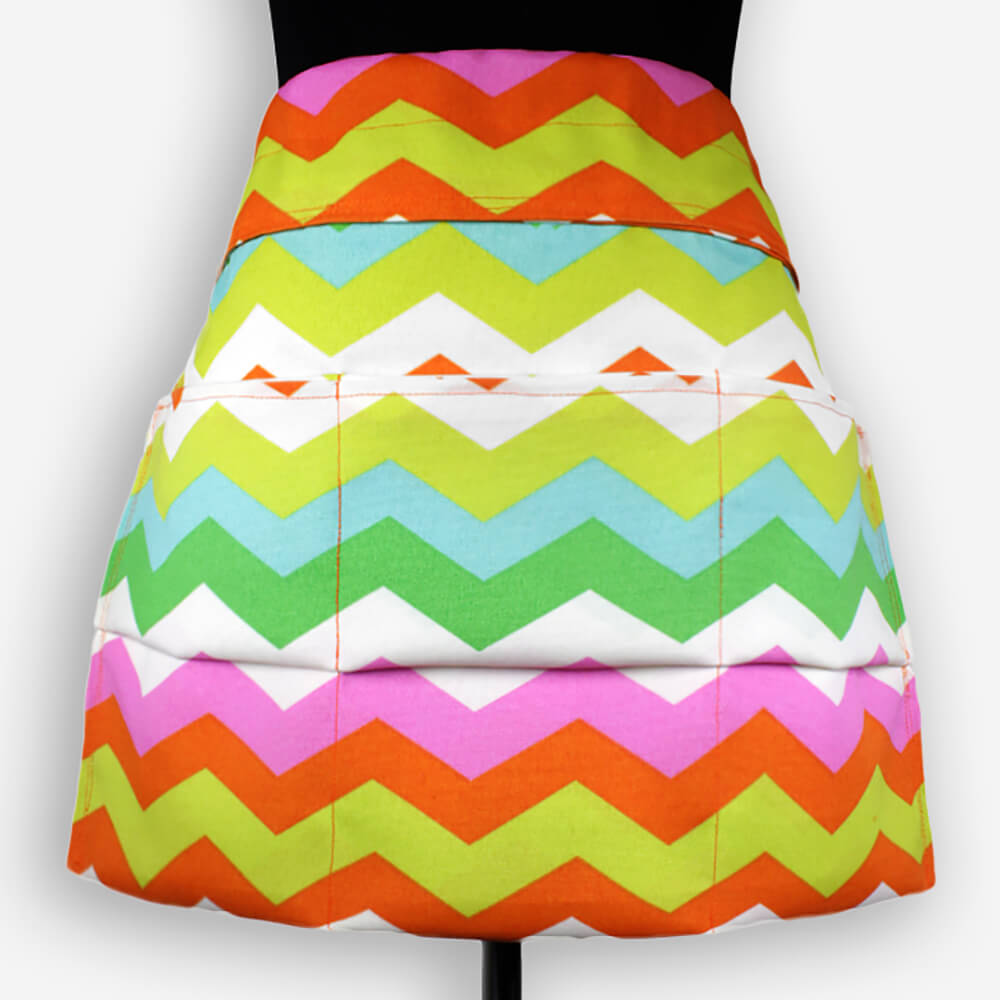
How to Make a Garden Apron
- By Jen
- Beginner
- 1 hour
Whether it’s working on your home, or getting the pool ready for summer, it’s the perfect season to start with new, creative DIY projects. Gardening is a popular on-going project throughout spring and summer, so I thought, why not make a garden apron? Better yet, a garden apron made from outdoor fabric that is water and sun resistant!
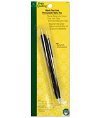
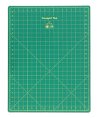
Materials
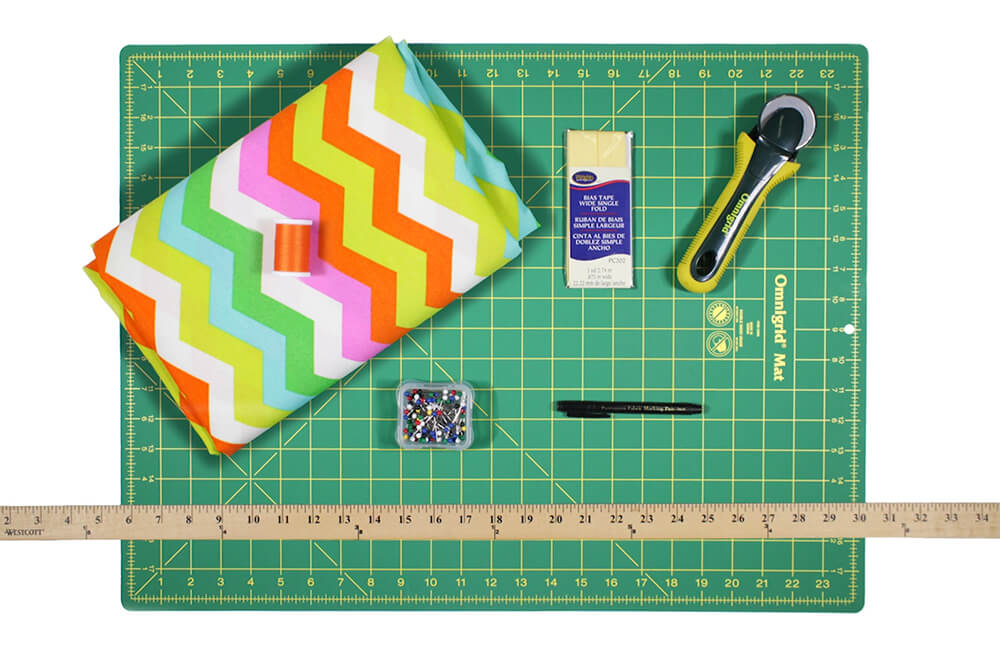
Related Products


Video
Instructions
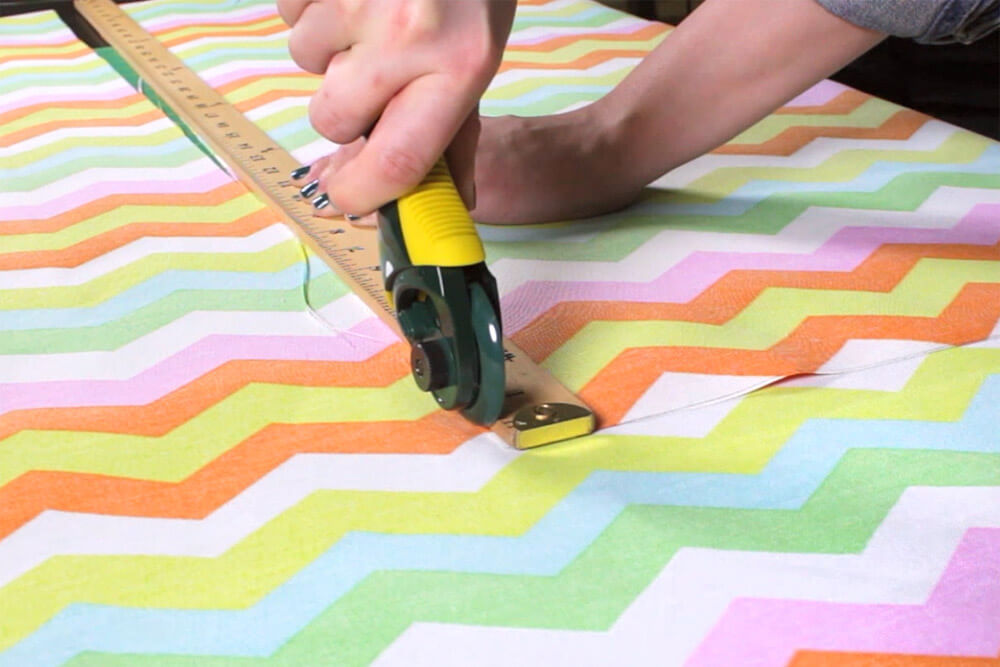
Step 1: Measure & cut the fabric
On the wrong side of the fabric, measure and draw two 19″ wide by 36″ long rectangles.
Because the pattern on this fabric runs vertical, I’m making sure the length of the rectangle is running vertically with the pattern.
Once you’ve drawn the rectangles, cut them out using the rotary cutter.
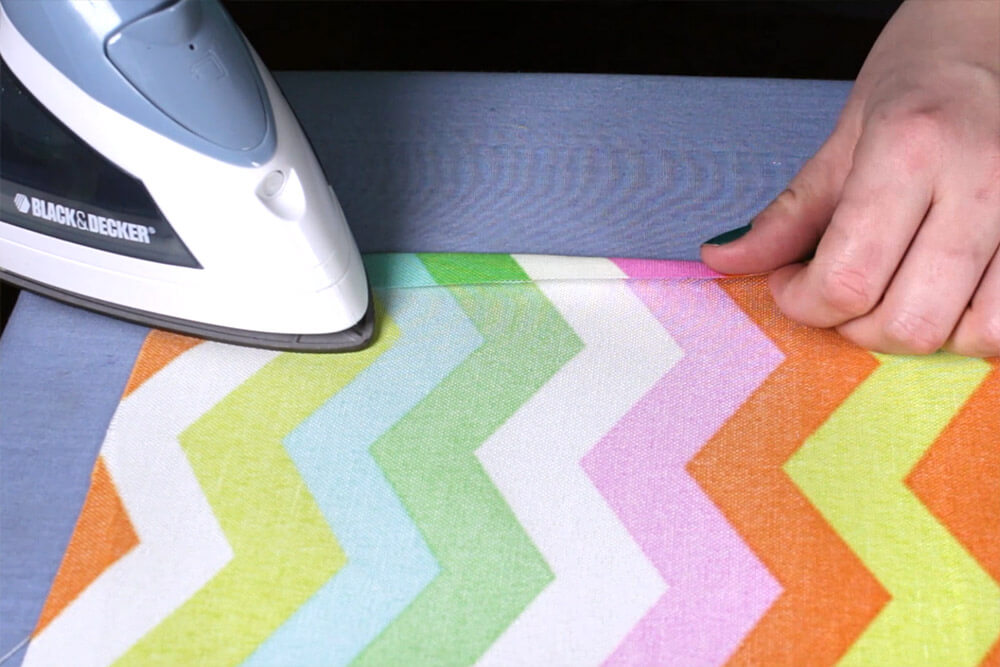
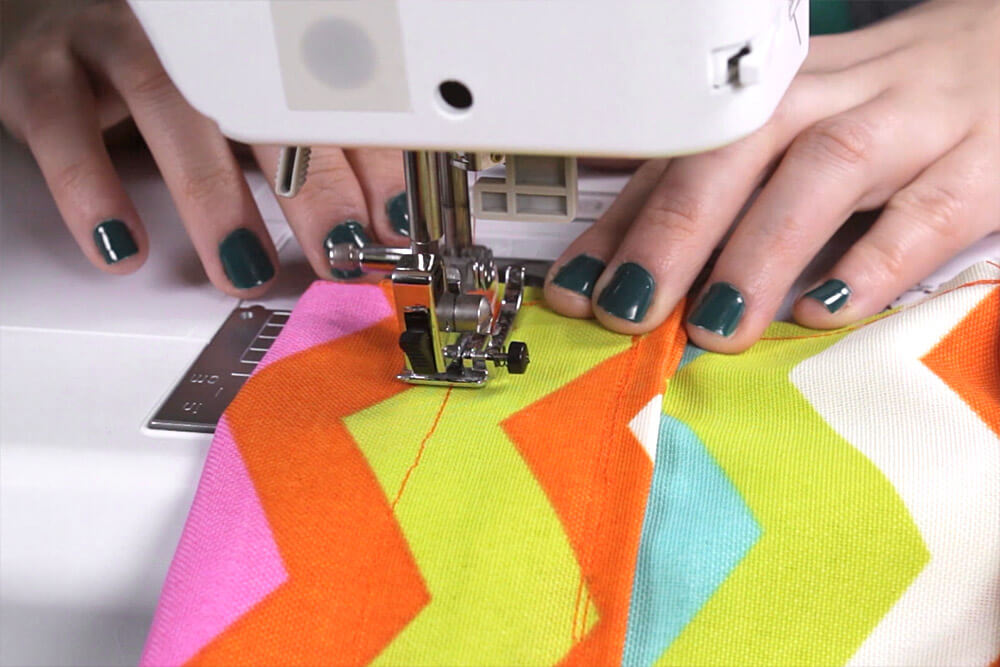
Step 2: Sew the apron
For both rectangles, fold the 4 sides over 1/2″ and iron.
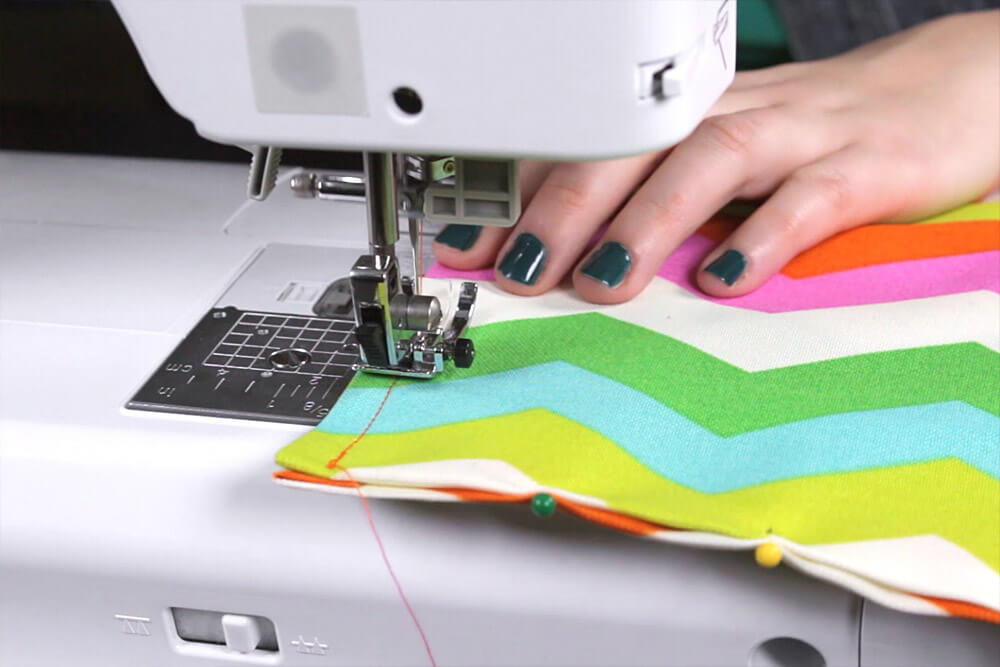
Place the rectangles on top of each other with the right sides facing out. Pin around all 4 sides and stitch with a 3/8″ seam allowance.
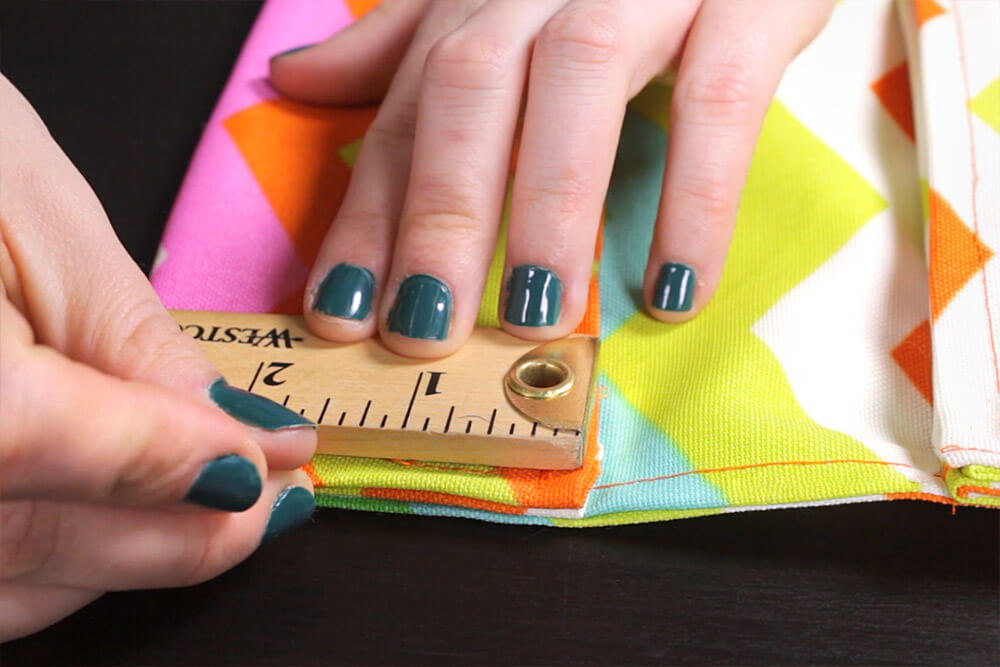
Step 3: Sew the pockets
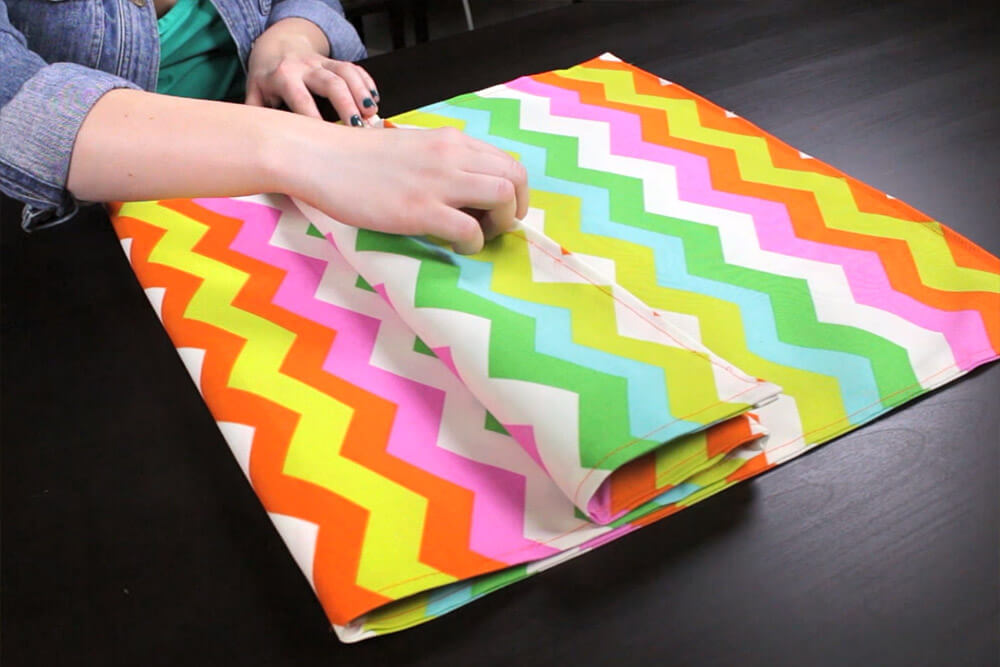
Fold the fabric in half. Fold the top part down 8″ and up 4″. Pin along the sides and stitch.
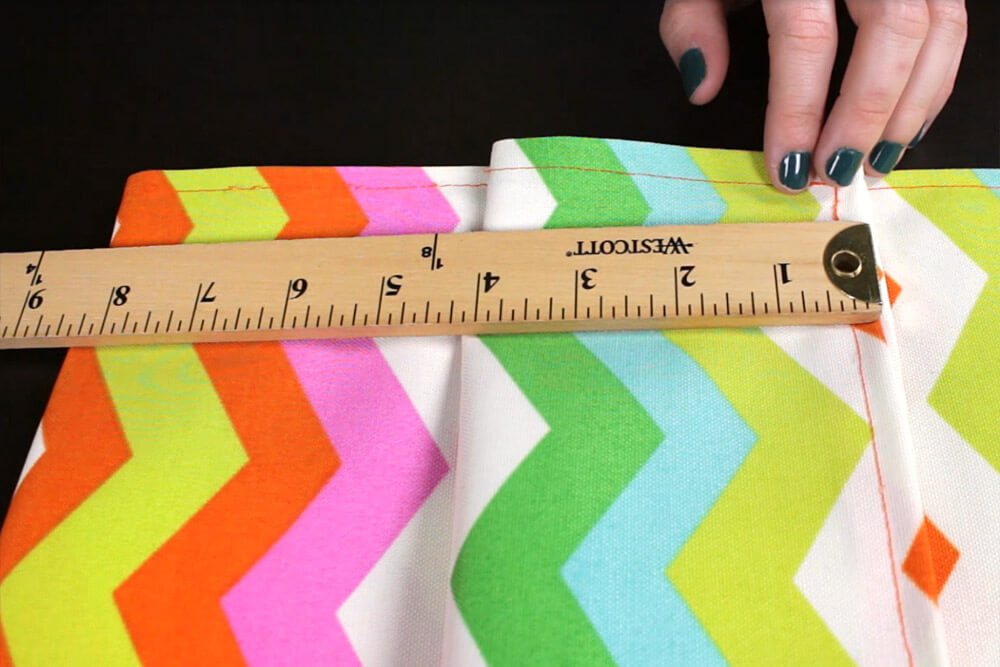
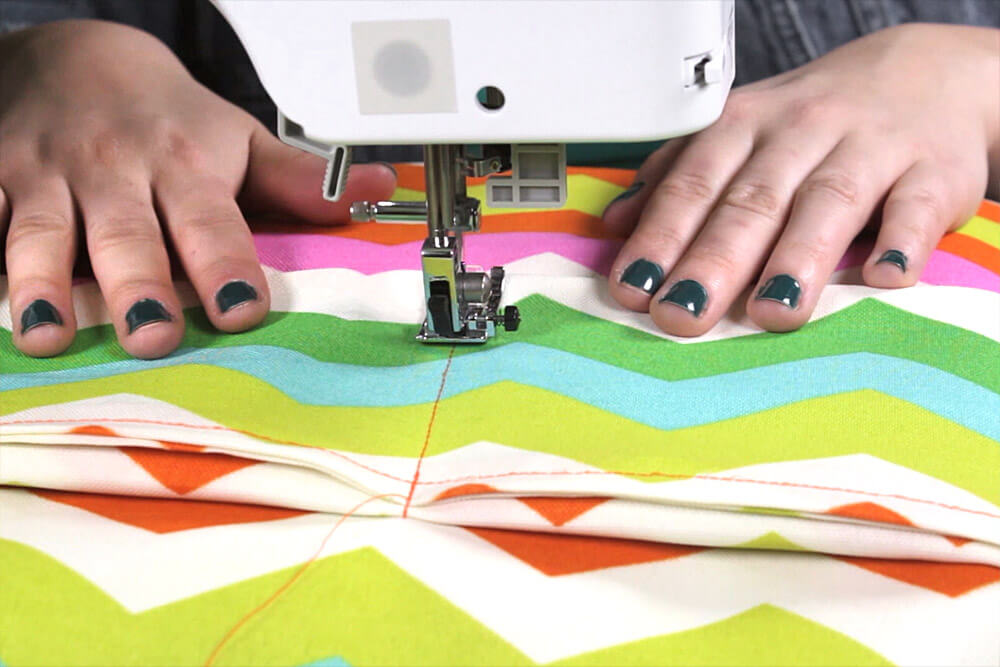
Measure 5 and 1/2″ in from the side and mark with a pin. From that pin measure another 5 and 1/2″ and mark with another pin. Where the 2 pins are, stitch a straight line down to the end. Back stitch at the top and bottom.

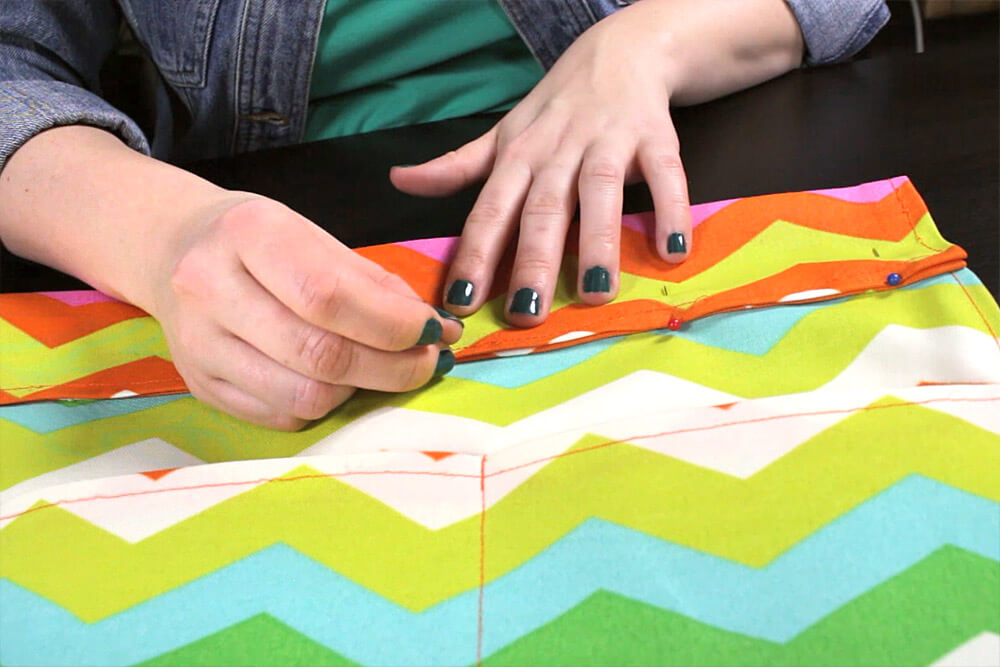
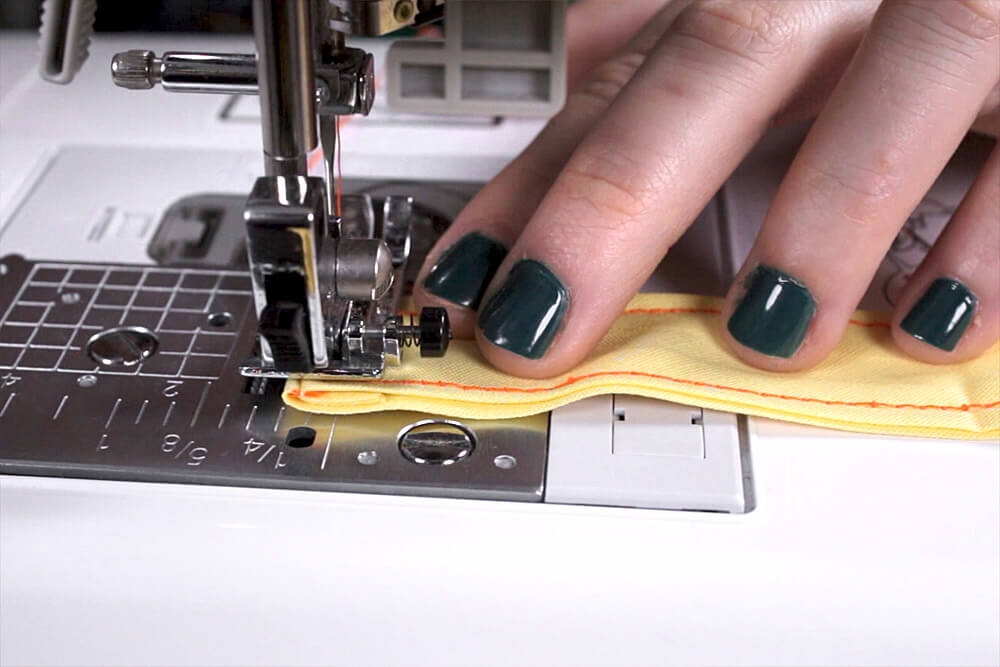
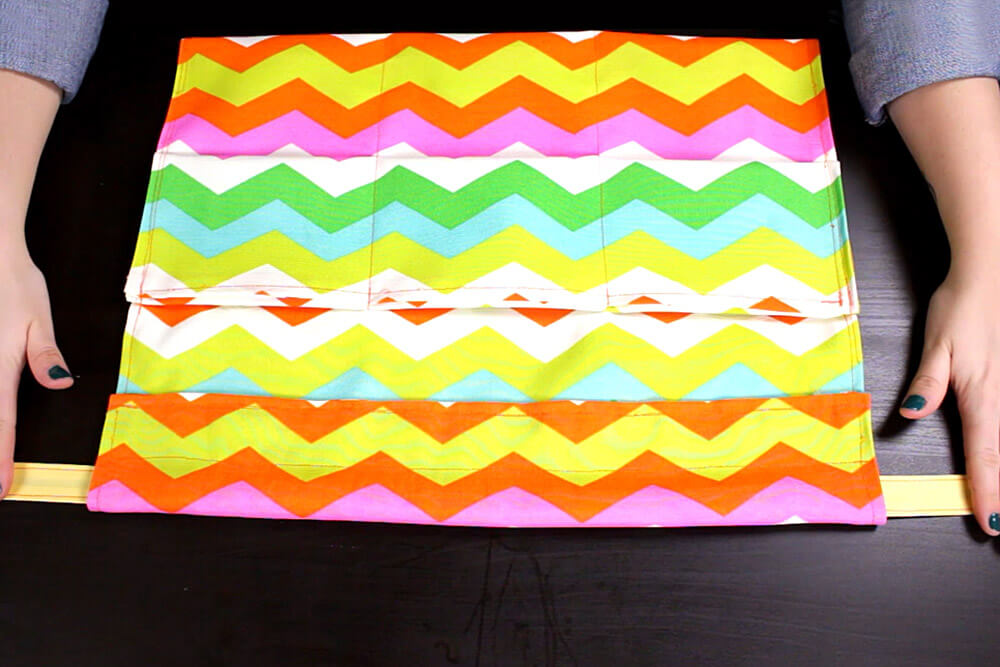
Step 4: Sew the waistband
Fold the top over 3″, pin, and stitch across. Measure 1 and 1/2″ into the middle, pin, and stitch across.
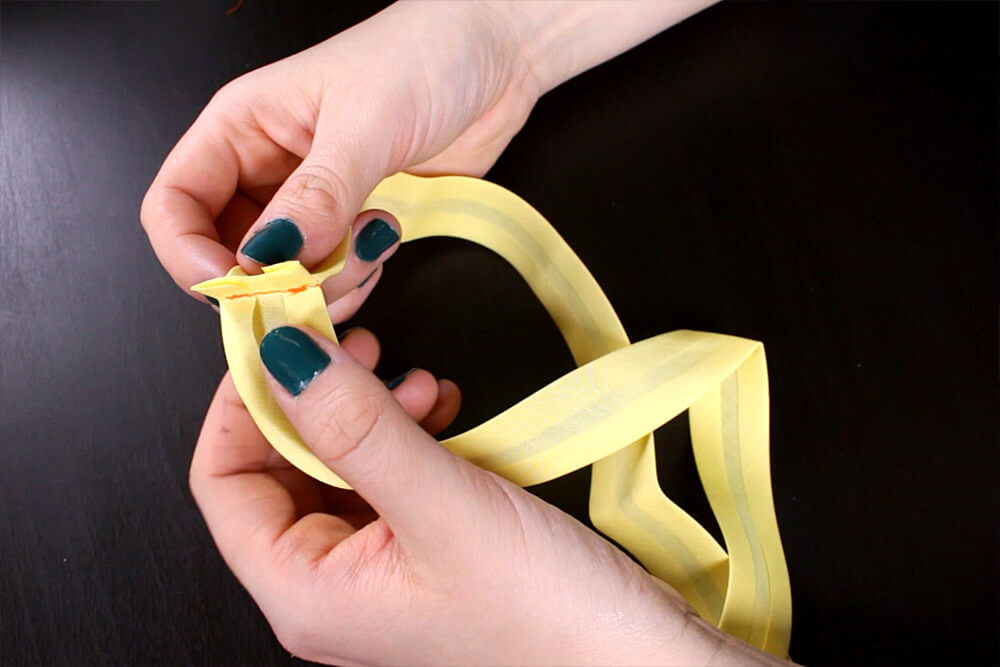
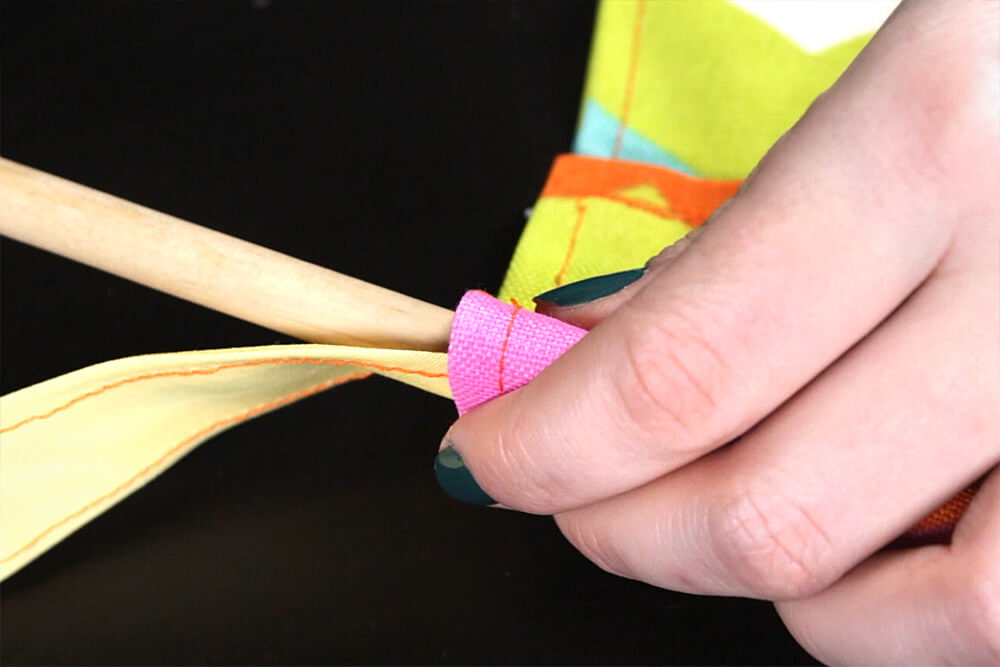
Step 5: Sew the straps
Take the ends of the bias tape and pin them together with the right sides facing each other. Back stitch and stitch across.
Fold to the right side and stitch along the edges of the entire bias tape. Insert through the waistband using a stick or long object to help push it through. Straighten out the bias tape and your apron is now complete.

Make one of your own with some of our outdoor fabric!
-
{{#each productSuggestedQueries.results}}
- {{query}} {{/each}}
-
{{#each categories.results}}
- {{html title}} {{/each}}
{{html attributes.description}}
{{/if}}-
{{#each queries.results}}
- {{query}} {{/each}}