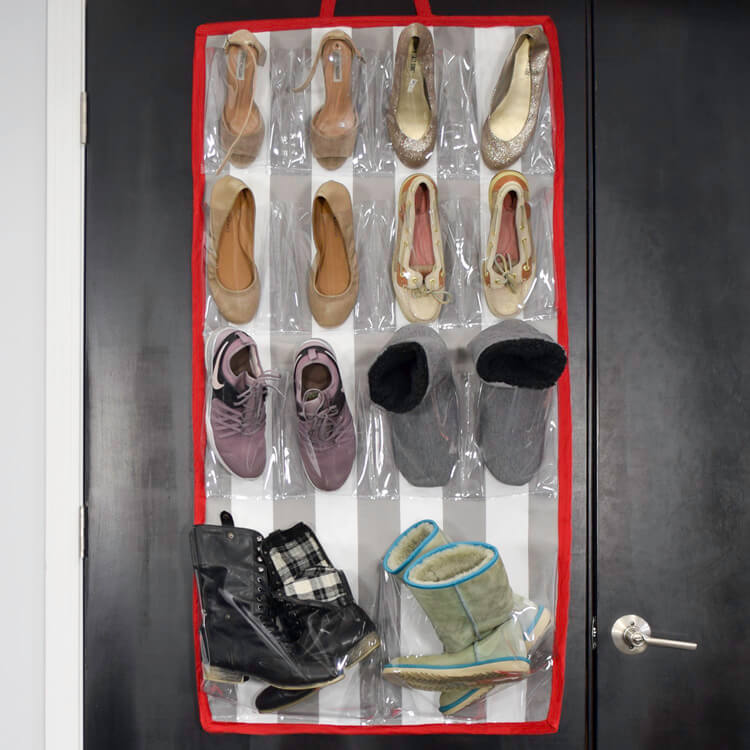
How to Make a Hanging Organizer
- By Alyssa
- Intermediate
- 1 hours 30 minutes
Want a space efficient way to store your shoes? This organizer is going to make your tidying up dreams come true.
Here’s how to make a hanging organizer for the inside of your closet or the back of a door. It is super customizable, just use any decor fabric as a base and clear vinyl for the pockets.
It can also be modified to different sizes to hold other things like jewelry or toiletries.
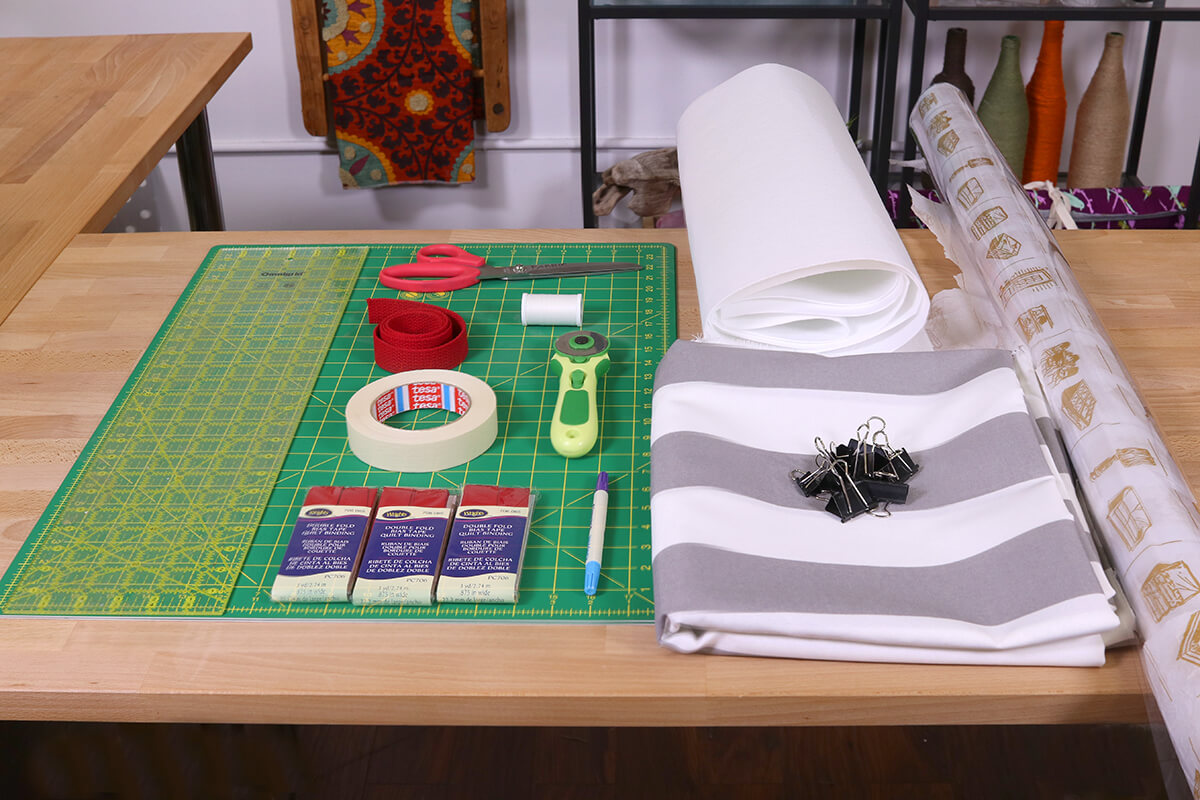
Materials
- 16 Gauge Clear Vinyl
- Cotton Webbing
- Pellon #70 Peltex Ultra-Firm Sew-In Stabilizer - White
- Premier Prints Outdoor Vertical Gray Fabric
- Wrights 7/8" Scarlet Double Fold Bias Tape Quilt Binding - 3 Yards
- Omnigrid Quilter's Ruler - 6" x 24"
- Gingher Knife Edge Dressmaker's Shears - 8"
- Dritz 500 Quilting Pins - Size 28
- Dritz Dual Tipped Marking Pen - Blue & Purple
Related Products

Video
Instructions
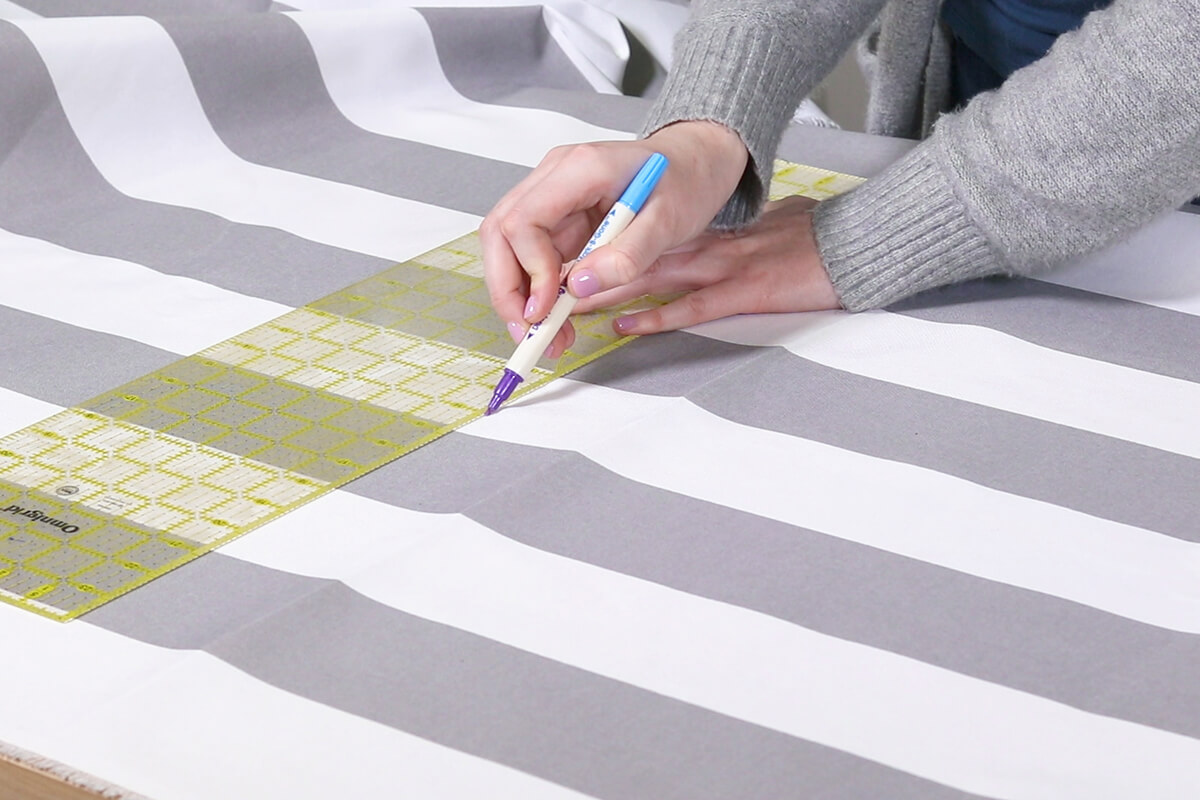
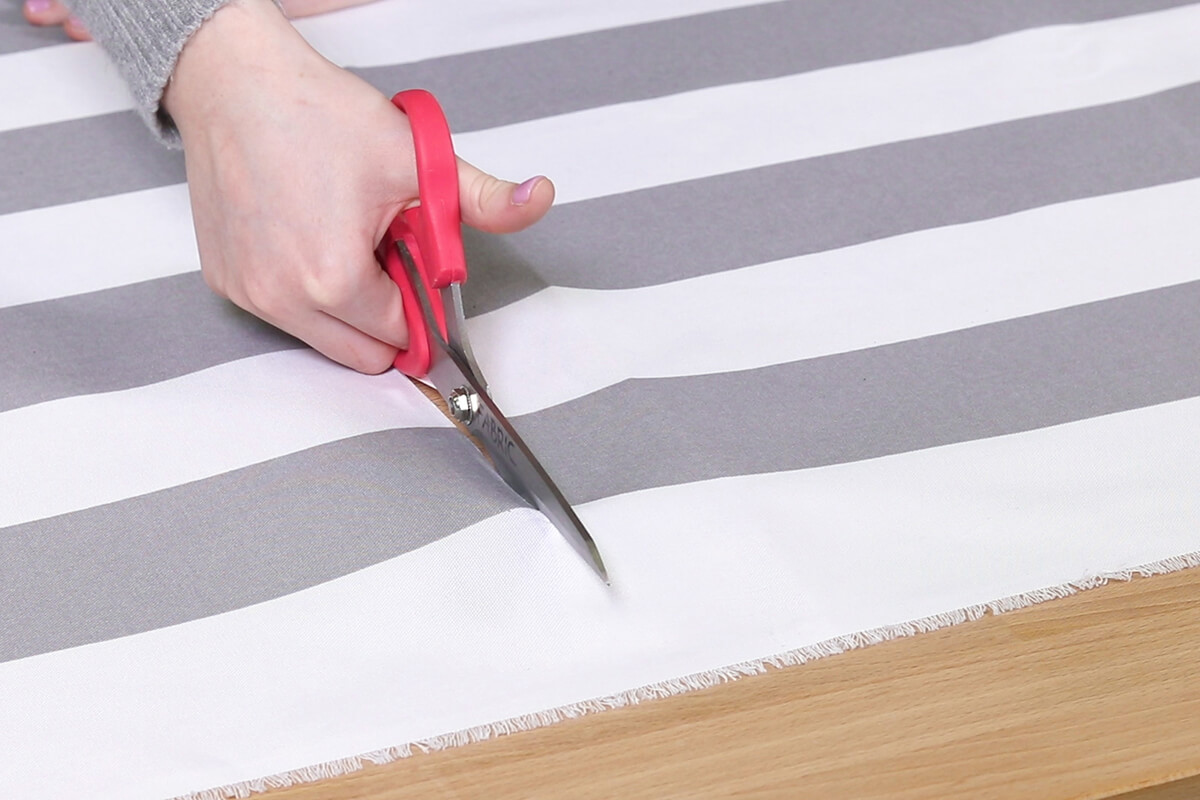
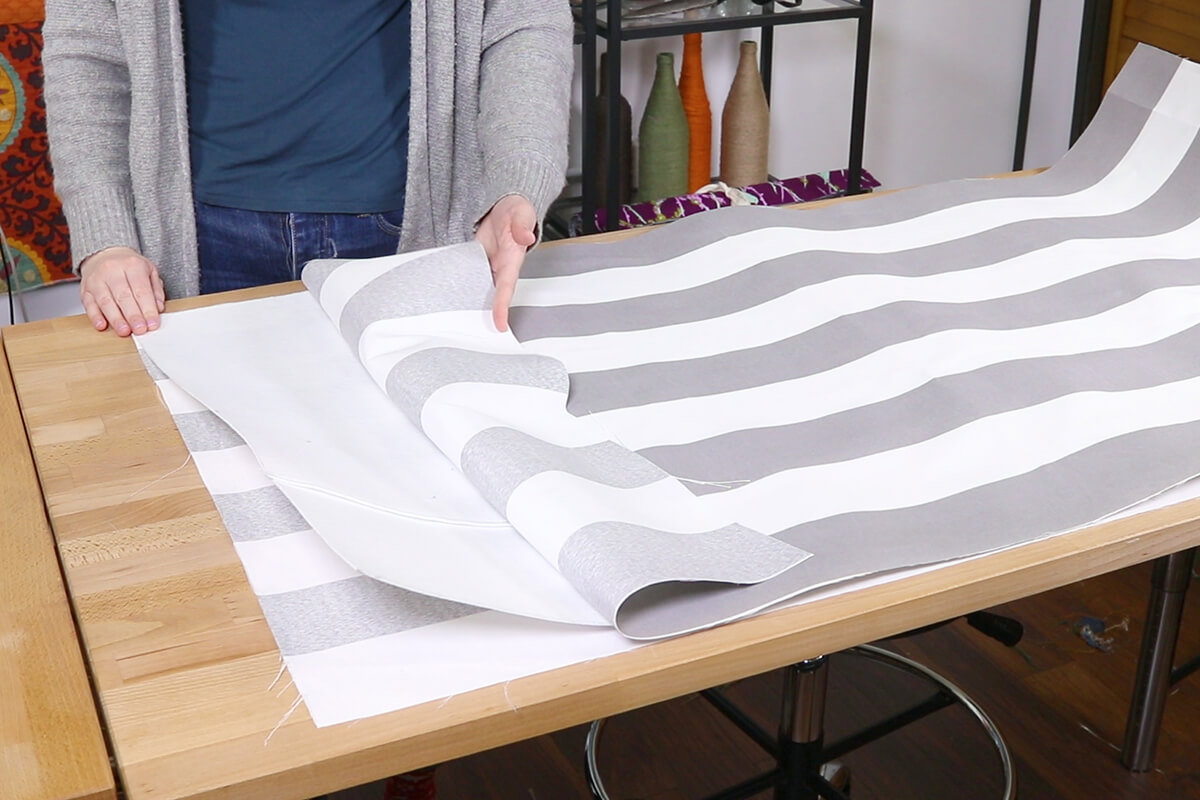
Step 1: Measure and cut fabric
My door is 80 inches tall and 36 inches wide. So I am going to make my organizer 26”x 50”.
Measure your space to determine how large you want your shoe organizer to be.
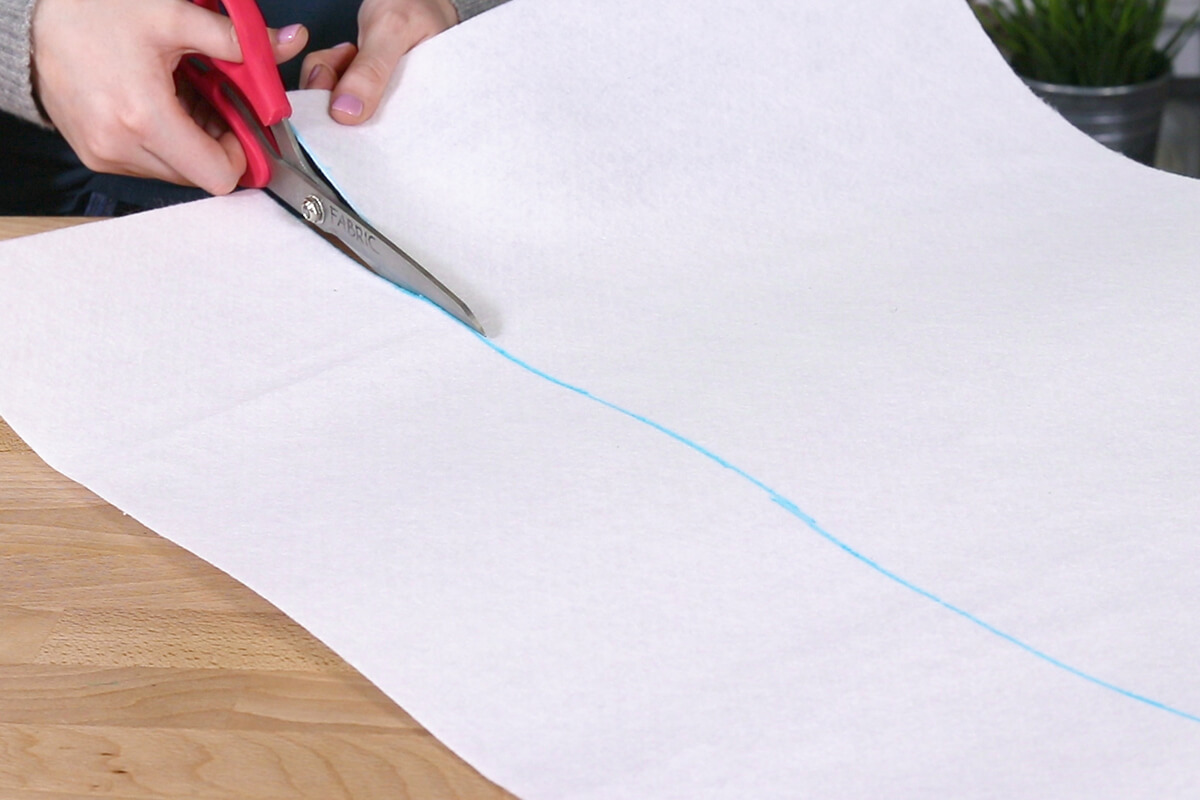
Cut out two pieces of fabric and interfacing that are that size. The interfacing I am using is only 20 inches wide so I will have to sew pieces together to make them the width of my organizer.
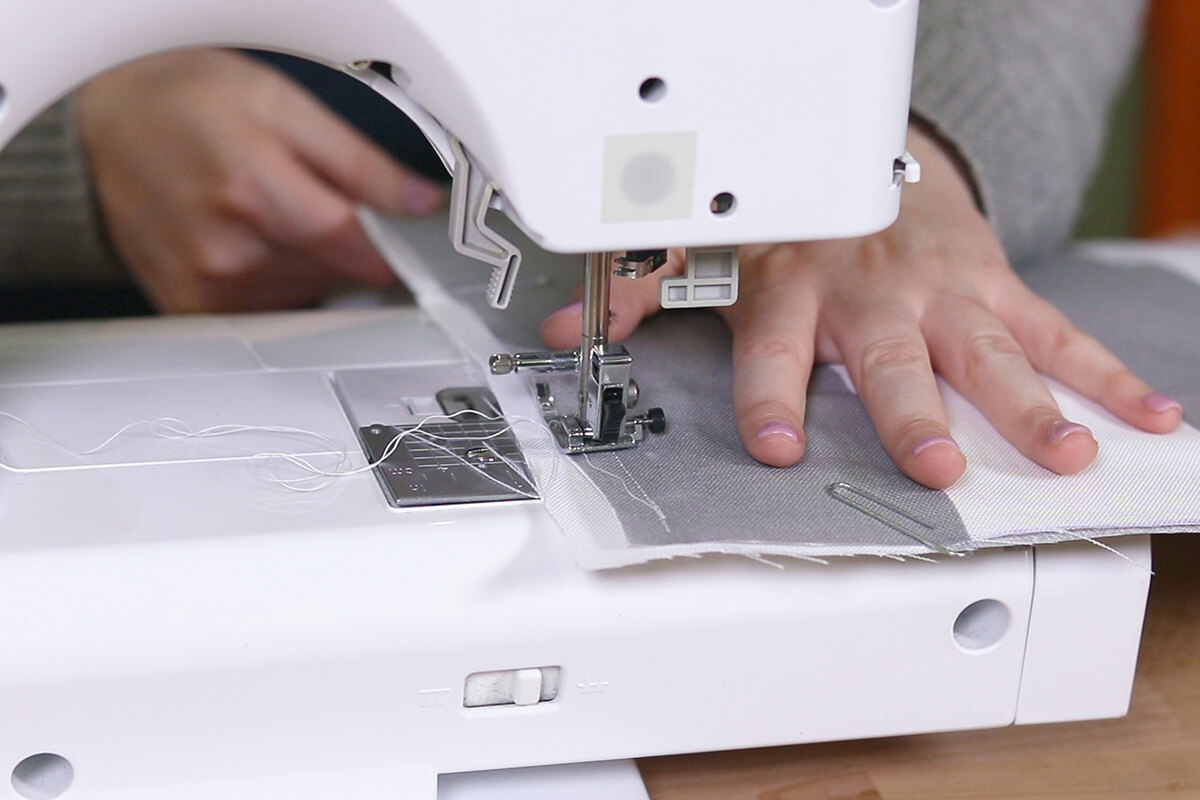
Step 2: Sew
Pin together the back of your organizer in this order. Fabric, with the wrong side facing up, interfacing and then the second piece of fabric with the right side facing up. Sew around the edges with a half inch seam allowance.
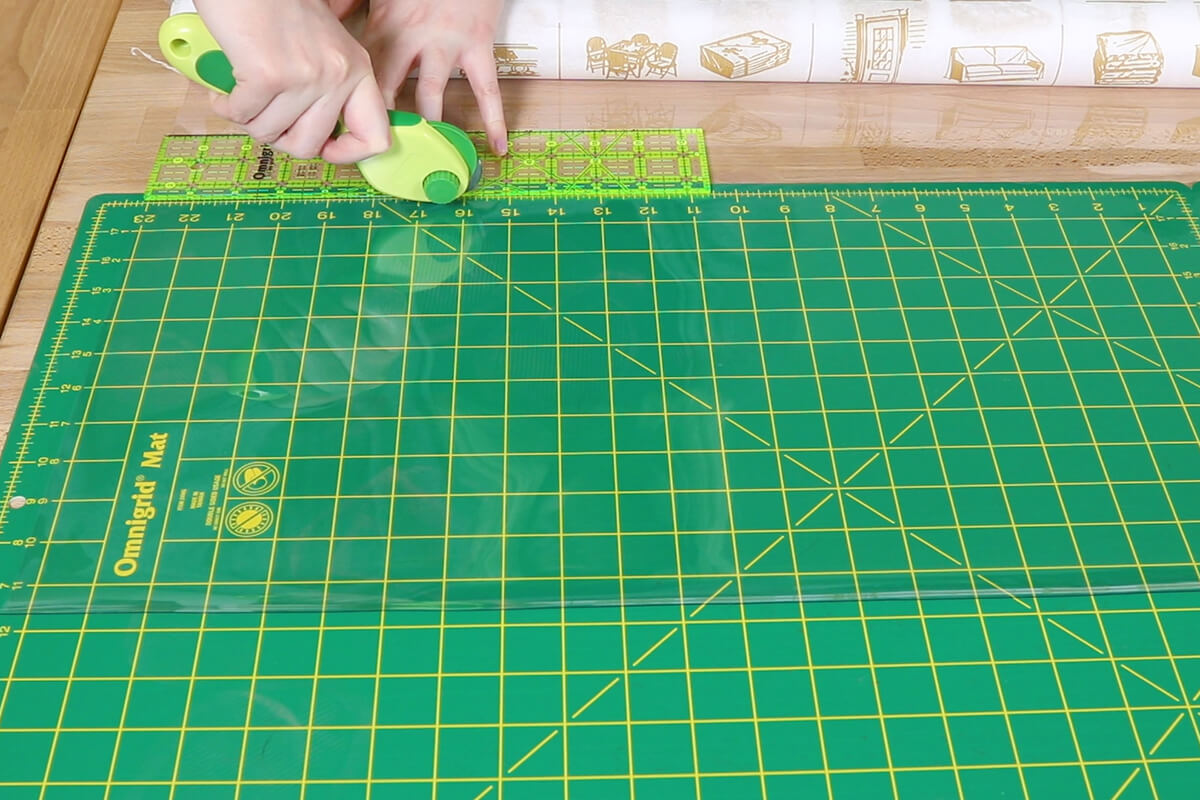
Step 3: Cut the Vinyl
Remember to leave space in between the rows so you can easily get to whatever you store inside.
Cut strips of vinyl that are two times the width of your organizer by however tall you would like them to be. I am cutting three rows that are 9”x 52” and one that is 12”x 52” for boots.
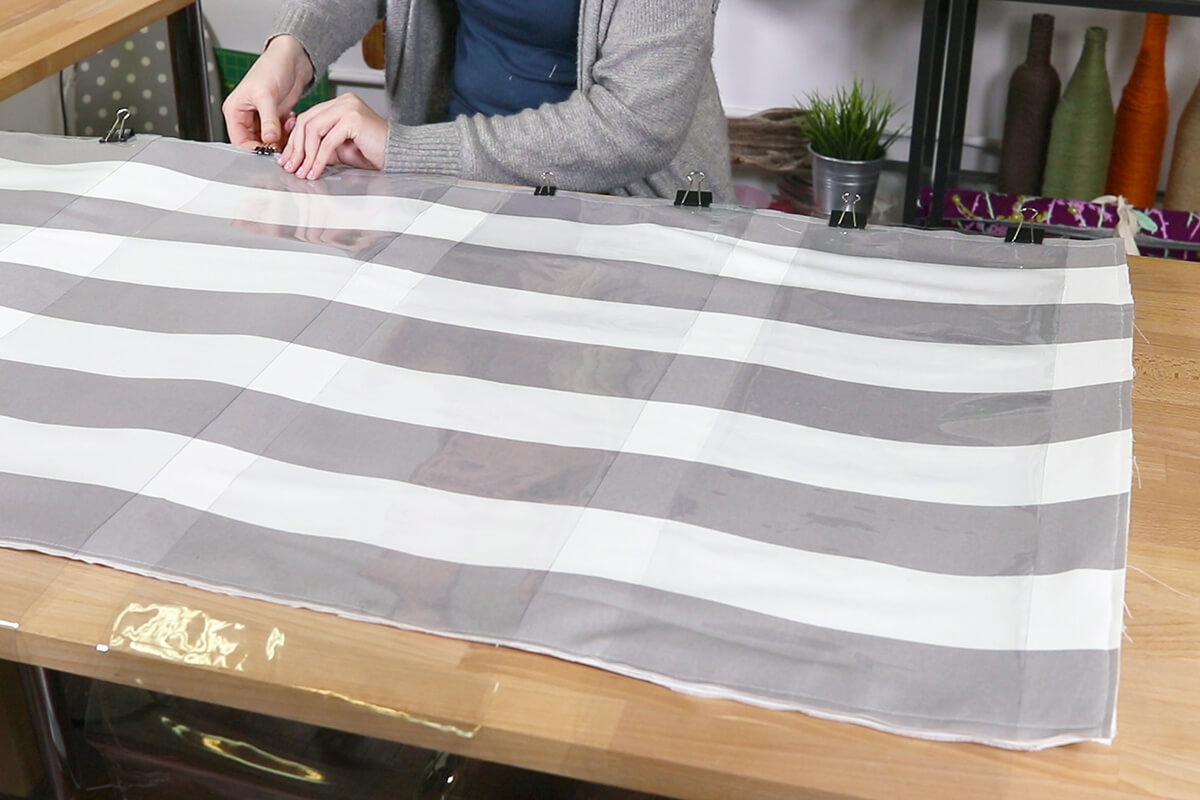
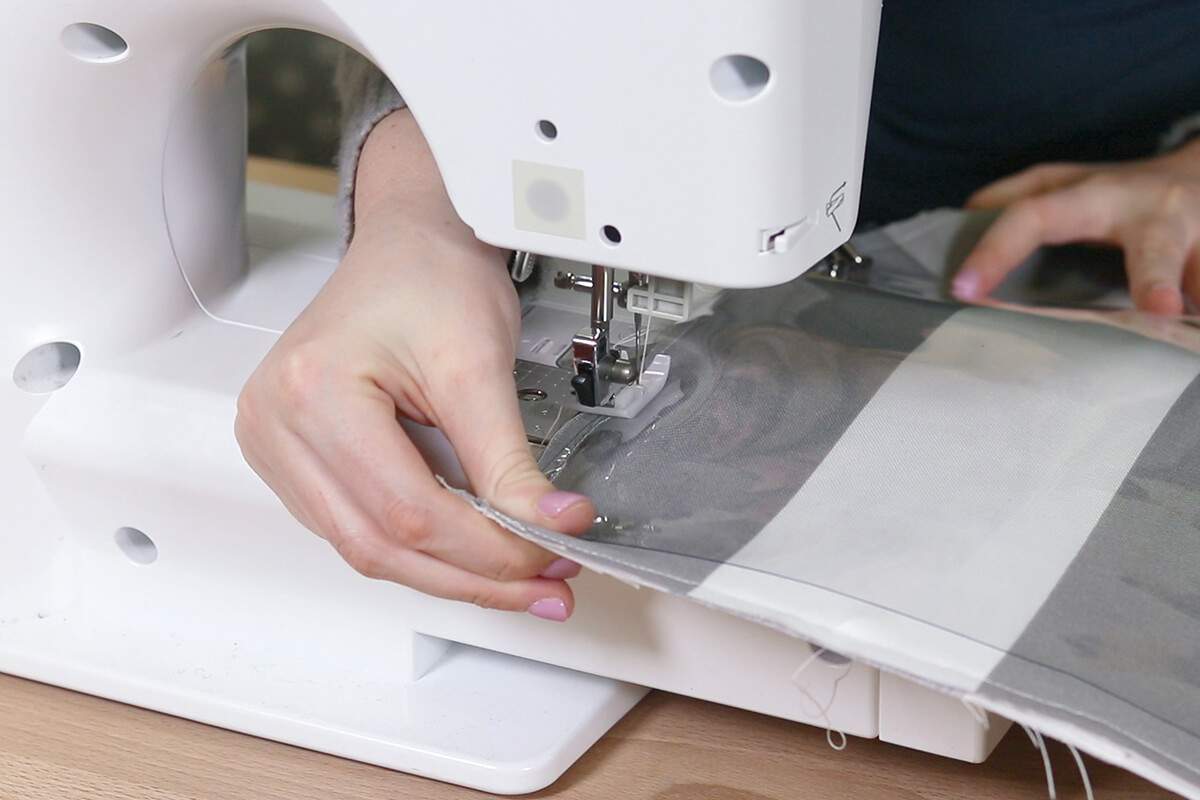
Step 4: Sew down one side
Clip the vinyl strips along one of your long edges where you would like your pockets to go. Sew down the left edge of each strip so it stays in place.
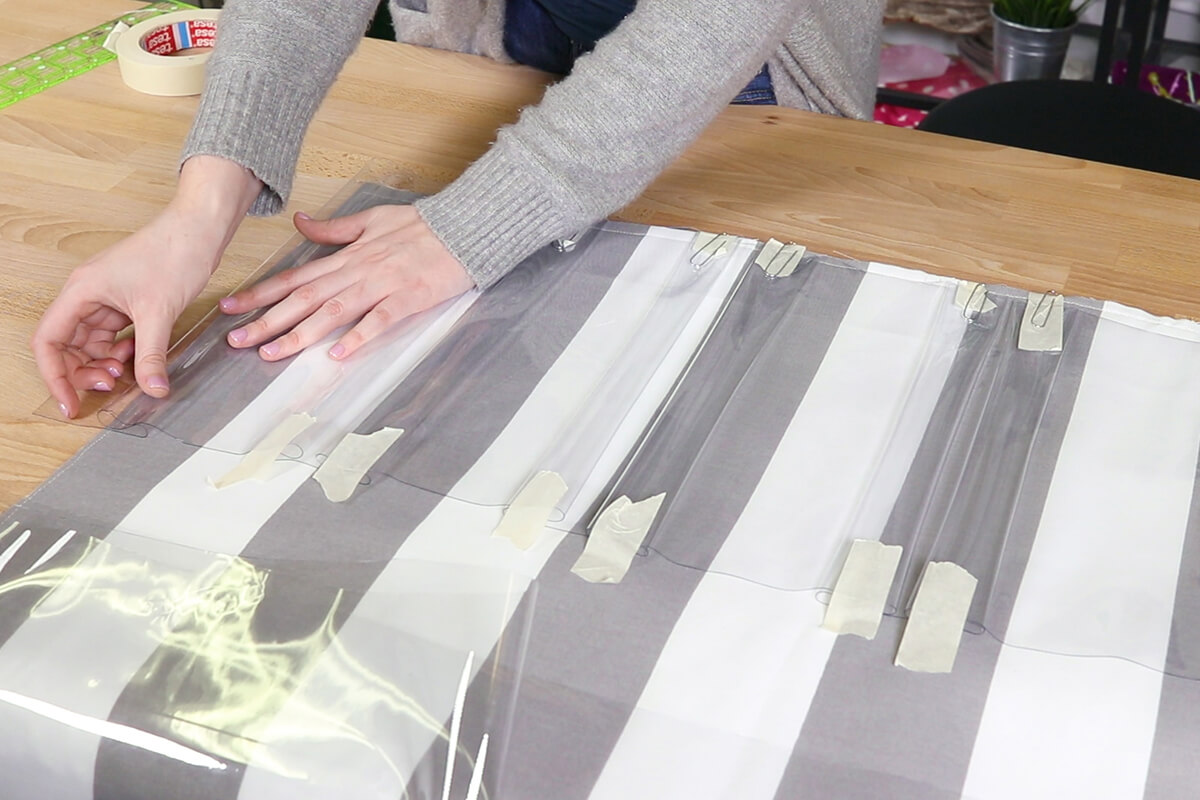
Step 5: Pleat
I found that using paperclips helped as well.
Using the painter’s tape and a ruler, create pleats in your pockets so they will have room to spread out. Mark where you are going to sew in the pockets as well as you go along. I am making my pockets 6 inches wide with 1 ½ inch pleats. The boot pockets will be double that.
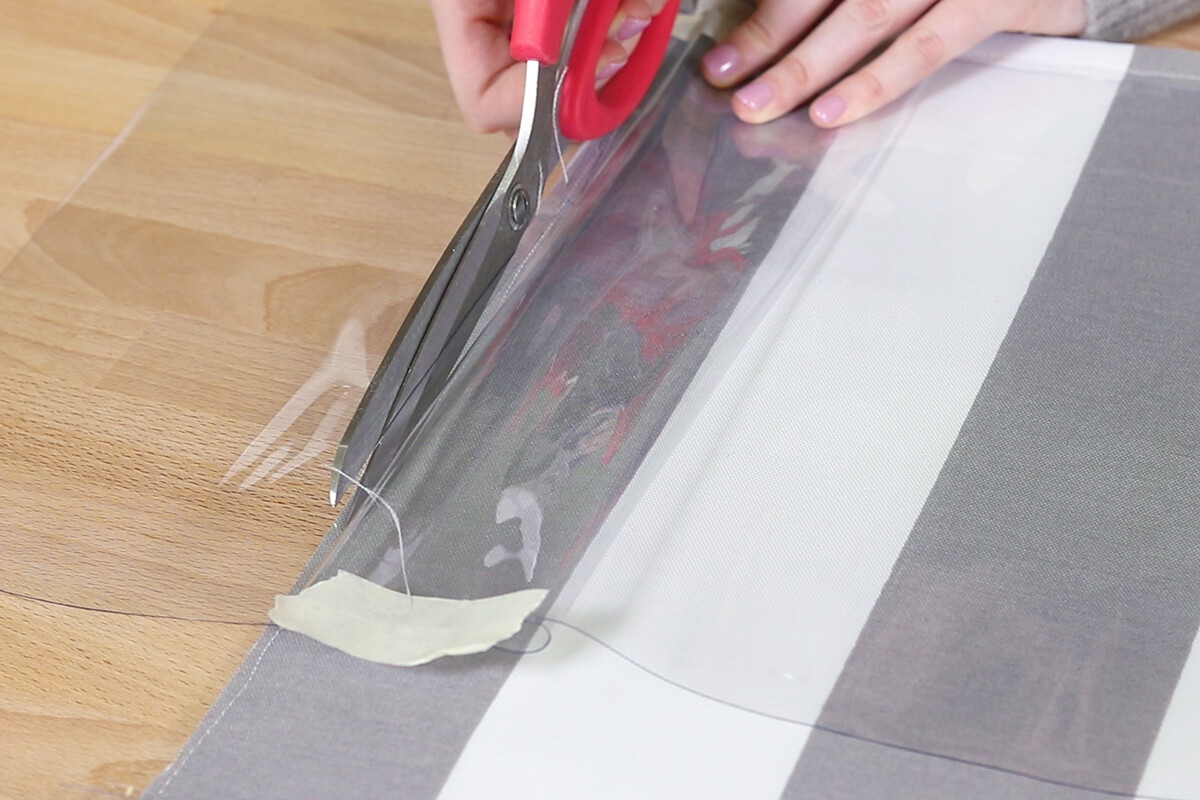
Step 6: Sew
Sew down the right edge of each strip and cut off any extra material.
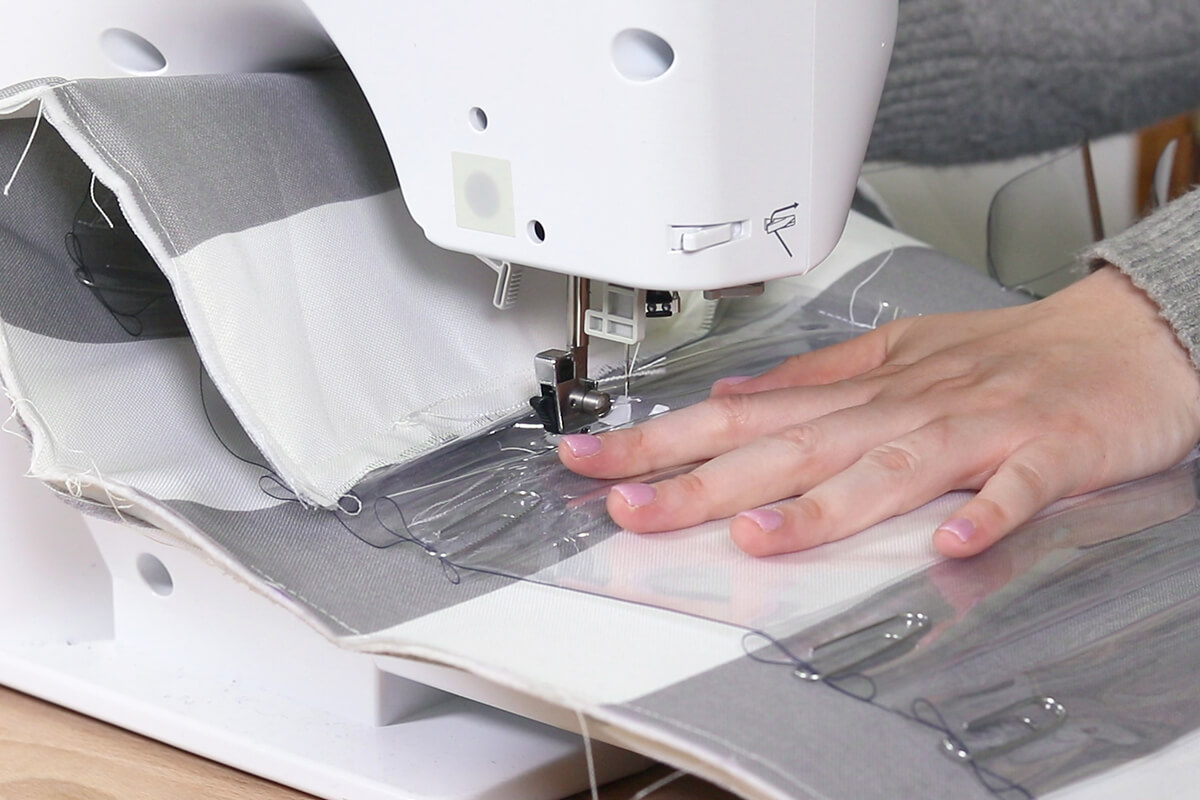
Sew along the bottom edge of the vinyl strips, making sure to leave the pleats in tact but taking off the tape before it goes through the sewing machine.
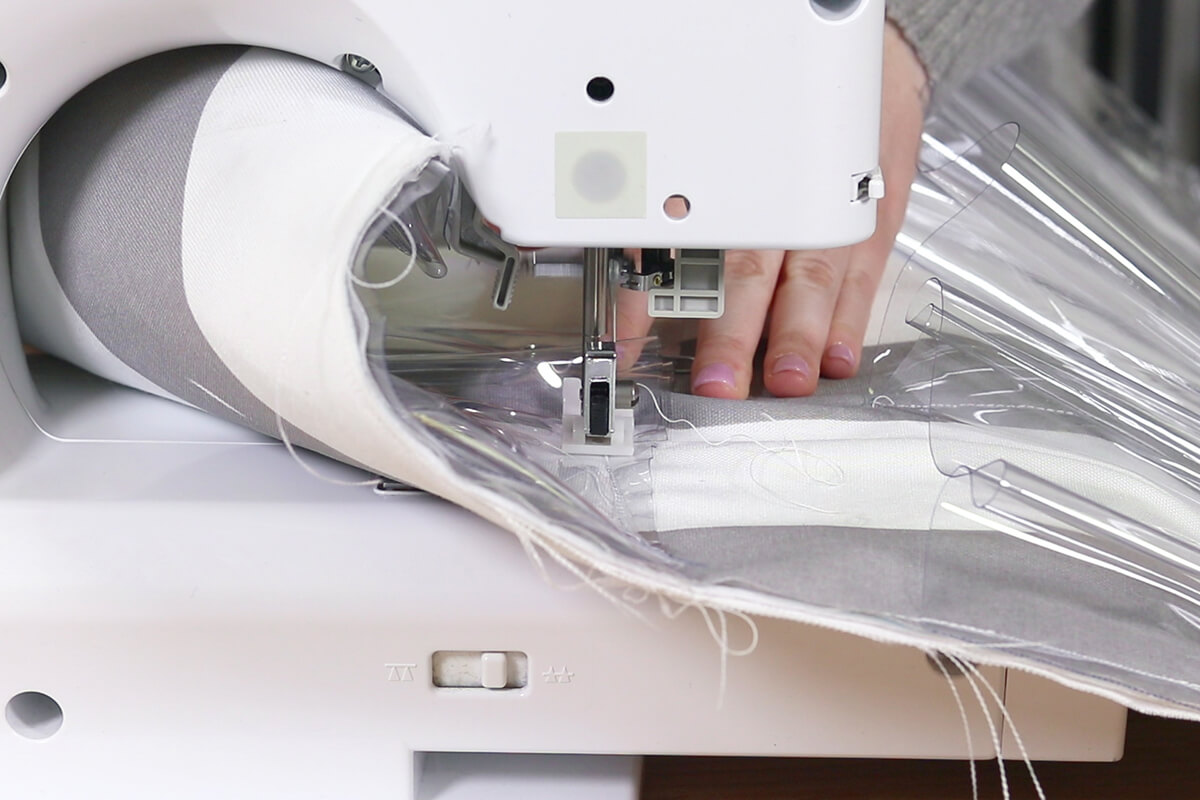
Sew in the pockets by sewing up the vinyl pockets.
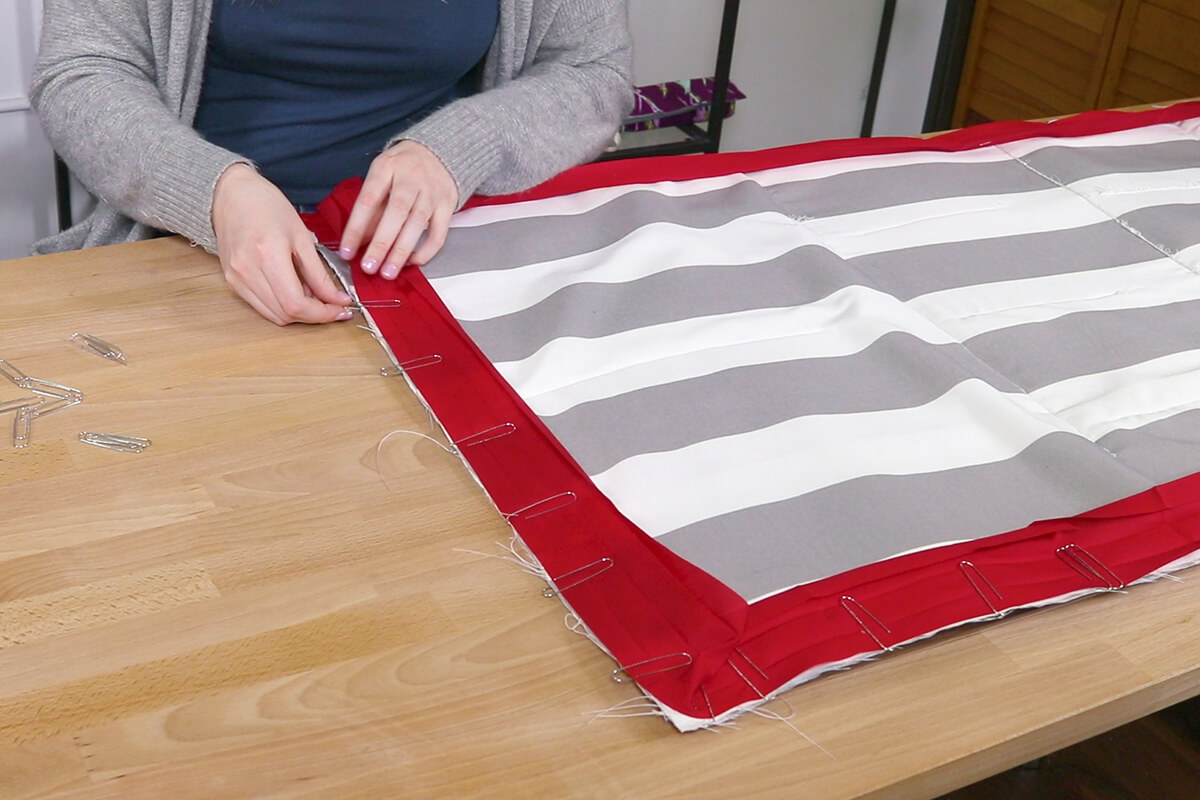
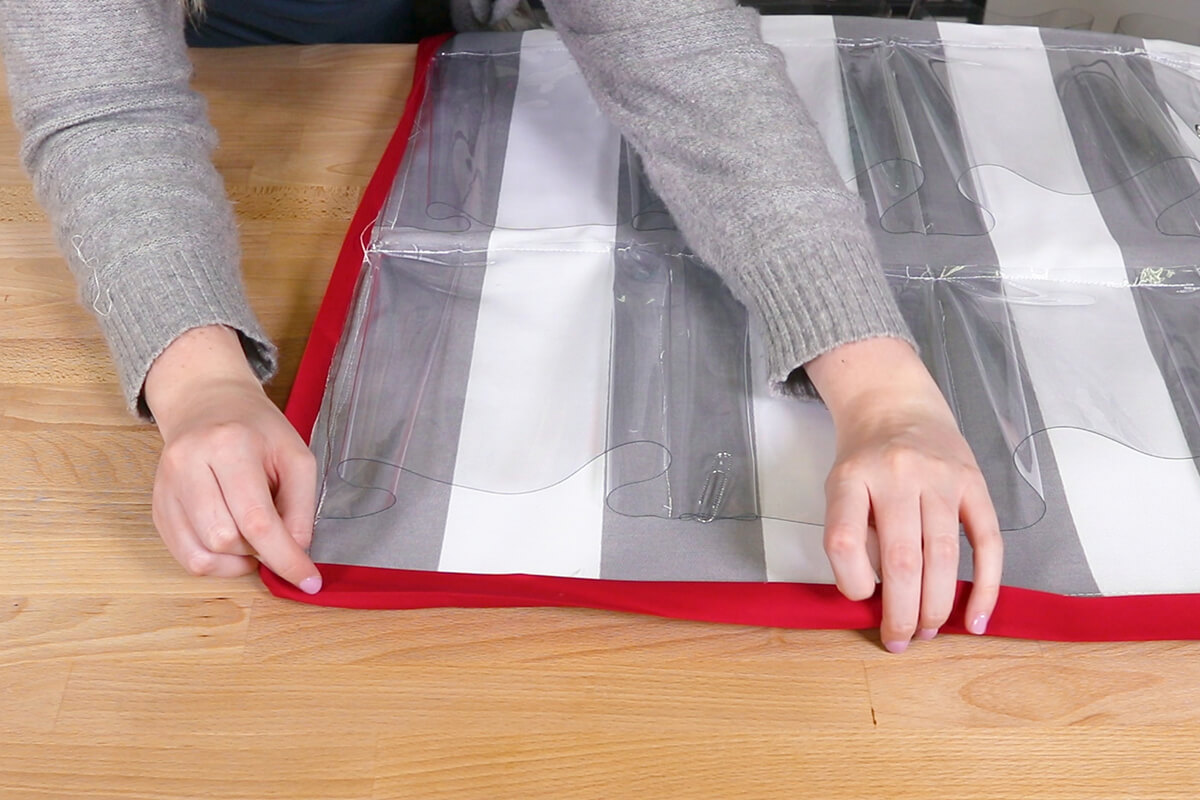
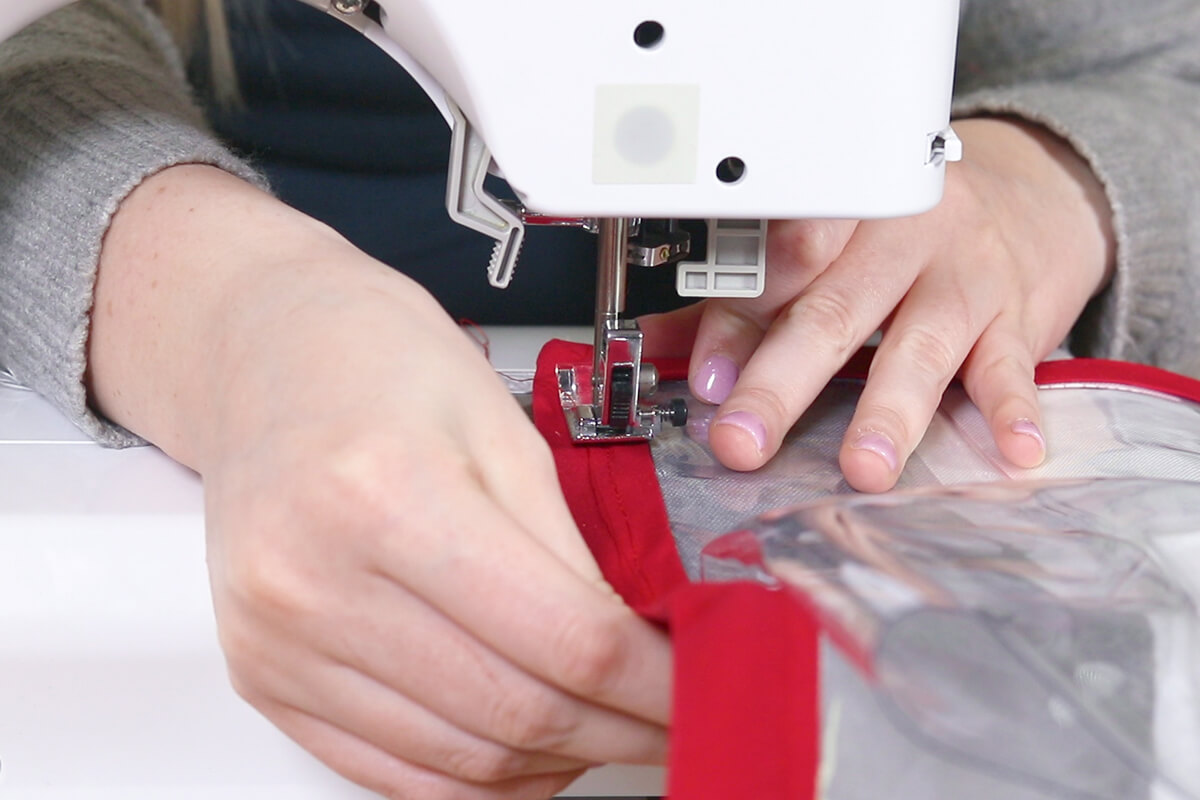
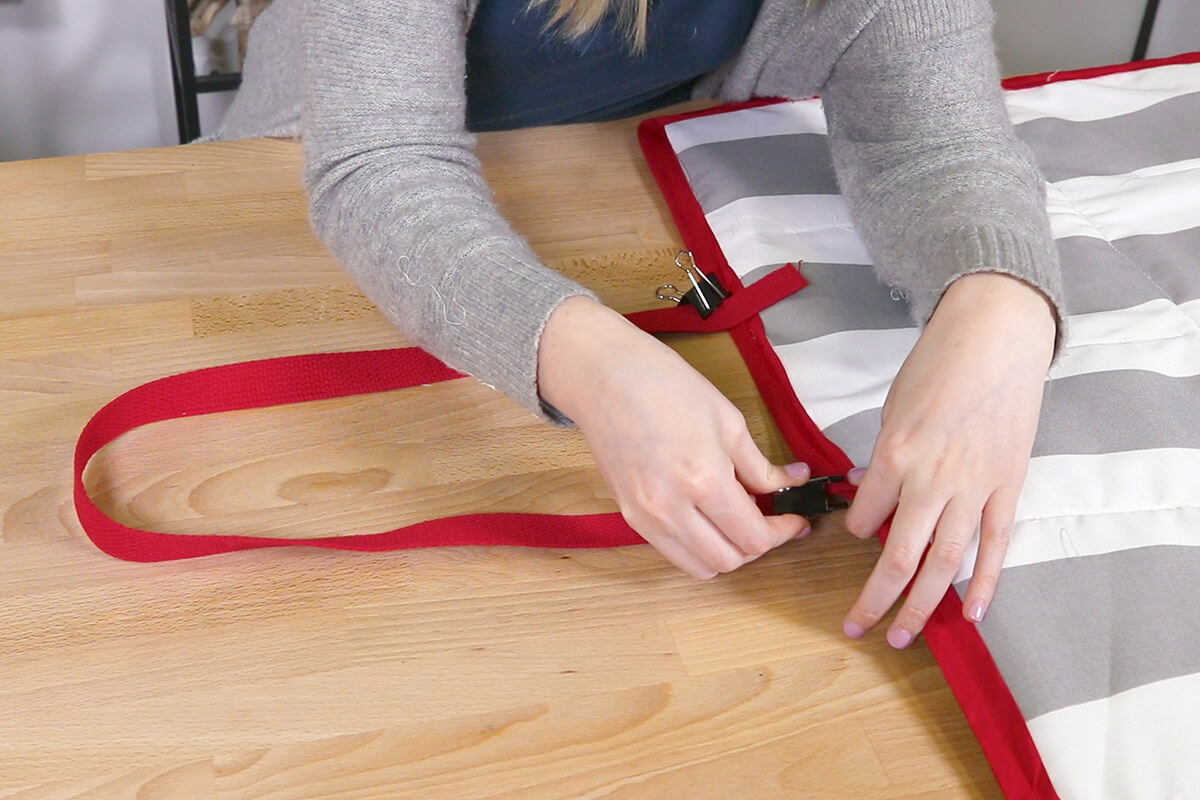
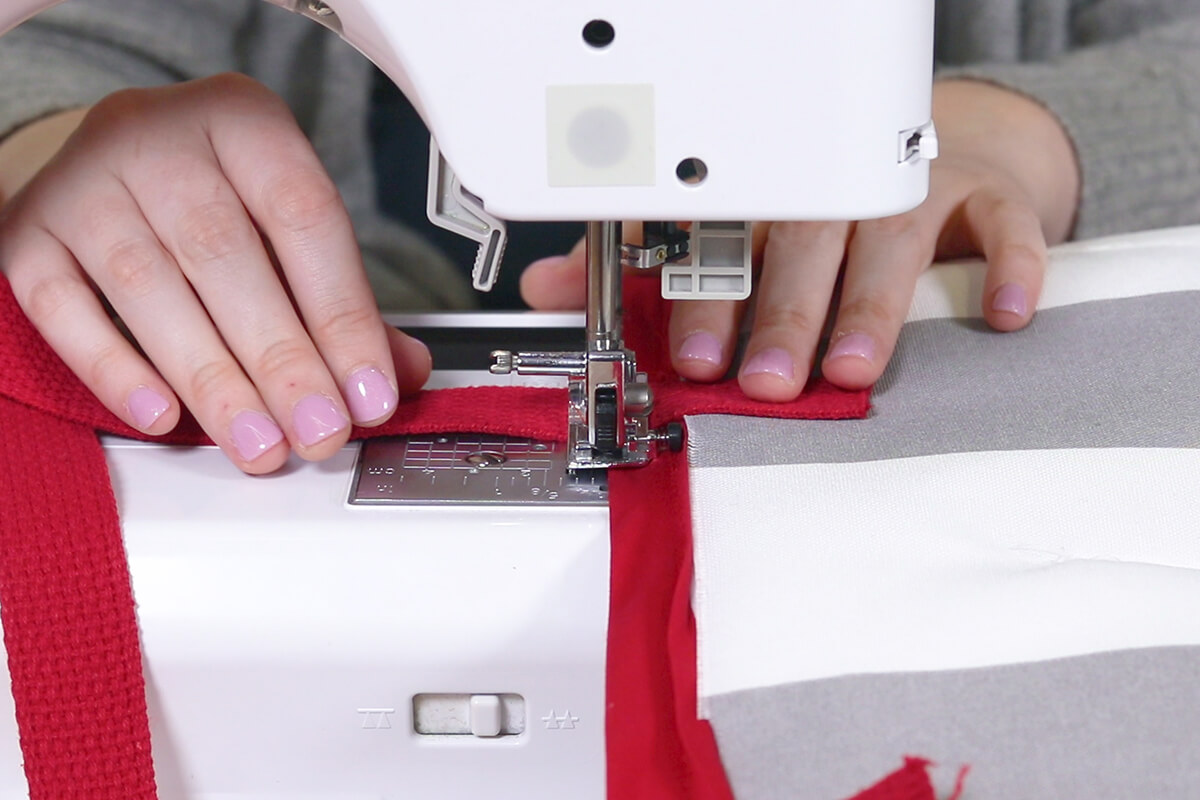
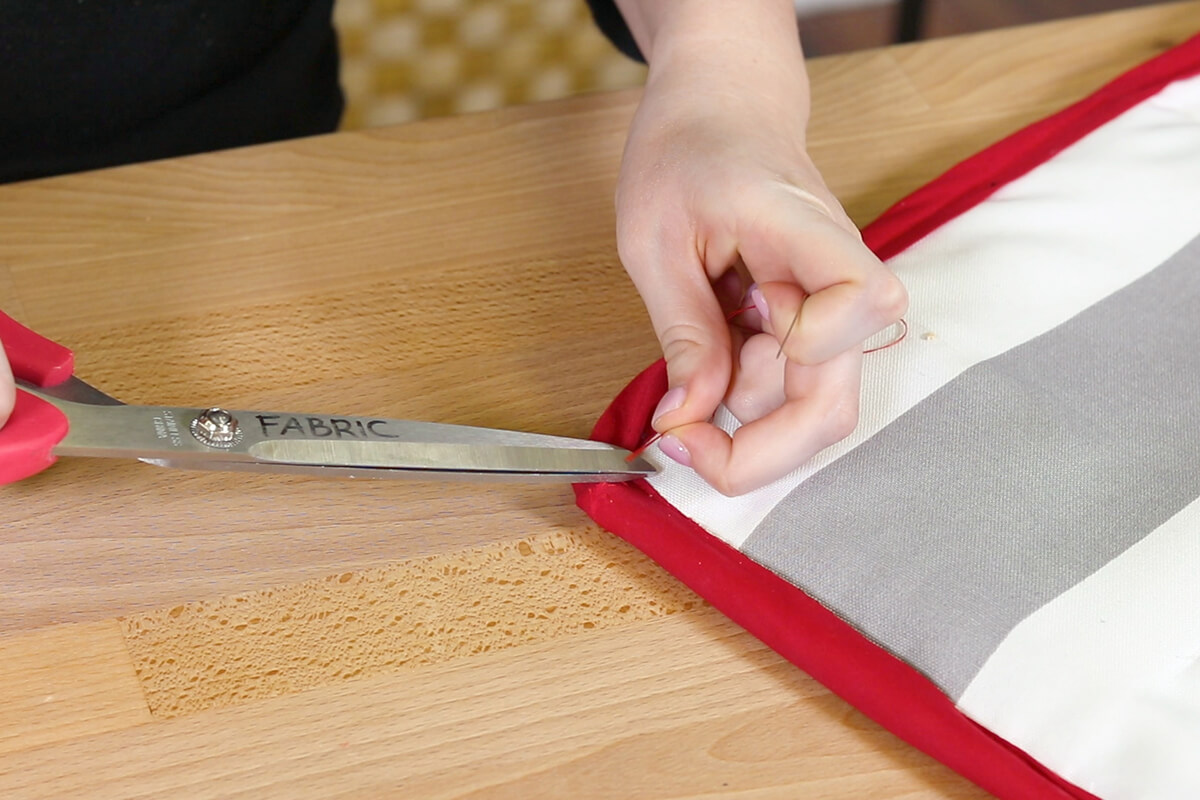
Step 7: Attach bias tape and webbing
Sew your bias tape around the edges of your organizer. See our how to sew bias tape tutorial for step by step instructions. I am using pre-made bias tape but you can also make your own.
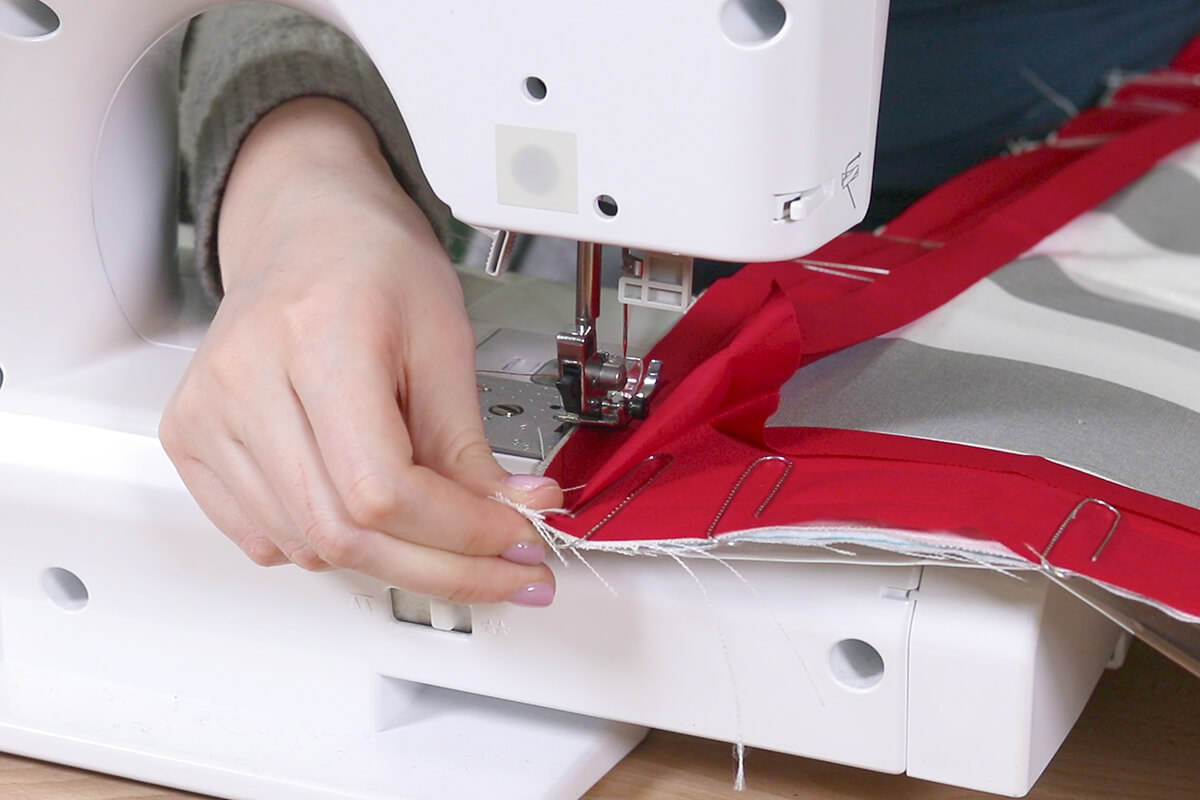
Clip the webbing three inches away from the center of your organizer on both sides on the back of the top edge.
Sew each side of webbing at the top and bottom of the bias tape.
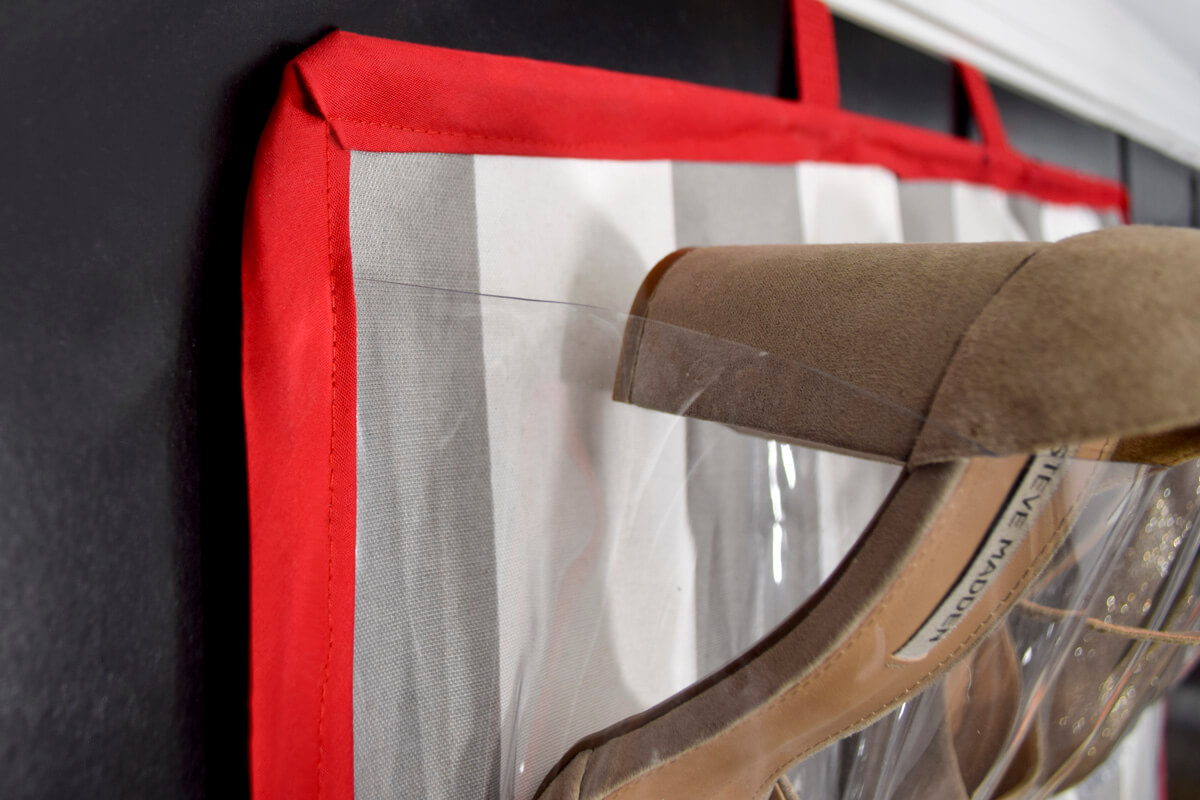
Step 8: Insert Dowel (optional)
Cut a small hole in the top corner of the bias tape and insert a dowel across the top of your organizer to help it lay flat.
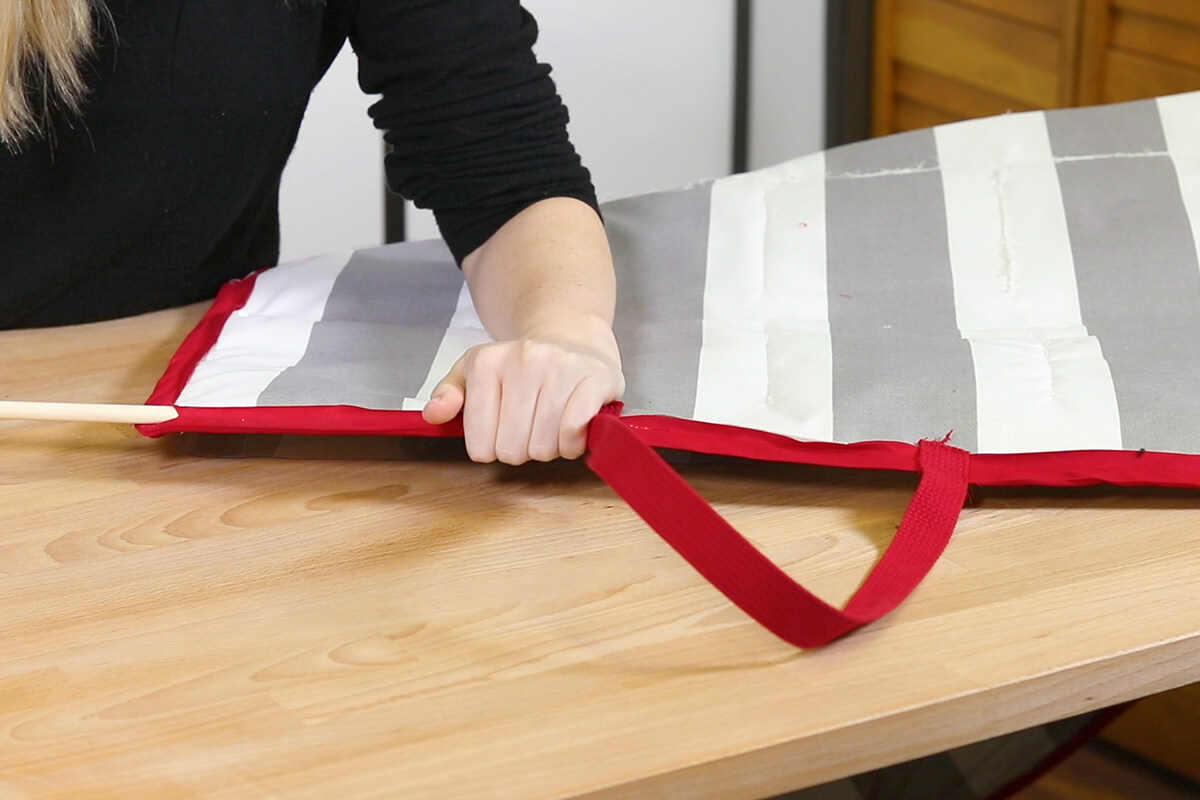
Sew the hole shut over the dowel.
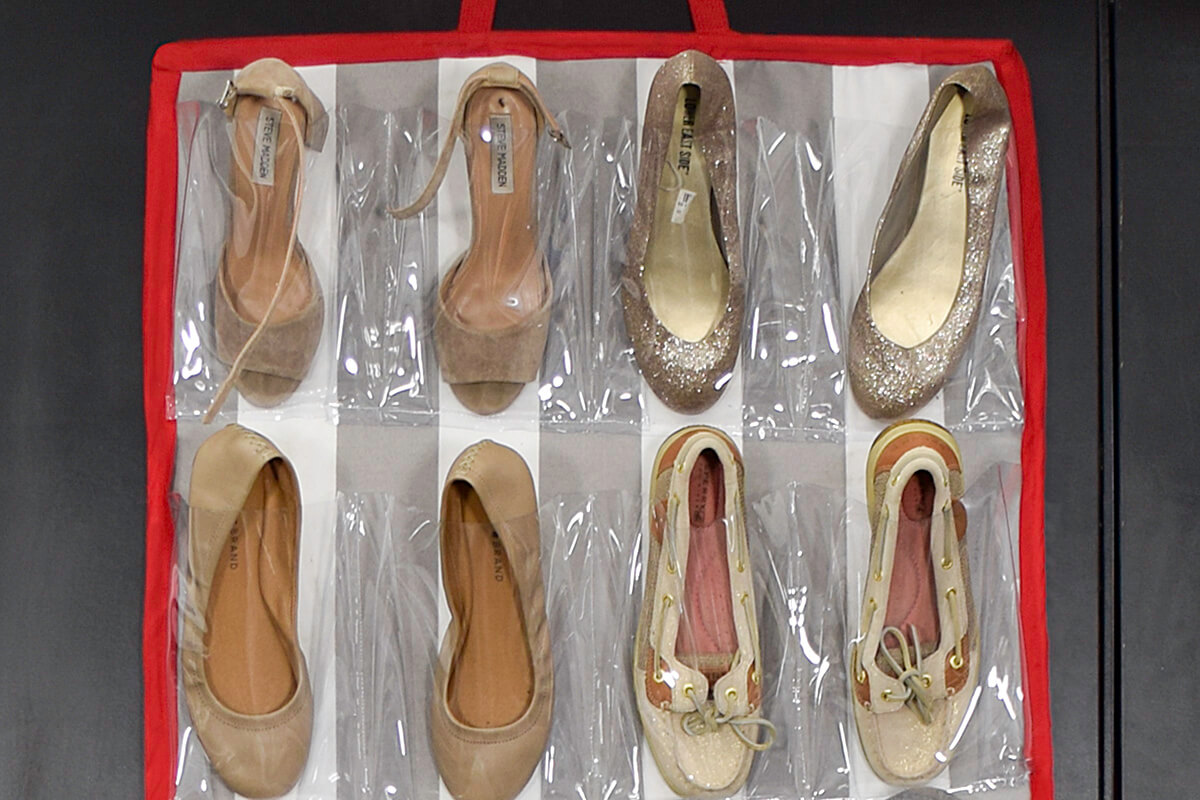
And now your organizer is complete.

-
{{#each productSuggestedQueries.results}}
- {{query}} {{/each}}
-
{{#each categories.results}}
- {{html title}} {{/each}}
{{html attributes.description}}
{{/if}}-
{{#each queries.results}}
- {{query}} {{/each}}