How to Make a Lace Blouse with a Lining
- By Jen
- Intermediate
- 1 hour 15 minutes
The lace is stretchy so it forms to the body well and is comfortable and easy to move in (especially in the arms). The built-in lining covers the torso from the chest down, leaving the shoulders, upper chest, and upper back sheer. Check out the step-by-step tutorial below to see how to make this blouse! You can use raschel lace if you want a more structured look. If you’re using a stretch fabric, always use a stretch lining. Otherwise the lining will not stretch with the outside fabric and will cause discomfort and possibly tear the fabric.
Sign up to our mailing list to get the FREE pattern and printable PDF instructions.

Materials
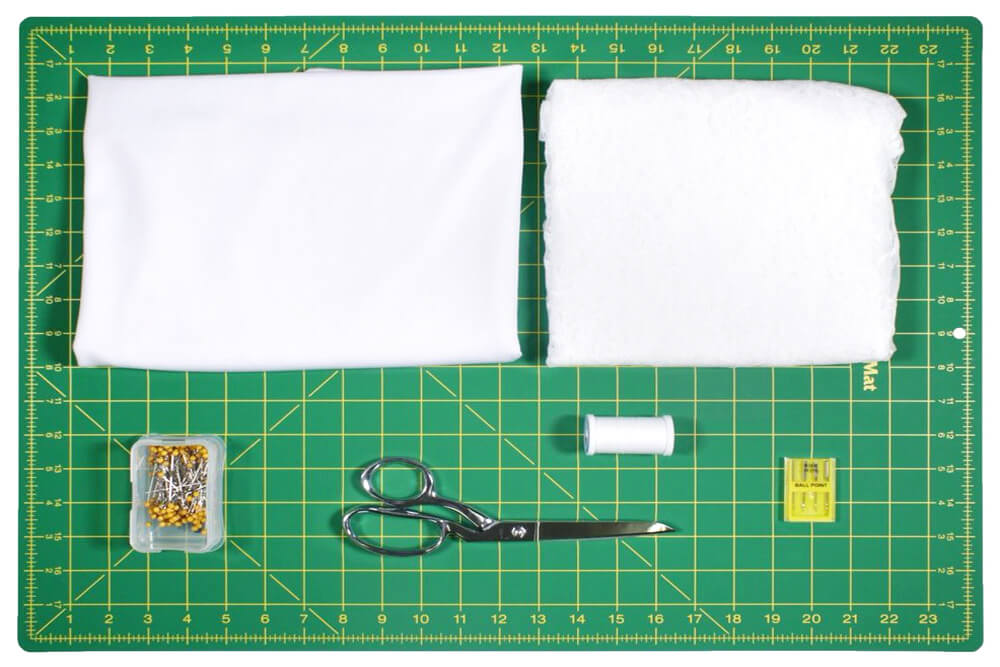
Related Products


Video
Instructions
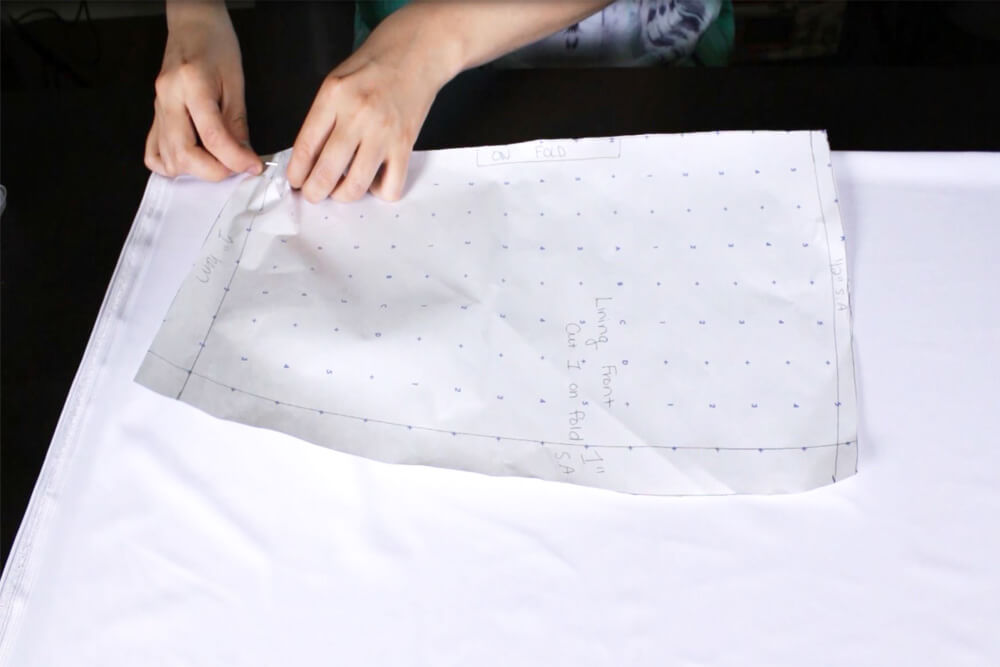
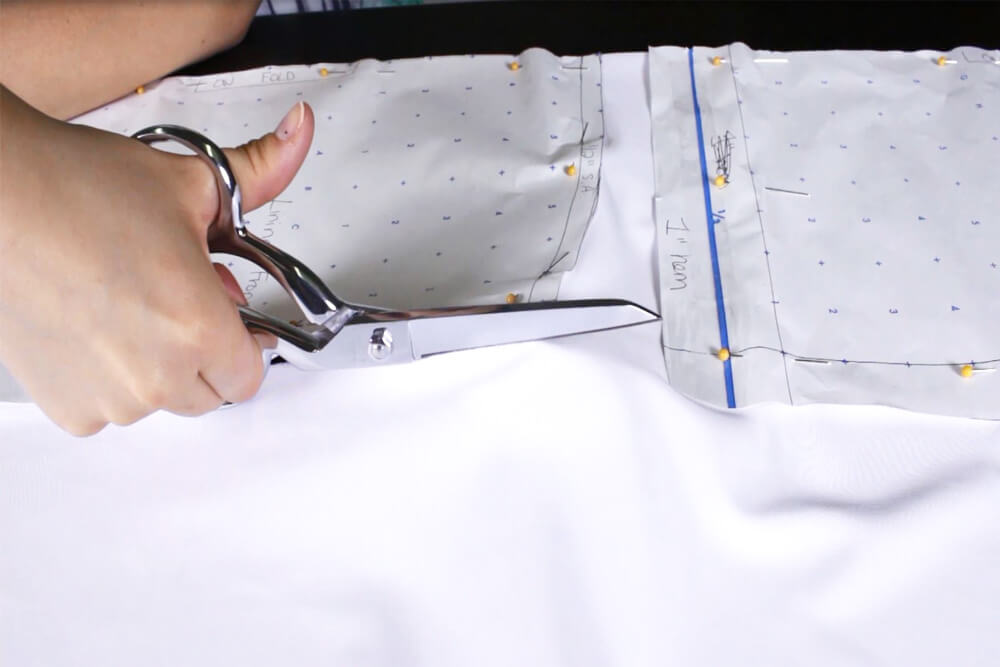
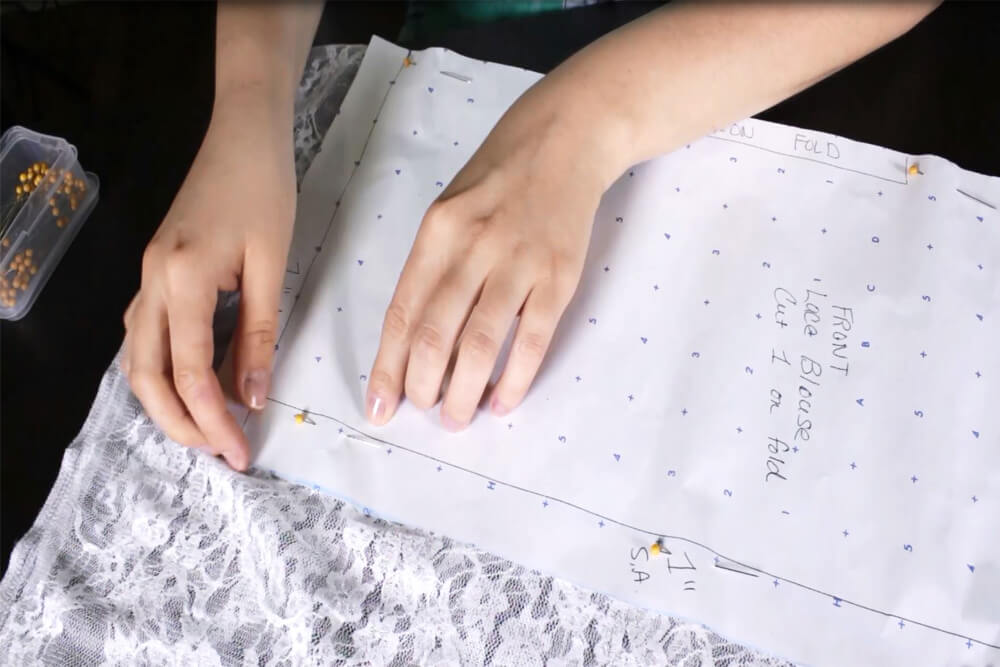
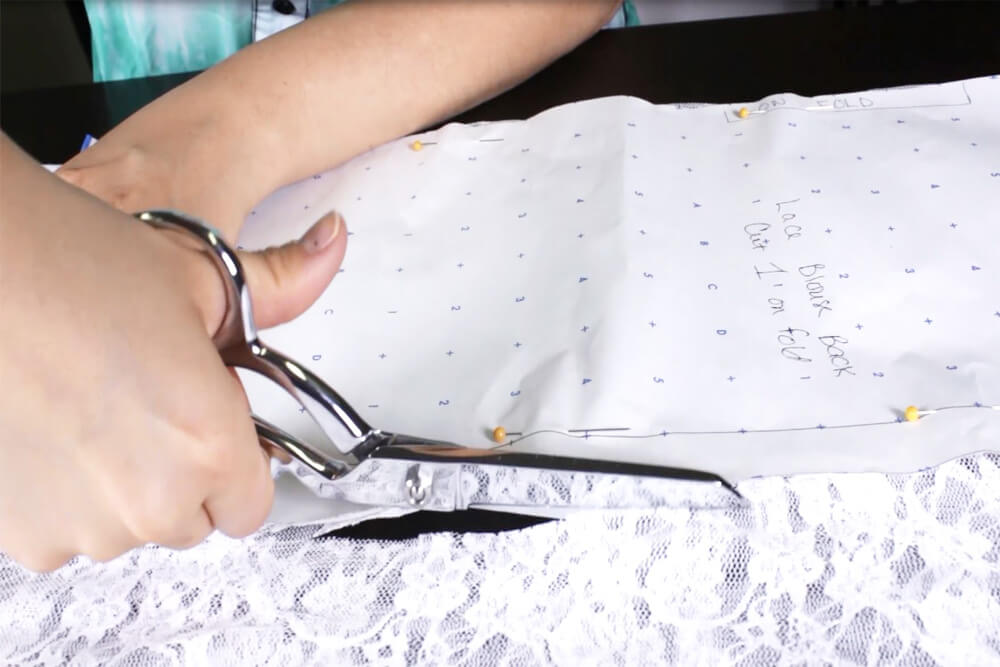
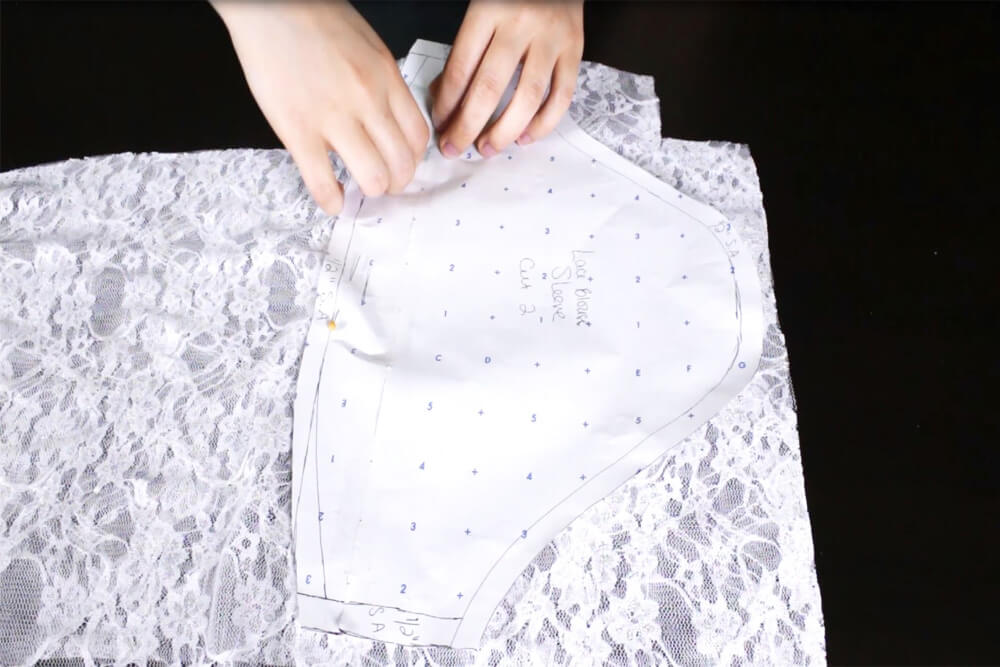
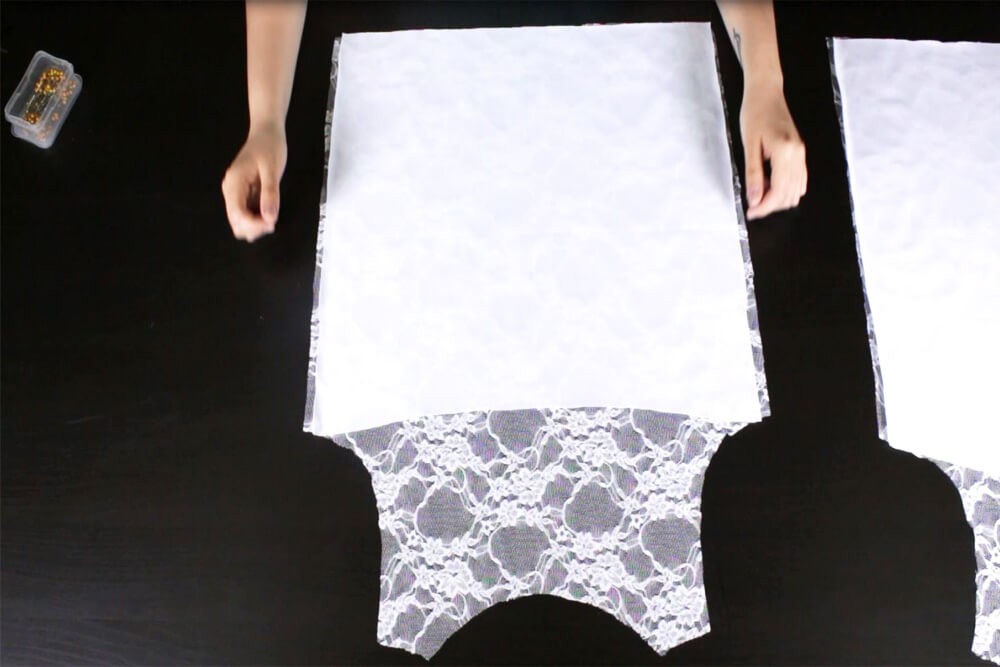
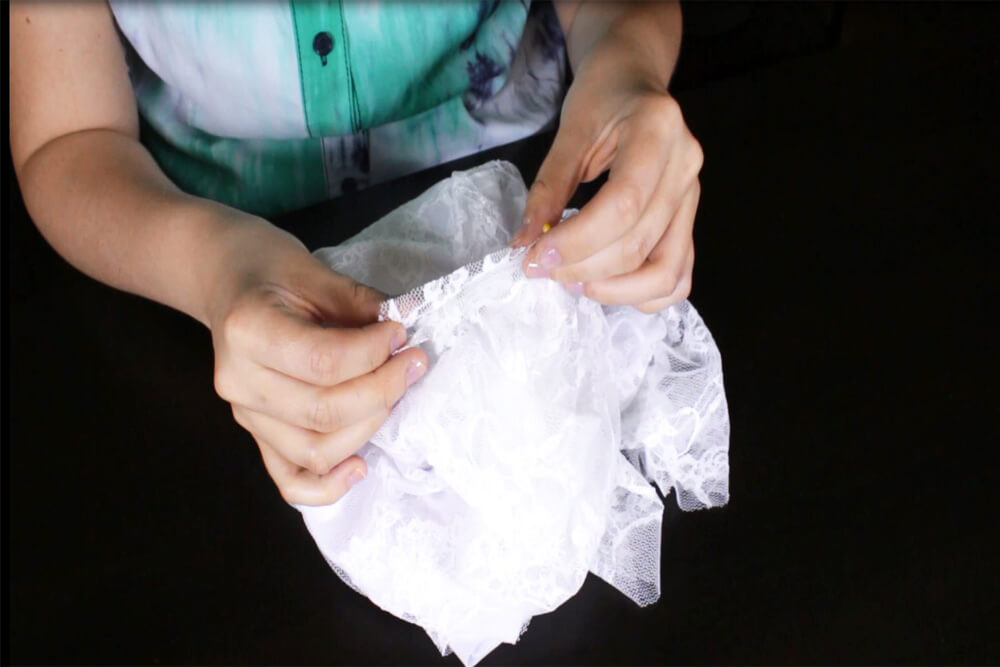
Step 1: Cut out the patterns
First, fold the spandex in half. Place the center front of the lining to the fold line, and pin on all four sides. Do the same for the back pattern and cut out both patterns. Fold the lace in half and place the center front pattern to the fold line and pin. Do the same for the back pattern. Then pin the sleeve pattern in the center (not on fold) and cut out all the pattern pieces. Make sure the pattern of the lace is running horizontal across the sleeve.

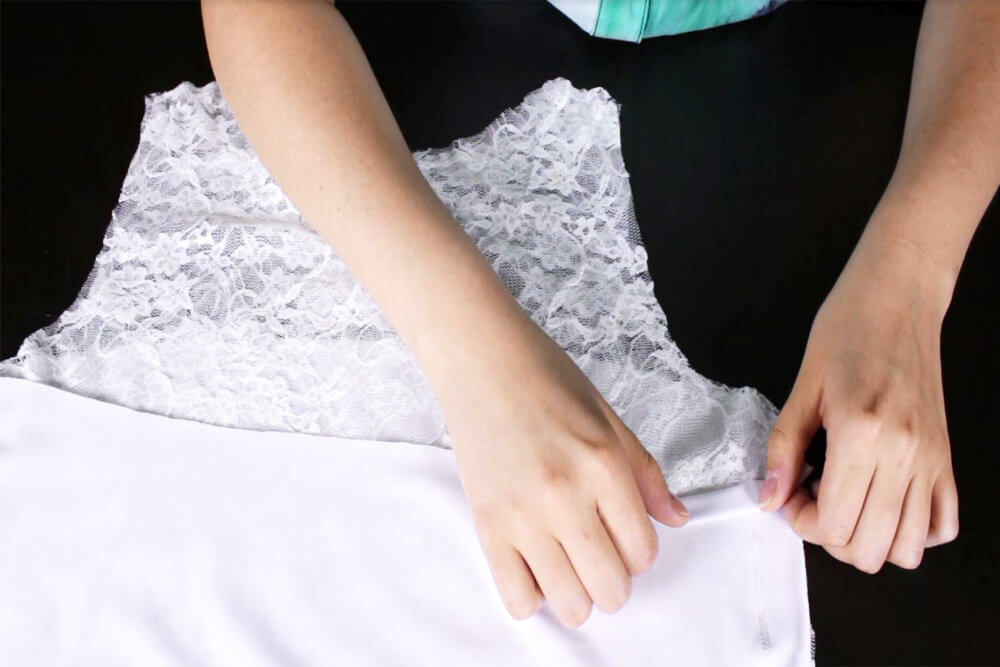
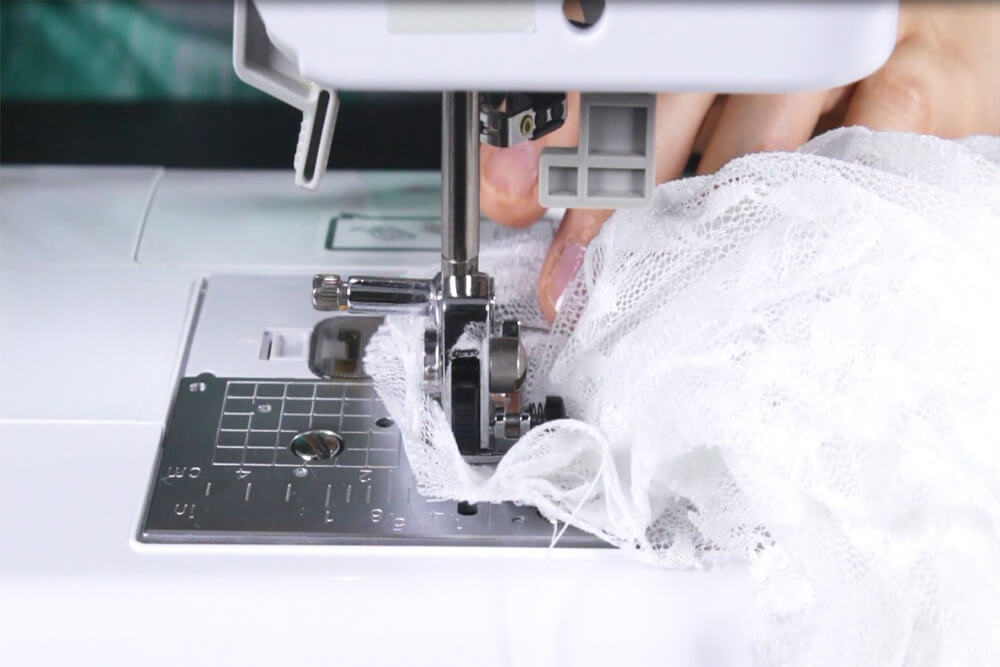
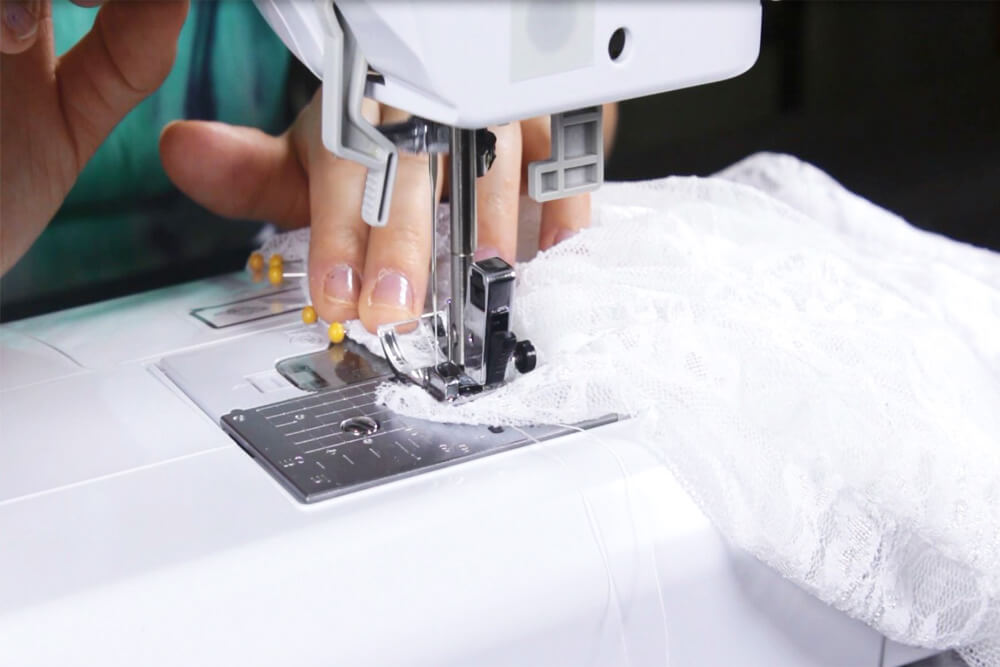
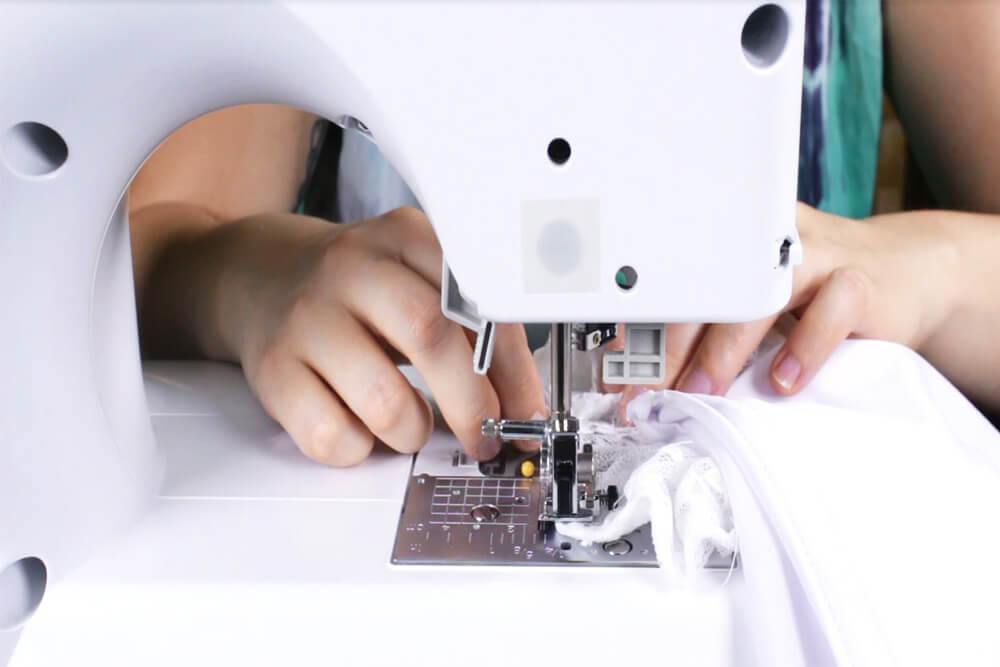
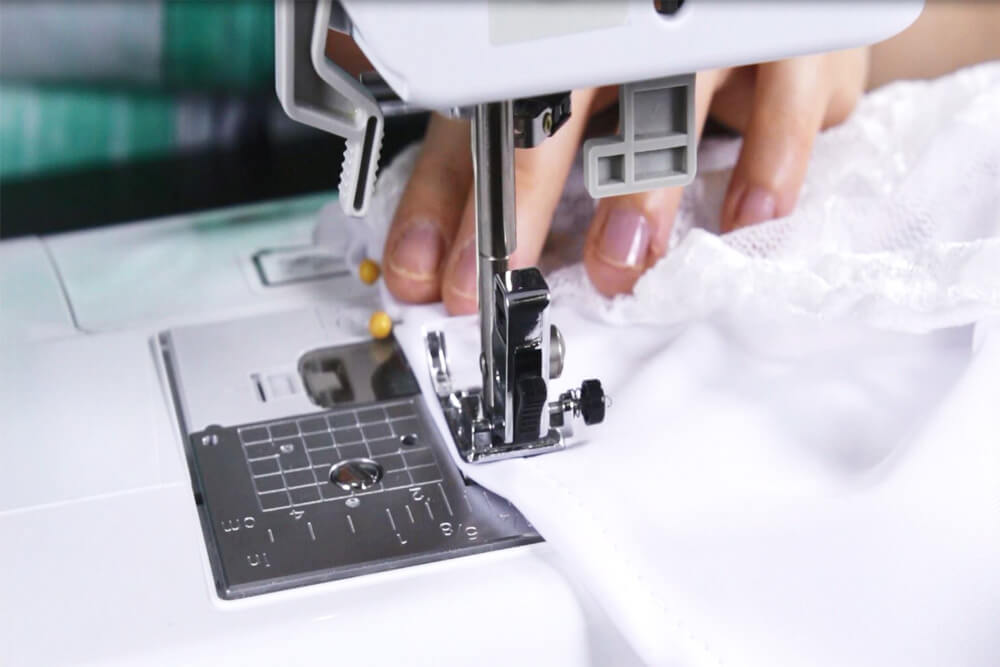
Step 2: Sew the lining to the blouse
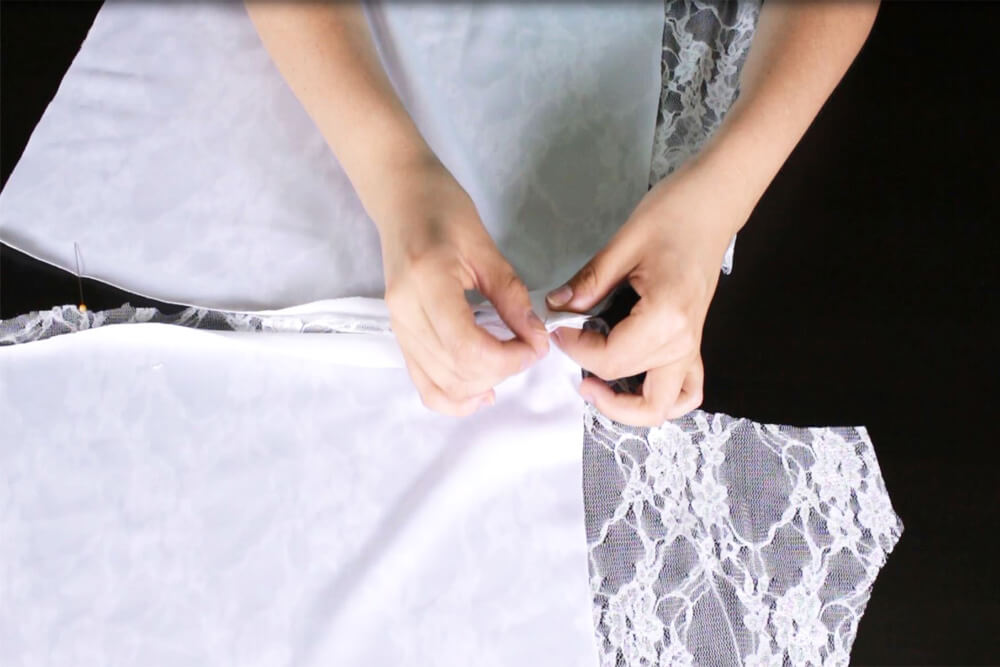
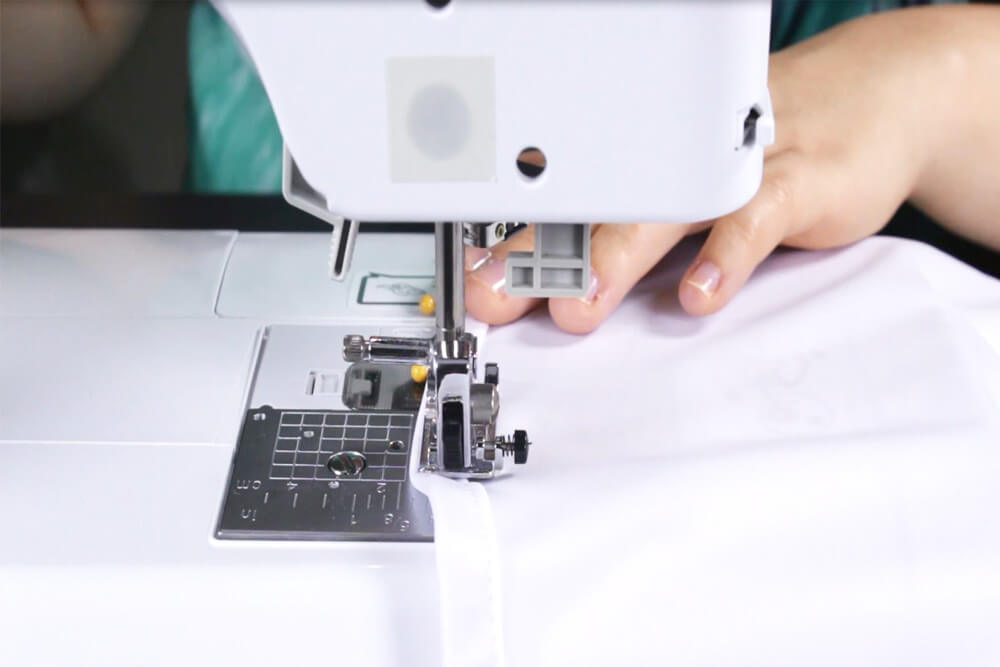
First, remove all the pins from the pattern pieces. Place the front lining on top of the front blouse. Make sure the sides are lined up. Do the same for the back lining and the back blouse. Zig zag stitch with a 1″ seam allowance starting an inch down from the top and leaving 1″ at the end. Do this for both sides. Stitch the shoulders using a 1/2″ seam allowance.
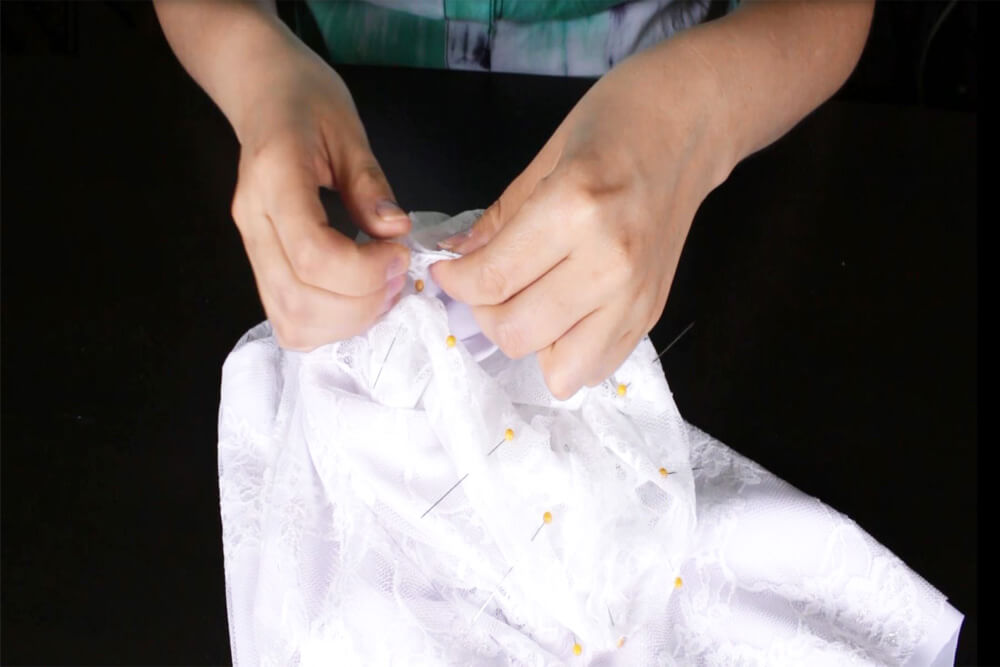
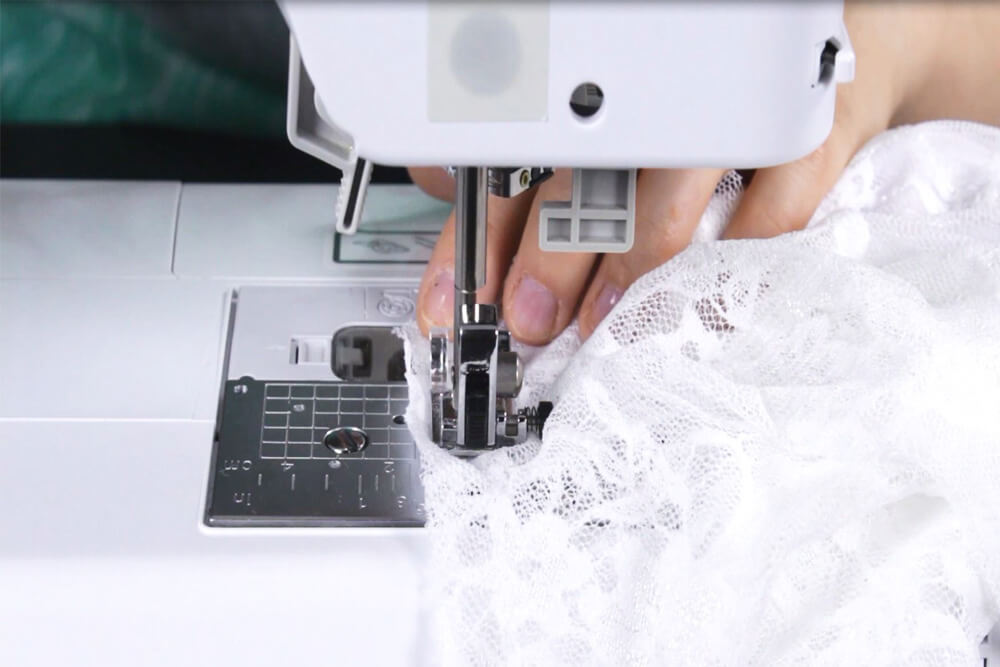
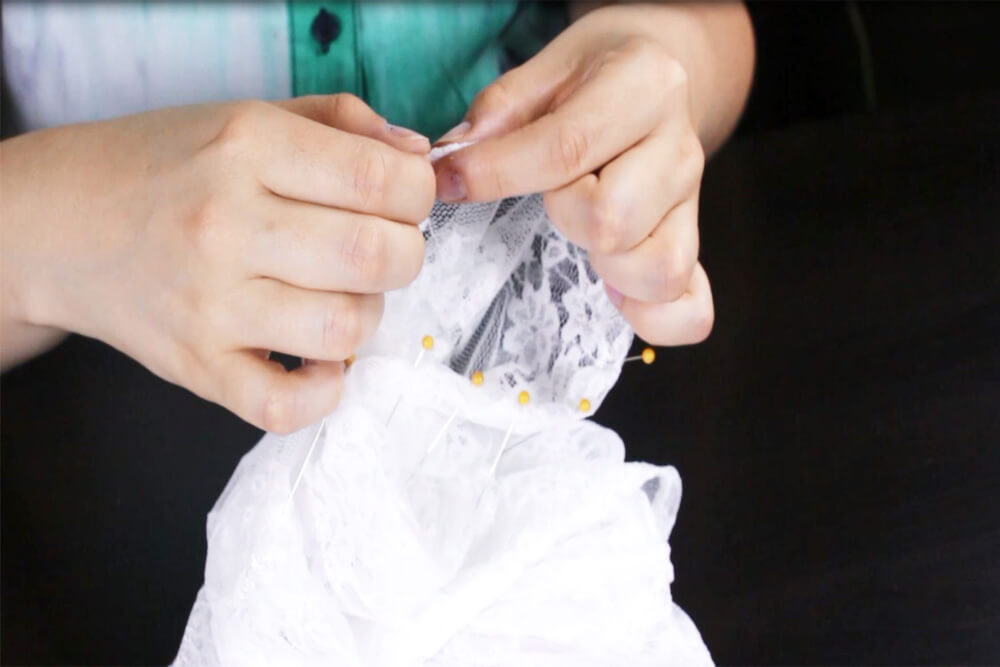
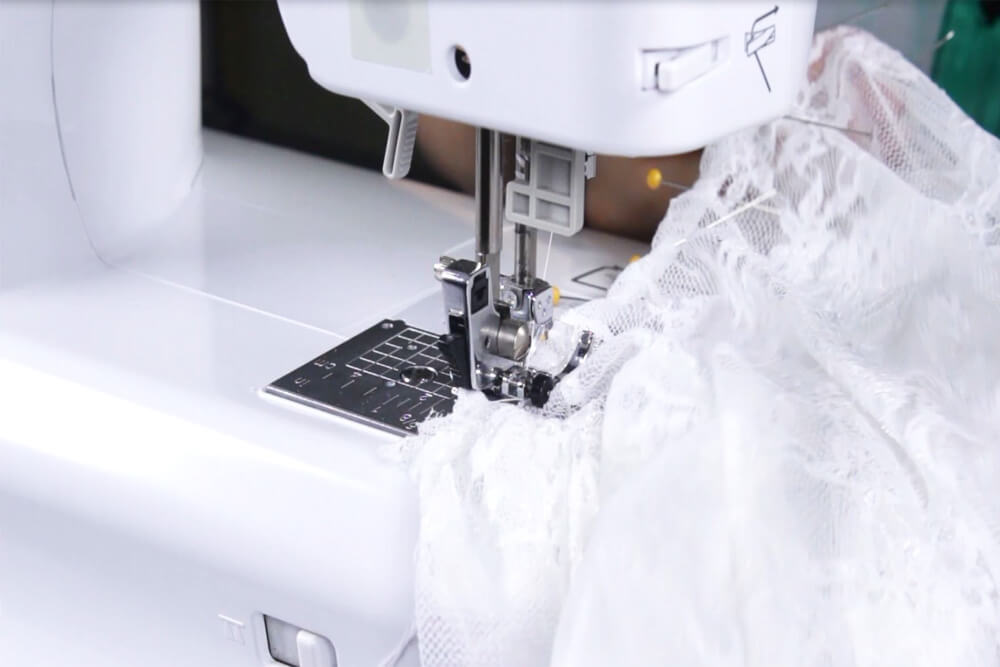
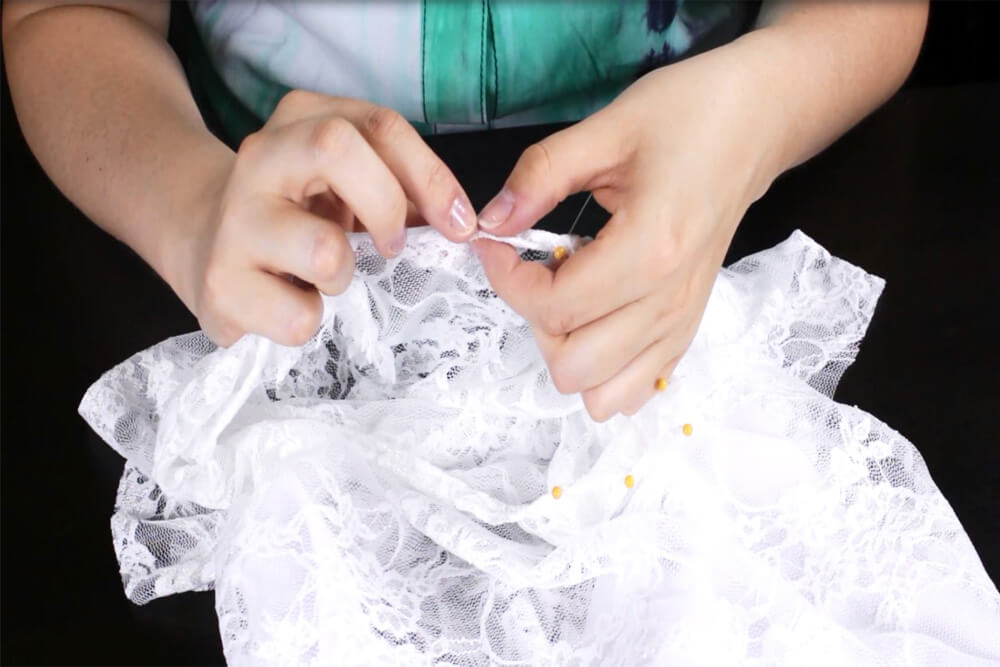
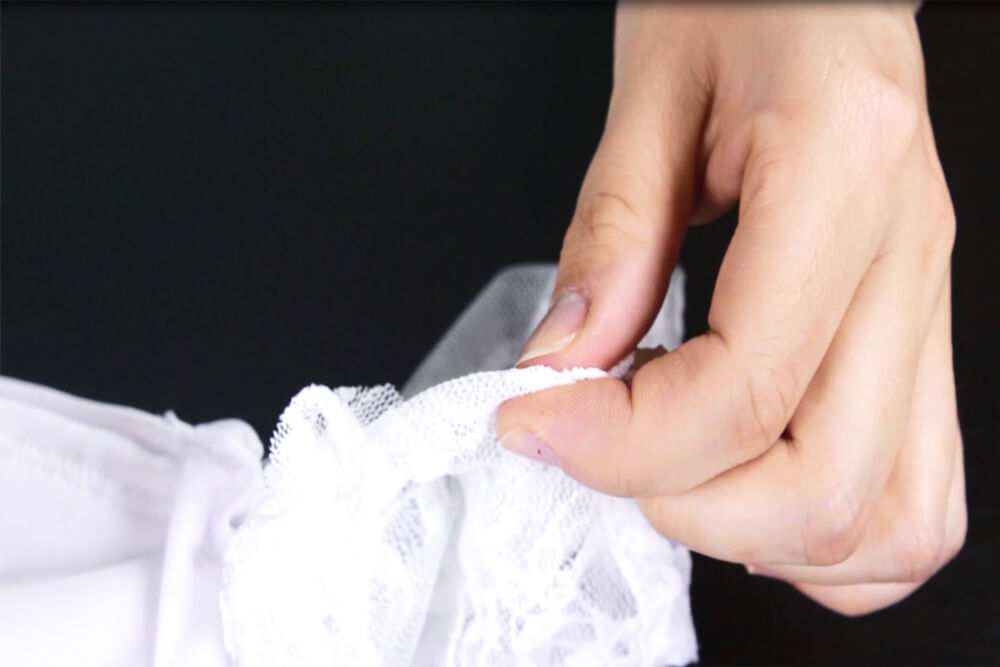
Step 3: Finish the top of the lining
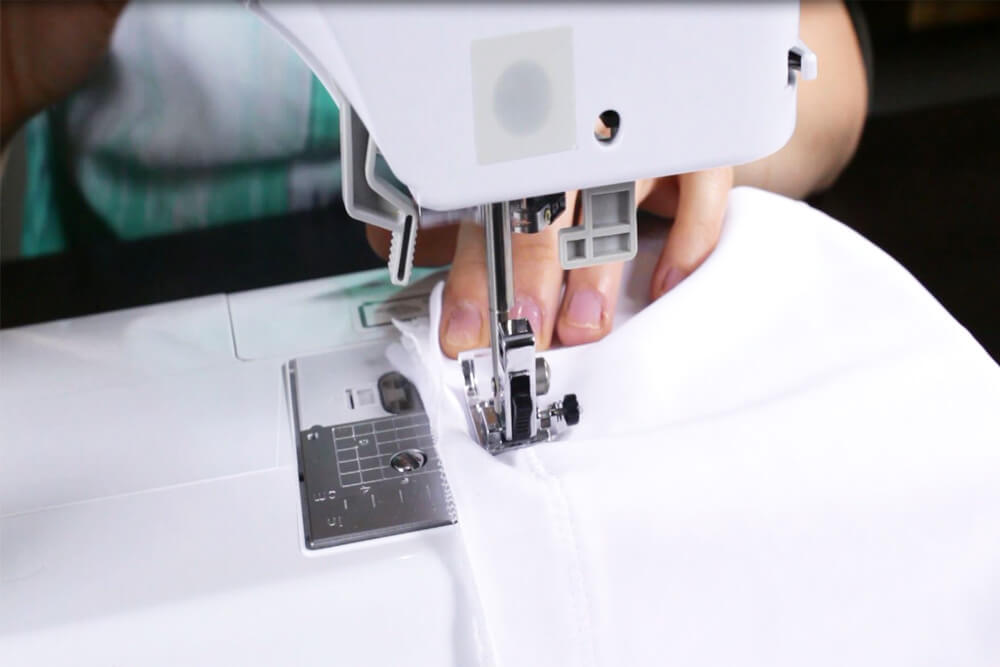
Fold the top of the lining over a 1/2″ twice and pin. Continue this until you’ve reached the end and straight stitch with a 1/2″ seam allowance.
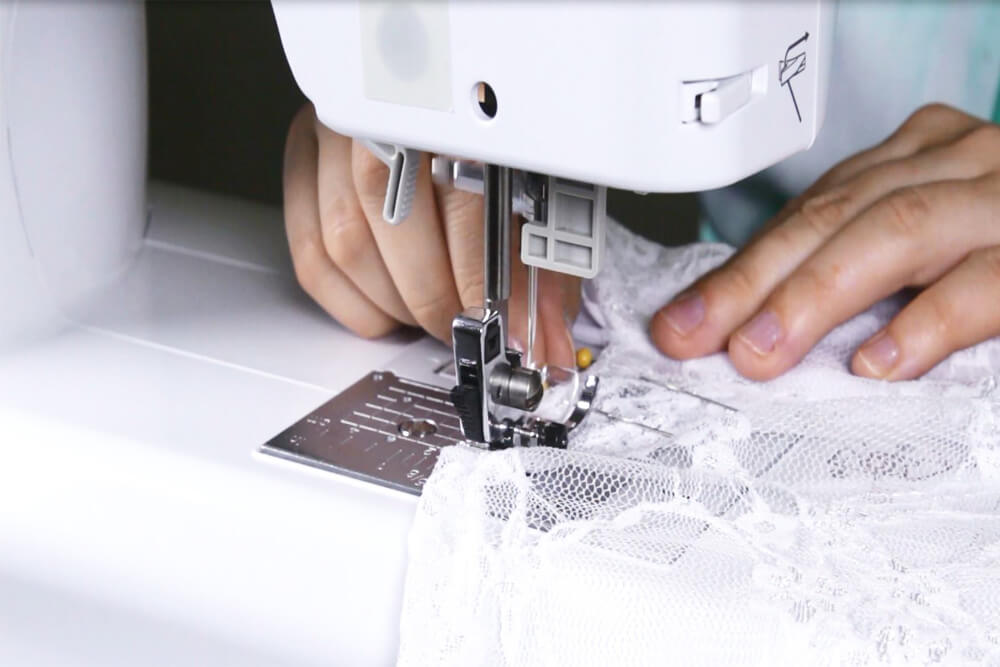
Step 4: Sew the sleeves
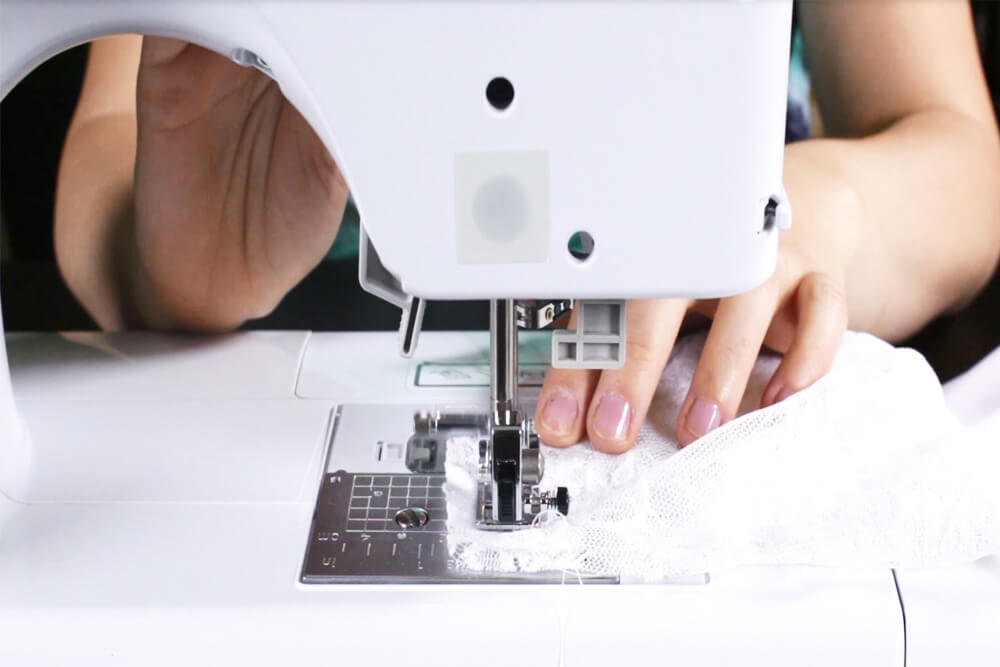
Pin one end of the sleeve to the bottom of the armhole. Continue to pin all around until you’ve reached the end and stitch with a 1/2″ seam allowance. Pin the side of the sleeve and stitch with a 1/2″ seam allowance. Do the same for the other sleeve. To finish the edges, fold the fabric over a 1/2″ twice and pin. Stitch with a 1/2″ seam allowance. Remember to back stitch at the beginning and the end.
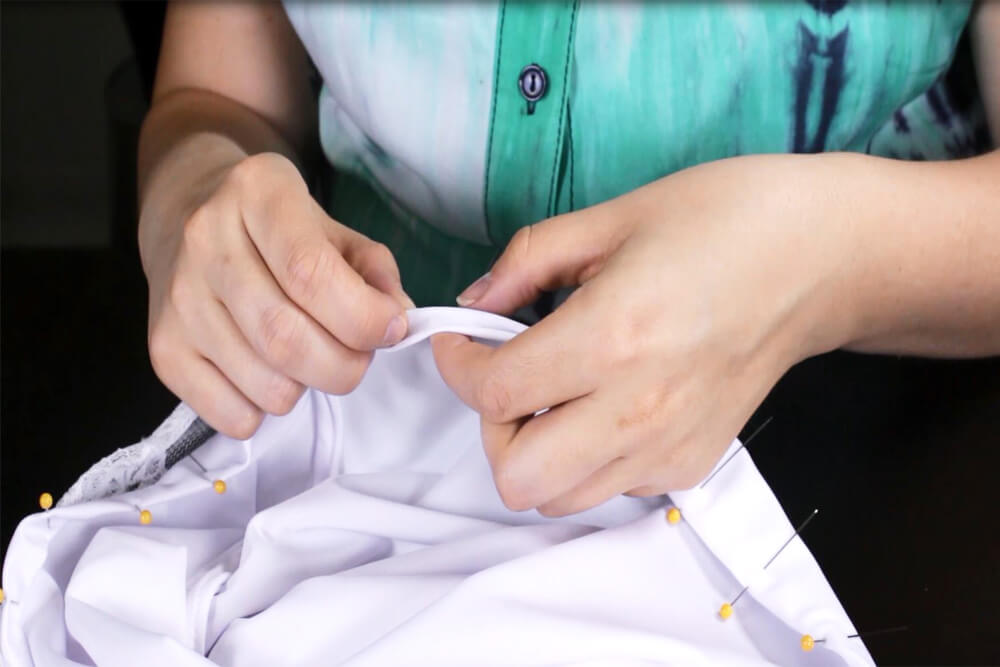
Step 5: Finish the neckline
Fold the fabric over a 1/2″ twice and pin. Stitch with a 1/2″ seam allowance.
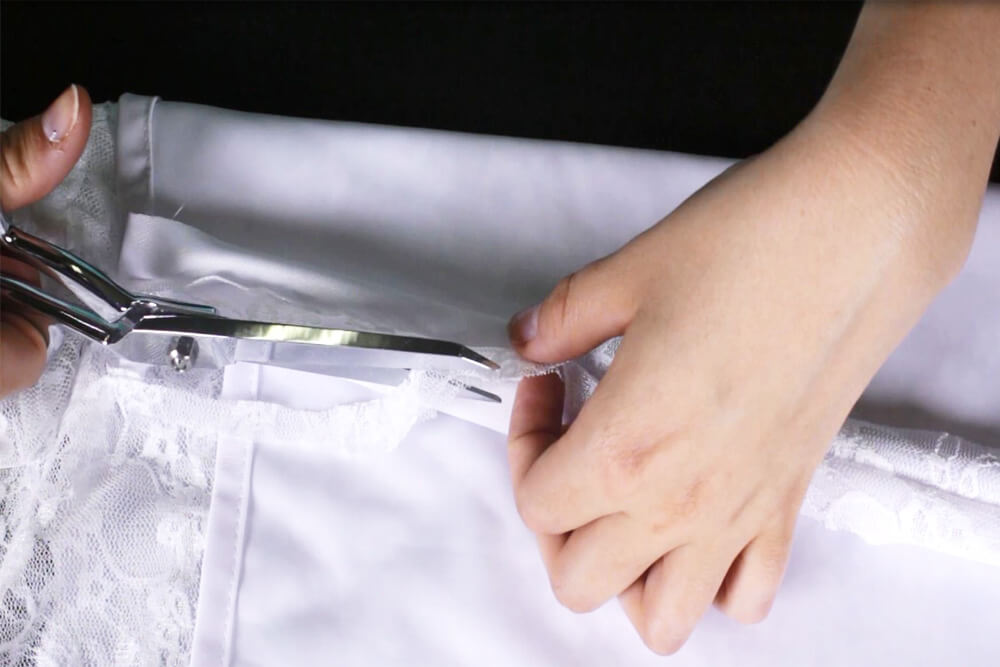
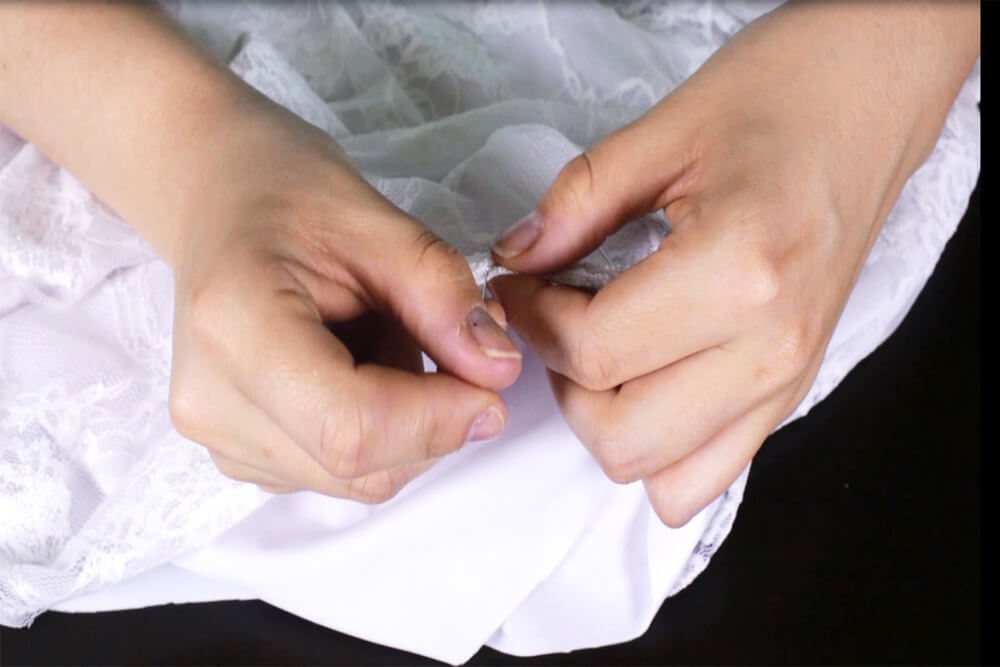
Step 6: Finish the inside seams
With the blouse inside out, take the side and trim the inside lace down. Then fold in the edges of the spandex 1/2″ and pin together. Straight stitch from the top to bottom. Do this for both sides. For the armholes, fold the lace over a 1/4″ and pin. Straight stitch with a 1/4″ seam allowance. Do this for both sides.
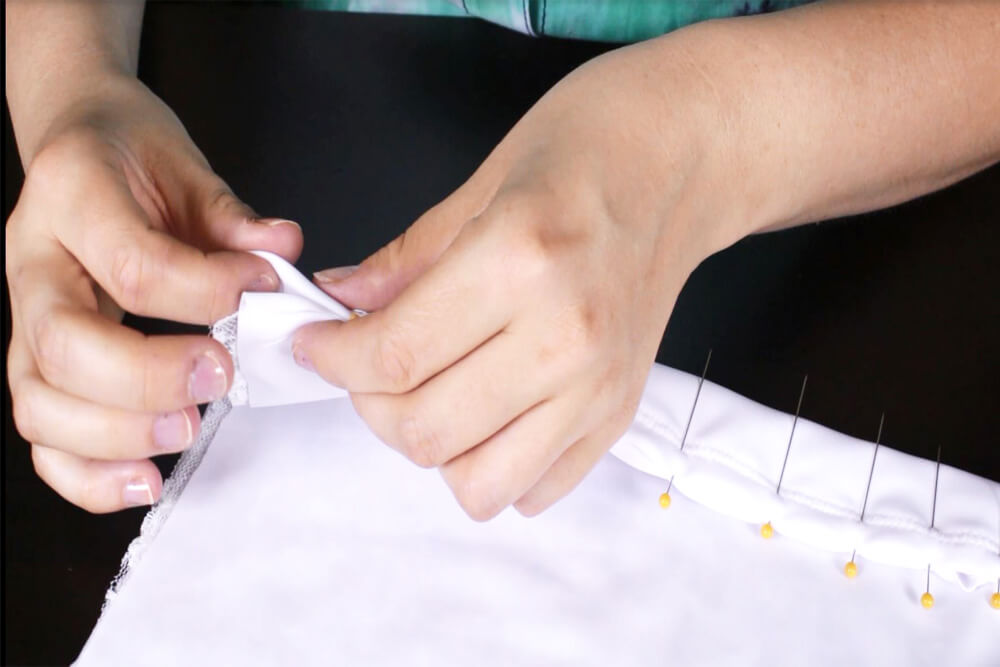

Step 7: Hem
Fold the lace over a 1/2″ twice and pin. Straight stitch with a 1/2″ seam allowance. Back stitch at the beginning and the end. Repeat this step for the spandex and the lace blouse is complete!


Want to see more lace? Click here.
-
{{#each productSuggestedQueries.results}}
- {{query}} {{/each}}
-
{{#each categories.results}}
- {{html title}} {{/each}}
{{html attributes.description}}
{{/if}}-
{{#each queries.results}}
- {{query}} {{/each}}