How to Make a Log Carrier Bag
- By Alyssa
- Beginner
- 1 hour
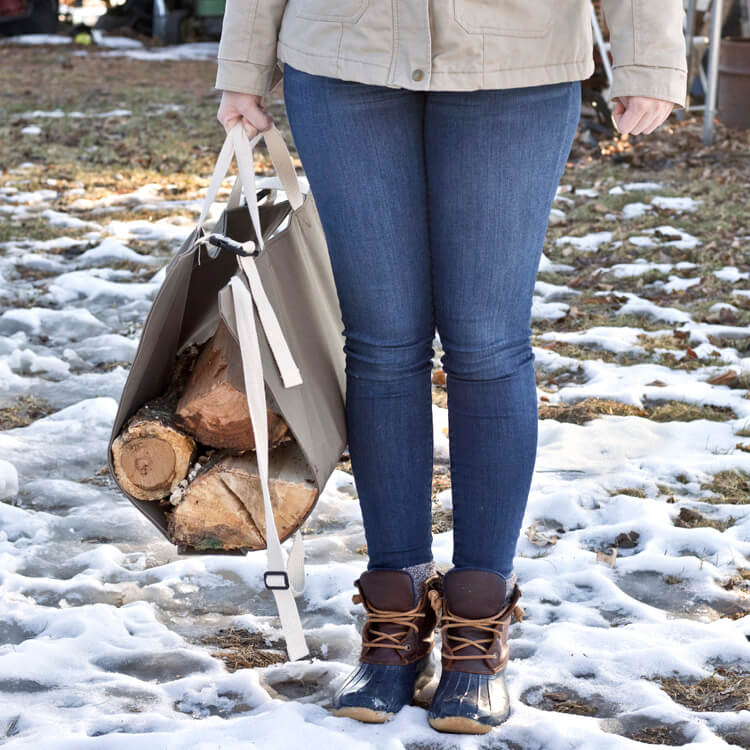
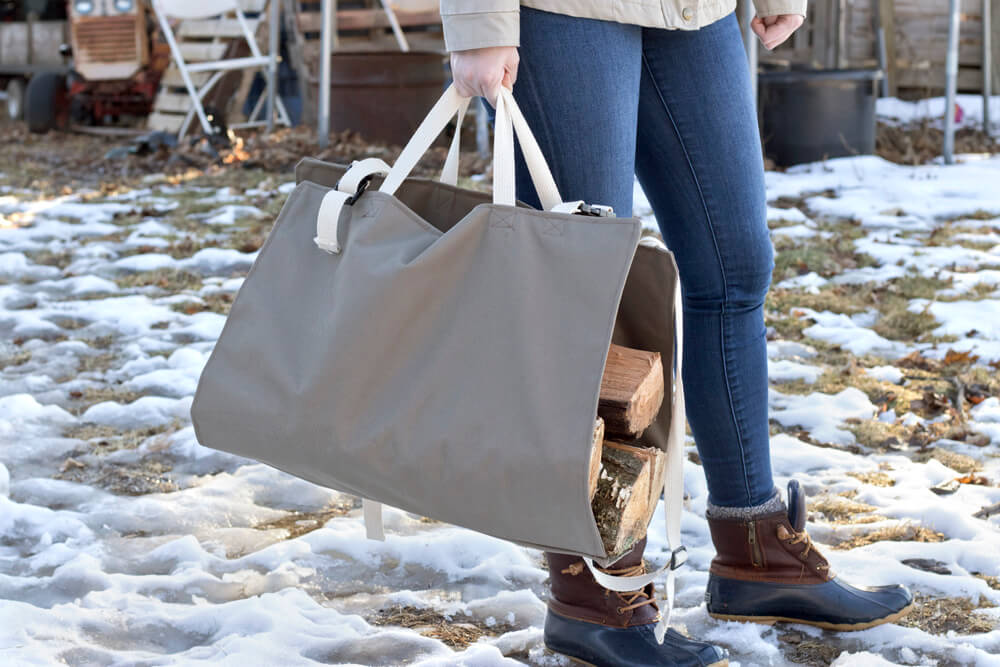
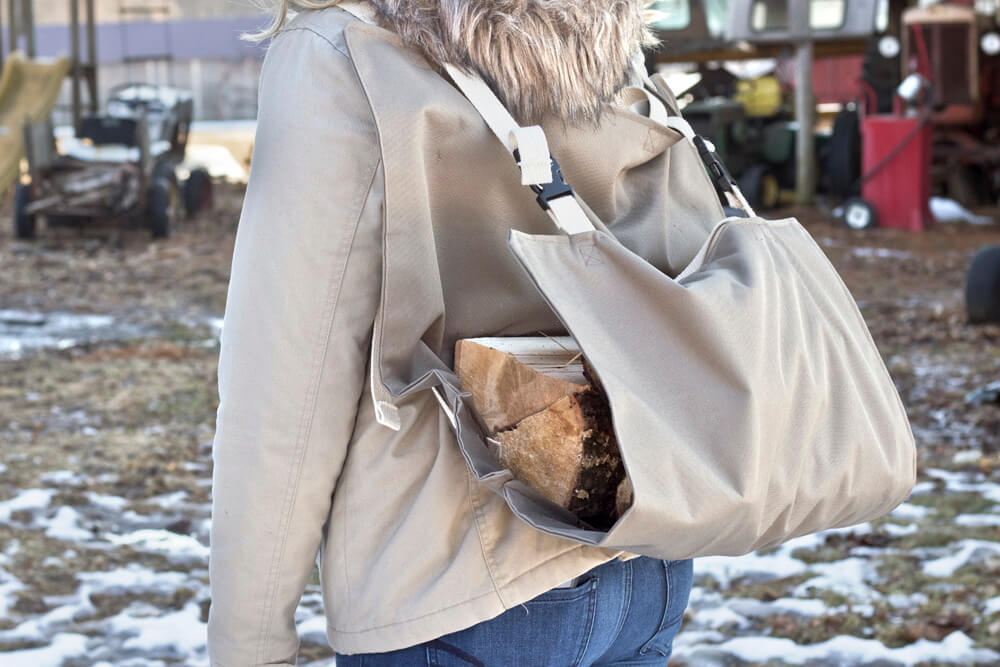
Log carriers can be heavy and awkward to carry so I decided I wanted to make one for my grandma that would help lighten her load and last her a long time.
I came up with the idea of a firewood tote that has both backpack straps and handles for a new take on a traditional look. So far, its been a life saver. So much so that I am really surprised no one has ever though to put backpack straps on these bulky bags.
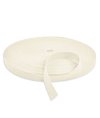
We used PVC-coated polyester because it’s a very durable fabric that can hold up to lots of wear and tear.
Here’s how you can make your own!
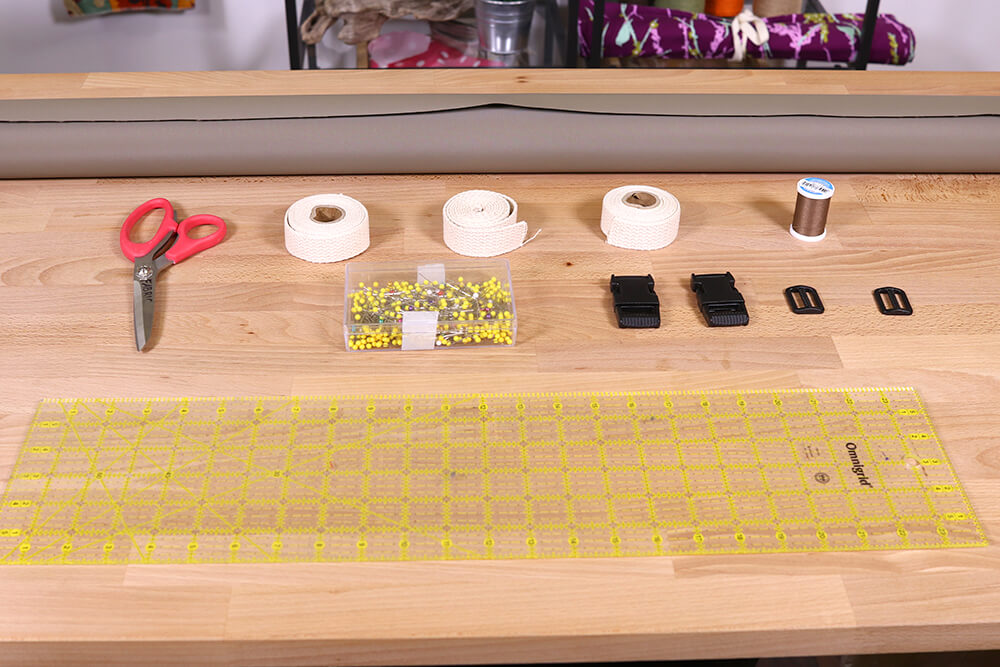
Materials
Related Products


Video
Instructions
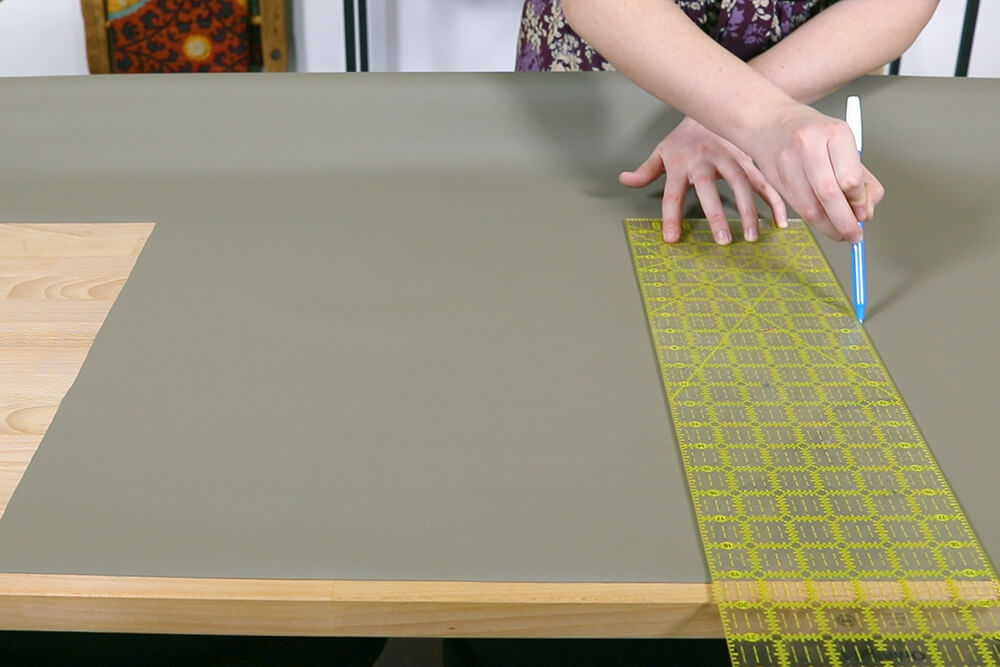
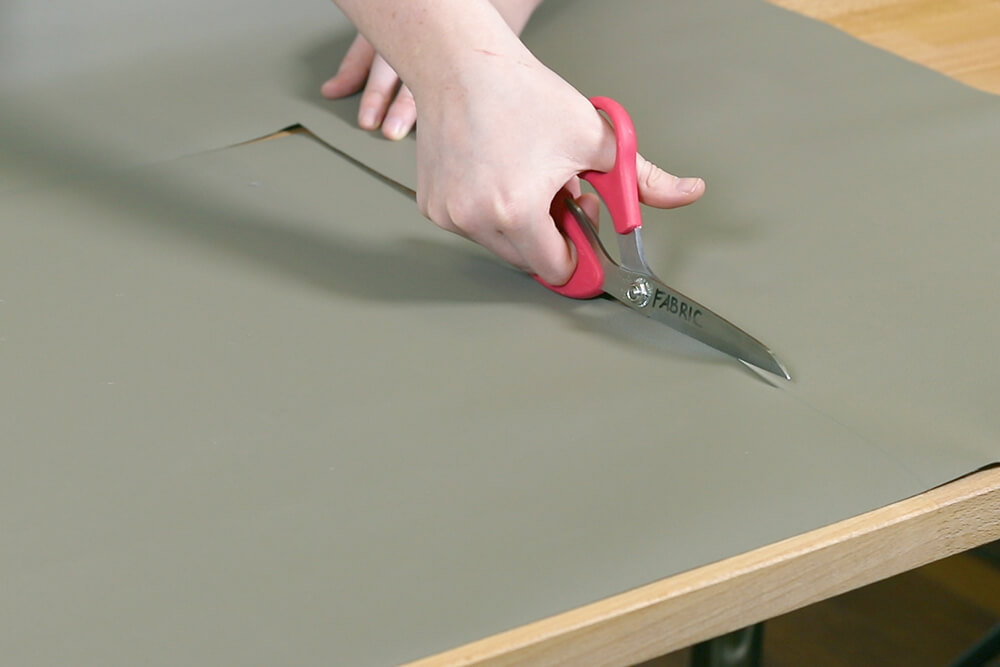
Step 1: Cut the fabric
Cut the following pieces out of the PVC-coated polyester:
Four Main panels: 19” x 22”
Two bottom panels: 6” x 22”
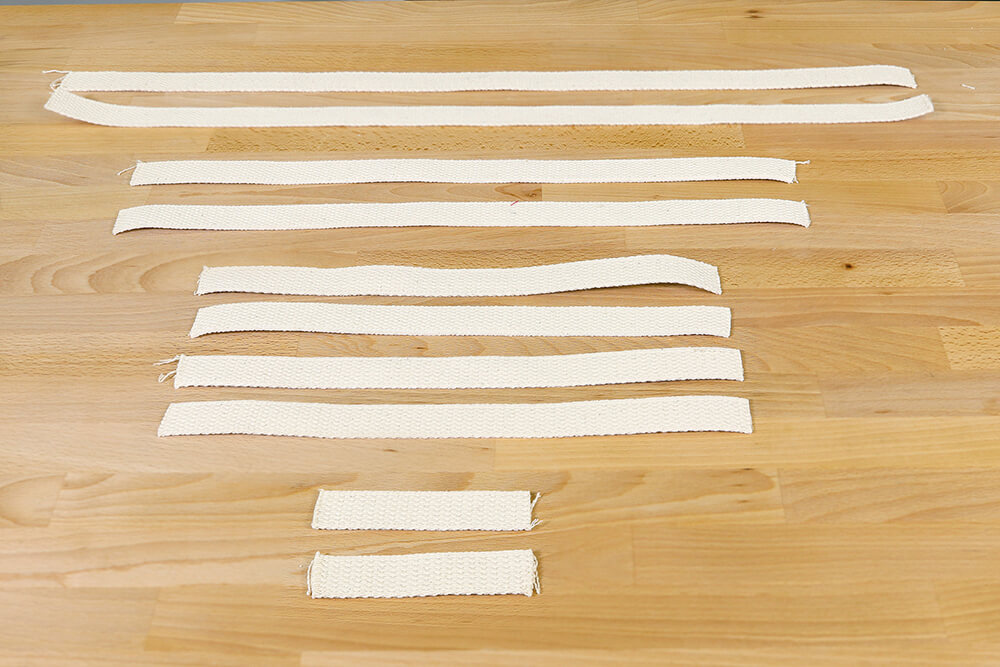
Cut the following pieces of cotton webbing:
Two 17” strips
Two 4” strips
Four 12” strips
Two 24” strips
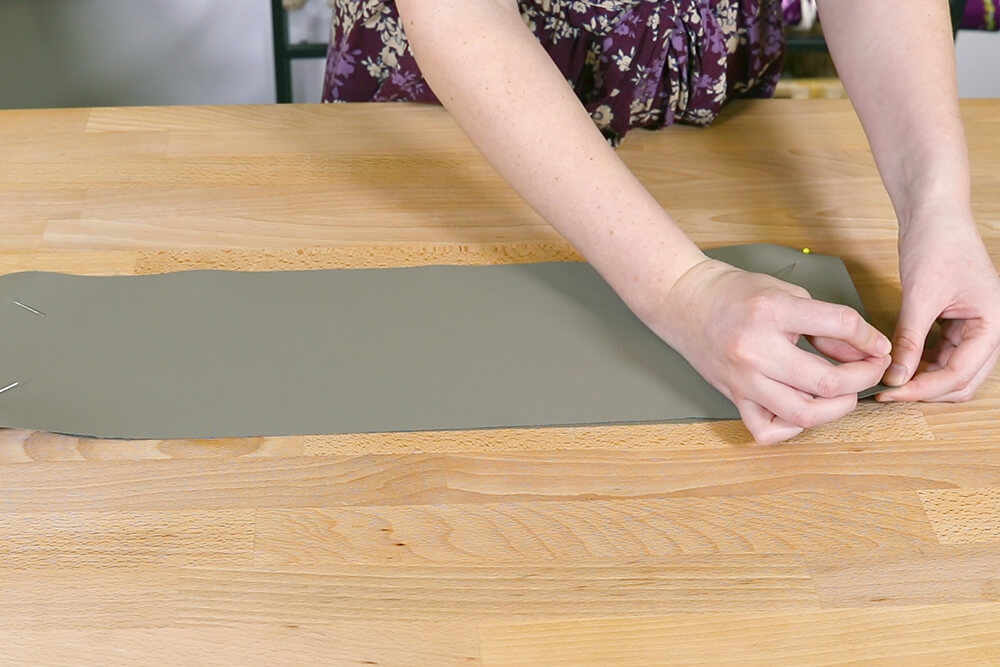
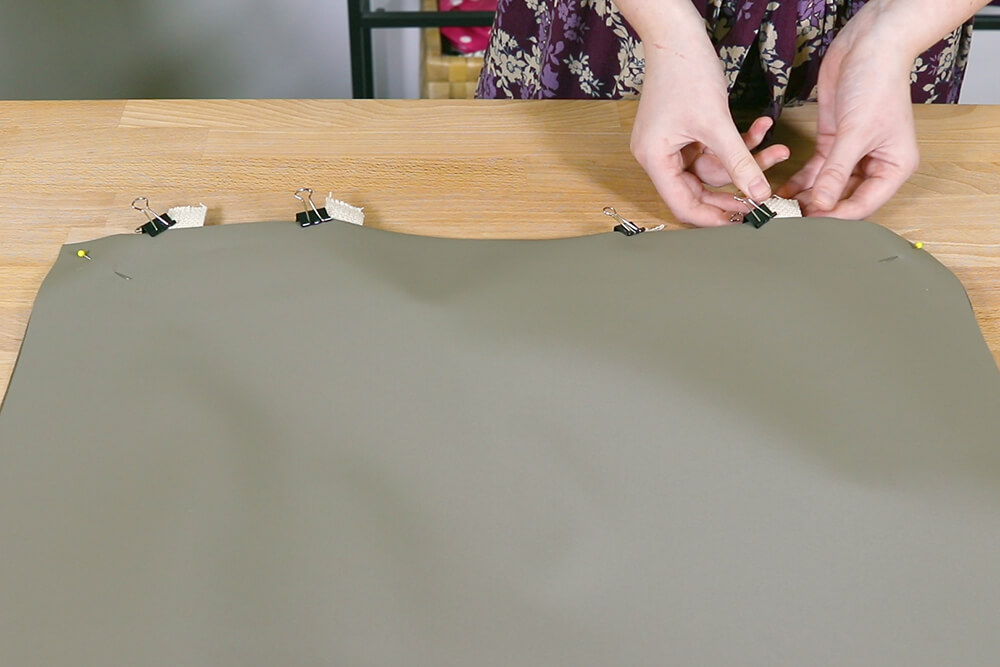
Step 2: Pin together
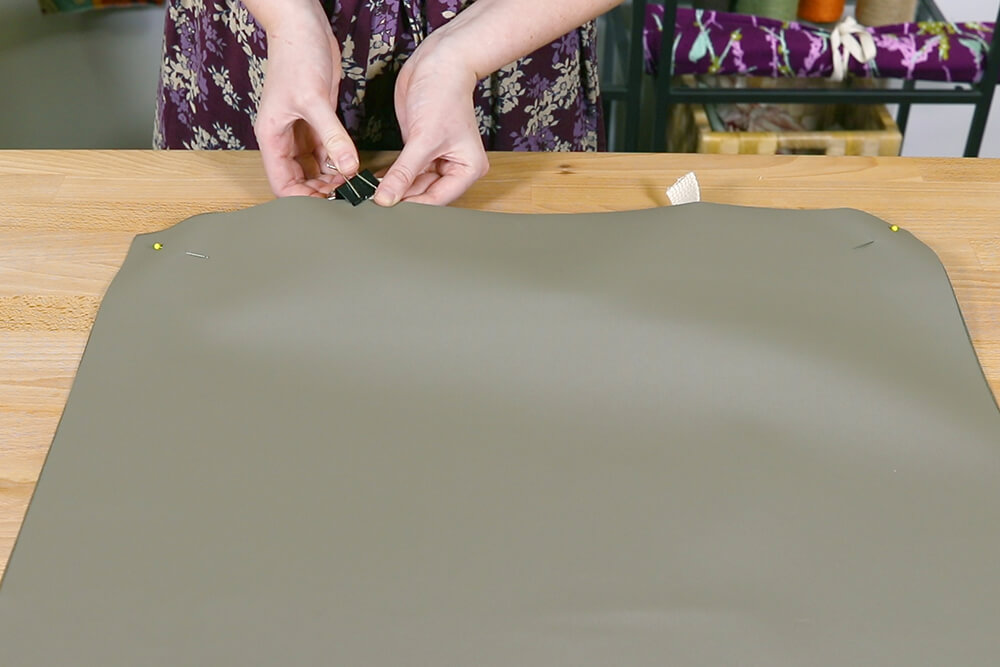
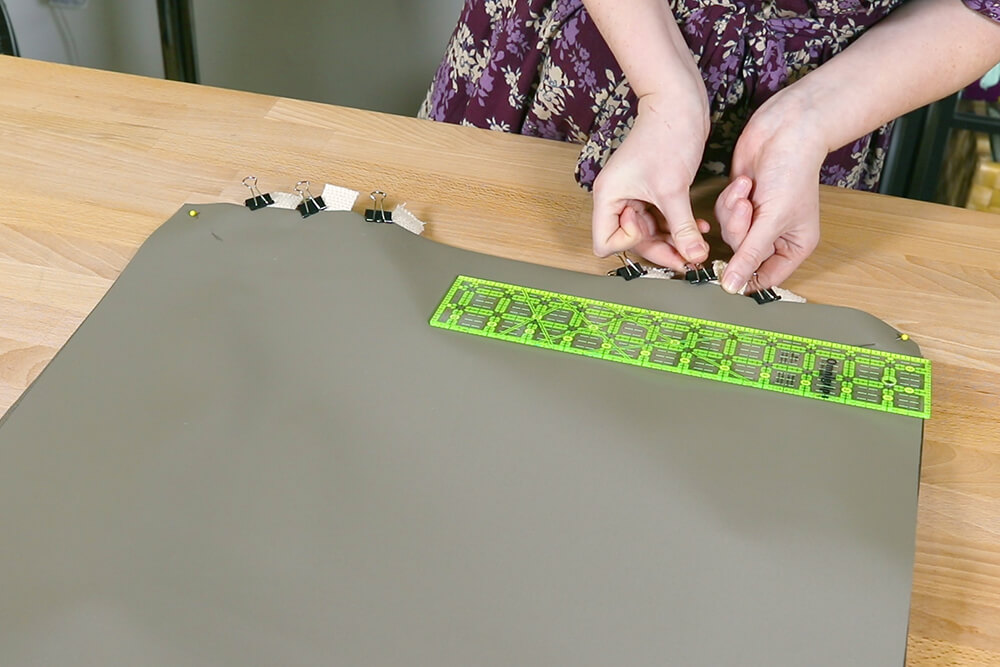
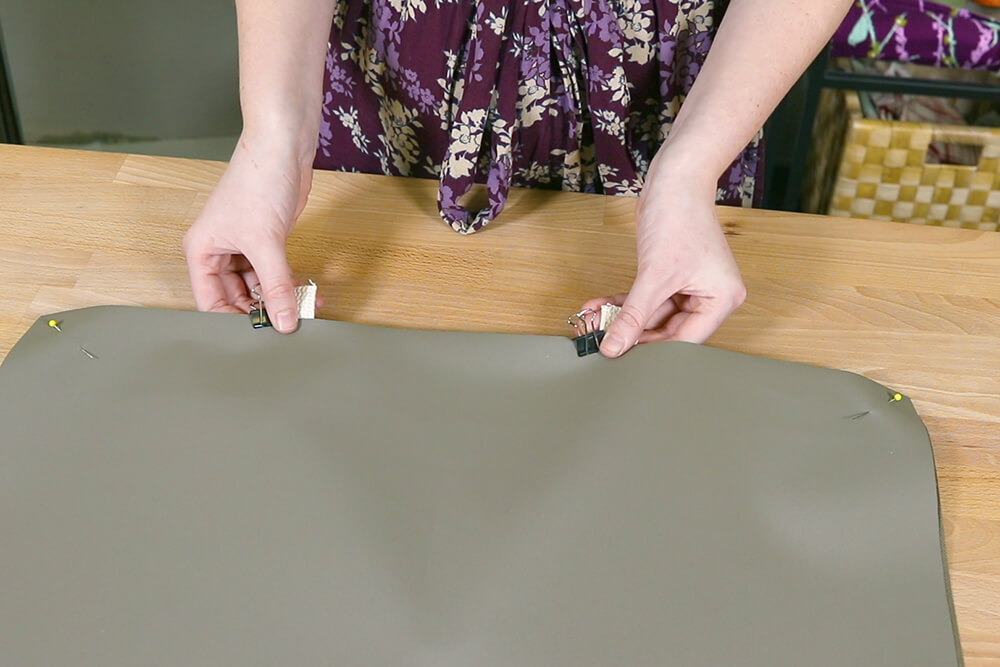
Starting with the PVC-coated polyester panels, pin together two of the main panels with right sides facing. Do this to the other two main panels as well. Also pin the two bottom panels with right sides facing.
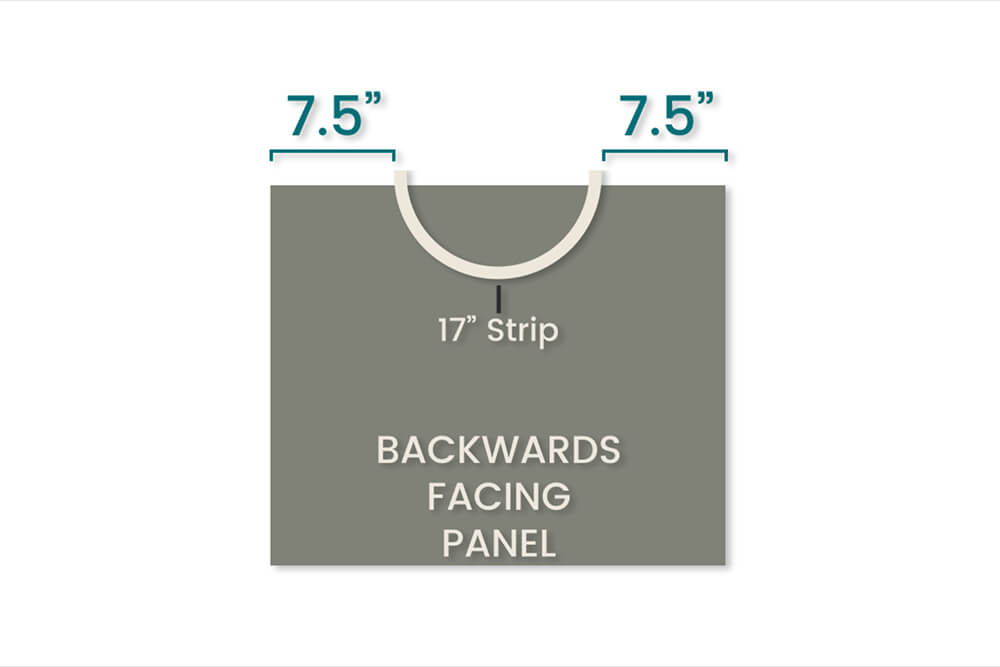
Focus on the backwards facing panel of your bag first. Take one 17” strip of cotton webbing and pin it to the top edge. Both ends should be 7 ½” away from the edges of the bag. To place the straps correctly, tuck them inside of the two panels so they will be on the outside of the bag when it is turned inside out. Leave 1″ sticking out from the top of the panels.
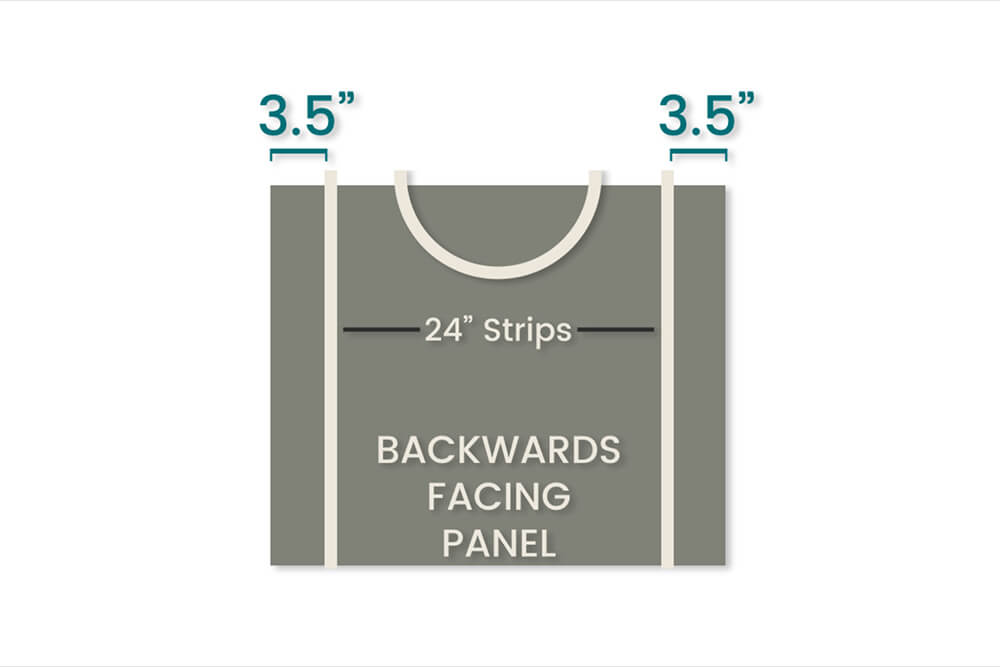
Then take a 24” strip of webbing and pin it 3 ½” from the edge of the top edge. Repeat this on the other side. There should be 1” of webbing on both sides that dips below the top fold of the bag.
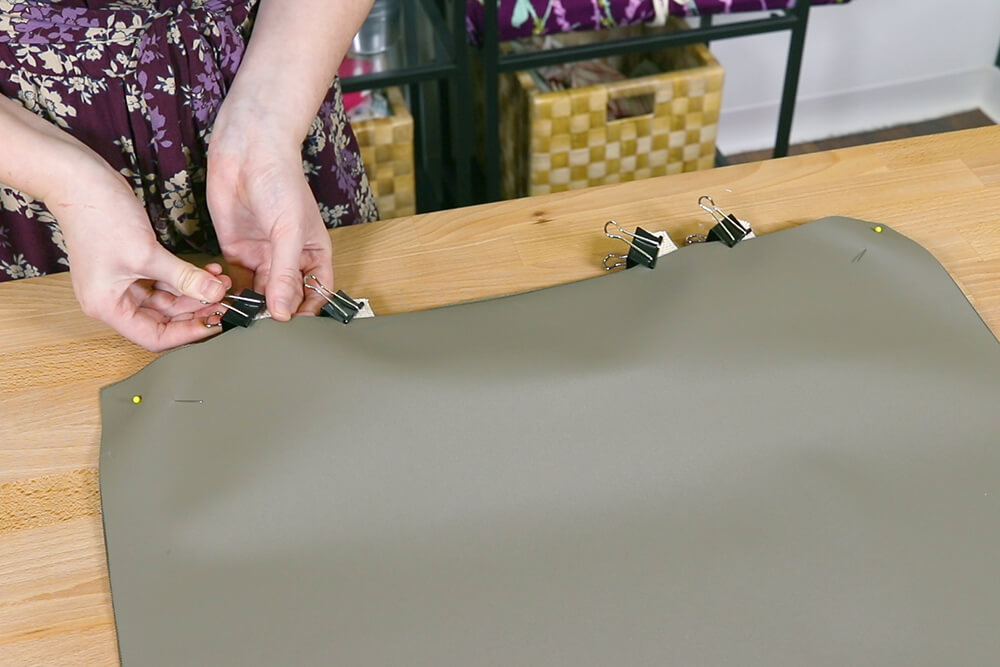
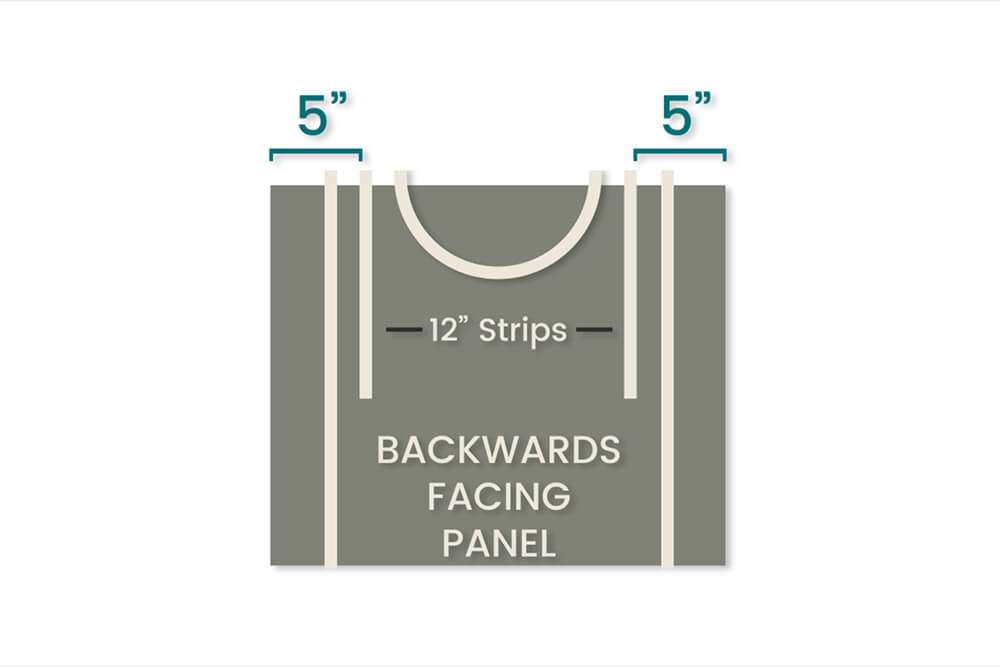
Then take a 12” strip of cotton webbing and pin it 5″ away from the edge. Repeat this on both sides. There should be 1” of webbing on both sides that dips below the top fold of the bag.
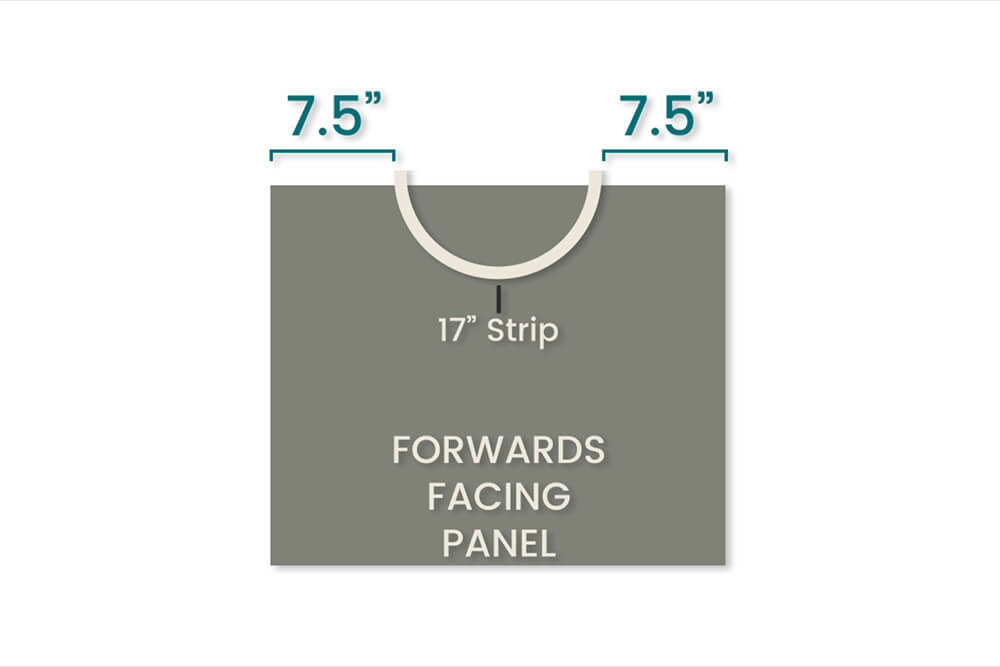
Now move to the frontwards facing panel of your bag. Take the other 17” strip of cotton webbing and pin it to the top edge. Both ends should be 7 ½” away from the edges of the bag. There should be 1” of webbing on both sides that dips below the top fold of the bag.
Take a 4” strip of cotton webbing and pin it 5″ away from the edge. Repeat this on both sides. There should be 1” of webbing on both sides that dips below the top fold of the bag.

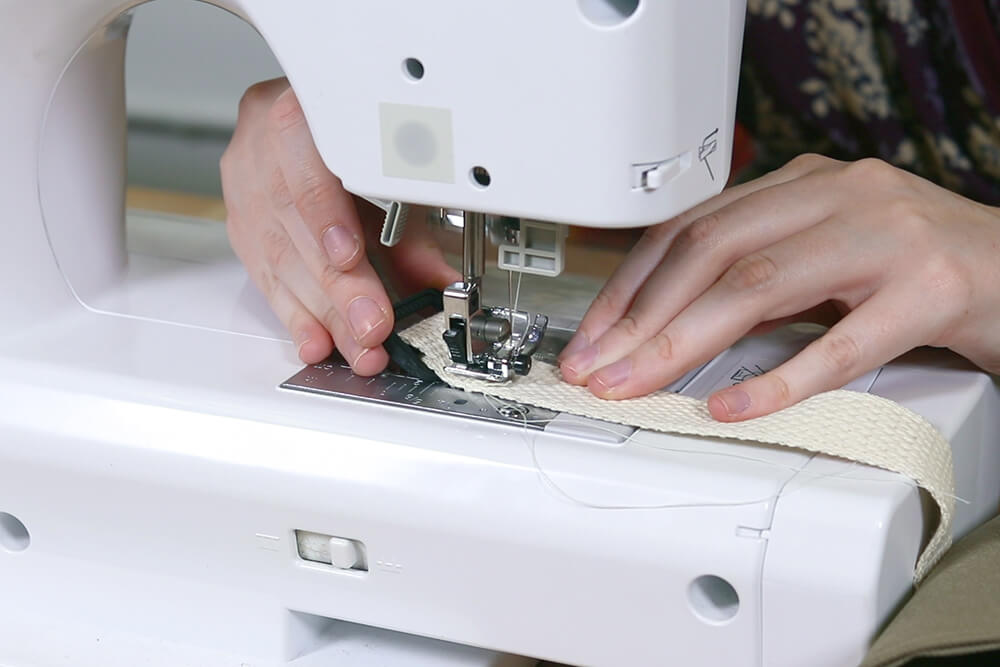
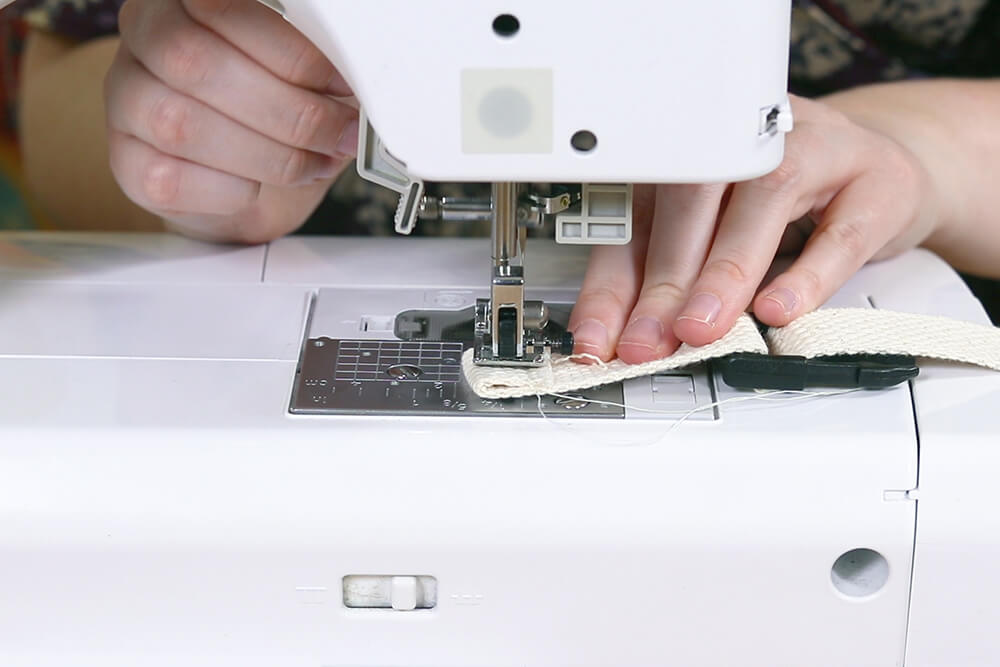
Step 3: Sew together
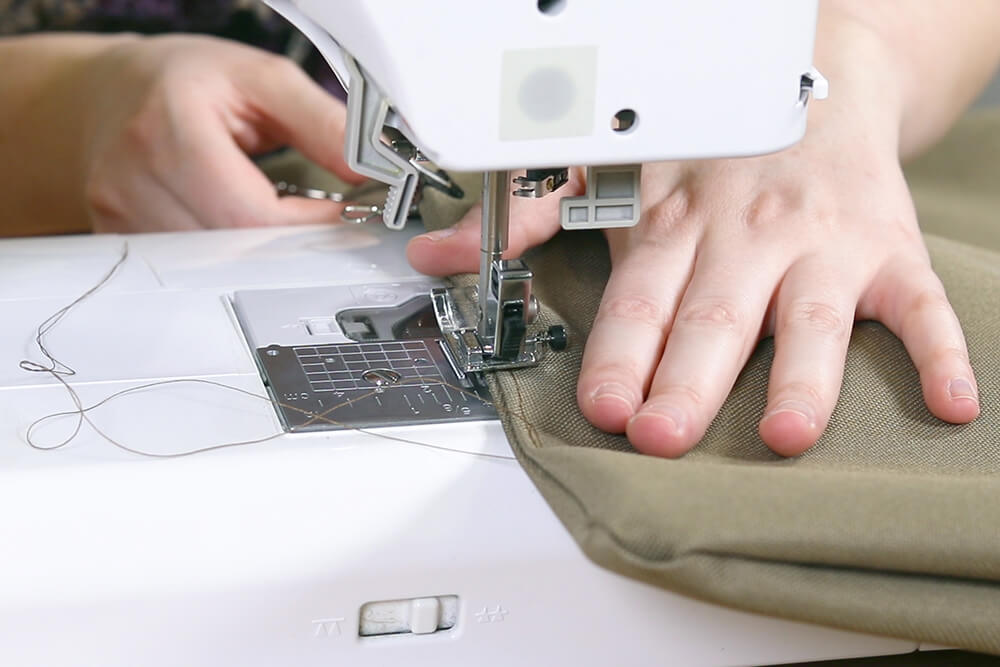
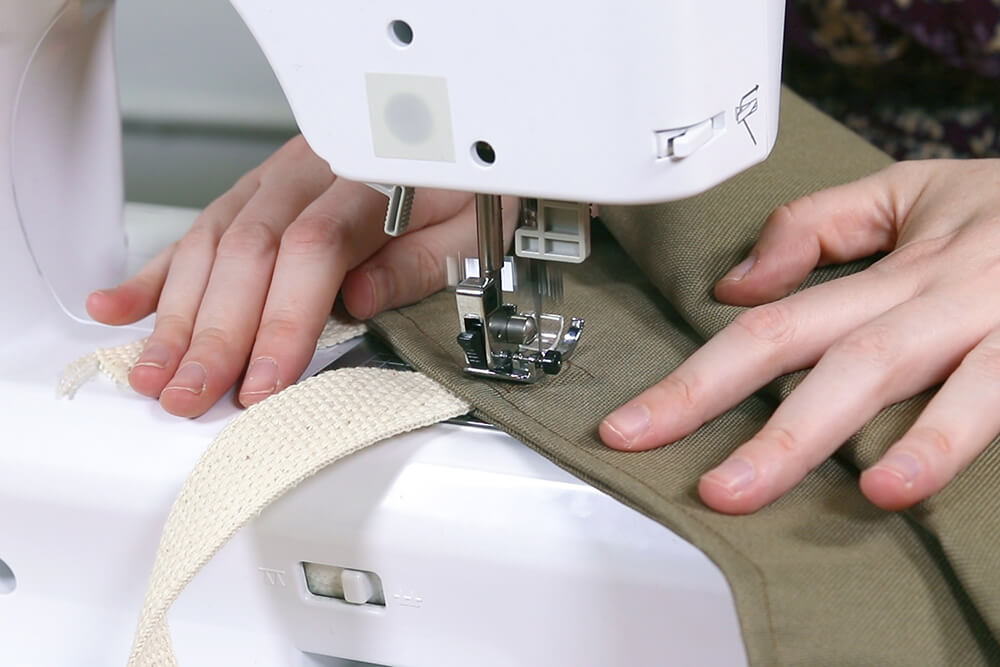
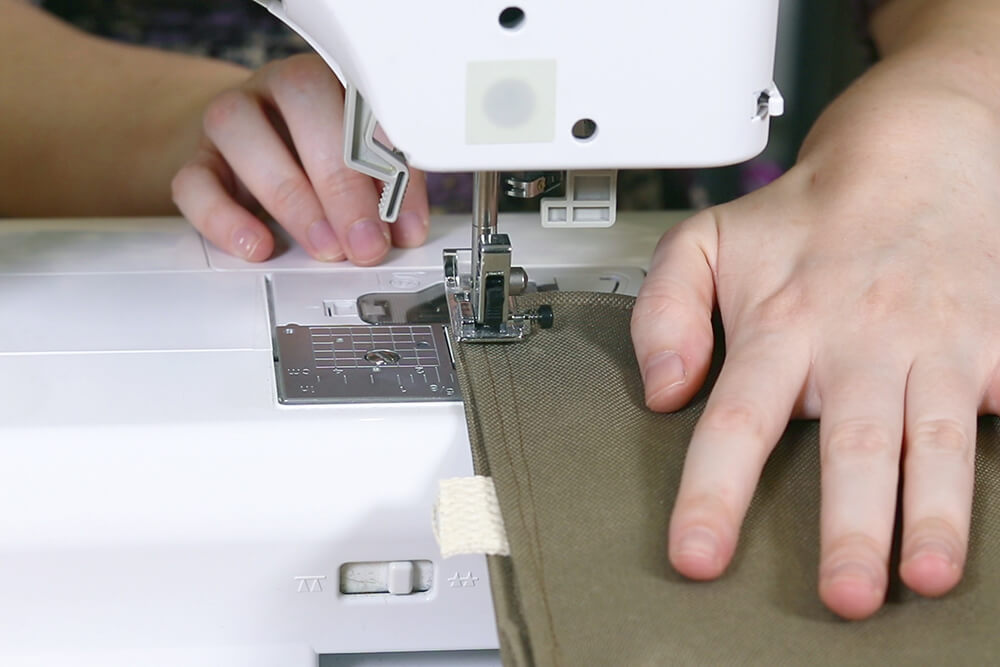
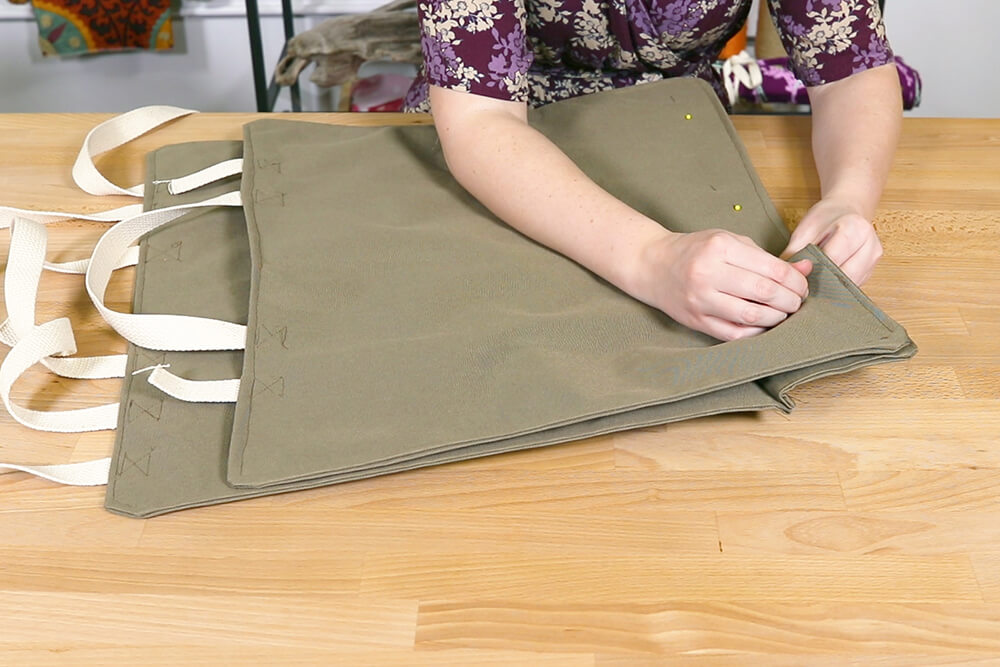
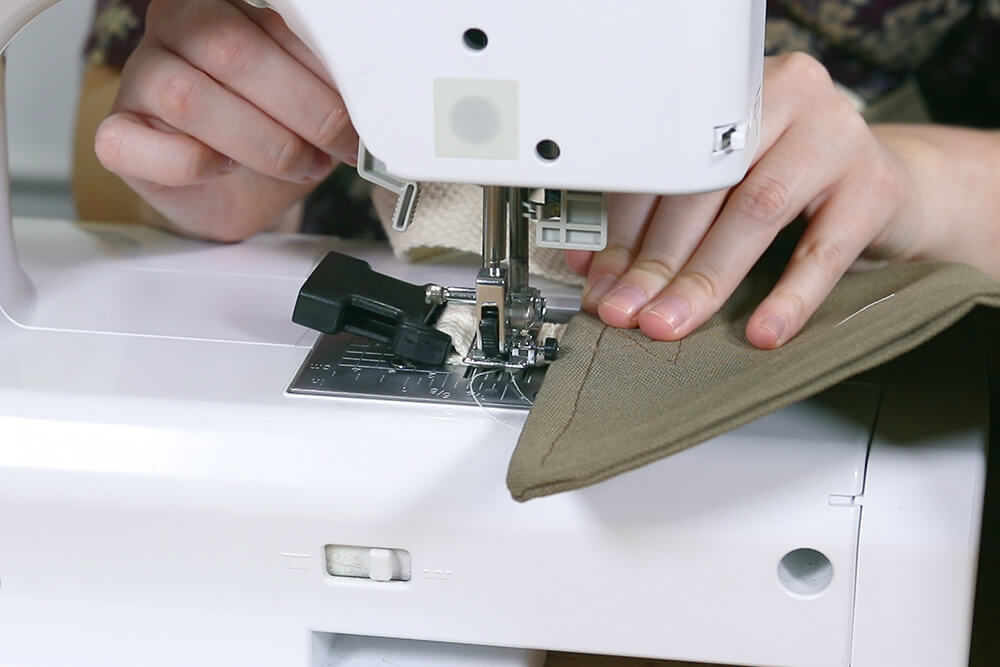
Using a ½” seam allowance, sew around the edges leaving a space to turn the panels inside out. Back stitch at the beginning and end. Do this to all panels.
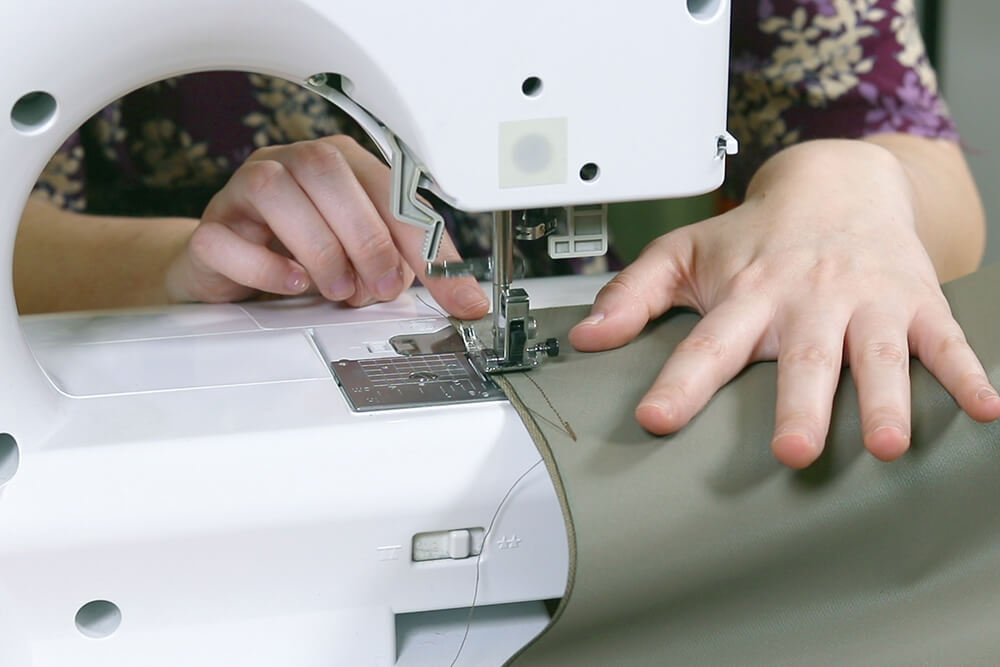

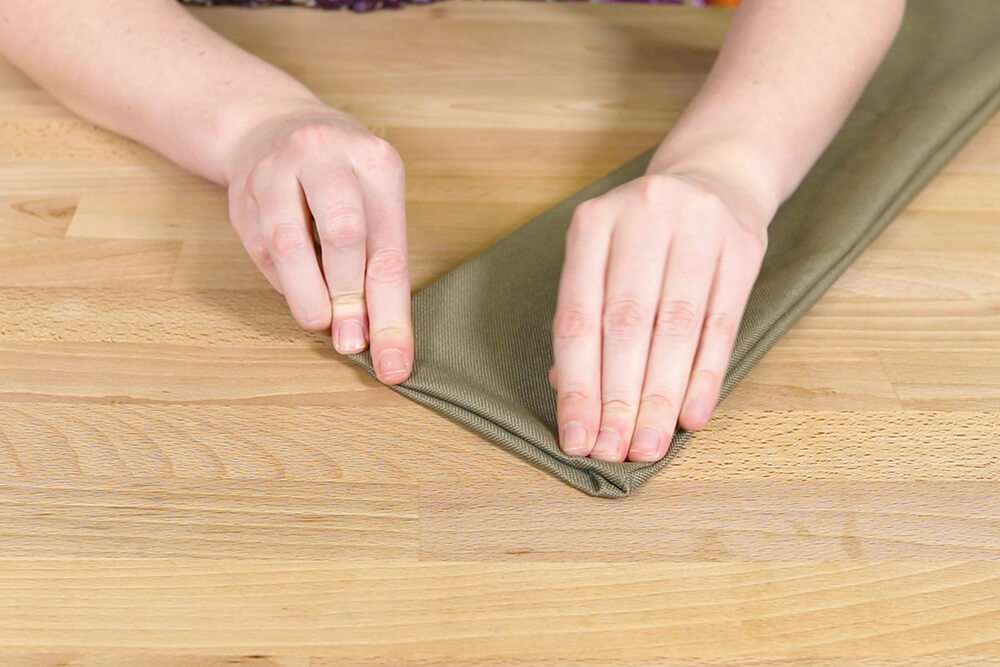
Flip all panels inside out and make sure the straps are placed correctly.
Fold down the edges of the flap that remains open so it matches the rest of the seams. Sew this flap down on all panels and continue sewing around all edges of the bag to add extra support.
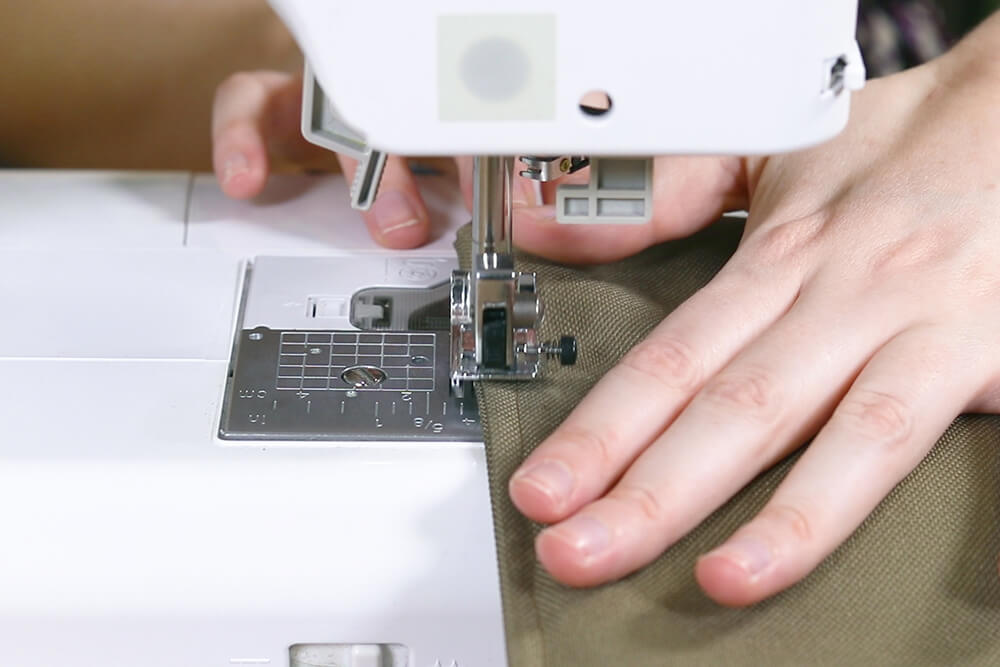
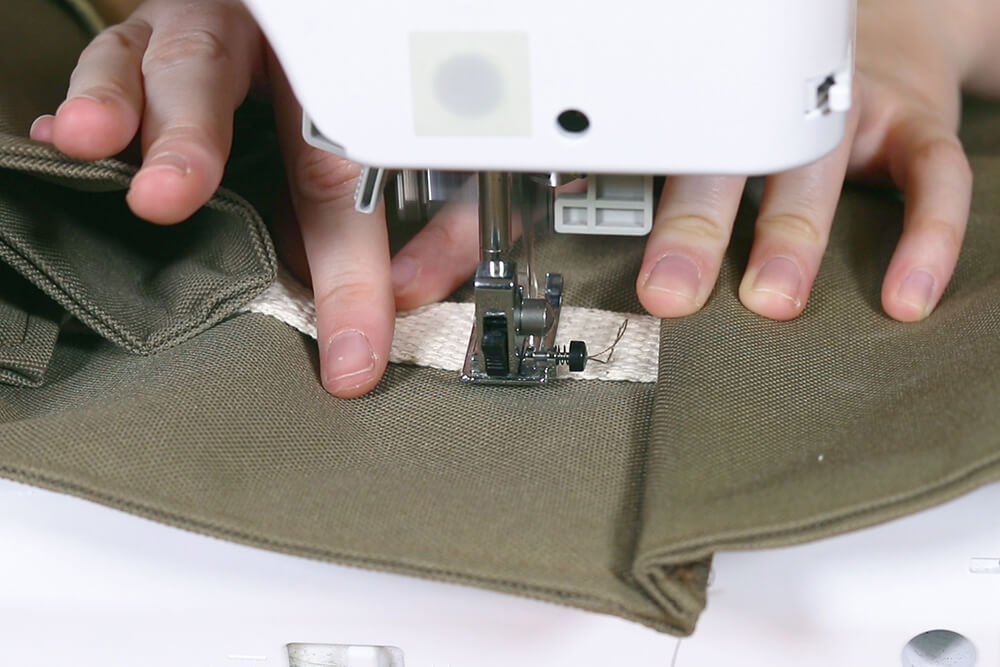
At every piece of webbing, sew a square around the edges of the 1” strip that is inside of the panel. Then sew an “X” through the square. This will create a strong strap that will not break.
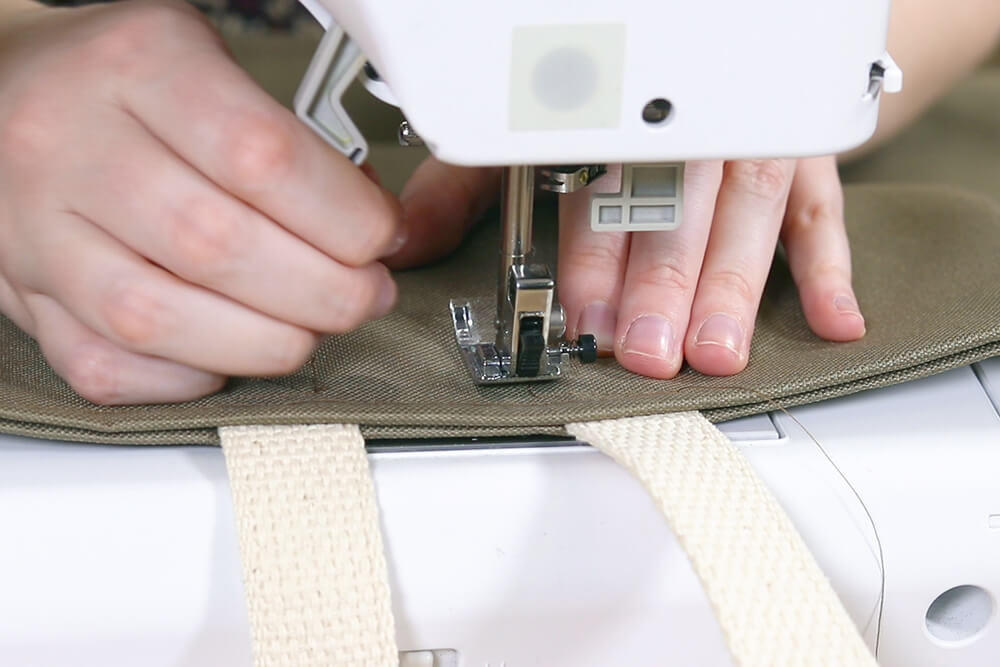
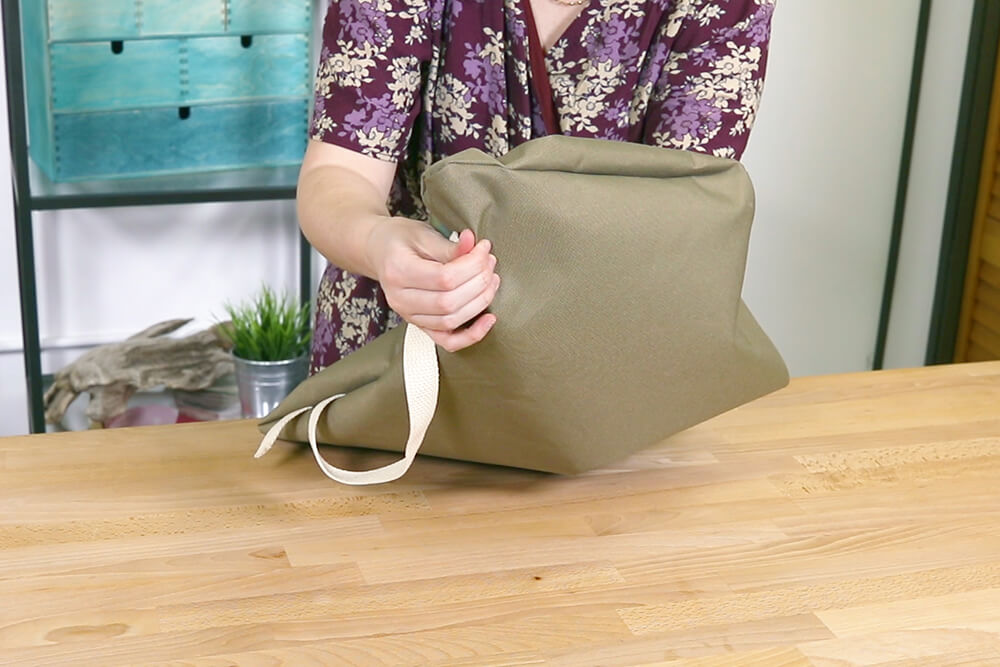
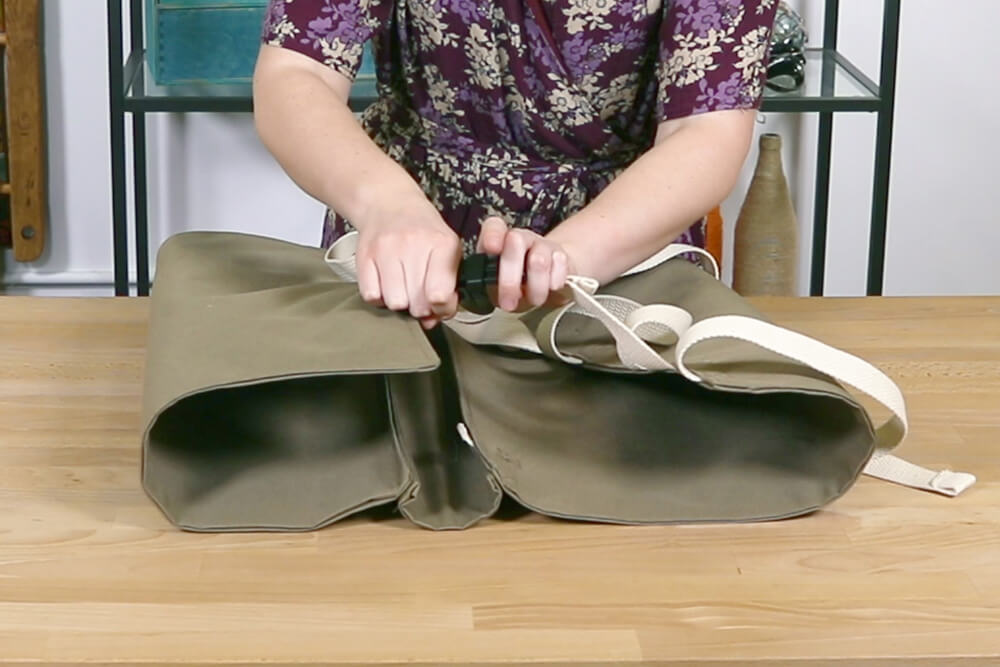
Step 4: Attach the bottom
With right sides facing, pin the bottom panel to the back panel of your bag. Take the remaining 12” strips of webbing and pin them 3 ½” from each side of the panels. You should begin to see how the backpack straps will come together. Sew the two pieces together. Sew in the same square with an “X” in the webbing to the back panel of the carrier.
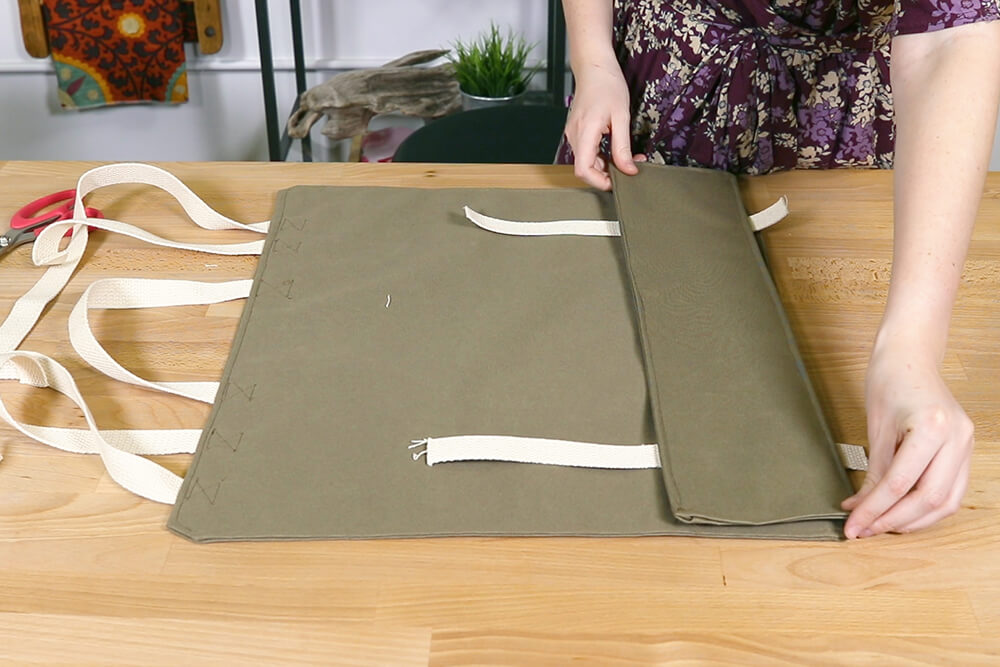
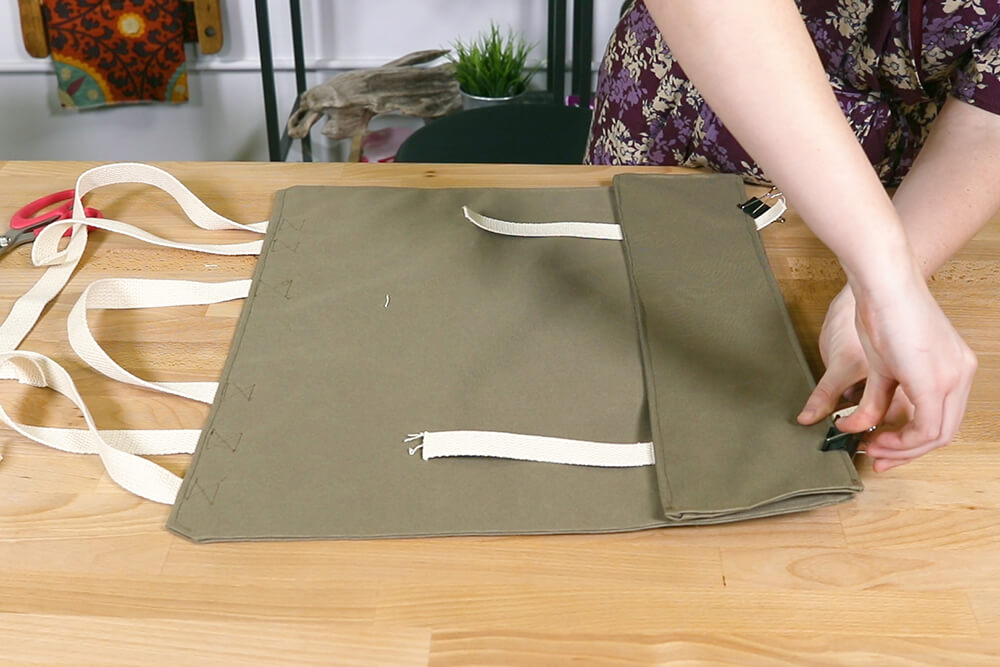
Step 5: Attach the front
With the right sides facing, pin the bottom panel to the front panel of the bag. Sew the two pieces together.

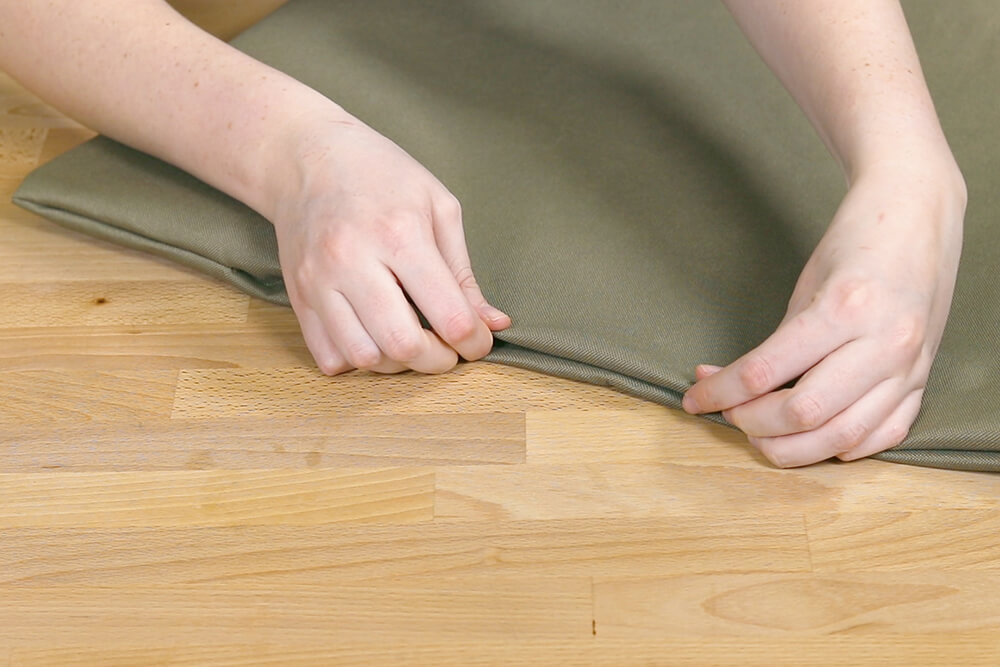
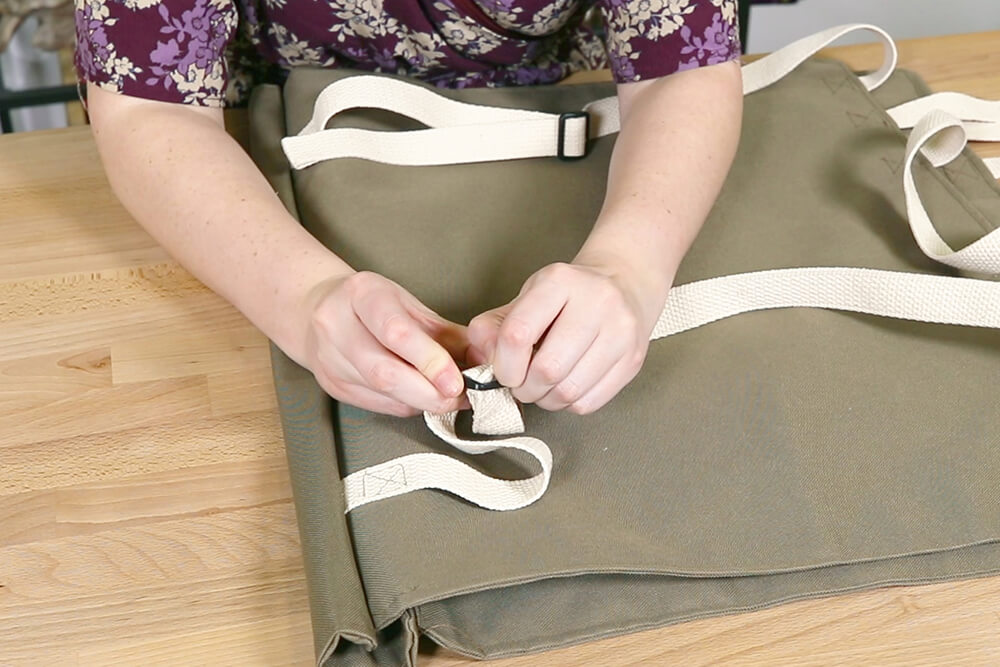
Step 6: Attach the straps
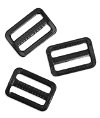
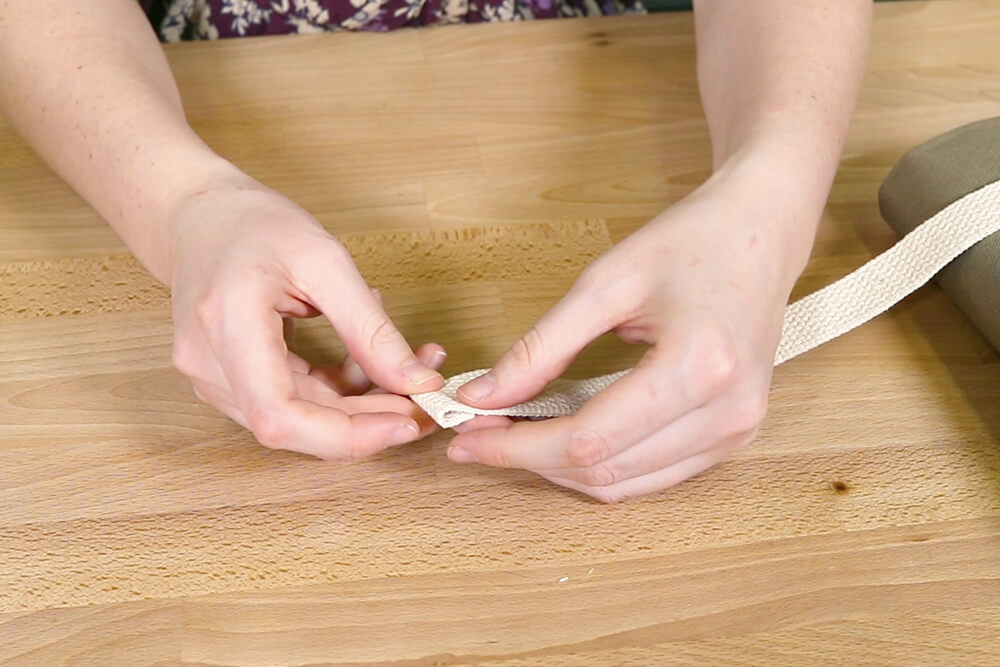
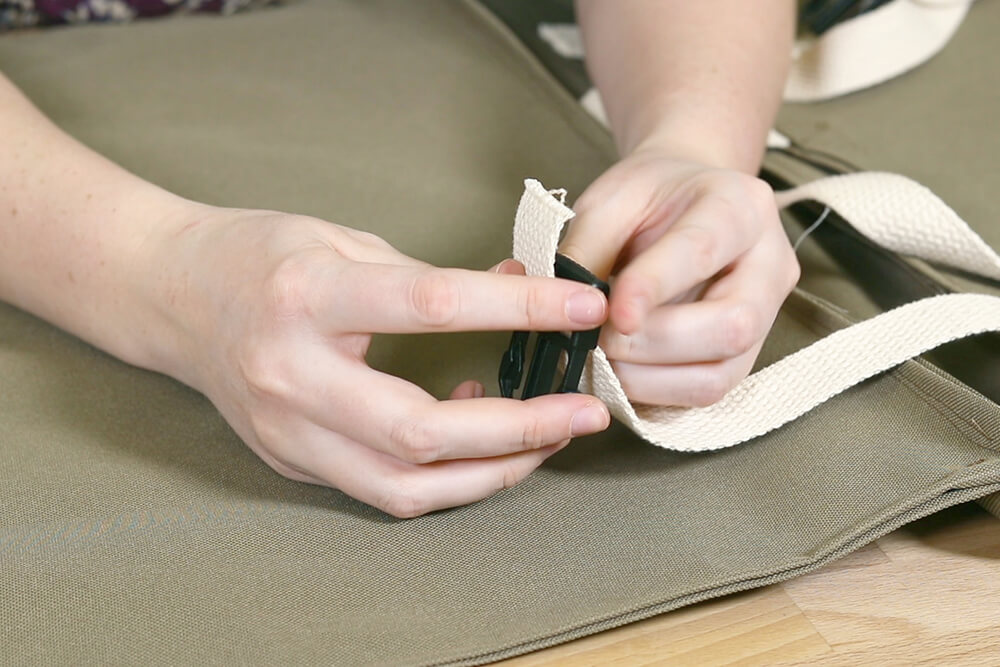
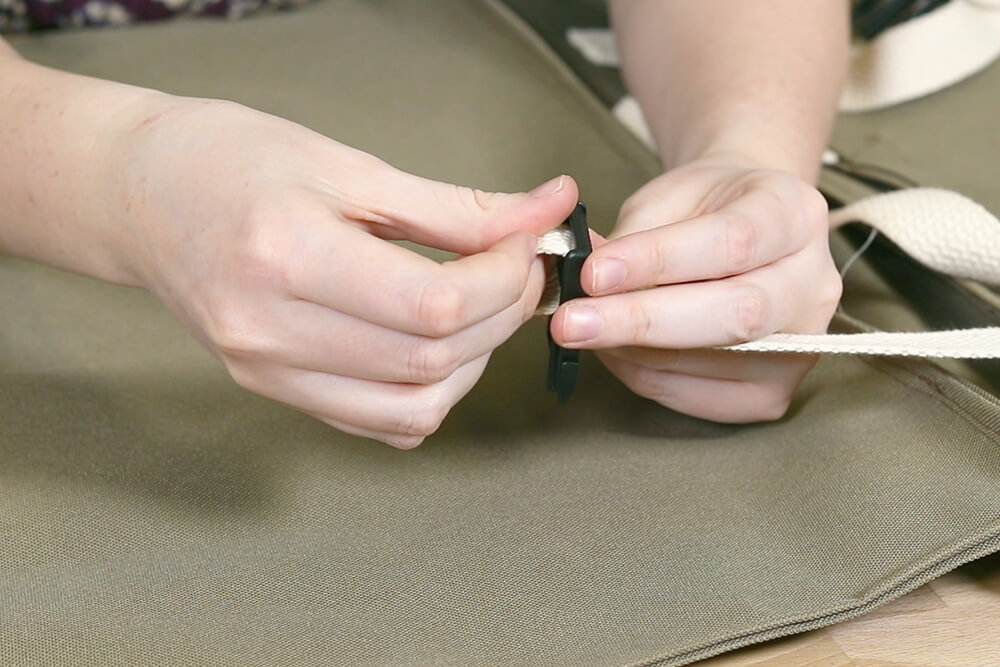
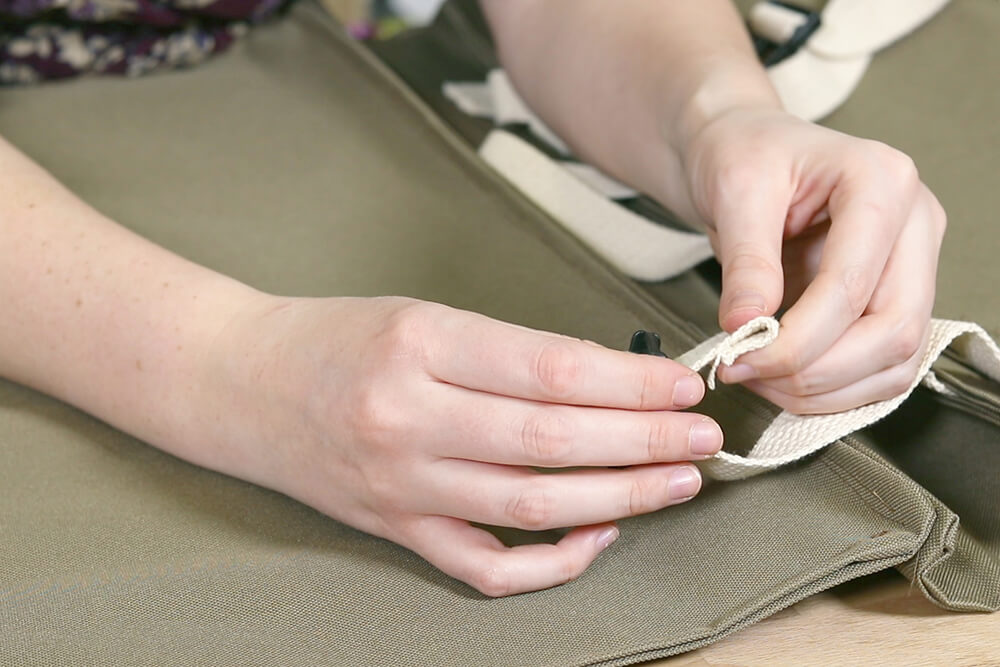
Starting with the backpack straps, close the webbing on the 24” straps. See our how to close webbing tutorial for details. Attach a strap slide to the 12” strap and close it around the middle loop. Do this on both sides. Slide the 24” straps through the top loop and then the bottom loop and adjust the straps to size.
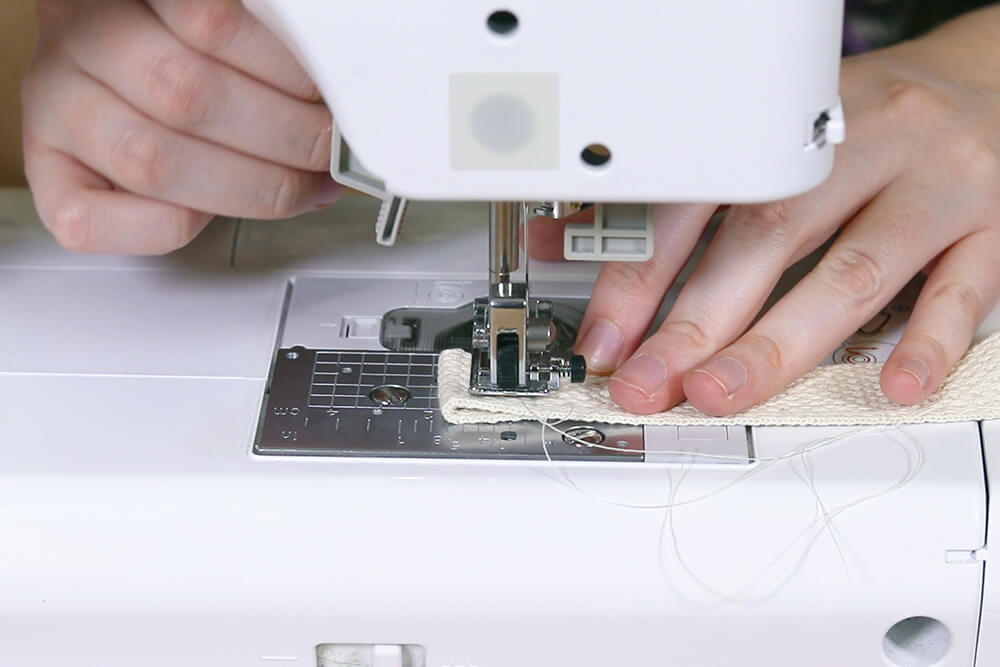
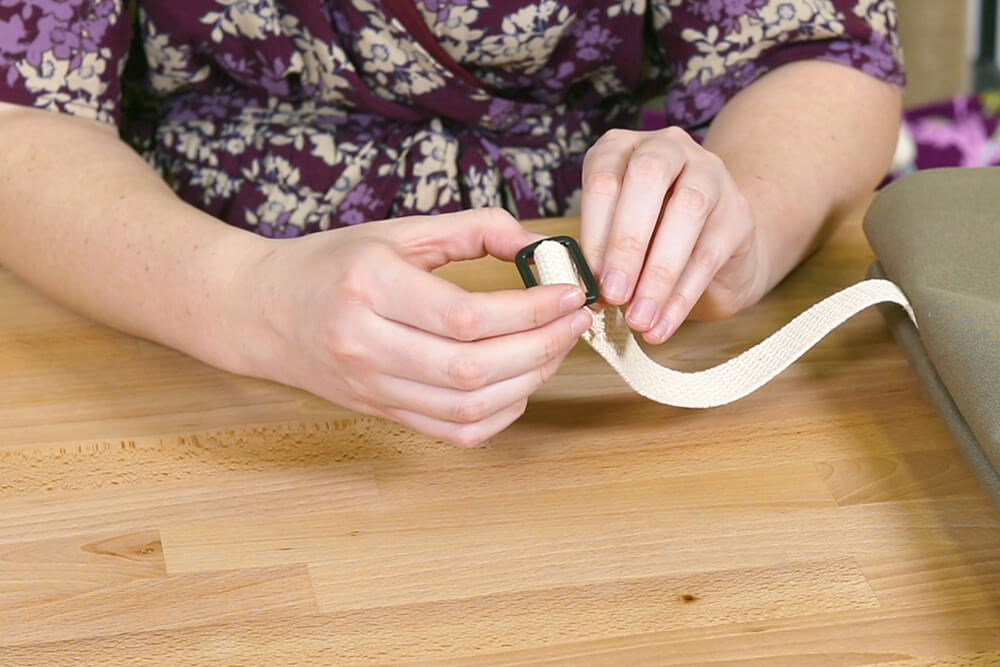
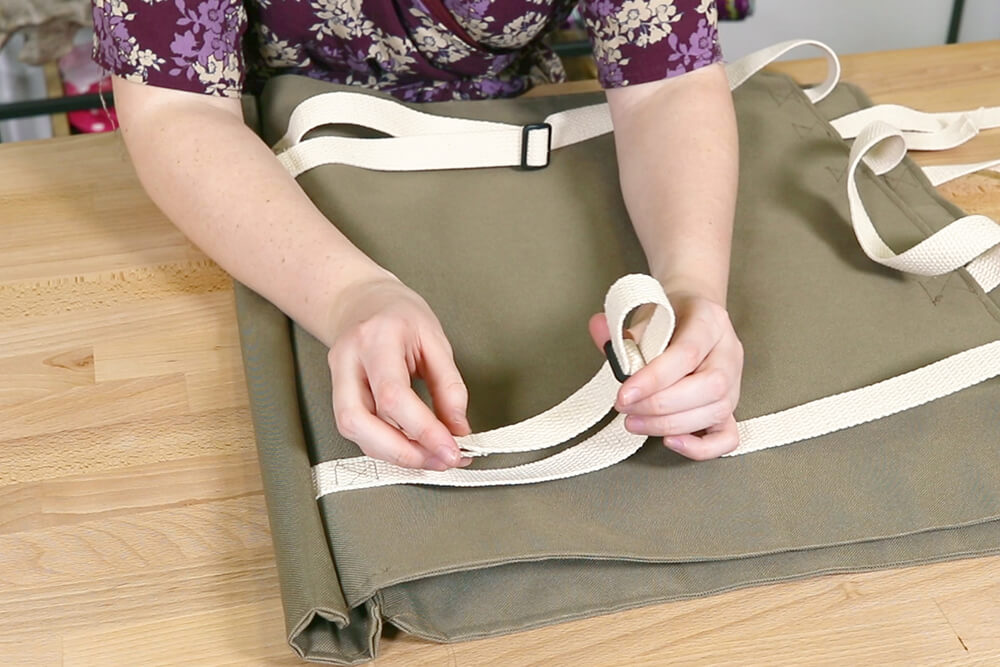
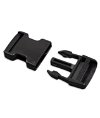
Moving to the straps on top of the bag, close the 4” strip of cotton webbing around the female side of one of the buckles. Do this to both sides.
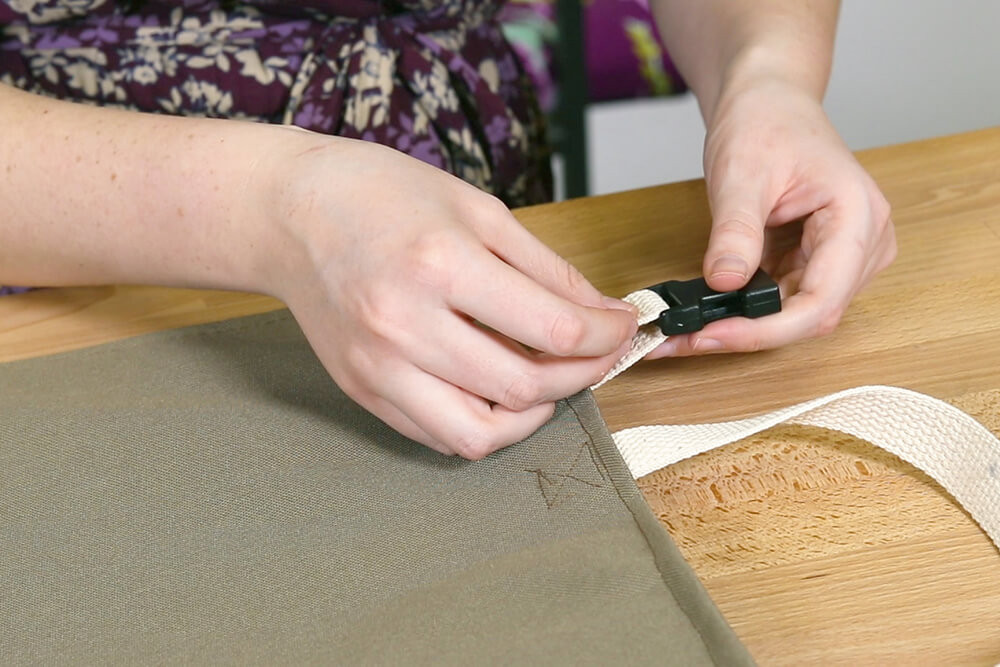
Lastly, close the 10” webbing that is across from the straps just sewn and attach the male half of the buckle by coming up through the bottom of the top loop, over the middle, and down through the bottom loop.
Shop PVC- Coated Polyester Here
-
{{#each productSuggestedQueries.results}}
- {{query}} {{/each}}
-
{{#each categories.results}}
- {{html title}} {{/each}}
{{html attributes.description}}
{{/if}}-
{{#each queries.results}}
- {{query}} {{/each}}