How to Make a Necktie
- By OnlineFabricStore
- Beginner
- 1 hour 30 minutes
Neckties are the go-to father’s day/birthday gift for men across the globe. It can be hard to find that perfect tie; the right color or print that matches with everything in his wardrobe. So, why not make it? Learn how to make a personalized necktie with this simple tutorial. We provide a pattern that you can print out, but you can also disassemble an old tie to use as a pattern. Pick out a fun cotton print for a casual look, or a nice satin fabric for formal attire.
Sign up to our mailing list to get the FREE pattern and printable PDF instructions.

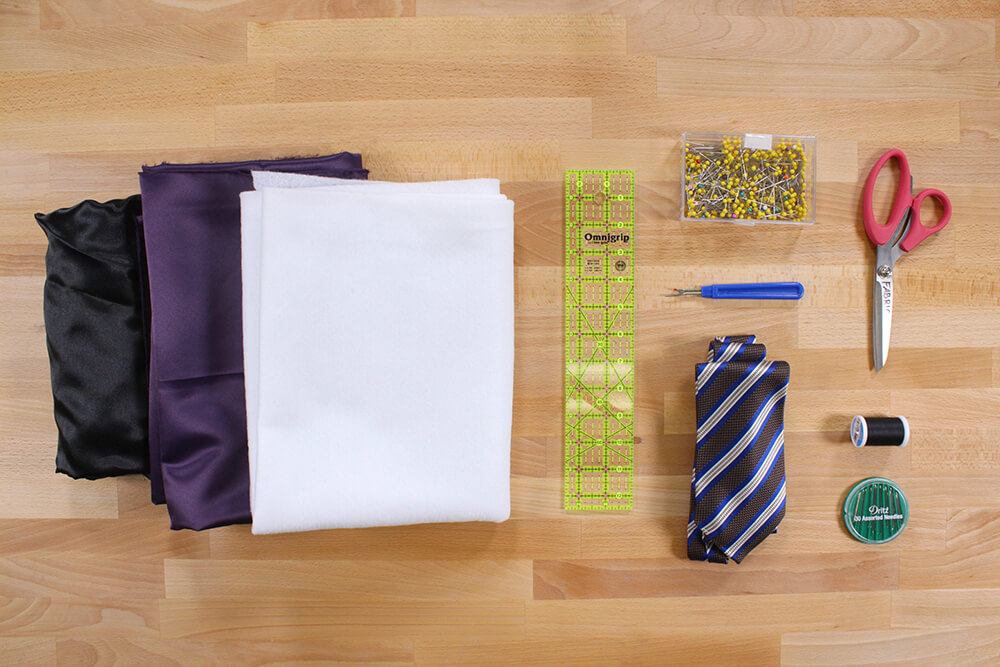
Materials
- 1 yard of fabric
- 1 yard of lining fabric
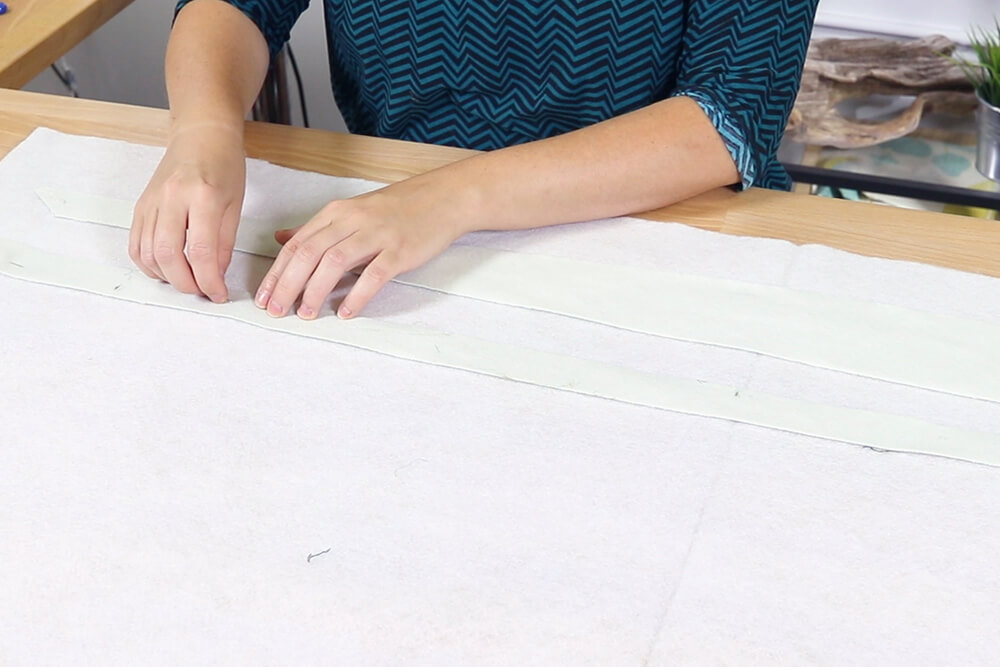
- 1/2 yard of interfacing
- Scissors
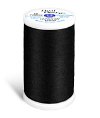
- Thread
- Hand sewing needle
- Pins
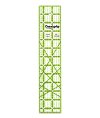
- Ruler
- Iron
- An old tie (optional)
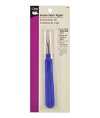
- Seam ripper (optional)
Related Products


Video
Instructions
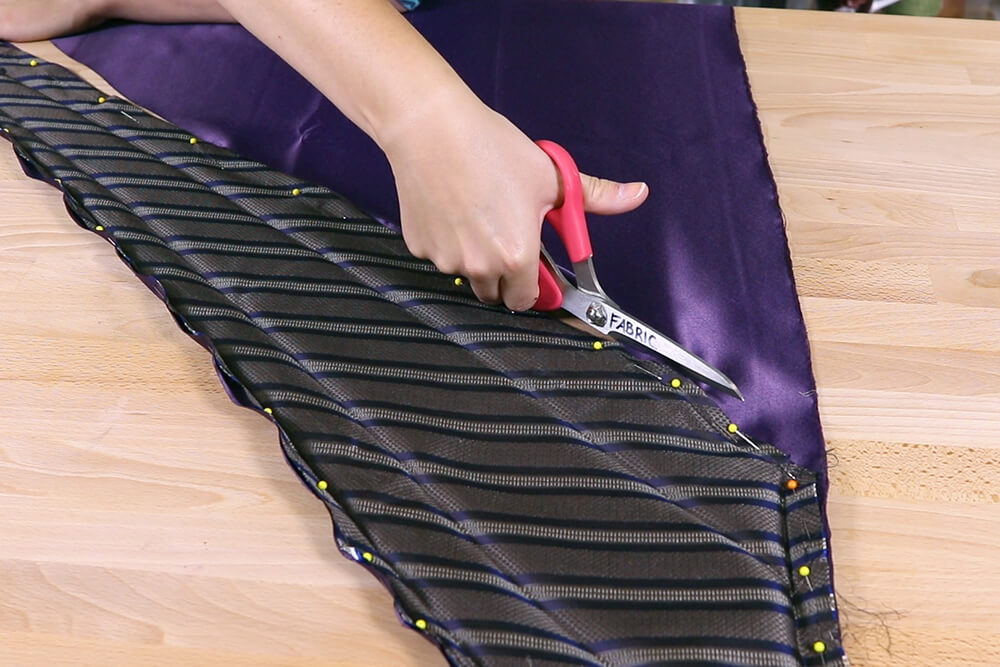
Step 1: Cut out the pattern pieces
Print, tape, and cut out the pattern. Use the pattern to cut out the pieces. There should be 3 pieces for the outside, 2 pieces of interfacing, 2 pieces for the lining, and 1 piece for the back loop.
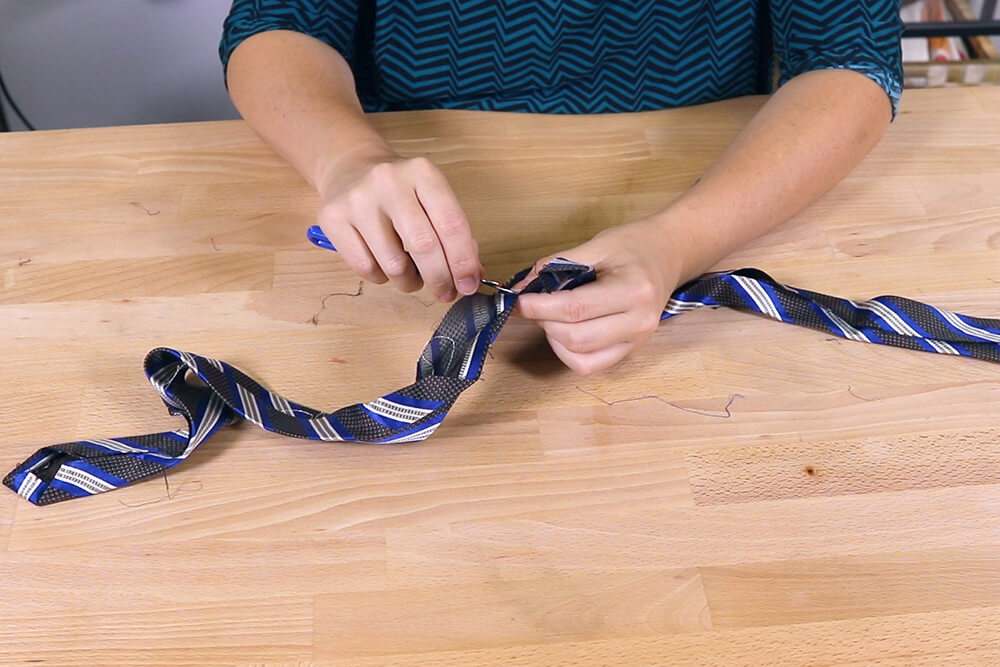
If you have an old tie lying around, you could take it apart and use that as a pattern instead. Just make sure it’s a tie you don’t plan on using again.
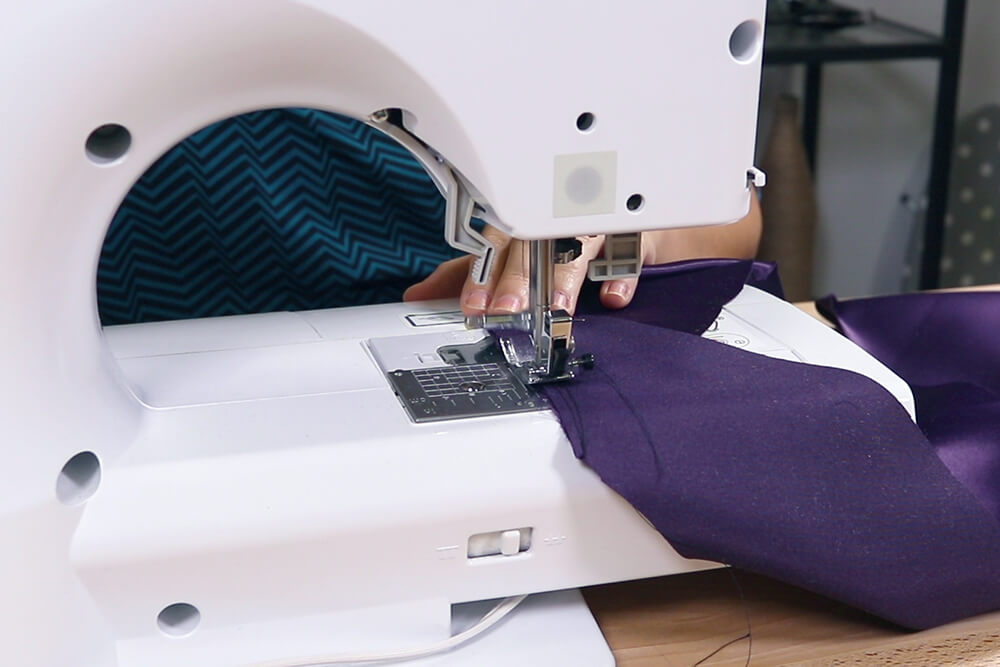
Step 2: Sew & iron the necktie
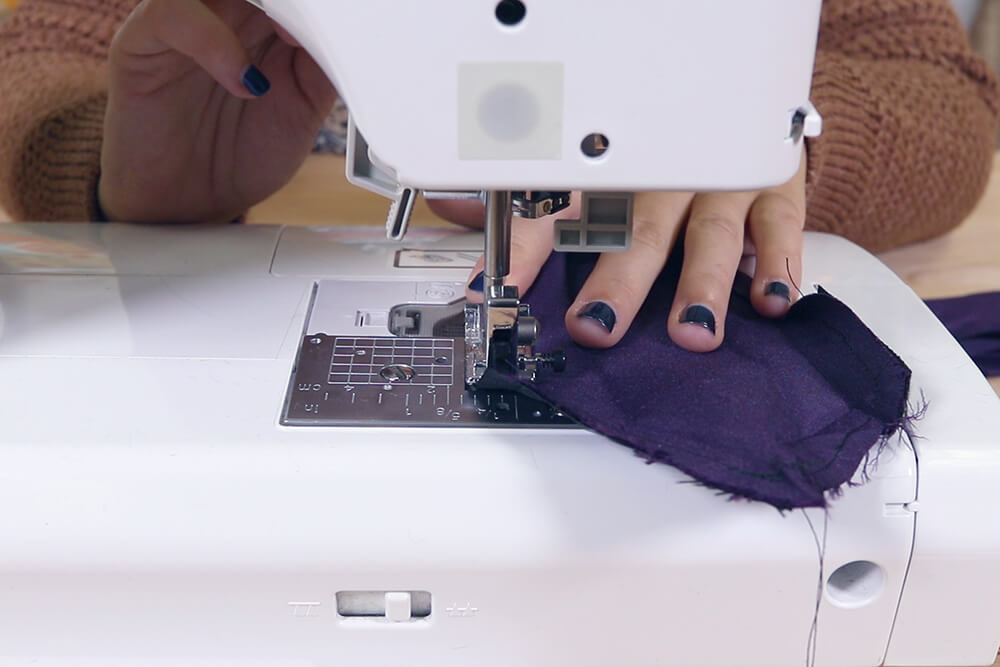
Start by sewing together the outside of the tie.
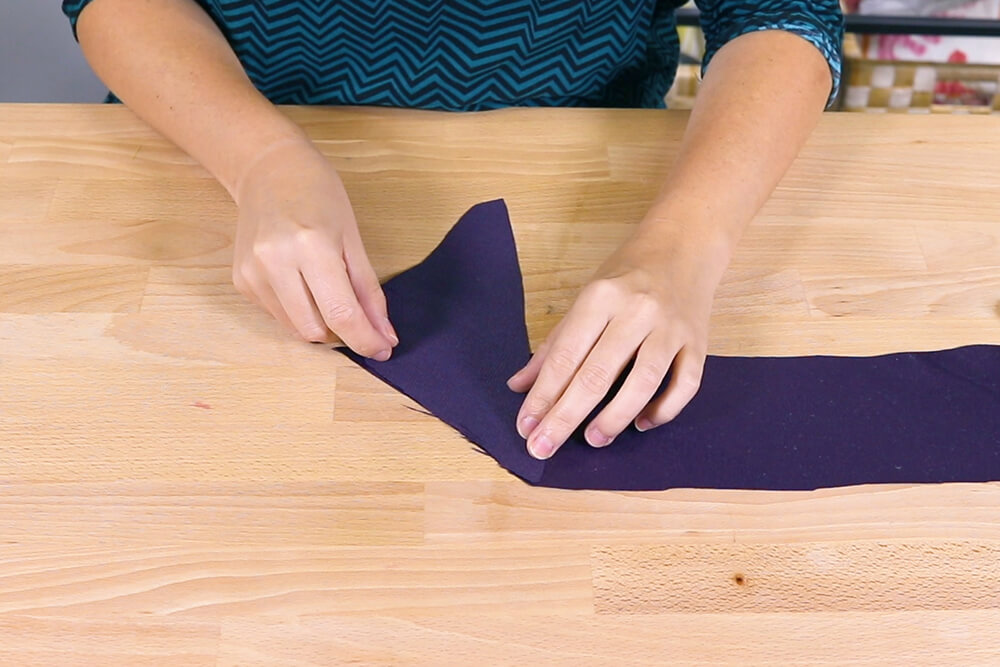
With right sides facing, line up one edge of the middle piece with one edge of the bottom piece so that they’re perpendicular. When unfolded it will create a continuous piece.
Pin and stitch with a 1/4″ seam allowance.
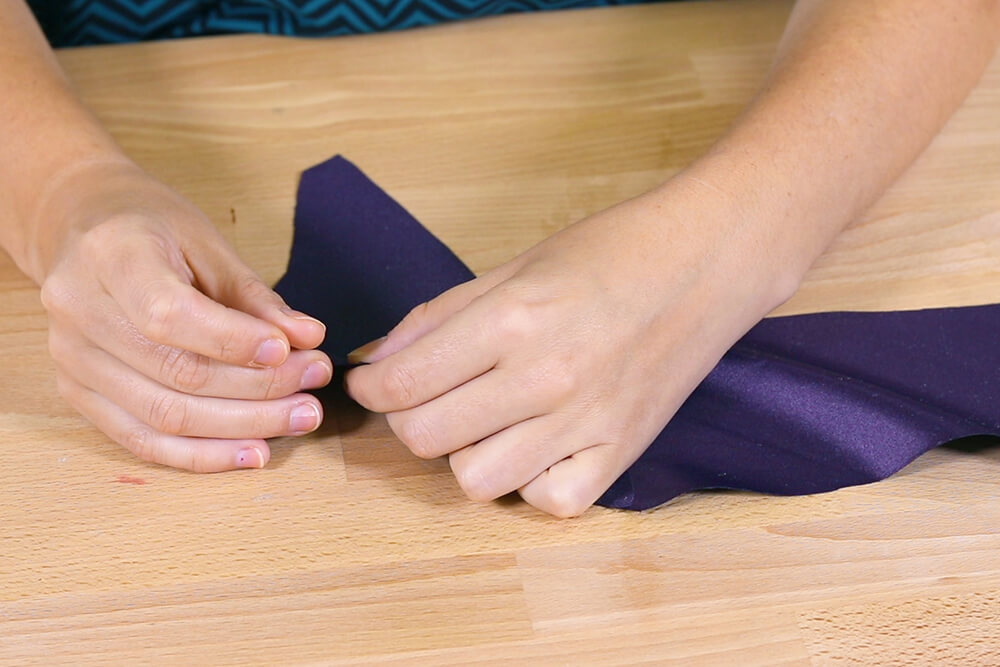
Repeat this to attach the middle piece to the top piece.
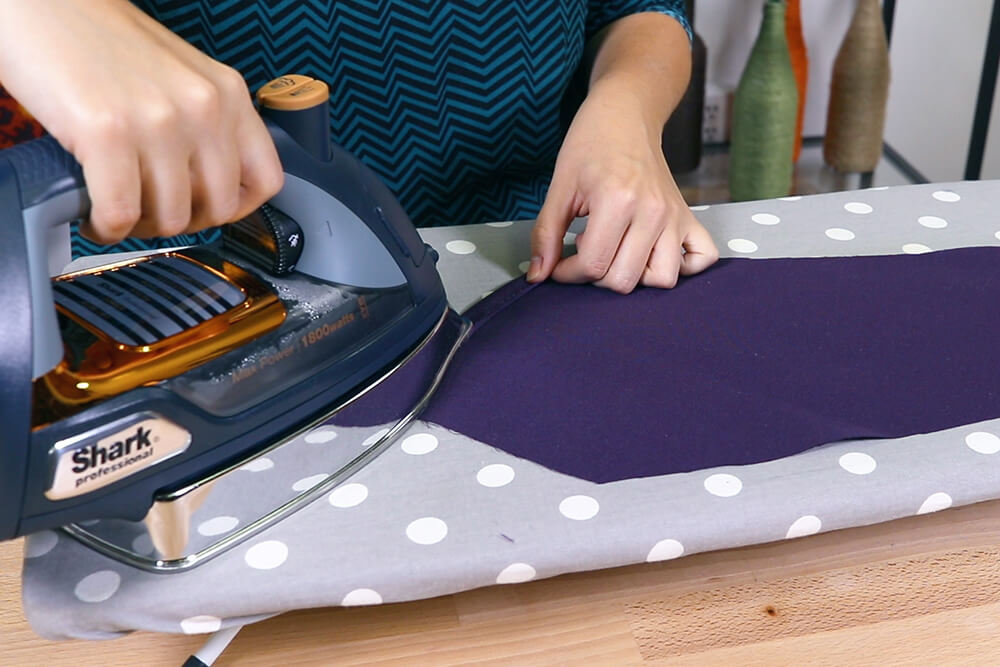
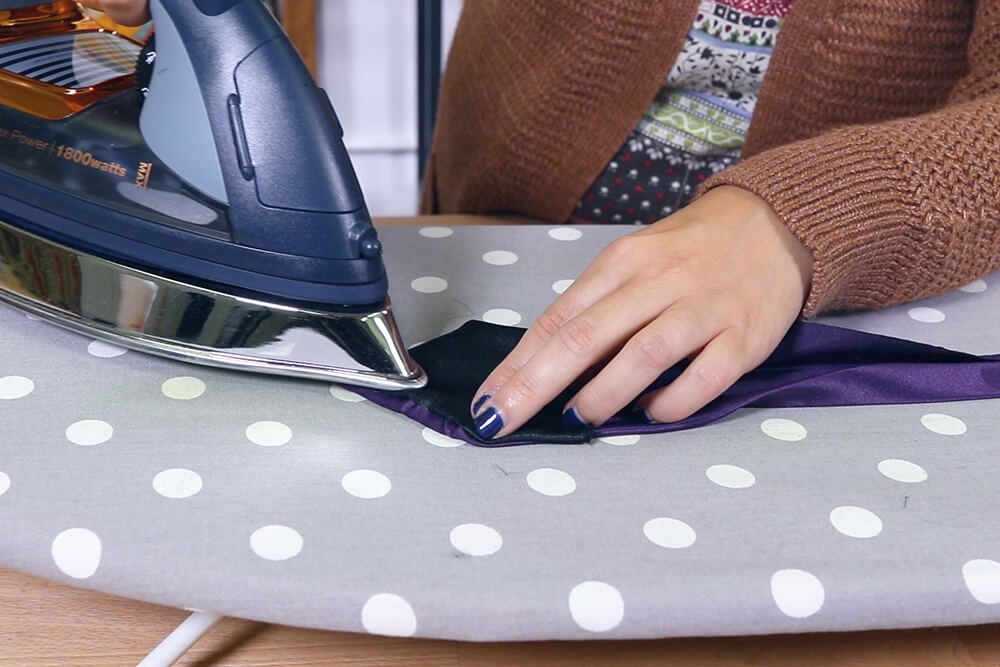
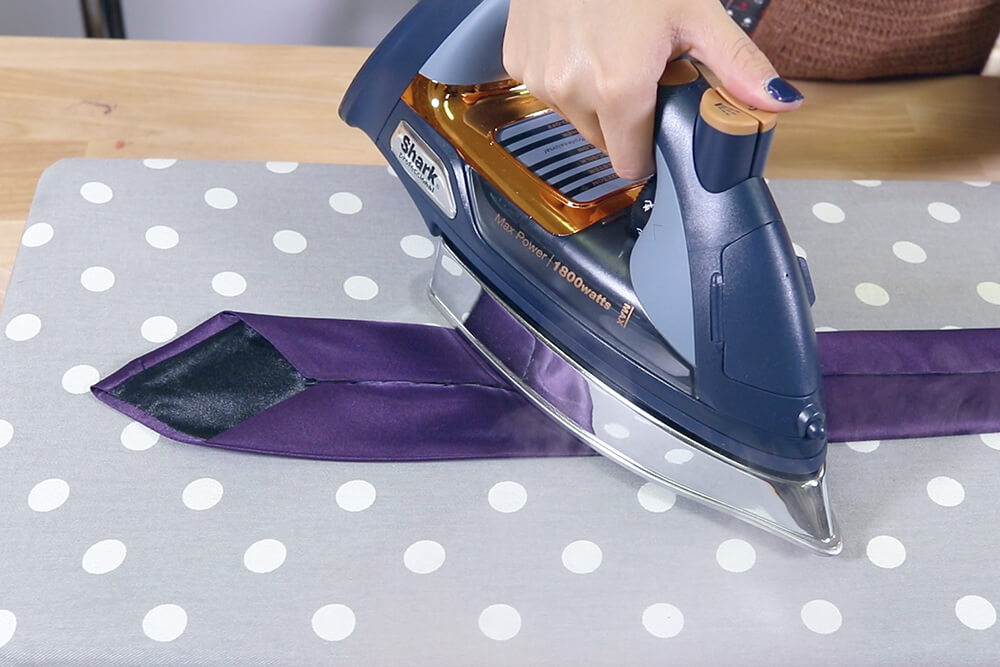
Iron the seams open.
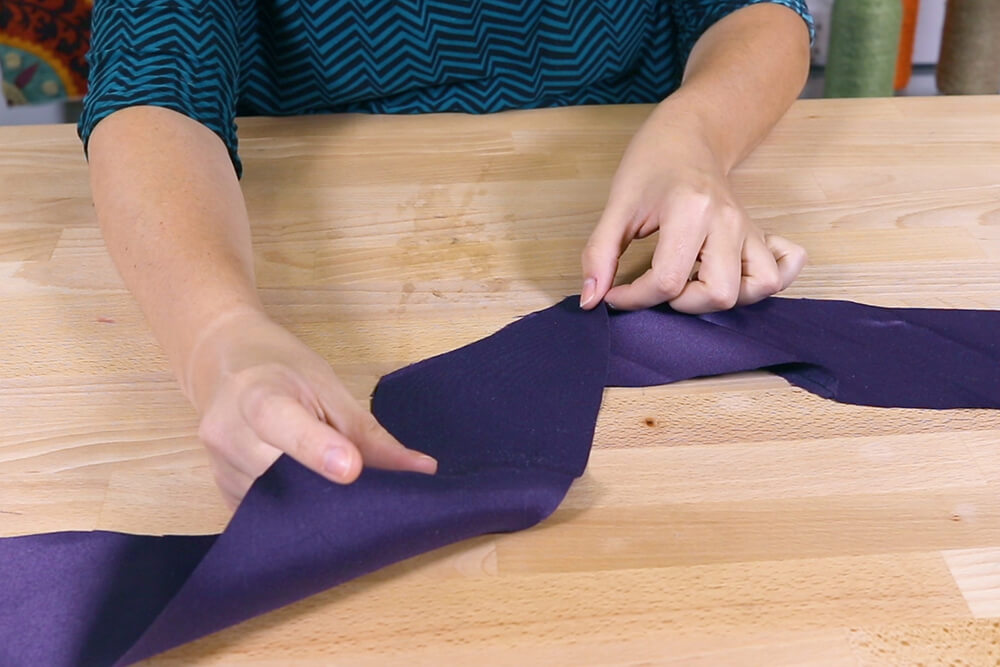

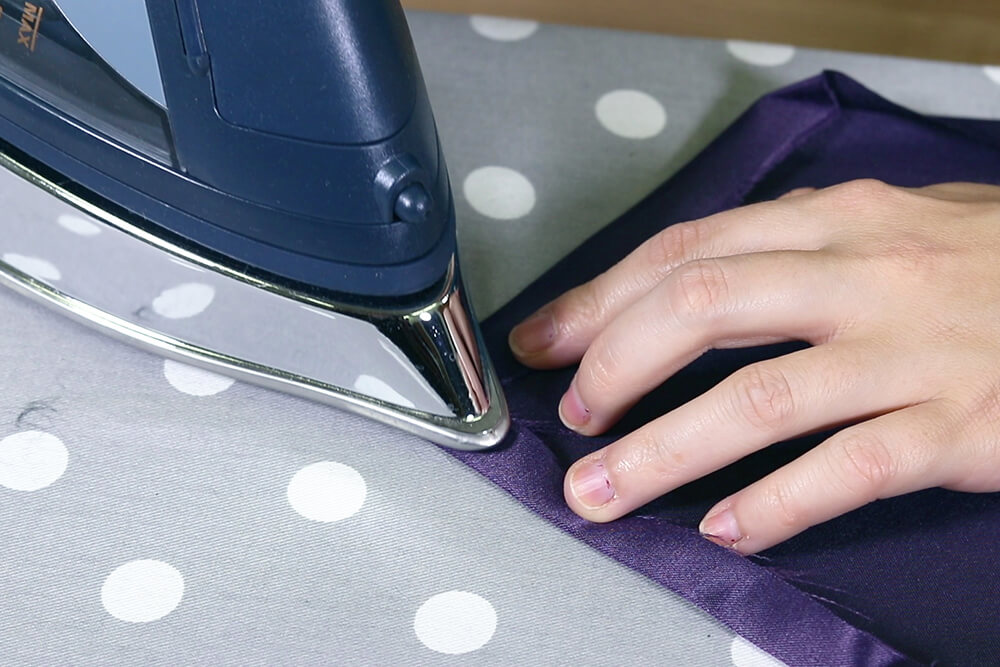
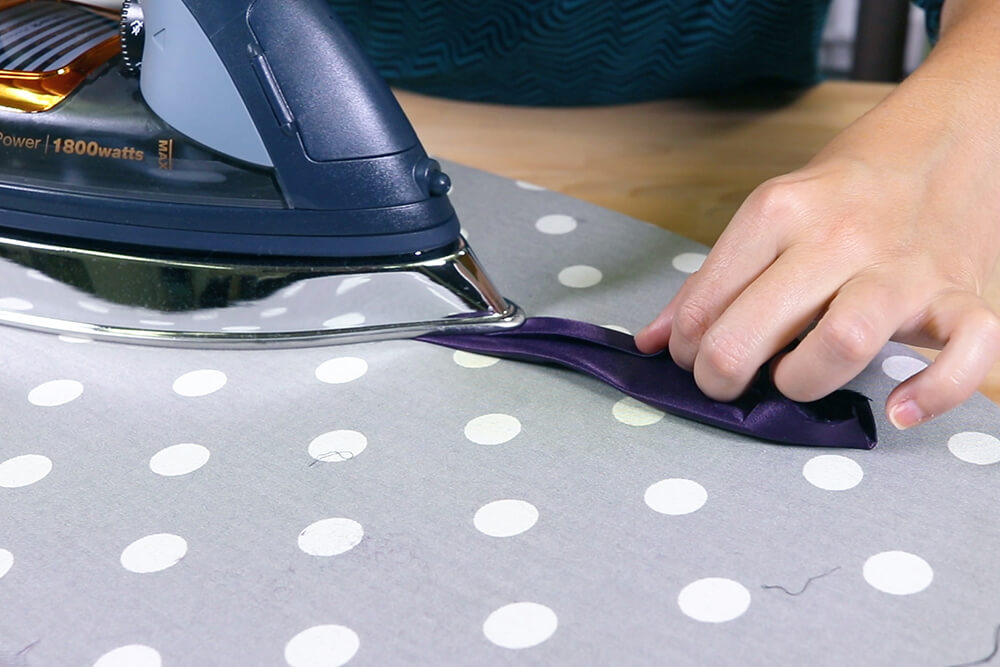
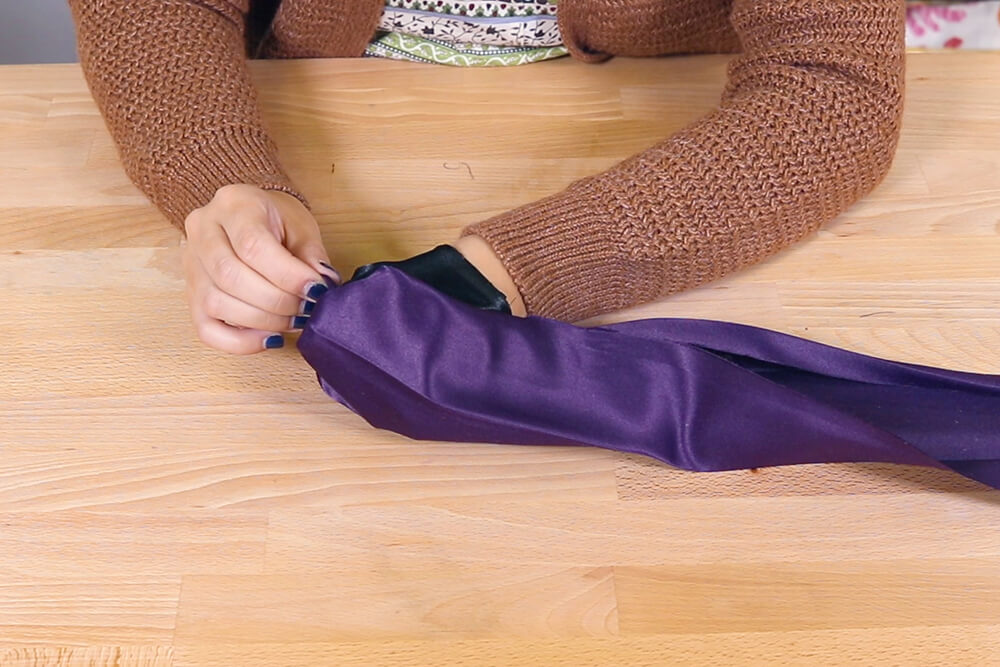
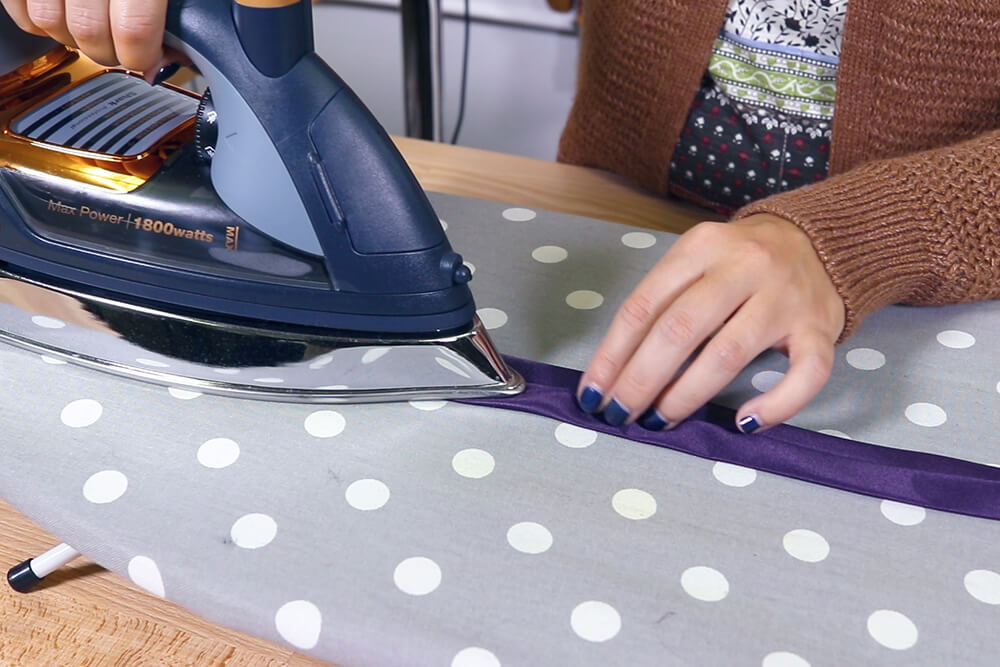
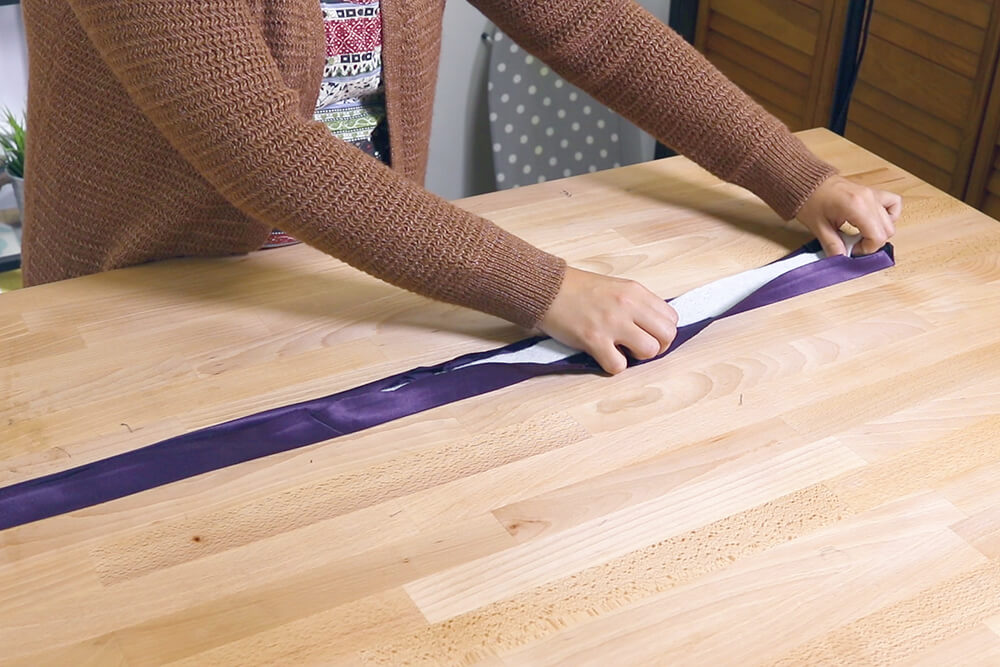
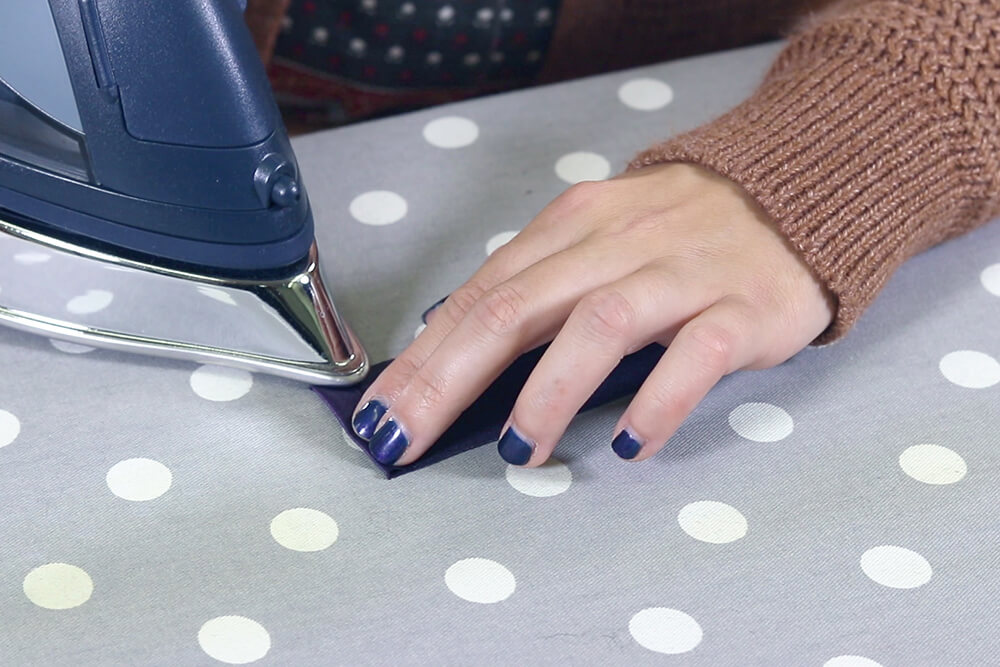
Except for one (either one) of the longer sides, fold each side over 1/2″ and iron.
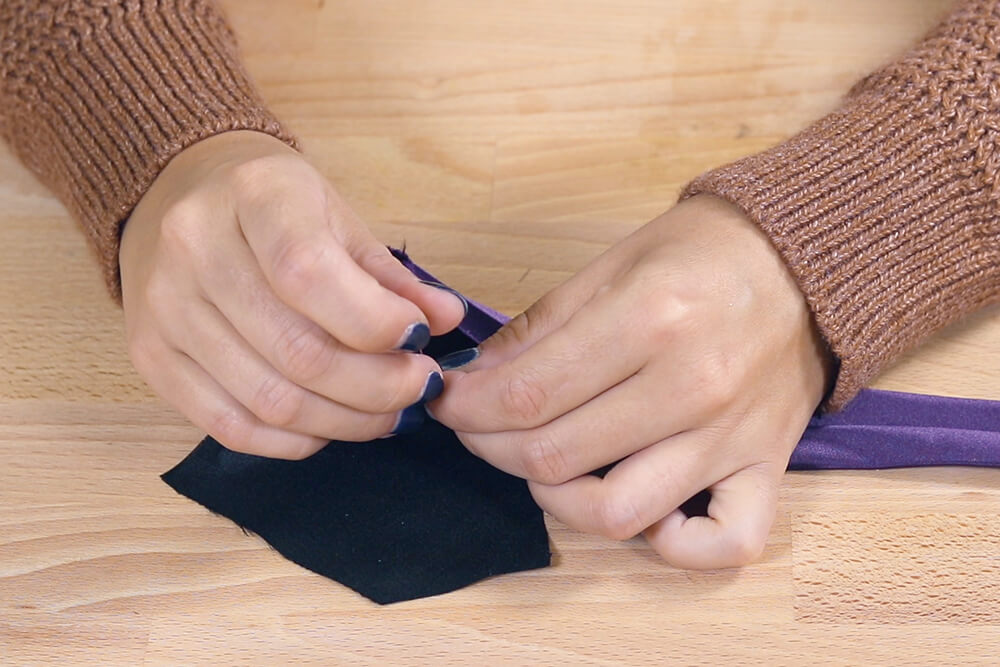
For the points at the top and bottom, pinch the fabric in and iron so that it forms a straight line.
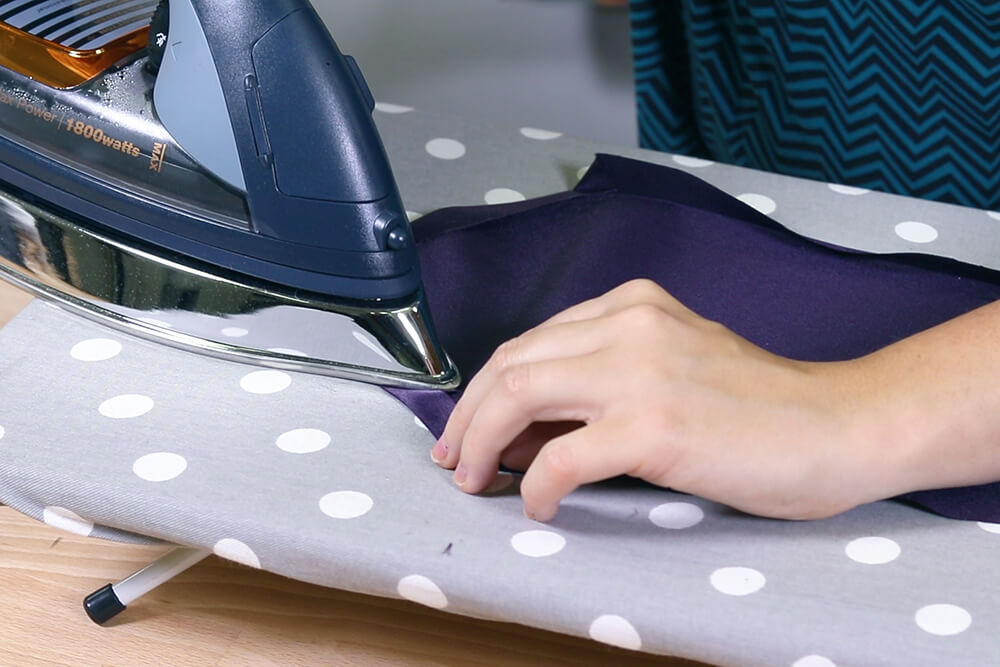
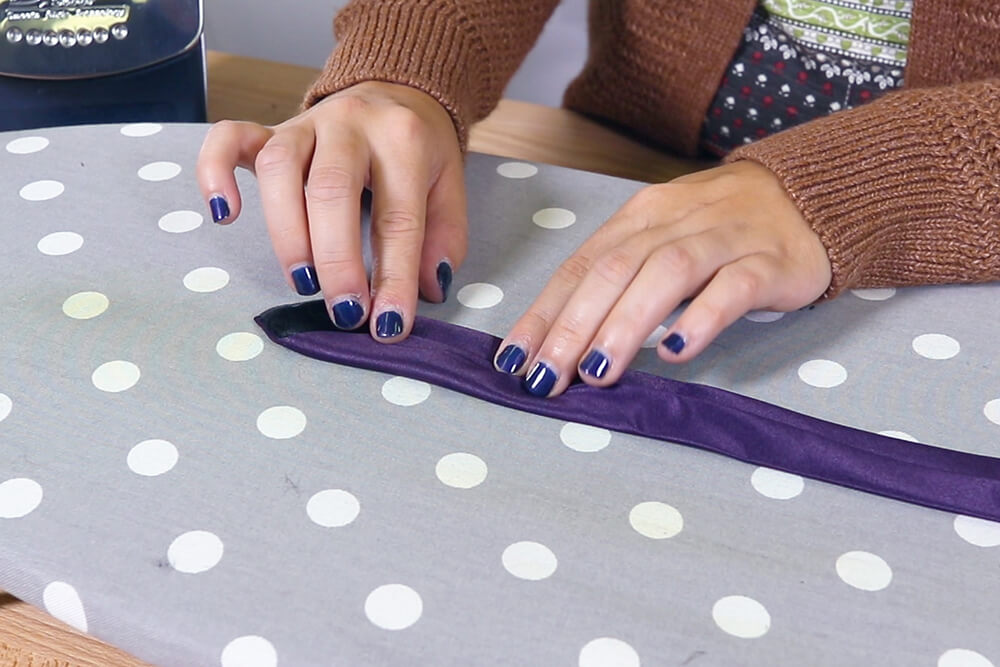
Starting at the bottom, fold the unfolded side to just past the middle of the tie and iron the entire length.
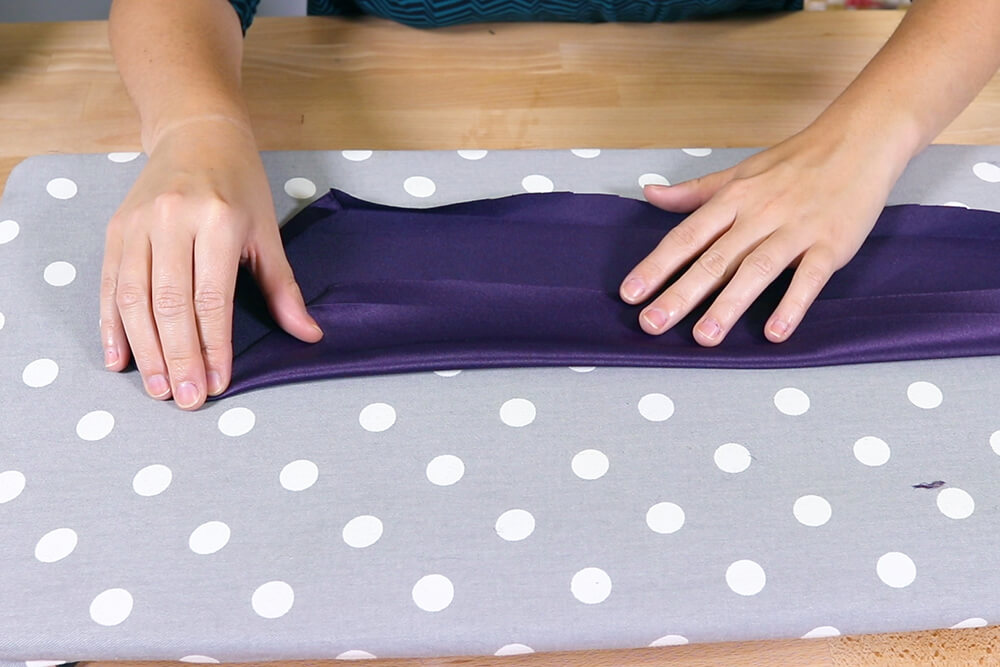
Fold the other side over this side so it overlaps by about 1/4″ and iron.
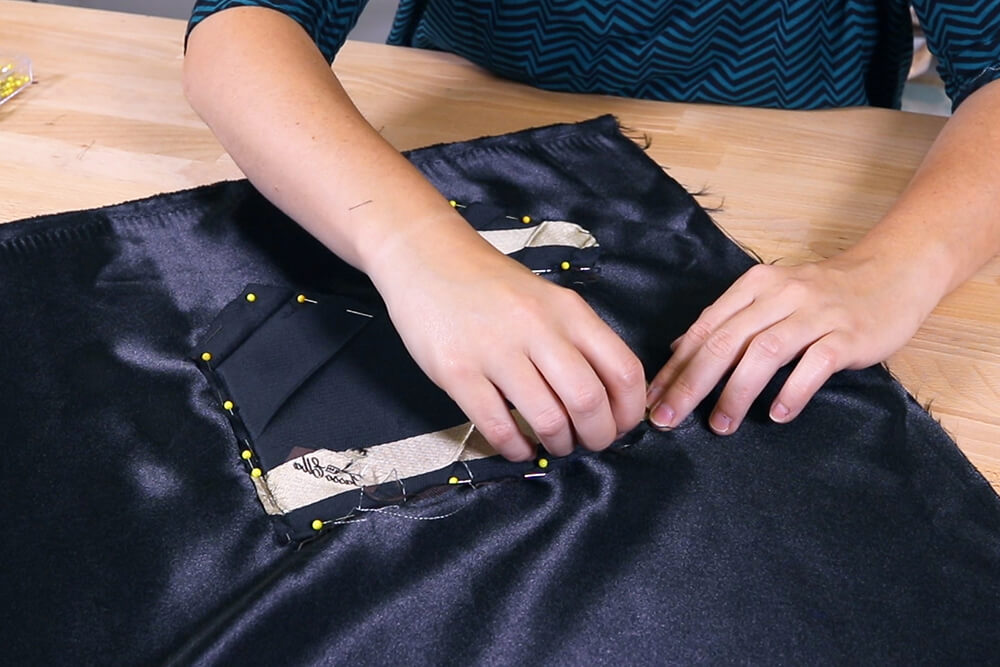
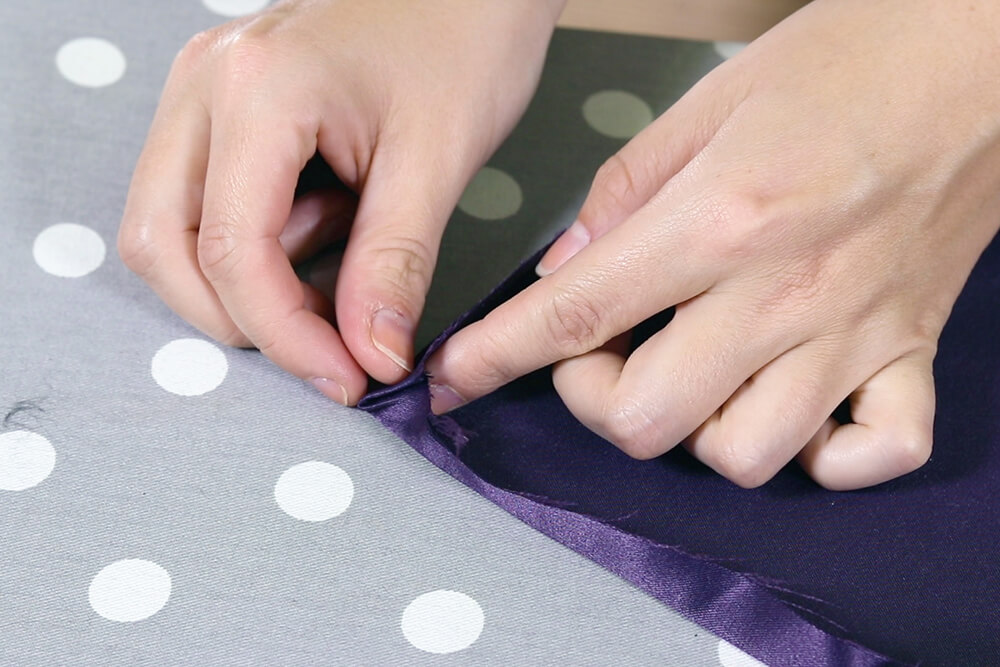
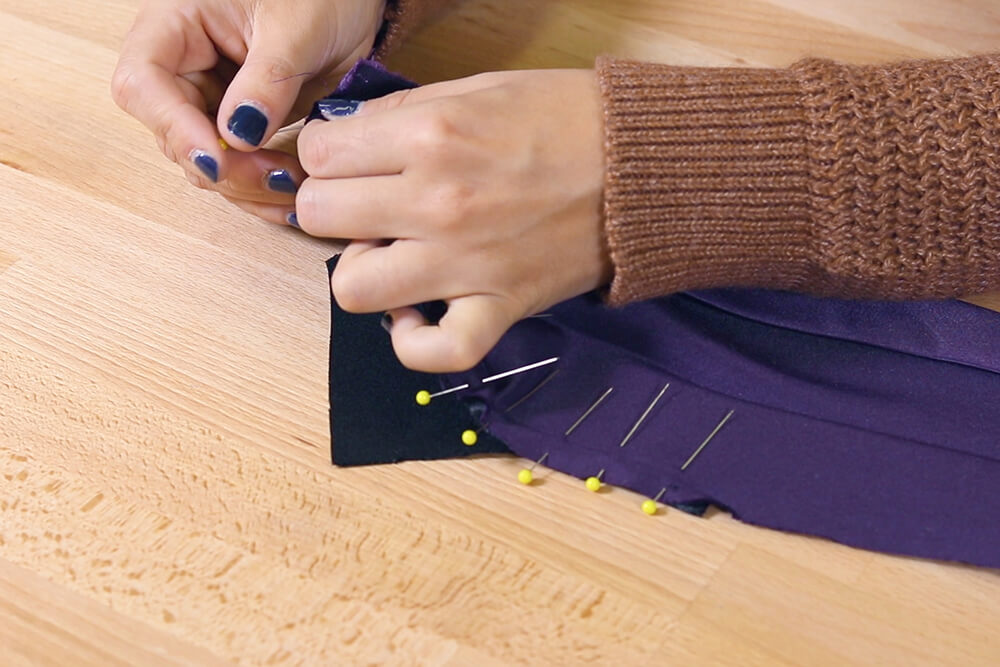
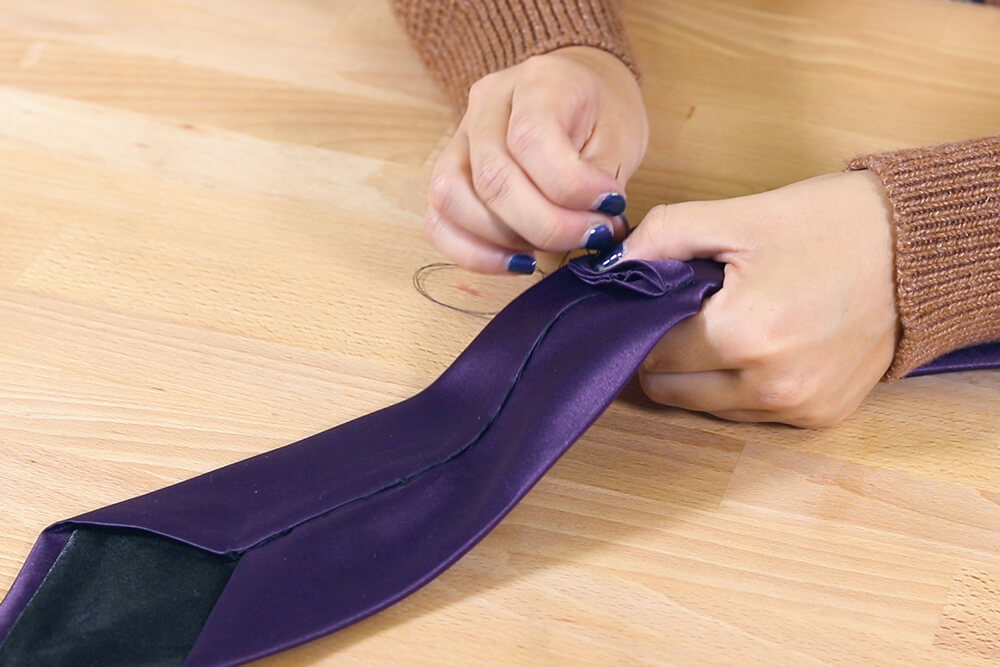
Step 3: Insert the lining & interfacing
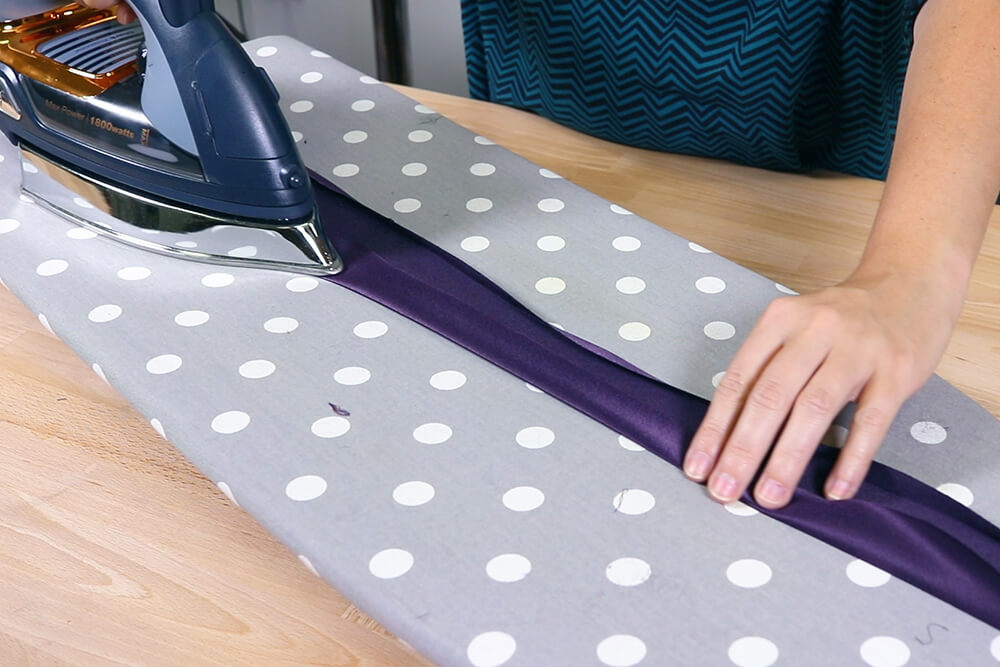
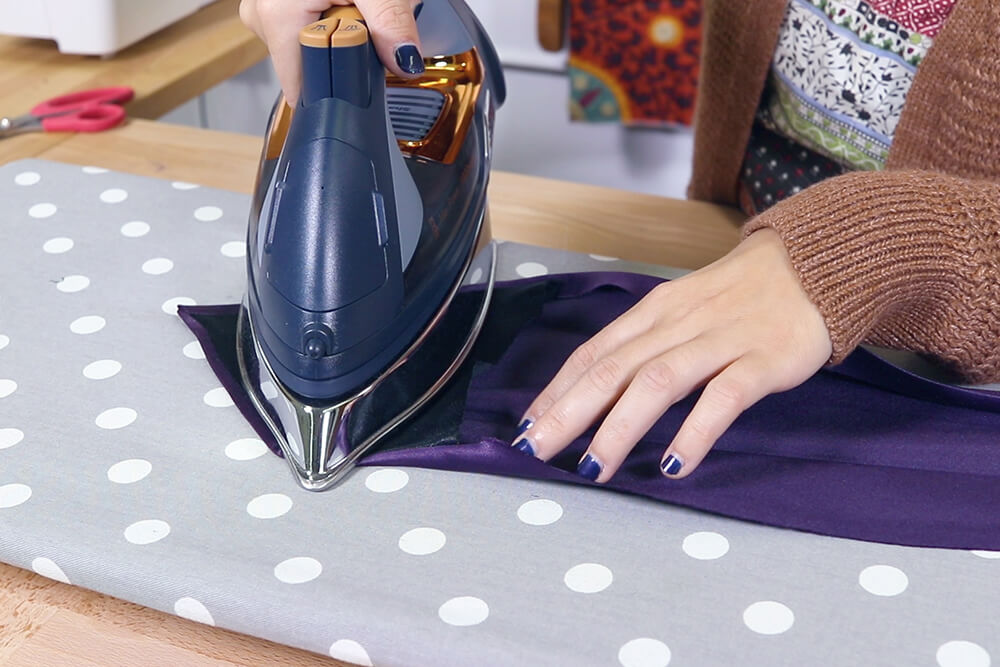
Open the unfolded side. Fold over the edge about 1/4″ and iron a few inches up.
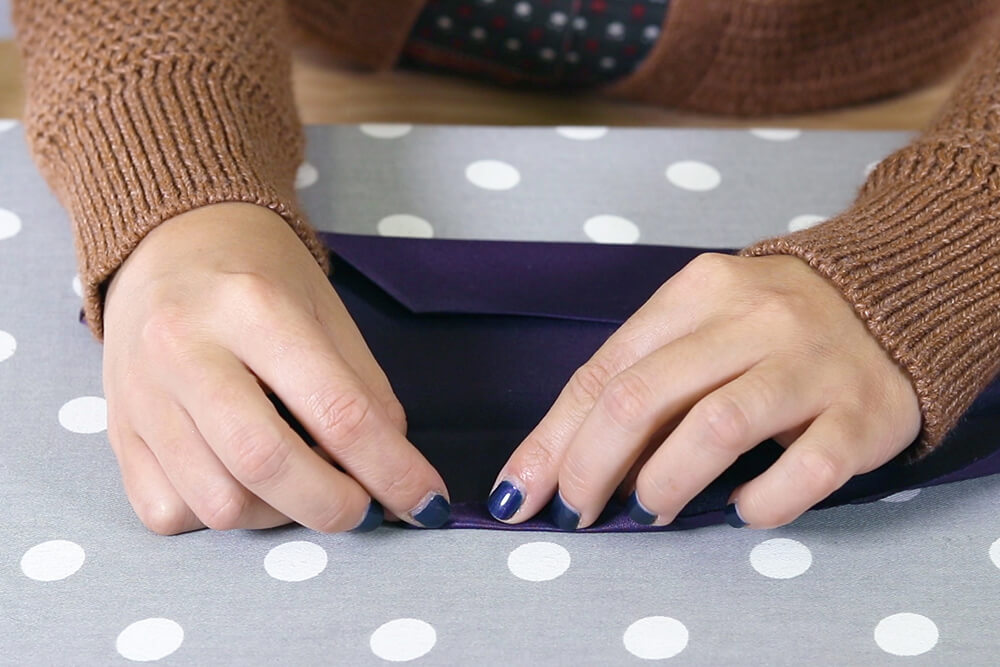
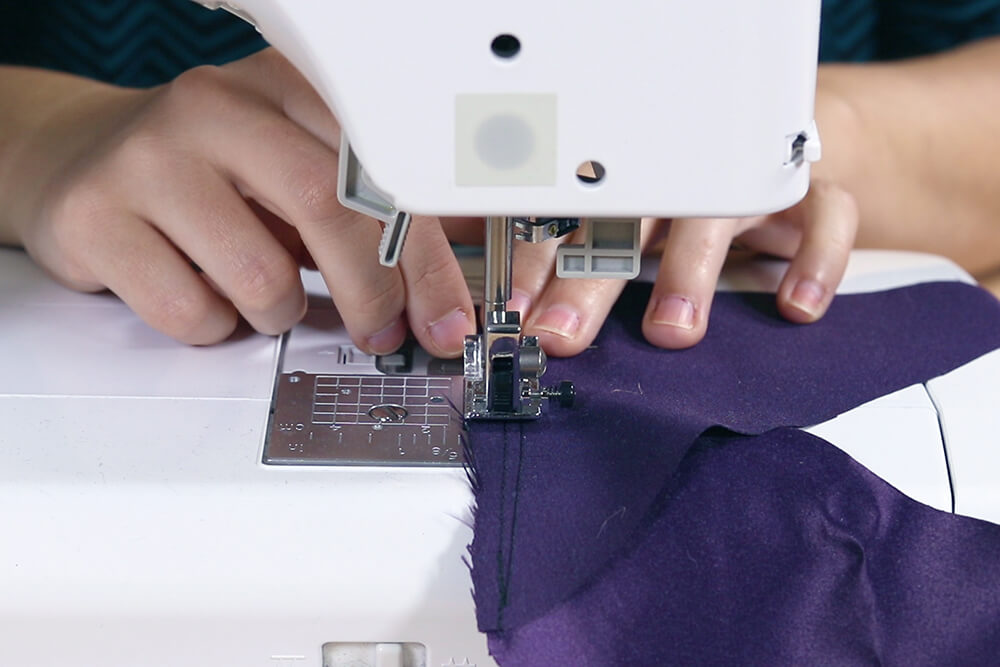
Pin the right side of the lining to the right side of the tie starting at one side and atop at the top point.
Stitch with a 1/4″ seam allowance.
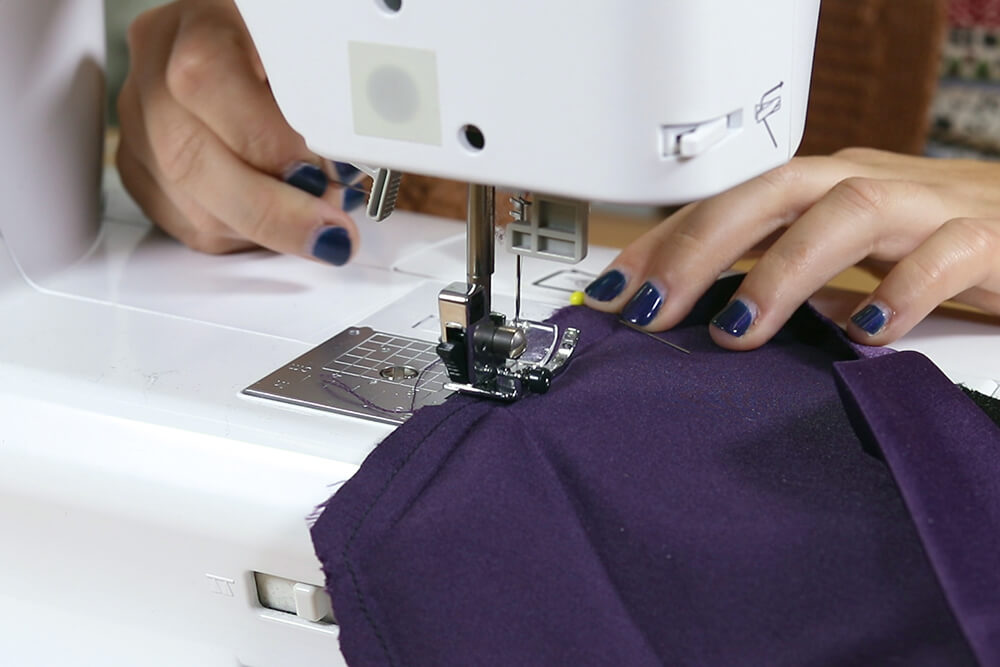
Now pin from the other end to the top point and stitch.
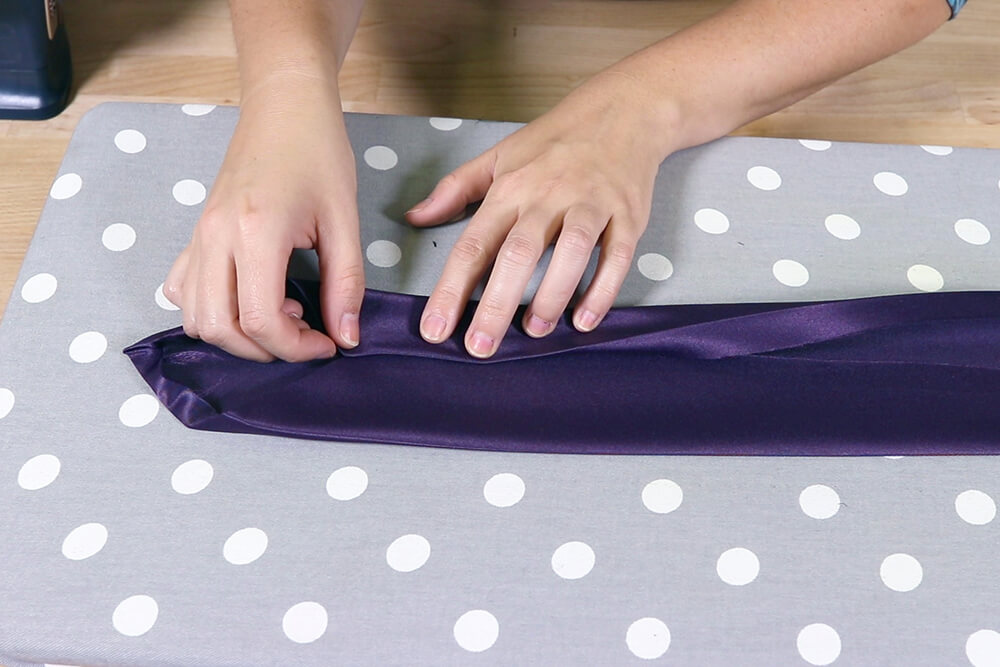
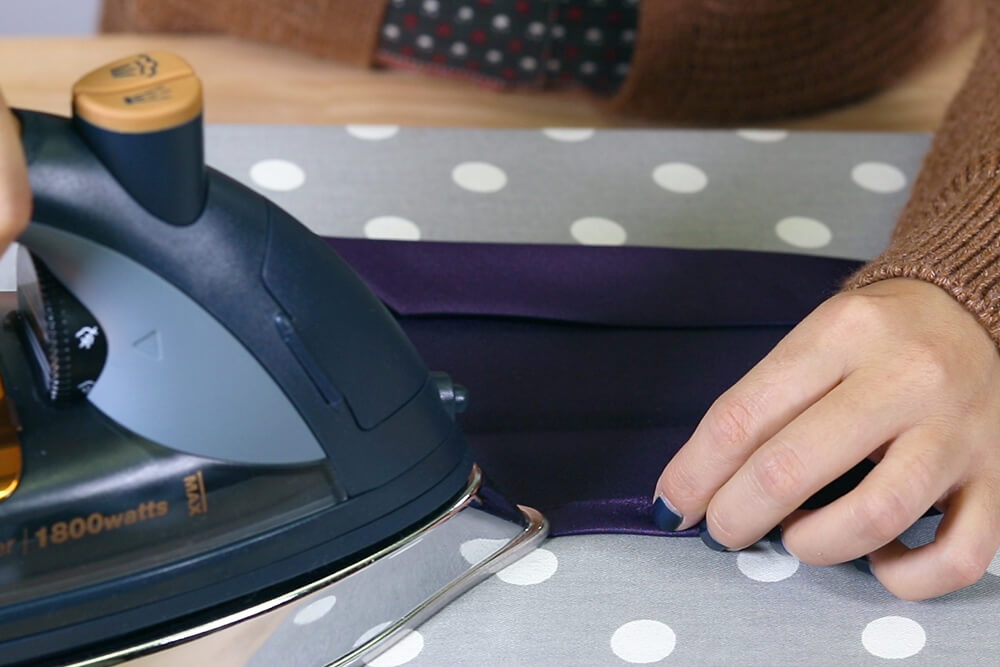
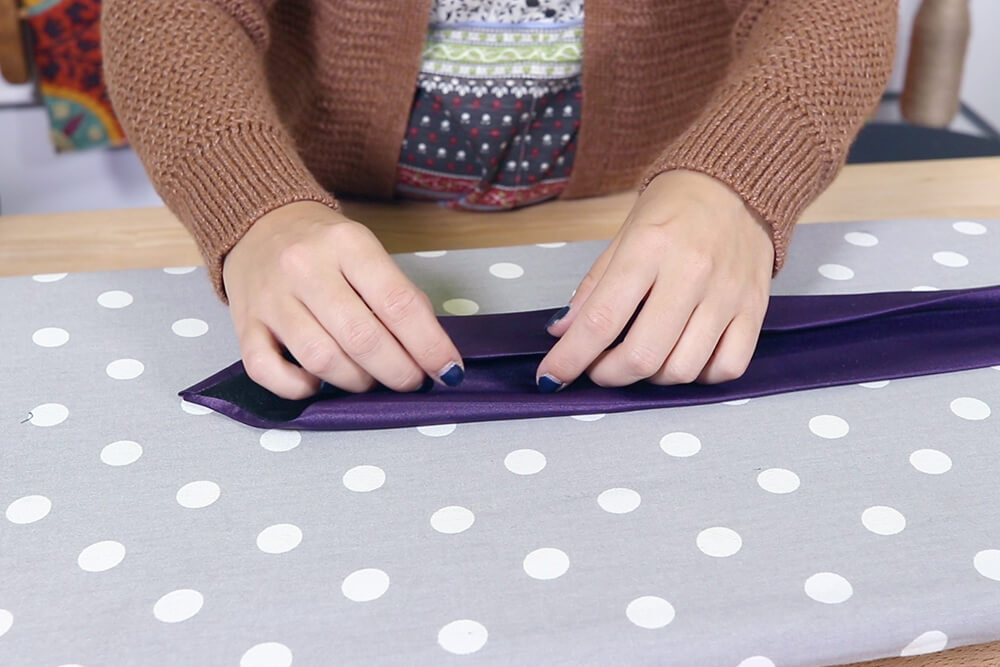
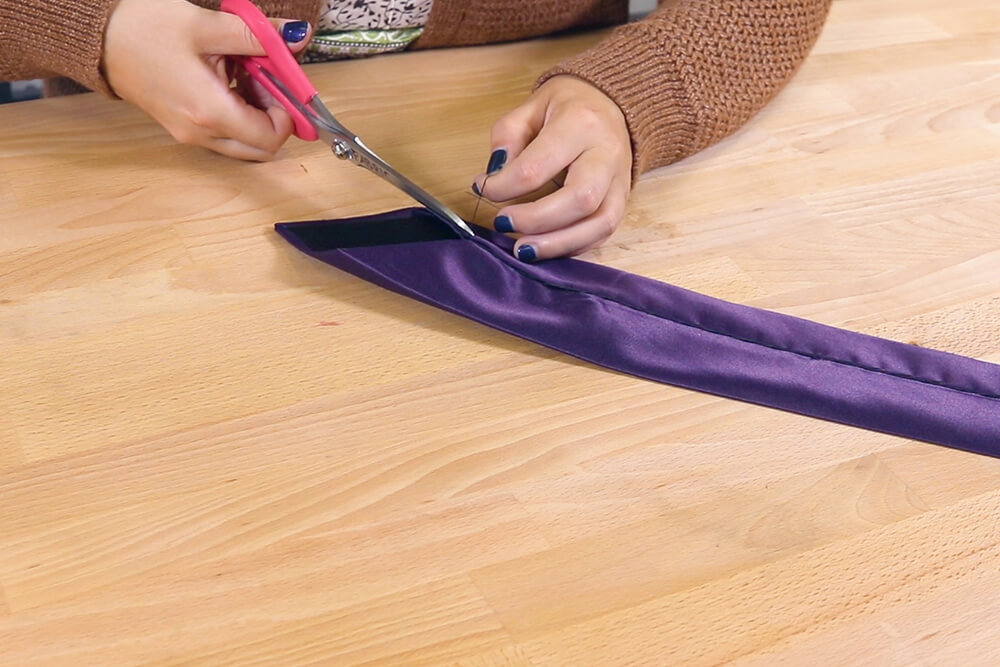
Turn to the right side and poke out the corner.
Iron to flatten the edges.
Fold the ends into the middle and iron again.
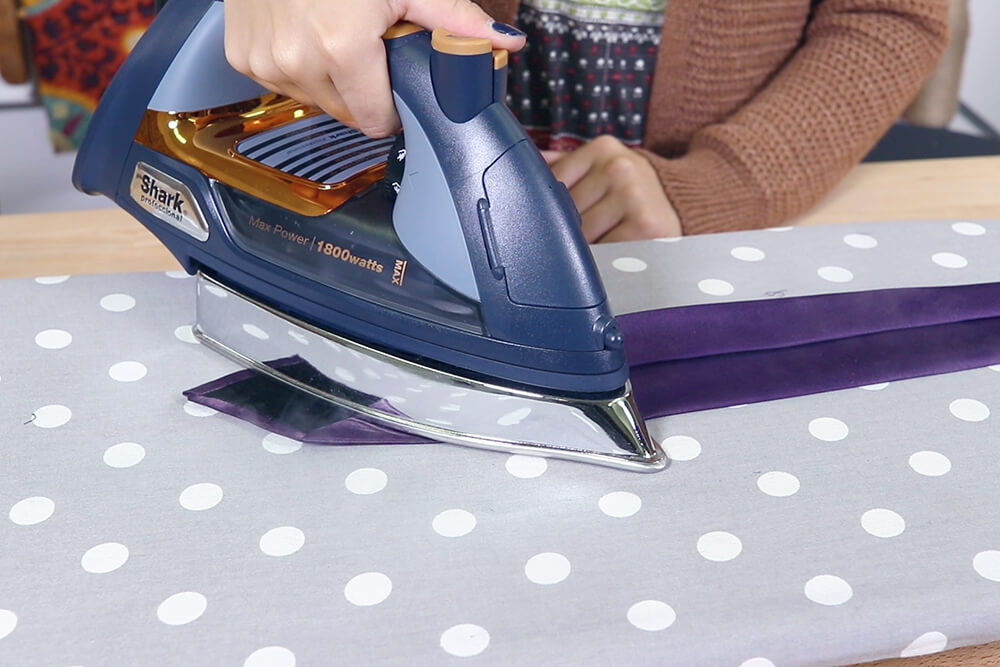
Repeat these steps to attach the top lining piece to the top of the tie.
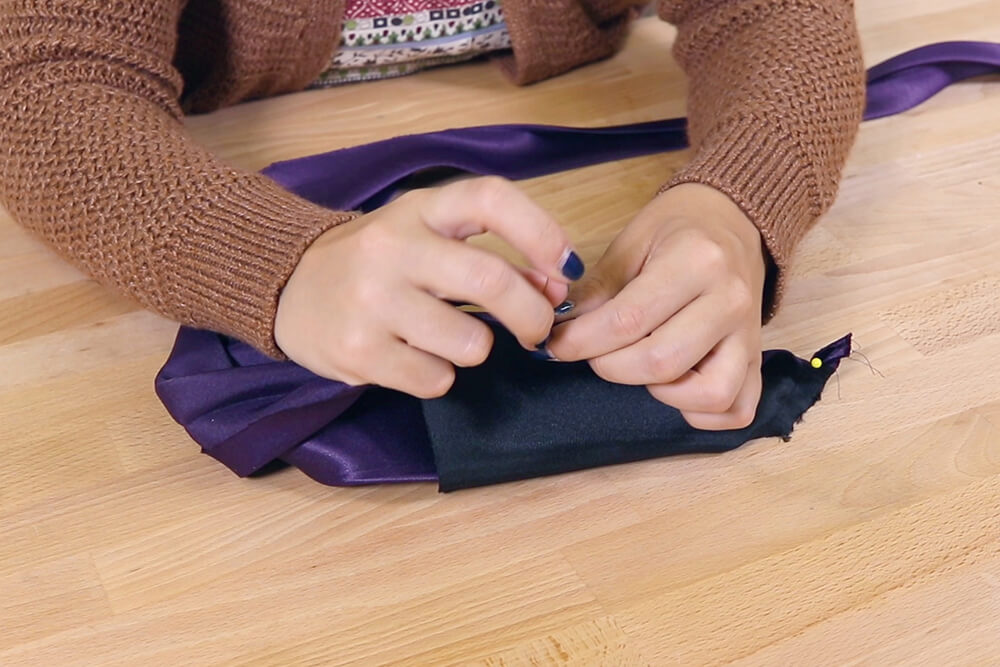
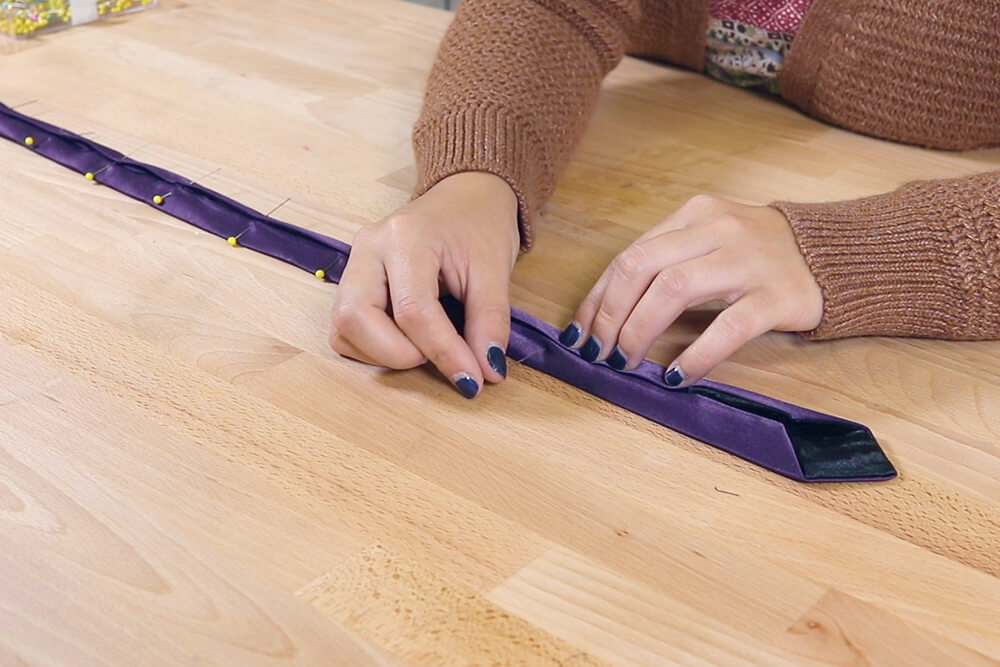
Overlap the diagonal ends of the interfacing pieces and stitch together.
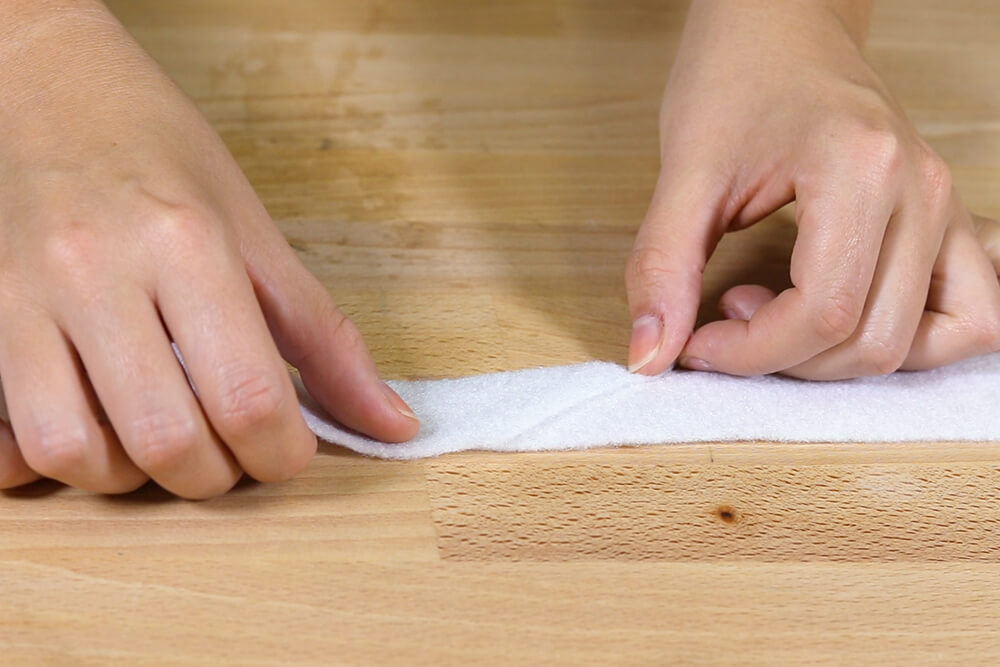
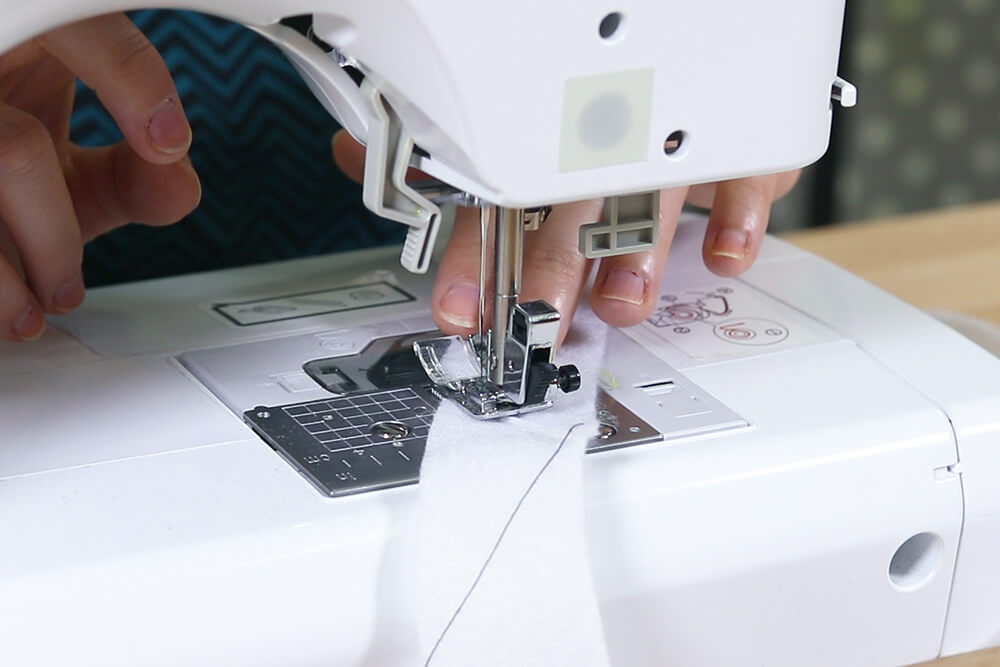
Now insert the interfacing into the tie and under the lining.
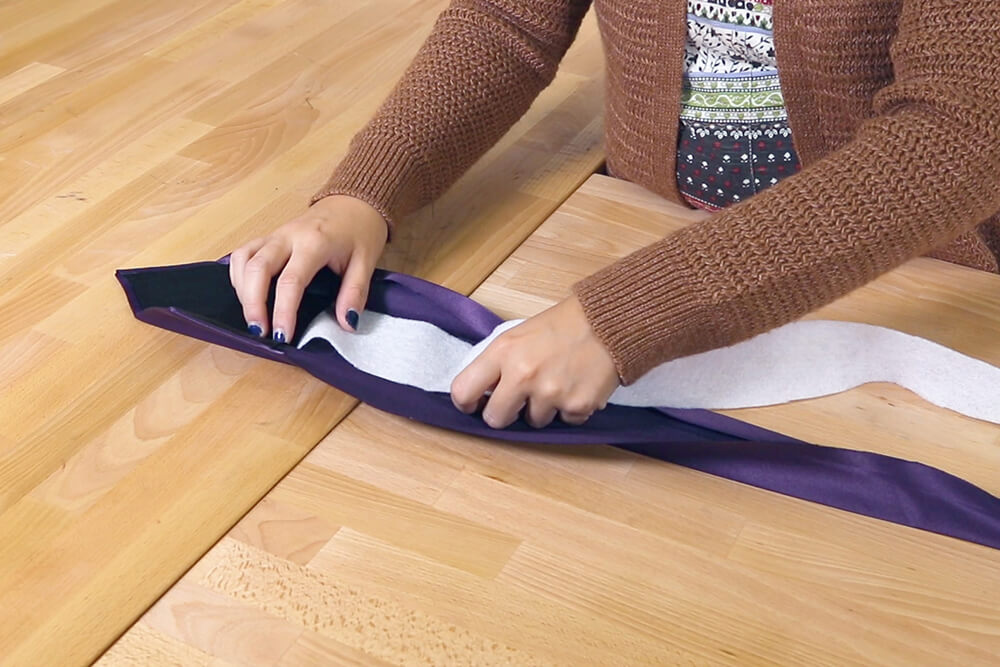
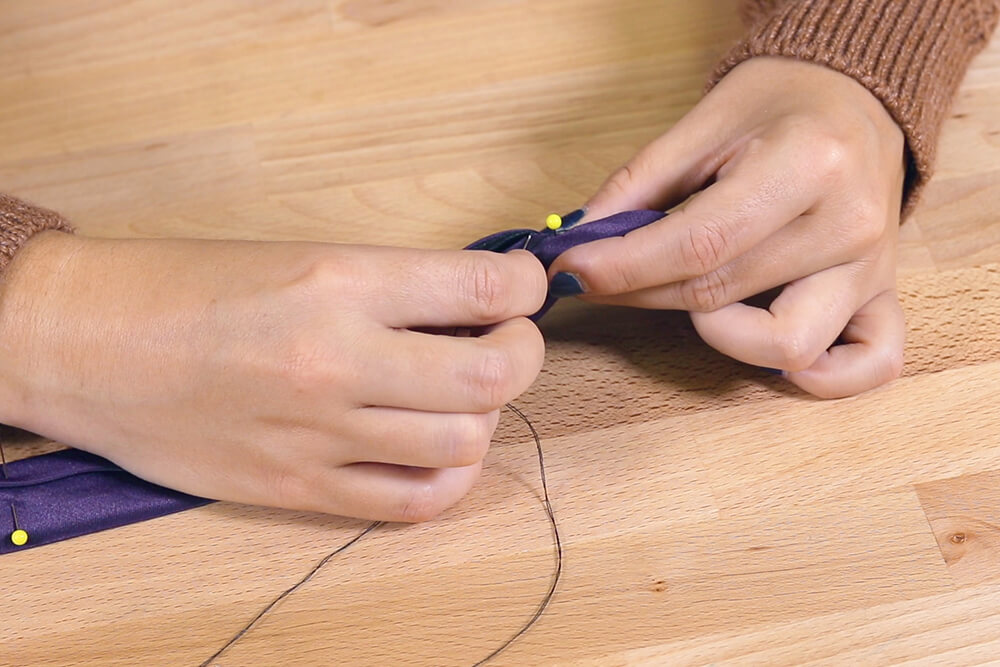
Pin the sides together with the folded side overlapping.
Starting at one end, loosely hand stitch along the seam to the other end.
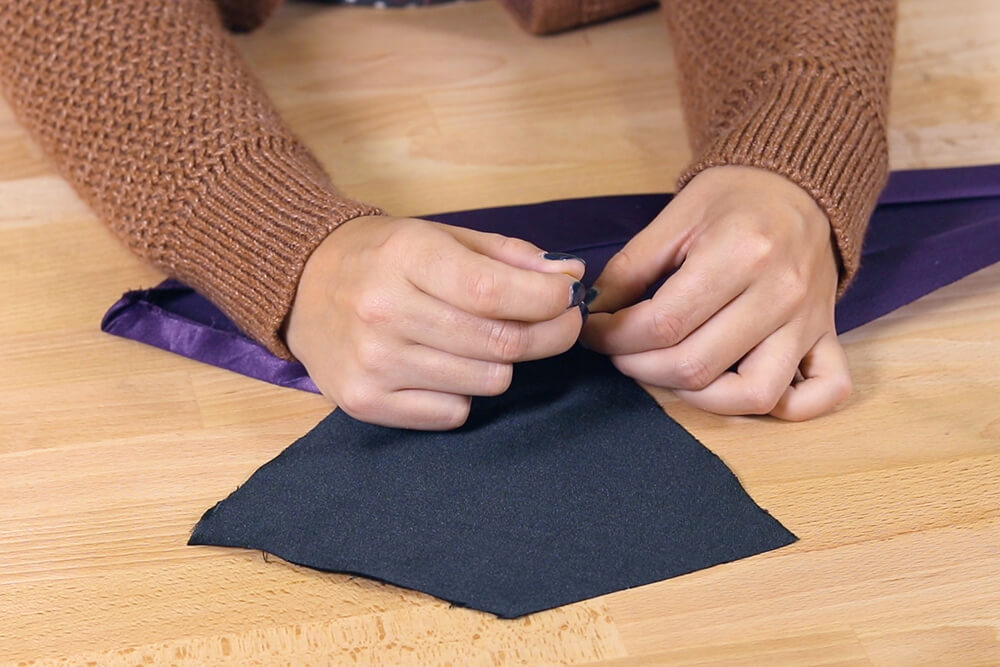
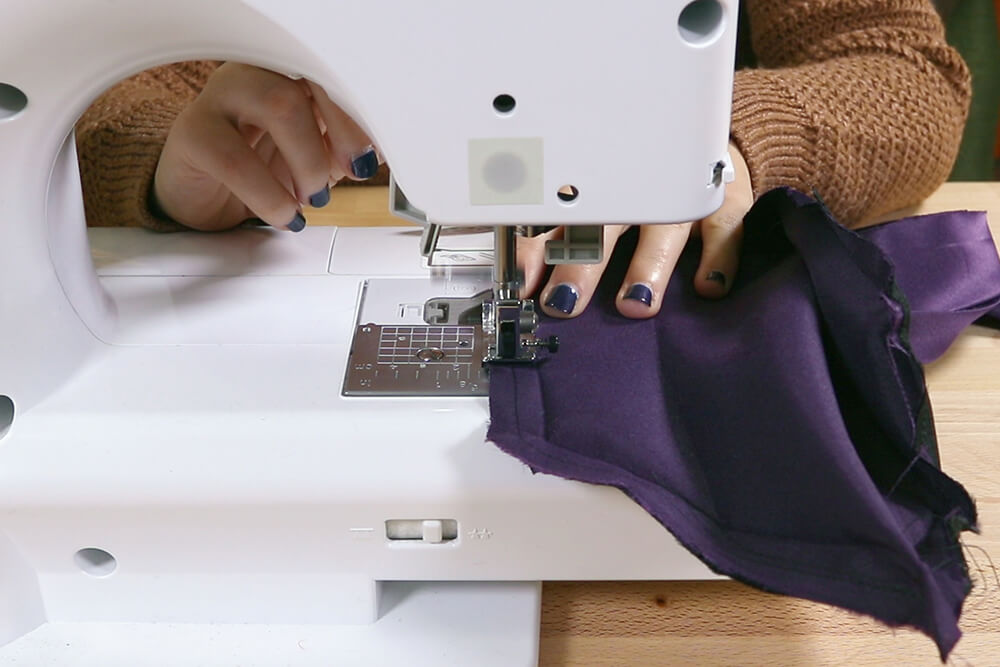
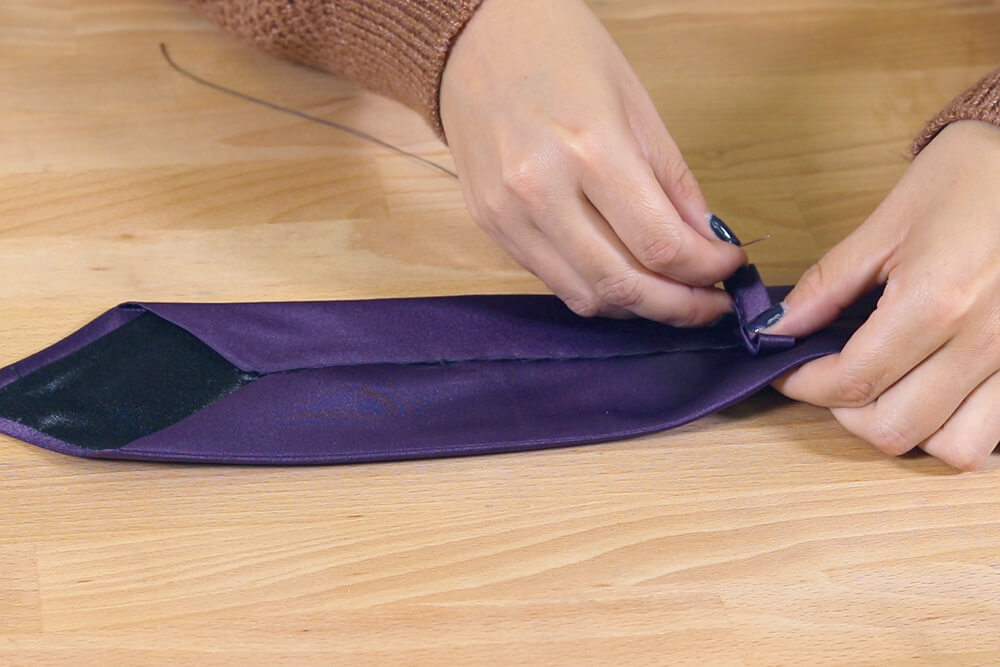
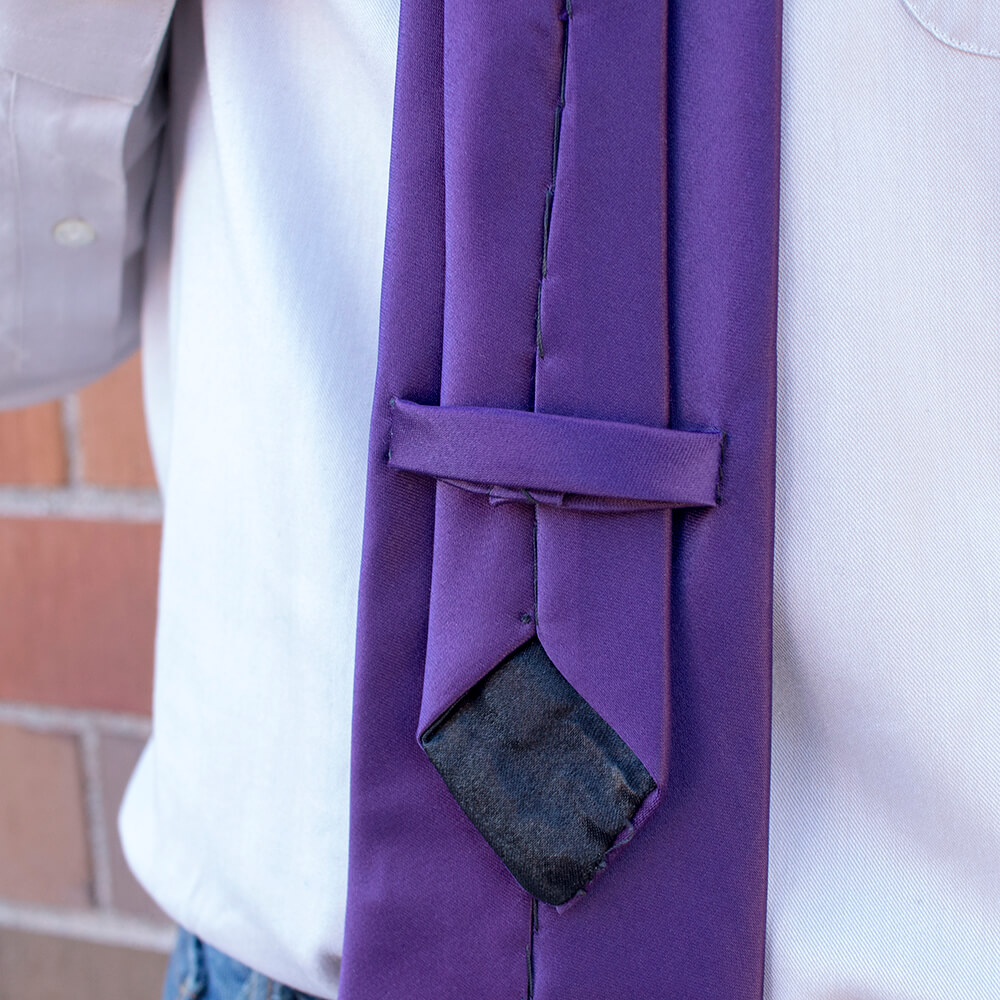
Step 4: Attach the loop
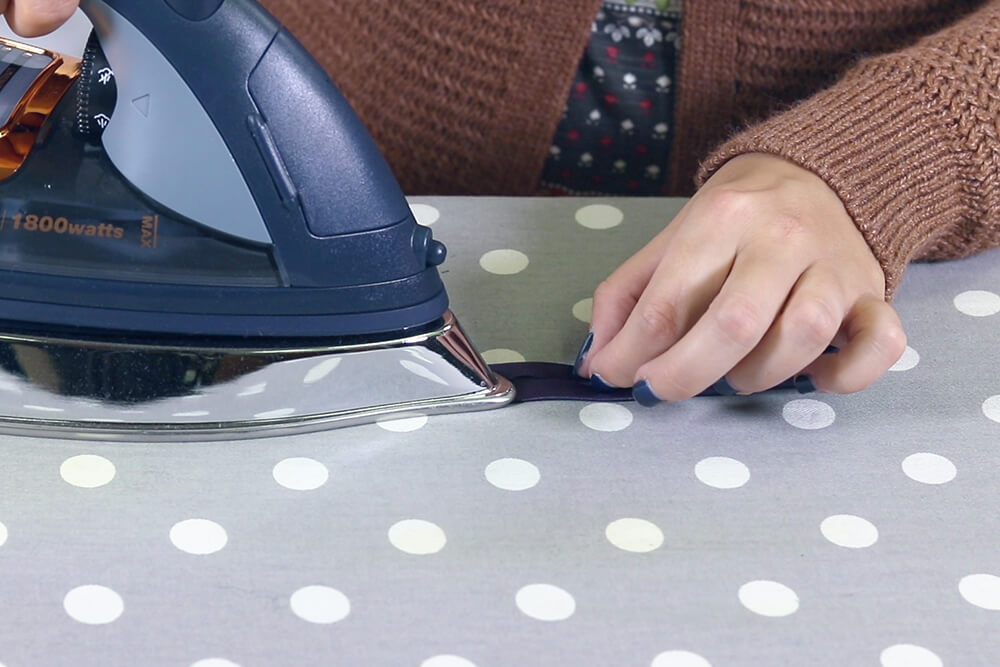
Fold the shorter ends of the loop piece over 1/4″ and iron.
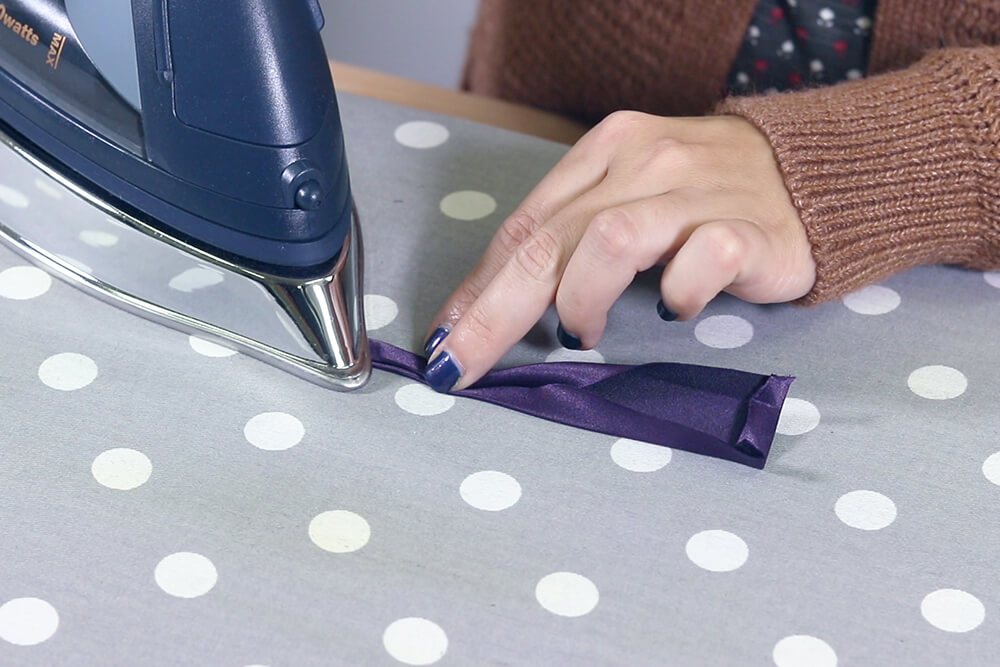
Fold the longer sides into the middle so they meet and iron.
Then, fold in half lengthwise and iron again.
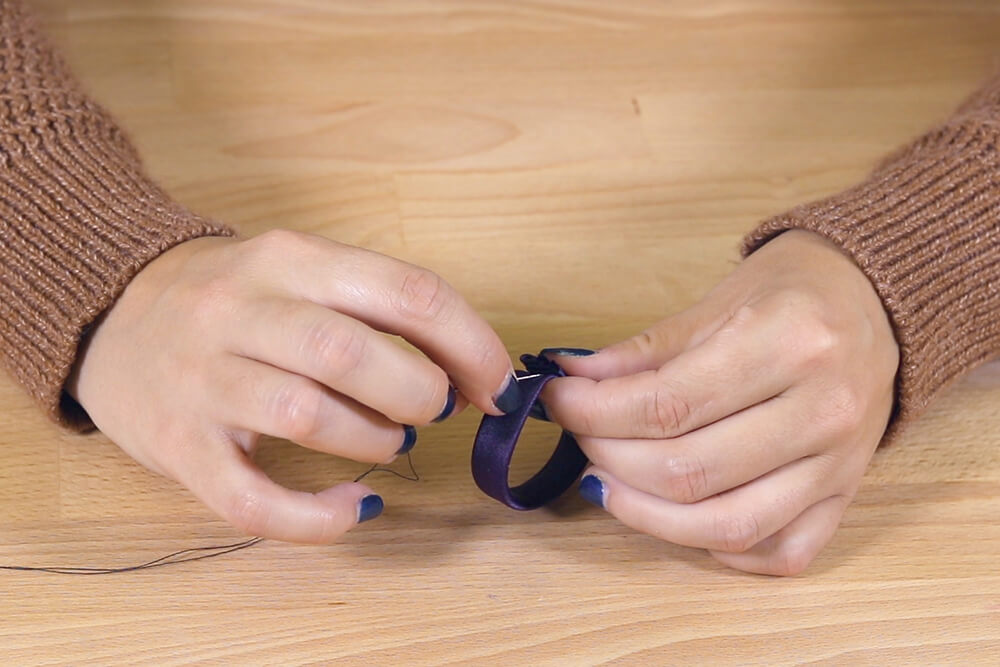
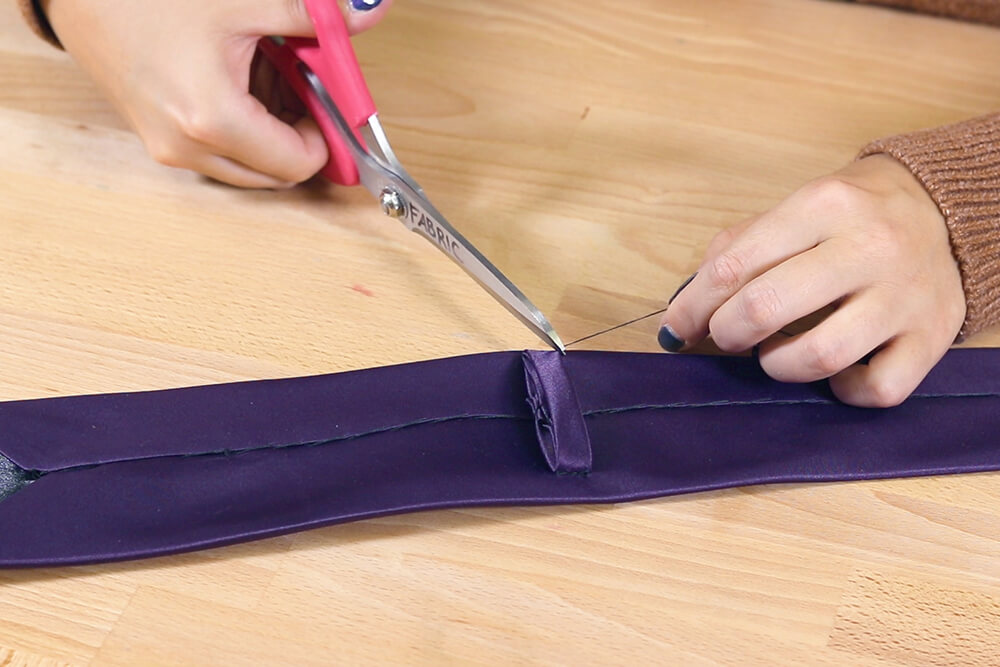
Overlap the ends about 1/2″ and stitch together.
When attaching the loop, make sure you’re not sewing through to the front.
Place the loop about 6 inches up from the bottom of the back of the tie.
Tack the ends down to the back of the tie.
Iron the loop flat, and the tie is complete!


Looking to make one as a gift? Here's our selection of satin fabric.
-
{{#each productSuggestedQueries.results}}
- {{query}} {{/each}}
-
{{#each categories.results}}
- {{html title}} {{/each}}
{{html attributes.description}}
{{/if}}-
{{#each queries.results}}
- {{query}} {{/each}}