How to Make a No Sew Halloween Costume
- By Alyssa
- 45 minutes
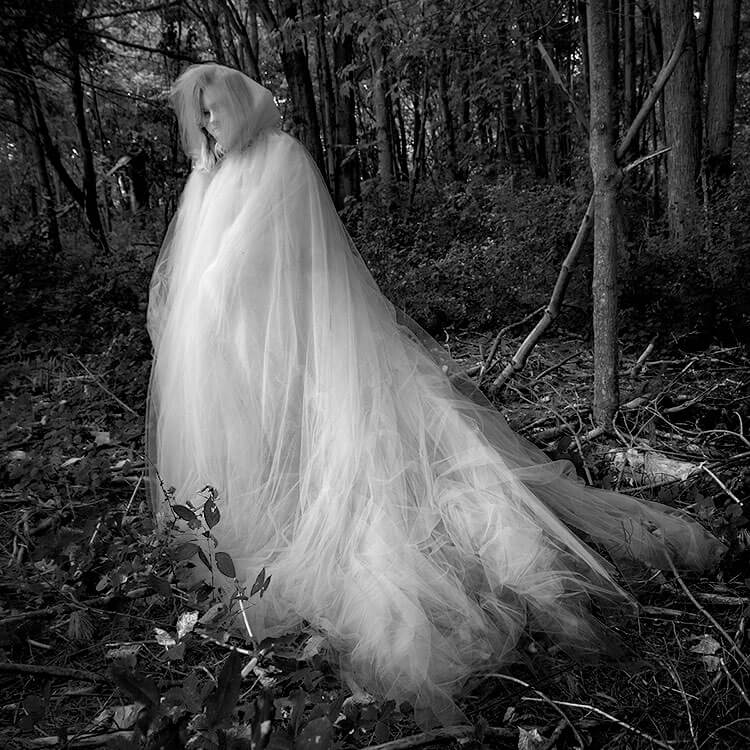
Looking for an easy DIY halloween costume this year? Years ago, my mom had come up with this AMAZING ghost costume.
This costume requires no sewing and goes over day clothes so there is no need for extensive costume planning.
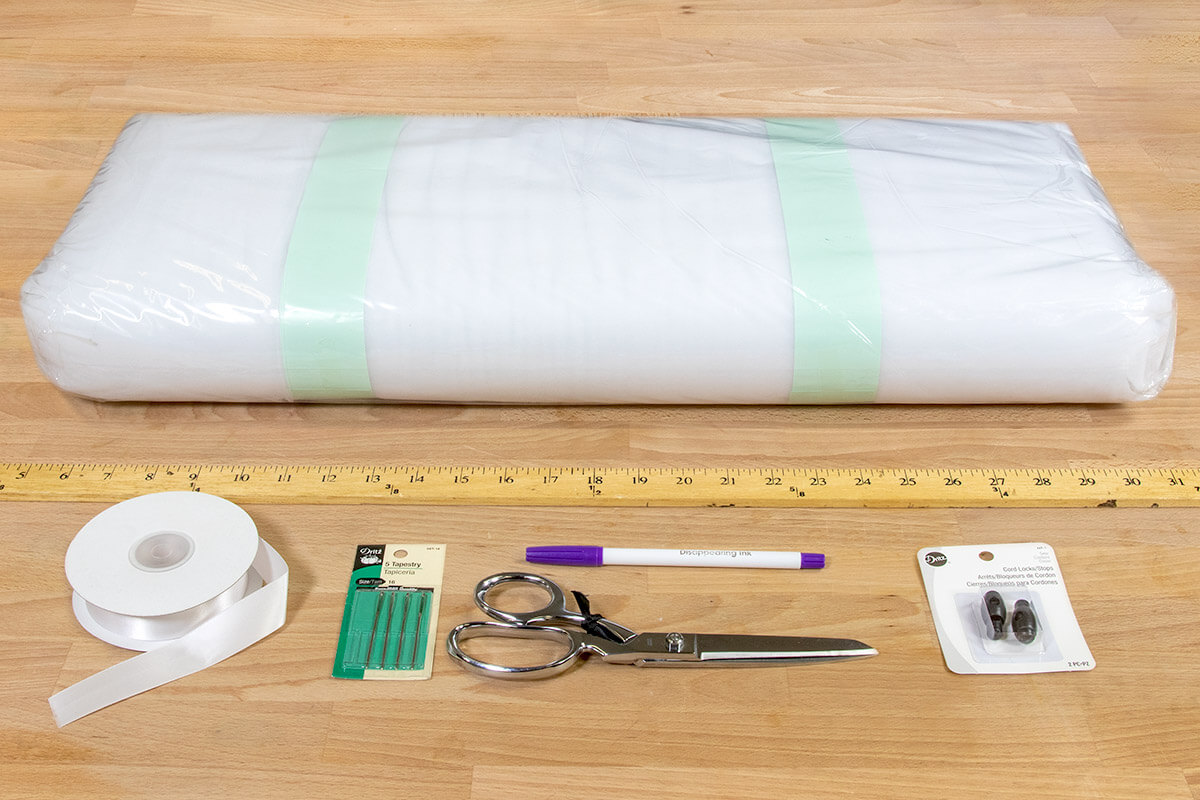
Materials
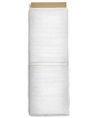
- Tulle
- Scissors
- Cord Stops
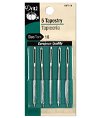
- Hand Sewing Needles
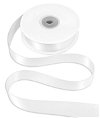
- Ribbon
- Measuring Tape
Related Products


Video
<iframe title="How to Make a NO SEW Halloween Costume | Ghost Costume" width="500" height="281" src="https://www.youtube.com/embed/gcZusqM7lds?feature=oembed" frameborder="0" allow="accelerometer; autoplay; clipboard-write; encrypted-media; gyroscope; picture-in-picture; web-share" allowfullscreen></iframe>Instructions
Step 1 – Cut out and prep the material
Double your height and cut 8-10 pieces of tulle to that length
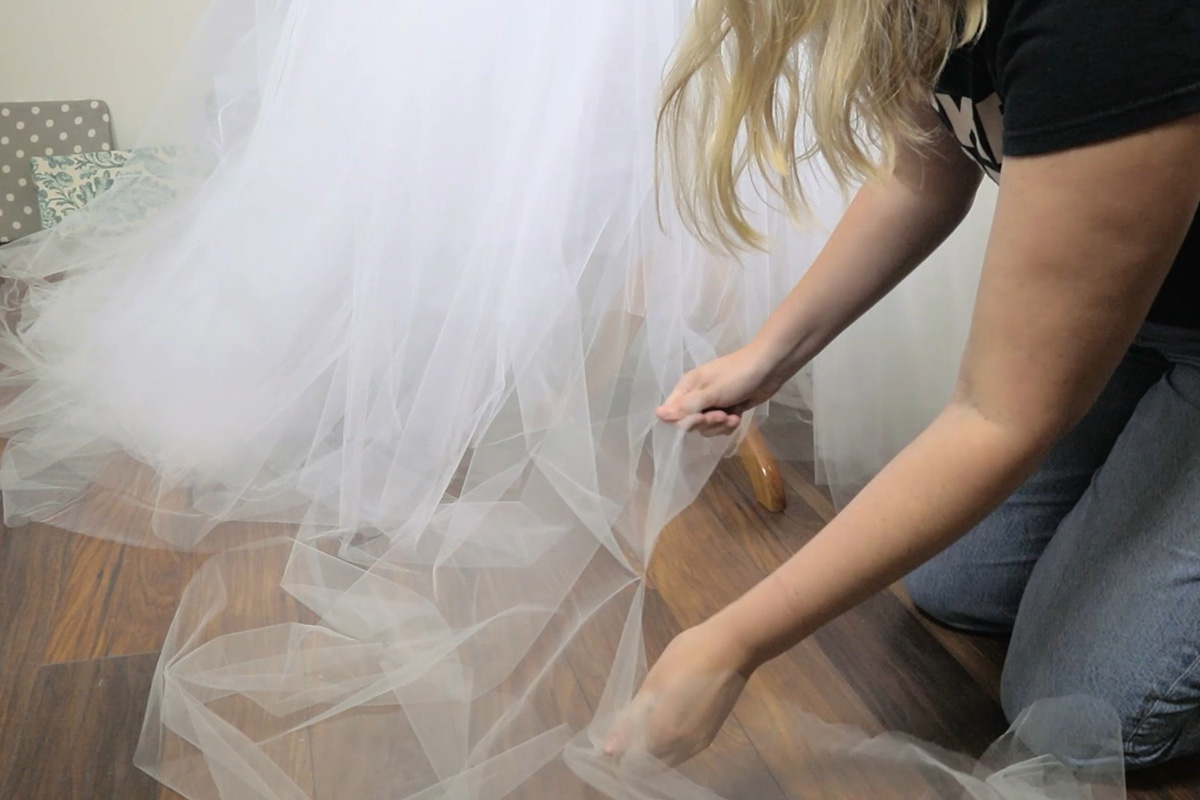
Step 2 - Layer the fabric
Layer all of the tulle so the edges loosely match up. Find and mark the center on one edge of your material.
Right around this area you are going to want to make sure that the fabric is pretty evenly lined up on the edge. This is just where you will be making your hood, so while it doesn’t have to be perfect, try to smooth out any lumpy fabric and line up the edges as best as you can about 2 feet out in all directions from the center mark.

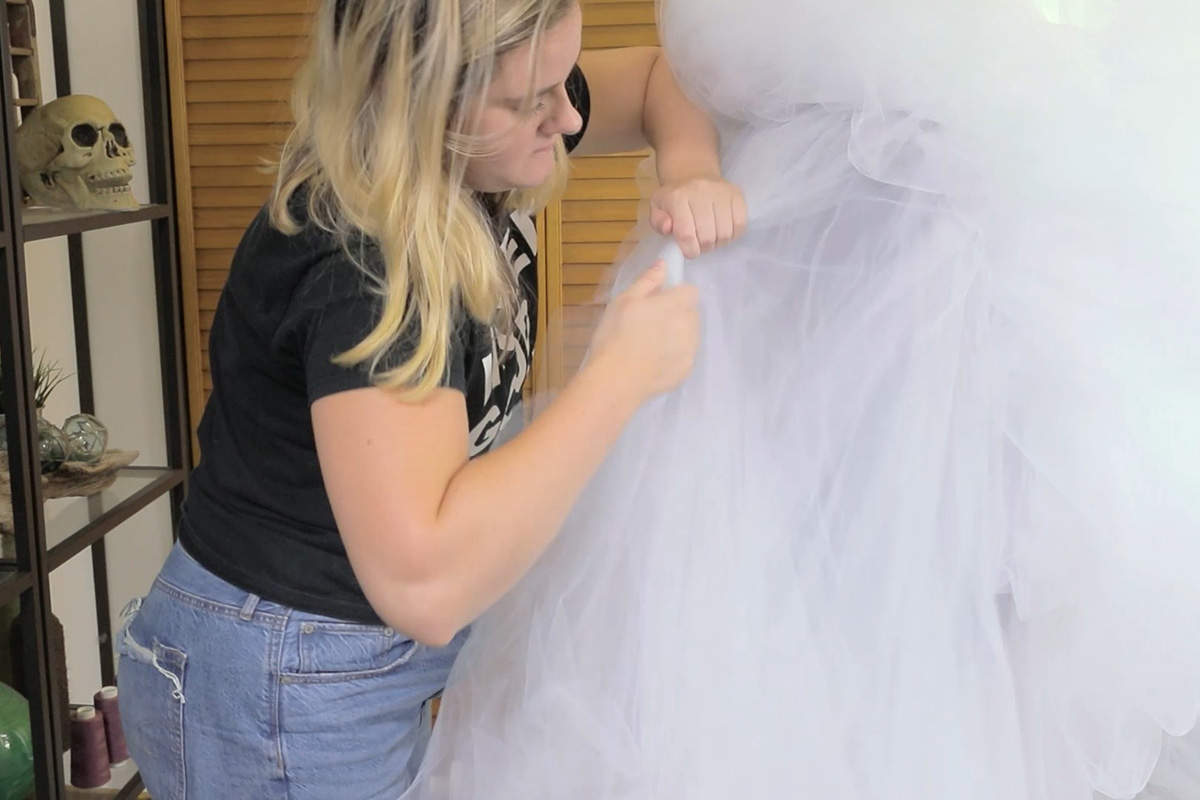
Step 3 – Create the hood
Measure from your shoulder to the top of your head and add three inches to that measurement
For me that was 16”
From that center mark that you made, mark your head measurement out off to the sides and all the way around in a semi-circle.

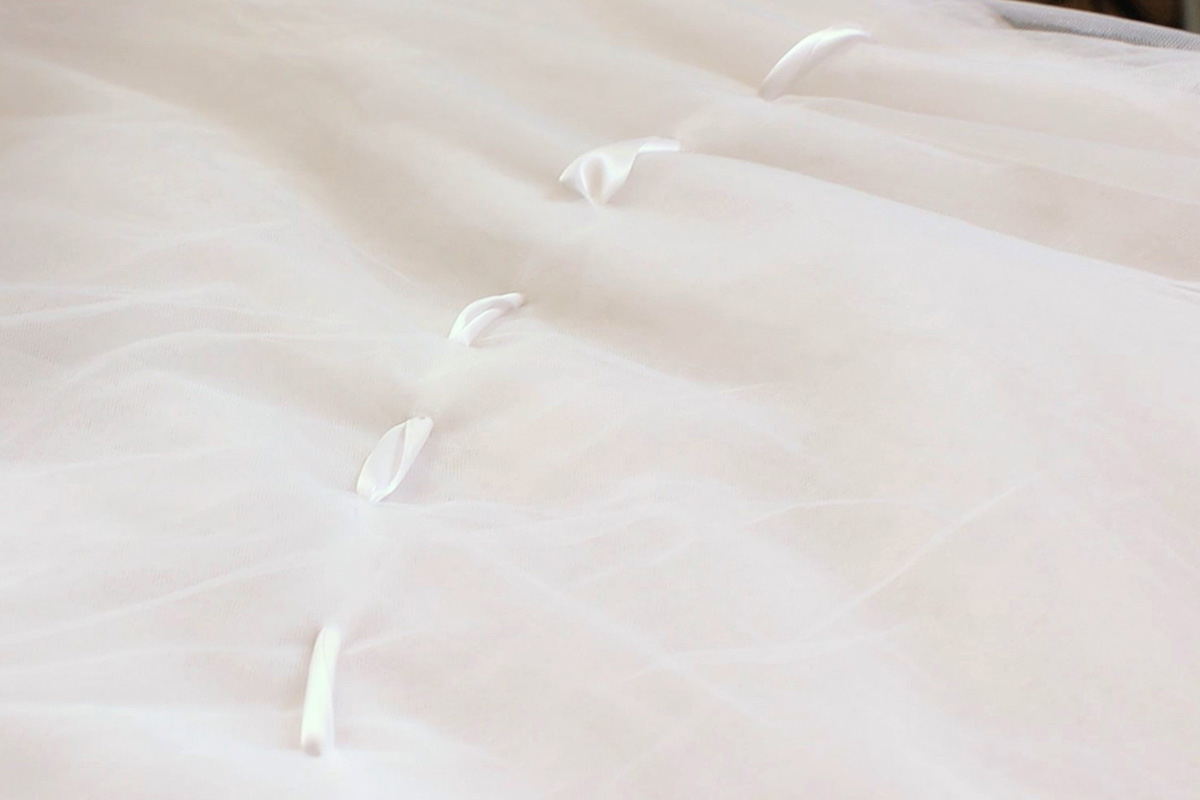
With a large hand sewing needle and ribbon, sew a running stitch along the semi-circle. The length of your stitches should be quite long, I recommend about every 2-3 inches. I wiggled the needle around in the tulle a little bit to make more space for the ribbon to pull through. This stitch is just an up and down motion, so even if you have never sewn, you’ll be able to do it.
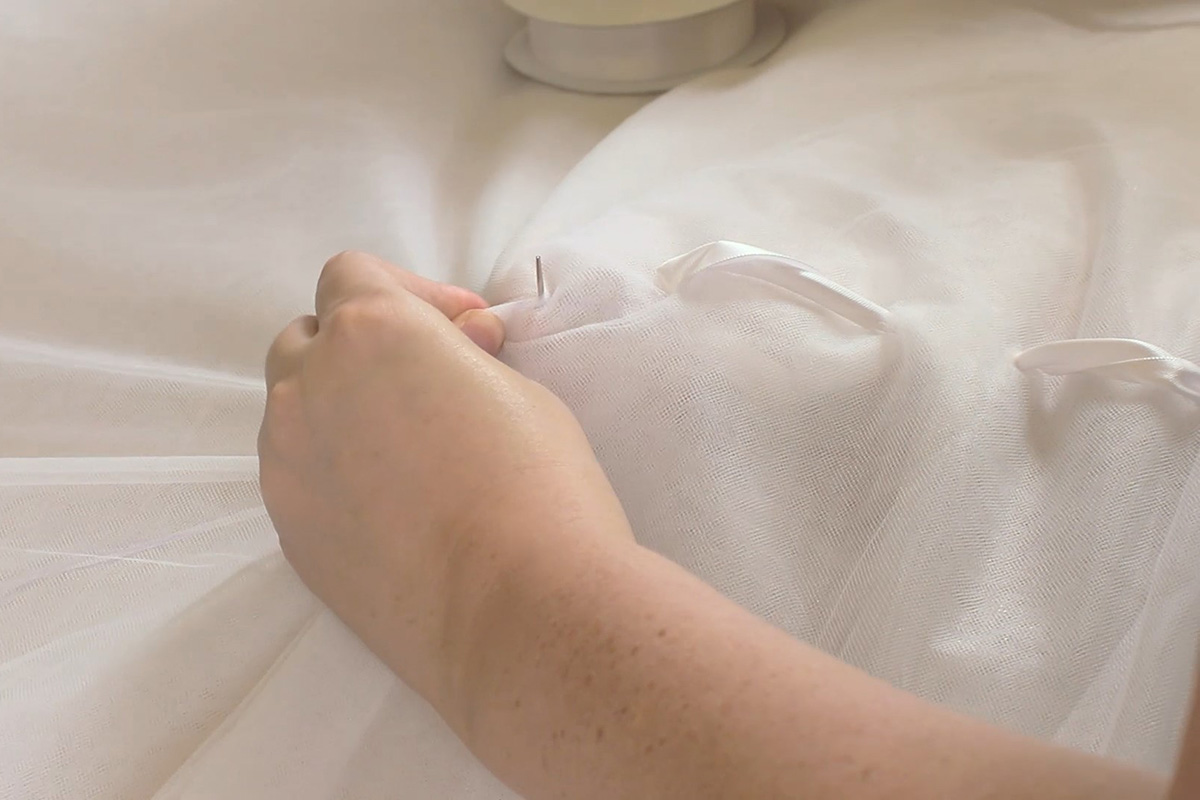
Lastly, I am going to be adding two cord stops to the ribbon. These are totally optional, and you can absolutely just tie the ribbon under your chin, but they will make the costume more comfortable.
Step 4- Texturize the cloak
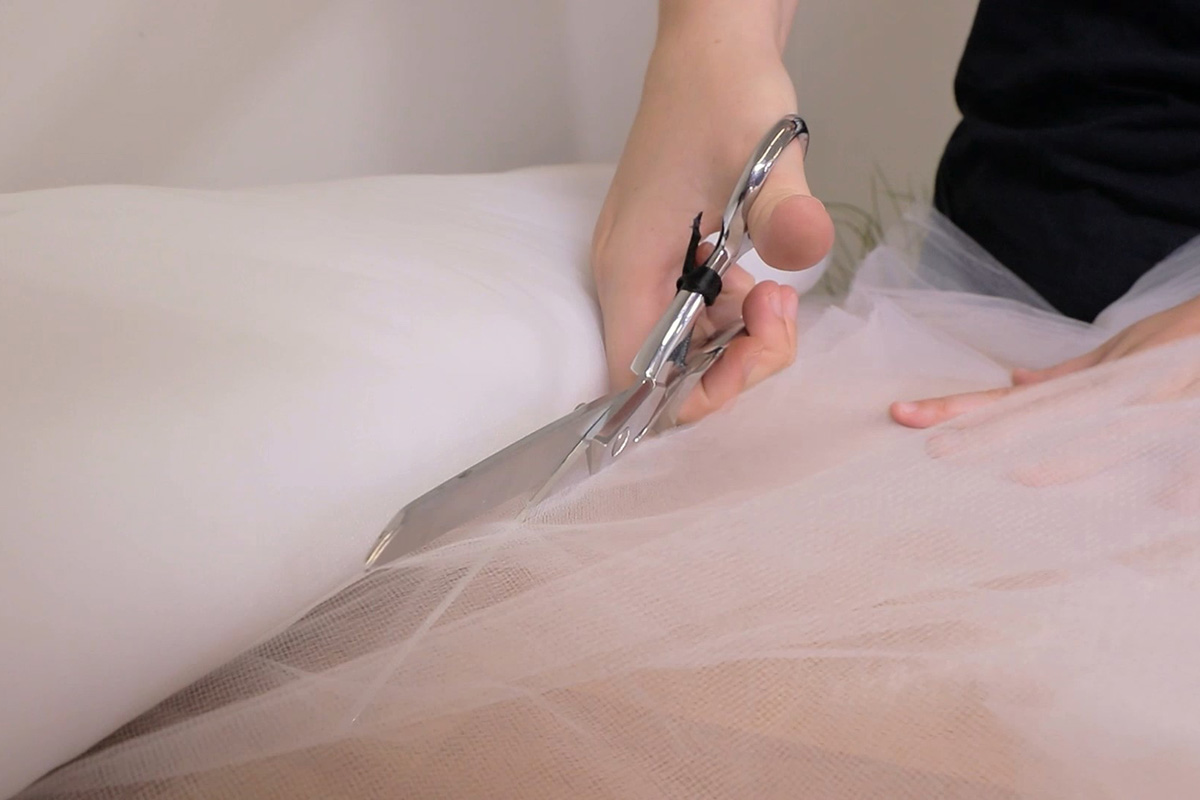
Try on the costume and trim down the train if you wish. I like to trim the front just above floor length so I won’t trip over it. I also took a decent amount off of the train in the back. You don’t need clean cuts, I used the scissors to slice up the tulle a little bit and then tore it the rest of the way.
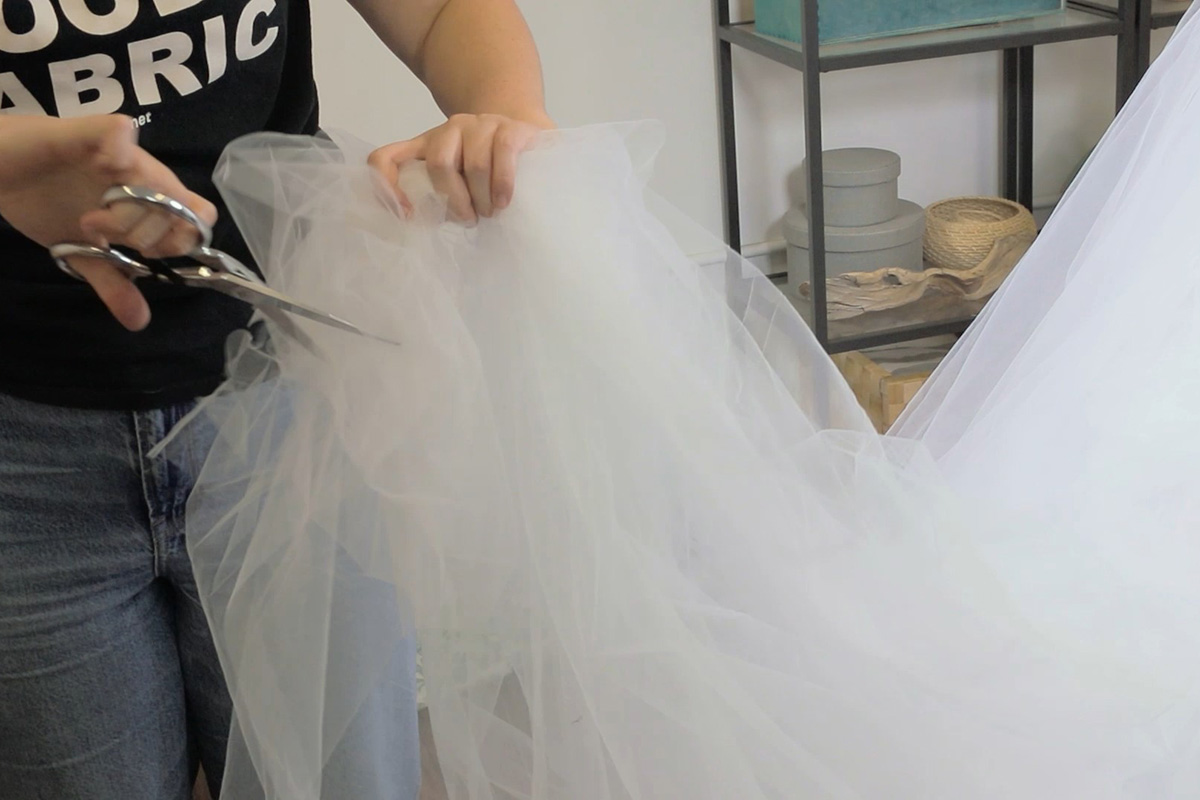
And you can save those strips of extra material for our next DIY project. But more on that next week.
Hang the cloak and start texturizing the tulle layer by later. I am going to start from underneath and work my way up to the outer layer. I left the very bottom layer and the very top layer as they were though so I would not snag the costume on anything. The more you do, the more volume your costume will have. You can rip and tear the tulle with your hands, and also cut strips to add variety to the textured look.
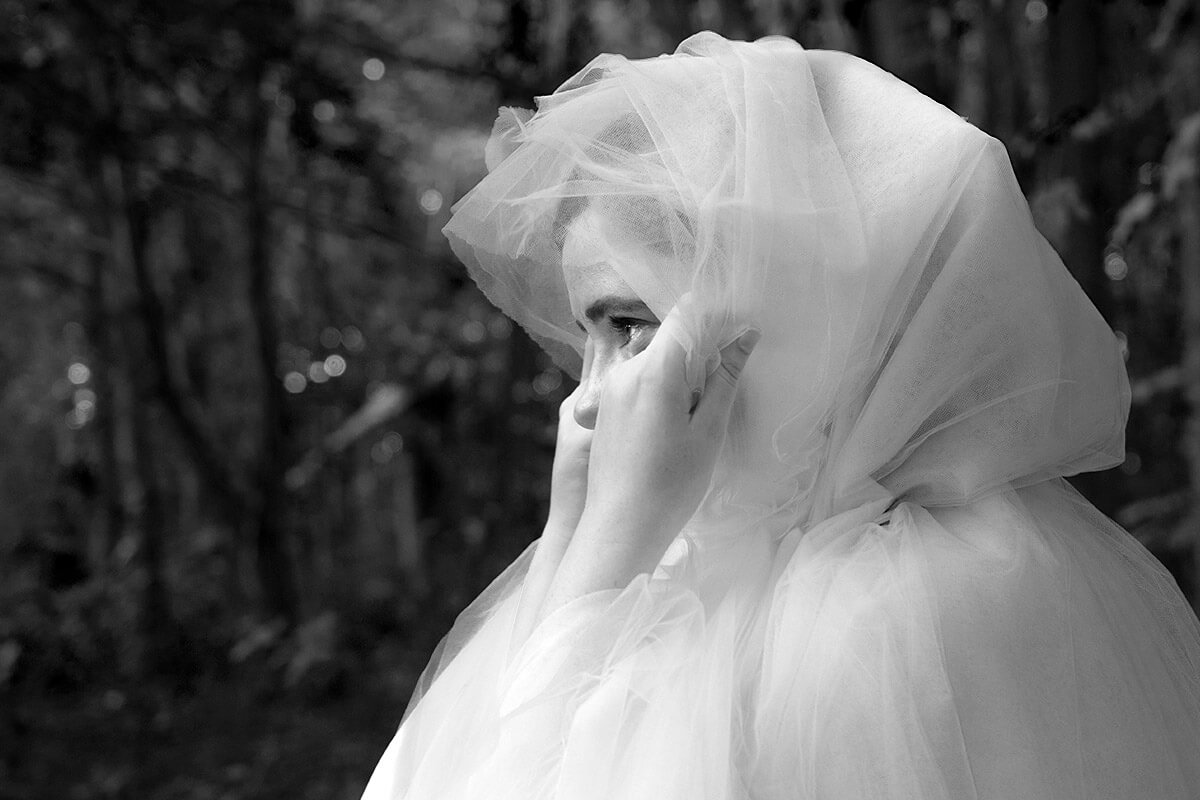
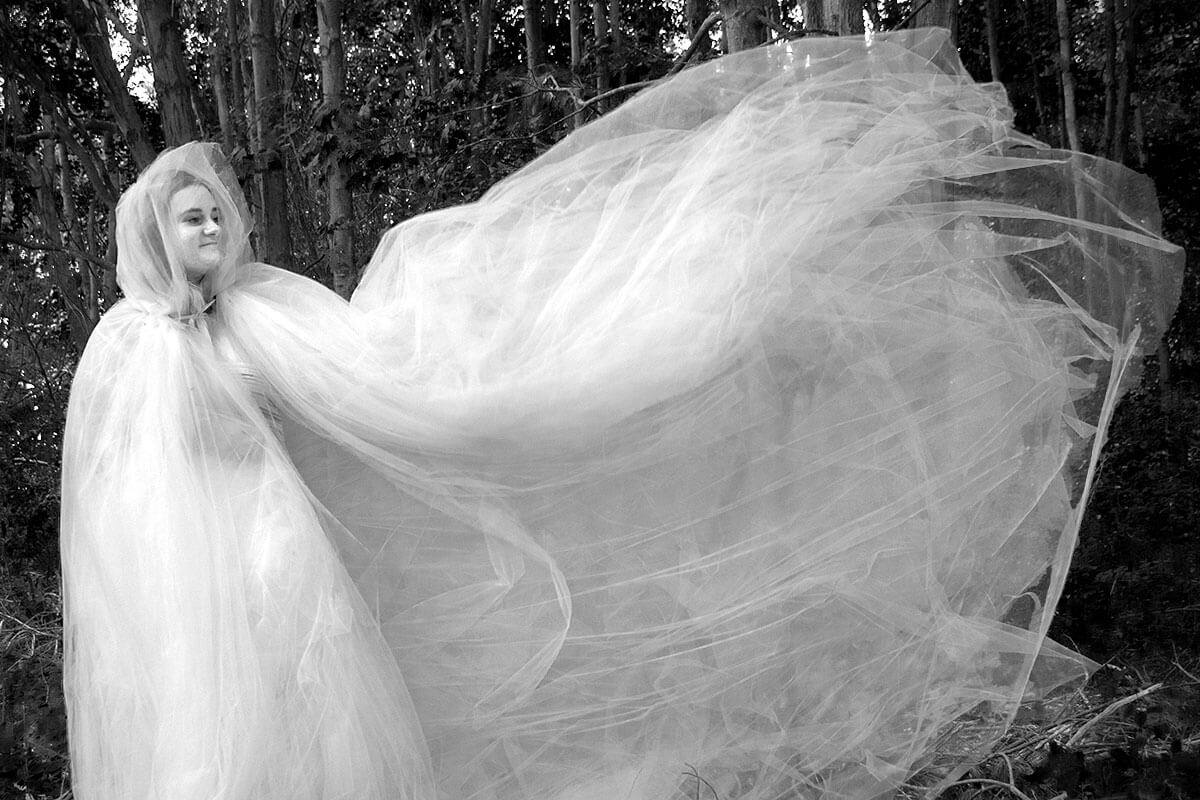
Step 5 - Trick-or-Treat
Put on your cloak and tie the string loosely under your chin. I like the look of the hood being a little more exaggerated, so I am going to tie the string a little tighter and puff up parts of the hood so it lays like a little mushroom cap and looks more whimsical.

-
{{#each productSuggestedQueries.results}}
- {{query}} {{/each}}
-
{{#each categories.results}}
- {{html title}} {{/each}}
{{html attributes.description}}
{{/if}}-
{{#each queries.results}}
- {{query}} {{/each}}