How to Make a Roll Up Pillowcase
- By Alyssa
- 20 minutes
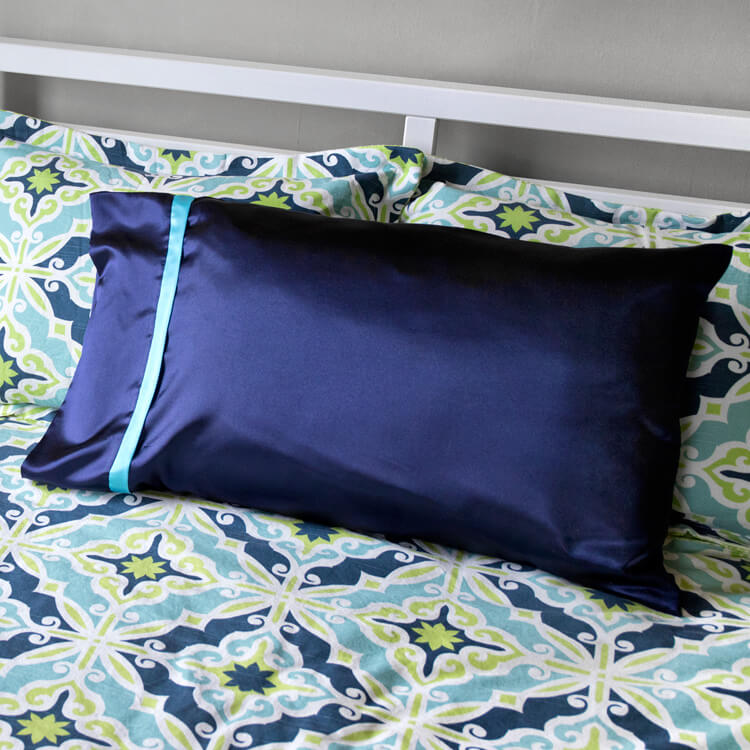
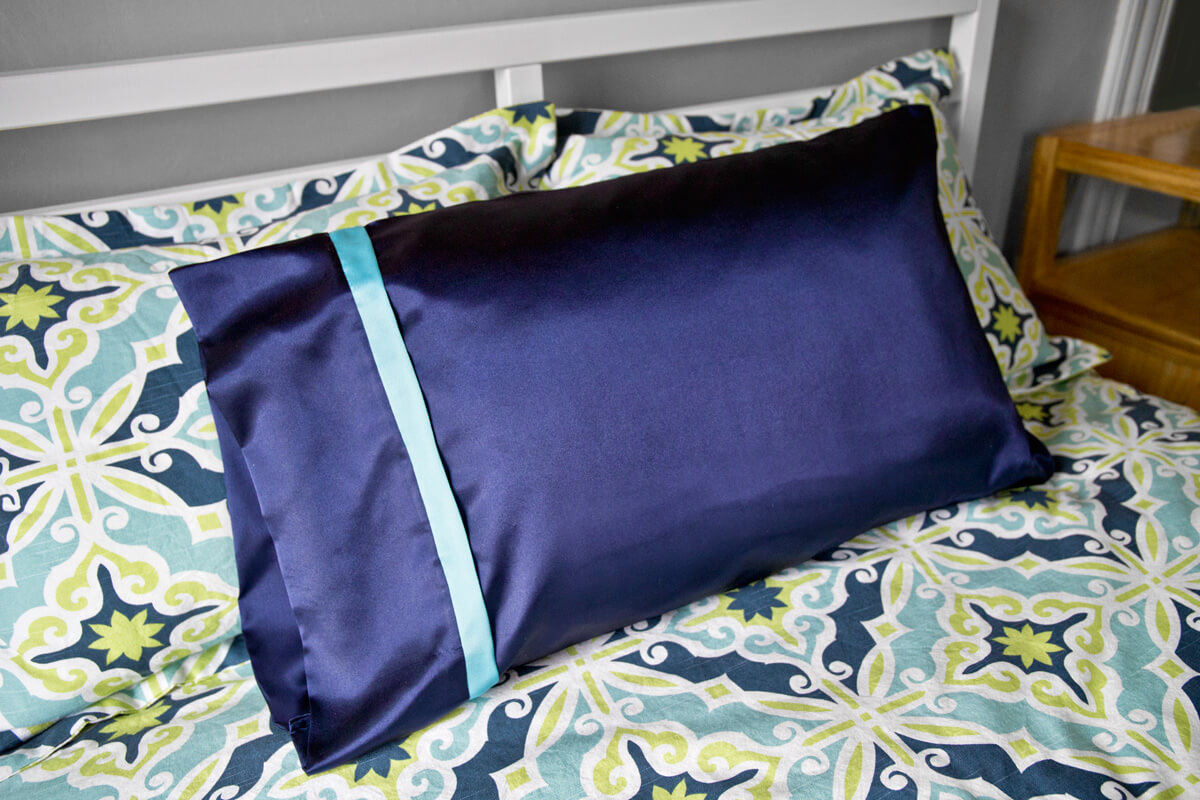
Make your own pillowcase with this simple roll up method!
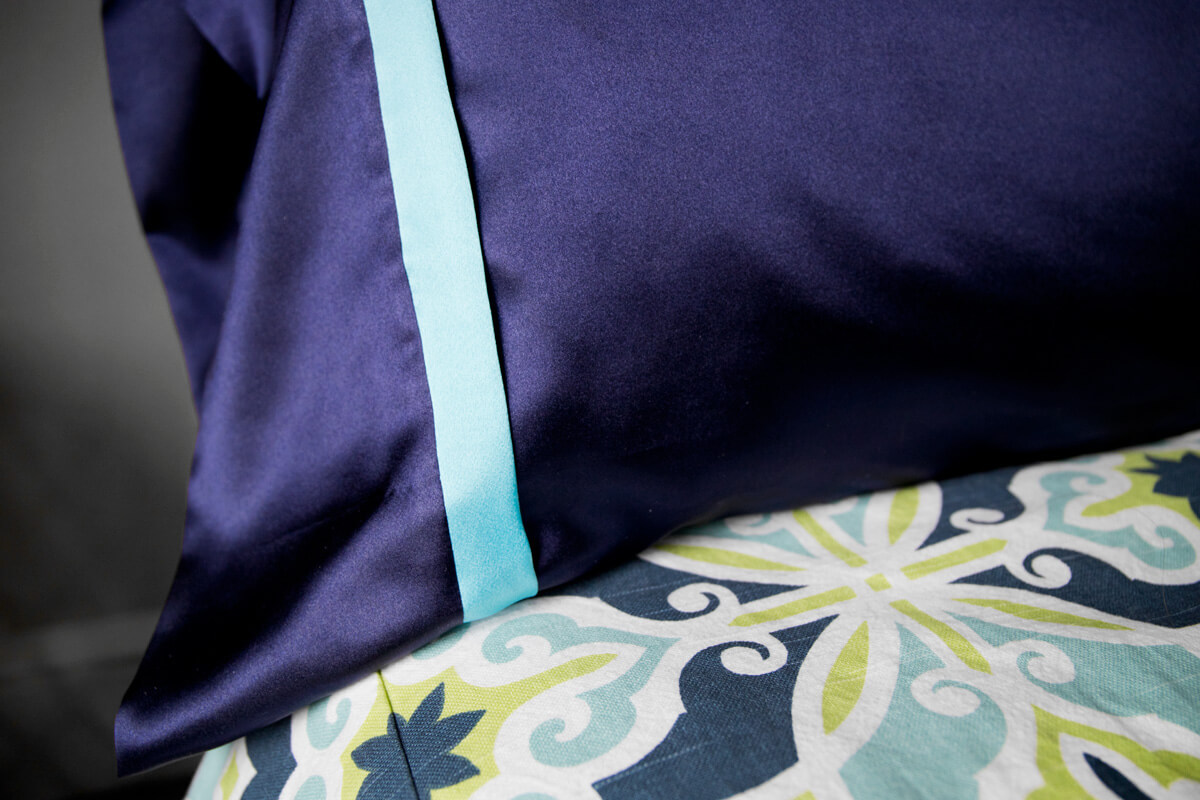
We’re making a satin pillowcase with charmeuse satin because it is less abrasive on our hair than traditional cotton sheets. This easy DIY project can be made with other materials too, like sheeting, broadcloth, cotton prints, or flannel.
Here’s a really easy way to make pillowcases that are beautiful and only take about 20 minutes to put together.
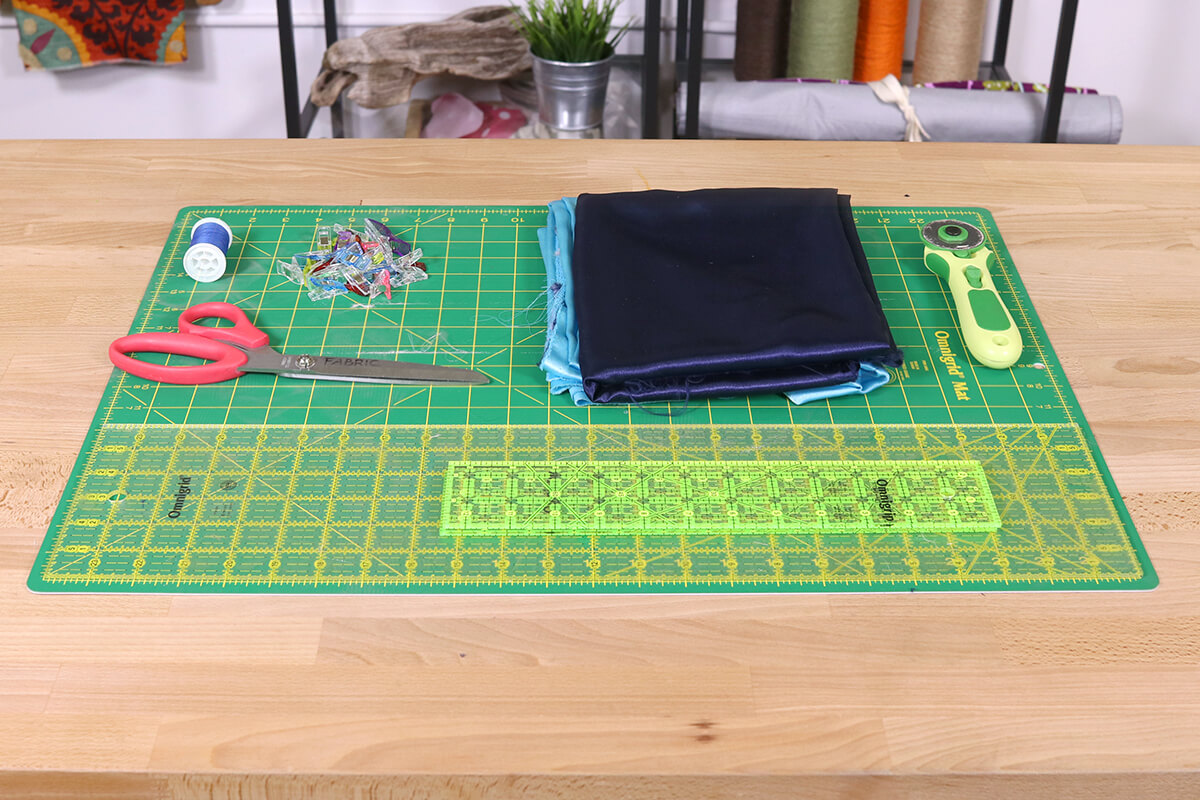
Materials
- Charmeuse
- Rotary Cutter
- Cutting Mat
- Thread
- Pins or Clips
- Iron and board
- Sewing machine
Related Products


Video
Instructions
Step 1: Measure & cut the fabric
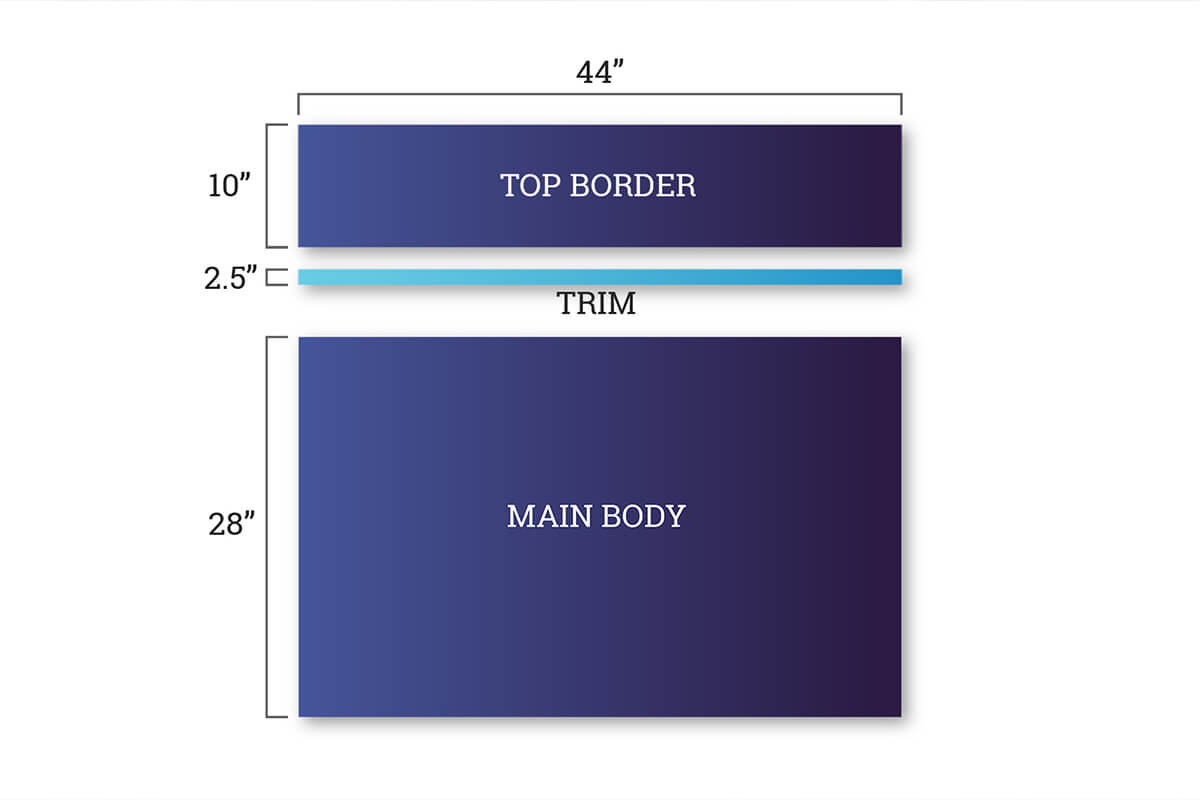
I’m making this pillowcase for a standard bed pillow, which is usually 20 x 28”. The finished product will be about 22 x 33”. You’ll need 3 pieces of fabric for this pillowcase. One for the main body, one for the trim, and one for the top border.
The width of each piece should be about 44”. For the height I’m cutting 10” for the border, 2.5” for the trim, and 28” for the main piece.
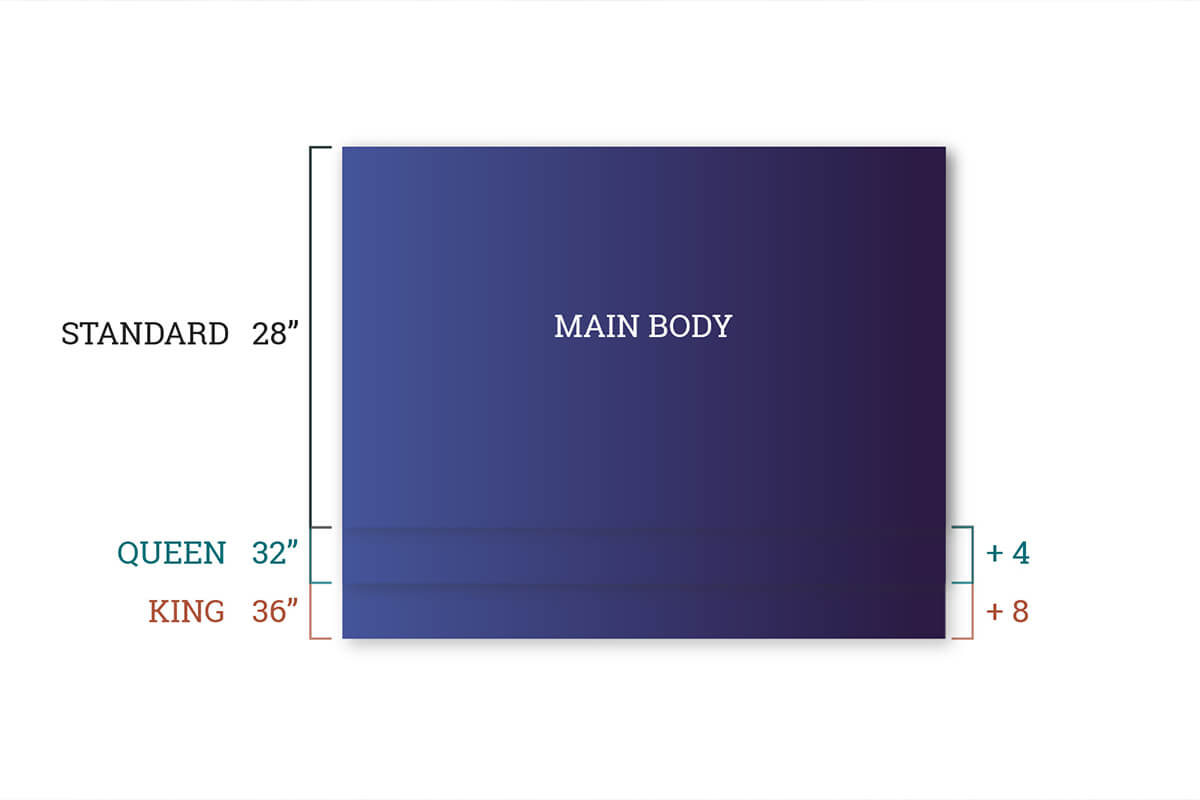
For larger pillows, add to the height measurement of the main body piece.
Add 4” for a queen size and 8” for a king size pillow. The trim and top border pieces are the same for all 3 sizes.
Step 2: Sew the pillowcase
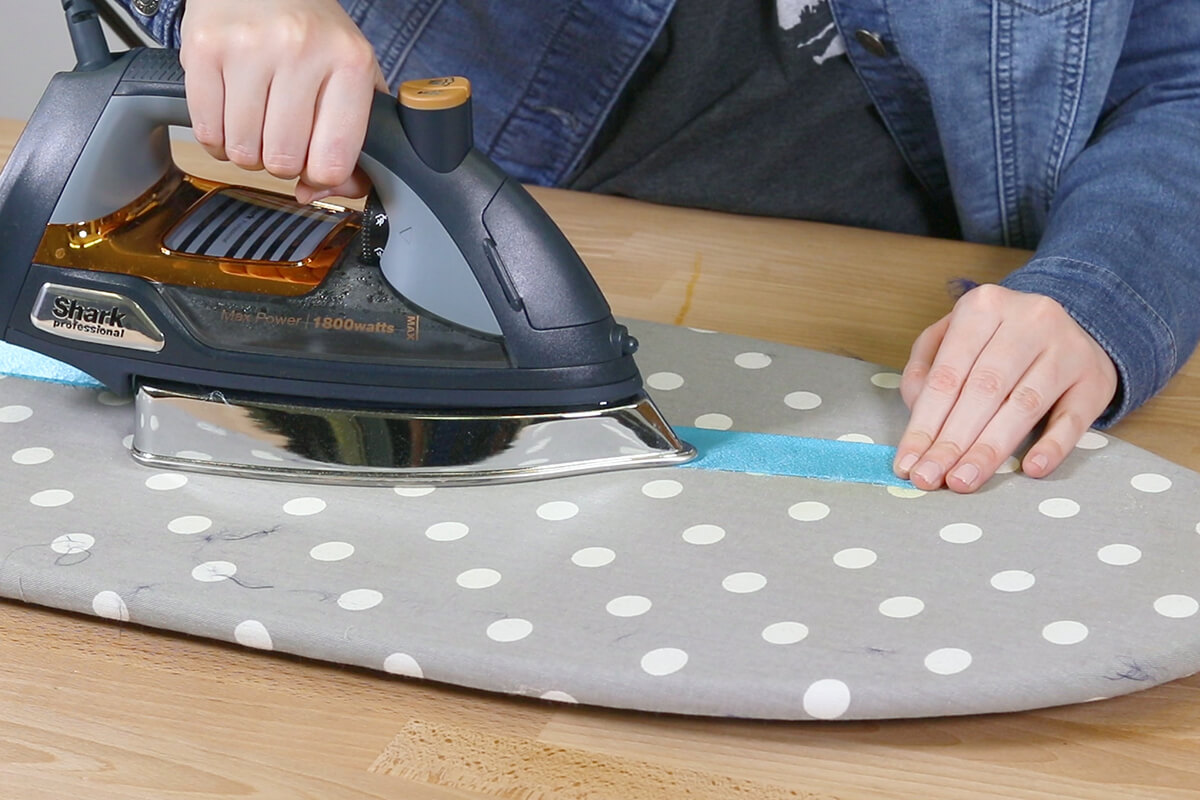
Fold the trim in half lengthwise with wrong sides facing and iron.
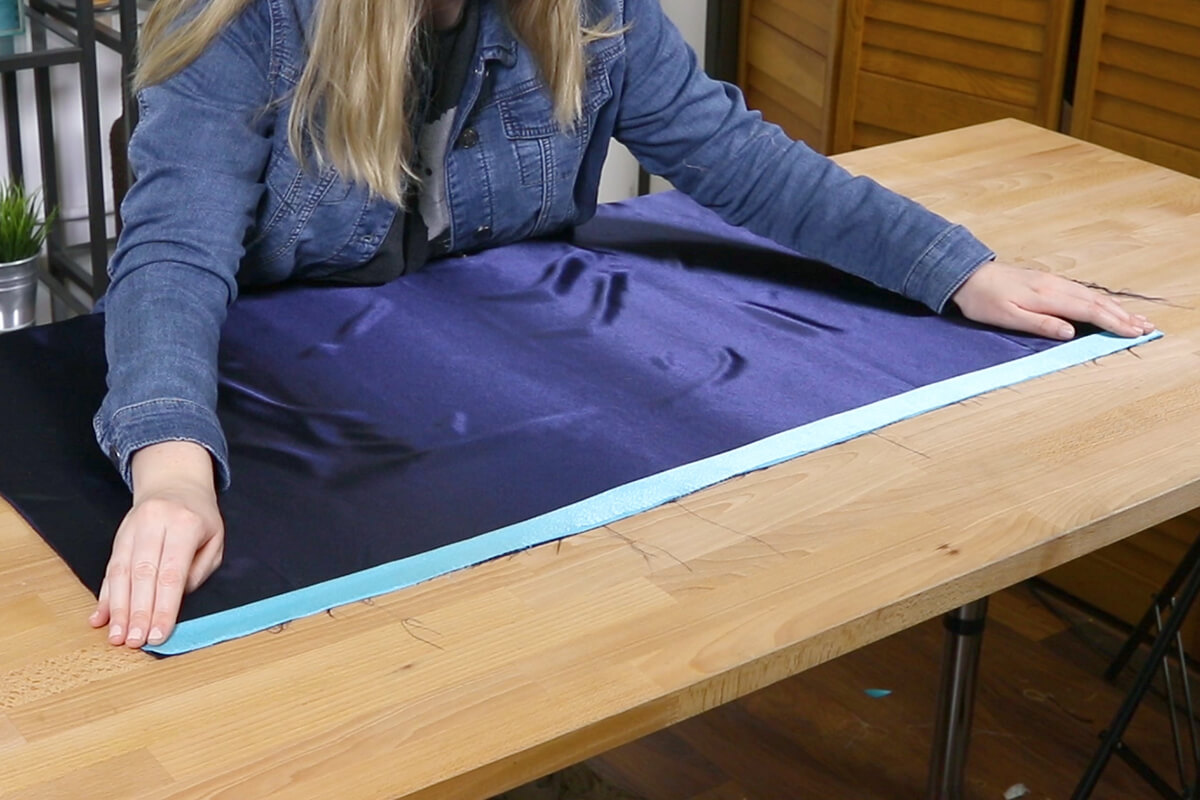
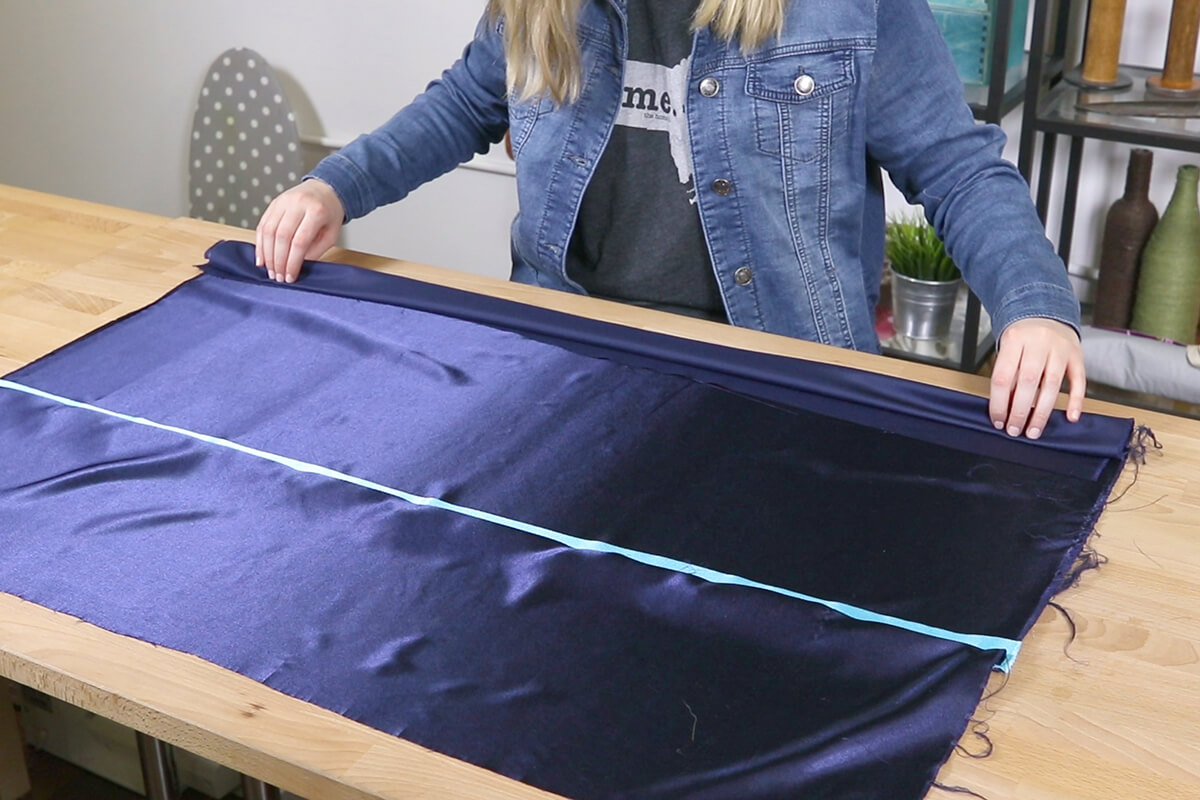
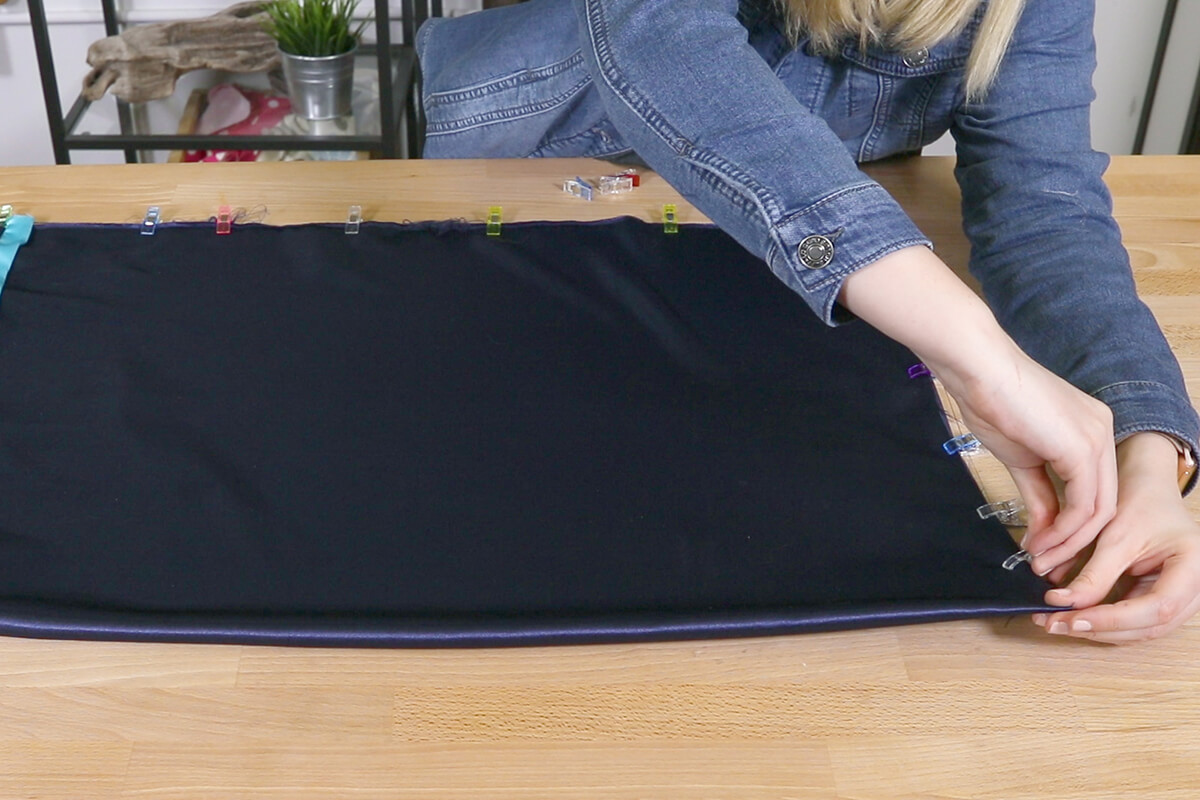
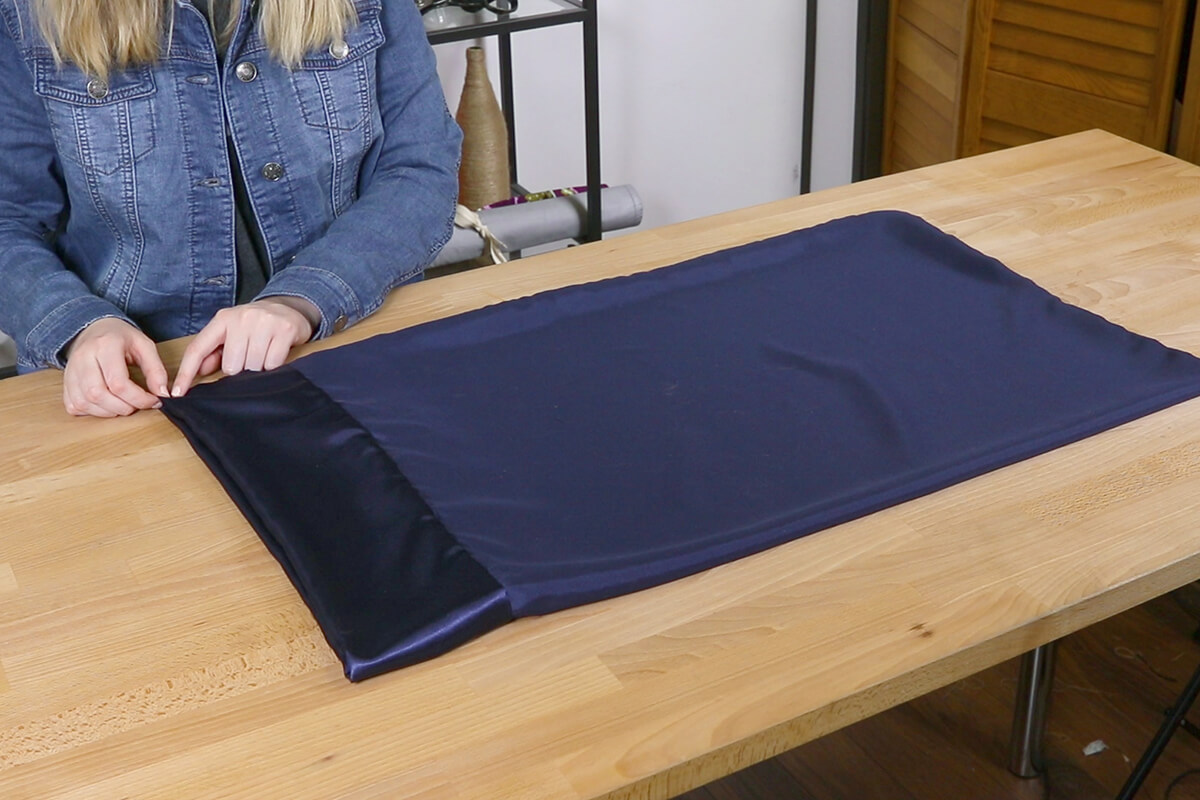
Sandwich the trim between the top border and main body pieces. Make sure the raw edges are lined up and the right sides are facing.
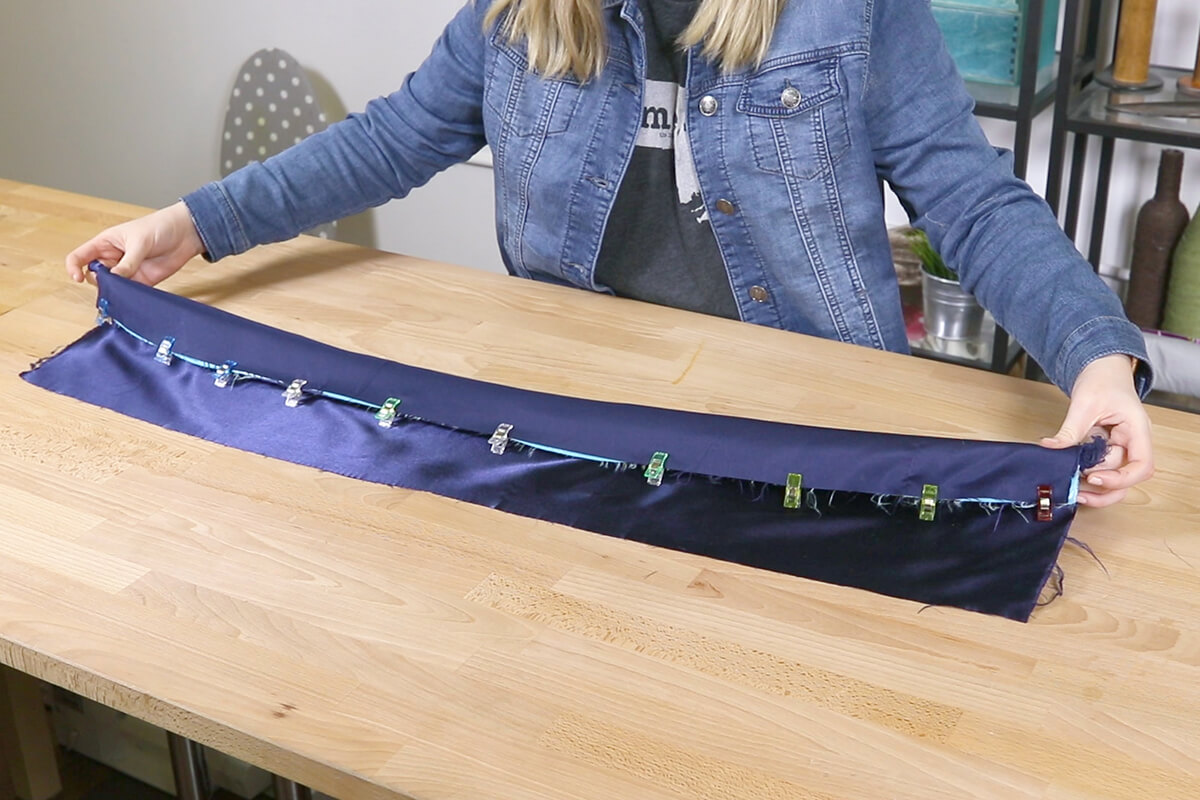
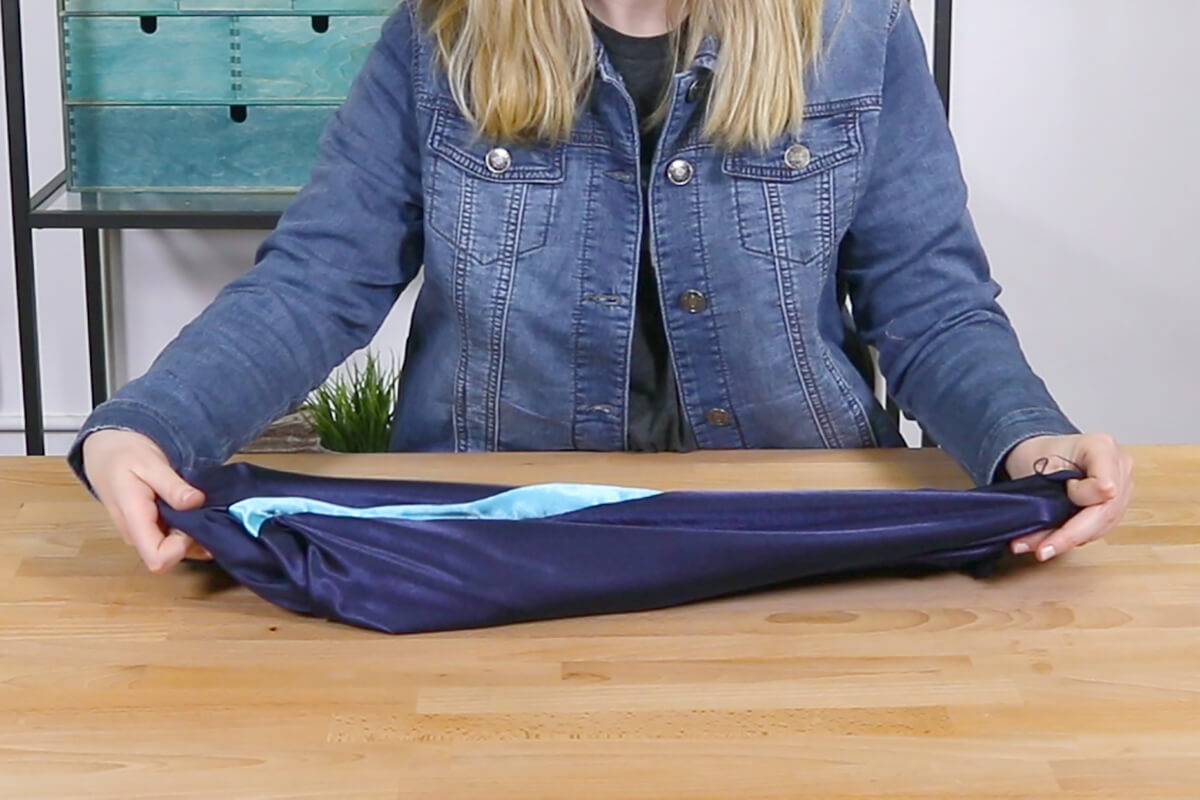
Roll the bottom of the main body piece up until it’s about 2” from the top. Fold the other side of the border up so that the edges line up and the main body is encased inside the border piece.
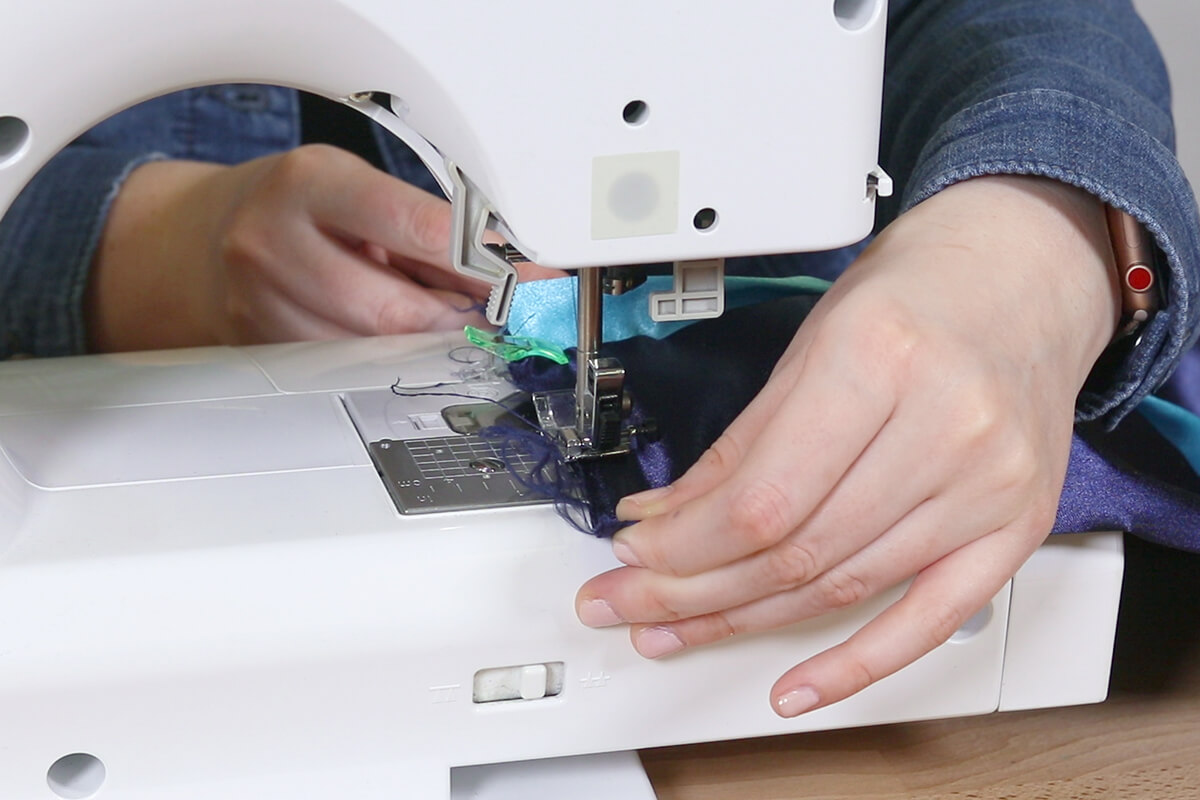
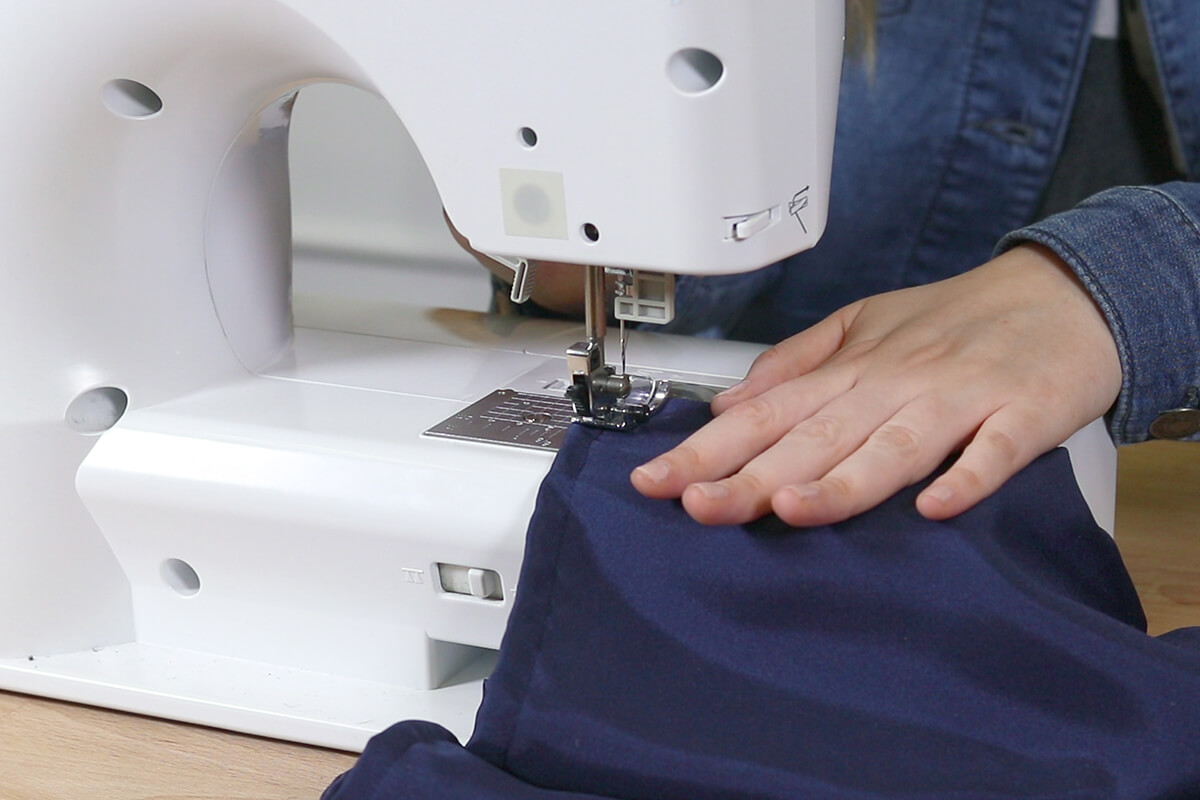
Pin in place and sew with a ¼” seam allowance.

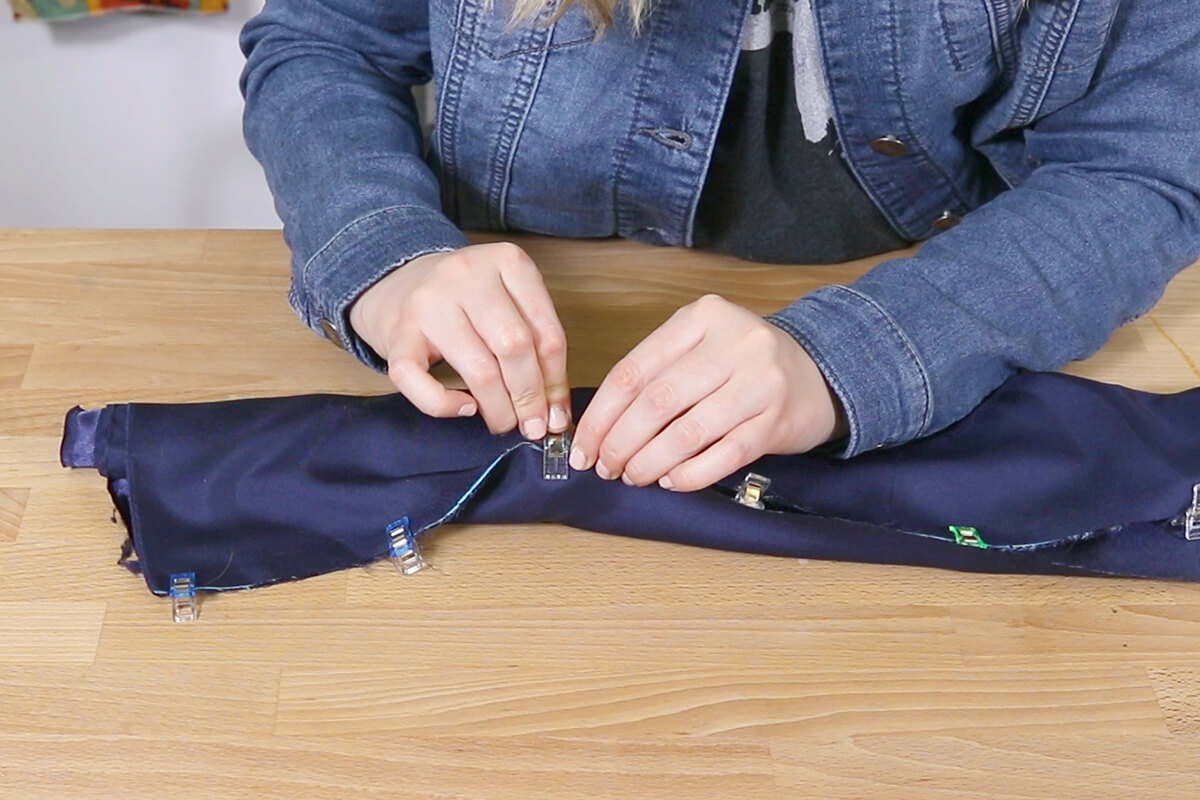
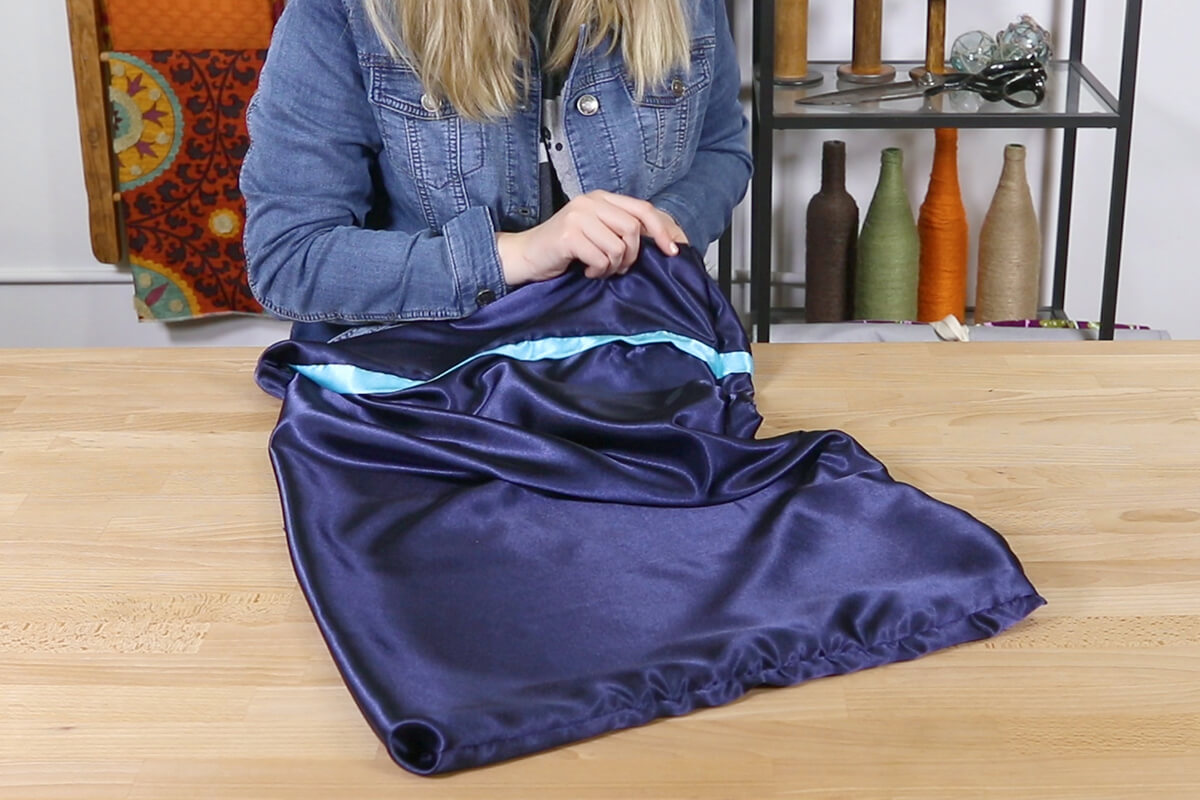
Pull out the main fabric through one of the open sides.
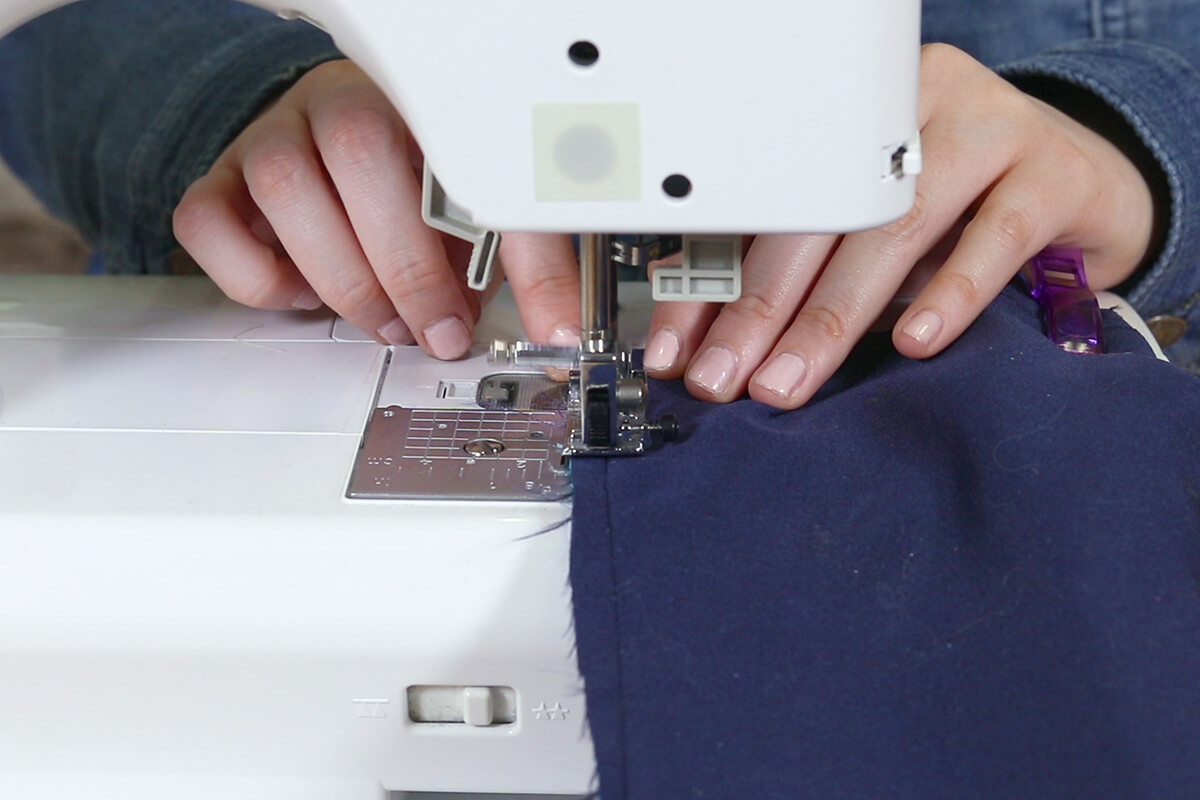
Fold in half with wrong sides facing and pin. Make sure the trim is lined up on both sides. Sew along the open side and bottom with a ¼” seam allowance.
Cut the seams down to about an 1/8th of an inch and clip the corners.
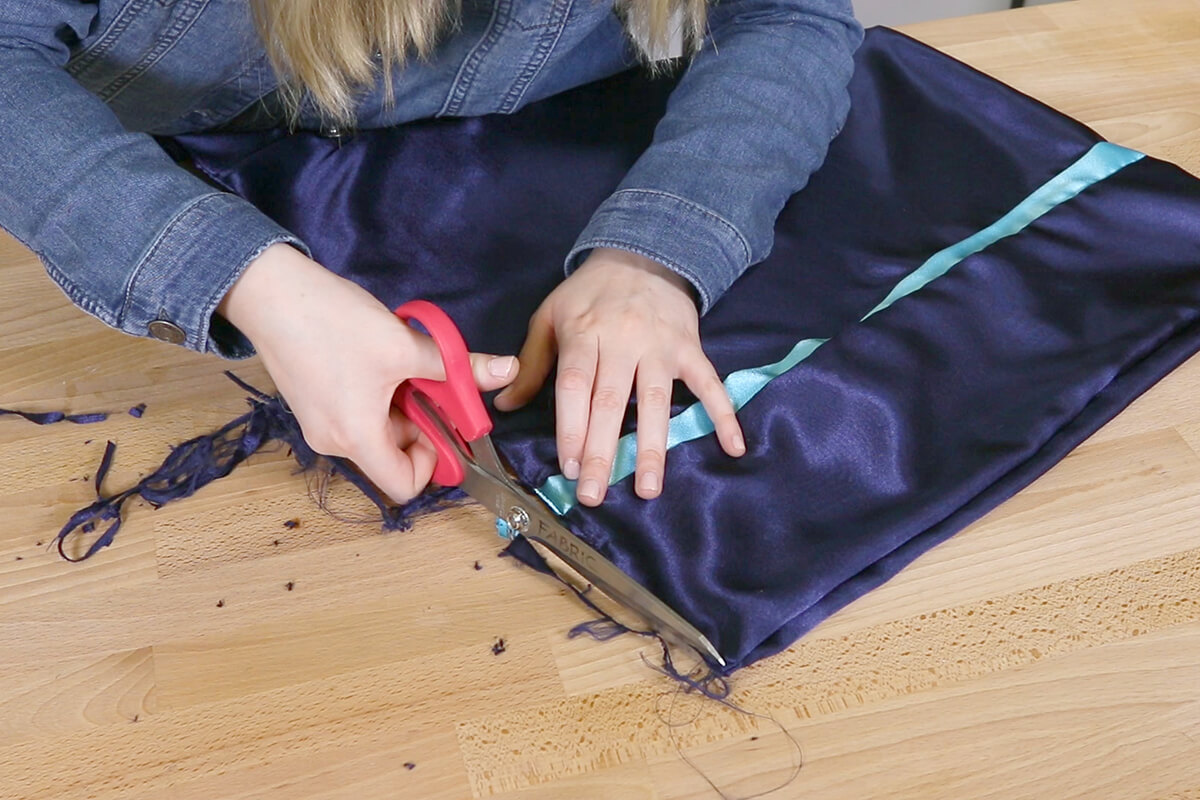
Turn the pillowcase to the wrong side. Sew the side and bottom again with a ¼” seam allowance. This creates a French seam which hides the raw edges of the fabric.
Turn right side out.


-
{{#each productSuggestedQueries.results}}
- {{query}} {{/each}}
-
{{#each categories.results}}
- {{html title}} {{/each}}
{{html attributes.description}}
{{/if}}-
{{#each queries.results}}
- {{query}} {{/each}}