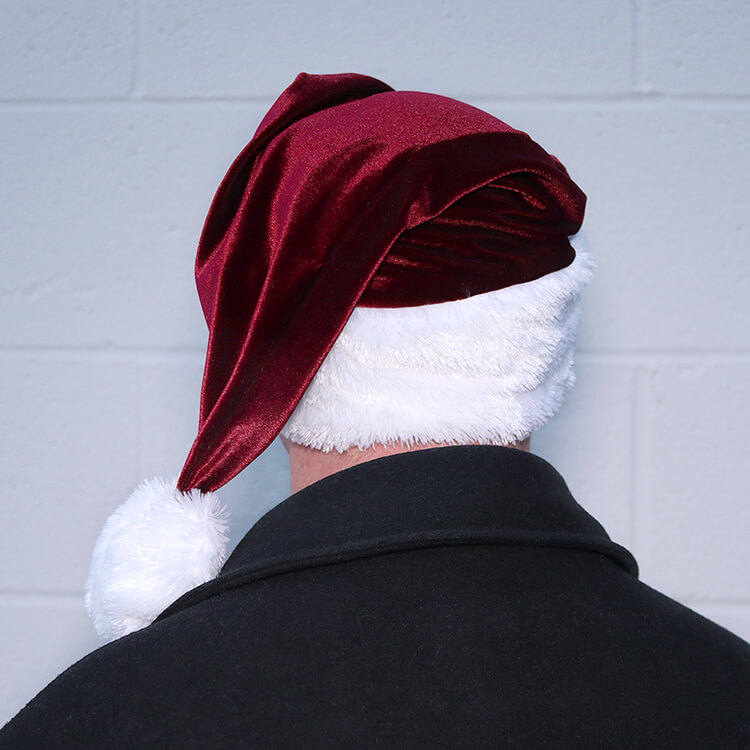
How to Make a Santa Hat
- By Greg
- Beginner
- 45 minutes
Learn how to make a fun and festive Santa hat using faux fur and stretch velvet fabric. This is a simple project that you can easily make for yourself, or give away as personalized handmade gifts!
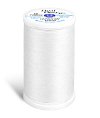
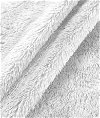
Materials
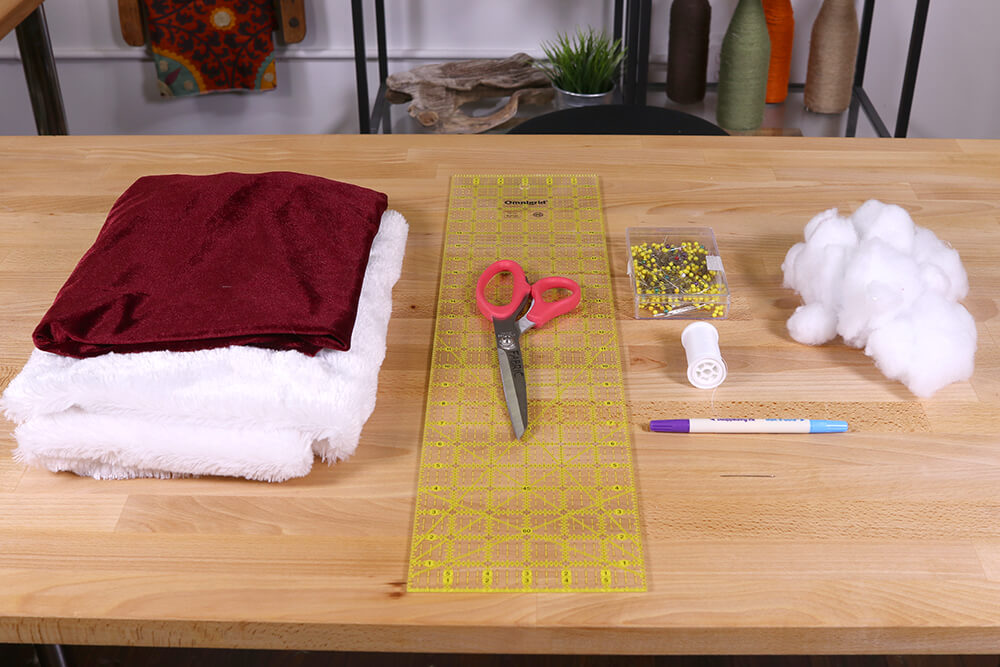
Related Products


Video
Instructions
Step 1: Cut & sew faux fur
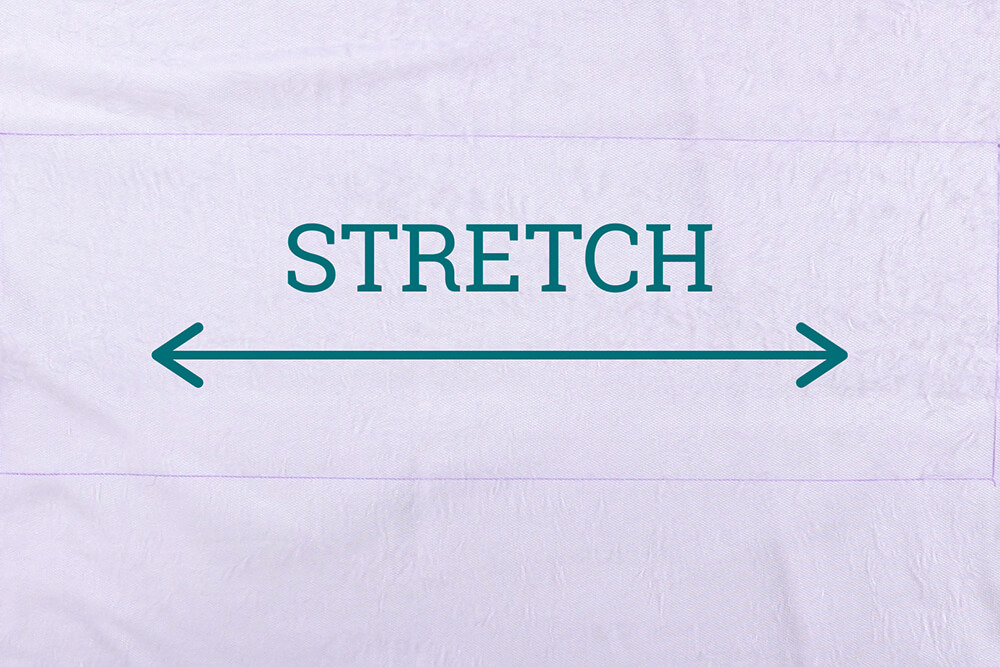
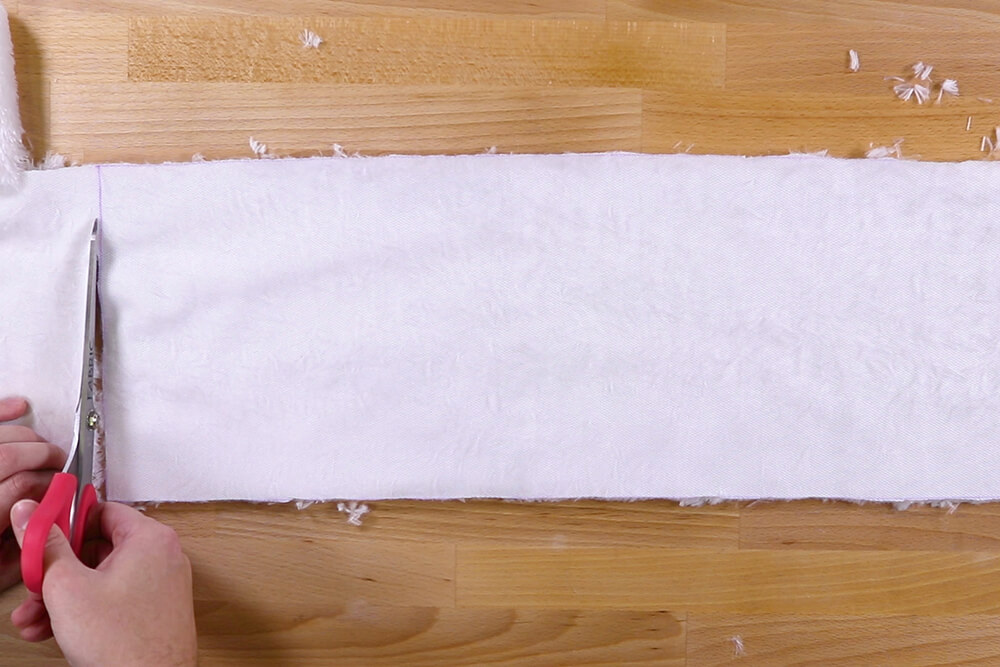
Measure a piece of faux fur that’s 24 inches wide and 8 inches high.
Make sure the stretch of the fabric aligns with the width of your piece.
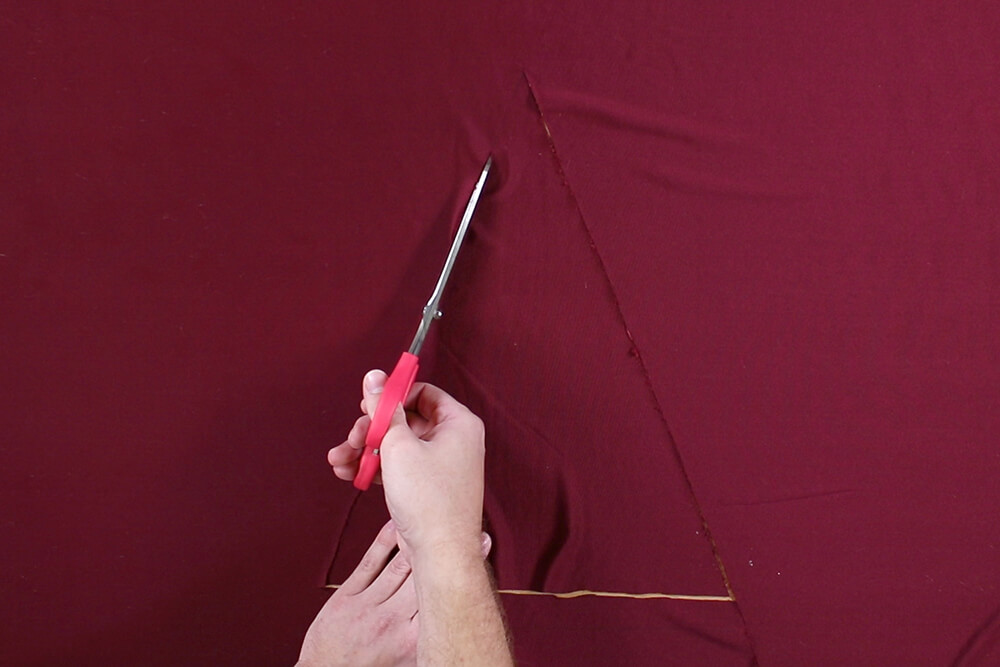
Cut out the piece. Faux fur can be messy, so it helps to cut the fabric in short snips.
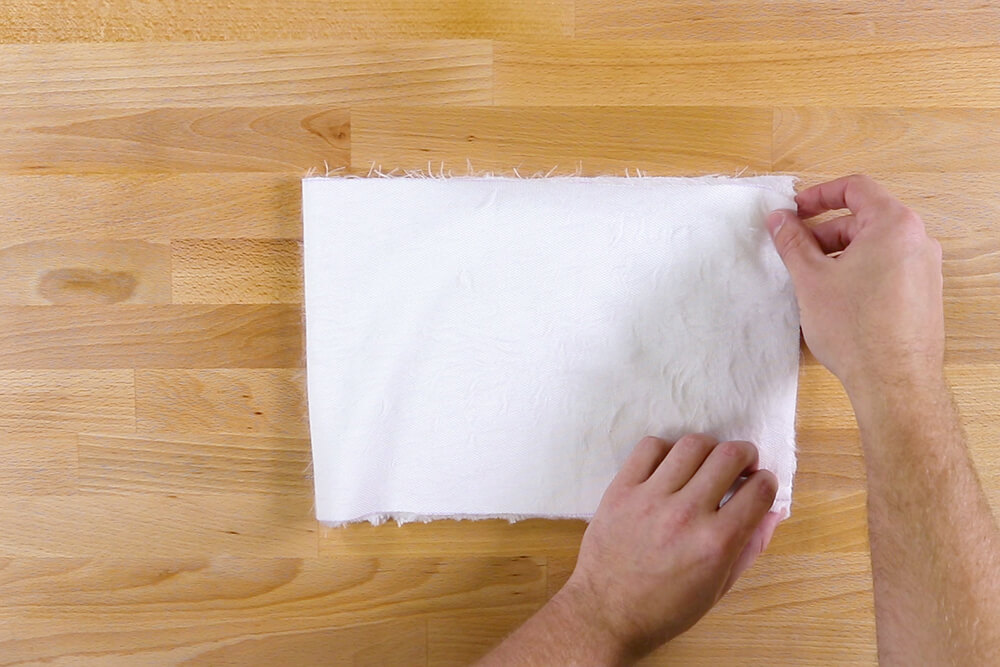
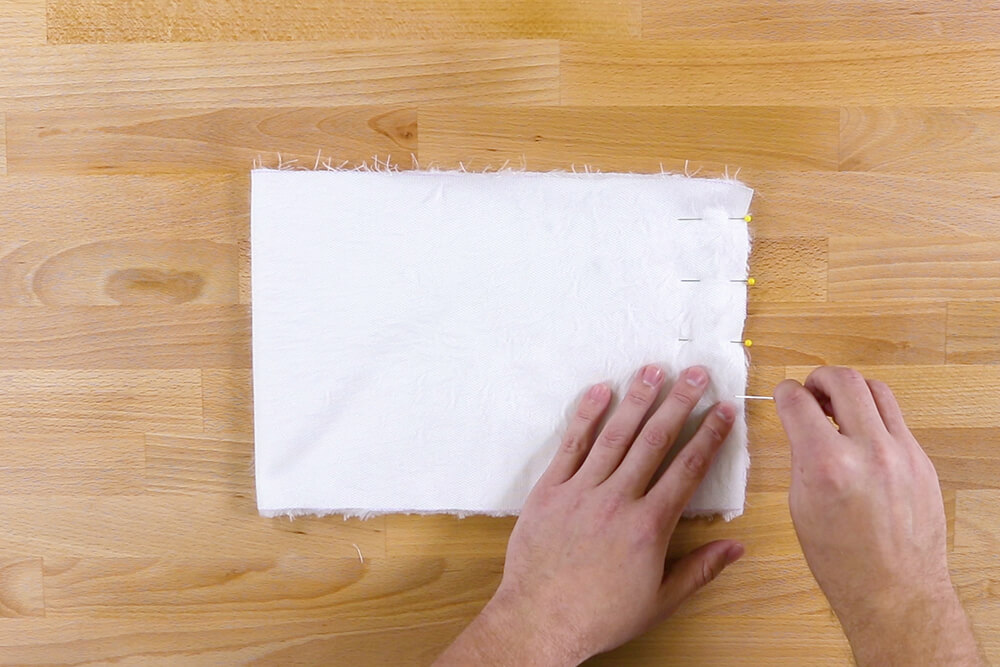
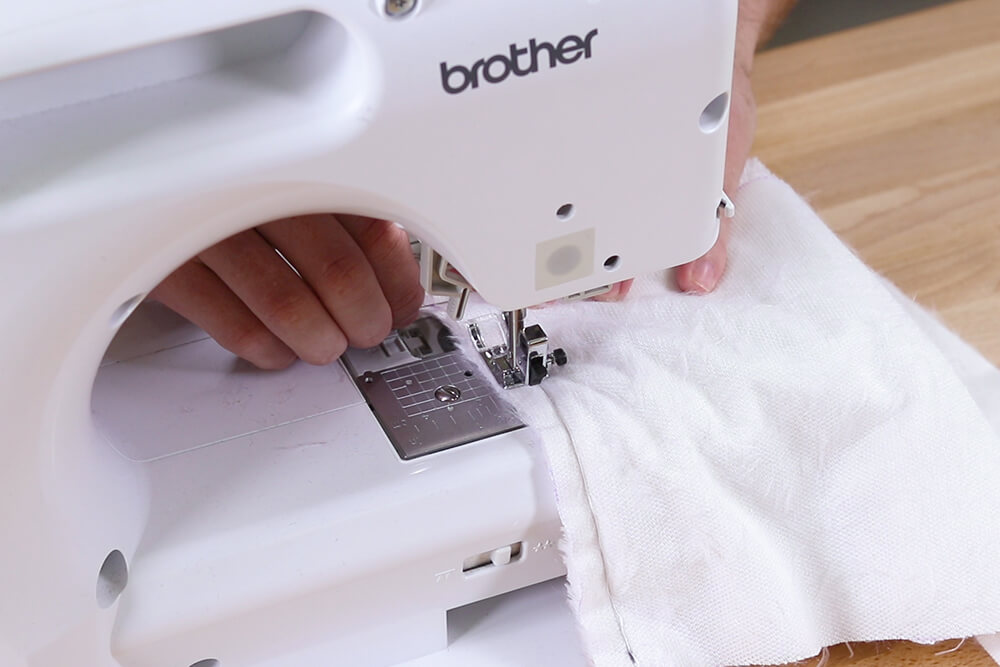
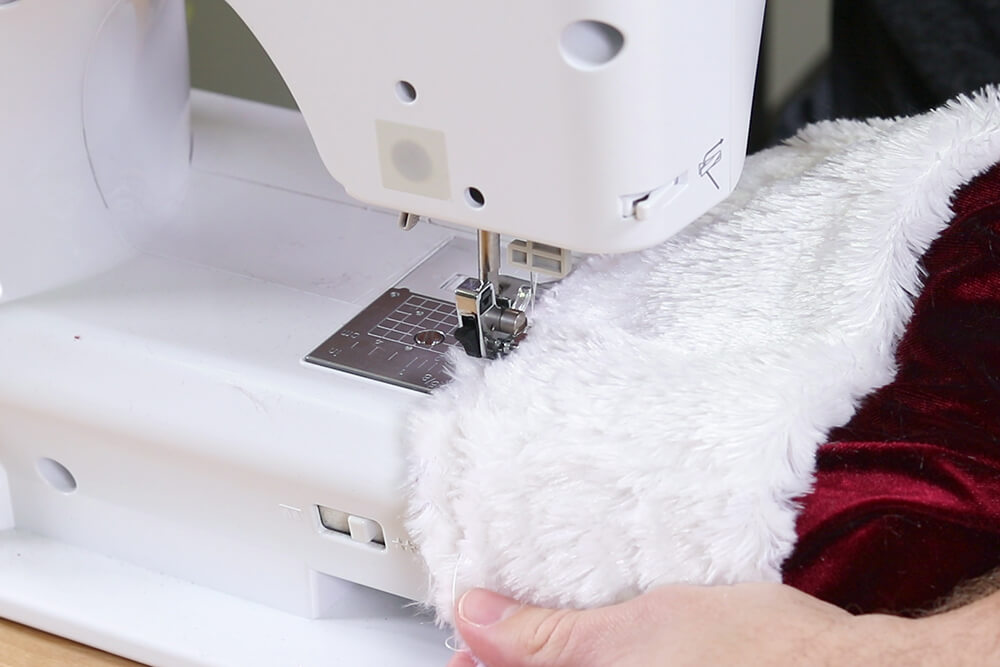
Fold in half with right sides facing and pin down the side.
Stitch with a 1/2″ seam allowance. Make sure to back stitch at both ends.
Step 2: Cut & sew velvet
You can use the first piece as a template to cut out the second piece.
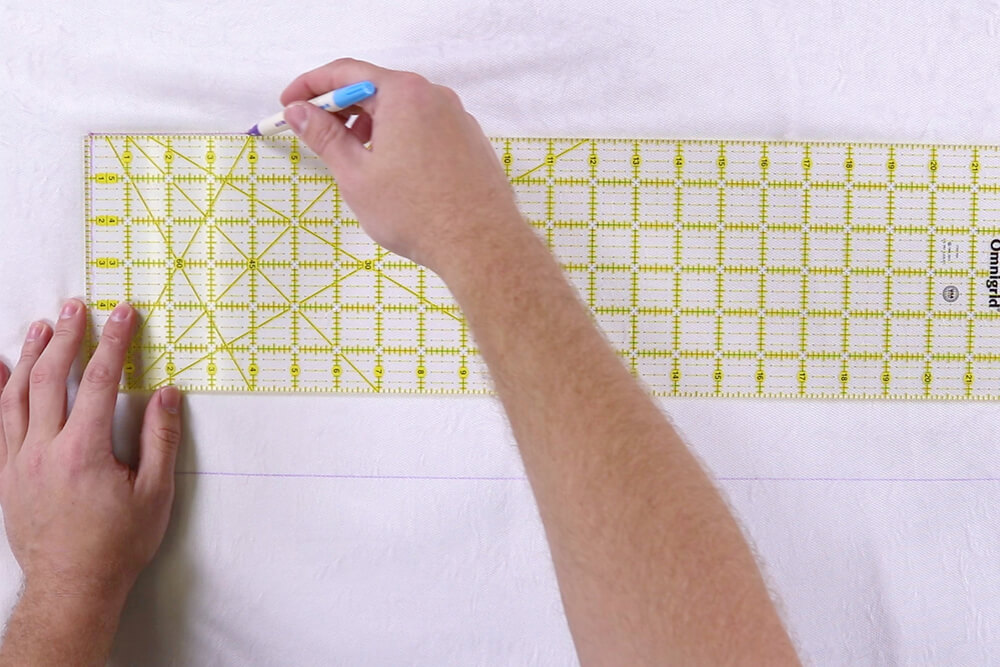
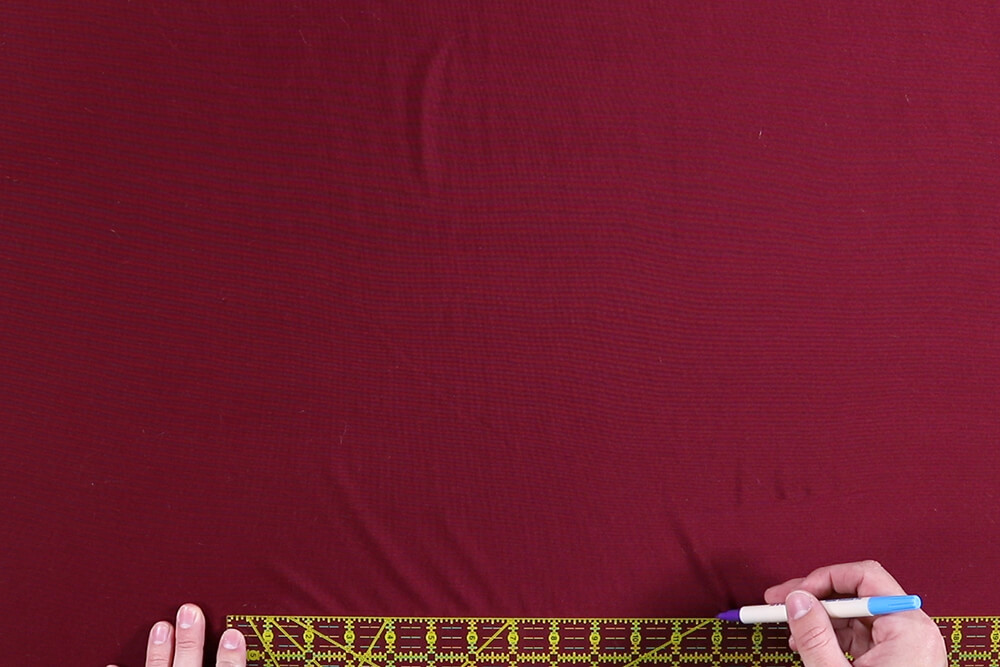
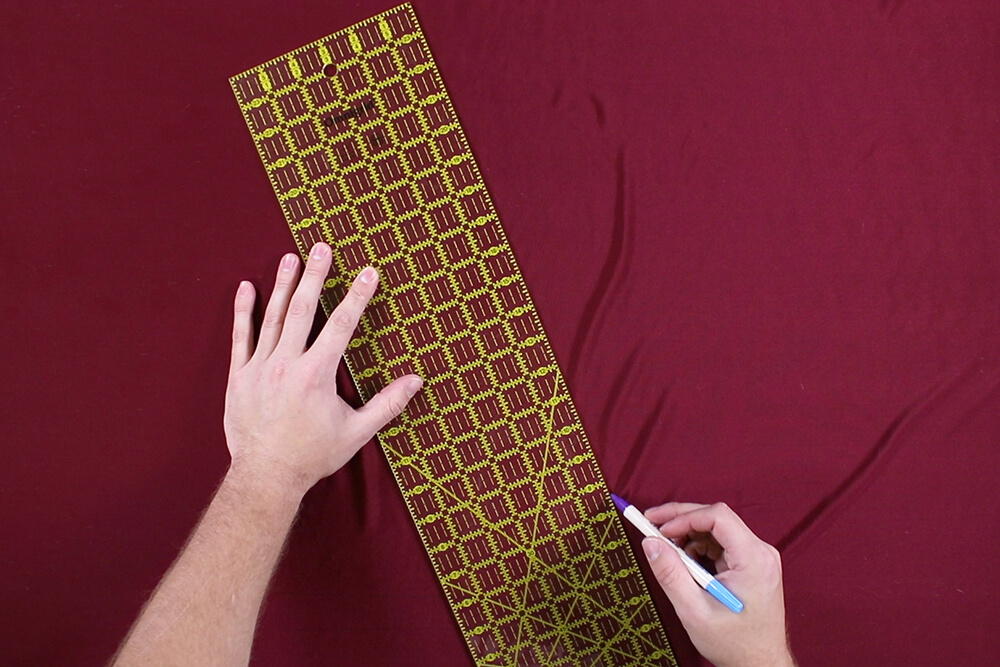
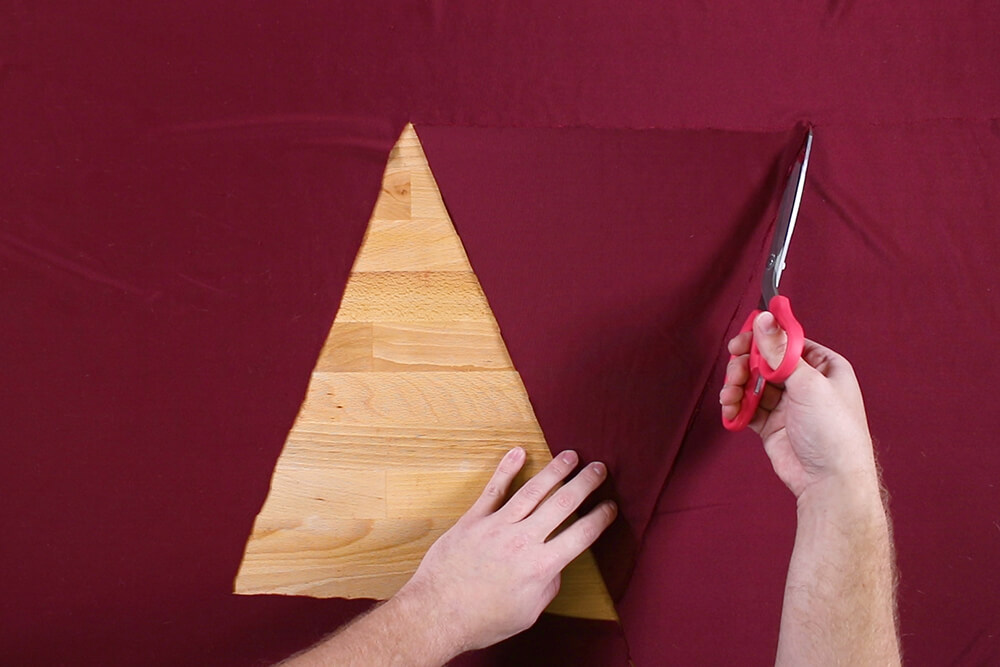
Measure and cut 2 triangles of velvet that are 12 inches wide and 15 inches high.
Make sure to mark the height from the very center of the width.
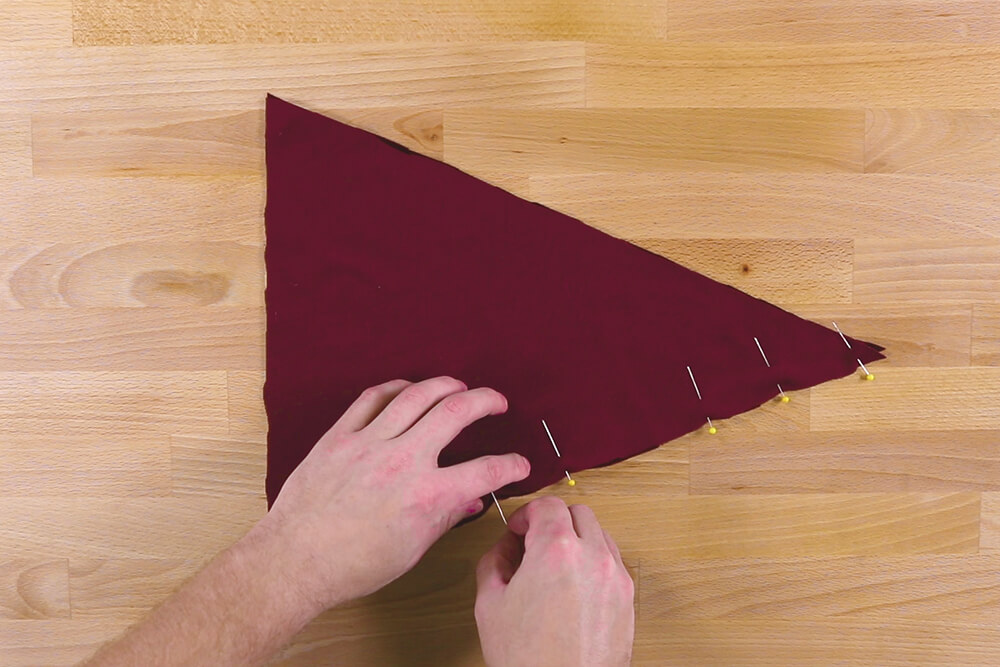
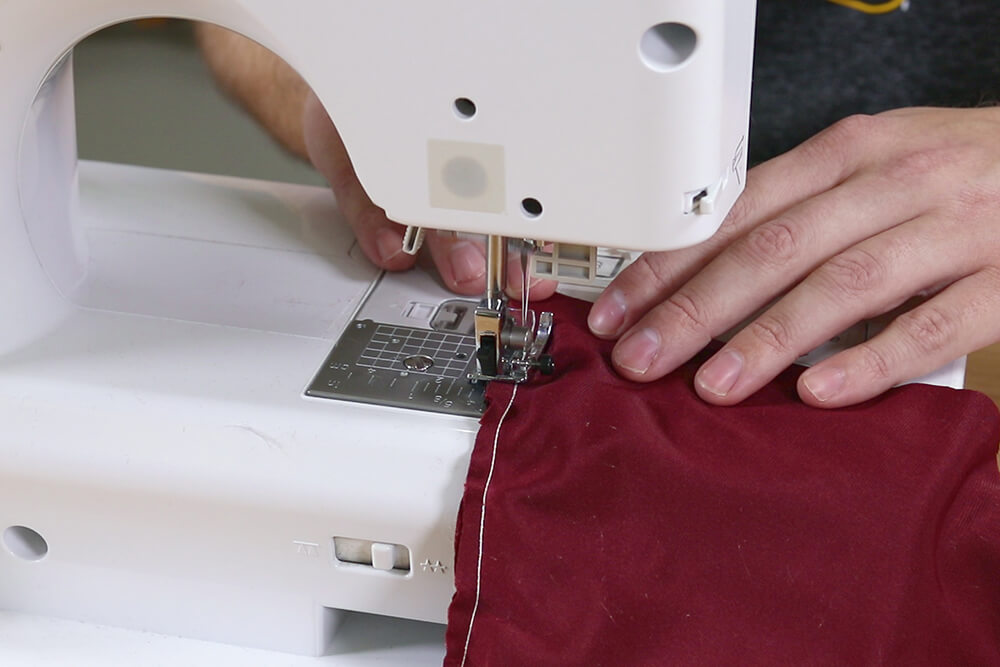
Put the triangles together with right sides facing and pin down one of the sides.
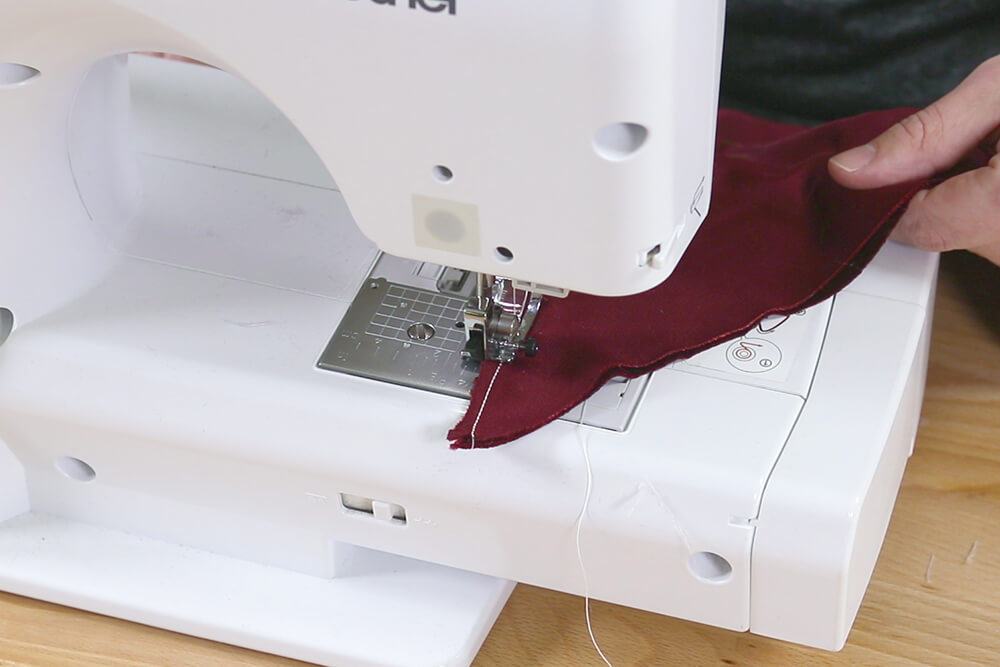
Stitch down the side with a 1/4″ seam allowance.
Stretch velvet can be slippery and difficult to sew with. It helps to go slowly, don’t pull on the fabric, and wait until the last second to pull out the pins.
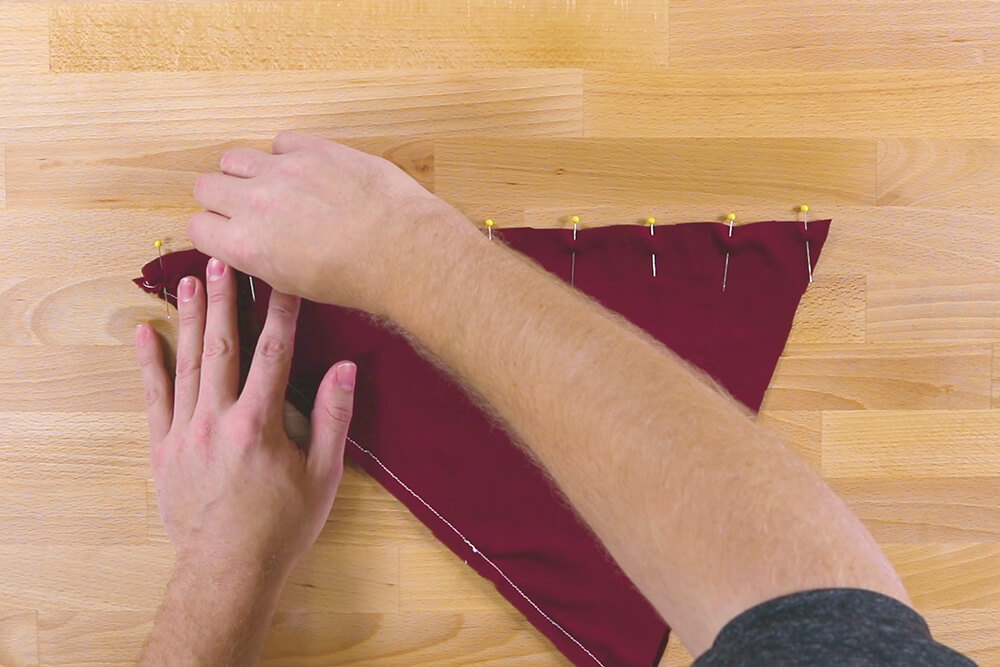
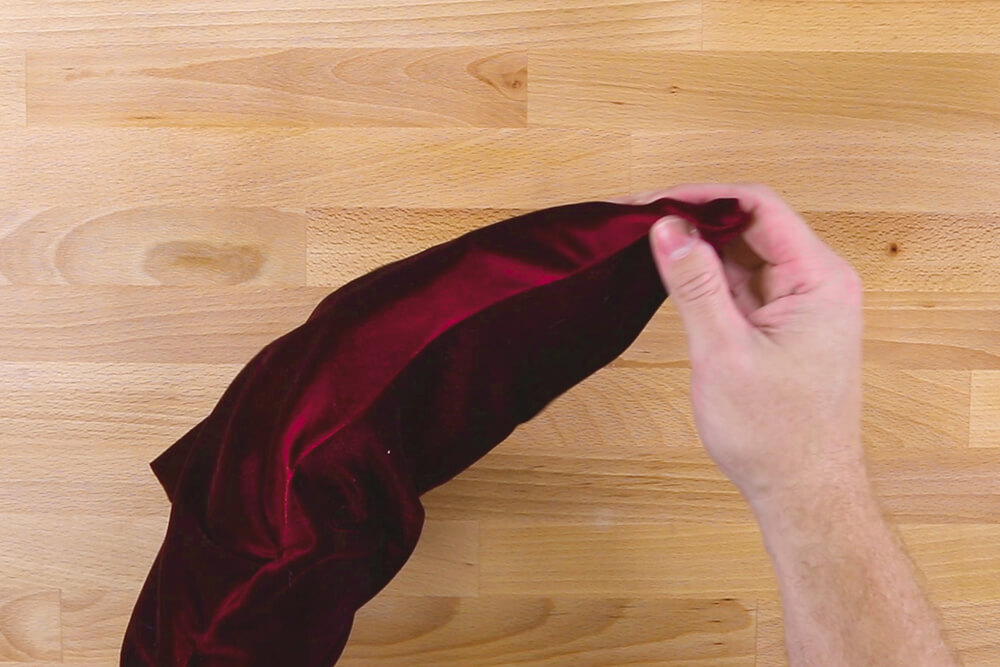
Repeat for the other side.
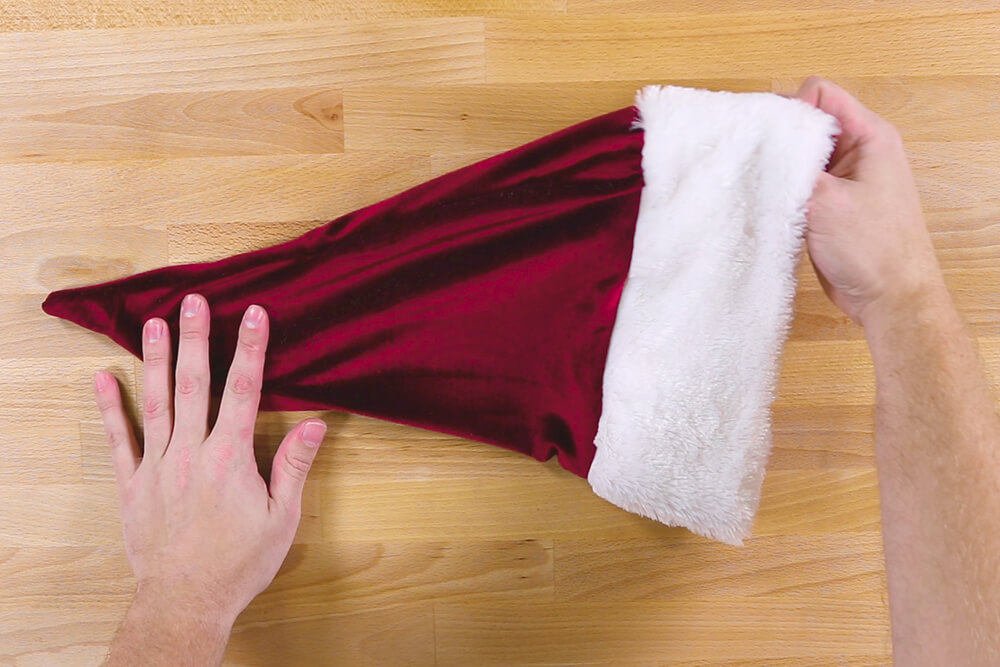
Turn right side out and poke out the top corner.
Step 3: Sew together
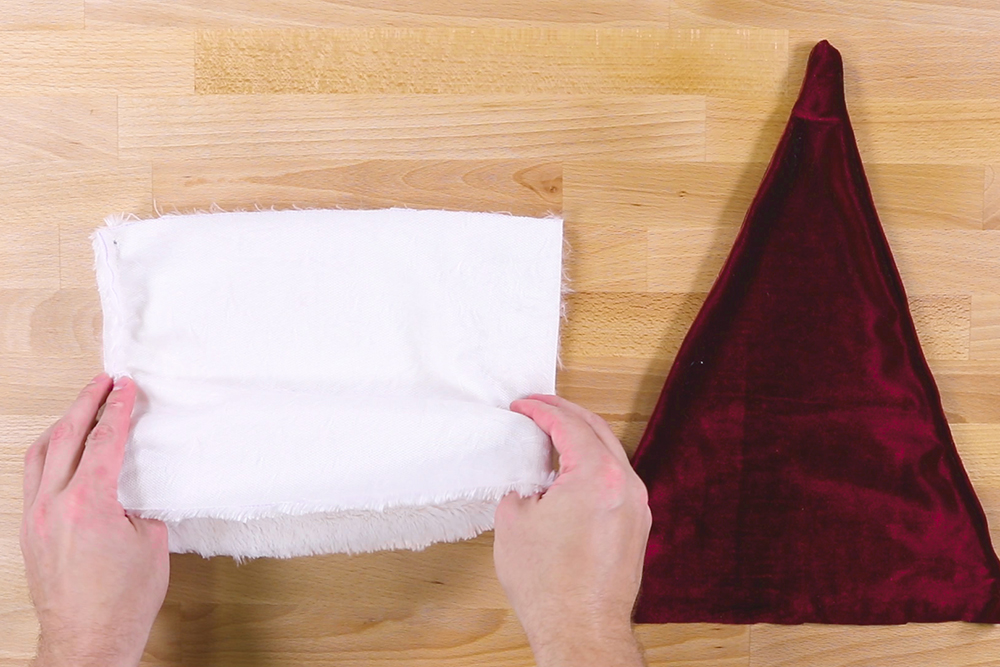
Take the faux fur circle and fold in half with wrong sides facing. Insert the velvet triangle and pin the raw edges together.
Make sure all 3 raw edges are lined up evenly, and the brim seam is matched up with one of the velvet seams.
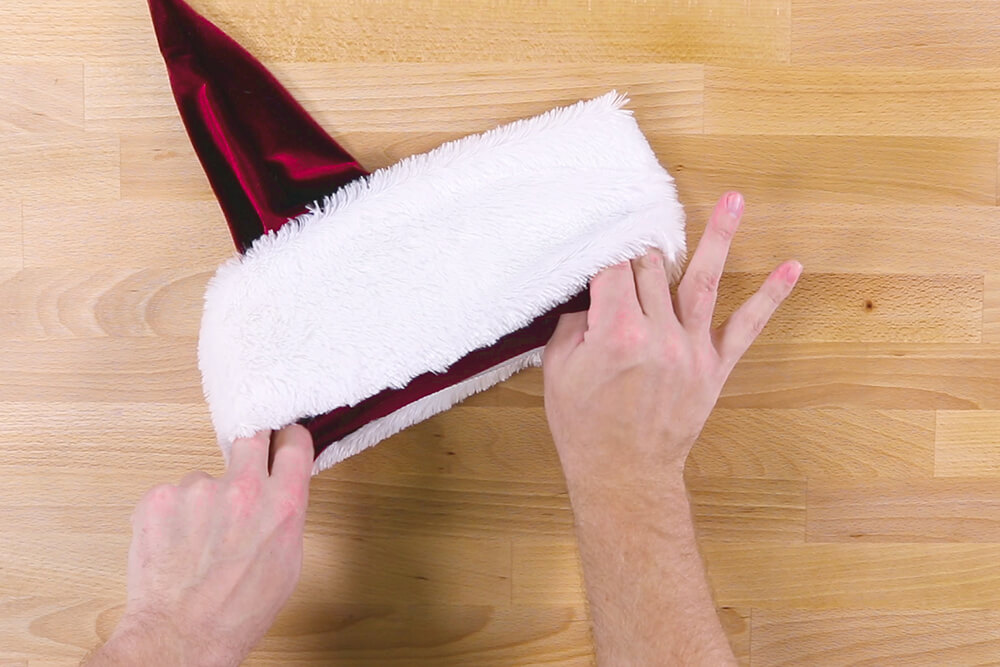
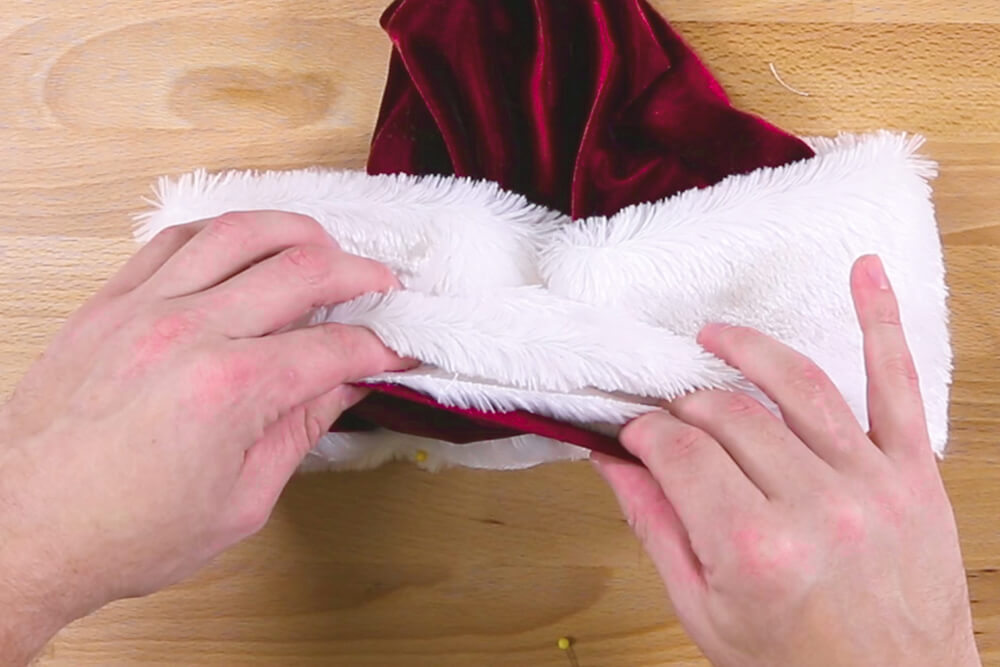
Stitch with a 1/2″ seam allowance.
The fabric will be a little thick here so be careful.
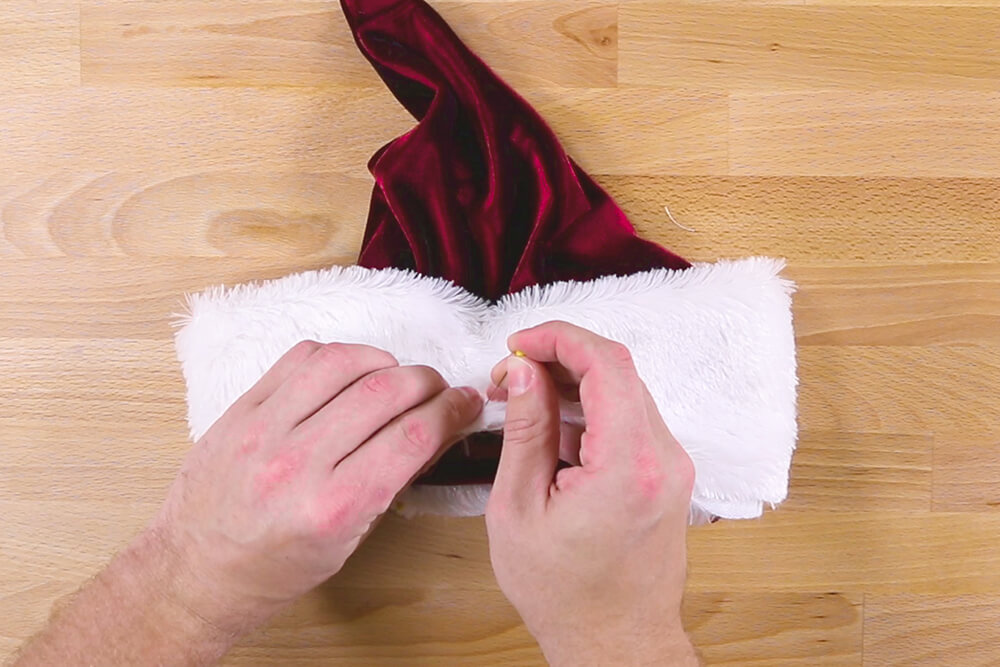
When finished sewing, fold the brim down.
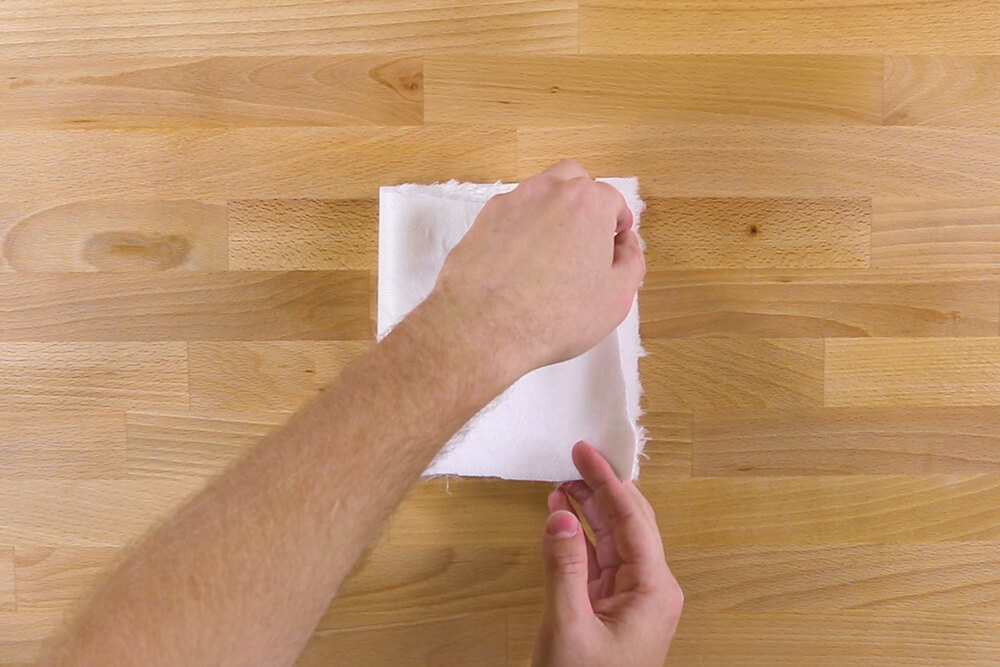
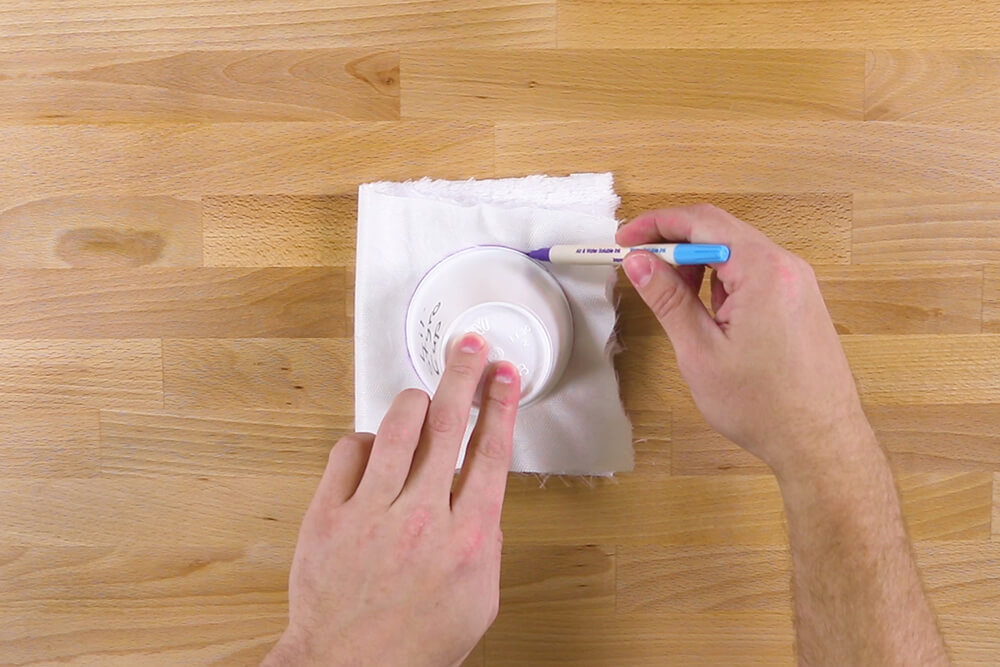
Step 4: Make the pompom
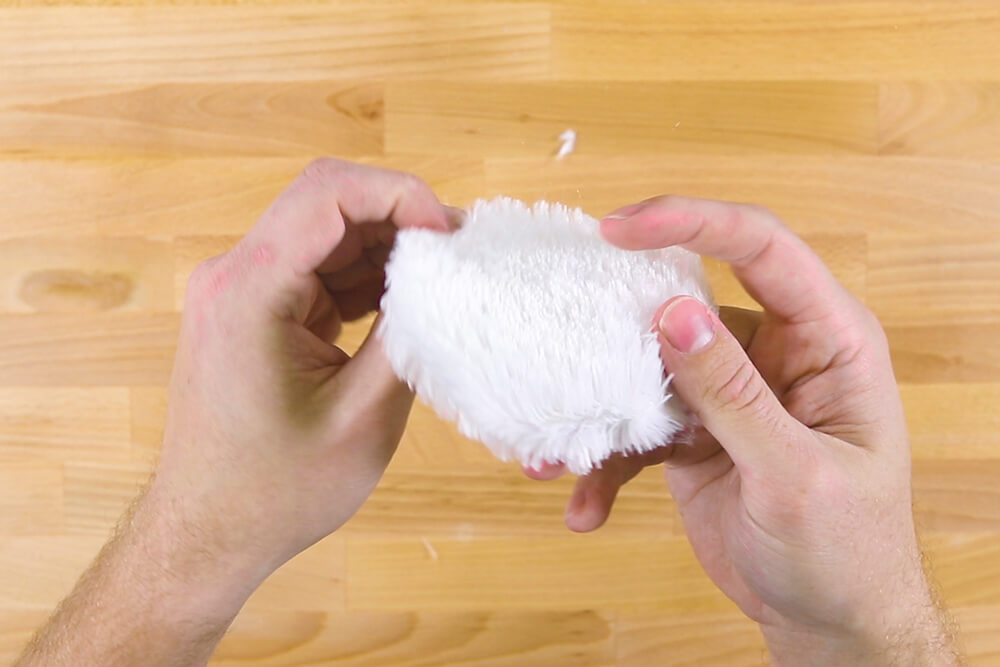
The last piece you’ll need is the pompom. Fold a small piece in half with right sides facing and draw a circle.
I’m using a Styrofoam cup as a template, which is a little under 4 inches in diameter.
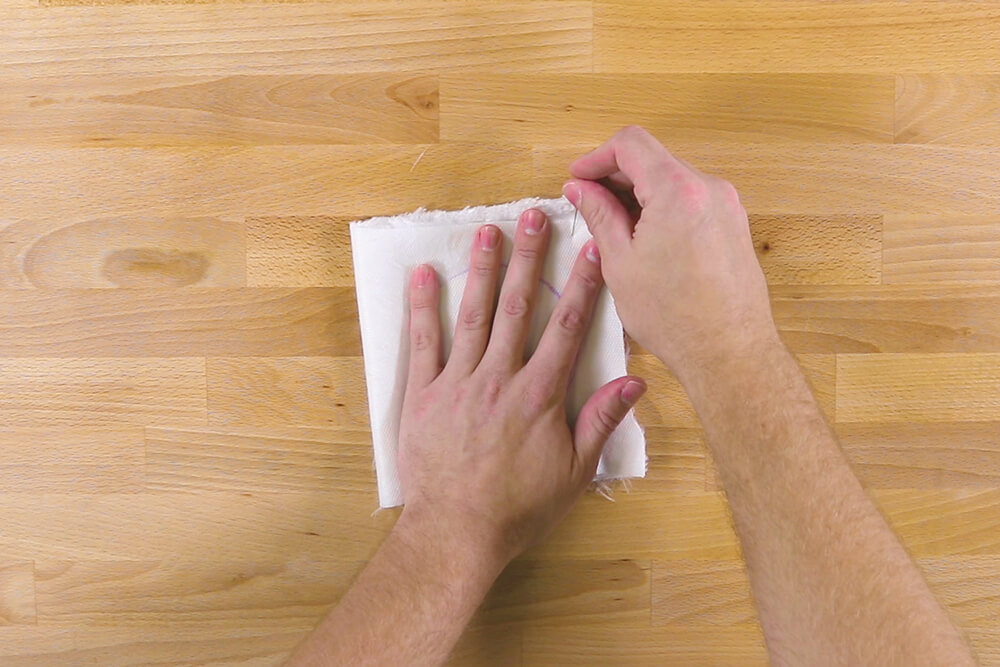
Pin in a few places around the circle.
Sew around the circle, but leave a couple inches open.

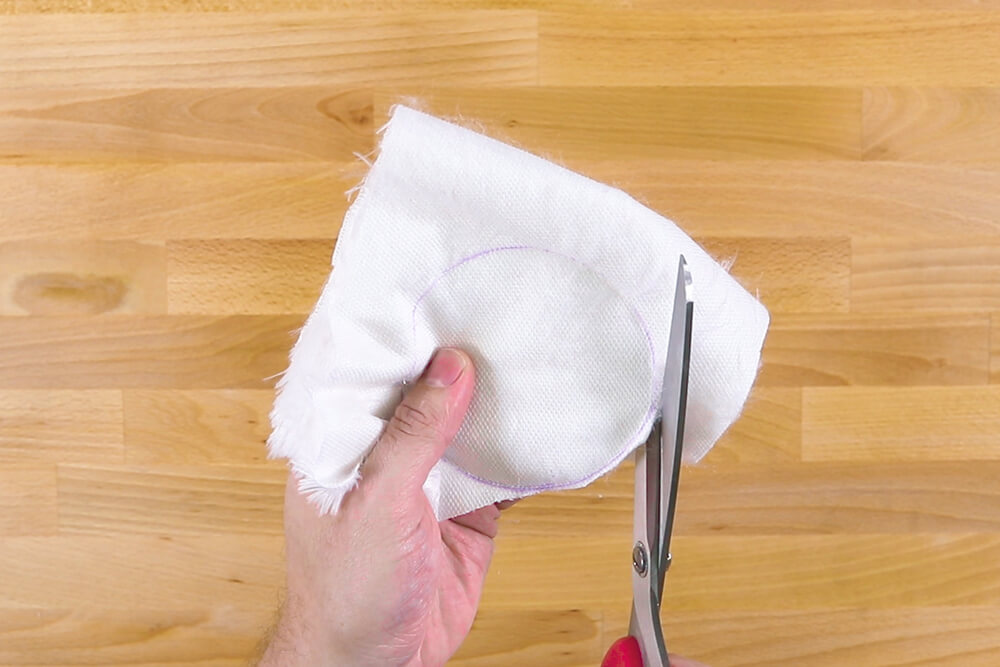
Cut around the circle, but make sure not to cut into the stitches.
Turn to the right side through the opening.
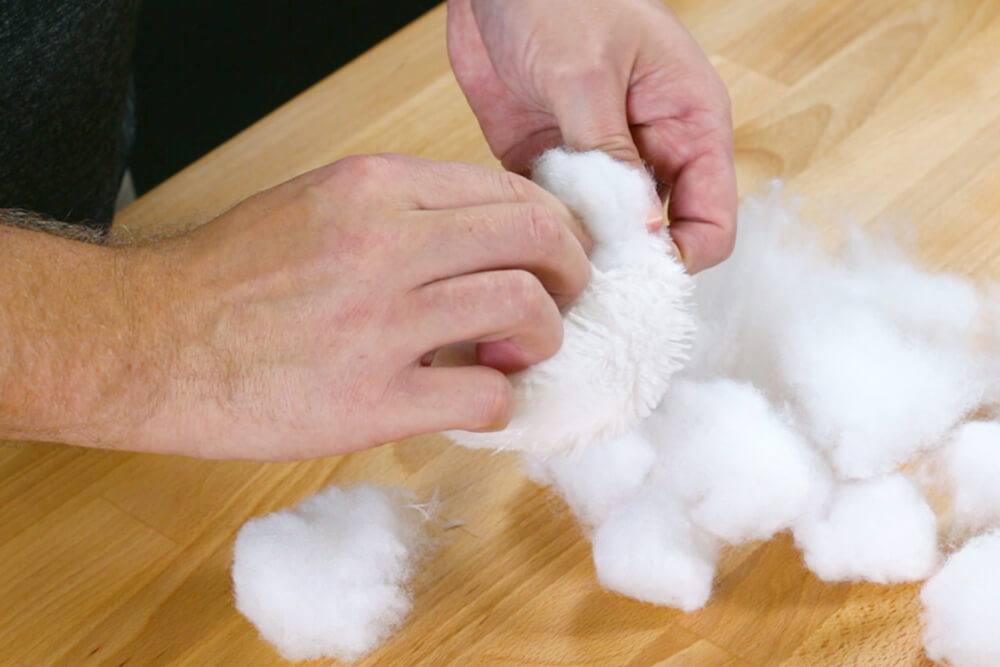
Fill the pompom with stuffing so it’s full enough, but not too full.
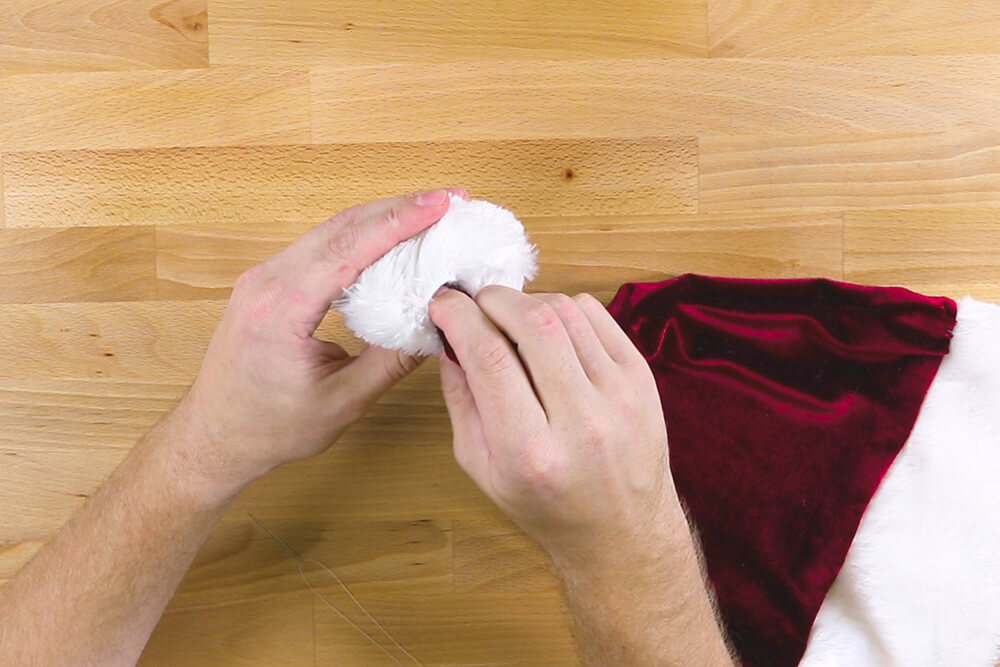
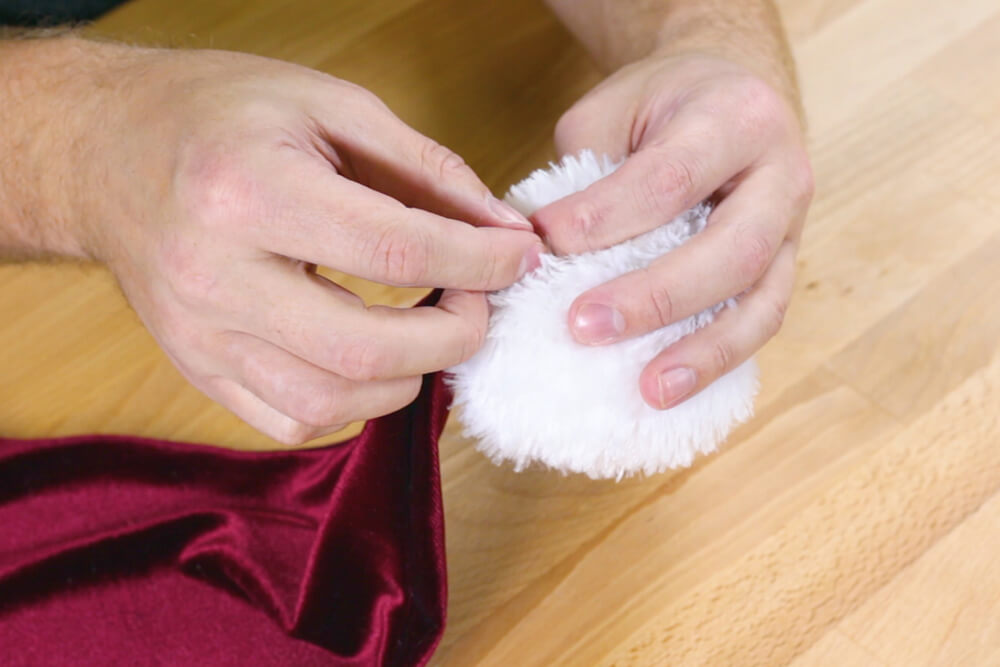
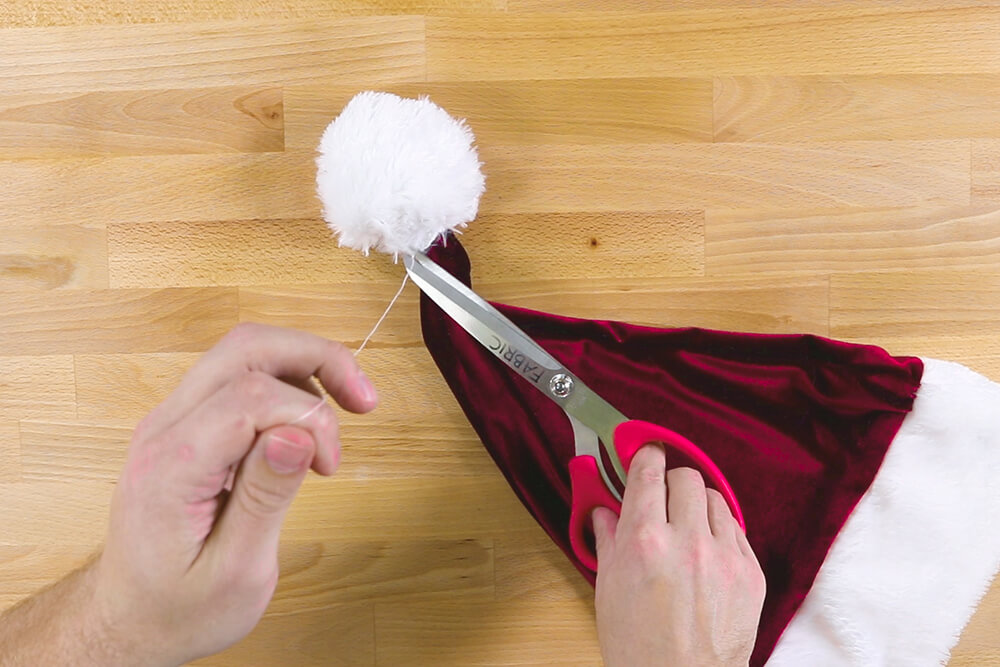
Insert the tip of the velvet. Fold the ends of the pompom opening in, and hand sew it shut.
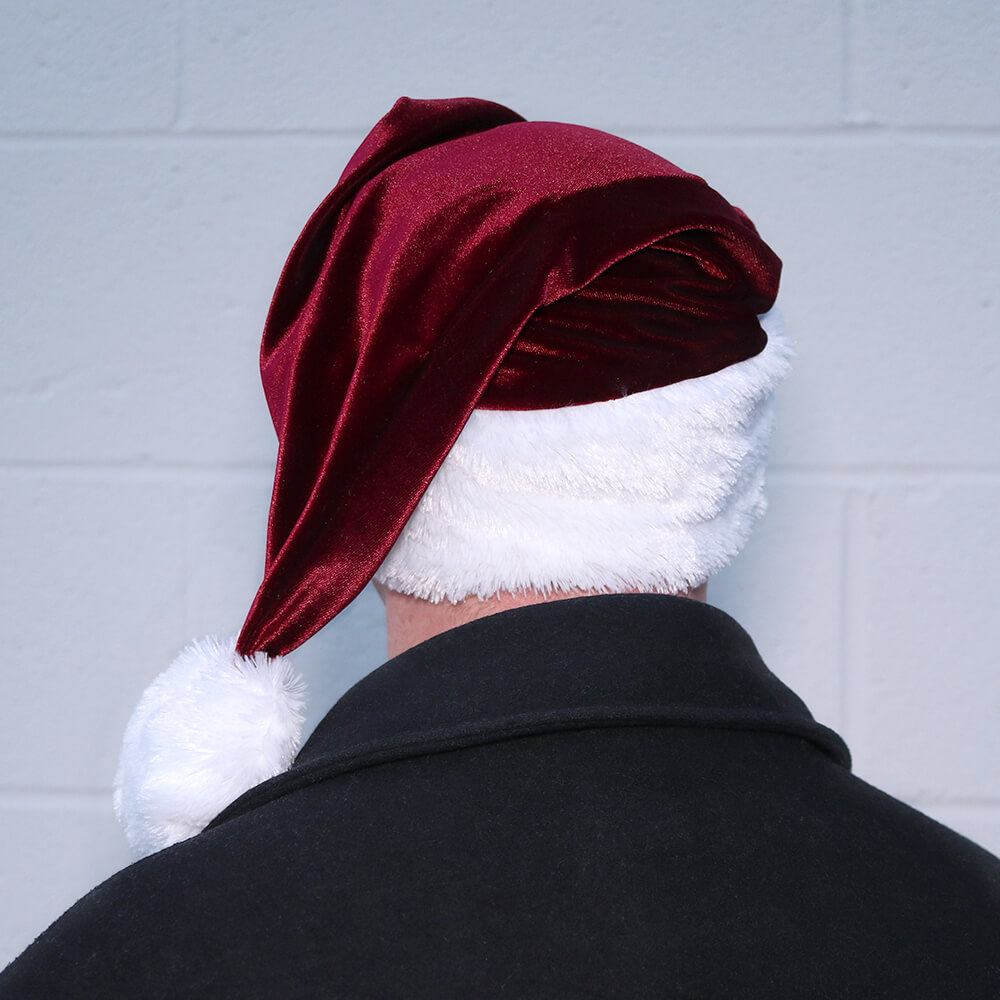
And it’s done!
These measurements are for an average adult sized head, but you could easily subtract a few inches from the height and width of each piece for a child size.

Ready to try making one of your own? Here's our selection of velvet fabric: