How to Make a Simple Dog Bed (or Outdoor Cushion)
- By Clara
- 45 minutes
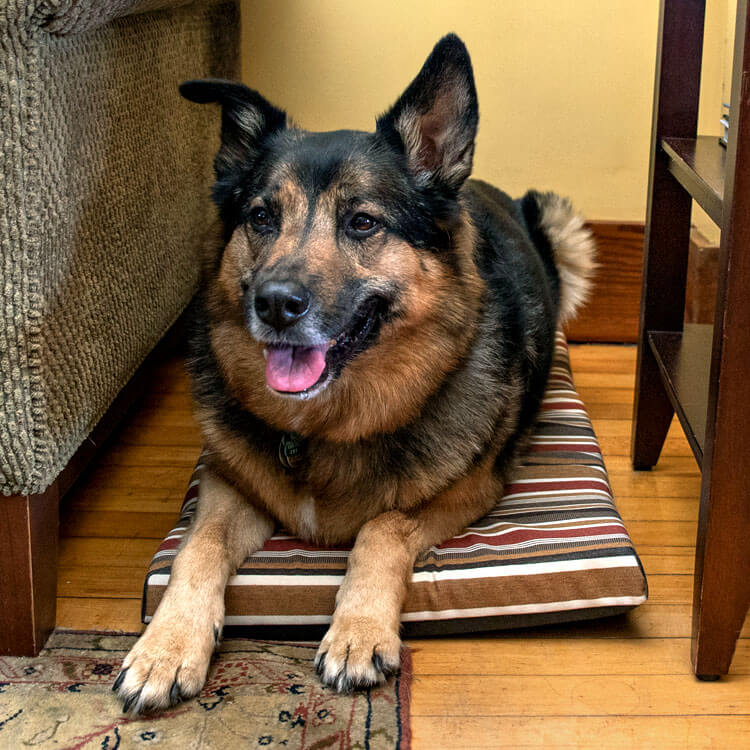
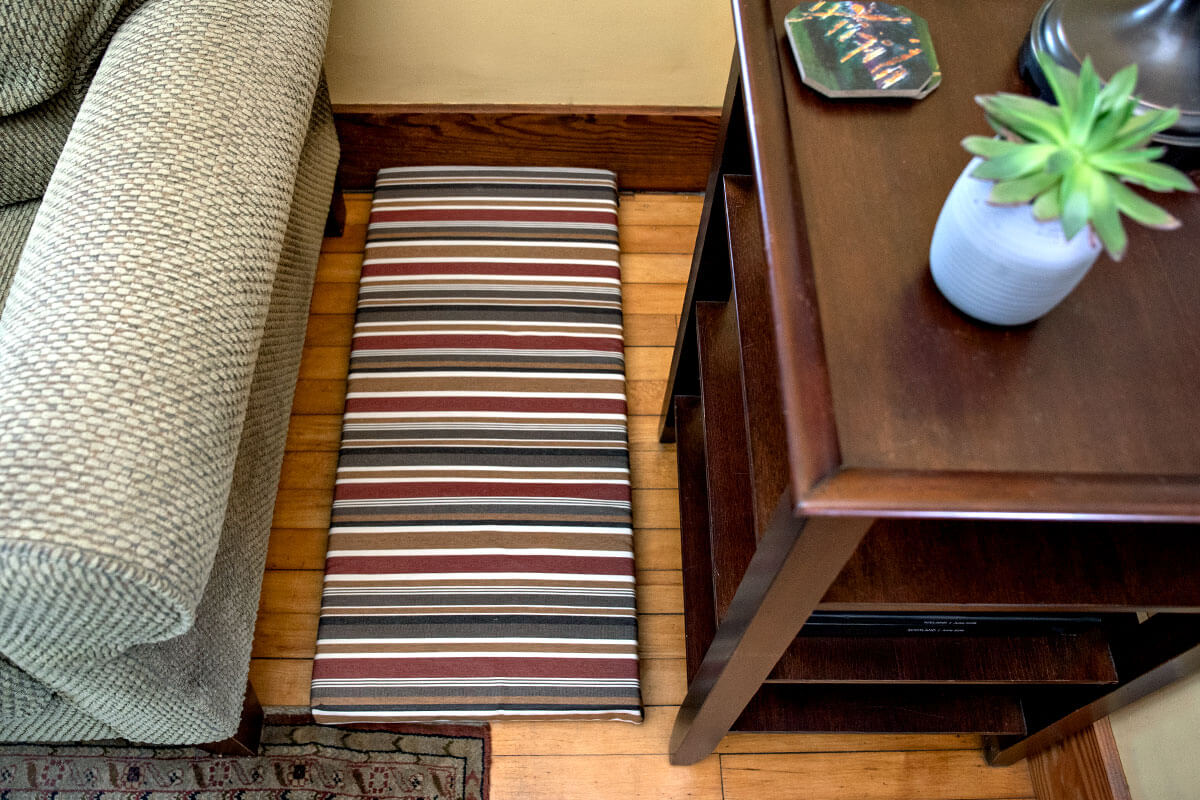
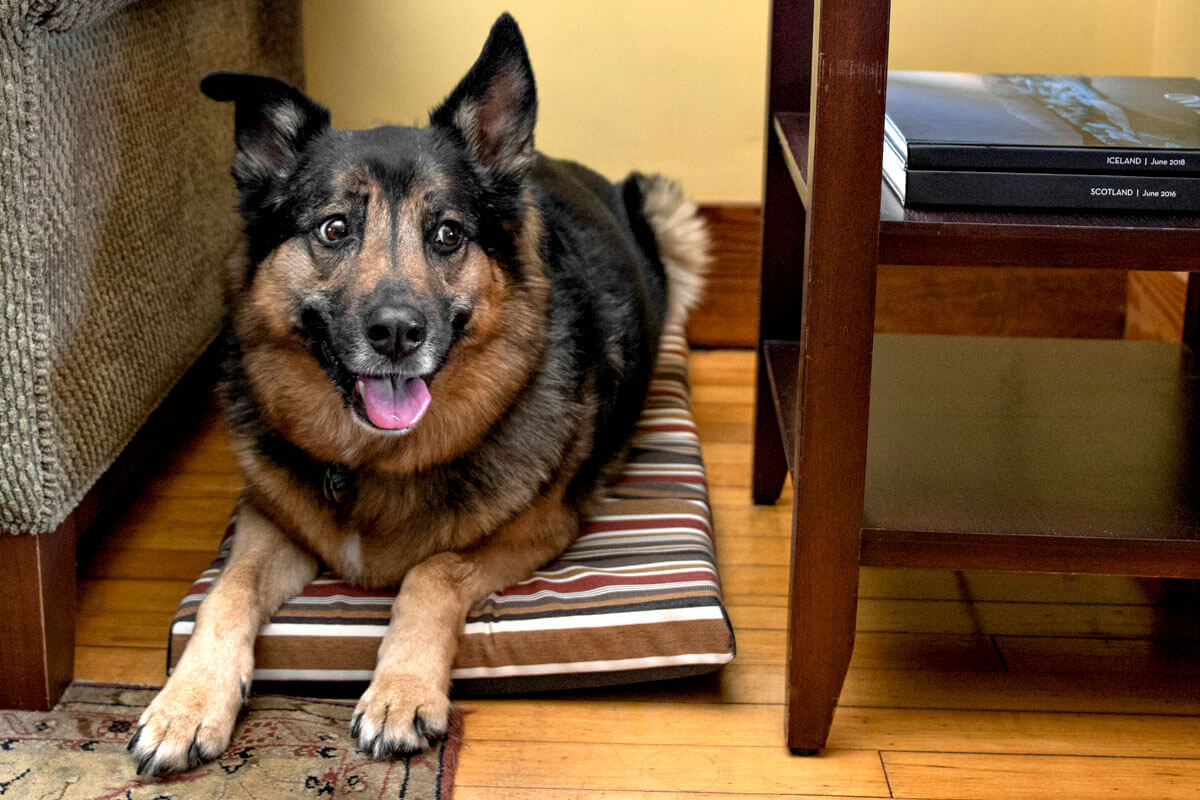
My dog has a favorite spot in between a couch and side table where she goes to feel safe. Her joints are getting bad so we wanted to give her a dog bed here. It has to be a specific size that would be impossible to find in a store, so I’m making my own!
The removable cover is washable and has a simple Velcro closure that’s easier to put in than a zipper. It’s made with outdoor fabric and outdoor foam, both of which are durable and prevent mildew and odor. Customize this bed for your pet to make it any size and thickness. The final product is lightweight so you can move it at will making your dog will feel at home anywhere.
Because it’s made with outdoor materials, these instructions are also perfect for making outdoor cushions for your patio or boat.
Materials

Related Products

Video
Instructions
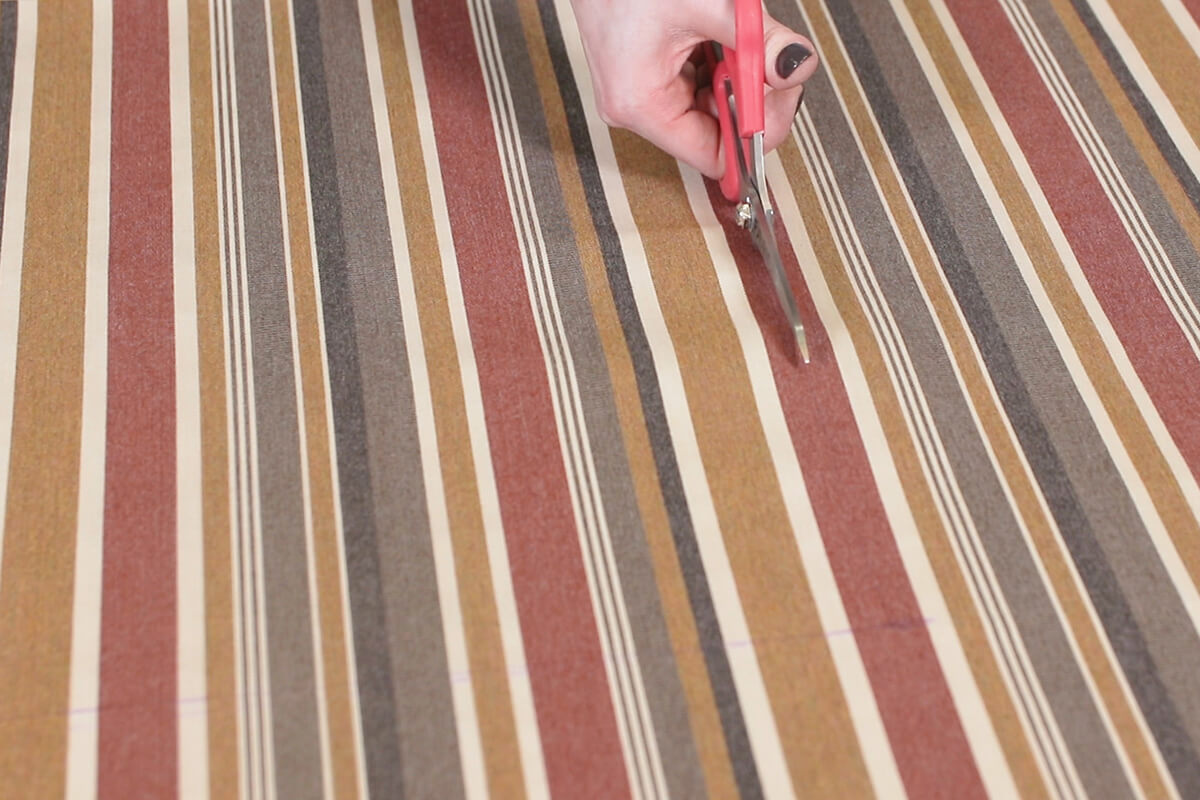
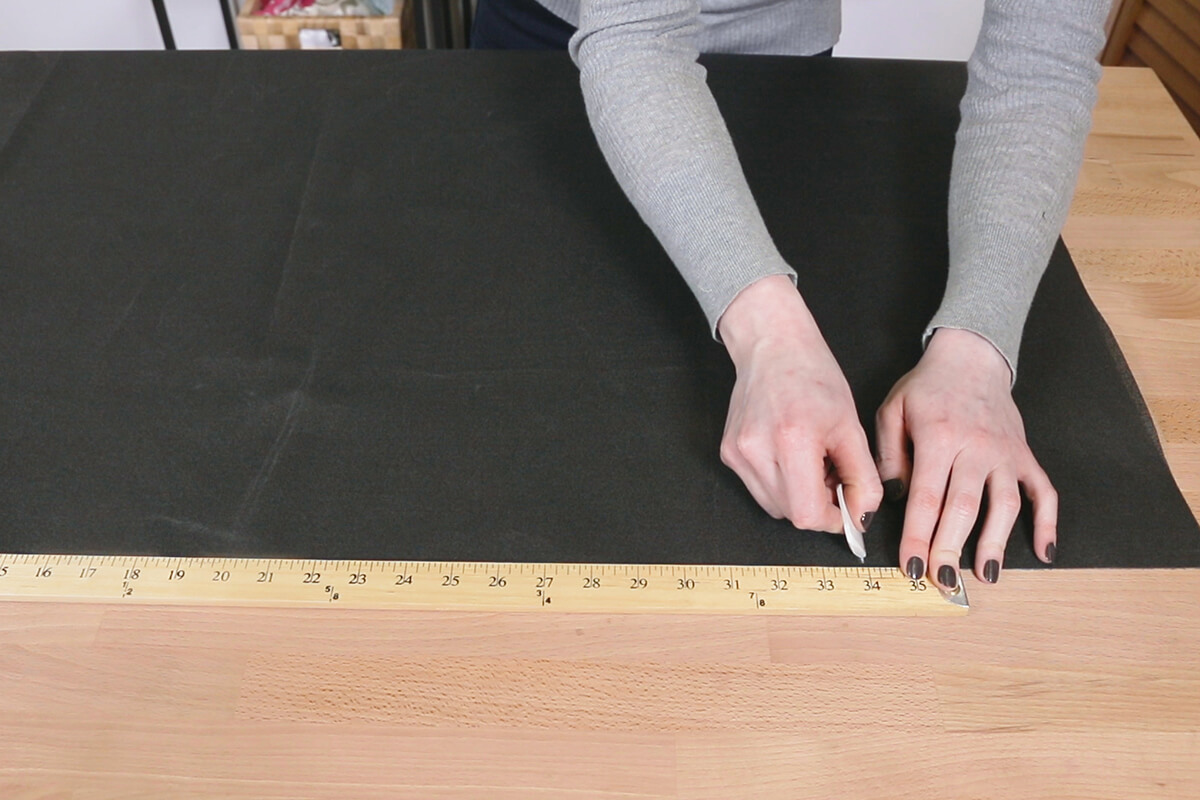
Step 1: Measure & cut the fabric
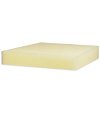
I’m using outdoor foam that lets water easily drain and moisture to evaporate quickly which prevents mildew.
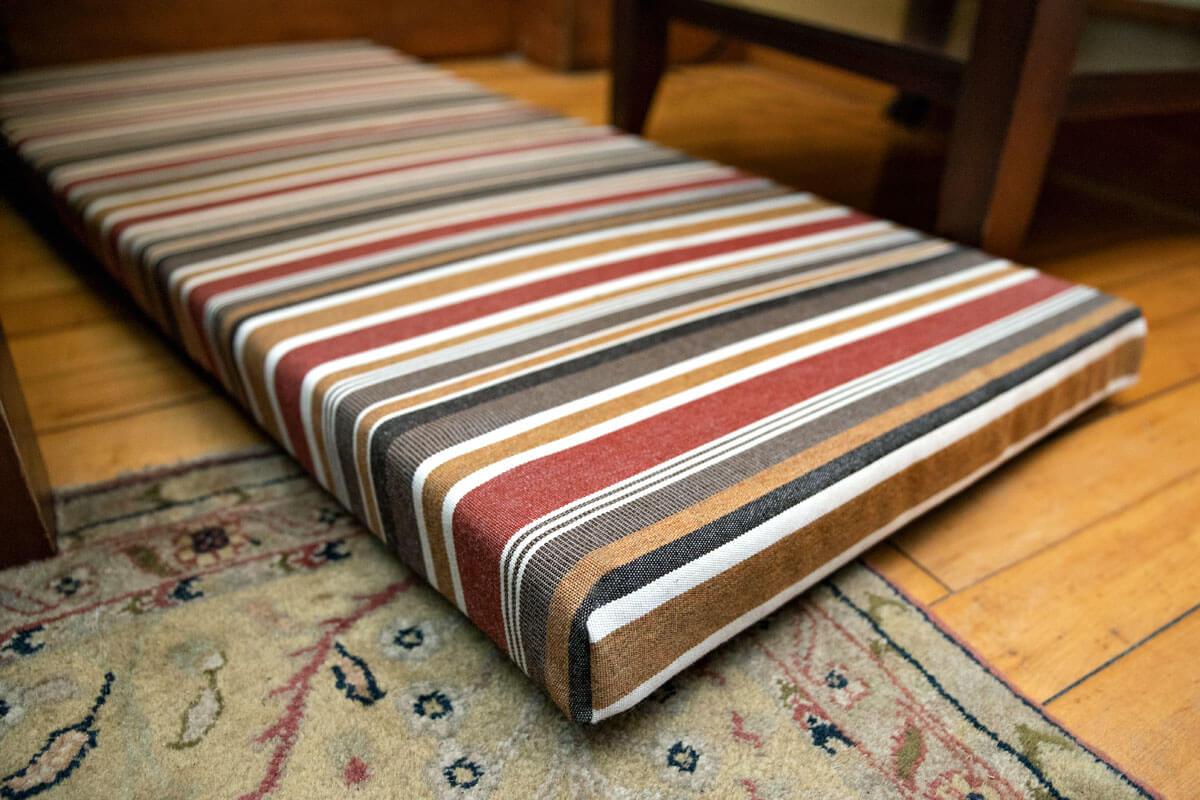
Make your dog bed any size and thickness you want. Mine will be 15 x 33 inches when finished with 2” foam.
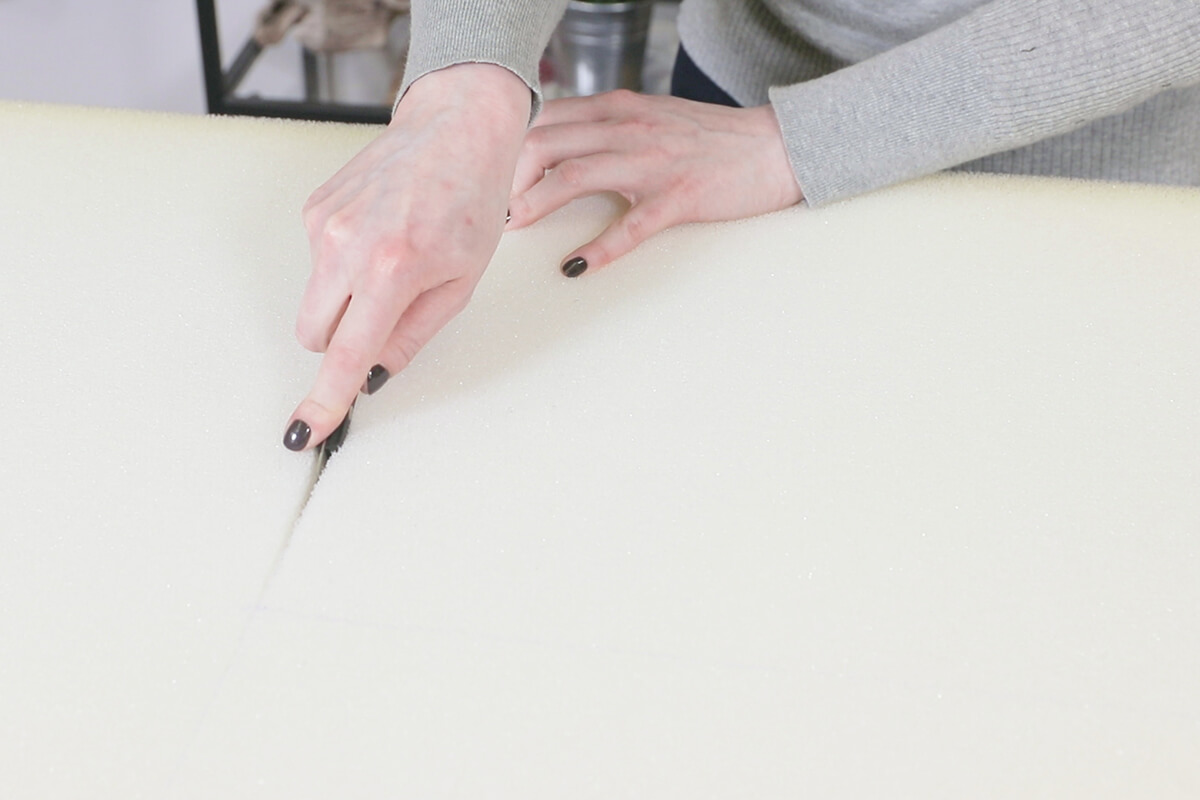
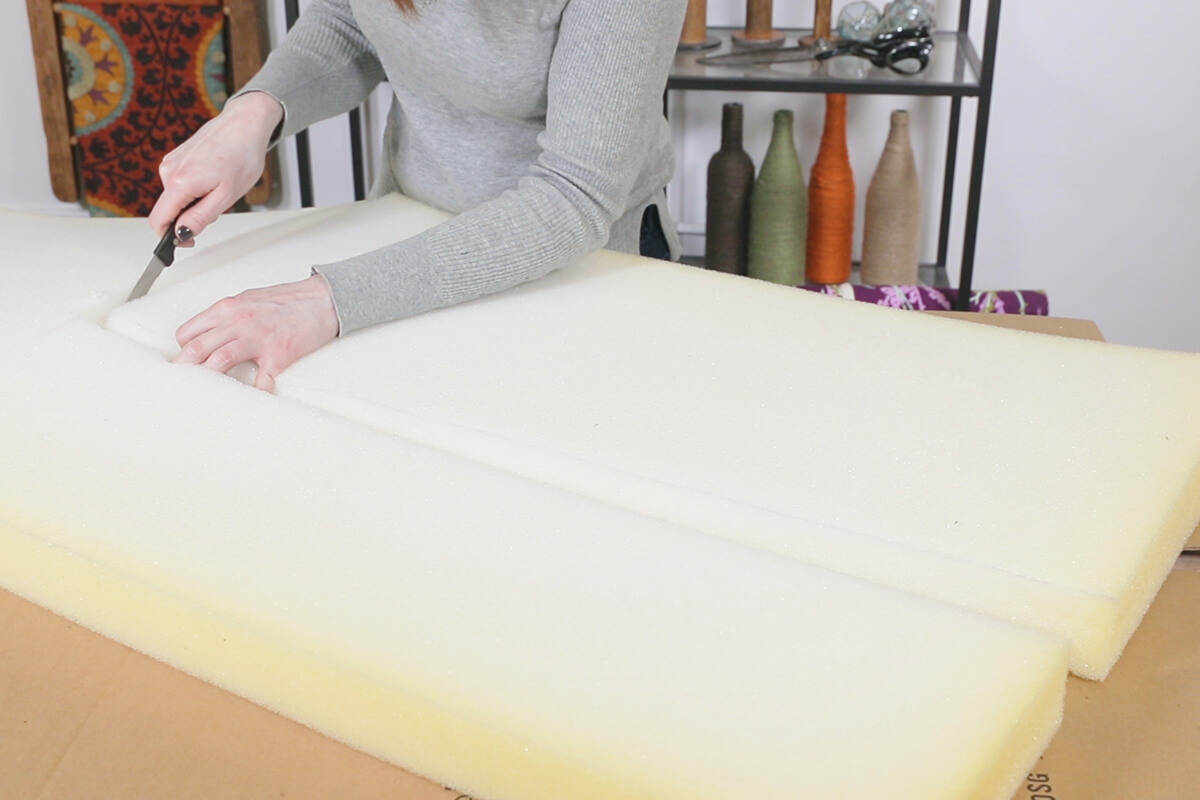
Cut the foam to be the finished width and length of the bed. You can use a serrated or electric knife like a turkey knife.
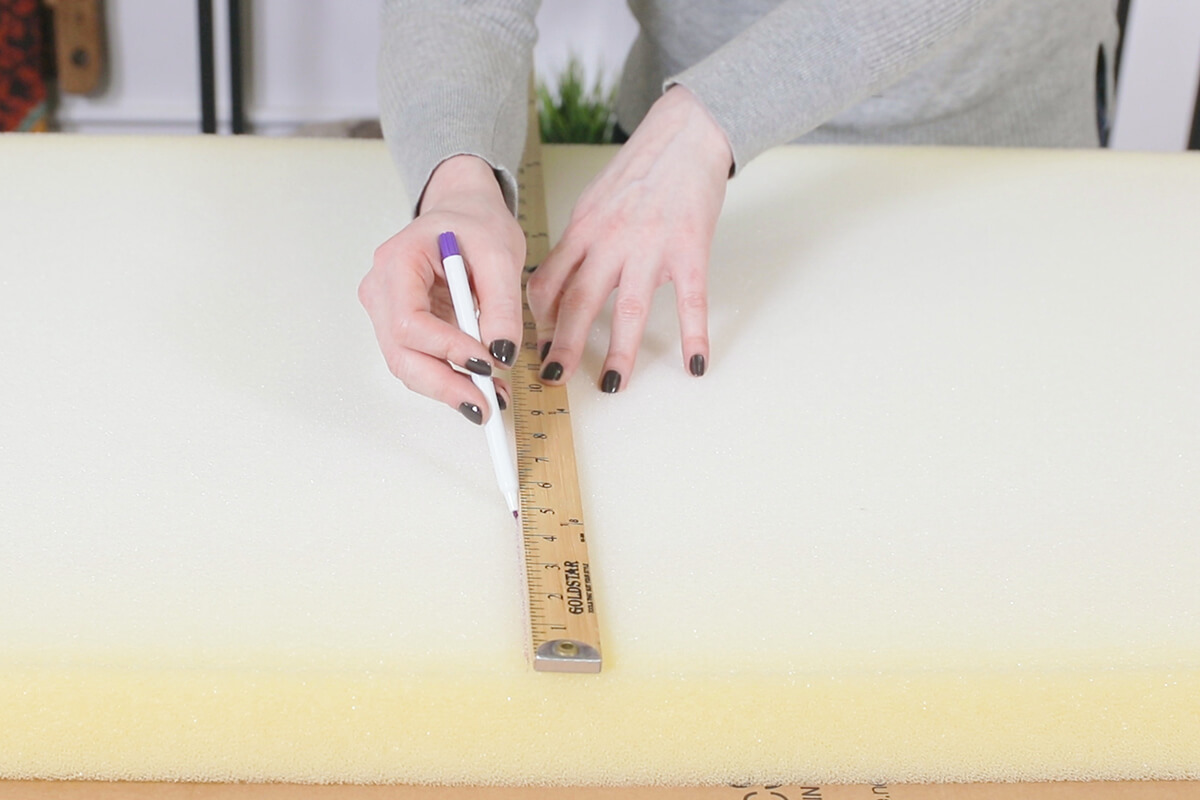
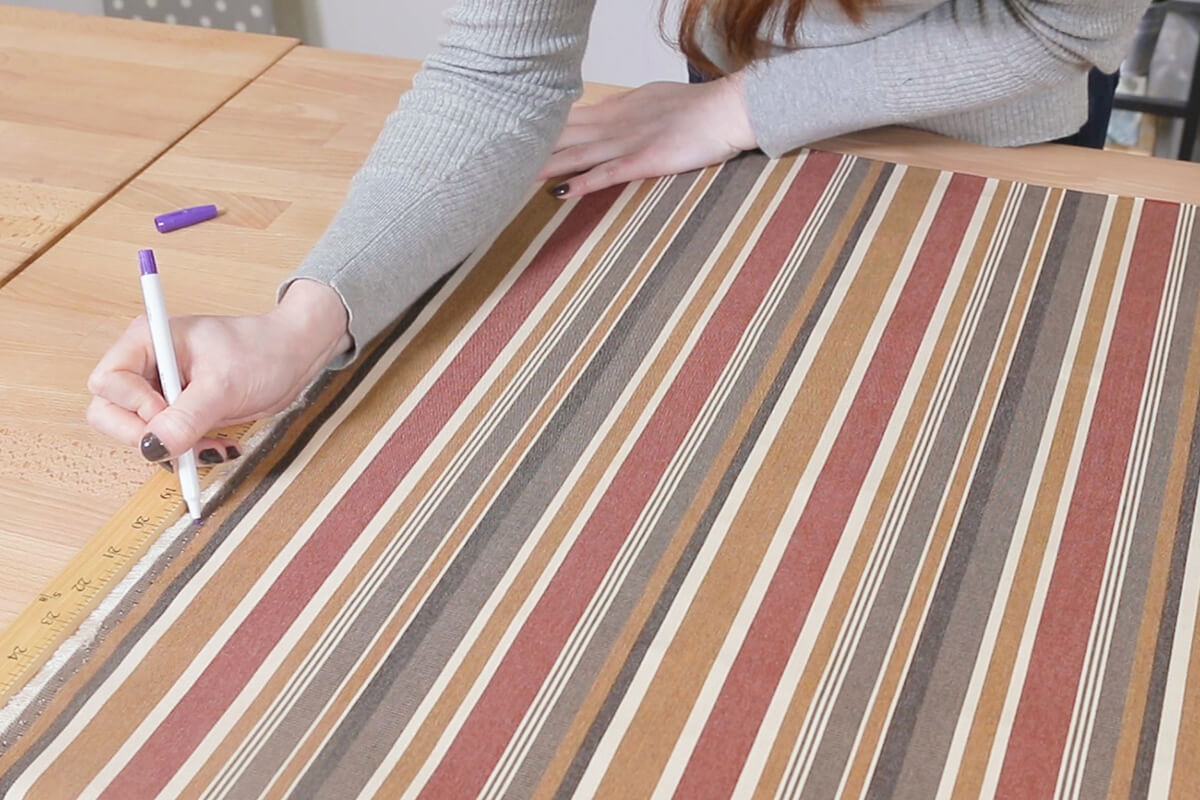
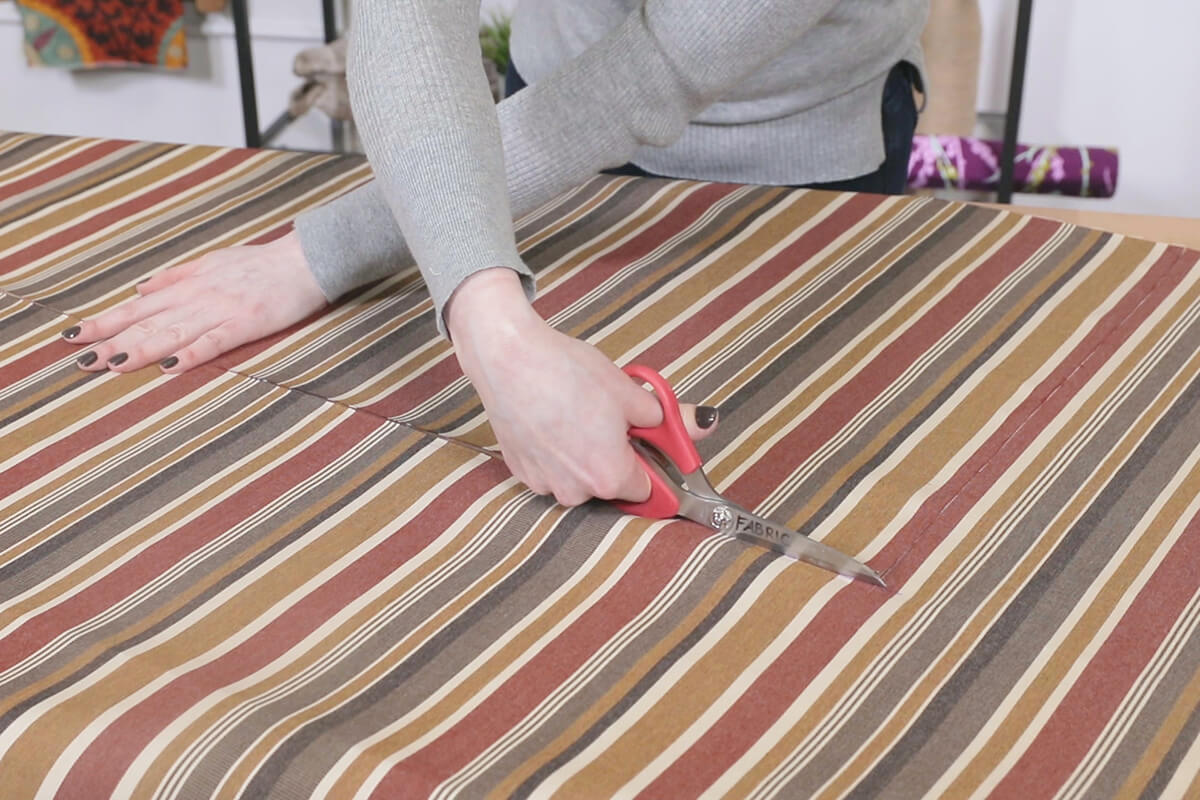
Cut the main fabric to the correct dimensions.
The main fabric width is the finished width + (height of foam x 2) + 1/2”. For me that’s 19.5”.
For this bed, the back where the Velcro will go is the shorter dimension but your back may be along the longer side so just make sure the width measurement is the front and back edges.
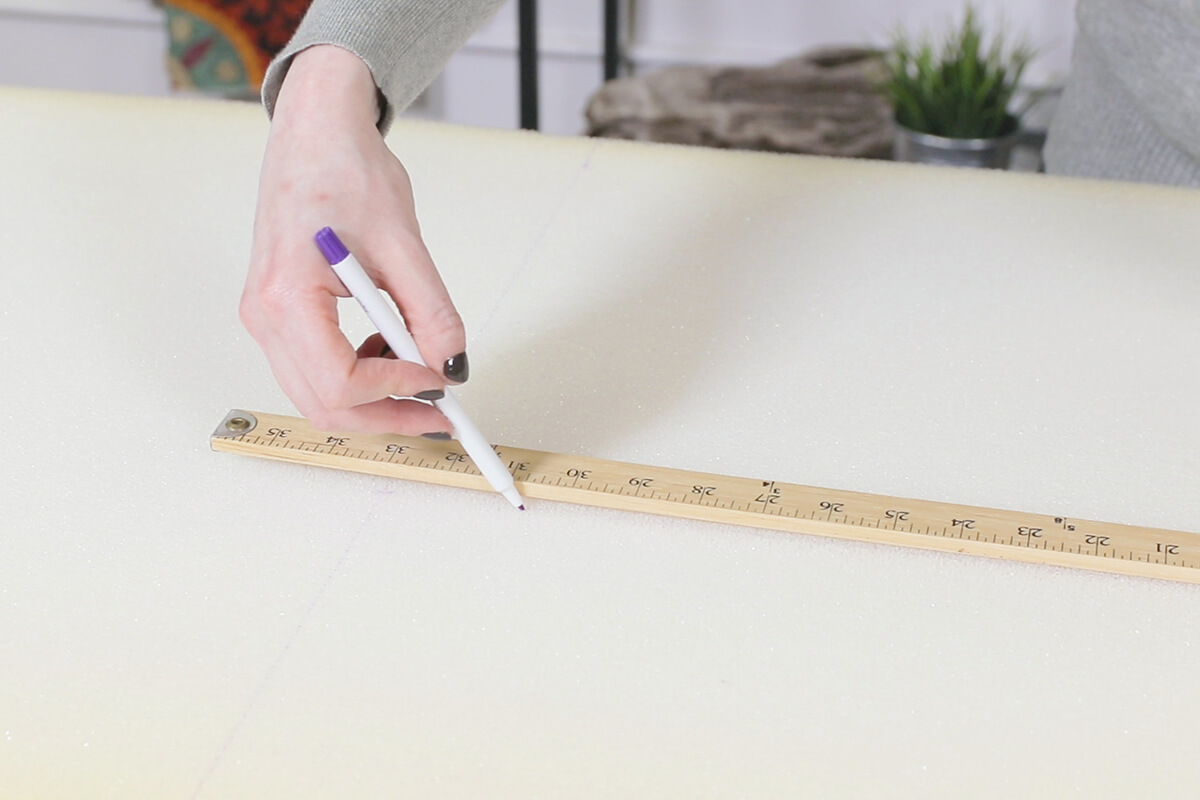
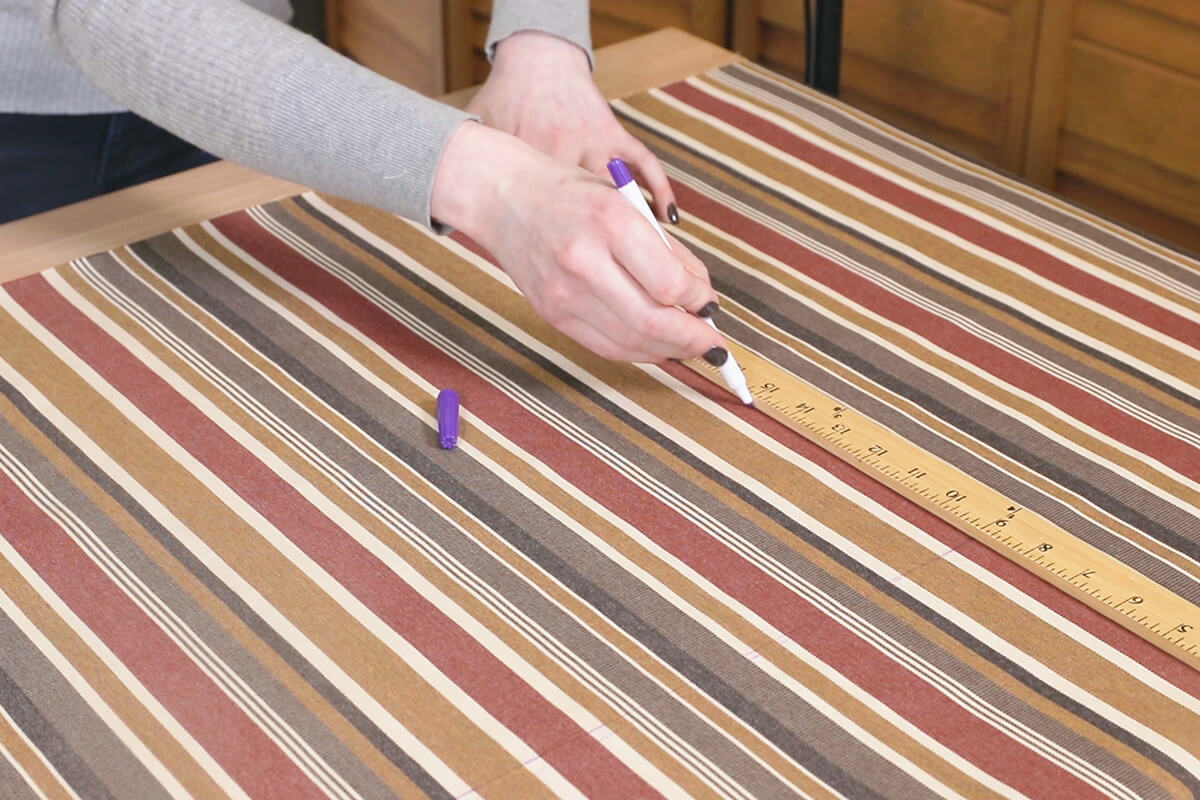
The main fabric length is the finished length + (height of foam x 2) + 2″. The extra 1 and 1/2″ is for the Velcro flap. For me that’s a total of 39 inches long.
I’m using durable Sunbrella outdoor fabric for the cover. Pre-washing your fabric is recommended, especially for cotton fabrics.
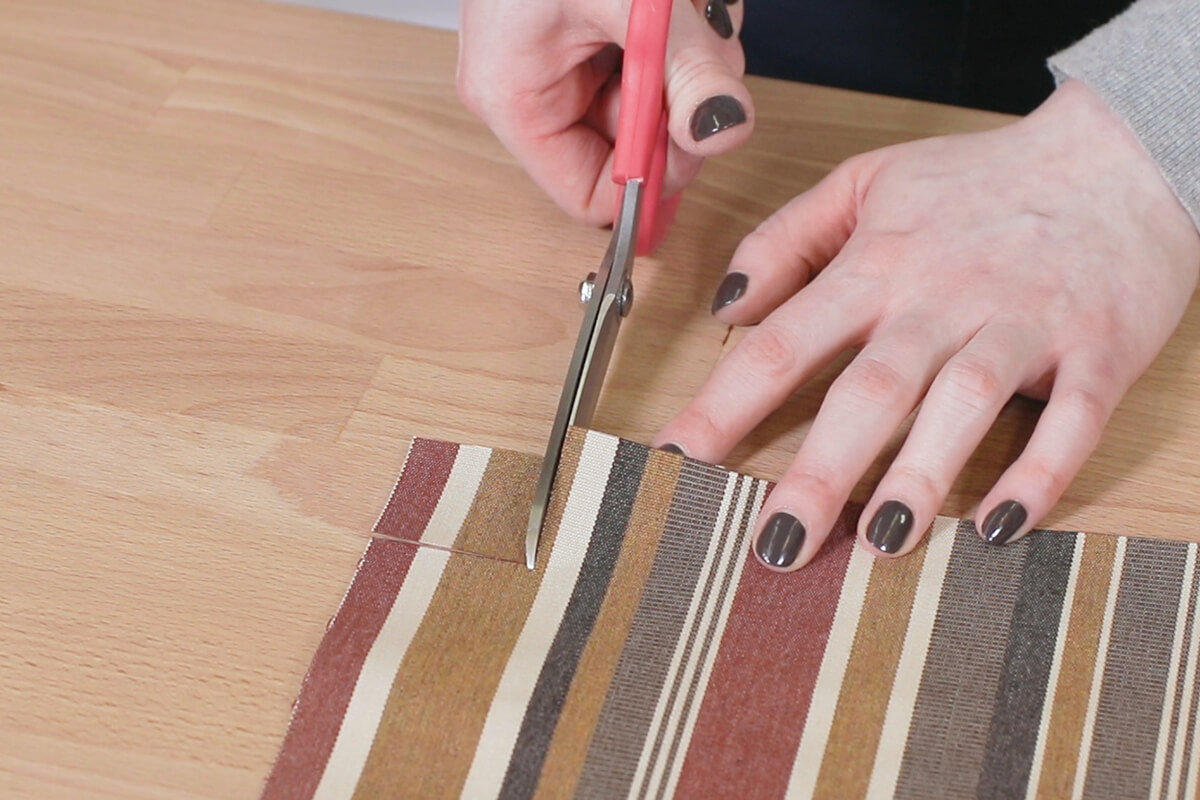
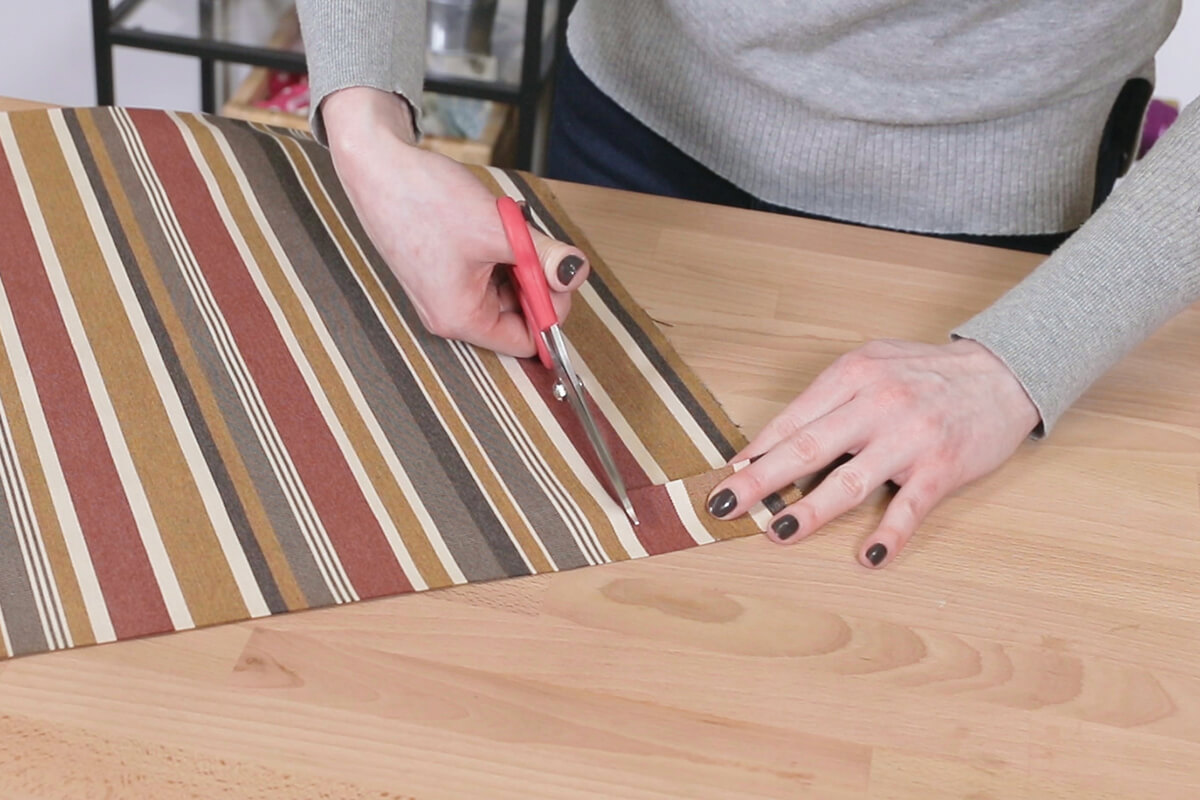
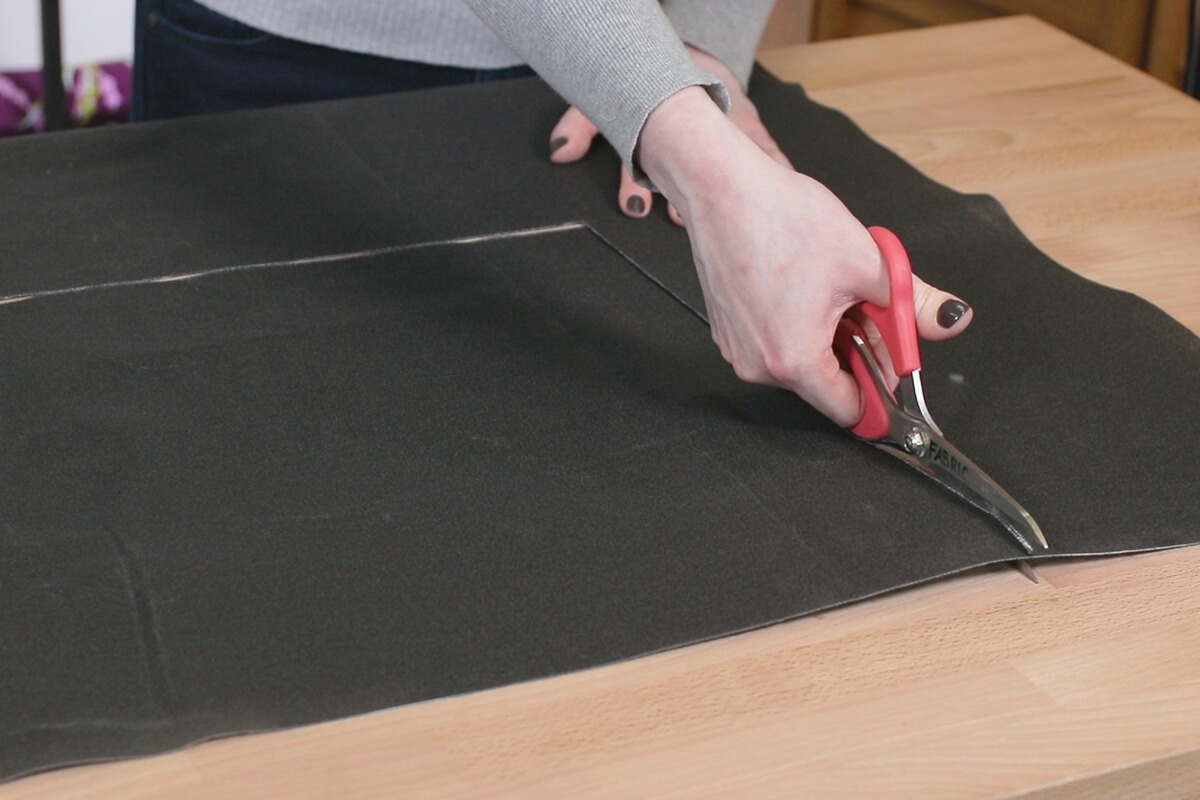
Cut out squares at the corners that are the height of the foam minus ½”, so I’m cutting out 1.5” squares. On the side that you want the Velcro on, cut off an extra 1.5”.
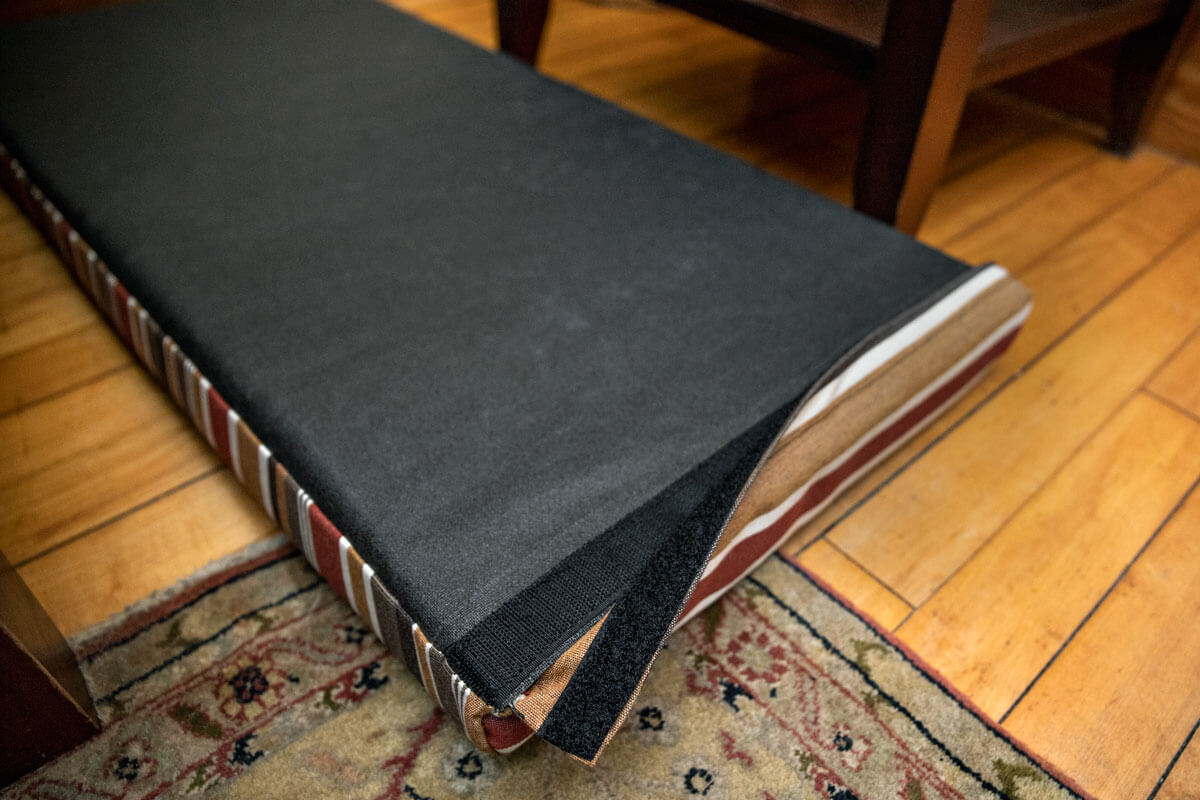
Cut the cushion underlining to be the width of the bed plus 1″ and the length of the bed plus 1 and 1/2″. For me that’s 16 by 34 and 1/2 inches.
This cushion underlining fabric also allows for drainage and quick evaporation, plus it helps prevents the bed from sliding on wood floors. You could also use the main fabric for the bottom if you prefer.
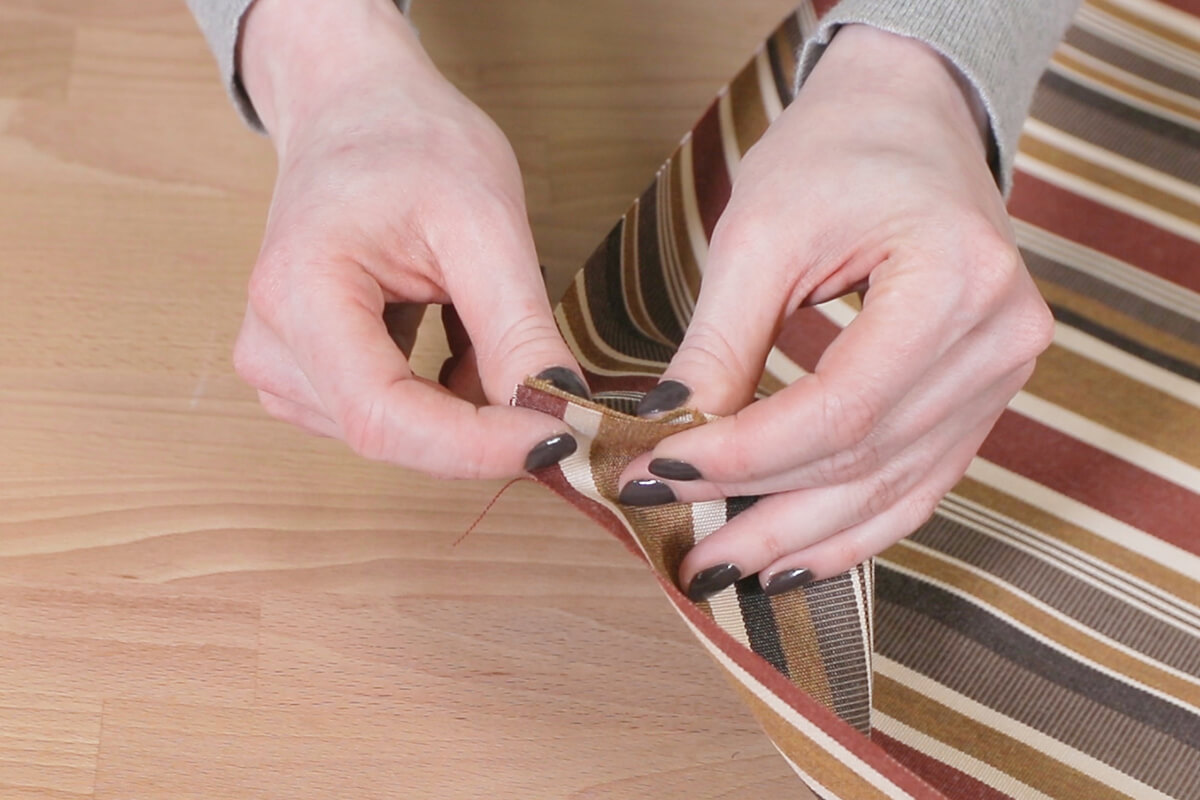
Step 2: Sew together
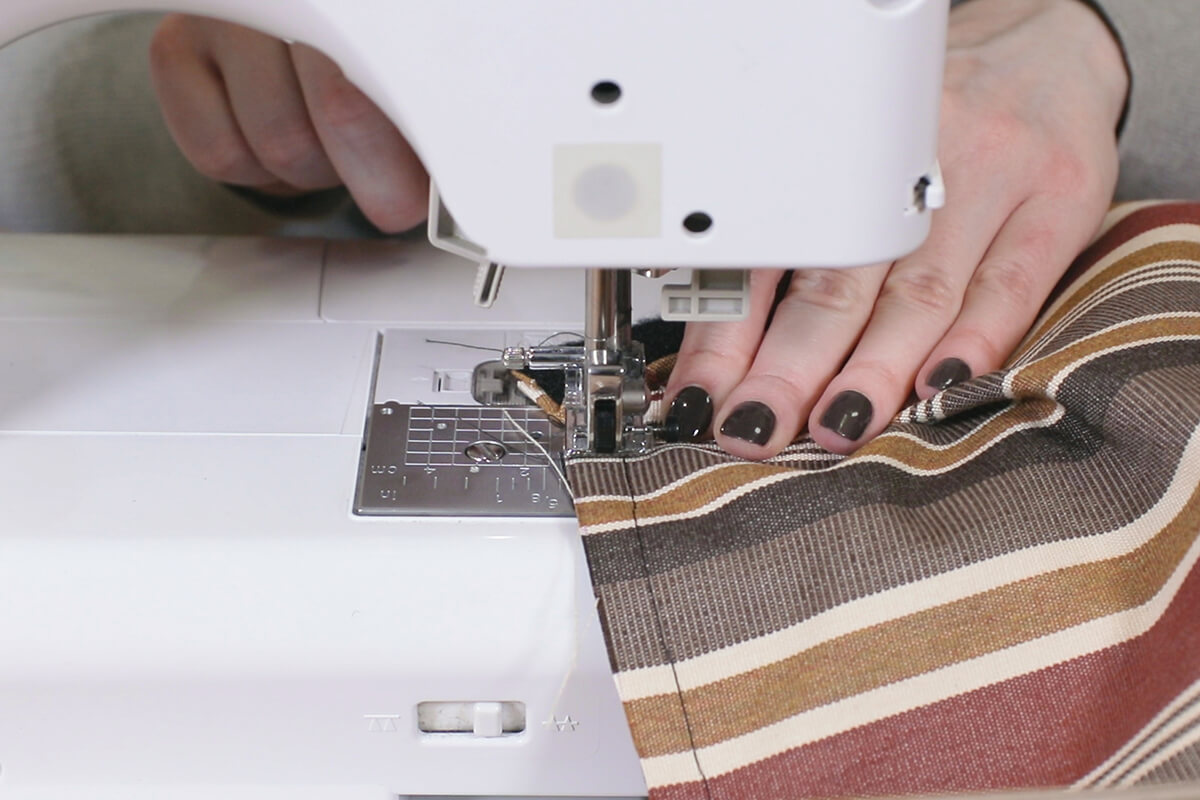
Line up the edges of the square cutouts with right sides facing. Sew with a ½” seam allowance, back stitching at the beginning and end. I’m curving the ends a bit to make the corners slightly rounded. Do the same for the rectangular cutouts.
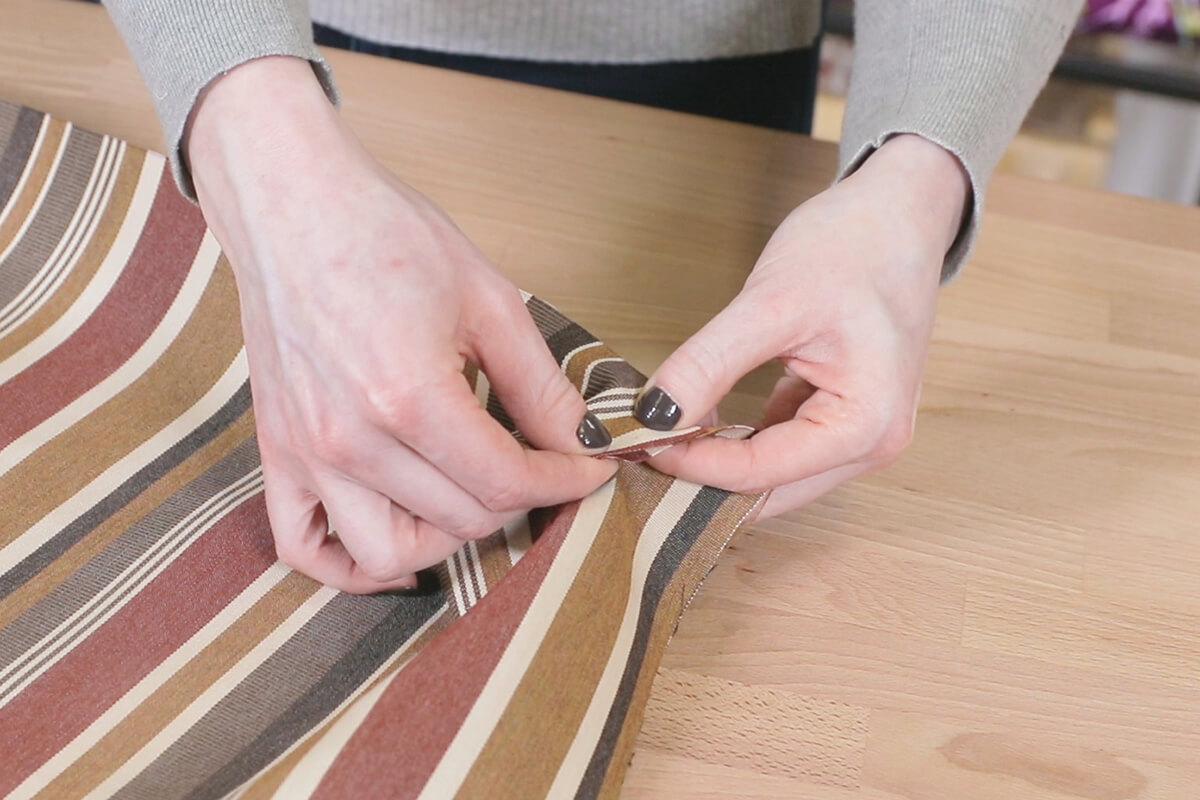
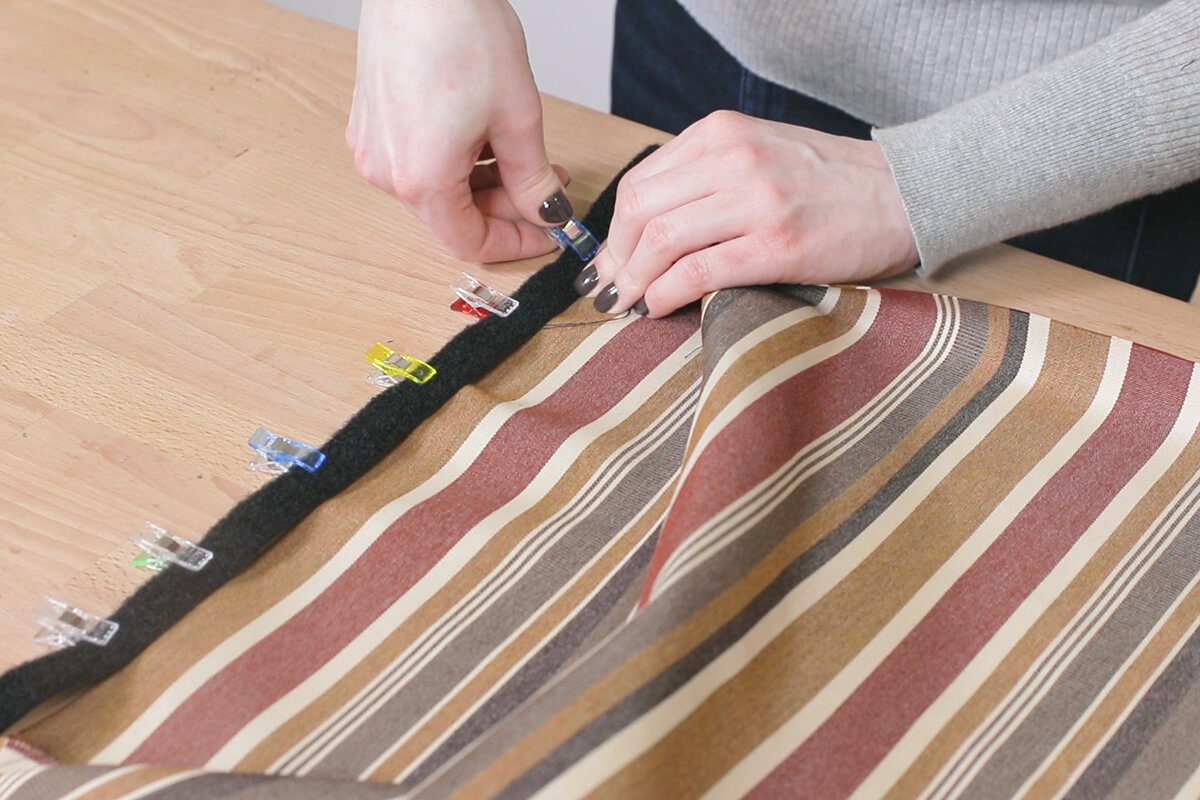
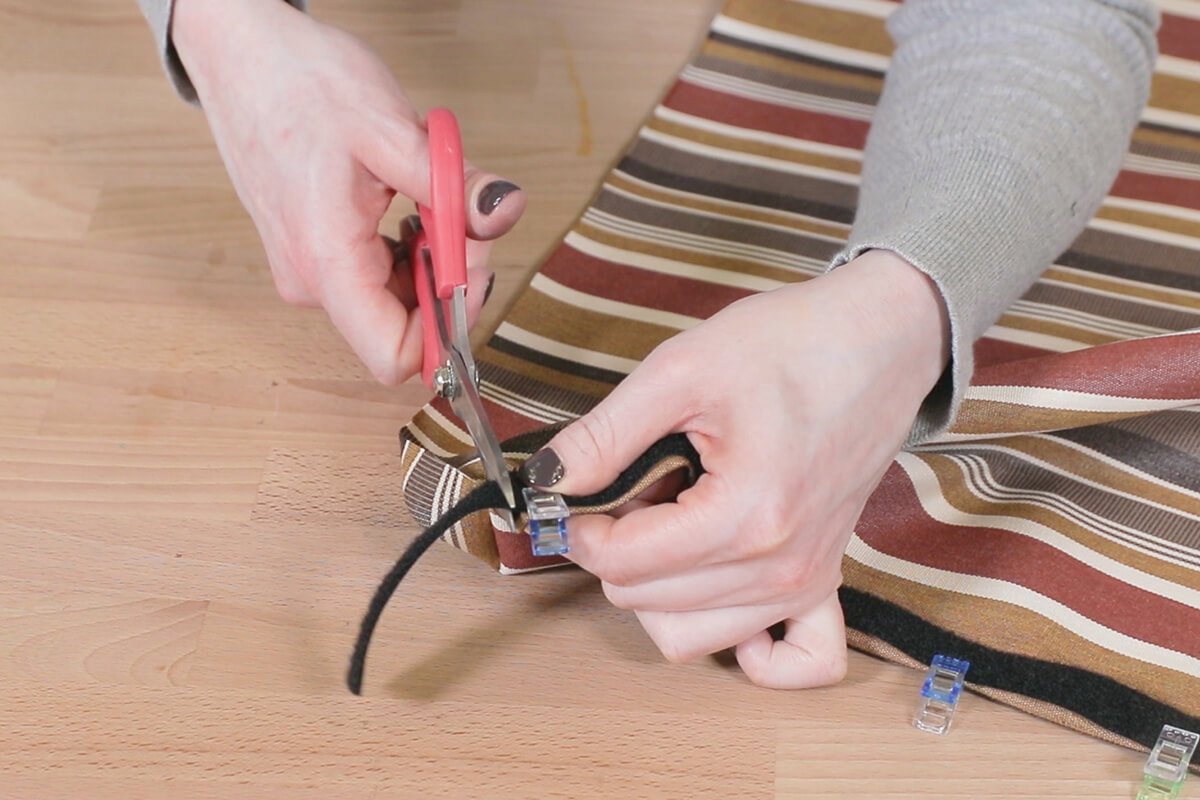
Fold the short edges of the flap in ½” and pin or clip. Fold the longer edge in about ½”, pin or clip on the Velcro, and cut off the extra.
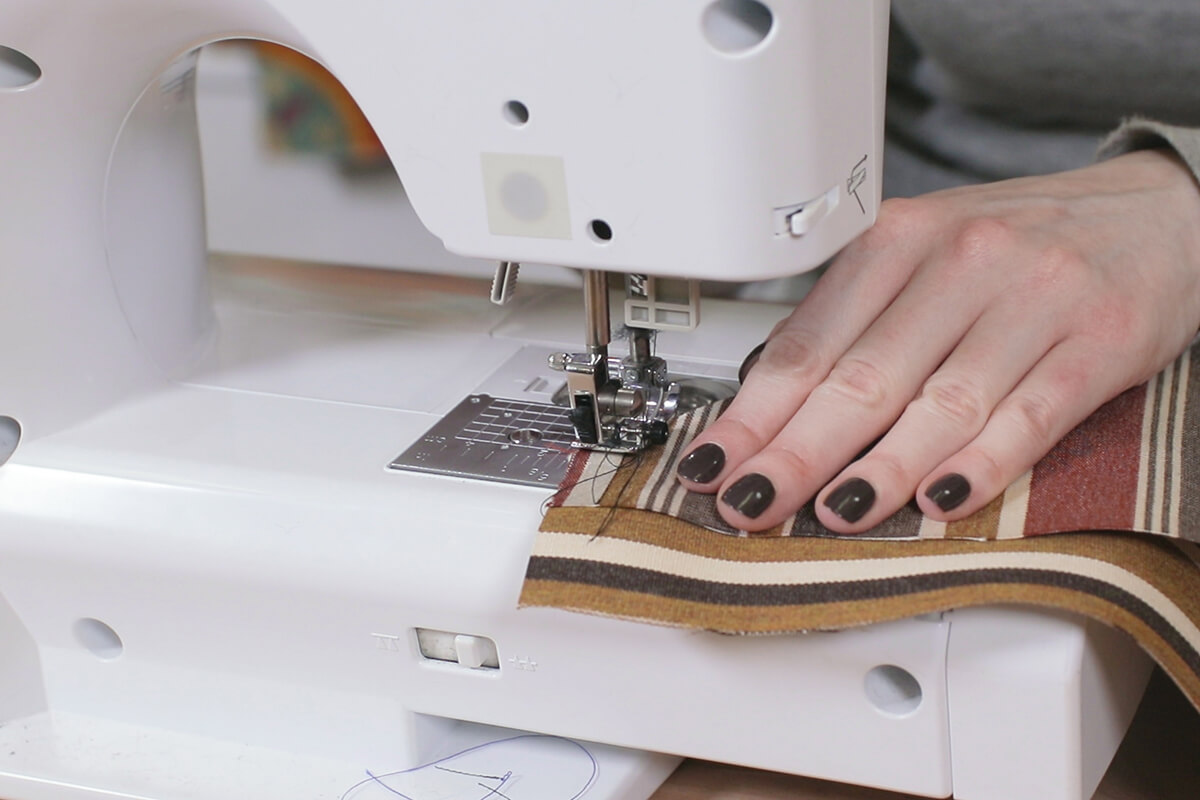
Sew along the edges of the Velcro.
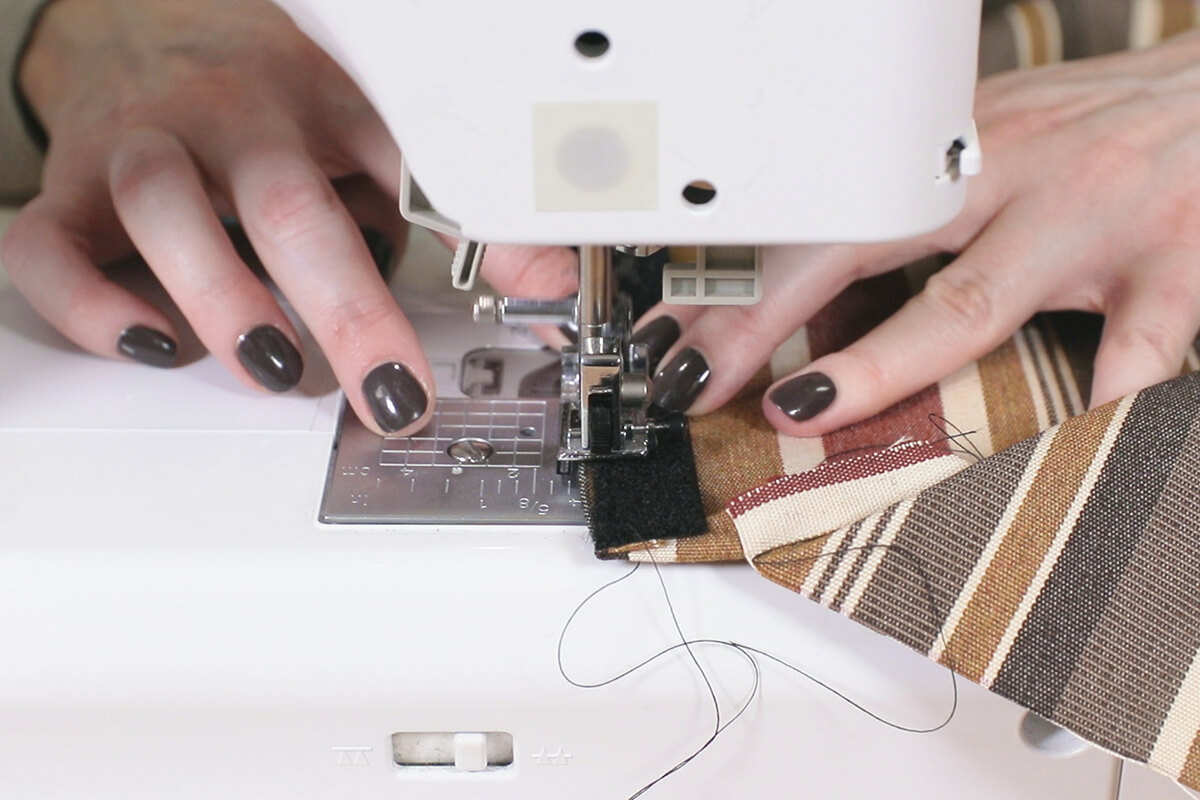
On the bottom piece, fold the end in ½” and sew the Velcro on. If your fabric has a right and wrong side, the Velcro should be on the right side.

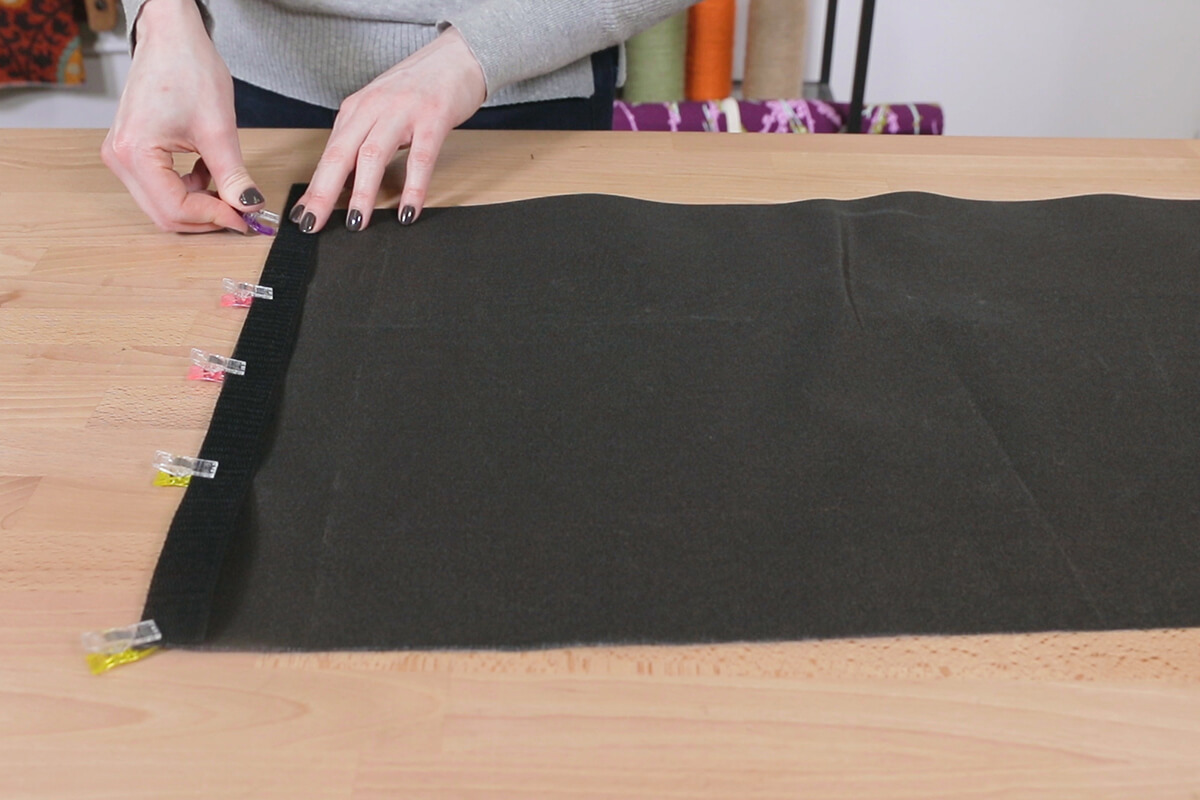
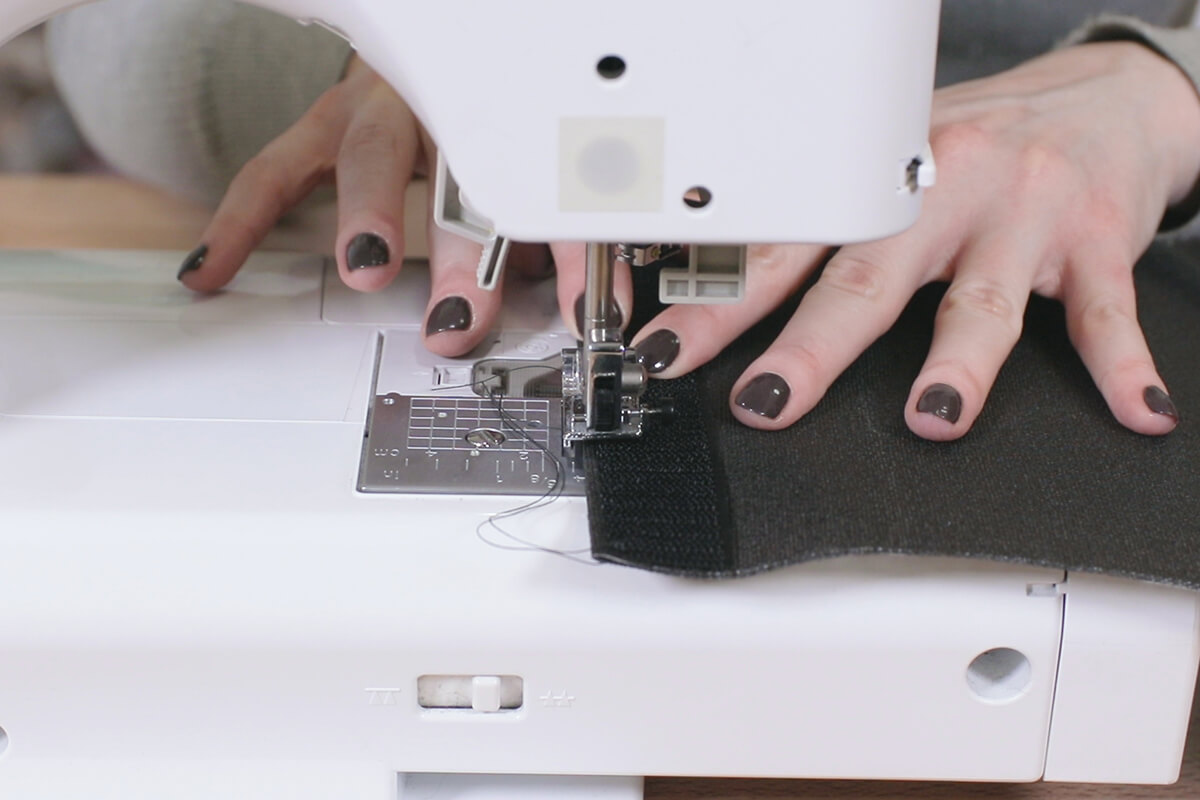
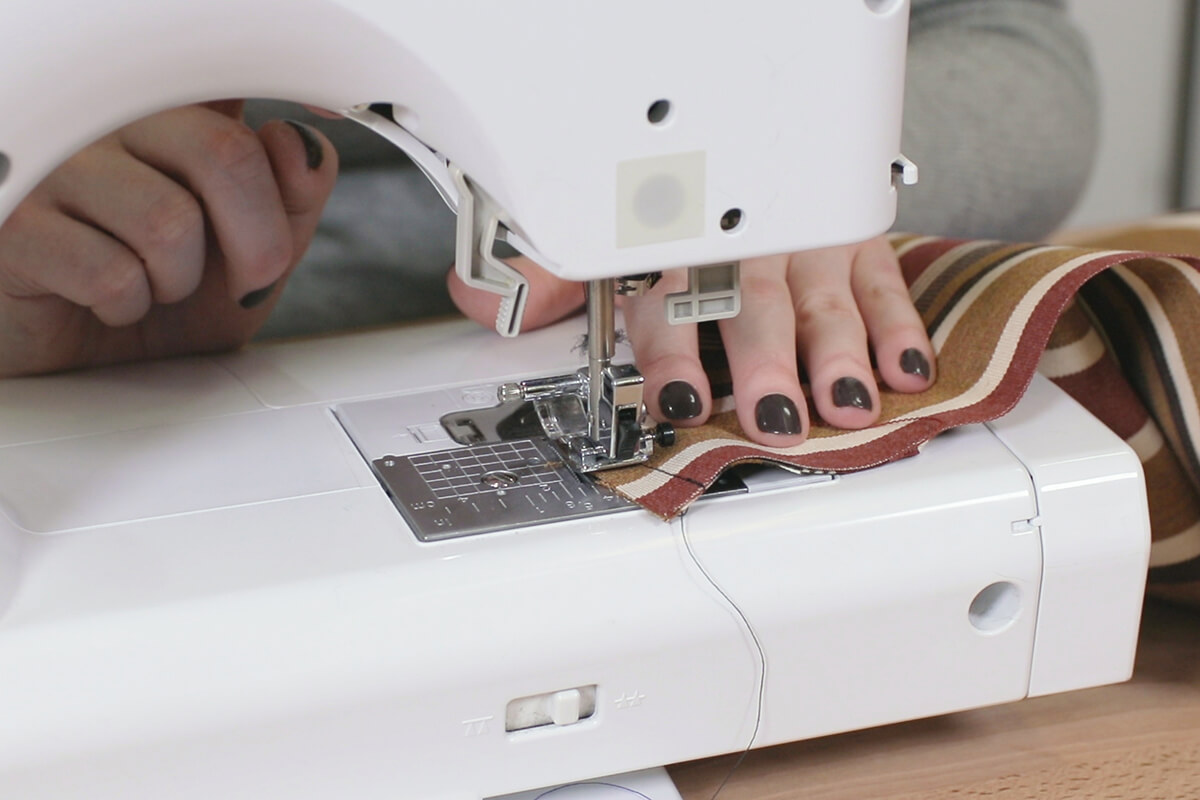
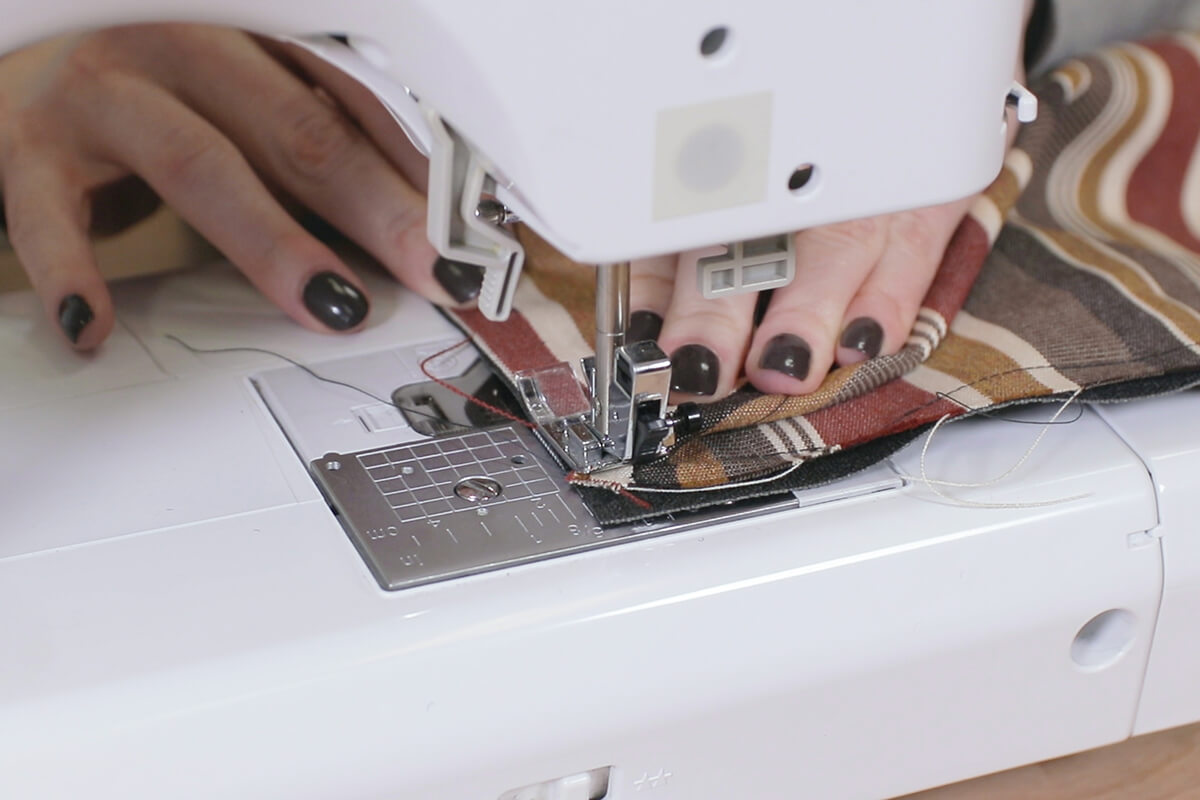
Place the top and bottom edges together with right sides facing. Sew along the 3 sides that don’t have Velcro.
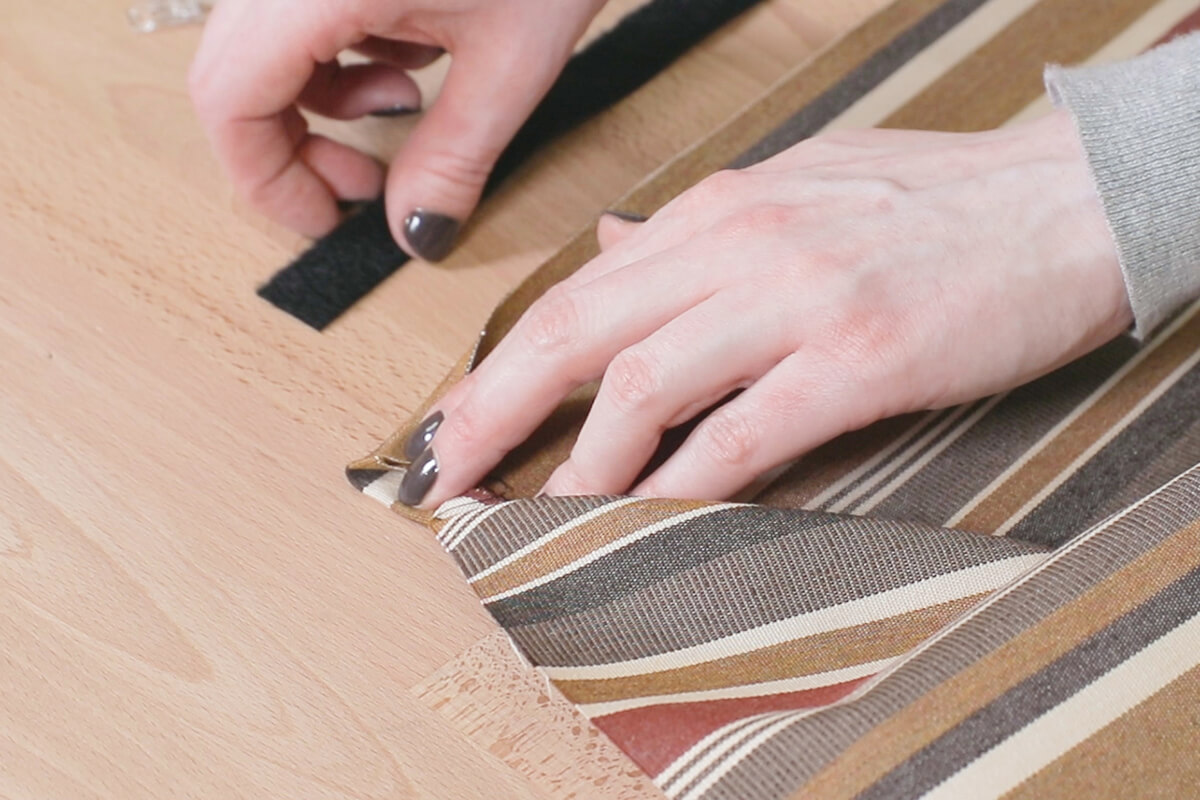
At the corners, sew up to the seam, pivot, fold the edges to one side and continue to sew.
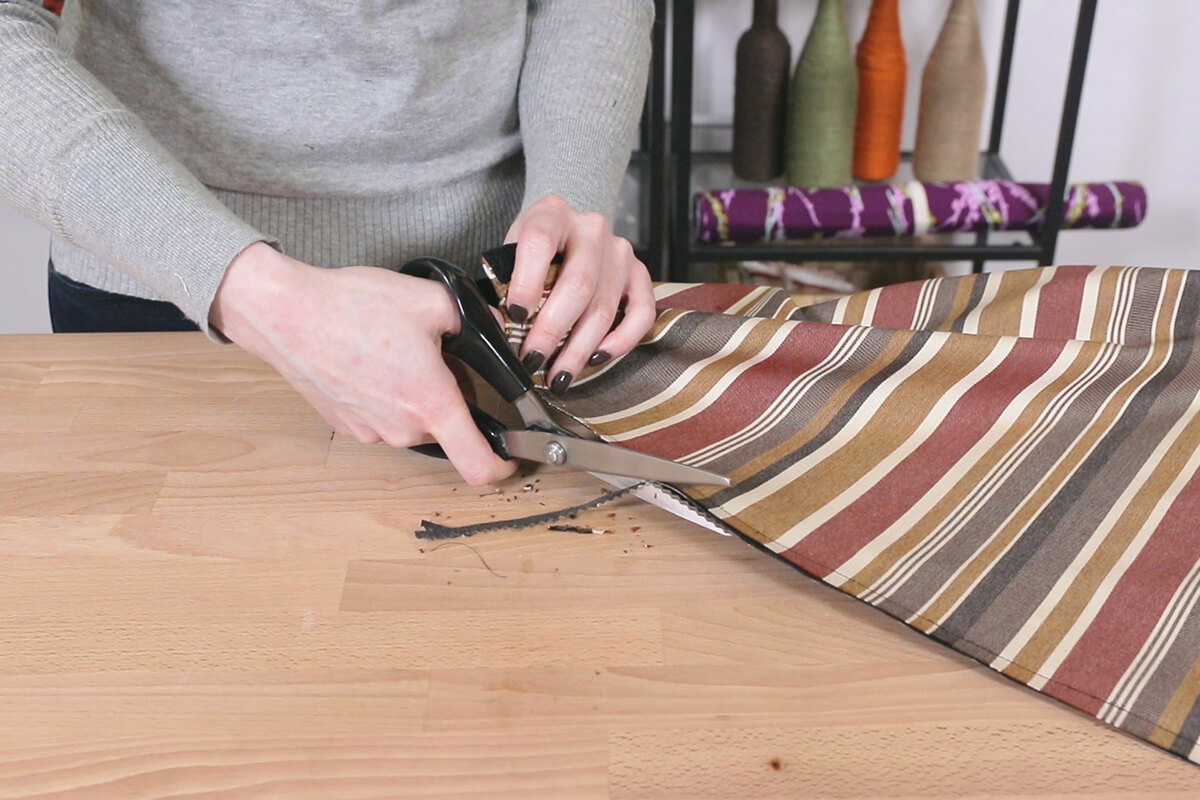
Cut the edges with pinking shears or sew a zigzag stitch along the edges to prevent them from fraying when you wash it.
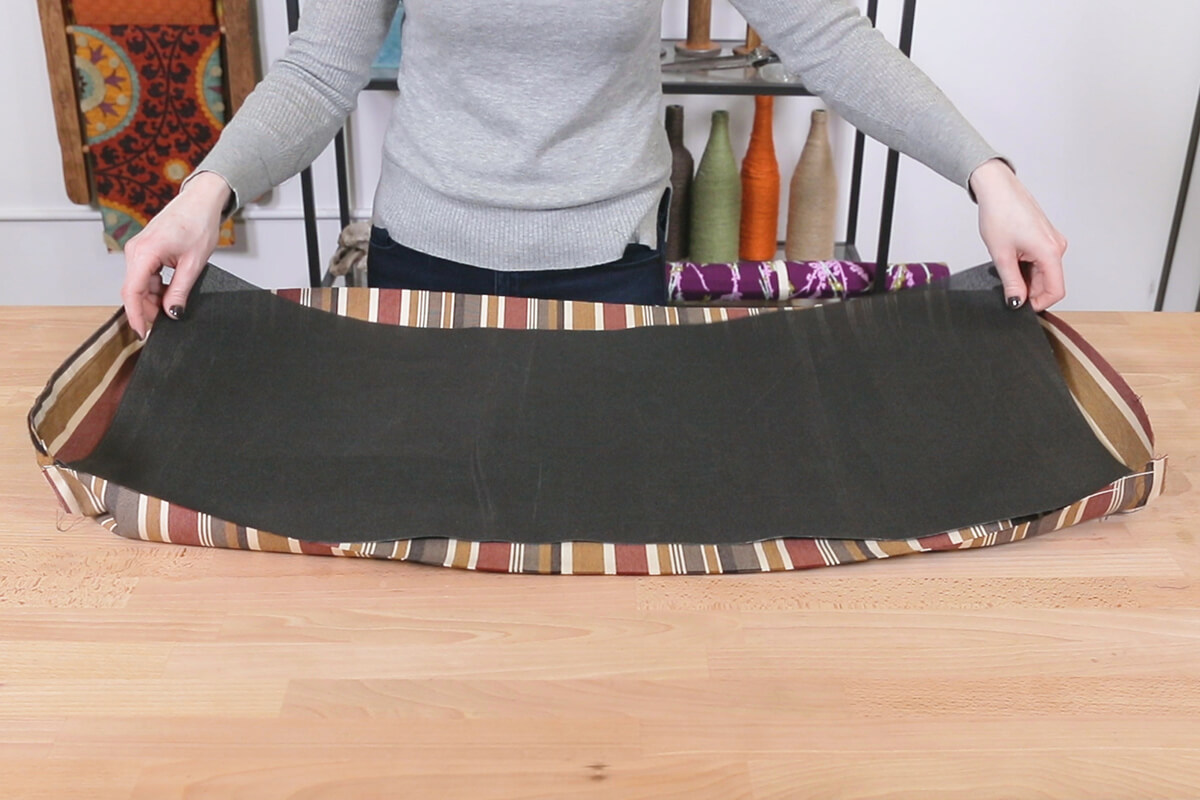
Turn the cover right side out and push out the corners.
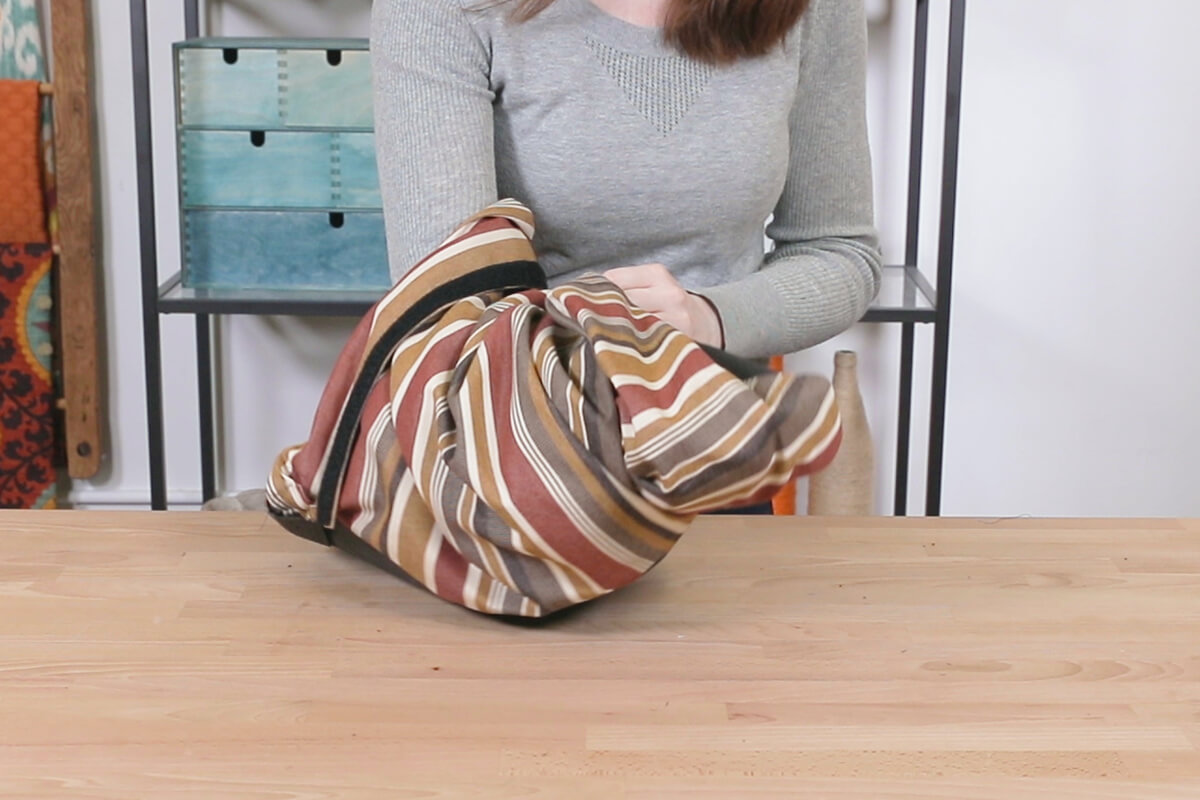
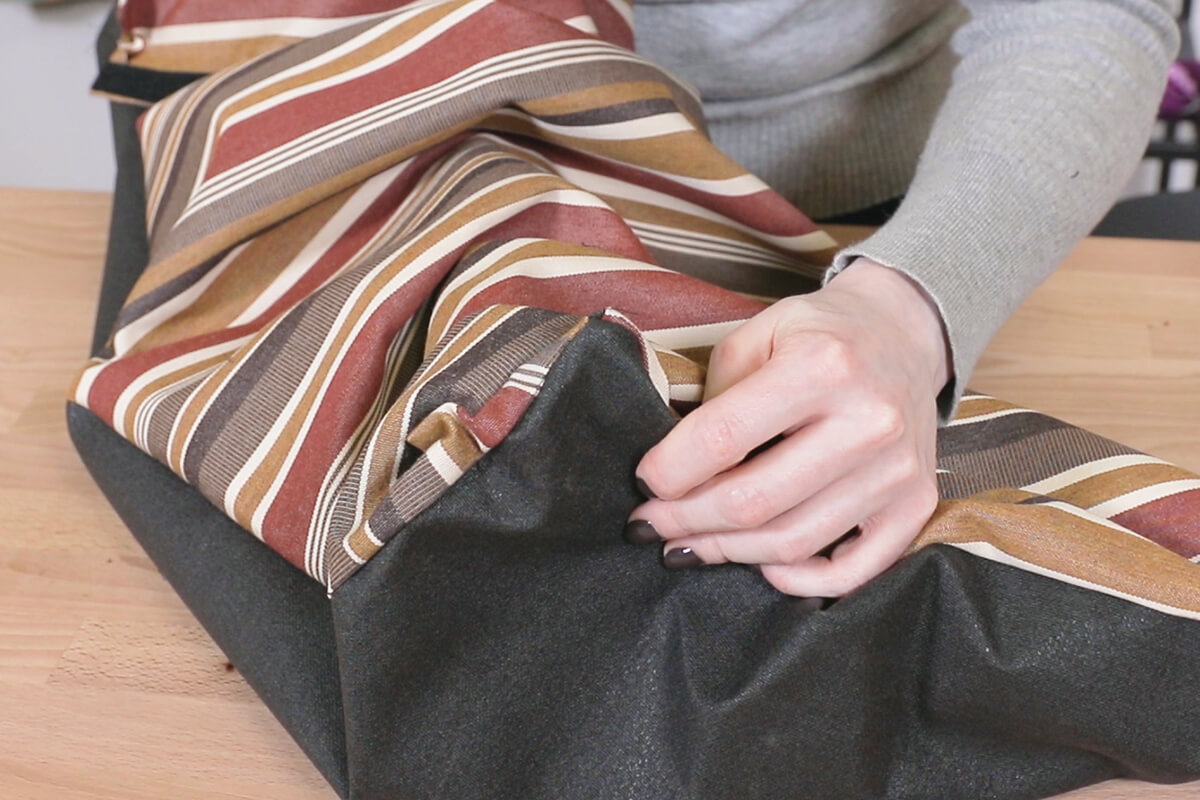
Fold the foam in half and slide it into the cover. I intentionally made the cover ½” shorter than the foam so it has a tighter fit.
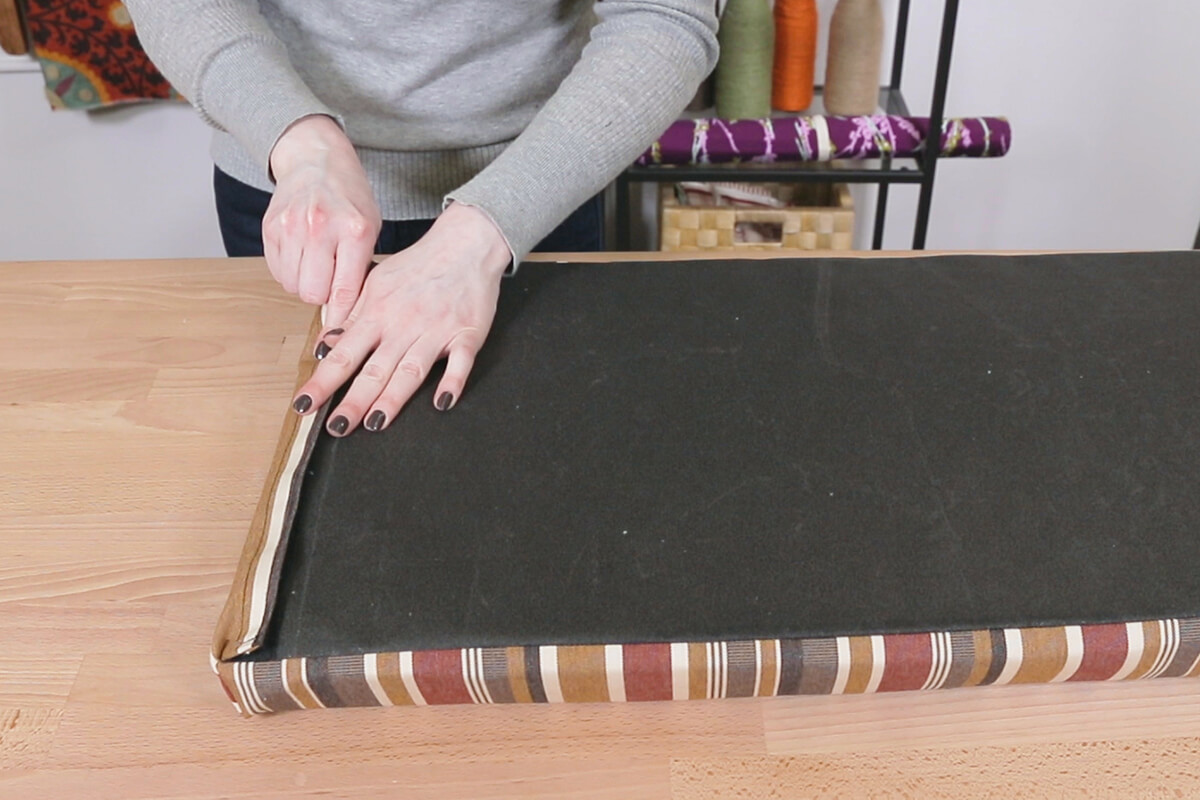
Close the Velcro flap and the dog bed is done!

Share Your Photos
Have you made this project? We’d love to see it!
Send photos to us at makersmill@onlinefabricstore.net or post it to Instagram with the hashtag #ofsmakersmill.
)
Looking for outdoor fabric? Here's our selection.