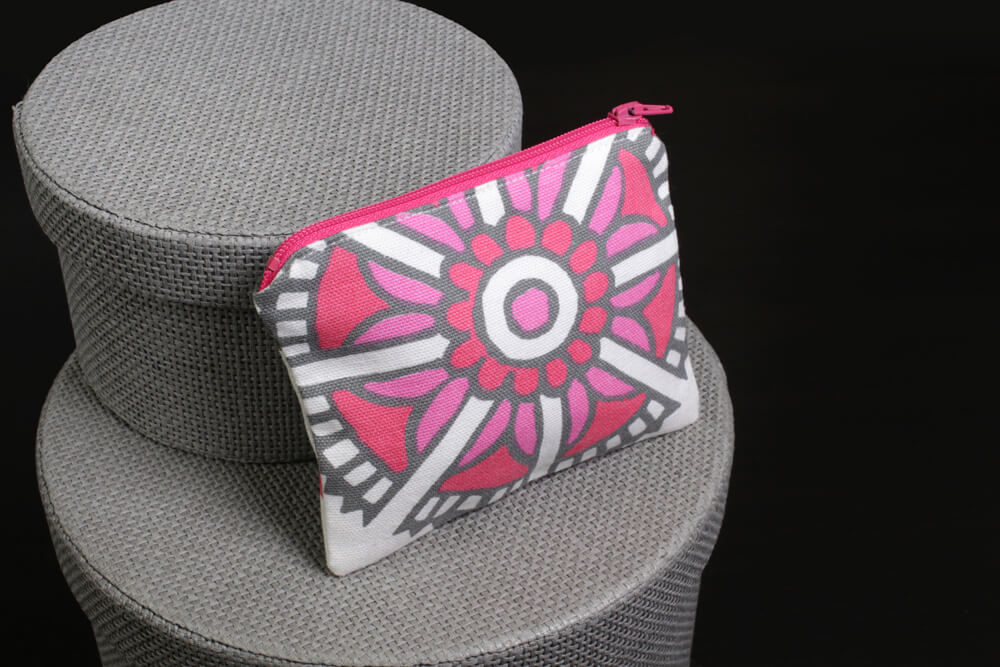
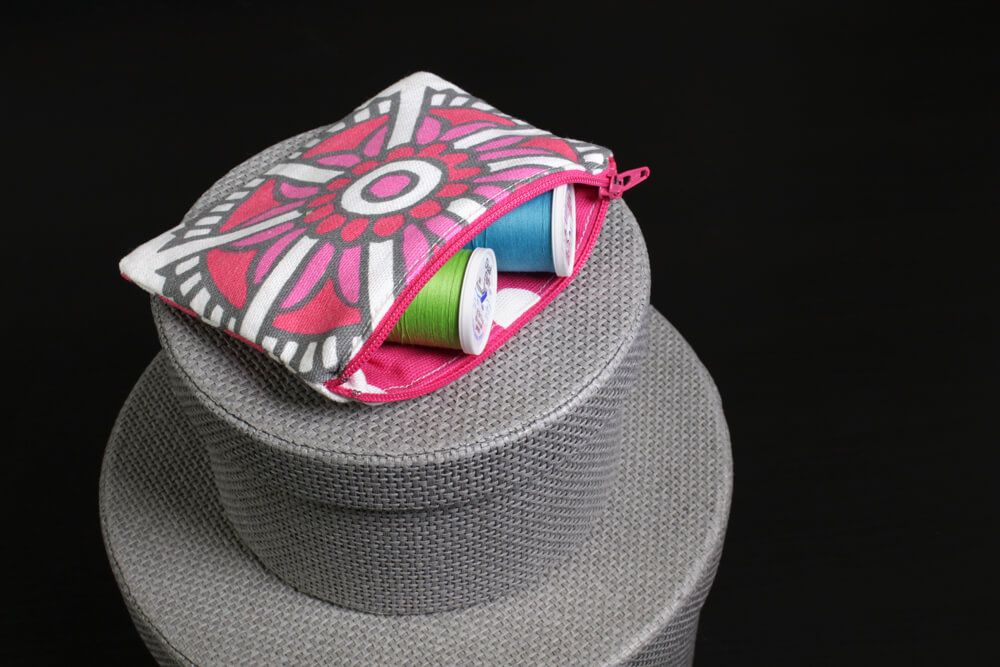
How to Make a Zipper Pouch
- By Clara
- Beginner
- 1 hour
Zipper pouches of all sizes are handy to have around for carrying or organizing many different items, from cosmetics and jewelry to phones and technology accessories. This easy project is also a good introduction to zippers. So let’s get started!

Materials

Related Products
-
 Knife Edge Dressmaker's Shears - 8"
-
 Dual Duty XP Thread - White, 250 Yards
-
 #987F Fusible Fleece
-
 Polka Dot Candy Pink/White Canvas
-
 Dual Tipped Marking Pen - Blue & Purple
-
 28mm Rotary Cutter
-
 Non Slip Ruler 2-1/2 inch X 12-1/2 inch
-
 18" x 24" Cutting Mat with Grid
-
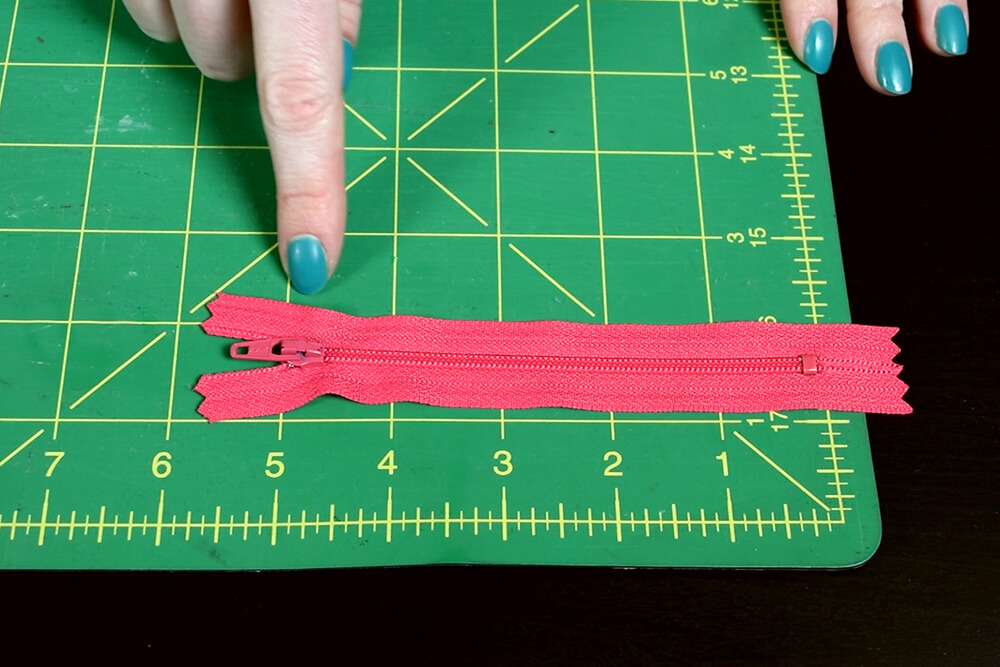
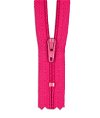 YKK 5" Lipstick Pink #3 Closed End Zipper
Video
Instructions
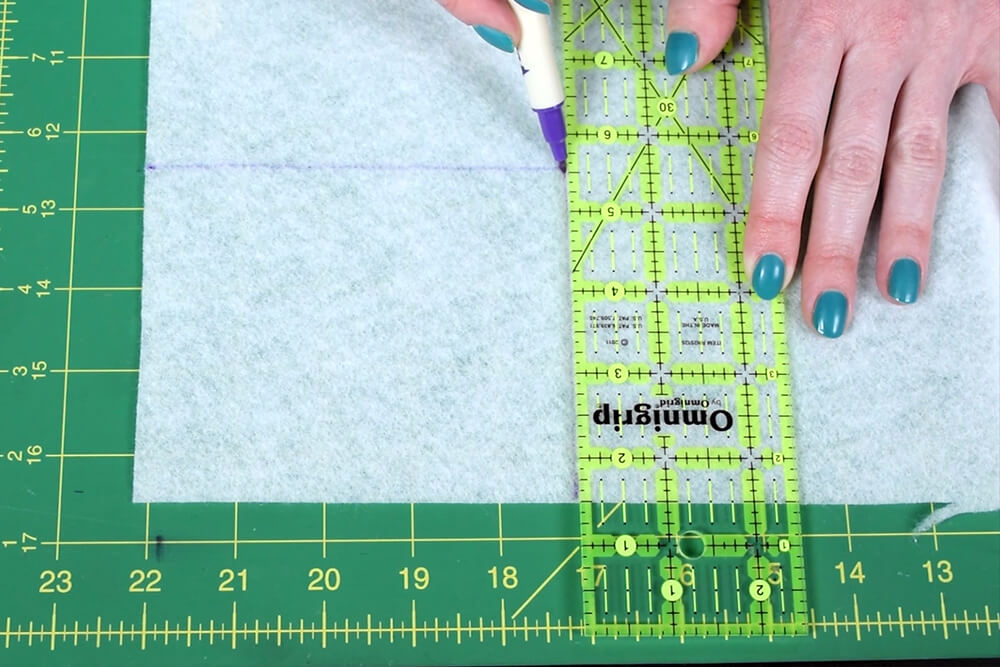
Step 1: Cut the fabric & interfacing
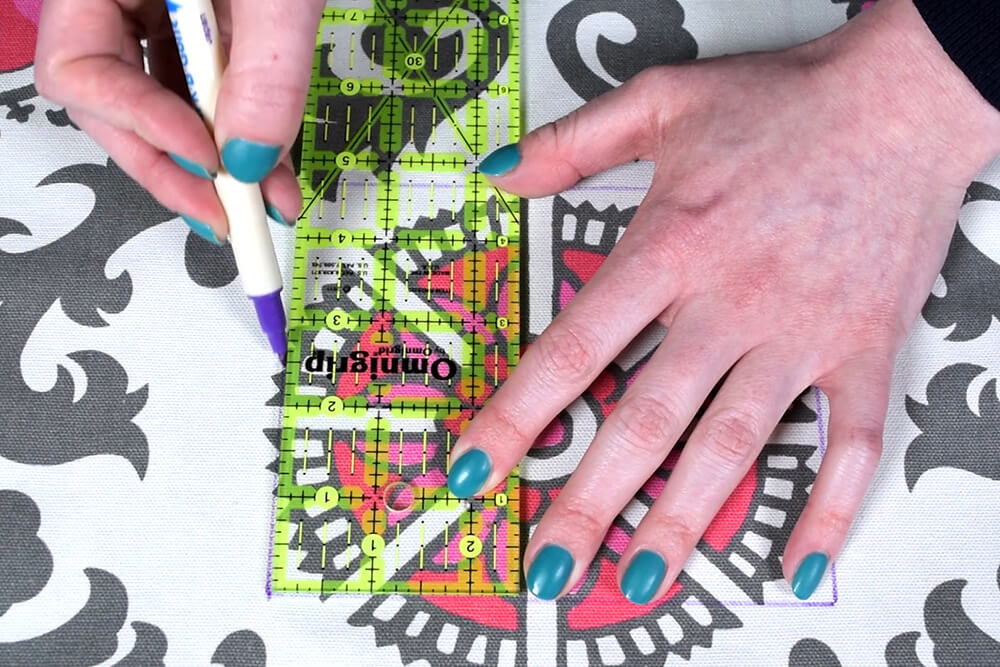
If you’re making more than one zipper pouch I find it handy to make a template.
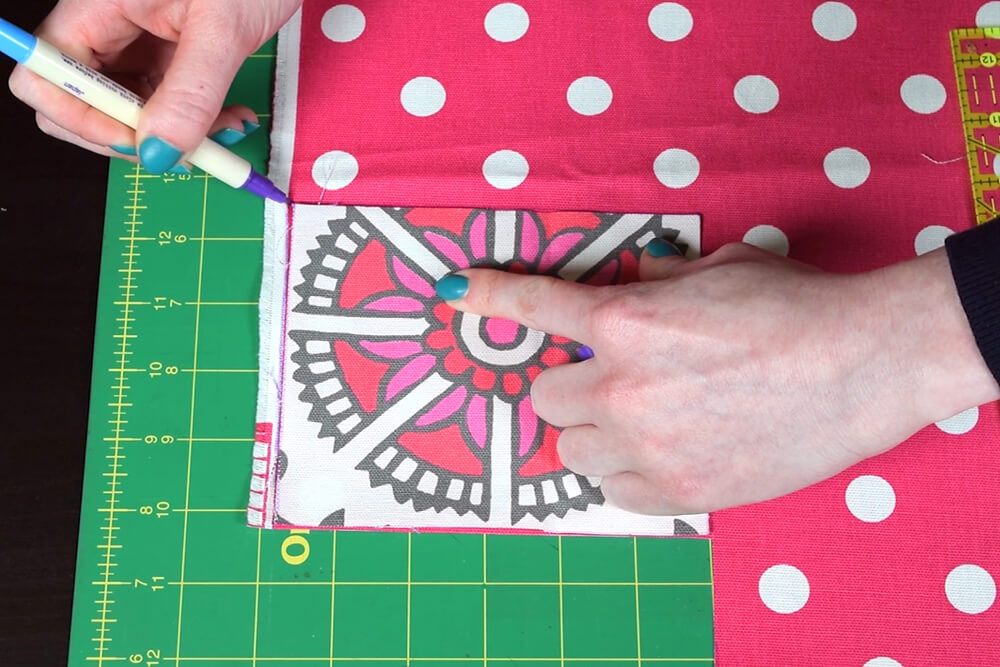
First, I’m going to cut the outer and inner fabric and the interfacing. This zipper is 5” long, which will be the width of my pouch, and it will be 4” tall. I’ll be using a 3/8” seam allowance, so add that amount (times 2) to your measurements. In total, my outer and lining pieces will be 4 ¾ x 5 ¾ inches. You can use the first piece you cut as a template for the rest of the pieces.
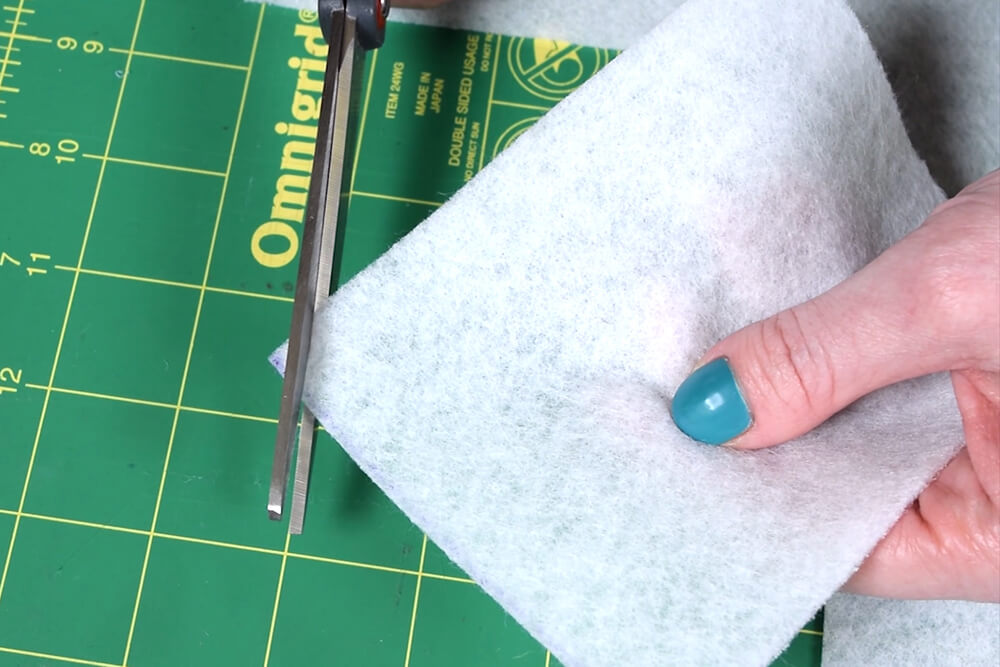
Interfacing is optional, but it makes the pouch sturdier. A medium weight interfacing works well, or if you want a little padding, try a fleece interfacing like this.
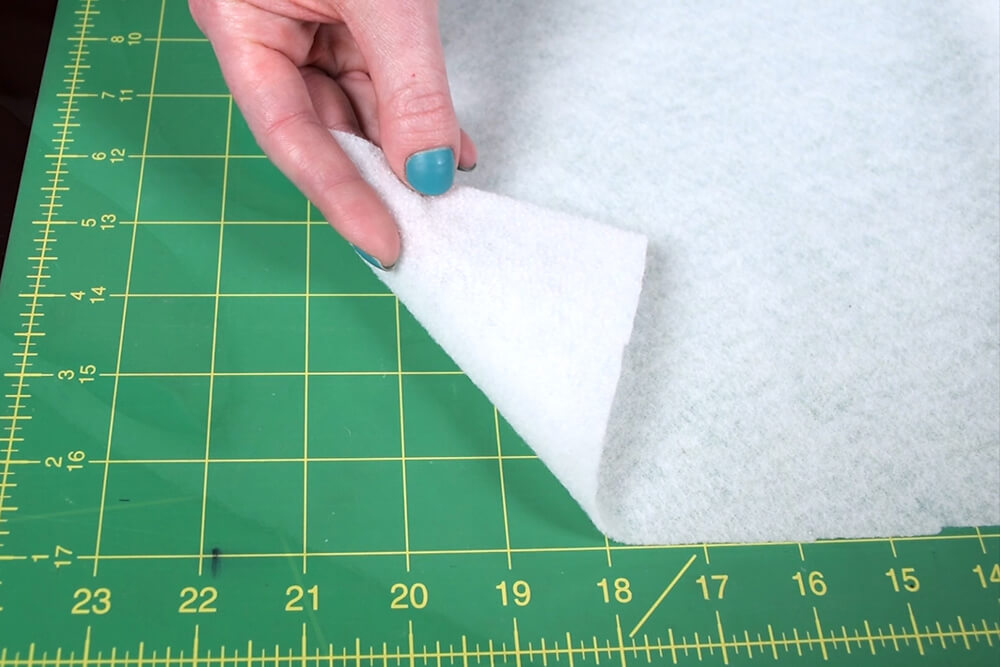
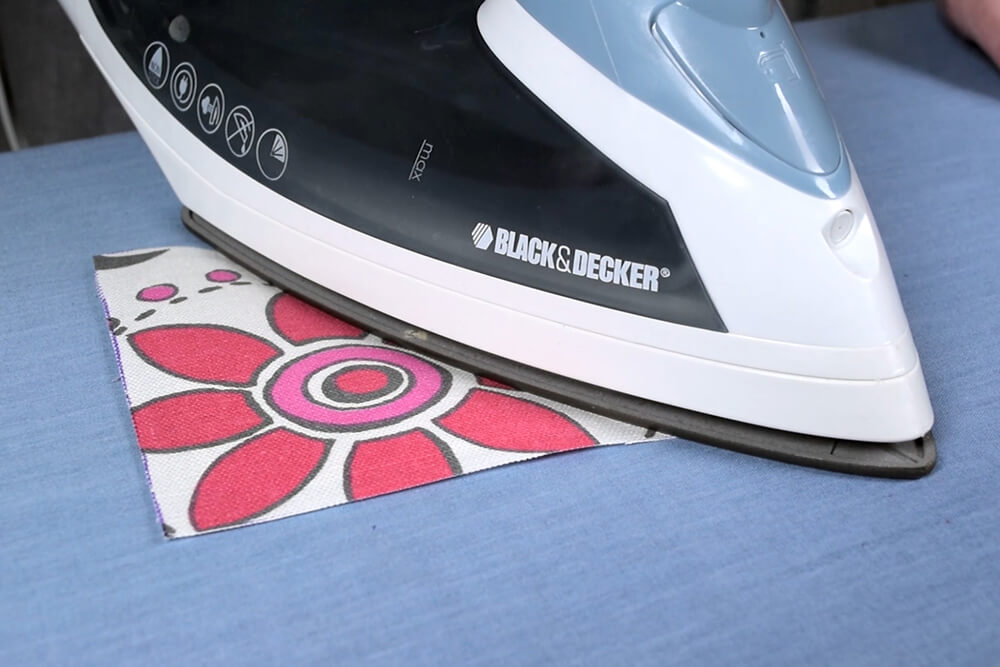
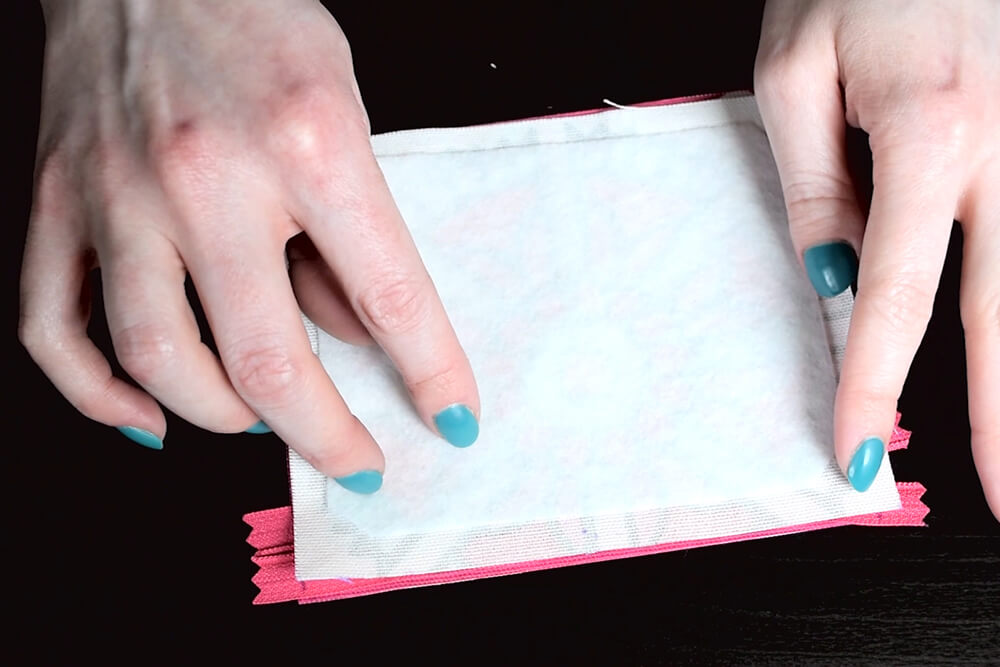
If you’re using a fusible interfacing (meaning it’s ironed on), I like to cut it to the finished size of the pouch, so 4 x 5 inches. This will cut down on the bulk at the seams and corners. To reduce the bulk even more, cut off the corners.
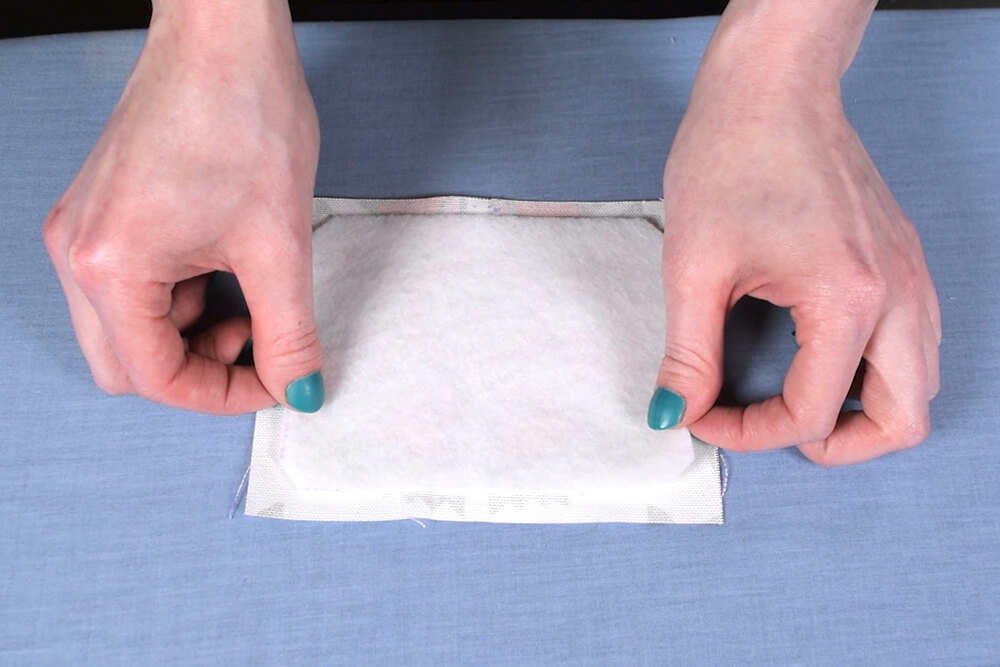
You can cover this with a scrap piece of fabric for protection, but I’m just going to place the iron right on the interfacing.
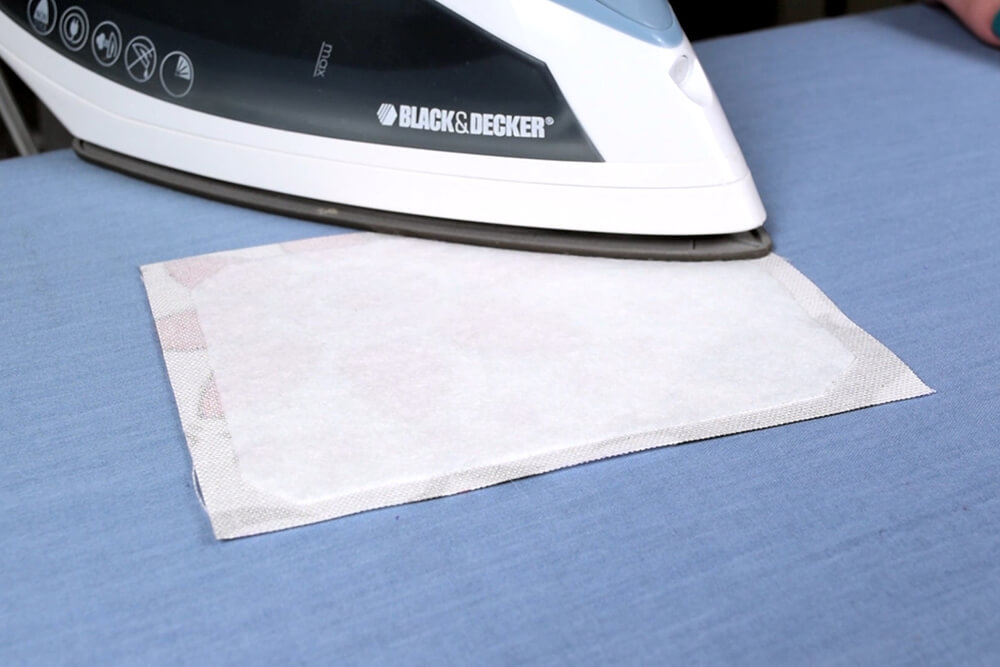
Lay the outer fabric wrong side up and place the interfacing in the center with the shiny, fusible side down. Hold the iron in place for a couple of seconds, then move it to fuse the rest of the piece.
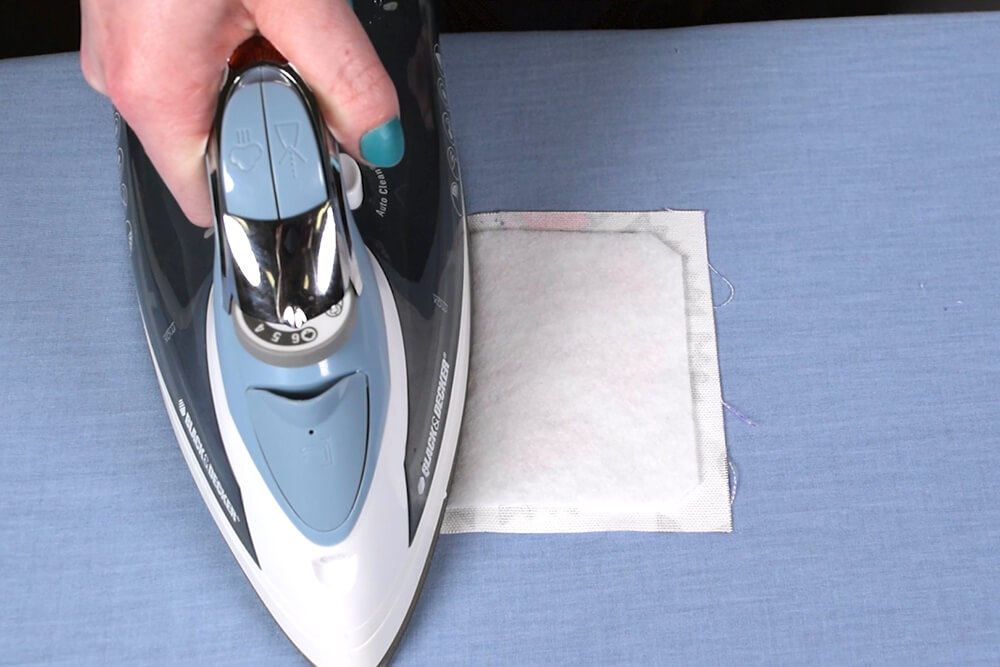
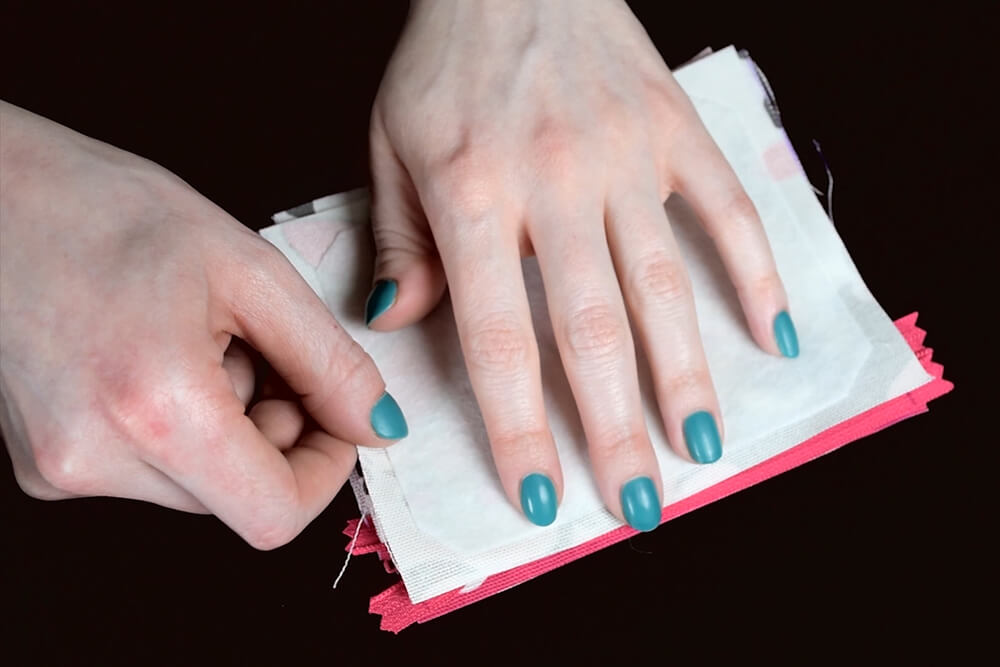
Turn the fabric over and press the front slowly. Turn it back over and make sure the edges are well attached. Repeat for the other outer piece.
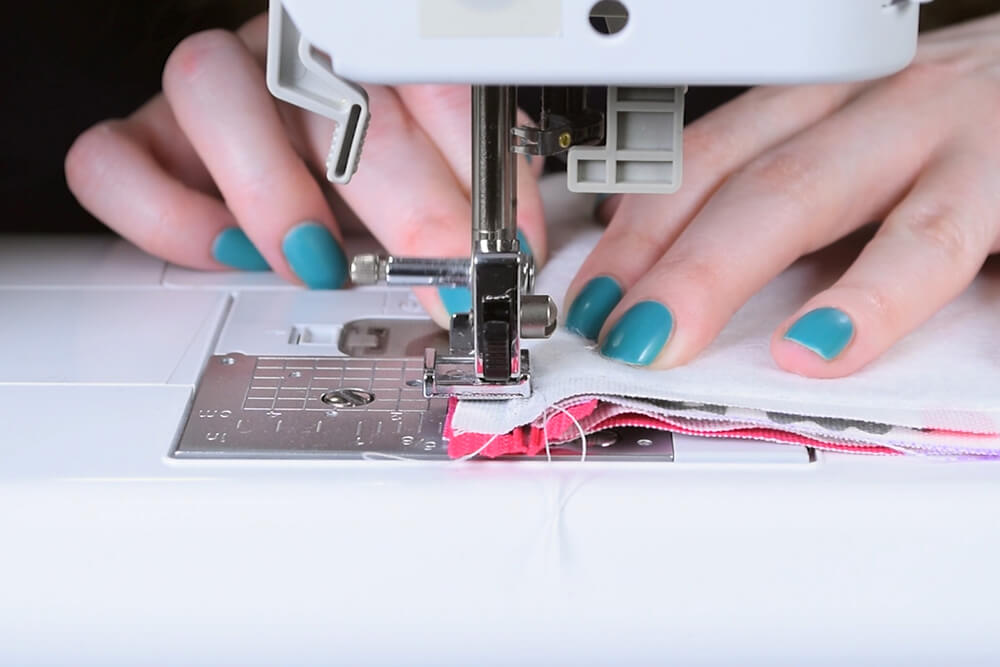
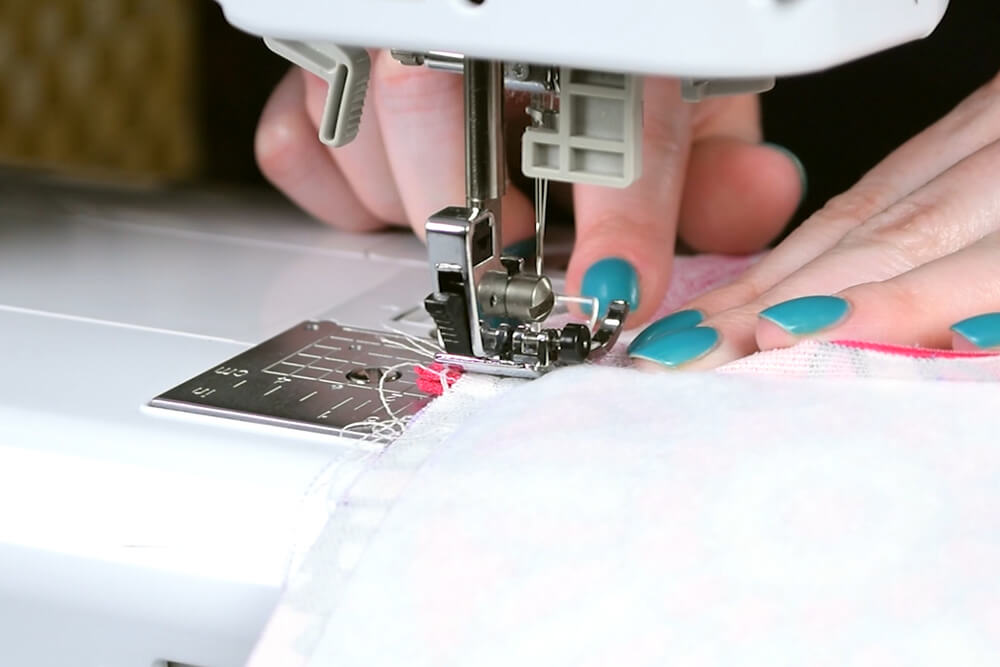
Step 2: Sew on the zipper
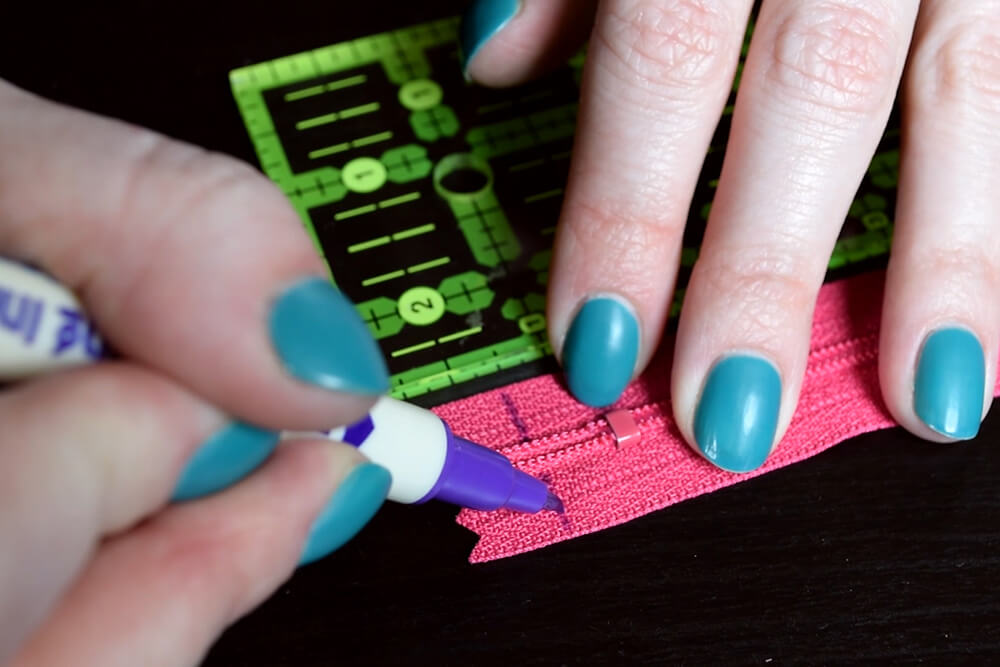
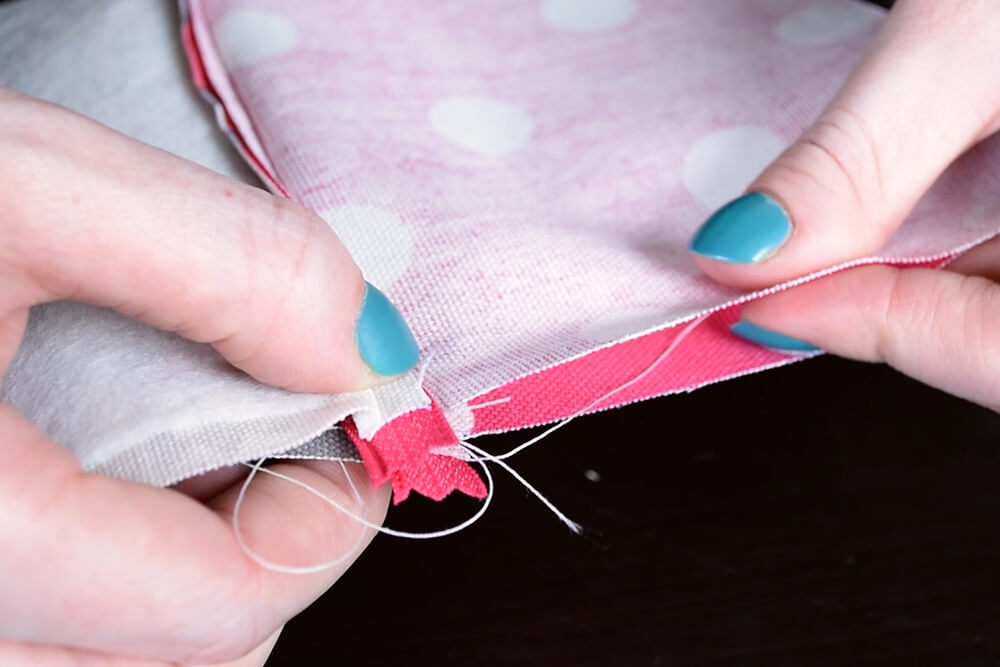
Next, I’m going to attach the zipper to the outer and lining pieces. First add the seam allowance of 3/8” to the ends of the zipper and mark it.
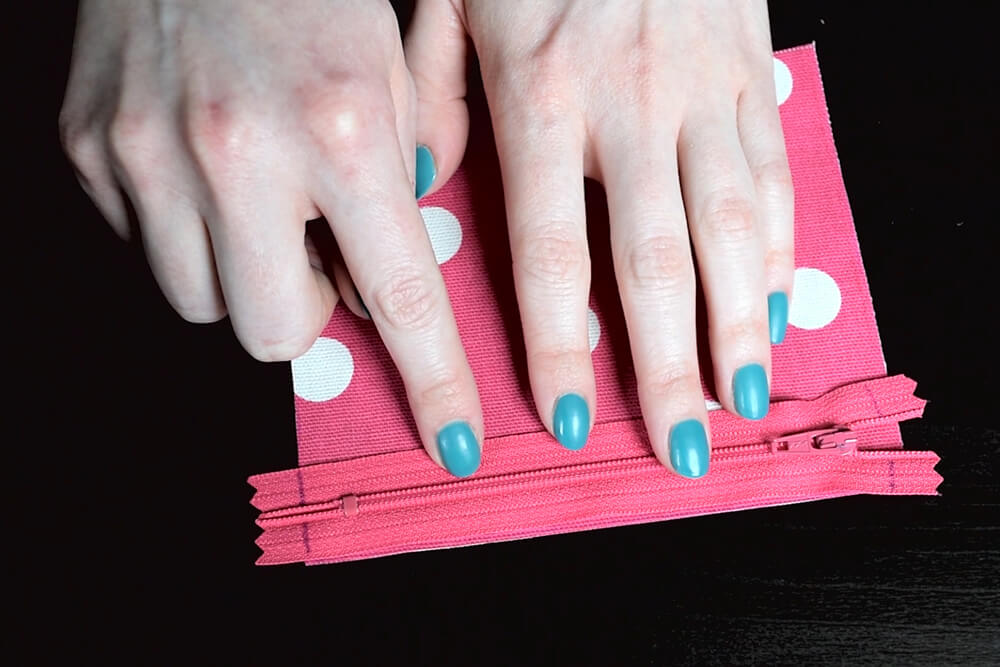
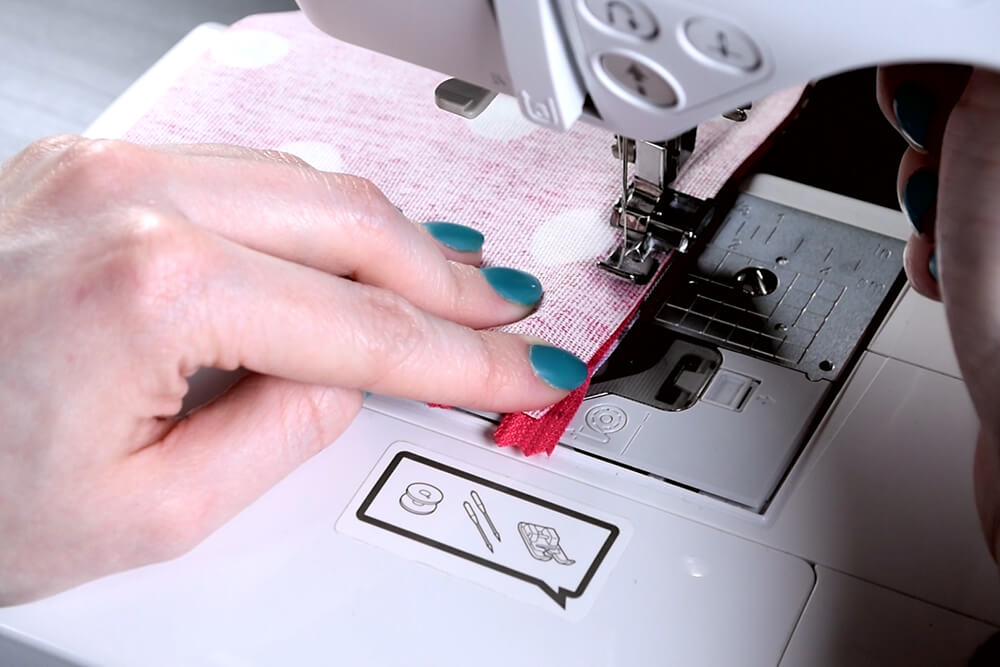
Lay down the lining fabric right side up. Place the zipper face up along the top edge of the lining so that that the marks are lined up with the edges of the fabric. Then place the outer fabric on top.
With the zipper foot on your sewing machine, sew down the edge with a 3/8” seam allowance. Back stitch at the beginning and end. Make sure the edges of the fabrics and zipper are all lined up as you go.

When you get close to the zipper pull, stop, lift the needle and presser foot, move the zipper pull up, then continue sewing to the end.

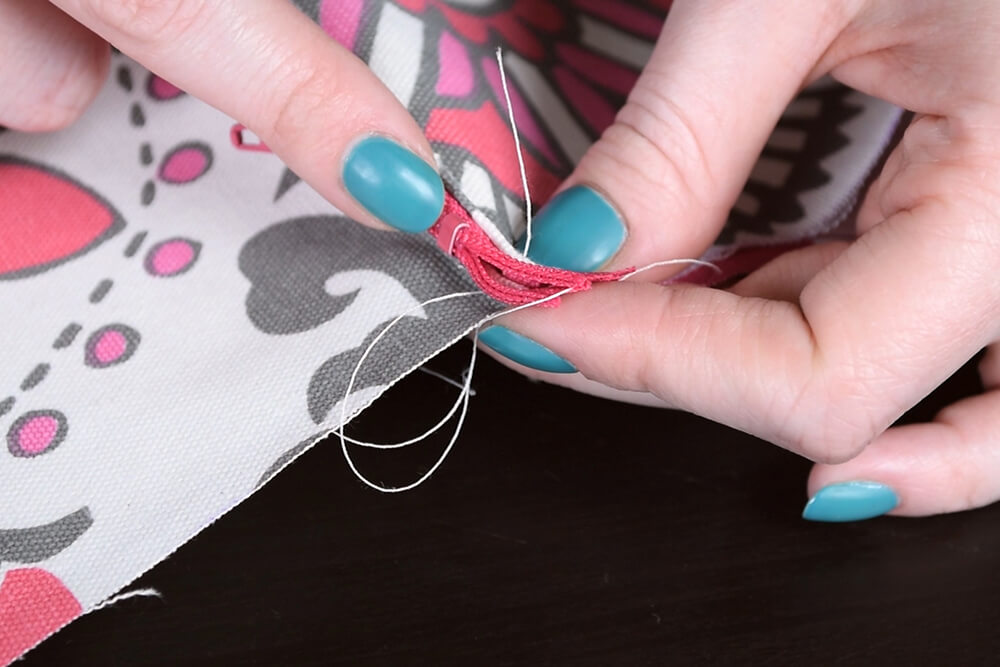
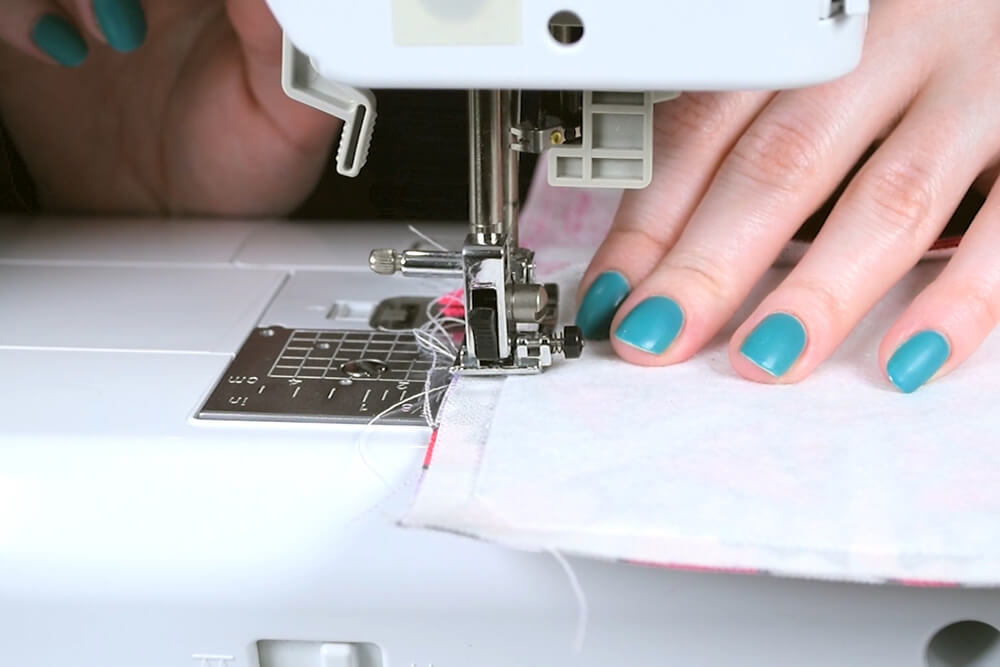
Open up the fabric to find the other side of the zipper and repeat, layering the fabric and zipper like before.

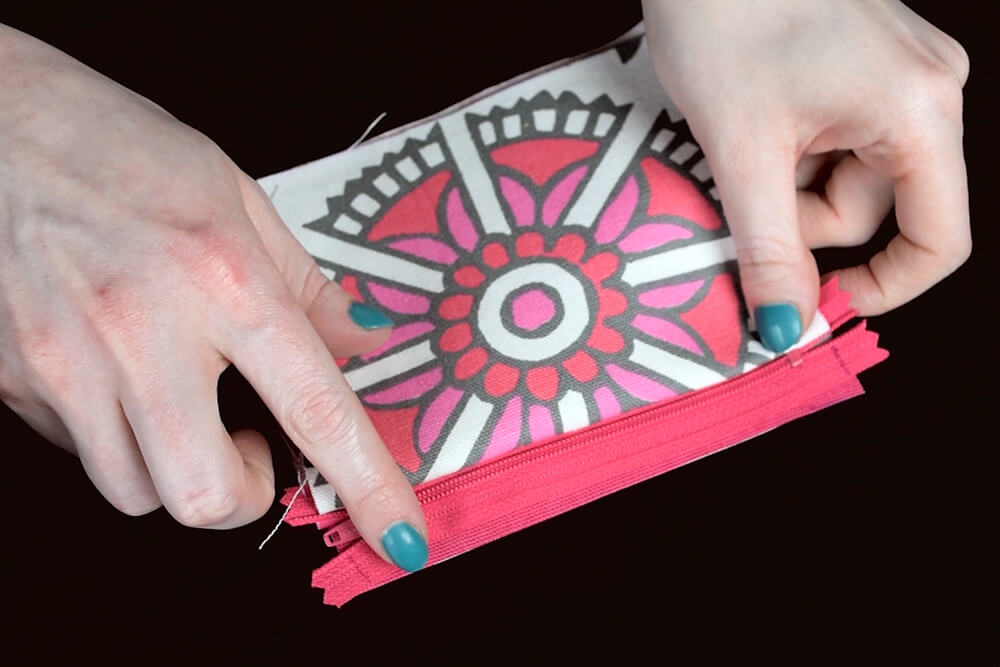
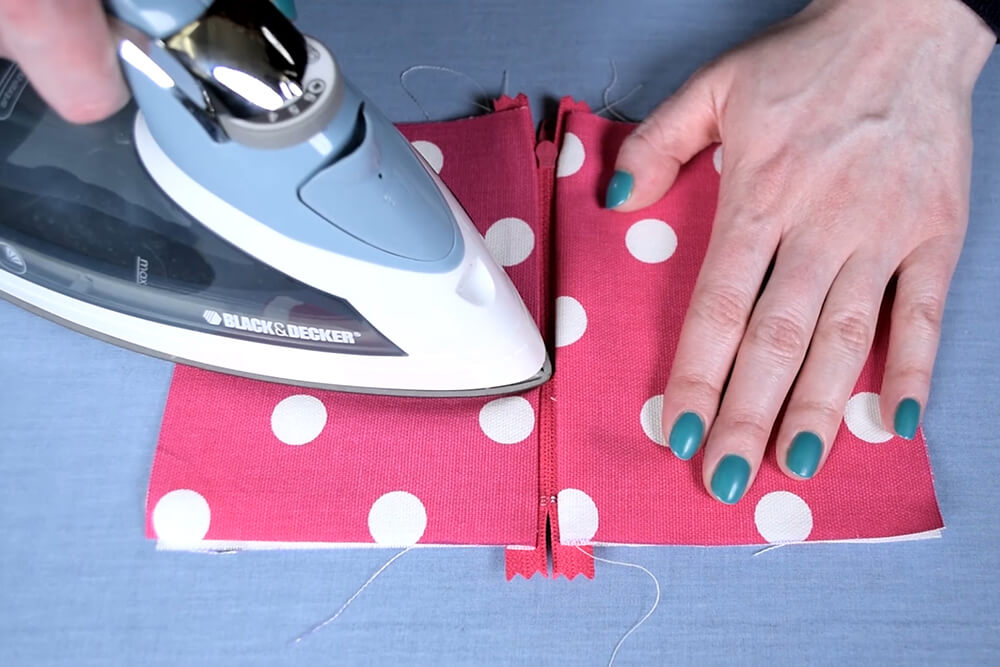
Iron the seams where the fabric attaches to the zipper. To create a nice finished look, I’m going to top stitch about 1/8” from the edge. Again you might have to lift the foot and re-position the zipper pull.

Step 3: Sew the pouch together
Next, I’m going to sew the whole thing together. Make sure the zipper is about ¾ of the way open or else you won’t be able to turn the pouch right side out. Position the fabric so the right sides of the outer fabric are facing each other and same for the lining.

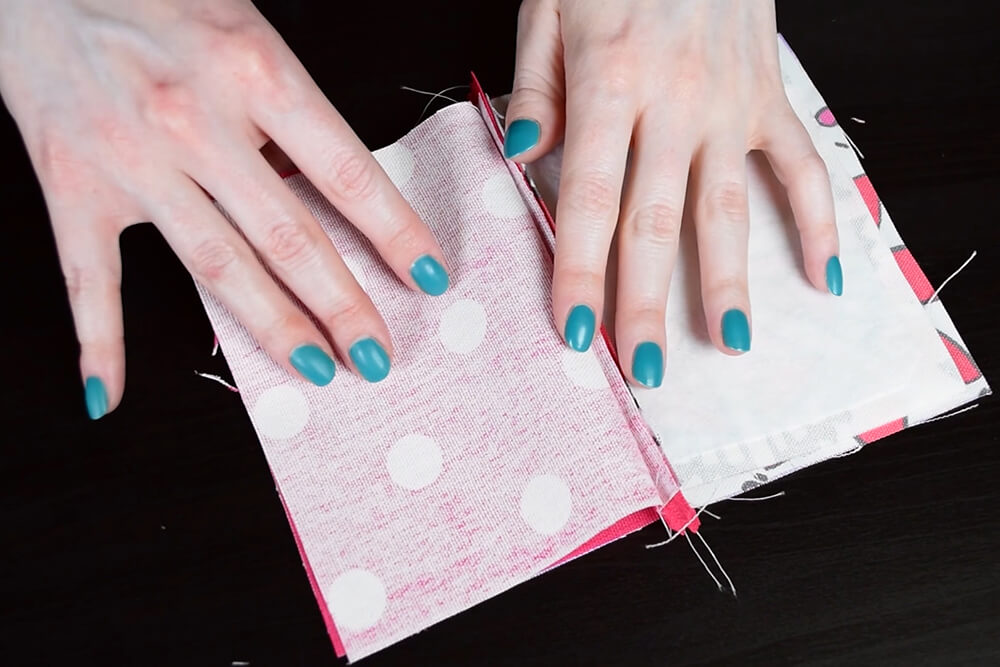
I’m going to sew around the edges of the fabric, but leave about a 3” opening at the bottom of the lining fabric.
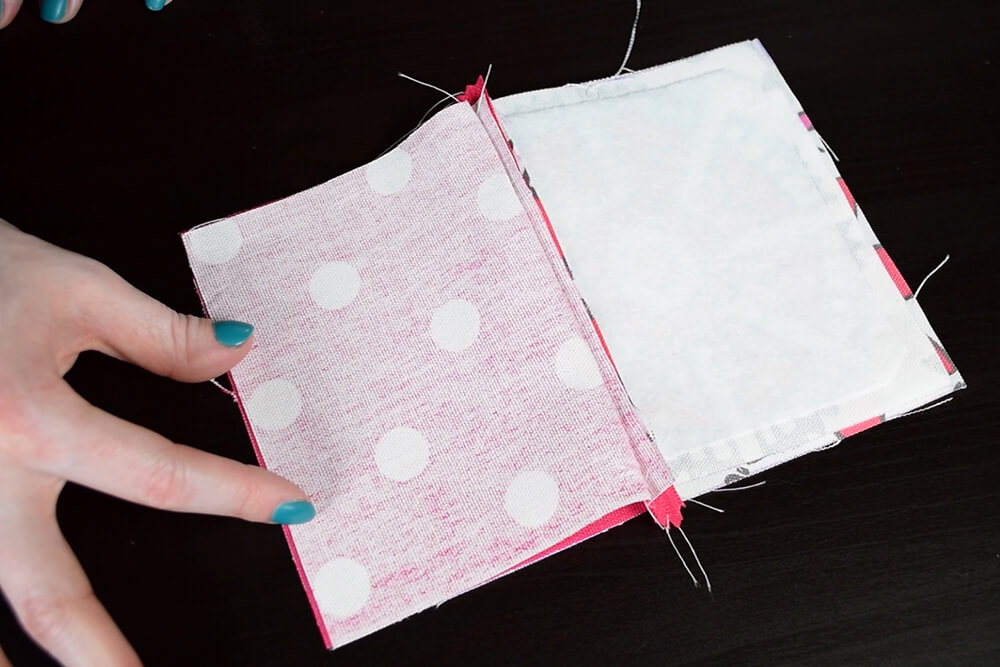
Make sure the fabric is folded so the edges of the zipper are pointing toward the lining side. Also, take note of where the metal parts of the zipper are so you don’t hit them with the needle.
The trickiest part is sewing where the zipper is, so I like to start there.
Put the regular foot back on the sewing machine.
Start sewing a little before the zipper and sew across it. Continue sewing down the lining.
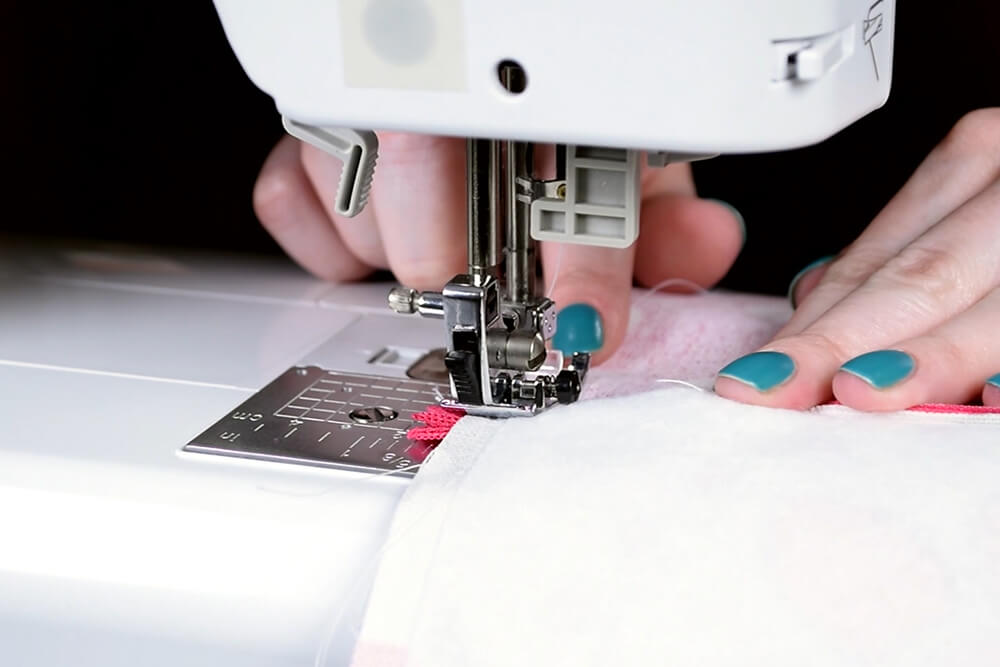
When you reach the corner, lift the foot and pivot 90 degrees. Sew a little more, but remember to stop for the opening.
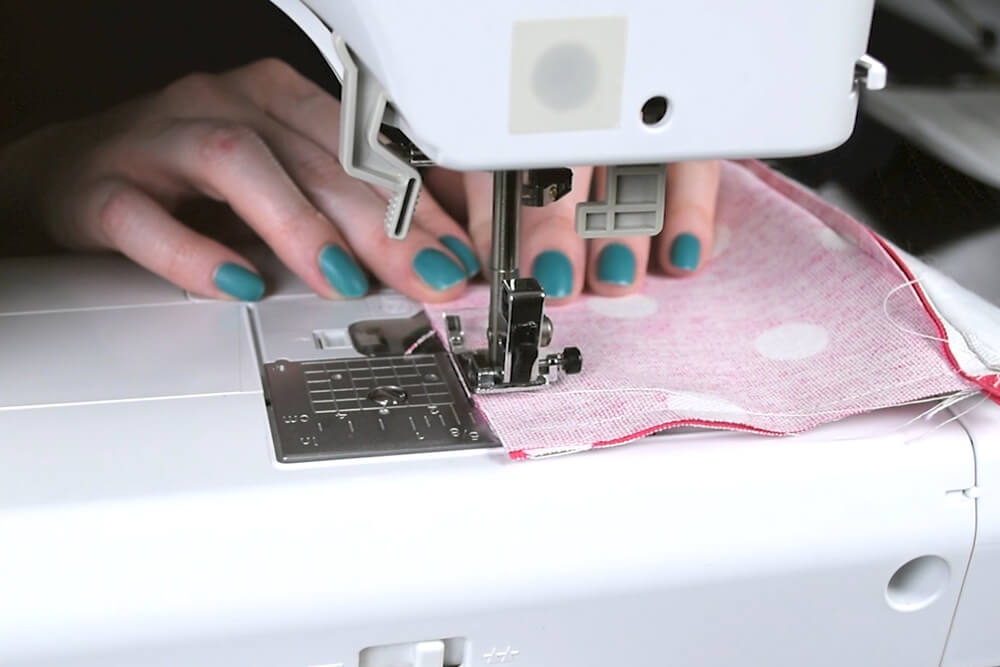
Go to the other side of the zipper and repeat. Now come back to the outer fabric side and sew the rest of the way around.
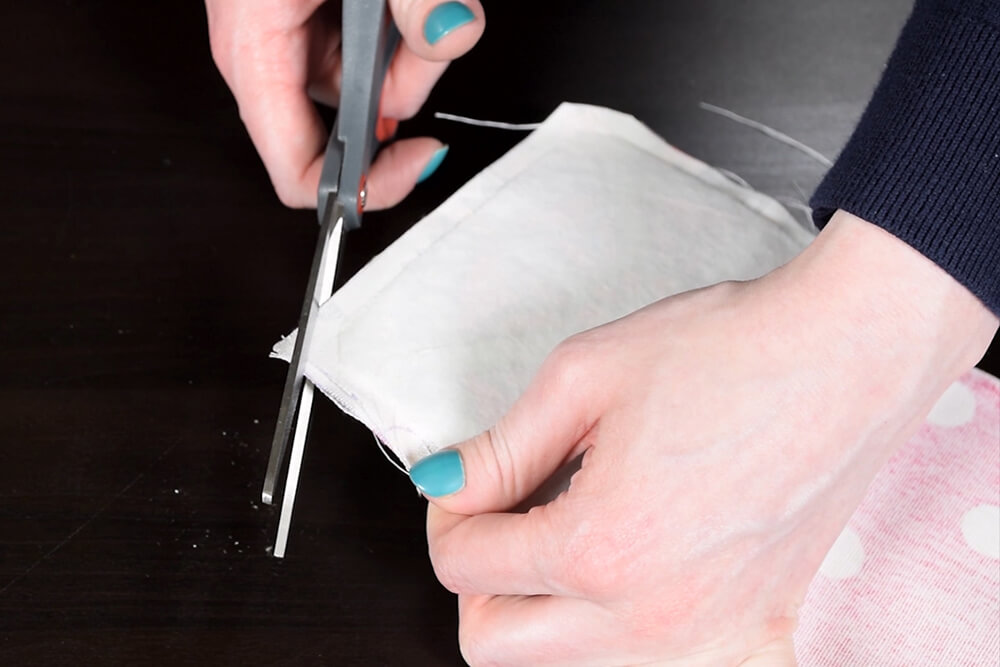
Step 4: Turn the right side out
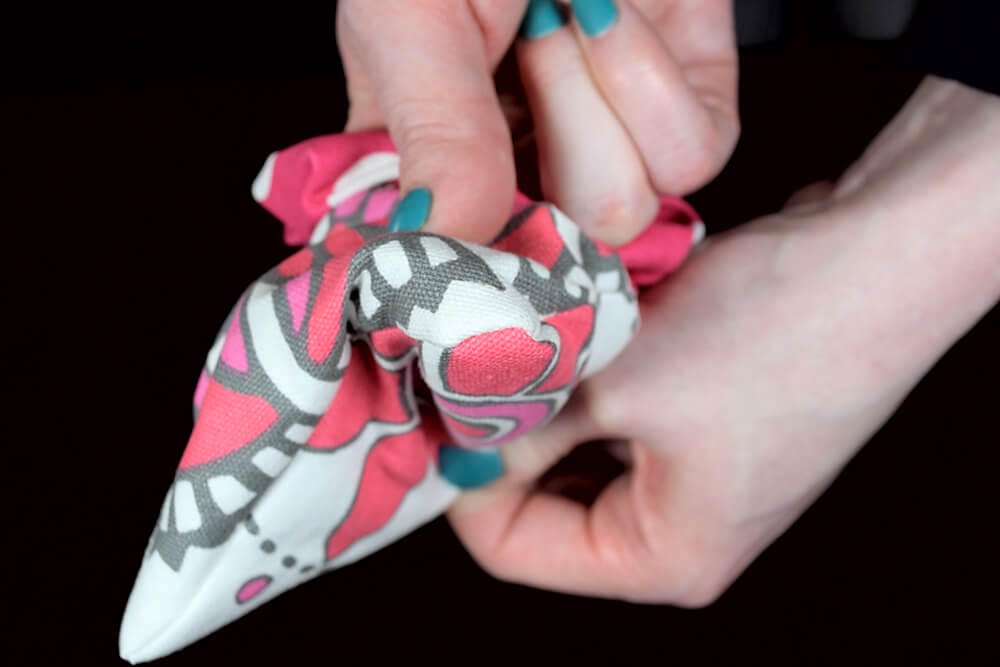
Clip all the corners close to the stitches. Also cut off any excess fabric and the ends of the zipper.

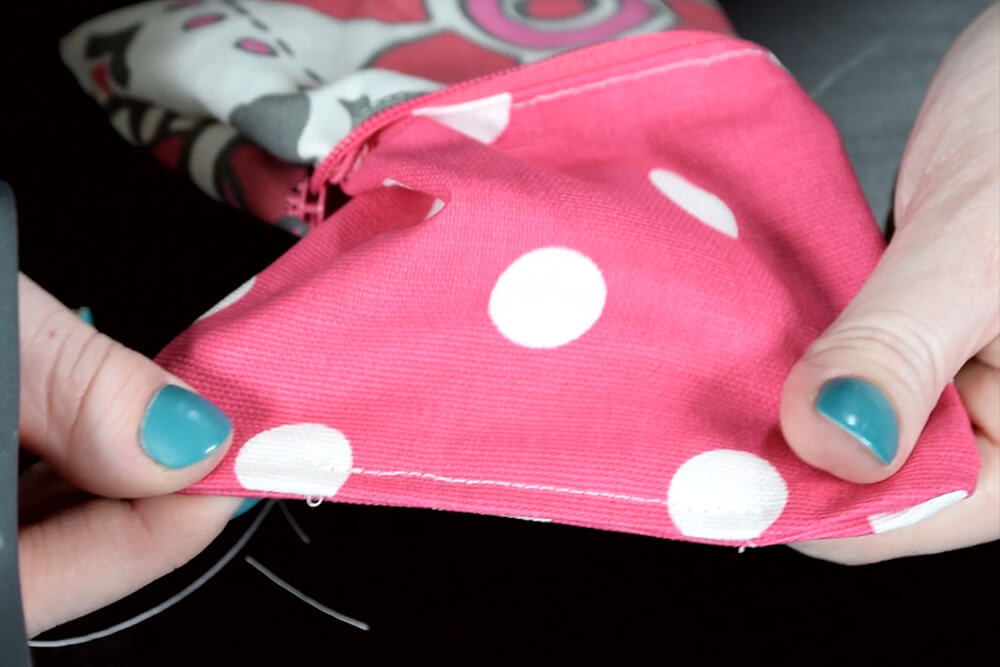
Next turn the pouch right side out by pulling it through the hole. Then push out the corners.
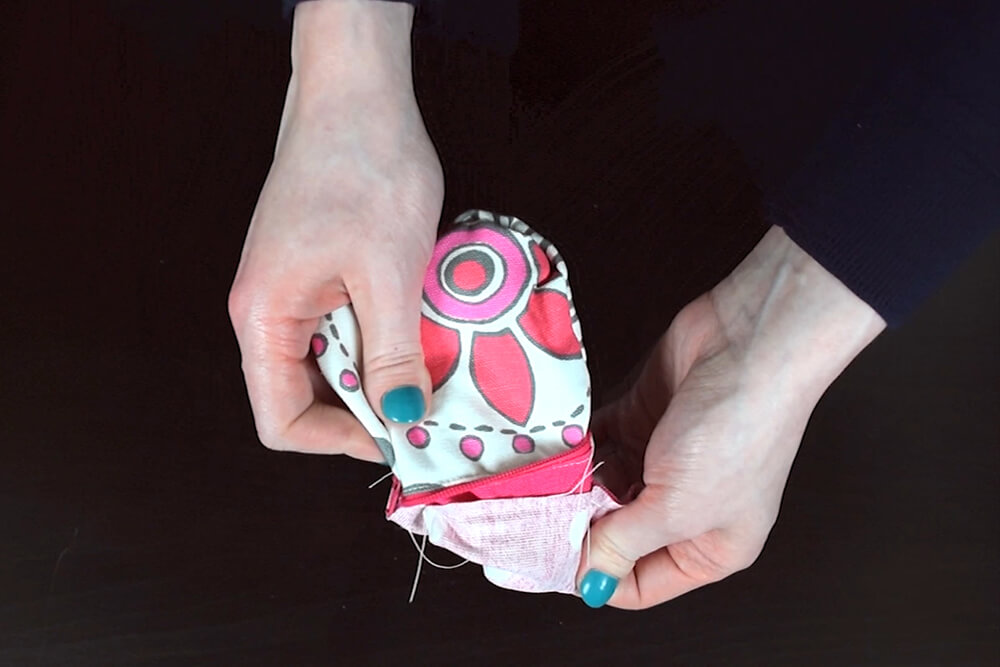
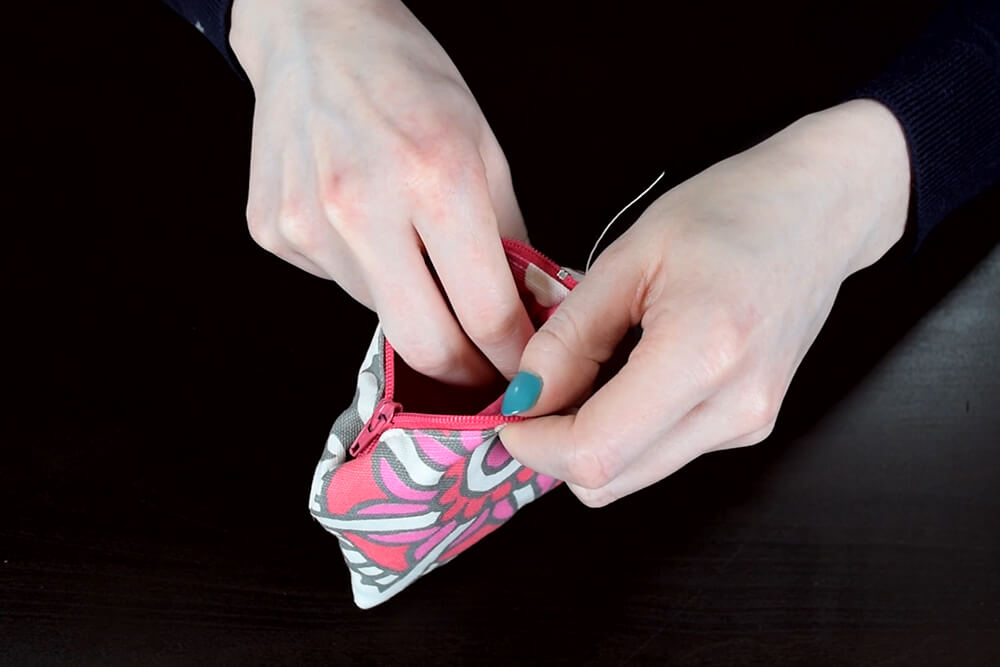
To close the hole, I’m just going to machine sew it closed since it’s not really going to be seen on the inside of the pouch. You could hand sew it if you don’t want the stitches to show.
Tuck the lining inside the pouch. Give it one final ironing, and it’s done!

Looking for more beautiful Premier Prints fabrics? Check out our selection here!