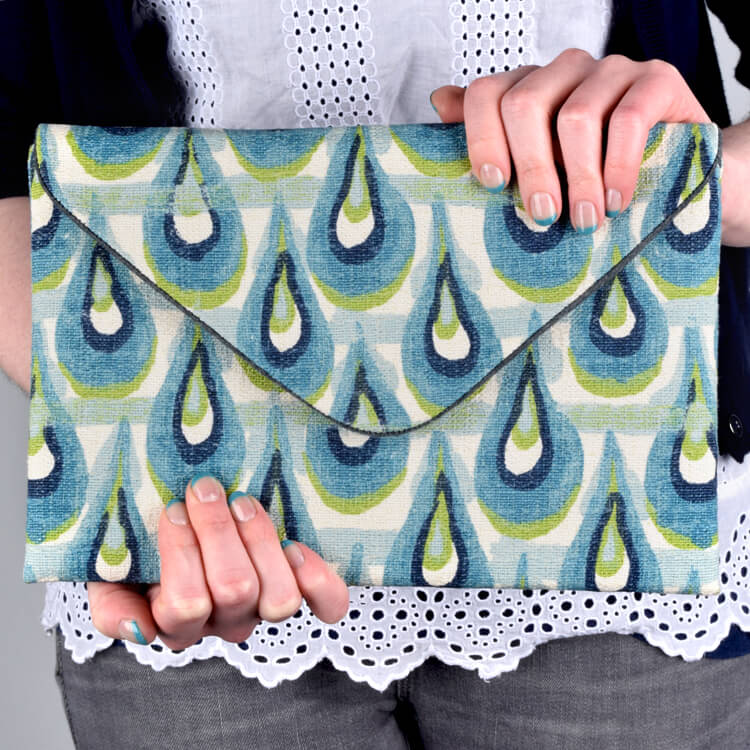
How to Make an Envelope Clutch (iPad / Tablet Case)
- By Clara
- Intermediate
- 2 hours
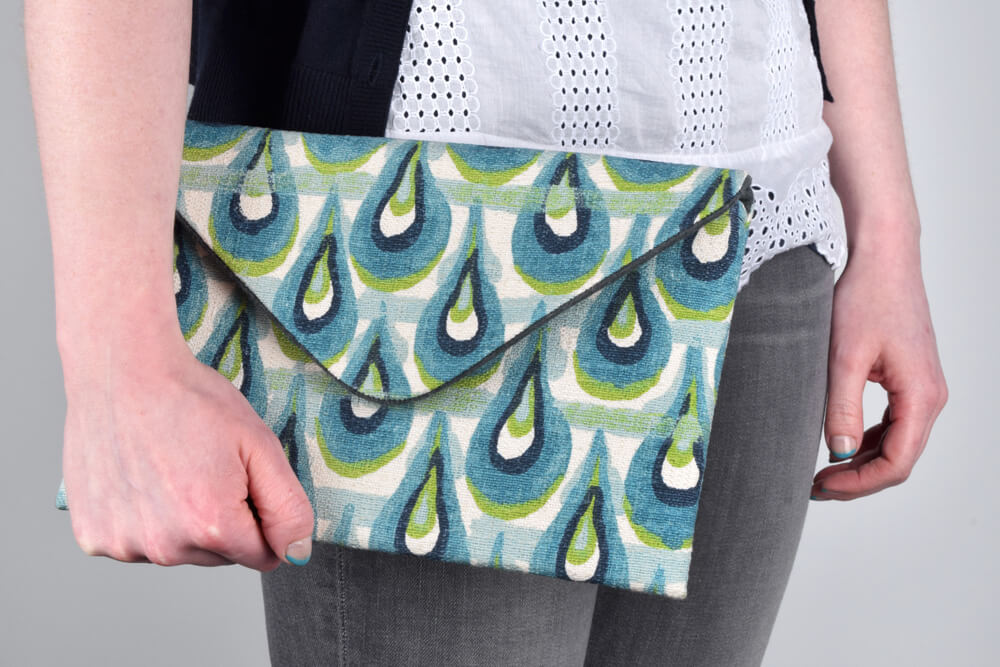
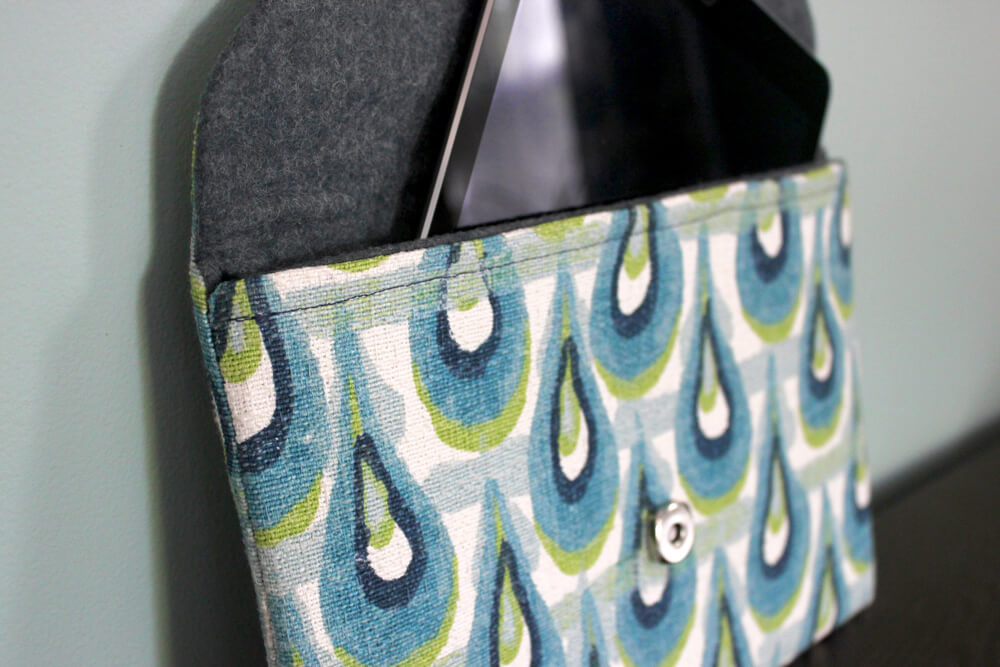
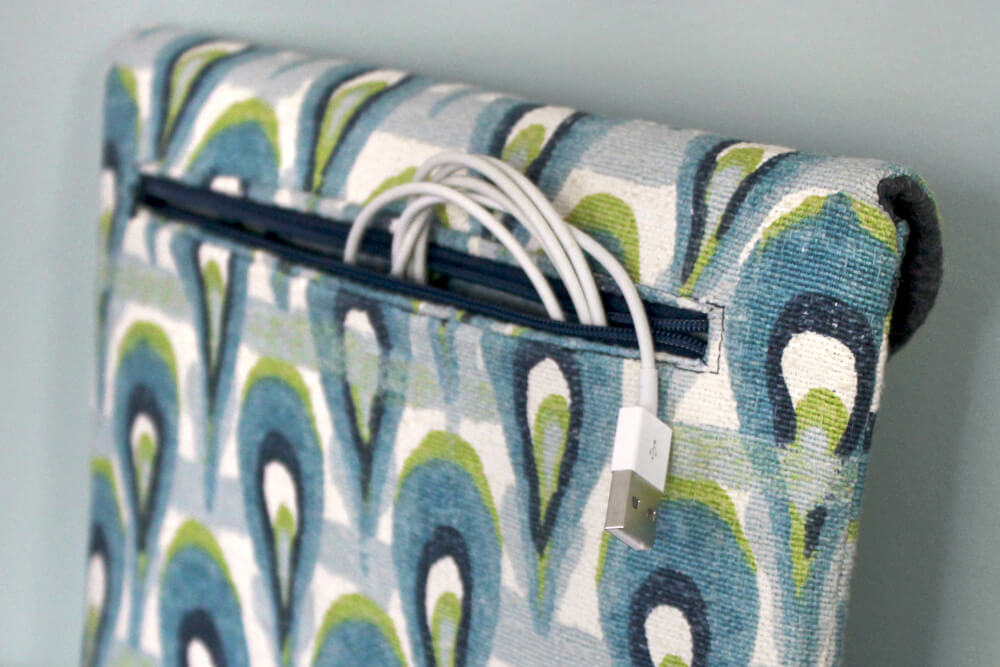
This envelope clutch is the perfect size for an iPad or tablet. It has a magnetic snap closure, a soft felt lining, and a zipper compartment on the back for cords and accessories. You can use a medium weight drapery fabric, a heavier upholstery fabric, or even vinyl as the outer fabric. The wool felt lining provides cushioning, or a simple broadcloth is another option for the lining, especially if you’re not using it as a tablet case. The envelope clutch is sturdy and holds its shape well thanks to a heavy interfacing. This envelope clutch is a great beginning project if you’re looking to get into bag making. Whether you use it as a tablet case or a clutch, it’s both stylish and practical!
Sign up to our mailing list to get the FREE pattern and printable PDF instructions.
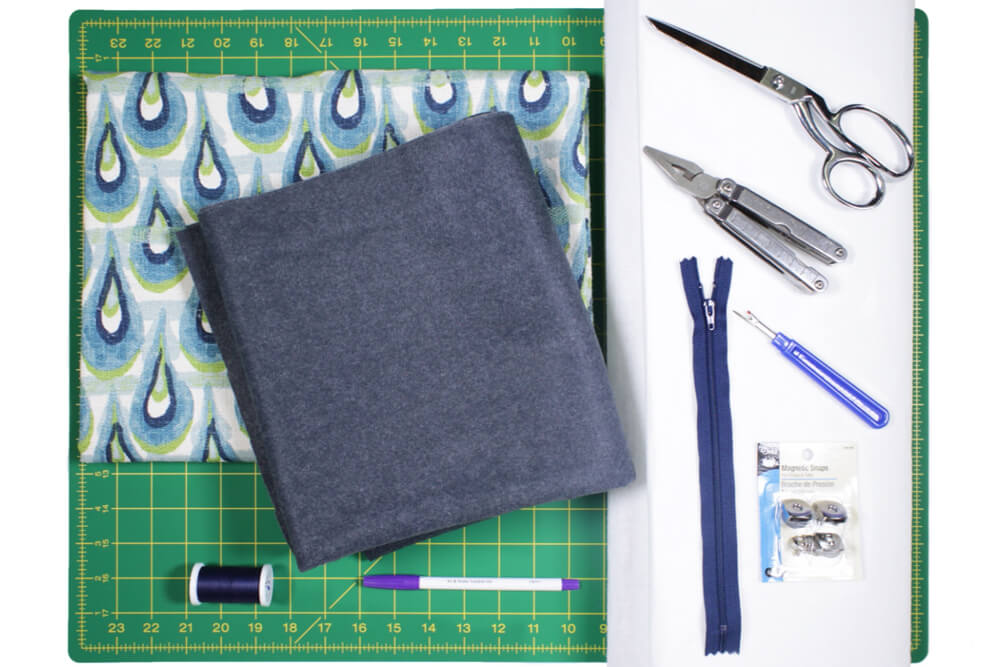
Materials
- Decor fabric
- Wool felt
- Heavy, fusible interfacing
- 9" zipper
- Magnetic snaps
- Thread
- Scissors
- Fabric marker
- Seam ripper
- Needlenose pliers
- Iron
- Pins
Related Products
-
 Smoke Gray Wool Felt
-
 Knife Edge Dressmaker's Shears - 8"
-
 Deluxe Seam Ripper
-
 Dual Duty XP Thread - Navy, 500 Yards
-
 #71F Peltex I Ultra Firm Fusible Stabilizer - Single Sided
-
 175 Quilting Pins - Size 28
-
 2 Magnetic Snaps - 3/4"
-
 Disappearing Ink Marking Pen - Purple
-
 Chloe Frost Birch
-
 YKK 9" Crayon Blue #3 Closed End Zipper
Video
Instructions
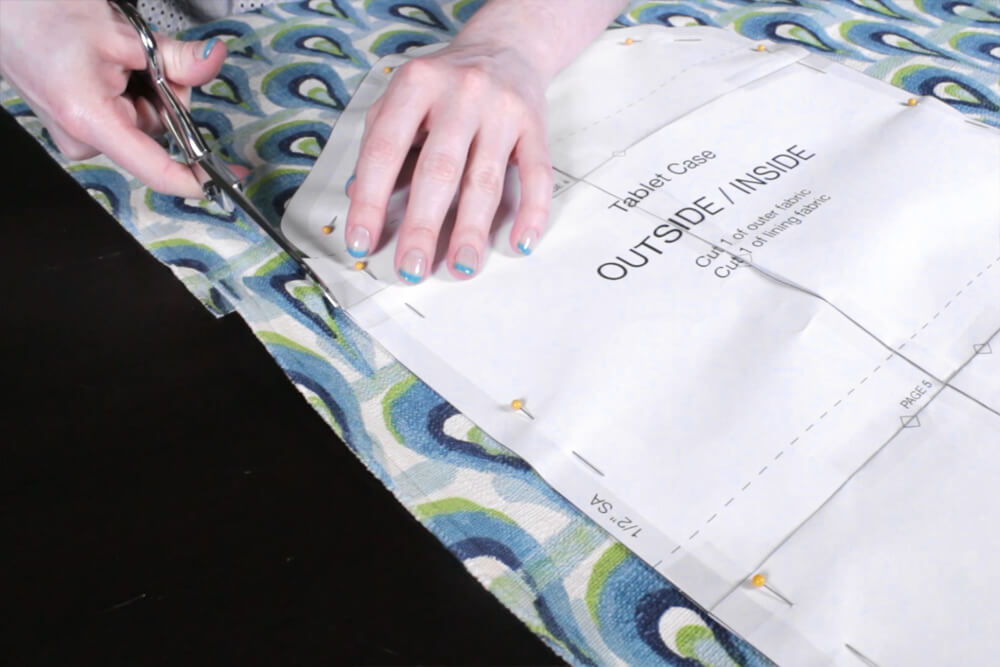
Step 1: Cut out the envelope clutch pattern pieces
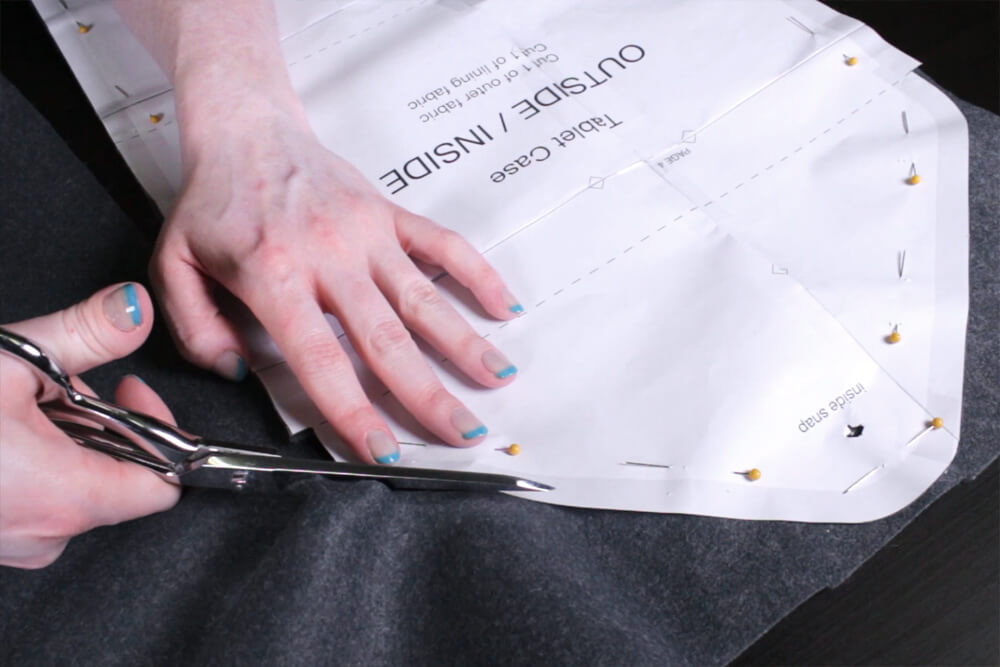
Tape together and cut out the envelope clutch pattern pieces. Cut out the spaces that are marked for the zipper, and cut small holes where the snaps are marked.

Pin the Outside/Inside pattern piece to outer fabric and cut it out. Remove the pins and repeat for the lining fabric. Before removing the pattern from the lining piece, mark where the inside snap is.
You can use either the outer fabric or lining fabric here.
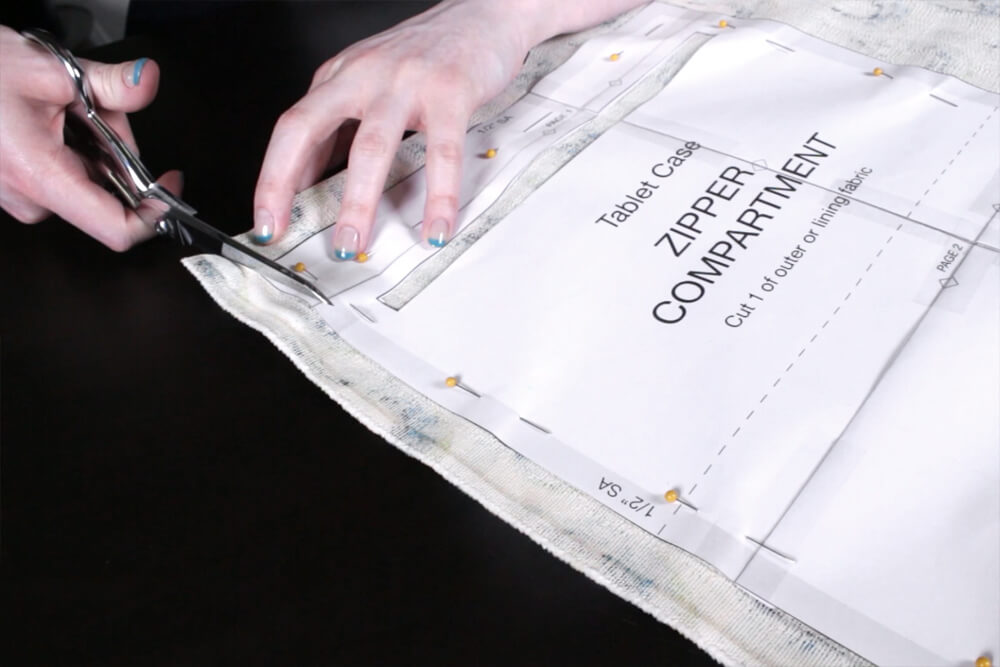
For the zipper compartment lining pattern, place the fabric face down, pin and cut out the piece. Mark where the zipper will go, but don’t cut it out. Remove the pins.
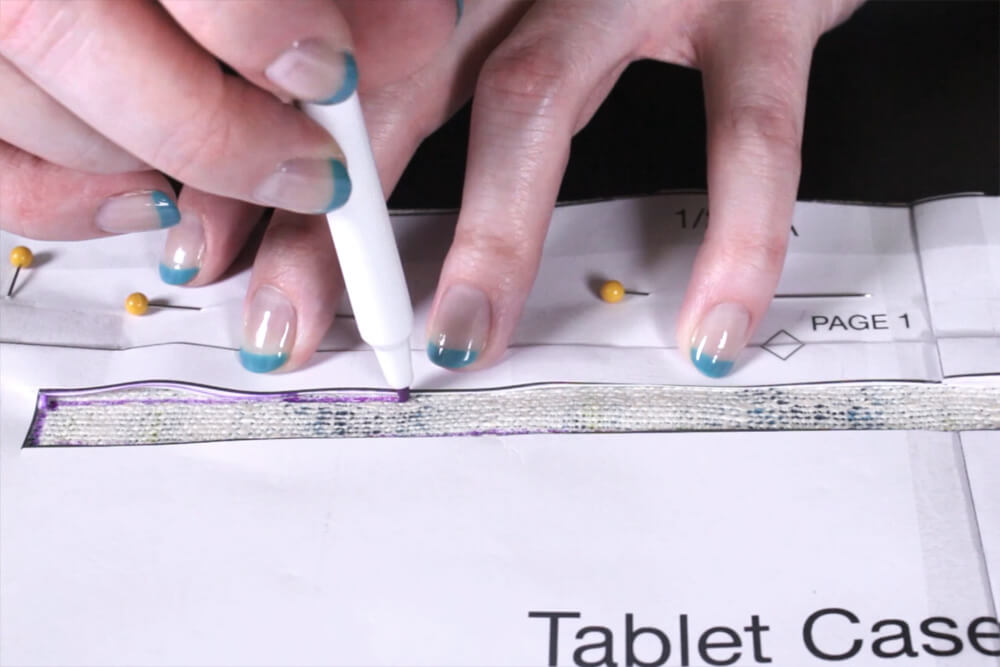
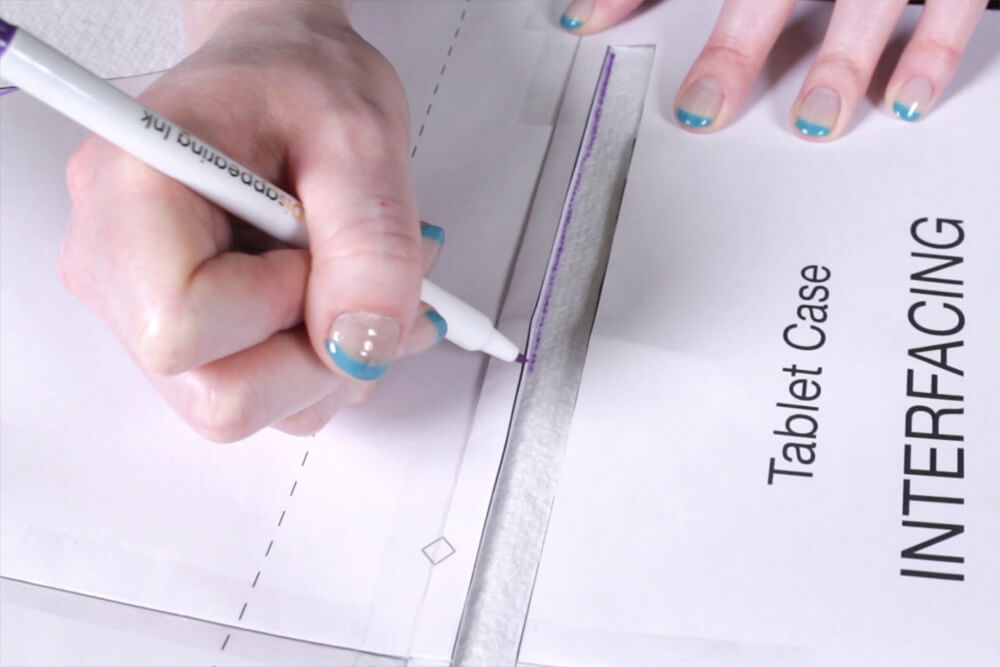
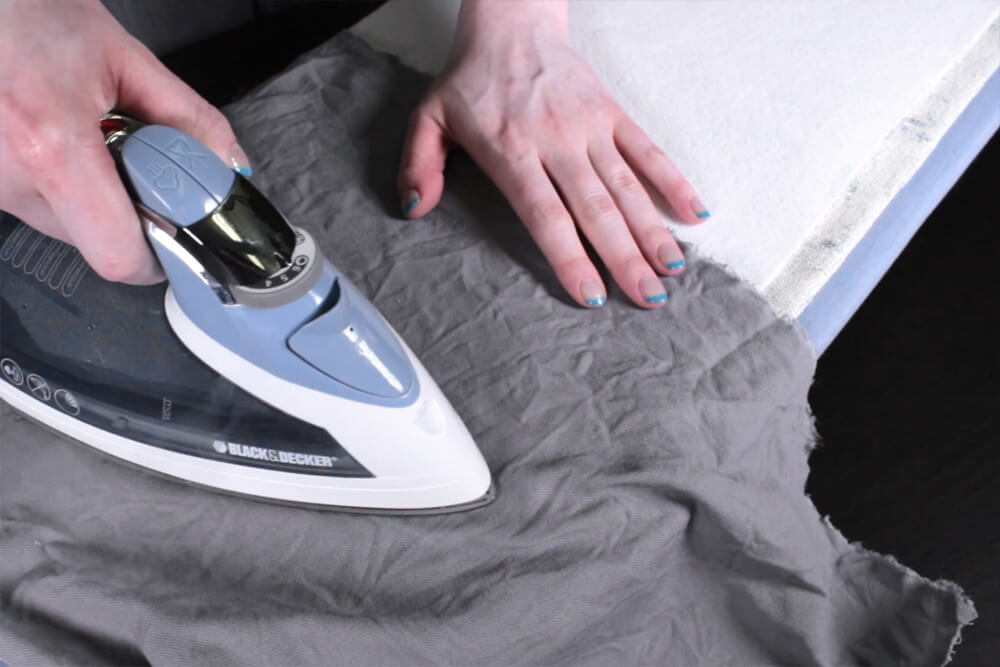
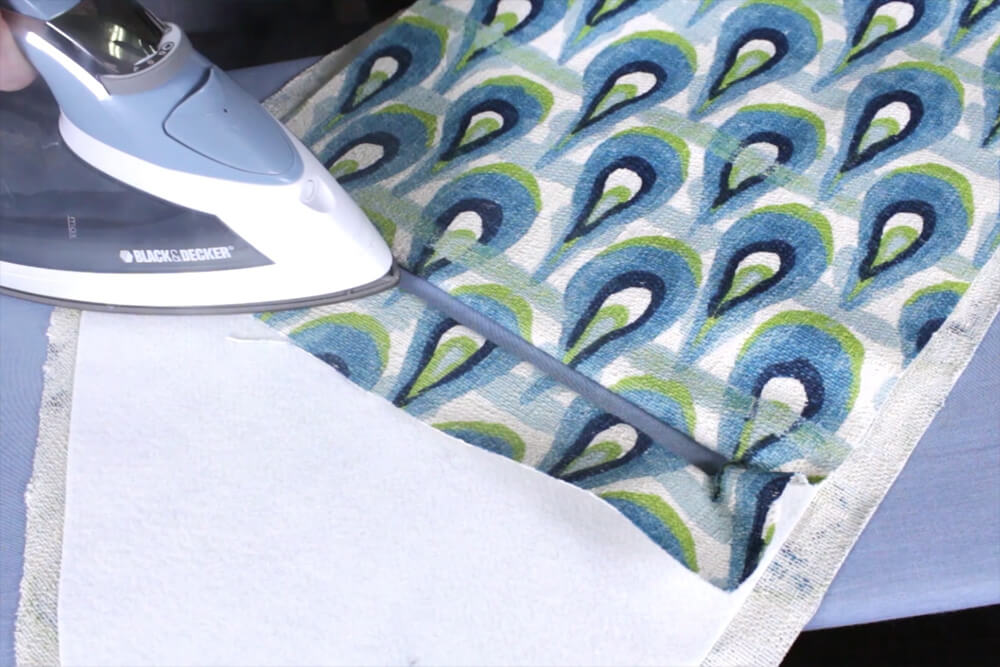
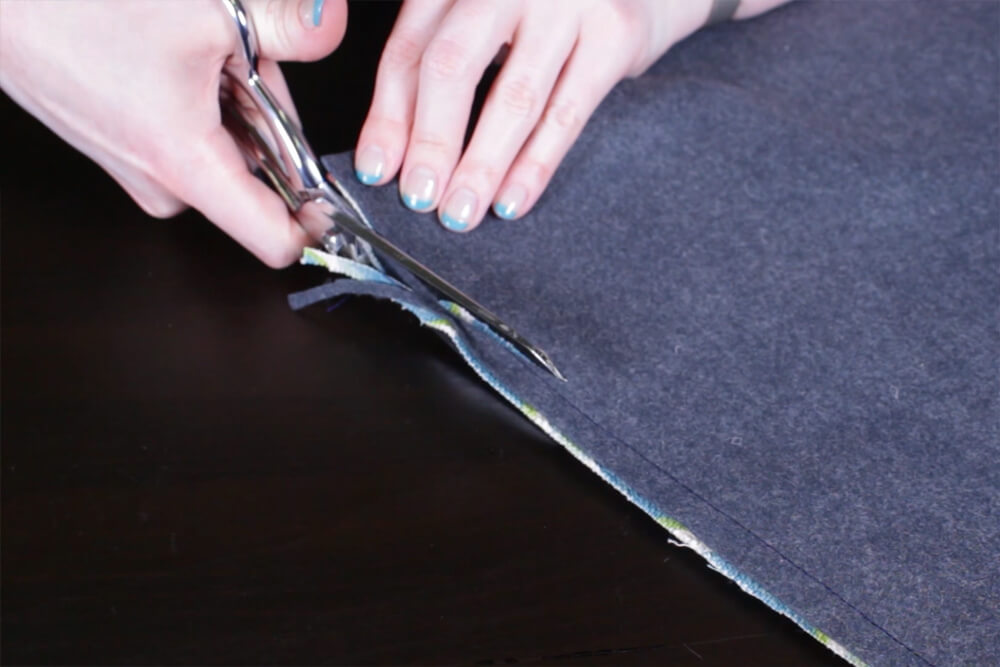
Finally, trace and cut out the interfacing using the interfacing pattern piece. Make sure the fusible side is facing down. Mark the area for the zipper and the outer snap. On this piece, cut out the zipper area. Center the interfacing on the back of the outer fabric. Fuse the fabrics together by covering them with a damp cloth and ironing.
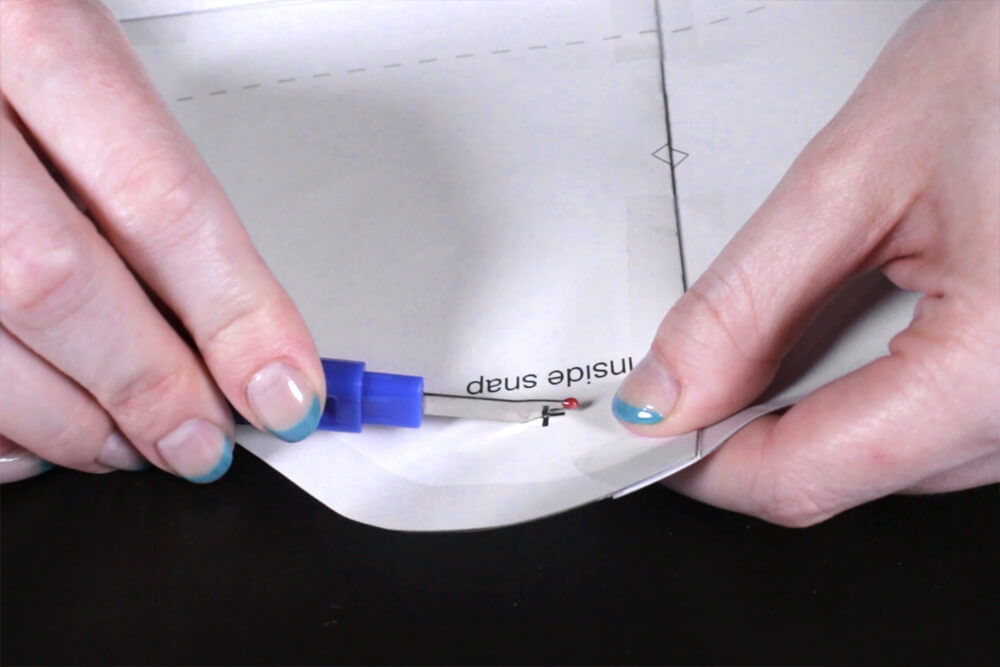
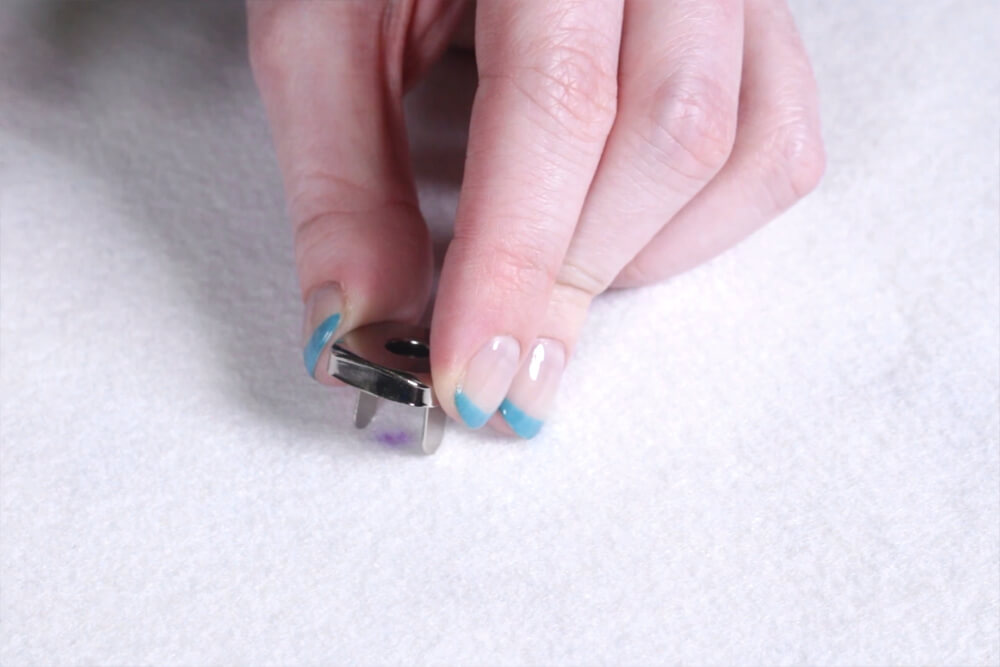
Step 2: Attach the snap
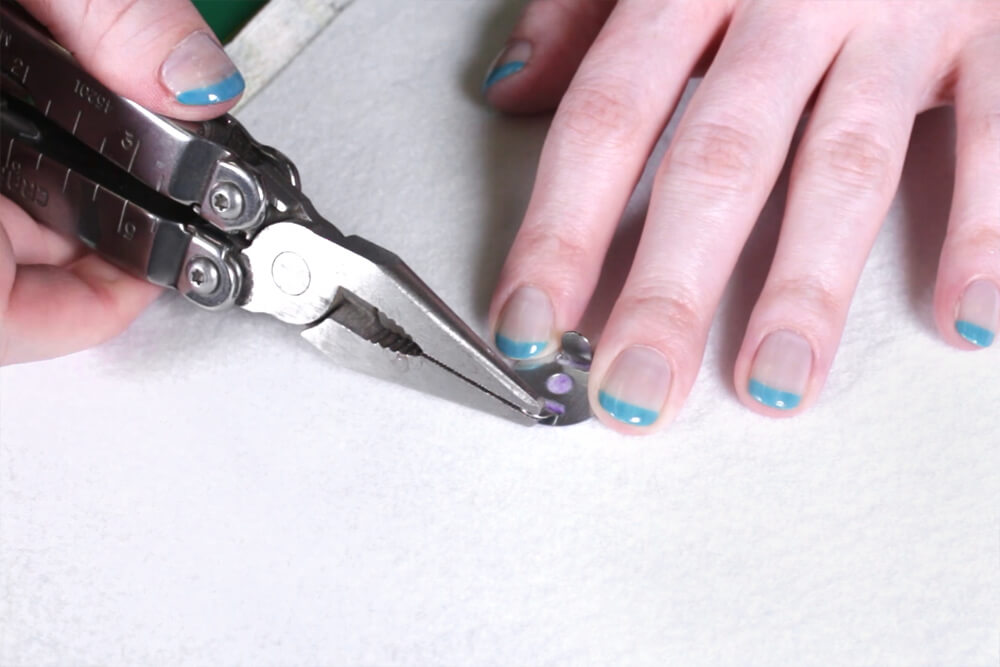
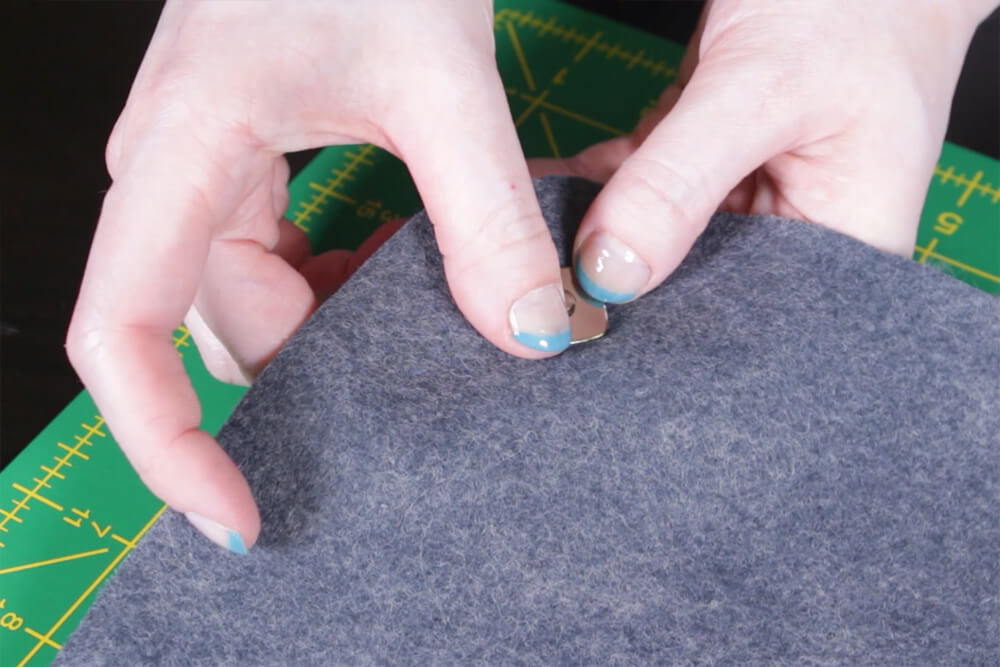
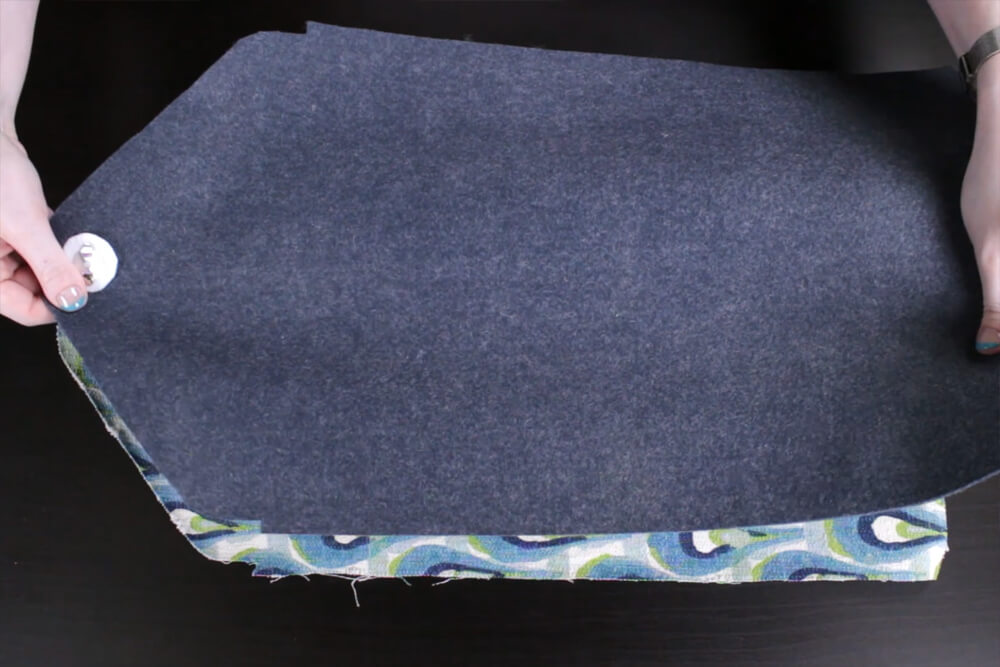
Take the bottom part of the snap that has the indentation and center it over the snap mark on the interfacing. Press the prongs into the fabric and mark the indentations. Use a seam ripper to cut slits just big enough for the prongs to go through from the front side of the fabric. Slide the metal support onto the back. Use pliers to bend down the prongs so they lay flat.

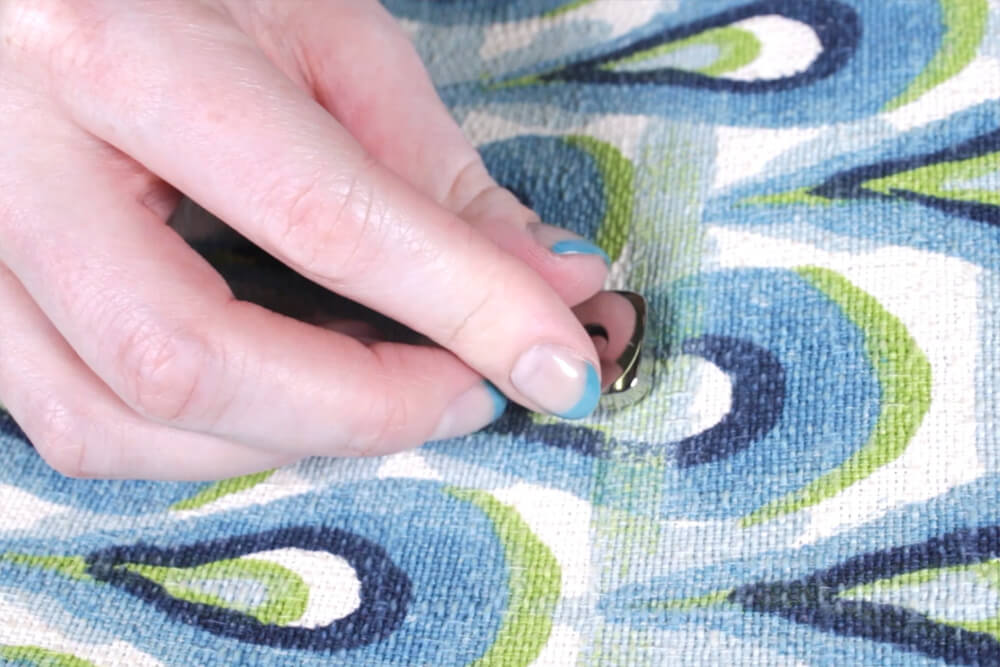
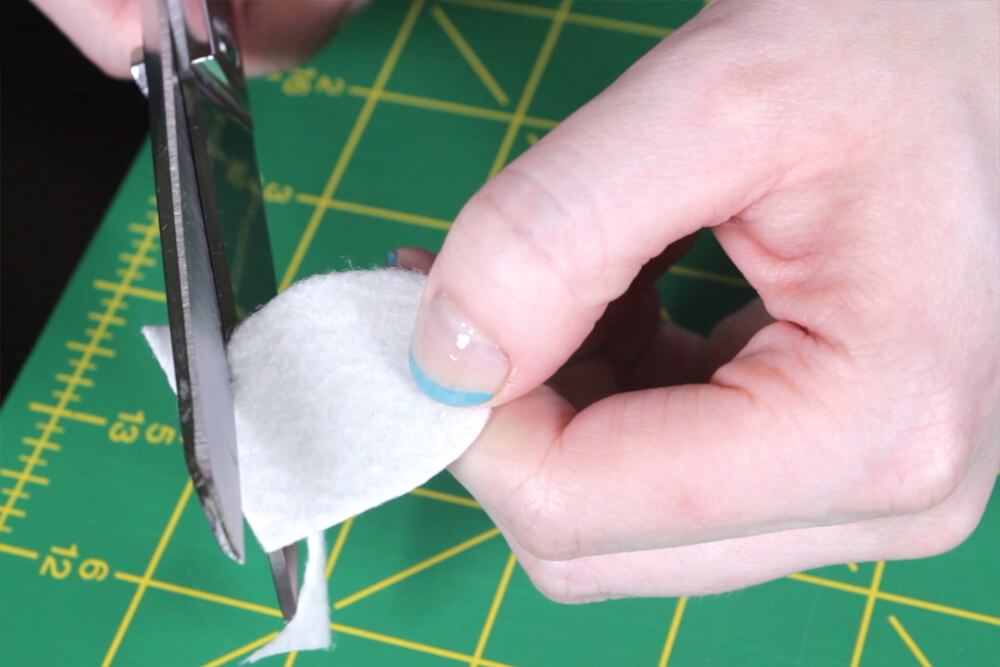
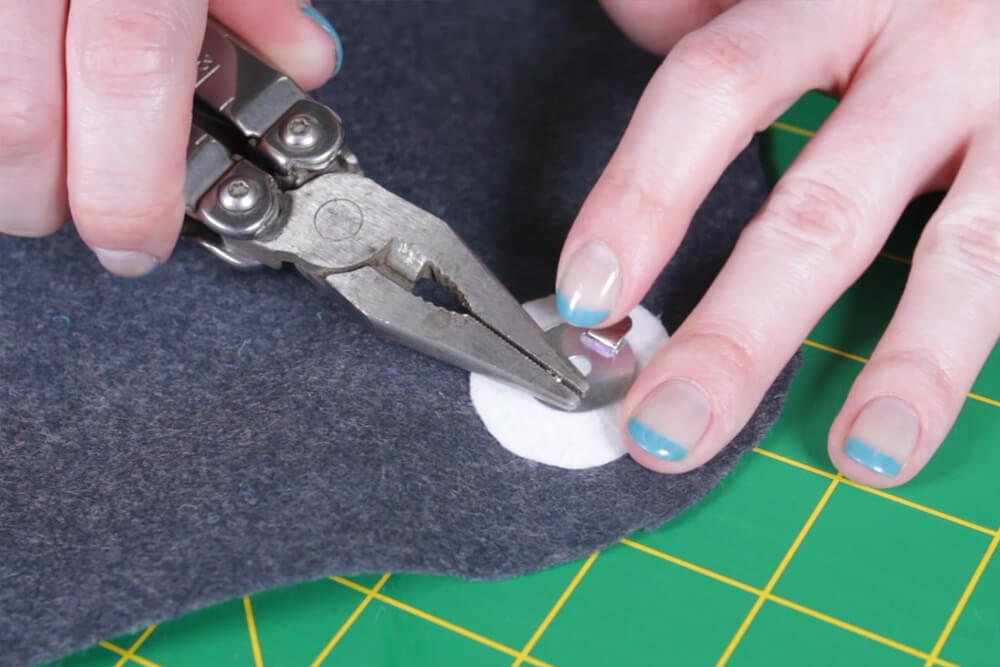
Repeat the same thing for the other half of the snap on the lining piece. Before putting on the metal backing, cut a small piece of interfacing and cut slits to fit it over the prongs. This will reinforce the snap area. Put on the metal support and bend the prongs.
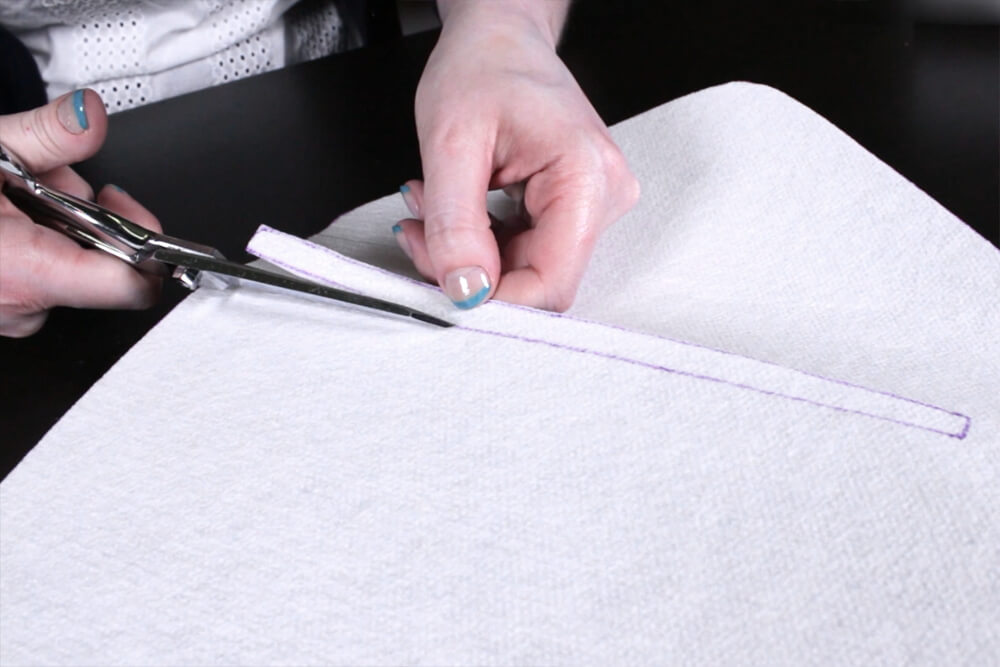
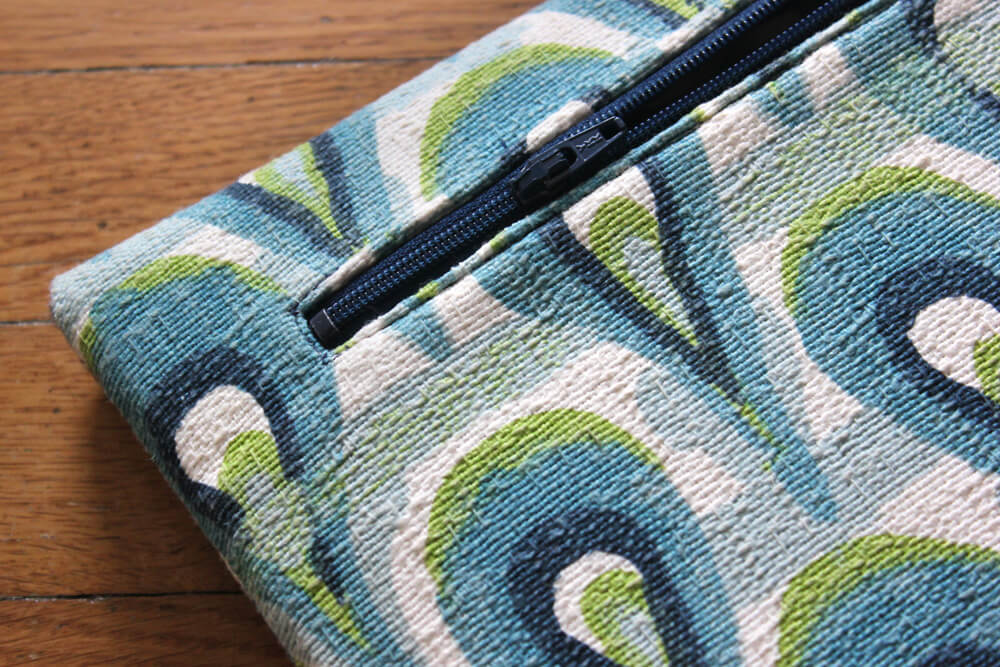
Step 3: Add the zipper compartment
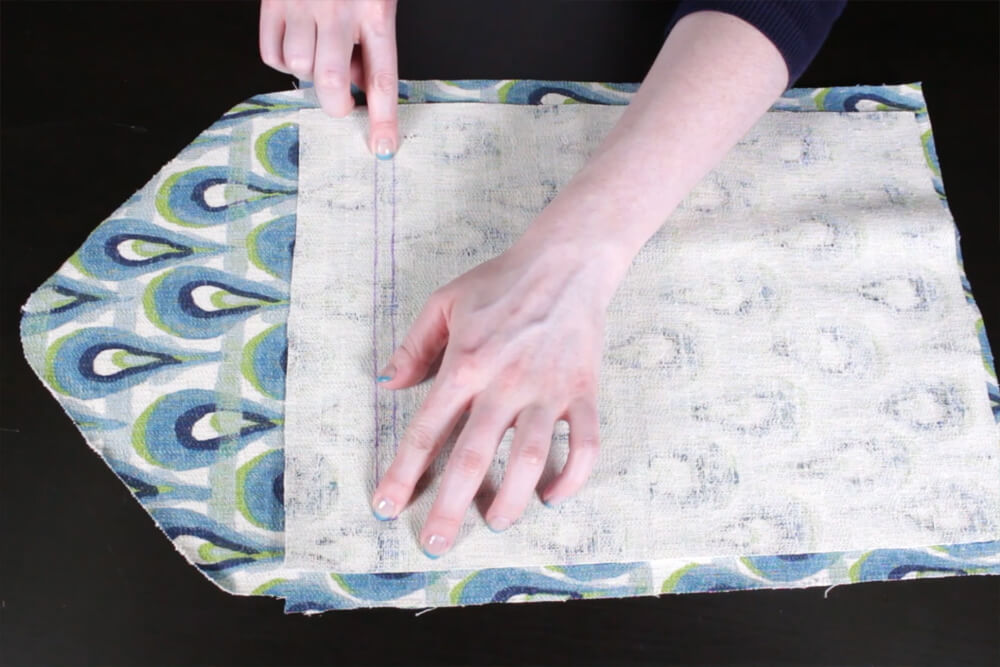
With the right sides of the outer piece and the zipper compartment lining together, line up the zipper area by feeling for the cutout in the interfacing. Pin in a couple of places. Sew the pieces together, stitching just inside the interfacing cutout.
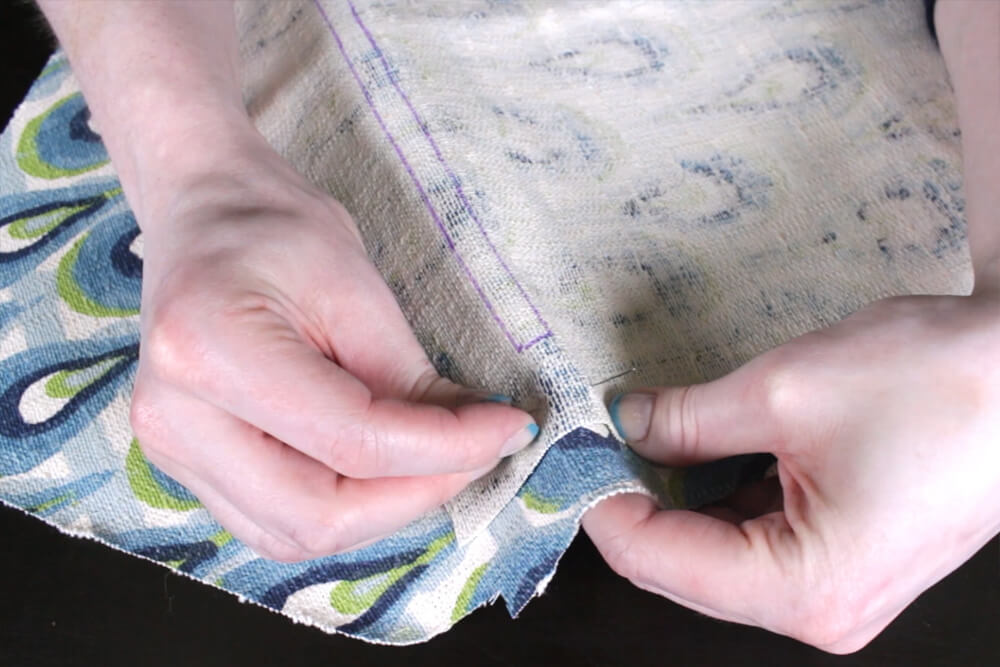
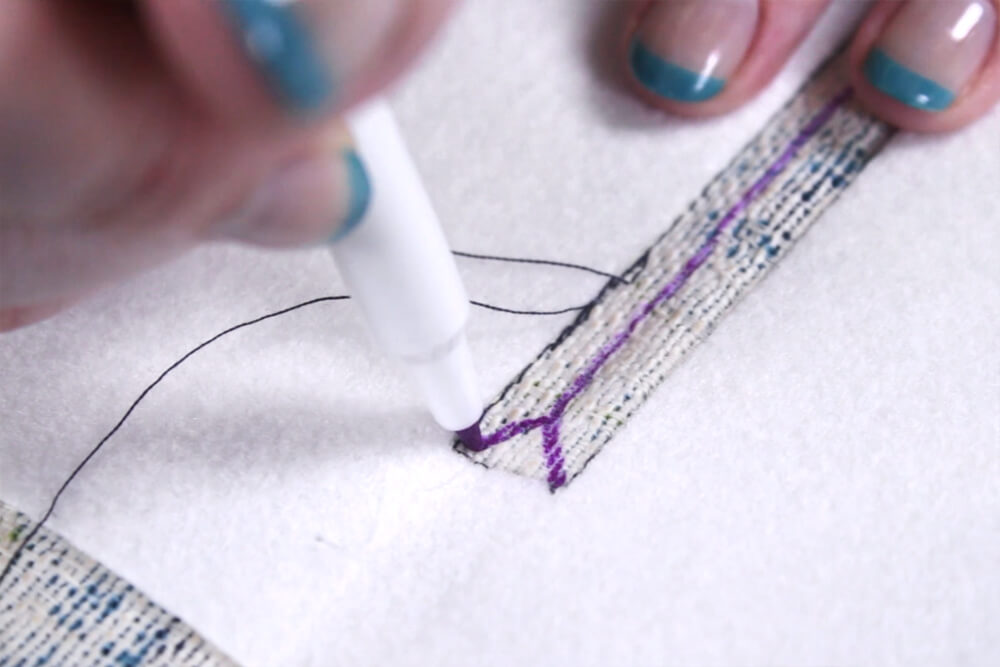
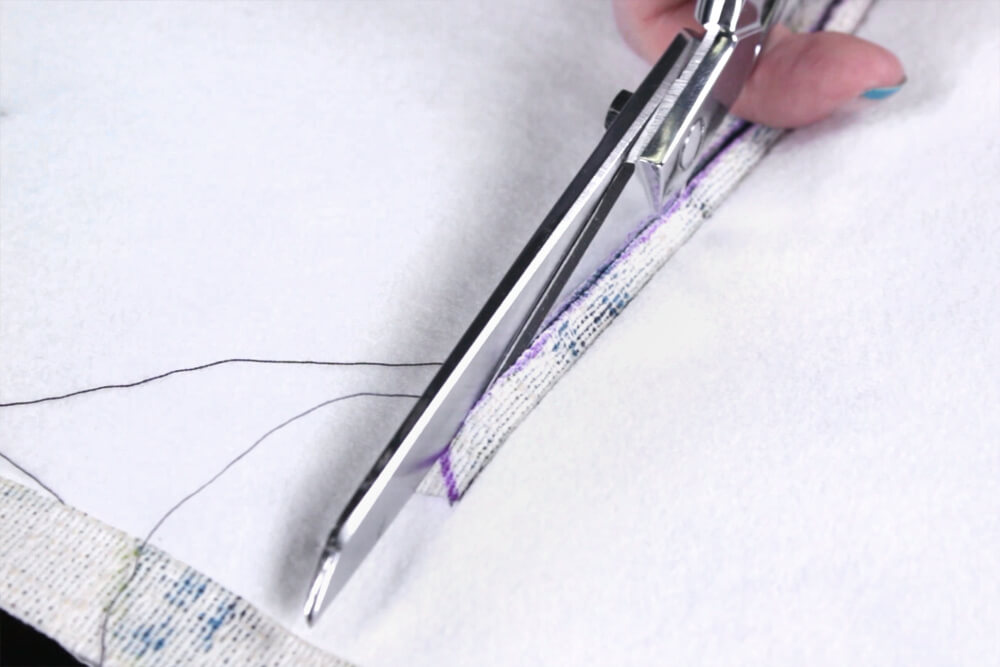
Draw a line down the center and lines out from the corners. Use the seam ripper to start a cut through both layers of fabric. Then use scissors to cut all the way to the corners.
Pull the lining fabric through the hole. Use an iron to flatten the edges.
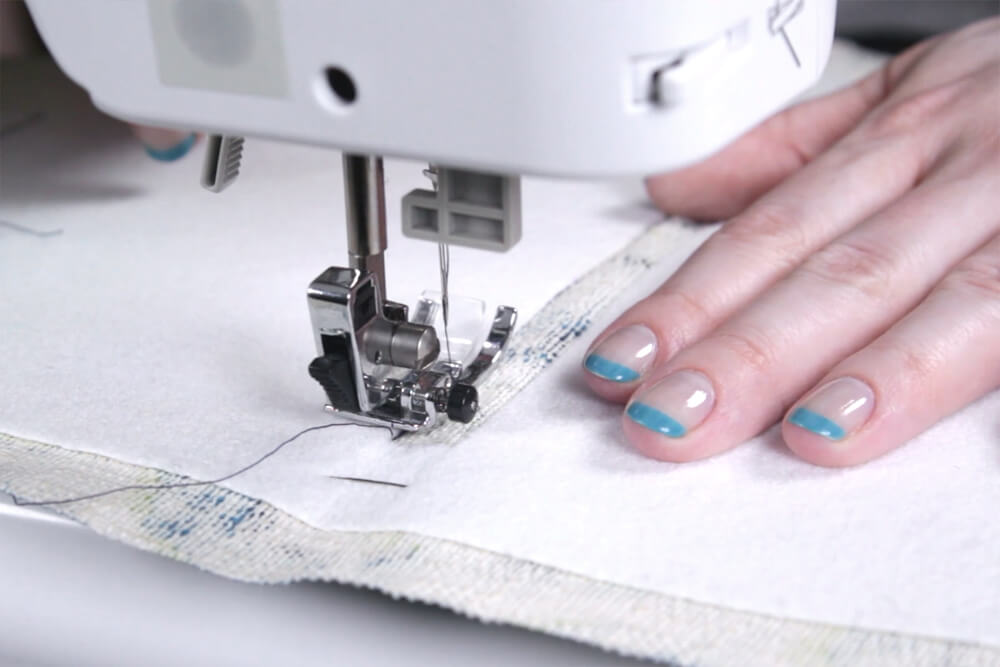
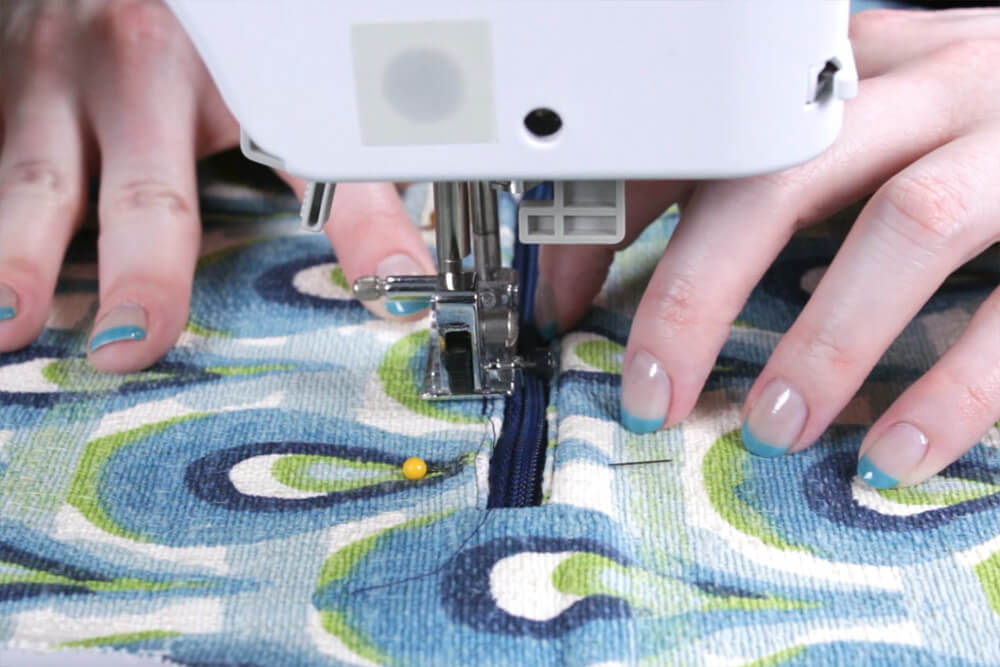
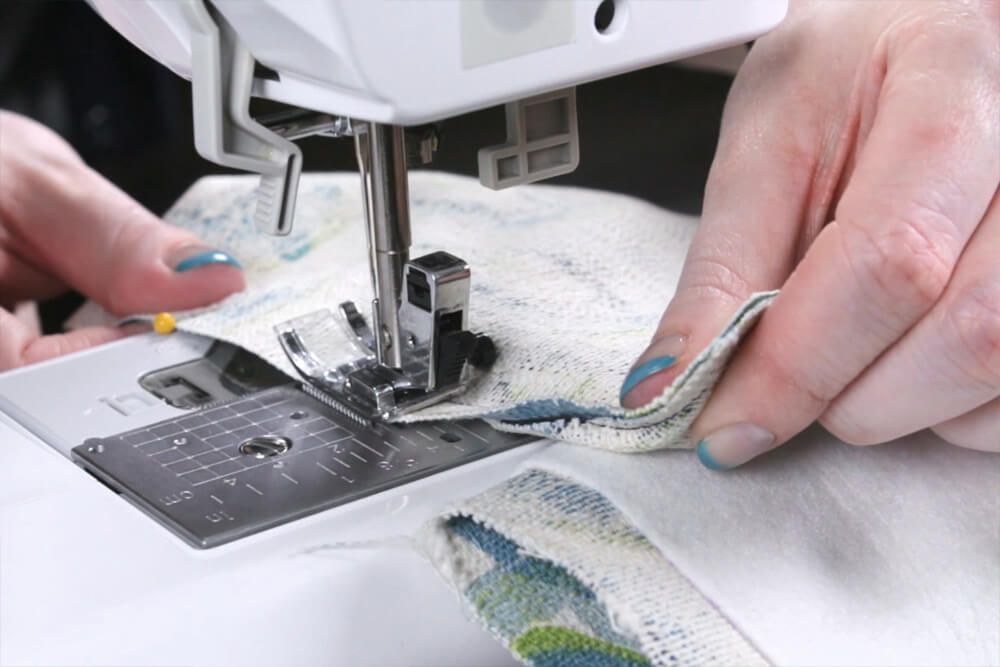
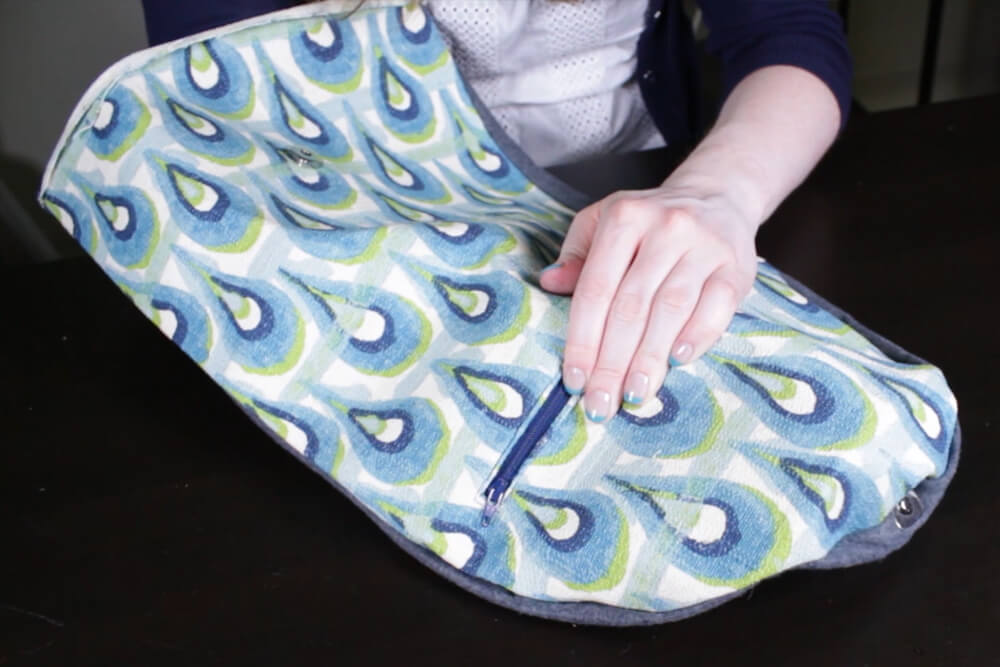
Center the zipper on the opening so it’s facing out and pin it in place. Sew all the way around the opening, 1/8″ or less from the edges, to attach the zipper.
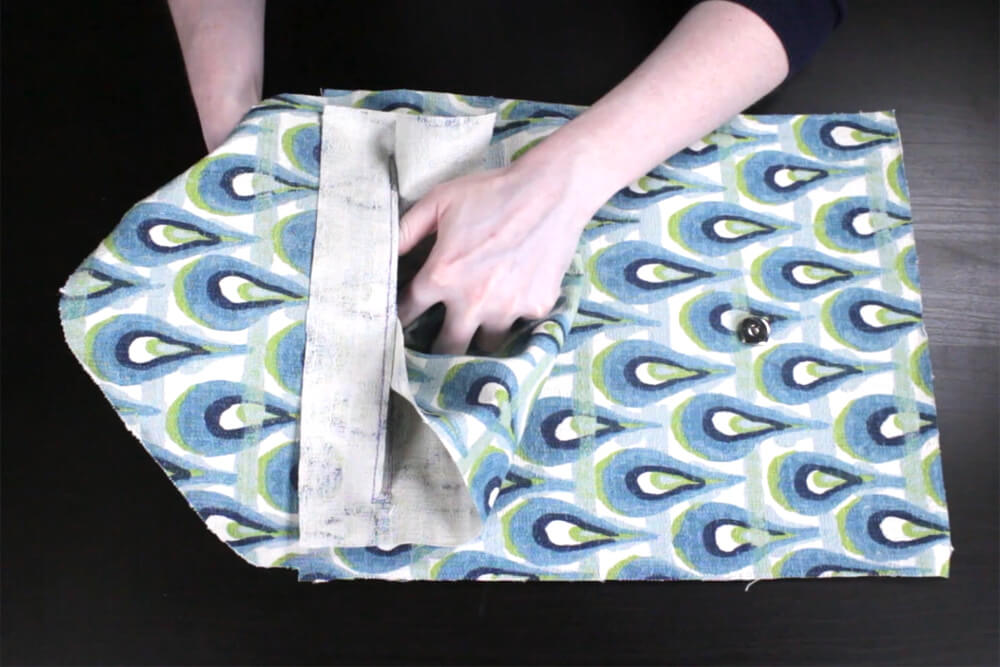
Then, fold the lining up so the top edges meet and pin. Sew around the 3 open edges with ½ seam allowance, which completes the zipper compartment.
Step 4: Sew the outer and inner pieces together
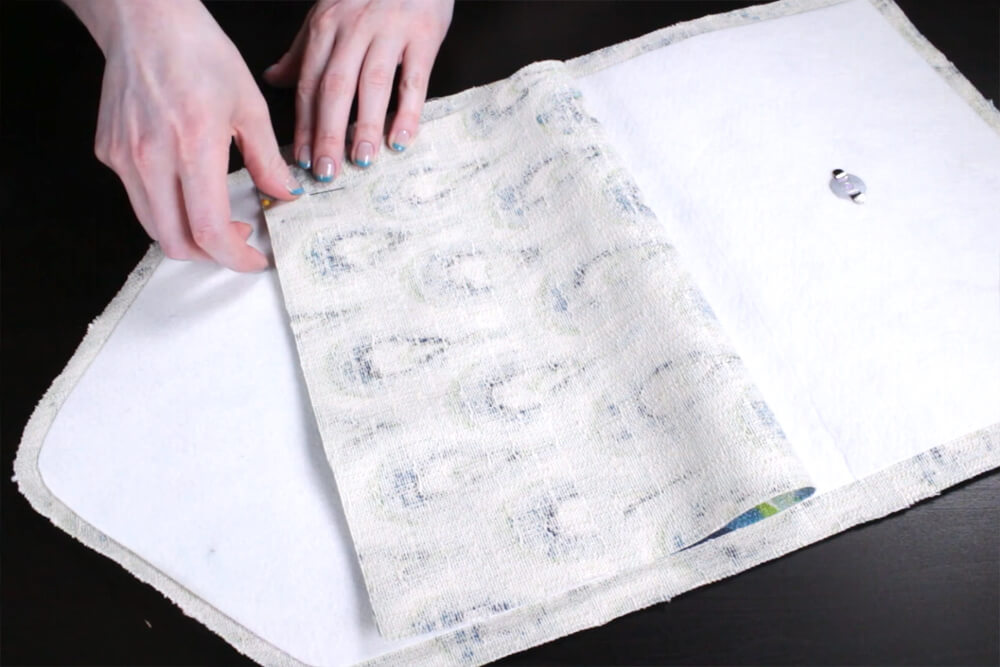
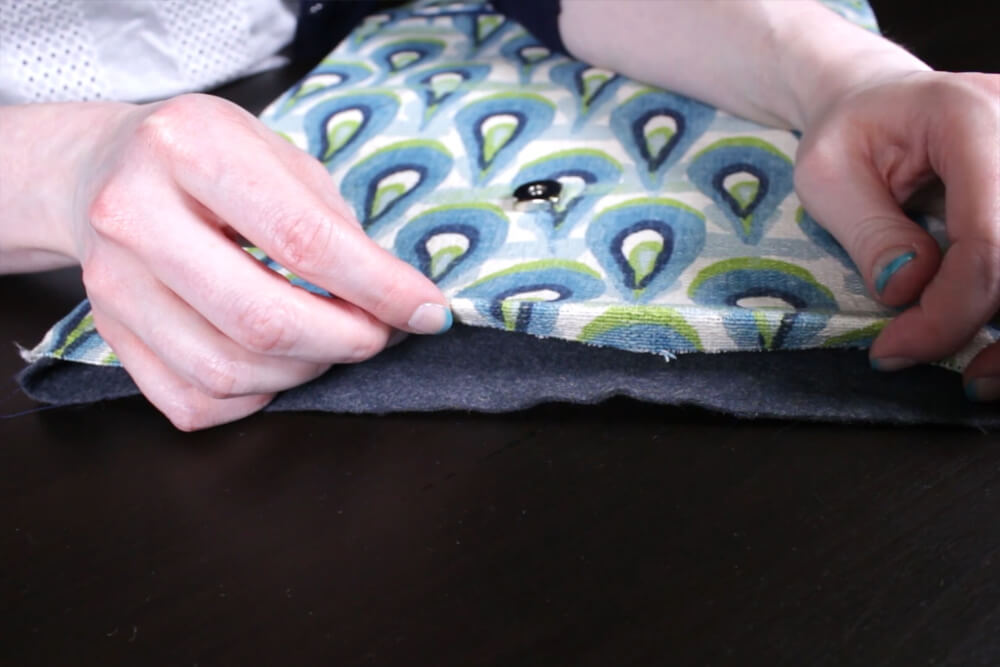
Line up the outer and inner pieces of the envelope clutch with the right sides facing and pin. Sew around the edges with a ½” seam allowance, leaving the bottom open. Trim the edges down to ¼”.
Turn the piece right side out. Fold the open edge under half and inch. Top stitch the opening closed with a ¼” seam allowance.
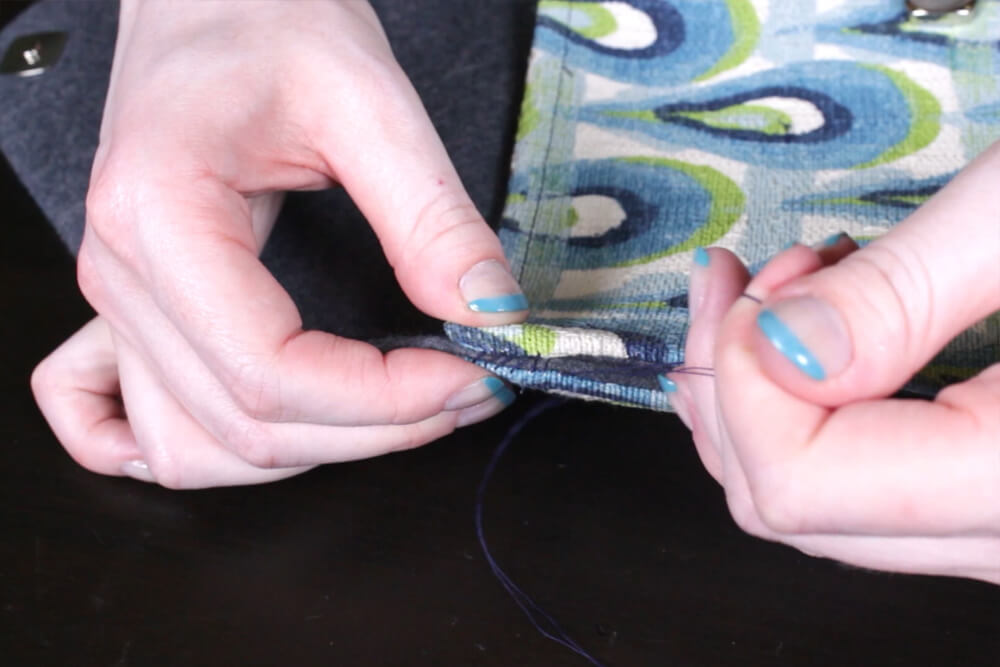
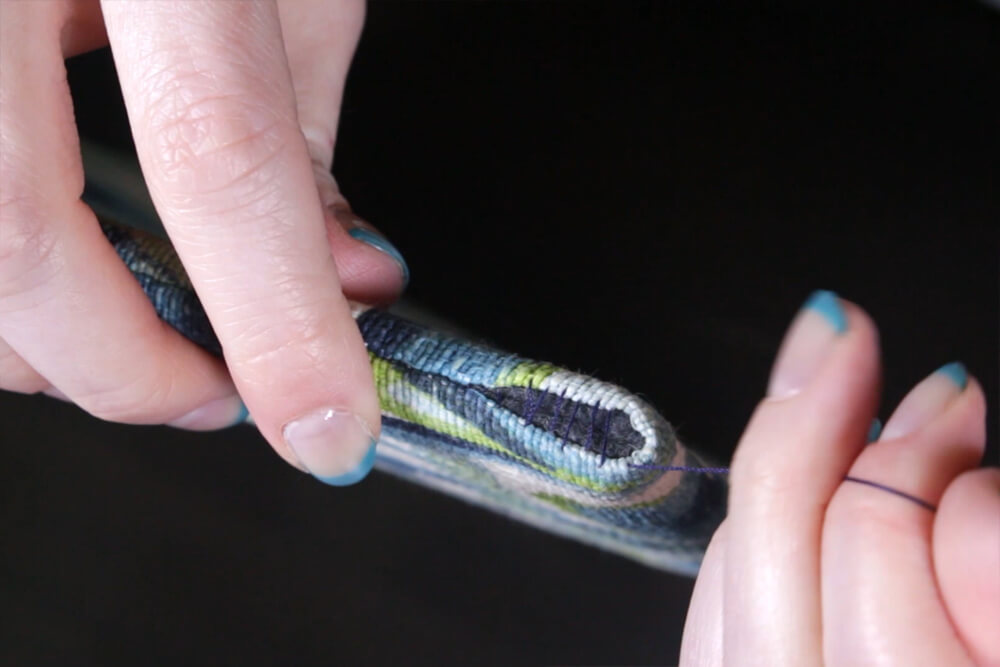
See How to Sew an Invisible Stitch to learn the hidden stitch.
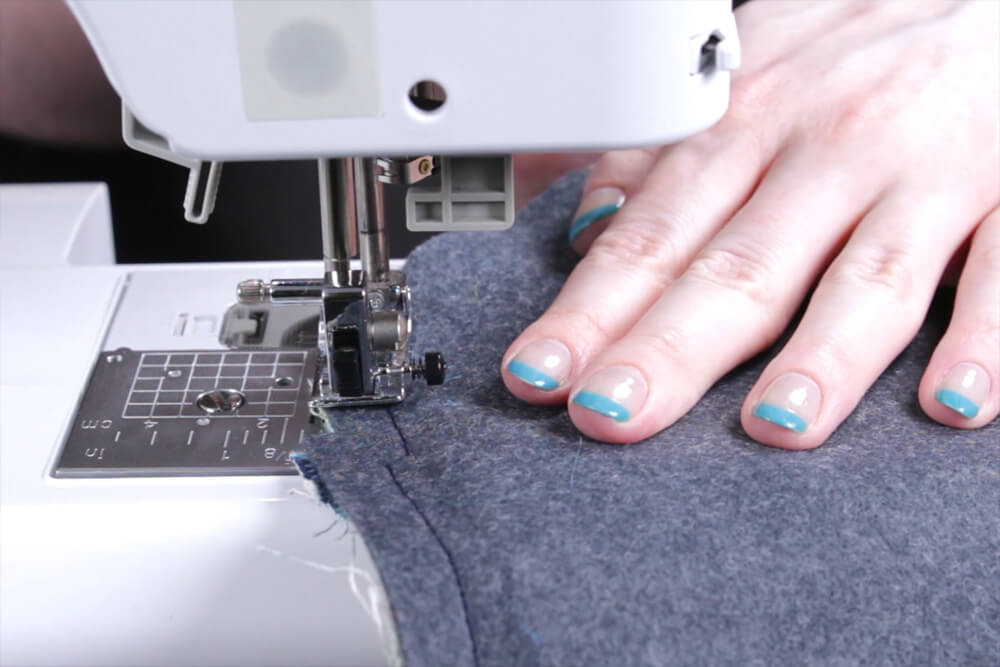
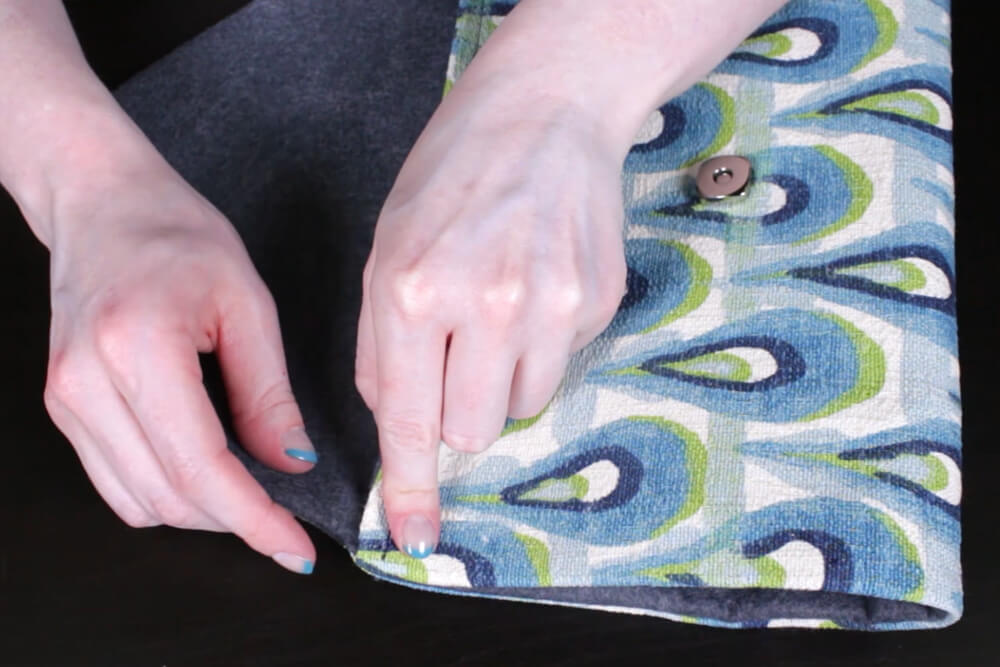
Fold the bottom edge up to where the piece jogs in. Use a hidden stitch to sew the sides together. Sew through just the outer layers so the lining doesn’t show.
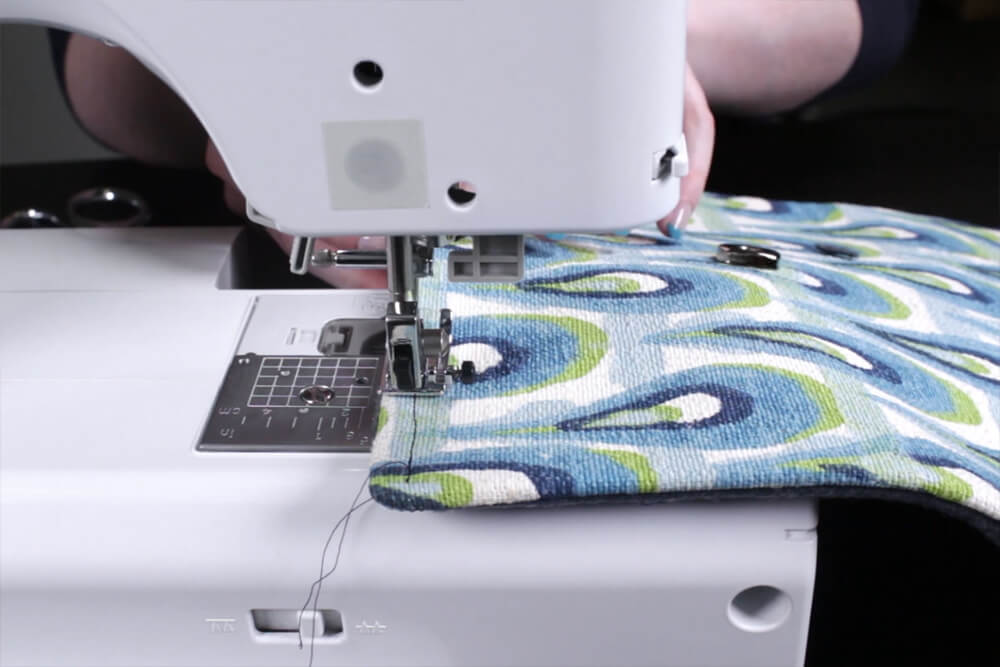
If you’re using a thin lining fabric, you may be able to use a sewing machine instead of hand stitching. In this case, with the lining facing out, fold the bottom edge up to where the piece jogs in. Sew down the two sides with ¼” seam allowance and turn the piece right side out again.
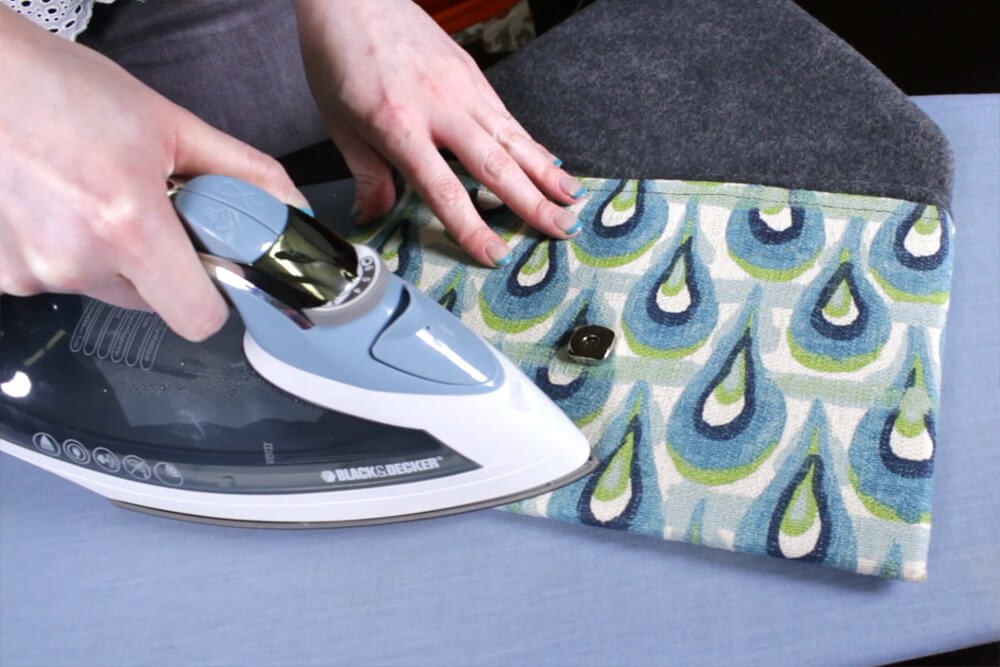
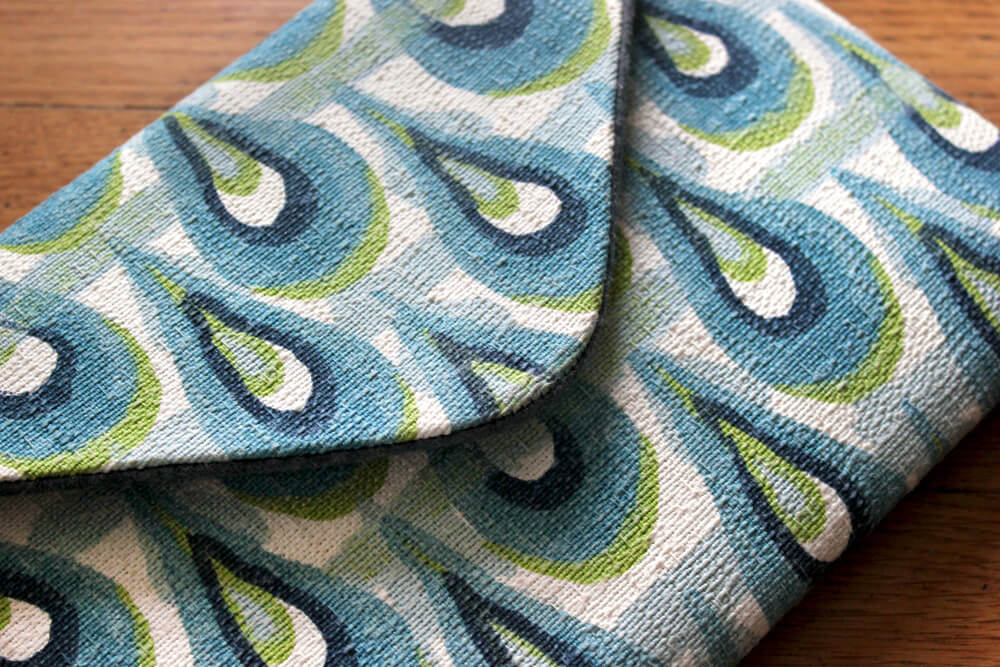
Fold the top flap down and snap it together. Give it a final ironing, and the envelope clutch is complete!
)
Looking for more decor fabric options? Click here!
-
{{#each productSuggestedQueries.results}}
- {{query}} {{/each}}
-
{{#each categories.results}}
- {{html title}} {{/each}}
{{html attributes.description}}
{{/if}}-
{{#each queries.results}}
- {{query}} {{/each}}