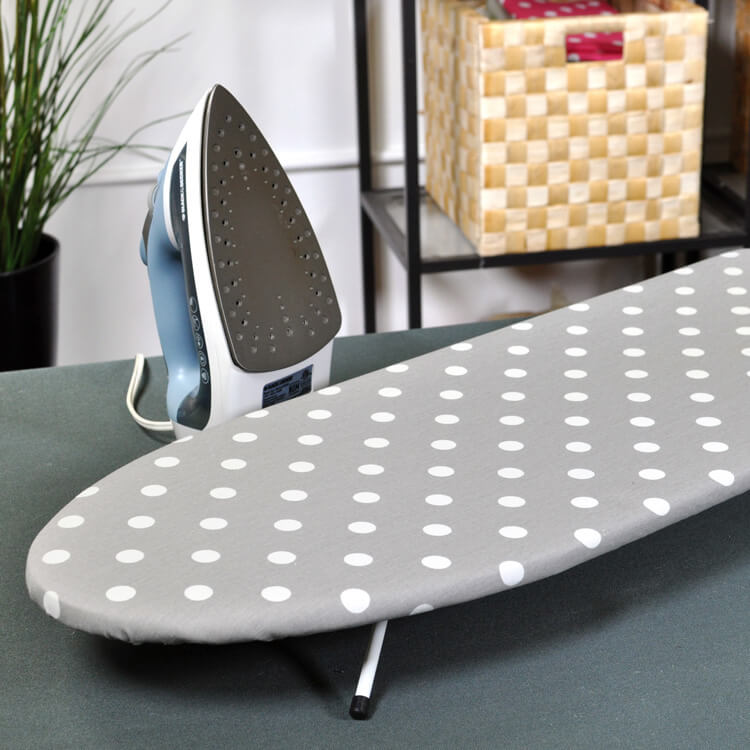
How to Make an Ironing Board Cover
- By Clara
- Beginner
- 1 hour
If your ironing board is starting to show stains or burns, making a new cover is a quick and easy sewing project that will give it a fresh look. This works for most ironing boards, including table top and full-sized. By making your own ironing board cover, you’ll be sure of a good fit and, compared to commercial covers, you’ll have so many more choices of fabric to brighten up your laundry or sewing space.
Want to get the printable PDF instructions?
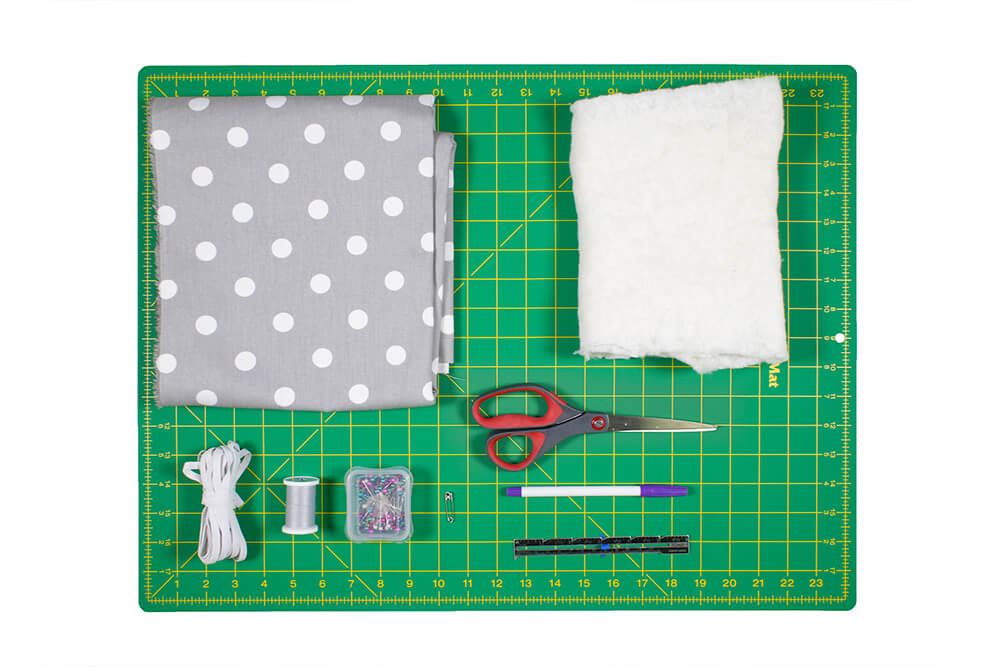
Materials
Related Products
-
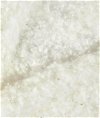 Cotton Upholstery Batting - 27" x 12 Yards
-
 Knife Edge Dressmaker's Shears - 8"
-
 Sewing Gauge with Sliding Marker
-
 Dual Duty XP Thread - Nugrey, 250 Yards
-
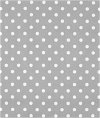 Polka Dot Storm Twill
-
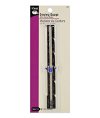
 1/4" White Braided Elastic - 8 Yards
-
 120 Long Pearlized Pins - Size 24
-
 100 Assorted Safety Pins - Size 00/1/2/3
-
 Disappearing Ink Marking Pen - Purple
Video
Instructions
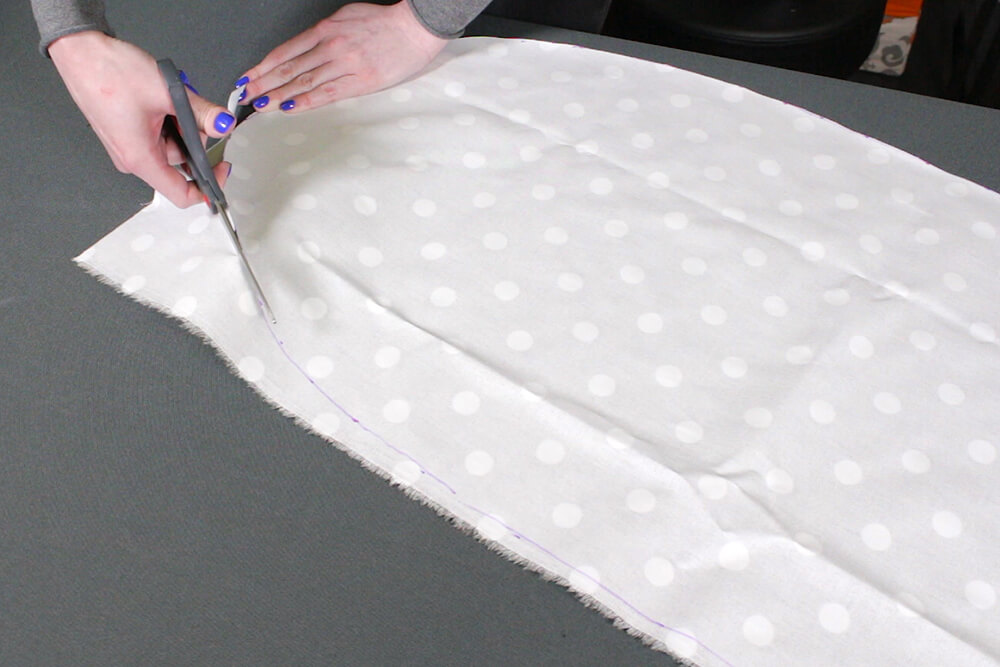
Step 1: Cut the fabric
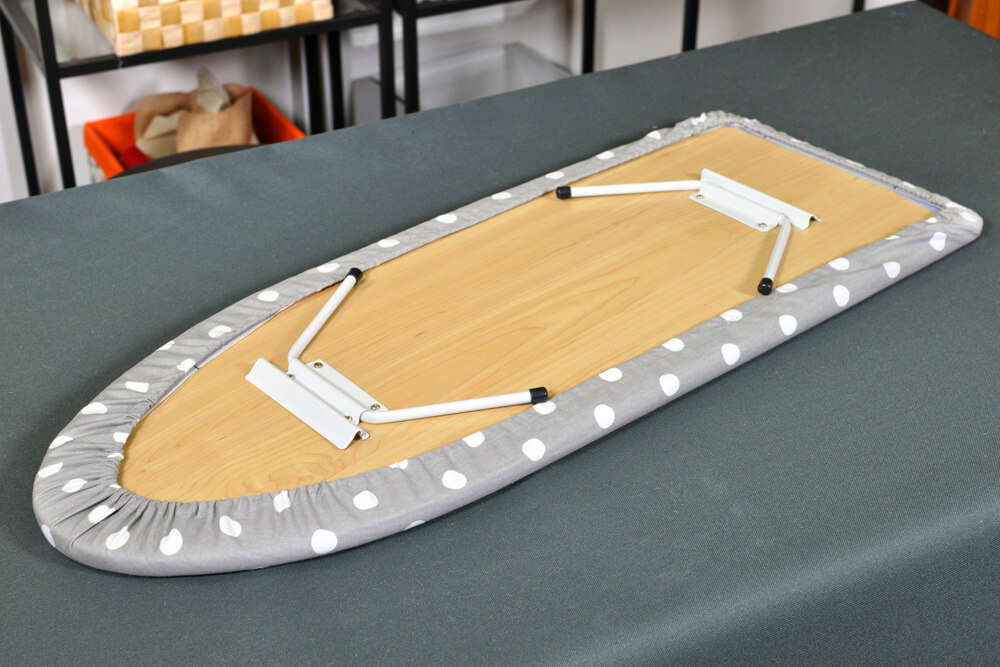
When choosing a fabric, a quilting cotton is fine, or you can use a more durable cotton drapery fabric. Consider the color as well. A darker color or at least something without a lot of white is best for hiding stains.
Lay your ironing board face down on the fabric. Mark 3” out from the ironing board using a sewing gauge or ruler.
Then cut out the shape.


If you want to add more padding, cut out batting the same size as the top of your ironing board. You can add multiple layers if needed.
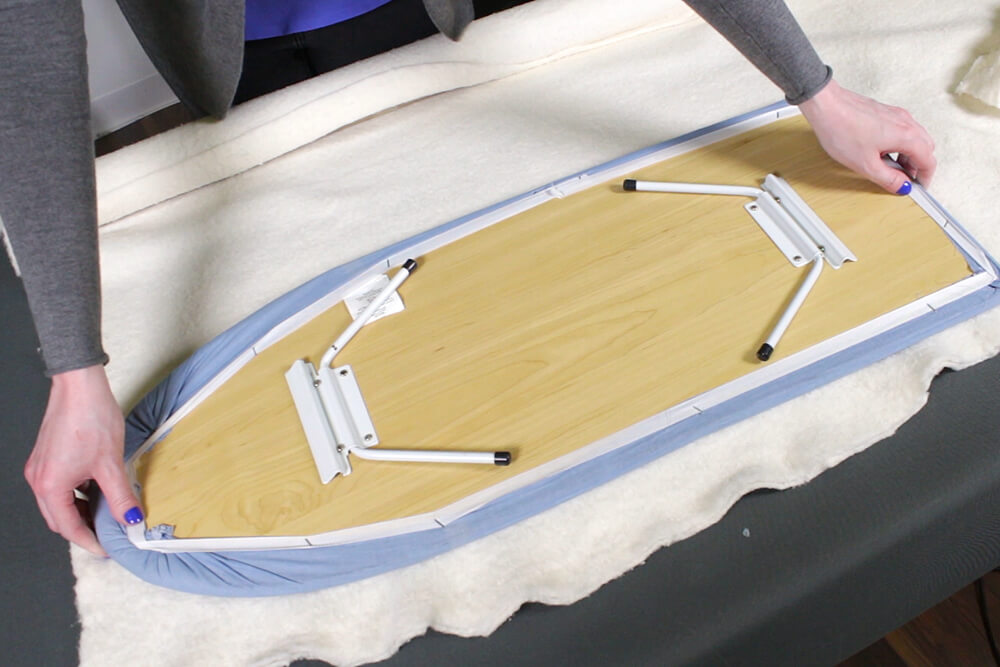
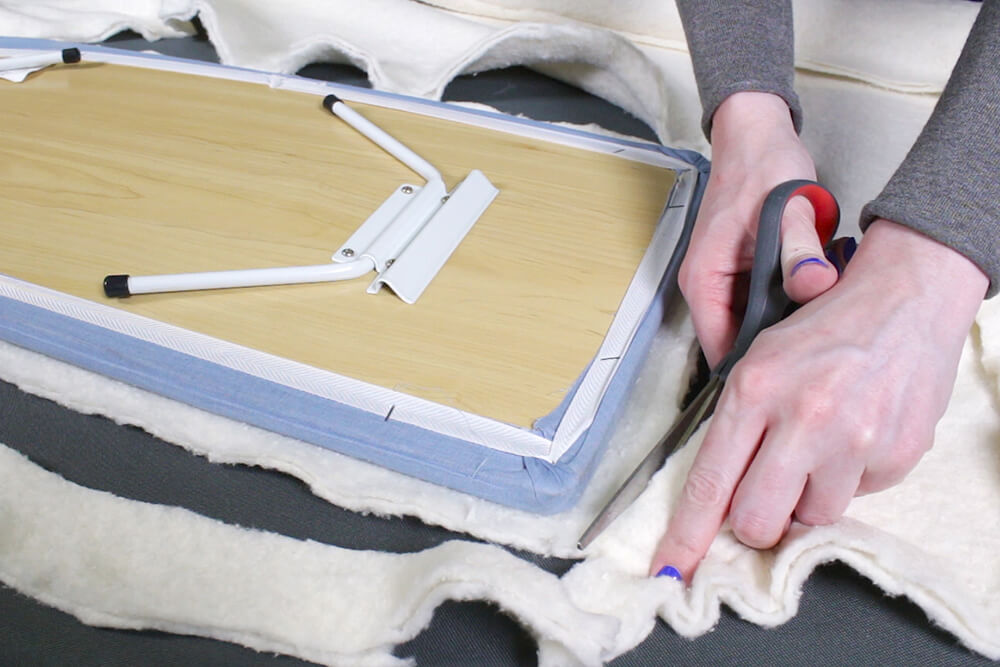
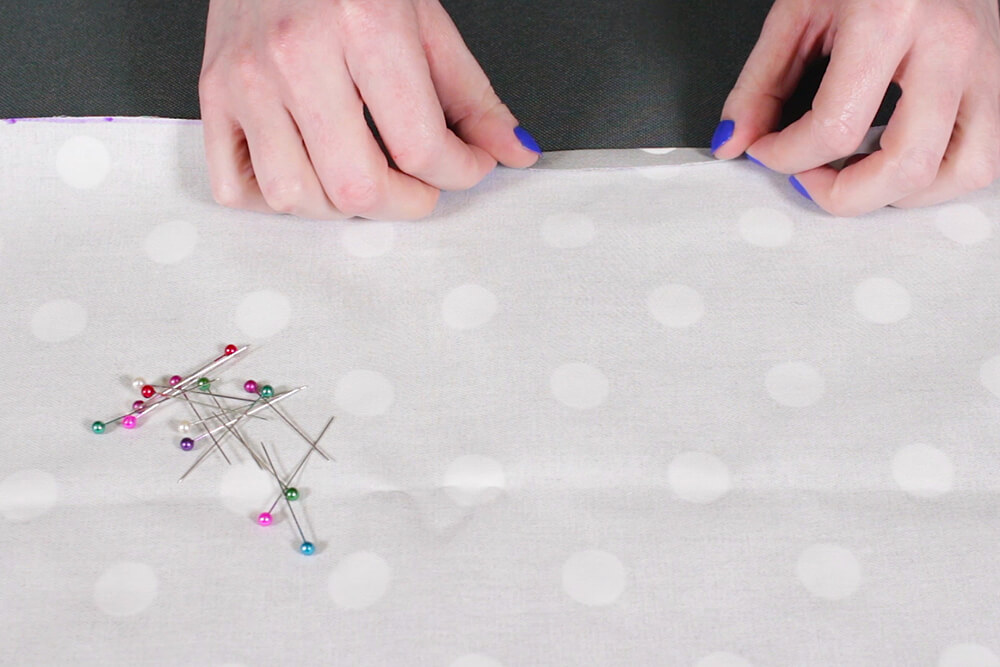
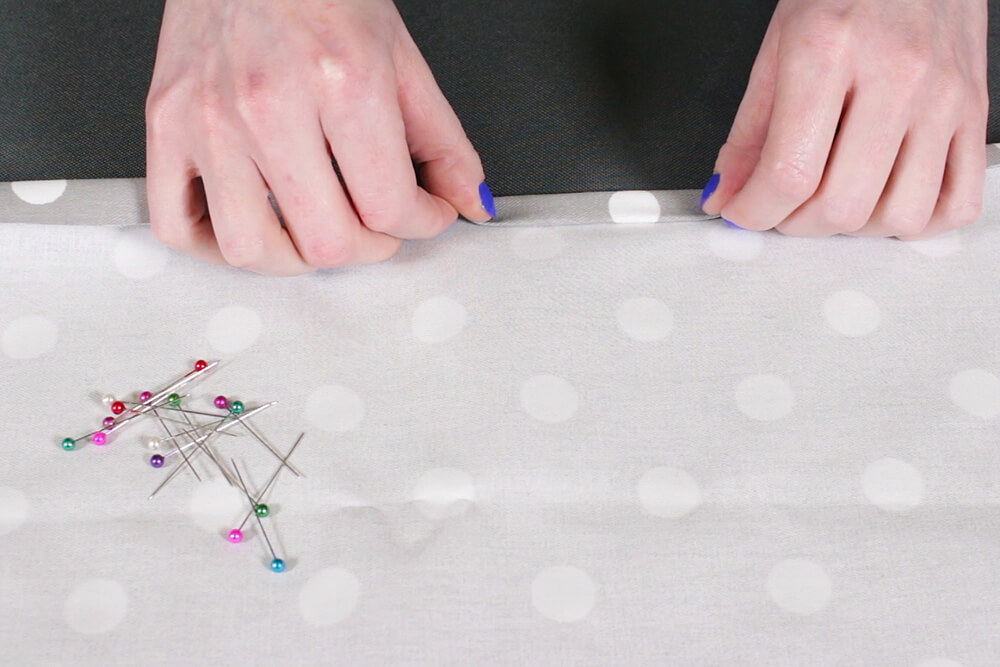
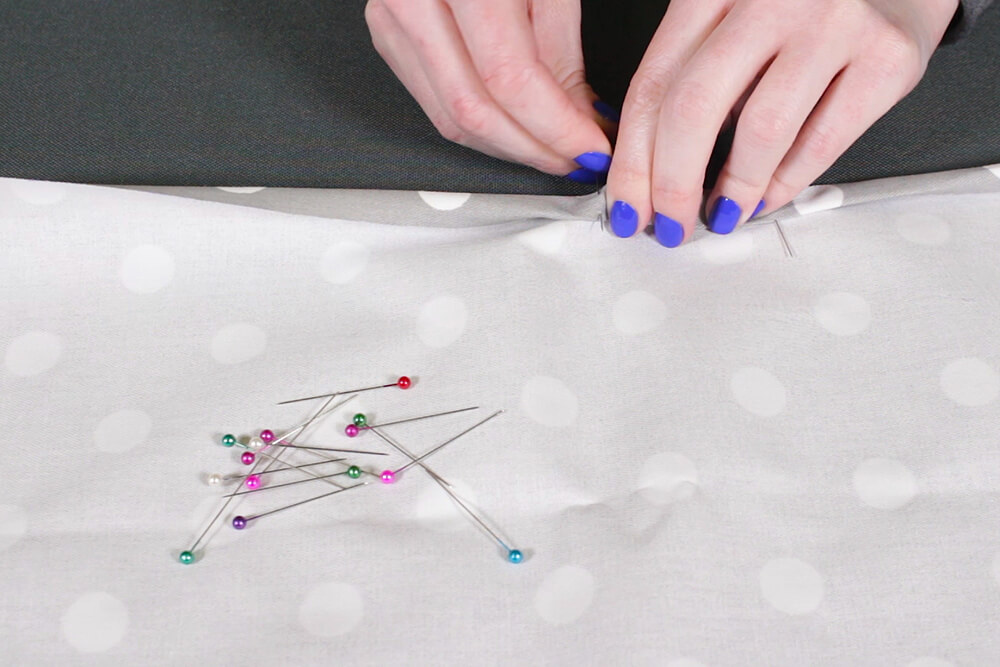
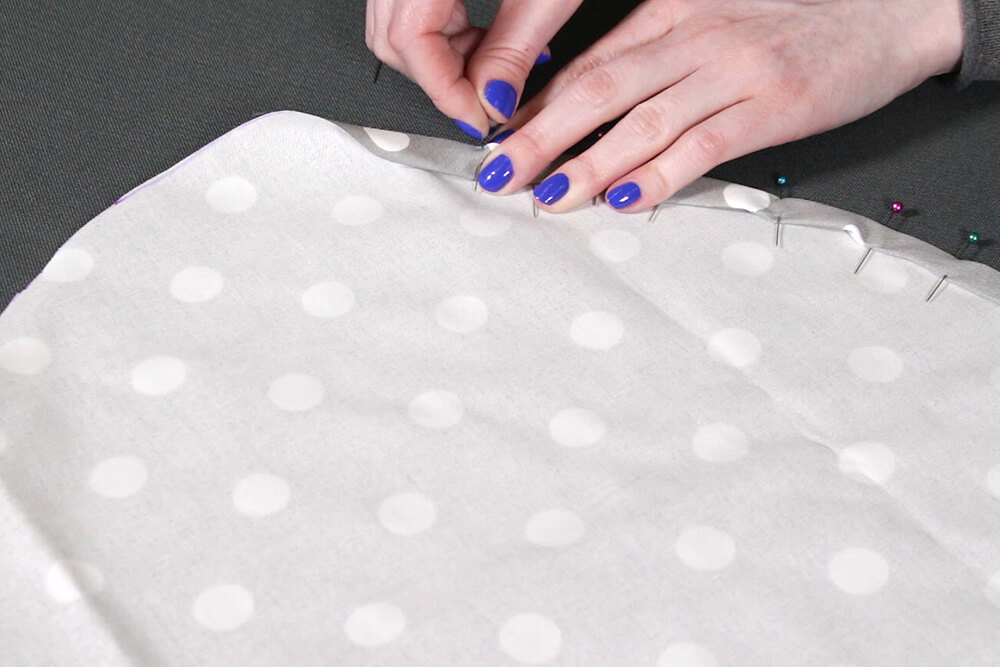
Step 2: Pin
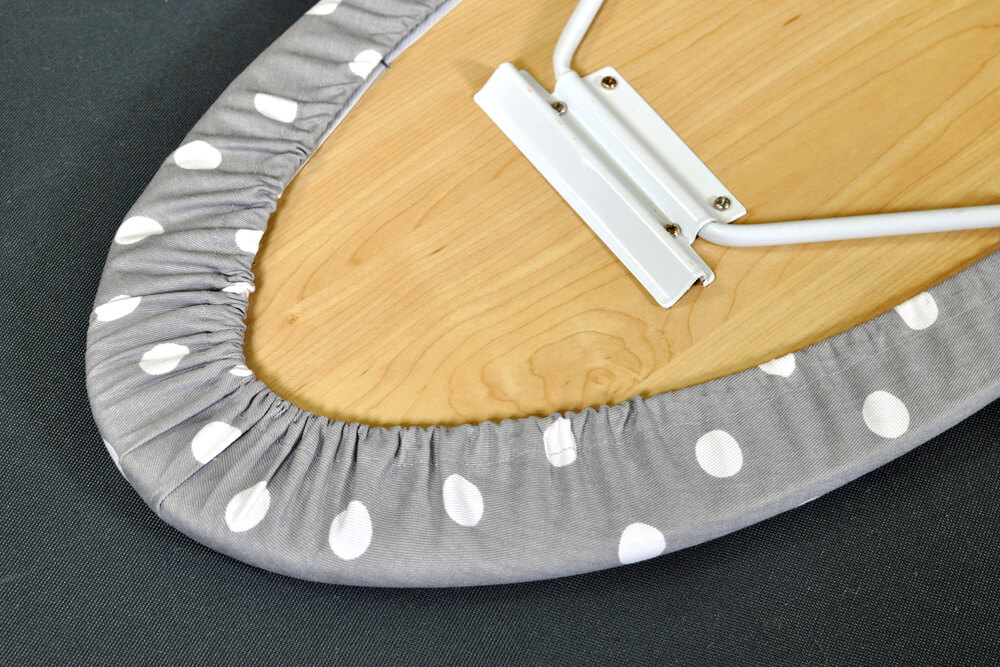
Fold in the edge about ¼” then another ½” and pin. Continue to pin around the entire piece. This will form a channel for the elastic. At the curved edges, pin more closely together to get a smooth curve.
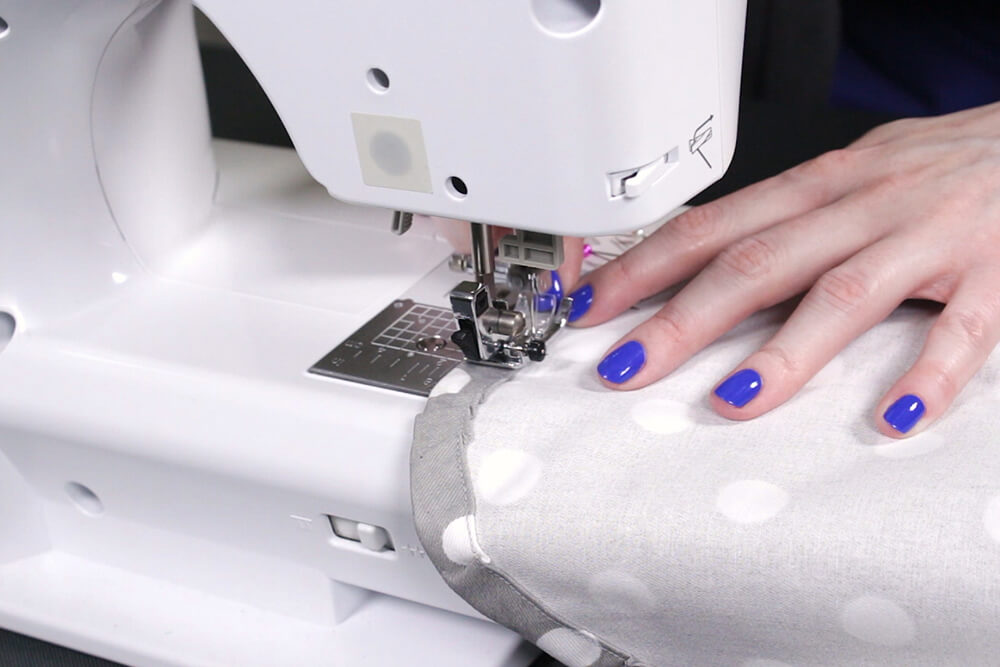
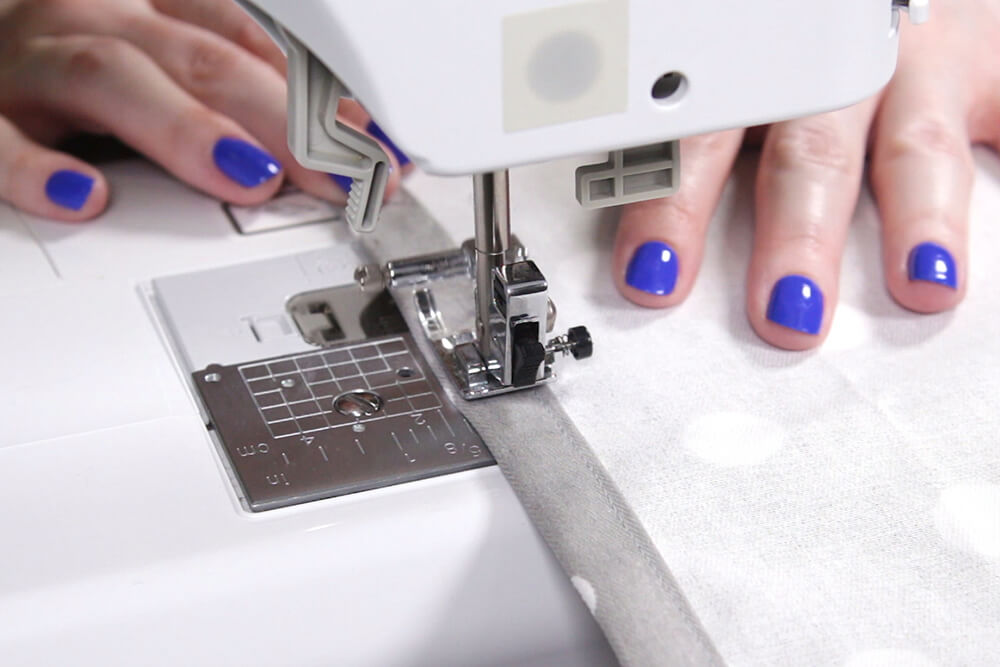
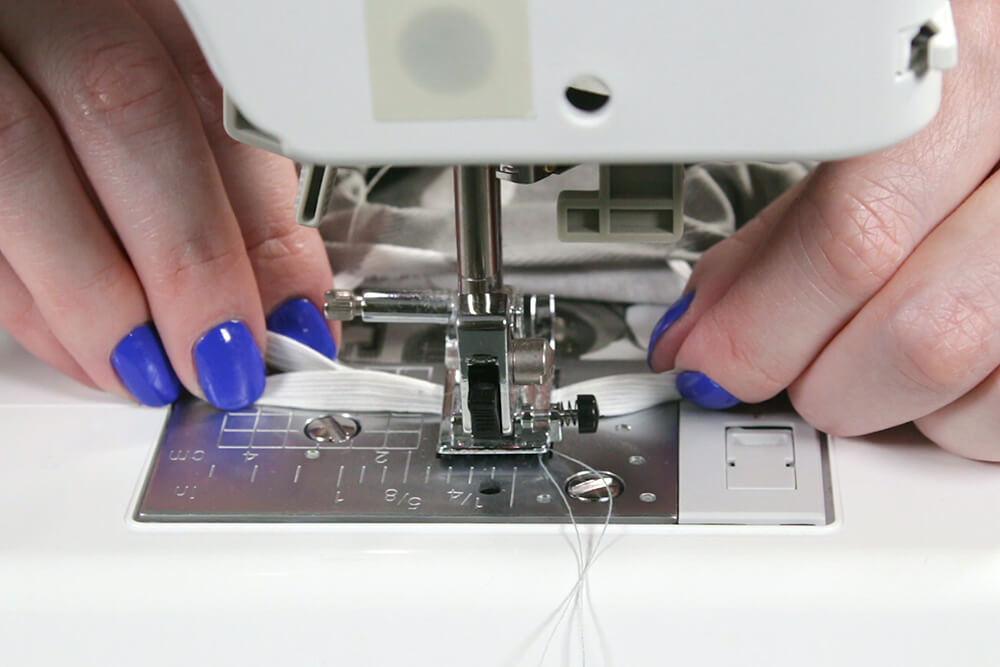
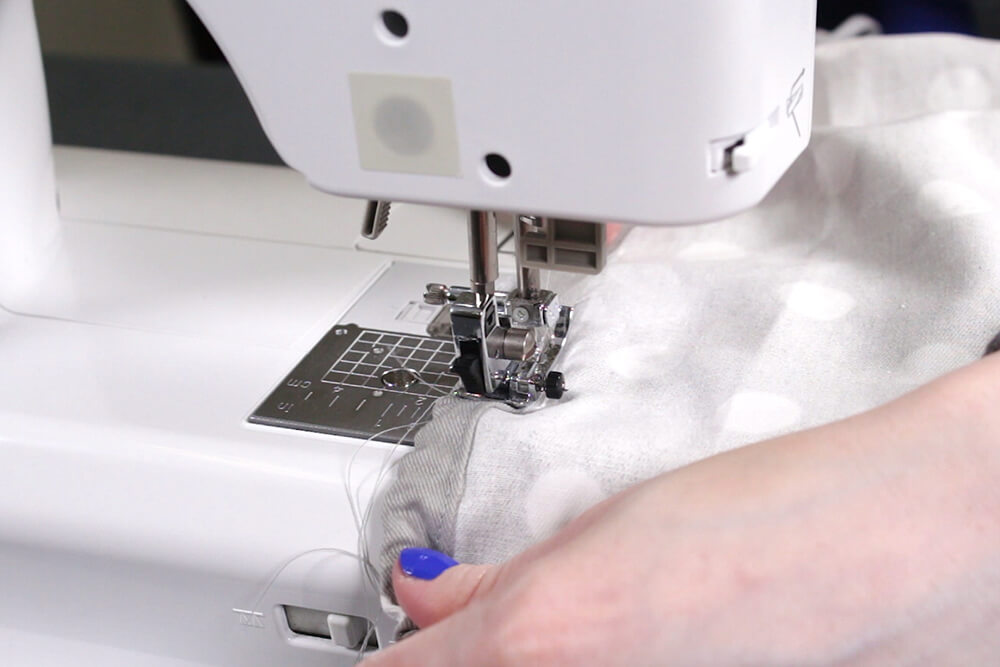
Step 3: Sew
Starting in the middle of a straight side, sew close to the edge of the fold. Continue to sew around the curves. Don’t worry if the curves look bumpy—you won’t be able to see this later. Just make sure to keep the channel wide enough for the elastic. Stop sewing about 2” before the beginning.
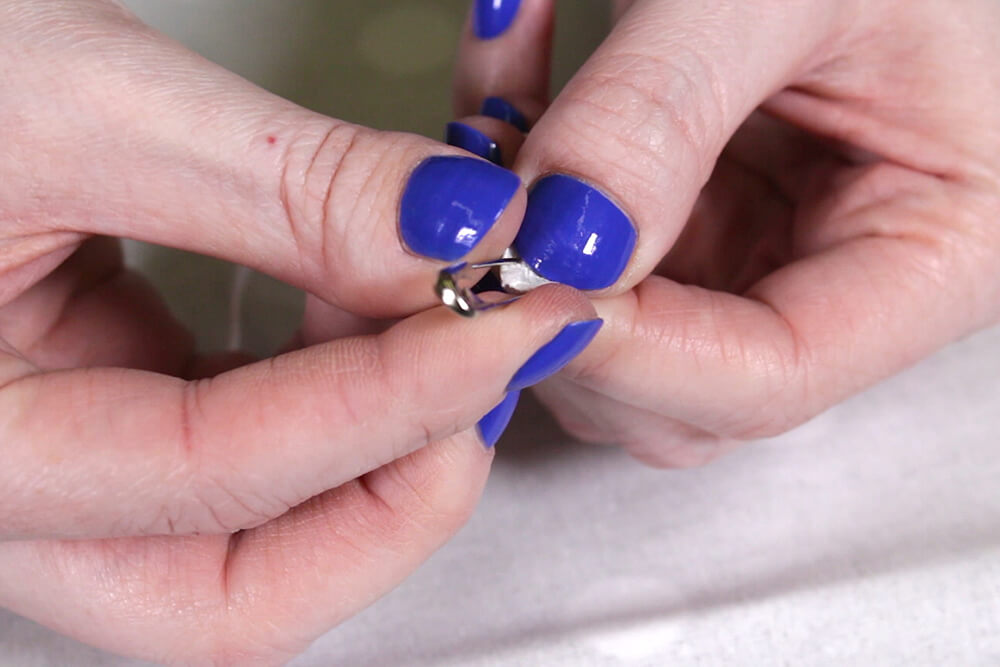
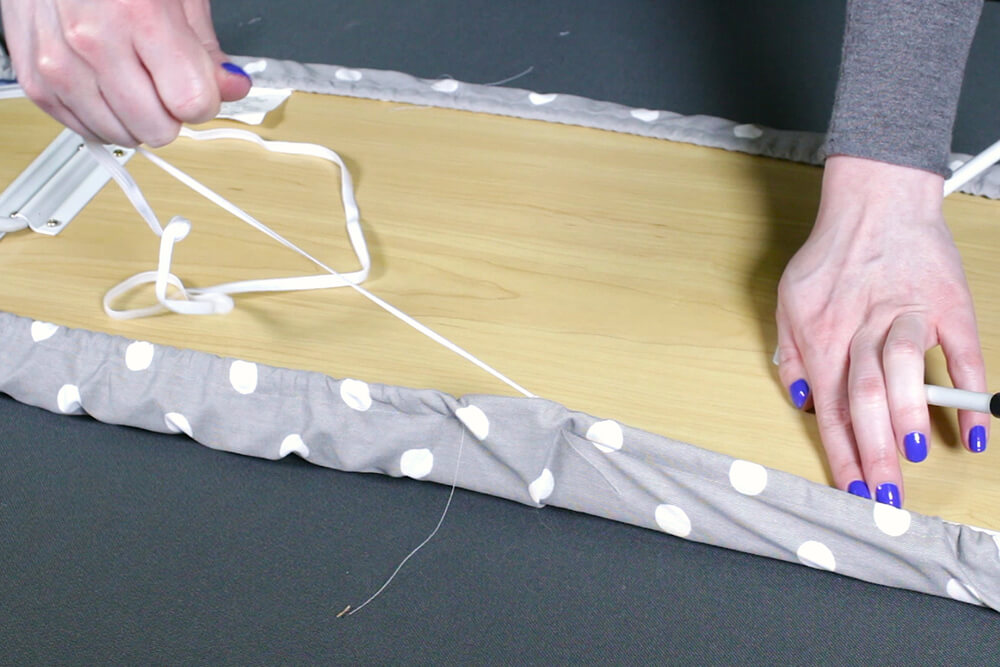
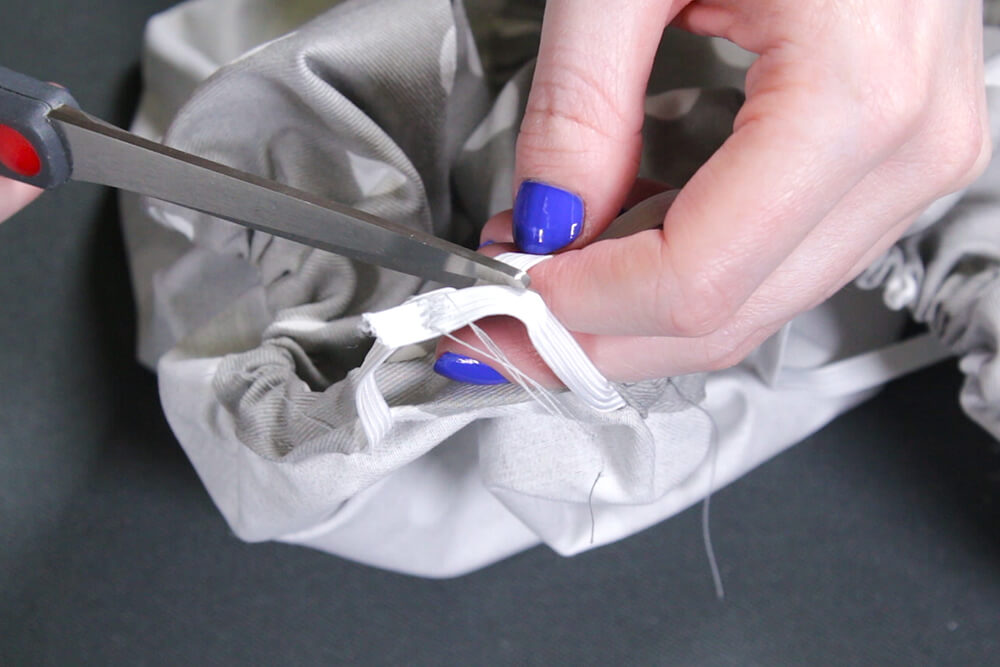
Step 4: Add the elastic
Attach a safety pin to the end of the elastic and guide it through the channel. When you come out the other end, attach the safety pin to the fabric so it doesn’t get pulled back in.
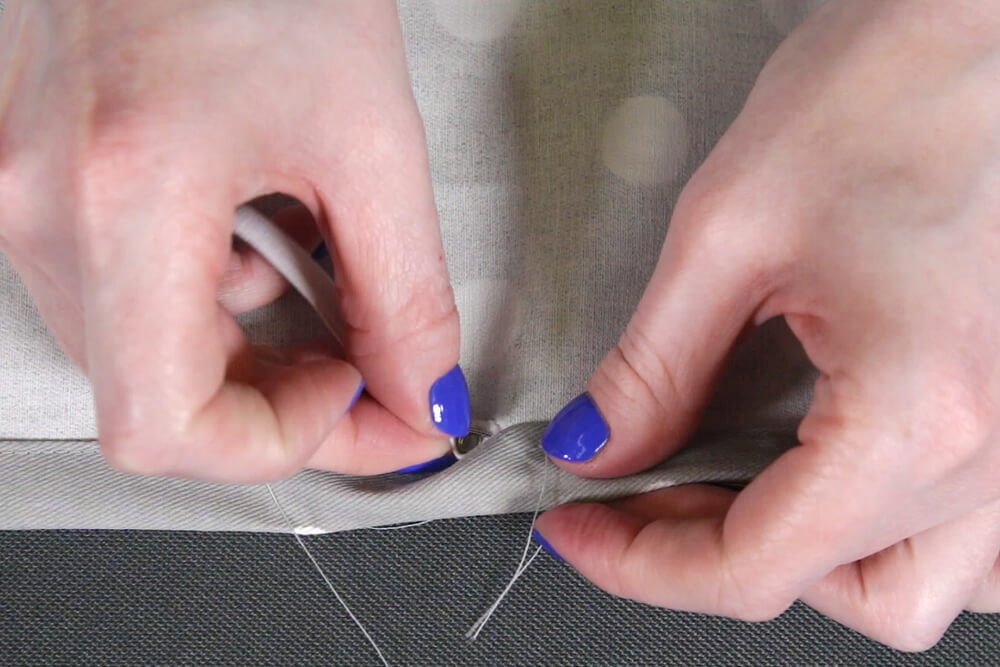
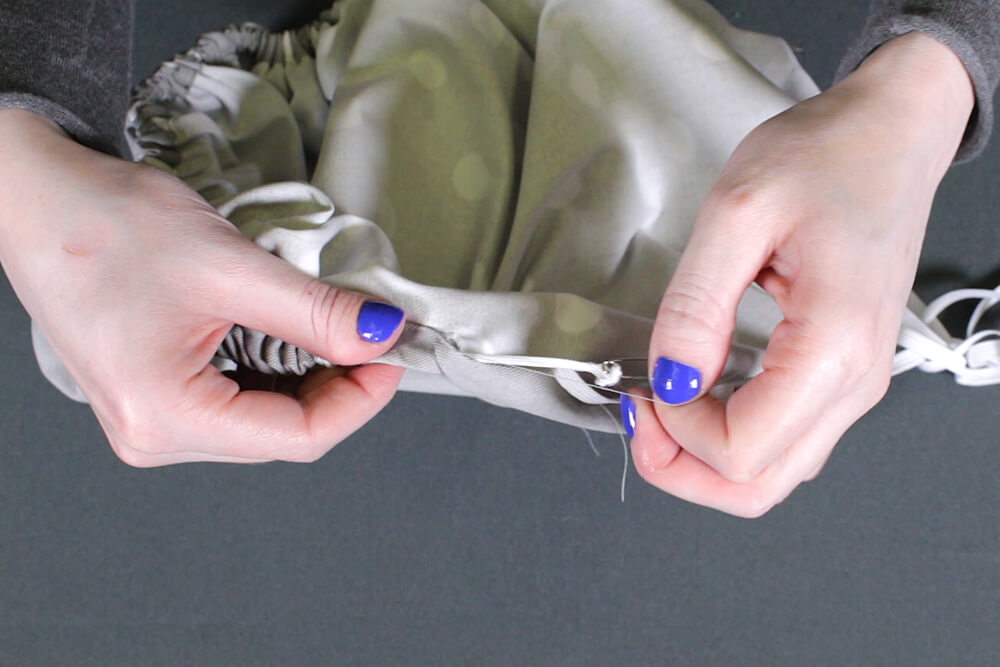
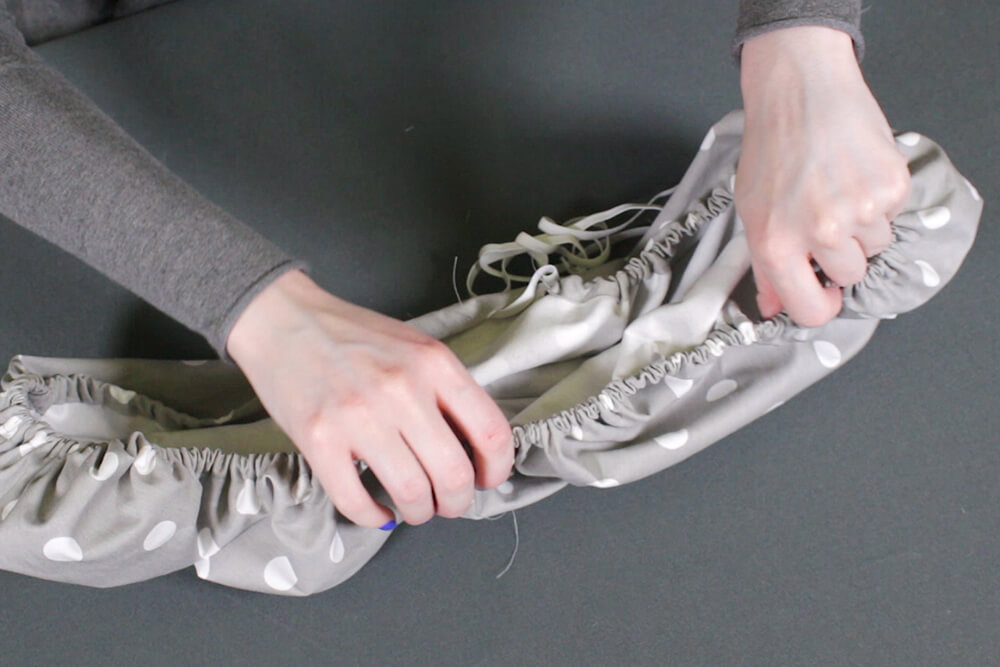
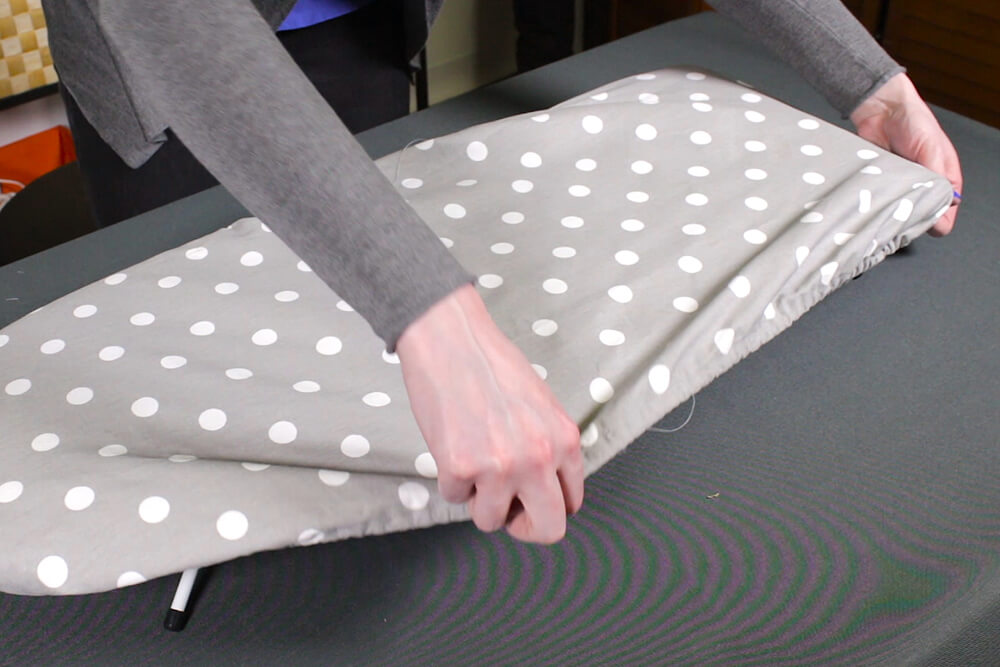
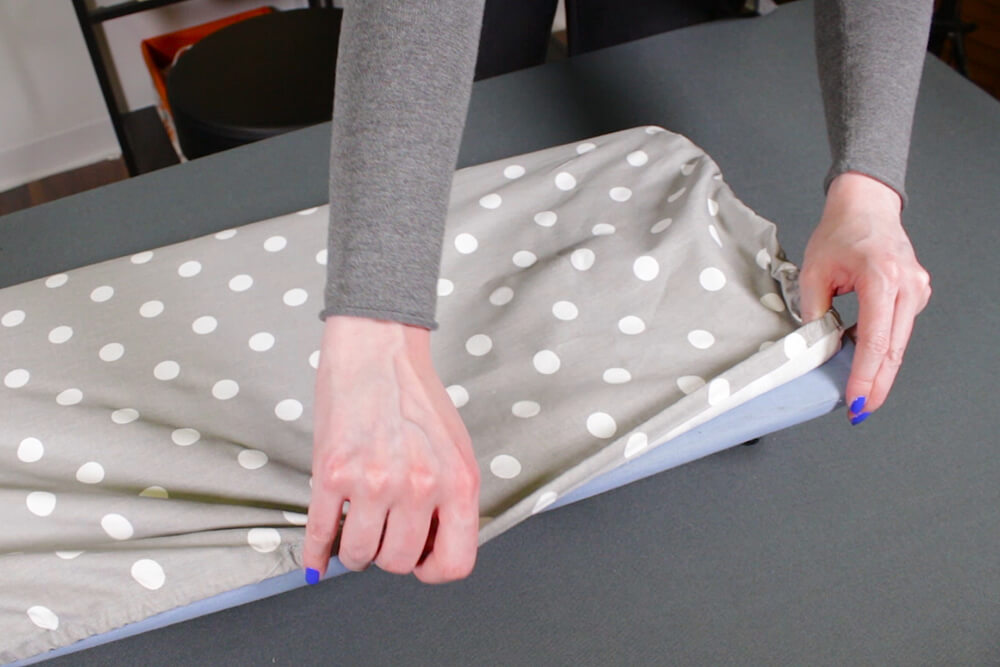
Adjust the fabric to make it looser. Fit it over the ironing board and tighten the elastic. Overlap the ends, pin them together, and take the cover off.
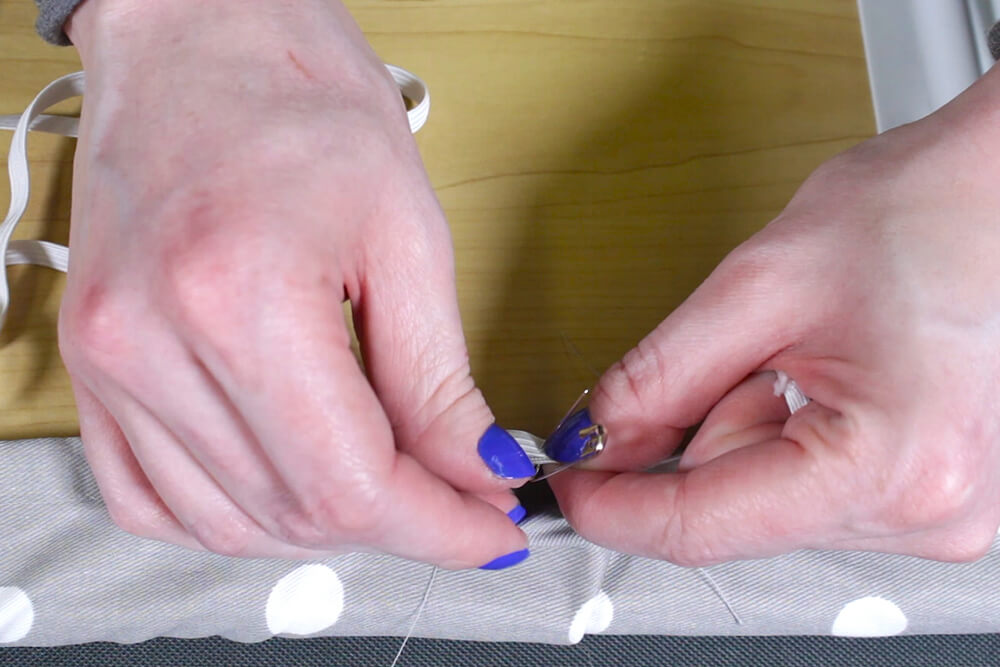
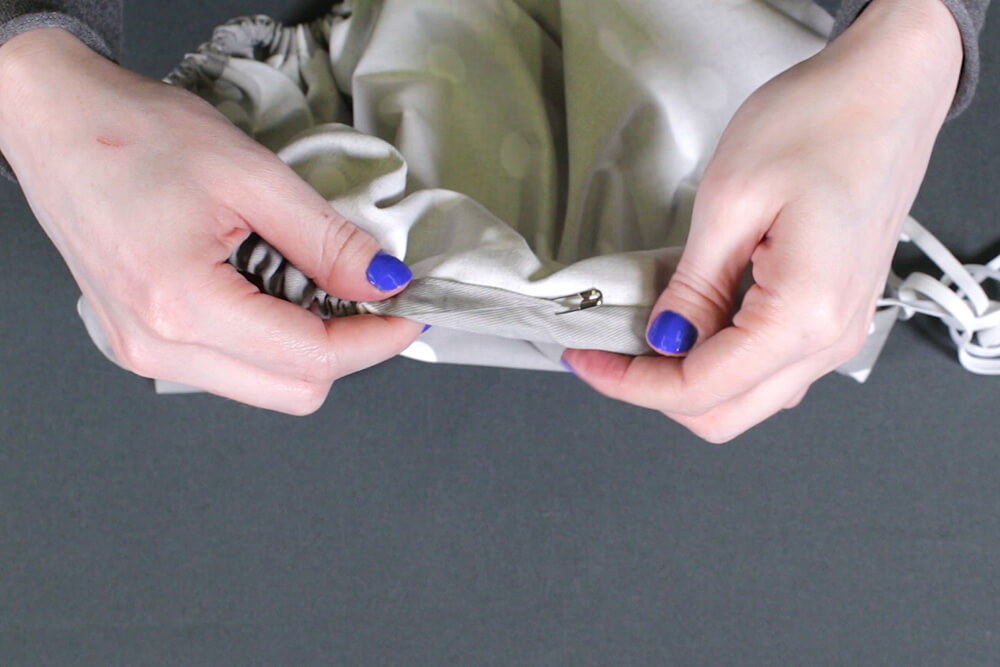
Use a zigzag stitch to sew the elastic together. Sew back and forth a couple of times to secure it, and trim the ends.
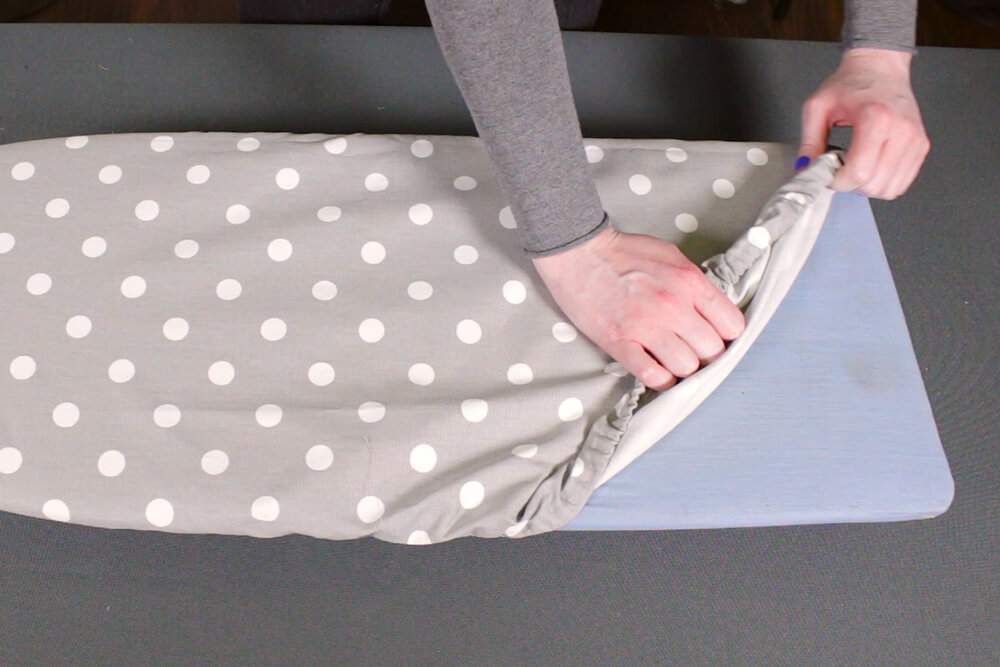
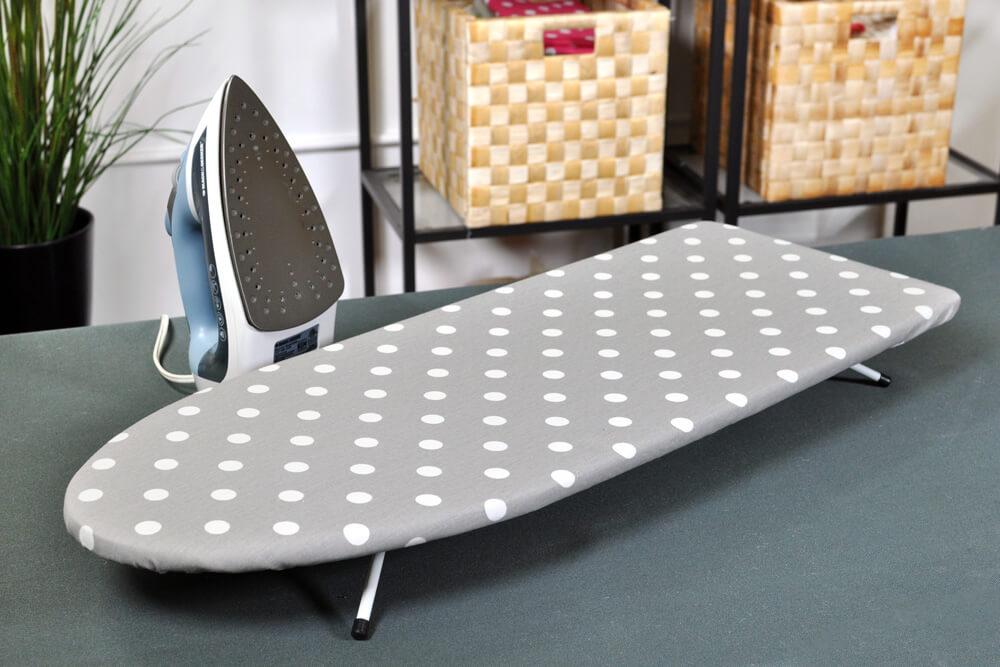
Finally, sew the opening closed and the ironing board cover is done.
If you’re using batting, lay it on top of the ironing board before putting on the cover.
Shop Premier Prints for many more fabrics like this.
-
{{#each productSuggestedQueries.results}}
- {{query}} {{/each}}
-
{{#each categories.results}}
- {{html title}} {{/each}}
{{html attributes.description}}
{{/if}}-
{{#each queries.results}}
- {{query}} {{/each}}