How to Make Fabric Wall Art
- By Clara
- Beginner
- 30 minutes
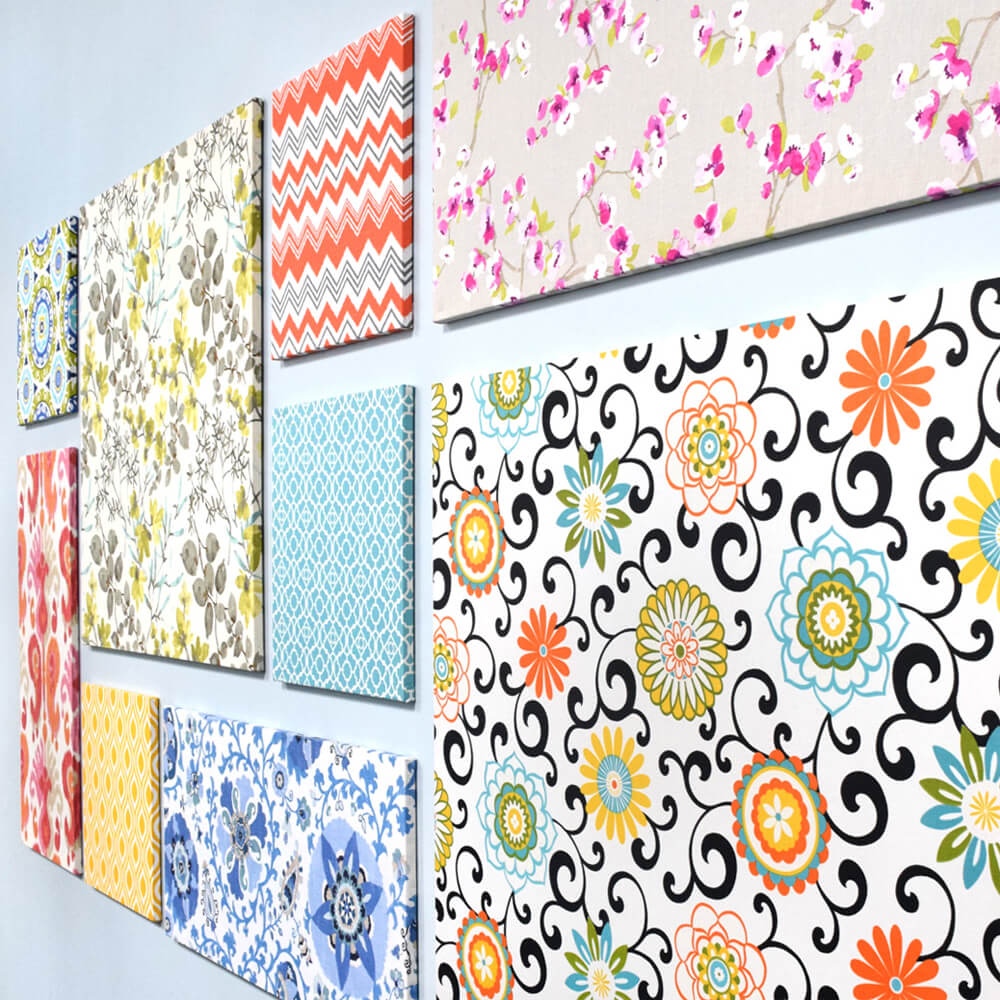
Making fabric wall art is an easy and inexpensive way to add color and pattern to your home decor. You can hang a single canvas, or create a whole gallery wall of fabric art.

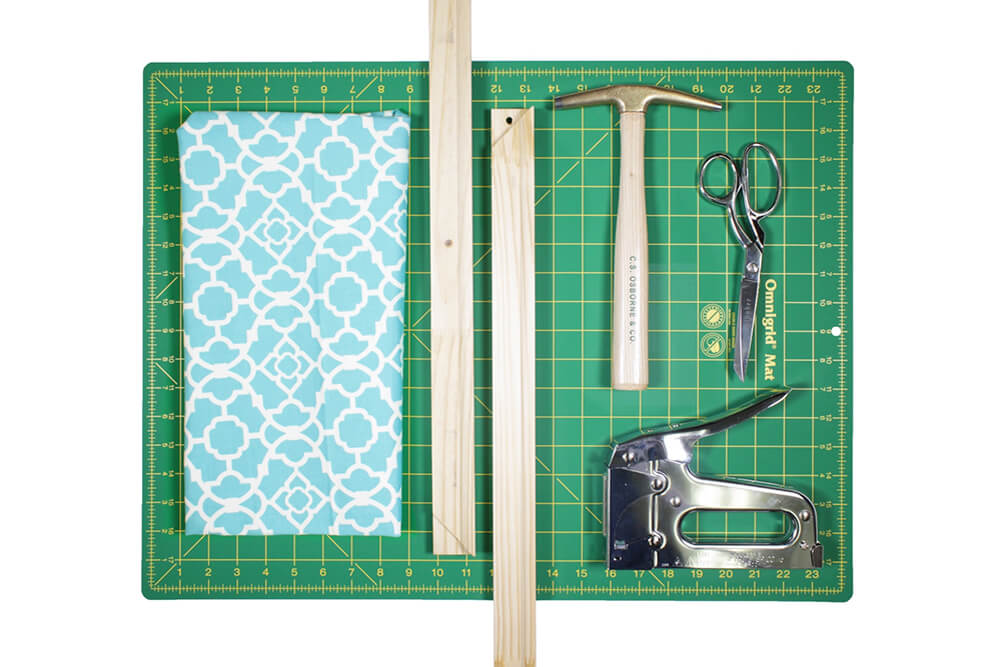
Materials
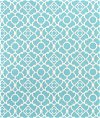
- 1 yard of fabric
- Scissors
- Canvas stretcher bars or a pre-made canvas
- Hammer
- Staple gun
Related Products

Video
Instructions
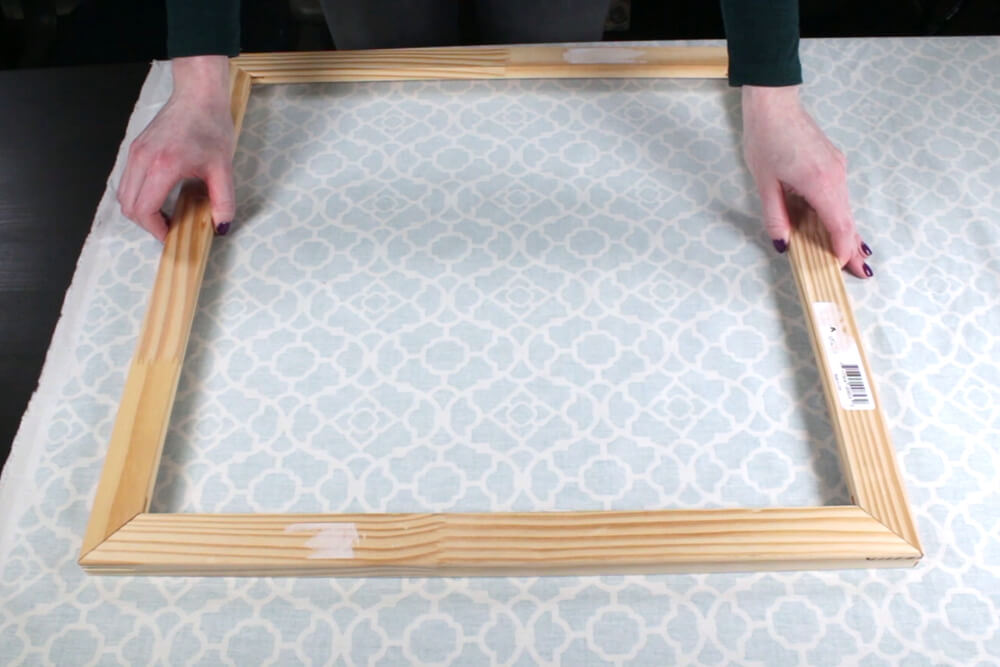
Step 1: Assemble the frame
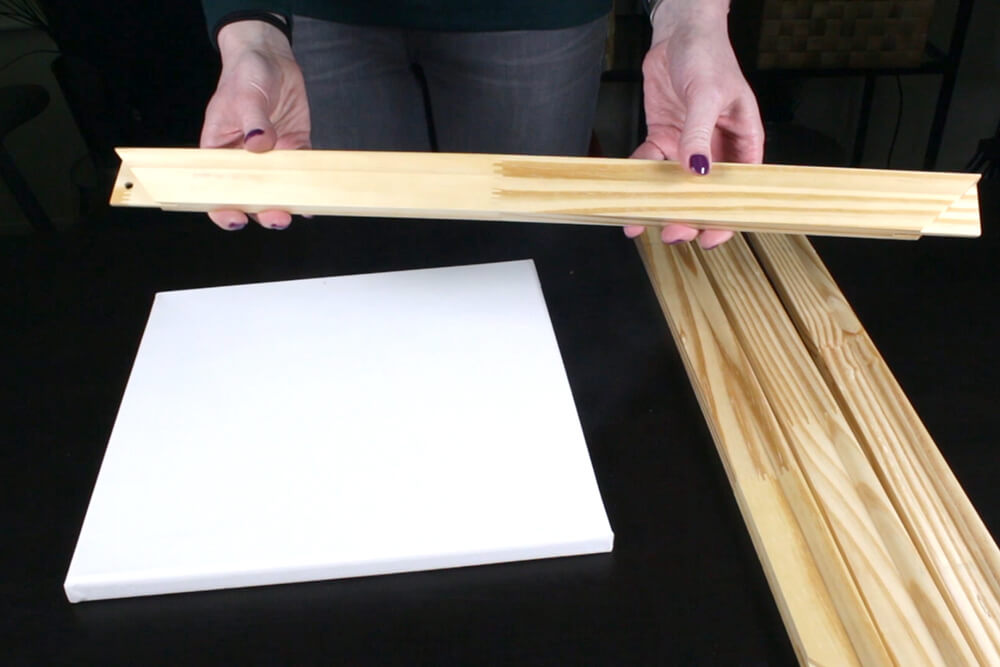
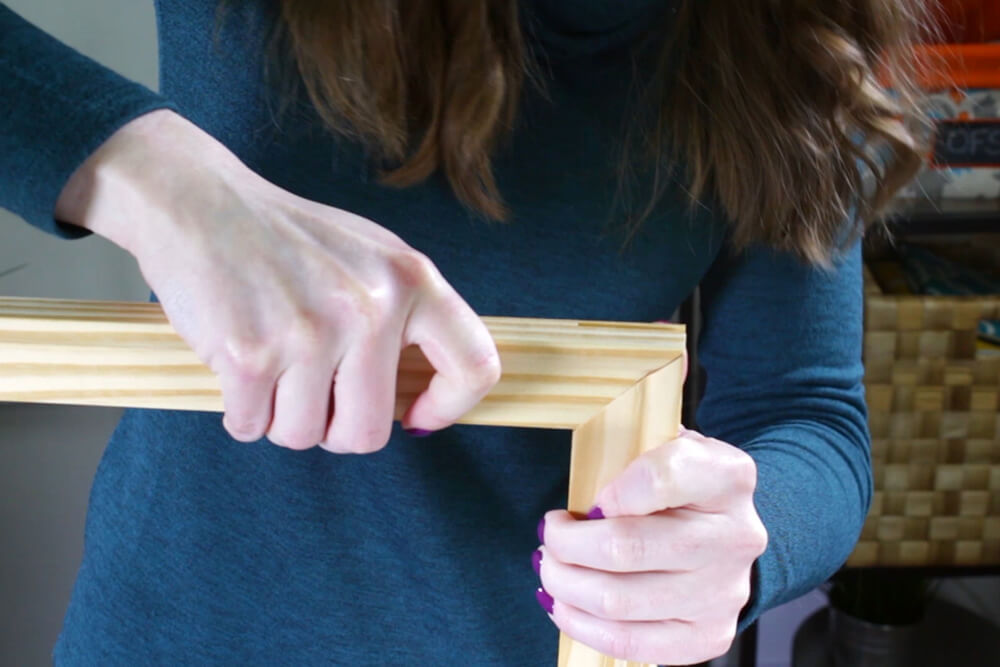
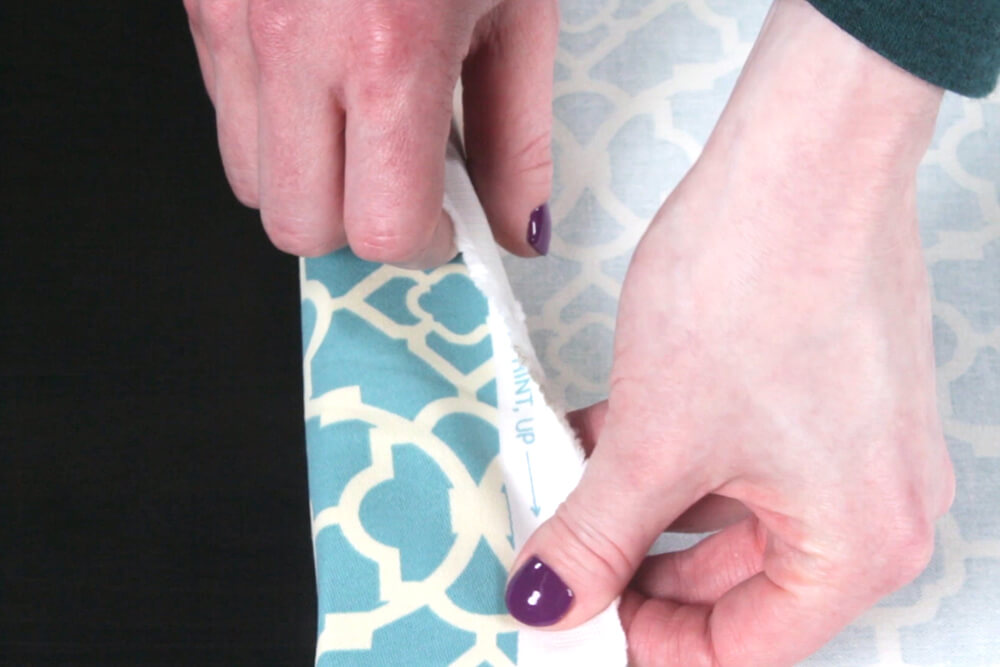
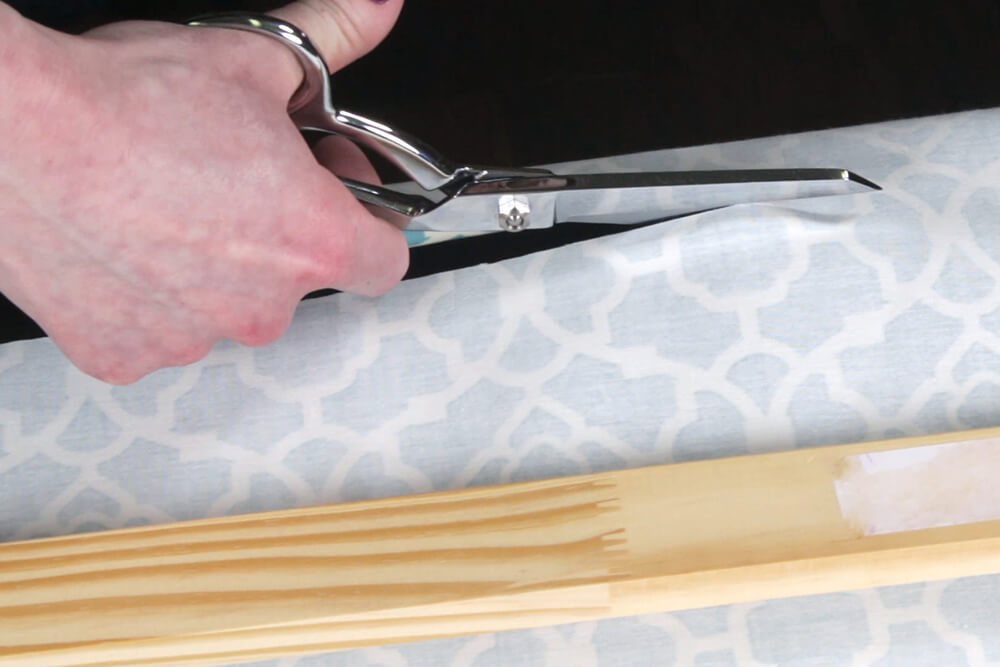
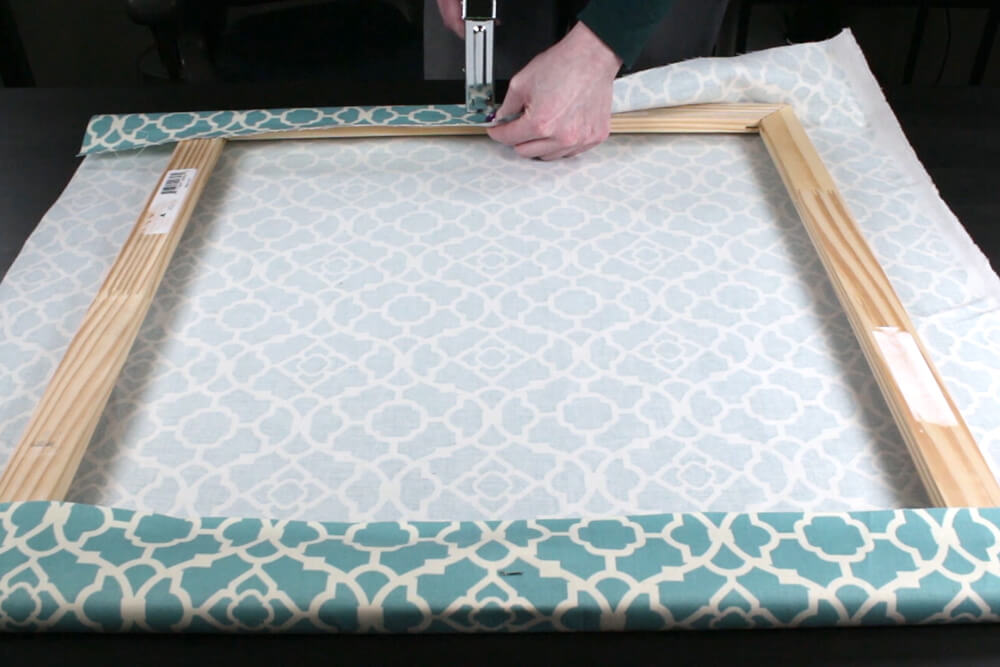
You can either use a pre-made artist’s canvas or get canvas stretcher bars to make the frame, which is a more economical option especially for larger scale art. Take 2 of the stretcher bars and slide them together to form a 90 degree angle. Make sure the points meet at the corner. Repeat this to put together the rest of the frame. Lay your fabric face down and place the frame on top, also facing down. Leave a good amount of fabric around the edges so there’s plenty to wrap around the back of the frame. I’m cutting the fabric so there’s about 3-4 inches of excess fabric.

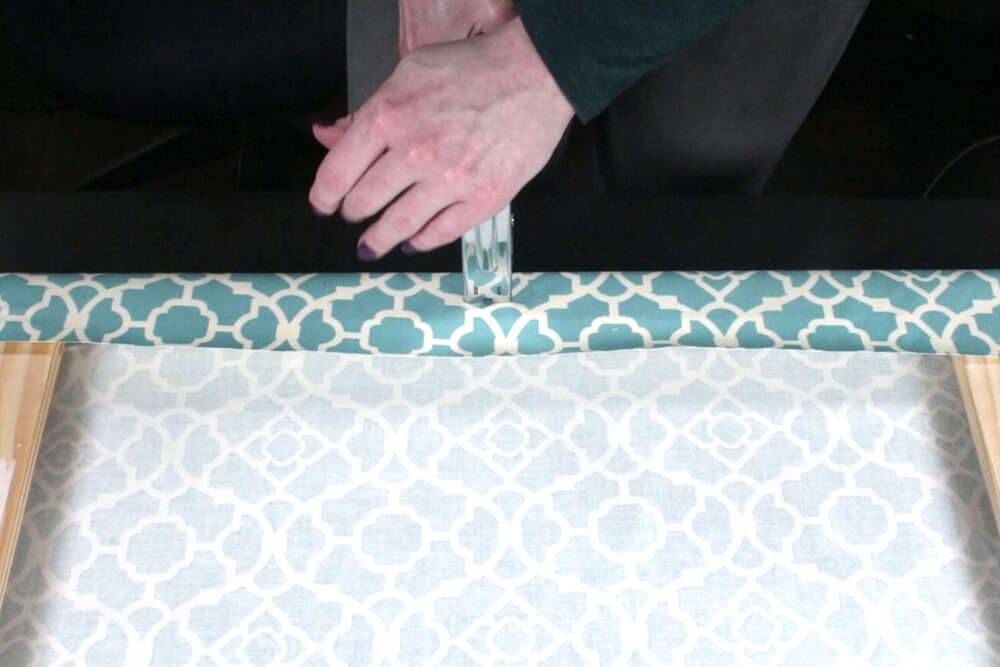
Step 2: Wrap the frame
Fold over one side of the fabric and put a staple in the center. Now go to the opposite side, pull so the fabric is taut, and add another staple. Then staple in the middle of the two sides. Next put two staples on either side of the center staple so they’re a couple inches apart. Alternating between opposite sides, work your way out towards the corners.
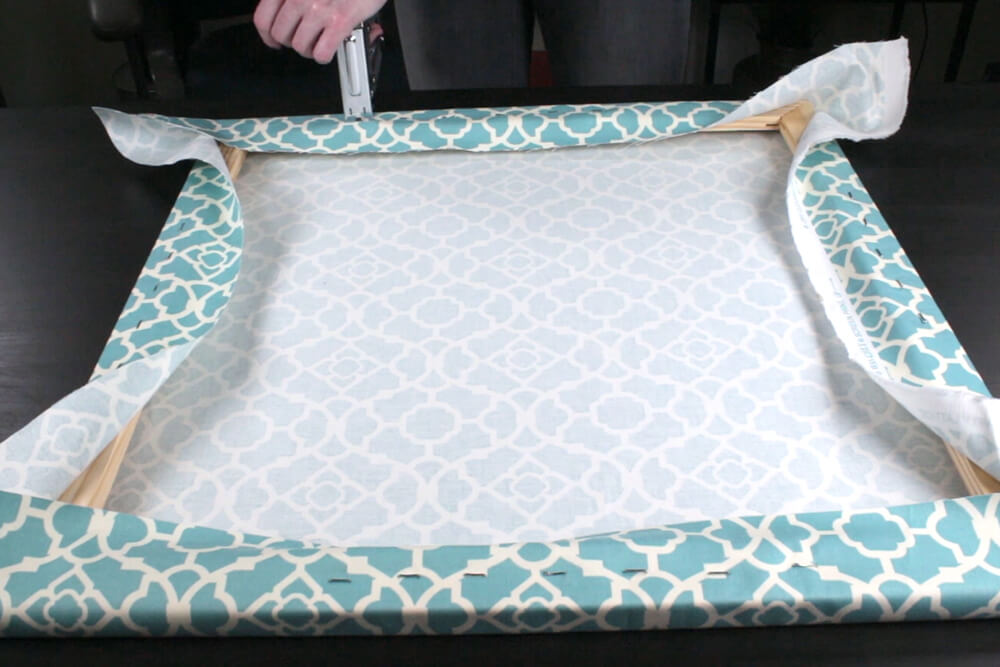
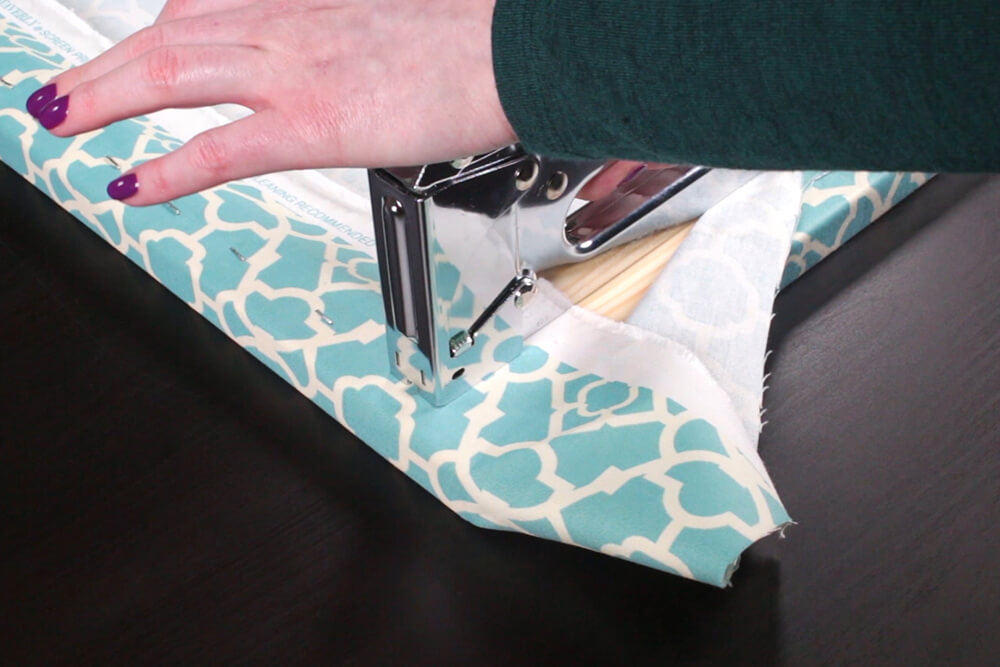
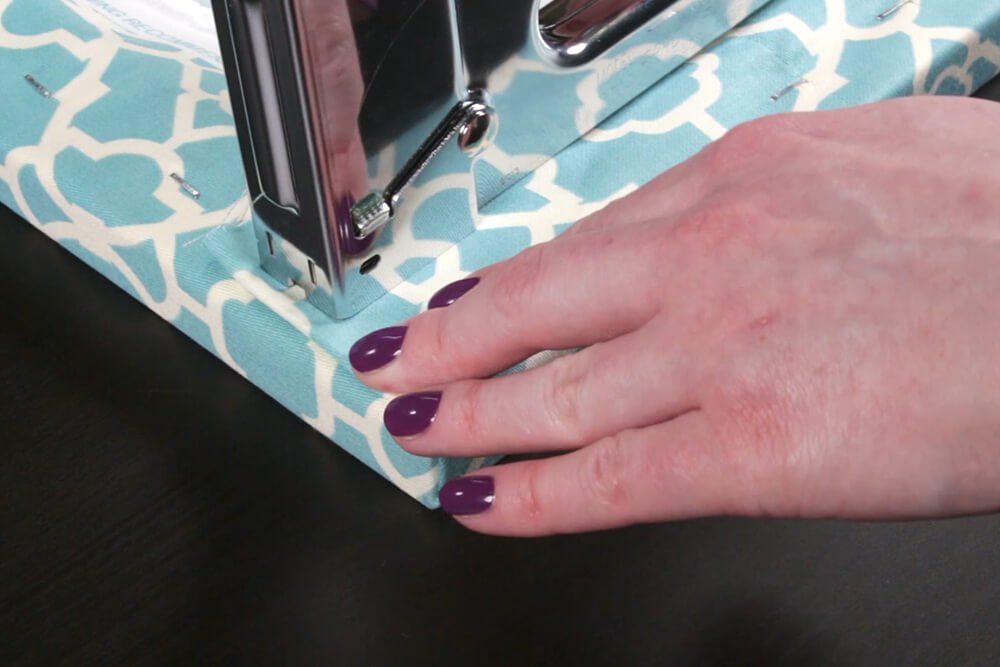
The last step is wrapping the corners. On one edge, staple the fabric all the way to the corner. Next pinch the fabric and fold it so it’s creating a 45 degree angle. Then take the rest of the fabric, pull up and fold it over the back.
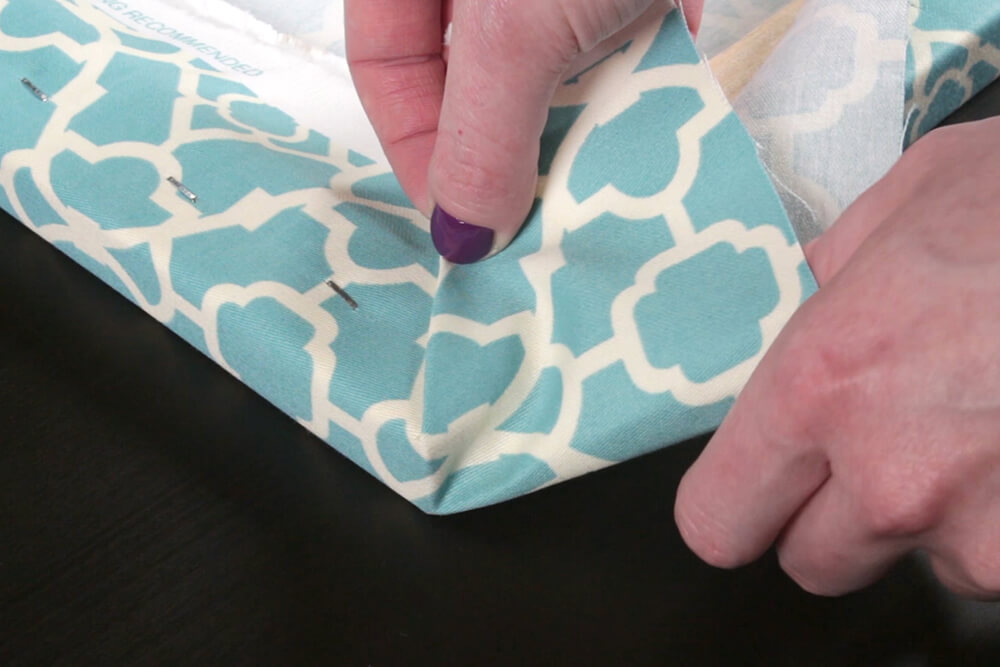
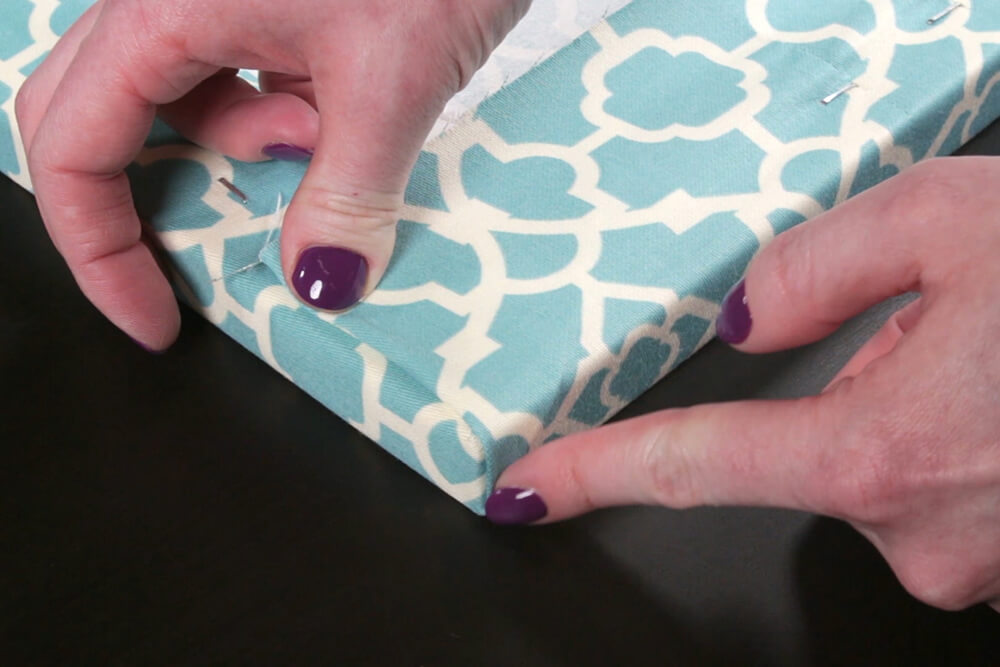
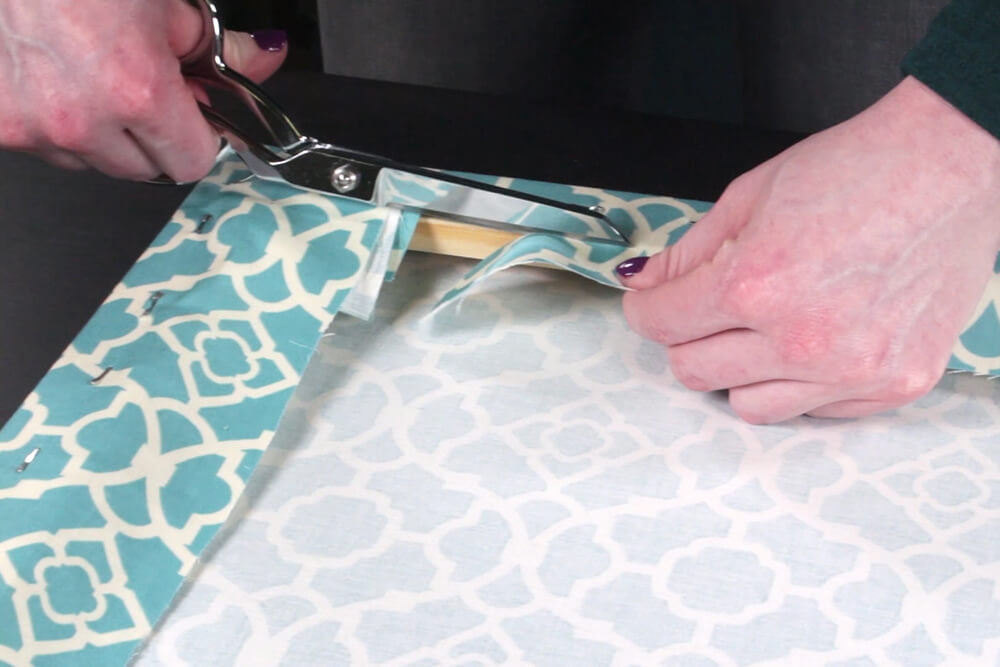
This will create a nice clean fold right at the corner. Staple the folds in place. Repeat for the rest of the corners. Hammer down any staples that are sticking out. Then trim any excess fabric off the back.

Can't decide what fabric to use? Check more out here.
-
{{#each productSuggestedQueries.results}}
- {{query}} {{/each}}
-
{{#each categories.results}}
- {{html title}} {{/each}}
{{html attributes.description}}
{{/if}}-
{{#each queries.results}}
- {{query}} {{/each}}