How to Make Oven Mitts
- By Jen
- Intermediate
- 1 hour
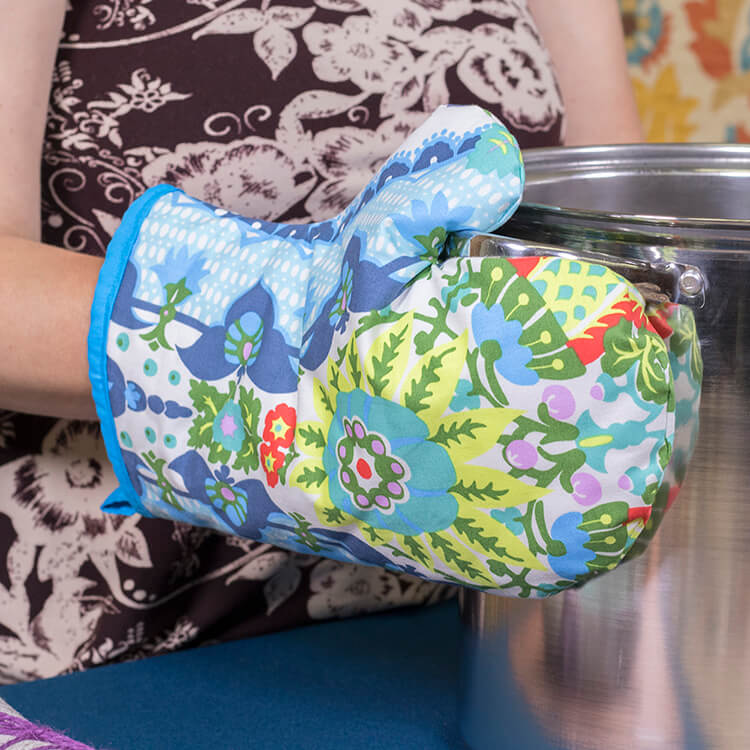
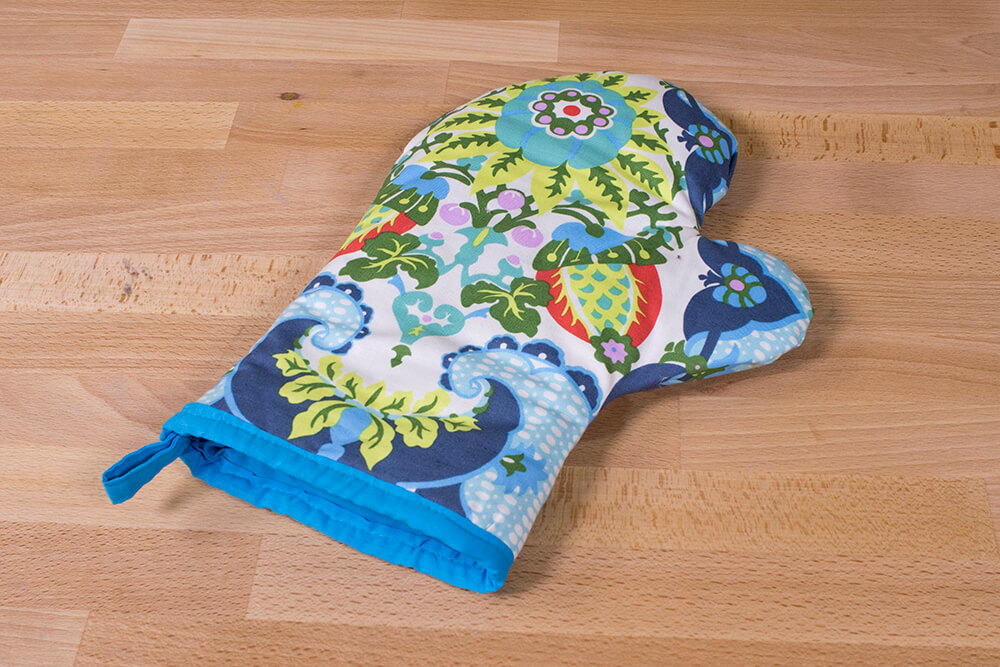
By making your own oven mitts you can choose the fabric and trim that matches your kitchen decor. Or you can make it more eclectic like I did by using a fun print such as the the Amy Butler Harriet’s Kitchen Sugar fabric.
What’s great about this tutorial is that you can custom make these oven mitts to the size of your hands by following the instructions below.
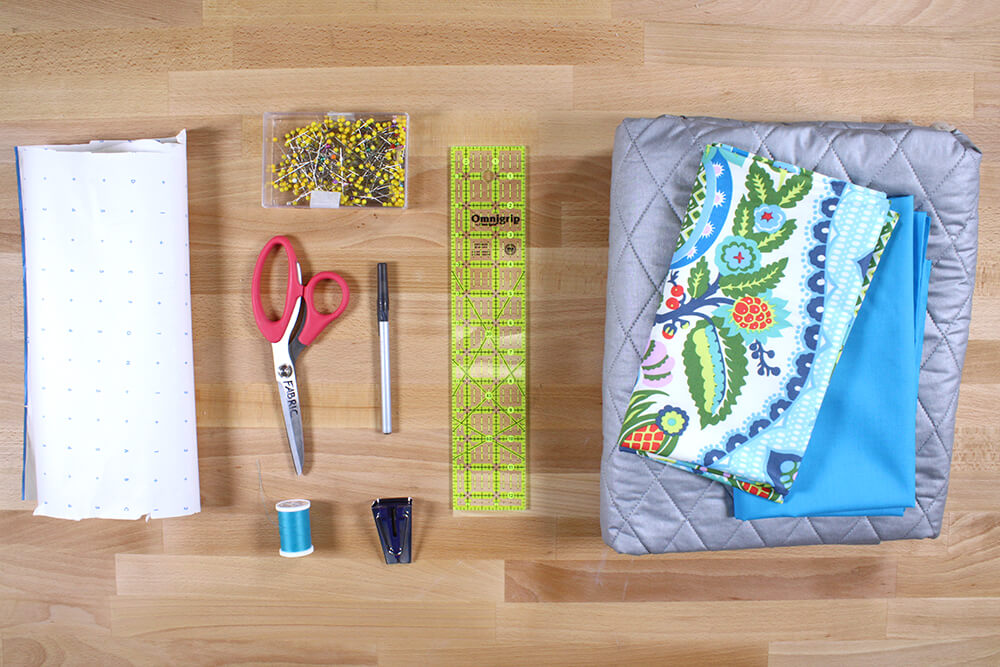
Materials
- 1/2 yard of heat resistant batting
- 1/2 yard of broadcloth
- 1/2 yard of a cotton print
- Ruler
- Bias tape maker
- Pen
- Thread
- Scissors
- Paper
- Iron
Related Products


Video
Instructions
Step 1: Measure & cut the fabric
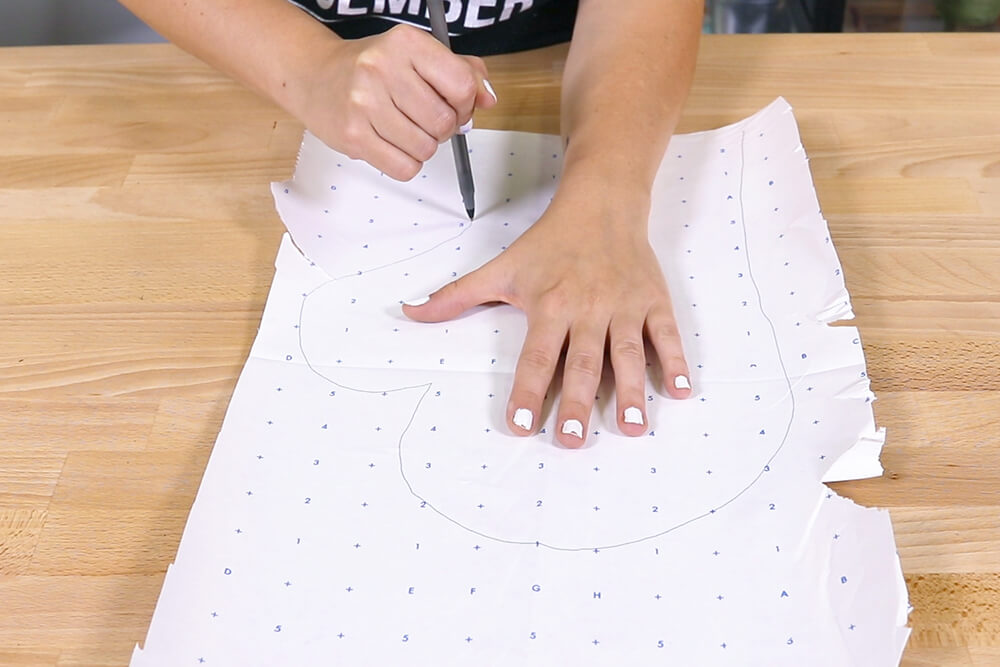
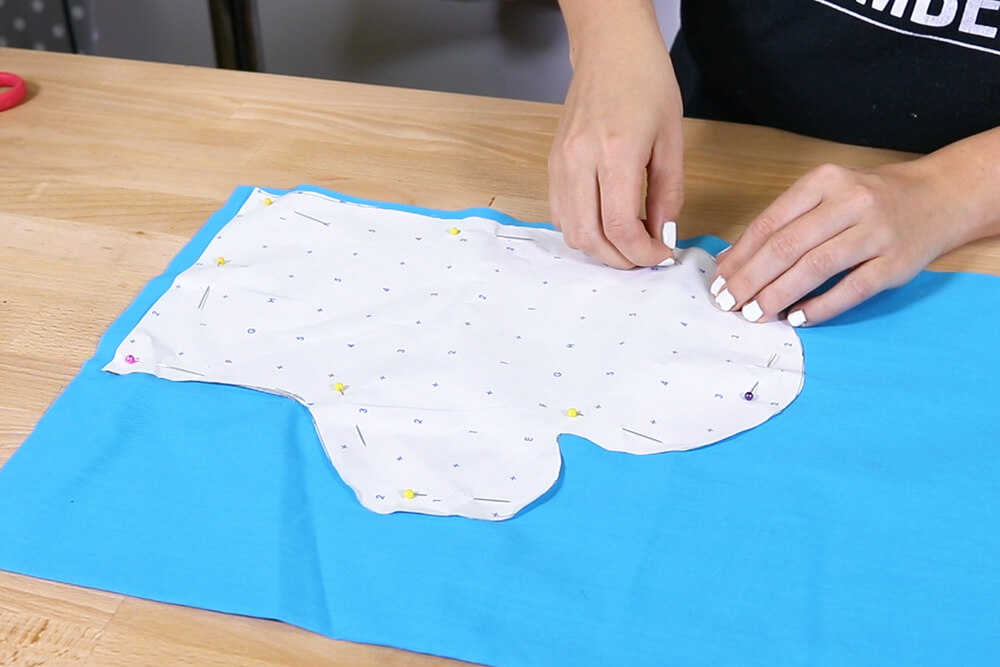
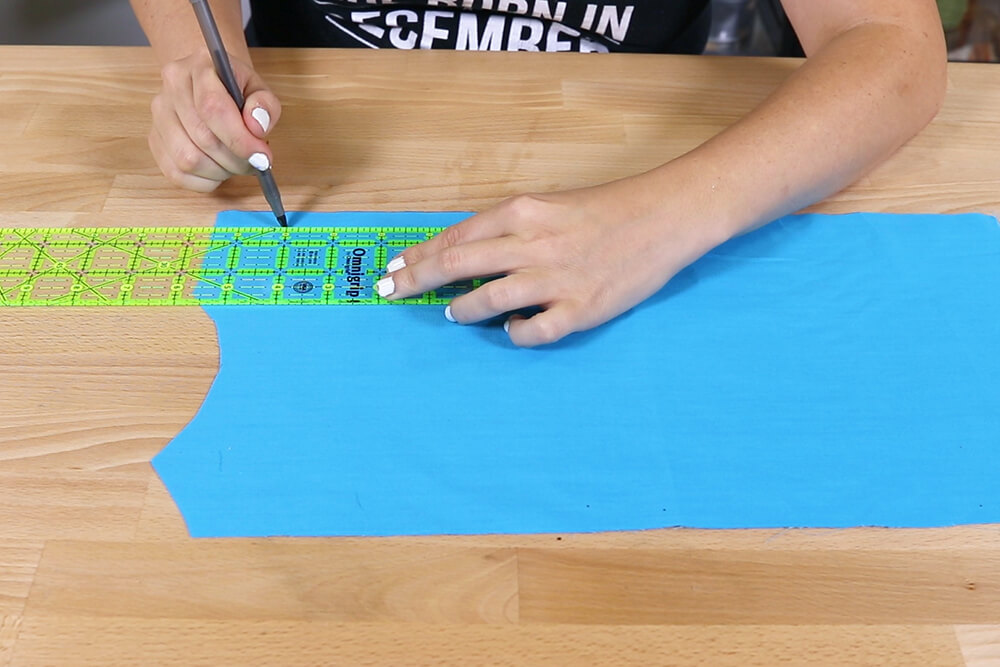
Place your hand on a piece of paper a few inches up from the wrist (or where you would like the bottom to be).
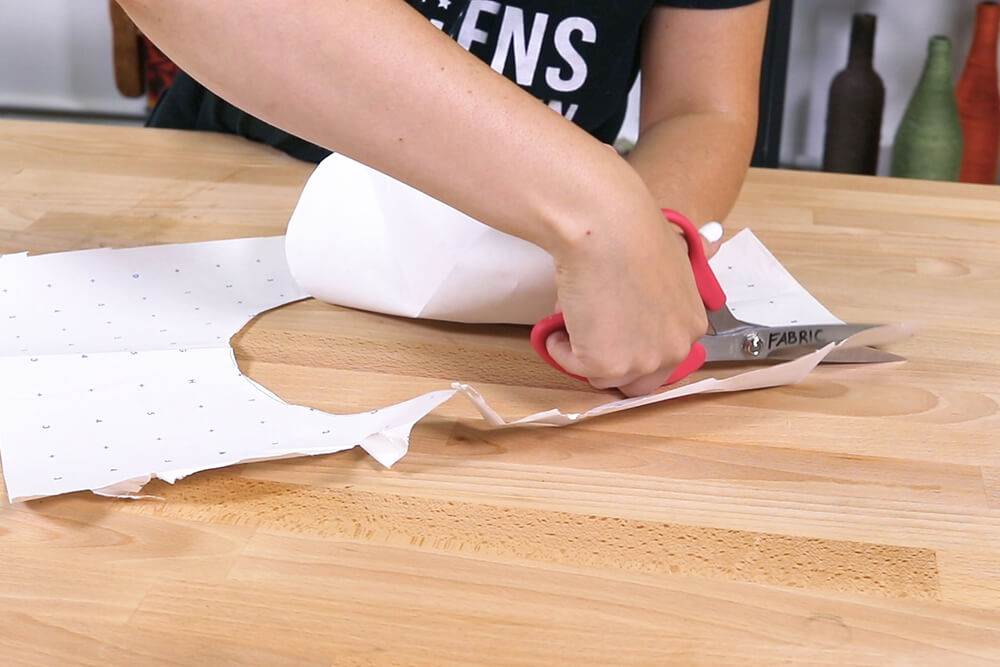
Loosely trace a couple inches away from your hand and cut. This will be used as a pattern to cut the fabric.
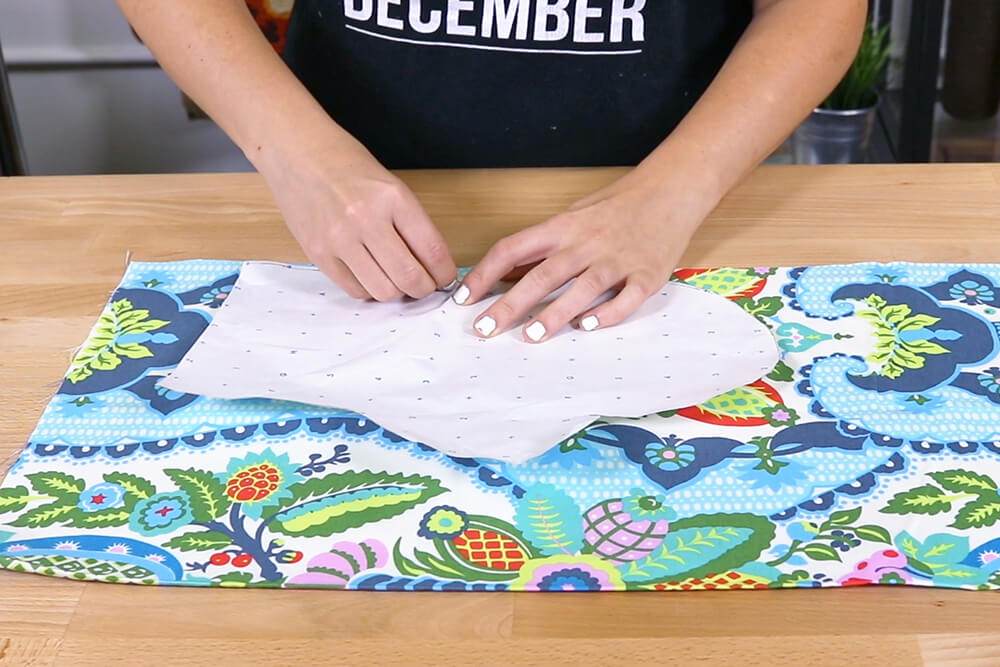
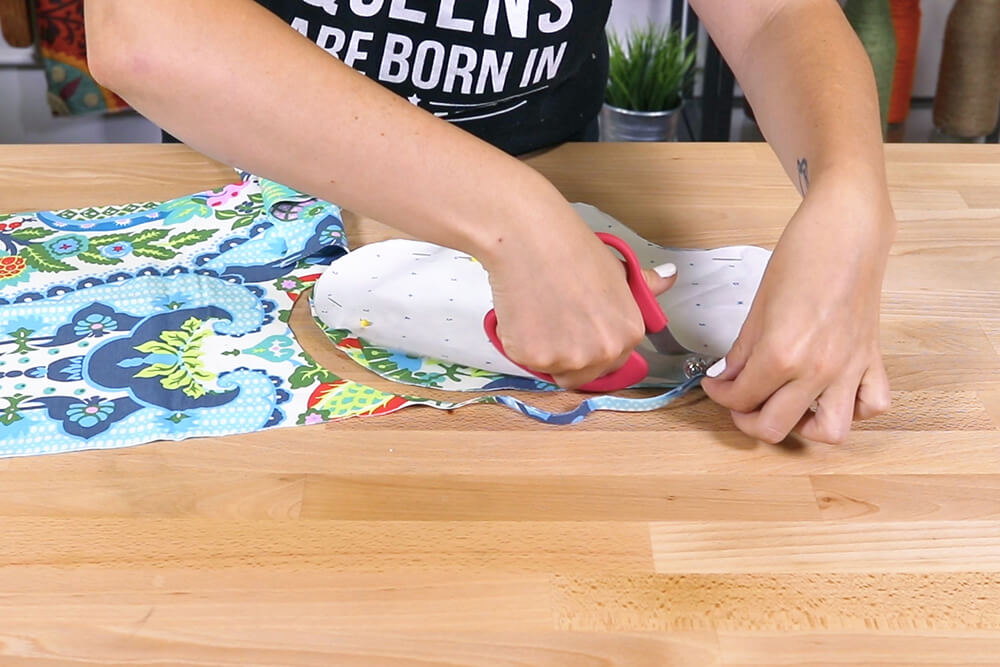
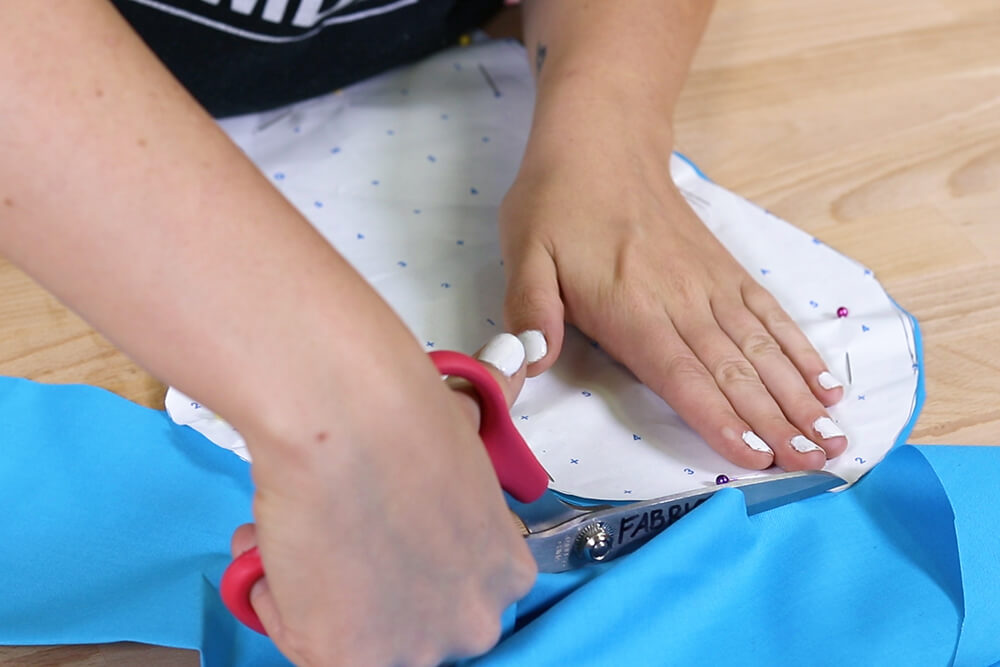
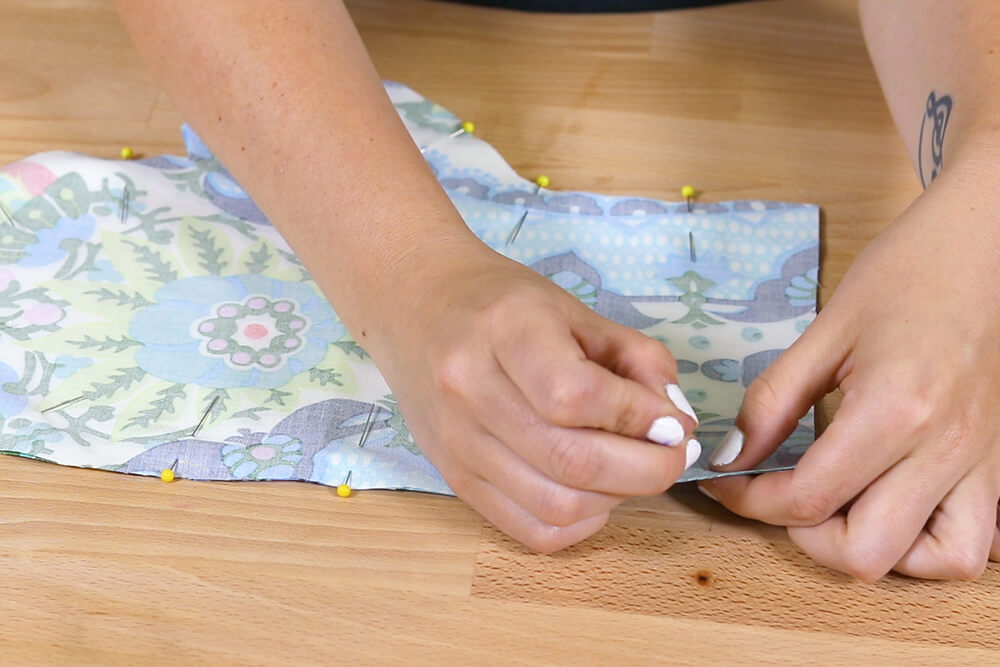
Fold the outer fabric in half with wrong sides facing together. Pin the pattern to the fabric and cut. This creates two pieces.
Repeat for the lining fabric.
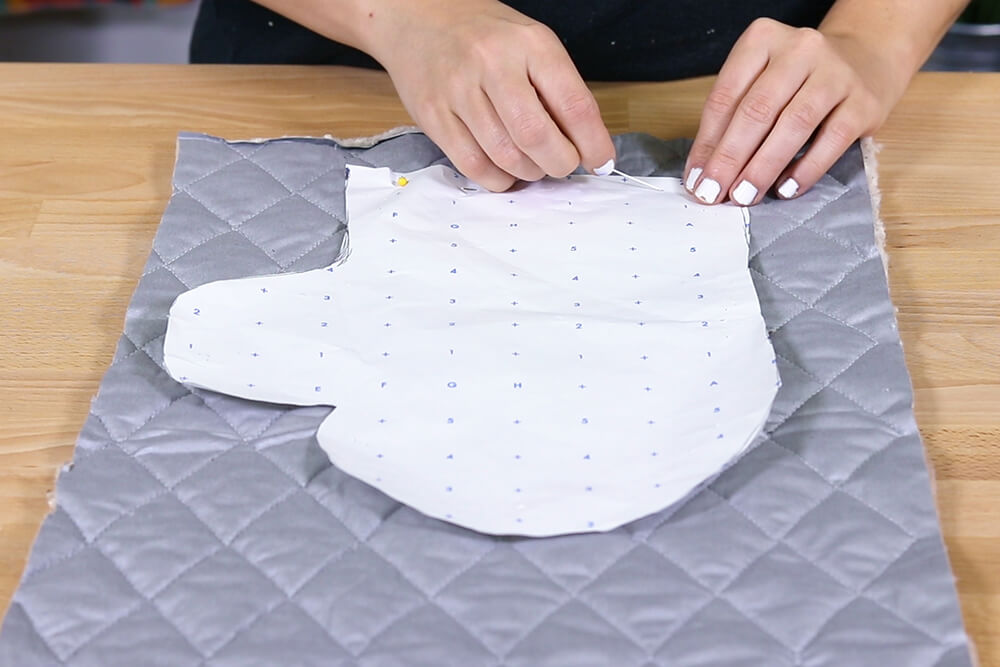
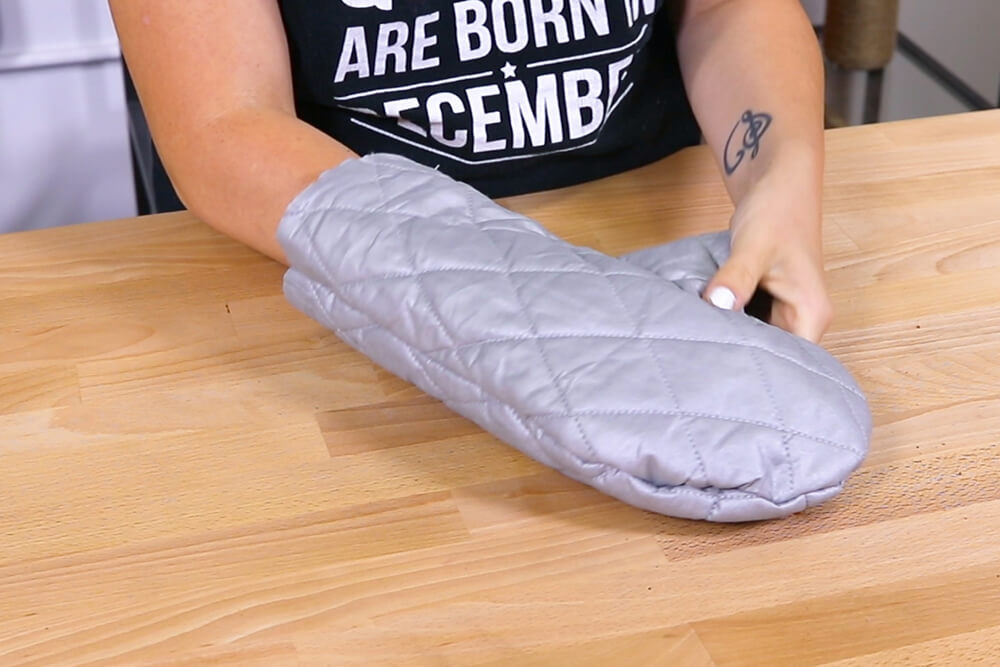
The batting pieces are cut separately because of it’s thickness.
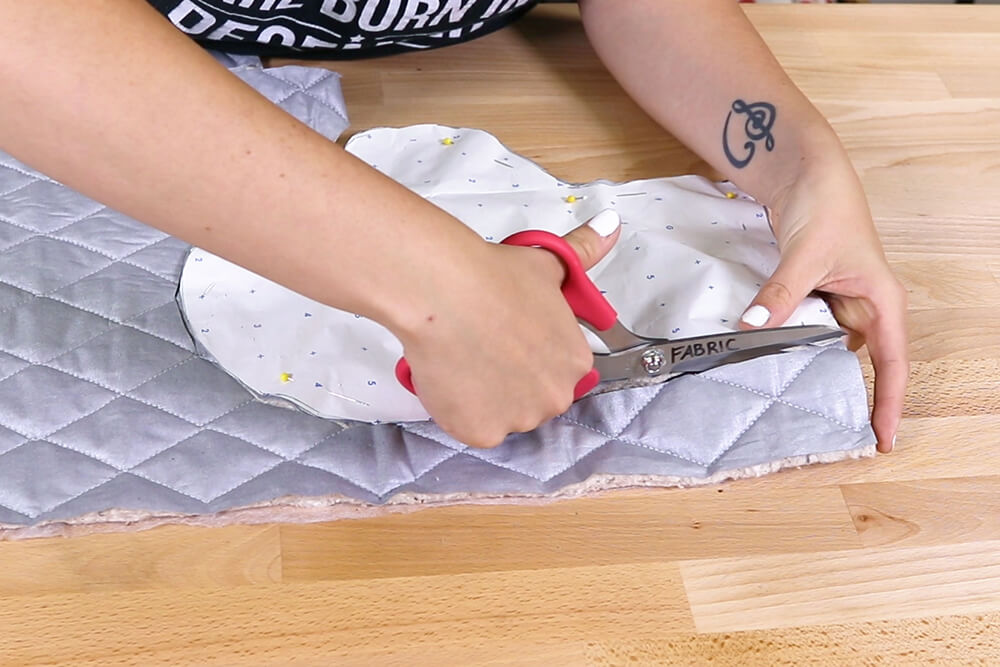
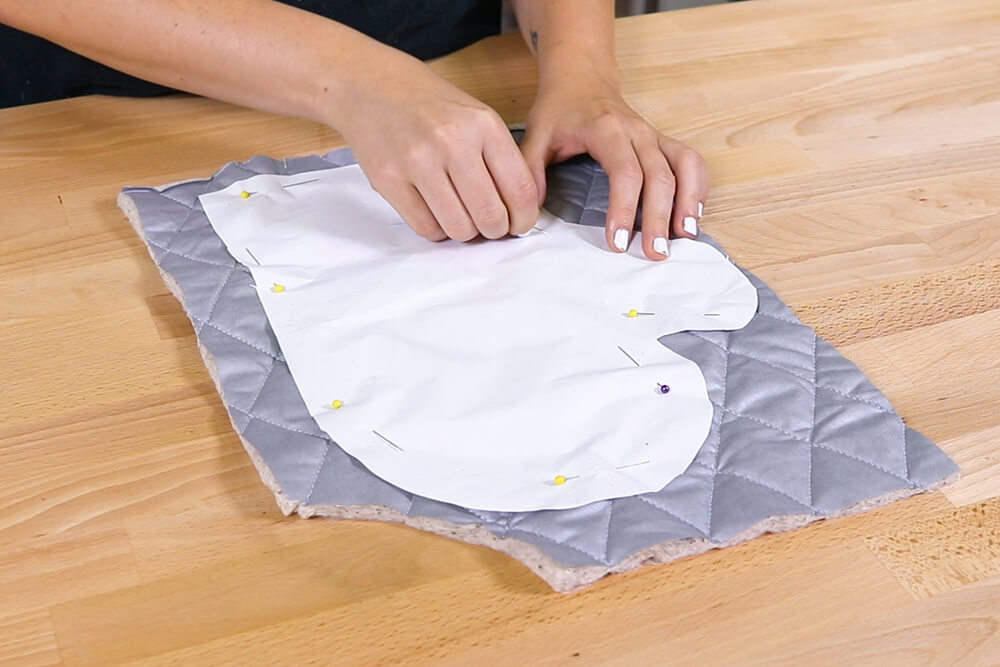
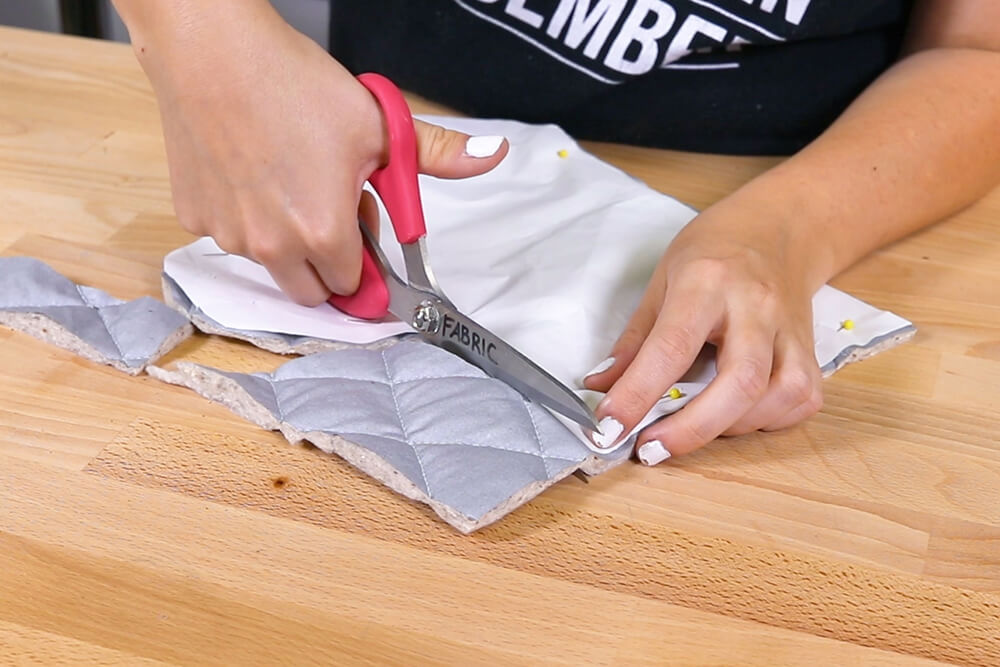
Pin the pattern to the right side of the quilted batting and cut.
Then flip the pattern over and cut out another piece.
Step 2: Sew together
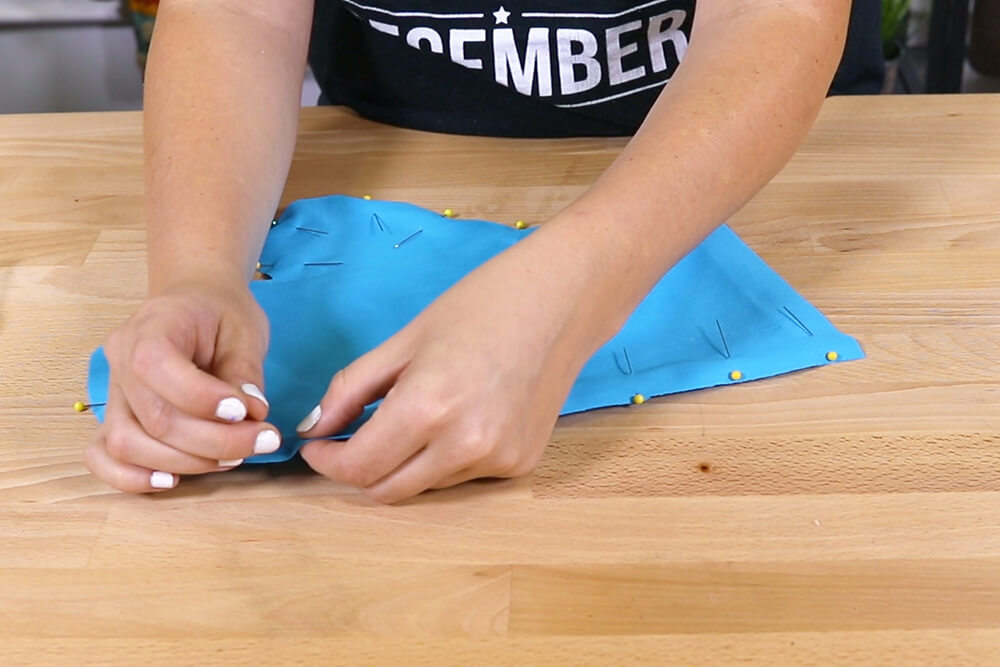
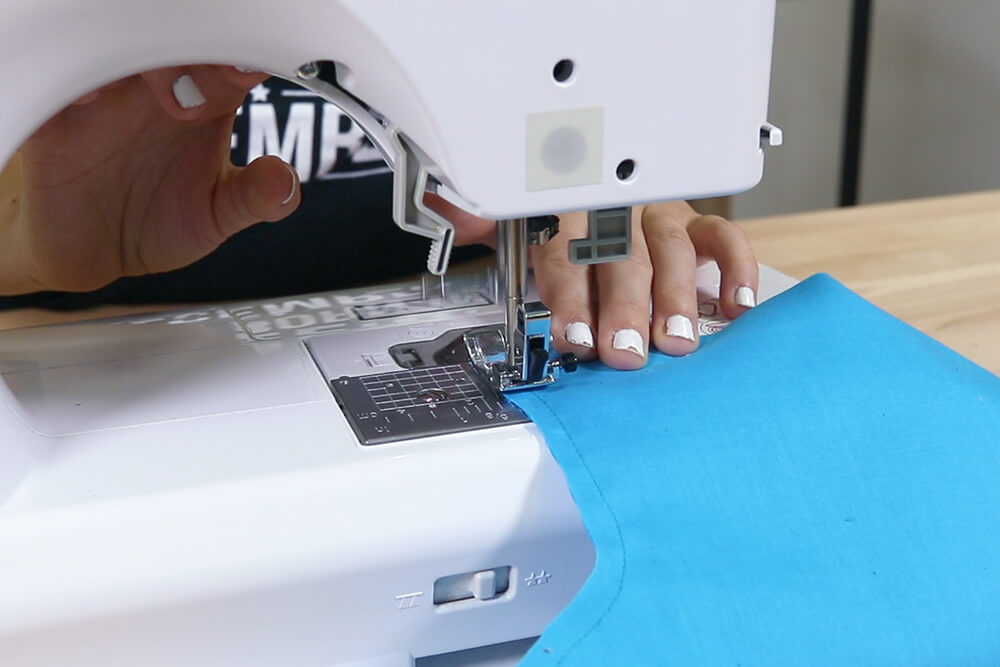
Pin and stitch the right sides of the outer fabric together with a 1/8″ seam allowance. Make sure to leave the bottom open.

Repeat for the lining and batting pieces, but use a 1/4″ seam allowance.
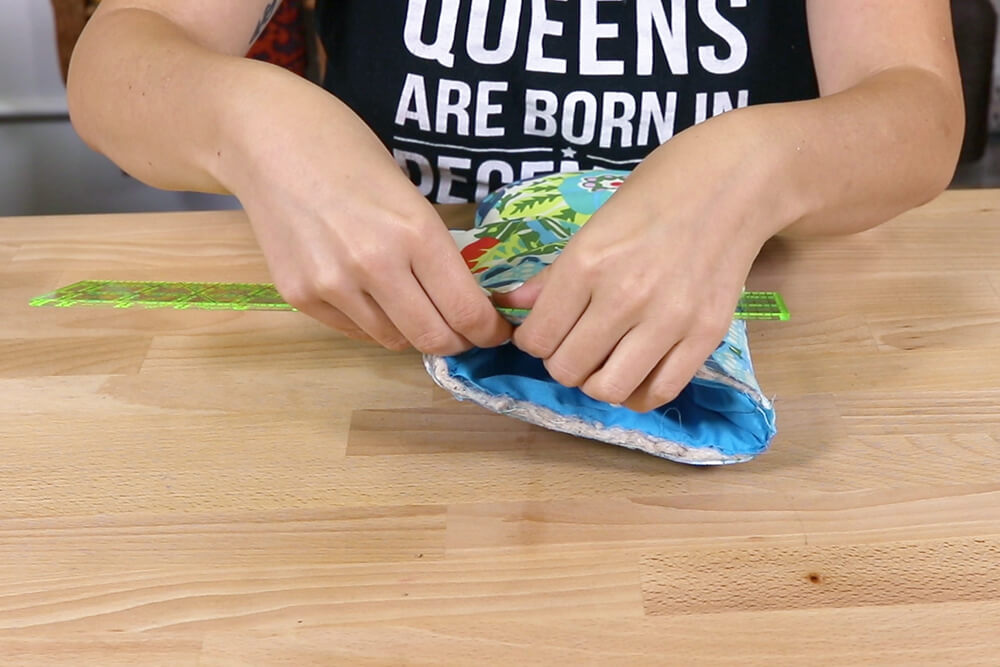
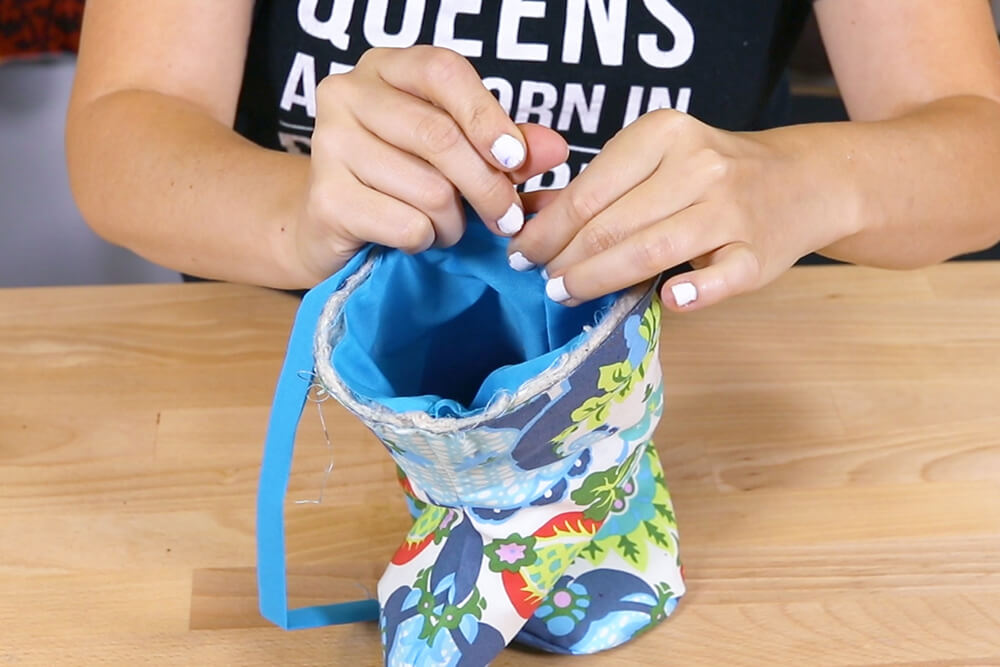
Turn the outer fabric and batting to the right side.
Insert the batting into the outer layer, and insert the lining into the batting.

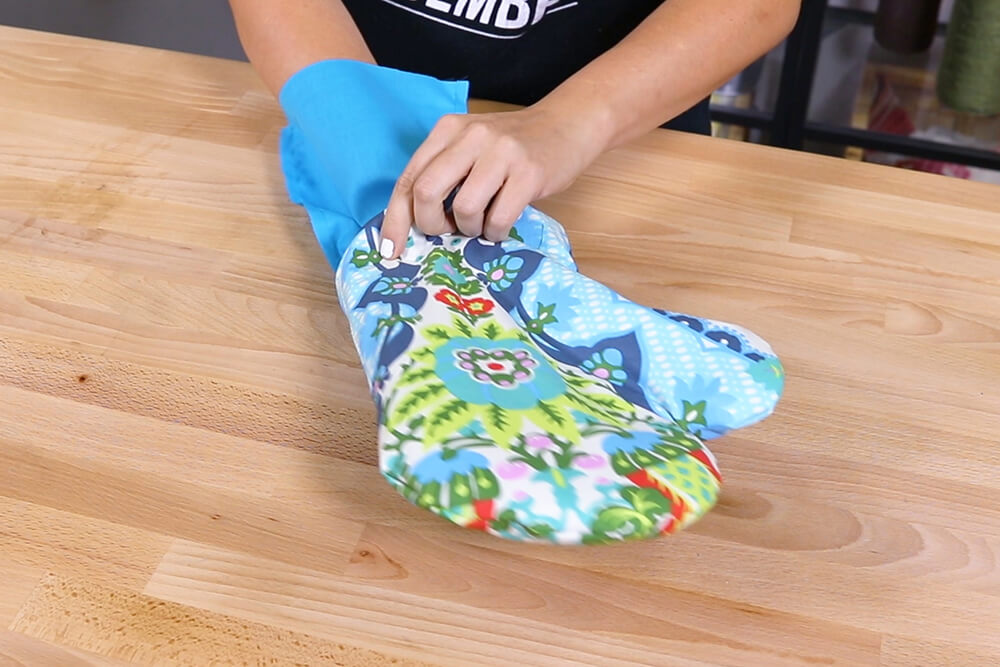
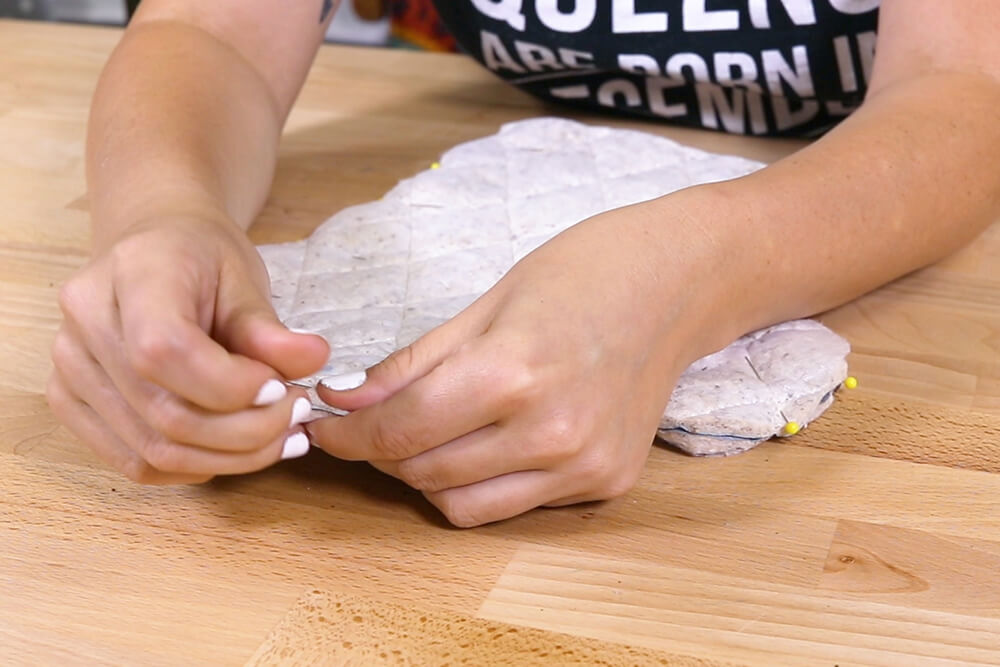
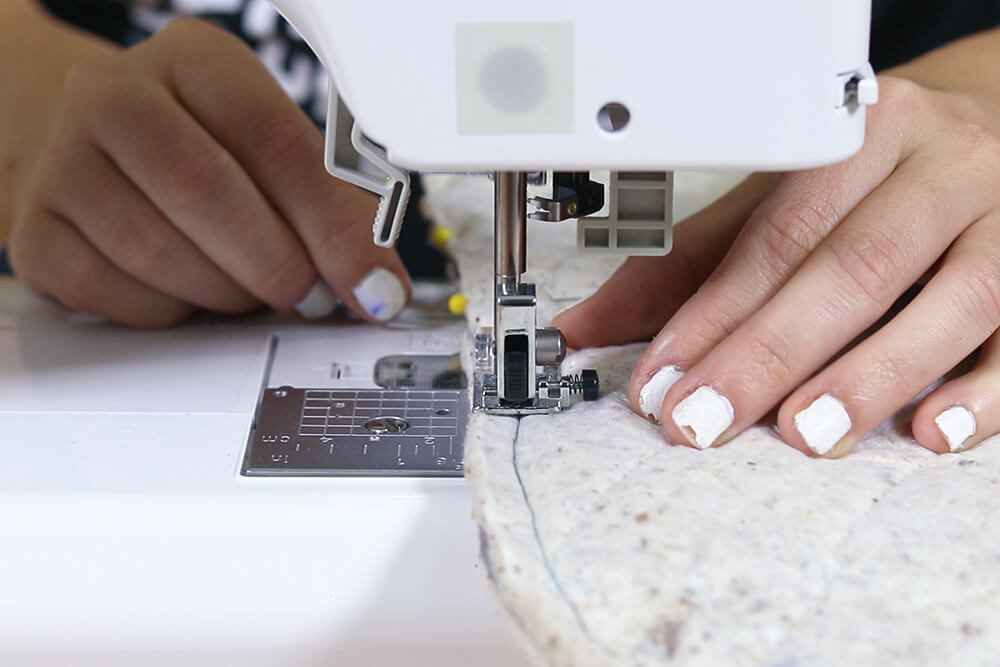
At the bottom of the oven mitt, line up the layers starting at the side seam and pin all the way around.
Stitch with a 1/4″ seam allowance.
Step 3: Add the bias tape
Measure around the bottom opening. Add 1″ to this measurement and this will be the length of your bias tape.
My measurement is 13″ so I’m cutting out a strip of the lining fabric that’s 14″ long and 2″ wide.
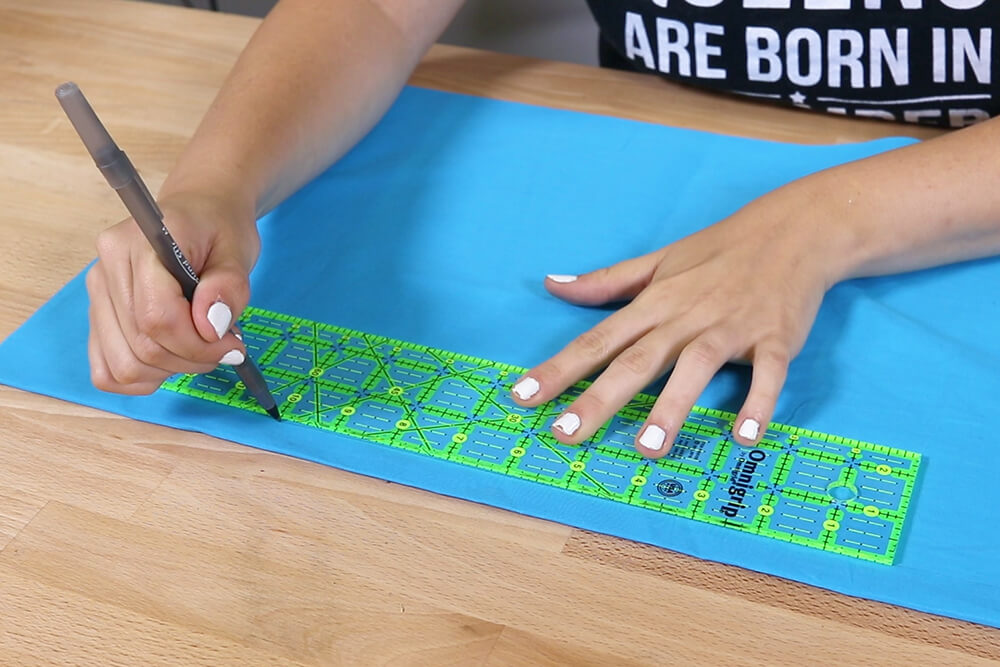
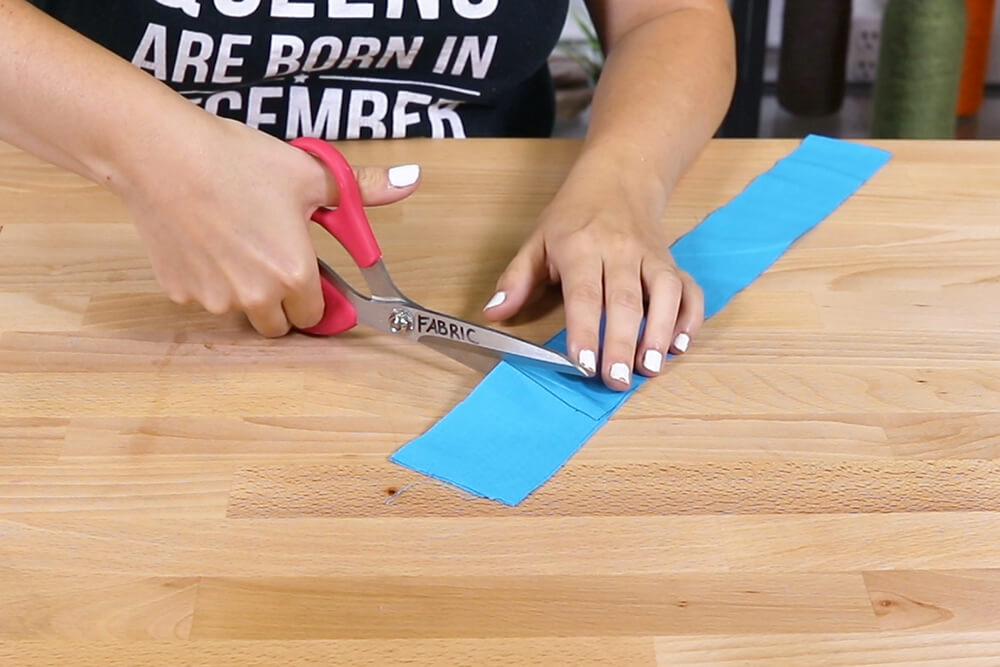
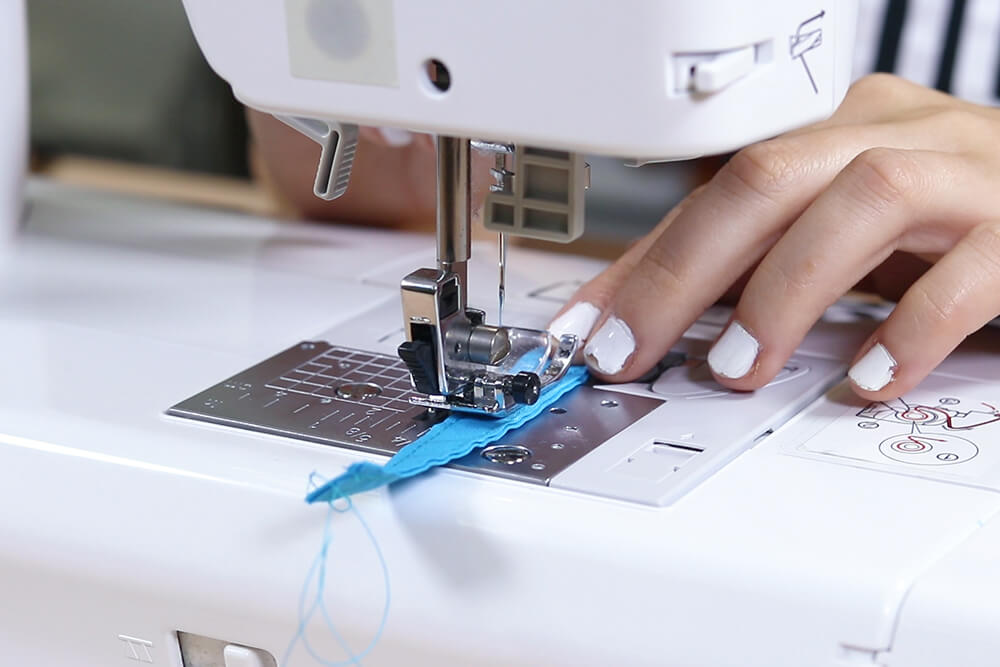
Also measure and cut a 2″ by 4″ rectangle.

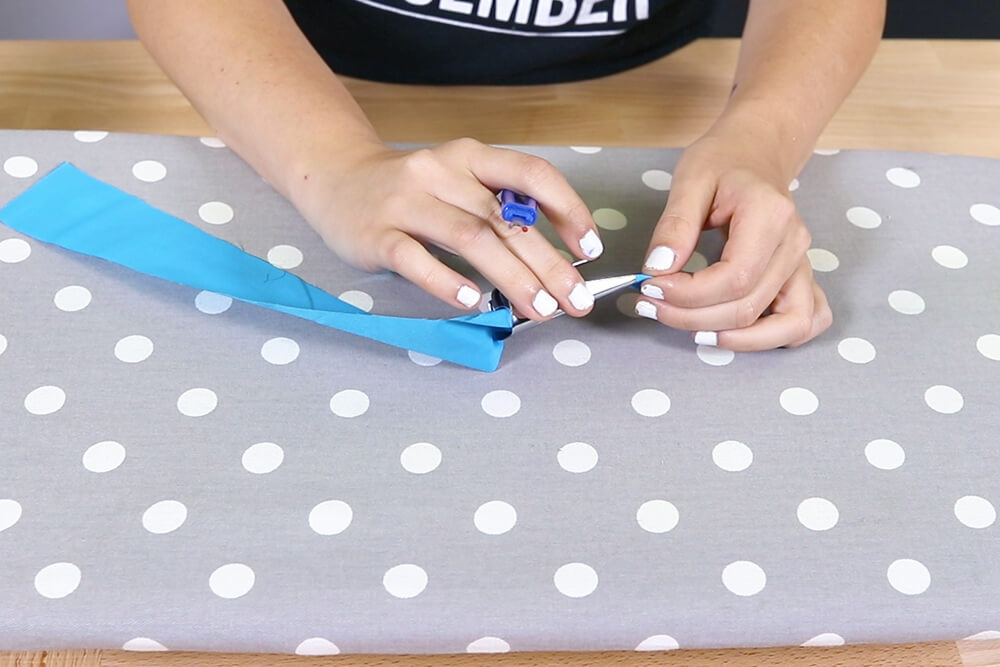
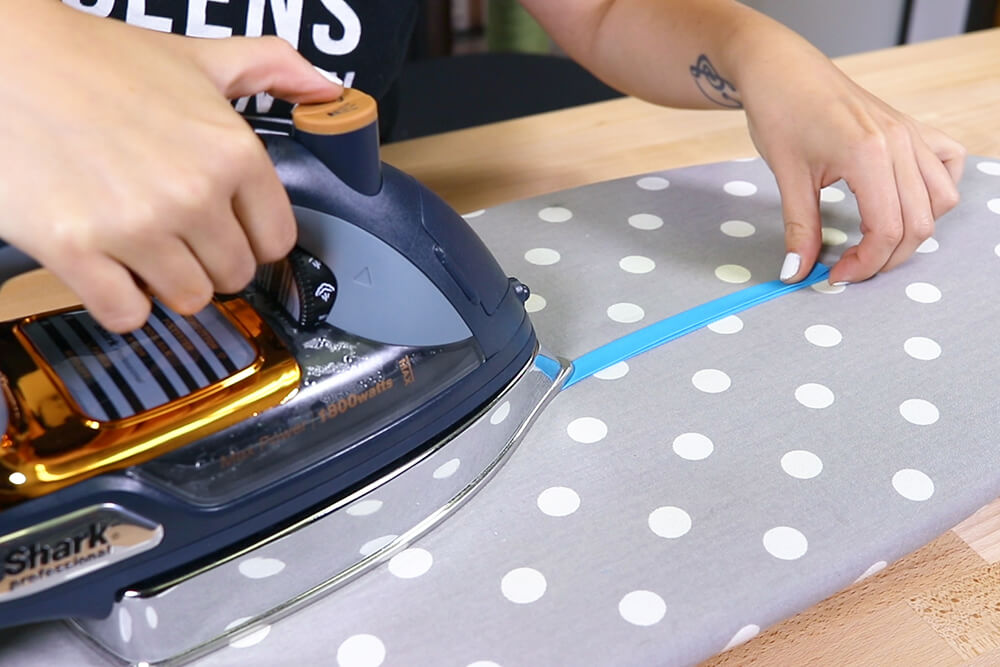
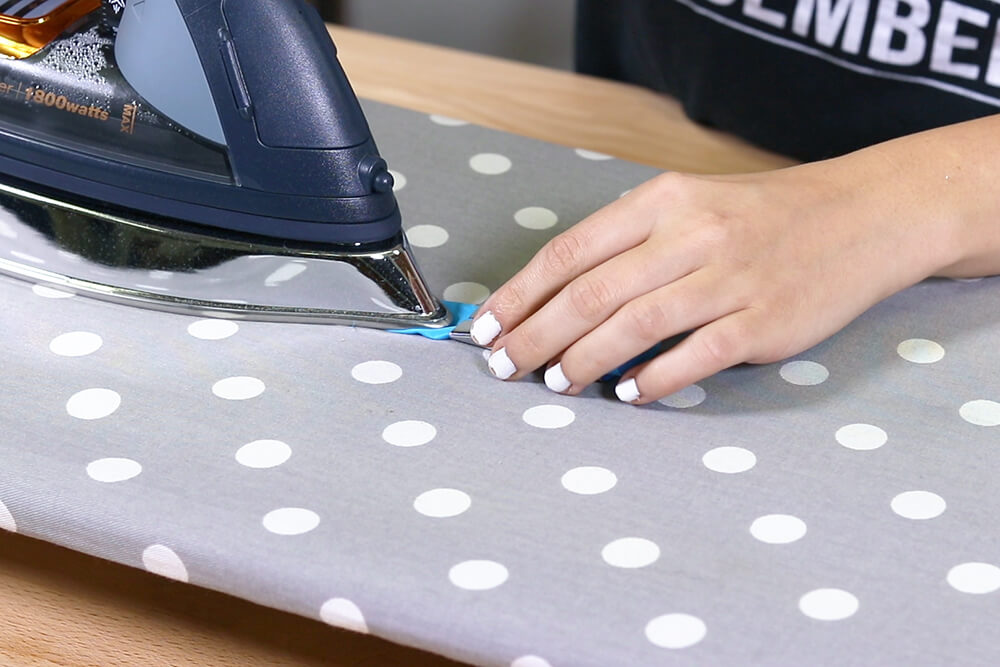
Insert one end of the bias tape into the bias tape maker. You might want to use something sharp to help pull it through.
Pull the bias tape maker and iron the fabric as it comes out.
Fold in half lengthwise and iron again.
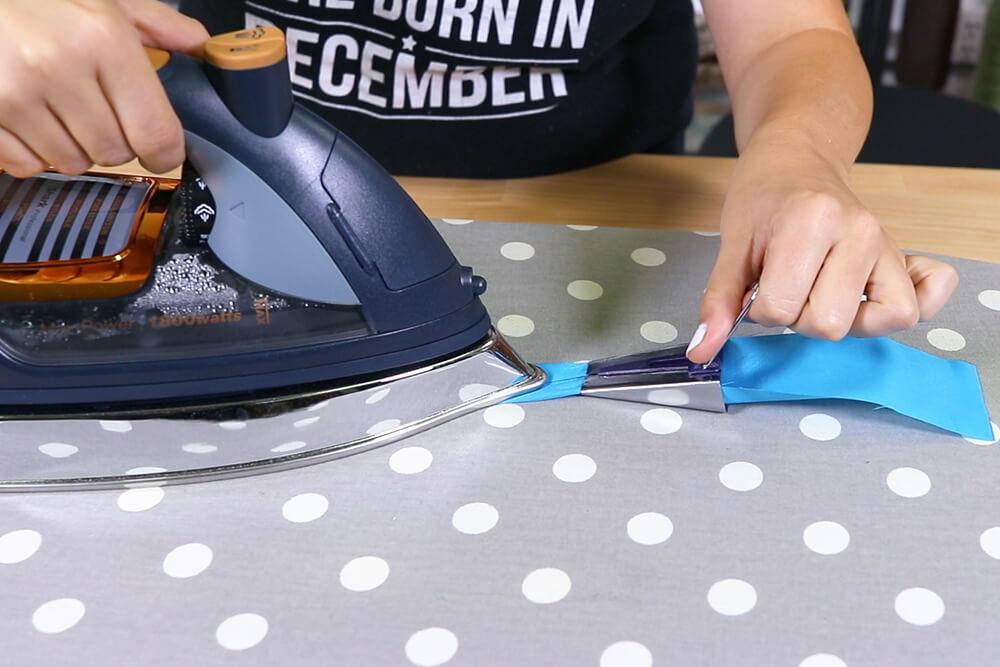
Repeat this for the 2″ by 4″ piece.
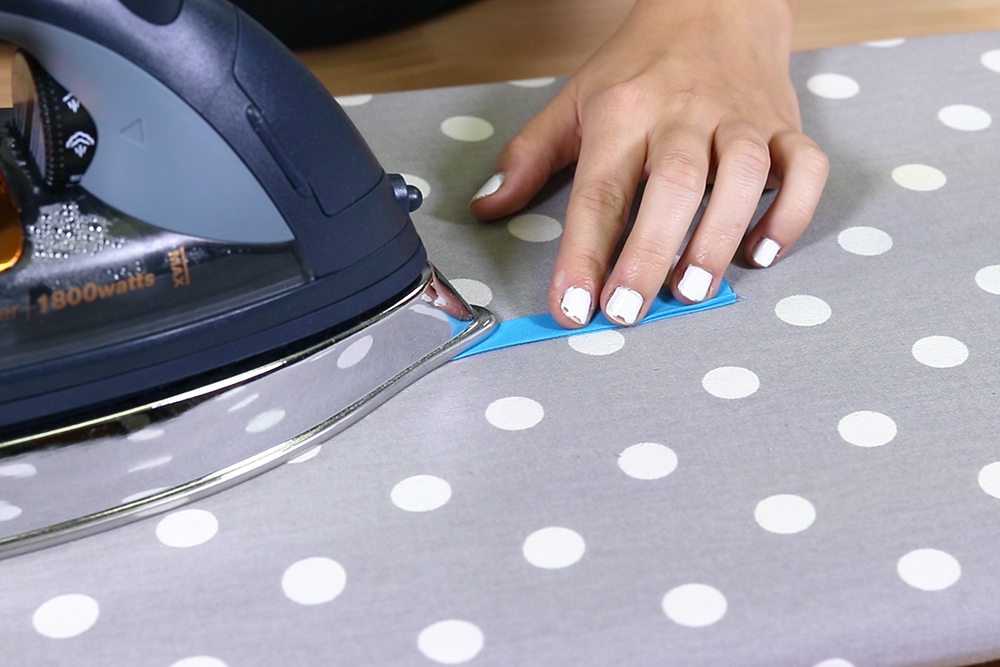
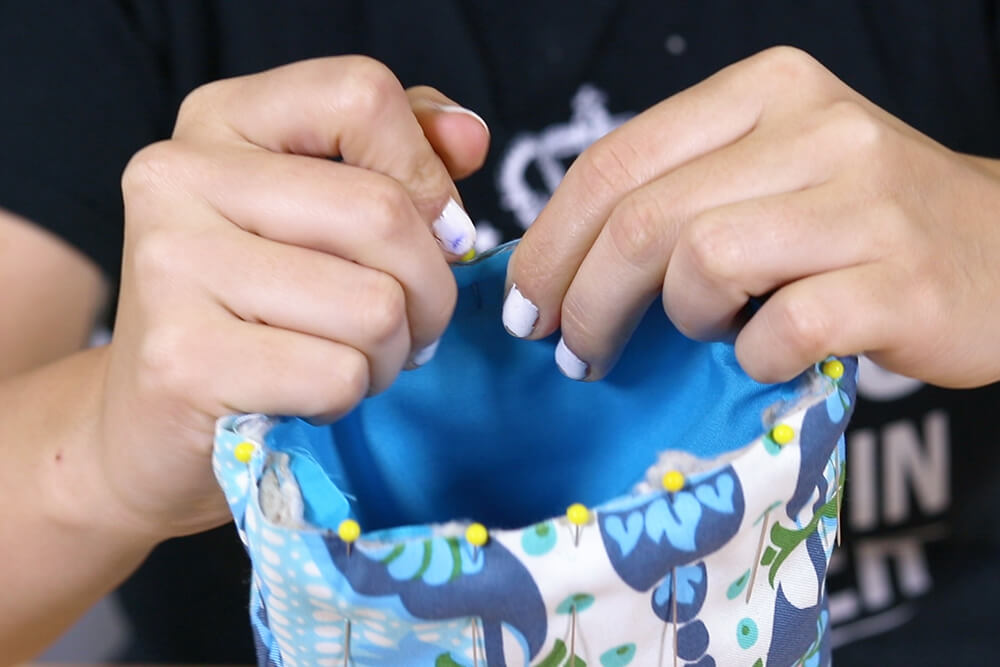
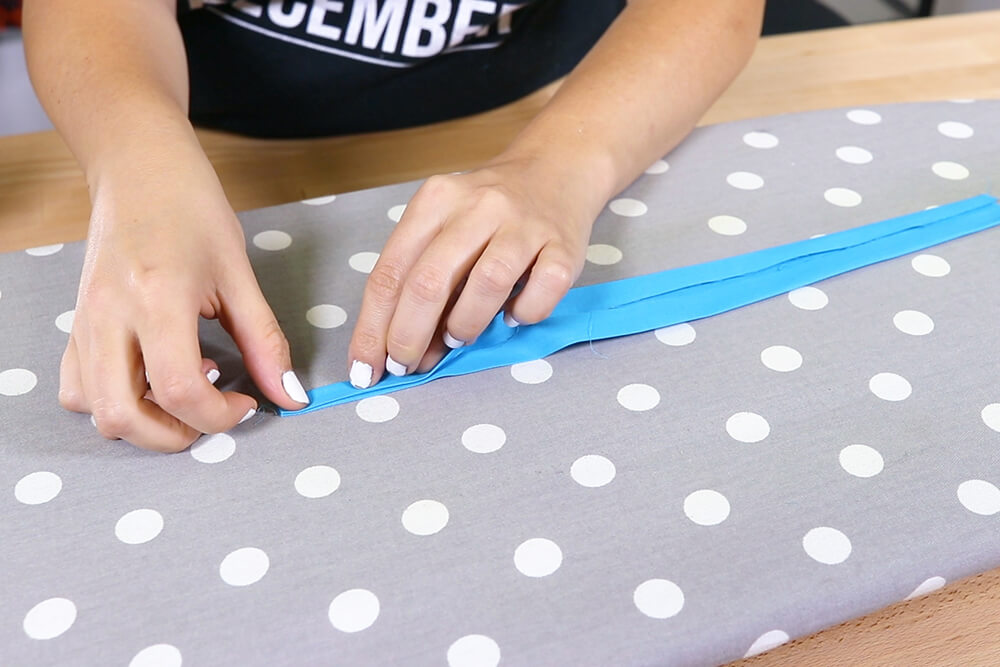
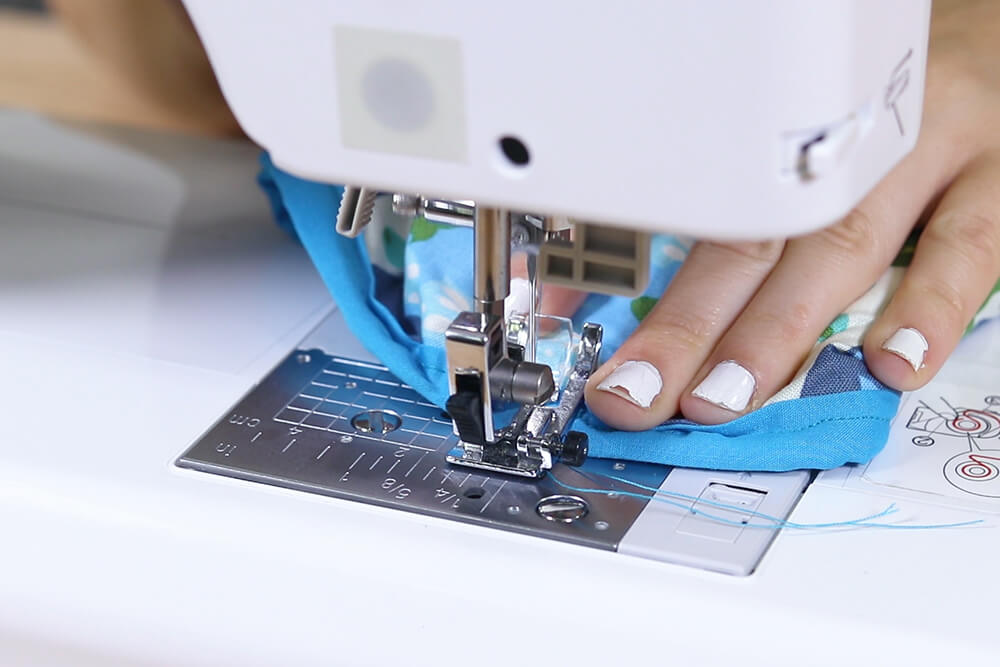
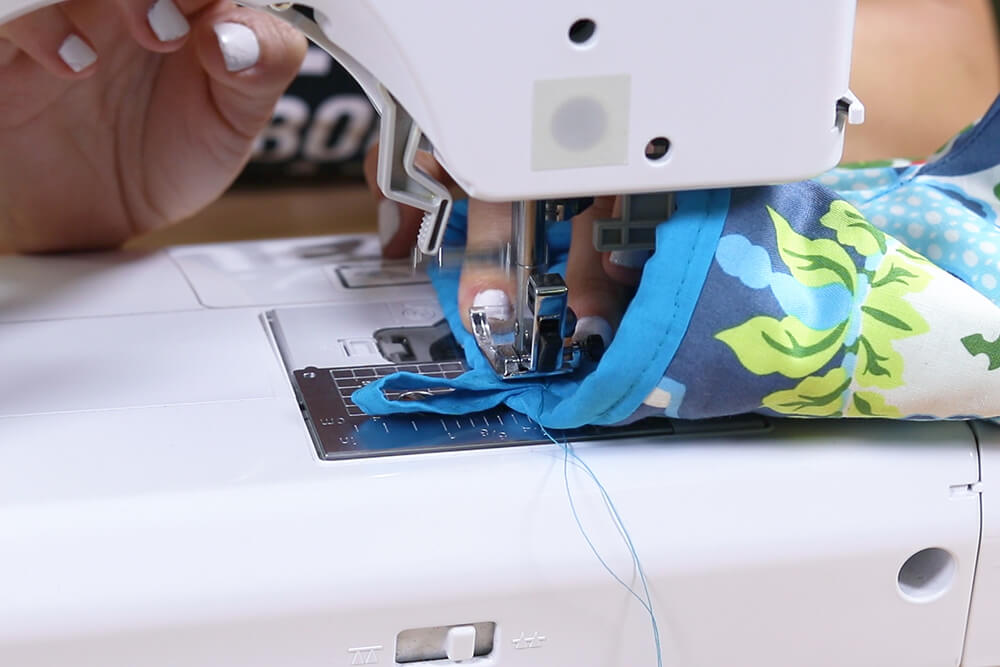
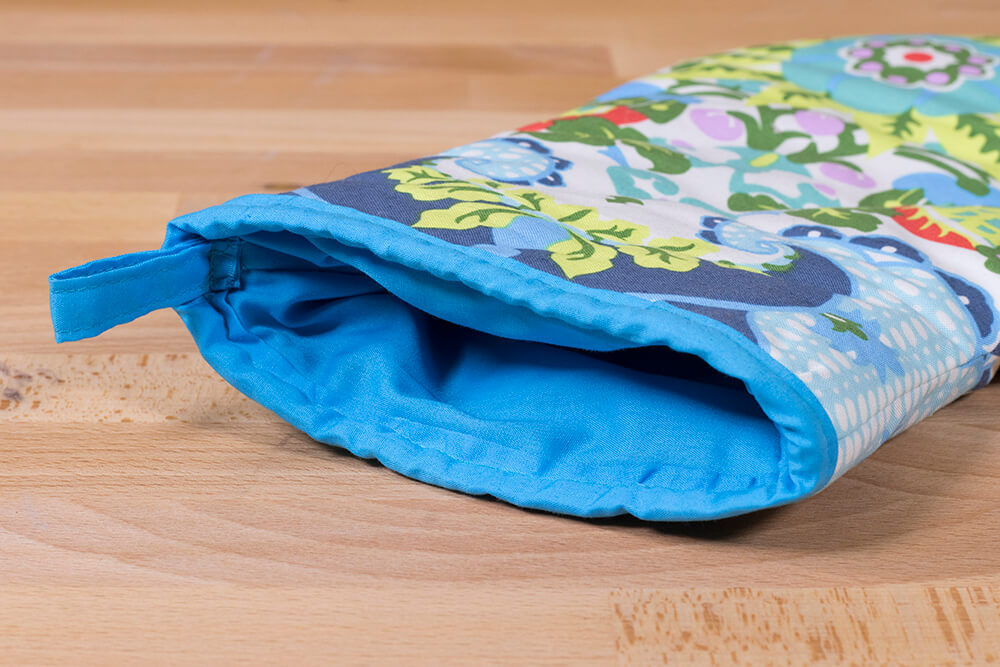
Starting at the side seam, fold the bias tape over the edge of the opening and pin. When you get to the end, fold the edge inwards about 1/4″ before pinning.
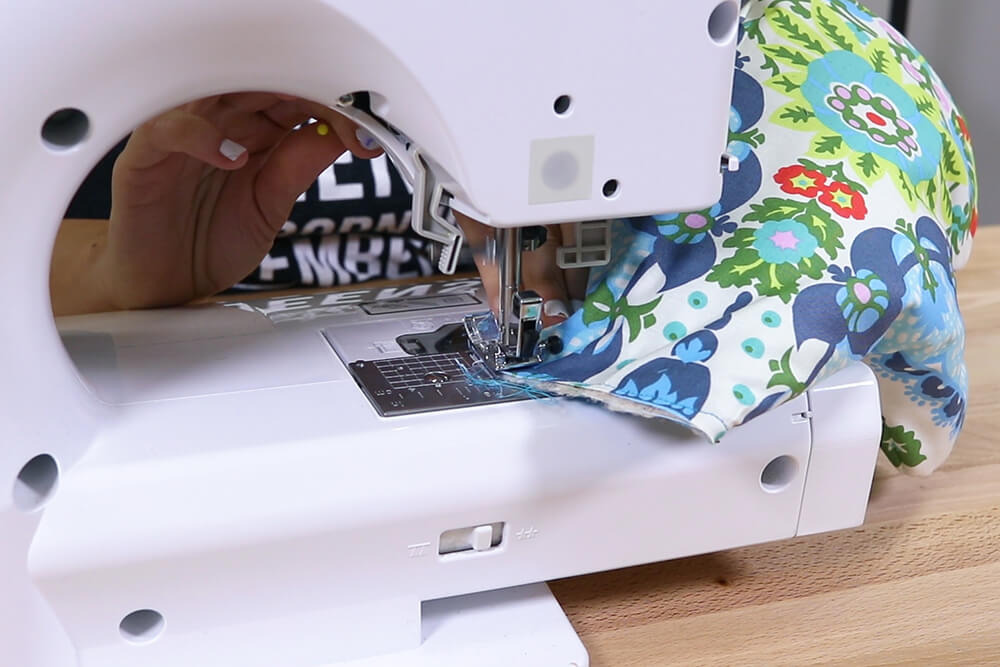
Stitch with a 1/4″ seam allowance.


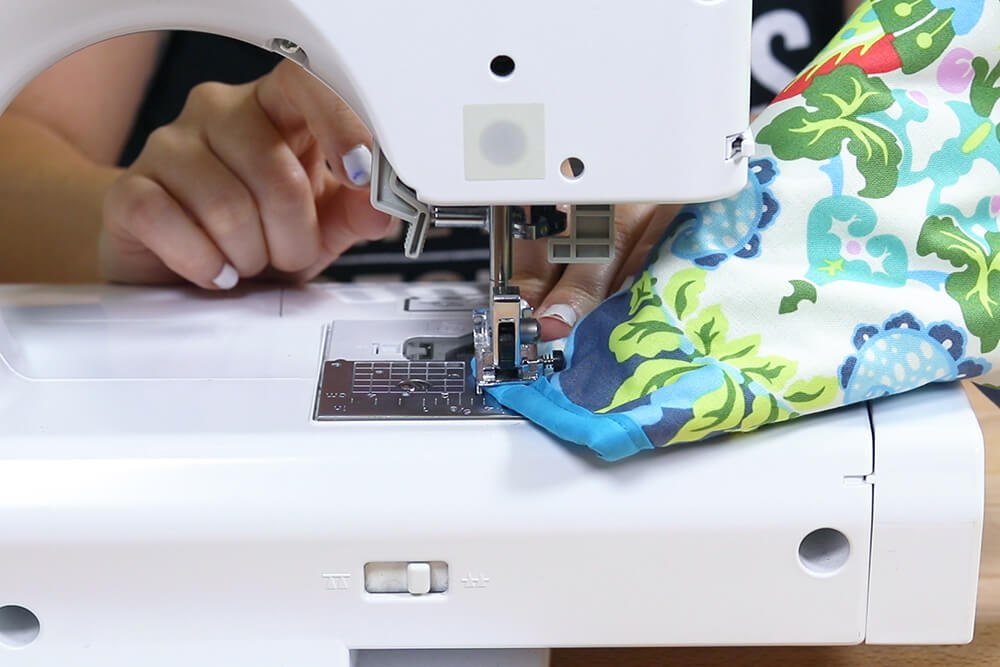
Also vertically stitch the side seam of the bias tape.
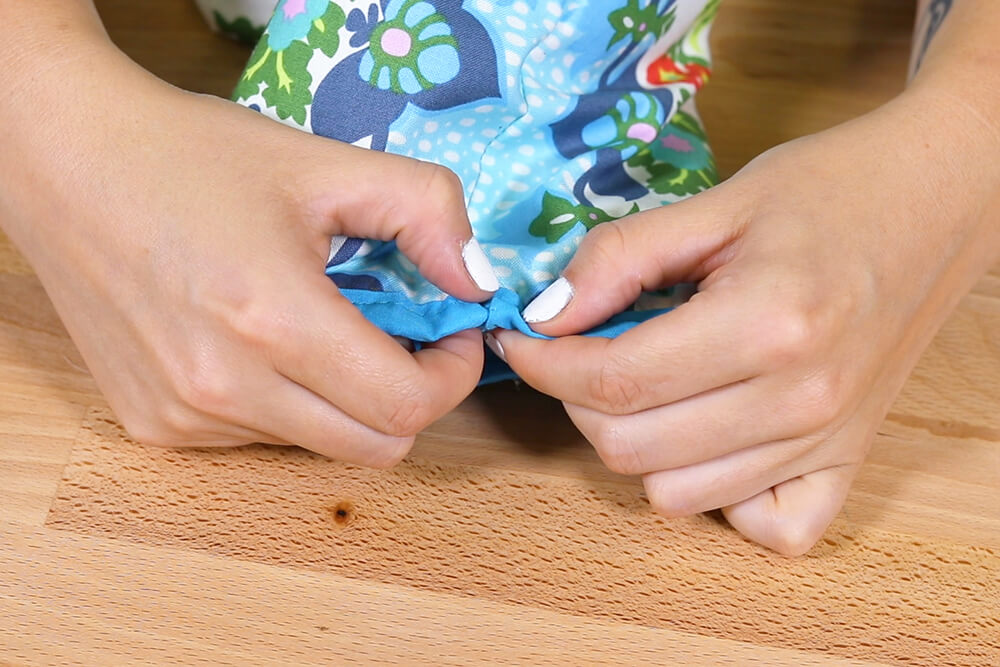
Stitch along the sides of the smaller piece. Fold in half and stitch to the inside of the side seam.
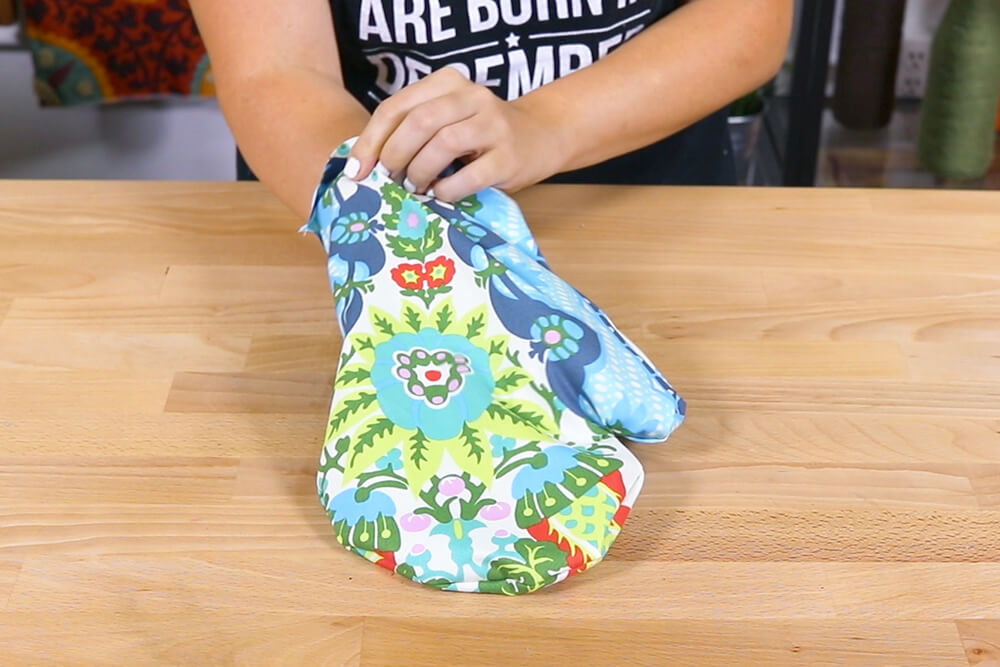
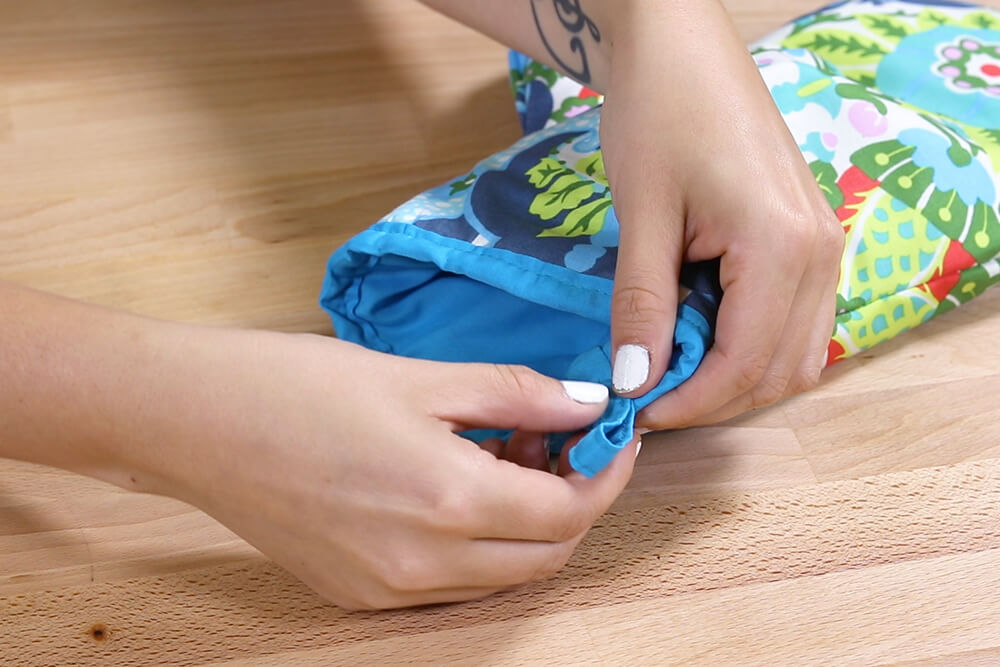
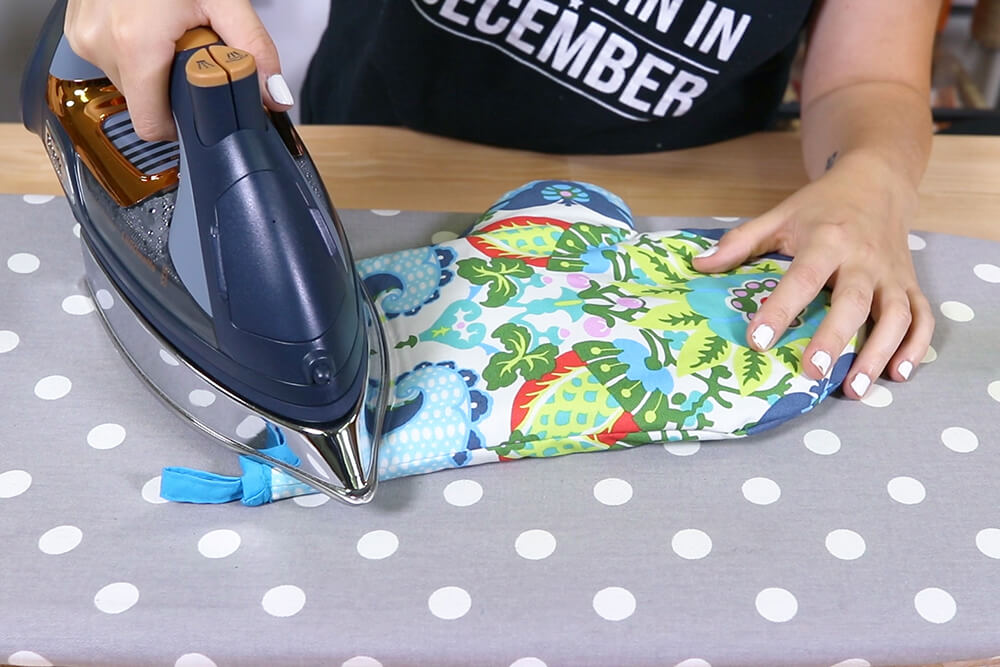
Iron the opening flat, and it’s done!
Find more DIY inspiration here:
-
{{#each productSuggestedQueries.results}}
- {{query}} {{/each}}
-
{{#each categories.results}}
- {{html title}} {{/each}}
{{html attributes.description}}
{{/if}}-
{{#each queries.results}}
- {{query}} {{/each}}