How to Sew a Dino Nugget Plushie
- By Mikayla
- Beginner
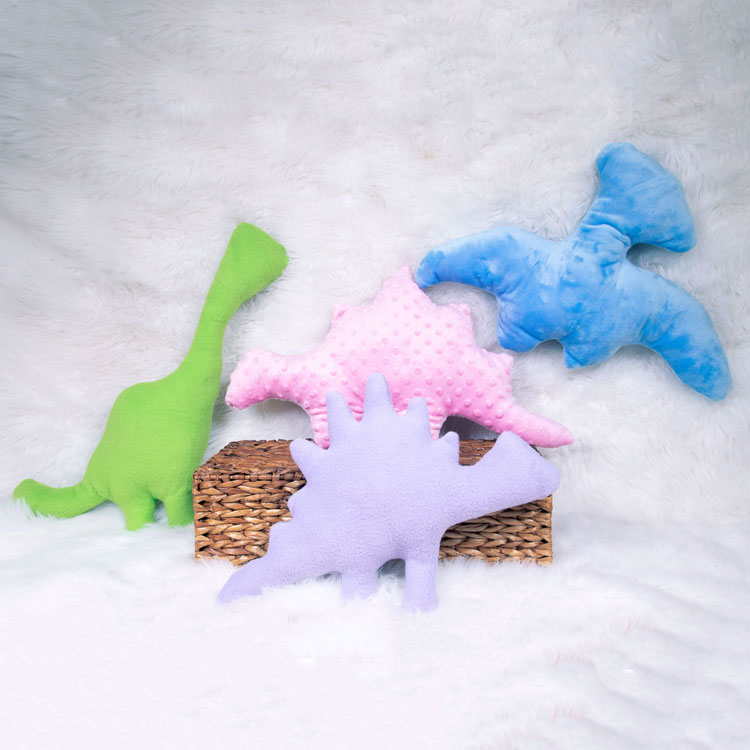
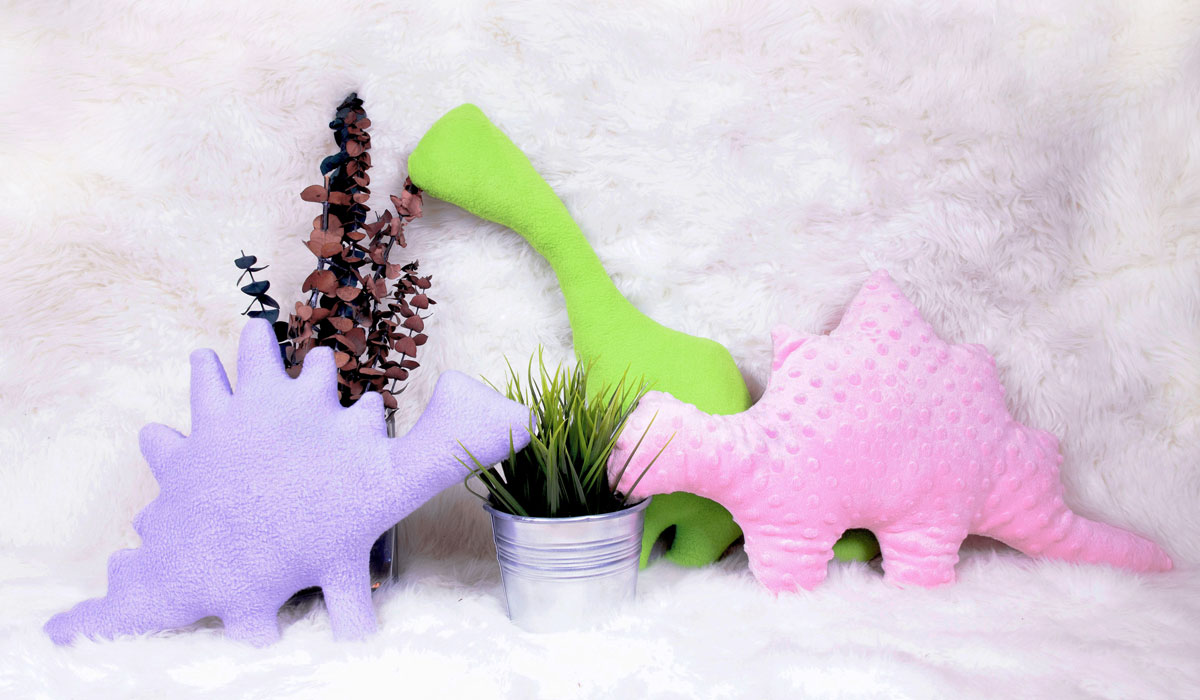
You’ve probably seen these dino chicken nugget plushies all over social media. Everyone’s been making them, so you know we had to jump on the trend! Jump on it with us and follow along with our tutorial to sew your own Dino Nugget Plushies. With only 5 steps, this adorable DIY project is for any sewing level.
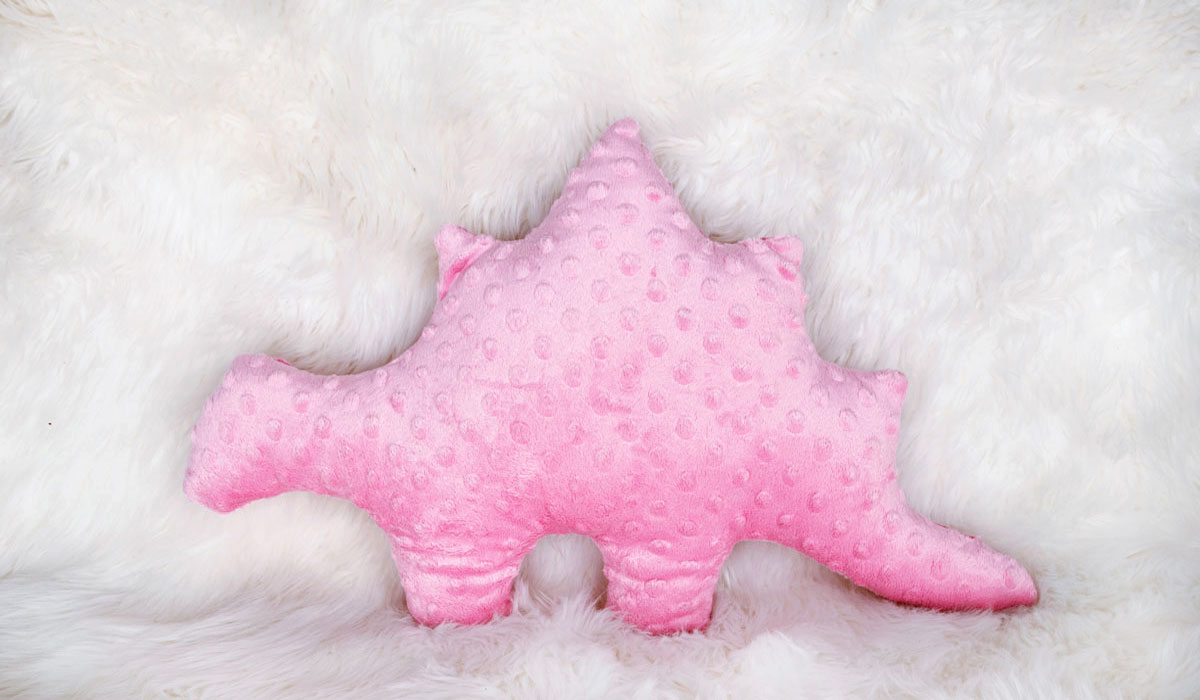
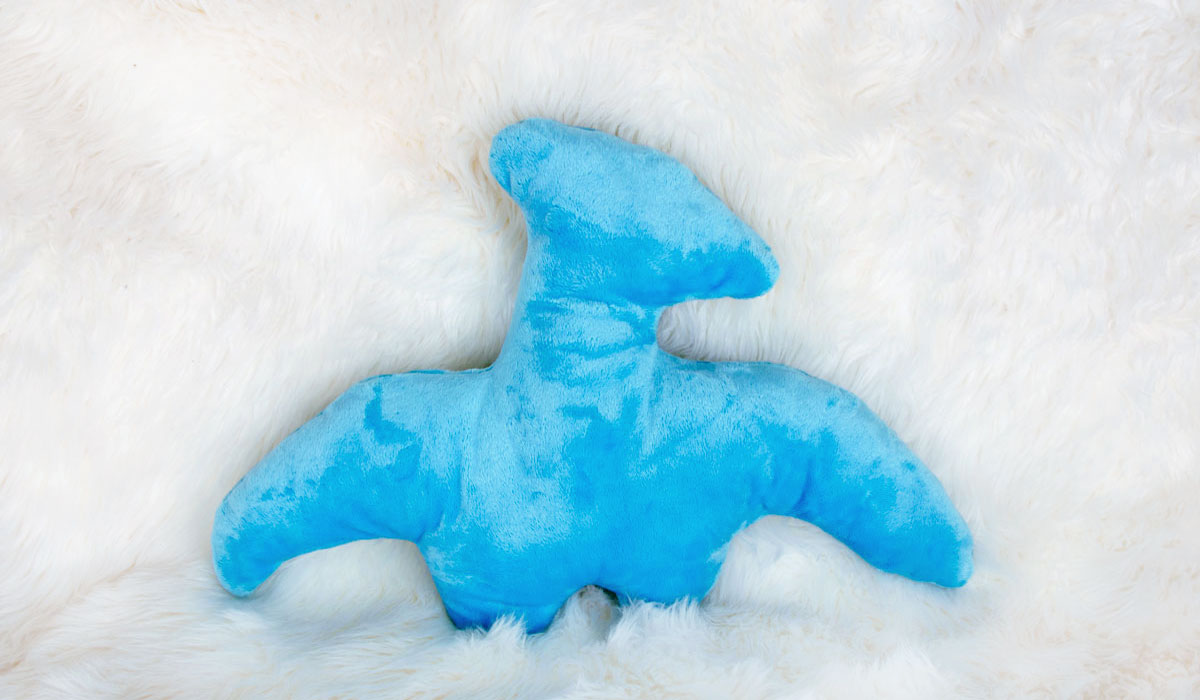
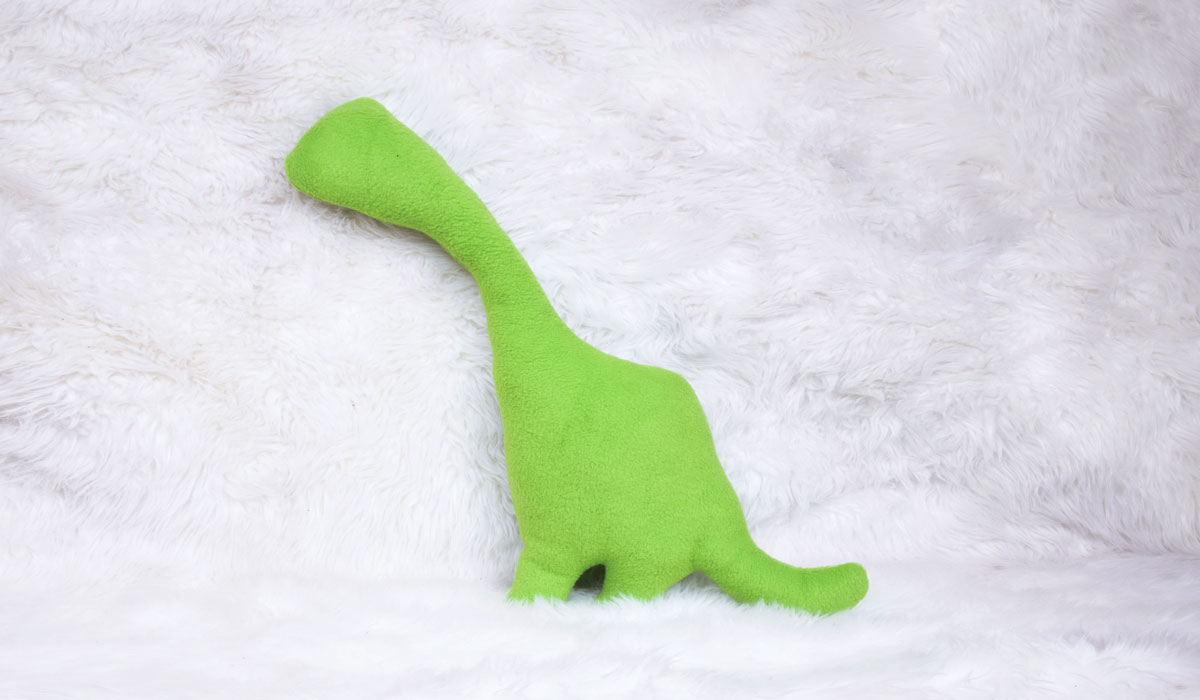
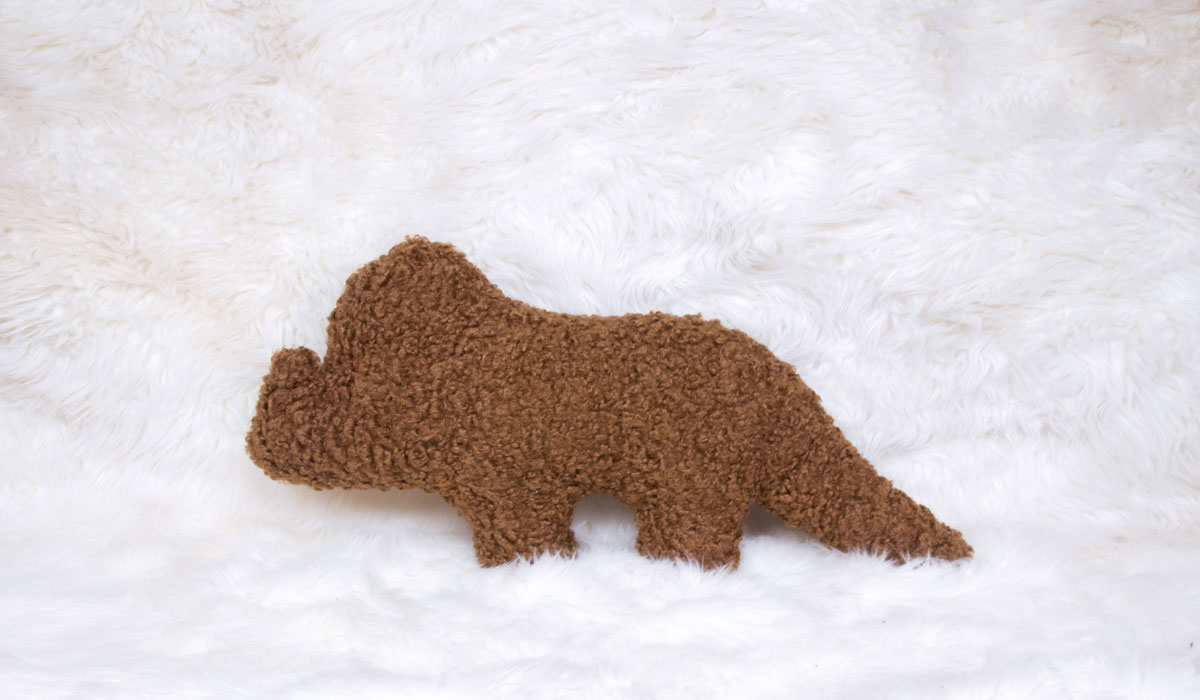
Express yourself with different fabrics, colors, and dinos to fit your style. Plush fabrics like fleece, minky, and velvet are perfect for this DIY. Choose your own dino from our free pattern download with fan favorites like pterodactyl, triceratops, stegosaurus, ankylosaurus, and tyrannosaurus rex. Or get creative and make your own! We would love to hear which fabrics you chose and your favorite dino in the reviews below. Have fun!
You can download our FREE PDF pattern by signing up to our mailing list.
Materials
Related Products
-
 Fiberloft Polyester Stuffing - 3 Pound Bag
-
 30 Assorted Needles
-
 Ultra Sharp Premium Scissors - 10"
-
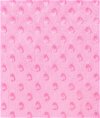 Pink Minky Dot
-
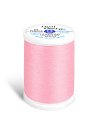 Dual Duty XP Thread - Pink, 250 Yards
-
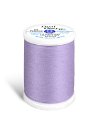 Dual Duty XP Thread - Lilac, 250 Yards
-
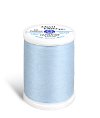 Dual Duty XP Thread - Icy Blue, 250 Yards
-
 Dual Duty XP Thread - Lime, 250 Yards
-
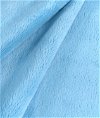 Aqua Minky
-
 Dual Tipped Marking Pen - Blue & Purple
-
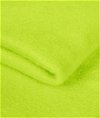 Lime Green Polar Fleece
-
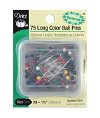 75 Color Long Rustproof Ball Point Pins - Size 24
-
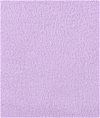 Lilac Polar Fleece
Video
<iframe title="How to Sew a Dino Nugget Plushie" width="500" height="281" src="https://www.youtube.com/embed/giSML8w_9LA?feature=oembed" frameborder="0" allow="accelerometer; autoplay; clipboard-write; encrypted-media; gyroscope; picture-in-picture; web-share" allowfullscreen></iframe>Instructions
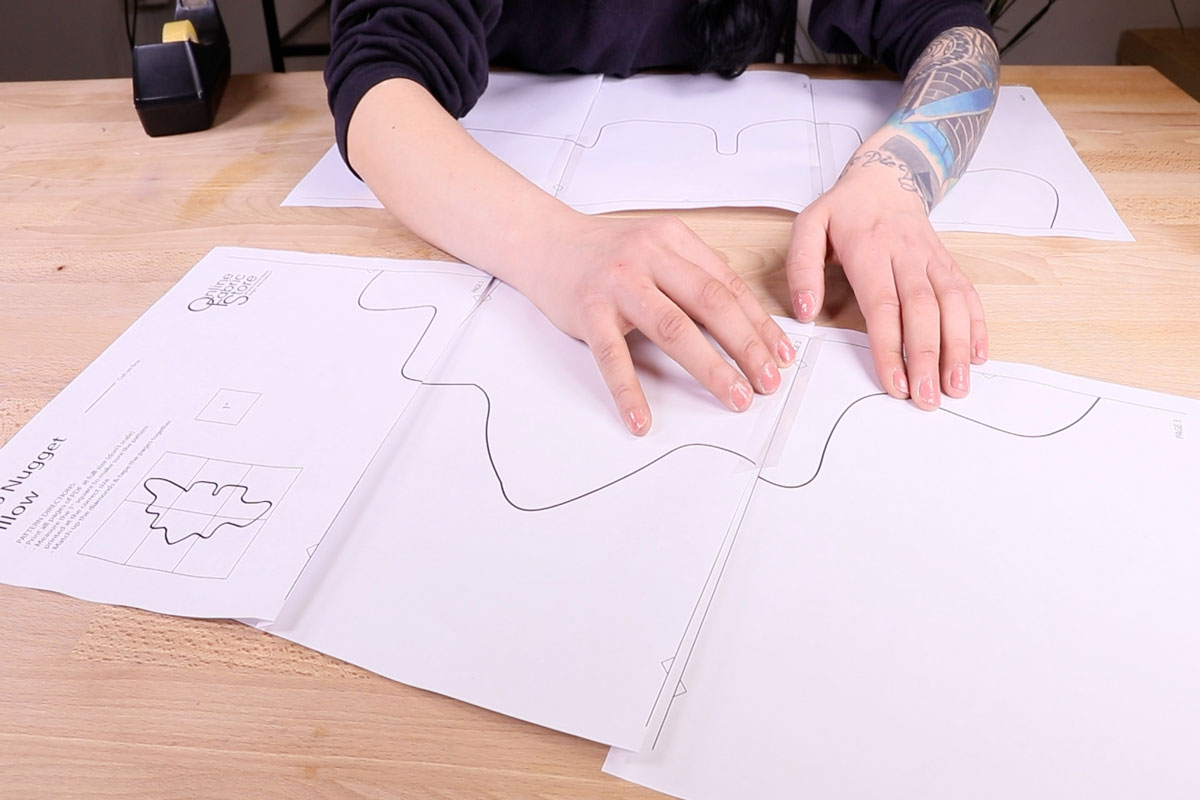
Step 1: Tape & Cut Pattern
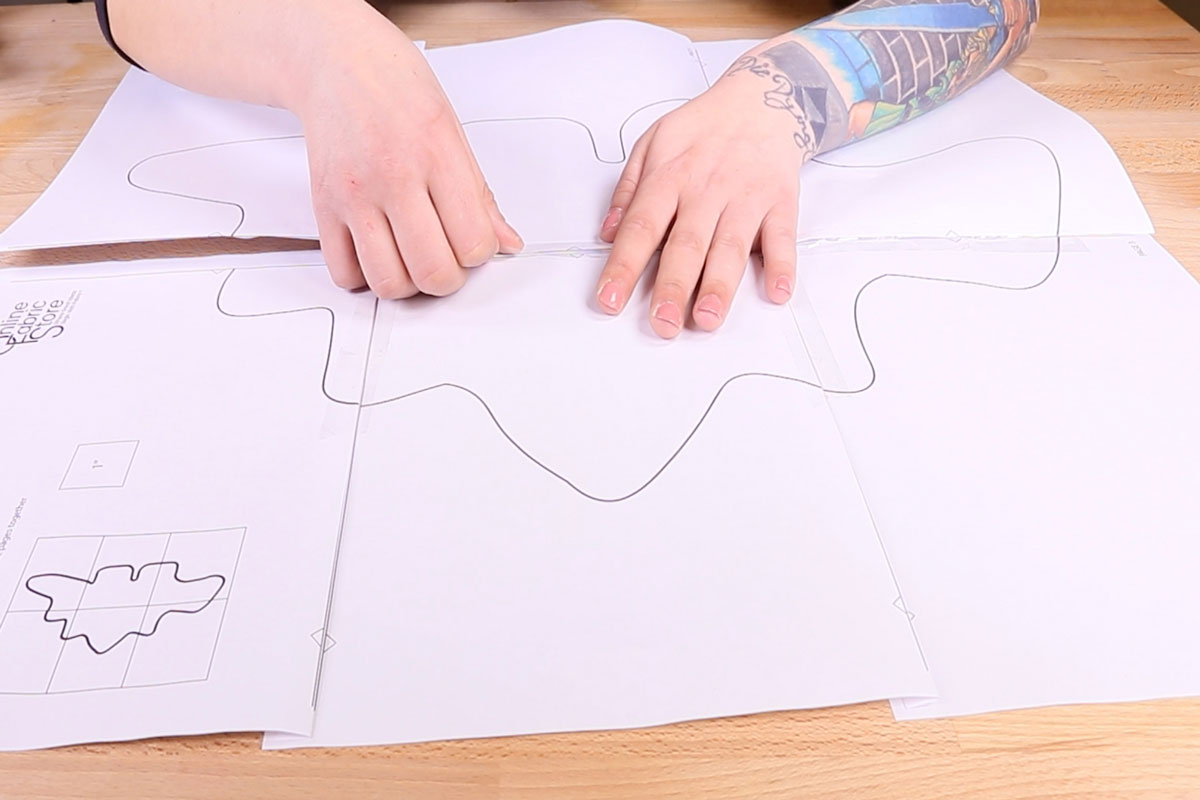
Grab the pages of the pattern for the dino of your choosing and begin by folding along the lines. With the pages arranged according to your pattern, match up the half triangles on the edges of the folded lines, creating a diamond shape. Tape them in place.
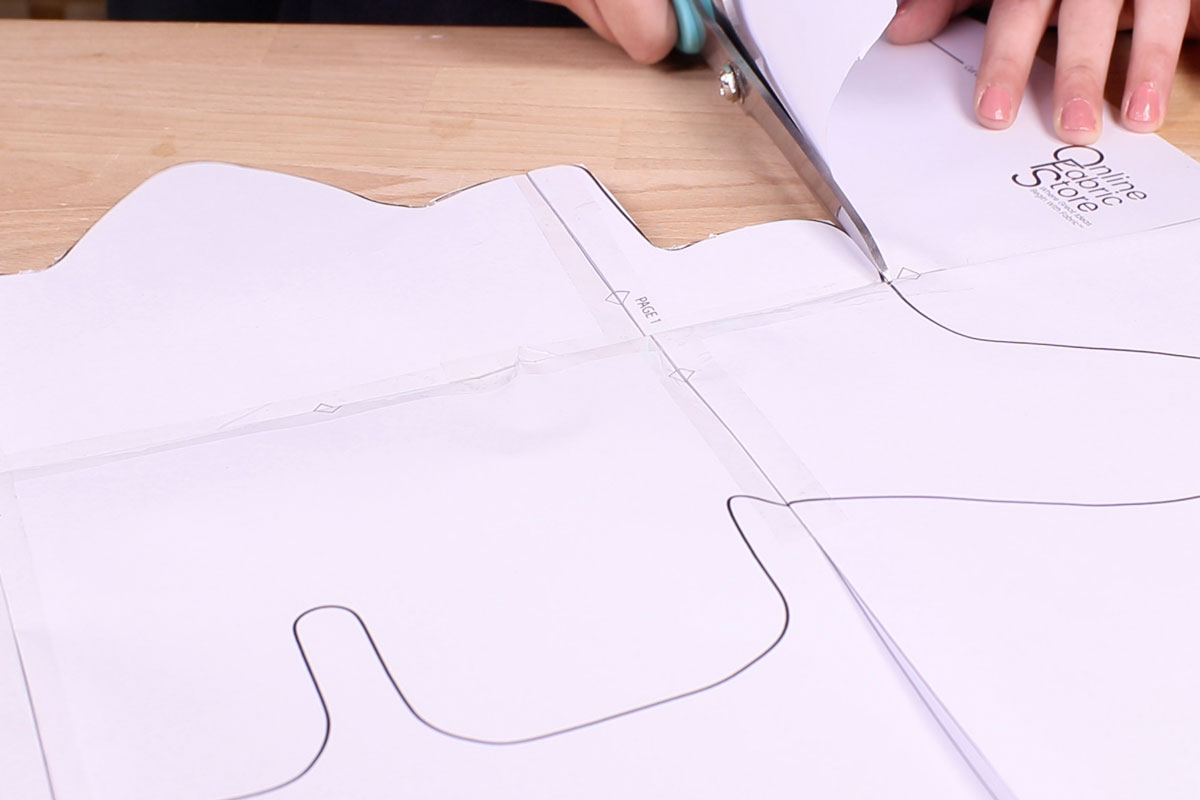
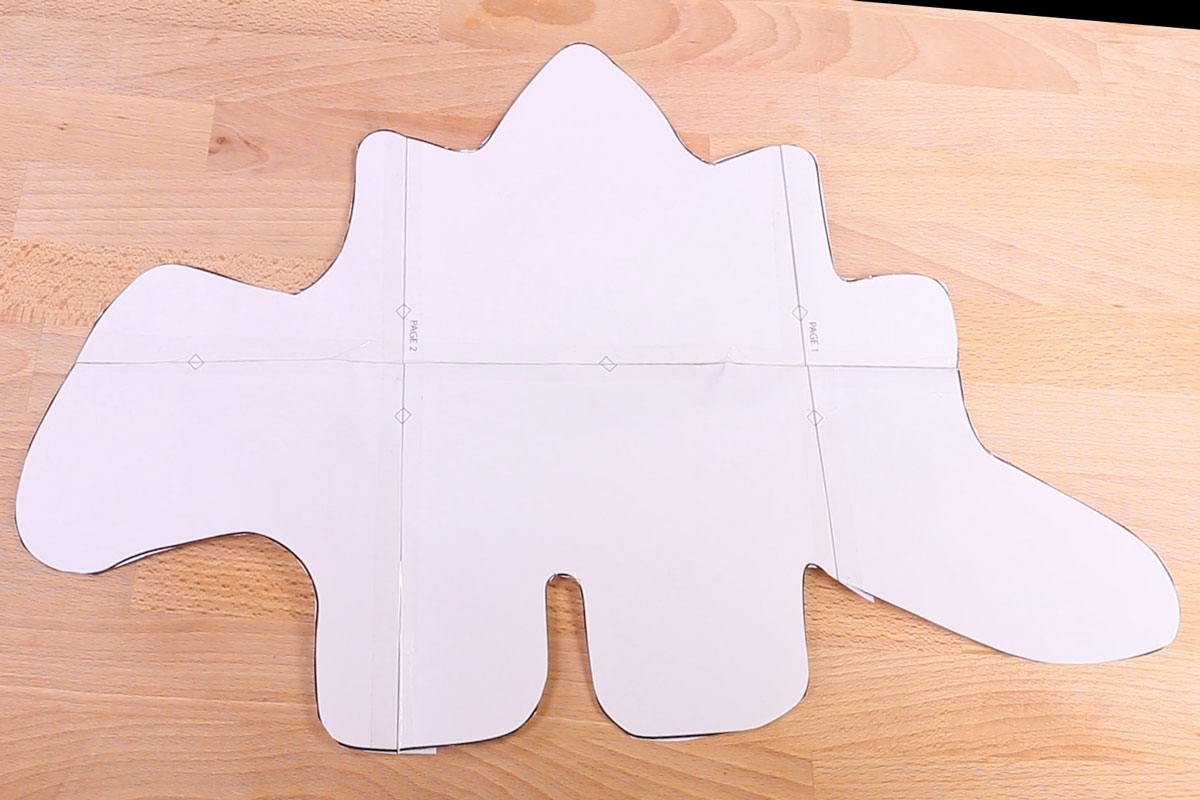
Once your pattern is taped in place, cut along the outer edges of your dino so it can be traced onto your fabric in the next step.
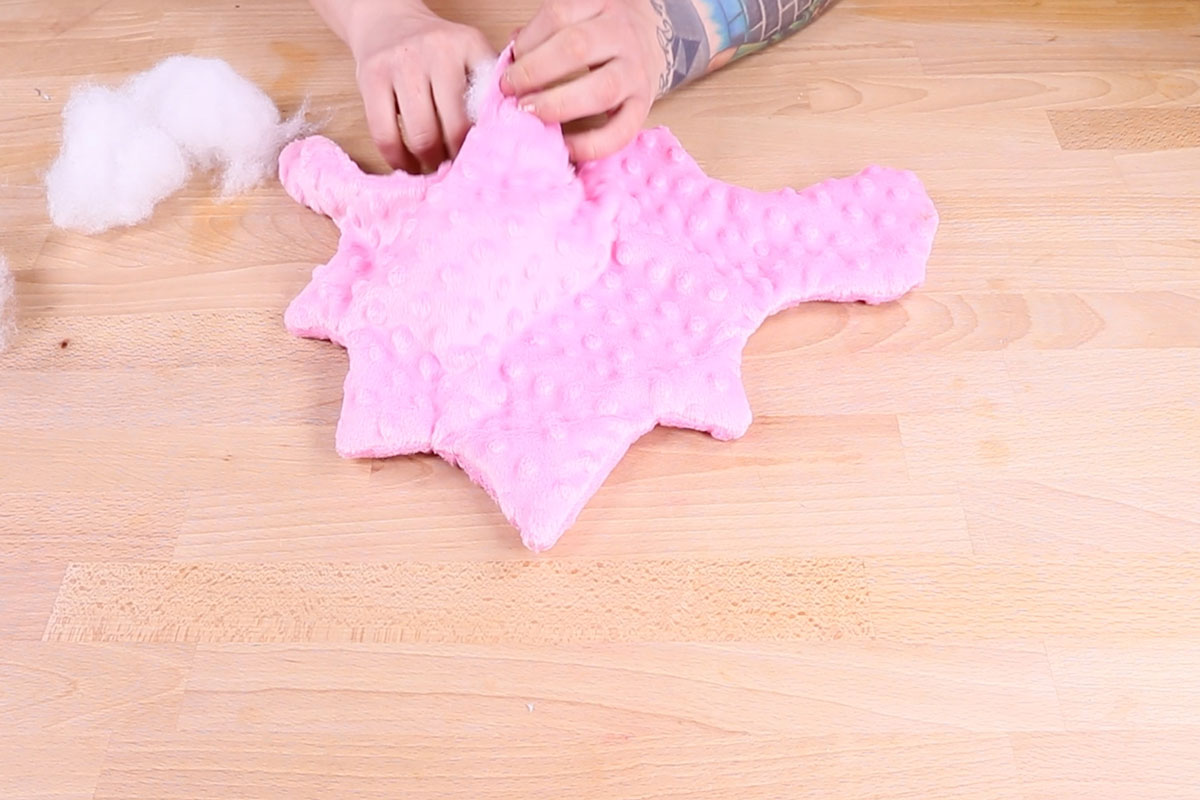
Step 2: Trace & Cut Fabric
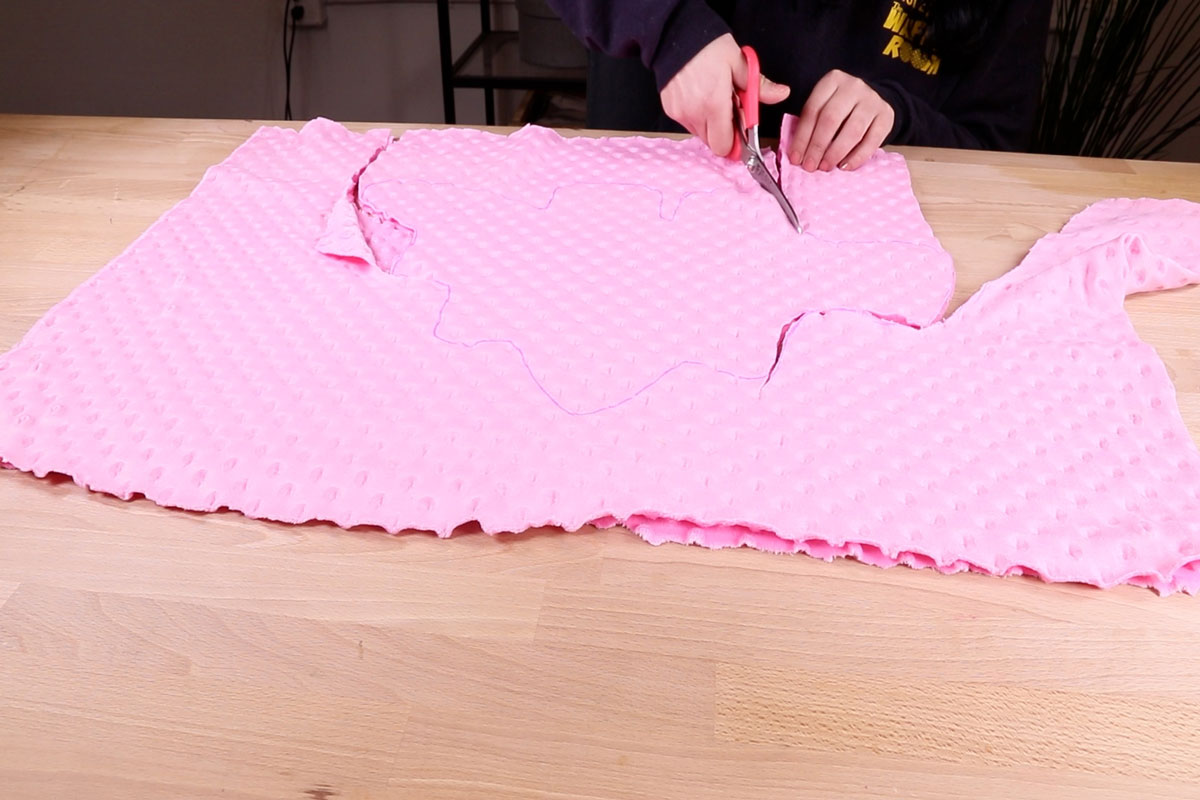
Now that you have your dino pattern cut, it’s time to transfer it to your fabric. Begin by folding your piece of fabric in half with the face of the fabric facing in. Place the pattern on top of the fabric and use a fabric marker to trace along the outside lines of the pattern. You may choose to pin the pattern paper to the fabric first to prevent the paper from slipping out of place.

Once the outline of your dino is traced onto your fabric, it’s time to cut it out. With the fabric still folded and facing in, cut both layers together along the traced lines.
Step 3: Pin & Sew
After the shape of your dino is cut out, keep your fabric facing in and pin the edges of the two layers together.
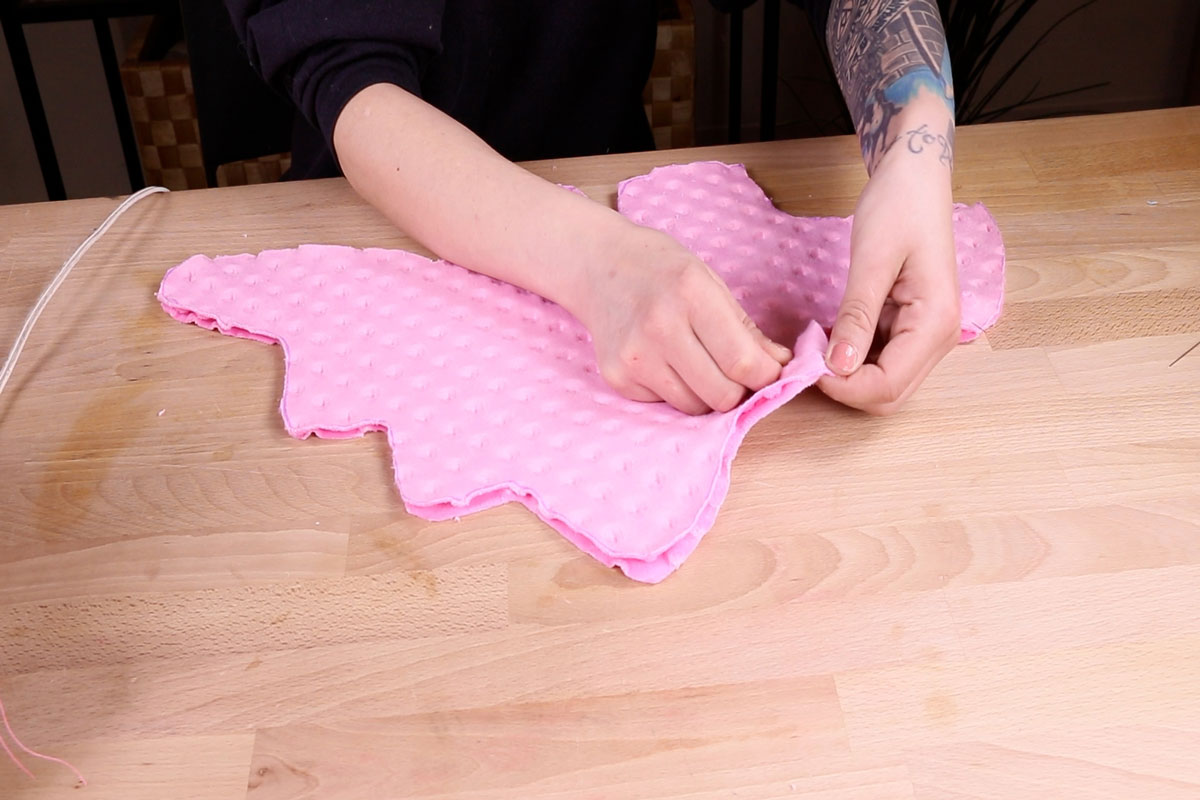
Begin to sew the edges together. Make sure to leave a space at least an inch and a half wide to stuff your dino in a later step. We left an opening on the foot of our dino, but you can choose any spot that works for you.

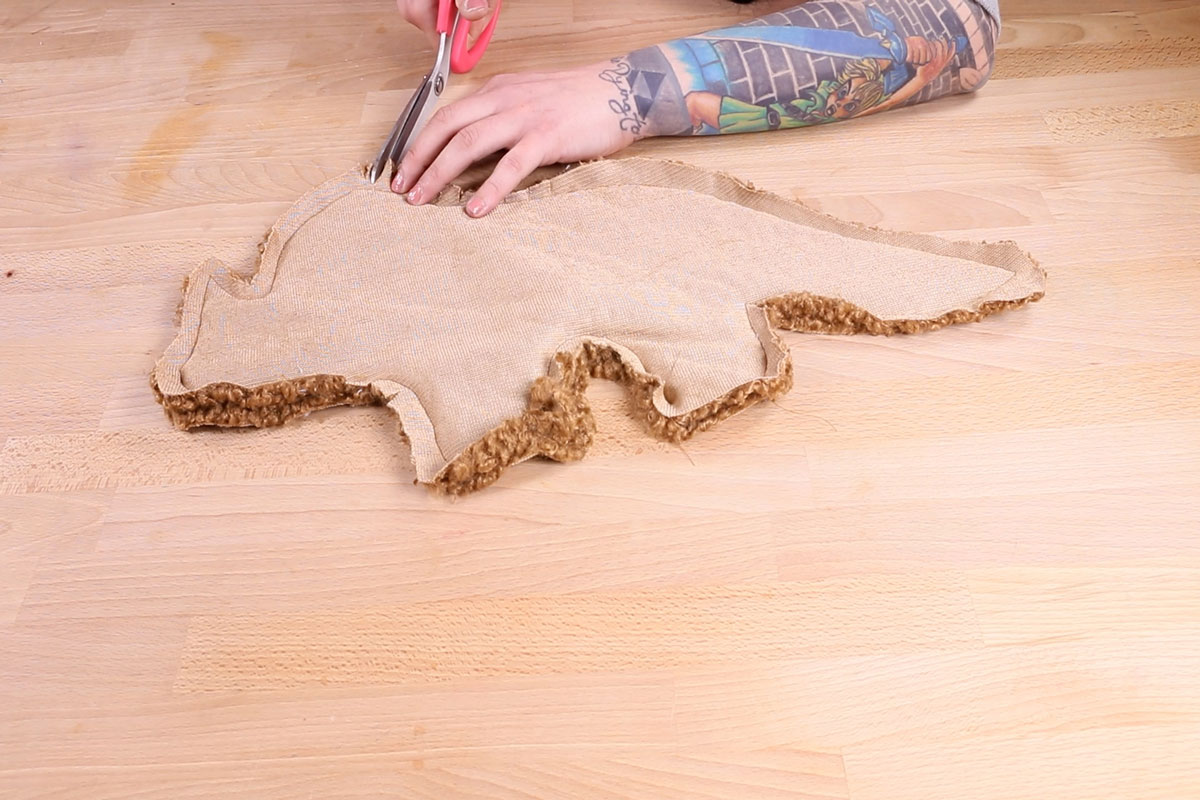
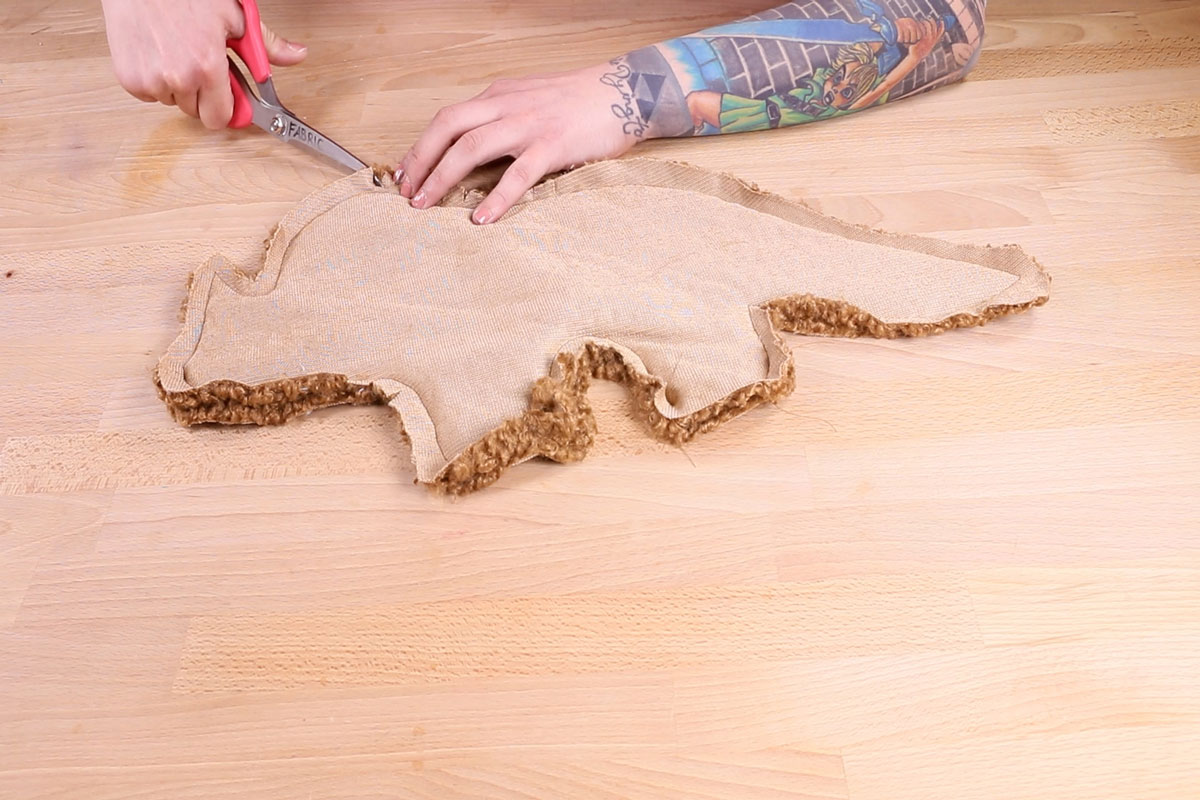
Step 4: Clip & Notch
Use your scissors to make small triangle cut-outs around your seam allowance. This technique, known as clipping and notching, allows the curves of your dino to be more flexible and have less tension.
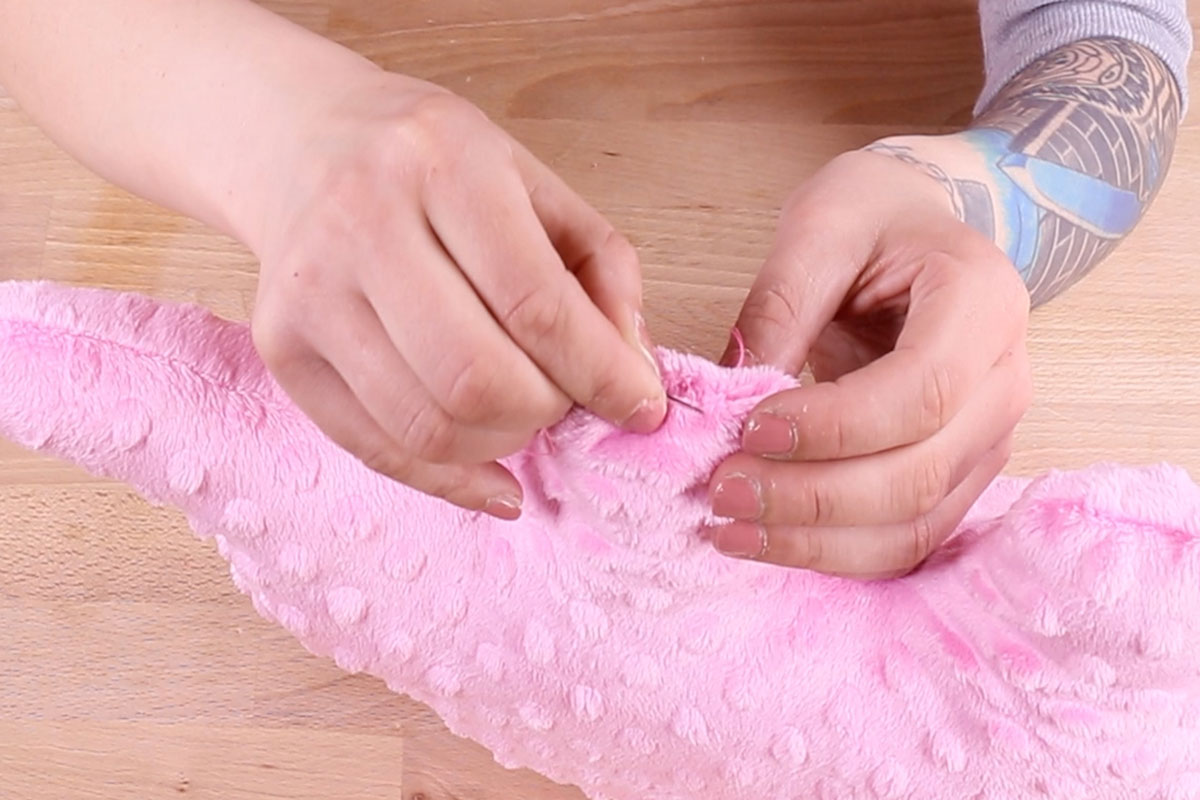
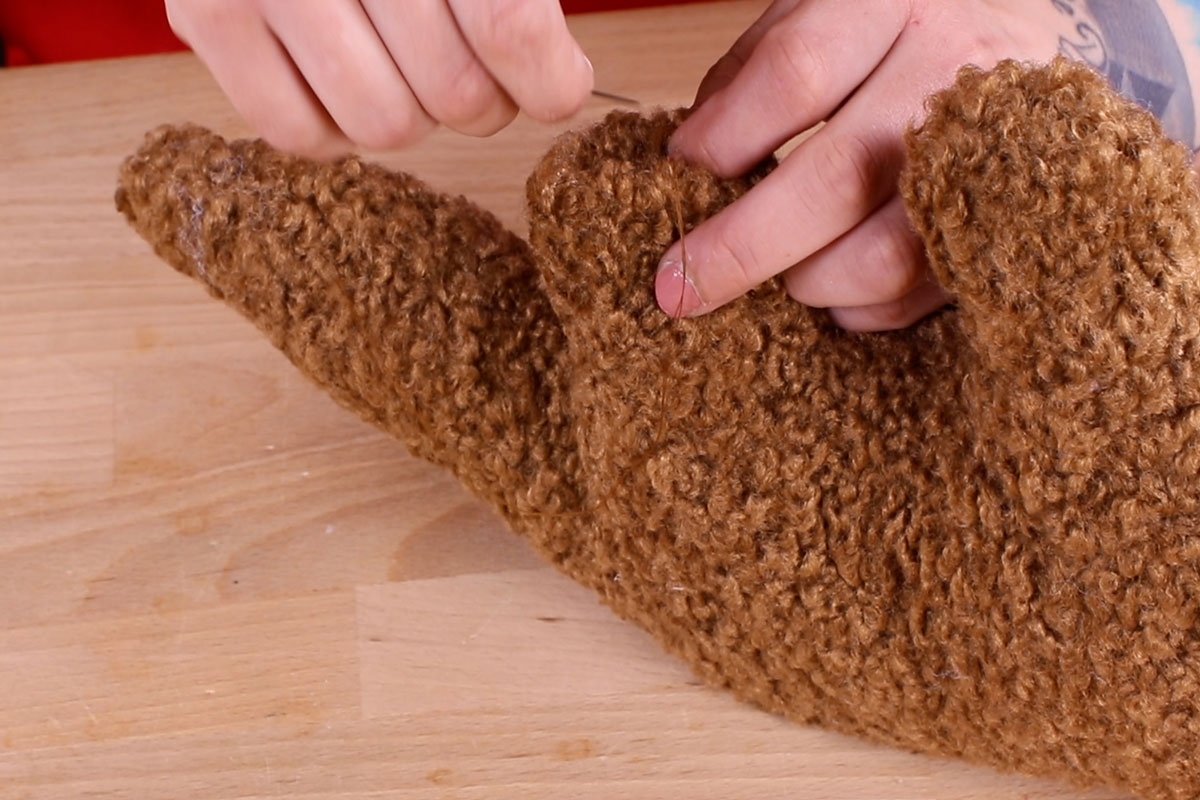
Step 5: Unfold, Stuff, & Stitch
Flip your dino right side out and get to stuffin’! Tip: Adding smaller batches of stuffing at a time will make it easier to distribute the stuffing more evenly throughout the body of your dino

Once your dino plushie is stuffed to your liking, it’s time to sew up the stuffing hole. Using the invisible stitch technique, sew the opening shut.
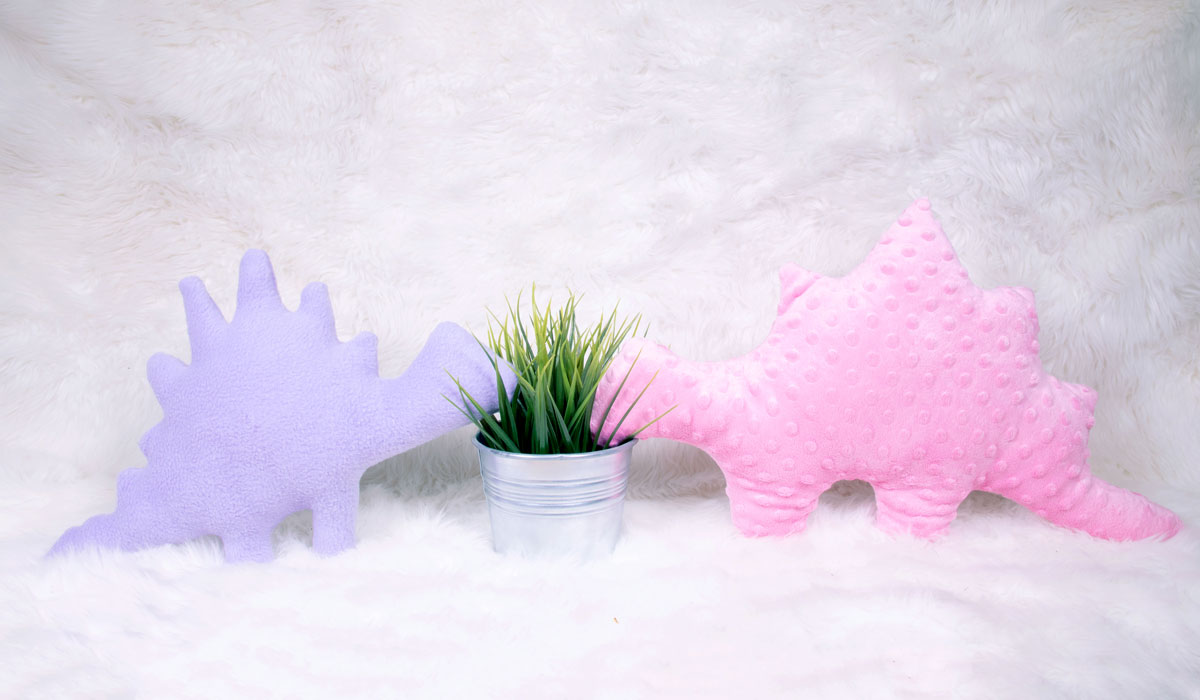
This DIY is now complete! You have your very own, cozy and trendy Dino Nugget Plushie. Next, make him some friends – because you can never have too many plushies!

Ready to Make Your Own? Shop Our Selection of Plush Fabrics
-
{{#each productSuggestedQueries.results}}
- {{query}} {{/each}}
-
{{#each categories.results}}
- {{html title}} {{/each}}
{{html attributes.description}}
{{/if}}-
{{#each queries.results}}
- {{query}} {{/each}}