How To Sew a Reversible Table Runner
- By Clara
- Beginner
- 30 minutes
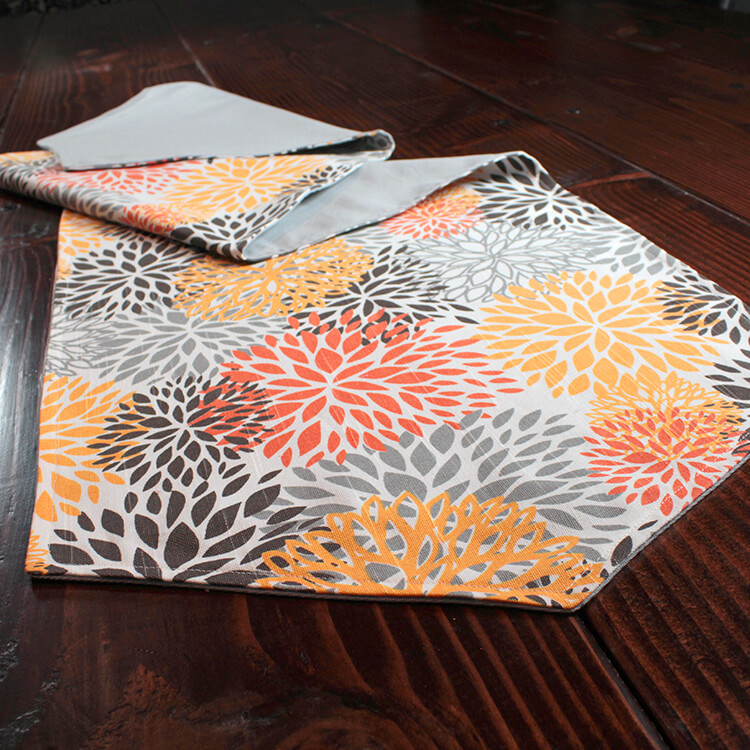
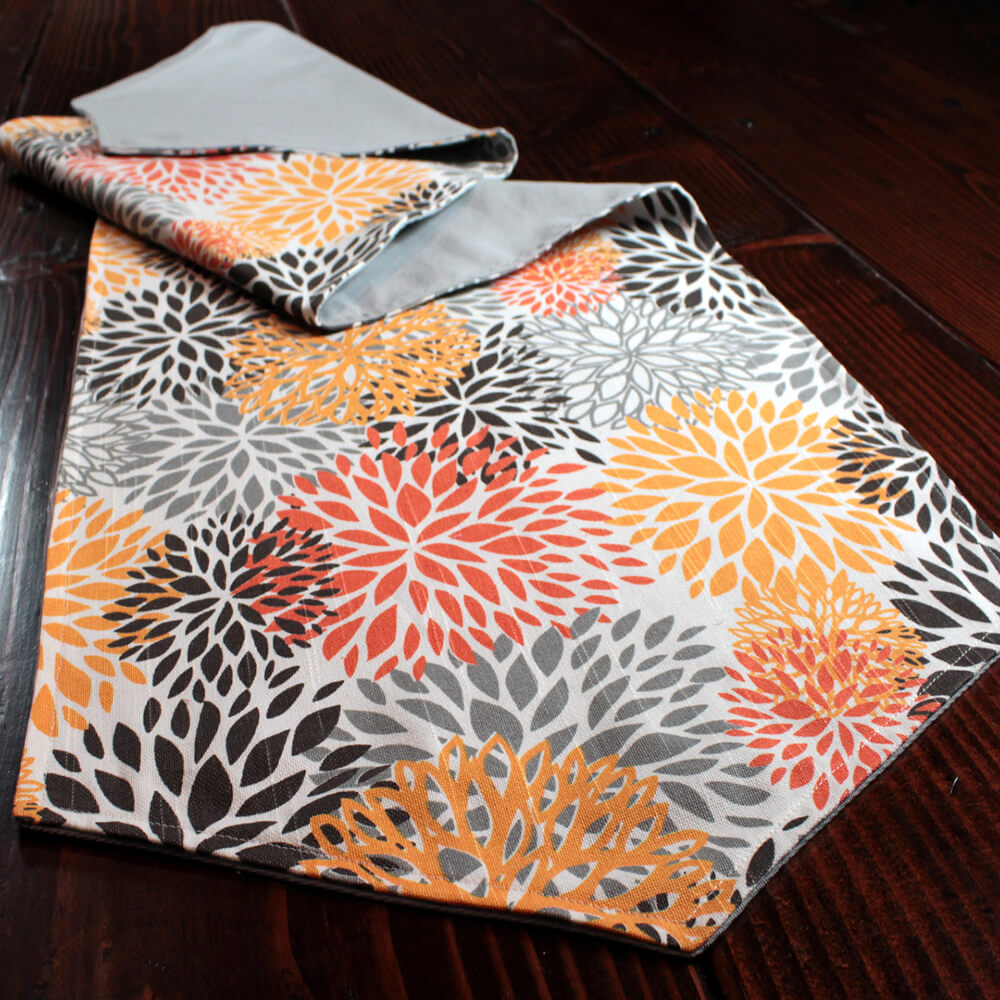
This DIY table runner is a great project for the holidays or other seasonal events. Since it’s reversible, you can use either side to change up the look of your table.
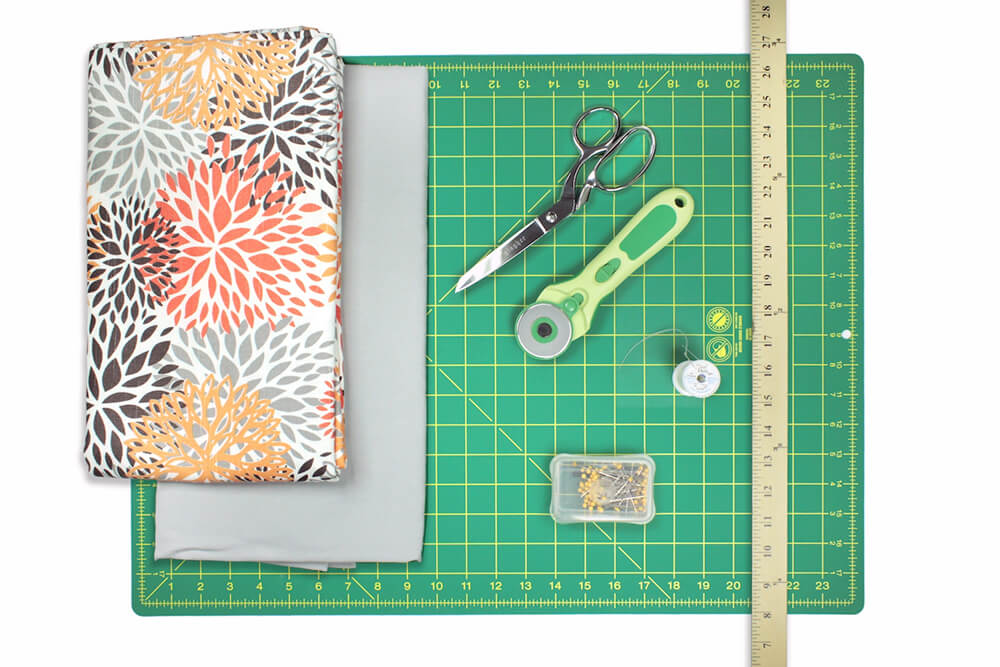
Materials
Related Products


Video
Instructions
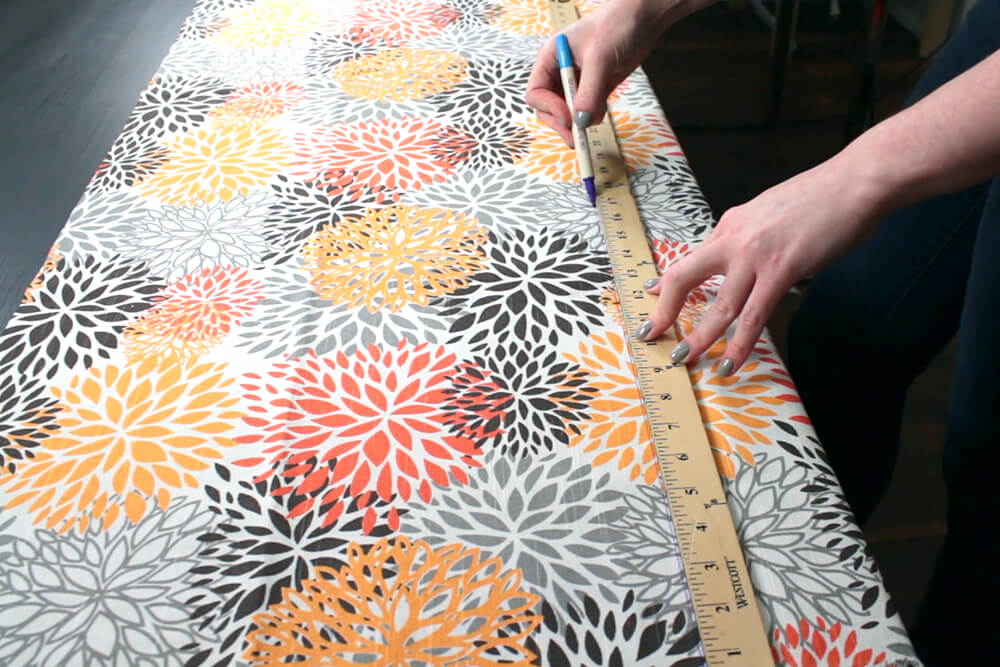
Step 1: Measure & cut the fabric
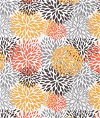
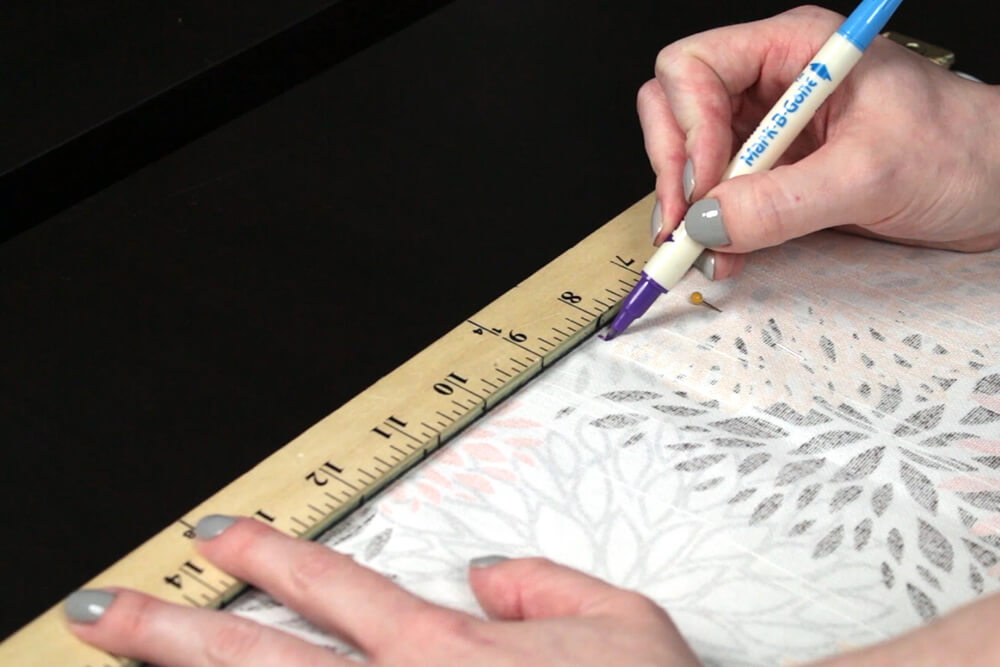
First, pre-wash and iron your fabric. Next cut out the fabric to your desired dimensions. I’m cutting a 54″ by 16″ piece of each fabric. Most decor fabrics are 54″ wide.
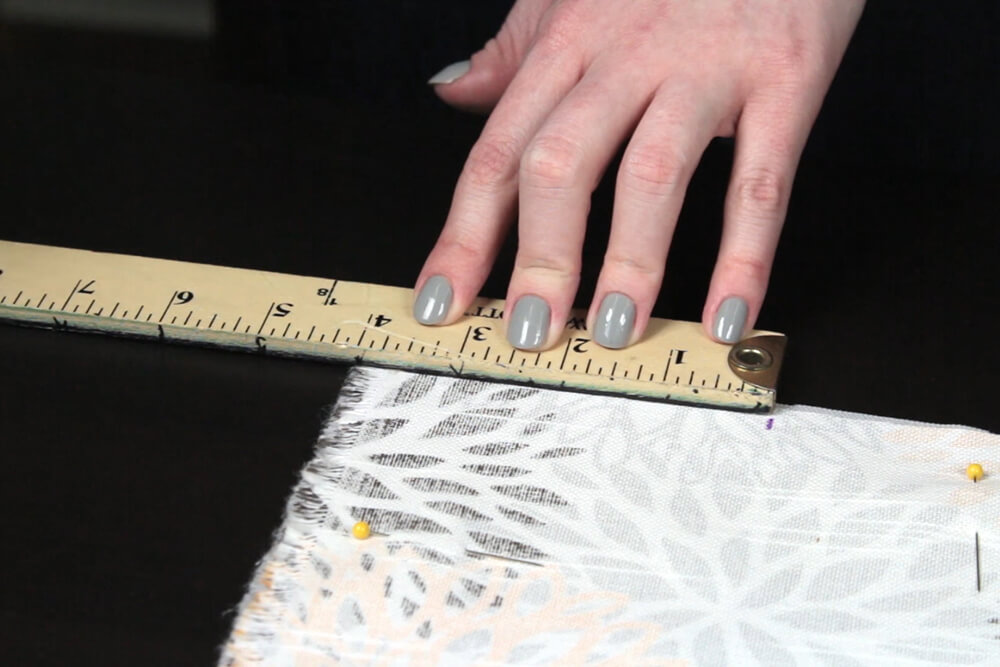
With right sides facing each other, pin the fabric together.
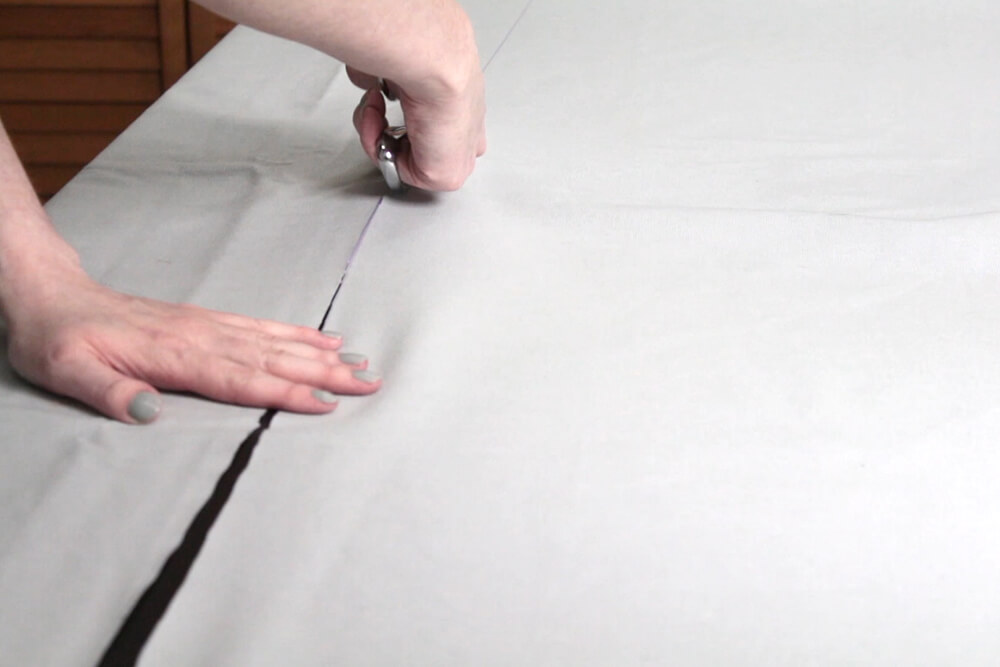
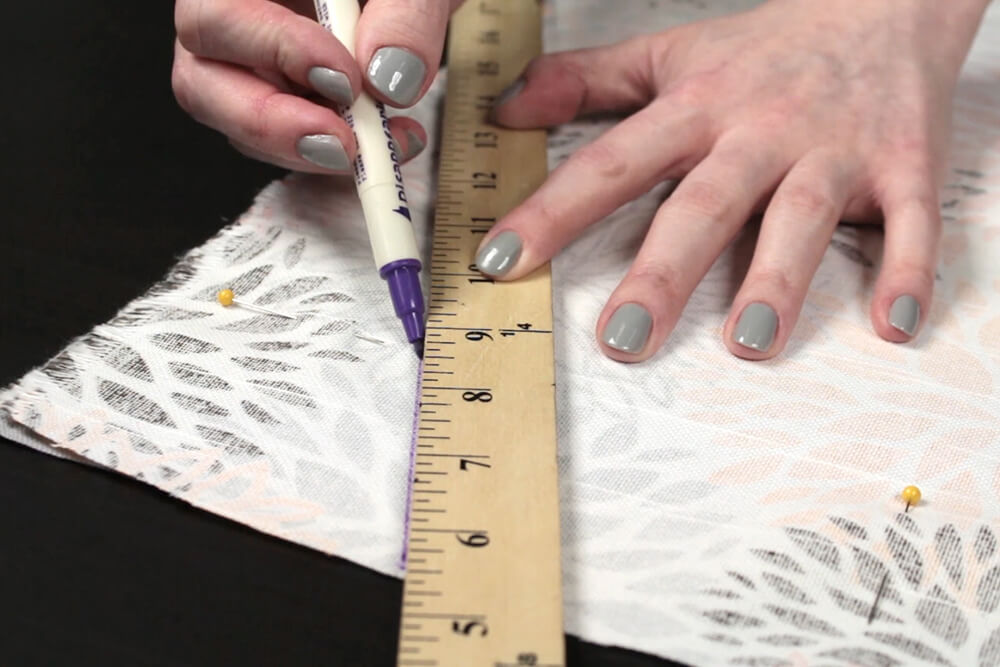
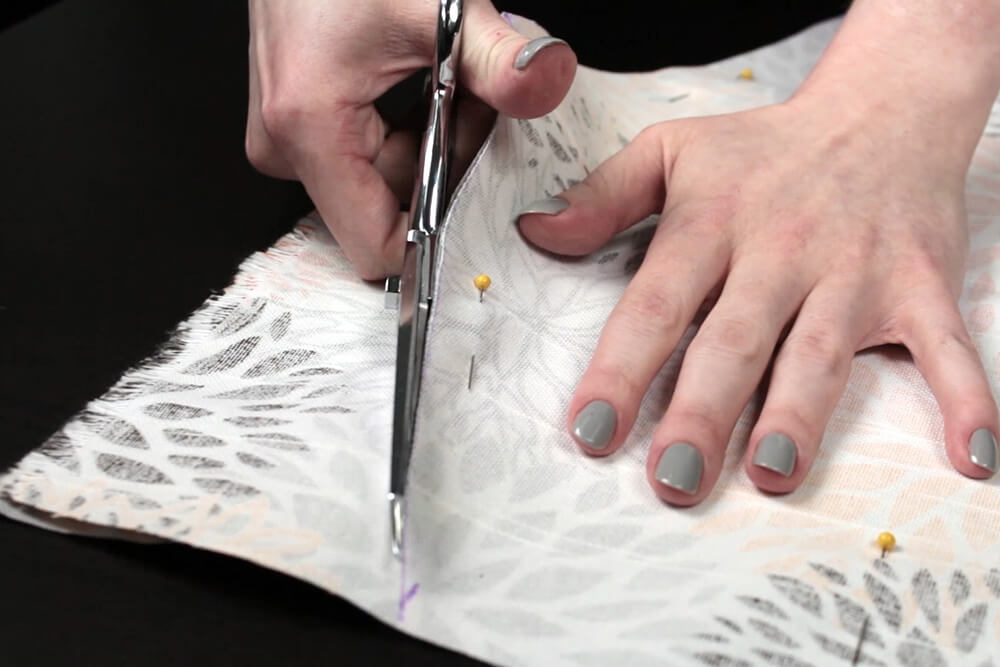
To create pointed ends, make a mark in the center of the width of your fabric. Then measure down 4 inches on the sides and mark. Draw lines from the side marks to the center marks and cut to create the point.
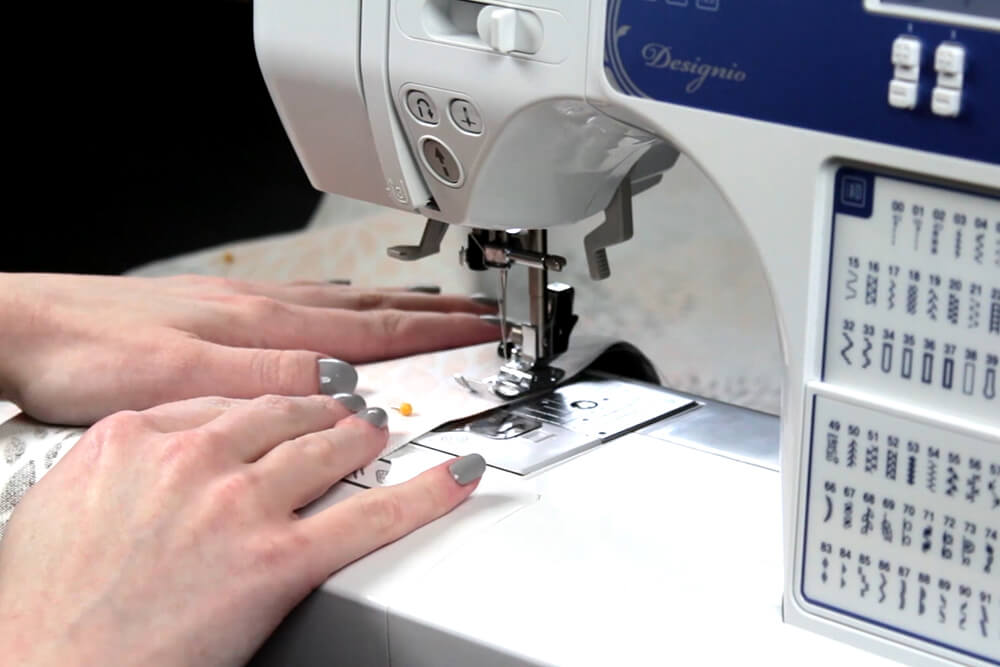
Step 2: Sew the fabric together
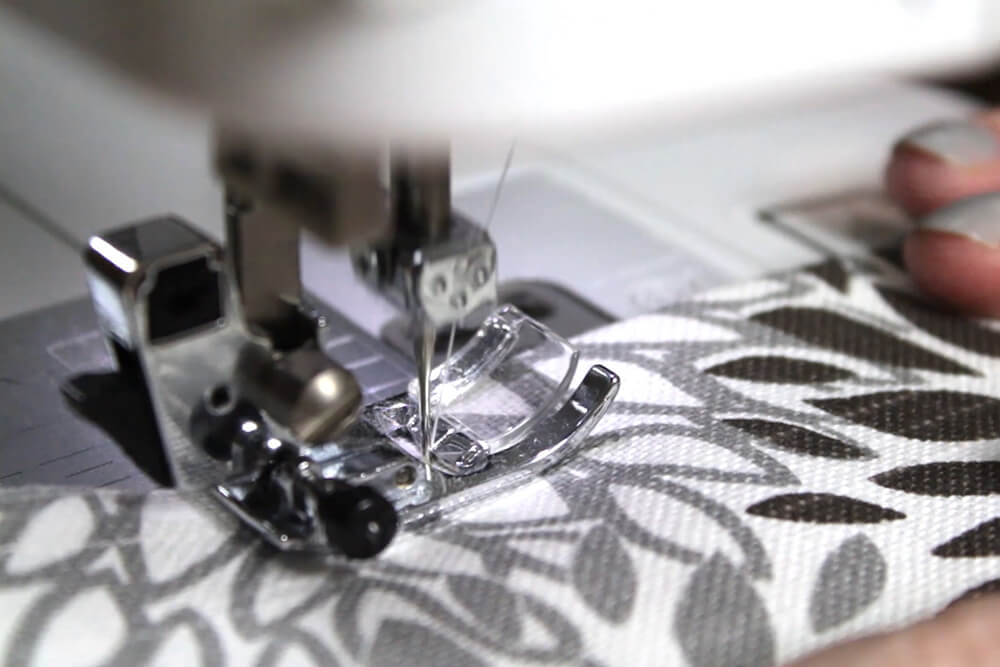
Sew around all the edges with a 1/4″ seam allowance. Leave a 5″ opening on one of the long sides of the runner. Back stitch at the beginning and end of your stitches.
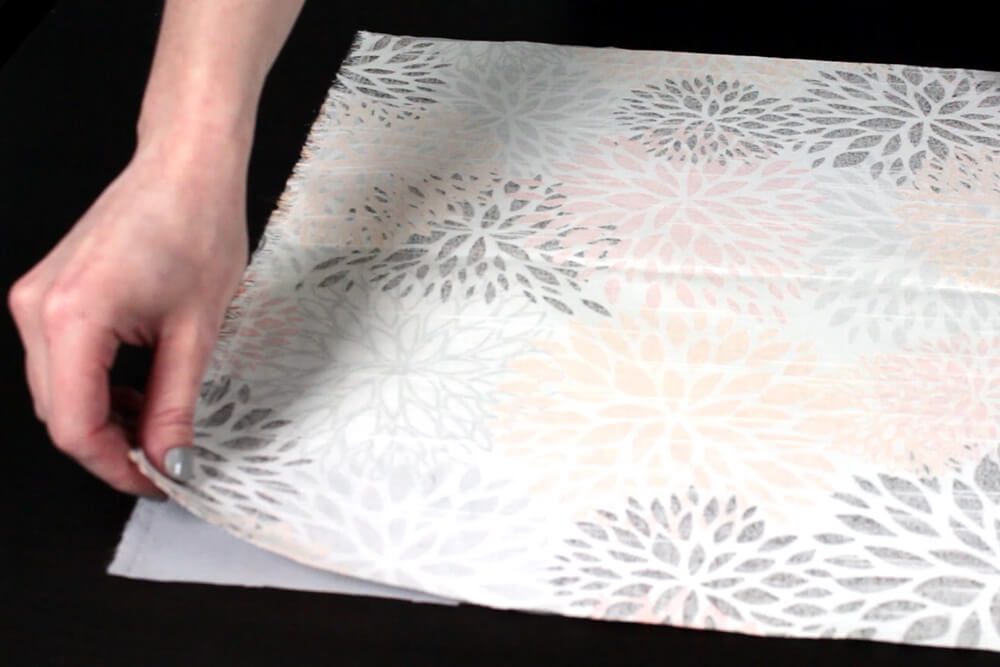
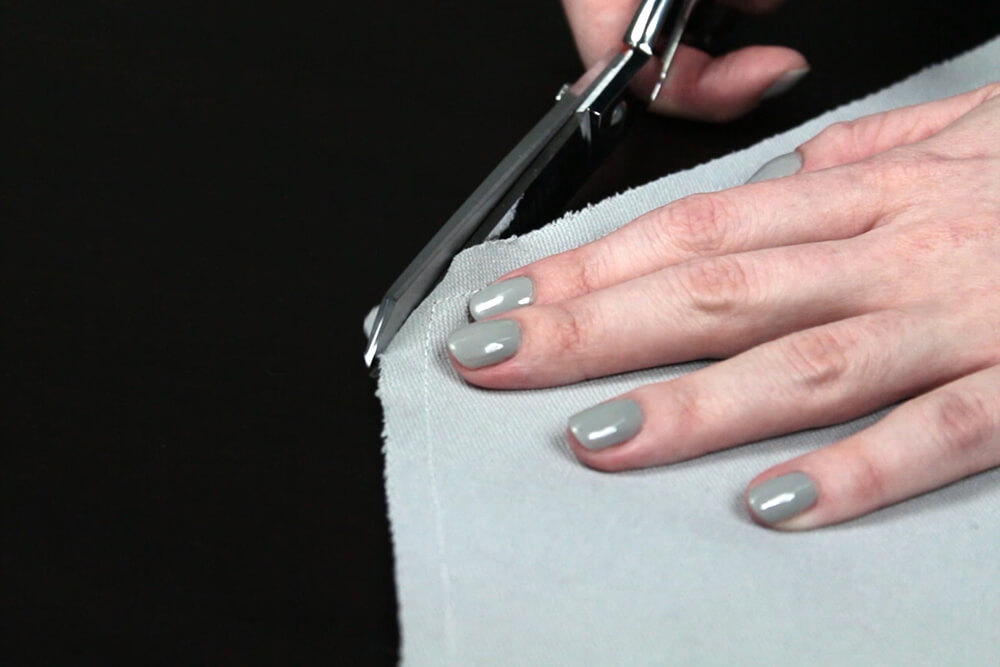
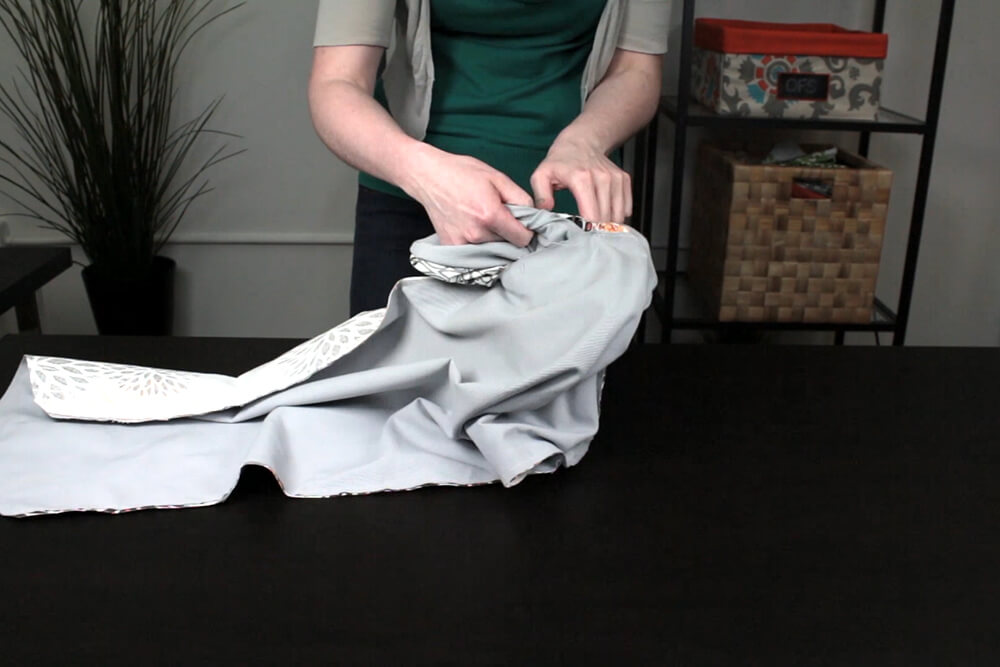
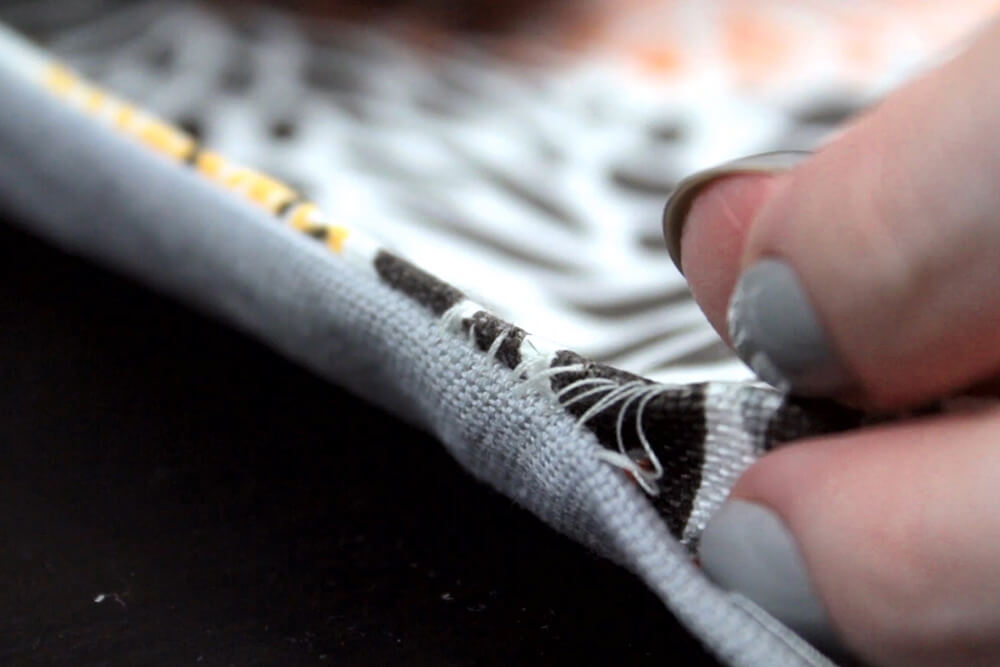
Then trim the corners, being careful not to cut into the stitching. This helps to remove bulk at the corners. Turn the runner right side out at the opening.
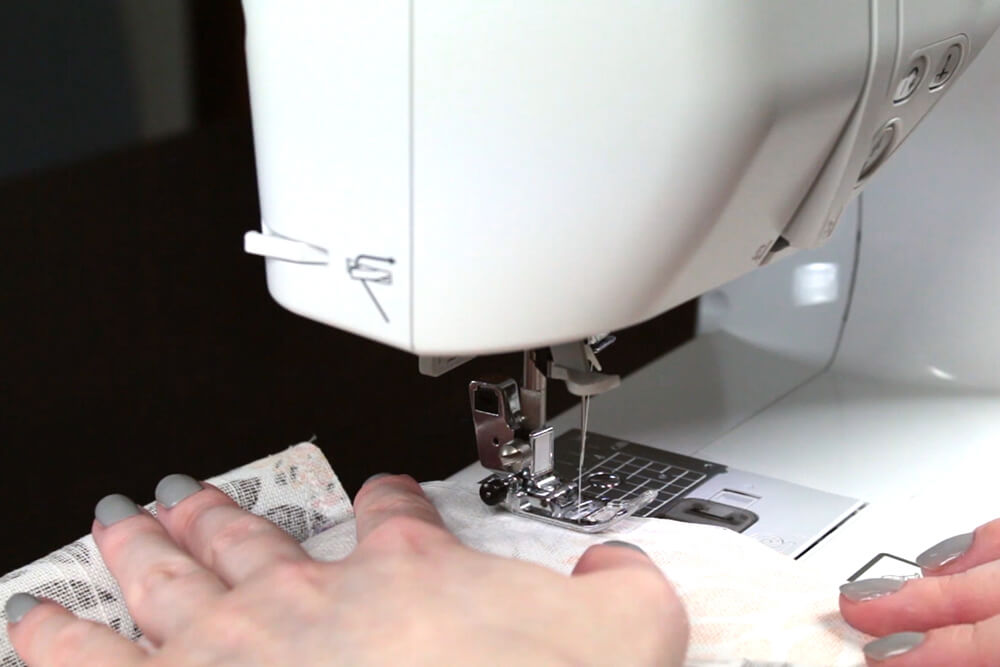
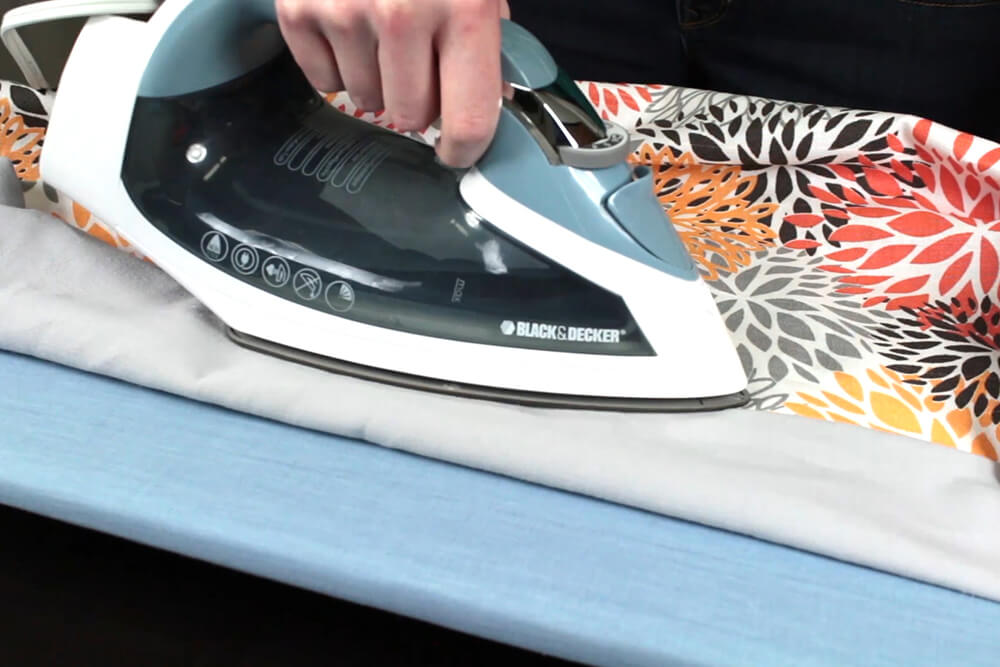
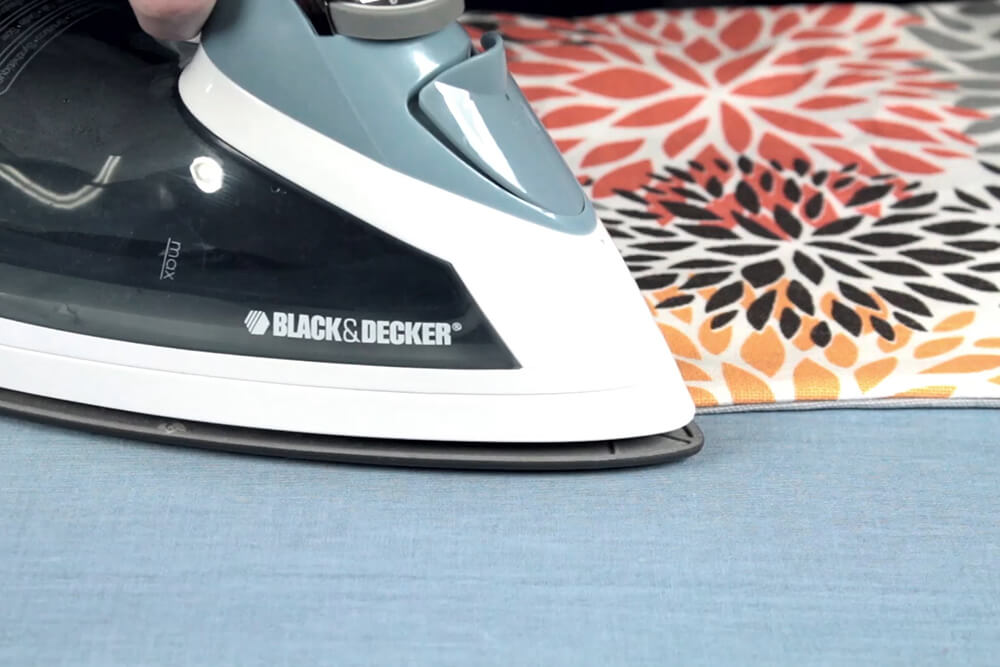
Step 3: Iron & finish sewing
First open the seam and iron. Then fold it back and iron again to create a sharp edge.
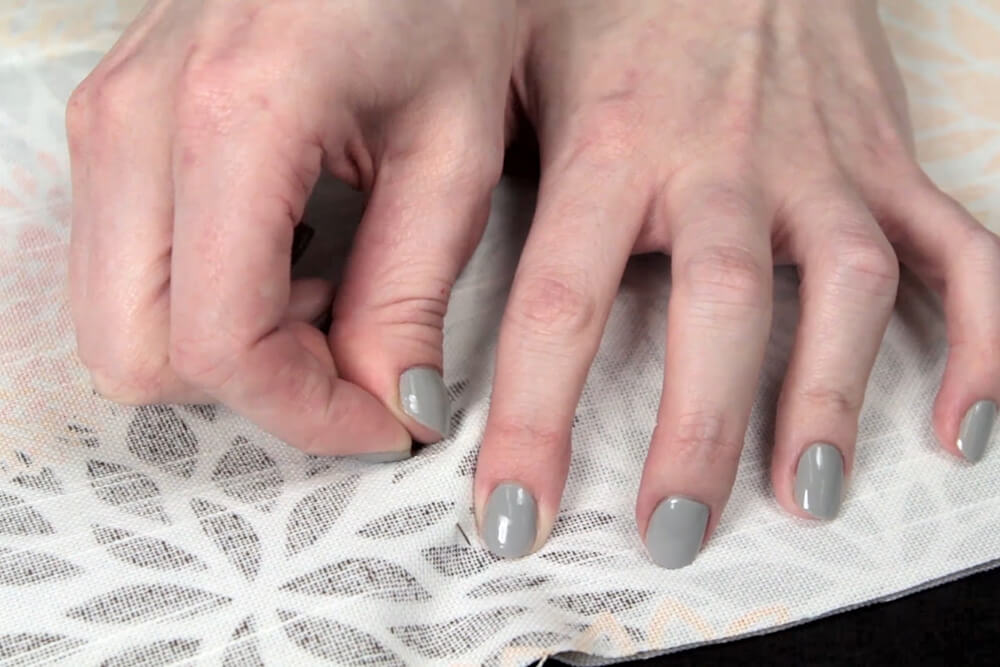
Hand stitch the opening closed with an invisible stitch. Finally, top stitch 1/4″ in from the outer edge of the runner to secure all the pieces and create a finished look.

Ready to dress up your table? Check out our great selection of decor fabric!
-
{{#each productSuggestedQueries.results}}
- {{query}} {{/each}}
-
{{#each categories.results}}
- {{html title}} {{/each}}
{{html attributes.description}}
{{/if}}-
{{#each queries.results}}
- {{query}} {{/each}}