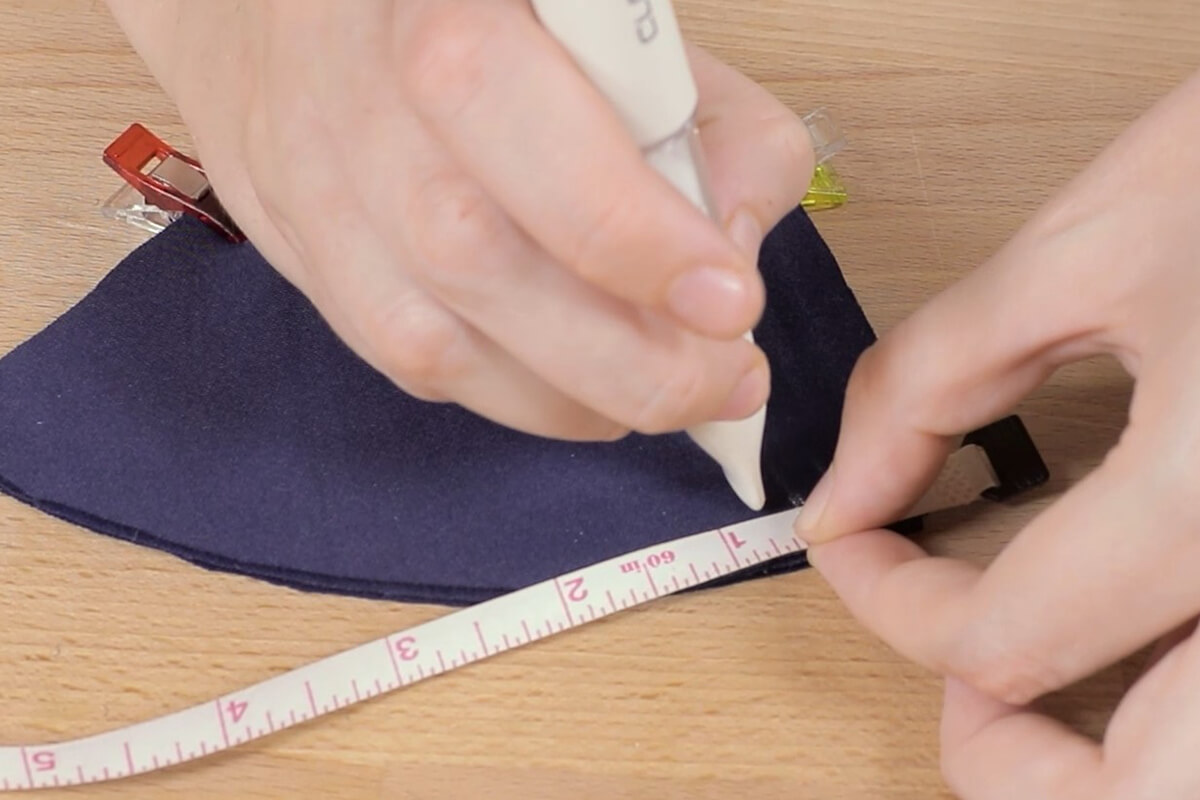
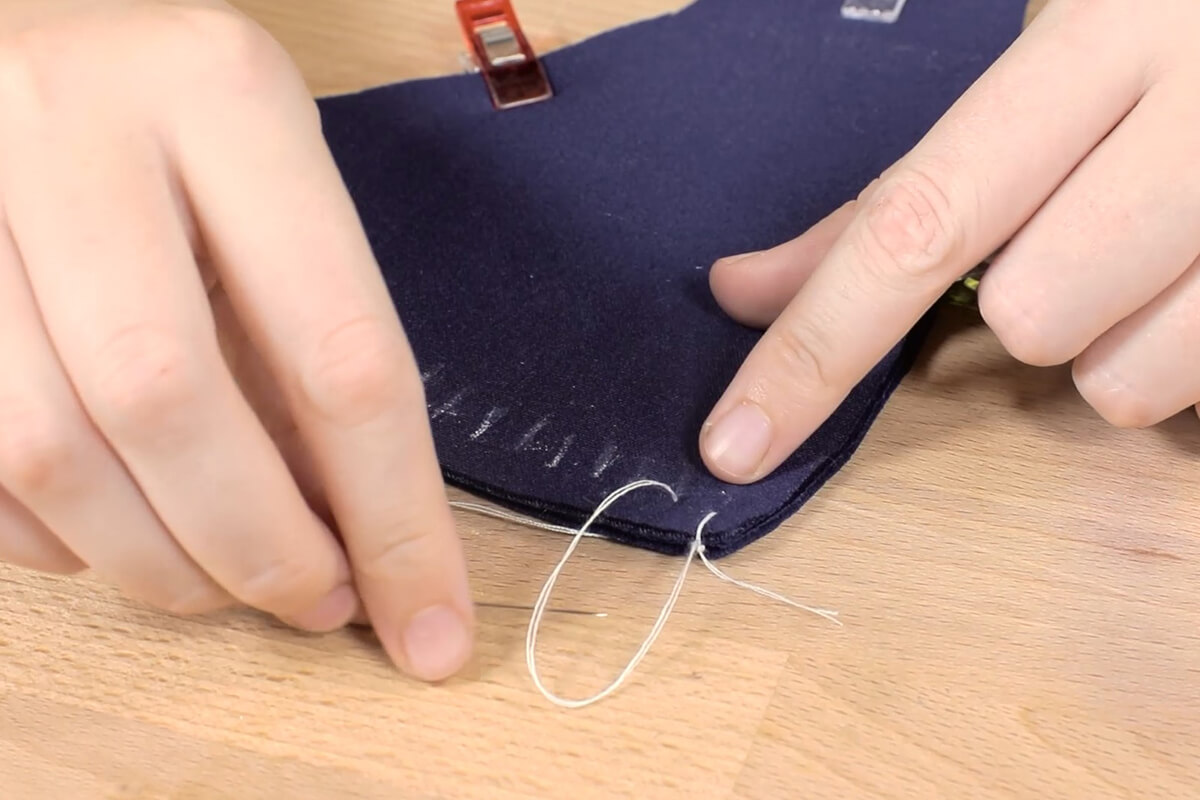
When you are starting out, you may want to mark out every 1/8 inch so you are making sure your stitches are even.
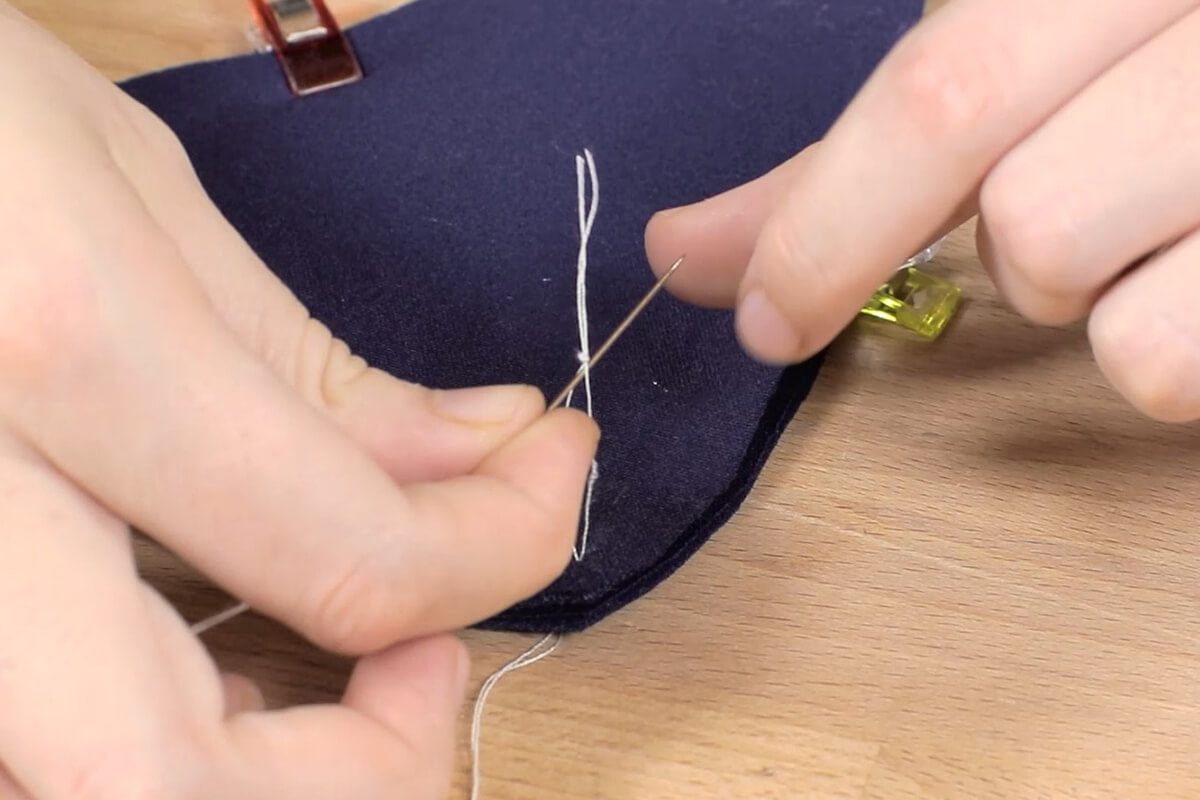
Thread your needle and tie off the ends.
Start by sinking the needle in at the first mark and through the other piece of fabric. Do not pull the thread tightly through, because you are going to want to bring the needle back through the loop where you had just tied the thread.
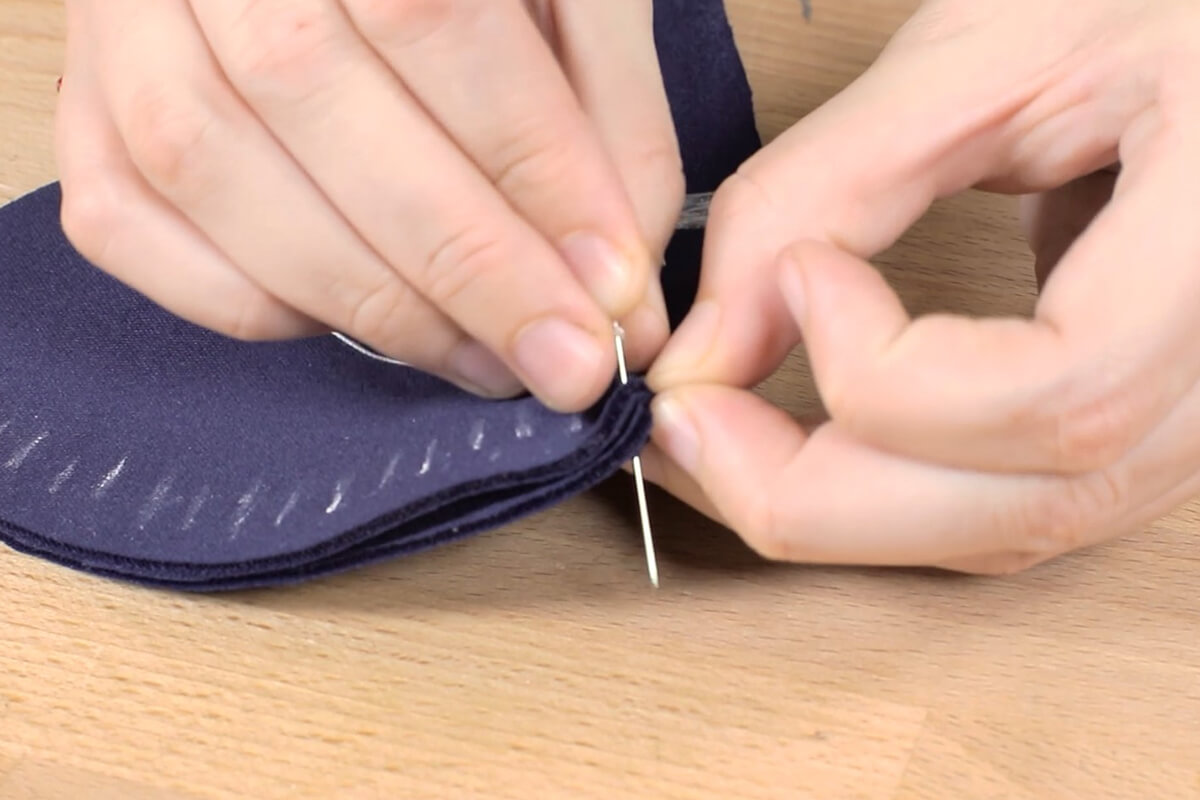
Now push the needle through the second mark, this time there will be a loop that starts at the last stitch. You will want to string the needle through that loop and continue the pattern.
With every stitch, you will want to bring the needle through the loop that has been made from the stitch before it.

Keep going until you have reached the end of your fabric.
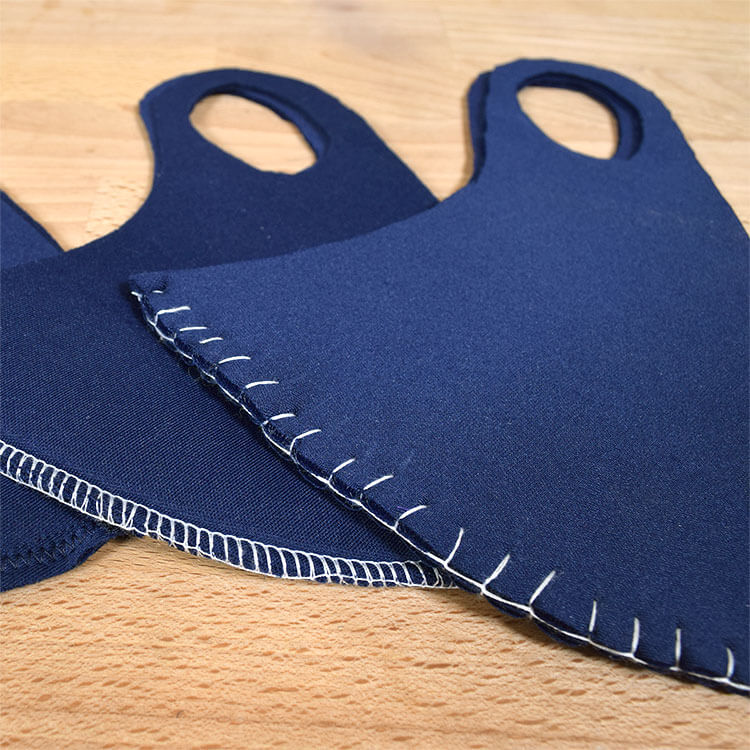
Thread the needle through the loop twice at the end to finish off your overlock stitch.
