
How to Make Kitchen Scrubbies
- By Clara
- 45 minutes
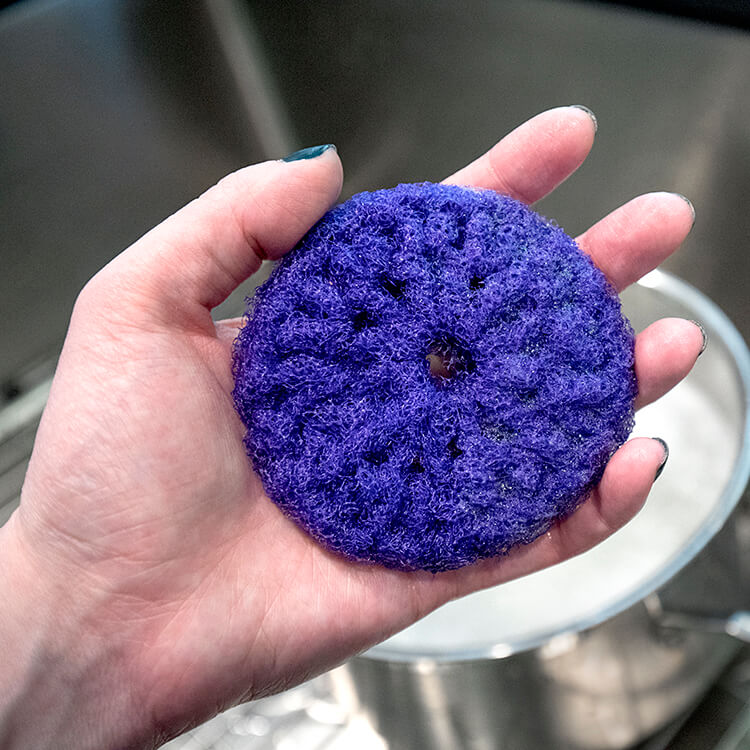
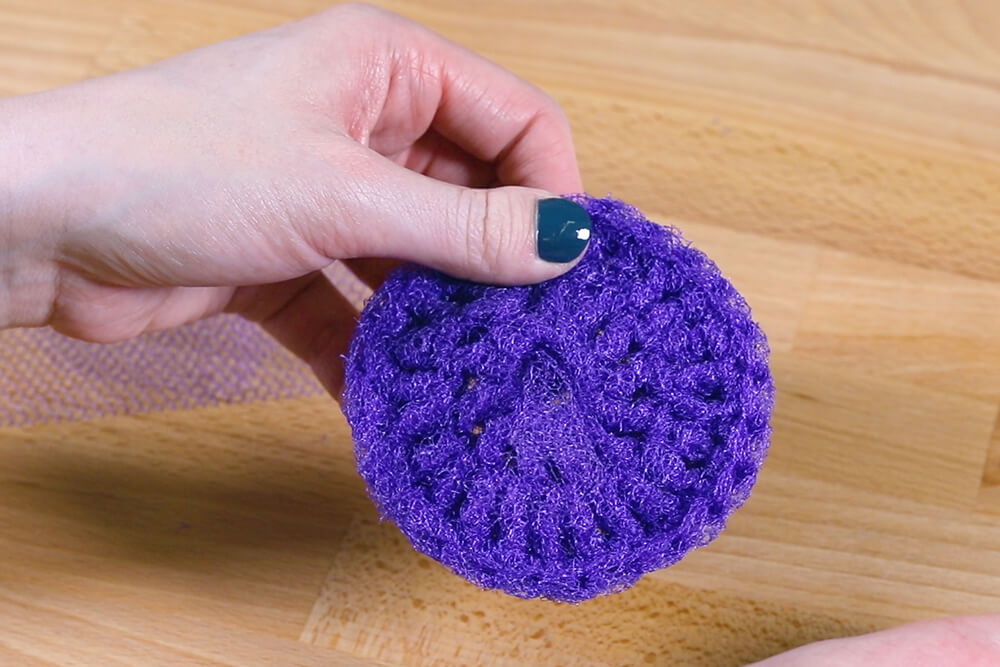
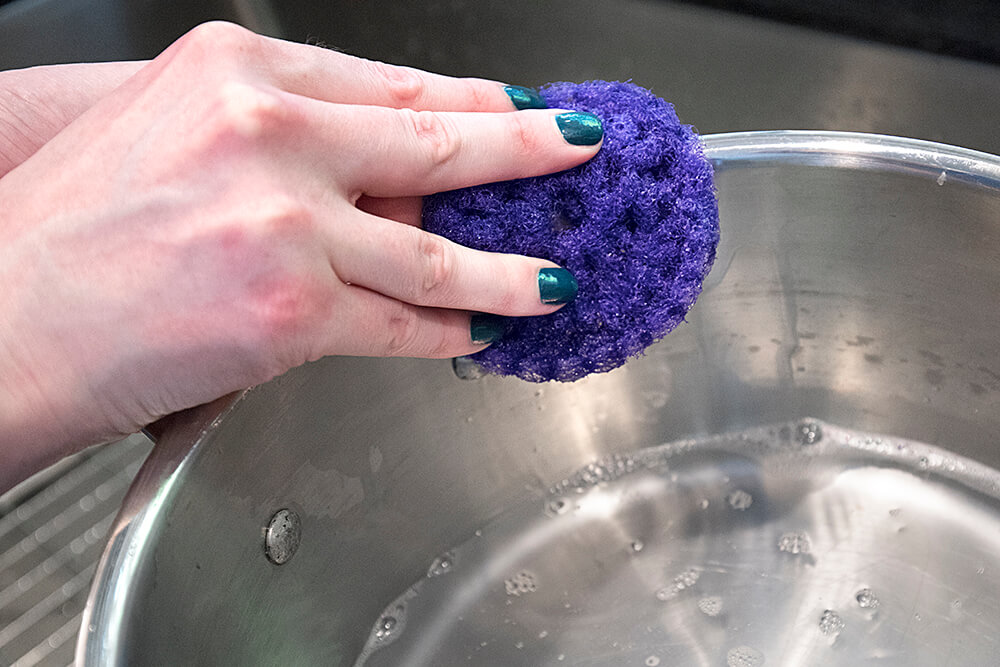
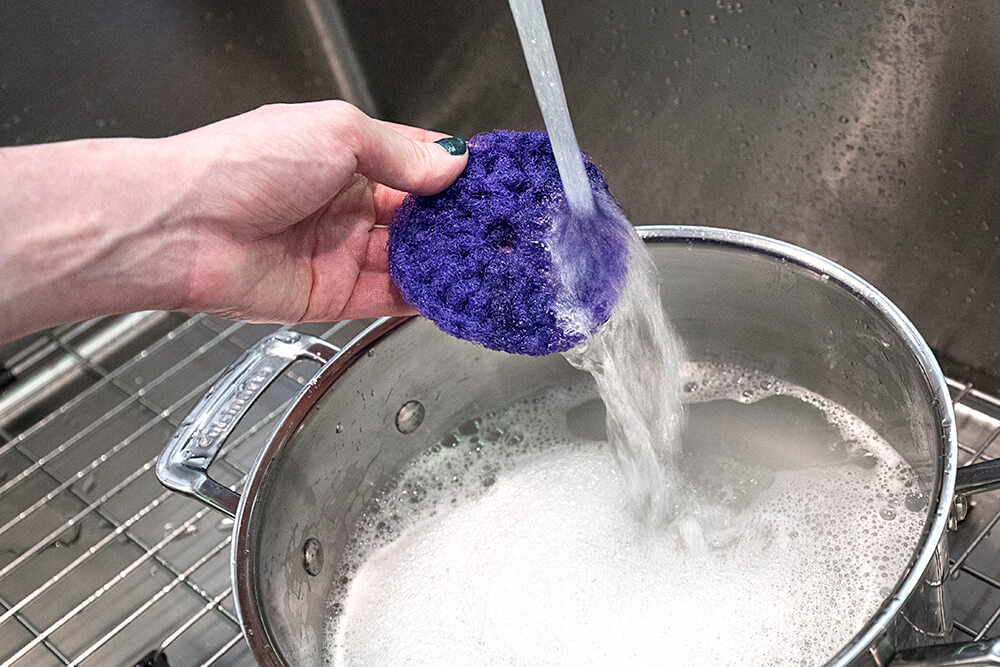
The people who make and use these kitchen scrubbers swear they are better than anything you can buy. Our nylon netting is super popular for these scrubbies. You can also use tulle but the texture of the nylon netting works particularly well. They last a surprisingly long time and can be washed on the top rack of your dishwasher.
There are many other ways to crochet scrubbies with different combinations of stitches. You can also work with a different color for each round. Make some for your friends, your family and yourself. I also hear they sell very well at craft fairs.
Please Note: We do not currently carry nylon netting so we suggest nylon tulle which is more durable than polyester tulle.
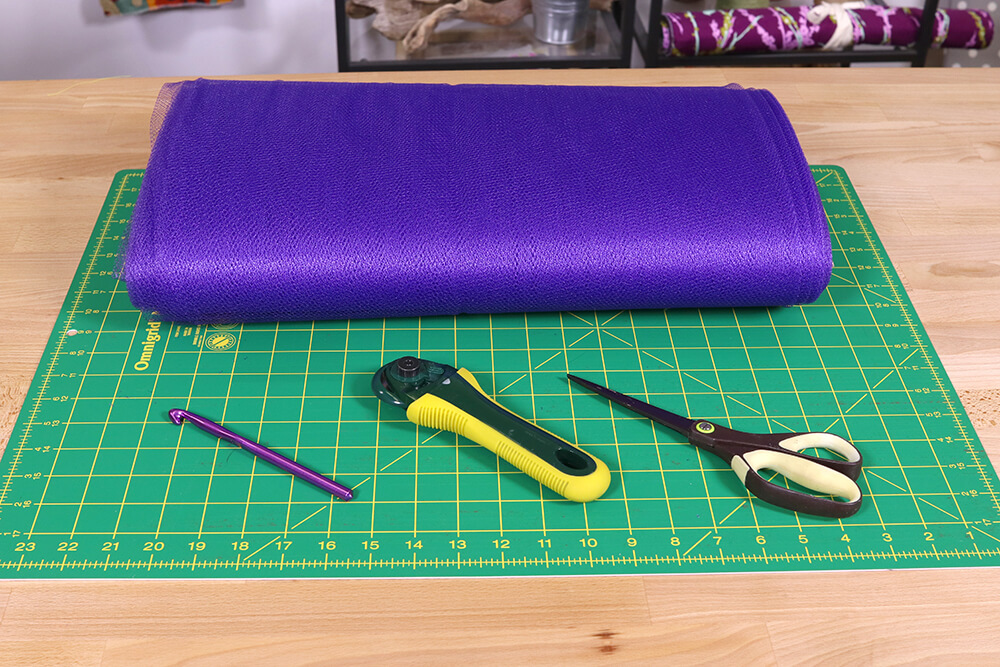
Materials
- Nylon netting or tulle
- 10mm, size N crochet hook
- Rotary cutter
- Cutting mat
- Scissors (optional)
Related Products


Video
Instructions
Step 1: Practice with yarn
No prior crocheting experience is need to make this easy scrubby. Since it’s hard to see the stitches when using the netting, I’m first going to demonstrate with yarn.
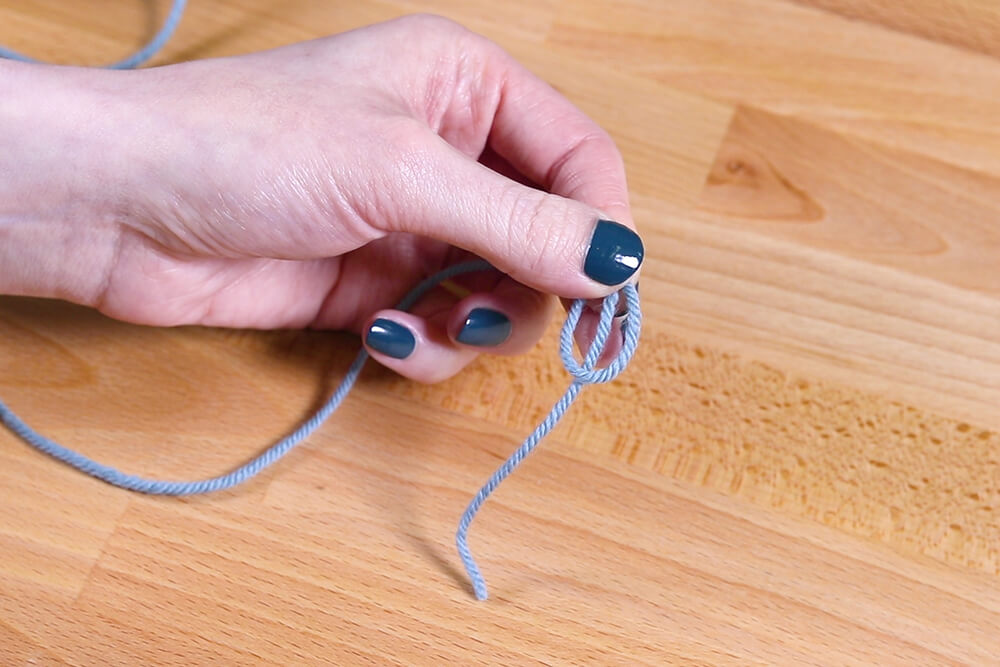
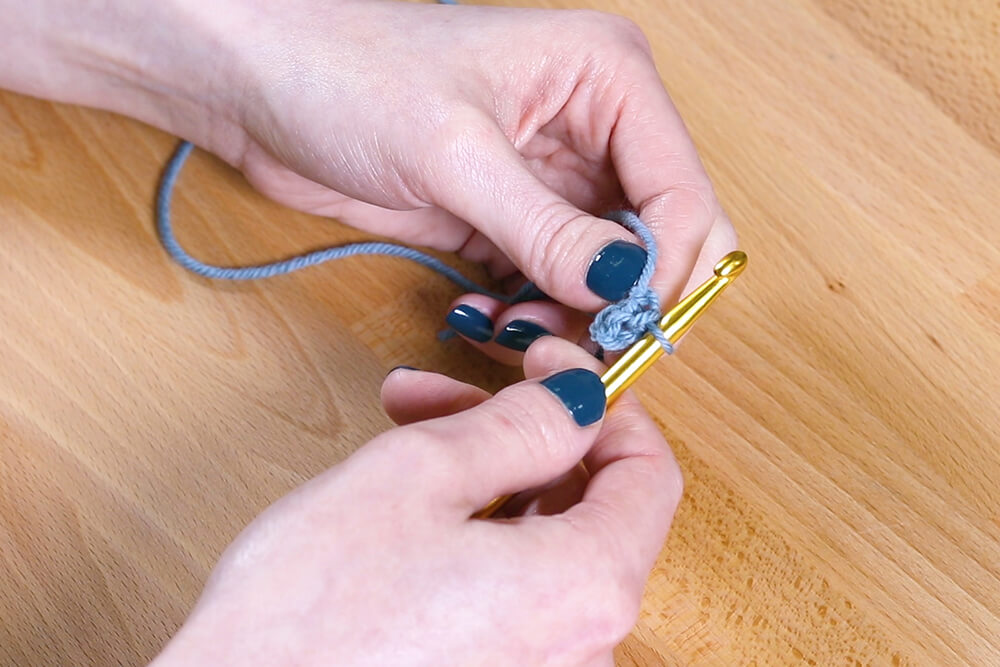
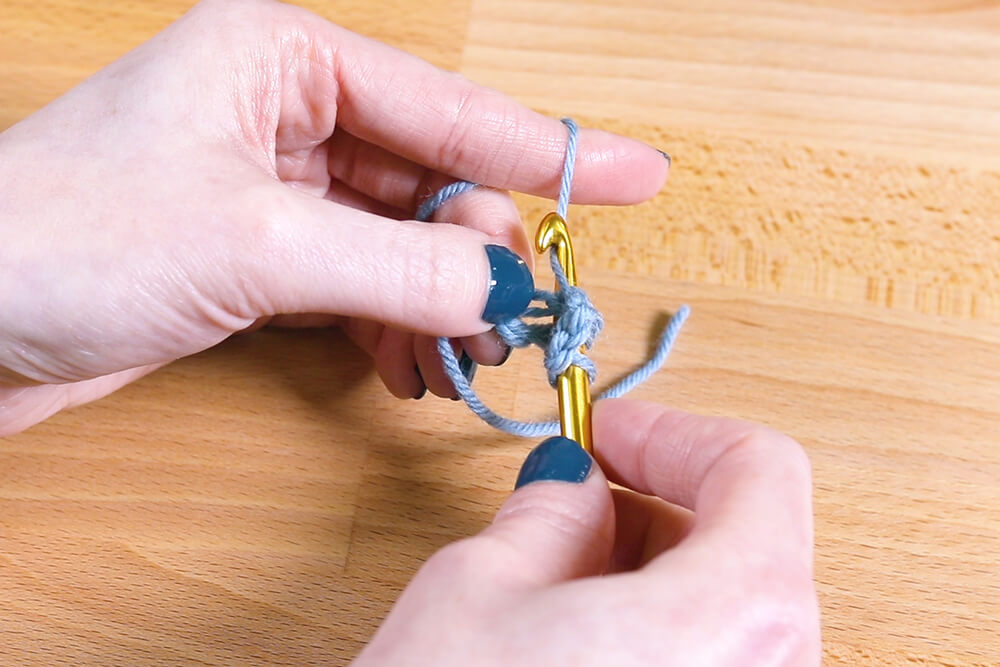
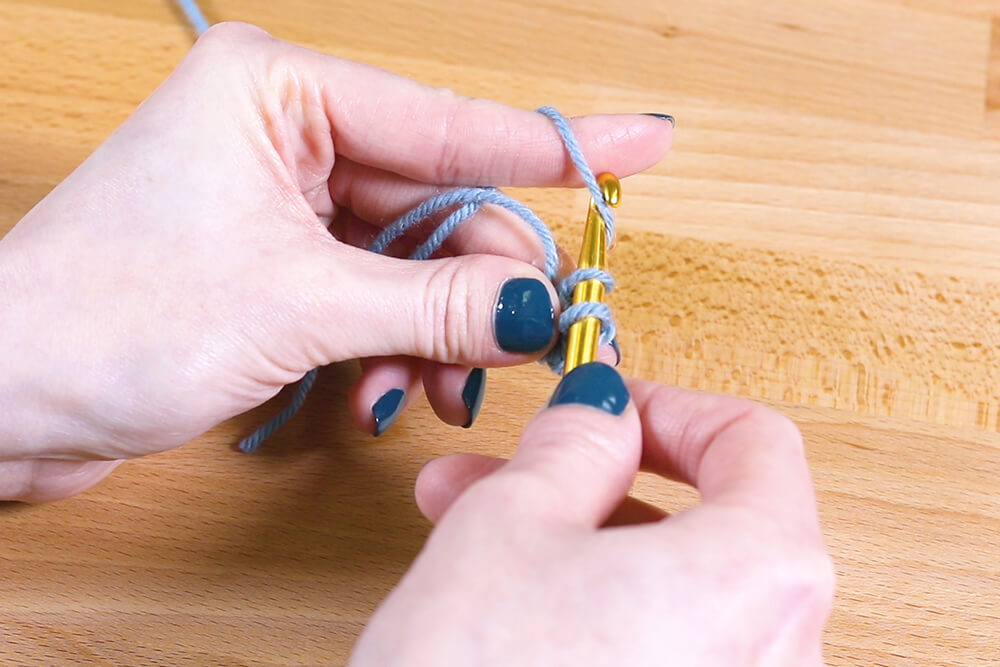
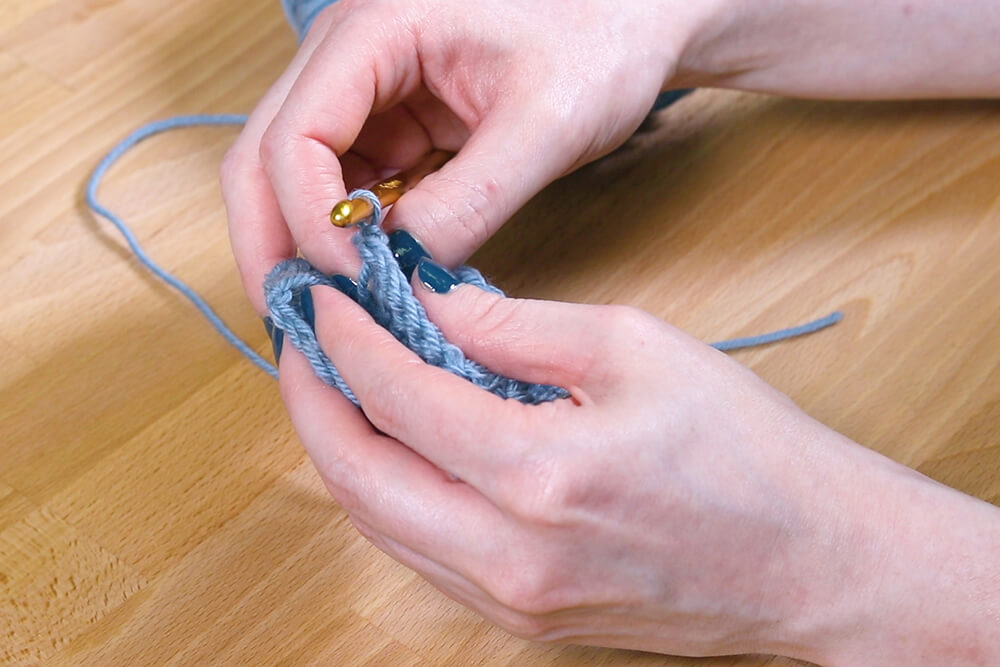
Make a slip knot by creating a ring with the yarn, then move the yarn behind the circle. Take the crochet hook and pull the yarn through the circle. Tighten the yarn around the hook.
Hold the hook in your right hand. I hold the yarn so it’s going over my index finger and between the index and middle fingers. People hold the yarn in different ways, so do whatever works for you.
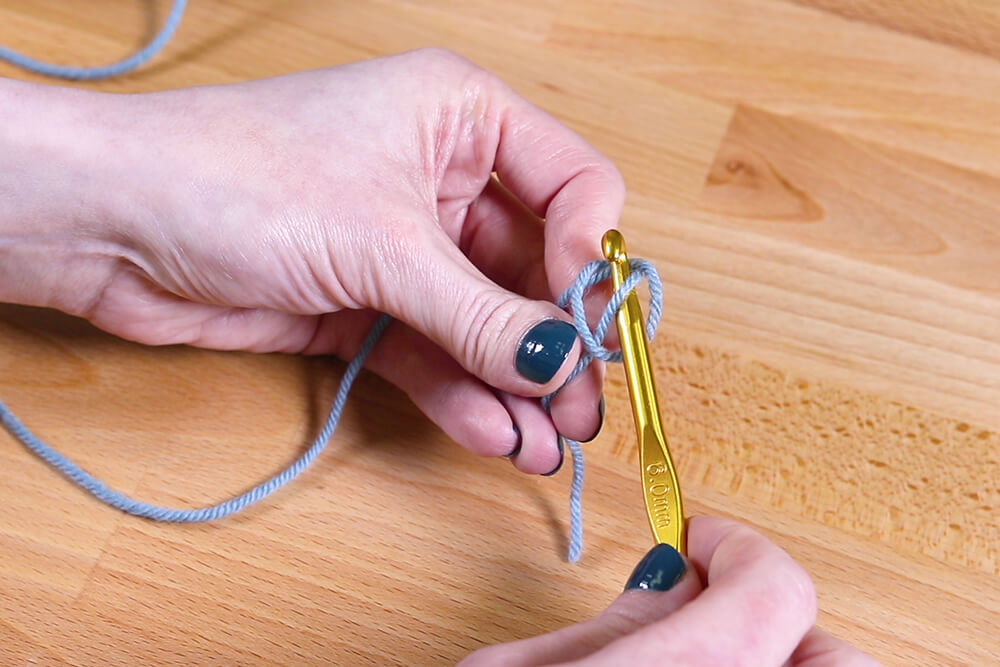
It helps to hold the work between your left thumb and middle or index finger.
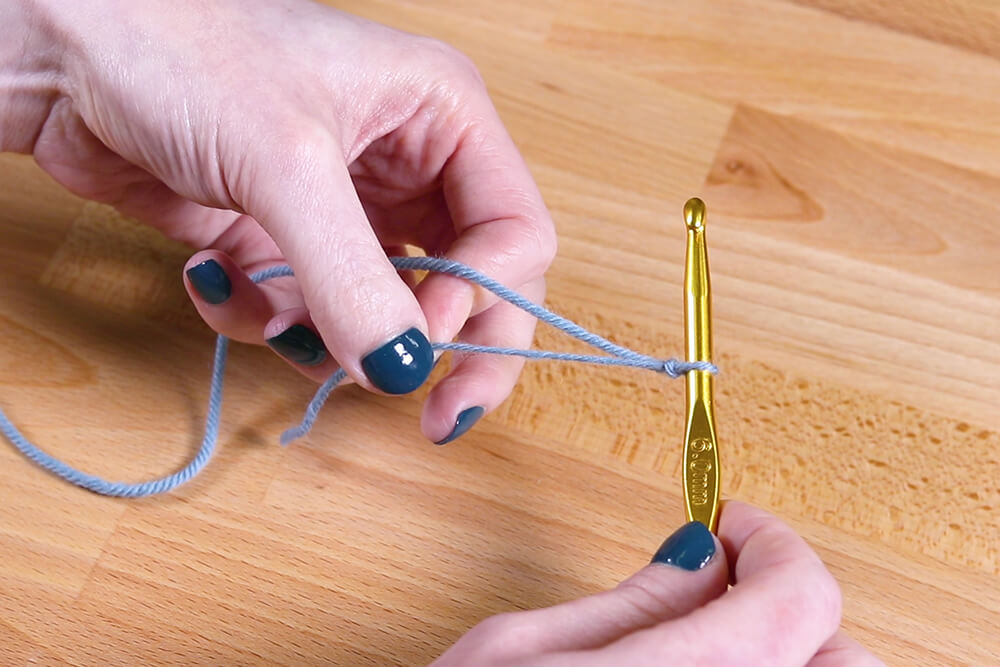
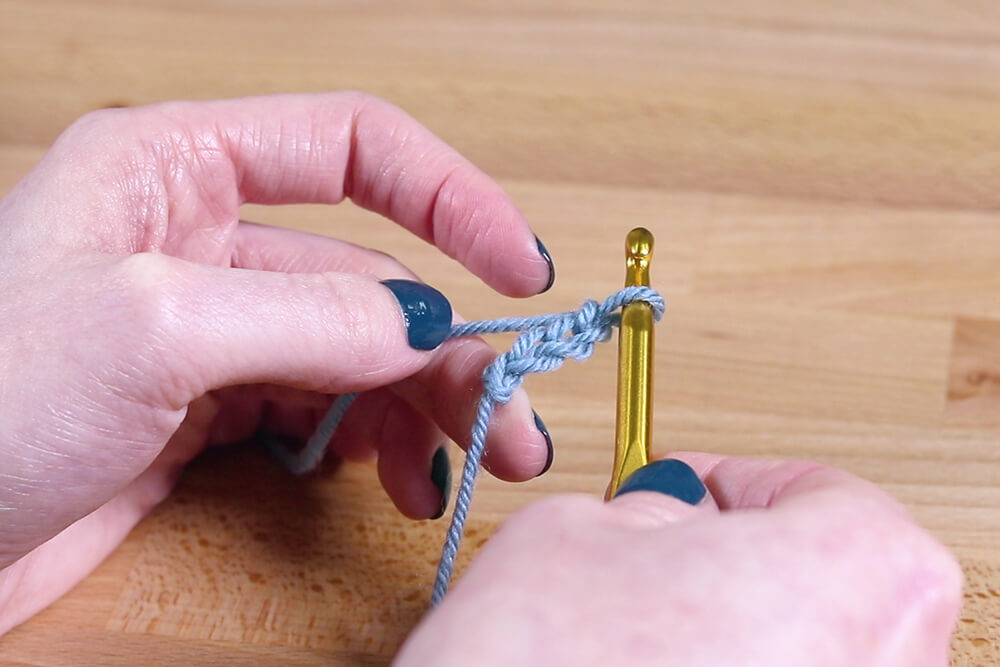
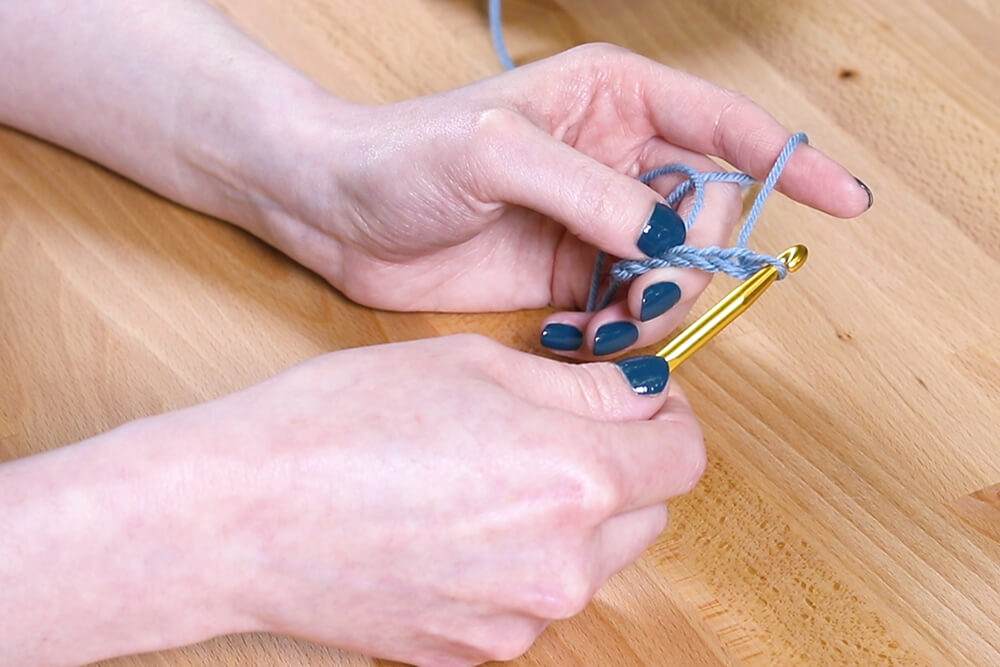
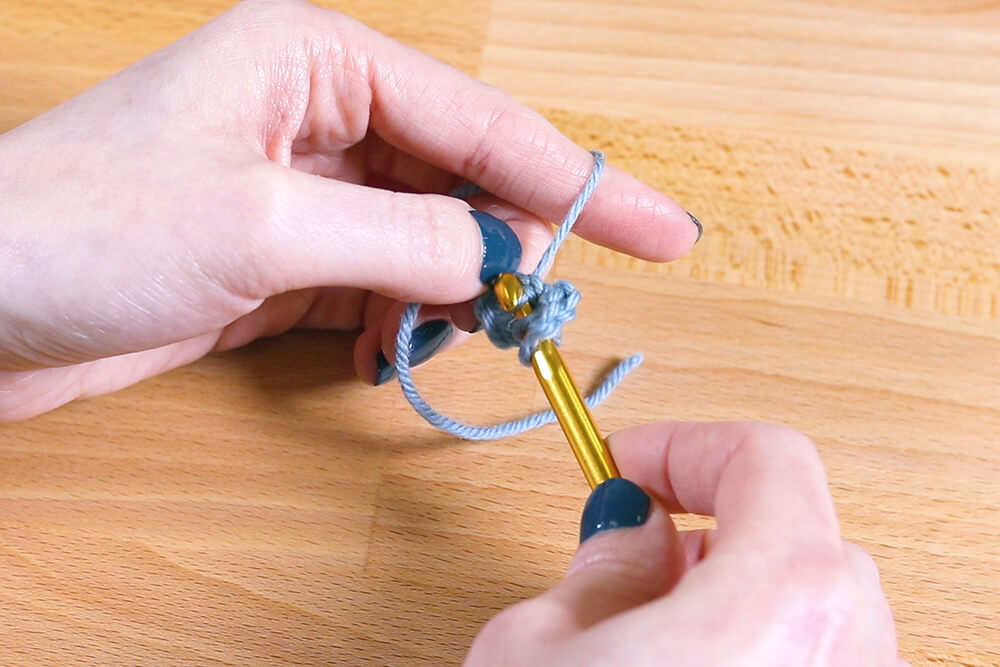
The first step is to chain 4. This is the most basic crocheting stitch.
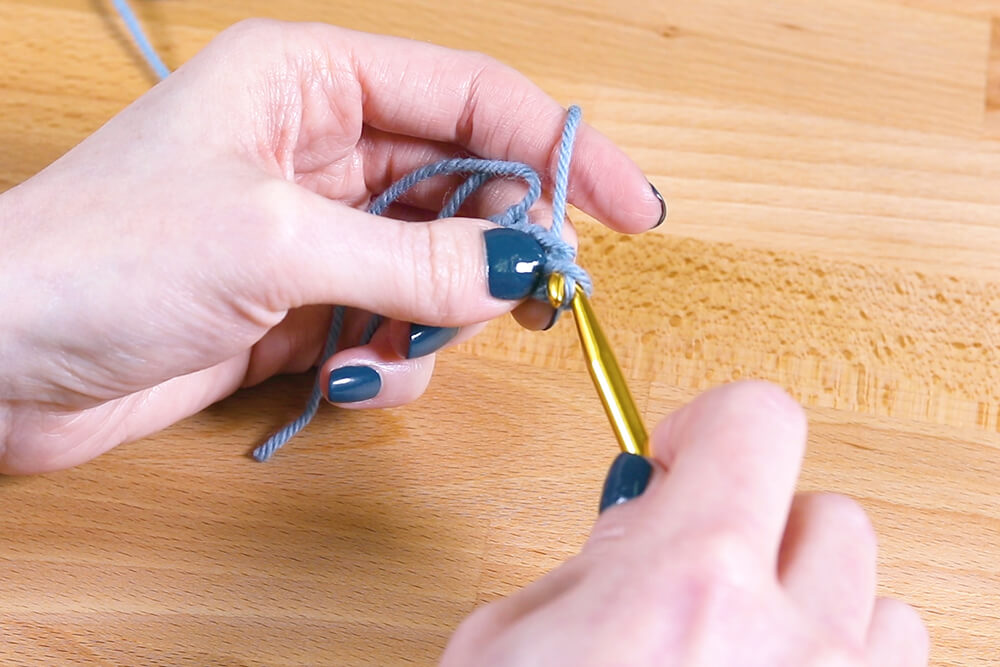
Move the hook to the left of the yarn and go under it so the yarn is looped around it. This is called a yarn over. Pull the loop through the loop on the crochet hook. Repeat this 3 more times.

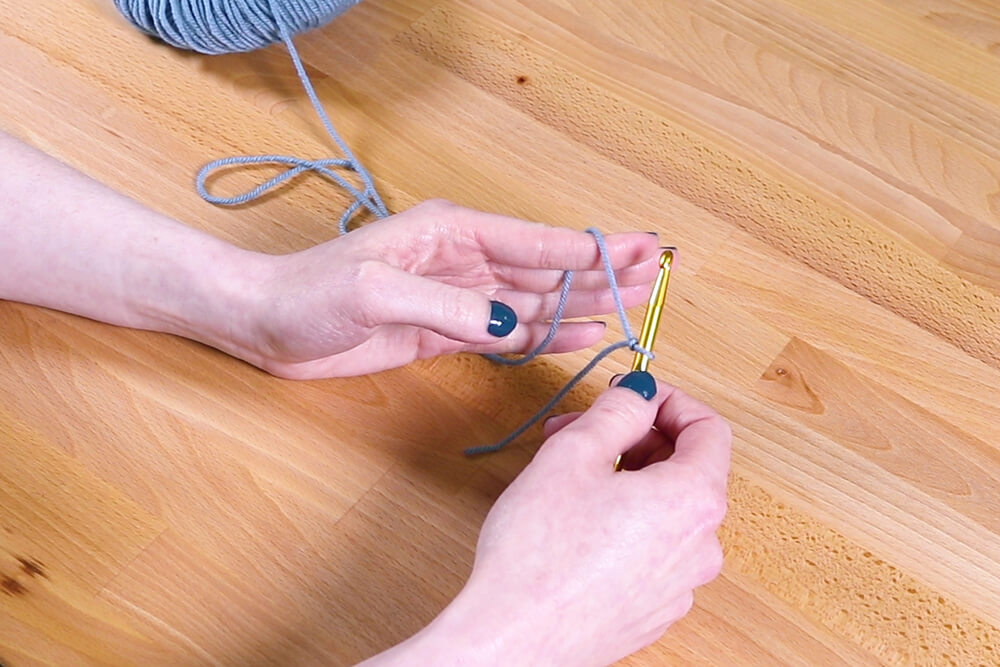
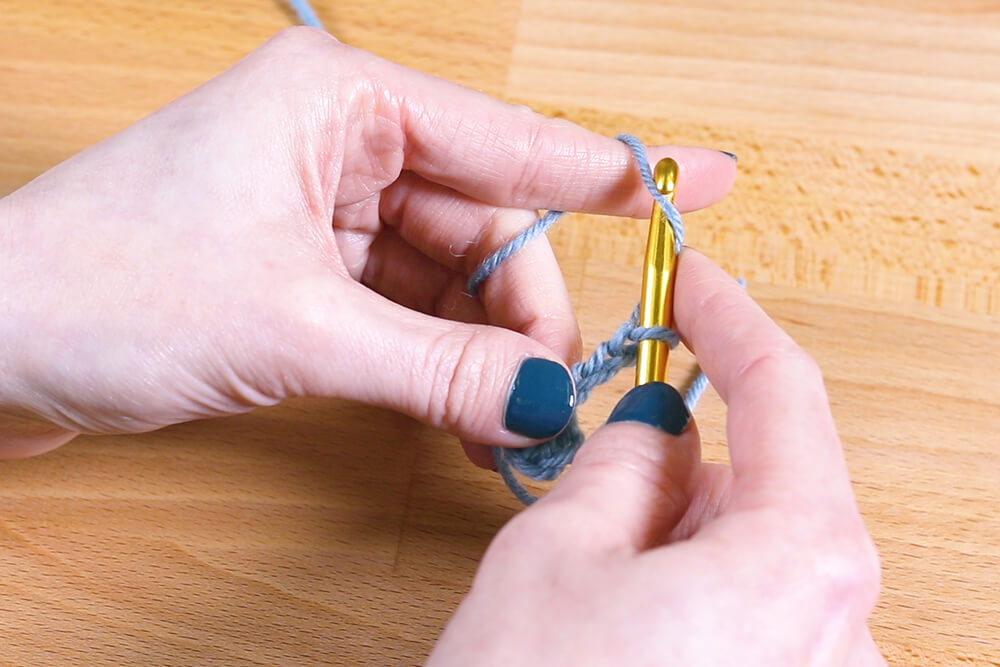
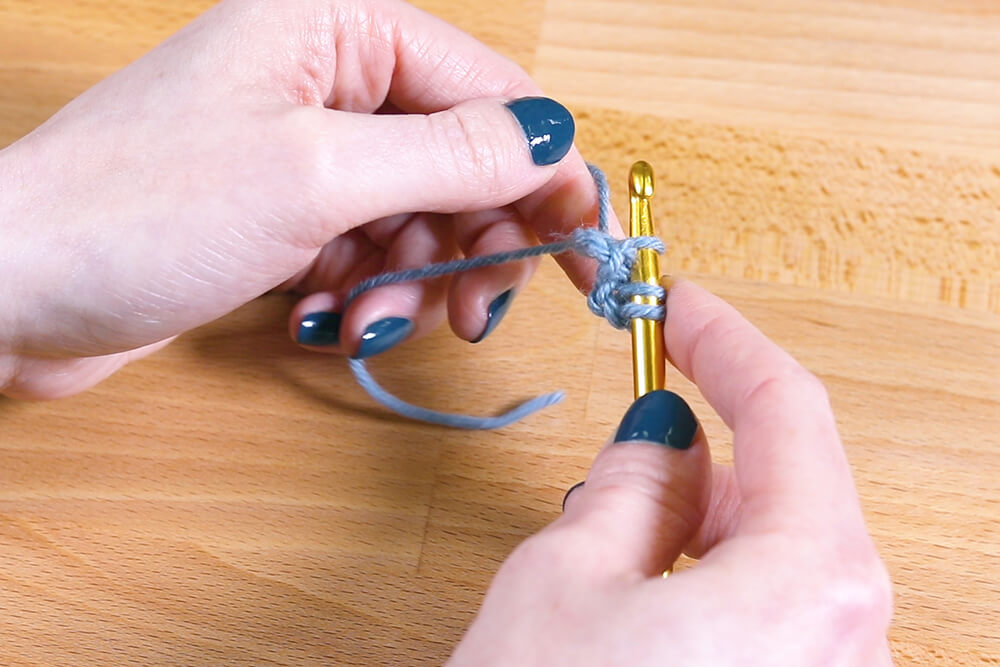
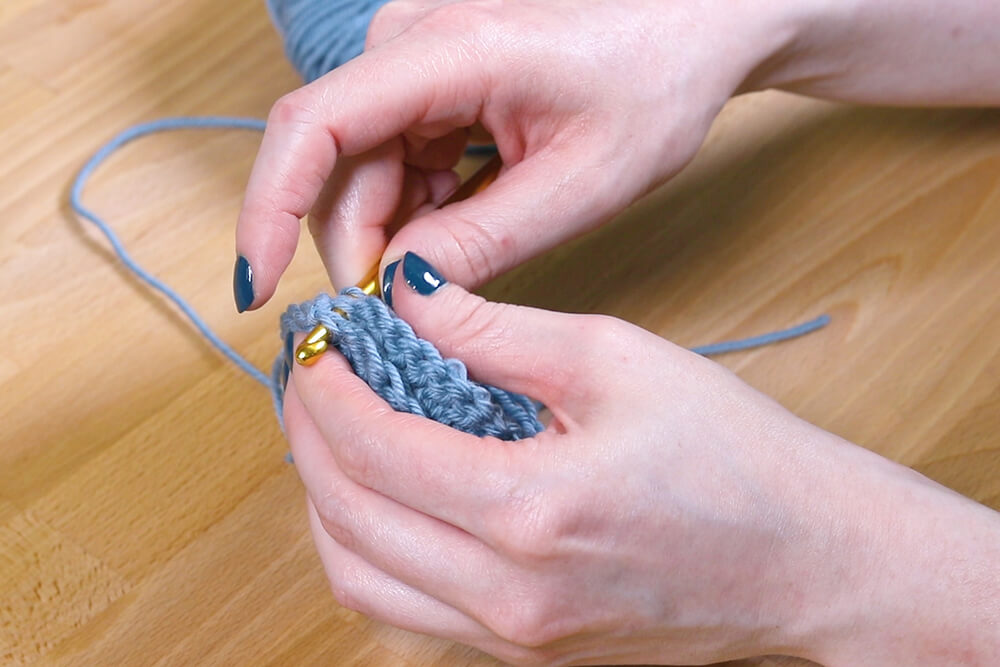
To make this chain into a circle, put the hook through the first stitch. Yarn over and pull the yarn through both loops on the hook. This is called a slip stitch. Now you should have a little circle.
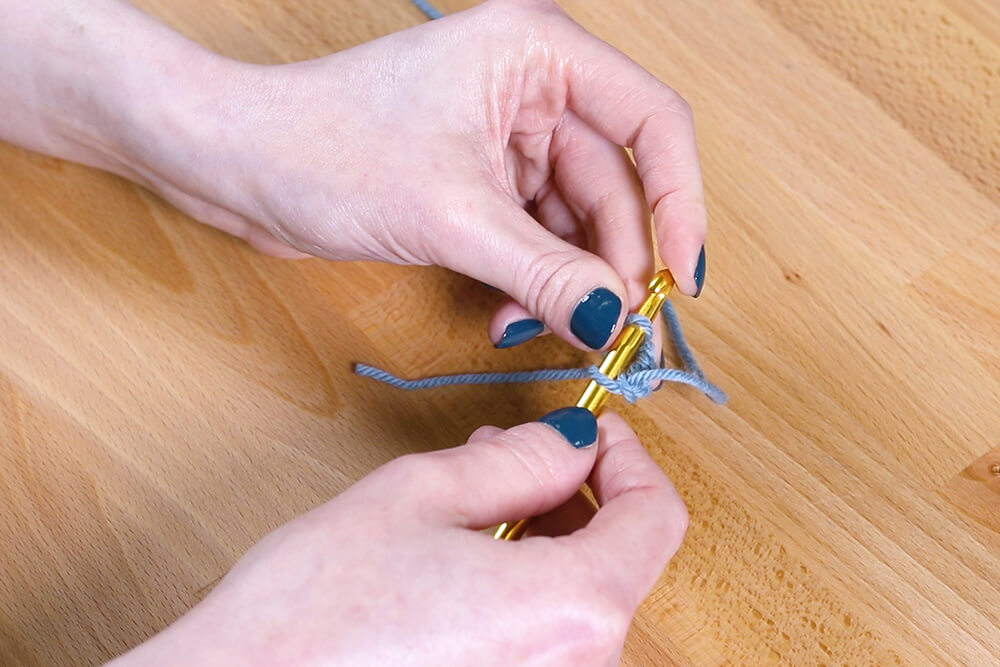
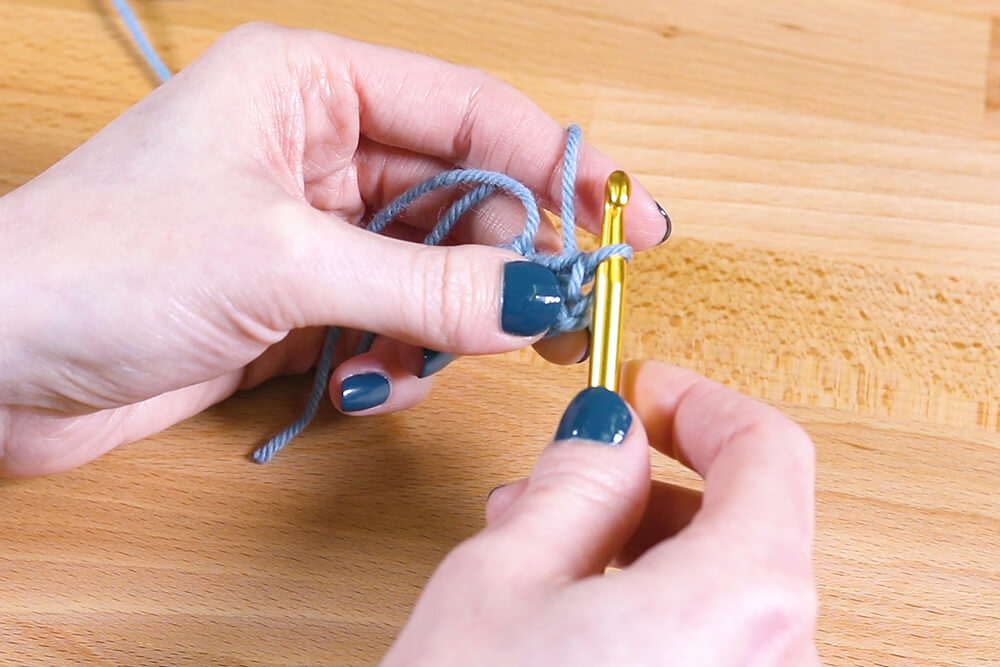
Next chain 3 like before.
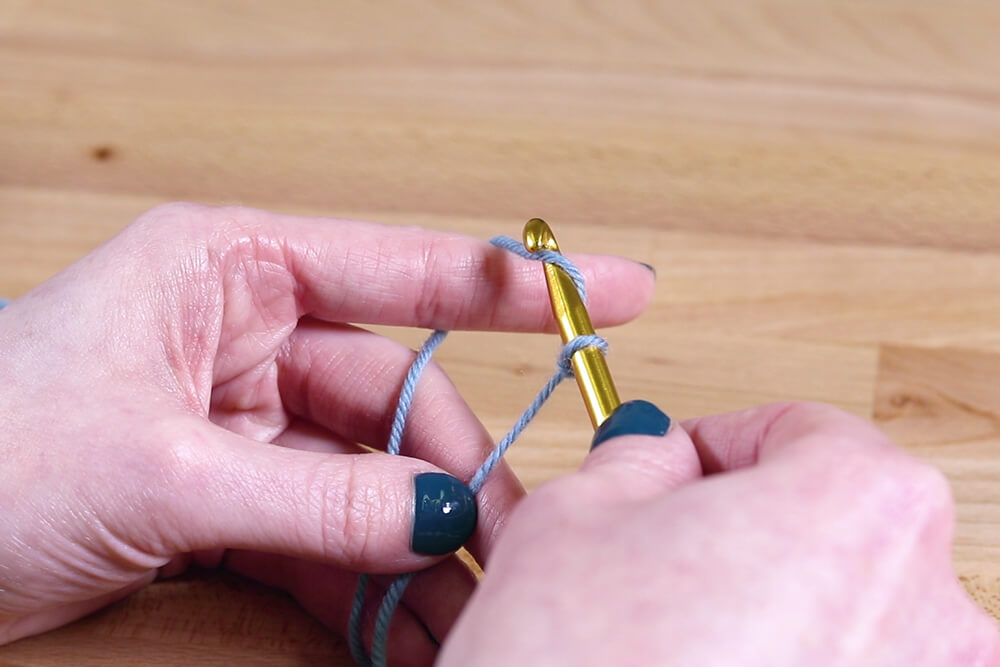
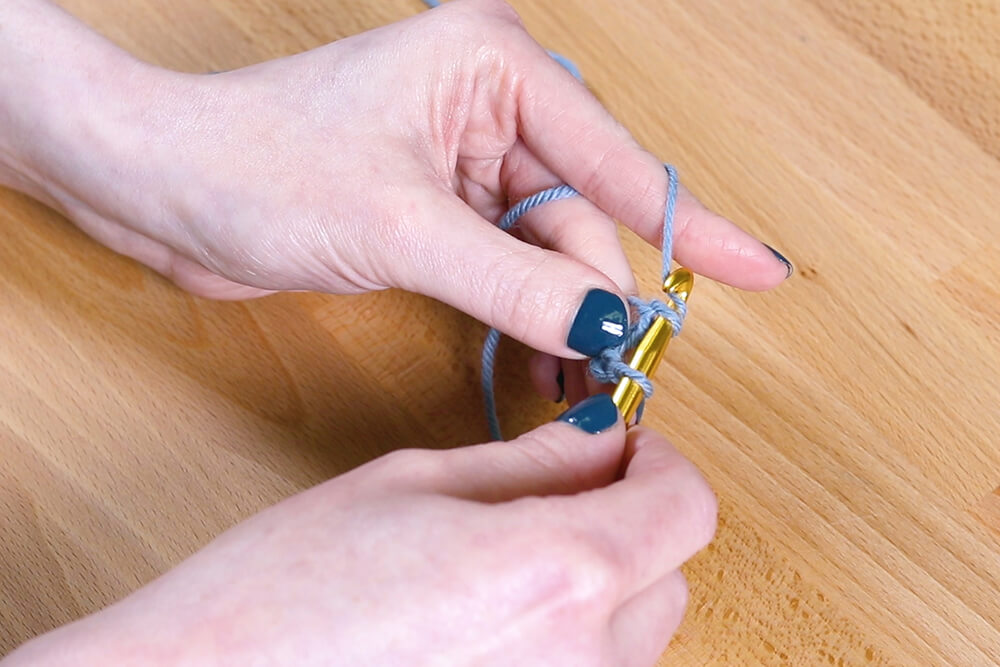
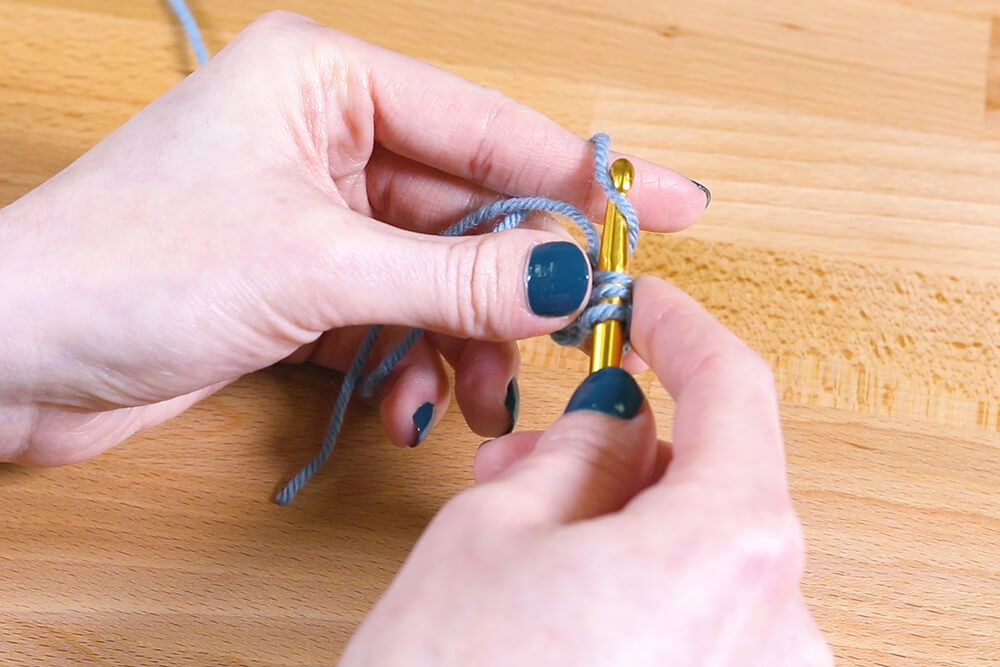
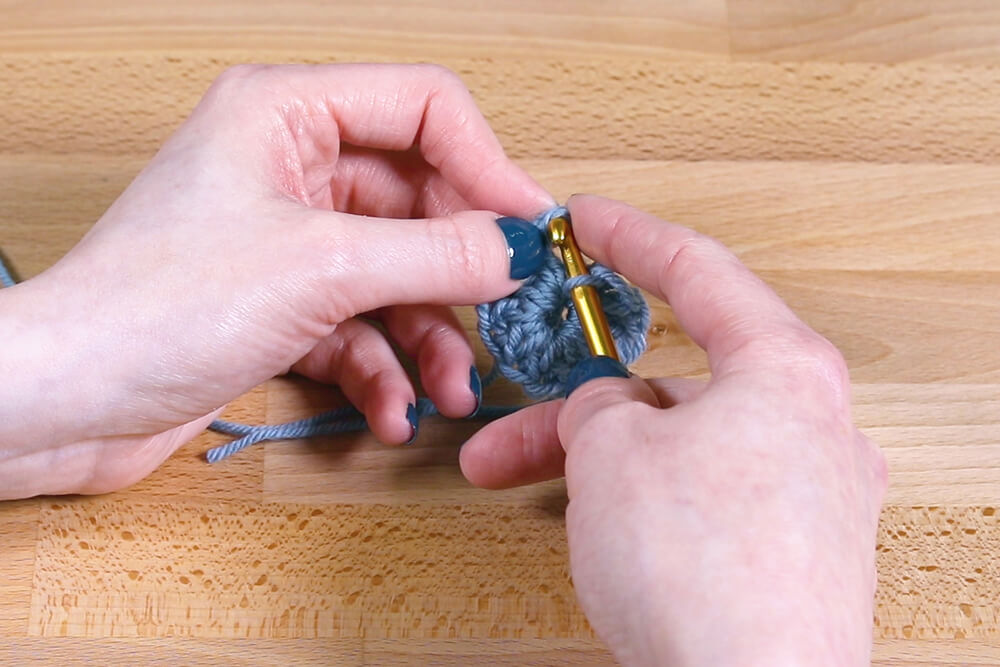
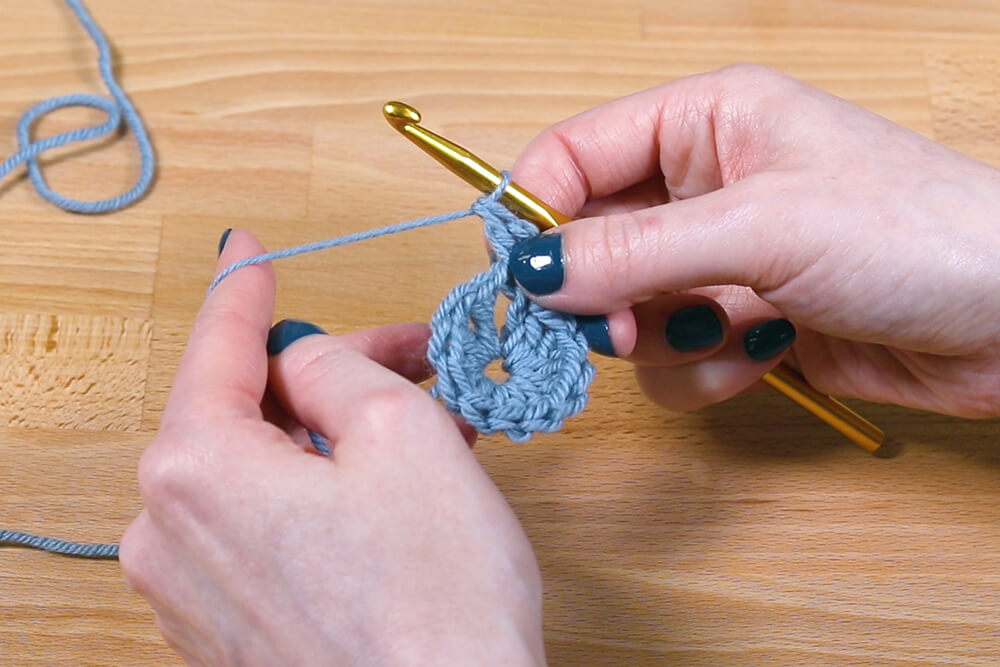
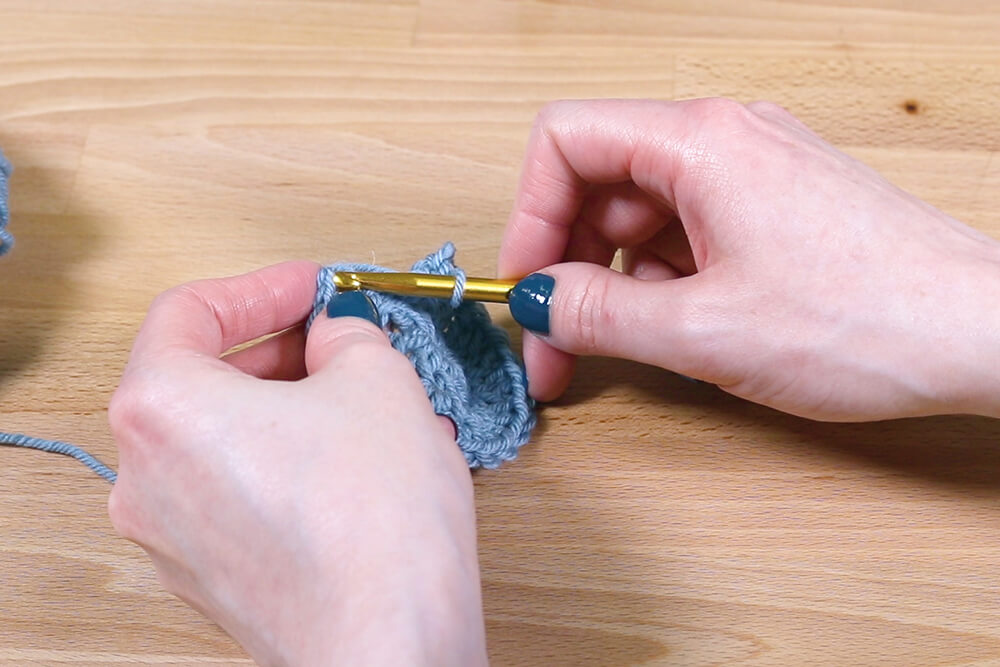
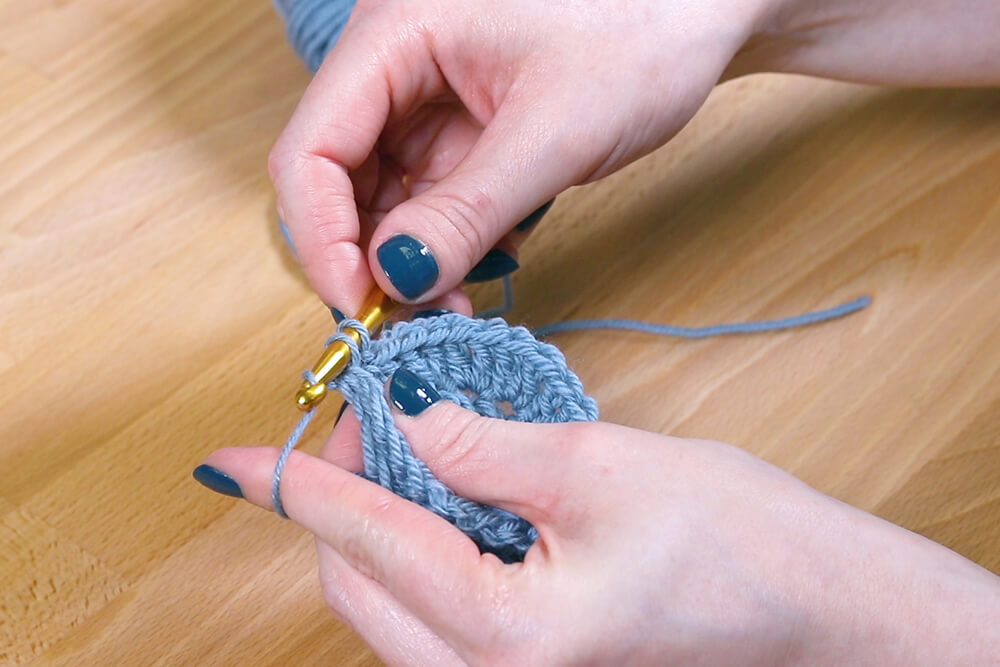
Now I’m going to show you the double crochet. Yarn over, put the hook through the circle, catch the yarn with the hook on the other side and pull it back through the circle. You should now have 3 loops on the hook.
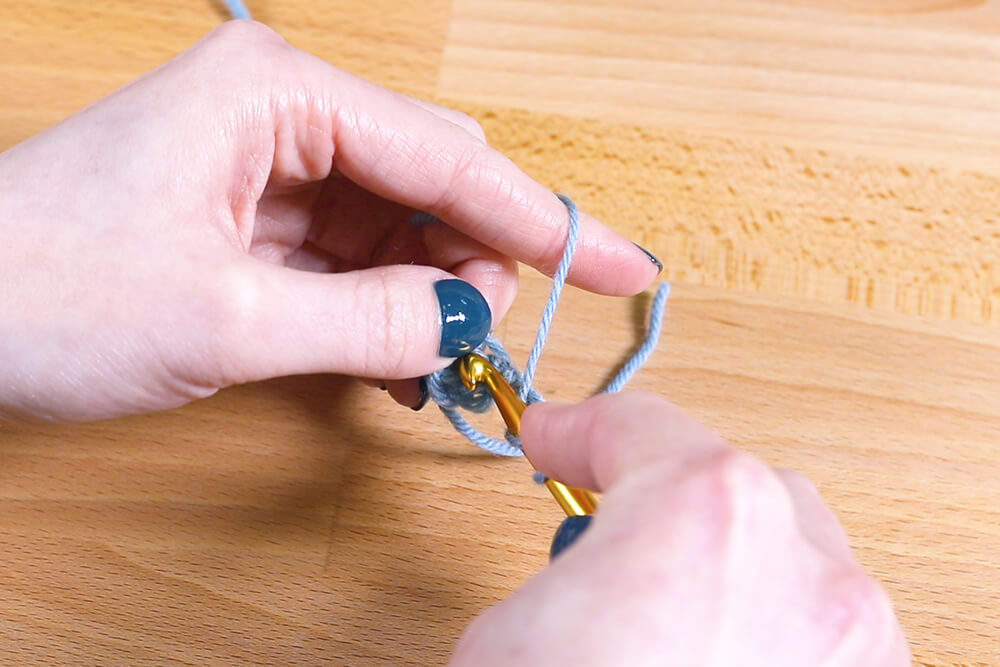
Yarn over and pull the yarn through the first 2 loops. Yarn over again and pull it through the remaining 2 loops. That is one double crochet. Repeat this 10 more times.
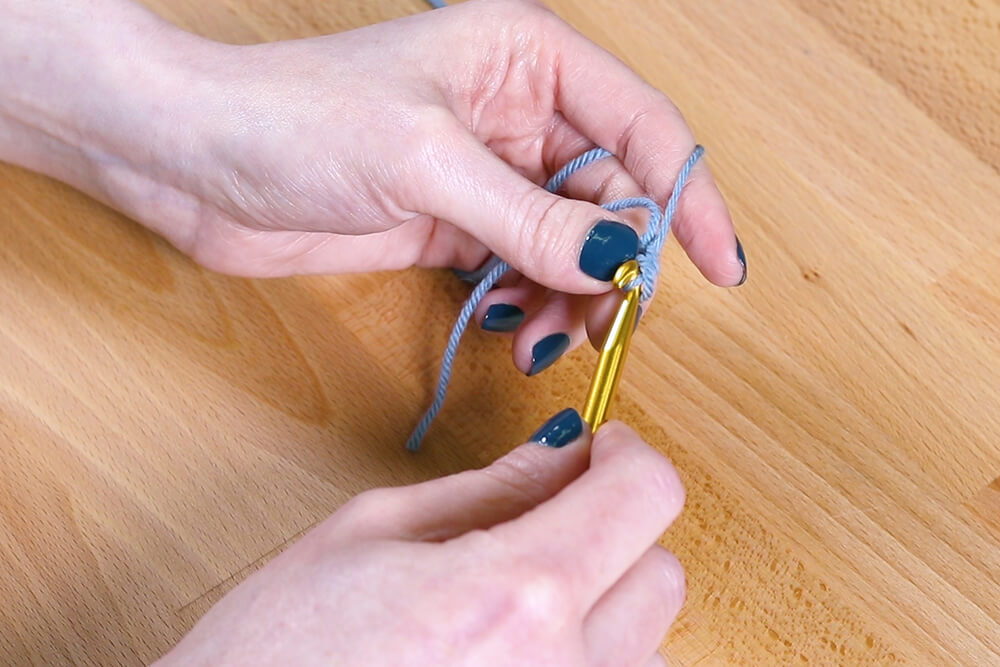
You can slide the stitches around the circle if you need more room. Counting the chain 3, you should have a total of 12 spokes coming out of the center circle.

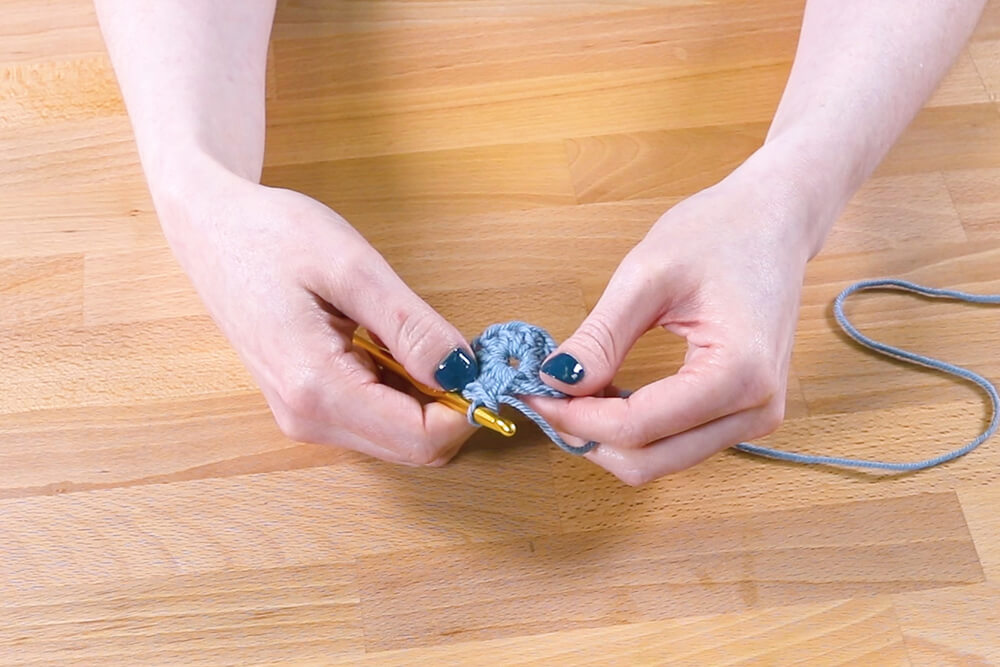
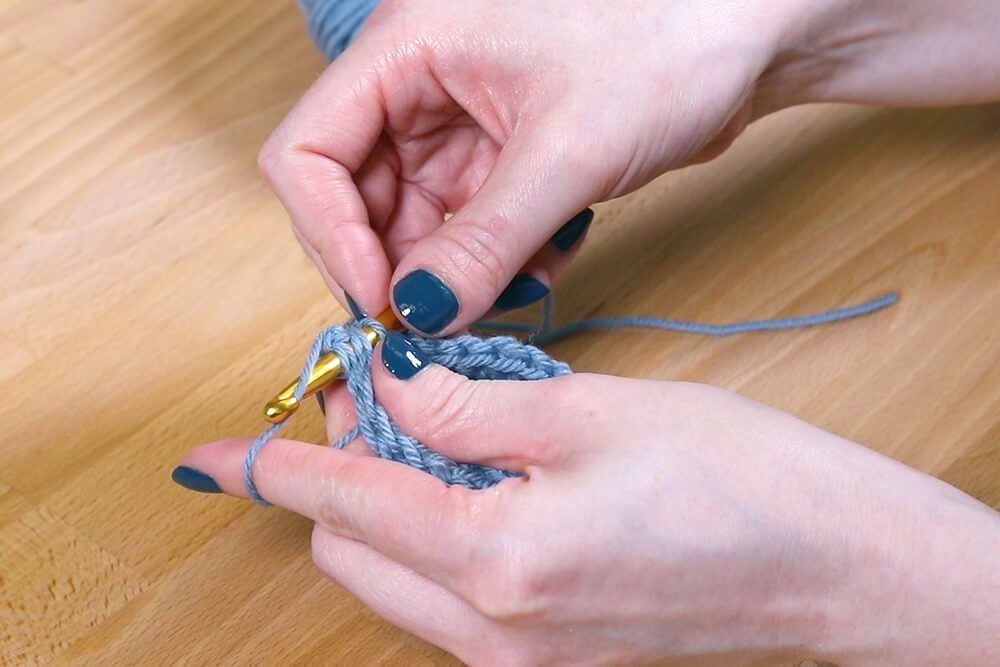
To complete the round, do a slip stitch. Put the hook through the top stitch of the chain 3. It looks best to go through the front and back loops of the stitch so it will look like there are 3 loops in the hook. Yarn over and pull through all the loops.
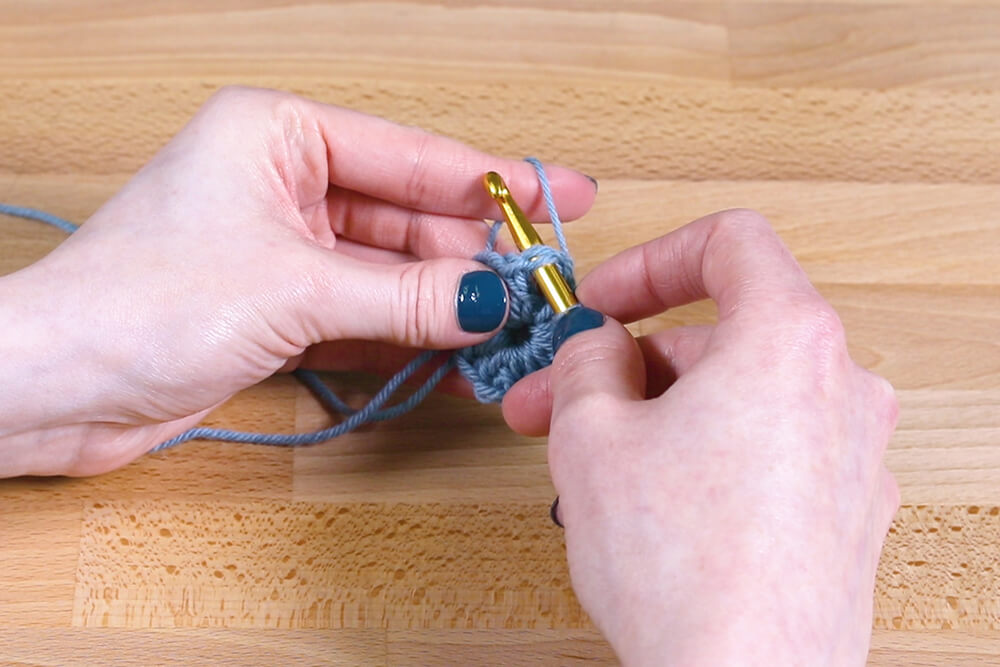
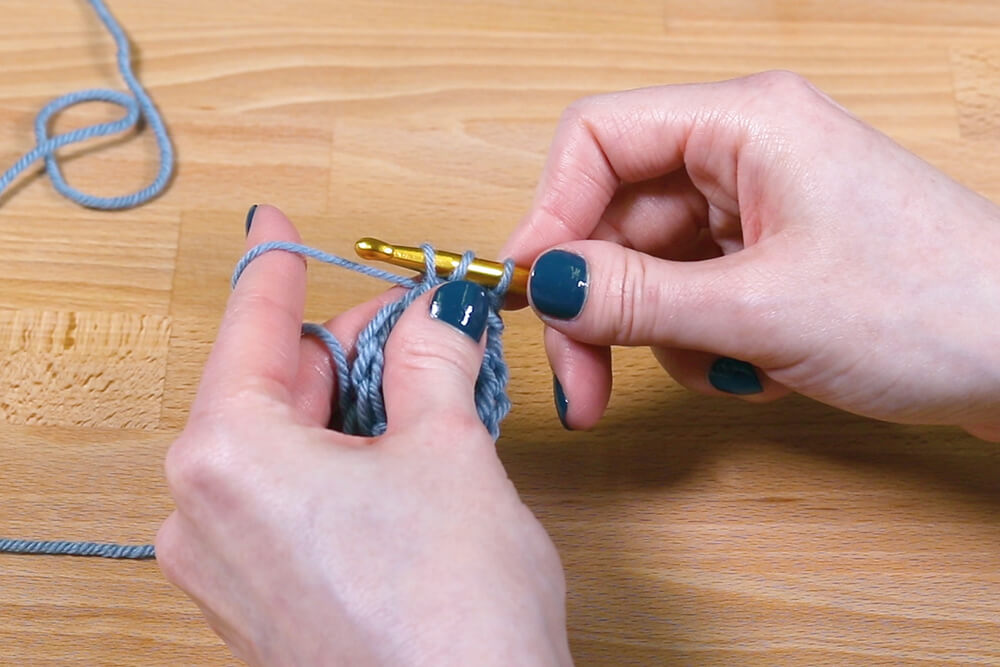
Chain 3 to start the next round.
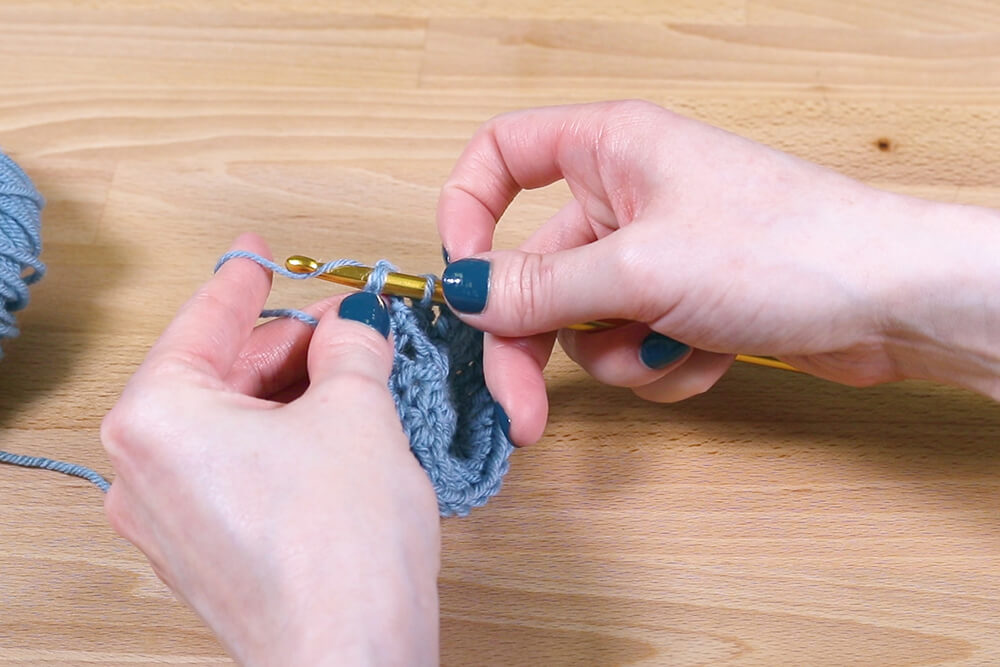
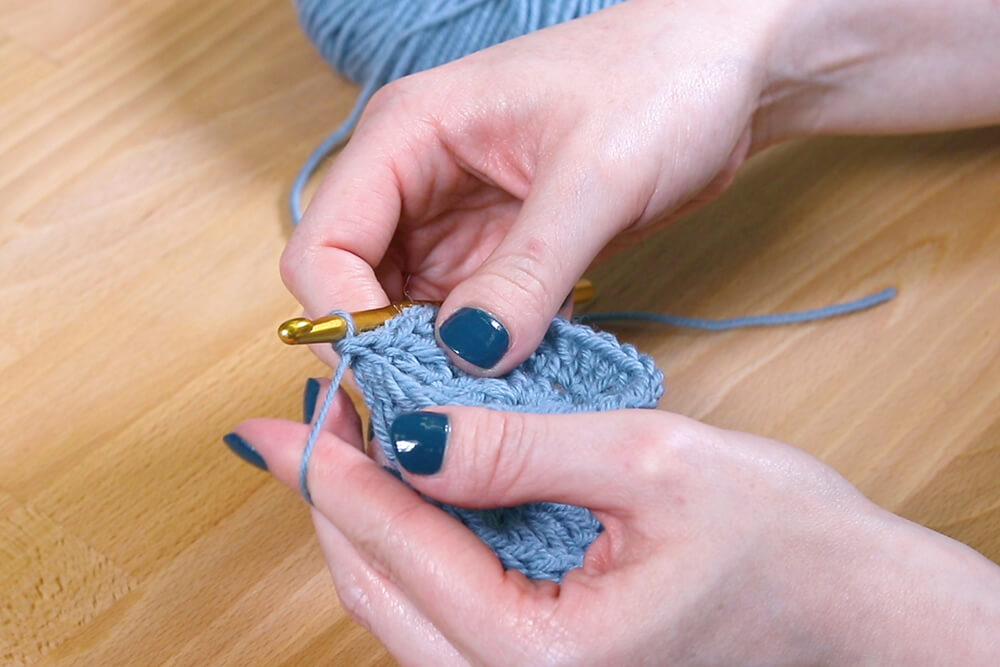
We’re going to do 2 double crochets in each stitch, which will create a total of 24 spokes. Yarn over, then go through the front and back loops of the first stitch. After 1 double crochet is complete, go through the first stitch again to do the second double crochet of the round. Repeat until you have 24 double crochets, including the chain 3.

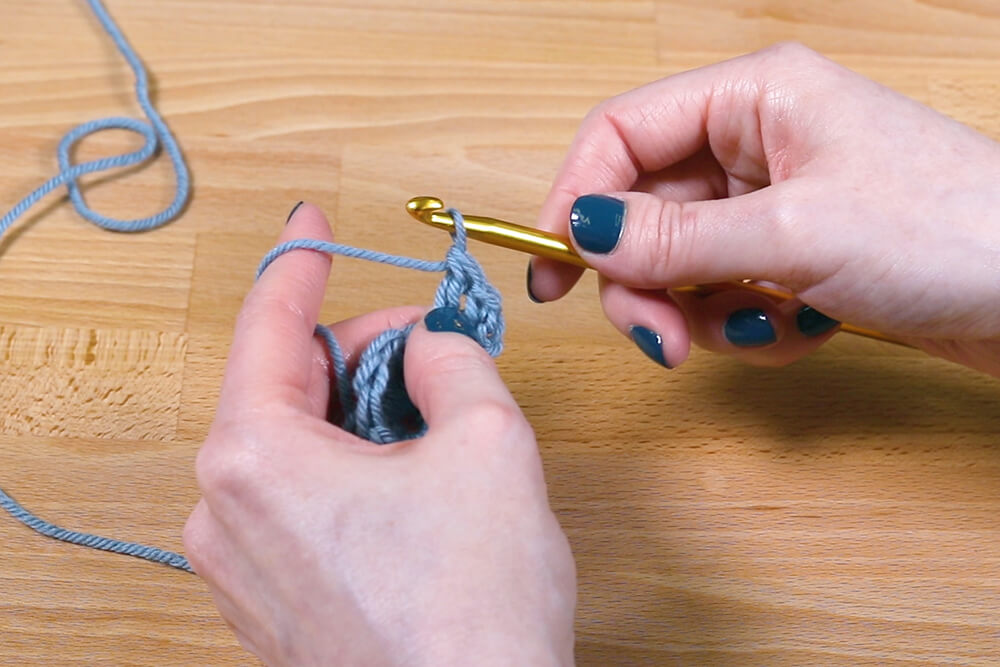
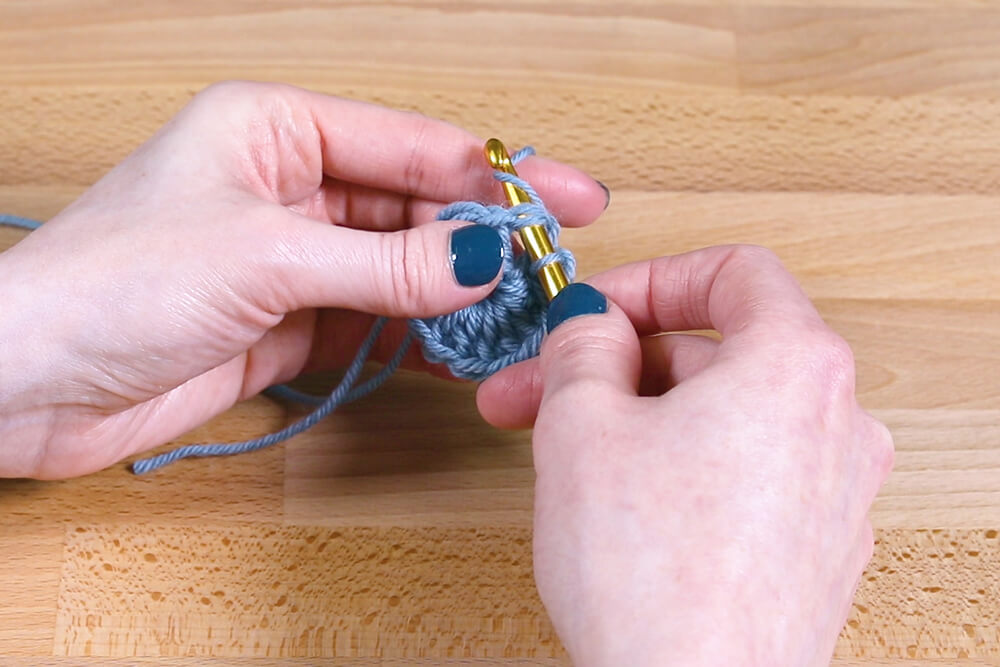
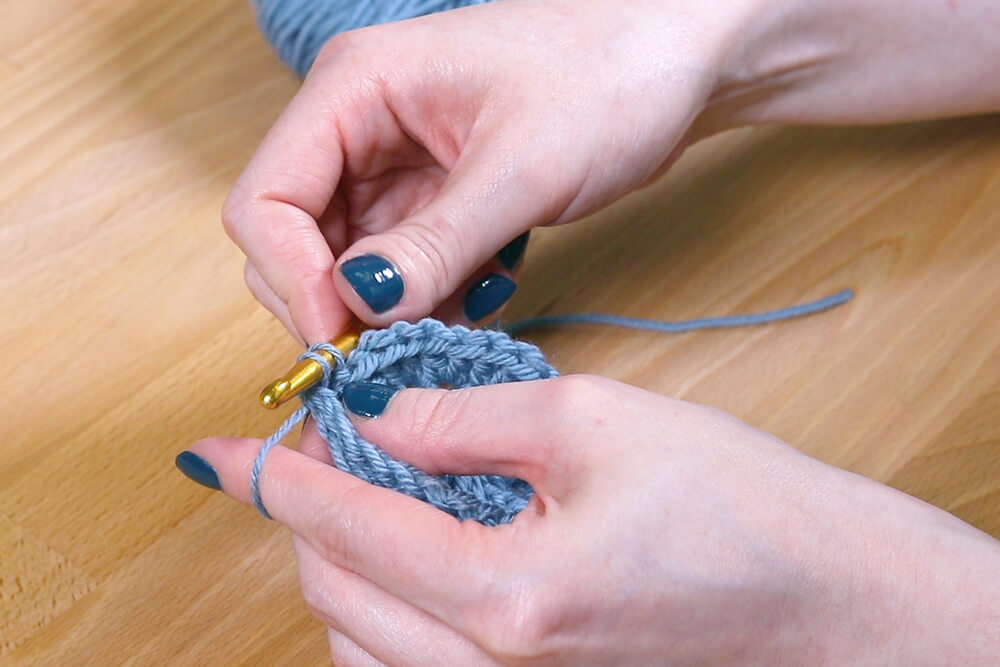
Slip stitch through the top chain stitch to complete the round.
This is the second circle I’ve made, so I’m going to leave the final loop on the hook. But for the first, cut the yarn and pull it through the final loop to finish.
Repeat these steps to create another circle for the other side, which I’ve already done. On the second circle, leave the last stitch on the hook.
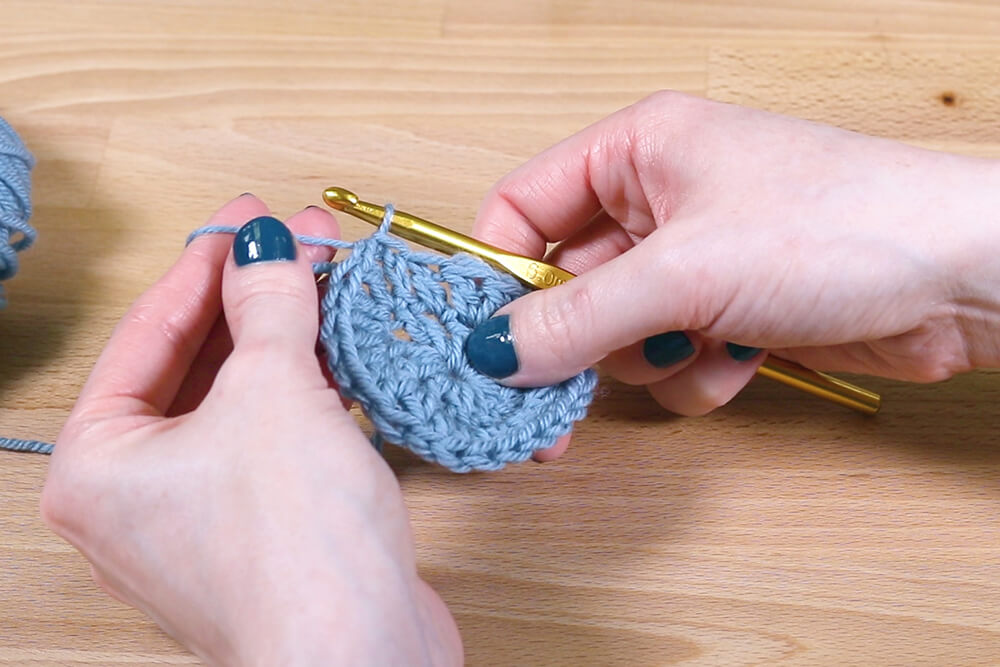
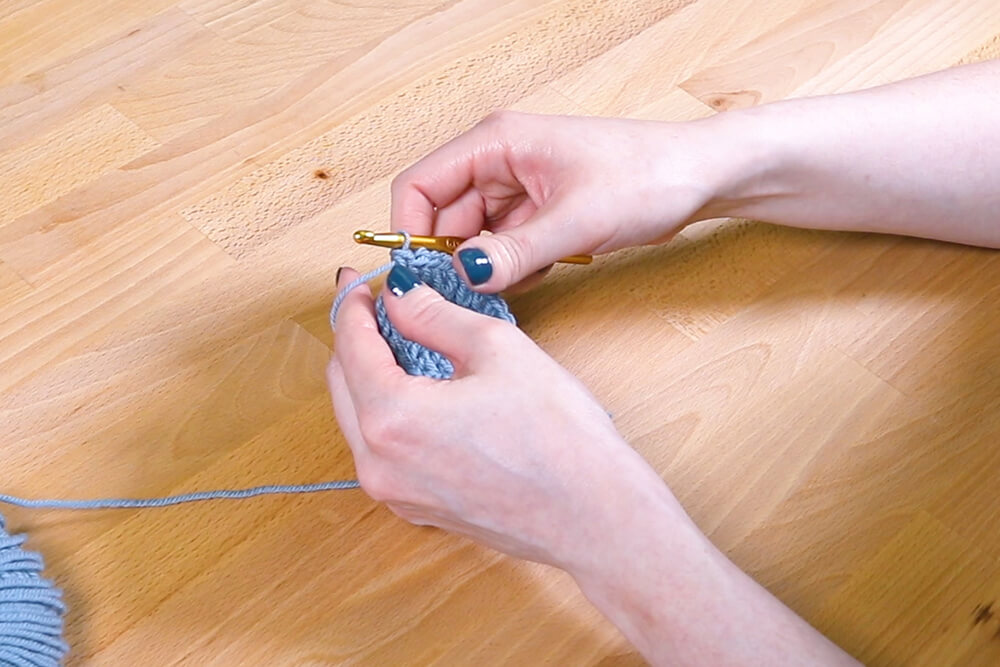
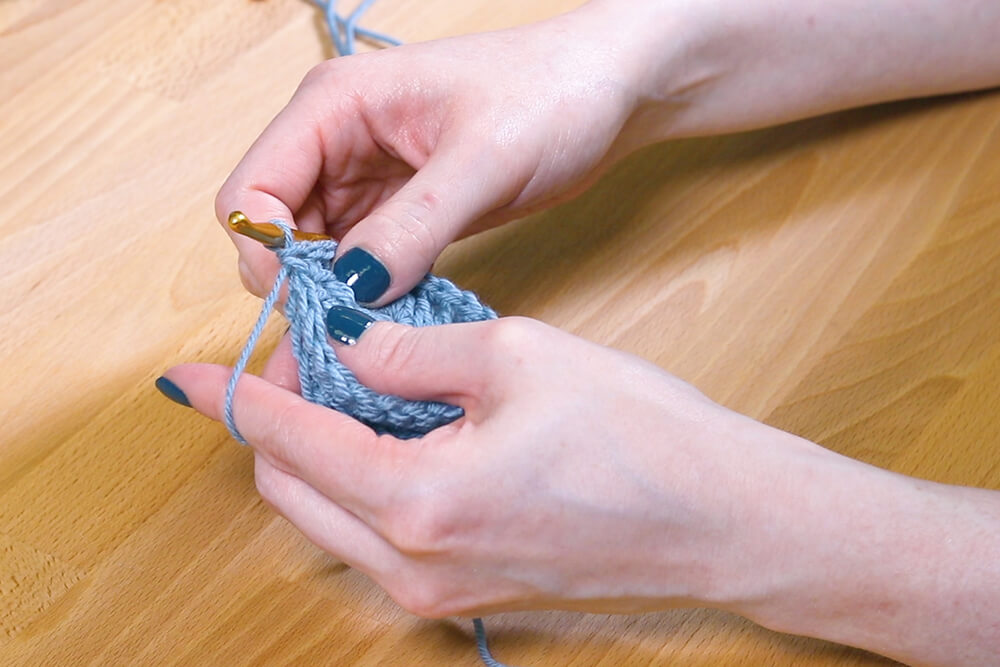
Put the 2 circles back to back.
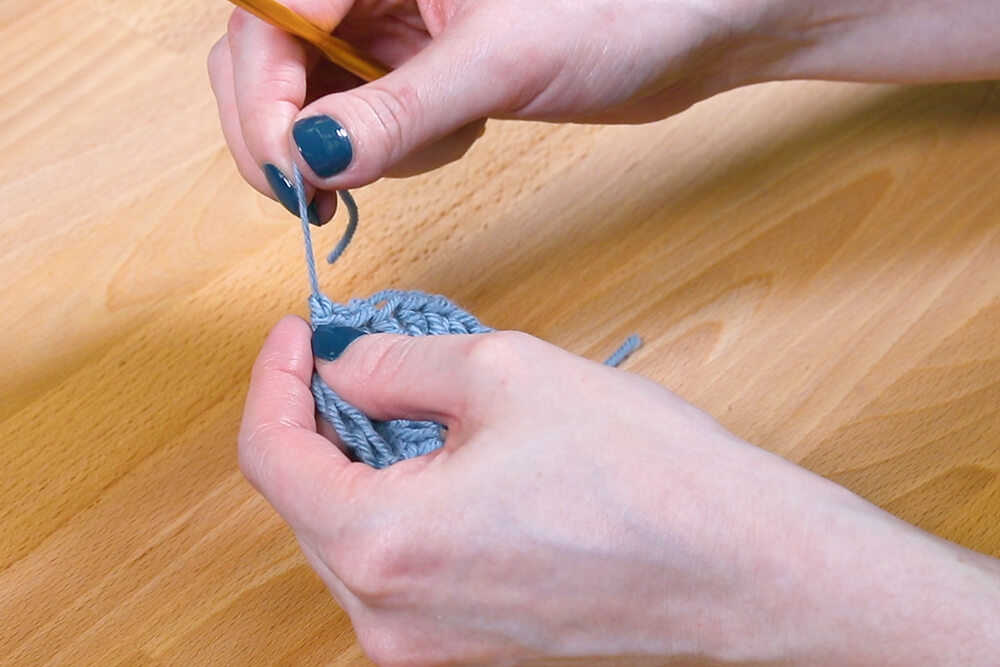
Push the hook through the front and back loops of the first stitch of each of the circles. Yarn over and pull back through the stitches. With 2 loops on the hook, yarn over and pull through both.
Repeat until you get back to the beginning. Cut the yarn and pull it through the final loop.
You would normally weave in the ends of the yarn, but since this is just practice, I’ll leave them.

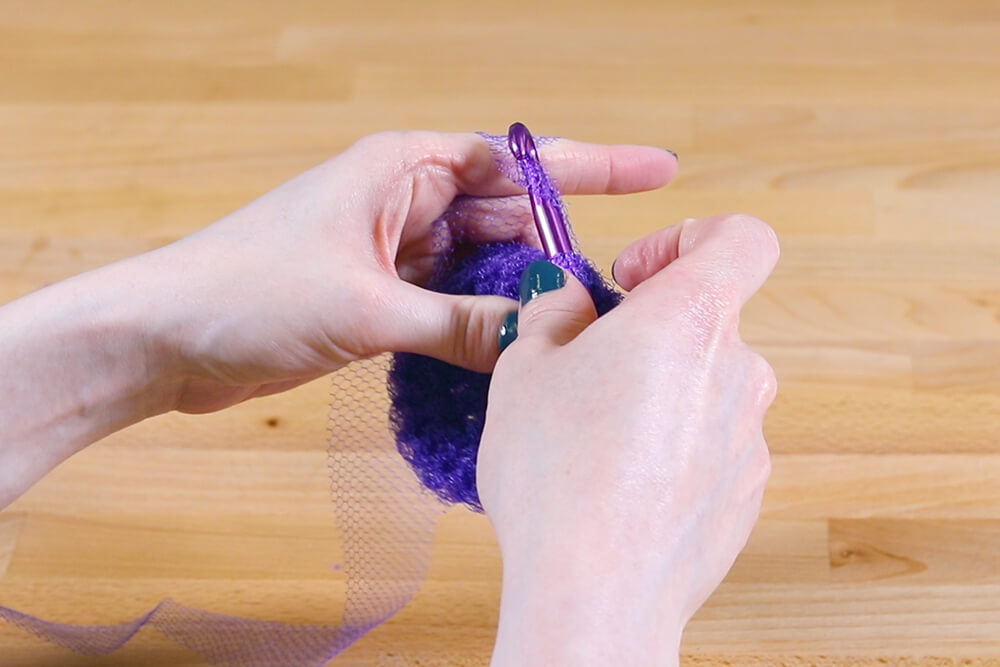
Step 2: Crochet with netting
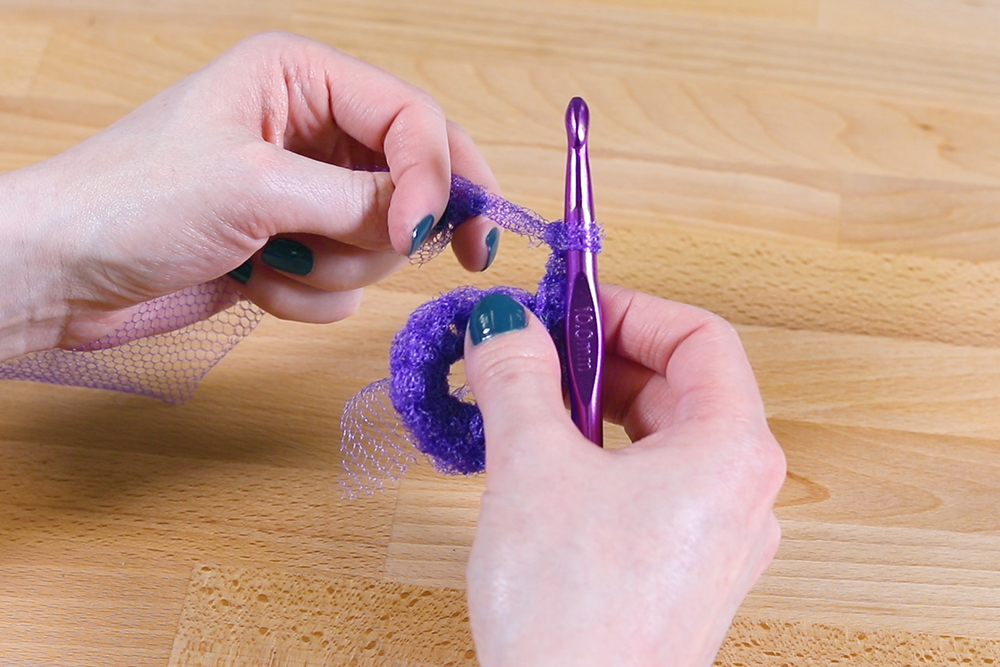
Time to move on to the nylon netting.
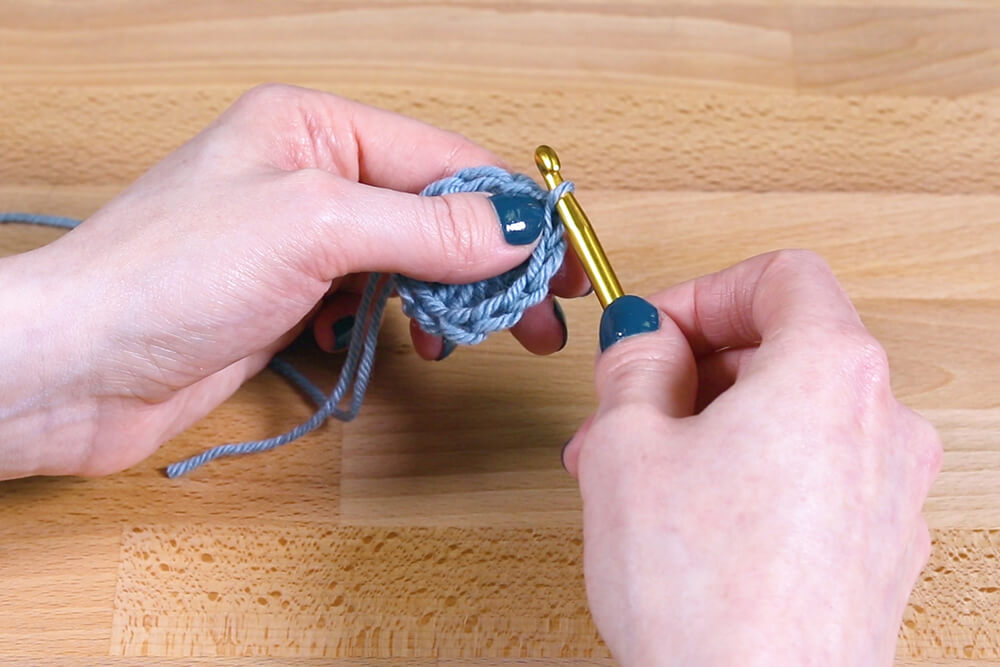
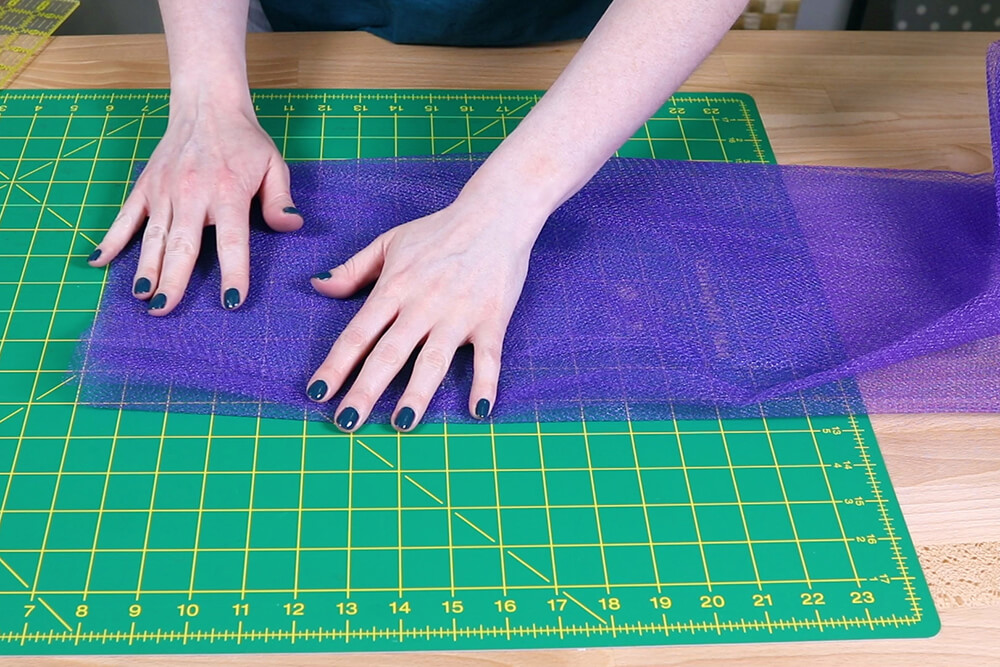
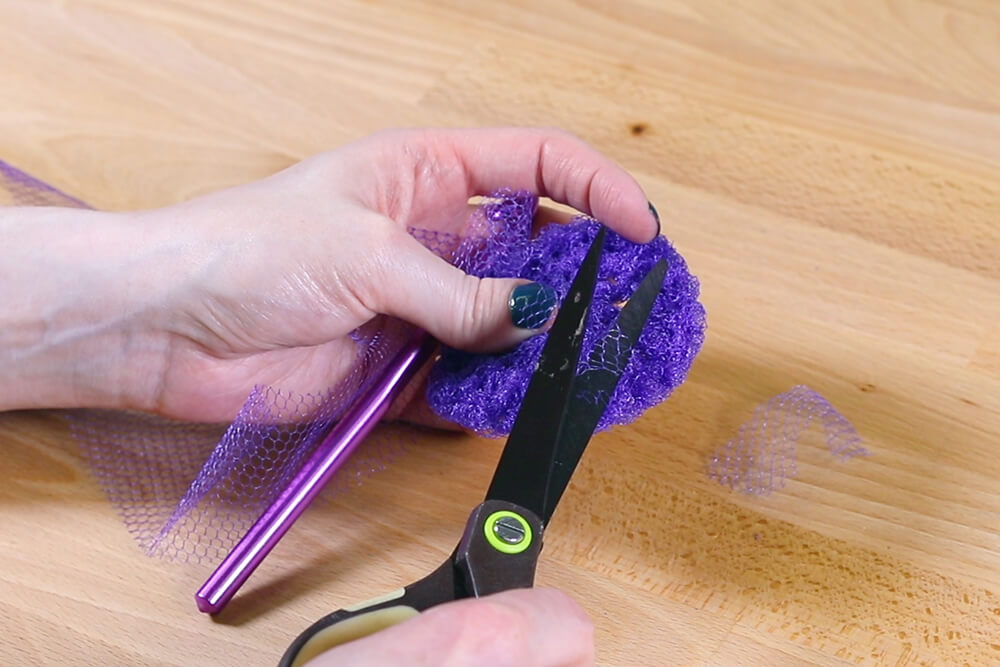
Fold the netting in half several times. Using a rotary cutter and mat, cut the uneven and, then cut the netting into 2 inch strips. You can do this with scissors, but the rotary cutter is easier. Cut 8 to 10 strips, which is about a 1/2 yard.

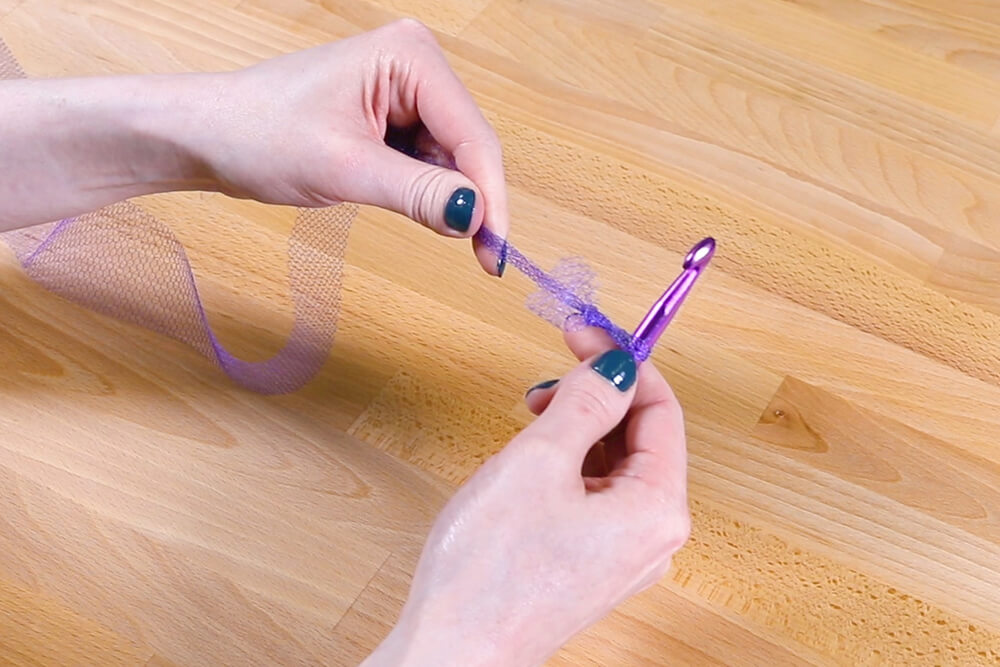
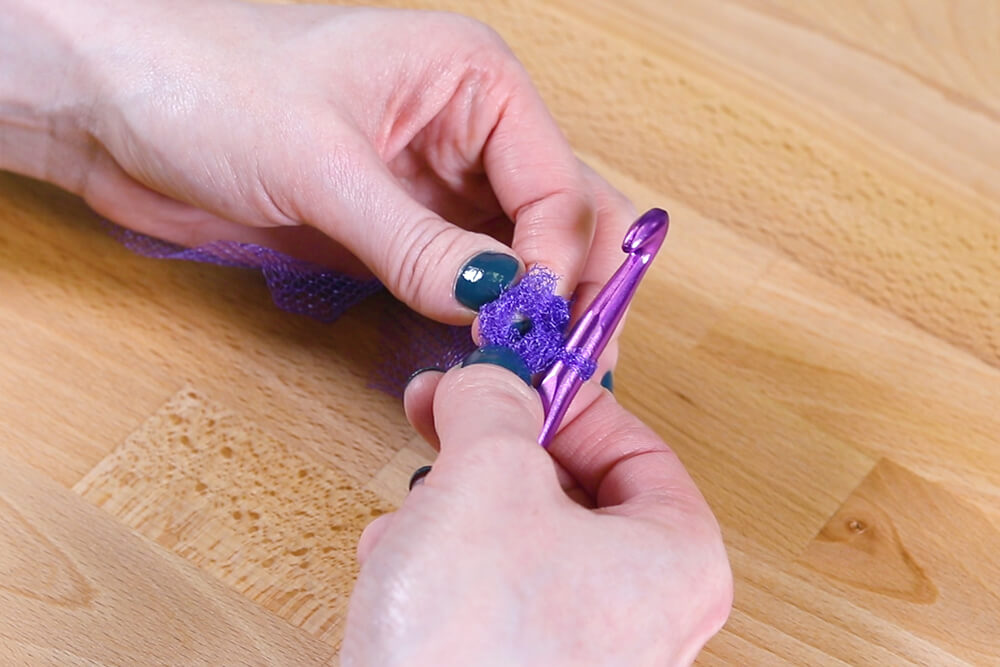
Create a slip knot. I find it easiest to twist it before knotting.
I’m using a size N crochet hook but you can go smaller or larger.
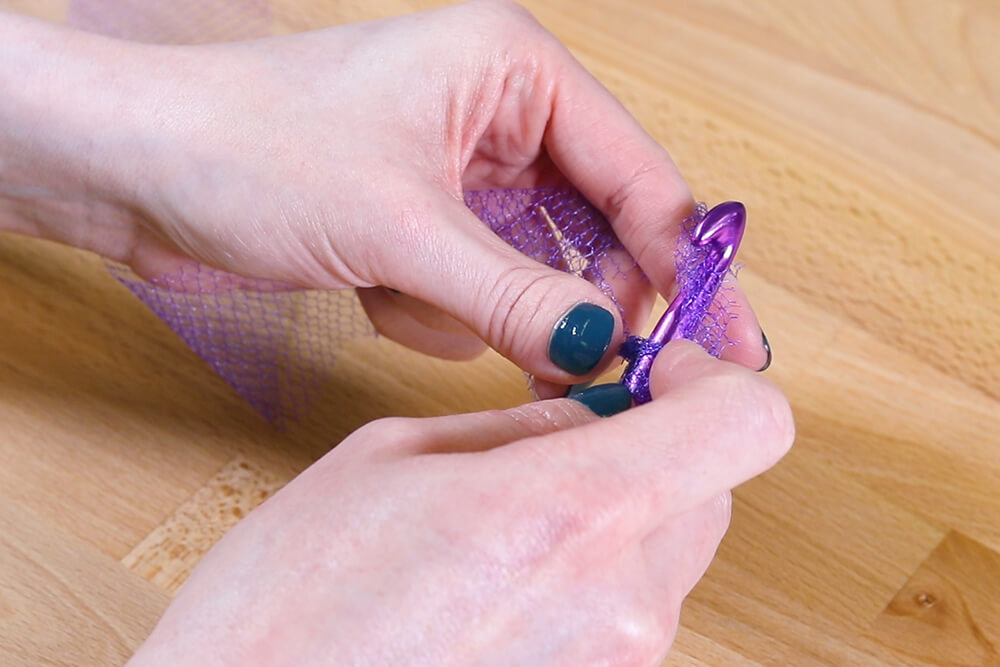
Start by chaining 4. Slip stitch to make a circle, then start the first round by chaining 3. Double crochet into the center until there are 12 including the first chain.
Slip stitch to finish the round.
The netting is harder to work with and the stitches aren’t defined like they are with yarn. It takes a little getting used to so don’t worry if your first couple look messy and uneven.
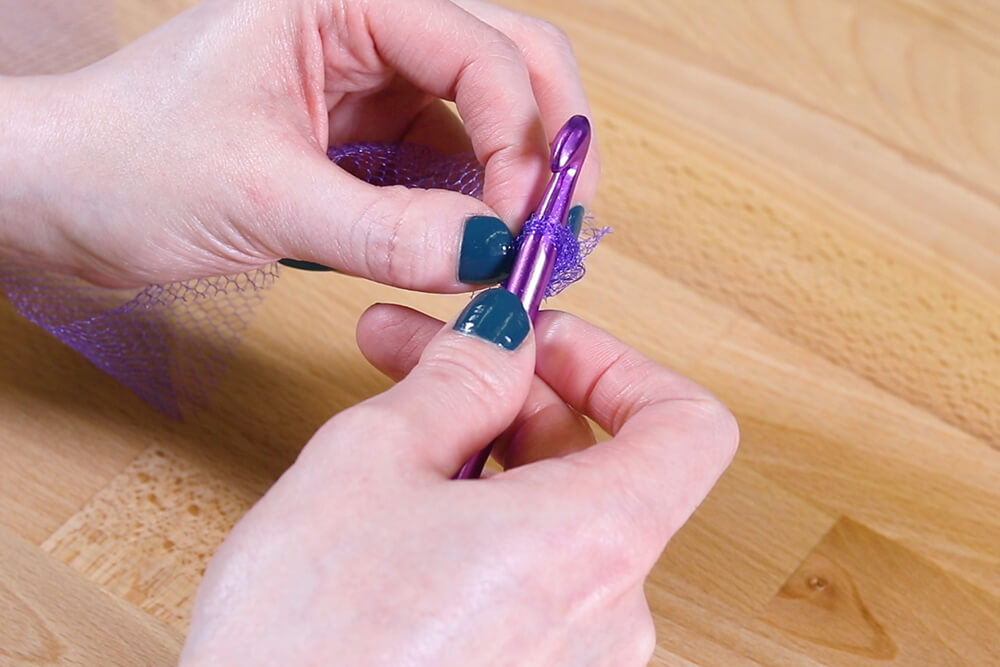
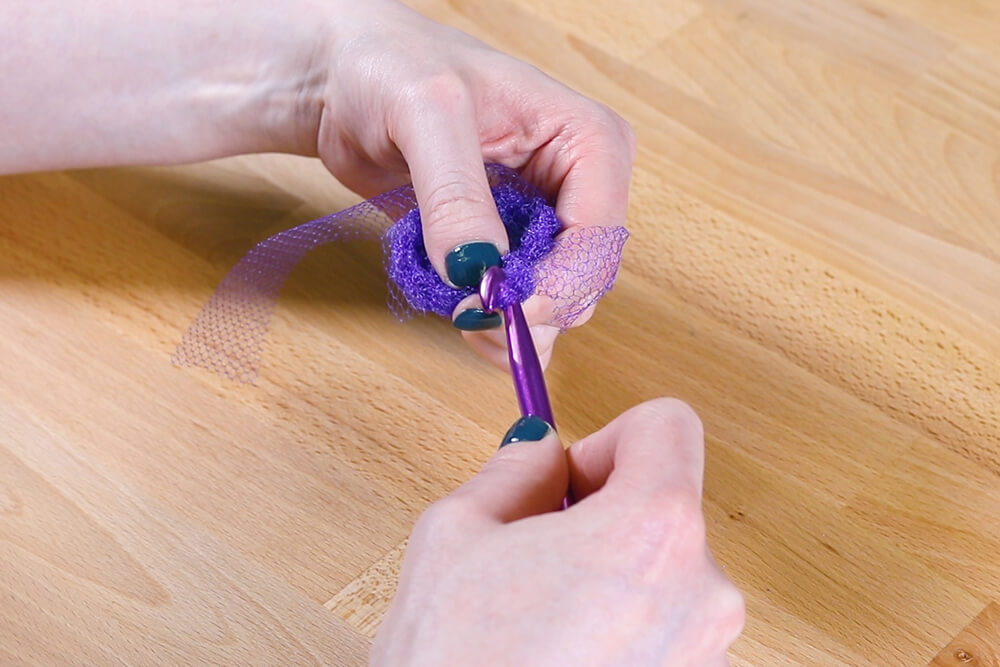
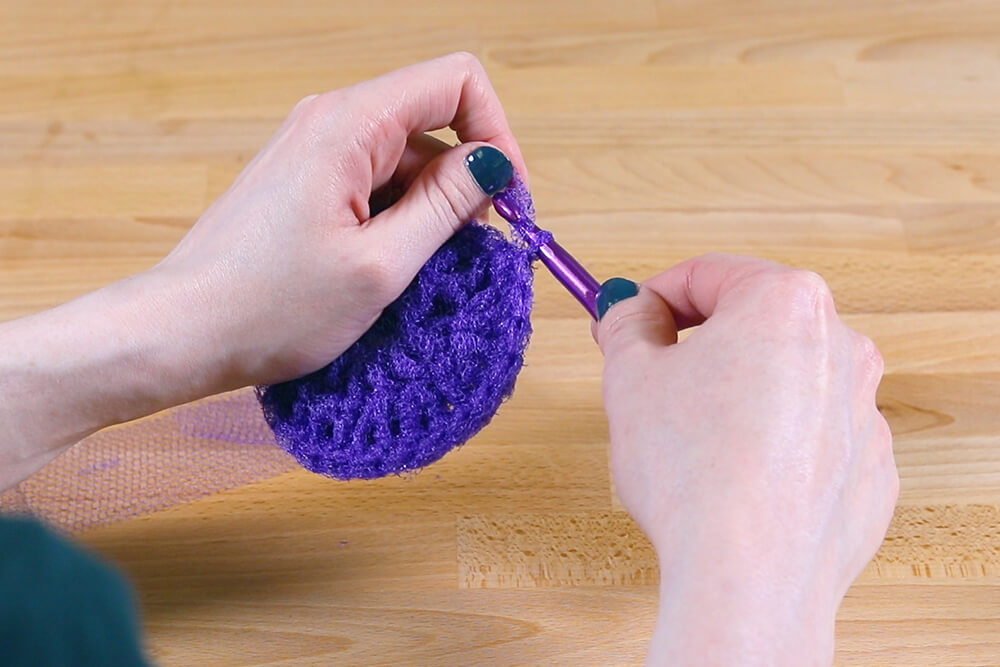
When you get to the end of a strip, knot it with another strip. Make sure the knot is on the back of the work.
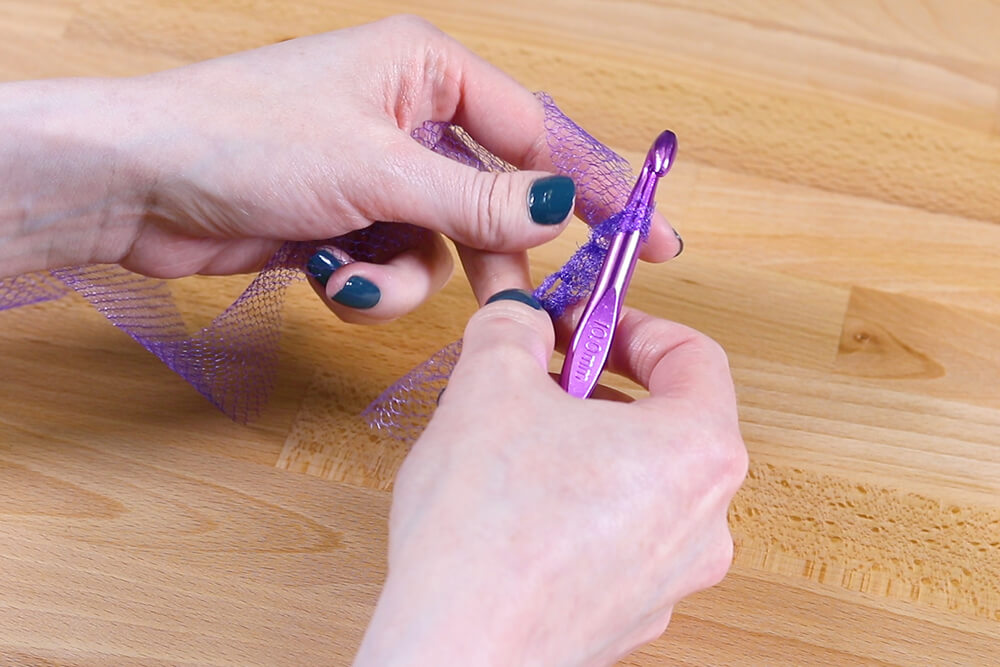
Chain 3 and double crochet 2 into each stitch. It’s hard to pick out individual stitches, so you can just double crochet into the opening between spokes.
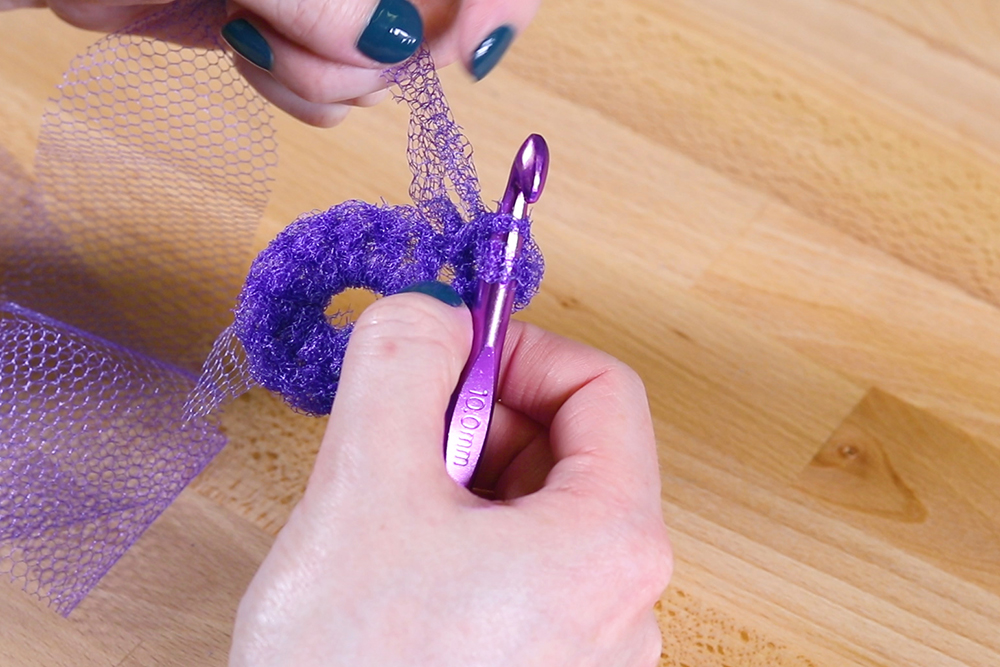
Double crochet 23 or 24 depending on if you count the chain 3. Slip stitch to join the round.
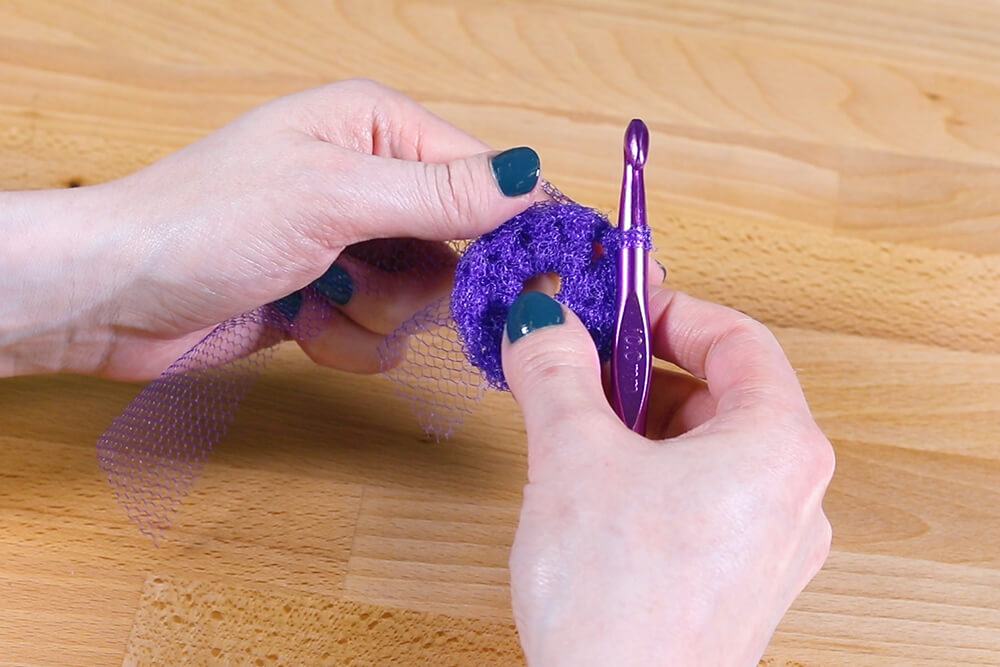
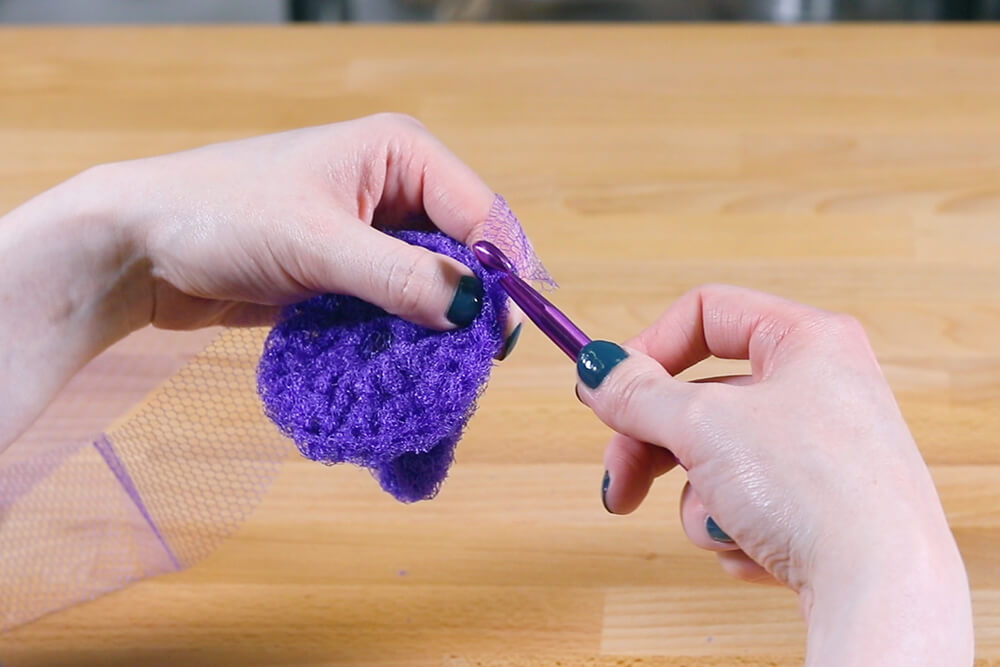
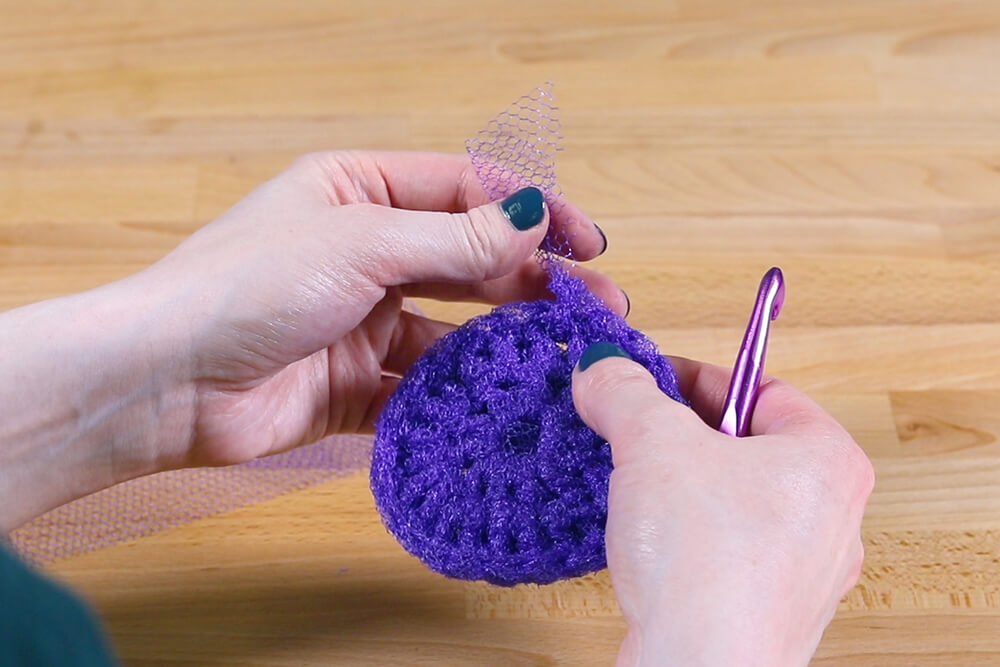
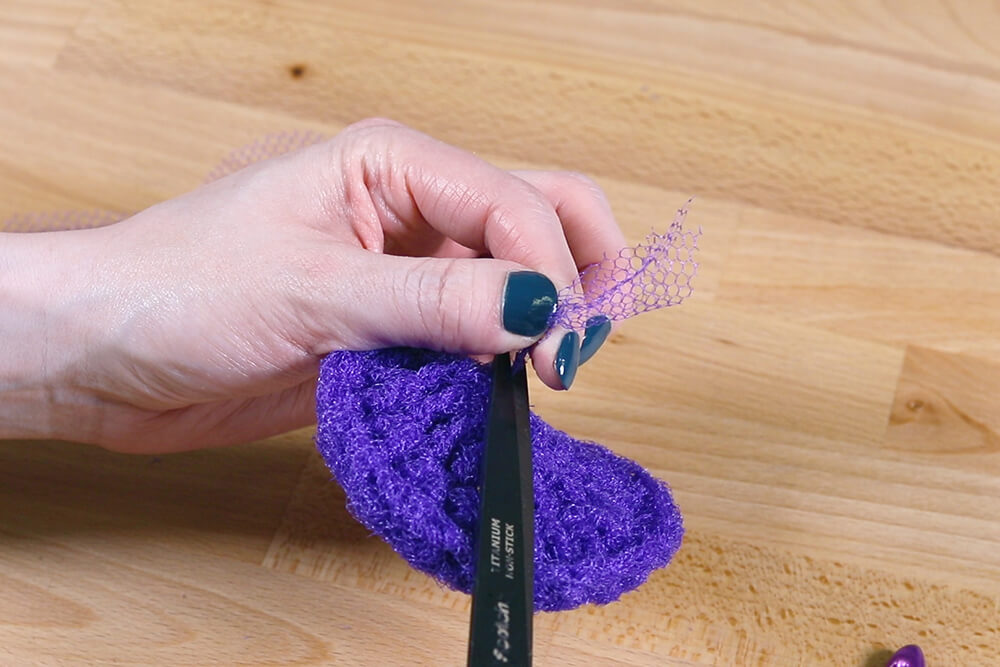
When you have 2 circles, trim all the ends. Since they’ll be on the inside, you don’t have to weave them in.
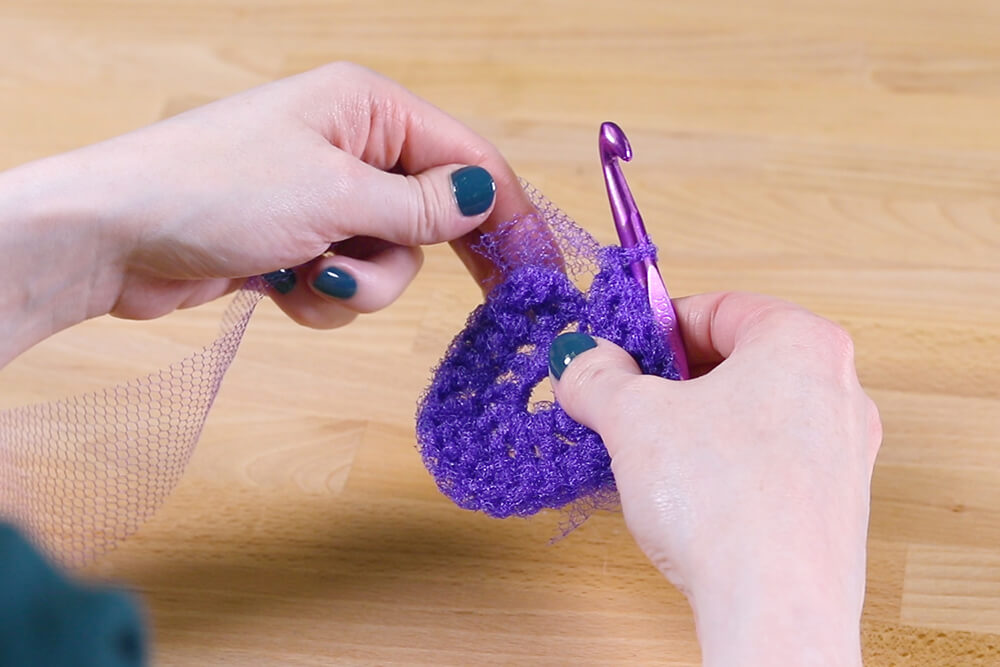
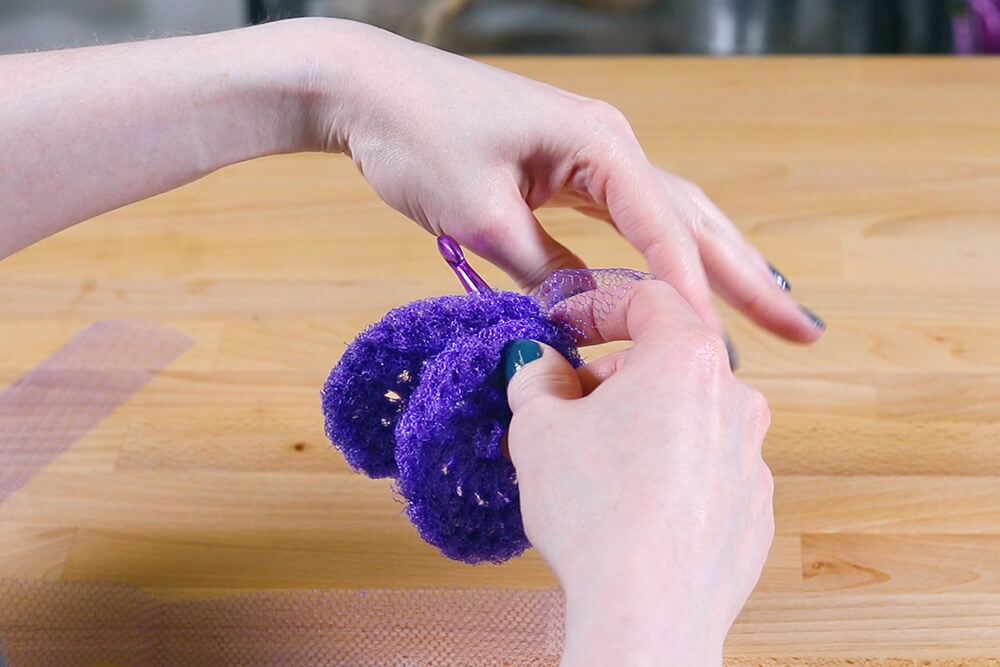
Place the circles back to back. If one is larger than the other, place the smaller one on top.
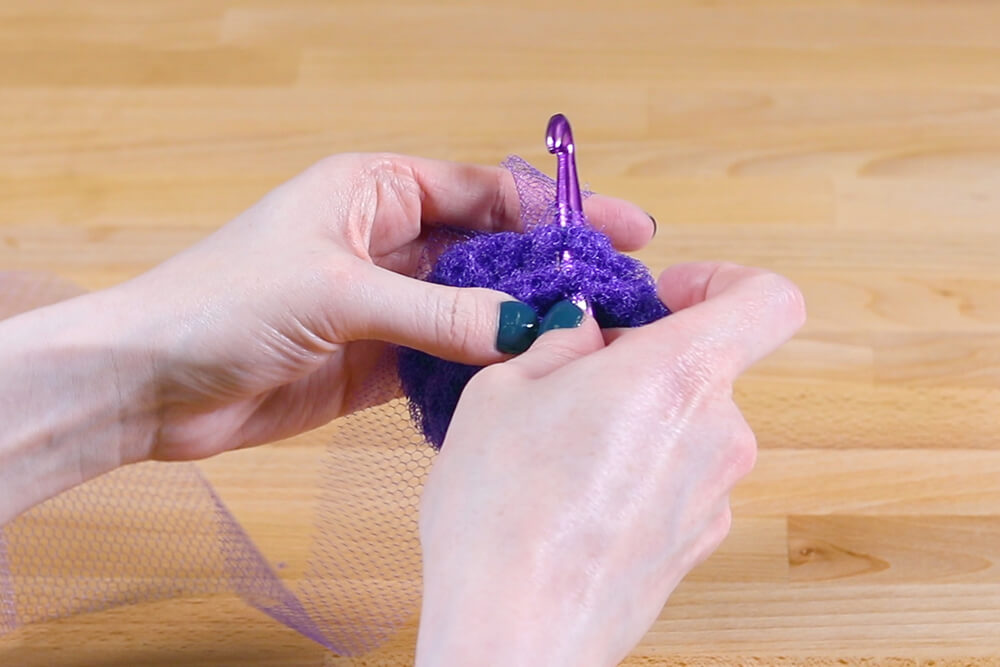
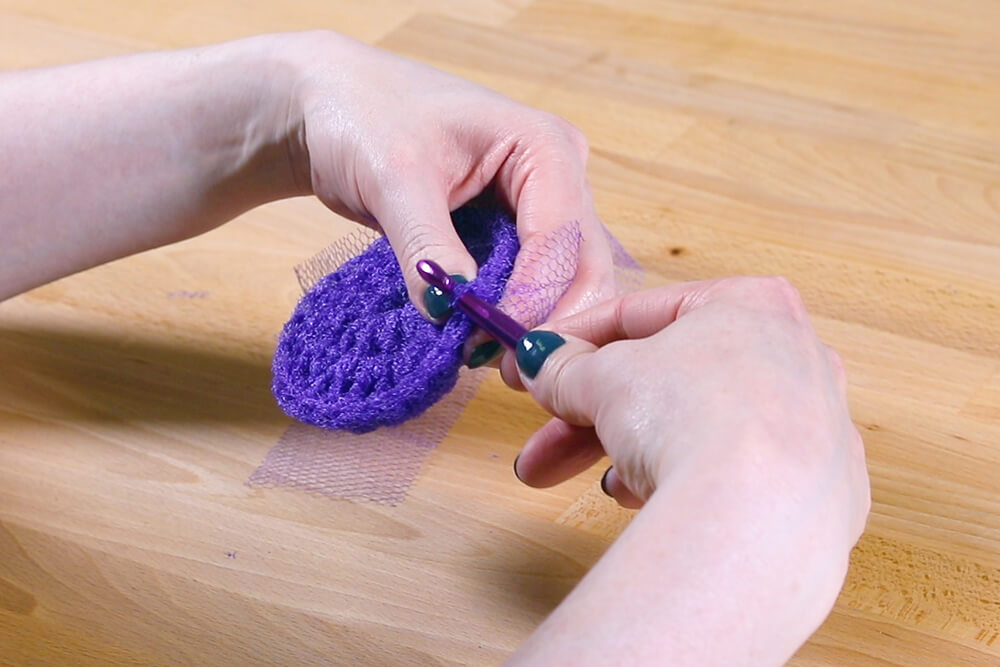
Since it’s hard to see the stitches, you can go through the gaps on the second round instead of the actual stitches. Put the hook through the first gap on the back and front. Yarn over and pull back through. Yarn over again and pull through the remaining 2 loops on the hook. Work all the way around.
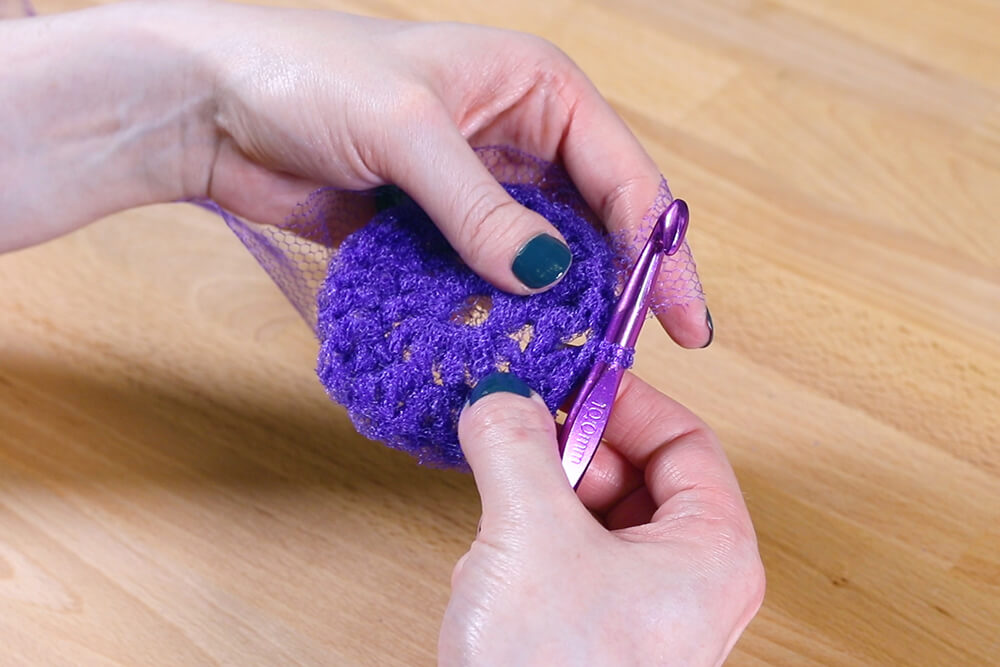
It does take a little while to get used to working with netting and to get the tension consistent, but the more times you do it, the faster and easier it gets.
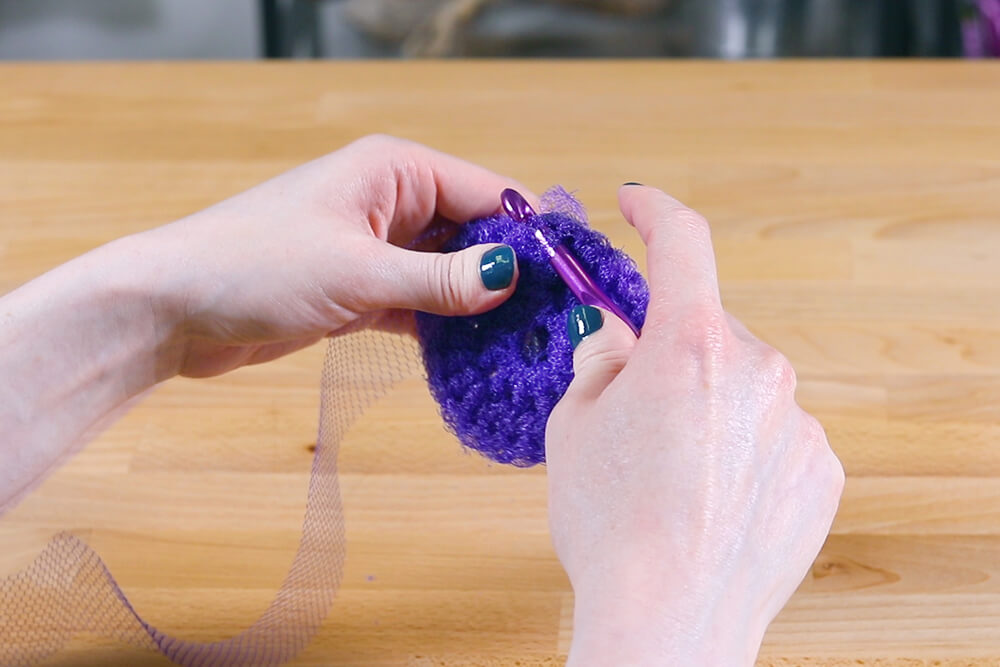
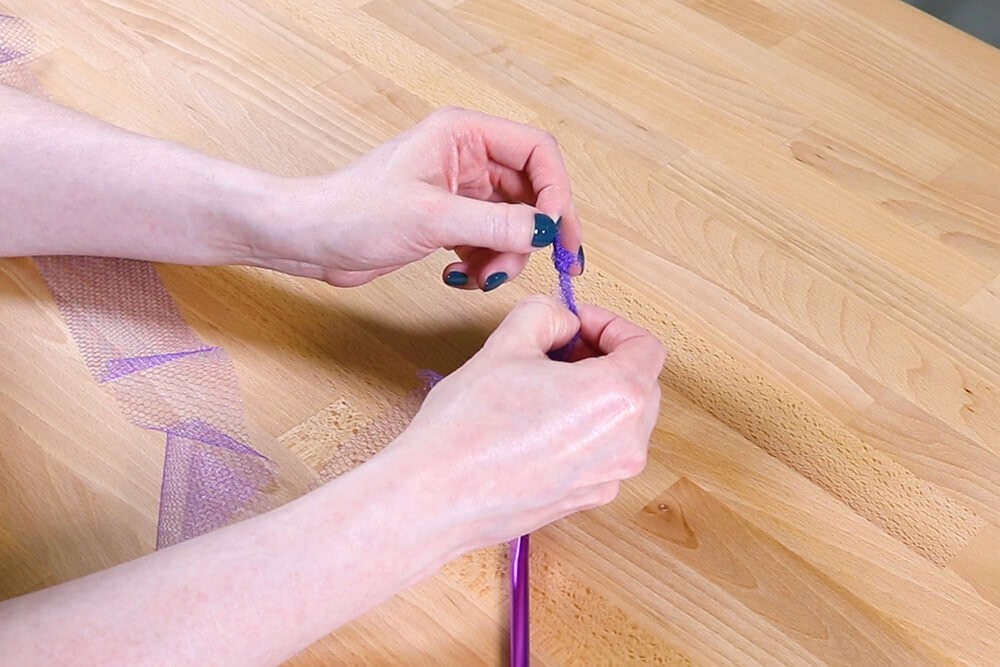
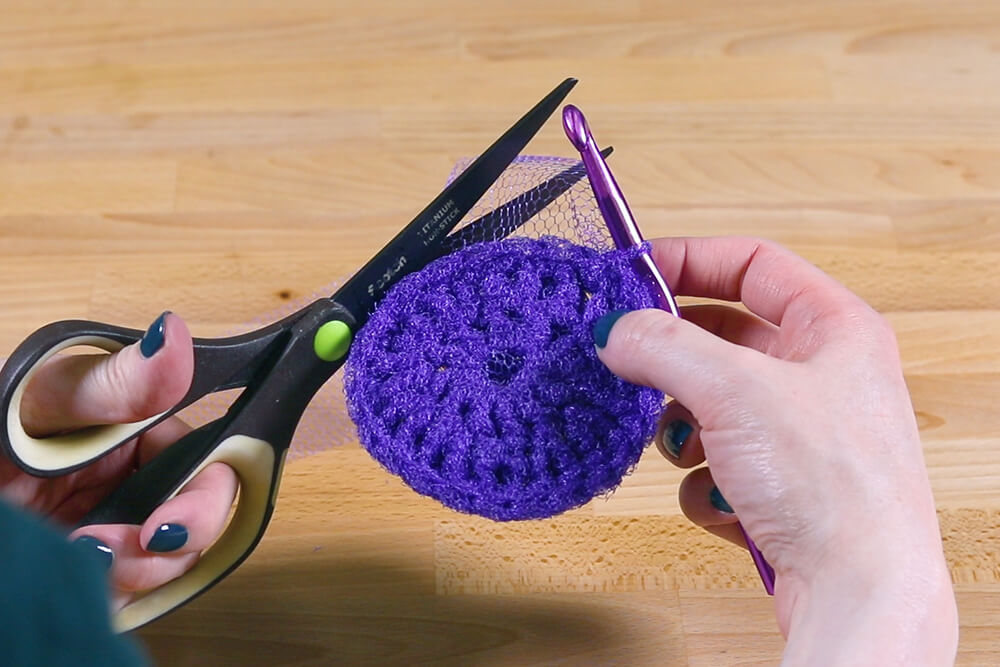
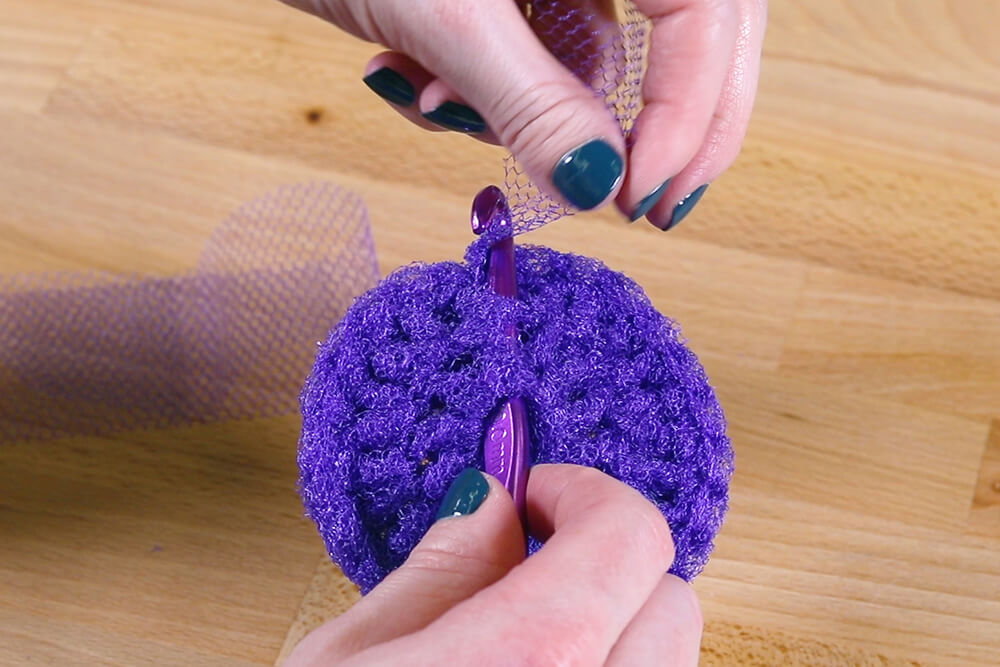
When finished, cut the netting and pull it through the last hook. Insert the hook through the center and out near the netting tail. Hook the netting and pull it out the center. Pull on it and cut so it is hidden inside.
Ready to make some scrubbies? Check out our selection of nylon tulle.
-
{{#each productSuggestedQueries.results}}
- {{query}} {{/each}}
-
{{#each categories.results}}
- {{html title}} {{/each}}
{{html attributes.description}}
{{/if}}-
{{#each queries.results}}
- {{query}} {{/each}}