Cut-and-spread method

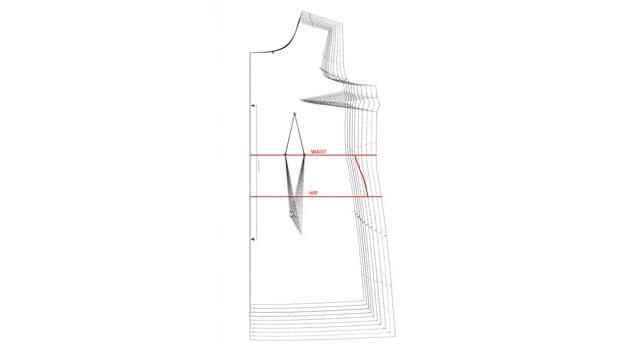
Pattern shifting
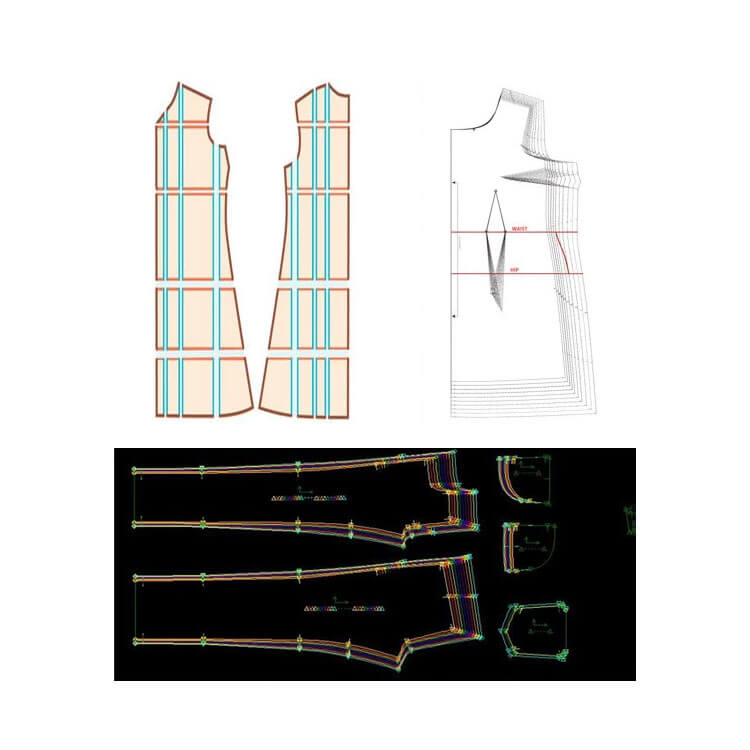
Computer grading

Articles | Fashion > Fashion Design
Pattern grading is an essential skill to know when making a pattern. The patterns I’ve been making for DIY apparel projects are uploaded with each tutorial on the blog for viewers to download and print at home. The patterns I’ve created are usually medium size (size 8-10). Because not everyone is a size 8 or 10, I’ve decided to break down the three methods of pattern grading. With these methods you can grade a pattern up or down for a size that fits you.
This method is the easiest when it comes to pattern grading. First you cut the pattern and spread the pieces to the appropriate measurement.
To grade down you overlap the pieces, and to grade up you separate them. All you need are scissors, tape, a pencil, and a ruler that breaks down every inch.
Up, down, left, and right are the basics of pattern shifting. The new dimensions are transferred onto another sheet of paper to make the pattern larger. To make it smaller, you will have to trim the edges to the desired dimensions.
This method is almost the same as the cut-and-spread method but without the small pieces. Either way works, it’s just a matter of preference.
When computer grading (CAD) first came into the industry, it was only used by major fashion labels for the production process. The program cost thousands of dollars, which is why only major companies owned CAD.
Now, CAD is more affordable for personal use and can be purchased for under $500.00. This method is the most accurate and used by fashion labels to produce precise, detailed patterns.
Try it out with these fashion how to's.
{{html attributes.description}}
{{/if}}